
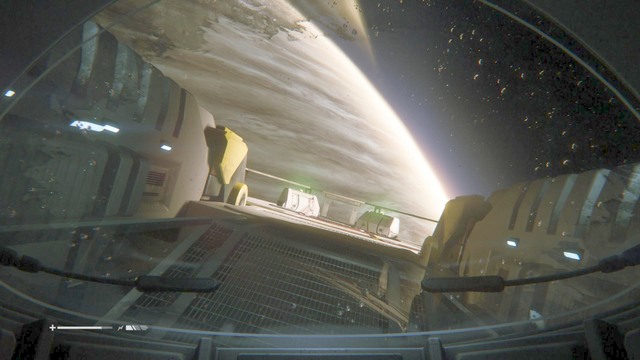
This guide is a thoroughly illustrated walkthrough for Alien: Isolation. Every fan of this universe will find all essential information about gameplay here. In the guide, you can find a description of each mission and advice on how to avoid dangers. There are also instructions on crafting. The game is based on stealth mechanics and your reactions to the environment will affect your fate. The main enemy in this survival horror game is the Alien, whom you have to avoid. You can't kill it so hiding is the only reasonable strategy. You'll also encounter androids and humans for whom you'll need a variety of weapons prepared by the developer, Creative Assembly, known for Total War series. You'll find a description of weapons and their production in the chapter about crafting.
Alien Isolation guide contains:
Jacek "Ramzes" Winkler (www.gry-online.pl)
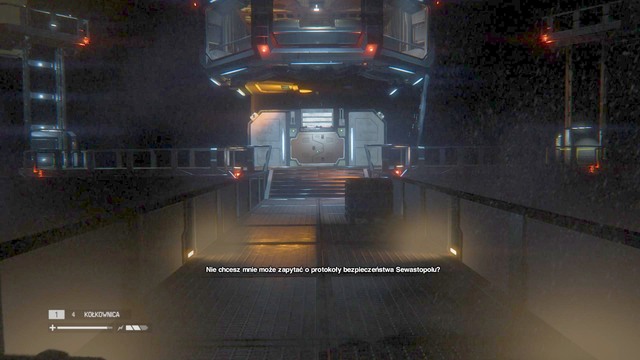
Alien Isolation is a stealth-based game. In this chapter you'll learn about weapons and how to avoid the Alien. The most important thing is to keep moving. The Alien likes to enter a room where you are several times. When he enters the room for the first time, nothing bad will happen. Just hide under the desk or in the corner and wait until he leaves. When he's in the room for the second time, he'll start looking for you. You won't be safe under the desk or in the corner, so try to move as much as possible.
1.) Weapons: You have several types of weapons that you can use
2.) Using the environment: There are several ways to avoid the Alien.
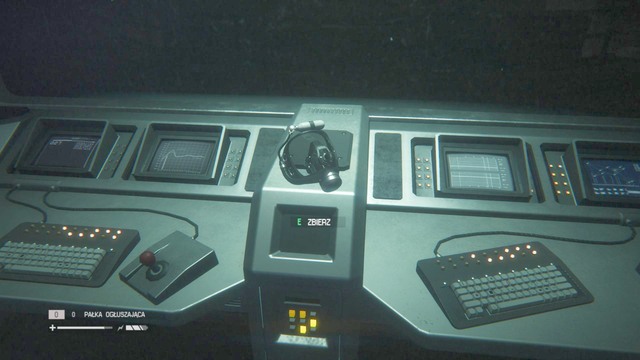
You can enter crafting by pressing (Q) and clicking an item you want to make. To craft anything, you'll need materials.
These are the materials used for crafting:
Every weapon requires some materials. The list below shows the amount of them needed for weapons on first level.
Name
Materials
Medikit
Pipe bomb
Molotov
EMP Mine
Flashbang
Smoke Bomb
Noisemaker
To craft some items, you'll need blueprints. You can find them while doing the main story. You'll also find scrap and materials required for crafting. There's not much of them so make only the items you really need.
 On hard, the Alien gets extremely aggressive
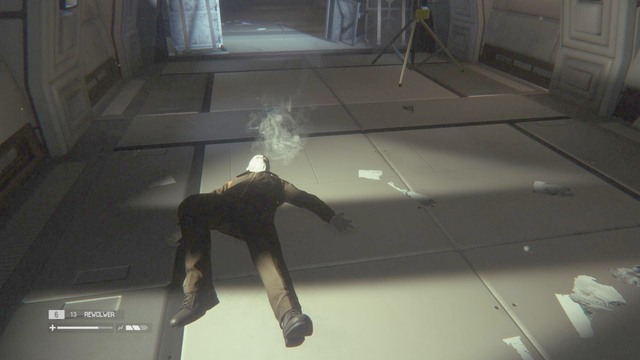
While playing on the highest difficulty level, you should expect the Alien and other opponents not to be forgiving. In the first hours of gameplay it may even be annoying, so it is important to understand the need of keeping low profile. Your arch enemy is the Alien. On this difficulty level, the creature is significantly more aggressive than on low or even medium. Its acute senses may enable it detect you even through solid walls, thus, hiding in room corners and under items of furniture may not be as effective as it used to.
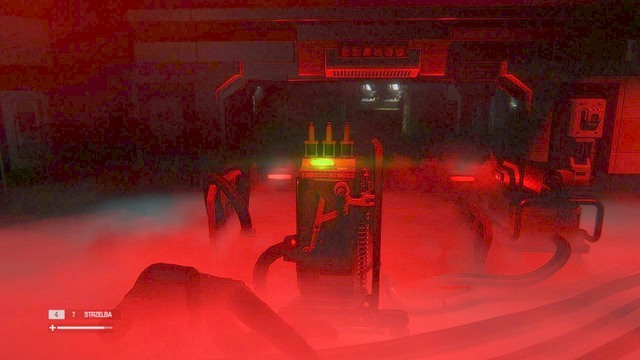
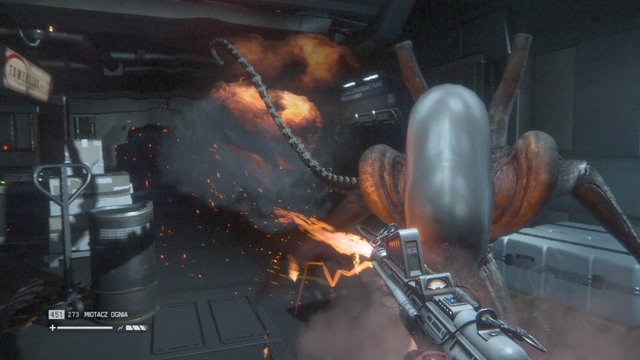 Fire is your only weapon against the Alien
What stirs the Alien up:
Noise - This is the biggest help for the Alien. If you hear the Alien roaming corridors or vent shafts, running or even walking is definitely out of the question. Every, even a slightest footstep causes the Alien to come running to investigate the source of the noise. There are a couple of things that may save you when that happens. First of all, you need to know when the Alien gets attracted to your location (it starts giving out a hissing sound). If you hear indication that it is coming, you have to quickly crawl under a desk and sit still (in most cases, that works only if you cannot see the Alien's upper body), or hide into a locker. When you play on "hard", the Alien thoroughly searches the area where the noise came from. If you are hidden in a locker, you need to hold your breath and lean backward when it does.
Movement - The Alien also reacts to movement. If you spot the alien, and it notices you too, the last thing you should do is run or even move. Moving, even in crouching position, will only provoke the creature to charge at you.
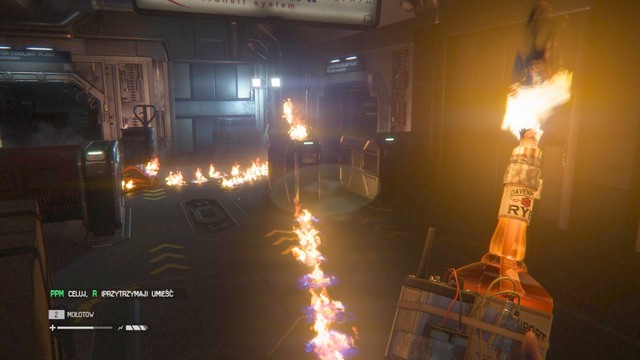 Molotov is a perfect weapon against the Alien
There are a couple of tips to beat the Alien when playing on "hard":
1. Crafting items - On the highest difficulty level, the quantity of ingredients found drastically narrows. Create only items which you absolutely need (a medkit, a Molotov, an EMP, or a noisemaker).
2. The Alien can be tricked - The Alien, as any other opponent, can be distracted. If you see a danger ahead, use a flare or a noisemaker and throw it the other way. The opponents will investigate this, thus giving you freedom to act (unfortunately, running is still not an option).
3. Ammo - Save ammo, because it is much less frequent than on lower difficulty levels. When fighting with androids or humans try to aim at the head. When you get the flamethrower, do not use it on humans or androids, but save it for later. It will come in handy when facing the Alien.
4. The Alien hates fire - Molotov and the flamethrower are the only effective weapons against the Alien. Throwing a Molotov at the Alien will force it flee, thus giving you time to move on. Bear in mind that after a couple of seconds, the Alien comes back to the same spot and starts looking for you, so the most important thing is to change your location.
5. Motion Tracker - The motion tracker not only reveals the position of moving enemies, but also your current objective. Using this to check where the Alien is, bears the risk of revealing your position. If the Alien is close enough, it will hear the beeping and come running. Even if the creature has no clue where you are, pulling out the motion tracker will only draw its attention. If you are hiding in a locker from the Alien, which is in the same room, pulling out the motion tracker will result in imminent death, without even a chance to save yourself by holding your breath.
Playing on "hard" requires a lot of patience. The Alien patrols corridors much more often than on lower levels, so move quietly and avoid rooms where there is no place to hide. Save game at save stations as often as possible, so you did not have to replay difficult sequences.
 Humans are another type of opponents in the game
While exploring Sevastopol, you will encounter some hostile humans. Their senses are not as acute as the Alien's, so it is easier to sneak past them. They rely mainly on their sight. When you play on the highest difficulty level, they are able to see you from a farther distance and in dark rooms. If you try not to walk into their field of view and move in crouching position, you will not have to kill any of them. If, however, you get to fight them, use weapons that are the most effective.
The above list misses out on such weapons as the bolt gun or Molotov. Effective though they are, it would be an overkill to eliminate humans in such ways. Since there is not much ammo on the highest difficulty level, the bolt gun or a Molotov will prove useful on different occasions.
 Androids too are aggressive
The third and last type of opponents in the game, are androids. Androids are nothing else than robots created to work on the space station. They can be killed, but are much tougher than humans. If one of them starts chasing you, he is able to use the view from cameras scattered across the station for navigation. It is easy to run from them, either on "hard" or a lower difficulty level, since androids can only walk. On the highest difficulty level androids are even tougher and do not easily give up chasing you. Below there is a list of the most effective weapons against them:
Fire arms and fire are not as effective as the weapons listed above, so do not use that on androids. When playing on "hard" rather try to avoid than fight them - skilful use of sneaking feature will allow you to get past them unnoticed.
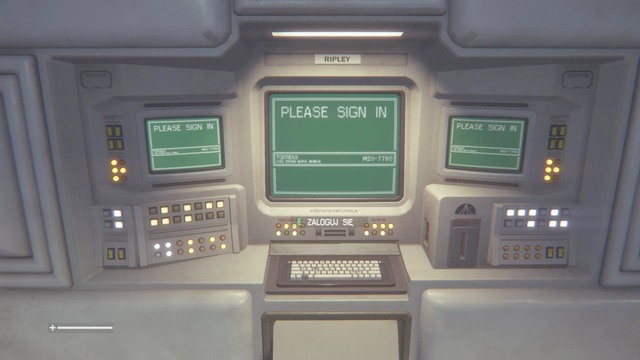
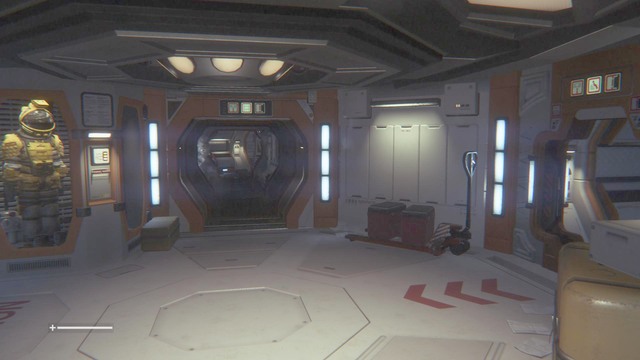
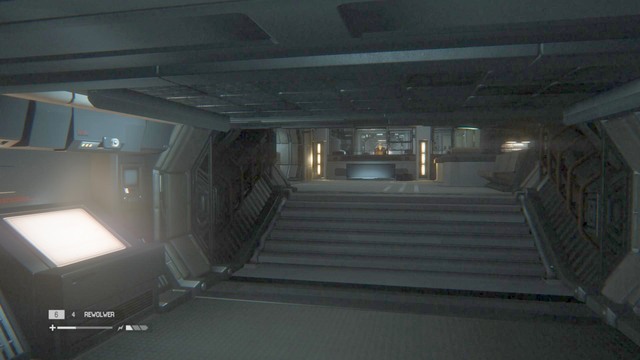
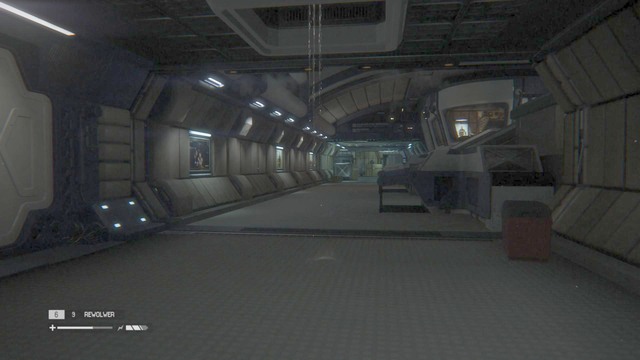
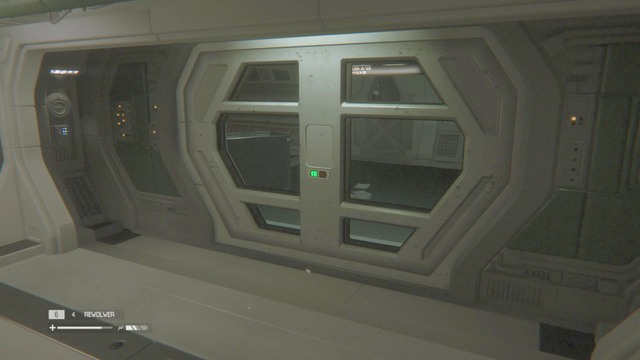
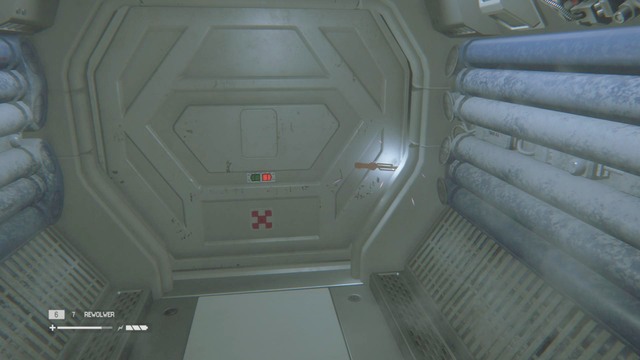
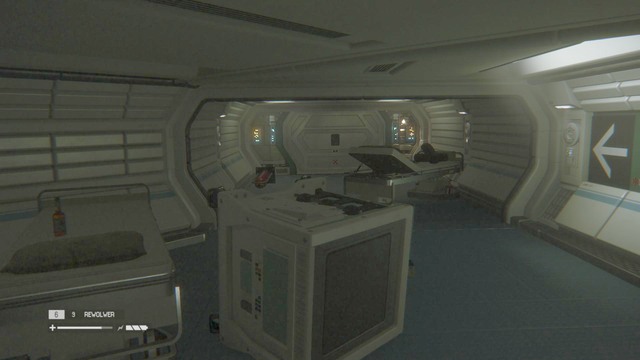
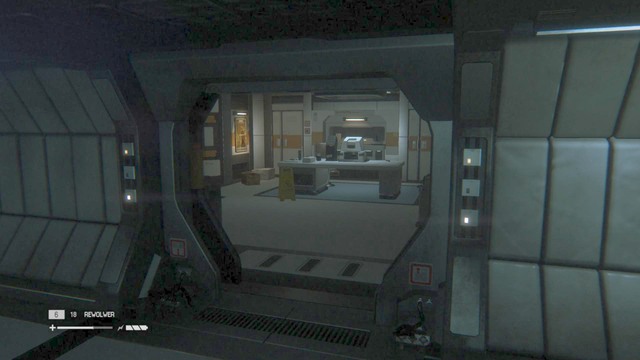
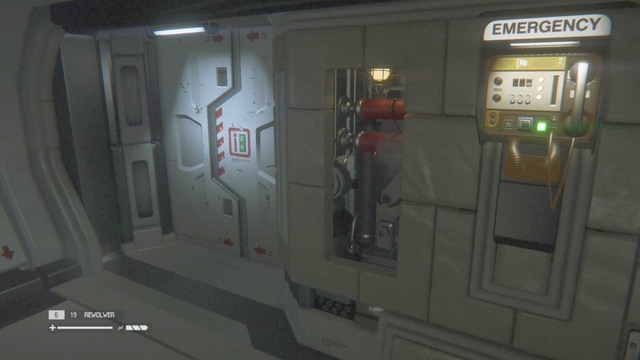
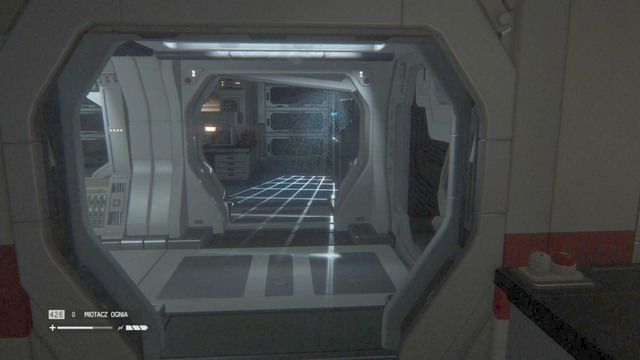
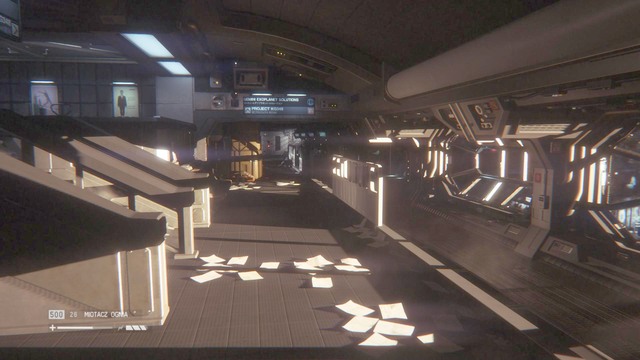
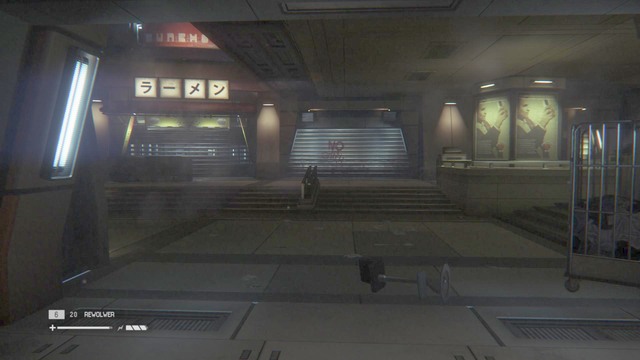
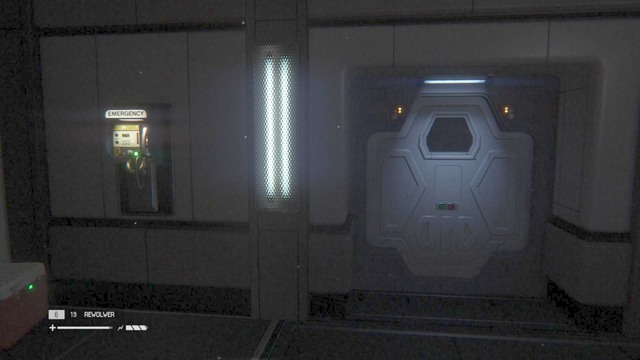
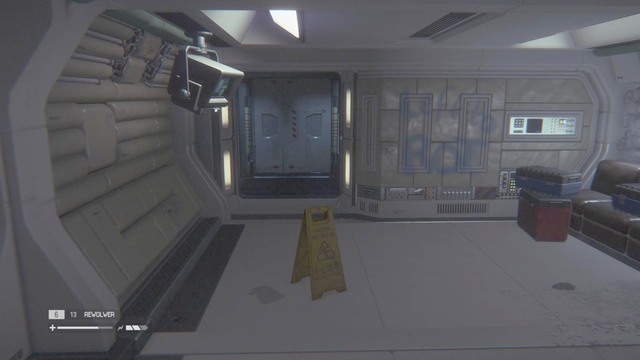
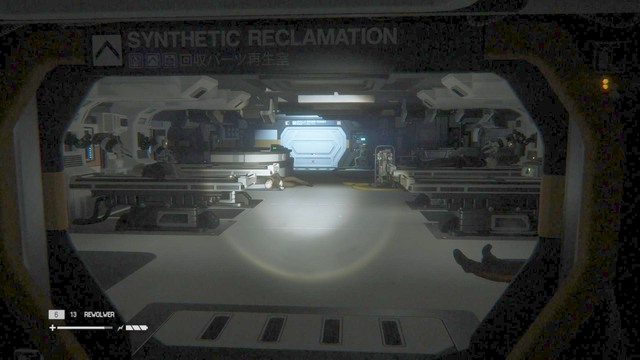
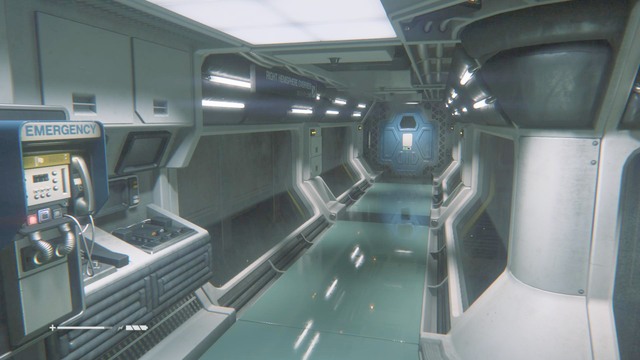
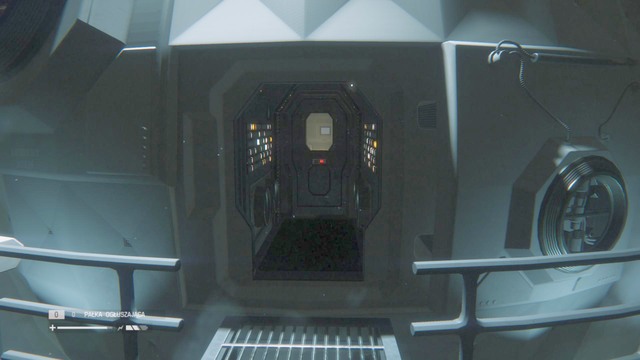
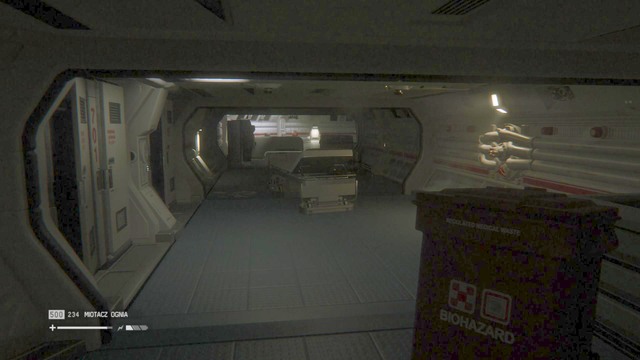
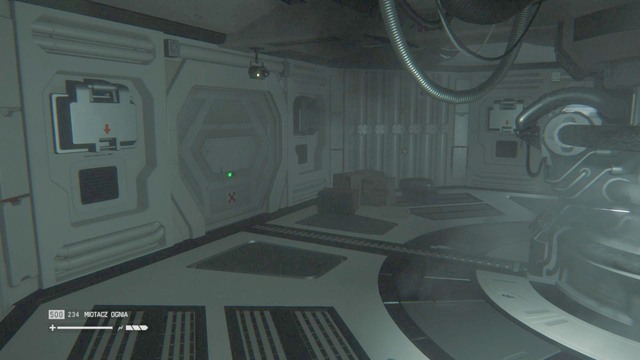
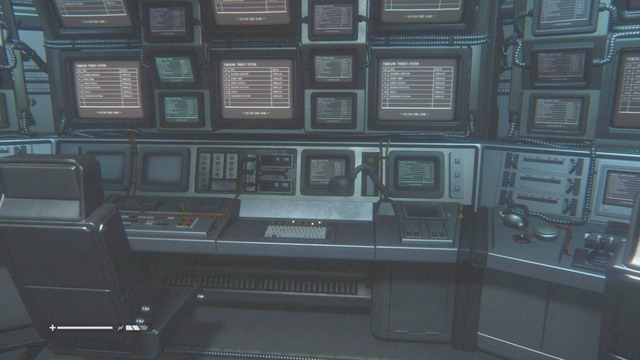
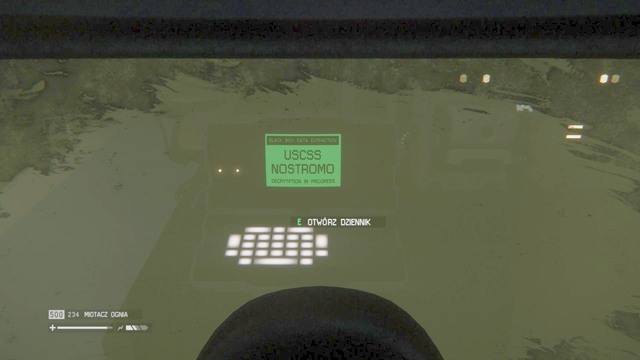
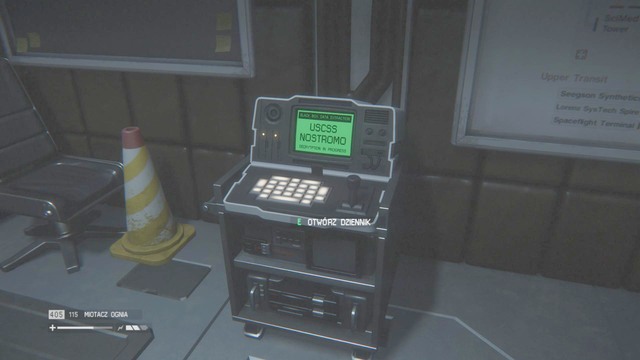
The first chapter is a tutorial. You'll learn how to move, interact with the environment and use weapons. After you wake up, go to the console and log in. After you interact with the console, you'll get a new task to explore the Torrens. Before you leave the room, search in the lockers to find some materials.
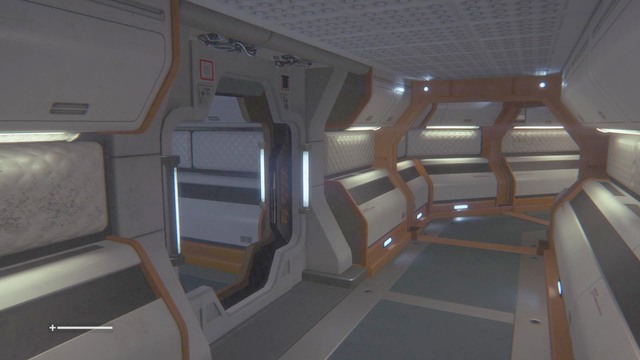
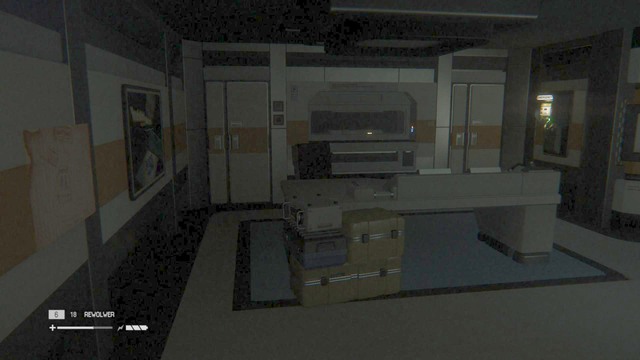
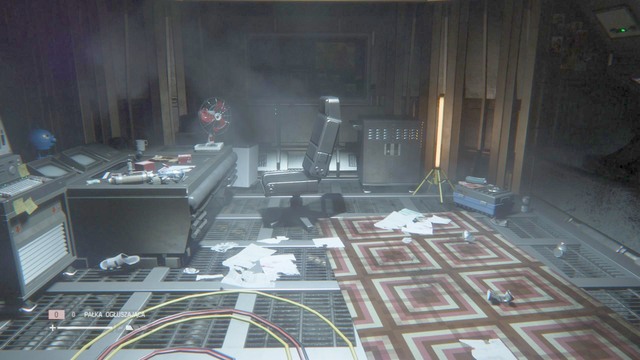
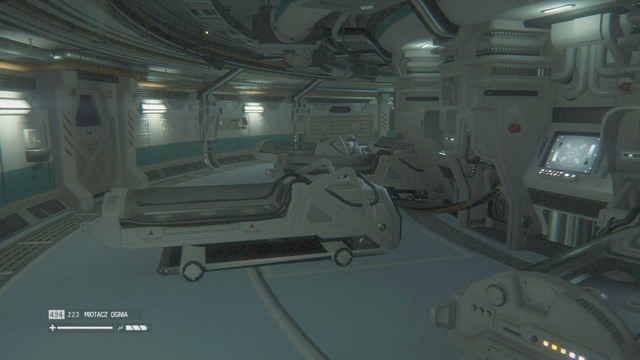
Go through the corridor until you reach the door on the left. Approach Ripley's locker and get dressed. You'll also find a save console and a terminal where you'll listen to the first journal. Look around the room and you'll find lockers above the beds. You can get materials from there.
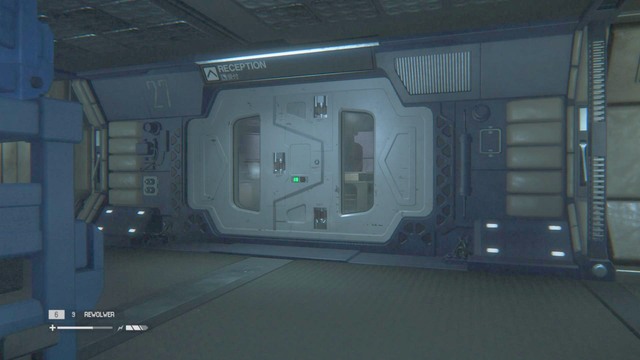
Turn right at the crossing and head forward. Walk up to Taylor and talk to her. Look around the room and you'll find a terminal with two journals. Before you leave the room, get materials from the locker.
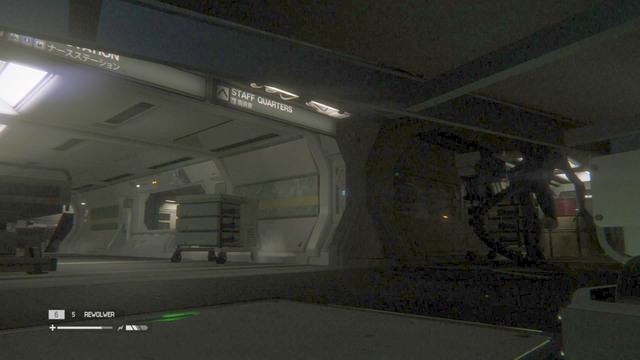
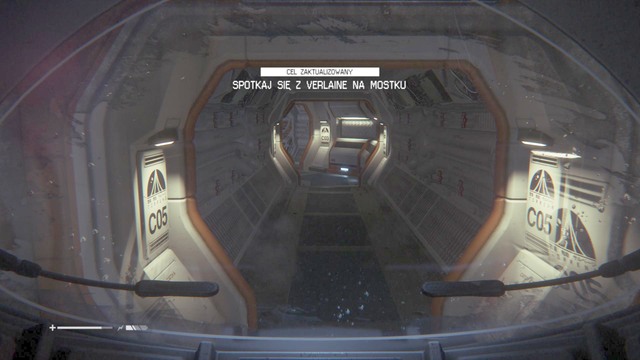
Get out of the room through the same door and turn right to reach Samuels. After talking to him, you'll get information about reaching Sevastopol and your task will be to get to the bridge.

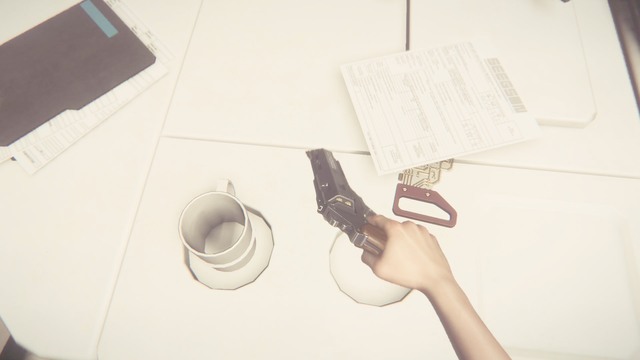
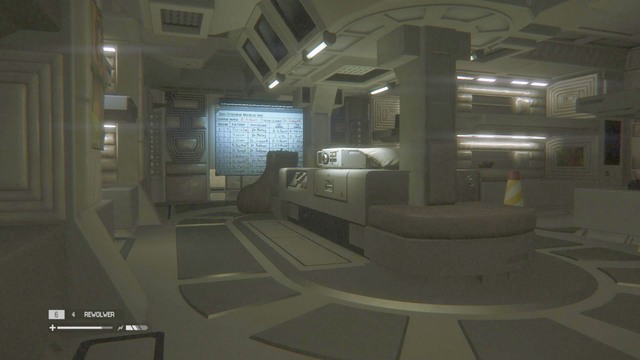
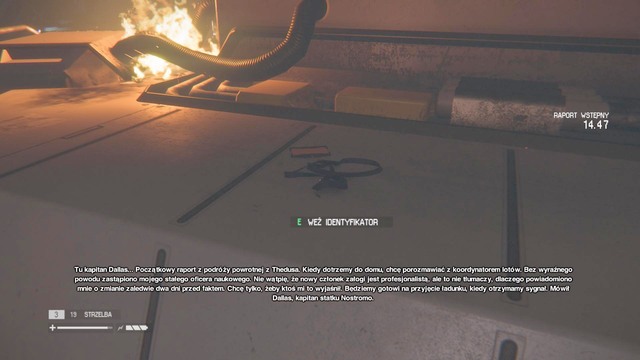
To get to the bridge, cross the room Taylor was in. Turn right and walk along the corridor until you reach the door. After you talk, take the file from the table.
After a small accident and dealing with the situation, your task will be to find help in Sevastopol terminal. Before that, change clothes, save the game and take the materials near the passage to the next room.
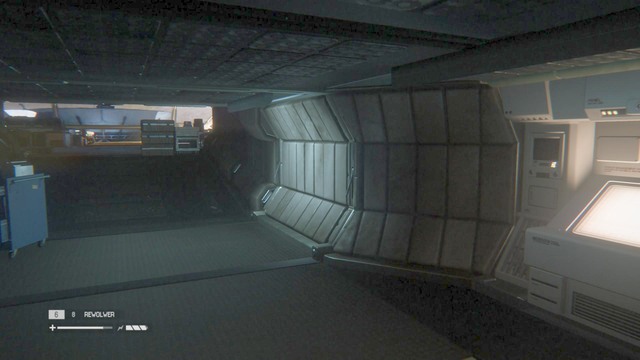
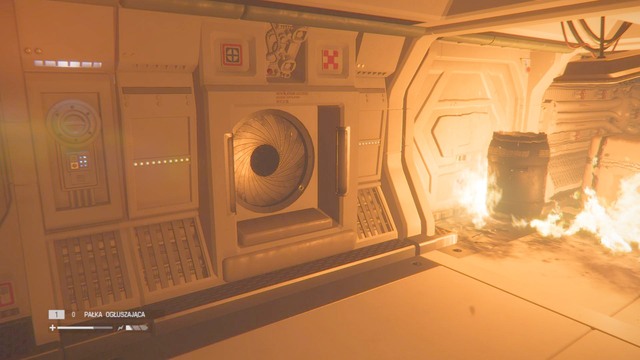
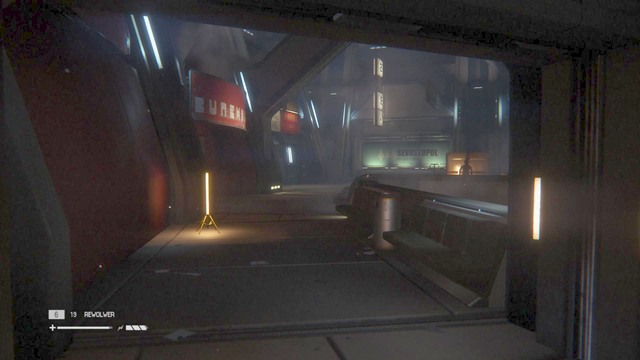
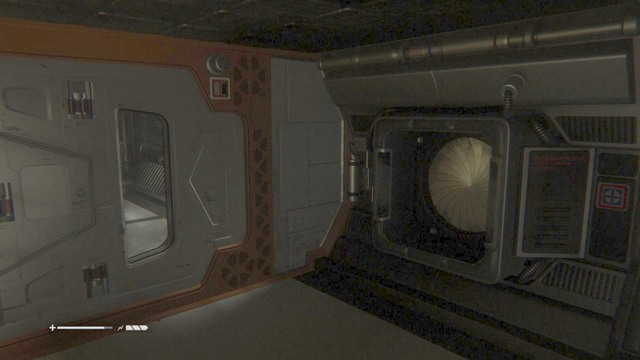
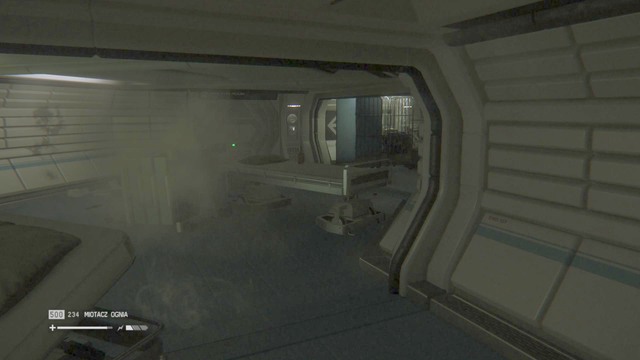
Get out of the room with save console with the right door and go along the corridor until you see fire. There is a vent right next to it, use it. There will be only one path in this vent.
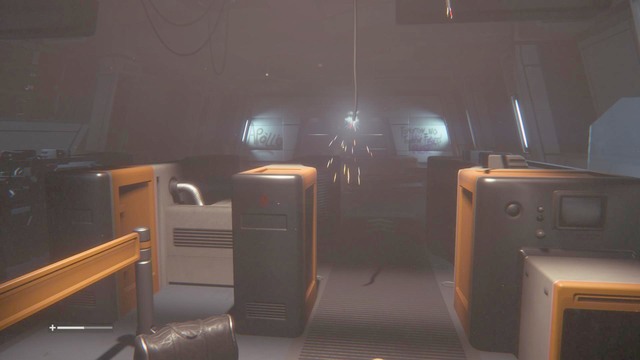
Walk along the only path and you'll reach a terminal with another journal and a flare next to it. Cross the bridge to the other side of the room.
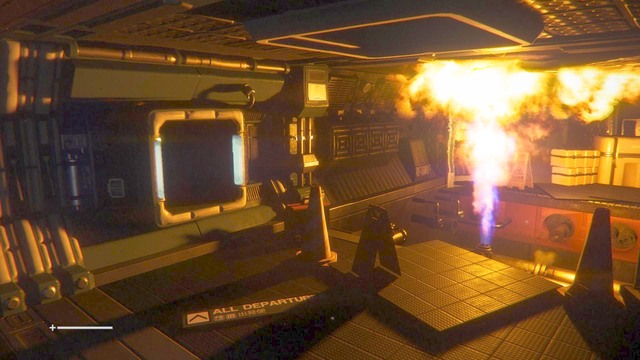
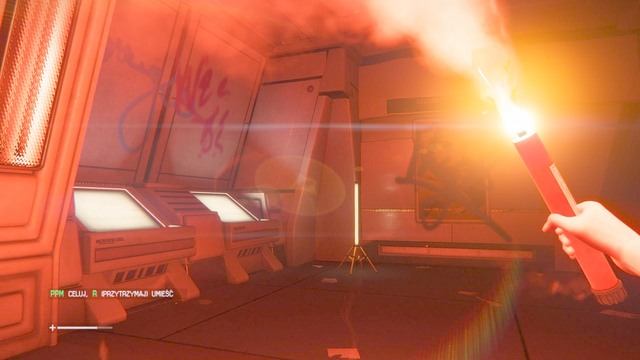
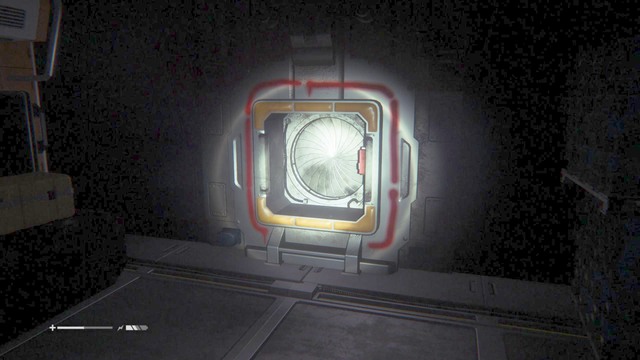
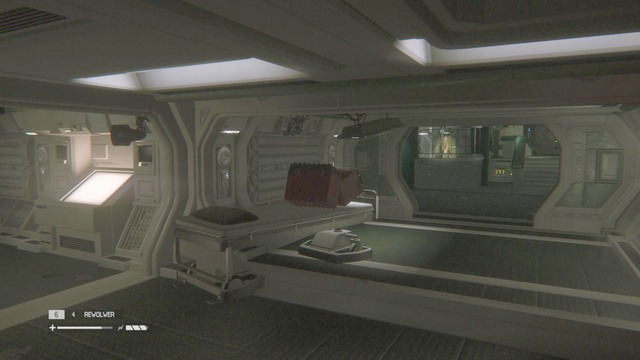
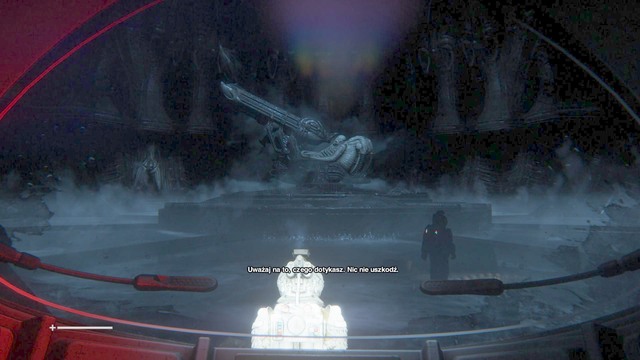
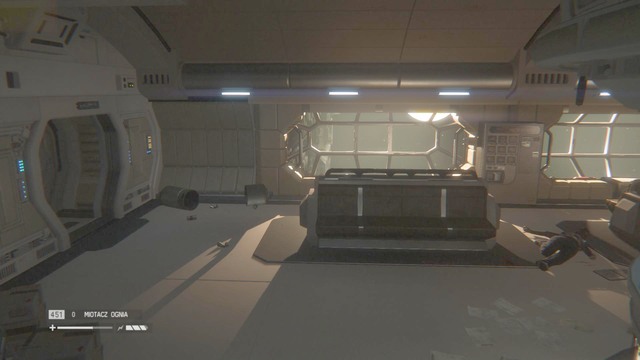
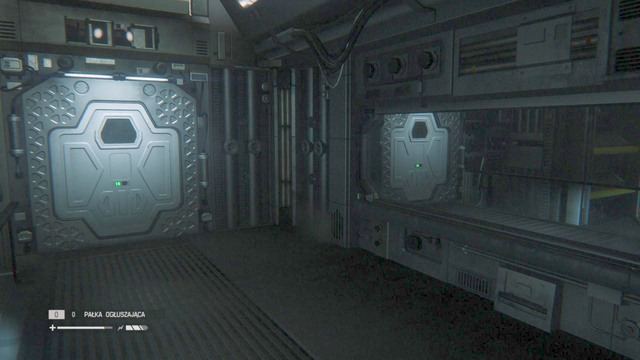
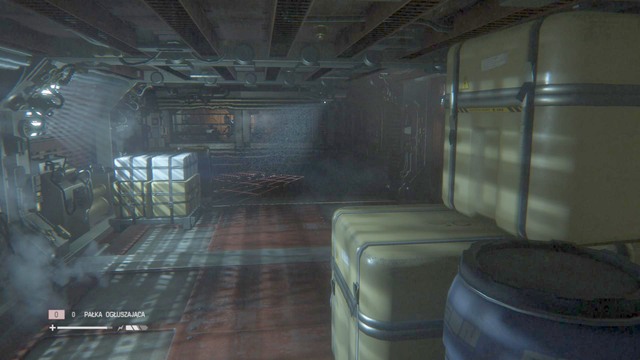
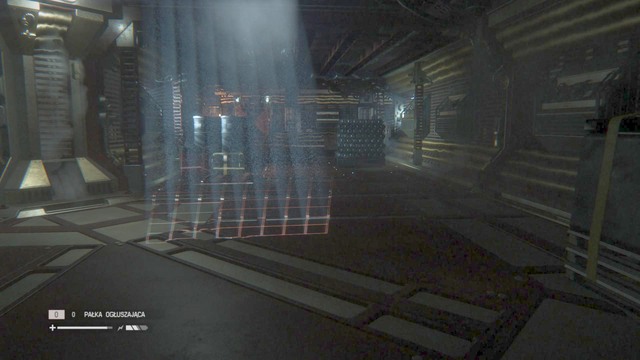
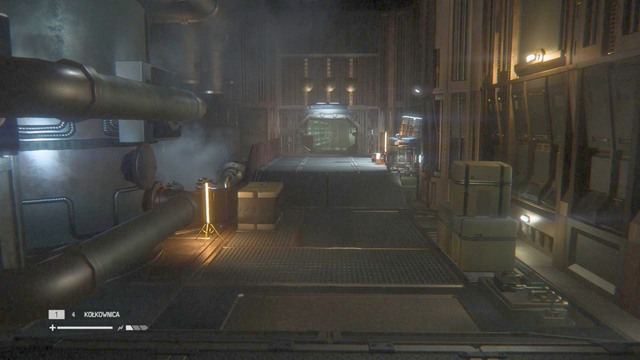
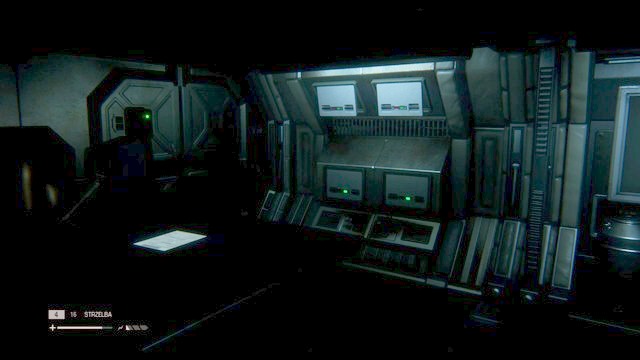
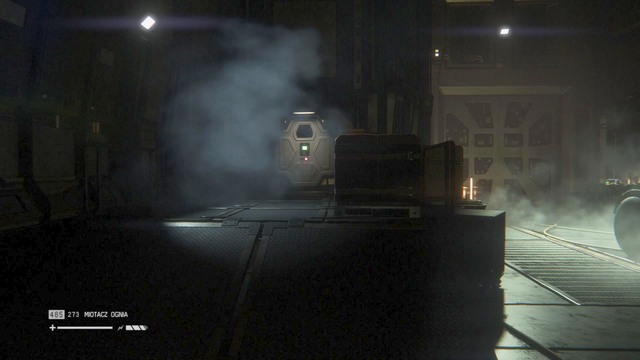
After you fall, walk up to the first crate on the right and take the flare. You can use it to light up your way (press Q and select the flare). Walk up to the gate shown in the screenshot and crouch to get to the other side.
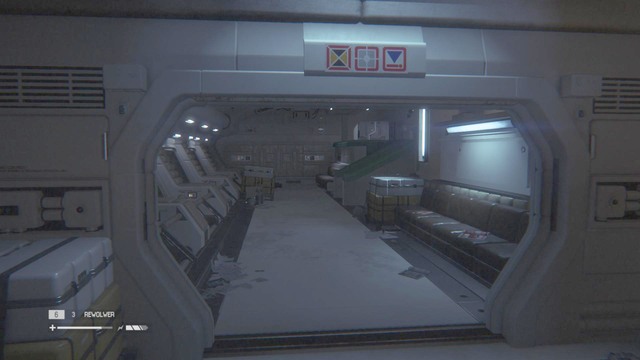
Keep walking along the same path until you reach the place where you have to crouch again. There is a button on the left, use it to open the gate. Before you use the ladder, crouch and cross the second obstacle and you'll find some useful materials. Now you can come back and enter the higher level. Take more materials from the first room and walk through the door to the next one.
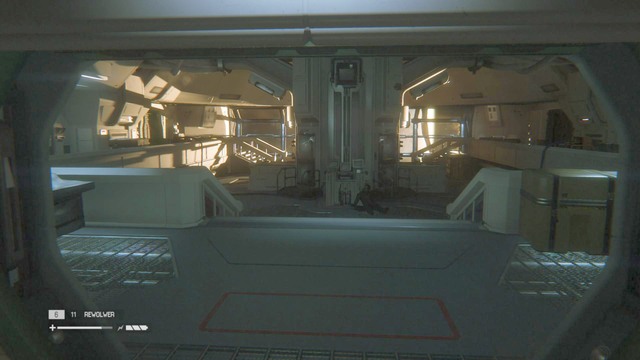
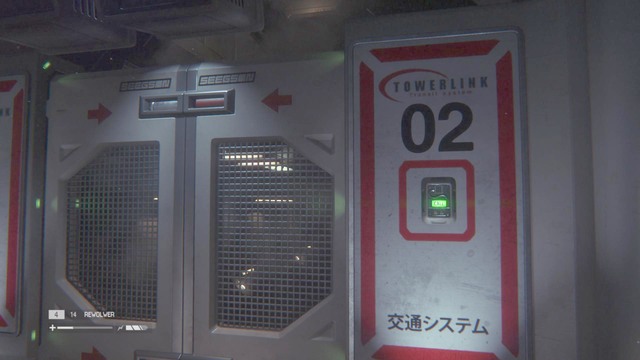
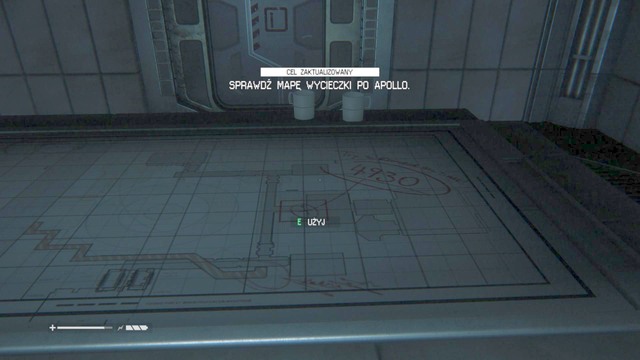
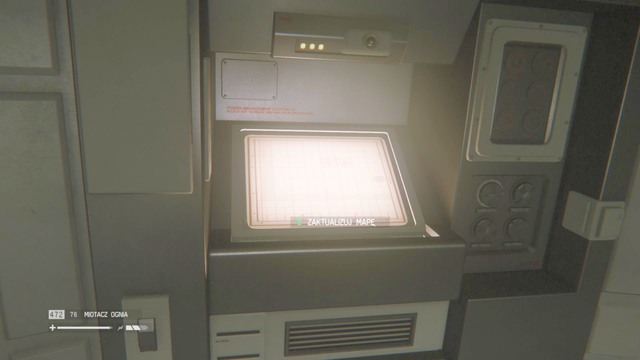
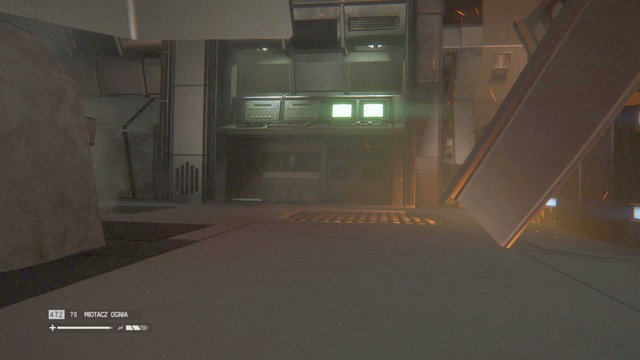
Keep walking along the corridor and you'll reach four consoles (two on each side). They will update your map. After you do it, your map will show areas that were hidden earlier.
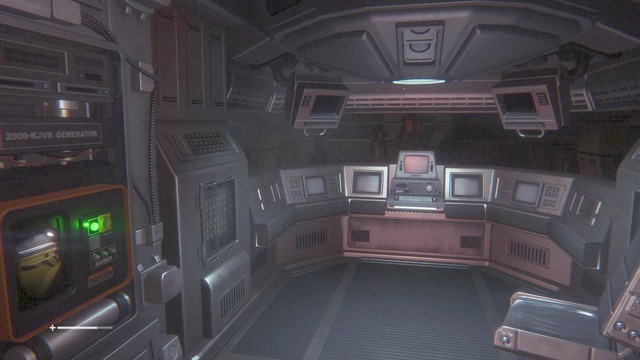
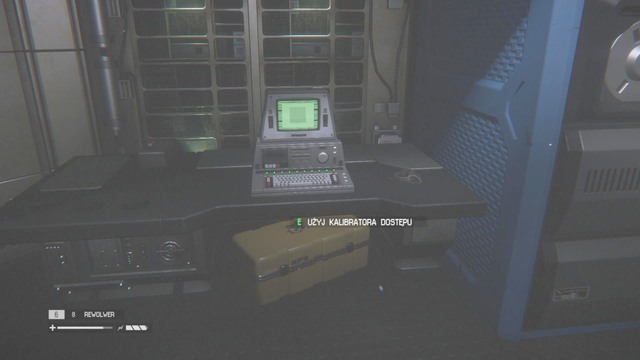
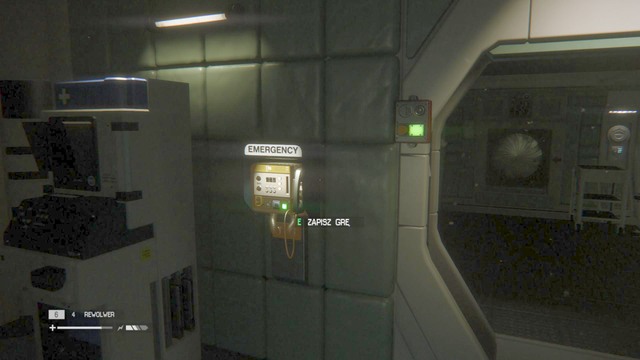
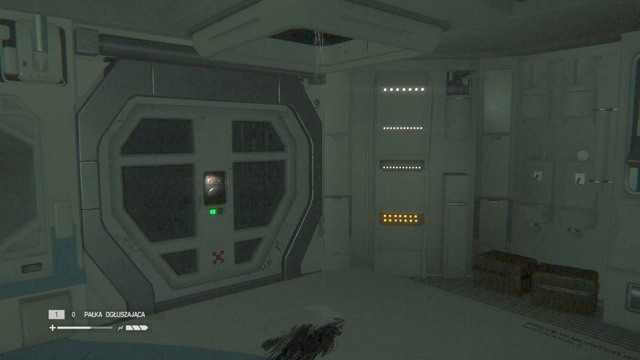
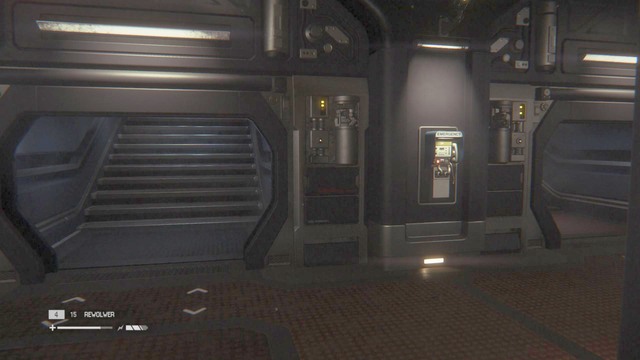
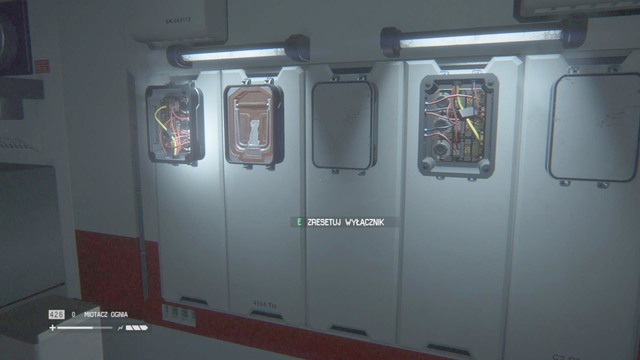
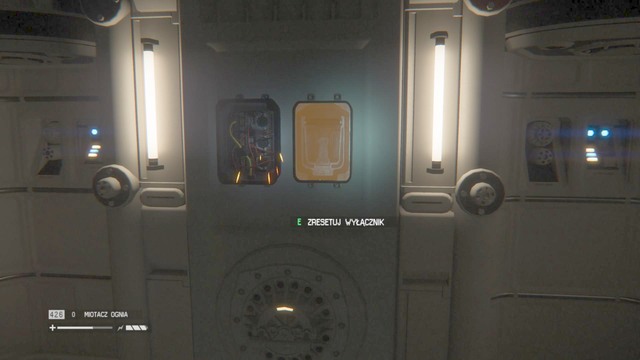
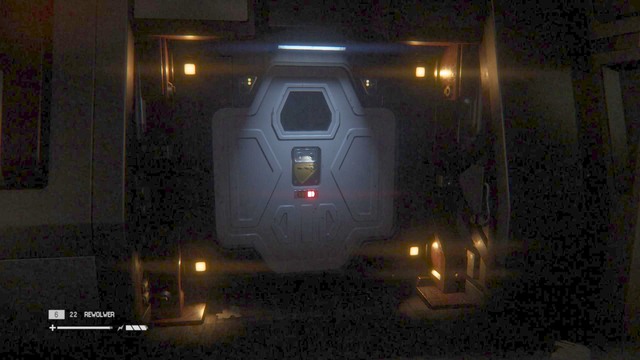
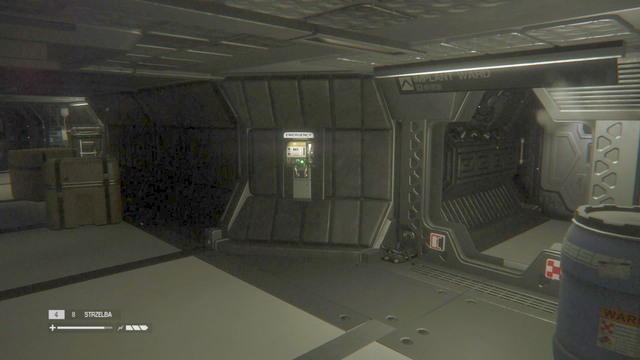
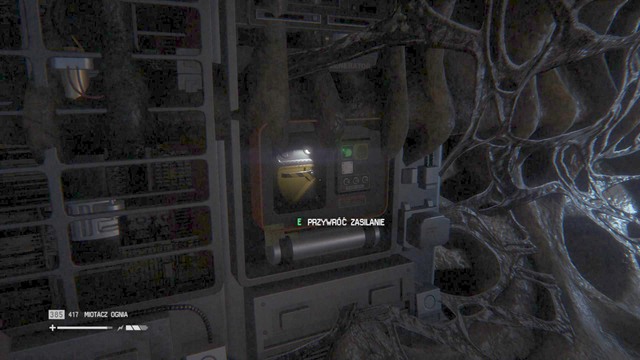
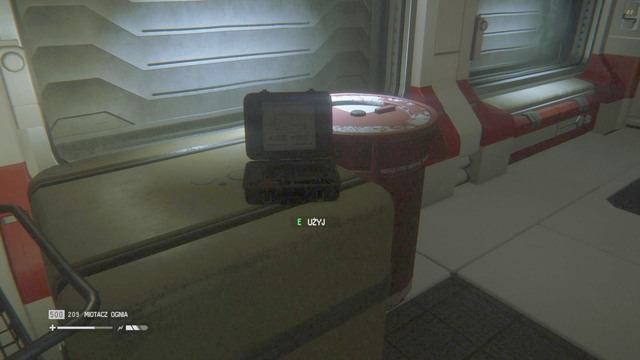
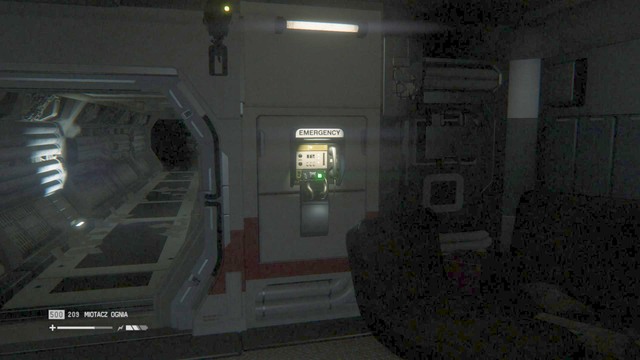
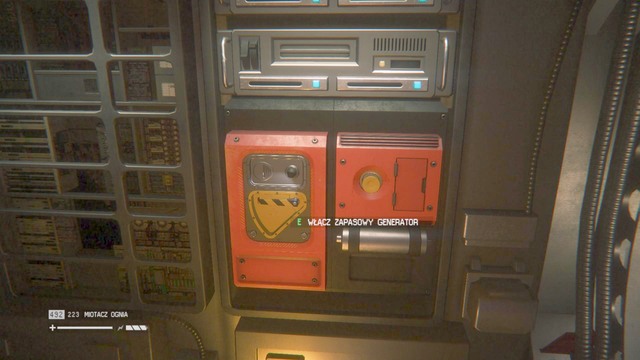
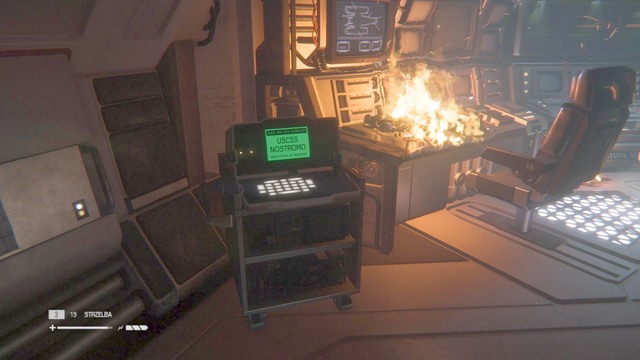
After you update your map, walk up to the main door and you'll get another task, you'll have to restore the power. To do it, turn 180 degrees and you'll see a small room with a save console and a device that will restore the power. To finish the action, use the terminal and select "restore power in departures".
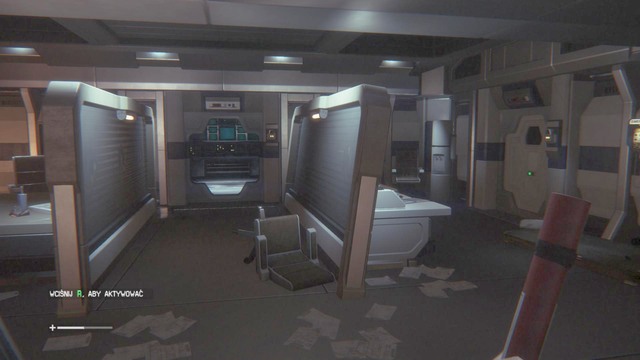
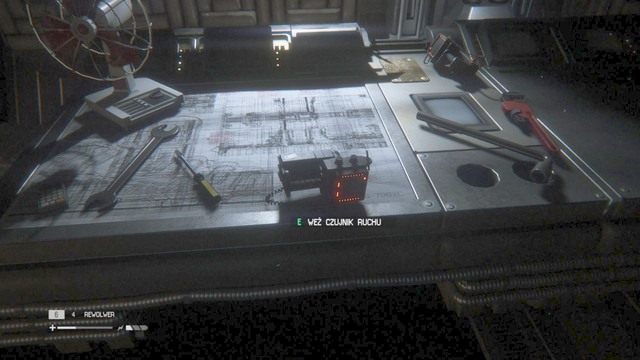
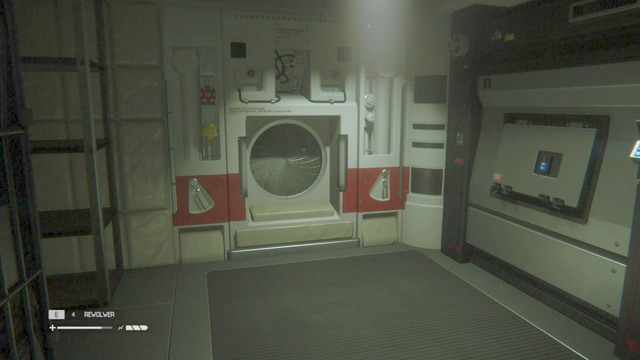
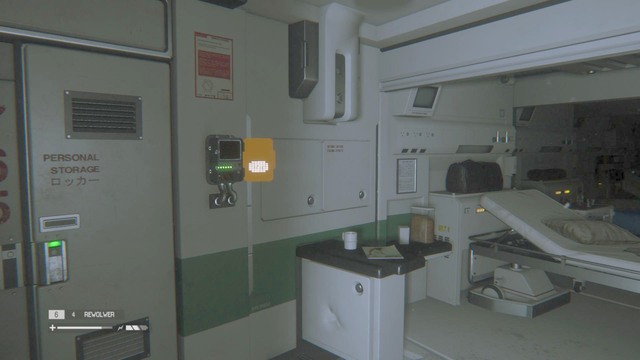
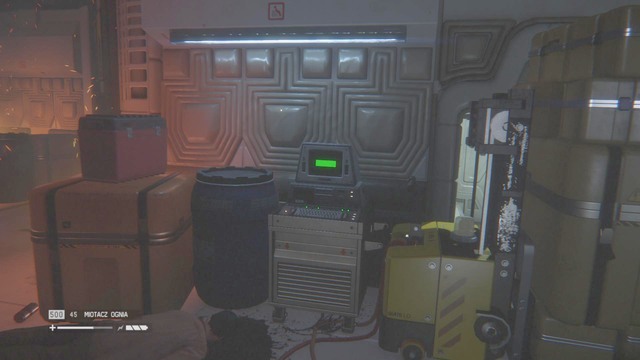
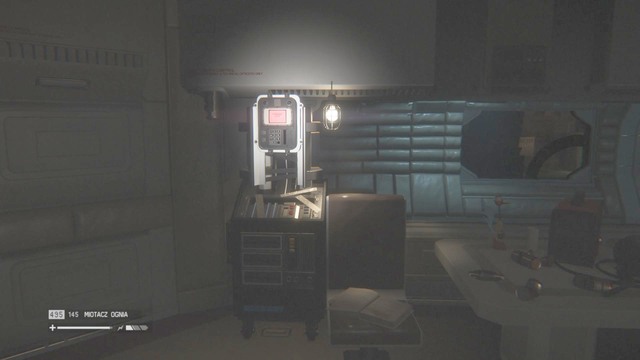
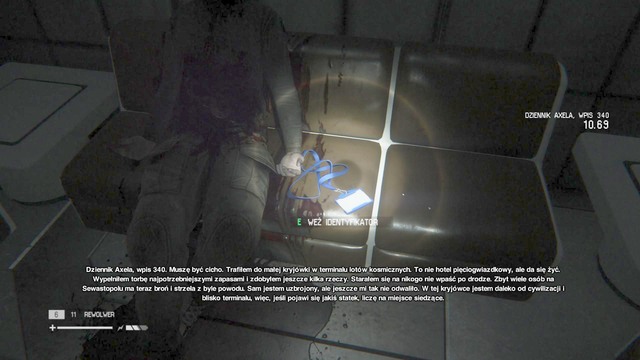
Before you go to the station, use the terminal where you'll find two more journals. One of them contains a pass code for a door that was locked before. Go back to the room downstairs and you'll find a closed door on the right. You'll find the code in the journals (0340). The room on the right contains a blueprint of a medikit. Pick it up and you'll learn how to craft them (press Q and select crafting).
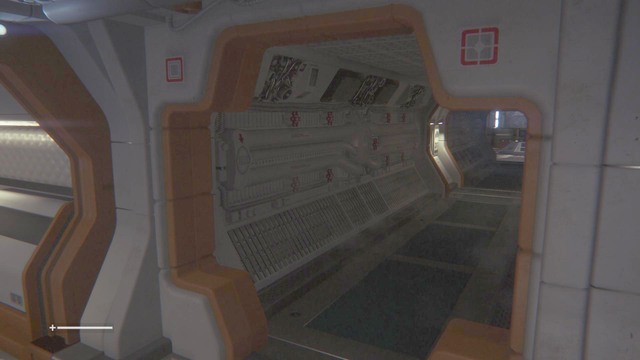
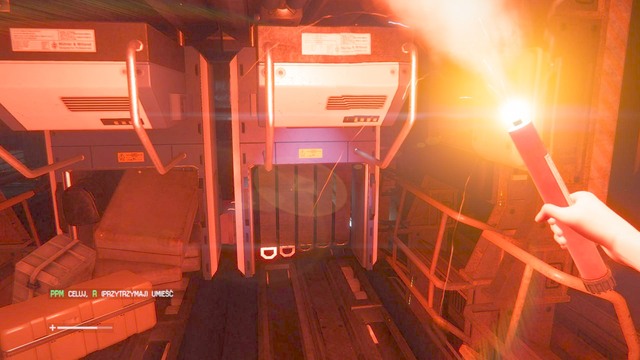
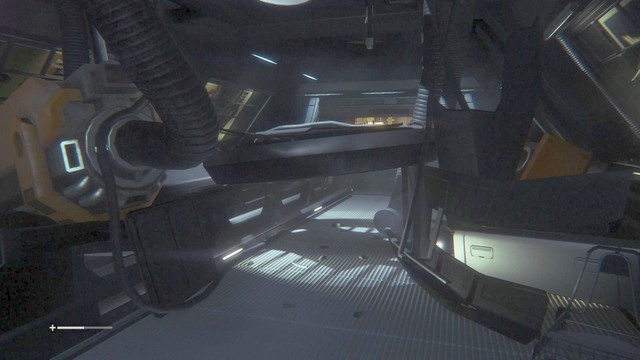
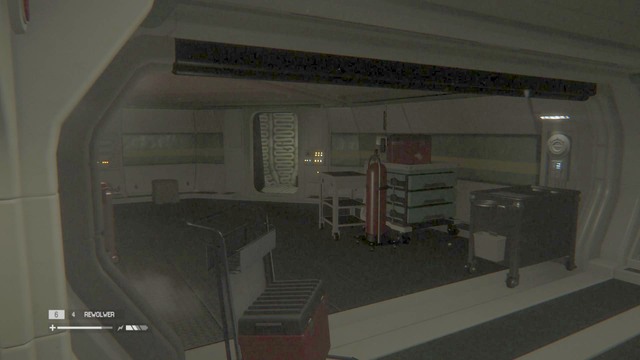
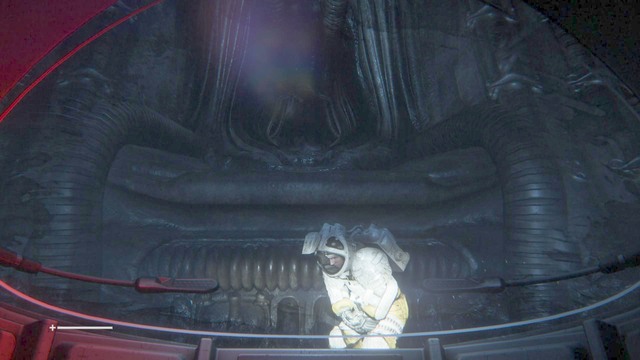
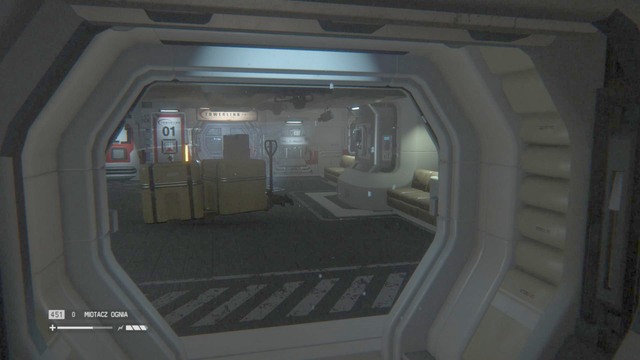
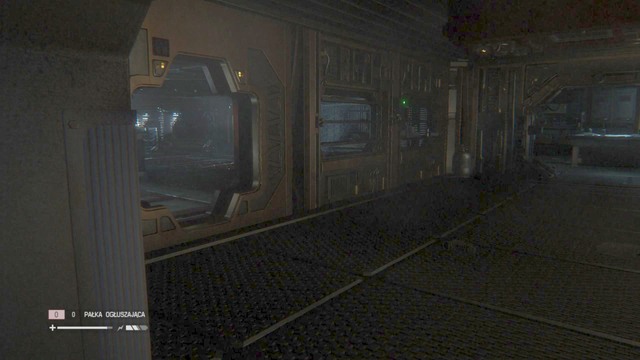
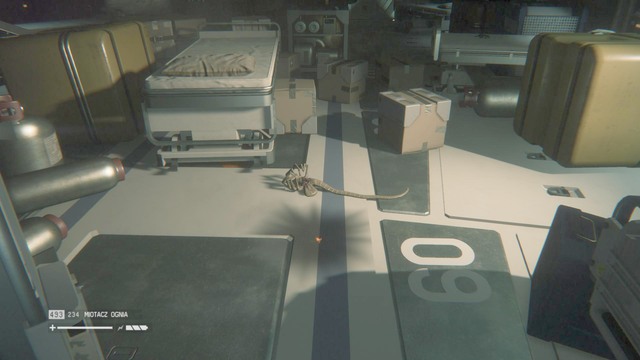
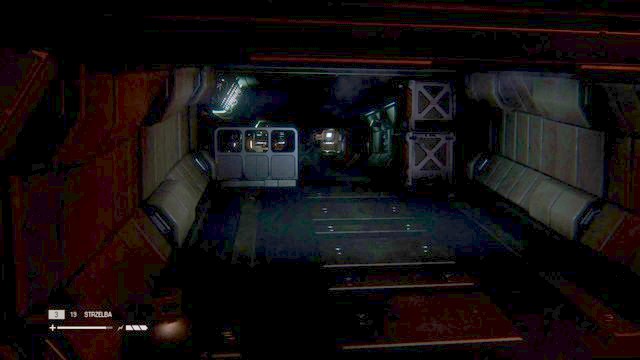
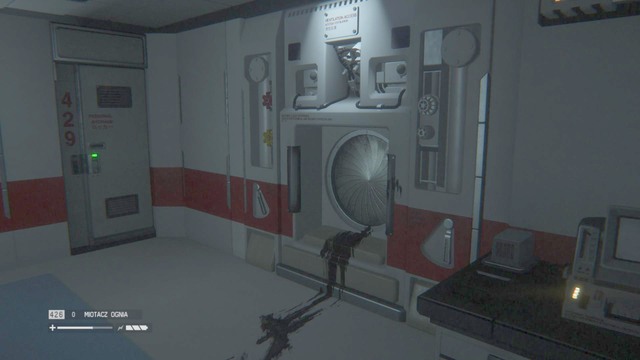
After you take the blueprint, go through the door you unlocked. You'll reach the place shown in the screenshot. You'll see a hanging wire. It's live, so you should crouch to avoid it. Take the materials from the benches.
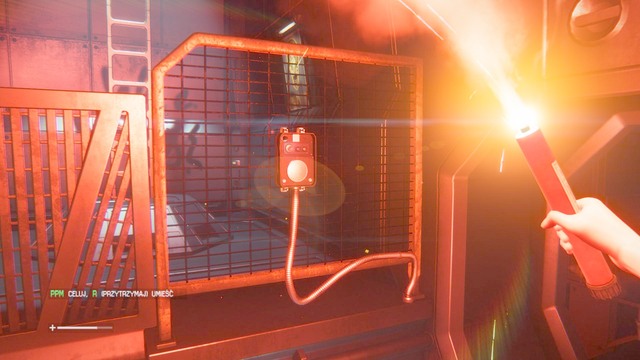
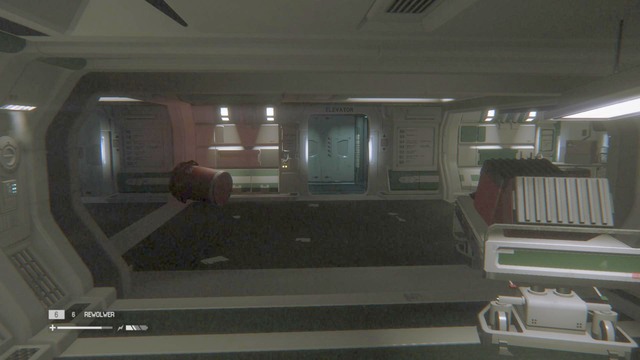
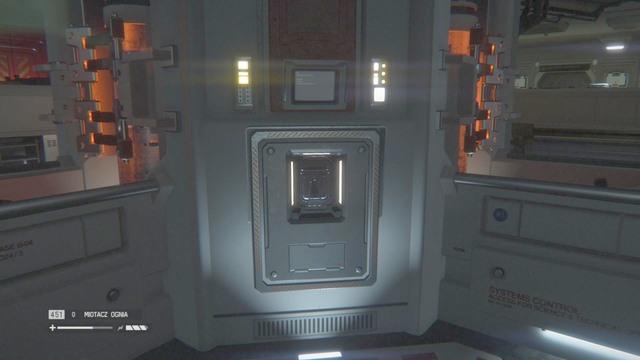
Walk upstairs to the security and get to the other side until you reach the stairs. You'll see that it's the only way to get there so you can't get lost. Go to the room shown in the screenshot and you'll reach a device that turns on the power on the left.
When you restore power, go to the room with the light. You'll find a save console, a journal and materials.
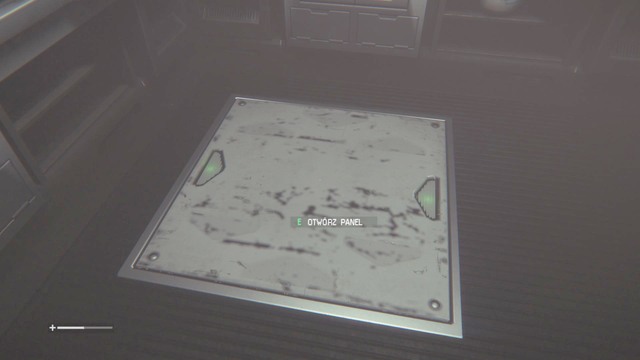
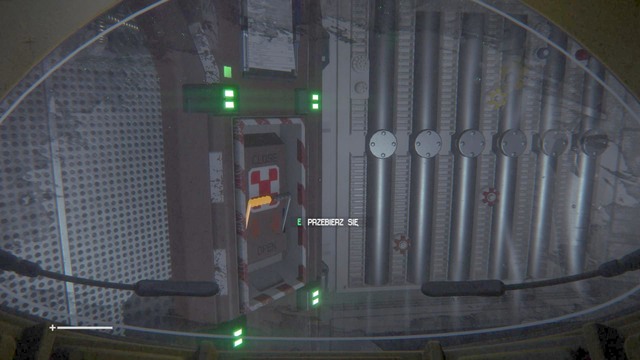
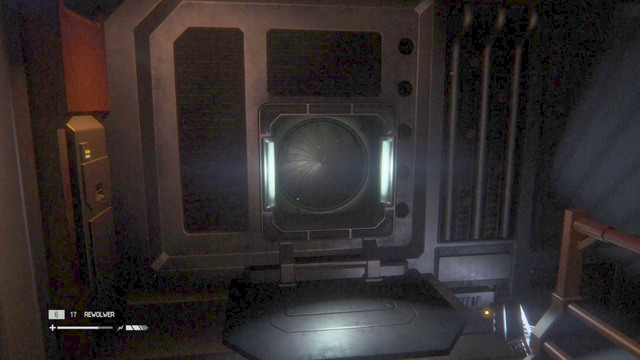
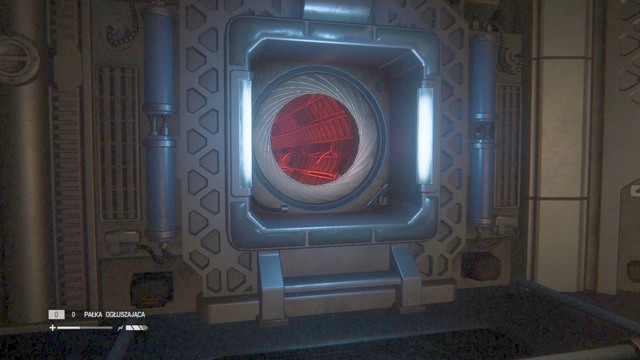
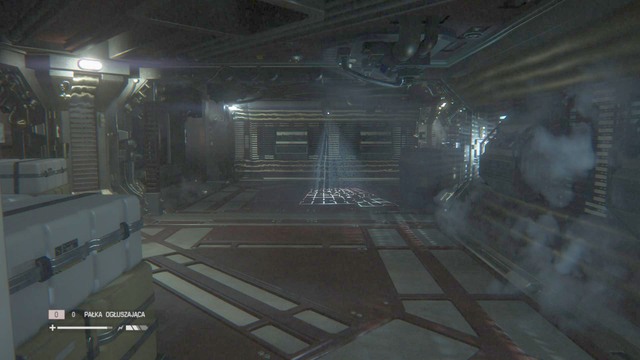
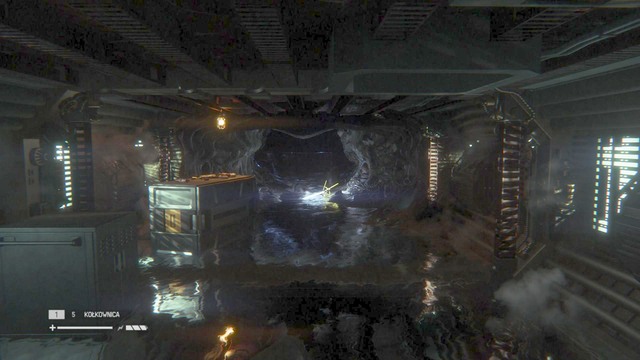
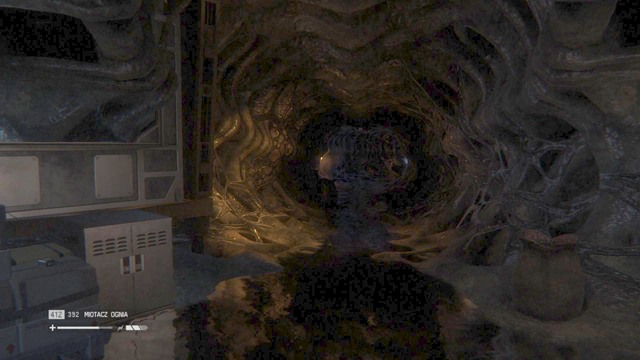
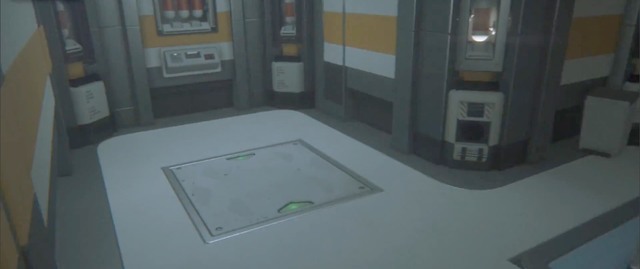
Don't get out of this room. Instead, go to the middle and look down. You'll see the panel shown in the screenshot and you'll be able to get to the further part of the station. Keep walking along the path under the floor until you reach another panel above you. Open it and get out to investigate another part of the station.
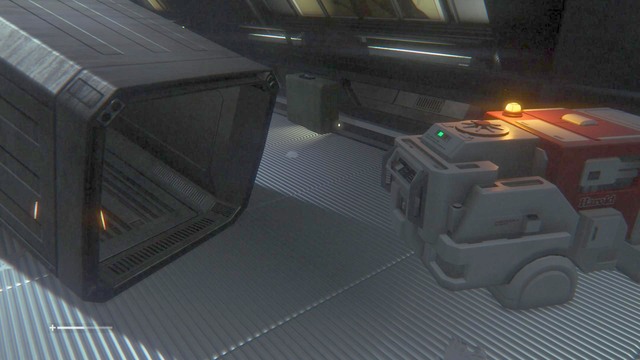
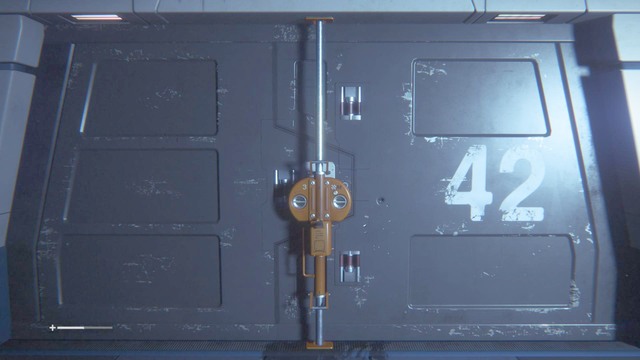
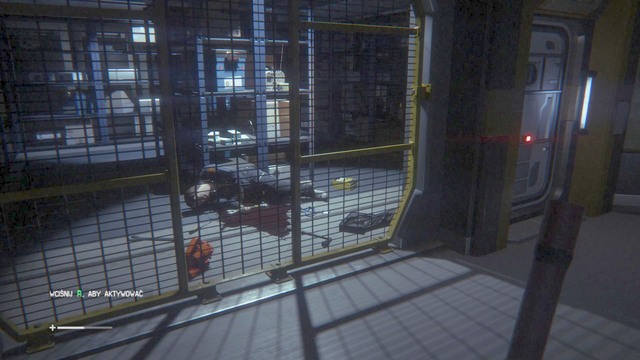
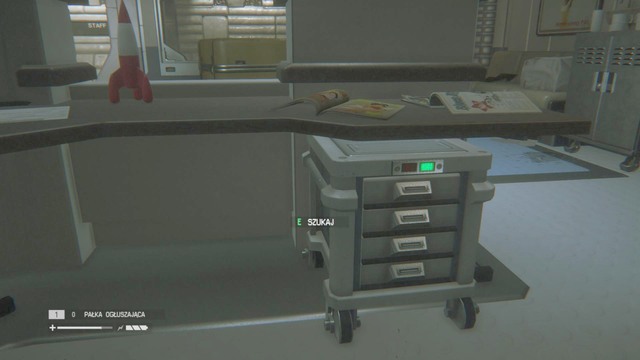
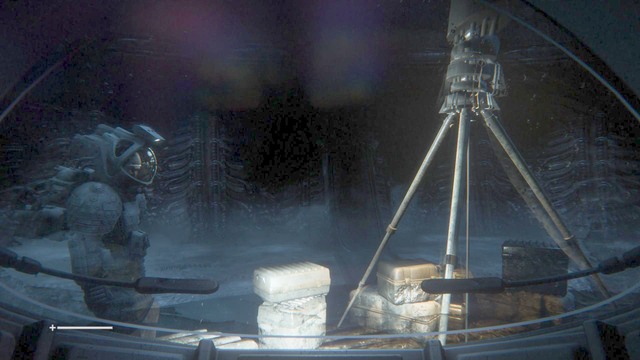
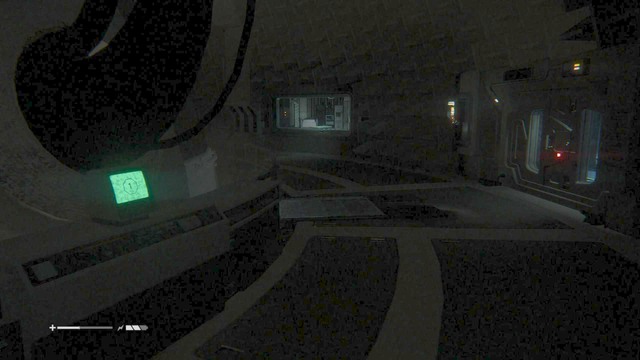
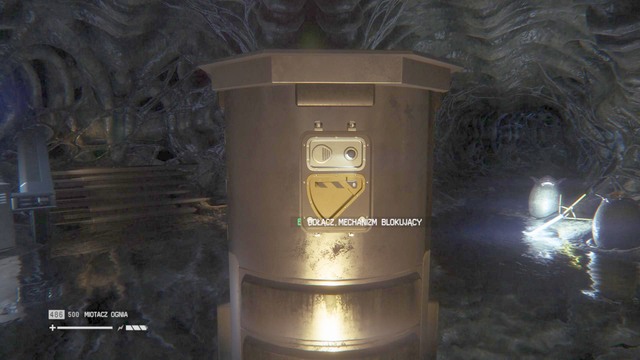
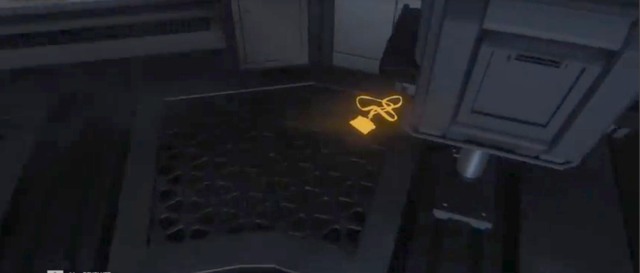
You'll reach a blocked path. To get through it, stand in the place shown in the screenshot and activate the cart to unlock it. Before you do it, take the scrap from the floor.
Crouch here to go further.
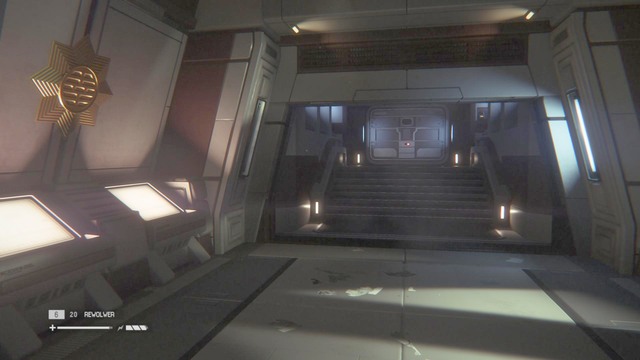
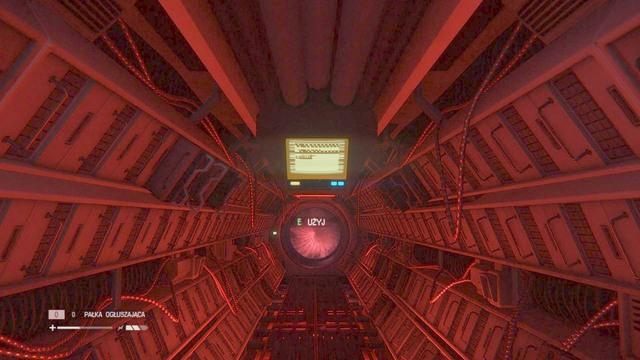
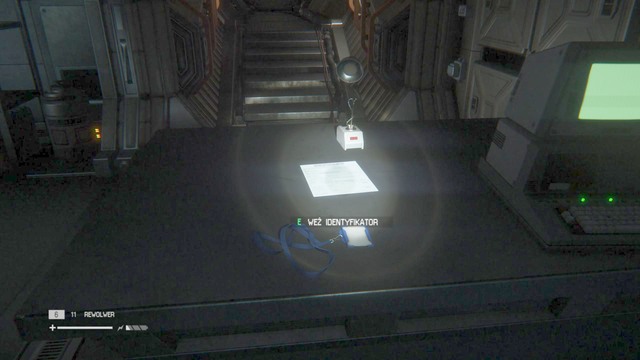
Keep walking forward until you reach the main door shown in the screenshot. There is a journal on the right side of the door.
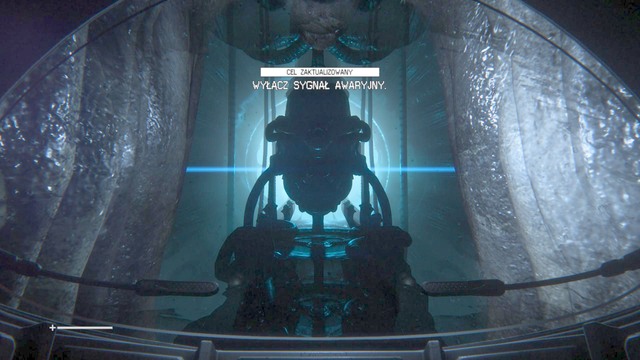
Your current objective is to find a way to get through the main door. To do it, go through the door shown in the screenshot and you'll restore the power.
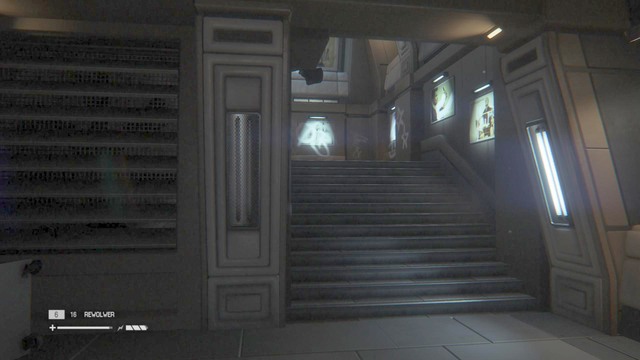
Go back to the main door and you'll find a stairwell on the left, go upstairs.
After you go up, save the game and go to the next room on front of you to find a journal.
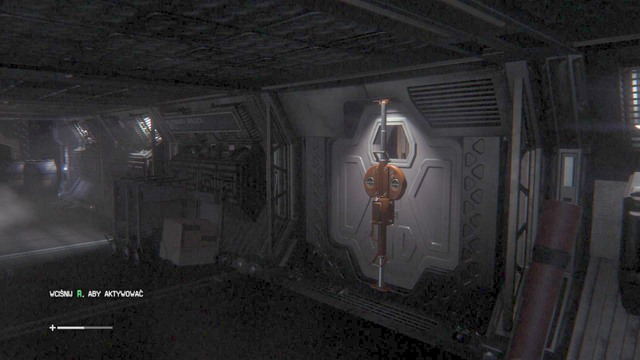
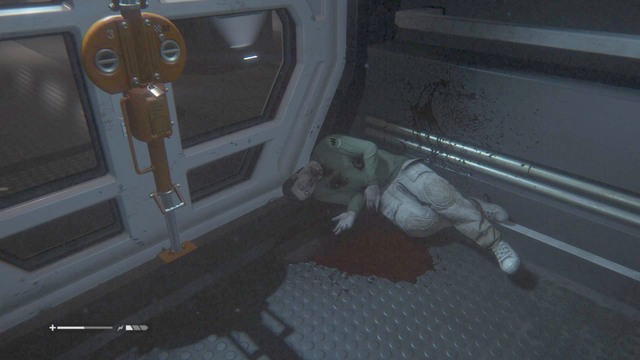
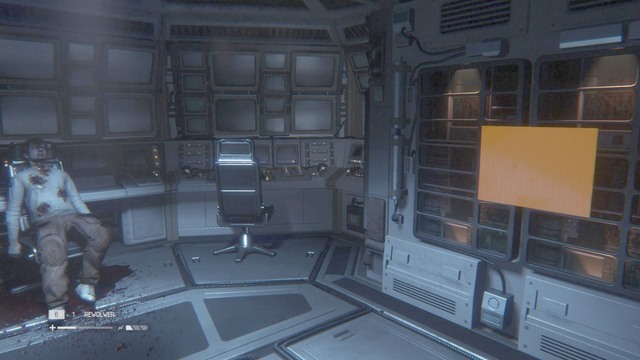
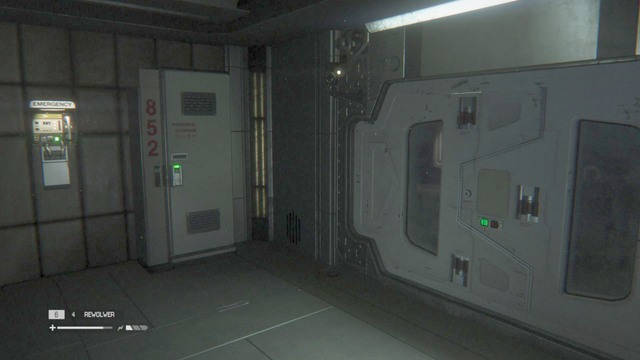
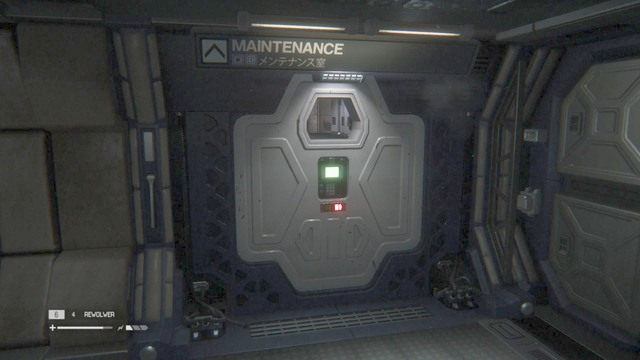
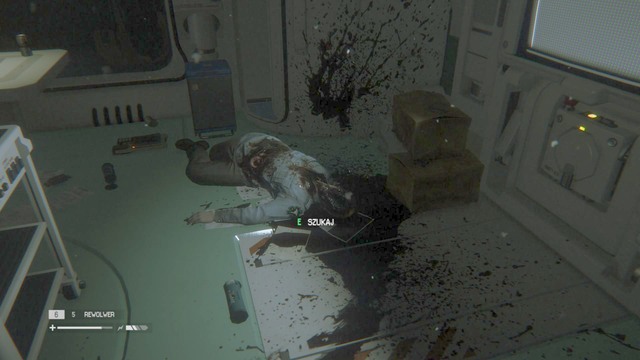
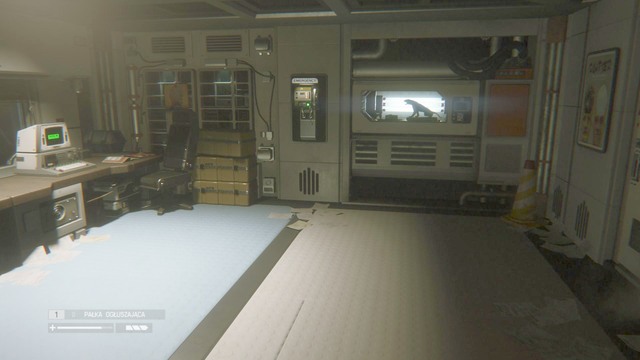
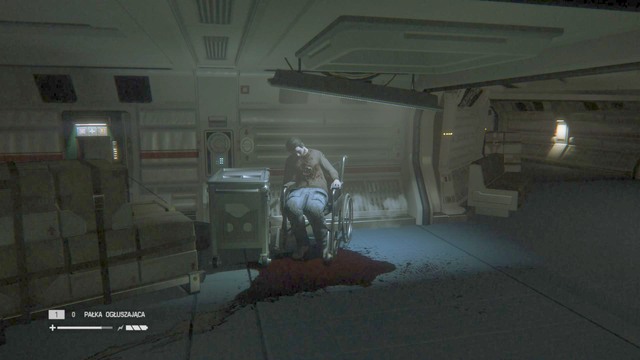
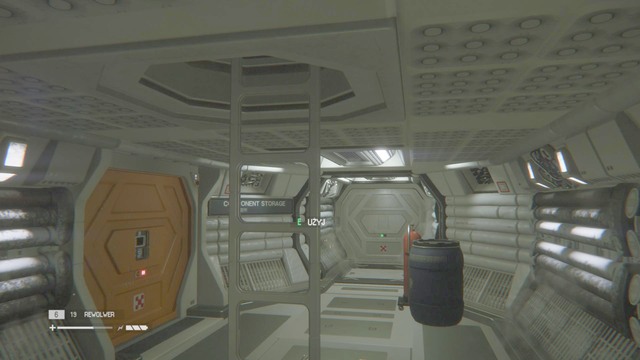
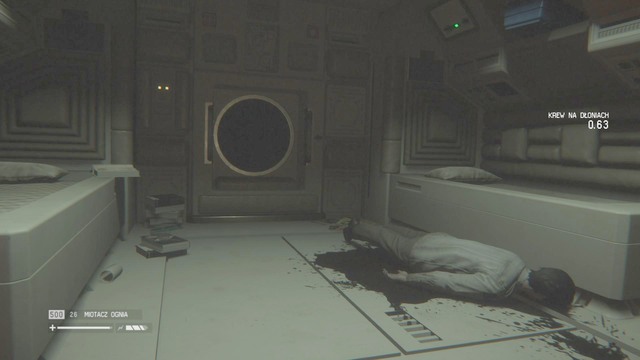
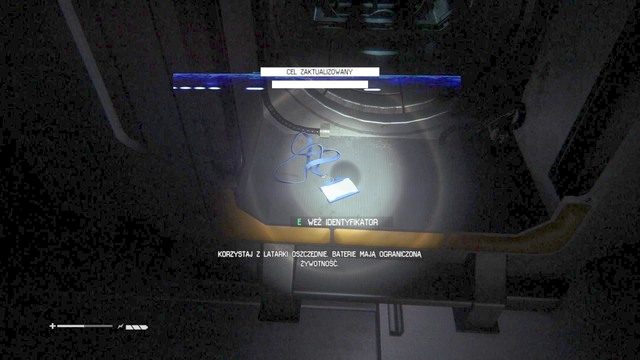
Get out of the room and enter the door on the left, then right. You'll see a corpse and a maintenance jack that you need to open the main door. To get to the tool, use the ventilation shaft on the right because the door is locked.
Take the maintenance jack from the corpse. Take his keycard and a journal. To get out of the room, use the maintenance jack on the door.
Get out of the room and enter the next one. You'll find materials and another journal. Use the maintenance jack to get there.
Go to the main door. Before you open it, it's a good idea to explore the rooms on the right that require the maintenance jack. In the room, you'll find scraps and materials for crafting.
After you collect the items, go back to the main door and open it.
Note: While exploring the station, you've seen some doors that can't be opened (they require an ion cutter). They will stay closed until you find the cutter.
After a short cutscene, open the door with the maintenance jack and follow Axel. You'll reach the elevator, use it to get to the further part of the station. After you get out of the elevator, look around for scraps, they are on the left, on one of the crates.
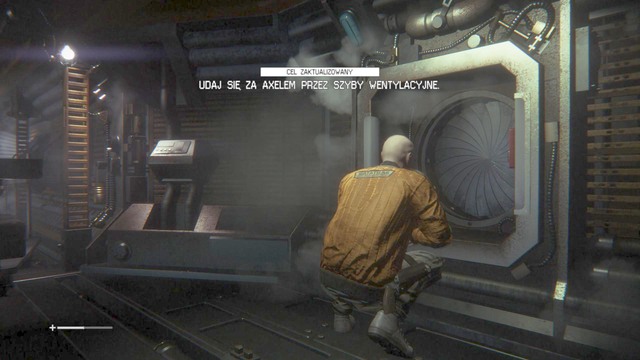
After you encounter the enemies, enter the vent with Axel to avoid them.
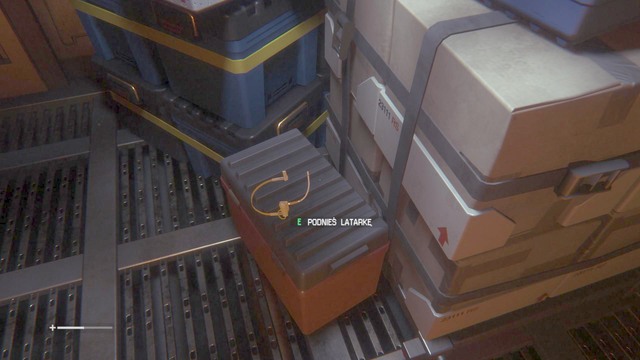
After you get out of the vent in "Axel's base", take the scraps. In the next room you can find a flashlight and batteries. You can also use the save console on the wall. Follow Axel into the next vent. When you get out of it, look around and you'll find more flashlight batteries on the crates.
When you collect the batteries, your objective will be to look for another ventilation shaft. Go to the next room and walk up to the right wall. Light your way to it with the flashlight or a flare.

When you encounter the guards, crouch to pass them unnoticed and follow Axel.
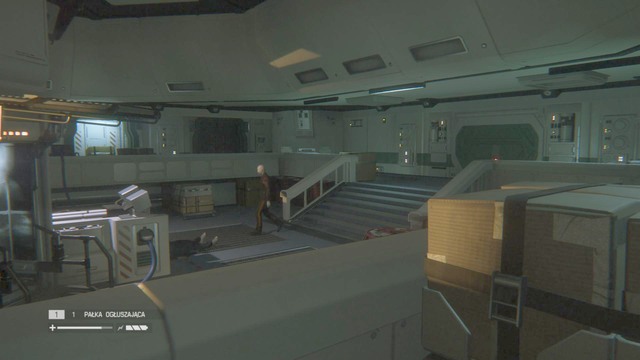
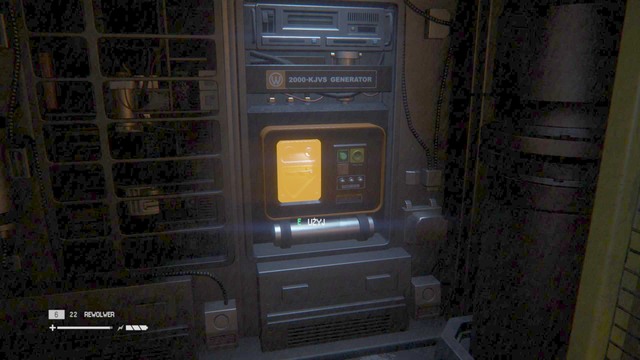
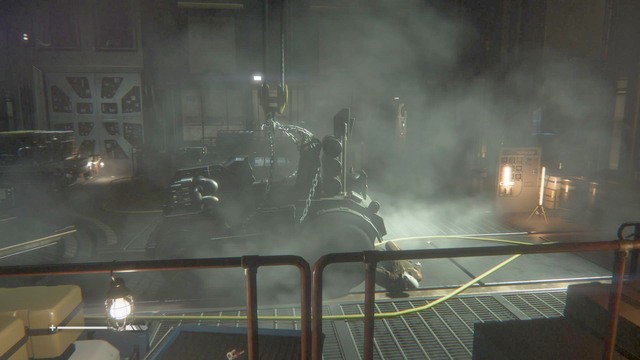
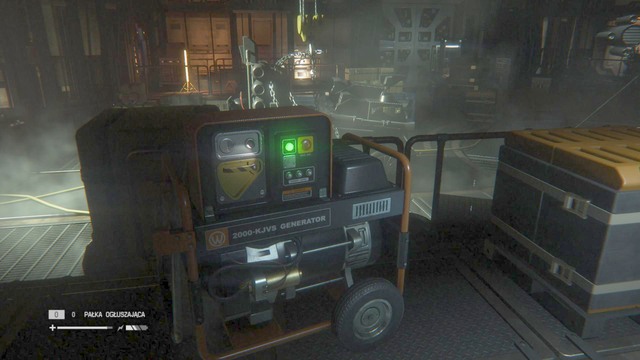
Your new objective is to distract the looters. To do it, turn the generator in the opposite room off. Keep crouching (by default - C).

Walk up to the generator shown in the screenshot to deactivate it. You can also see your escape route here. Use the panel in the floor to get to the next room unnoticed. Wait until the looters start looking for you, then get out of the vent and go to Axel.
Follow Axel until he opens the door. There is a save console that you can use next to the door. In the next room you can find a console with journals.
Axel will inform you that you have to turn on the power. To do it, go to the opposite room and use the terminal.
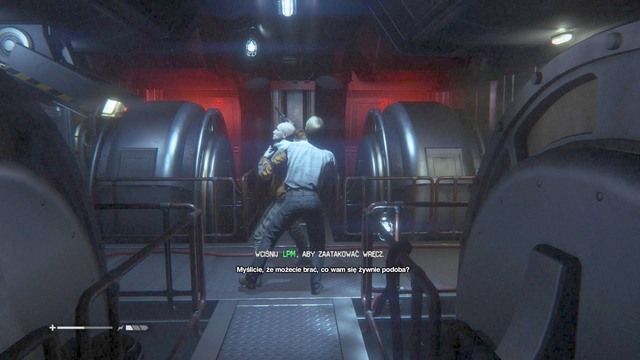
While you turn on the power, Axel will be attacked by one of the looters. Go and help him. Hit the looter (LMB) to save Axel and escape with him towards the transit link.
After Axel gets killed by the Alien, walk up to the door and call the elevator with a button on the right side of the door.
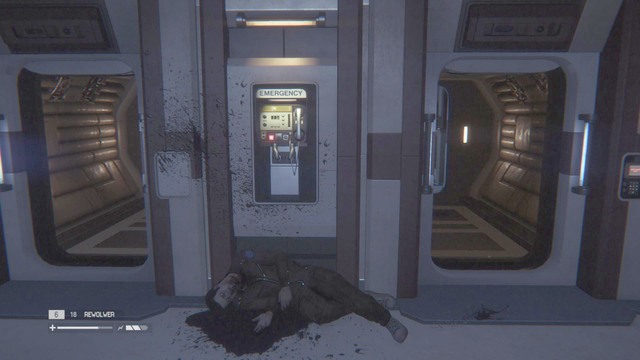
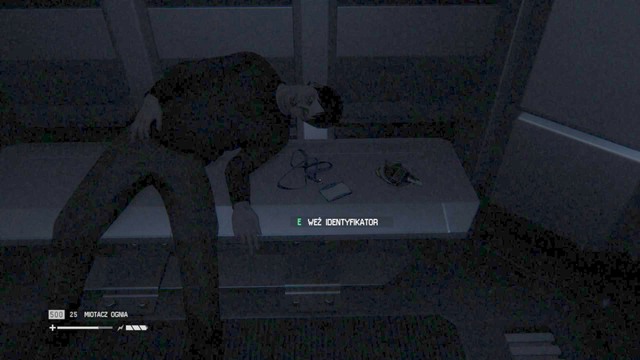
After you reach the transit link, go right. Choose the left path to get to the upper level of the station and go to the end of the corridor. There is a dead man next to the door, take materials from him.

Unlock the door and go back to the main room, then head forward. Go upstairs and you'll find a console that updates your map.
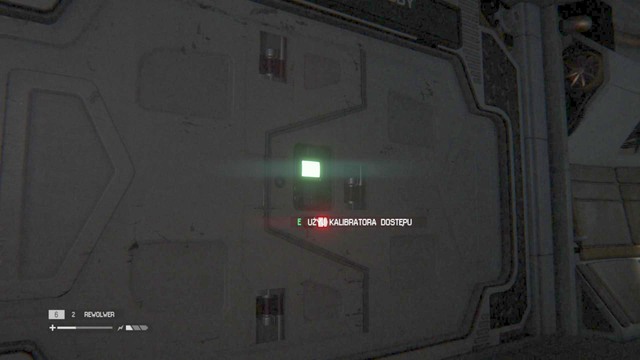
Walk up to the door on the left to update your objective. You'll see a looter, but he will run away. Walk up to the door where he was and you'll find a broken access tuner.
After you take the tuner, go to the stairs on the left. You'll see enemies on the opposite site. Crouch and go to the place shown in the screenshot to avoid them.
Go to the other side of the room, but watch out for a looter. Crouch and wait until he leaves. When it gets safe, turn right and go downstairs. You'll reach another console that will update your map.

Walk into the hall and go into the left room. You'll see the Alien, so wait until he leaves and go where he was. You'll find a console that updates your map and a room where you can save the game.
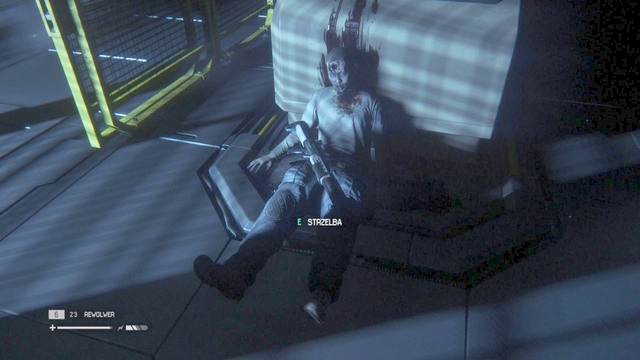
You'll also find a keycard and a revolver in the same room. Take them and go forward.
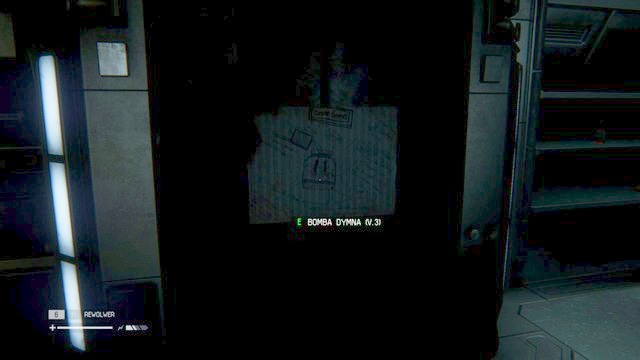
Use the keycard to open the door, then head forward. You'll find a blueprint for a smokebomb and a keycard.
Go to the side room with a dead man and you'll find a flashbang blueprint on the lockers. Before you leave, search the corpse.
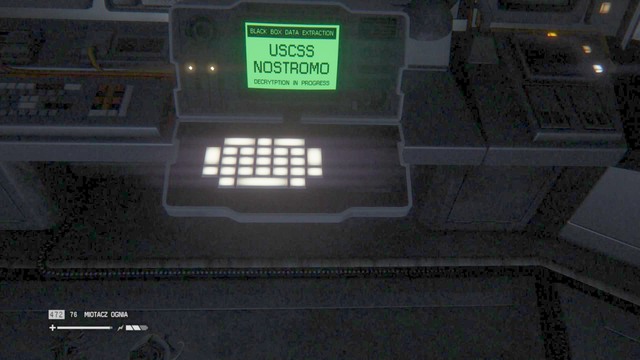
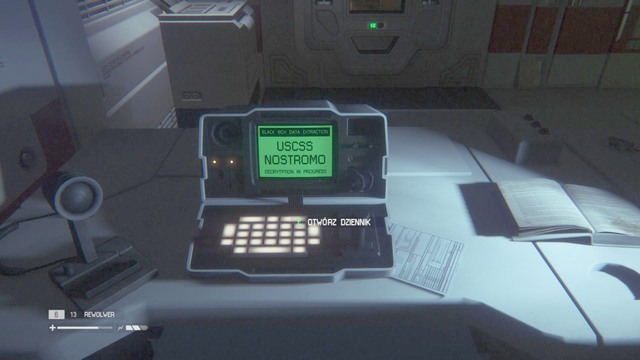
Get out of the room, turn left and enter the archive where you'll find Nostromo's black box. After a cutscene, walk up to the green switch. You have to activate three more to unlock the way to the keycard on a shelf.
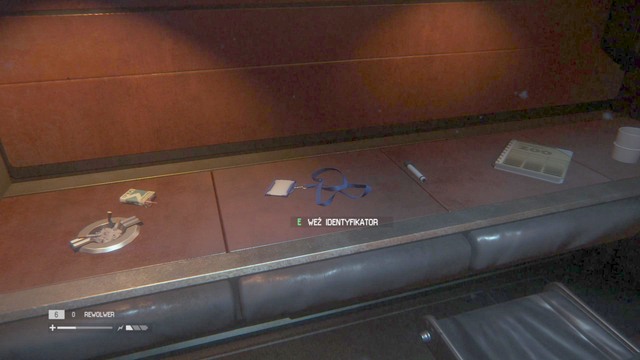
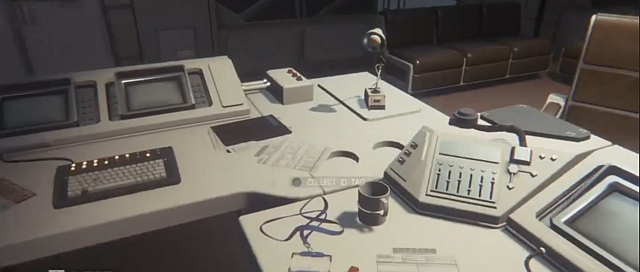
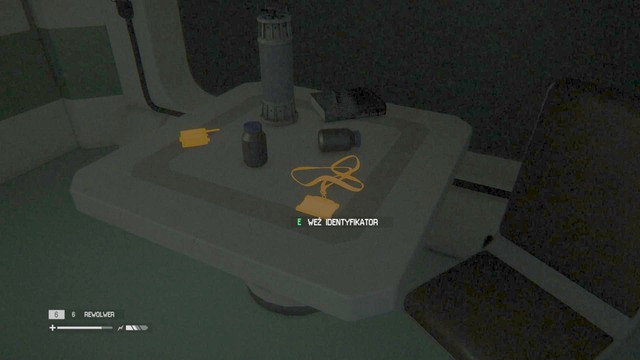
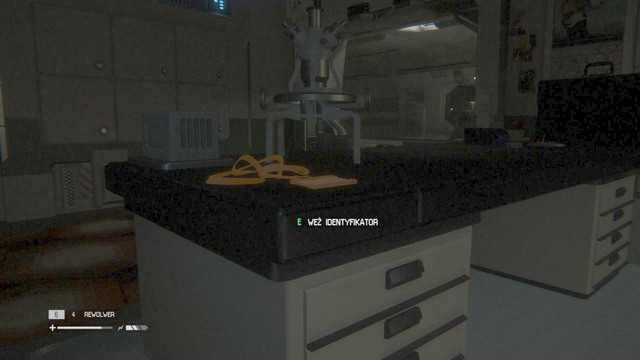
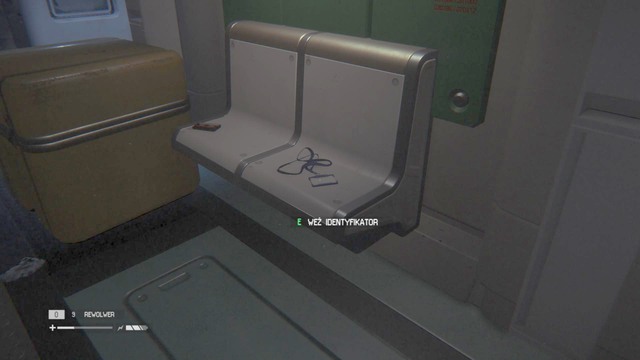
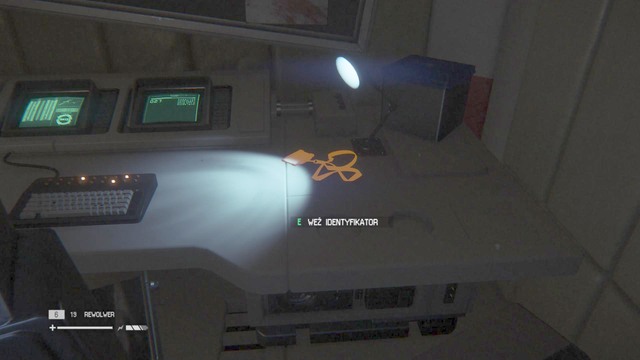
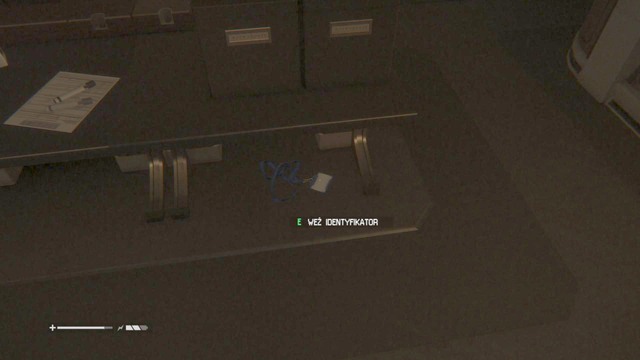
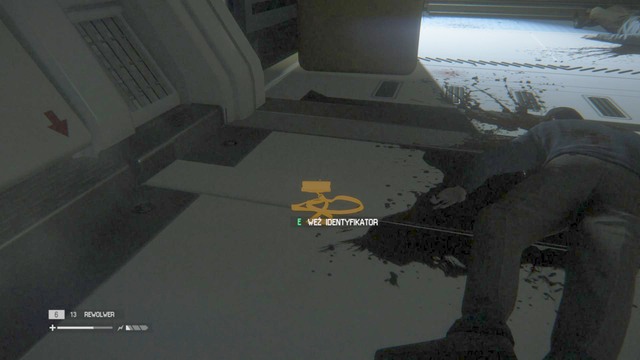
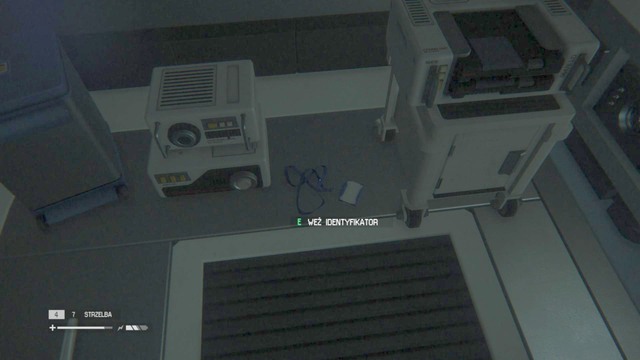
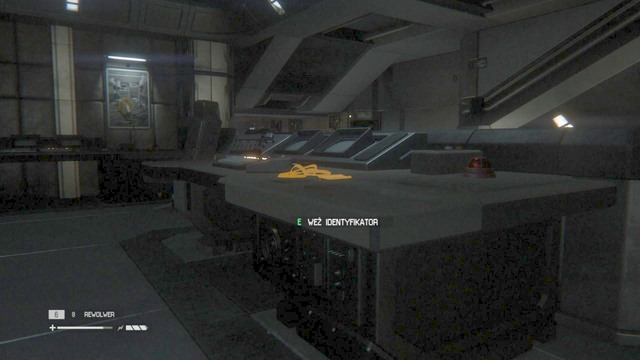
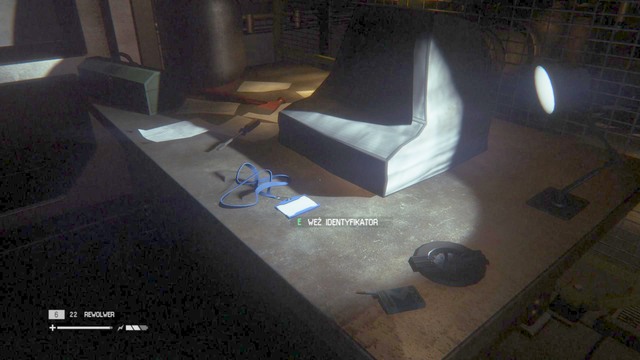
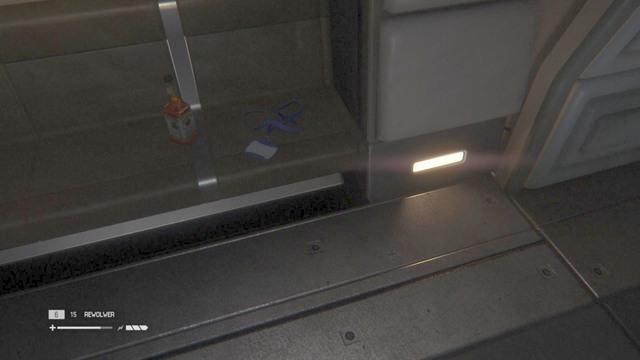
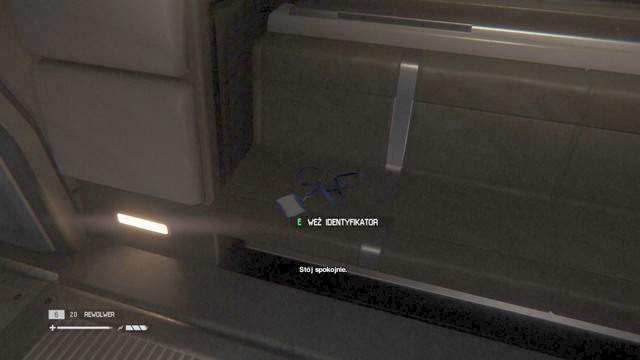
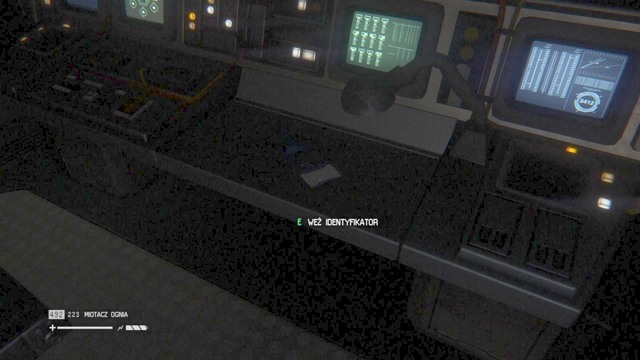
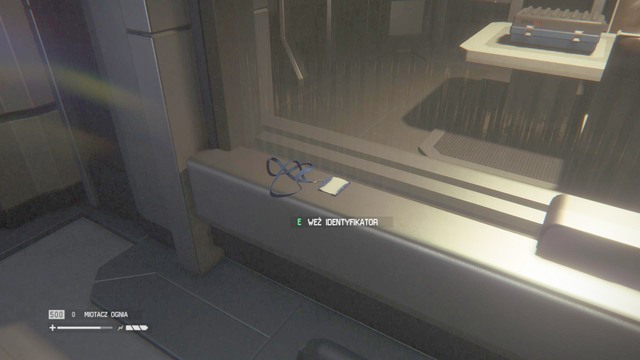
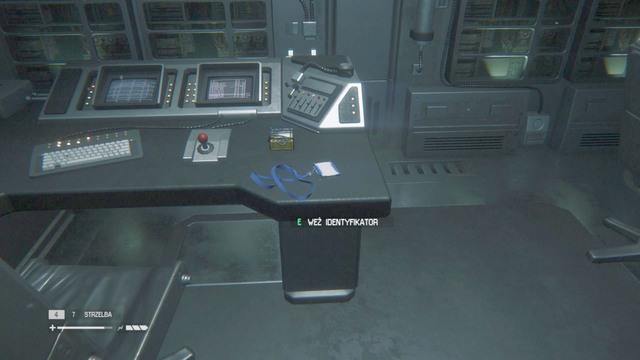
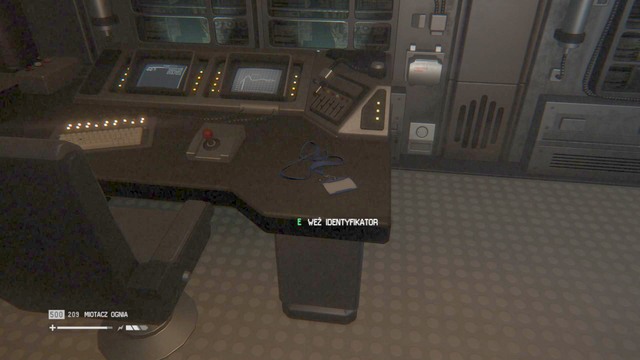
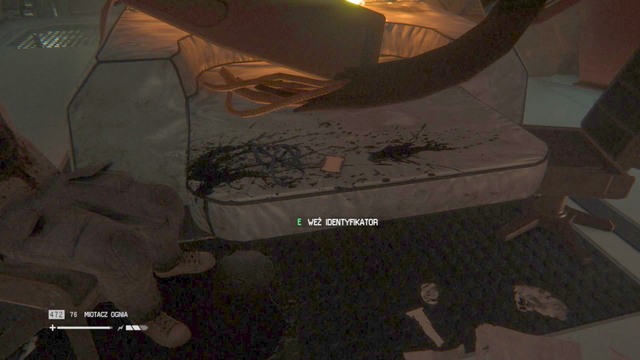
When you go back, enter the room on the right. Unlock the door with your access tuner. You'll find another journal and an ID tag on the desk, and some materials in the crates.
Go back to the first stairwell and your objective will be updated. Walk up to the locked door and use the access tuner to open it.
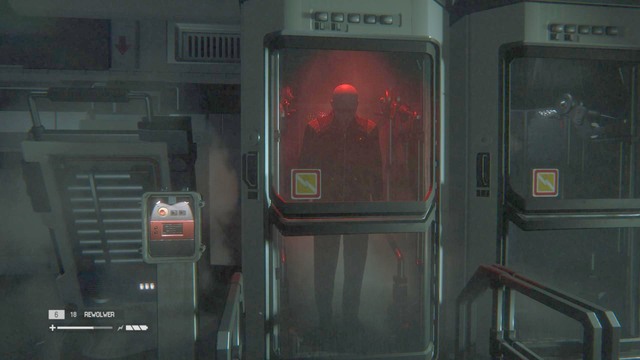
Walk up to the desk and use the terminal to disable the safety lock. You'll encounter the Alien for the first time, so crouch and try to get to the ventilation shaft. You'll find some materials there.
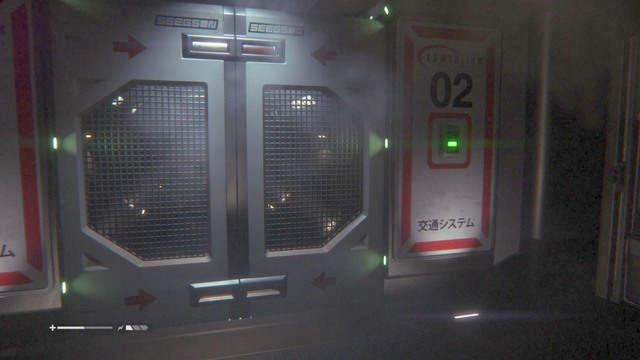
After you get out of the vent, go to the stairwell and go upstairs. You'll reach a closed door, use your access tuner to open it. You'll see the Alien kill some looters, so crouch and wait until he leaves. When it gets safe, go downstairs and walk up to the main door of Seegson. Hack the door and activate the elevator.
Get out of the elevator and update your map.
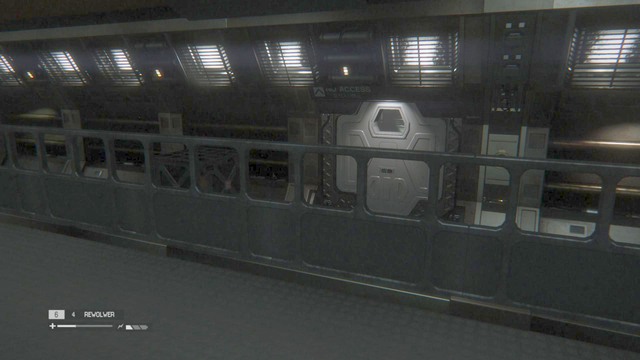
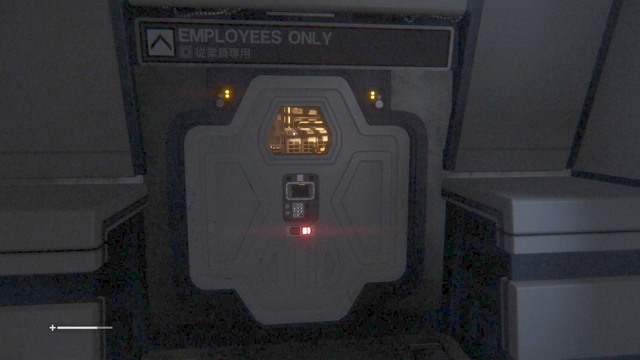
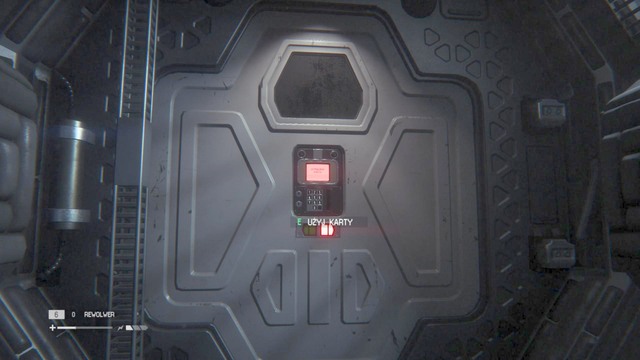
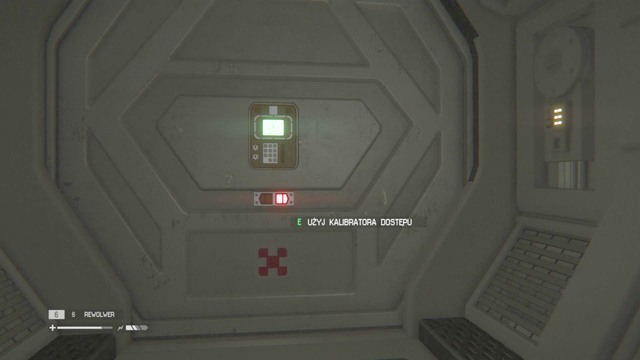
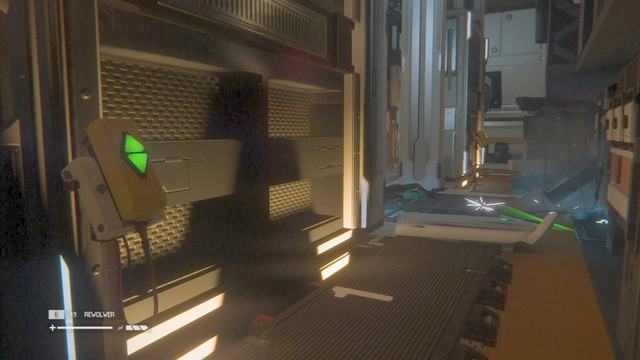
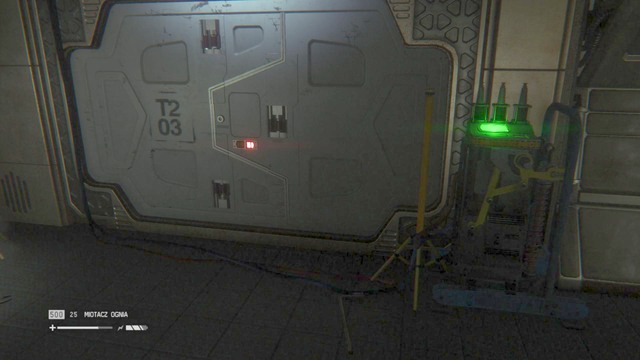
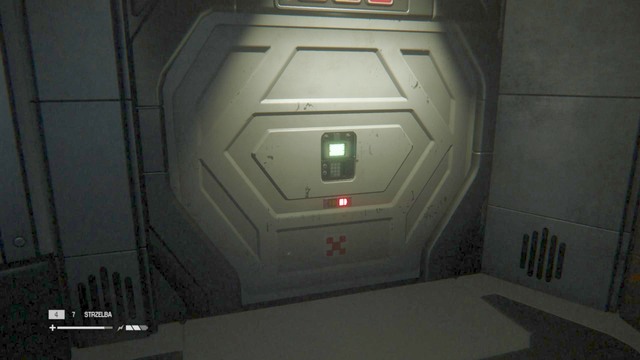
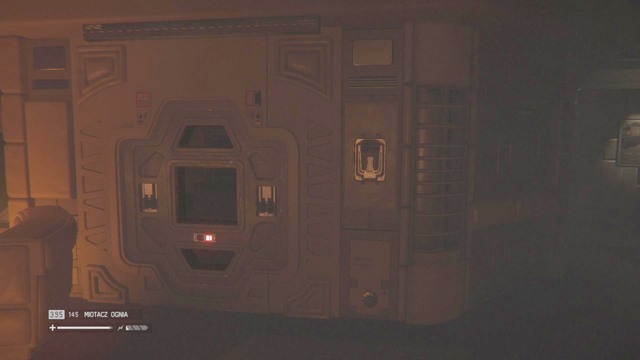
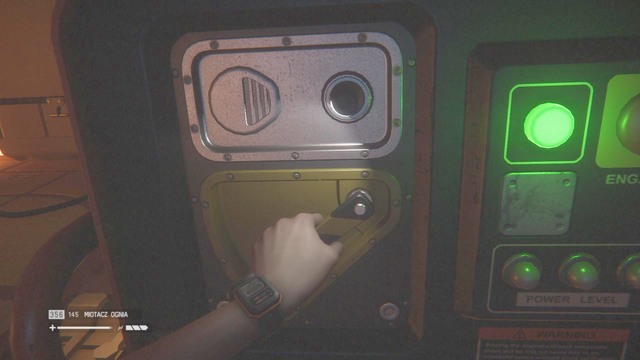
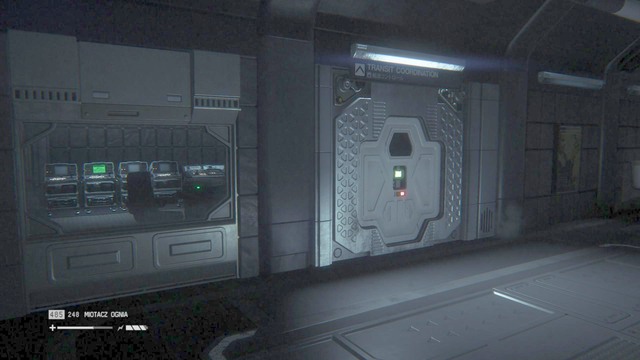
The screenshot shows a locked door. There are some useful materials behind it. To open it, use the access rewire terminal and select "activate the door" to unlock it. First you have to deactivate the two remaining panels. After you collect the materials, go back and restore previous settings.
Keep walking along the corridor until you reach the only available entrance. You'll find a lot of materials and a motion sensor. Before you get out of this room, access the terminal and unlock the door.
After you collect the items, go right and upstairs. You'll reach a save console.
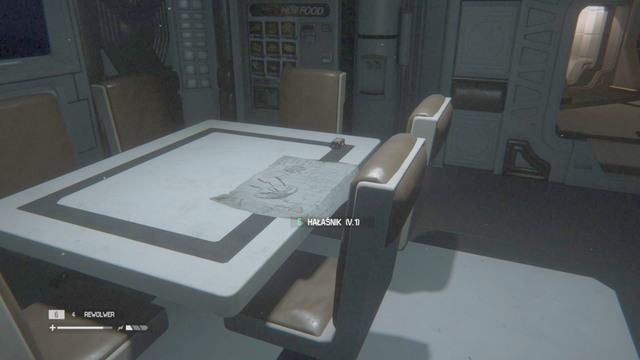
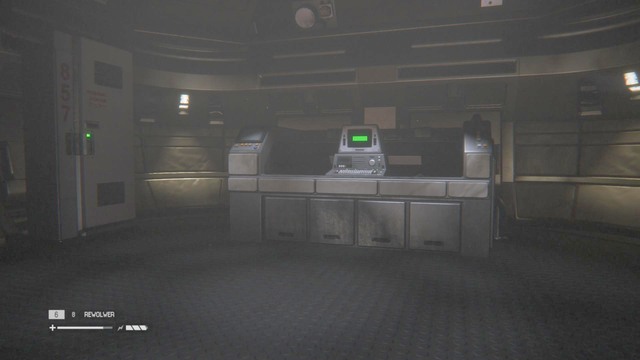
After you get to the hall, you'll find a locked door on the left. Open it with the maintenance jack and go forward. You'll find a noisemaker blueprint on the table.
Get out of the room and turn left. You'll reach a place with a closed door. Your objective will get updated. Hack the door with your access tuner, then enter the vent at the end of the room.
When you get out of the vent, go left and avoid the motion sensors. Enter the room and use the terminal to find some journals. There is a rewire point on the wall, use it to turn off the cameras. Go to the elevator.
When you get out of the elevator, save the game. You'll find a save console on the left, then look right and you'll see a map update console.
Enter the room on the left and go upstairs. You'll see a terminal you have to hack.
Go left and you'll reach another room with a console. Try to activate it and your objective will be updated.
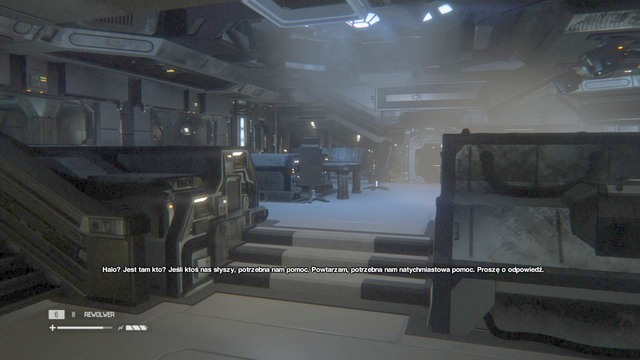
You have to find another console to contact your ship. Go downstairs and to the right. Stay hidden from the androids and reach the place shown in the screenshot. Head forward and you'll reach another map update console.
Go to the end of the corridor and enter the room. You'll find an EMP blueprint on the table, there's also a save console on the wall.
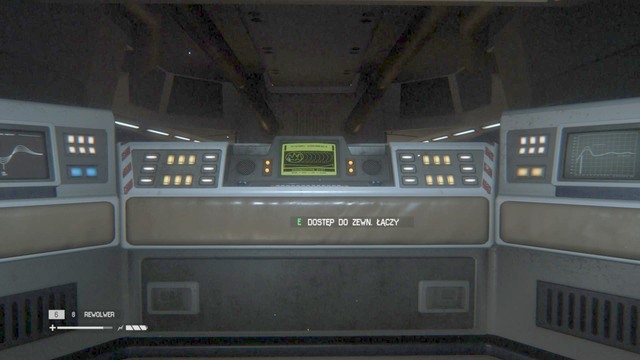
Use the terminal in the main room, you'll find it in the central part of the room.
After you activate the terminal and talk to Samuels, enter the vent and escape through Seegson Communications (the same way that you arrived).
After you take the elevator, go towards Seegson Communications. Use the ventilation shaft on the left to get there unnoticed.
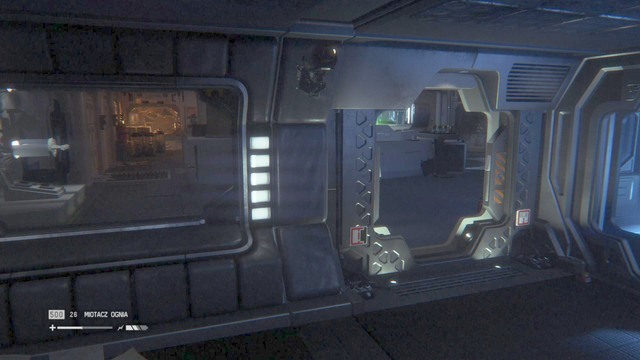
Be careful, after you exit the vent, there is a possibility that the Alien will hide in one of the vents in the ceiling. Stay away from them! The screenshot above shows a situation like that.
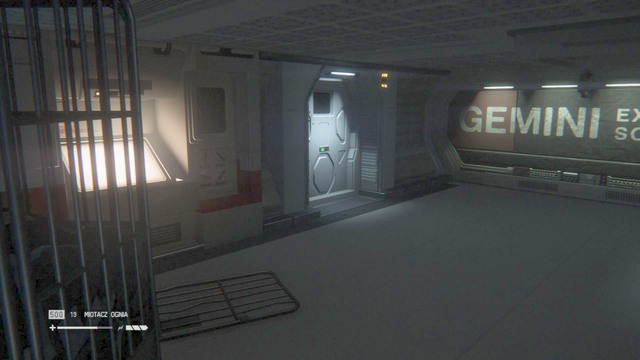
Go through the door to reach Seegson. You'll find a save console. Use it and go downstairs. You'll see an android. If you have to fight it, shoot its head with the revolver. When you reach the elevator, go back to the transit station. You can reach Samuels and Taylor from there. Choose the first elevator on the right to access Scimed Tower.

After talking to Samuels and Taylor, go left and use the save console, then go back to them and walk through the nearest door. Walk upstairs and you'll see a map update console on the left.
After you update the map, go right and keep walking that way. You'll get a new objective. Use the open elevator to get to the medical facility.
After you ride the elevator, turn left and you'll see a ventilation shaft in the next room. Before you use it, take materials from shelves.
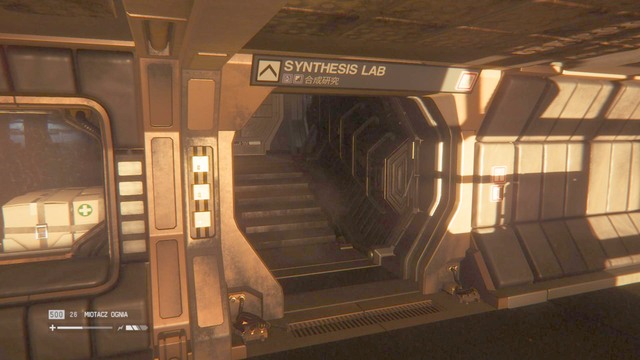
Your flashlight will help you find a way in the vent. When you get out of it, you'll see another map update console. Use it and head forward. You'll find a save console between the doors. Go left to talk to dr. Kuhlman. After the conversation, your objective will be updated.
After the conversation with Dr. Kuhlman you'll get a new objective. Dr. Kuhlman asks you to find Dr. Morley's office. Before you go, search the room and you'll find some useful items.
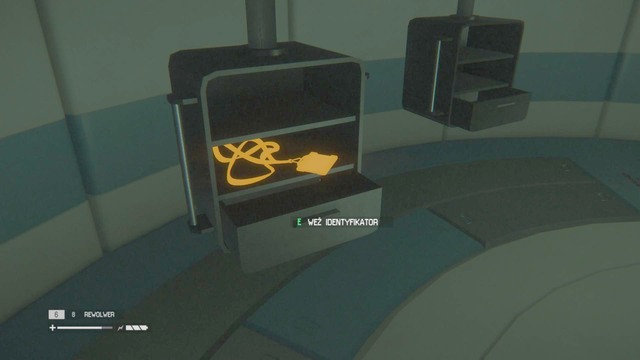
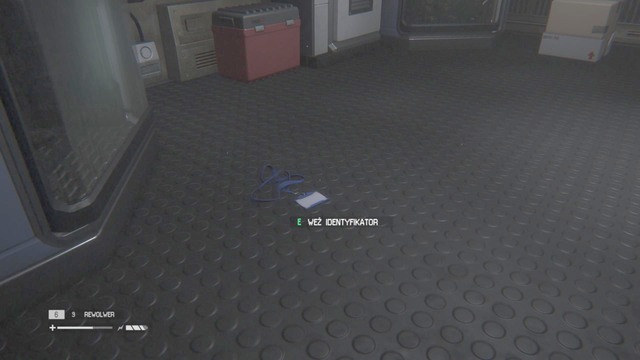
After you take them, go to the vent on the right and get to the next room. You'll find an ID tag, materials and map update console there. After you collect the items, you can go back through the vent or go downstairs. The latter is better because you'll unlock a door.
Go back to Dr. Kuhlman and use rewire point on the left to go further. Keep going along the corridor until you reach the place shown in the screenshot. You'll notice another map update console on the right, use it.
If you want to, you can enter the neighboring room and use a rewire point to turn on the lights in more parts of the facility. Take a look around the room and you'll find some materials.
Get out of the room and turn right. You'll reach a room with a save console, a journal and some materials.
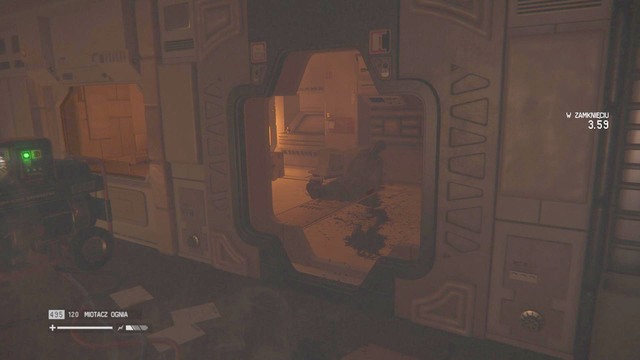
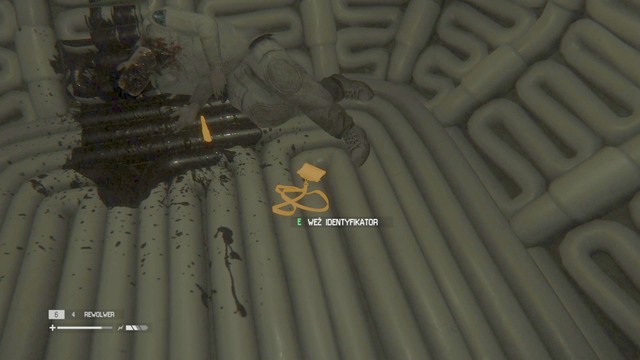
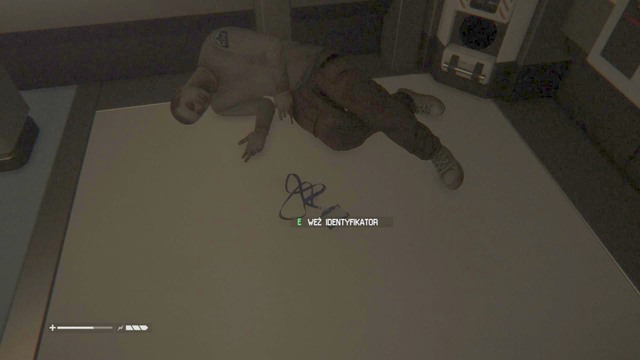
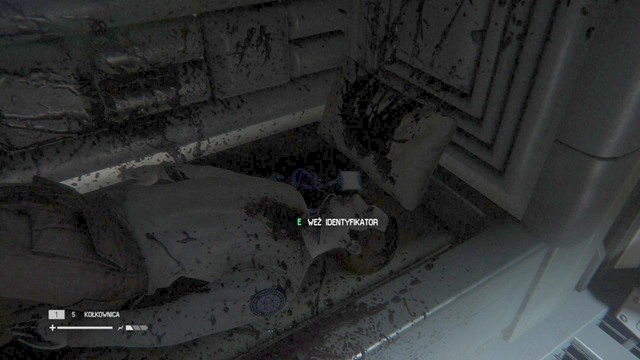
Get out through the other door and turn left. You'll see a small room with a corpse inside on the opposite side. Search the corpse to find an ID tag. Turn right and head along the corridor until a turn right.
Go downstairs and head forward. You'll reach two doors. Hack the right one to get to Morley's office. Use the terminal inside to get a pass code (1702).
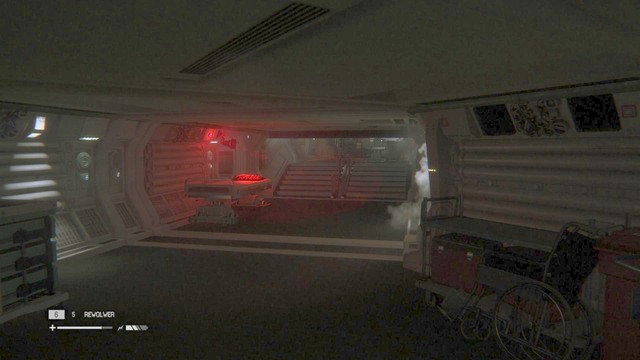
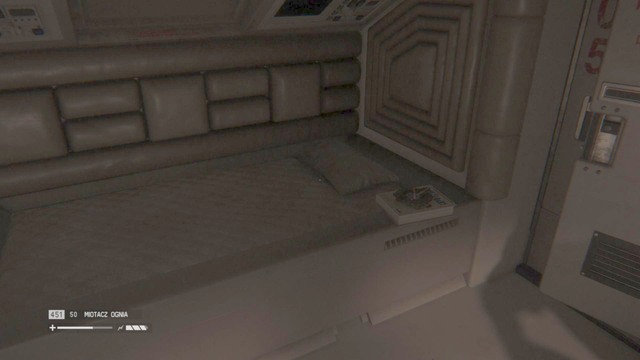
Get out of Morley's office and go forward until you reach a turn left. You'll encounter the Alien, so hide under a bed and wait until it's safe.
After the Alien leaves, go forward.
Note: you can also use the first door on the left to find an ID tag and materials. You'll open it with the code from Morley's office (1702).
You'll open the main door with 1702, but open it only if you're absolutely sure that you're safe. There is another map update console to the right. Use it and keep going. Enter the room to the left to find some scraps.
At the end of the corridor you'll find a door. Get through it and you'll receive a new objective. Walk up to the whiteboard to see Morley's rooms.

After the objective update, go left and you'll reach the staff rooms. There is a map update on the left wall. Search the lockers to find materials.
Go back to the room with Morley's rounds and go right. Your task is to investigate Morley's rooms and find his keycard.
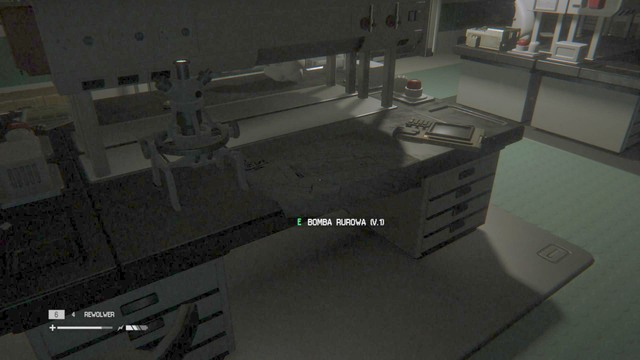
Go forward through the corridor until you reach the first door on the right. Enter the room and you'll find a pipe bomb blueprint on one of the tables. You'll also find a save console here.
Leave the room and head right. You'll pass a room with materials on the left. When you take them, go back to the corridor and you'll reach the door shown in the screenshot. When you get through it, you'll see a map update on the right.
After you update the map, go forward and turn left when you can. In room A-29 you'll find two dead bodies. Take Morley's keycard from one of them and your objective will be updated. You can also look for materials.
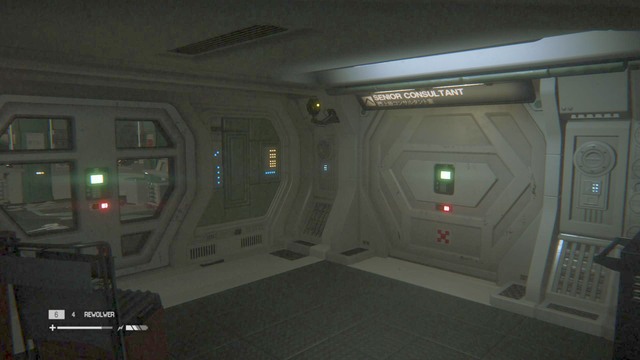
You'll find a door on the opposite side of the room where you found the keycard. Enter the room and open the next door with your access tuner to reach Dr. Kuhlman. You can also choose another way to Kuhlman by turning right and going to the end of the corridor. There will be a door that you can open with Morley's card.
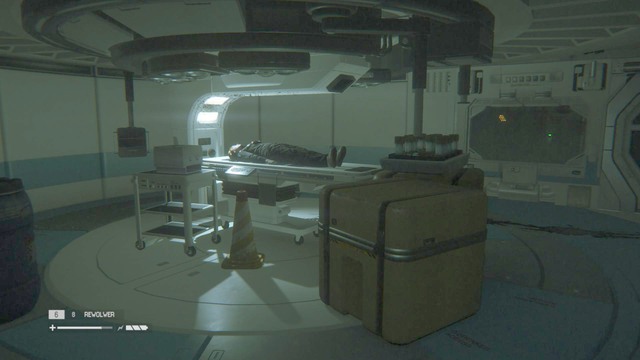
After you see what happened to Kuhlman, turn around and walk up to the elevator. To turn it on, you need to activate it with Morley's card.
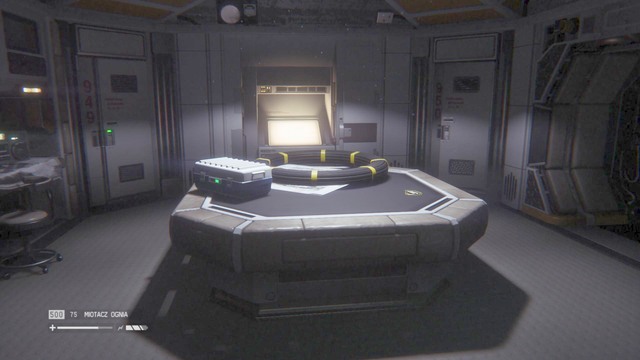
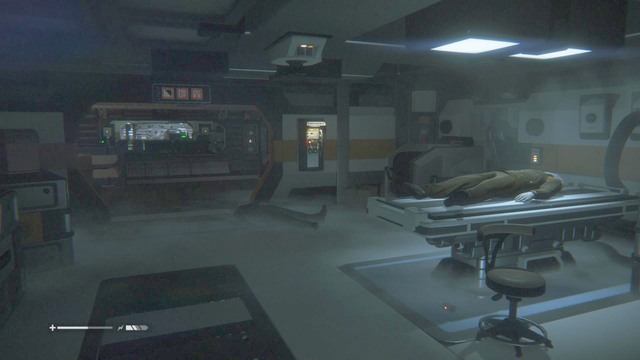
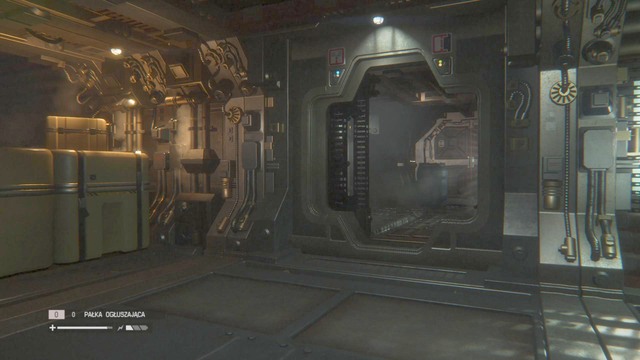
Get out of the elevator and look left. You'll find a save console. Head forward and reach the place shown in the screenshot. It's the middle door. Take the stun baton and get inside. Use the terminal in the room and select the last item, then insert the cooling cylinders on the left and you'll open the door to the left room. You can see that one cylinder is missing on the right. You can find it in the left room. Go to the left room, take the cylinder and put it in its place.
After you insert the cylinders on the right, enter the right room and use the rewire point. Uncheck air filtering and unlock the path further into the station. You can also look down, there is an ID tag next to the console. After you do it, leave the room and enter the vent on the opposite side.

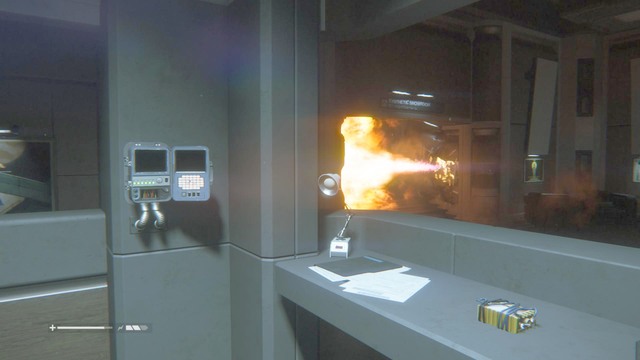
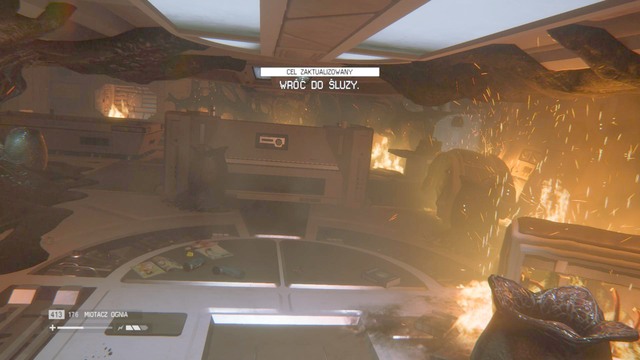
When you get out, look around the room. You'll find crates with materials. After a little exploration, get out of the room and turn left. You'll reach a place where a pipe will explode. The noise will attract the Alien so hide in the nearest room. You'll find a map update and some materials there. Access the terminal on the desk and select the lower item to update your objective.
Leave the room and go left. You'll have to take a detour to avoid being burned. In the rooms adjacent to the corridor you can find some useful materials.
After going through the corridor and avoiding the Alien, enter the room on the left. You'll see a save console, Molotov blueprint and a terminal. Use the terminal to see the code for the locker. You can also close the safety valve to put out the fire. You'll find the code under Morley: Update and Codes. Exit the terminal and open the locker on the wall.
Go to the neighboring room and open the door with Morley's keycard. You'll see a corpse and two paths. Search the corpse and go left. You'll see a map update on a wall to the left.
When you get through the corridor, you'll see three armed looters. You have three options. The first one is fighting (kill them with a revolver). It's not recommended because the noise will attract the Alien. The second option is sneaking past them. The third one, which is the best, is throwing a noisemaker at them. The noise will attract the Alien who will kill them for you. Just hide behind one of the beds and wait until he leaves.
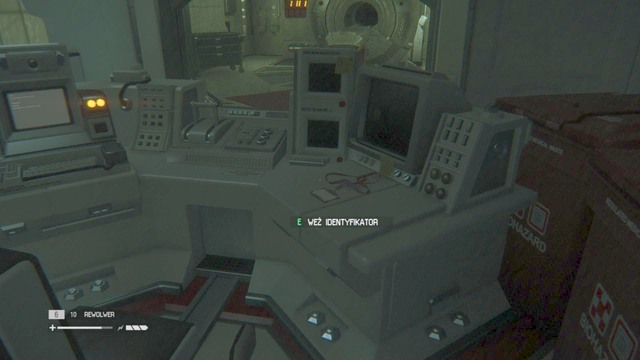
Keep going through the same corridor. You'll see the door to a room with medicine for Taylor on the right, while the map update is on the left. Use the console and take the medicine. Look around the room and you'll find an ID tag and a terminal with a journal.
Your task is to get to San Cristobal's waiting room. Get out of the room through the other door and turn right. Turn left at the end of the corridor. One of the looters is there. If you feel safe, hit him with the stun baton and kill him or crouch and pass him unnoticed.
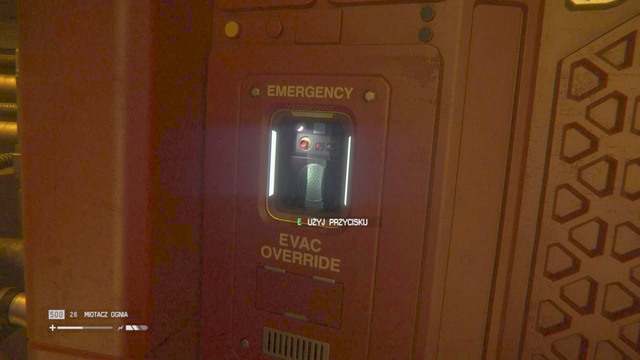
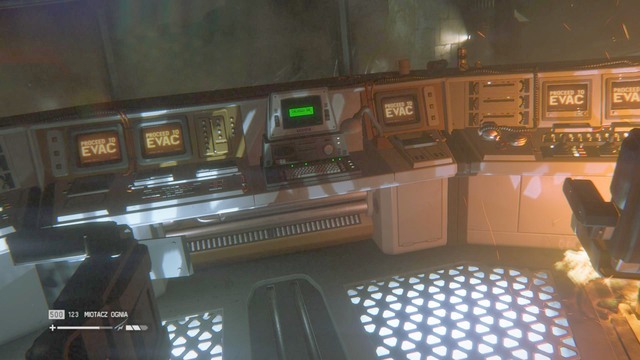
Walk up to the evacuation door and your objective will be updated. Activate the evacuation procedure to open the door to the waiting room.
Go through the corridor and turn right. You'll see a map update on the right.
Cross the emergency room (you can use a terminal there to get journals) and enter the generator room. Your task is to restore the power to activate the systems. You'll see switches on both sides of the room, use them first.
Restoring the power will activate an android. Use the stun baton and hit it. Approach the enemy from the back to avoid getting hurt. After you deal with the enemy, hack a console in the middle of the room and escape through the waiting room.
Warning!
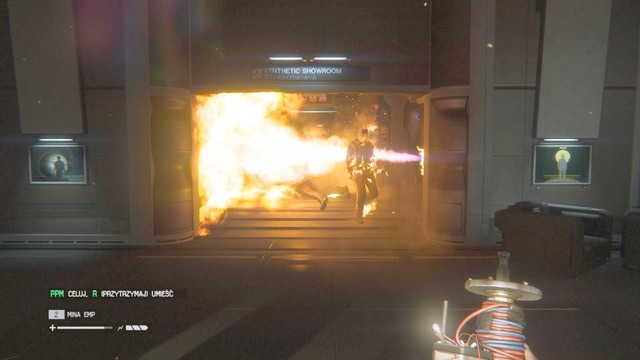
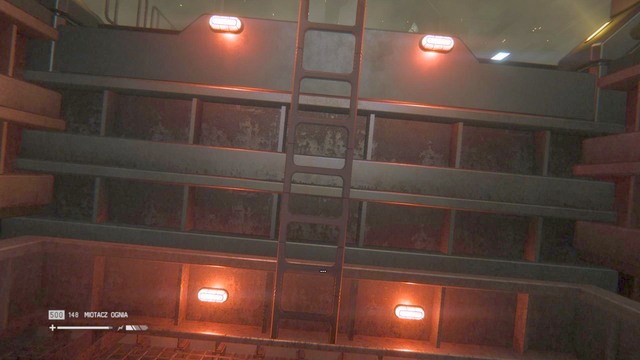
While you escape, avoid the ceiling vents. The Alien will wait for you there. After a cutscene you have to escape from the fire. There is a ladder in front of you. After you go down, use the elevator to escape to Seegson Synthetics.
Get out of the elevator and enter the vent to go around the fire.
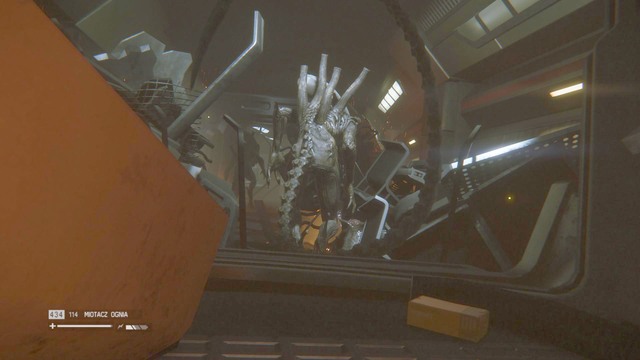
You'll see three enemies. Throw a noisemaker at them, hide behind boxes and watch the Alien rip them apart.
When it gets safe, search the bodies and go left. You'll find a ladder leading up.
Go along the corridor until you reach the room. You'll find a map update and a terminal there.
Go to the next room on the right and you'll find a smoke bomb blueprint, a save console, and a journal.
Leave the room and turn right. Go downstairs and open the door in front of you. Walk through the corridor until you reach a door on the left. In this room you'll find a journal and materials.
Get out of the room and turn left. Enter the warehouse at the end of the corridor. Your current objective is to turn on the android. To do it, cross the warehouse and enter the small room.
Here you can find an upgrade for the access tuner, a save console, and an ID tag. Search the corpse to get some materials.
Go back to the corridor and climb the ladder. In the closest room, you'll find journals and scraps. When you take them, go down and turn the android on, then follow it.
After the android gets destroyed, go back and cross the room, to the right side.
Call the last elevator to have a safe zone so you don't get electrocuted.
After you cross the room, go to the very end of the warehouse and call the elevator (down). There is a cylinder for the elevator on one of the shelves. You can also turn the power off by pressing the button behind you. Regardless of your choice, you have to go back to the elevator to change the cylinder and get to Taylor.
When you complete the repairs, use the elevator. When you get to the next location, exit the elevator and save the game.

You'll see some looters. Carefully walk up to the door (if it's locked, use the button in the middle of the room). If the enemies notice you, wait until they approach you. Hide near the door and eliminate them with headshots.

If the looters haven't noticed you, enter the vent at the end of the stairs and kill them with the revolver (try to shoot them in the head. A single headshot guarantees a kill).
After you defeat the enemies, proceed forward. You'll reach a Seegson elevator which will take you to the transit station, so you'll return to Taylor.
Walk through the corridor near Samuels and Taylor. You can save the game, then walk through the door on the left. Go to the end of the corridor, open the door with the maintenance jack and call the elevator.
There is a flashbang blueprint on a crate. Pick it up and proceed through the room.
Walk up to the console in the middle and turn it on. One of the looters will enter the room. Hide and kill him (using the stun baton is a good idea).
Before you leave, enter the room from which the android came out. Search it and you'll find some materials and a terminal with journals. Enter the next room and you'll find a gas torch.

Get out of the room and go forward. You'll reach a closed ventilation shaft that you can open with your new toy. You'll find some scraps, an ID tag and a journal in this room.
NOTE: The part below is optional. If you don't want to do it, you can proceed to the freight lift. If you do want to explore this area, you should use the rewire point on the wall. Go to the right part of the transit station and you'll see that you can unlock a room in the other side. Uncheck two options and select "door access" to unlock it. When you go there, watch out for looters.
Go back to the center of the station and call the 2nd elevator.
Before you go to the residential area, save the game. The console is on the wall near the entrance.
Turn right when you can and update your map, then walk through the door.
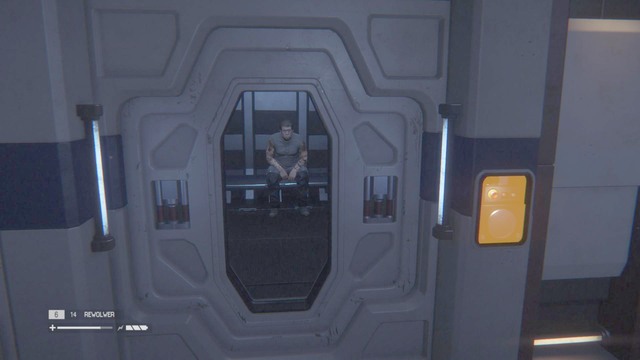
Go to the main office. You'll meet some humans on your way, but they aren't hostile. Talk to the marshal and look around the room to find some useful items. When you collect them, cross the room to the right side and talk to Marlow.
In this mission you'll play as Marlow (he's telling you what happened). Before you start the mission, press (by default - space) to use the sensor. It shows you where to go.
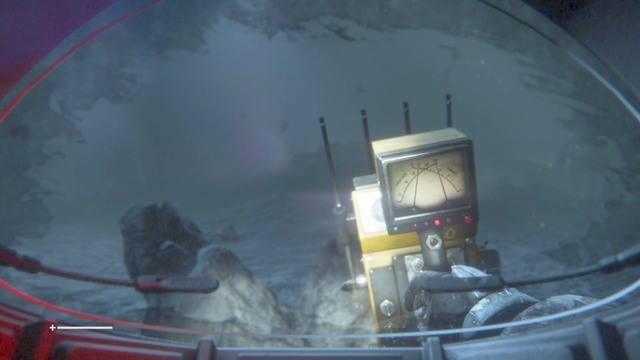
The right dial should move right when you get closer to the source. There is no alternative route so you shouldn't get lost.
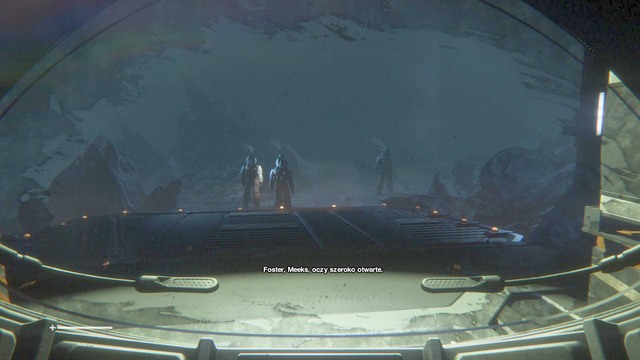
Walk up to the rocks and your objective will be updated. To go further, turn left and approach the ledge. One of your companions will pick you up.
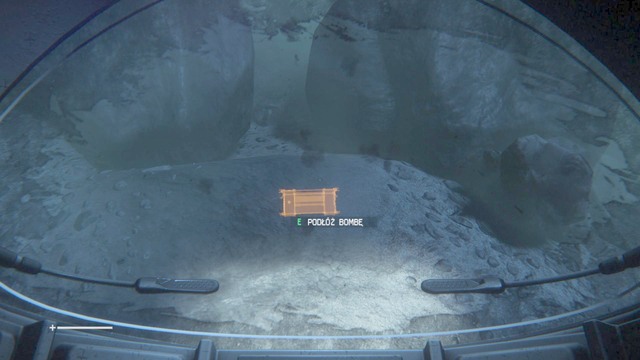
There is only one way up so you won't get lost. If you have problems, use the sensor (space) and follow the signal. You'll reach rocks that block your way. Plant a bomb, get back and wait until your companions join you.

Turn around and approach another ledge. Wait until someone picks you up and head straight towards the alien ship.
Go to the higher rocks and enter the alien ship. Follow your comrades and you'll reach the source of the signal.
Cross the room. You can see a ledge, your crewmate will help you get there.
Go to the end of the corridor and you'll reach a device that emits the signal. Turn it off and go back to your crew.
You'll see a light in the middle, go towards it.
Walk up to the platform and go down. Approach the end of the platform to start a cutscene.

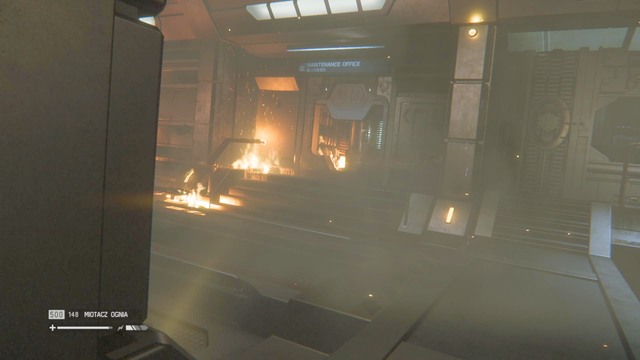
After hearing from Marlow and doing a side quest, approach the Colonial Marshal. You will get a new objective to trap the alien, and you will gain access to the next room. Enter the room to find a new weapon, a flamethrower. Also, collect all ingredients in the room, before you start doing the mission.
Backtrack to Transit System and pick the second elevator - it will take you to Lorenz Systech Spire.
As soon as you get there, exit the elevator and turn right. There is a save game console on the wall, so use it.
NOTE! If you choose to explore, you will have an unpleasant surprise. Going through the door you see on the screen will trigger an explosion.

First, get rid of an android. It is not a tough opponent, since it is already standing in flames. Once you eliminate it, proceed to the next room and look to the right. You will see a button that turns on a fire-protection system. After opening the next door, you will see a ventilation shaft, which can take you to the lobby. There you will meet two people, but they are not aggressive, so you can just walk past them.
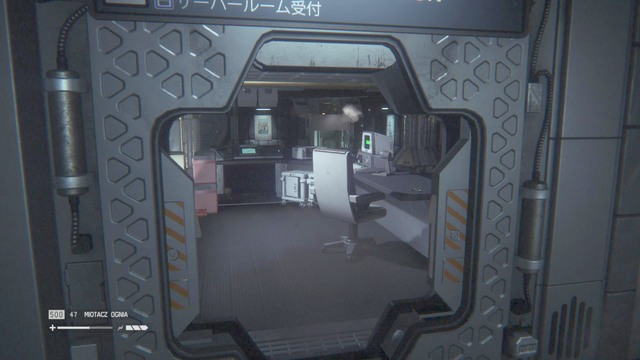
Go to the lobby stairs, and head left. There you will find a door leading to a stairwell. Go down the stairs to the lower level of Lorenz Spire. Go to the office ahead in order to unlock access to the Server Hub. Use the terminal on the desk and select "Door Control" to unlock it.
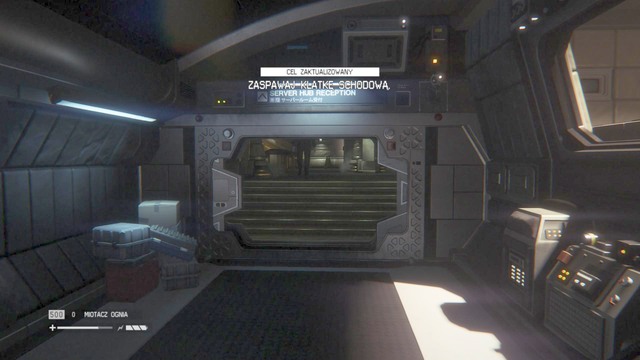
Go through the unlocked door. Your objective is to lock access to other sections of the compound by sealing off the stairwell, as well as locking down server hub reception corridor. As soon as you walk through the door, you will see a map update on the column in the middle of the room.
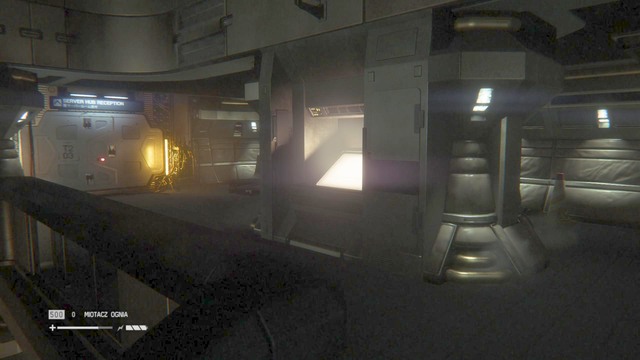
While climbing up the stairs, you will see another console.
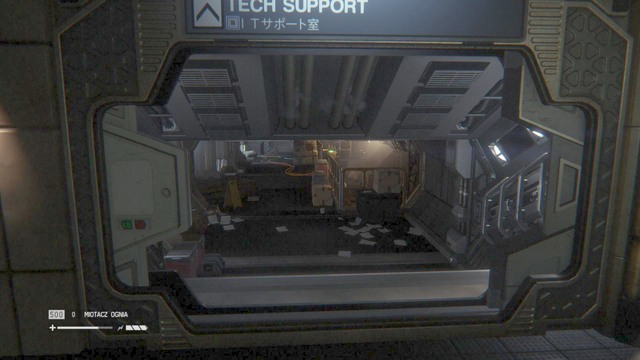
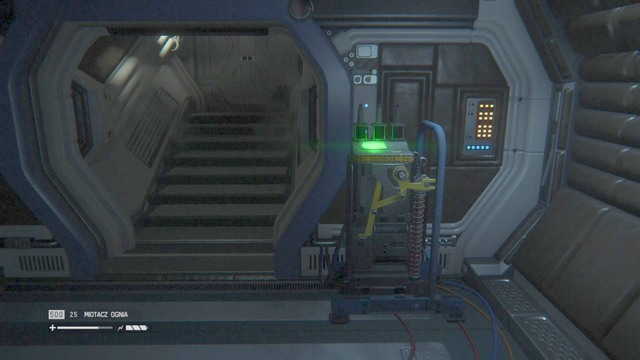
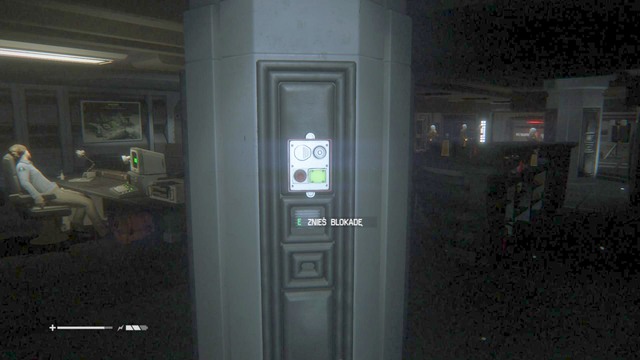
Once you activate the console, turn right and go through the door there. There is the first blocking mechanism.
Once you lock down this section, you may go up the stairs to the upper level. When you go up, you will see a terminal with an Archive Log on the right. Turn left to get to a door. There is a console with a map update, and in front of you a door you should lock.
The only thing left is to lock down the control room. Go back to the door on the right, walk down to a landing. There is a door on the left, which can be opened with the mechanism next to it.
Approach the terminal on the desk, and from the list select "initiate lockdown".
Enter the Server Farm and go follow the corridor. You will get to a room on the right where a console with a map update is.
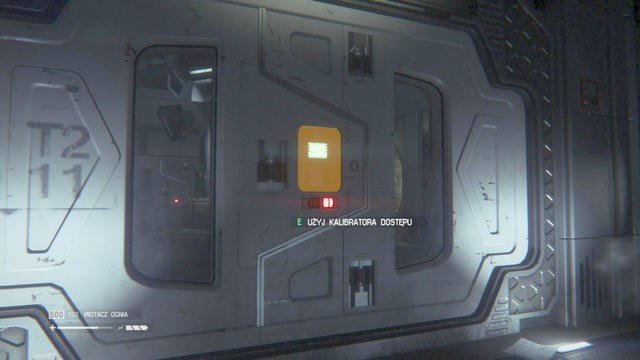
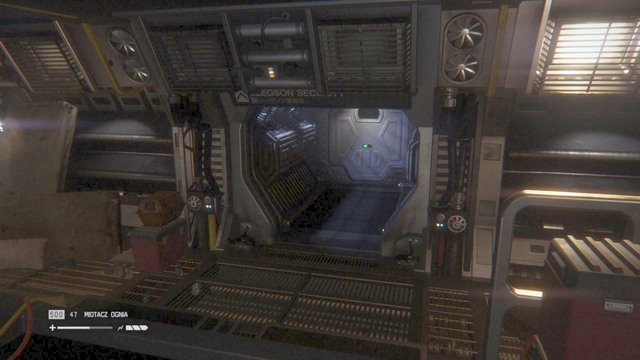
Go to the central section through the hallway, and keep walking straight ahead. Walk past barricades until you get to the place shown in the picture. Unlock the door with the access tuner and go inside.
Approach the terminal inside the room and hack it.
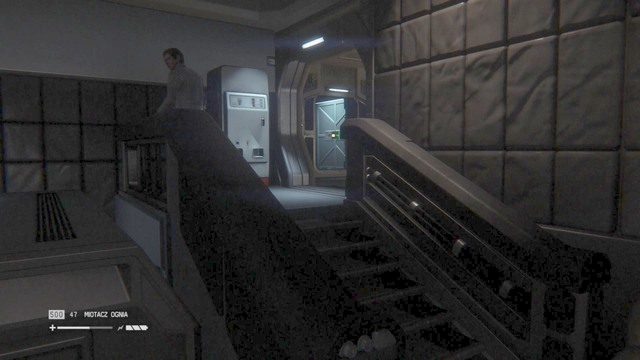
Run out of the Server Farm on the right side, and you will get to the door shown in the picture. You can unlock it with the maintenance jack (the quickest way out). Go through the door in the stairway (where you locked the first door), and head to the right.
In the room, you will find a couple of useful ingredients as well as a terminal. The latter also unlocks cells, one of which contains an ID Tag. Once you collect all of these, enter the lobby and head straight. Climb up the stairs, and turn right to get to an elevator. Beware of the people around here. They will attack, if you get to close. If you get to fight them, eliminate the opponents, and activate the elevator.
As soon as you get there, go to the nearest console and save the game.
Go through the door and you will see a woman. She is not aggressive, so do not start a fight. Keep on going toward the door, and then through the hallway until its end. You will get to another door, in front of which there is a map update console.
Go through the door and to the end of the hallway. You will notice a motion tracking camera. As soon as you step into its range, it will give out a sound that will draw the Alien. Crouch down and walk past it, while sticking to the wall on the left. You will get to the location shown in the picture. On the right, there is a rewire system, which disables the camera. On the left, by the corpse, there is a plasma torch.
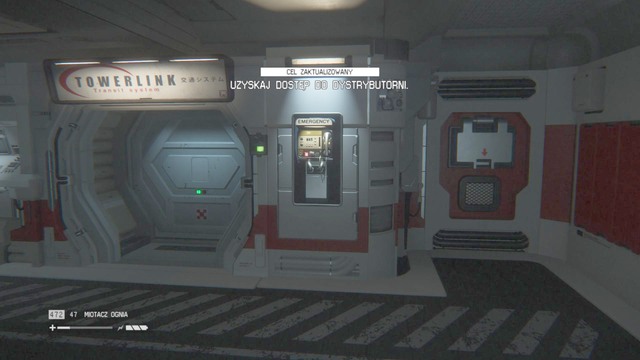
Use the plasma torch on the door on the right to get to the room with an android. It is not aggressive until you use the terminal nearby. Eliminate it with the stun baton, then access the terminal and unlock access to Distribution.
Once you remove the blockade, leave the room, and head to the door on the left. Walk until the end of the hallway and enter the room. Turn left and climb the ladder to the upper level.
Once you get there, head straight through the hallway, then turn right into a room. There is a code locker. The code is in a terminal in the next room (2743). When you collect needed items, go inside the room ahead. Be careful of the motion detector - crouch down, stick to the right side, and deactivate the camera (the rewire system is right behind the camera). Update the map using a console on the right wall in the room, then move on.
In the next room, at its other side, you will see the first lever. Pull it and open the door nearby with the maintenance jack, then go down the ladder to the lower level.
Go through the door on the right and through the hallway, until you get to another door (you can also use the parallel vent shaft). You will see another motion detector, so crouch down, approach the rewire system and turn off the cameras.
Once you deactivate the camera, go to the room ahead of you and approach the left wall. Pull the lever and go back to the center in order to activate the main console.
When you get back to the central section of the compound, approach the console in the middle. Do not start the procedure yet. Instead, pull the two levers on the walls of the reactor by the coolants. When it is done, you can access the terminal and initialize the distribution conduit. Next to the ladder on the left, there is a save game console, so use it.
Once you do that, go back to the starting location of the compound (the room where you met the woman). Most likely, the woman is already dead, so take useful ingredients from her body, and head to the door on the left.
You will notice another motion detector, which you should deactivate. The rewire system is right beneath it. Once you deactivate the camera, head left, open the door, go down the stairs, and activate the elevator.
Leave the elevator and go through the hallway to the next room. There is a console on the wall, so save the game.
Turn around and walk through the door. You will get to a room with useful ingredients. Turn right and leave using the other door.
Keep walking straight through the hallway until you get to the last door. Before you open it with the plasma torch, you may go inside the room on the left to collect useful ingredients.
When you open the door, use the map update console, then climb down the ladder to the lower level.
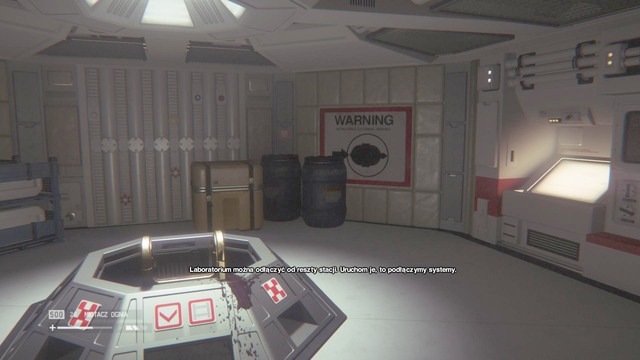
Your objective is to get to the central part of the laboratory. To do that, you have to take the route around through the compound. Go through that and you will get to the your destination.
At the end of the route, turn left and climb up the stairs. In this room you will find a save game console and the main switch - reset that.
After switching the lever, leave the room, and you will get to another room. In the middle of the room, there is a console (use the access tuner).

When you activate the protocol, you need to escape the lab. Leave through the same door you entered the room, turn right, and go to the ladder in order to escape. After a short cut-scene, turn around and go to the end of the hallway to a door.
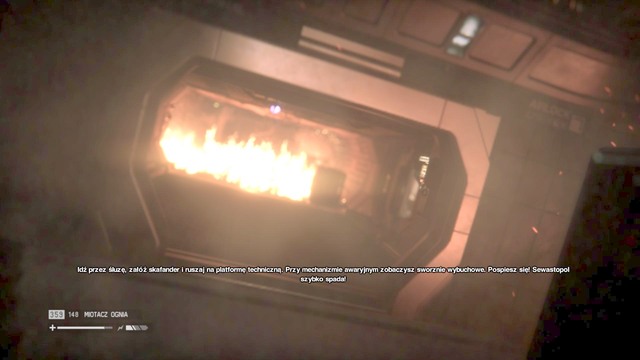
Start restoring pressure by the air lock, and hide as soon as you do that (to avoid contact with the Alien). As soon as the process is over, run toward the airlock.
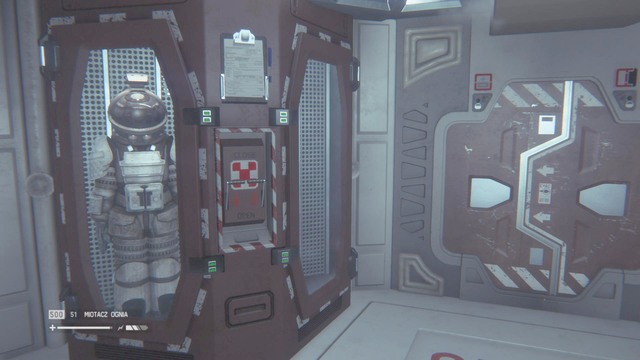
As soon as you retake control over the character, approach the locker and change your clothes. Open the door next to you and use the plasma torch on the other one.
At the nearest turn take right, and pick up the shotgun and the keycard from a body. Move on, and use the keycard on the next door in order to open it.
Eliminate the android in the central part of the facility, and then go through the main door to get to the station.
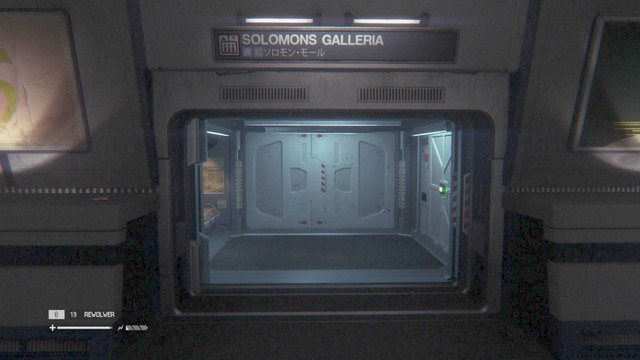
Enter the elevator on the left, and go to Solomon's Habitation Tower.
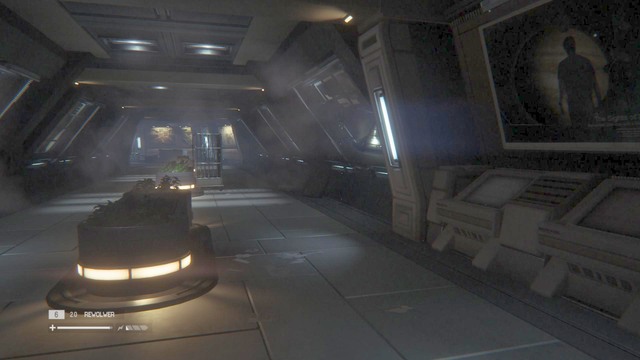
Walk out of the elevator and search the room. You will find here lots of useful ingredients and ammo, then head toward the corridor. Before moving on, update your map. The console is on the right side of the hall.
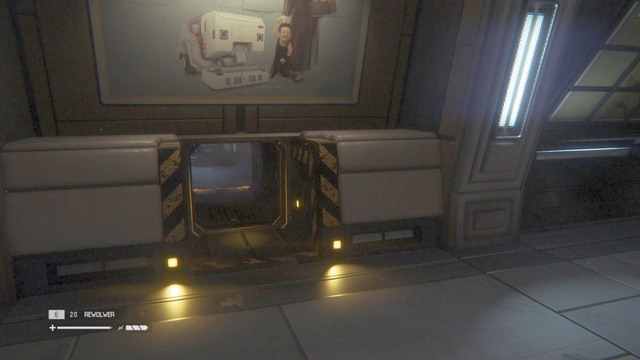
The corridor leads to a locked door, and when you get there, activate the vacuum cleaner on the right. It opens your way to the vent shaft you walked past before. Follow the vacuum cleaner and go through the hole in the wall.
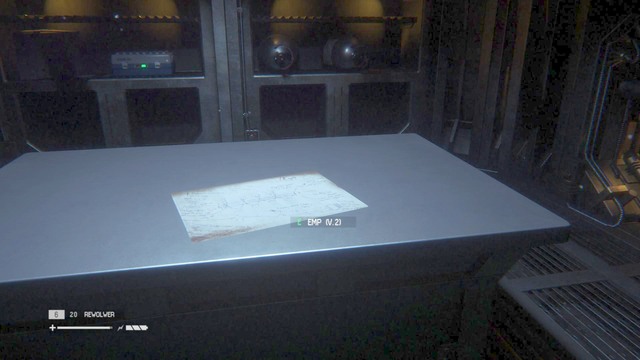
Once you exit the shaft, you will notice an EMP blueprint. Look around for other ingredients and ammo before leaving the room.
Leave the room and go straight ahead through a long corridor, and at the first turn, take right and open the door.
In the room there is a panel in the floor. Open it and go through the vent shaft to another room. Behind a grid you will see a lever.
Once you restore power, walk through the door and eliminate two androids, then head to the corridor on the left.
In the corridor, you may encounter more enemies. Deal with them, and resume walking the same way. On the left, a gate will open, so walk through that, and head to the right.
Go toward stairs and climb up to the higher level, then turn left. In the corridor you will find a map upgrade console. Head toward the exit on the left.
Keep walking in that direction, until you get to a door. On the left, you will find another map upgrade console.
Once you hear what happened, backtrack to the corridor, and enter the staircase. On your way you will encounter an android, so eliminate it. A couple of shots in the head should resolve the matter.
Once you get to the higher level, head toward the door on the left, which will open up automatically. Eliminate the opponents there, and move on.
At the nearest turn, take left. Collect useful ingredients, save the game with the console on the wall, and go to the corridor nearby.
Go to the corridor and deal with an android, then press on. Keep to the left side, and take left at the nearest turn.
Climb down the stairs to the lower level, then turn left. Go by some crates, and walk straight forward until you get to a vent shaft. On your way you will encounter an android, so deal with him.
Leave the shaft and go forward. Approach the console and save the game, after which you should keep walking forward, until you get to your destination.

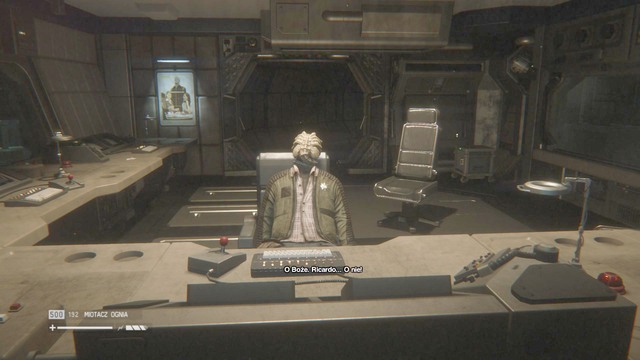
Wait for Ricardo to open the door, then exit the room and head toward the transit district of Solomon's Habitation Tower.
Walk into the corridor on the right. On your way you will encounter an android, so deal with him, then take left at the nearest turn.
At one point you will encounter another android. Once you kill him, turn right, and you will get to the transit station.
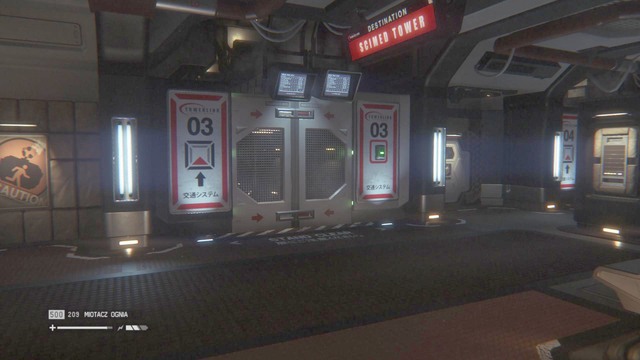
Once you enter the station, kill an android, and pick the transit number 3, in order to get to Scimed Tower.
Exit the elevator, and head right. Walk through the gate and turn right to get to an elevator that will take you to Seegson Synthetics.
While walking in this direction, you will walk past the first elevator (this one leads to the Med Station), so ignore it, and go through the door, then turn left, to get to the elevator that leads to Seegson Synthetics.
Exit the elevator and go to the door on the left. You will open it by using the plasma torch, then type in the door keycode. The keycode can be found at the nearby terminal, on the reception desk (the code is 8382). Enter the room, and then go inside the vent shaft on the right.
Climb up the ladders, until you get into an inactive elevator.

In order to exit the elevator, you need to stand in the middle, look up, and press the correct button.
Once you get to the location shown in the picture, save the game, then head on.

Exit the room and head right. Enter another room, and on the left you will see a lever. Another one is in the next room.
Head to the central room and try walking through the door. It is blocked, so your job is to turn on generators. There are four of them. Two of them you have already turned on on your way to the central area, and the other two are in this very room. One is by the door, and the other in the middle of the room.
Once you open the door, follow the corridor, until you get to a locked door. On the left there is a vent shaft, so use it to move on.
Exit the shaft and unlock the door there, after which you should turn left, walking past "deactivated" androids.
The main door is locked. Go to the other side of the room and stand behind the pillar on the left. You will see a button that opens up your way. In order to avoid a fight with these "deactivated" androids, run toward the door and walk into the next room. As soon as you walk through that door, it will shut, and you will be safe again.
Walk to the right, then enter a small room nearby. There, you will find a rewire system, which you can use to cause a fire upon entering the room, which will burn the incoming androids.

Walk to the next room, and you will find some ammo and a blueprint for a Molotov upgrade. In the room behind the corpse, there is a game save console, and lots of weapons.
Now go back to the locked doors. You will see that the androids are trying to break through the second door, so stand in front of it, and as soon as they are through, throw an EMP mine and finish them off one by one with the baton. The androids are stunned only for some time, so use two mines in order to eliminate every last one of them. One android has a door keycard. Take it, and move on.
Restore power to the door by turning off a generator. It is in the next room. After that, go to the elevator and continue your search for Samuels.
Leave the elevator and go to the guardrail on the right. Press directional buttons in order to move to the next area, but watch out for steam, in order not to fall down. Choose the right moments to walk by vent shafts.
Follow the corridor to the next area, and you will find a save game console. Then go to the door next to it. After leaving the room, you will be attacked by a couple of androids. Deal with them, and move on.
The next three rooms have cameras and motion detectors. While staying out of their range, turn them off at the nearest rewire system by switching off "Camera Feed".
Head toward the door, hack it and move on.
Follow the corridor (this is the only way), until you get to a door and another map update console. Walk through the door and talk to Samuels.
Samuels tries to connect with Apollo, however, it rejects the connection. In order to save him, you have to turn off the generators in the right order. The correct ones can be recognized by looking down at cables and follow them to the plug. The first is the one with the red cable. The second with a blue. The third cable is plugged directly to a wall socket, and its right next to the knocked-down cart. By the fourth generator there is a deactivated android. The last and the fifth one is by the window, in the middle of the room.
Once you turn off the generators and see what happened to Samuels, move on. Leave the room and backtrack to the starting point of the location. On your way you will encounter a couple of aggressive androids. If you do not feel like fighting them, enter the first room on the right and use the vent shaft under the floor. Go back to the station, and use the cart that will take you to the far end. Once there, use the transit to get to Apollo core. Go to the left, then call for the first transit.
Go through the door and move forward. You will get to a gate that will let you through only when you leave your firearms in the container next to it.
Approach the locked door, and activate the Apollo sales tour schematics. You will see a door keycode 4930.
Take right, and you will get to a room with a console. Hack it to gain access. After that, backtrack to the fork, and walk past the save game station in order to get to the other side of the compound.
Once you get there, you will see a console you need to hack. After that, go back to the corridor, and take right at the first turn, into a vent shaft. You will get to a room with a save game console.
Go through the door on the left, and take the first turn right. There is a gasmask on the control panel.
Go to the next area. There you will find two androids. You do not have any weapons, so as soon as you find the nearest rewire system, turn on gas divert and sneak into the right side of the room. Here you will find a door, behind which you will be safe.
Follow the corridor, until you get to the place shown in the picture, then go through the door. In this room, approach the console and hack it, then use the save game station. Your objective is to turn on two server bank consoles, located parallelly to one another (where you previously encountered androids).
Go to the right server bank console. Activate the first console from the entrance, and go into the vent shaft next to it.
Exit the shaft, and head to the right. You will see a save game console ahead of you and a terminal that you need to hack on the left side. However, Apollo security system is to tough to hack, so go back to the vent shaft.
There is a button by the shaft. Once you press it, go inside the shaft, and there will be two consoles over your head, one of which has to be hacked. Follow the same pattern in the second vent shaft on the other side of the core, in order to weaken the defensive system, and go back to console and activate it.
Once you hack the central console, enter Apollo core, and talk to it.
Exit Apollo and wait for the doors to shut. This will open a door to a ladder leading beneath the Apollo core.
Once you climb down, approach an elevator and go to the engineering.
Follow the corridor to the other end, and turn power on, then go back to central part of the location, in order to turn on the tram system, which will open the door.
Go through the door. On the far end of the corridor there is an android and a motion detector. In order to avoid both dangers, enter the vent shaft on the right.
This will take you to the room with a rewire system on the wall. Turn off the camera, and move on while sneaking.
At the end of the room, you will find a vent shaft, and a map update console on the right.
As soon as you exit the vent shaft, you will notice more motion detectors. Stick to the left wall, and enter the room on the left. On a work-bench, there is an upgrade to the plasma torch (ion torch).
Exit the workshop through the same door you entered, walk past the motion detectors (the best way to do that is by moving to the right side and walking under the camera). At the end of this corridor, you will find a locked vent shaft. Use the ion torch to unlock it, and move on.
Once you leave the shaft, save the game and enter the next room. In this room, there is an android roaming around - you can either kill or sneak past him. Regardless of your choice, go to the right side of the hall, and you will find the first transmitter. The second switch is on the other side of the room, on the left (right next to the door). Go to the left side of the hall in order to turn on the third one.
As soon as you activate the third transmitter, head to the left, and you will find a generator by the door.
The obstacle blocking the vent shaft will be removed. At the end of that, you will find a ladder leading to the upper level. Go through the first door, and you will see another one locked. Turn right in order to take the long way.
In the first room, there is an android waiting for you. Sneak past to the next room, and on the table you will find a bolt gun - with that you can easily kill the android. Before leaving the room, enter the terminal and unlock the door with a keycode (the keycode is in one of the messages, 6832).
Exit the room, and turn right. The door are unlocked, so follow the corridor to an elevator.
In this room you will find bolt gun ammo and an Archive Log. Move on, and by a ladder there are more weapons - a revolver and a shotgun. Once you go up, save the game and follow the corridor to a door. Then use the elevator that will take you the lower level of the reactor.
Take out the bolt gun, stand by the door, and eliminate incoming androids. Wait until the gun is fully charged, then shoot them in the head, in order to quickly eliminate them.
No matter which route you take, you will get to the same location. Go through the door, and then activate the elevator.
Exit the elevator and follow the corridor ahead of you. On the right, there is a flamethrower and some supplies lying on boxes. Go through a door, and you will find more supplies and a save game station in the room. In the next room, keep your flamethrower out, because you will be attacked by facehuggers.
Approach the console on the right and initiate the procedure, then disengage locking mechanism in the middle of the room.
Go back to central location (the one where the save game station is), and go through the door on the left. Halfway through the corridor, on the right you will see a cavity near the floor - you can walk through the hole into the other corridor.
Follow the corridor, then turn left, and you will get to an inactive console. In order to activate it, first redirect power to the central core.
Go to the left and into the corridor. Halfway through the corridor, there is a small cavity near the floor - walk through the hole to the other room.
In this room you can restore power. When it is done, go back to the console, and start the procedure.
Escape through the reactor core. In order to do that, you need to go back to the location starting point. Take the central route, then turn left and take the vent shaft to the next room, which will take you to your destination.
When you exit the elevator, your objective becomes to overload both Alpha and Beta cores. Go to the core reactor, and first deal with the androids roaming around (a bolt to the head is the best option), and after that, turn left and activate the console. In order to overload it, you need to hack two other consoles located around Alpha core. When it is complete, go to the other end of the reactor and repeat the sequence for Beta core too.
After overloading Beta core, a large group of androids will appear behind you. You can, but do not have to fight them - if you choose to flee, the androids will not catch you anyway. Go back to the starting point (near the door), and you will have to activate the overload process, then head to the other side and go through the door. In the corridor on the left, you will find a vent shaft, and a ladder on its far end. Climb up to the upper level.
Use the two consoles on the two sides of the control room, in order to initiate the purge sequence, then start it in the main terminal.
Go through the door in the central area and head to the transit station. Call for the elevator number 3 in order to get to Solomon's Habitation Tower. Once you get to the transit station in Solomon's Habitation Tower, exit the elevator and enter the other one, also marked with number 3. It will take you to Scimed Tower.
Exit the elevator and head to the left. You will get to the locked door. Once you open it, you will see an elevator on the far end of the corridor. Use it to get to the medical facility.
Exit the elevator and turn left. Go through the corridor, and then turn left (it would be best to turn right and take a shortcut, however, the next door is locked, so you would have to go back anyway).
In the corridor, you will encounter an android. If you have the stun baton charged, you can eliminate him quietly. Every other weapon will draw an Alien.
Regardless of how you choose to resolve this problem, move on through the corridor, and you will get to the location shown in the picture. Turn left to get to your destination.
In the middle of the room you will find a couple of beds. Approach the one on the left, and you will find a Pipe Bomb blueprint. Once you collect it, approach the door on the left, and the objective will be updated.
You will learn that you have to find an upgrade for the access tuner. This one is in the other side of the room, lying on a box on the left. Go back to the door and hack it, then follow the corridor, and use an ambulance shuttle.
After leaving the shuttle, save the game. The station is by the main door.
Go through the door and follow the corridor straight ahead, until you get to the location shown in the picture. The door on the left is locked, and requires a keycode. This can be found in the terminal on the desk by the door (4510). Before you move on, empty the glass locker on the wall.
Go through the unlocked door to get to the next room. Activate two generators, then hack the console that slides out.
Once the power is on, backtrack to the corridor, and get to the place shown in the picture. The door on your left is now unlocked.
Have your flamethrower prepared, as you will be attacked by facehuggers in the next room.
Hack the door at the end of the room, and walk down the corridor.
Keep walking through that corridor (there is only one way), until you get to a door and a save game station. Follow the next corridor, and you will get to a small room. Use the terminal in the middle, and listen to a Log of Ellen.
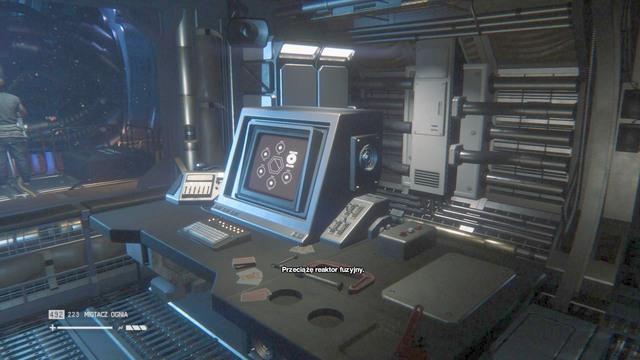
Your job is to stop the fusion reaction (the time is limited, so try to do this fast). Turn left and start the auxiliary generator. Wait until Taylor finds the right version, then hack the nearby console and turn off the fusion relay.
See what happens to Taylor, then escape from the station to the shuttle. It is impossible to get lost on your way, as there is only one route available.
Exit the shuttle and hack the door in the next room, in order to move on. In the corridor, you will encounter several hostile humans. Walk past them quietly or eliminate them. On the left side you will notice a locked vent shaft. Use the ion torch to get inside.
After leaving the shaft, search the room. You will find an Archive Log and a Smoke Bomb blueprint. You will also find ammo and ingredients.
Go back to the vent shaft, and once inside, turn left. You will get to a room with another locked vent shaft. Open it with the ion torch. Once you go through the shaft, you will get to the room shown in the picture. There you will encounter 2 opponents, whom you should eliminate. The terminal on the desk can be hacked, which will open the door in front of you. In the room behind it, there is an android, so prepare to fight. Search all the rooms to find Archive Logs, ID Tags, and lots of useful ingredients and ammo.
After killing all enemies and searching the rooms, you are free to move on. Go through the corridor on the right, until you get to the location shown in the picture.
NOTE! Getting here does not necessarily require killing any the opponents. The game can be completed in stealth play style, without firing a single shot.
Turn left, and you will get to a stairwell. On the top, you will find a door, and a save game station.
Go to the reception, and talk to Ricardo, then go through the unlocked door to the corridor nearby, and call the elevator at its end.
Exit the elevator and go to the room. There, you will encounter three armed opponents. You can completely ignore them by turning left, or kill them and search their corpses. Regardless of your choice, go to the corridor on the left. At its end, you will find a door (can be opened with the ion torch). Enter the control room and use the ladder.
Once you are on the top floor, hack the terminal in order to get inside. Then access the second console, and hack it too (move one circle over the other, the increasing one, and as soon as they overlap press the spacebar). Wait until the satellites change their position, then hack the other console on the right (hacking process is the same as in the case of the second console).
Climb down the ladder to the lower level and approach the door on the left. Wait until Ricardo unlocks it, then go inside. Once there, go inside the elevator, and to the lower level. Approach the spacesuit locker, and change your clothes.
Go to the other side, and you will find an elevator on the left. Once you leave it, initiate the procedure in the nearby terminal.
Take the platform to get to the lower level, and enter the dark room. If you have a problem with navigation, follow the three lights - beneath them there is the first lever.
After you pull the lever, go to the right side of the room, and pull three other levers (all on the same wall). When it is done, turn left to see another lever. Activate it and backtrack to the upper level. When you access the console, you will have to manually input coordinates of the Torrens.
The coordinates are displayed on the nearby screen, as well as in your log. Use the directional buttons to go left and press the correct button (customarily E) when you see number 35. The next number is 75.
After you input the coordinates, go back to the nearby elevator, and go down. Return to the station and change your clothes back.
Once you change, enter the elevator, and go to the upper level. You will see an Alien in the distance, so turn left to elude it. You have to walk right past it, so the best way to get rid of it is to use the flamethrower.
Once you deal with the Alien, get into the elevator, and go to another corridor.
Exit the elevator and head toward the reception. See what happened to Ricardo and move on. Turn left and get to the stairwell.
On your way you will encounter the Alien more than once (you can either sneak past it, or openly face it with your flamethrower). Regardless of your choice, head to the reception.
Once there, enter the elevator, and head to Solomon's Habitation Tower.
Leave the transit elevator, and save the game. You will see a single opponent on the left. Deal with him quietly or avoid him, since the Alien is roaming nearby.
Then go through the door shown in the picture (ion torch required), and in the next room you will find a terminal, which reveals a door keycode (1851).
Leave the room, and you will see a door on the right. Input the keycode, and enter the next room. In there, use the console to turn power on.

Go back to the transit station, and turn right to get to the reception. Use the lever to get inside. Make sure you have your flamethrower out, as you will be attacked by a facehugger. In the room, you will find a console, which can be used to start the transit system.
After starting the transit system, head to the right. Before you there is an elevator (call it first), which will take you to the residential area. Leave the elevator and search the room. In the reception you will find a Nostromo Log, and on the left, on a bench, an ID Tag. Also, collect useful ingredients, and use the elevator on the right.
Exit the malfunctioning elevator and save the game (the console is on your left), then go through the door and deal with an incoming android. Follow the corridor, and at its end, turn left. You will get to a bigger room. Either walk past the Alien or get rid of it, and approach the terminal shown in the picture. Get the keycode from the log, then approach the nearby glass locker and pick up the keycode. The keycode to the locker is 1984.
After you pick up the keycard and ingredients from the locker, go toward the console. Using the keycard will unlock the routes before you (crouch down to crawl under the forklift).
At the nearest turn take left, and you will get to another door (use the ion torch to open it).
Then follow the corridor, until you get to where you can turn left. In that room you will find a save game station, so use it. You can search the room in order to find a handful of useful ingredients and ammo. Next to the console, you will find a body and a vent shaft. Search the body, then get inside the shaft.
When you exit the vent shaft, go to the room on the left. You will be attacked by a facehugger, so have your flamethrower prepared. There lies a keycard and an Archive Log by a body.
Use the keycard in the console next to the window, in order to unlock the door in the corridor.
After that, leave the room and turn right. Follow the corridor straight ahead, until you get to the unlocked door on the left. Keep you flamethrower out.
Approach the door and use the lever next to it. While trying to unlock the door, a generator will break. You need to go back to the room with the body you took the keycard from, in order to fix the generator.
Leave the room, and follow the corridor until you get to the room with the generator. Start it, and go back to the room with the lever.
When you are back, unlock the door, and enter the vent shaft at the other side of the room. When you exit the shaft, head to the nearby elevator, and go to the spaceflights room.
Exit the elevator and save the game. Then walk through the door, approach the wall on the right, and crouch down to crawl under some junk. Head left and climb down the stairs, until you get to the location show in the picture. Use the ion torch to get to the room where you can find an EMP blueprint hanging on the wall, as well as a Nostromo Log.
Exit the room and head to the other end of the station (you can open the door with the ion torch), then take the elevator to the docking station.
Exit the elevator and use the save game station on the left. In the next room, you will find a map update console. Leave the room and follow the corridor to the next room, and the objective will be updated.
You need to power up (hack) two consoles on the opposite sides of the room. Go under the junk on the right and hack the first one, then get to the other side. Keep your flamethrower out, as you will be attacked by an Alien.
Approach the second console, and see that it is down. In order to restore power, enter the vent shaft in the floor (on the right from the console). Inside, follow the colored cables, until you get to a lever, which restores power. Then go back to the console and hack it.
After hacking the console, approach the terminal in the middle of the room, get rid of an android there, and start the process.
Go back through the main door, and then climb up the stairs until you get to the command center. Use the terminal to extend the docking clamp.
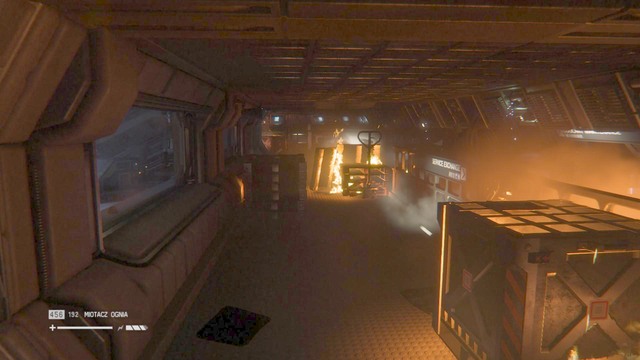
Now your objective is to go back to where you came from. Go back down the stairs, then head left. At the very end, turn right into the room where you should put on a spacesuit. You will be attacked not by one, but several Aliens, so make sure you have your flamethrower ready. When you retake control over the character, take ammo from the body lying nearby, and move on.
Turn left, and keep the flamethrower out. You will be attacked by facehuggers. Crawl under some junk, and move on.
At one point, Aliens will jump out of a vent shaft, so wait until it is safe again, and move on.
As soon as you retake control over the character, climb down the ladder, pick up ammo, and approach the door. You will see a transit falling down, so do your best to avoid that. Turn right and go to the other side, then turn left, and when you get to the location shown in the picture, enter the corridor, crouch down, and wait for another elevator to fall.
Walk on the platform and turn right, and you will get to another cavity. Jump down, and use the ladder.
Walk to the other side, and enter the room. Use the vent shaft there.
Inside the shaft, facehuggers will attack you. Get rid of them with the flamethrower, and exit. When you get to the top of an elevator, use the ladder on the right to climb down.
After you climb down from the elevator's top, walk through the flames to the end of the room. As soon as you get to the room, wear a spacesuit.
Go to the airlock and wait until it is open. As soon as you get outside the station, turn left and use the elevator. Keep on walking across the docking clamp, until you get to a transit car, which will take you to the very end. Once there, use the two terminals to release the Torrens.
Approach the console in the middle and start the releasing procedure. After a cut-scene, head to the Torrens bridge. At the end of the corridor try to walk through the door and watch the game's ending.
In order to collect all Nostromo Logs, you have to meet two conditions. You have to complete mission #26 "Find an Ambulance Craft". While doing this mission, you will find the access tuner V.3. You have to possess the following items:
The best moment to collect all Nostromo Logs is when you load mission #16. Then, you have access to all levels in Sevastopol, and are able to collect all the logs. There are two tips for navigation on the station. First is to go back to the transit station, and the other to memorize all departments in main locations. Getting all Nostromo Logs requires you to go back to:
From these locations you will be able to access all the required departments.
Collecting all ID Tags of missing persons requires going back (in mission #16) to previously visited locations. The ID Tags are grouped under specific locations, and each number stands for persons counted from top to bottom (from left to right). This should help you identify the persons you may have missed out during the game.
During your stay on the Torrens (at the beginning of the game), you will find the first logs. Use the closest terminal in the room to get the first Archive Log "Just Missed You". The second "Nostromo Incident" and the third one "Torrens Manifest" are in the terminal in the room behind Taylor. You will briefly learn why you joined the mission, and also a few interesting facts about the Nostromo itself.
While doing a mission on the Anesidora, you will get a special Log of Ellen Ripley. You can find it in the last room, where you had to help Taylor divert power from generators. While exploring the spaceship, keep your flamethrower out as you will encounter facehuggers. Green on the map marks other terminals with Logs.
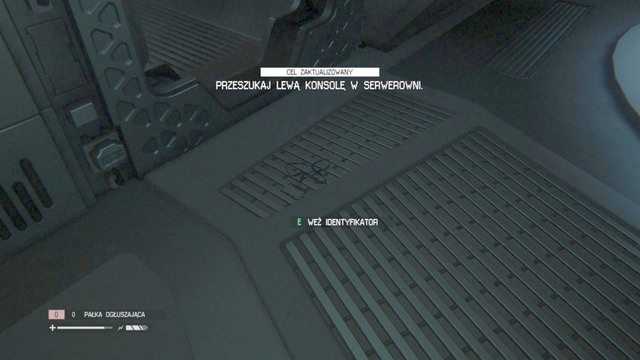
An ID Tag next to a vent shaft.
An ID Tag is by the body on the second floor of the Spaceflight Terminal, where you got the maintenance jack.
Terminal is in Sevastopol Spaceflight Terminal (required the ion torch)
An ID Tag is under the desk in the middle of the lobby in Lorenz Systech Spire.
An ID Tag lies on a shelf in a room.

An ID Tag lies on a shelf next to the radio in the Server Farm.
An ID Tag lies on a bed next to a body (the room can be accessed once you turn on the generator).
An ID Tag lies on a desk in the locked room (can be accessed with the access tuner).
An ID Tag lies on a table in the locked room on the landing of the lobby in Lorenz Systech Spire (to access the room the you need the access tuner V.3 - the best way to get it is by completing mission #16).
An ID Tag can be found by a body in a cell (you can access cells from the terminal in the next room).
The terminal can be found in a locked room in the Lorenz Systech Spire Transit System (requires the Access Tuner V.3).

The terminal can be found in the room with poisonous gas in Lorenz Systech Spire Server Farm (gasmask required).
An ID Tag lies on the table in room no. 27.
An ID Tag lies in a small room, next to a body.
An ID Tag lies on a desk in the room you can access through a vent shaft. The entrance to the shaft is next to Dr Kuhlman.
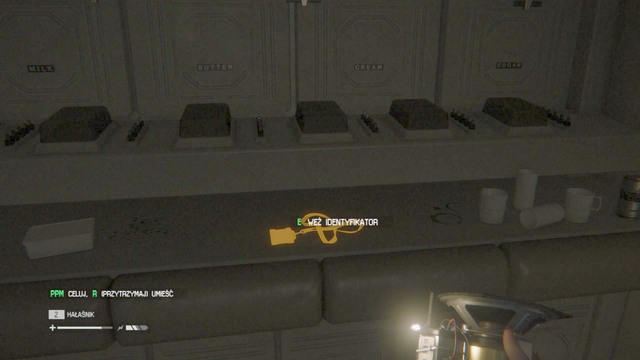
An ID Tag lies on a shelf in the staff room.
An ID Tag lies on a desk in the room that requires a keycode (1702) (in order to get access, you have to use the terminal in Morley's office).
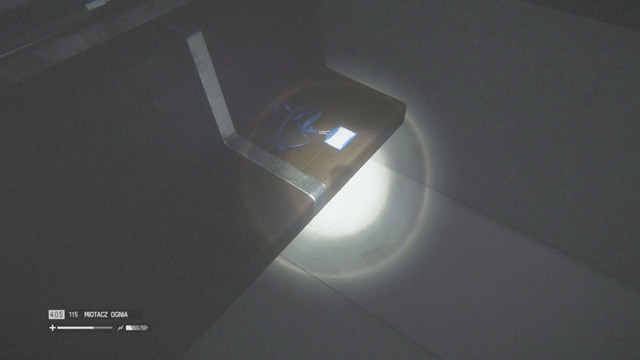
An ID Tag lies on a desk in the first room.

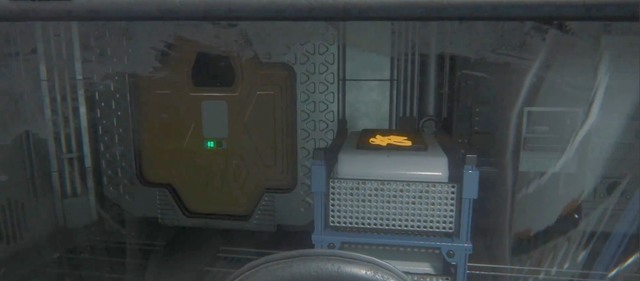
In a drawer, next to the rewire system in the room (unlocking the room door requires inserting two cooling cylinders in the central room).
An ID Tag lies in the corner of the room where you found the access tuner V.3.
An ID Tag lies on the left shelf, by the operating table, where a medkit for Taylor is.
The terminal can be found in a room in the San Cristobal Medical Facility (required the ion torch and the gasmask).
An ID Tag lies on a bench near Samuels and Taylor.
An ID Tag lies under a desk next to a chair in Scimed Tower.
An ID Tag lies in the locked room on Scimed Tower Transit Station (can be accessed with the ion torch).
The terminal can be found in a room in Scimed Tower (required plasma torch).
An ID Tag lies on a desk next to the door.
An ID Tag lies under a desk, right next to the save game station.
An ID Tag lies next to a body on the floor in the room where you found an upgrade for the access tuner.
An ID Tag lies on the floor next to a body, by the Seegson Synthetics elevator.
While doing the mission with a deactivated android, you probably stumbled upon a room you could not access at that time. There is the sixth Nostromo Log inside. In order to get there, you need to have the gasmask.
An ID Tag lies on the floor next to a deactivated android.
An ID Tag lies in the vent shaft (after entering the shaft turn left, and at its end you will find an ID Tag).
An ID Tag lies on the floor next to a desk in the locked room (use the access tuner to hack the door).
An ID Tag lies next to the body on a bench (to access the room you need the ion torch).
An ID Tag hangs on the wall in Seegson Communications (in order to get inside the room, you have to take an elevator to the lower level). The ID Tag is in front of you, by spacesuits.
An ID Tag lies on a desk next to the terminal in the locked room (can be accessed through a vent shaft - ion torch required).
An ID Tag lies on the console in the middle of the control room in Seegson.
An ID Tag lies on a desk in the middle of the room.
The terminal can be found in the control room in the center of Seegson Synthetics.
An ID Tag lies on the table next to a terminal (the room can be accessed through a vent shaft).
An ID Tag lies on a bench in the residential area.
An ID Tag lies on a bench in the main Solomons Transit Station.
An ID Tag lies on a bench in the upper level of the residential area.
An ID Tag lies on the control panel in a locked room (the room can be accessed with the access tuner V.3).
An ID Tag lies next to the two-way mirror in the interrogation room in Solomon's Habitation Tower.
The terminal can be found in the reception in the main Solomons Transit Station.
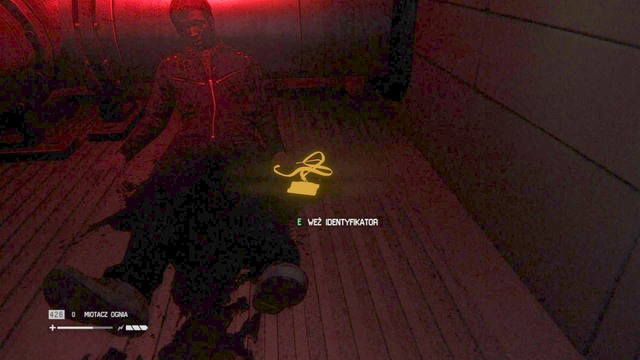
An ID Tag lies on a bed next to a body of a man.
An ID Tag lies on the control panel in the room with poisonous gas (to get there, it is required to use the gasmask that you found in the room on the opposite side).
An ID Tag can be found on a desk in a room inside Apollo station.
An ID Tag lies on the floor, next to the save game station.
An ID Tag lies in the room with poisonous gas (to access there, it is required to use the gasmask you found in the opposite room).
An ID Tag lies by a body in a vent shaft.
The above picture shows the vent shaft where the ID Tag is hidden.

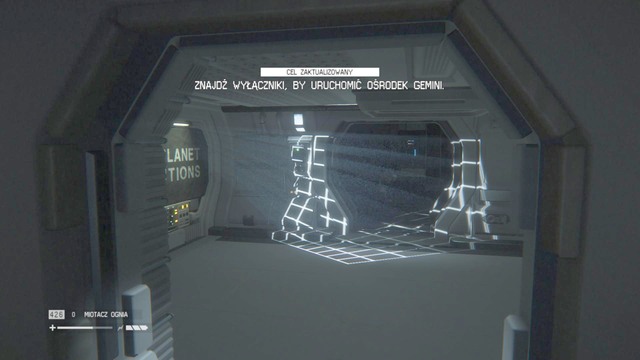
The terminal can be found on the upper level of Gemini Exoplanet Solutions (ion torch required).
An ID Tag lies on a desk on the Transit Station in the Engineering.
An ID Tag lies on a shelf next to a ladder.
An ID Tag lies by a body on a bed in the room where you found the bolt gun.
The terminal can be found behind the locked door in the Engineering (access tuner V.3 required).
An ID Tag lies on the desk in the middle of the room (between the two consoles you have to hack)
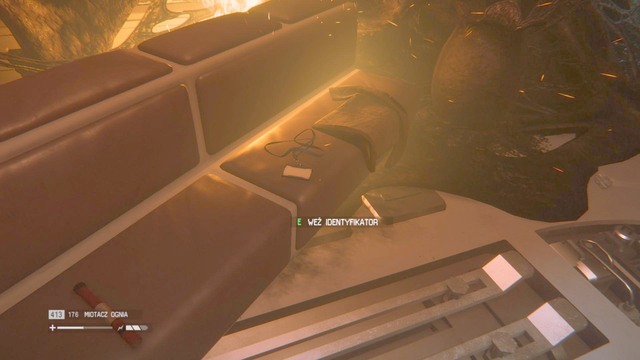
An ID Tag lies on a bench next to a body (only available during the last mission).


 Assassins Creed III Game Guide & Walkthrough
 Assassins Creed: Brotherhood Game Guide & Walkthrough
 Arcania: Gothic 4 Game Guide & Walkthrough
 APB Reloaded Walkthrough All Points Bulletin: Reloaded
 Assassins Creed: Liberation HD Game Guide & Walkthrough