Welcome to the cruel world of demons and demon hunters. This walkthrough will lead you through all the missions, giving all advice you might need to finish secret missions and destroy bosses. Grab your sword and get ready.
Maciej "Shinobix" Kurowiak
Red Queen Combo
Easy to perform combination; when Nero is standing on the ground.
Red Queen Combo A
Y Y Y
fast combination of attacks
Red Queen Combo B
Y, pause, Y Y
combination of attacks with a strong, but slow finishing blow
Red Queen Combo C
Y Y, pause, Y
attack a group of enemies at once
Red Queen Combo D
Y Y Y, pause, Y
attack with a strong finishing blow
Aerial Combo
It's absolutely necessary during a fight with any boss.
Aerial Combo
jump, Y Y Y
very fast combo performed in the air
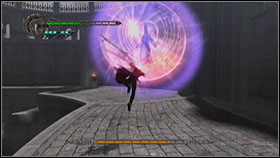
Roulette Spin
Another helpful aerial attack combination
Roulette Spin
jump, Y Y, pause, Y
two fast attacks in the air with a strong finishing blow
Exceed
This ability allows Nero to increase the power of his attacks. It's one disadvantage is the long time needed to charge the Exceed meter, but it's good to have it ready for boss fights. You can charge it using the Left Trigger - you'll notice that the pointer (on the up-left side of the screen) is going up. Now release the trigger for a while and press it again before the pointer falls down. When done right, a lamp near the indicator should light up. MAX-Act skill can accelerate the charging of the Exceed Meter.
Exceed (2,3)
Left Trigger
-
Streak
Long range thrusting attack. Useful when you're fighting with a large group of enemies. In the Ex version Nero performs a powerful finishing blow.
(Ex) Streak (2)
RB+forward+ Y
thrust attack with a long range
High Roller
Strong and useful attack. It launches an enemy into the air where you can chain any combo you want to use.
(Ex) High Roller
RB+back+ Y
ejects an enemy in the air
Split
A vertical attack from air damaging all the enemies below.
Split (Double Down)
jump then RB+forward+ Y
a vertical attack from the air
Shuffle
An attack preceded by a step back, may be a little hard to perform.
(Ex) Shuffle
RB+back then forward+ Y
Step back and attack
Calibur
Aerial forward attack
(Ex) Calibur
jump then RB+back then forward + Y
attack in the air, short flight forward
Normal Shot
Standard gunshot attack (X).
Normal Shot
X
a gunshot
Charge Shot
Special gunshot. On the 3rd level it's very useful to destroy Fausts an Mephistos.
Charge Shot (2,3)
push X
one but strong gunshot
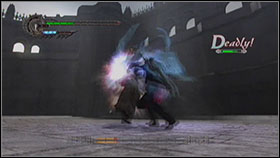
Buster
One of Nero's most important skills. It can deal damage to bosses or lesser enemies but you need to be aware it will not work all the time (especially on bosses - they are vulnerable to buster at certain times, for example when they are lying waiting for a finishing move.
Buster
B
special move
Devil Buster
A more powerful version of Buster - during Devil Trigger.
Snatch
A magical harpoon, which can bring enemies closer to Nero (something like Scorpion's "come over here" move) or transport him near a boss.
Snatch
RB+B
a magical harpoon which brings enemies closer to you or to transport near a boss
Devil Snatch
A more powerful version of Snatch with activated Devil Trigger. You can bring more enemies to you at once.
Hold
Extends Buster's duration and allows to deal more damage.
Hold
push B
extends Buster's duration
Hell Bound
Nero is able to use the magical harpoon and Grim Grips to transport himself.
Hell Bound
RB+B
transports Nero using his harpoon
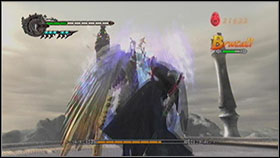
Devil Trigger
Activates Nero's demonic power. Every attack, blow, combo or Buster usage deals much more damage.
Devil Trigger
LB
Activates demonic power
Summoned Swords
When Devil Trigger is activated, Nero is able to summon magic swords. This skill works even during Devil Buster carnage.
Summoned Swords
X
works when Devil Trigger is activated
Maximum Bet
A very powerful attack.
Maximum Bet
RB+back+Y+B
A very powerful attack.
Showdown
A slow but powerful attack.
Maximum Bet
RB+front+Y+B
A slow and powerful attack.
Side Roll
Nero's most basic dodge
Side Roll
RB+left or right
basic dodge
Table Hopper
Enhanced dodge.
Table Hopper (2,3)
RB+left or right+ A
very fast dodge with the option of instant counterattack
Kick Jump
Double jump (you have to stay near a wall)
Kick Jump
A+A
double jump (near a wall)
Speed
Acceleration
Speed
during run turn right a. stick into the right direction
acceleration
MAX-Act
Instantly charges your weapon (Exceed) but only if you push the left trigger just after attack.
MAX-Act
left trigger just after the attack
instant charge
Rainbow
During Speed, you can finish your run with a kick.
Rainbow
select during the Speed
Finishing kick
Enemy Step
In the air, Nero jumps onto enemy's head
Enemy Step
A in the air
jump onto enemy's head
Get More Orbs
Increases Orb drop rate.
Air Hike
Very useful skill. Works like a double jump.
Air Hike
A in the air
double jump
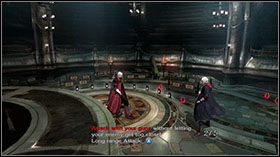
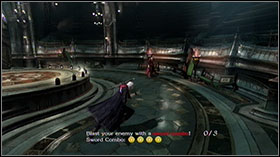
It's just a training mission, not a real fight. Here you should learn how to perform basic attacks. Do it in the following order: shoot at Dante from distance (X); avoid his gunshots by jumping (A); avoid his gunshots by rolling (RB + a. stick + A); perform the most basic Red Queen A combo (Y+Y+Y+Y); perform High Roller; (RB+back+Y); catch him using Buster (B).
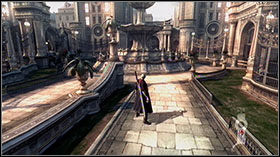
Destroy Scarecrows at the courtyard using High Roller and Red Queen combinations. Break benches to get Red Orbs. Get out through the green door.
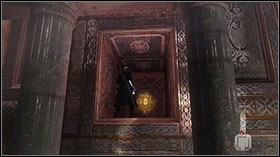
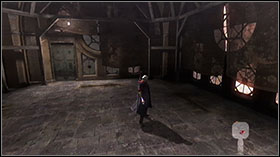
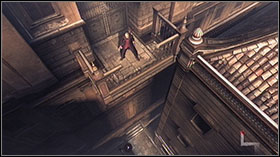
Take the Gold Orb from the alcove (you will need to use Kick Jump to reach it). Run upstairs, leaping over the gap. In the small storehouse you will be attacked be a few more Scarecrows, destroy them and leave.
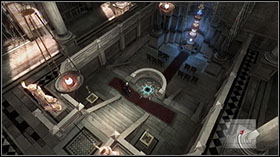
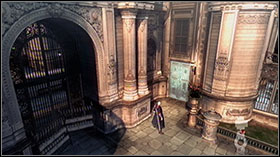
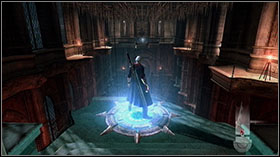
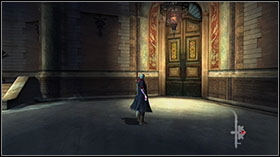
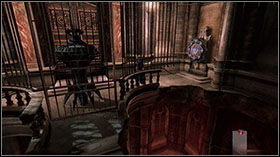
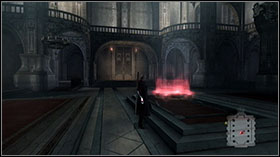
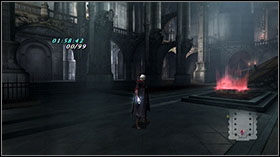
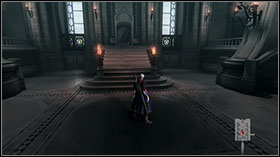
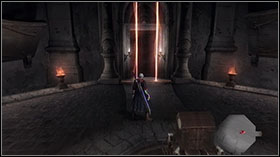
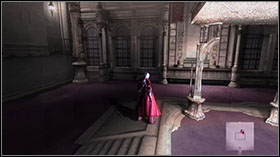
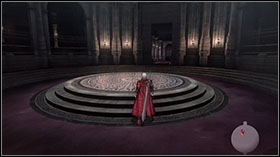
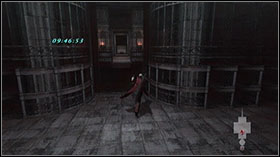
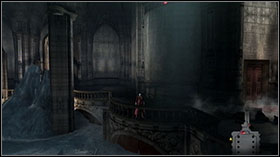
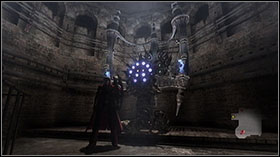
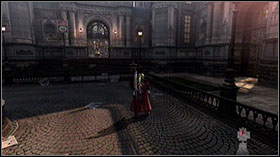
There is not much to do in here. Run forward, then left and through the door. In the cathedral destroy all the chairs and get Red Orbs. Take the Evil Legacy from the centre of the hall. You will be able to use Grim Grips - blue blinking points. You can also take items which were unreachable before - try it to take Vital Star S on the other side of the bars. Use RB+B combination. You will also use the same combination to grip points above. Stand in the blinking circle on the floor and use RB+B. Before you leave, kick jump over the gap and take a Red Orb.
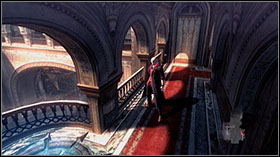
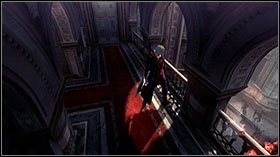
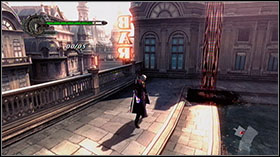
Move along the balcony using Grim Grips. You will reach the statue with a red mark - it will teleport you to your first secret mission. In any case, use Grim Grip, destroy Scarecrows on your way and leave this area through a door.
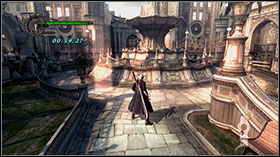
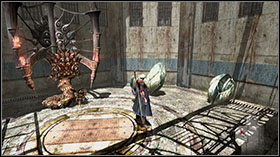
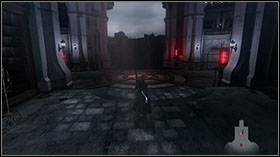
Secret Mission 01: Annihilation
Destroy all the demons in one minute.
Tactics: use a High Roller, then catch the enemy with Buster.
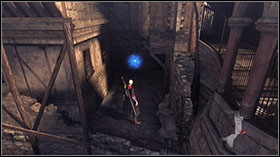
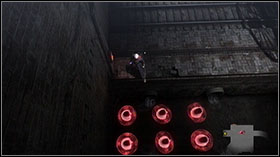
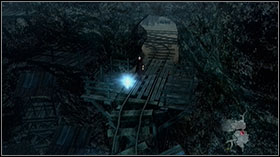
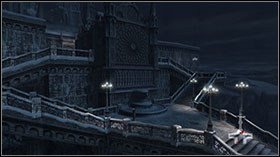
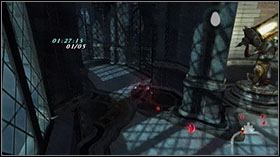
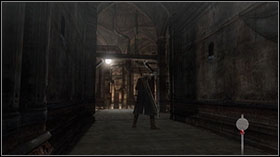
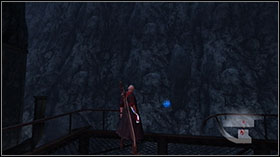
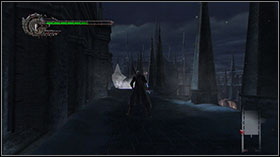
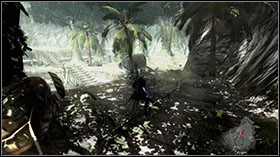
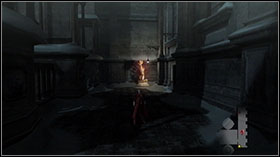
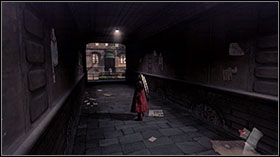
Go down. In the narrow street you will meet a few Scarecrows. Destroy them and then do the same with a Red Orb statue. You should notice a small Red Orb near, take it and then take another. Taking Red Orbs will lead you to the Blue Orb Fragment. On the courtyard you will notice a wooden watchtower, Kick Jump on it to get some Red Orbs.
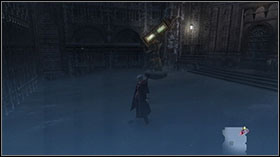
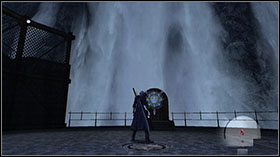
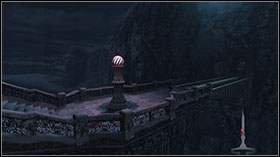
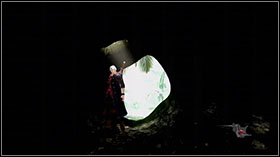
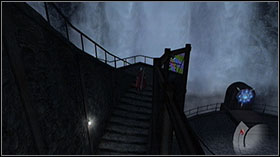
Go right and take a hidden Red Orb using Kick Jump. Then go to the pier and use the Grim Grip there. Destroy Scarecrows and attack the blue glowing mechanism. After a few blows the blue barrier will disappear. Go out through the door and use the control panel. Go back to the pier and enter the cave.
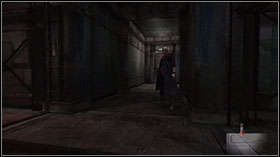
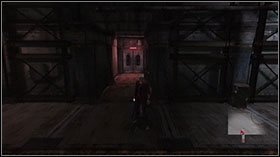
Go along the corridor, jump into the water in the big room to collect more Red Orbs. Then go up using your harpoon and Grim Grips. Take the Green Orb and accept the fighting challenge. You will have to reach a Brutal level to destroy the statue and get a Blue Orb Fragment. As usual, High Roller + Buster combo is your friend here. Buy some skills or items and leave to fight with Berial.

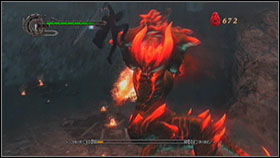
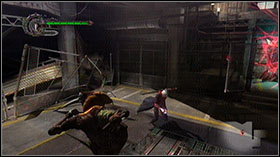
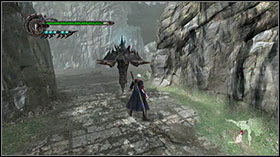
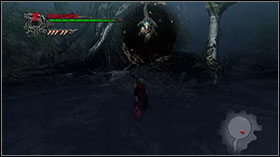
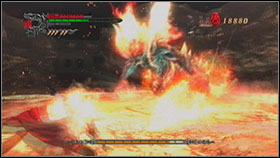
This fire demon can be a little hard to defeat, but only when you panic and start attack blindly. Try to stay in the air and above his neck (use Snatch skill). Attack him till he stops burning, then use Buster to smash him into the ground. Try to do it two times in a row. Uh oh, he gets pissed now so be careful and avoid his attacks or, as before, try to stay near him.
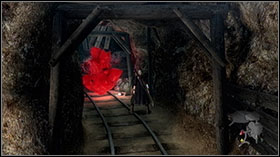
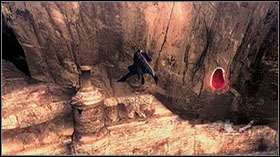
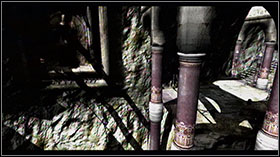
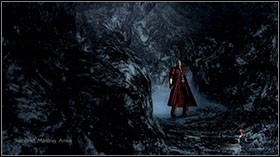
You are in the mines again. Run along the corridors and at the crossroads turn left. Destroy the wall and Red Orb Statue behind it. When you reach a lake go up using Grim Grips. There are two Blue Orbs Fragments. Reaching them is not an easy task. The first one is above the entrance to the corridor. You need to jump onto the platform on the left then up. You should see a few Grim Grips. To grab the lowest one, you need to jump right and then Kick Jump. Grab the rest of the Grim Grips - at the last one turn left analog stick to the left. The second one is on the other side of the hall in front of the entrance to the corridor. To get it you meed to jump over the gap - it's rather wide and the whole action is VERY hard to do with Nero, so consider getting Dante to do the job. After that, you will need to fight the Scarecrows. Before you leave this area, take Vital Star S (break the wall near exit).
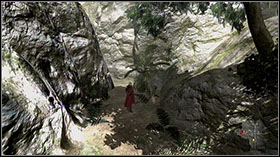
Take a Red Orb from the cliff on the right. In this area you will meet new enemies - Frosts. They aren't very hard to destroy, but you can't launch them into the air - grab them instead. There are some Green Orbs in the poles.

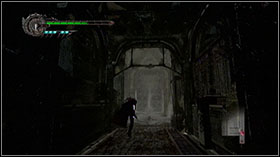
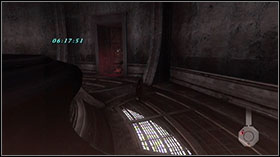
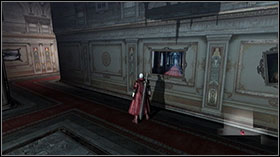
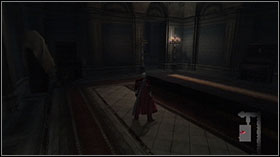
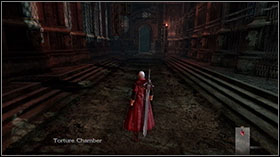
In the hall destroy all chairs, benches and everything you can break to get Red Orbs. Go east to the Large Hall and take first door on the right. In Dining Room destroy what you can, take Orbs, leave and go along the corridor to reach Torture Chamber.
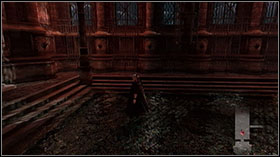
Destroy enemies and go upstairs. Now you need to use moving Grim Grips - it is very easy, just be careful to not fall (you will need to fight again to move forward).

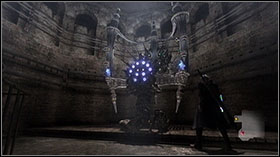
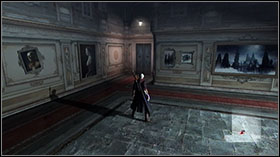
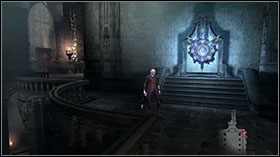
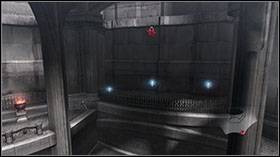
You can go in only one direction, so when you reach the door, enter inside. You will be attacked by Frosts, so clean this area and go to the Foris Falls. You should find Vital Star S on your way (above the pole in the center - use Kick Jump to reach it). Go back through the door to the east and enter the Grand Hall (through Central Courtyard). Activate the blue glowing machine with your sword and the barrier will disappear. Behind the mirror on the east you will find Blue Orb Fragment. Take a door on the east to reach a Gallery. Destroy everything you can and enter Library. You'll meet knights - Bianco Angels. They have shields (destroyable) but you can also jump over them and attack or launch them into air. After the fight take Anima Mercury and leave this place.
Now you can activate and use Gyro Blades. You can activate it using Buster and move it with you sword. Try to move Gyro Blades into the group of enemies. Go back to the Grand Hall destroying Scarecrows on your way.
Activate the Gyro Blades and move it to the sacrophagus in the middle of the floor. Leave this room through door to the east and go to the Dining Room again.

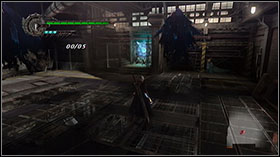
Destroy all Bianco Angelos here (jump over them, use f.e. High Roller or any other combo). Now go to the place where the fireballs fly along the corridor. Activate the Gyro Blade and move it into the corridor to block fireballs. Repeat it until Blades destroy the cannon. There is a Secret Mission 02 behind it. Enter the door and you will find yourself in the Large Hall again - but this time, behind bars. Destroy Scarecrows, activate blue panels with Gyro Blades and leave this room taking Gyro Blades with you. Push it along the corridor to the other side of it. You should have two Gyro Blades now, so take them to the glowing points in the center of the corridor.
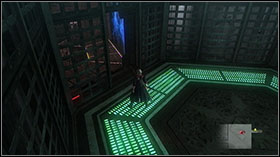
Secret Mission 02: Alley-oop
Destroy demons 5 times using Buster, without falling down.
Jump and use Snatch, and then Buster. Every successful attack will launch you higher. Do it five times.
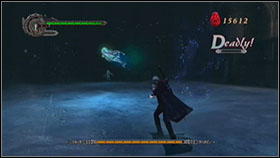

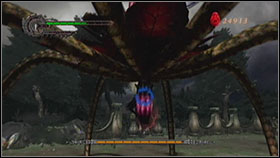
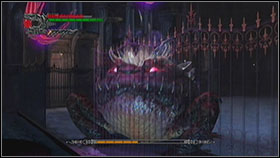
This boss has two forms. The first are Rusalkas. You can beat them without a problem - use Snatch when you find one of them flying. Then use Buster on her. The second form is much more dangerous. Try to jump and roll to avoid his attacks.
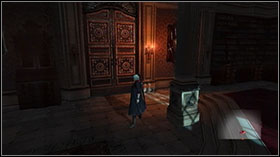
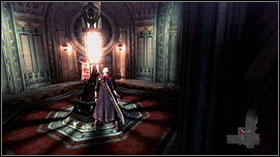
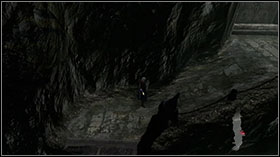
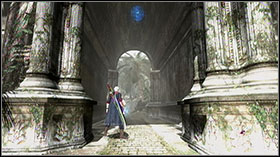
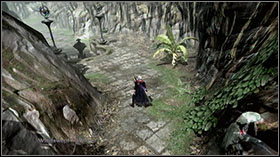
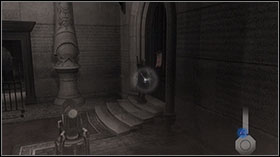
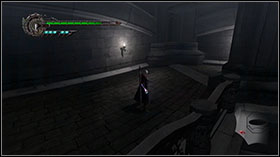
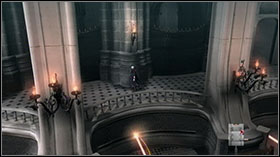
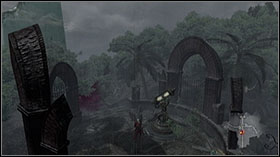
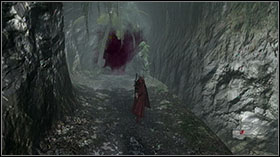
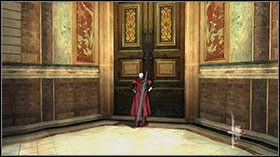
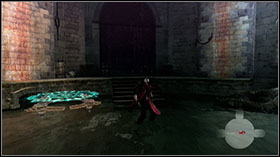
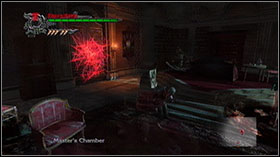
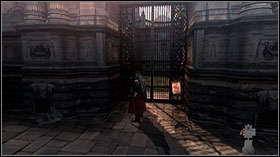
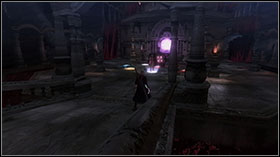
You will meet new enemies here - Mephistos. They're vulnerable to Snatch and Charge Shot. Enter the graveyard and destroy graves and everything you can. Under the stairs you can spot secret mission 03. Go upstairs and enter the door. In the Master's Chamber destroy Bianco Angelos, and then break the mirror above the fireplace. There is secret mission 10 inside.
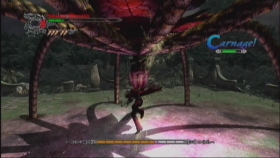
Secret Mission 03: Nonviolent Resistance
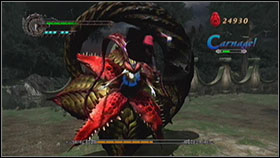
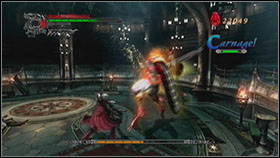
Reach a "carnage" level without attacking - just dodging.
It's VERY hard to do with Nero. Try to taunt enemies just after the dodge.
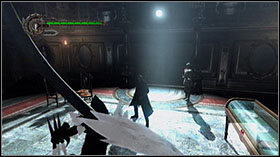
Secret Mission 10: Puppet Master
Destroy all glowing blue statues using Gyro Blades
Move Gyro Blades along the corridor. The last three statues can be destroyed in this order: end of the corridor, near the door, behind the bars.

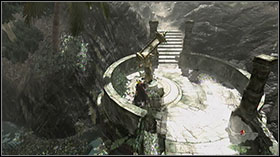
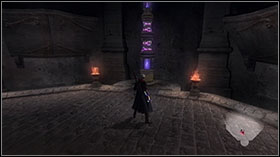
Activate Gyro Blades and push it onto the blue panel. Push it again to the other side of the bridge onto the glowing pole. You will fall into the hole. Destroy two Mephistos and take the Wing Talisman. Stand on the red glowing symbol and you will be launched into the air. After the third symbol try to fall down on the cornice and destroy Red Orb statue. On the top you will be attacked by Scarecorws and Mephistos. Destroy them and leave.

Go back to the Grand Hall (through Large Hall). Do you remember a place where you destroyed the sarcophagus? Go there and use the red symbol to launch yourself onto the candelabra. Hit the chain and go through the hole in the picture. Go downstairs (take a Vitas Star S from behind the bars uing Snatch). Get to the end of the corridor. When you get the chance buy Charged Shot - it will be useful.
Before you jump into the well, run around it and take a Blue Orb Fragment. Jump down and enter the door. Dangerous fish - Cutlass, will attack you. Destroy those using Charge Shot.
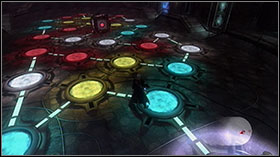

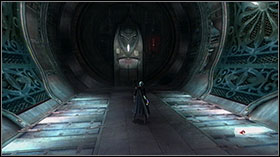
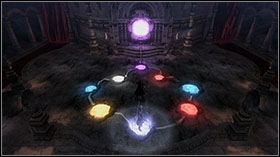
In this room you need to play a board game. The goal is simple - you must reach the end of the board. Attack the dice with a sword to throw it. Each color has a different effect: red - enemies appear; blue - prize; white - no effect; yellow - free move.
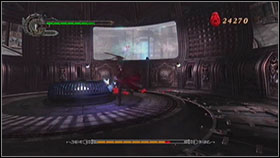
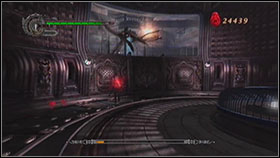
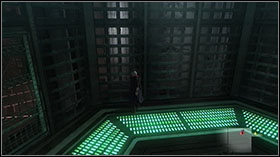
Angus is not you main enemy in this room. You just have to destroy a forced glass using Gladiuses (flying swords summoned by Agnus). Snatch them, then throw it with a Buster. Repeat this. Be careful of the the high voltage floor - jump over the platform to avoid it.
Attack the blue glowing machine. Go upstairs, but before you leave through the door look at the edge of the platform. You should notice a Blue Orb Fragment floating in the air. You can take it using Snatch 3 and Air Hike/Roulette Spin.
There are some Bianco Agnelos to destroy and secret mission 04 (on the left side of the body in the cage).
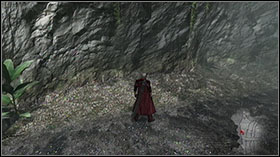
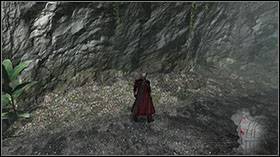
Secret Mission 04: Tracking Treasure Down
Find all hidden Red Orbs.
Tactics: Nero's hand glows when he is near hidden Orbs.
Near exit, activate the panel and get out of the shaft jumping on the red platforms. Go along the corridor and leave the lab. When you reach Grand Hall pick one of the doors near the picture.
Destroy Frosts and finish this mission walking over the bridge.
Look around - you should find secret mission 08 and Red Orb statue. Inside a trunk you can also find Vital Star M (jump up into the hole).
Secret Mission 08: Royal Blocker
Perform Royal Block 5 times.
Tactics: You have to do it with Dante, not Nero.
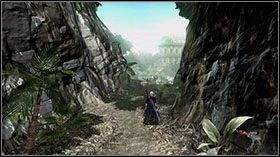
Before you go down into the valley, go along the cliff and take Holy Water. Destroy Chimeras and go east.
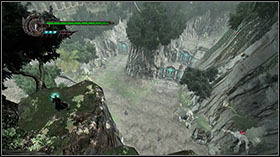
Destroy Chimeras, break the glass and eggs behind. Go upstairs, activate the machine and go over the disappearing bridge trying not to fall. You can shoot Mephistos with Charged Shot. There is a Blue Orb Fragment above the bridge - take it using Air Hike.
It's safe here, go to the other side of the river, on the left you will find Secret Mission 05.
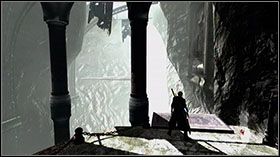
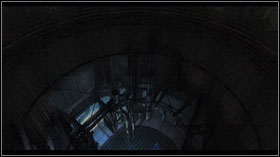
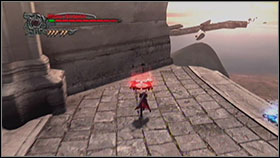
Secret Mission 05: Sky Scraper
Reach the top of the shaft under one minute.
Tactics: Launch yourself up using first red platform, then use a Grim Grip, now fall onto the second platform, turn yourself toward the middle of the shaft, use Grim Grip and jump onto the third platform. Fourth platform is protected with fence - jump up, destroy a fence. From the fourth platform jump directly to the platform near wall. Land on it, find the last Grim Grip, use it to reach fifth red platform.
Pass through Ancient Plaza destroying Chimeras on your way.
In Windswept Valley activate Gyro Blades and destroy barriers and Chimeras till you reach the gate.
Run over the bridge destroying eggs. Before you leave to fight Echidna, use a Combat Adjudicator (you have to reach "atomic" status to destroy it).
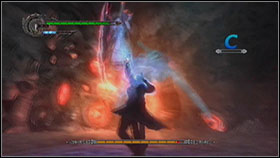
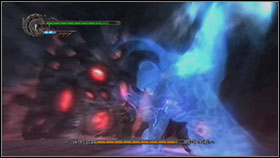
Echidna isn't easy to destroy so take a Vital Star just in case. When you're able to attack her true self, use Devil Trigger. When she's flying around shoot her with Charged Shot. Stay close to her using Snatch and attack nonstop.

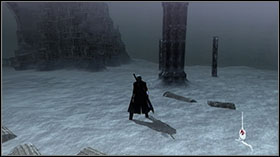
Take a Blue Orb Fragment floating beneath the ceiling of the tunnel. Destroy Scarecrows and pass Lapis River. Go to Ancient Plaza area.
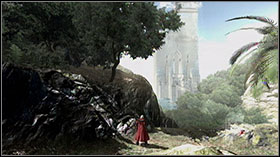
You will meet new enemies here - Assaults. They're similar to Bianco Angelos but you can't knock them out as easily. In Windswept Valley destroy eggs, take Red Orbs and leave to Ruined Church.
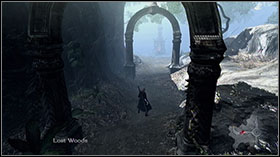
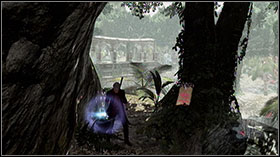
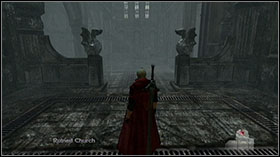
In Ruined Church Area destroy Assaults and go beneath stairs to Lost Woods. Go forward, right and left. You can also go the wrong way to fall into a trap - you can obtain Blue Orb Fragment there. Go over the bridge.
.
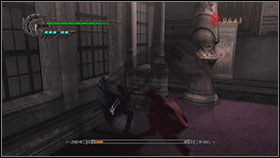
Angelo Credo can be annoying but he has some weak points: High Roller can launch him. He is very fast so be quick: dodge and instantly counterattack finishing with Buster. When Credo's shield loses its glow, activate Devil Trigger and Buster him.

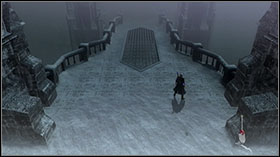
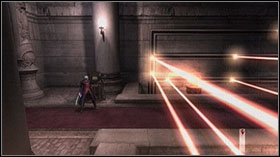
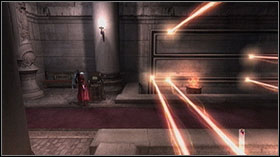
Go downstairs, destroy furniture to obtain Red Orbs and go over the bridge. You will be attacked by new kind of knights - Alto Angelo. They're stronger than Biano Angelos. In Grand Hall, near stairs you will find Devil Star S and Combat Adjudicator (you have reach S level). There is a nasty trap in a next room - moving lasers. You don't have to jump over them - go to the entrance to the east side of the hall.
Destroy knights and take Key of Cronus. This artifact will let you slow time. Use it and leave this room using entrance to the west. Activate the machine and go inside the cage. Destroy all enemies, go outside the cage and slow time - enter the cage avoiding laser. After destroying Frosts you will have the option to exit the cage through a second door and obtaining Blue Orb Fragment. In any case you should reach Statue and entrance to Angelo Agnus' room.


He is much easier than Credo - it's enough to attack him aggressively and when he loses energy use Buster (with Devil Trigger if possible).
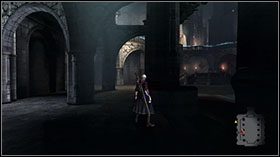
Take all Red Orbs and leave. In the cage you will be attacked by a new enemy - Faust. He's accompanied by two Mephistos. Use Charged Shot on them - there is no better weapon than Snatch/Charged Shot combination. In the next room there are some lasers to avoid - slow time and quickly run dodging rays. Activate the machine and return. Go back to Key Chamber.
Some more knights to dispose of - this fight can be very hard but you can slow time here. Go to Grand Hall and go to the entrance to the south.
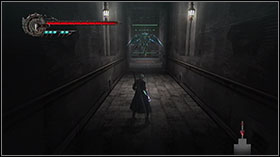
There is a very nasty trap here. Try to avoid laser rays jumping. At the end of this room you can find a Secret Mission 06. In the room with gigantic blades, fall down and destroy Mephistos. Activate Key of Cronos and jump up on blades to reach door.
Secret Mission 06: Vermifuge
Destroy all Chimeras before they kill Scarecrows.
Tactics: Take Scarecrow to the safe place using buster, then destroy Chimeras.
Destroy a big group of knights and break a statue of Red Orbs. Above the pole near elevator a Blue Orb Fragment floats. On the second floor enter the room and fight Alto Angelos. This is harsh war so use Devil Trigger if necessary.
Secret Mission 07: Free Running
Go over the bridge.
Tactics: Shoot to Mephistos with Charge Shot 3.
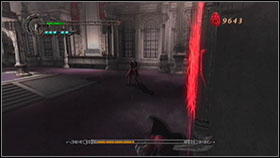
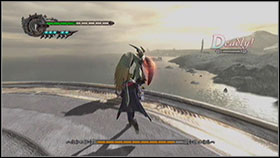
Dante could be damn hard to beat but he has a weak point. Jump and then use Snatch on him (2nd or 3rd version) with instant Buster.
Test youself in Combat Adjudicator (you have to reach SSS level) and activate the blue glowing machine. You will be able to use Grim Grips from that moment. Use them to reach second floor. Destroy Mephistos and Fausts, push the red button and use the elevator. You can't pass, but there's someone who can help you. Snatch a Scarecrow to make him push the button behind bars. To pass a high wall you will need Air Hike. Run quickly, then jump and use Grim Grips. After the second one Nero should find himself near the edge of the wall. Use Air Hike to help him reach it. Next obstacle is much easier to run over - simply use moving Grim Grips. Activate the elevator, return and enter it.
Sanctus is very easy to beat. Avoid his attacks and destroy the sphere. Then use Devil Buster on him. Avoid statues' hands and wait for Sanctus. Repeat everything.
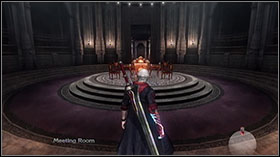
Train a little to get use to Dante's style. In Meeting Room you'll meet a new, better version of Scarecrows. Go to Experimental Disposal.
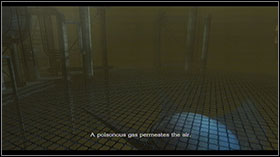
Go down using elevator. Do you hear an alarm? Now you have 10 minutes to leave this place. Fall down and take Gold Orb. Activate the machine and go inside the elevator. Destroy Two Frosts using Rebellion style. On the top, break a Red Orb Statue. Just after entering the next room you will fall down. Take Key of Cronus and jump to the top using blades as stairs. Oh no - lasers again. Slow time and avoid them losing as little energy as possible.
In Grand Hall use Swordmaster style to defeat knights. You can go to Gauntlet room to destroy Combat Adjudicator or to leave the castle instantly.
Go to the east and enter the portal. In Forgotten Ruings go to east and enter the portal to southeast.

Destroy Assaults (better version) and go to east. In Ancient Plaza area destroy another group of them. Go northeast.
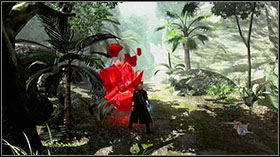
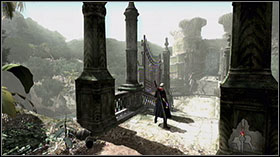
In Ruined Church take Combat Adjudicator test and enter the forest using door under the stairs. Make your way through the forest: forward, back, right, right.
Echidna could a little harder to beat than before because you don't have Snatch this time. Use Swordmaster style and feed her with long combinations of attacks. Stay close to her.
You'll meet some new enemies in this mission - Faults. Use Gilgamesh to fight them. Go to Ancient Plaza, destroy Assaults and take care not be get eaten by Faults. Go to Forest Entrance. Destroy all eggs, Red Orb Statue and find secret mission 08.

Check you fighting skill with Combat Adjudicator (you have reach SS level in Rebellion). In Central Courtyard you will meet new, very upleasant friends - Blitz. Shoot them with Charged Shots 3. When they loose energy use Devil Trigger.
In the Gallery destroy everything you can, get some energy and leave through door. Enter Library and destroy Red Orb Statue. Go downstairs to find Secret Mission 09.
Secret Mission 09: Unbreakable
Destroy all enemies without getting caught by Faults.
Tactics: Shoot as much you can (you can use Pandora) and keep your distance.
Go to Torture Chamber through Dining Room. Go there destroying Scarecrows on your way.
Destroy the group of Frosts and fall down. Activate the machine and step on the blue mark.
Destroy Blitz using shotgun. Get some energy on graveyard and buy items to get ready for the boss fight.
Use Gilgamesh and beat him as much as you can. If he swallows Dante use Devil Trigger to make him spit him out.
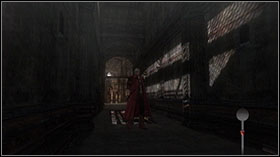
Escape the laboratory and destroy Cutlass on your way. Use shotgun to stun them. In Containment Room destroy Bianco Angelos.
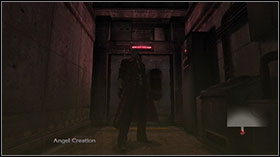
In Foris Falls area go upstairs. In Angelo Creations factory destroy knights and leave this place.
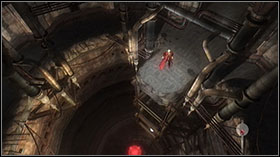
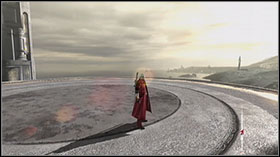
Use red platform to reach the top of the shaft. In Grand Hall take all Orbs and leave a castle.
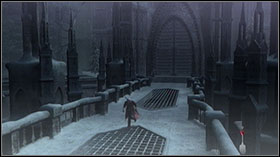
Destroy Basiliks ( on the stairs you can find secret mission 11). Don't forget to destroy Red Orb Statue in mines.
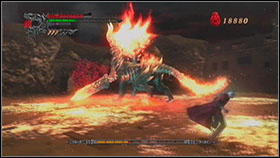
He's not harder than he was last time, so beat him until he's dead. When he burns out, use Devil Trigger.
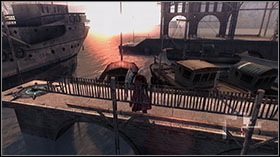
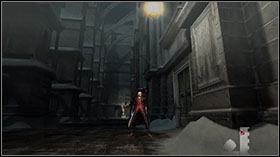
You'll meet some scarecrows and knights in the docks. After finishing them off go towards the city.
Here you'll fight some monsters - if the enemies get a bit too annoying calm them down with your shotgun. The statue made of red orbs is standing in the same place as before. After entering Business District you'll get surrounded by a large group of scarecrow's and basilisks. It should not be a problem for you. On Restaurant Caf's balcony there's a blue orb fragment.
Near the entrance there's secret mission nr 12. In the centre of the courtyard you'll need to fight some Mephistos, knights, Faust, but you should be able to finish them off smoothly.
Secret Mission 12: Steeplechase
Reach the destination without taking damage.
Tactics: you need to move between lasers moving with normal speed!
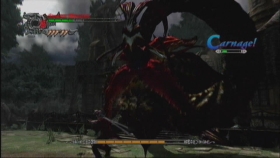
This time, instead of throwing Gladiuses, Agnus is calling basilisks. Do not fight them and aggressively attack Agnus instead - the point is to take him down quickly, before he has the chance to do some major harm.
Important: before you start the mission consider getting Revenge for Pandora. It really comes in handy during the next fight.
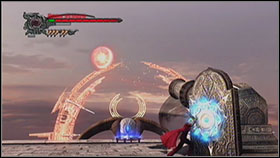
This whole level is a boss fight. Strategy may seem easy at a first glance: operate the cannons, ko the monster and destroy blue points on his body, one after another. Do not fight the knights, just avoid them. There's no designated order so you'll be running around a bit.
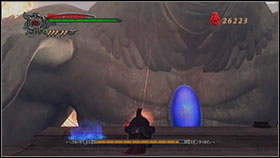
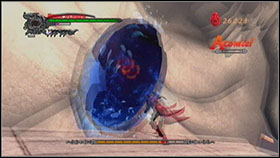
At least in this phase you can see the energy bar. Start with a fast run towards the teleport and escape the beam. When you start the fight prepare Revenge and shoot him in the blue point on his chest. Instant KO, quickly teleport and hit him with the strongest combo you've got in Devil Trigger mode. Rinse and repeat.
Before the mission stock up on stars or get, a gold orb. You will need to play dice again but this time after finishing each board you will fight bosses you have killed before.
The fight is very similar to the one you have been in before, except his attacks are stronger and quicker now. Your strategy remains the same however, dodge his attacks and when you get the chance shatter the sphere and try to destroy his shield. Follow it with Devil Trigger and buster; rinse and repeat. When Savior gets red and starts to fly around the cave roll to the sides, dodging his attacks.
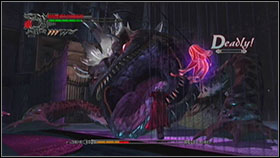
Well, that's the last fight. You need to dodge monster's blows and use buster in the right moment. Dodge the first attack by rolling to the side and immediately follow up with buster; when his other hand moves towards you use buster on it, and do the same when he lowers his head.

 Dishonored Game Guide & Walkthrough
 Dragon Ball: Xenoverse Game Guide & Walkthrough
 Dark Souls II Game Guide & Walkthrough
 Deadfall Adventures Game Guide & Walkthrough
 Diablo III: Reaper of Souls Game Guide & Walkthrough