


This is an unofficial guide for Dishonored. It contains a very detailed description of how to complete all of the missions. Description of each of the stages contains (currently under preparation) information concerning:

Color coding.
This guide has been colour coded in a following manner:

Movement

Jump

Sneak mode

Run

Lean left

Lean right

Use item/interact

Blade attack

Use power or item

block/ choke (hold down)

Zoom in

Display powers/weapons/items menu (hold down)

Switch between hotkeyed items.

Drink a health elixir

Drink a spiritual remedy

Corvo's journal

Quick save

Quick load

Hotkey 1

Hotkey 2

Hotkey 3

Hotkey 4

Hotkey 5

Hotkey 6

Hotkey 7

Hotkey 8

Hotkey 9

Hotkey 10


Movement

Run

Camera control

Zoom in

Jump

Sneak mode

Draw/hide weapon (hold down)

Lean (hold down) / Adrenaline attack

Hotkey 1

Hotkey 2

Hotkey 3

Hotkey 4 / Drink elixir

Display powers/weapons/items menu (hold down)

Items / Powers

Block / Choke (hold down)

Bladed attack

Corvo's journal

Pause

Movement

Run

Camera control

Zoom in

Jump

Sneak mode

Draw/hide weapon (hold down)

Lean (hold down) / Adrenalin attack

Hotkey 1

Hotkey 2

Hotkey 3

Hotkey 4 / Drink elixir

Display powers/weapons/items menu (hold down)

Items/ Powers

Block / Choke (hold down)

Bladed attack

Corvo's log

Pause
New Main Quest: Meet the Empress in the gazebo
![Wait for the boat to dock and Take the passage to [Dunwall Tower] (the above screenshot) - Encounter with The Emperess - Prologue - Returning Home - Dishonored - Game Guide and Walkthrough](https://game.lhg100.com/Article/UploadFiles/201512/2015121517544923.jpg)
Wait for the boat to dock and Take the passage to [Dunwall Tower] (the above screenshot). On your way there, you can initiate dialogues with characters you pass, but it's not required. You can already acquaint yourself with all of the pages of the in-game manual (available after pausing the game), although individual hints should display on your screen at appropriate moments.
New Optional Quest: Meet Emily under the stone bridge
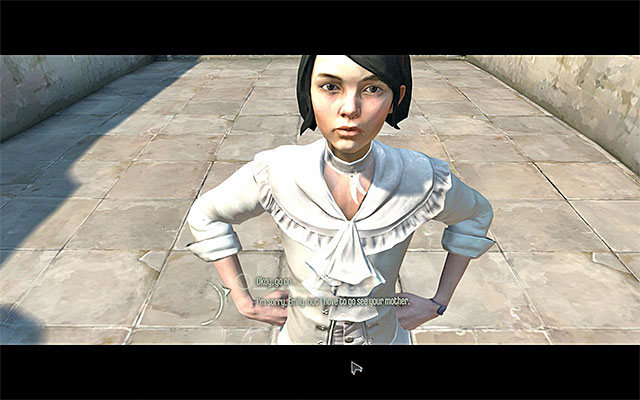
Try and go over the bridge to meet Emily, the Empress' daughter. Depending on what you like, you can either agree to a small hide-and-seek (upper- right dialogue option) or refuse and focus on the main quest itself (right-middle dialogue option). If you've agreed to play hide-and-seek, turn right after you've reached the other end of the pier and go down the stairs. Approach Emily to listen to the game rules.
New Optional Quest: Use the environment to hide from Emily.
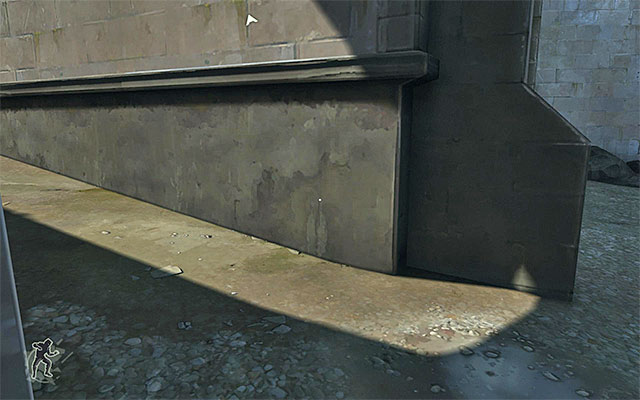
After Emily begins, enter sneak mode by pressing "C" key. Additionally, you need to hide in a dark place and make sure that you are not within the girl's sight. I recommend hiding behind one of the supports of the stone bridge (the above screenshot). Remain in hiding until Emily announces the game's end.
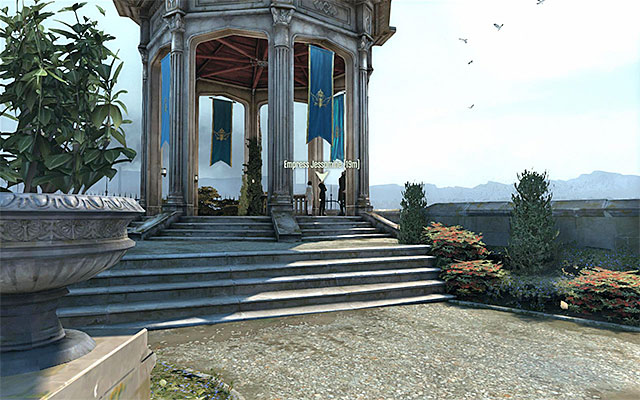
Regardless of whether you have agreed to lay with Emily or not, you need to continue your travel to the place where the Empress is staying. On your way there, you may meet up with Anton Sokolov and the High Overseer Campbell, and also drink up the contents of the flask with Cidre in it. All of these are optional, however. After you reach your destination (the above screenshot), listen to the conversation between Empress Jessamine and Spymaster Burrows.
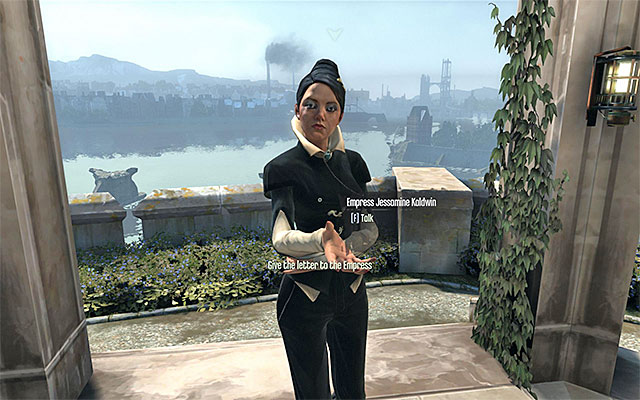
Approach the Empress and press "F" key to give her the letter. The meeting will be interrupted by hostile assassins.
New Main Quest: Protect the Empress and Emily
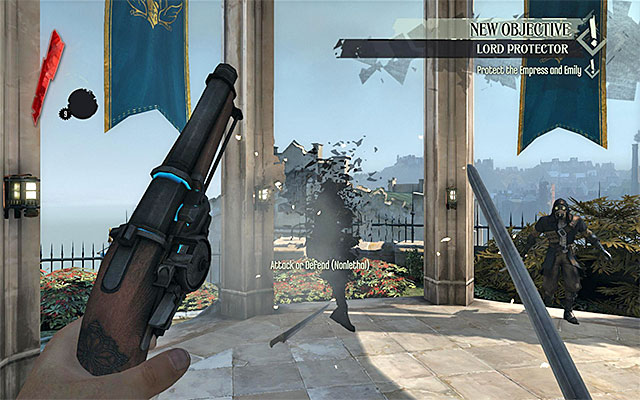
You are now up for a fight that, in itself, is a guide o how to fight battles at close quarters. Your enemies can be, basically, eliminated in two ways. The first one is to use your firearms, which is activated with the right mouse button. Note that your ammo is limited.
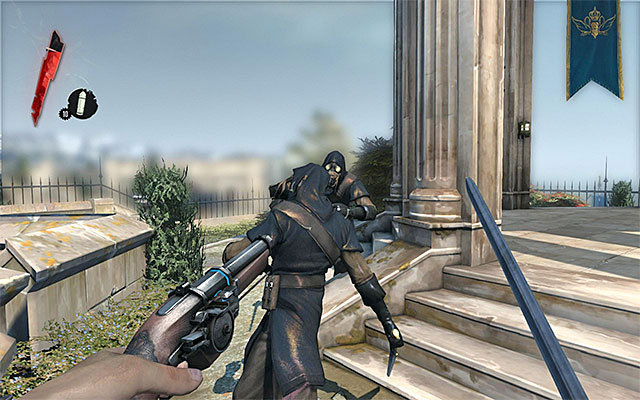
Variant two is using your blade. In this case, I suggest performing effective blocks, activated with the "CTRL" key. If you timed your block correctly, this will knock your opponent off balance (the above screenshot) and expose him to an attack. Your blade attacks can be initiated with the left mouse button. After you deal with the assassins, you will watch several cut scenes, and you will be promoted to the game's main quest.
New Main Quest: Read the message
![This mission will take place entirely in [Coolridge Prison] - Breaking out of the cell - Mission 1 - Dishonored - Dishonored - Game Guide and Walkthrough](https://game.lhg100.com/Article/UploadFiles/201512/2015121517545027.jpg)
This mission will take place entirely in [Coolridge Prison]. Take the opportunity and note that you can already access the character's journal (by pressing "J" key). Apart from information on current quests, it contains contents of the documents you find. The last tab is the player character's Inventory. After you acquaint yourself with the journal, approach Bread on the floor and press "F" key to find anonymous message and Corvo's cell key.
New Main Quest: Take a weapon
Use the key that you have just acquired to open the cell door. After you leave the cell, approach the table located right in front of you and collect gold and city watch sword.
New Main Quest: Fight or sneak your way to the footbridge
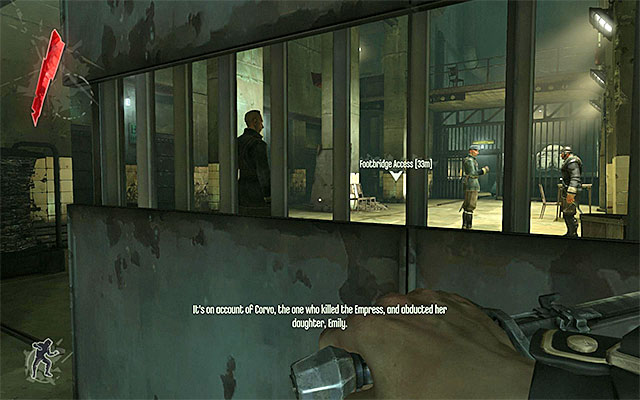
Enter the sneak mode ("C" key) and go left. Stop at the entrance to the new room and wait for guards to dissipate. You definitely should not try to fight your way through, especially that, as of now, you do not have any pistol and you'd have to fight four guards. It is better to stay hidden.
Warning - I recommend saving your progress, as often as possible, by selecting the appropriate option after you pause the game, or by hitting the "F5" key regularly.

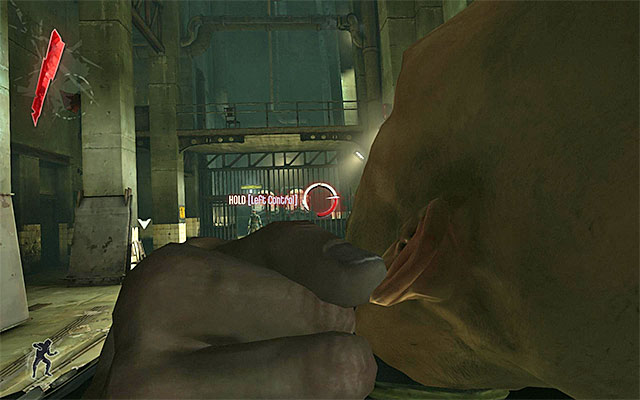
Carefully, approach the first guardian. You could kill him (left mouse button) but it's better to go for a more stealthy variant and knock him unconscious. You do this by pressing, and holding down, the left CTRL key (the above screenshot). After you either kill or knock the guardian down, lift the body and carry it over near the area where you have started. I recommend developing the attitude of hiding bodies in dimly lit places, which will decrease the risk of alarm being sound later on.
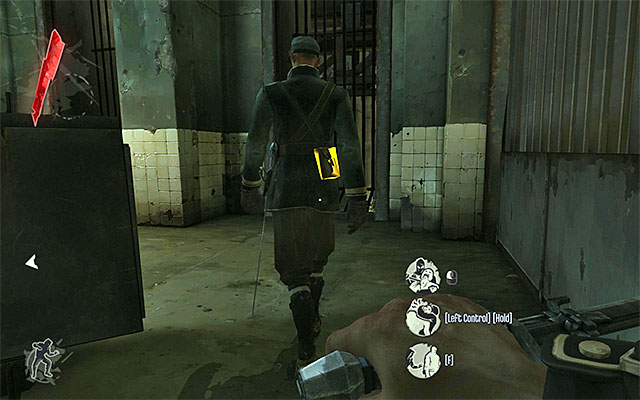
Approach the room with guards again. You may behave two different ways here. If you want to dispose of the guards, I recommend following the one that went to the neighbouring room (the above screenshot). Only after you deal with him, turn your attention to the other one. In both cases, I recommend that you loot the guards gold, by pressing the "F" key (you need to be sneaking behind the looted person).
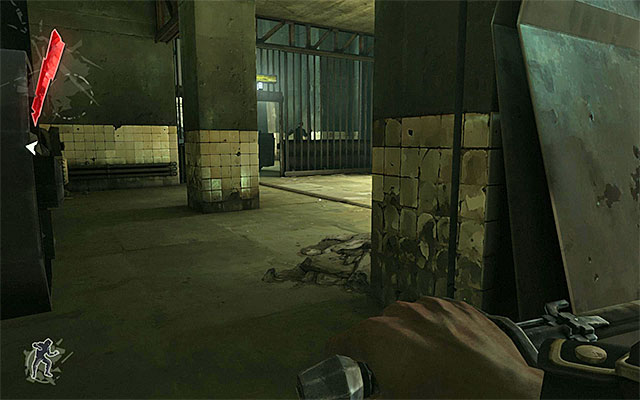
The other way is to avoid both of the guards without eliminating them. I recommend that you use the pillars if you chose to do that. Since the pillars do not ensure maximum cover, position yourself as close to them as possible. In this case, leaning from behind the pillars ("Q" and "E" keys) helps.
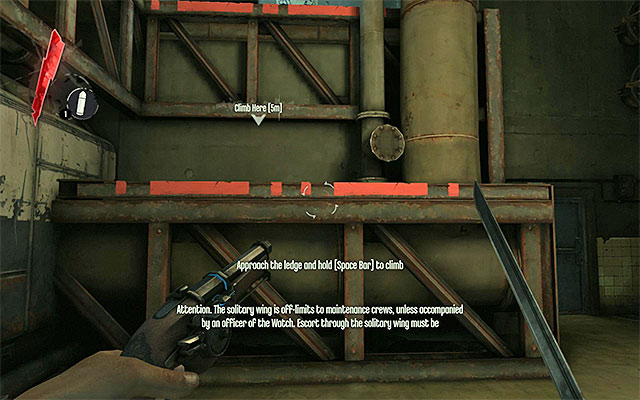
In the second room, in which one of the guards used to stop, you can find two valuable items, i.e. Sokolov's health elixir and a pistol. Move to the next room, position yourself in the spot shown in the above screenshot and start climbing. You do this by approaching walls or interactive objects and pressing the "SPACE" key after an appropriate icon appears.
New Main Quest: Proceed across the walkway to the Interrogation Room
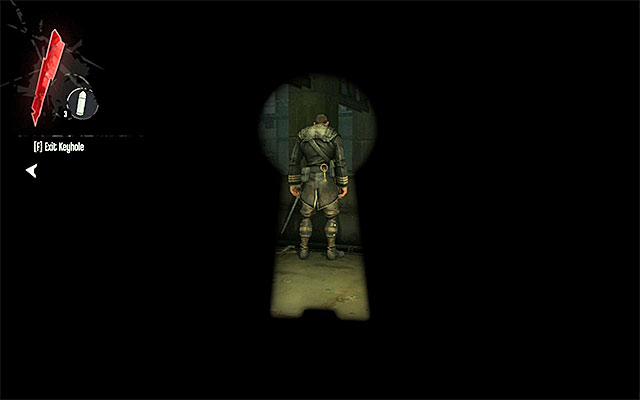
After you reach the upper level, search the area for gold, food (it is consumed on the spot, so you will gain nothing if you've lost no health points), pistols (Corvo only replenishes his ammo) and another two Sokolov's health elixirs. Approach the door that leads to the footbridge. If you are still sneaking, it is a good idea to peek through the keyhole (by pressing and holding down the "F" key), to make sure that the guard is not facing you.
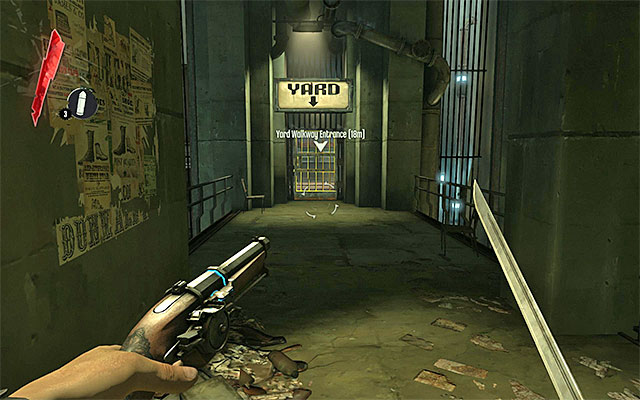
Open the door and explore the area for gold and carefully approach the guard. Steal from him the yard walkway key. I recommend that you additionally neutralize him (it's up to you how), although you can leave this place if you do not want to eliminate anybody. In order to do that, you need to walk through the gate on the left (the above screenshot) and use the key to open it (you may ignore the stairs to the right. Everything you would find there is a small room with rats in it). This way, you will reach Yard Walkway.
New Main Quest: Enter the Interrogation Room
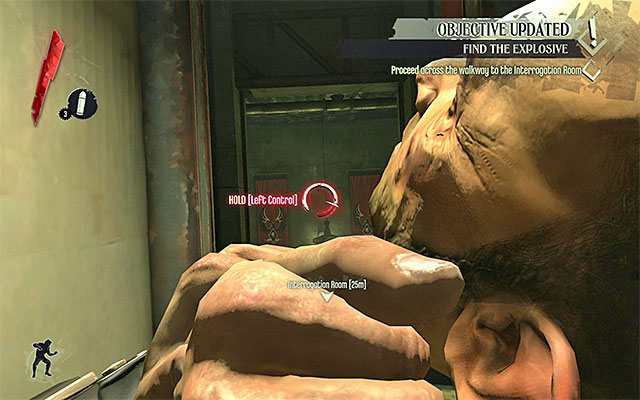
Collect gold and follow the narrow passage. Watch out for the guard that will appear in front of you out of a sudden. Look around for a gold pouch and follow the abovementioned enemy. Depending on what you like, you may either neutralize the guard (the above screenshot) or avoid him carefully, and wait for him to move towards the walkway again. Regardless of whitch path you choose, go down (or jump down) downstairs, collect gold and choose the door to the interrogation room.
New Main Quest: Pick up the explosive
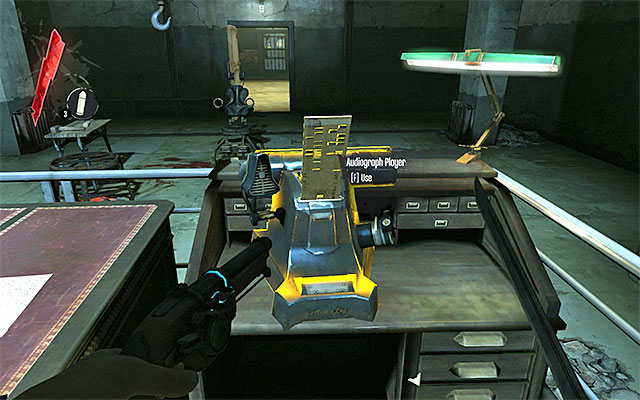
I recommend that you start by exploring the first room of the interrogation area carefully. Interact with the device shown in the above screenshot to acquire the first Audiograph - Interrogation of the Royal Protector. Apart from that, you can also find gold and duty officer's report.
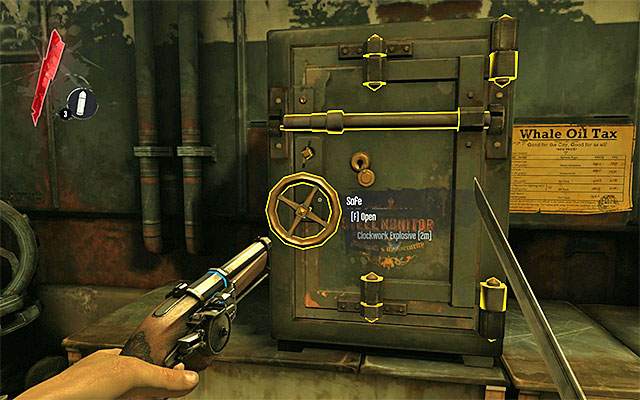
Go now to the other room. In here, you can find gold and a book (The Trials of Aptitude). Finally, open the safe and collect the clockwork explosive.
New Main Quest: Cross the yard
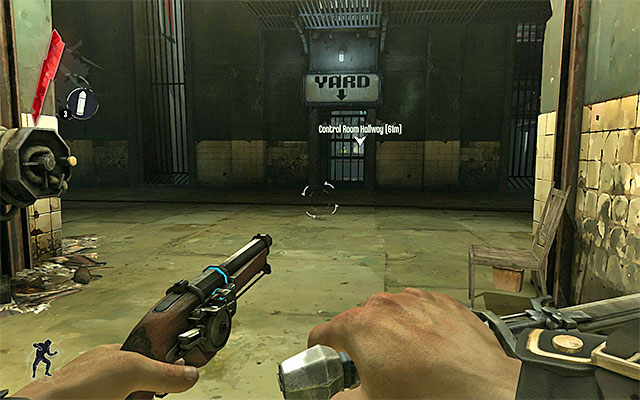
Exit the interrogation room and note that one of the Guards opened the door to the prison's main yard (the above screenshot). Go there and enter [Prison Yard]. Go down the stairs, hide behind one of the pillars and wait for the opponents' conversation to finish.
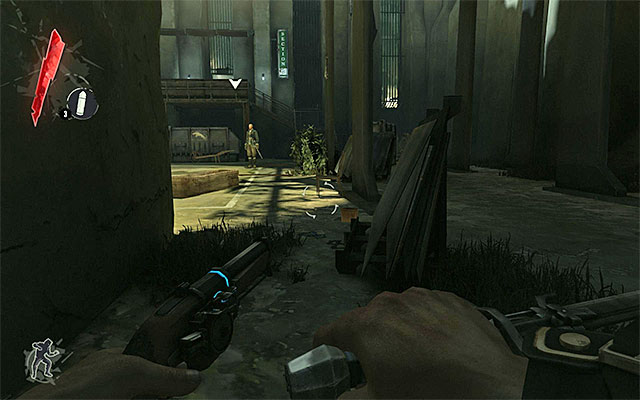
You may have already noticed that one of the guards positioned himself to the right, whereas the other one is patrolling the yard and stops briefly here and there. If you want to avoid the guards you should take the path to the right shown in the above screenshot. This way you will easily reach the stairs. If you decide otherwise, deal with the stationary guard first and after you hide his body, turn your attention to the other one. There is nothing interest worthy in the yard, apart from a small amount of gold, although one of the guards has a yard key on him.
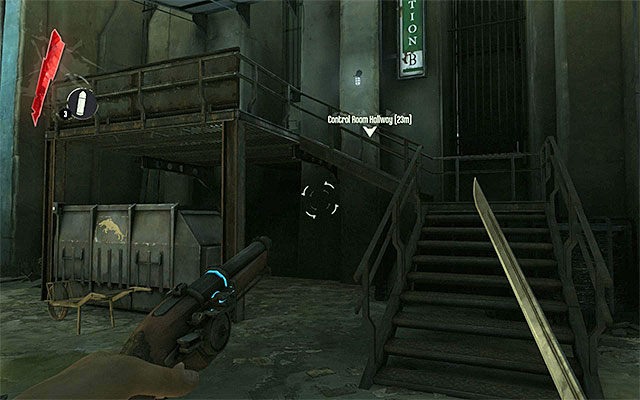
You can reach prison's next location in two ways. You can either climb the stairs mentioned earlier (the above screenshot), or return to the starting point and use the yard key (the one stolen from the guard) to open the door located near the cell that was earlier occupied by Corvo. In my opinion, however, this is not necessary. Either way, you will get to [Control Room Section].
New Main Quest: Enter the hallway leading to the outer door
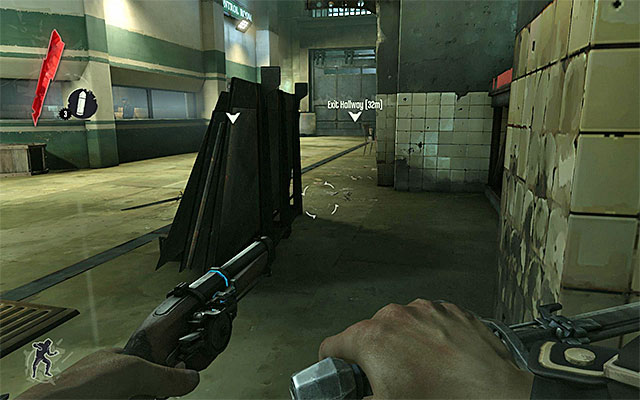
The last area of the prison can be reached in two different ways. Variant one assumes using the pipes adjacent to the wall on the right of the room you are currently in. Wait until the guards disperse and go right hiding behind objects on your way (the above screenshot). Find the place where you can start to climb by jumping from one pipe onto another.
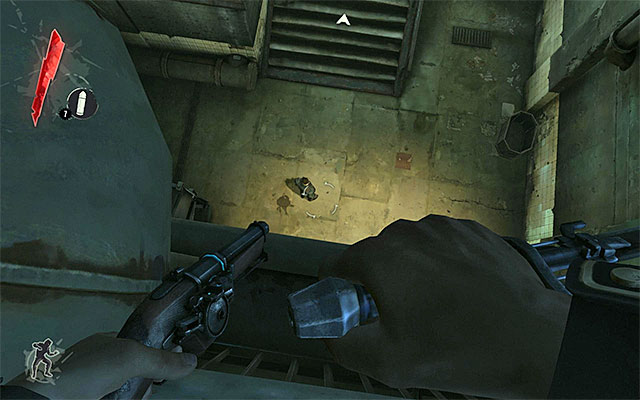
Reach the highest pipe and go towards your current destination. After you reach a new area it is up to you either to jump down somewhere in a safe spot (e.g. the balcony to the left that is occasionally occupied by one of the guards) or land on the guard visible in the above screenshot and execute him (by pressing left mouse button right before landing).
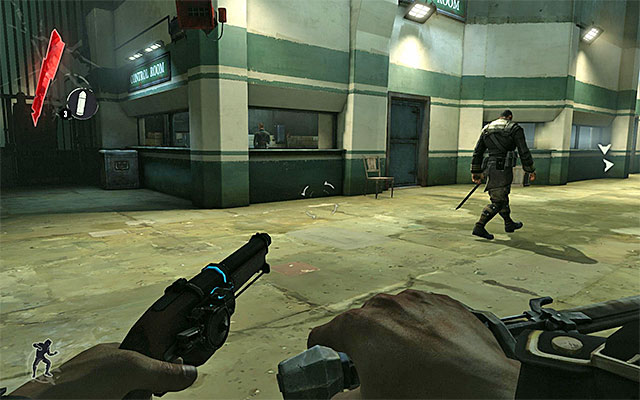
Variant two assumes opening the gate that you can see in the distance. In the case of this variant, I suggest dealing with the guard patrolling the corridor first. You just need to make sure that you do it out of anybody's sight (the above screenshot). Traditionally, you need to drag the unconscious or killed guard into a darkened spot.
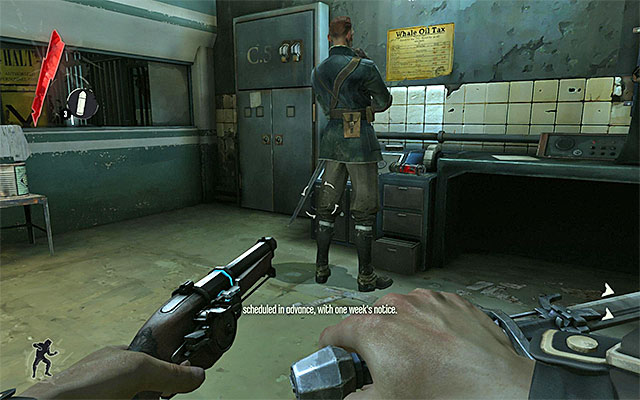
Now deal with the two guards occupying the side rooms. Start with the one located the closest to the starting point and enter it only after the guard turns away (the above screenshot). Next, peek through the keyhole and enter the neighbouring room at the right moment to deal with the last of the guards.
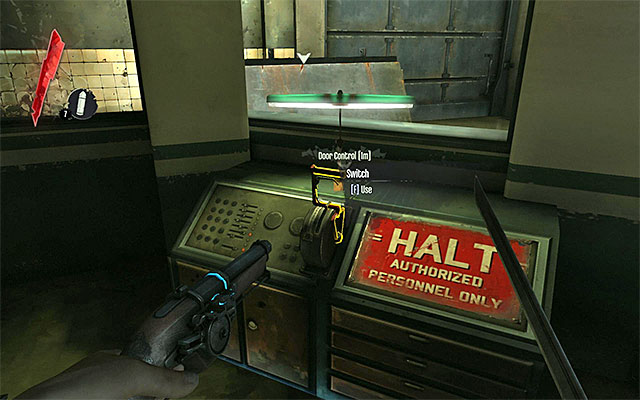
After you deal with all of the guards, it is a good idea to explore side rooms for gold, food, ammo and Sokolov's health potion. Then intereact with the switch located in the second of the side rooms. Warning - if you do not want to attack guards, you should immediately make use of the door leading to the room with the switch, being mindful of course, of the last of your enemies' actions.
New Main Quest: Plant the explosive
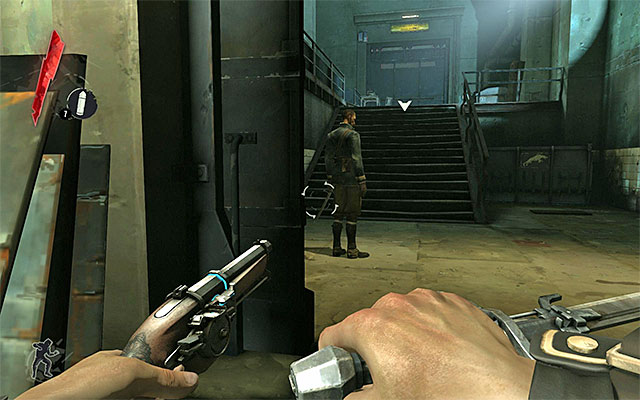
There are two characters between you and the wall that you need to plant the explosive on. The first one of them is standing at the gate (the above screenshot). If you are on the lower level, you need to attack him and drag him away into a dark location, being careful, at the same time not to get within the sight of the other one of the enemies. If you are on the pipes on top, you may either jump down onto the guard or avoid him by choosing pipes leading to the balcony on the left.
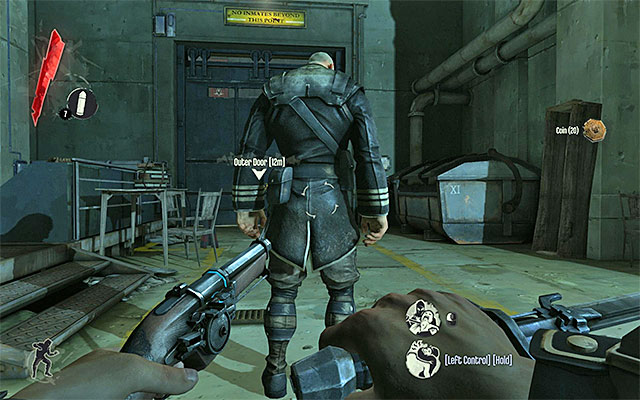
The other one of the guards is patrolling the upper balcony and the area near the wall you are trying to approach. Regardless of your position (lower level or the pipes) you may get him from behind and neutralize, or try to avoid him. In the case of the latter, I recommend turning your interest to the objects that you can hide in, like a crate or a trash container.
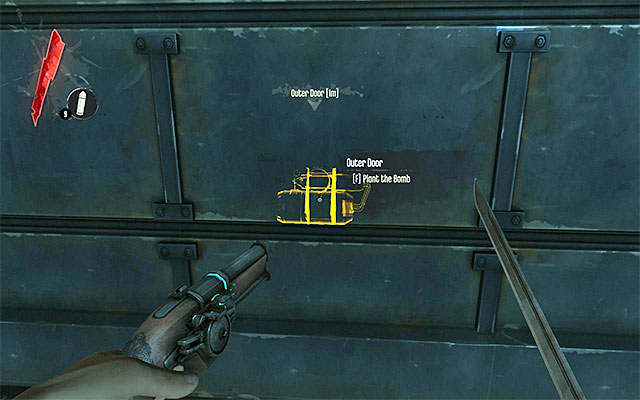
If it's possible explore the area to find food, ammo and Sokolov's health potion. You can also use the switch to close the gate, which will make it a bit easier to avoid guards after the explosion occurs. The last thing to do is plant the explosive on the marked wall (by pressing "F" key).
New Main Quest: Jump from the bridge
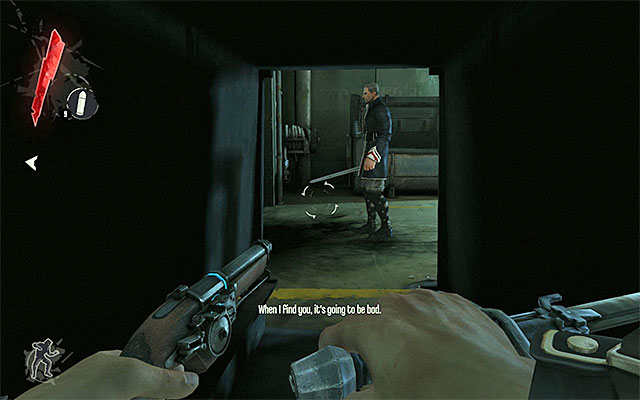
I recommend that, right after you plant the explosive, you turn left and hide inside the crate shown in the above screenshot. Theoretically, you could run out of the prison right after the explosion. It is, however, a better idea to wait for the guards, who appear here after the explosion, to leave the area after they explore it.
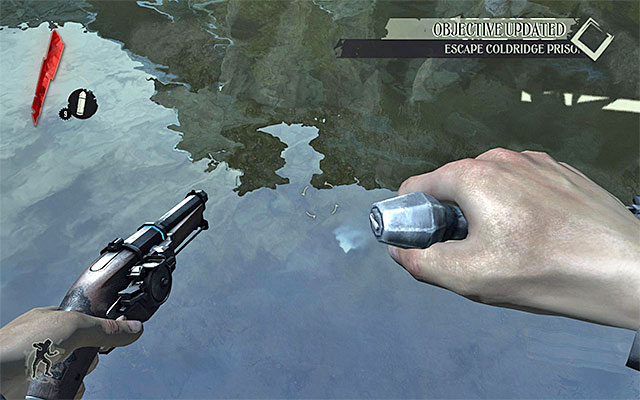
Go through the hole in the wall and jump into water. Don't worry about falling from height. I recommend that you note the guards patrolling the walls to the right. You should definitely avoid getting within their sight because they are armed with firearms and may attack you even at a distance this large.
New Main Quest: Reach the sewer tunnels
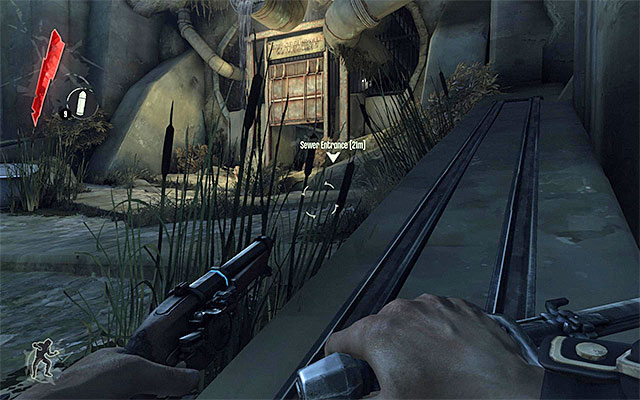
It's a good idea to stay underwater to avoid being spotted by guards. Swim up to the wall occupied by the enemies and turn towards the sewers' entrance (the above screenshot)
New Main Quest: Escape into the sewers
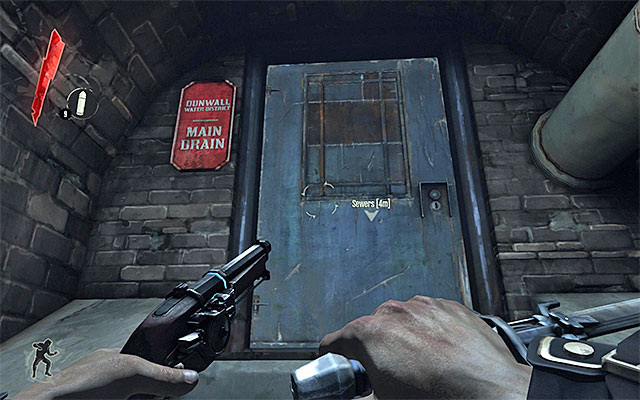
Before entering sewers, make sure that guards are not looking your way. This way you will avoid unnecessary alarm. Take the narrow path to reach a new location (you need to confirm that you actually want to enter this location by choosing the upper-right option).
New Main Quest: Find the supply chest in the sewers
![Start exploring [Dunwall Sewers], by opening the closest gate - Finding the supply chest in the sewers - Mission 1 - Dishonored - Dishonored - Game Guide and Walkthrough](https://game.lhg100.com/Article/UploadFiles/201512/2015121517545407.jpg)
Start exploring [Dunwall Sewers], by opening the closest gate. After you teach the blocked passage, collect food and a note from a friend, then start climbing by grabbing onto further chests. Your destination is the section localized near the ceiling. Go straight here and watch a very interesting cut scene featuring a guard and a small group of rats.
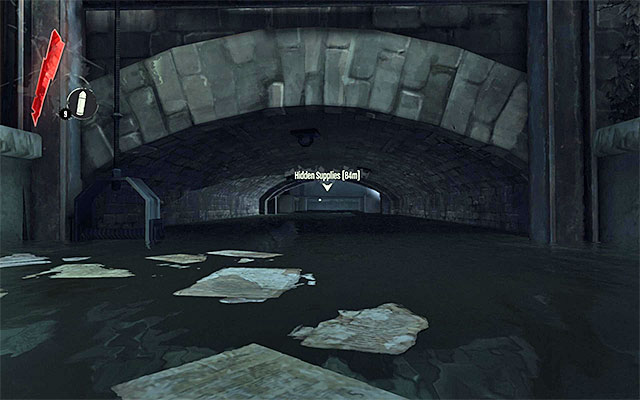
Follow the narrow passage until you wind up in a spot where you will be able to jump down to a lower level. Go straight here and reach a wider tunnel. Do not approach the rats visible to the right, or else they'll attack and there is no point in wasting ammo on them, because you would gain nothing. I recommend jumping into water right away and follow the current to reach the partially flooded tunnel shown in the above screenshot.
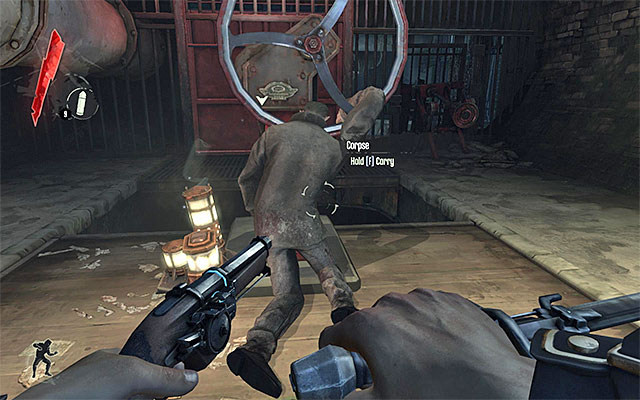
After you swim through the tunnel, get out of water and collect gold and Damien's Journal. Climb up the stairs and approach the body hanging on the cranking mechanism. Carry the body away (just drop it anywhere) and interact with the crank itself. Press and hold down the "F" key until a new passage opens.
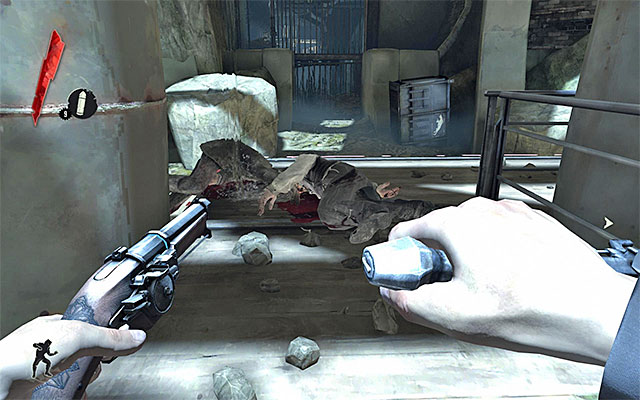
Continue your exploration of the sewers and keep your eyes open for food on your way. You should be able to reach a much larger room with rats in it. You need to solve an easy puzzle here. Begin by reaching the central platform with bodies on it (the above screenshot). Meanwhile, you need to avoid the abovementioned rats, so try and jump over from one large object to another, and use ground only to run to the main platform.
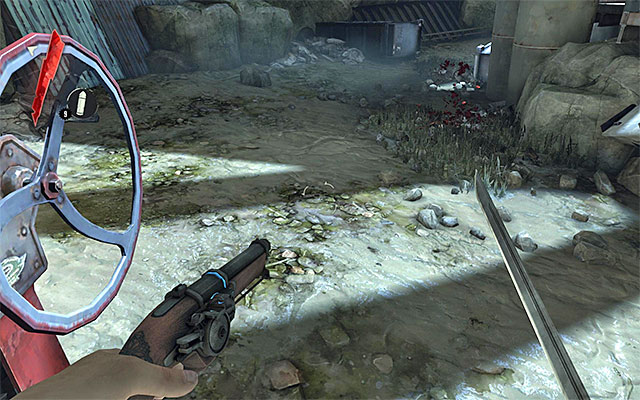
Approach any of the bodies and lift it (press and hold the "F" key) and toss it (left mouse button) so it lands on the ground. This should draw the attention of the rats, which will give you enough time to reach another cranking mechanism and interact. Note - if rats attack you anyways, try and toss the next body even further away from the crank. If you, however "run out of bodies", wait for guards to throw further bodies into the sewer.
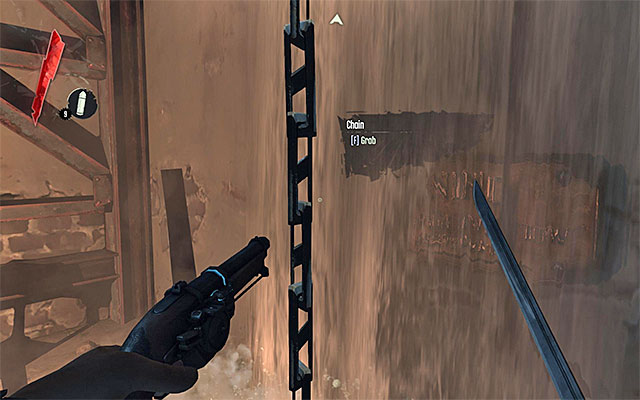
Press and hold down "F" key until you fully use the mechanism and go through the newly opened passage. After you find yourself in a wider tunnel, turn right and climb up the stairs. Look around the place for gold and food. Approach the chain and press "F" key to grab it. Start climbing it and press the "SPACE" key once you reach the upper platform to jump onto it.
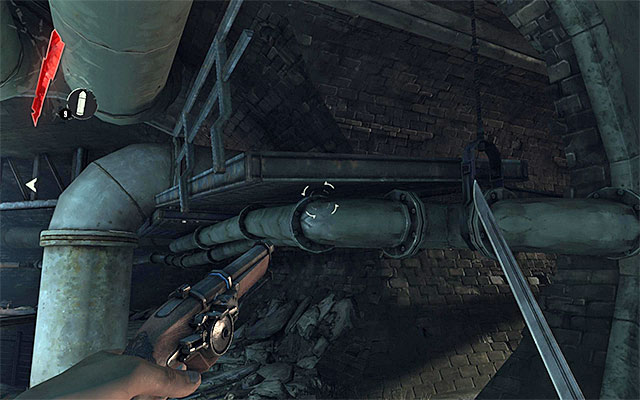
There is a larger area ahead of you and while exploring it you will have to pay attention to two traps that activate whenever either of the vertical cords is touched. Start by exploring the surroundings of your starting place, as well as the lower level (for the time being ignore the stairs to the left and the corridor to the right) to find food and gold. It is also worthwhile to jump into water and examine the dead body floating there. Return now to the starting point and turn your interest to the upper balcony shown in the above screenshot. Jump towards the balcony and press the "SPACE" key to climb onto it.
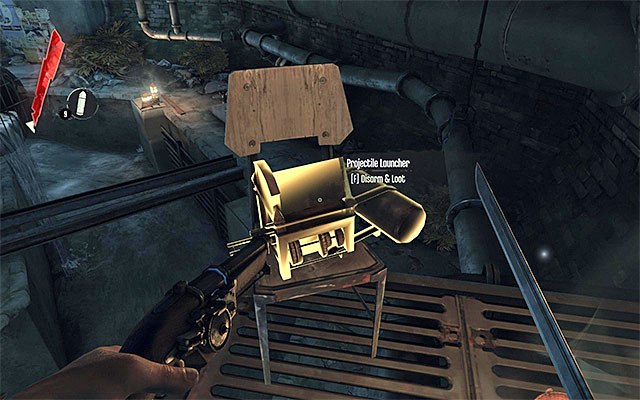
Jump over the large pipe ahead of you to reach a place where there is a launcher connected with one of the traps (the above screenshot). Interact with the launcher to disarm it and acquire an incendiary bolt.
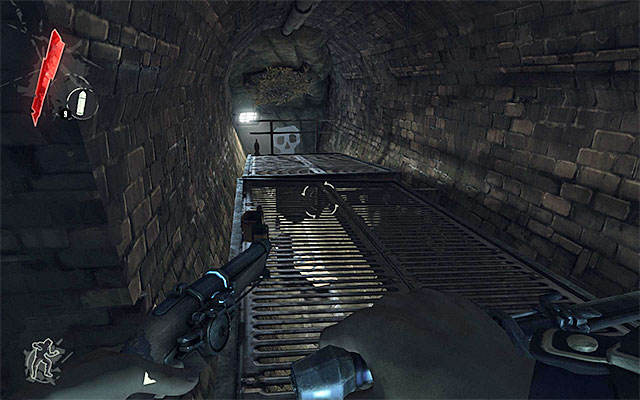
Jump over the pipe again and go through a plank with a skull painted at the end of it (the above screenshot). After you reach the end of the plank, jump over the balustrade. Look around for Sokolov's health potion and gold. You may also disarm the second one of the launchers and acquire another incendiary bolt.
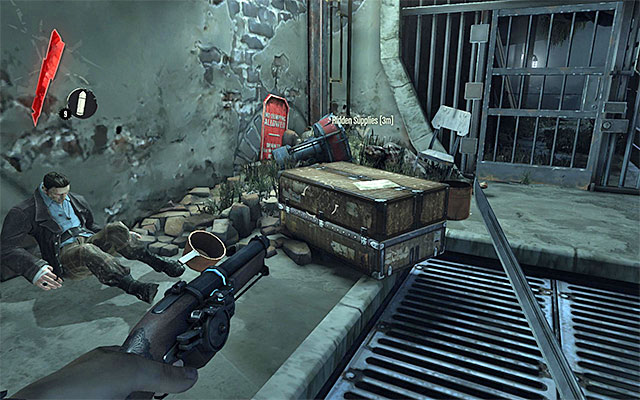
Return now to your starting point. With both of the launchers disarmed, you may well cut the cord in your way (the "F" key) because you will come to no harm now. Choose now the stairs you ignored earlier, and ignore the other vertical cord. Explore the new area thoroughly and find gold. Finally, approach the supply chest shown in the above screenshot . Read to the Lord Protector and collect special equipment, i.e. Corvo's crossbow, Corvo's folding blade and Dunwall sewers gate key.
New Main Quest: Escape the sewers to meet a new ally
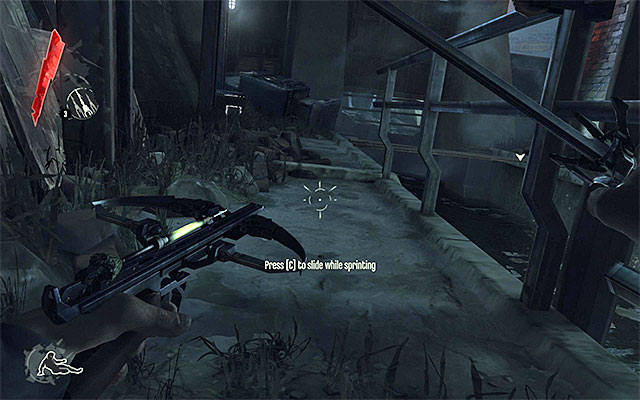
If you nowa want to , make any alterations in your equipment, you should press and hold down the middle mouse button (I recommend pairing up your blade with your crossbow with sleeping bolts). Otherwise you should use the key from the chest to open the nearby gate. You'd better avoid the new trap by following the game's suggestion, which is by running (the "SHIFT" key) and sliding (by pressing the "C" key - the above screenshot). After you do that, collect the incendiary bolt from the launcher to the right.
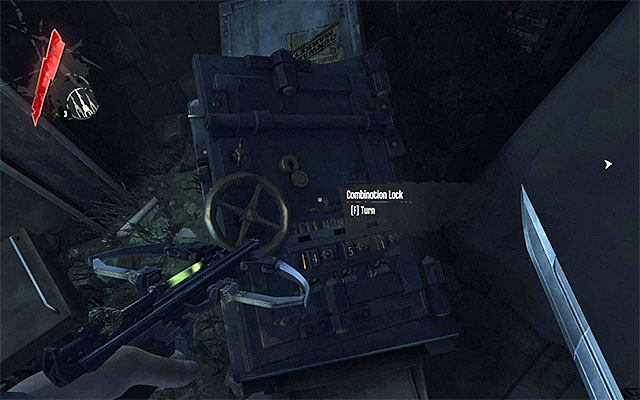
Remain in the location where you avoided the last one of the traps. Look around for food and a note (Jelly's share). Read the note and explore the area to find digits 451 painted behind the empty bottles. Now approach the safe shown in the above screenshot and enter the combination , which will lead to opening the safe. Inside you will find gold and Sokolov's health potion.
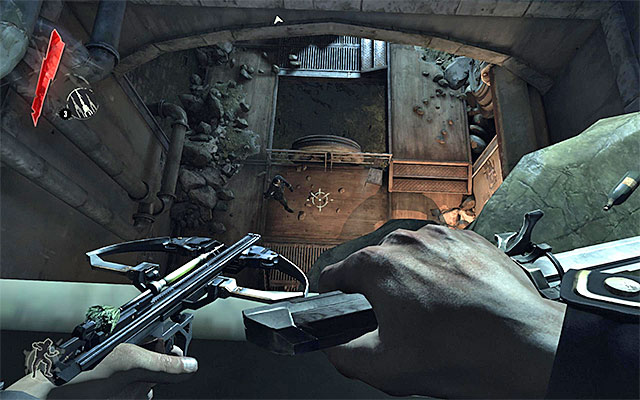
You may now go on (easy climb). After you reach the next area, you I recommend that you mind your steps because you are nearing the only area in the sewers with guards in it. Explore the area for food, health and Sokolov's health potion. Decide now whether you want to jump into the main hole or into the side hole to near yourself to the edge (the above screenshot).
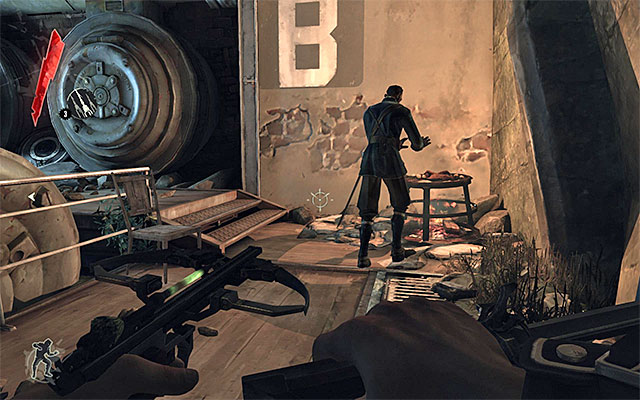
Traditionally now, you should wait for the guards to disperse. All in all, there should be only one guard left below and you may do one of three thins here. If you don't mind eliminating your opponents, jump down onto the guard and perform execution (left mouse button right before landing). If you want to put him to sleep, jump down right behind him (the above screenshot) and press and hold down the left "CTRL" key. If you choose to avoid him, wait for him to go right and quickly start exploring further part of the sewers.
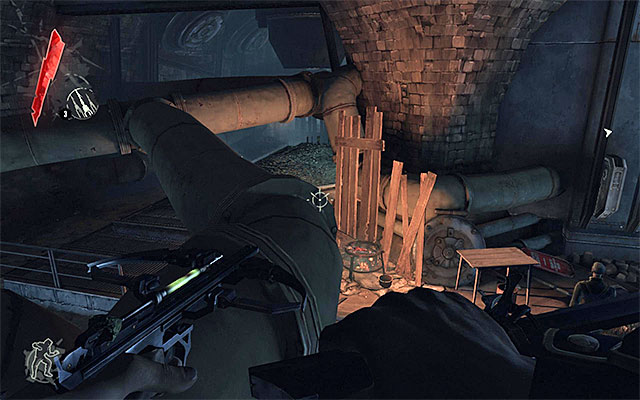
It's quite a pleasing information that you can easily avoid encountering all of the remaining enemies patrolling the sewers. You can pass overhead on pipes above (the above screenshot) or use the chain of underwater tunnels. In the case of the former, you need you would have to turn left immediately after reaching the next area. If you however dream of taking a diving class, just remember to resurface regularly underneath metal footbridges, which will ensure not being noticed.
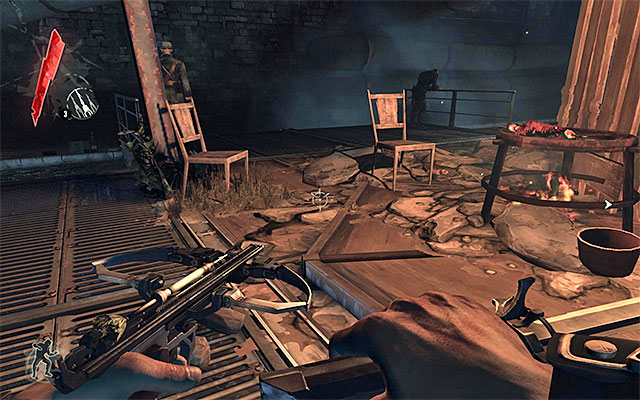
You can equally well eliminate the three guards around, but due to dim lighting of the area might this prove burdensome. I recommend that you wait until two of the guards position themselves at the two balustrades shown in the above screenshot. After you dispose of them, deal with the remaining one. Because he changes his location often, it is best to swim up to him.
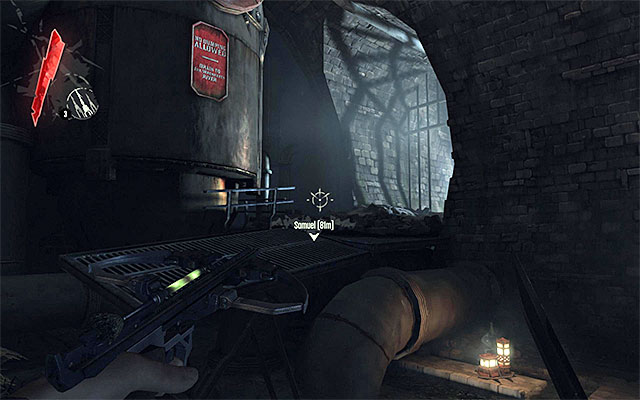
If you've eliminated all of the guards, you should devote a few moments to finding gold, food and Sokolov's health potion (on the side balcony connected with rocks that you first need to swim up to). Otherwise you should immediately go towards the passage leading up to the next part of the sewers (the above screenshot).
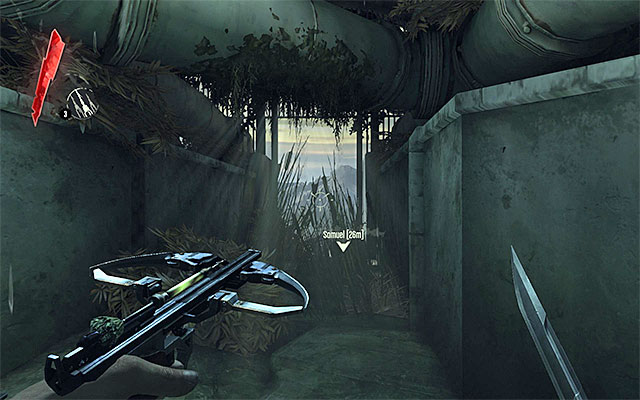
Go down the quite linear path. On your way you should take a look into one of the trash containers, where you will find food and gold. You need to reach the Dunwall sewer exit shown in the above screenshot.
New Main Quest: Talk to Samuel the Boatman
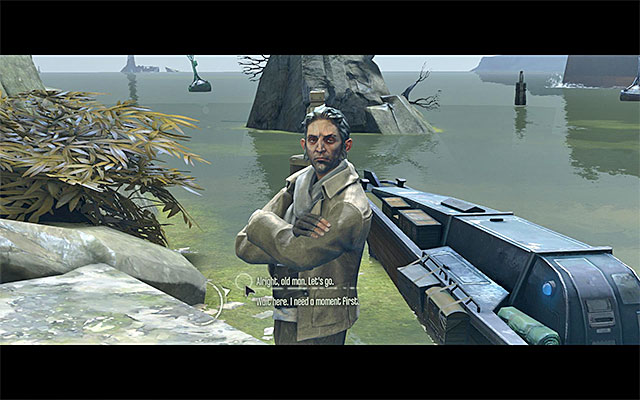
Approach Samuel and initiate a conversation with him. At the end of the meeting you need to decide if you want to leave the area right away (the upper-right dialogue option) or you want to remain here (the middle dialogue option). In the latter case, you might wish to explore the nearby water reservoir in search of additional loot. I recommend against it, though. There are a lot of piranhas in these waters and you'd have to kill them from the surface or lose a lot of health points. Leaving with Samuel means completing this mission.
New Main Quest: Meet with the Loyalists in the bar
![Wait for Samuela's boat to reach [The Hound Pits Pub] And follow him - Meeting with the Loyalists - The Hound Pits Pub - Dishonored - Game Guide and Walkthrough](https://game.lhg100.com/Article/UploadFiles/201512/2015121517545705.jpg)
Wait for Samuela's boat to reach [The Hound Pits Pub] And follow him. Enter the pub through any of the doors (it may be the one with Samuel at it - the above screenshot).
Warning - the location is a sort of a base, and you will be returning here many times during your gameplay. The area is vast and it is rich in loot (gold, notes, books, audio journals etc.), but you do not need to set out to find them all right now. I would even strongly advise against it, at least until you unlock Blink power (teleport). That's when you will be able to reach several initially inaccessible locations. This will also make it easier to travel between individual islets (less problems with piranhas).
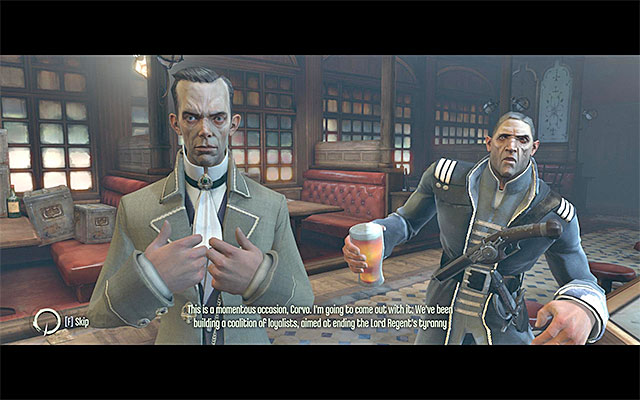
Enter the pub's main room and approach the characters at the counter - admiral Havelock and lord Traevor Pendleton. Listen to the conversation, at the end of which you will be sent to Piero.
New Main Quest: Meet Piero in his workshop near the dock
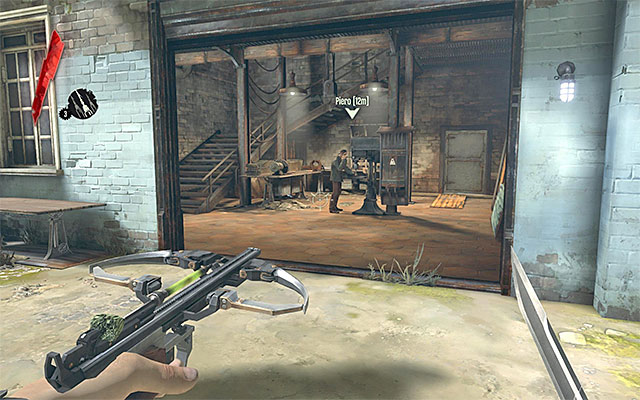
Exit the building, you'd best choose the same door that Samuel used to stand at. Turn right and enter the newly opened workshop building, occupied by Piero. Initiate conversation with him and you will be asked to perform an easy task.
New Main Quest: Get a fresh whale oil tank from upstairs
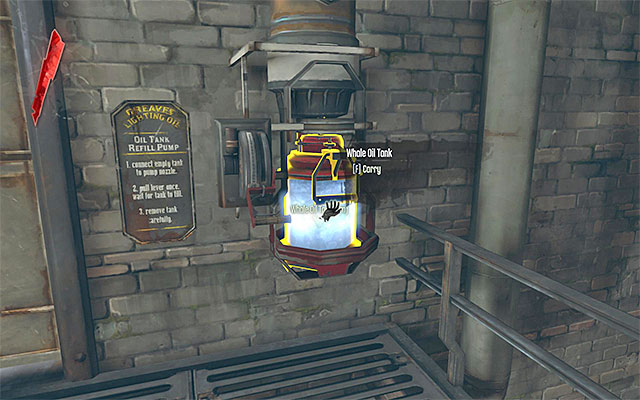
Go upstairs and approach the device on the right (the above screenshot) and collect whale oil tank.
Note - If you drop the tank or cause it to detonate in any other way, you will have to undergo an additional procedure. You'd have to "summon" an empty tank using two devices located upstairs, and fill it with whale oil.
New Main Quest: Place the whale oil tank in the receptacle
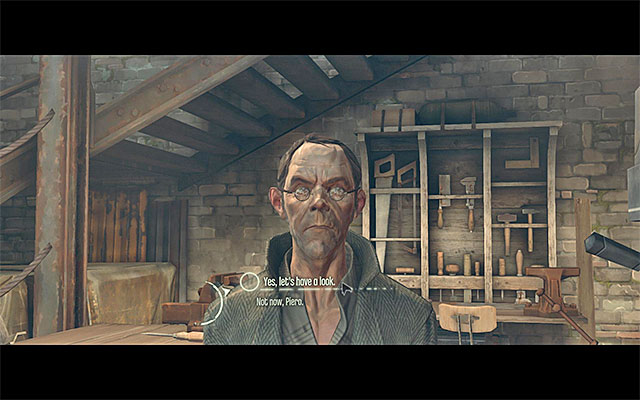
Return downstairs and approach the receptacle automatically. Piero will reward you with an assassin's mask, and additionally he will let you buy supplies and upgrades from him (the upper right dialogue option). If you have enough gold, it is of course worth to buy something cool.
New Main Quest: Go to bed and get some rest
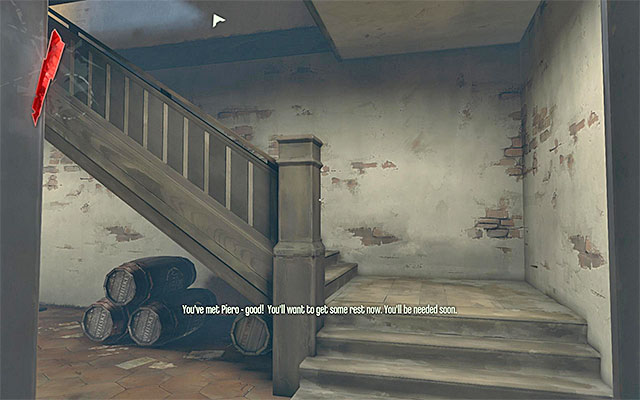
Go back to the pub's main building. Right after you enter it, turn right and you will be facing a staircase (the above screenshot). Use the stairs and go to the uppermost, fourth floor.
![Go through rooms until you reach [Corvos Chambers] - Meeting with the Loyalists - The Hound Pits Pub - Dishonored - Game Guide and Walkthrough](https://game.lhg100.com/Article/UploadFiles/201512/2015121517545837.jpg)
Go through rooms until you reach [Corvo's Chambers]. Approach the marked bed and interact with it. Confirm that you want to go to sleep (upper-right option on the list)
New Main Quest: Something's not right...
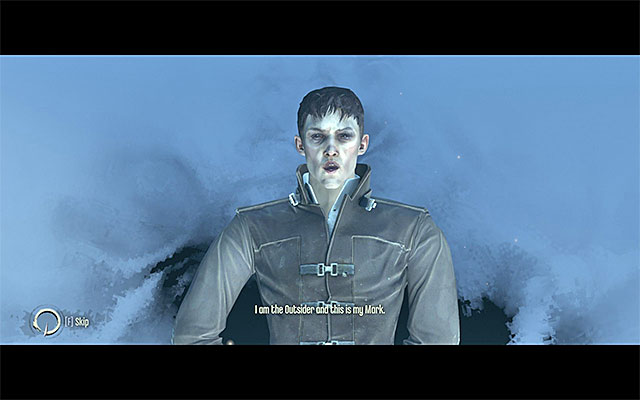
The whole of the level serves as an introduction to the supernatural, that Corvo will be acquiring throughout the game. Begin by leaving the bedroom and following the linear path to meet with the Outsider. The man will give you the first one of your powers, called Blink, that works as a teleport.
New Main Quest: Use your Blink power to reach the Outsider
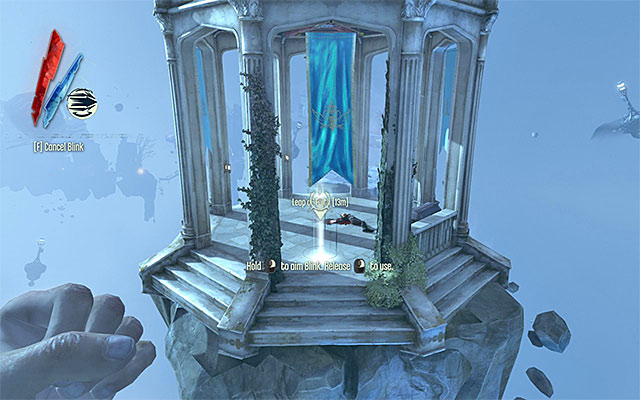
Acquaint yourself with the short description of how the power works. It is much better to point to the destination manually, i.e. by pressing and holding down the right mouse button. That's what you should do to teleport to the platform visible in the distance (the above screenshot). Note - each time you aim, make sure that Corvo will land safely, because falling from heights may kill him.
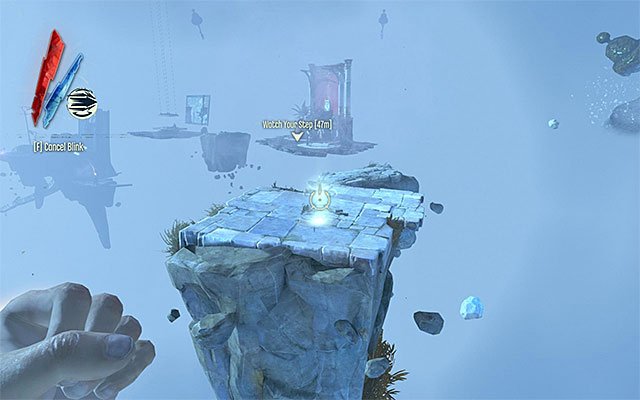
Collect the fallen letter and take a look into the chest that contains Piero's spiritual remedy, which is a mana potion (used for propelling all powers used by the protagonist). Start teleporting now from one platform to another (the above screenshot) and remember that you do not need to hurry.
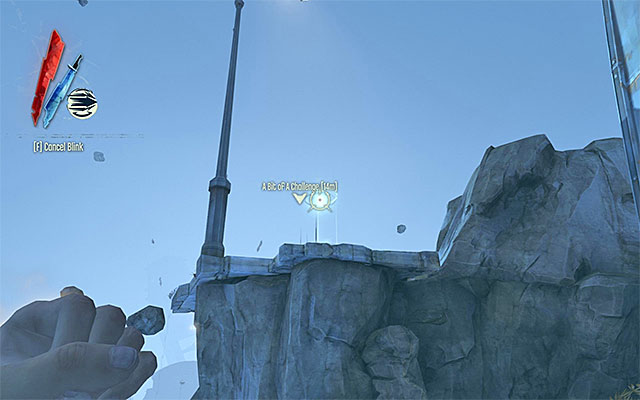
Stop on the platform with Emily's petrified form and collect Emily's letter. Go forward to find another chest with Piero's spiritual remedy. Make sure to teleport to the higher platfor correctly (the above screenshot). Your destination is the platform with the Outsider on it. He will give you the heart and instructions on how to find runes.
New Main Quest: Use the Heart to find the hidden rune
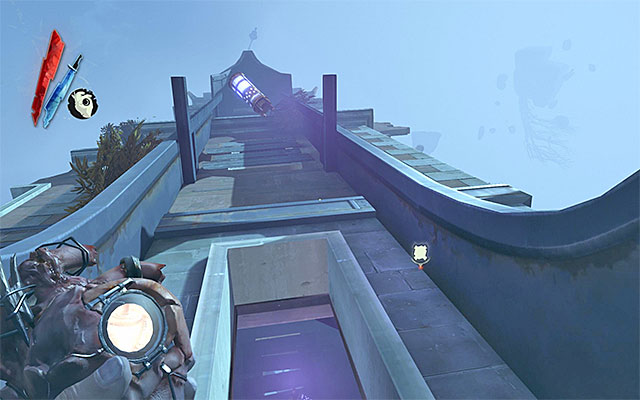
Make sure that you select the heart on the list (by holding down the middle mouse button). Collect another Piero's spiritual remedy and go straight ahead. On your way, you need to jump into the hole shown in the above screenshot. Go to the other end of the room and jump down again, to land near a chest with the fourth Piero's spiritual remedy.
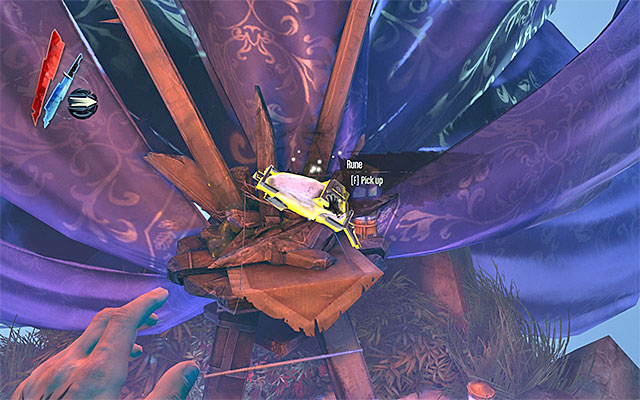
Keep jumping down from a platform onto another.In order to get to a platform with a runeon it, you will have to use Blink (teleport) again, so select it in the roll- down menu (or press the appropriate hotkey). After performing two successful teleports, approach the rune and collect it. Use the rune to unlock the first power from the list (there are two to choose from) and listen to the last conversation with the Outsider.
New Main Quest: Speak to Admiral Havelock in the bar
New Optional Quest: Use the Heart to find the Rune near the Hound Pits Pub
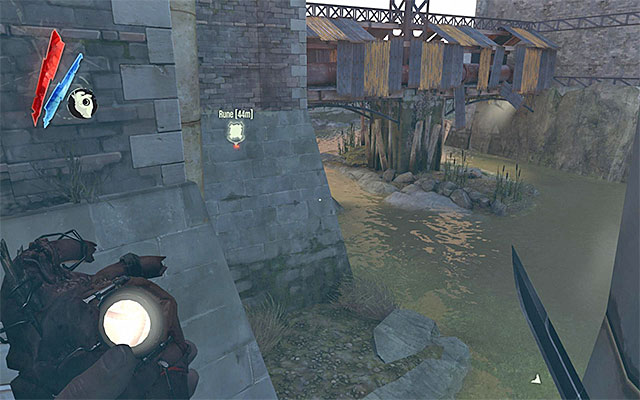
I recommend that you deal with the optional quest first. Leave the pub and return to the docks. From your inventory, select the heart and use it to find the rune. Thanks to this you will determine that it is located on one of the islets.
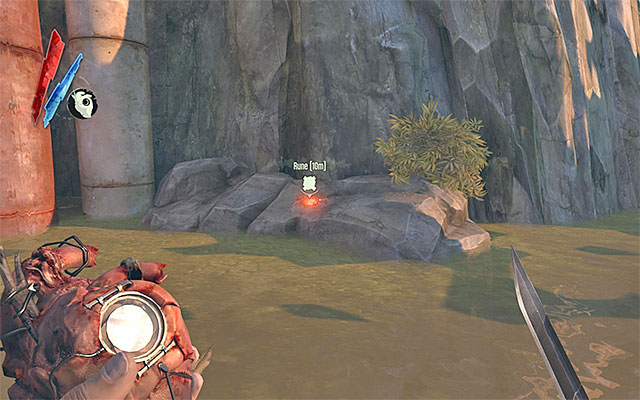
Depending on your preference, you may teleport from one islet over to another using Blink or reach them swimming. In the case of the latter, however, you need to watch out for piranhas. You may kill the fishes (using gun for example), or avoid them by swimming shorter distances. Locate the islet with the rune on it (the above screenshot) and collect it. Caution - you do not have to use up the rune right away to acquire another one of the powers. You may keep it, thus starting a collection of runes required for unlocking better powers
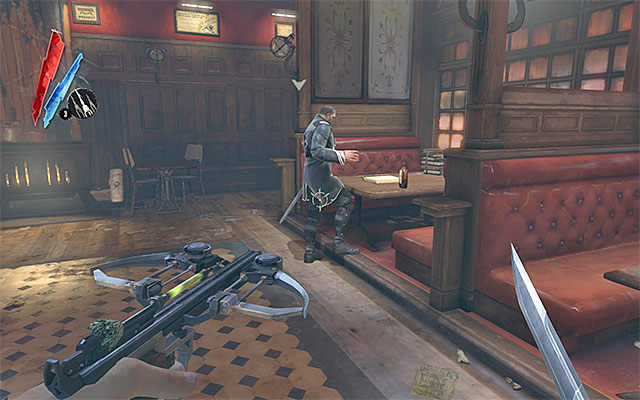
You may now return to the pub and go to pub's main room to meet admiral Havelock. Approach him and listen to briefing that he gives you. During the briefing you will learn that your first task will be to murder Campbell the Overseer.
New Main Quest: Travel with Samuel the Boatman to your first mission (
New Main Quest: Take the blackmail journal from High Overseer Campbell
New Optional Quest: Ensure Captain Curnow survives his visit to the Office of High Overseer
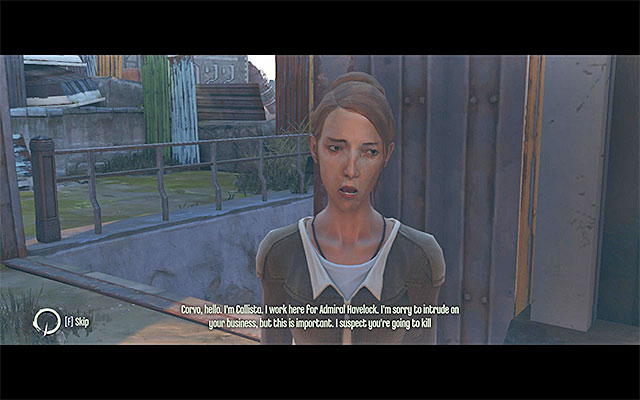
Exit the building and go towards docks. On your way there you should be stopped by Callista and asked by her to save her uncle Geoff Curnow, who is the captain to the watch, from death.
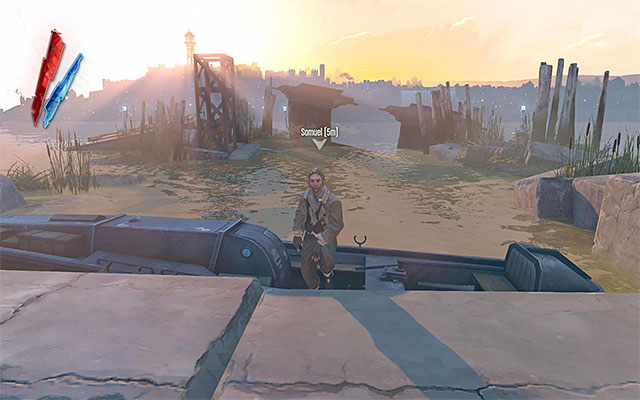
Go to the docks and start your conversation with Samuel. Confirm your will to set out to a new mission (the upper-right dialogue option).
The following mission takes place in the [Distillery District] and it's officially the first level in the game. This means, above all, that you will generally have more freedom when it comes to exploring and you will be able to deal with problems you encounter in various ways. The mission's main goal is to neutralize the High Overseer Campbell, but it's also possible to take up several side missions. All of the steps to take have been described in this guide.
Below, you can find a list of all of the sub-points to this guide, connected with the described mission. If you want to explore the area thoroughly, follow all of my instructions from end to end. If you prefer to concentrate on the main mission instead, turn your attention only to the pages with the note (compulsory) attached.
Further steps:
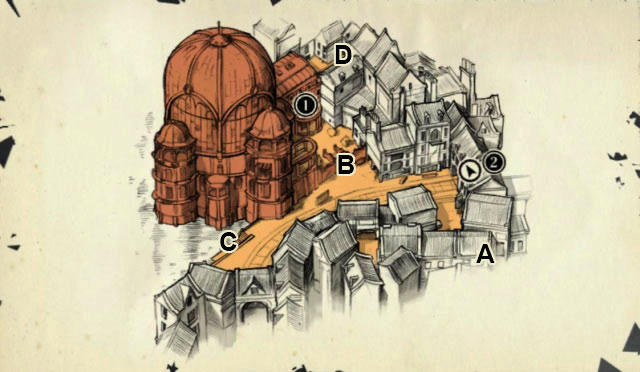
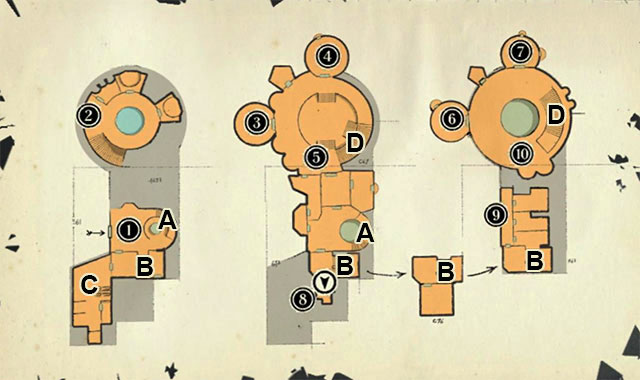
The below maps may serve as an additional help while navigating the area. A noteworthy fact is that you can also find these on your own. The first one of the maps is to be found near the first one of the walls of light, the second one is located near the Overseer Martin's holding place. The third one (in two versions) is located on the first floor of Overseer Campbell's building.
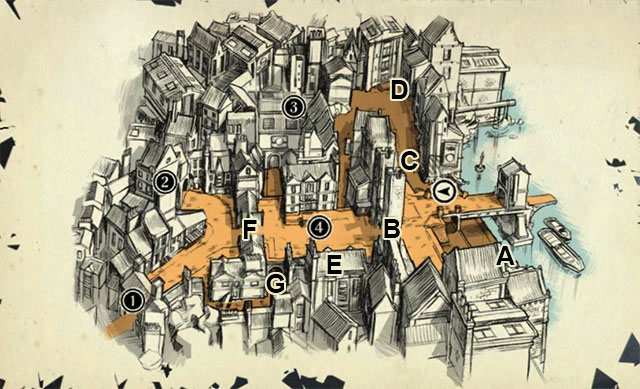
Legend:
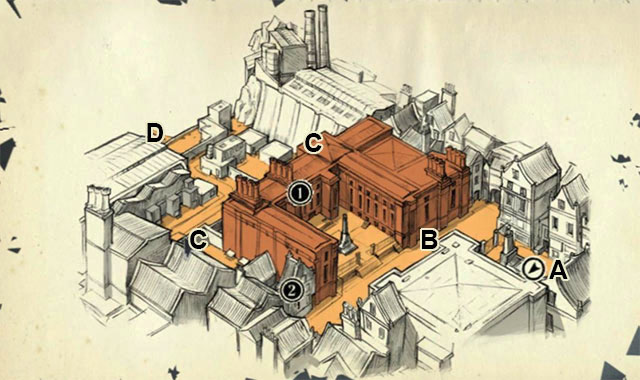
Legend:
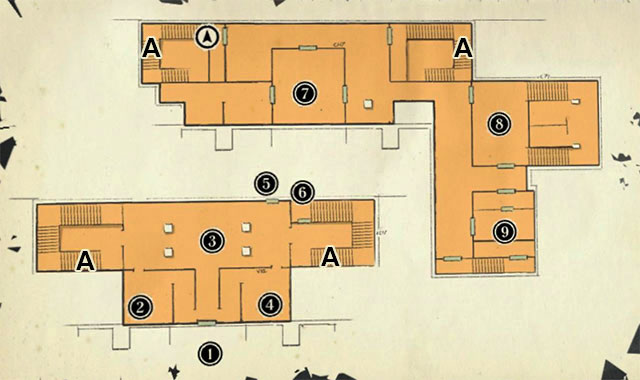
Legend:
New Main Quest: Get past the first Wall of Light
New Main Quest: Take the blackmail journal from High Overseer Campbell
New Optional Quest: Use the Bottle Street alleys to get around the Walls of Light
New Optional Quest: Ensure Captain Curnow survives his visit to the Office of High Overseer
New Optional Quest: Talk to Granny Rags in her apartment
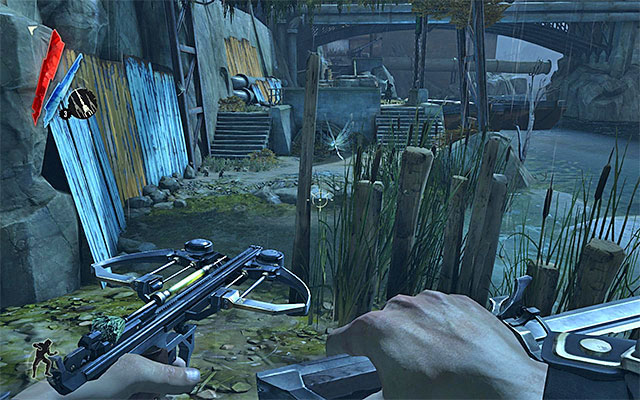
Your first quest is to get to the place where there is the first wall of light located. The easiest way to get there is to follow the main path. The area is patrolled by a sole guardian and depending on your preferences, you may either kill him, avoid him or put him to sleep. On your way there, keep your eyes peeled for food, gold and a note (Arthur's Note).
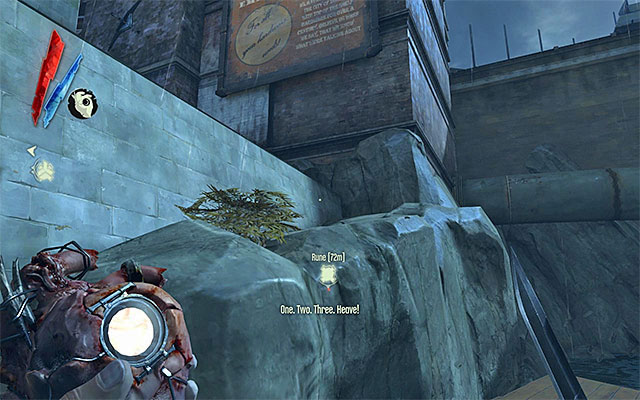
There is another variant, though. You can jump into water and proceed alongside the waterfront until you reach the rocks shown in the above screenshot. Climb up these rocks and you will wind up near your current destination without the necessity to worry about being spotted by anyone. Note - You do not need to worry about civilians (save crooks that you will meet later on). They do not raise alarm when they see you.
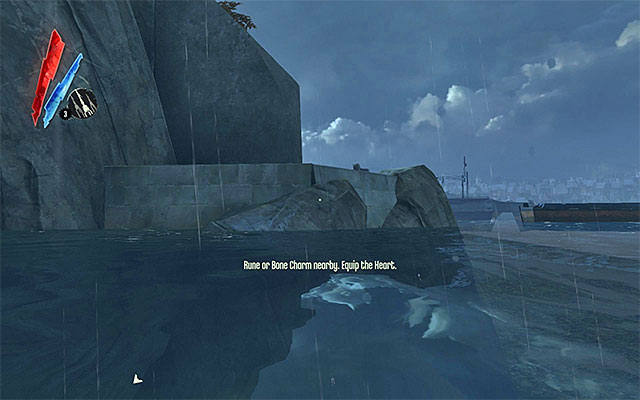
Before you approach the first wall of light, it is a good idea to search around for the first Bone Charm. The charm is hidden at the end of the bridge, from which two guards throw corpses into water. The easiest way to reach the amulet is swim up to the rocky ledge shown in the above screenshot and grab onto a loose chain. In the meantime, you should also make use of the Heart to determine the Charm's whereabouts. You also need to watch out for piranhas, as far as it is possible, avoid meeting running into them and limit time you spend in water to a minimum.
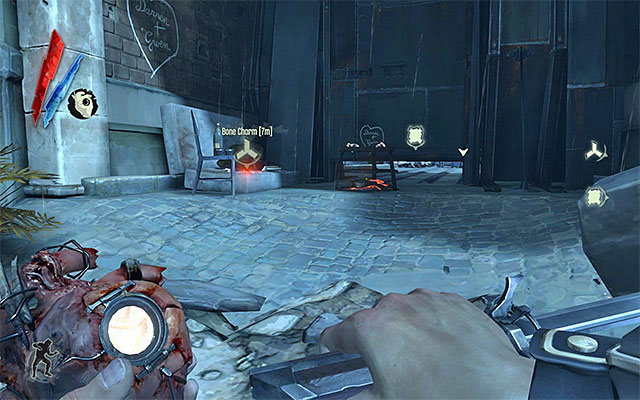
Climb up the chain and jump onto the top platform shown in the above screenshot. Collect the Bone Charm, and food, gold and a book. Note - do not walk along the bridge. There are three guards further on and it would be difficult to avoid being caught within their sight. It is way better to return down and reach the wall of light following the method described above (by following the main path or by climbing up the rocks).
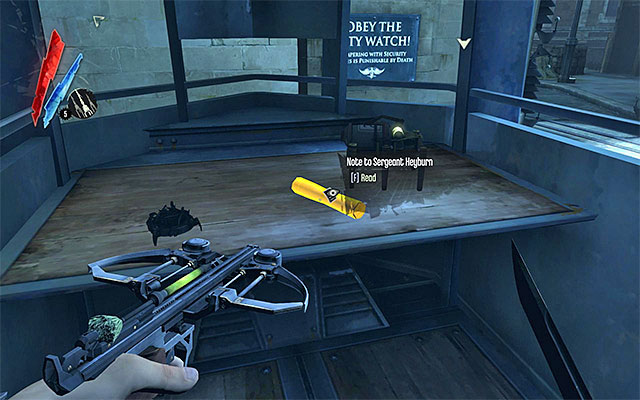
Start the exploration of the location around the first wall of light. Since the location is well lit, I'd recommend that you attach more care to staying in dark. Also, do not come near the abovementioned bridge. Examine each trash container and every crate to find gold and food.It is also worthwhile to gain access to the guard booth shown in the above screenshot, because inside you will find a vial of Sokolov's health elixir, Piero's spiritual remedy, a Note to Sergeant Hayburn, a spring razor and a rewire tool.
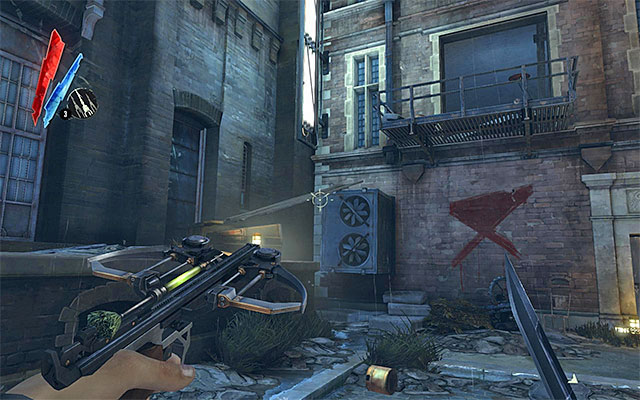
After examining the immediate surroundings of the first wall of light, go into the alley to the right. On your way, you will find another Sokolov's health elixir. You may also Blink (teleport) to the roofs of the nearby buildings to find a dead body with gold, bolts and Lookout Orders. Then enter the building shown in the above screenshot, i.e. Granny Rags's house.
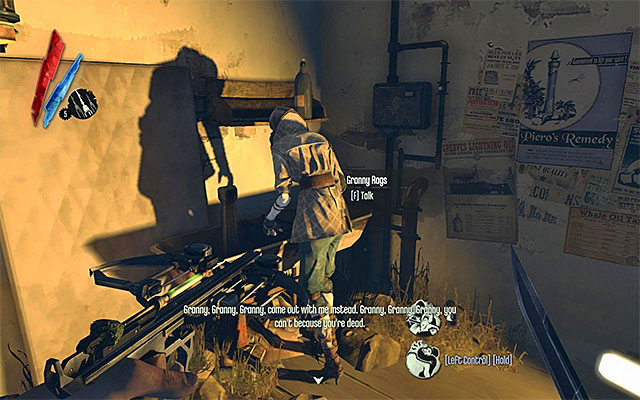
Start exploring Granny's house to find there food, gold, sleeping bolts, Pieroas spiritual remedy and a rune hidden in the basement. To wind things up, talk to Granny (the above screenshot). During the conversation, you will receive Granny's front door key and you will be asked to solve the problem of the bandits at the door.
New Optional Quest: Deal with Granny's gentlemen callers
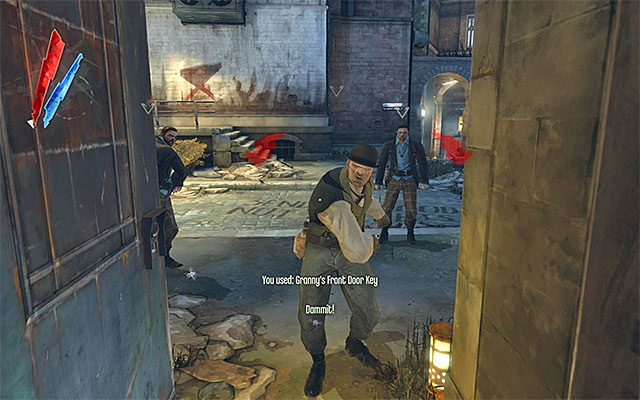
The bandits are hammering on Granny's doors. The easiest way to deal with them is open the door and put up a fight. It's a good idea to use the pistol, the crossbow of your powers during the fight. Watch out especially for those of the bandits that can "breathe fire". If you don't want to kill the bandits, you can go to the upstairs door, get them from behind and render them unconscious with sleeping bolts. Regardless of your approach, you are supposed to neutralize all three bandits.
New Optional Quest: Revisit Granny Rags
New Optional Quest: Collect your gift from Granny Rags
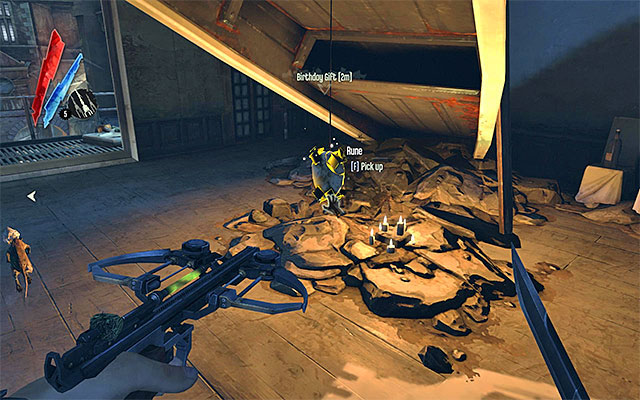
After you win, return to Granny and talk to her. During the talk, you will learn about the reward. Go now to the first floor and find the reward to be a rune. Listen to another conversation with the Granny and receive another quest. This time, you will be asked to break into doctor Galvani's apartament and steal a poison that you will have to place in the headquarters of the local gang. Note - the description to the first part of this quest is to be found in the section Break into Dr Galvani's House,whereas, the description of the second part is to be found in section Contaminate the elixir supply in the Bottle Street Gang's headquarters.
New Optional Quest: Break into Dr. Galvani's Flat on Clavering Boulevard
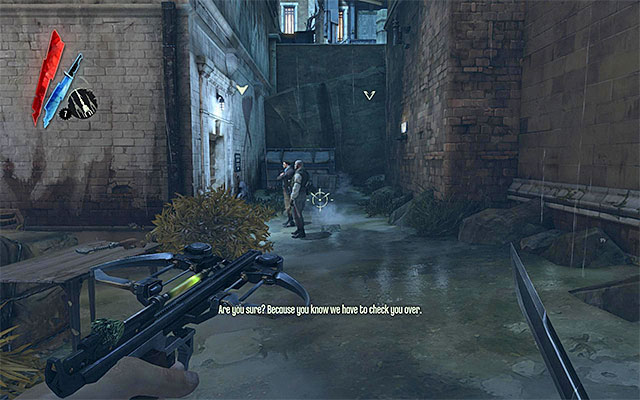
Exit the building and resume the exploration of the side alleys to find gold, food, pistol ammo, Piero's spiritual remedy and sleeping bolts. Ignore the distillery building and stop only after you see two bandits hammering at the door of a building with a civilian in it (the above screenshot).
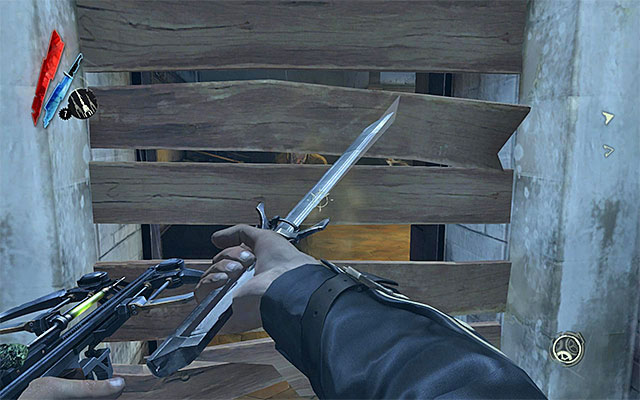
It's a good idea to eliminate both bandits, and it's best to do it as soon as they finish talking to the civilian. They should scatter at this point and, as a result, it will be easier to render them unconscious or kill them. After you eliminate both of them, approach the barred passage and smash the planks using your blade (the above screenshot).
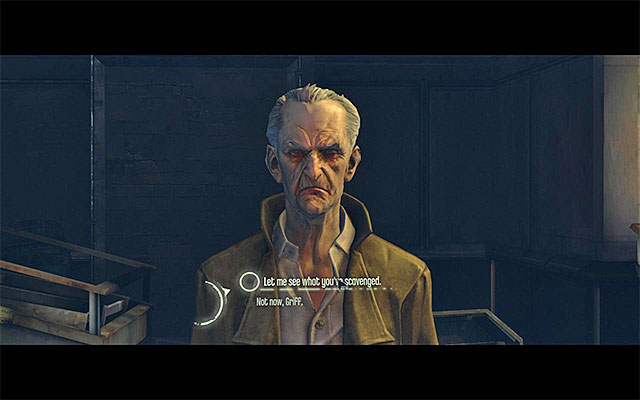
Talk to the dealer Griff, who will thank you and offer his goods. I recommend that you, in particular, buy the blueprints that he has for sale. You will be able to use them to construct new items on your return to the pub. Note - throughout the further part of this quest, Griff will be occupying a nearby square, and not the inside of the building where you found him.
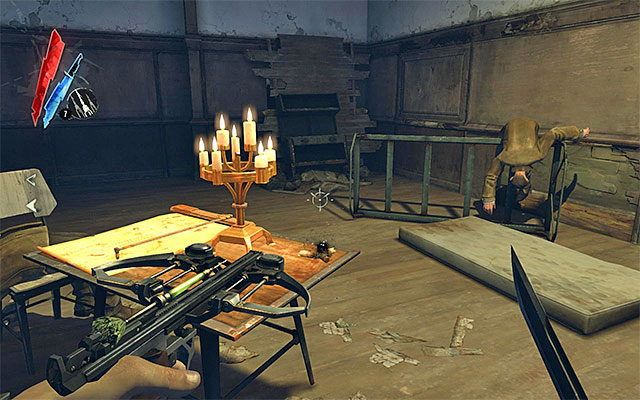
Explore now the building that Griff was staying in. On the ground floor, you will find gold and food, and a bone charm on the first floor (the above screenshot), plus gold and a book. Leave the building now and take a turn to the right twice. You should reach a flat with food, gold and three books in it.
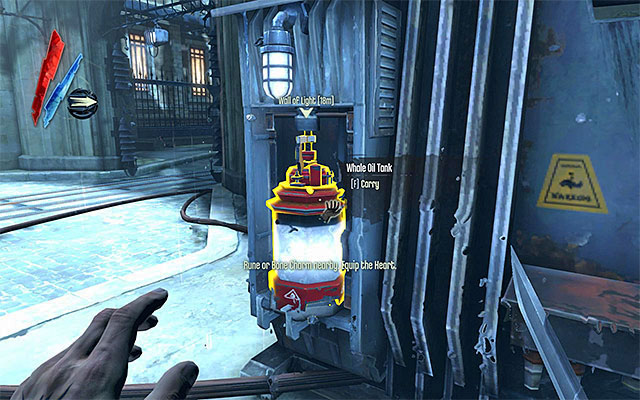
After you have sufficiently explored the first part of the district, consider how to go around the first wall of light. The possibilities are plentiful and the game itself will suggest a few of them, by displaying hints after you approach the wall. Note - do not try to get through the wall without preparation (even by means of teleporting), because this equals to Corvo's death. The easiest, in my opinion, solution to this problem is to remove the whale oil container from the slot shown in the above screenshot. This will stop power supply to the wall.
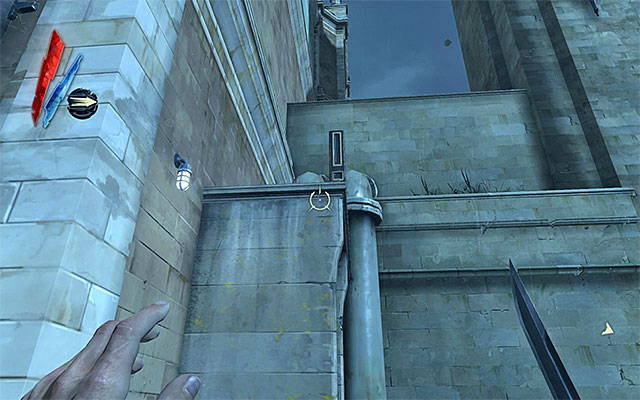
A method equally easy is to climb up on the items located to the left or to the right of the active wall. It's advisable especially that you do not even have to use teleportation while going up.
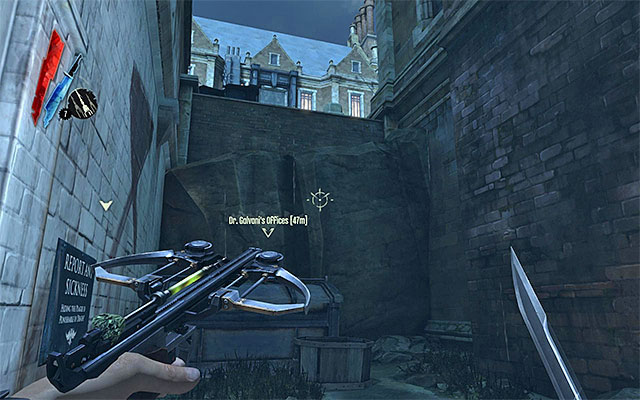
If you have done in accordance with my suggestion and explored the district's side alleys, you may now start climbing in near the building in which there was Griff (the above screenshot) or in the spot in which the dealer will be standing after you free him.
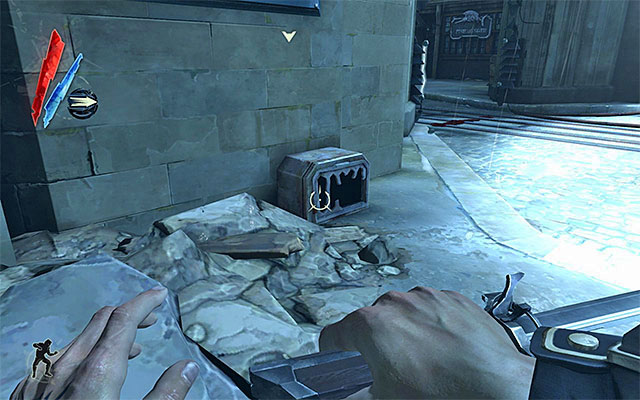
One of the most sophisticated ways to get around the wall of light is by using the force of Possession, assuming that it's already available for you to use. You would have to find a damaged grate to the left of the gate (the above screenshot), possess one of the nearby rats, and get through to the other side/
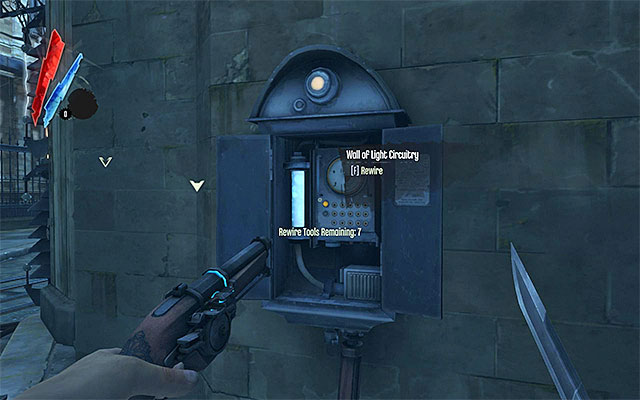
A less obvious thing to do is to hack the control panel, to the right of the wall, using a rewire tool . The action modifies the operation of the wall in such a way, that it now lets Corvo through and kills enemies that try to get through it.
New Main Quest: Get past the second Wall of Light
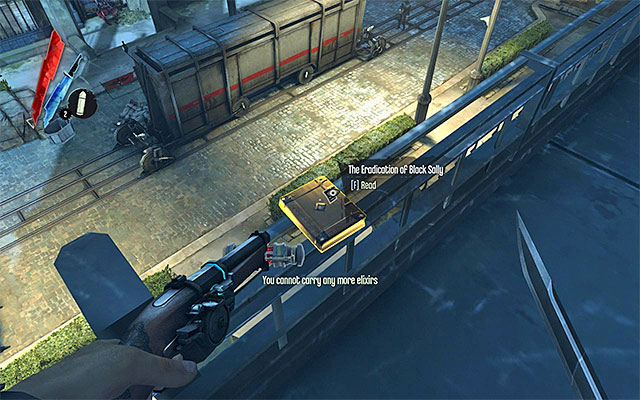
Right after you go past the first wall of light, you will reach a small square. As far as it's possible, I suggest that you remain here on the upper levels, because the entire of the area is patrolled by four guards. At the same time, you should turn your attention to one of the balconies (the above screenshot) that can be reached from the Griff side. On the balcony, there is a Sokolov's health elixir and a book. I suggest that you go now to Dr Galvani's flat (and then to the gang'a headquarters). If you want to focus entirely on the mission's main aim, you should skip to the part entitled Get past the second wall of light.
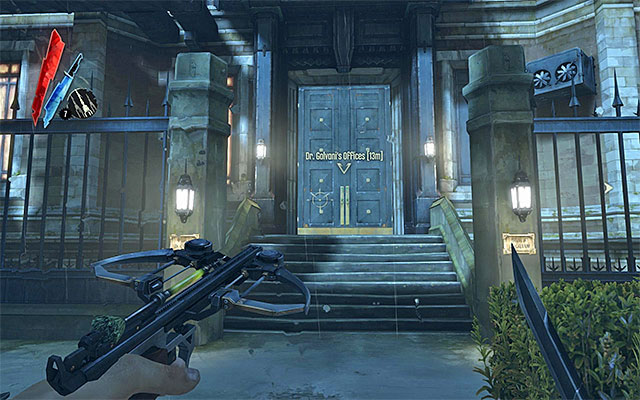
The building that doctor Galvani lives in is located on the square between the two walls of light, so it won't be long before you find it. The most obvious way of entering the house is through the main entrance, but in this situation, you would start on the ground floor and you would have to make your way through to the second floor.
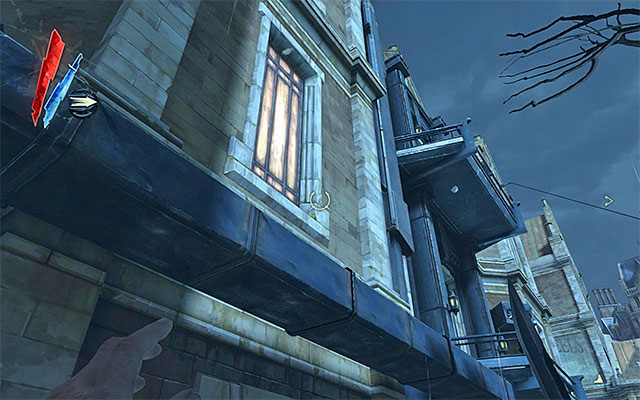
Another path you can take is to Blink (teleport) with the aim of reaching the balcony on either the first or the second floor of the building. This will allow you to go around the guards and Galvani;s servants on the lower floors. Regardless of which way of entering you choose, start the exploration of [Dr. Galvani's Office].
New Optional Quest: Search for a sample of infected rat viscera
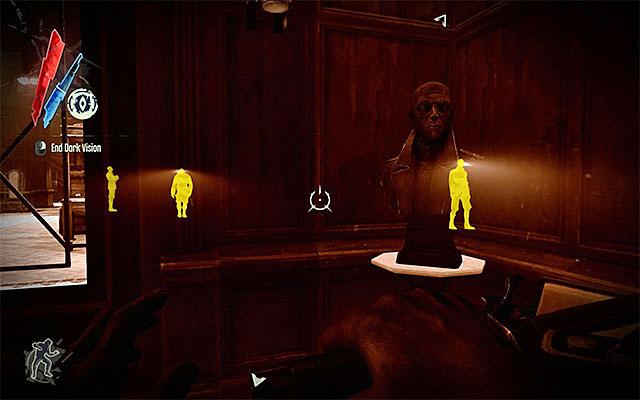
The ground floor of the building is patrolled by guards. If you are patient enough, you can eliminate them one by one, but you need to remember to carry the corpses away to the area around the main entrance. Otherwise, I recommend that you go to the room to the left right away and collect (Galvani building key) on your way.
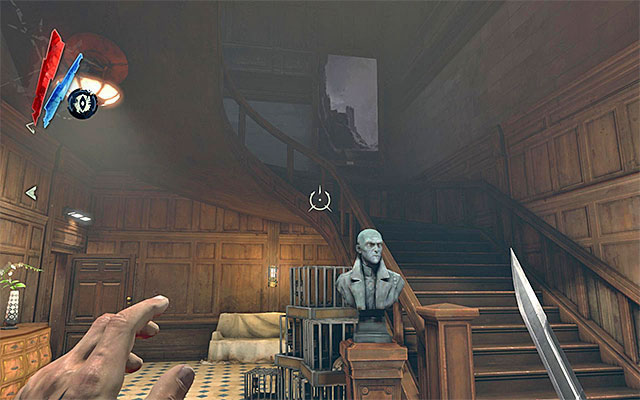
If possible explore thoroughly the entire ground floor. The items that you can find are: gold, food, crossbow bolts, two Sokolov's health elixirs, pistol ammo, three books and a log (Feeding Log). There are two ways of reaching the first floor - you can go up the stairs (the above screenshot), or use the Possession power to possess a rat and go through a damaged ventilation system screen.
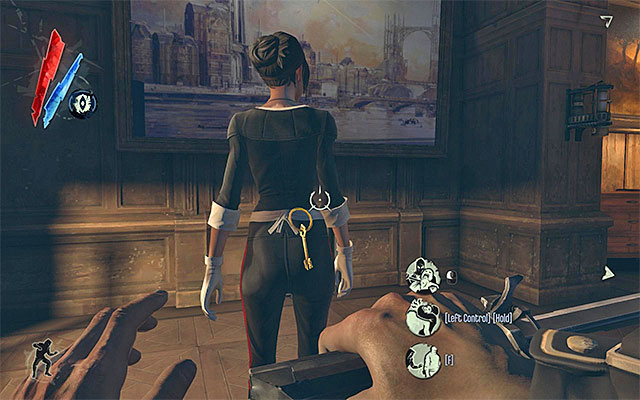
The first floor of the building is initially occupied by a guard and a chambermaid. It is worthwhile to wait until they finish their conversation, because then, the guard should go to the second floor and leave the chambermaid exposed. Depending on what you like, you can either go around her, choke or kill her. You cannot, however, expect her not to react when she sees you, since she is Galvani's employee and would take you for a thief. It is worth noting that the chambermaid has a Galvani building key on her, i.e. the key that you can also obtain on the ground floor.
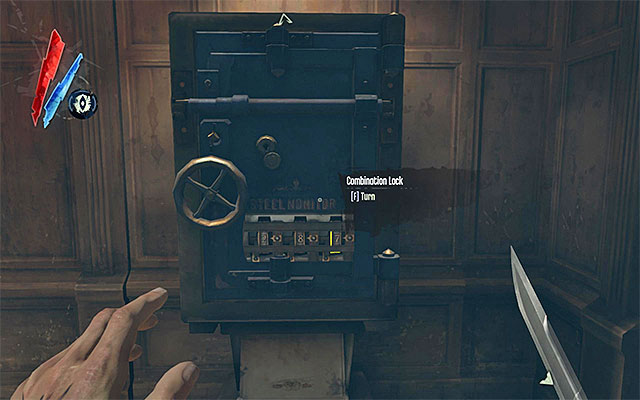
You can find further valuable items (some of them are hidden in cabinets that need to be broken) like gold, food, two books, two Pieroas spiritual remedies, pistol ammo, sleeping bolts and a safe (the above screeenshot). You can determine the safe combination by reading Galvani's log - it's 287. In the safe there are two bars of gold 100 coins each.
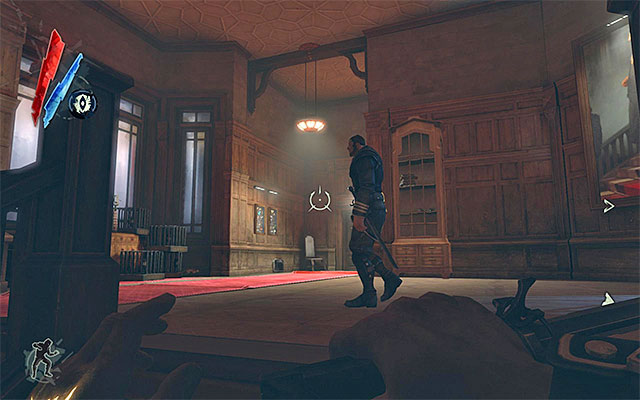
The second floor of the building is patrolled by a single guard, unless this is the floor that you started the exploration on, and you haven't yet witnessed the conversation of the guard with the chambermaid. Just like on the lower floor, you can go around the guard, choke him or kill him. The guard has a Galvani lab key on him. Some other valuable items can be found around like two spring razors and Cleaning Instructions for the chambermaid.
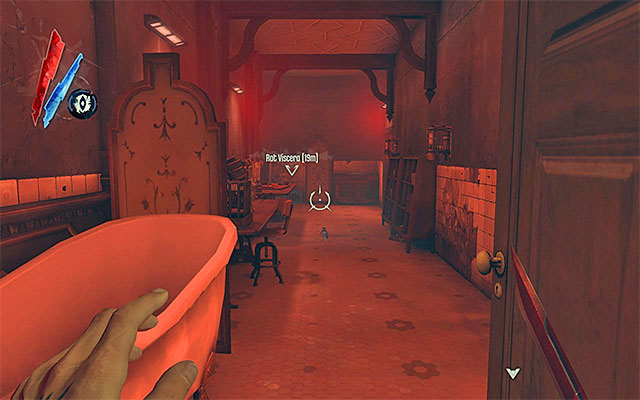
The secret room with the infected rat viscera in it, can be reached in two different ways. Variant one is about reaching the side room shown in the above screenshot and finding Piero's spiritual remedy on your way. While in the room, you need to Possess a rat and run into the nearby ventilation shaft.
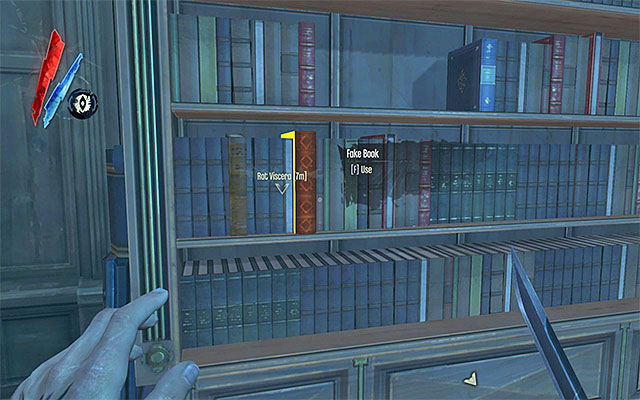
Variant two is about reachimg the chamber from the main room on the second floor i.e. from [Dr. Galvani's Lab]. It is also worthwhile to explore the entire lab for food, gold, two books, a document (Galvani academy notice), Audiograph - Galvani's Speculation, Sokolov's health elixir and another Galvani lab key. To unlock the secret chamber, you need to pullone of the books (the above screenshot).
New Main Quest: Contaminate the Bottle Street Gang's Bootleg Elixir with plague
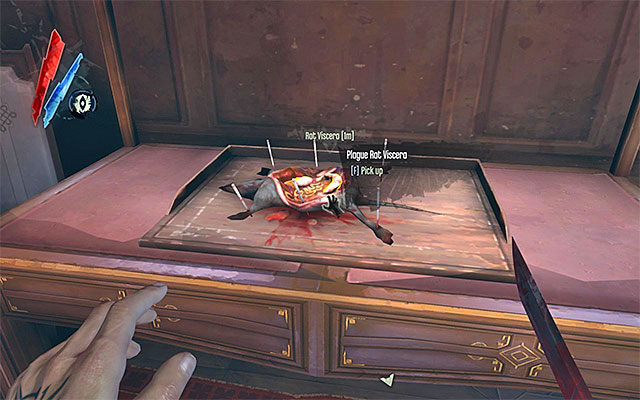
Regardless of the variant you choose, you will wind up in [Dr. Galvani's Secret Room]. Collect the book, gold, Piero's spiritual remedy and the plague rat viscera, after which you will receive further instructions. You may now leave the building. It is best to do that through the door in the main laboratory.
![The Bottle Street Gang's headquarters is located in the [Dunwall Whiskey Distillery] that you may have already found - Contaminating the bootleg elixir in the Bottle Street Gang's headquarters - Mission 2 - High Overseer Campbell - Dishonored - Game Guide and Walkthrough](https://game.lhg100.com/Article/UploadFiles/201512/2015121517550523.jpg)
The Bottle Street Gang's headquarters is located in the [Dunwall Whiskey Distillery] that you may have already found. You need to backtrack to the alleys near Granny Rags' house and the place where you met Griff. The entrance to [Dunwall Whiskey Distillery] is shown in the above screenshot.
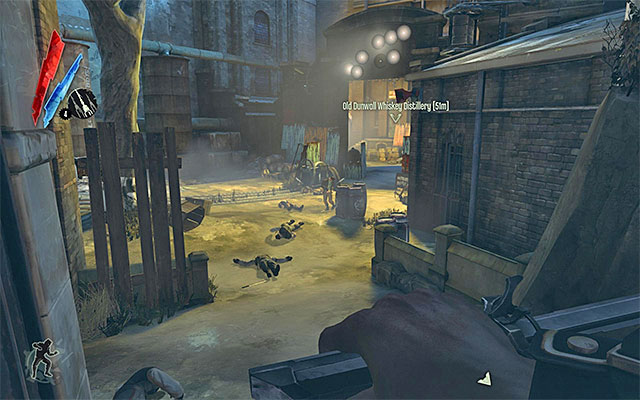
The distillery is occupied by gang members and, unfortunately you need to expect them to be hostile towards you. If you intend to eliminate the gangsters, I'd strongly recommend using your crossbow and eliminate them from distance. The main encampment is occupied by five gang members, plus two at the entrance, who will start to patrol the area only as soon as you come near the. Regardless of whether you decide to kill the gang members or just to overpower them, I recommend that you hide the bodies afterwards. This will ensure that nobody will find them afterwards. It's also worthwhile to loot the bodies for gold and two distillery master keys.
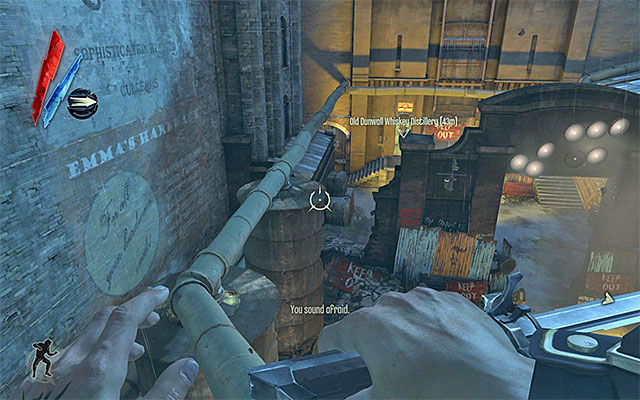
Fortunately, there's an easy way to go around the gang members if you don't want to kill them. You can go past the gangsters, and near the distillery entrance, using pipes (the above screenshot), or on roofs of nearby buildings.
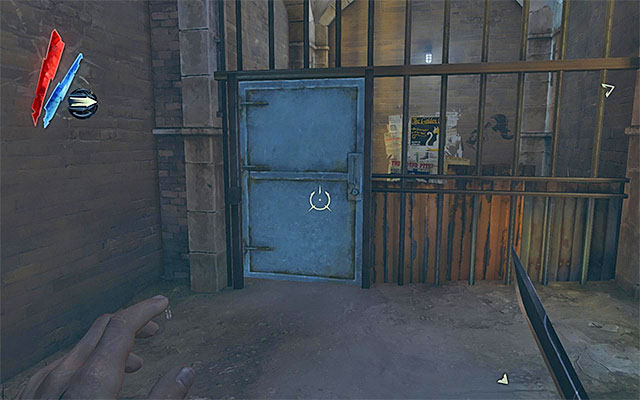
If you have the opportunity to, I'd recommend exploring the entire area in front of the distillery entrance. Inside the roofed area to the left of the starting point, you can find gold, food, sleeping bolts, distillery master key and a book. To the right of the distillery building, there are a projectile launcher, gold and one more key. To the left of the entrance, there is an enclosed area (the above screenshot) that may be opened with the key. Inside, there is a Sokolov's health elixir, gold and a rewire tool.
You can infiltrate the distillery in two ways. You can either enter through the main entrance (the above screenshot), or use Possession on one of the nearby rats, in order to gain access through the ventilation system.
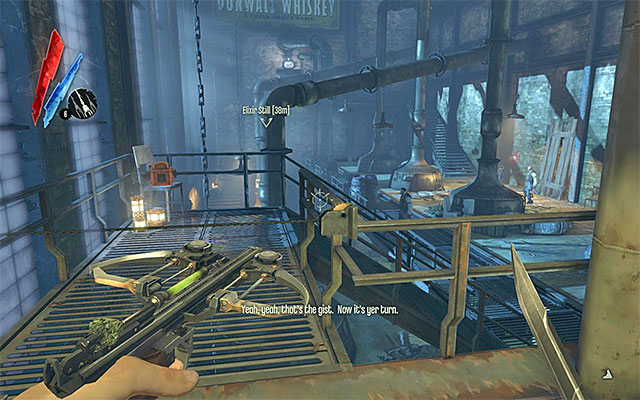
If you have decided for the variant with the main entrance, go straight ahead and stop in the spot shown in the above screenshot. It is a good idea to perform a slide underneath the tripwire in order to reach a projectile launcher and disarm it. If you've infiltrated the distillery via ventilation system, you will end up in a small storage room. It is a good idea to loot it for food, gold, Sokolov's health elixir, Piero's spiritual remedy, bullets, spring razor and two grenades. I also recommend the control room on the right, where there is food, gold,a recipe for Craxton and a key.
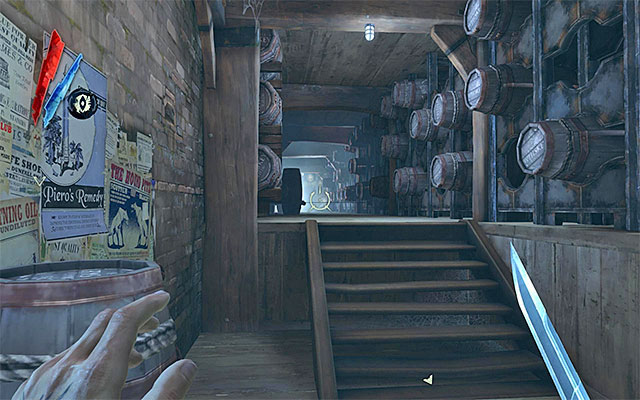
You now need to decide on the path you want to take to reach the area, in which you need to contaminate the elixir. It is much better an idea to choose the passage on the right that can be accessed through the blue door. Watch out for two nearby guards and, at least one, additional enemy patrolling the corridor between you and your destination (the above screenshot). There also is one trap to disarm/avoid. You can also find gold and Piero's spiritual remedy there.
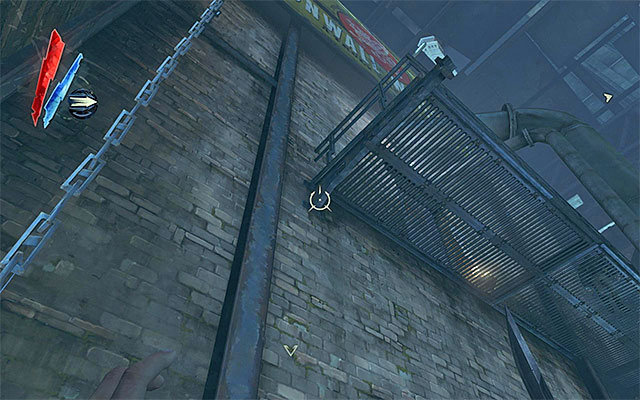
It is much more difficult to reach the door on the upper balcony (the above screenshot). You'd have to watch out for two guards on the main level, a single one on the lower one,and one or two more gang members on the balcony itself (one of them moves around between rooms). It is good news, however, that you can get there not only by using stairs but also by climbing the chain.
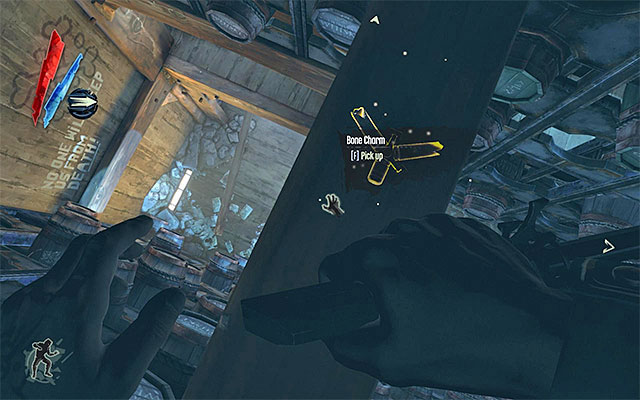
I'd recommend that you explore the upper room before you go about contaminating the elixir. It is the one that may be guarded by a single guard. Inside you can find food, gold, Pieroas spiritual remedy, a book and a bone charm. Obtaining the charm is, unfortunately, very troublesome, because you need to blink (teleport) to the beam underneath the ceiling (the above screenshot).
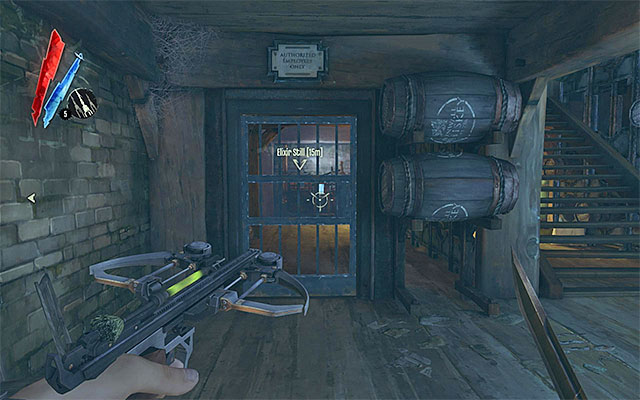
Having taken care of All the business, you can now return to the abovementioned corridor with the trap in it, and find the entrance to a small room underneath the stairs (the above screenshot) (you may enter either using the key or performing a slide). First, turn your attention to gold, bootleg still instructions, a spring razor, Sokolov's health elixir and a book.
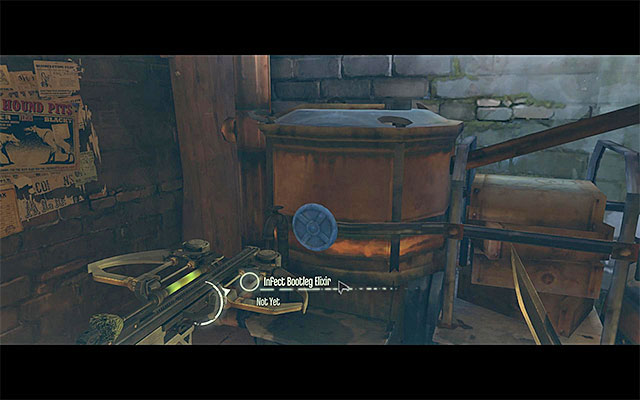
An interesting piece of information is that, before you contaminate the tank, you can make a few elixirs for yourself. To do that, you need to pick up an empty elixir vial, drag it towards the machine, put it in the slot and choose the middle option after you put it in the slot. If you just want to contaminate the elixir, everything you need to do is choose the uppermost option after you interact with the valve (the above screenshot).
New optional quest: Visit Granny Rags for your gift
New optional quest: Collect your gift from Granny Rags
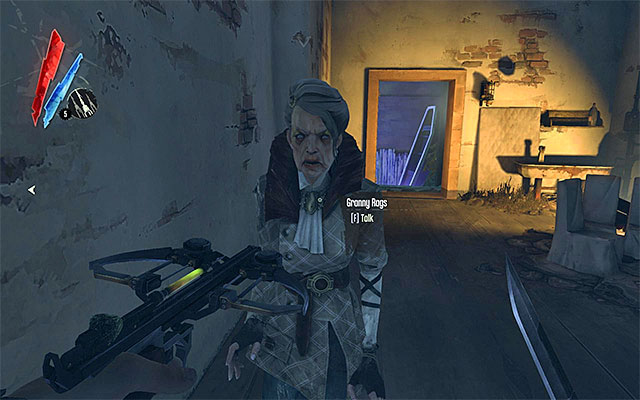
You may now leave the distillery. Be careful though because you may run into an trouble if you've missed an enemy on your way here, or failed to hide a body correctly. Go now to the Granny's place (near the first wall of light) and start a conversation with her. The woman will direct you to a room upstairs for your reward. Just like in the case of the previous quest, your gift is a rune. You may now return to the square separating both walls of light and focus on the main quest again.
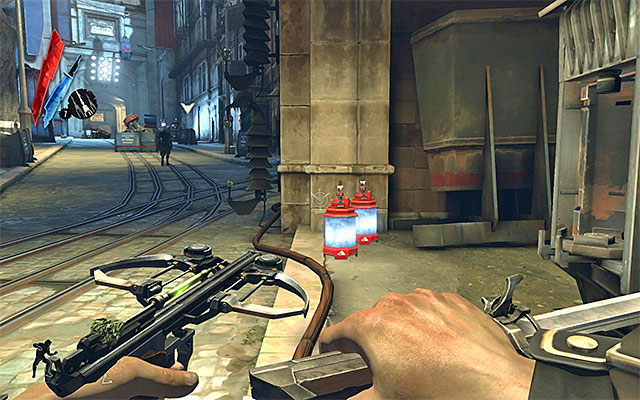
You can get across the second wall of light in two different ways. A more obvious variant is to approach the wall and remove the whale oil tank. In the meantime, you would have to avoid being seen by guards patrolling the area.
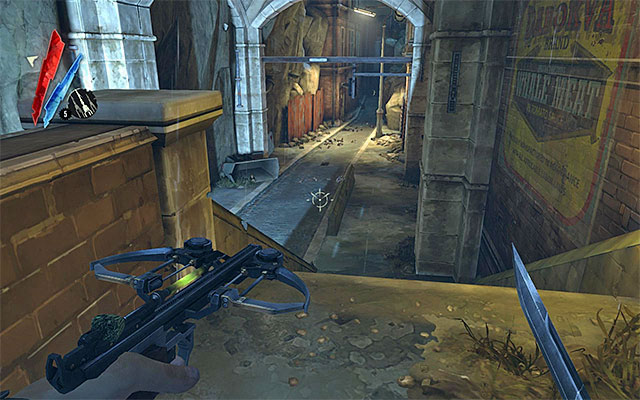
A less obvious approach is to take side alleys, and it is connected with the optional quest for the current mission. The abovementioned alleys are on a lower level, and you can get there by finding the stairs, or by jumping down from to that level. After you get downstairs, do not turn right. Otherwise you would run into a pack of rats. Instead, go left.
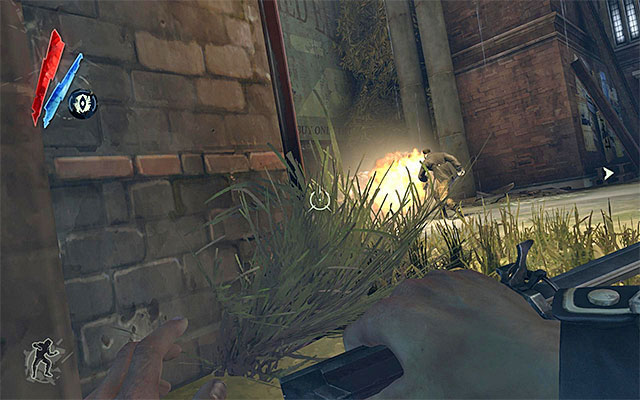
You need to watch out for bandits also in this part of the map. The first one of them can be neutralized very easily, though. A few steps further, you will witness an argument. You'd better not attack anyone here; cleaning the area is a waste of resources in my opinion, because the only things to find here are gold, Sokolov's health elixir and Piero's spiritual remedy.It is best to wait until the adversaries turn at each other and seize the opportunity to squeeze past them.
New Main Quest: Travel through the gate to Holger Square
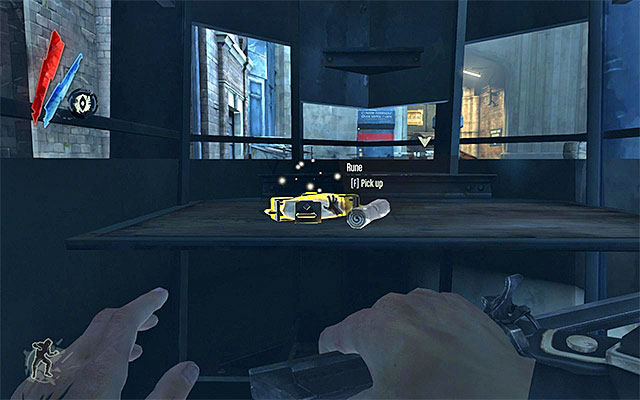
The passage to the Holger Square is guarded by four guards. Especially in this situation, I would recommend dealing with them, or at least with the one occupying the guard booth, since there is a rune hidden there (the above screenshot). You can also find food and a note (confiscated rune) inside. There's also a rewire tool on one of the crates outside.
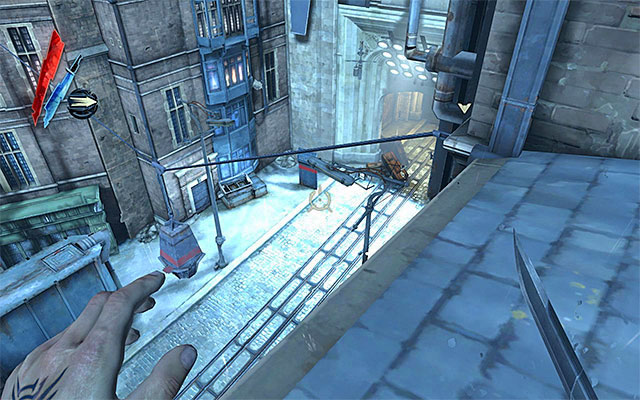
Still, if you don't want to be noticed by the guards and have to fight them, start climbing onto the roofs using Blink (teleport), in order to get safely to near the gate. Interact with the gate and confirm that you want to leave for the [Holger Square].
New Main Quest: Speak with Overseer Martin in Holger Square
New Main Quest: Use the release lever to unlock Overseer Martin
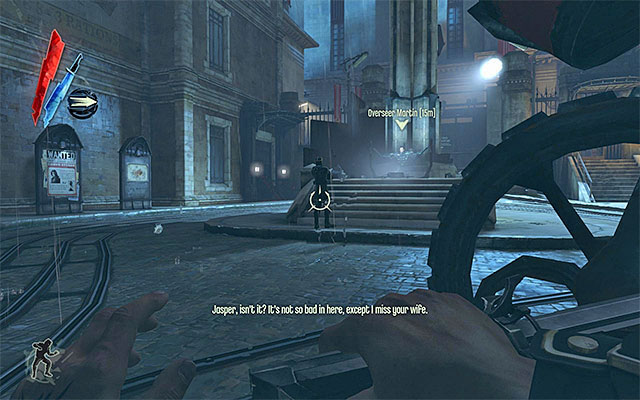
After you get to the new location, go straight ahead. Carefully, approach the restrained Overseer Martin and overpower or kill the guard standing in front of him. Afterwards, approach Martin and use the lever on the left to liberate him. Then, listen to the conversation.
New Main Quest: Find Campbell and Curnow in the High Overseer's Meeting Chamber
New Optional Quest: Search the Archive for information on the Heretic's Brand, a tool for casting out Overseers
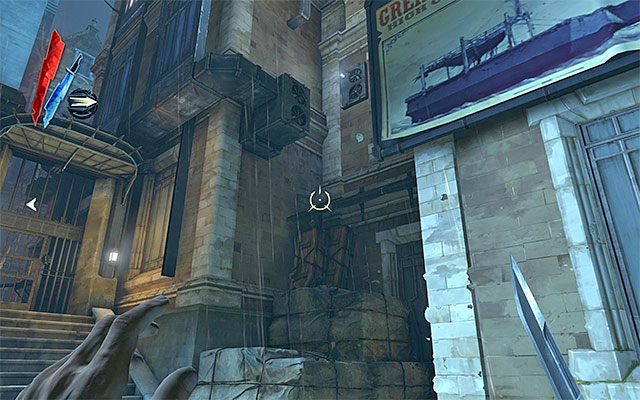
The nearby gate is locked, so you need to start climbing in the spot shown in the above screenshot. The game will suggest Blinking (teleporting), but this should not be necessary, because you can leap towards the more distant objects. Get to the upper balcony and listen to two overseers conversing about casting out (Heretic's Brand). This way you will obtain an important side quest, because it is connected with eliminating Campbell. Jump down and search the area for bolts and Sokolov's health elixir, but watch out for two overseers patrolling the area.
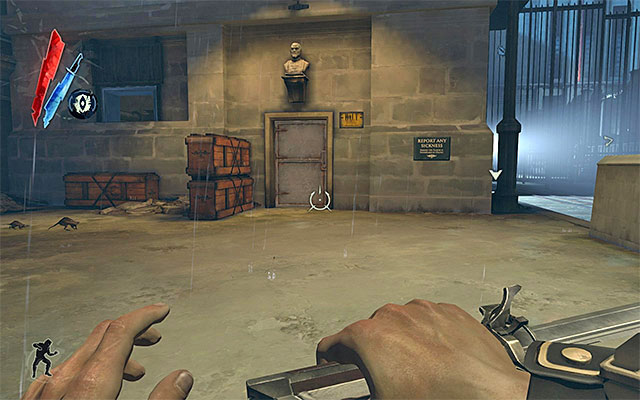
In order to approach the Overseer's building, you need to go around the gate seen in the distance. The obvious solution to this problem is to reach the precinct shown in the above screenshot. Be careful, because there is yet another overseer inside. You can also find food, bolts, spring razor, rewire tool, Piero's spiritual remedy and a note (Curnow's visit).
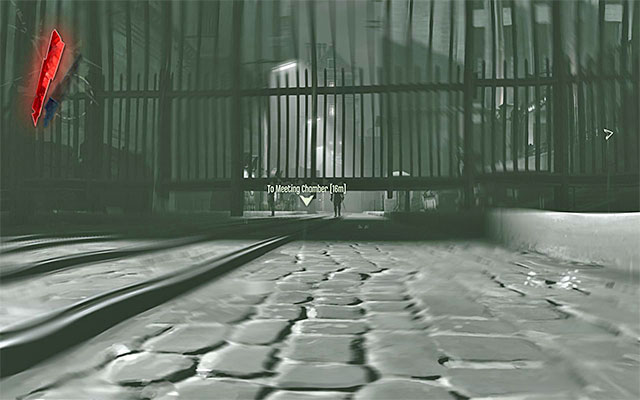
The less obvious ways to get over the gate are an attempt to Blink over to the other side, or Possess a random rat. If you do the latter, you will have no problems sneaking past the gate (the above screenshot).
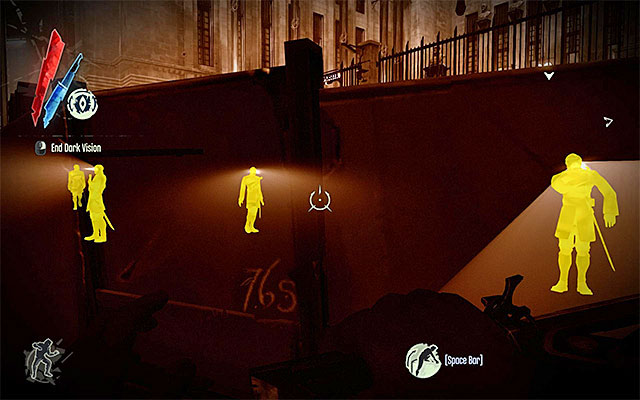
Regardless of how you got past the gate, you should stop for a moment and take a look around, because there are quite a few enemies in the area. The main street is patrolled by four enemies, side alleys are watched over by two guards, and in the square right in front of the Overseer's building there should be three or four more. If you intend to go around the guards, you should make an extensive use of teleporting, but also keep your eyes open for spots where you can hide in shadows. If you, however prefer to eliminate the guards, try and pick the ones that stray too far away from the others for the execution to be noticed. You also need to remember to carry the bodies away into unlit and not watched places.
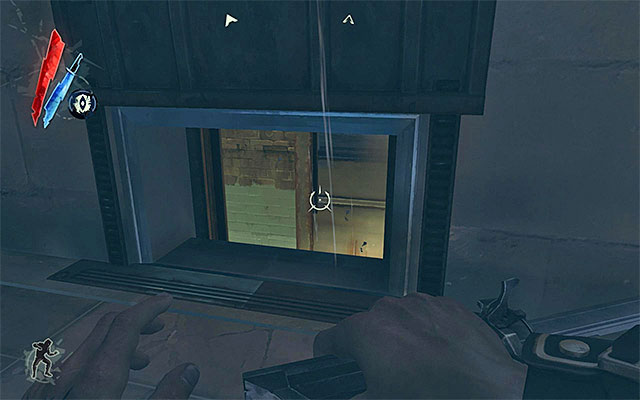
When you manage to get near the main entrance to the Overseer's building, you should also make sure to check out two basement rooms (the above screenshot). In the one to the left, you will find gold and Sokolov's health elixir. In the other one, you'll get the opportunity to overhear two guards talking in Campbell's secret room. Before you take any decisive action, finish the exploration of the premises to obtain gold, Sokolov's health elixir and a spring razor.
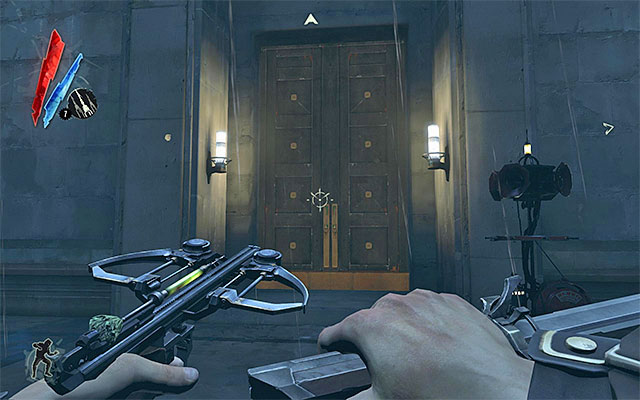
You can infiltrate the High Overseer Campbell's building in many different ways. The most obvious is using the main entrance (the above screenshot). It is not as bad an idea as it may seem, because the main entrance is not guarded by anyone.
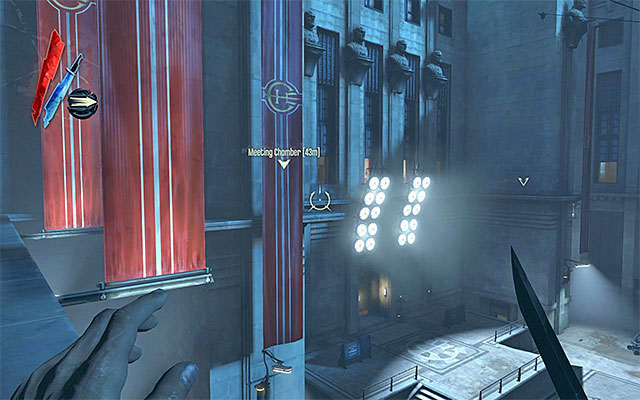
A very interesting way to infiltrate the building is to reach the window sill on the first floor (the above screenshot). You may do it by climbing up on the left of the main entrance. What is even better, some of the opened windows lead directly to the meeting room, so you should choose this way of handling matters if you want to deal with Campbell quickly.
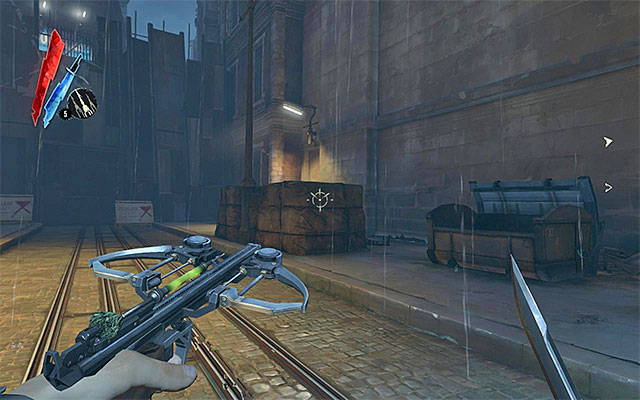
I definitely advise against taking the Back Yard located to the left of the Overseer's building. The point isn't that it is guarded by two guards, because you can easily go around them or overpower them. The point is that you will have to cross the yard anyways on your way back, after you eliminate Campbell. As a result, that's when it's the best time to decide for a thorough exploration (more about that in the Reach the Yard subsection).
I recommend reaching the building through sewers, especially that the entrance to the sewers is located right next to the precinct and the large gate that you have just gone past (the above screenshot). Do not forget to loot the enemy standing on the grate, on your way through. He has as much as 100 pieces of gold (requires using teleportation). Also keep your eyes peeled for bolts and a Sokolov's health elixir.
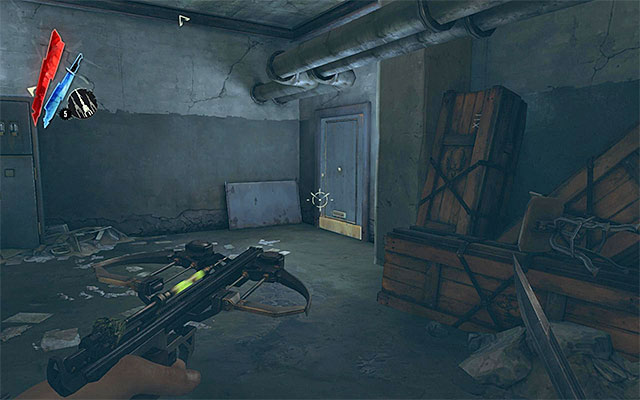
You should eventually reach a basement room (you can also reach it going from the side of the square) and there's also a door leading to Kennels (the above screenshot). I recommend going there, because not only will you reach the Overseer's building, but also you'll find a considerable loot.
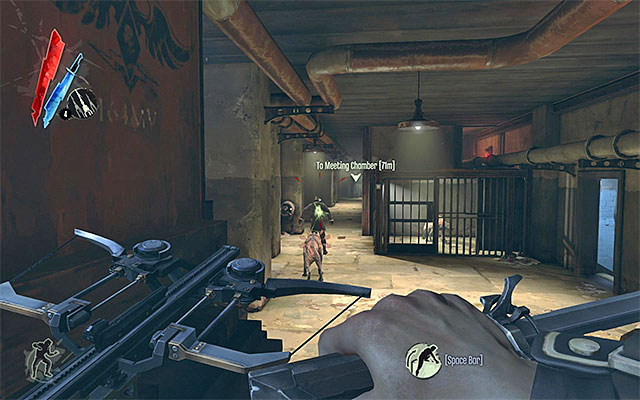
The Kennel is patrolled by three guards, but only one of them will prove to be a formidable opponent, since he is accompanied by a hound (the above screenshot). The main difficult is that the dog remains behind the guard at all times, so you cannot get it from behind to kill it or overpower. I recommend dealing with this type of situation by neutralizing the guard with a sleeping bolt, and then, immediately, take care of the dog (it's also highly recommendable to use a crossbow)
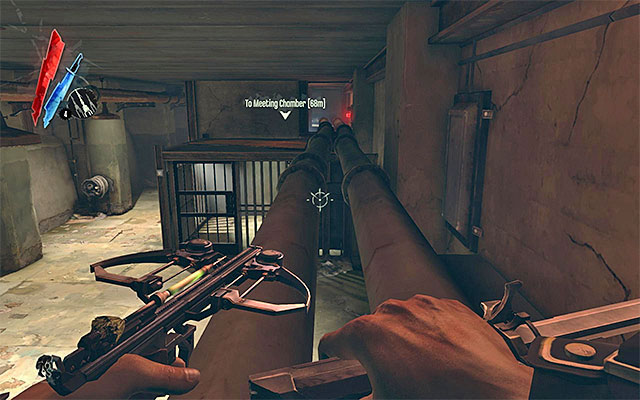
If you do not want to eliminate the enemies occupying the Kennel, you fortunately, can walk along pipes hanging below the ceiling (the above screenshot) and reach the location's other side.

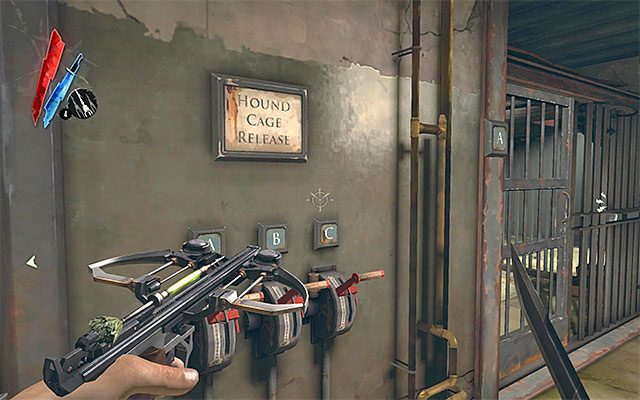
If it's possible, you should definitely explore the entire Kennel. You should notice that, by using levers on the walls, you can open individual cages. Note-you should be careful with cages with hounds in them. I recommend eliminating the dogs (with your crossbow or pistol) before you open them, thanks to which you will avoid fights at close quarters. Turn your attention especially to the cage with a sick hound in it, in the corridor to the right. You can open the cage and wait for the dog to kill all of the enemies.
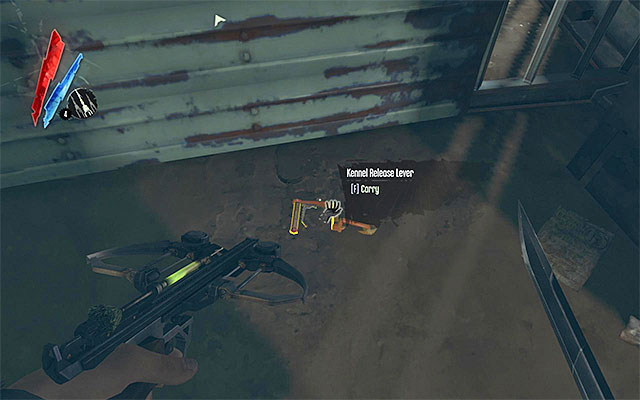
The list of the things to be found in the Kennel is considerable, and it includes food, gold, bolts, two spring razors, ammo, Sokolov's health elixir, Piero's spiritual remedy, a warning(Do Not Use This Lever), a note (Sick Hound), a letter (Loot Cache) and three books. It is worth noting that, initially, two of the cages are inaccessible. You need to get to one of them from the ceiling's side (by walking on pipes. The other can be accessed only if you find a loose lever and put it into the right slot.
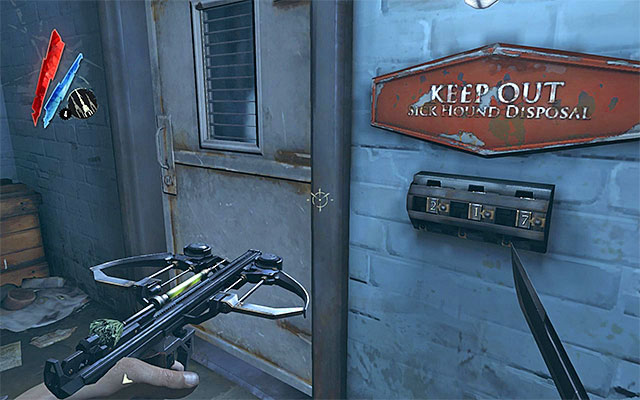
Your attention will also be drawn to the locked door located to the right of the starting point (the above screenshot). The combination required to open the door is contained in the documents you found I the Kennel - it's 217. Warning - behind the door there are rats and its best to get out of their way once they get out. I also recommend hiding the bodies of dead/unconscious guards in cages, just in case the rats got at them. In the locked room there are a rewire tool, bolts, gold,sleeping bolts, Piero's spiritual remedy and two Sokolov's health elixirs. Regardless of how much time you devote to explore the Kennel, you eventually need to reach the other end of the locationto find the door leading to the High Overseer Campbell's building.
![Before you go about eliminating the High Overseer, I recommend that you explore the entire of the [Office of the High Overseer] location - Exploring the High Overseer Campbel's building - Mission 2 - High Overseer Campbell - Dishonored - Game Guide and Walkthrough](https://game.lhg100.com/Article/UploadFiles/201512/2015121517551082.jpg)
Before you go about eliminating the High Overseer, I recommend that you explore the entire of the [Office of the High Overseer] location. The ground floor consists mainly of the main room in which one of the overseers is giving a lecture (the above screenshot). If you are thinking of exploring the area, you need to wait for the lecture to draw to an end and for the crowd to disperse. You might want to have a look at the seven plates. You could also steal gold from the locker and search the area for Piero's spiritual remedy and a book.
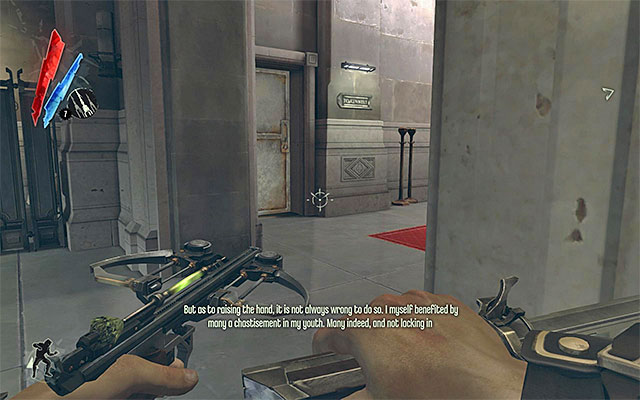
In both side rooms there also are plates to see, but you need to be aware of the fact that each of these rooms may be guarded by a guard. I also recommend locating the door to the right of the main entrance (the above screenshot) because it leads to the basement. It is worth observing, that it is in the basement that you would be starting the exploration of the building, had you decided to access it through the Kennel.
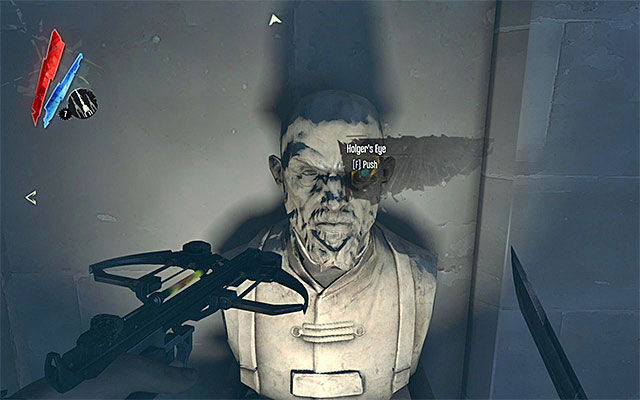
The most important thing to do here, is interact with the bust shown in the above screenshot. This will allow you to access [Campbell's Secret Chamber]. Inside you will find gold, food, ammo, sleeping darts, a letter (My Girls), a book, a rune, Sokolov's painting oraz Audiograph - Campbell's Lamentation.
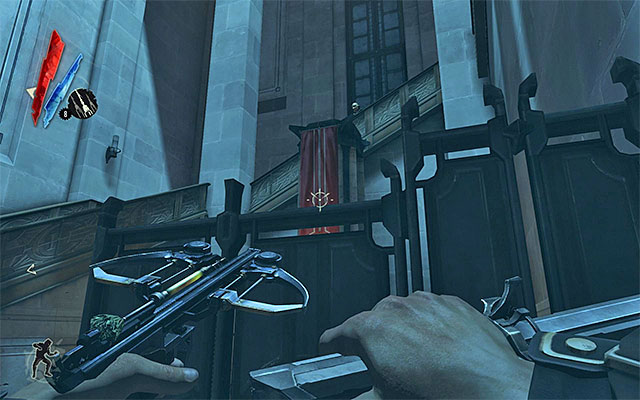
You can reach the first floor by using the stairs on both sides of the main entrance, assuming of course that you have started the exploration on the ground floor. In both cases, you need to be careful, because the staircases are guarded by single guards.
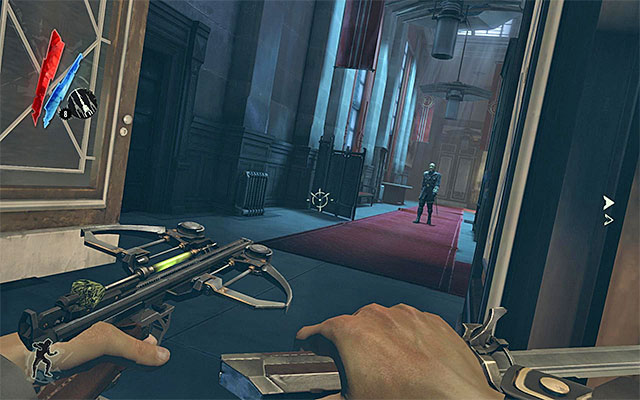
The first floor corridors are guarded by many overseers. If you want to avoid meeting them, you should make use of the abovementioned window sills and opened windows. If, in turn, you prefer to eliminate them, do not forget about concealing the bodies, or otherwise, this may lead to alarm being raised by a stray guard that used to patrol the ground floor earlier. .
New optional Quest: Render High Overseer Campbell unconscious
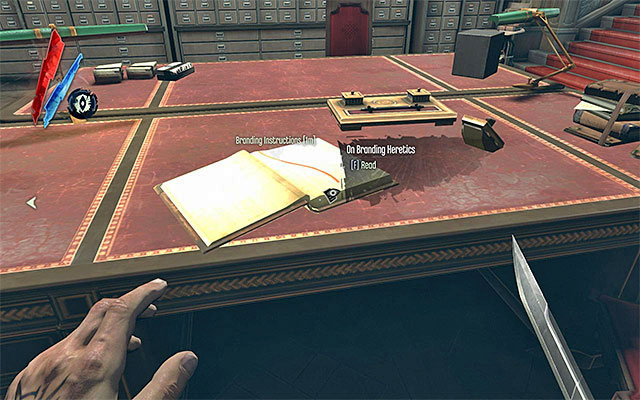
Two of the most crucial rooms for this mission (save the meeting room that is directly connected with the main quest) are located in the building's eastern wing. Firstly, you should go to the Archive room. Be careful though, because there are two enemies inside (one downstairs and the other one up above). After you eliminate them, interact with the book On Branding Heretics, This way you will complete a side quest. It's an important thing to do, because this way, you will learn about an alternative way to get rid of the Overseer. In the Archive Room you will also find seven other books, plus food and gold.
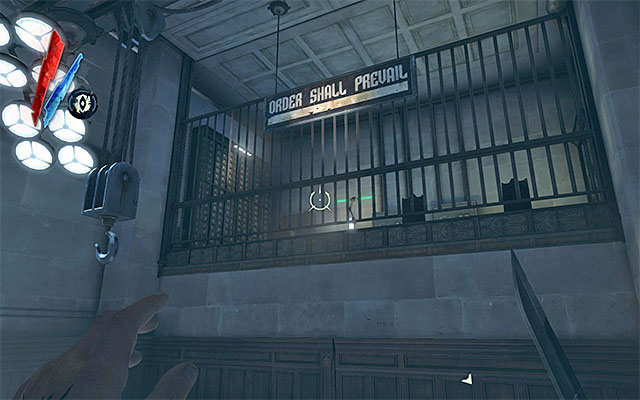
Another one of important locations is the Interrogation Room. In the main part of the room, you will find gold, Sokolov's health elixir and a spring razor. Go now to the control room located upstairs (the above screenshot). The area is locked away, but you can access it with an interrogation room key that can be stolen from the guards patrolling the corridors. Inside you can find gold, two books, bolts, sleeping bolts, Heretic's Brand (the thing you will be able to use to excommunicate Campbell) and an Audiograph - Whaler Assassin Interrogation).
![Your current destination is the [High Overseers Meeting Chamber] and it is located on the Overseer Campbell's first floor - Gaining access to the Meeting Chamber - Mission 2 - High Overseer Campbell - Dishonored - Game Guide and Walkthrough](https://game.lhg100.com/Article/UploadFiles/201512/2015121517551152.jpg)
Your current destination is the [High Overseer's Meeting Chamber] and it is located on the Overseer Campbell's first floor. The easiest way to get there is by choosing any door. It is worth noting, at this point, that you do not need to sneak, because, by default, there is nobody inside the chamber.
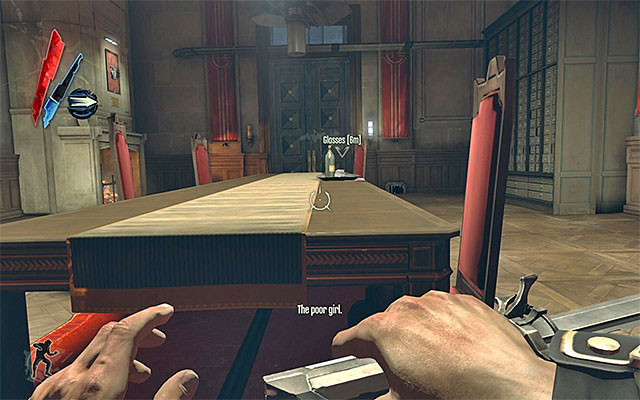
An alternative way to gain access is to walk inside using the abovementioned window sills. You could this way, reach the open windows of the chamber (the above screenshot). It is the best approach if you don't want to perform all of the optional actions already described, and prefer to focus on eliminating Campbell.
New Main Quest: Wait for Campbell and Curnow to enter the Meeting Chamber
New Main Quest: Kill High Overseer Campbell
New Optional Quest: Poison one or both of the glasses in the Meeting Chamber

Regardless of the chosen method of executing the plan, after entering the chamber you will learn that Campbell is talking to Curnow in the neighboring chamber. As a result, you will have several moments on your hands to consider how you actually want to play it. Ignore the new quest connected with killing Campbell, because you will also have the option to render him unconscious and excommunicate him. Possible variants are listed in the next subsection - Choose your way of eliminating the High Overseer Campbell.
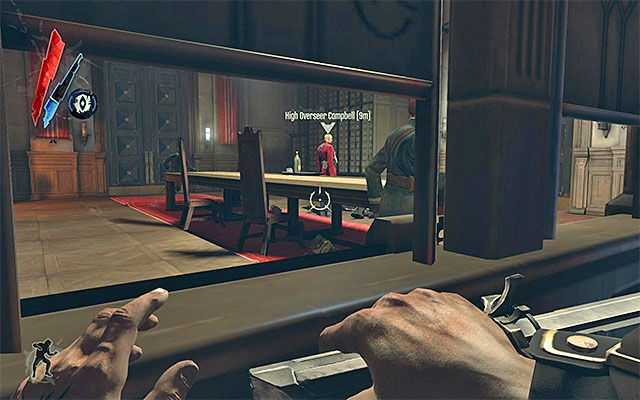
Variant 1) First of all you may allow the High Overseer Campbell to poison captain Curnow. In order to do that, you do not need to do anything, and only hide somewhere, e.g. behind big roller-blind, behind a window or inside the ventilation shaft. There are two downsides to this approach, though. First of all you will fail the side quest given to you by Callista (save Curnow). Secondly, Campbell will order blockade, and this will lead to windows being shut and patrols being reinforced.
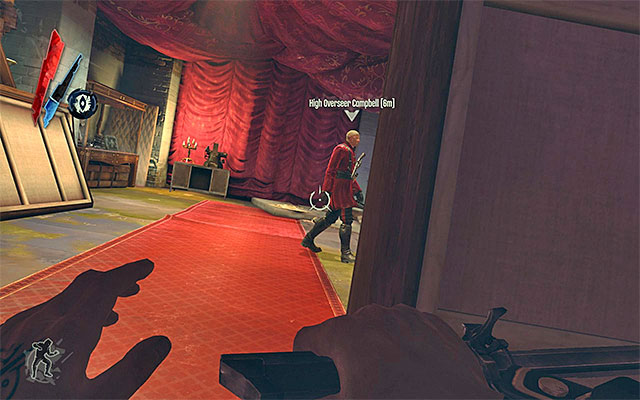
If you can't deal with Campbell right away, you need to follow him to his secret room (see the subsection Explore the High Overseer Campbell's Office to learn more about the room). You then have to take the decision about whether to kill him or just render unconscious.
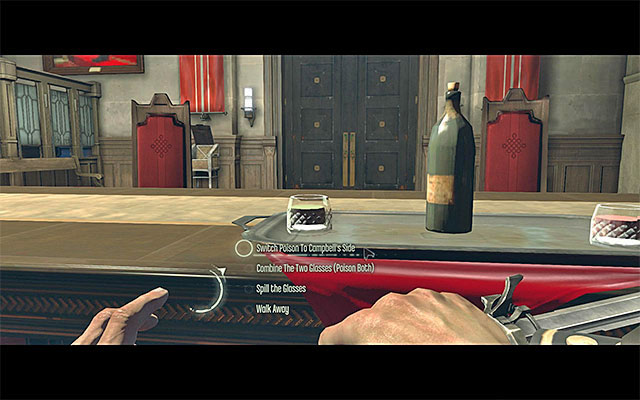
Variant 2) Another possible variant is to switch poison to Campbell's side so that Campbell drinks the poison. To do that, you would have to approach the two glasses on the table, interact with it, and choose the corresponding option from the list.
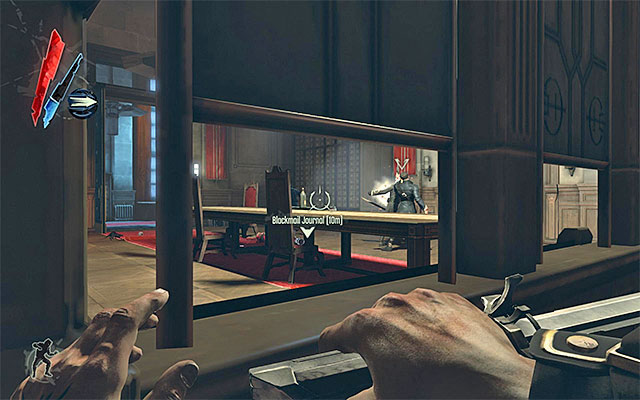
This solution, however, is not without a flaw either. After Campbell dies, captain Curnow will be charged with killing him and in the ensuing fight, you will have to protect him if you don't want him dead. What is even more, a blockade will be introduced in the entire building (shut windows, more patrols), which will make escaping even more difficult.
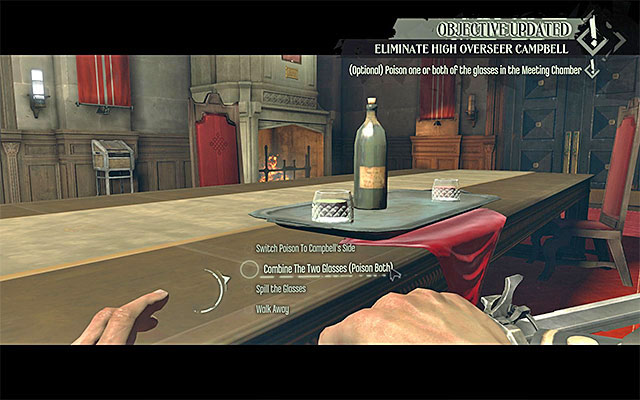
Variant 3) The third one of the described variants is quite a radical solution. It assumes poisoning both Campbell and Curnow. To do this, you would have to interact with the glasses and choose the second option.
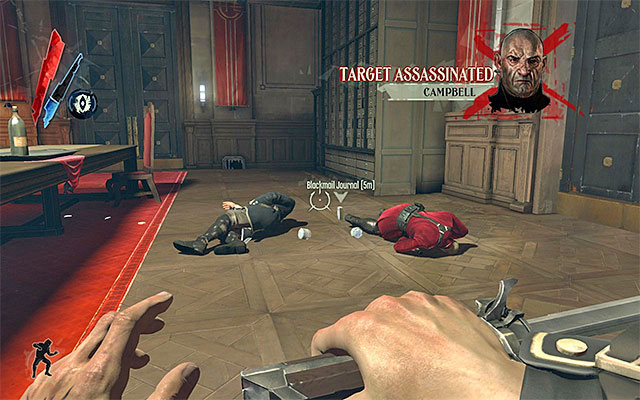
I guess I do not need to write much about how flawed this approach is. Not only will you fail the quest from Callista, but also you won't have the possibility to perform the side quest connected with excommunicating Campbell.
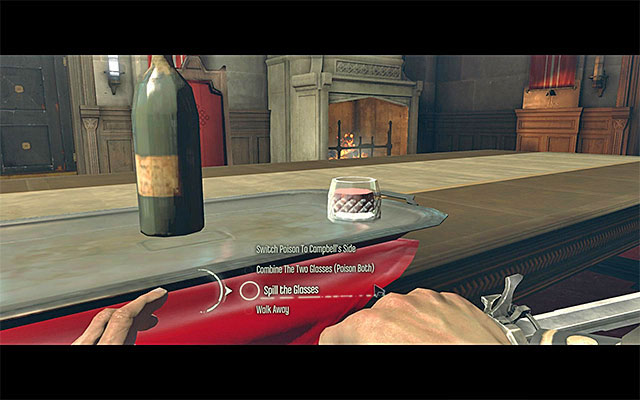
Variant 4) In my opinion. This is the best solution. It assumes making both participants leave the chamber. To do that, approach the glasses on the table and break them (the third option on the list)
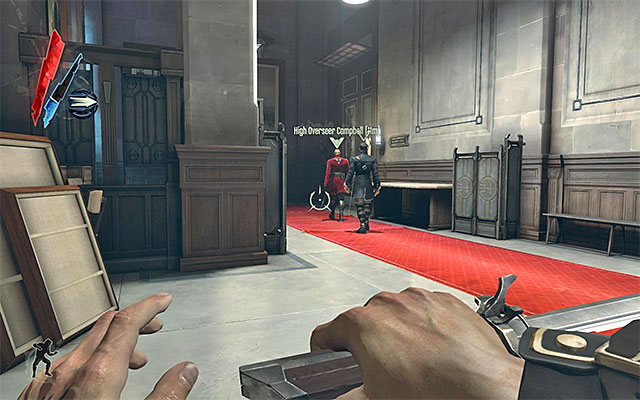
Wait for both of them to enter the room. The Overseer will be dissatisfied with the failed attempt to poison Curnow, but he won't give up and invite the captain to his chamber. Follow them and, analogously to variant 1, you need to reach the secret room located in the building's basement. It's a good idea to eliminate some guards earlier in the game in order not to have toworry about them later on.
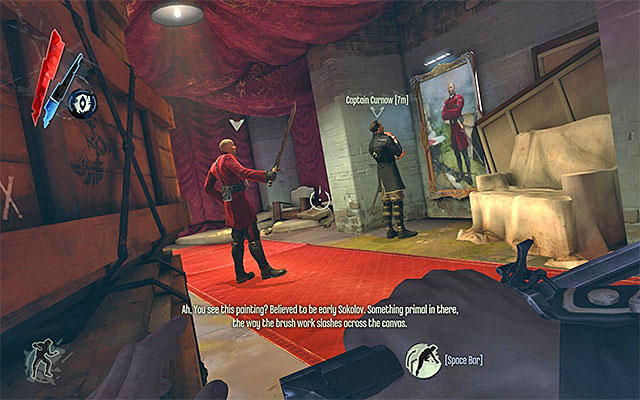
Enter the room carefully and hide behind some curtain. Wait for Curnow to turn his back at Campbell. The Overseer will start to make preparations for dealing a deadly blow with his sword. This is the best moment to kill him or (a better option) chore him. (e.g. by getting him from behind) or shoot him with a sleeping bolt. Curnow will thank you for saving his life and leave.
New Main Quest: Meet Samuel the Boatman in the Overseer back yard
New Optional Quest: Inform Callista that Captain Curnow has survived the plot against him
New Optional Quest: Take Campbell's unconscious body to the chair in the interrogation room
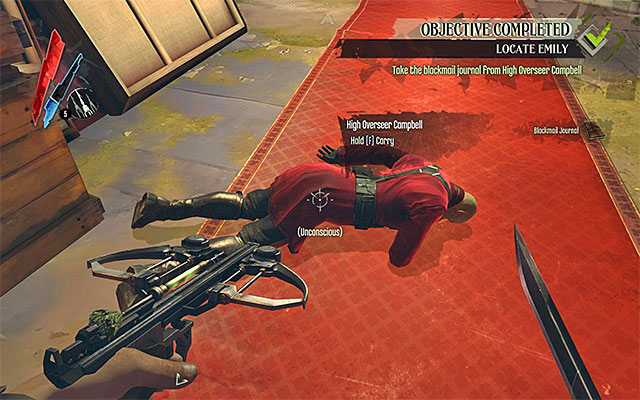
Summary: Regardless of your approach, you need to loot the Overseer's body to obtain his blackmail journal. You should additionally check out the meeting chamber adjacent chamber. You may find there gold, Pieroas spiritual remedz, a plate and a rune. If Campbell is dead, you may now jump to the subsection Reach the Yard. If not, keep reading on.
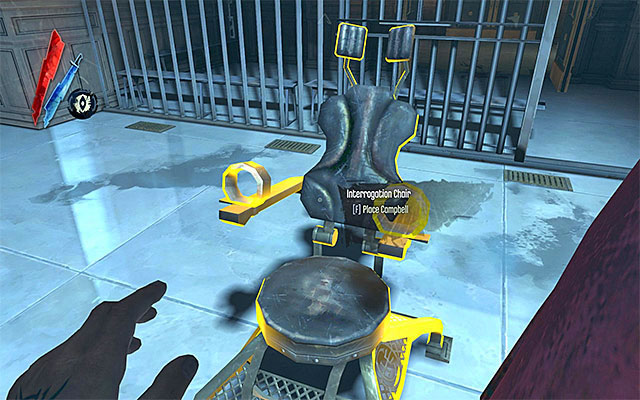
Excomunicating Campbell: You may decide to excommunicate Campbell only after you've rendered him unconscious and not murdered or poisoned him. Lift the Overseer's body and go to the Interrogation Room in the eastern wing of the building on the first floor. Approach the chair to put Campbell in it.
New Optional Quest: Find the Heretic's Brand in the interrogation room
New Optional Quest: Use the Heretic's Brand on High Overseer Campbell
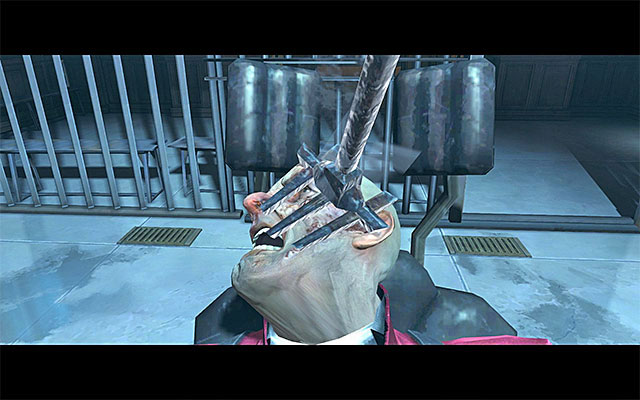
You now need to obtain the tool Heretics Brand from the control room above (if you have obtained it earlier, you need to use it). Access to the room is blocked by a locked door, so you need to use the interrogation room key that can be stolen from guards patrolling the nearby corridors. Collect Heretic's Brand, and return to the Overseer with it. Use the tool on Campbell, to excommunicate him and keep him alive at the same time.
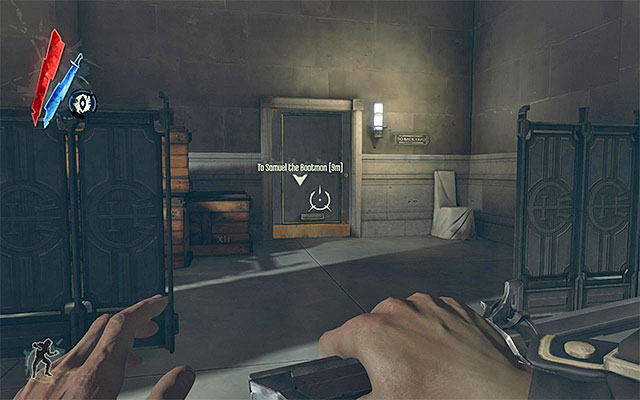
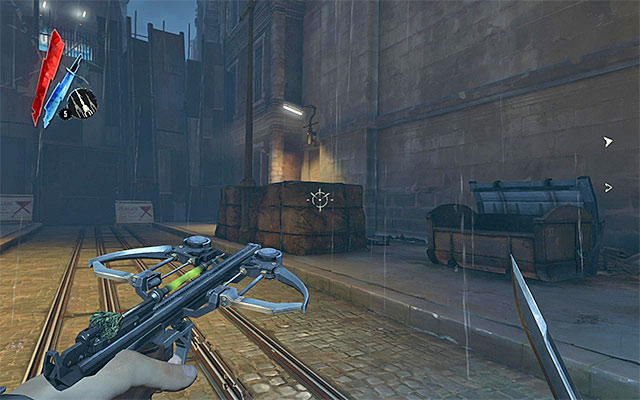
You can reach the yard in two ways. Variant one assumes using the door on the ground floor of the Overseer's building (the above screenshot). It is a good choice if you are pressed for quick quest completion.
Variant two Assumes going to the door at the end of the main road to the left of the Overseer's building (Back Alley - the above screenshot). I recommend using this way, because you will be able to resolve a conflict and pick some valuable loot. Be careful, however; this passage is, by default, guarded by two guards (you can go around them or eliminate them).
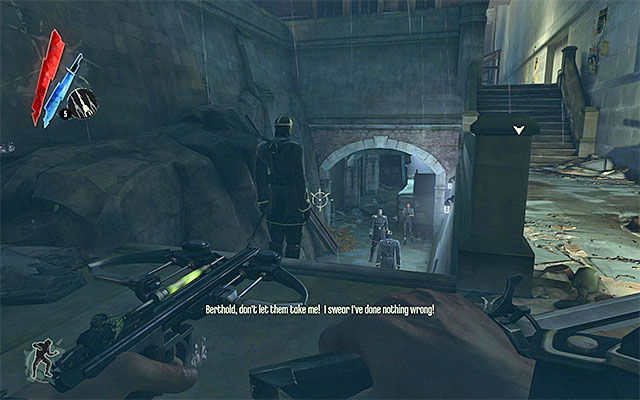
After you get to the new area, go straight ahead. Around there is a quarrel between guards. Since one of the guards is accompanied by an innocent person, you may show some initiative and offer your help. It's especially recommended, because you can easily sneak up to the guards from behind and eliminate them (by either killing or choking them). You will receive thanks and a combination for the safe in the nearby barracks, as a reward. Additionally, it's worthwhile to loot one of the guards for a back yard gate key. Note- Nothing bad will happen if you decide not to save the people. The combination is not required to appear in Corvo's log if you want to open the safe anyways.
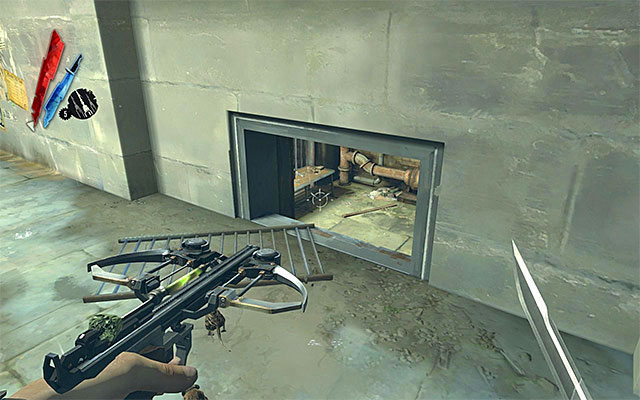
You may now go ahead and collect Sokolov's health elixir. Be careful, because the nearby alley is patrolled by an additional guard. You should also look around for the hole shown in the above screenshot. In the basement, there are gold, food, Sokolov's health elixir, Piero's spiritual remedy, two books and yet another yard key.
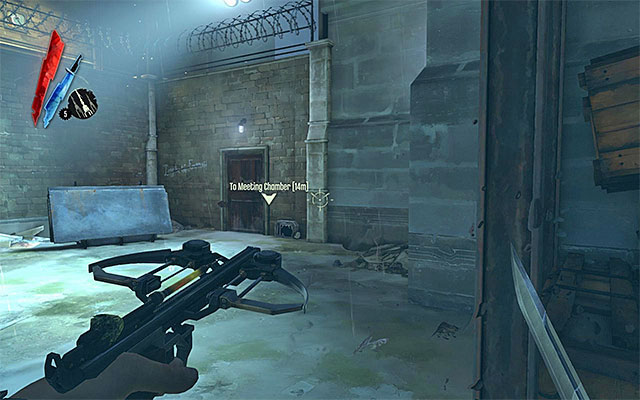
The right part of the yard, behind the High Overseer's building may be reached from here in three ways - by opening the gate with one of the acquired keys (the above screenshot), by getting through the ventilation shaft as a rat, or walk on pipes above and other objects adjacent to walls.
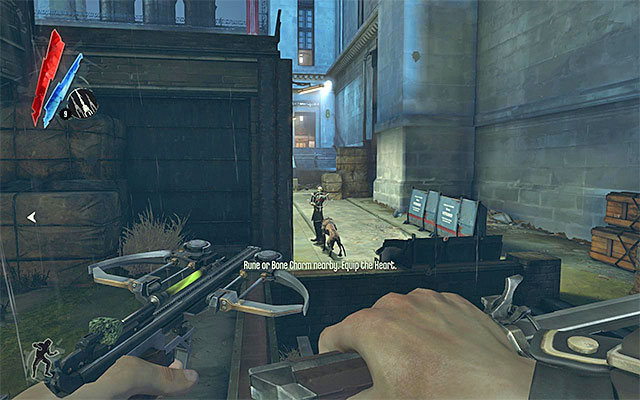
Exploring the yard is absolutely optional, but I advise against skipping it. There are a few valuable items to be found around. The yard is guarded not only by guards, but also by hounds that you may have already run in the Kennel. If they are new to you, try and stay away from them or eliminate at a distance first the guards, and then the hounds. Remain attentive, because there is at least one stray hound that will catch you unawares. Note - do not forget to search the guards if you decide to eliminate them, one of them has a workshop key.
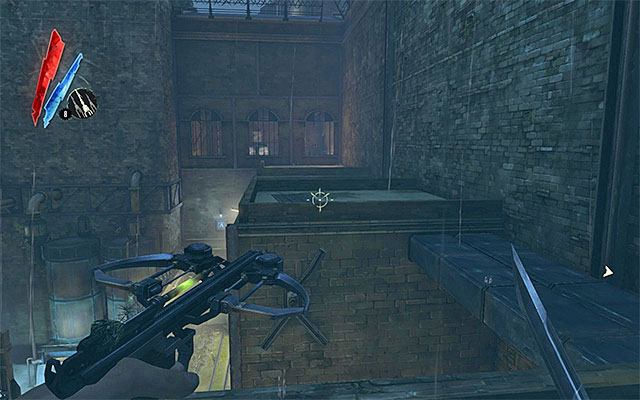
I recommend starting the exploration of the yard from the building located on the left. You can access the building by teleporting around from one nearby roof to another (the above screenshot). Be careful about the tripwire at the entrance. Jump over it and disarm the trap.
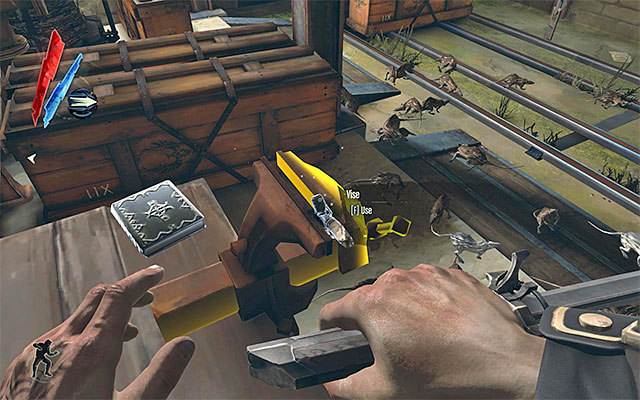
The trap is not the only obstacle, because there are rats on the lower level. The rodents can be eliminated with e.g. grenades or your pistol. You can also try to avoid touching to the grount, thus avoiding them. In the lower area there are gold, a note (More Tools), a book and a bone charm clamped in the vice (the above screenshot). If you haven't eliminated the rats, try to catch it before it falls on the ground and will not be that easy to get. After you finish exploring the area, return upstairs and leave.
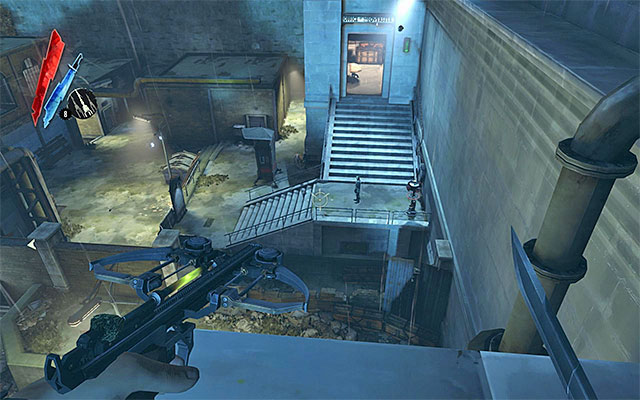
Another important location is the precinct (the above screenshot) and it's here that exploration of the yard starts if you've chosen the door on the ground floor of the High Overseer's building. All of the loot is hidden on the upper level that is best accessed through the ventilation shaft, as a rat. First of all, have a look into the safe to find food, ammo and a bar of gold. Apart from that, there is a book book inside. I also recommend to explore the area around the precinct and underneath the stairs that lead up to it. This way you will obtain food, gold, bolts, sleeping bolts, Sokolovas health elixir and Piero's spiritual remedy.
![Another important place on the list is the [Workshop] - Exploring the yard - Mission 2 - High Overseer Campbell - Dishonored - Game Guide and Walkthrough](https://game.lhg100.com/Article/UploadFiles/201512/2015121517551429.jpg)
Another important place on the list is the [Workshop]. If you have obtained the key from the guard, you may access it through the main entrance. Otherwise you should smash the skylight on top of the building (the above screenshot). Inside, you will find gold, bolts,sleeping bolts, grenade, two spring razors, two Sokolov's health elixirs, Piero's spiritual remedy, an Audiograph - Overseer Music Boxes, a blueprint, two books, rune, four notes (Music Box) (Exploding Hounds) (Replacement Valve) (Concerning The Crossbows) and two keys.
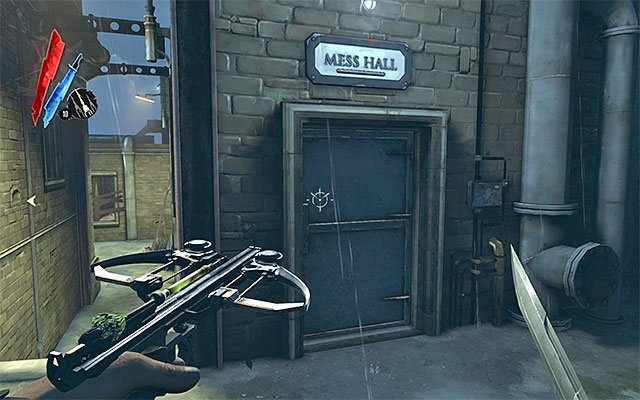
Now I suggest going to the Mess Hall. Watch your steps and do not wake the sleeping hound that is best neutralized at a distance. Inside the building you will find food, gold, Sokolov's health elixir ,two books and a note (Combination Update). Thanks to the note, you will obtain the combination for the safe in the Bunkhouse that you may have received from the people you saved earlier.
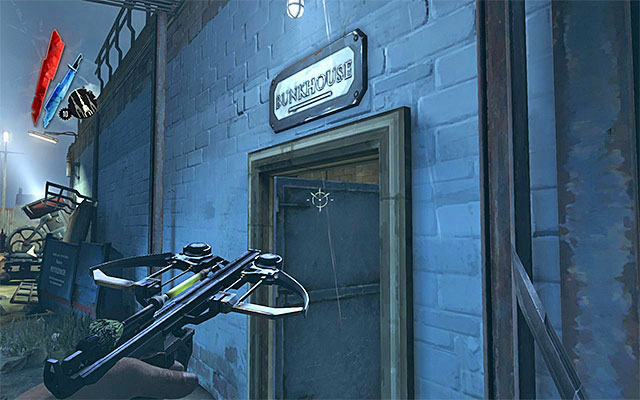
Another place worth visiting is the Bunkhouse. Be careful, because there are several other people in here. The upside is that you can relatively easy reach the roof of the Bunkhouse and surprise the guards. Inside there are: eight letters, gold, bolts, a book, a spring razor, Piero's spiritual remedy and the safe. The safe combination is 203, and inside there are sleeping bolts, gold and Sokolov's health elixir.
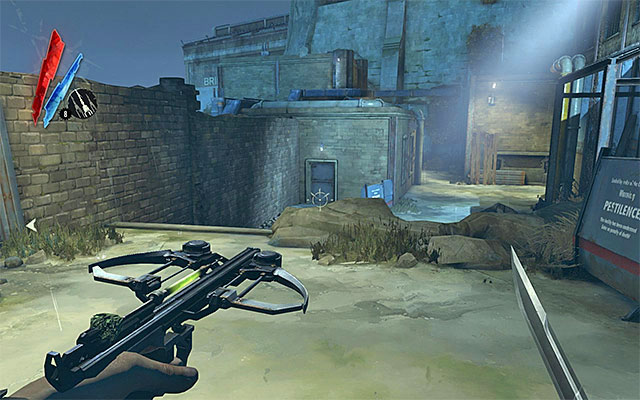
You should now explore the building located at the end of the yard (the above screenshot), i.e. the one that you get through on your way to the docks. In the generally accessible location there are bolts, sleeping bolts and Piero's spiritual remedy.
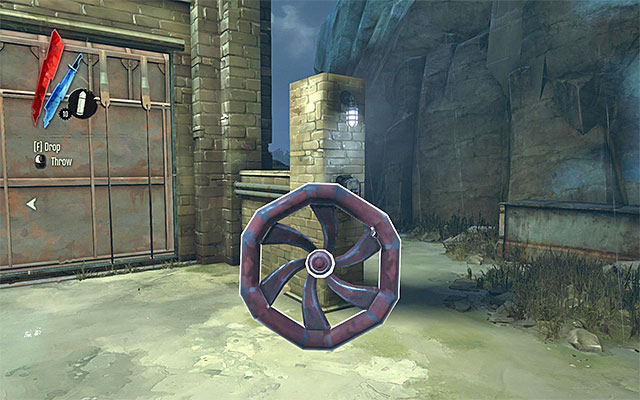
The inaccessible room of the last building may be accessed from the roof side (jump down to the balcony and smash the wooden bars), or find a large valve handle in the workshop and put it in the appropriate slot(the above screenshot). Inside, you may find notes (Hiding Place), Overseer Workshop Note, gold, bone charm, Sokolov's health elixir and two books.
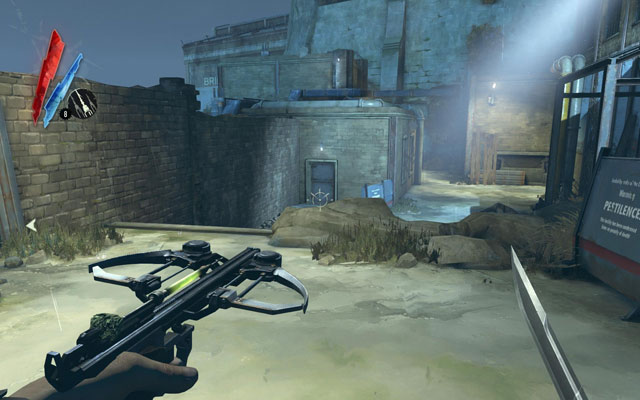
You need to go and meet with Samuel regardless of whether you have explored and secured the yard or not. In the latter case, you should be careful and move around on building roofs to the extent it is possible. You need to reach the building closest to the cliff (the above screenshot).
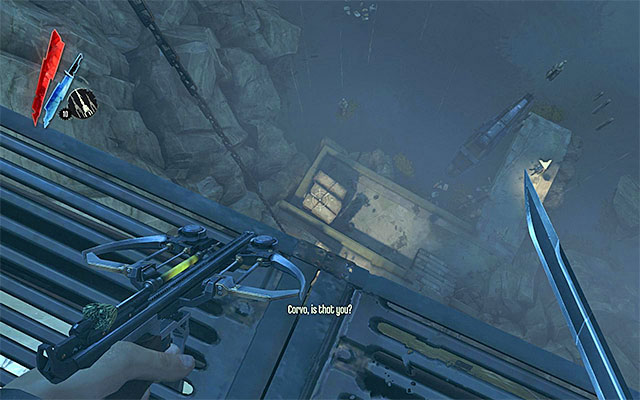
Go through the abovementioned building and turn left. Stop in the spot shown in the above screenshot and use the chain to reach lower level.
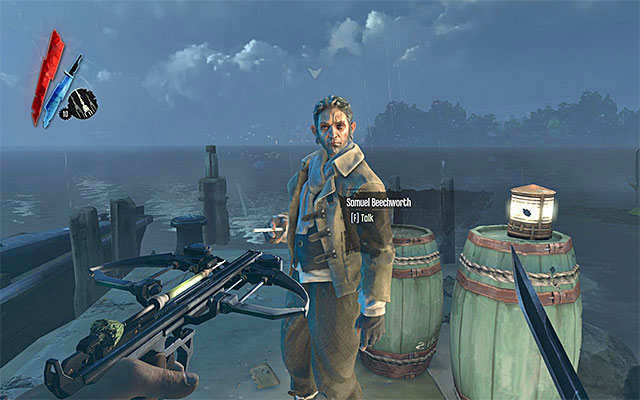
Look around for gold and approach Samuel to initiate a conversation. Confirm that you indeed want to leave the area (the upper-right dialogue option) and return to the pub.
New Main Quest: Speak to Havelock and Pendleton
New Optional Quest: Inform Callista that Captain Curnow has survived the plot against him
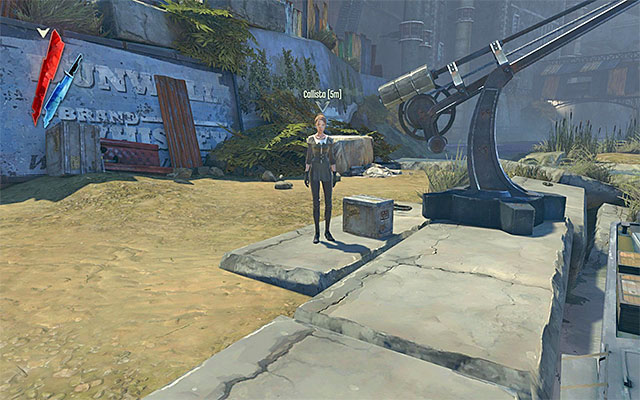
If you managed to save captain Curnow from death, you need to speak to Callista right after you leave the boat. She will thank you and reward you with a family keepsake that's worth 100 gold.
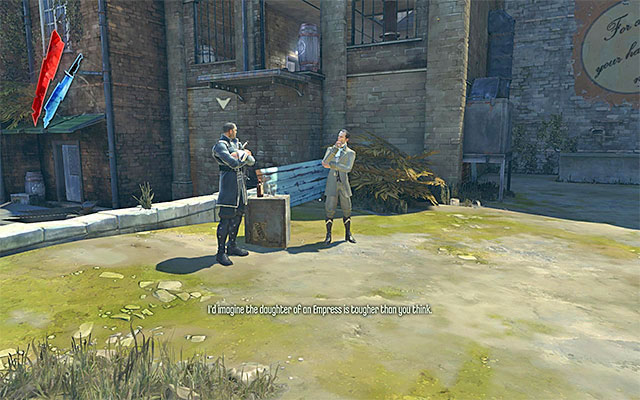
I strongly recommend taking a look around the pub and its surroundings, because there are new items to find there (gold, books, audiographs etc.) It's also a good idea to visit Piero in his workshop, especially that if you've found any blueprints. In order to move the action forward, go right to meet Havelock and Pendleton (the above screenshot). Approach them to start a conversation.
New Main Quest: Retire to your bedroom
New Main Quest: Talk to Admiral Havelock
![In case you forgot, [Corvos Chambers] are on the highest, fourth, floor of the main pub building - Meeting with the Loyalists - The Hound Pits Pub #3 - Dishonored - Game Guide and Walkthrough](https://game.lhg100.com/Article/UploadFiles/201512/2015121517551611.jpg)
In case you forgot, [Corvo's Chambers] are on the highest, fourth, floor of the main pub building. After you get there, interact with the bed. After Corvo wakes up, return to the place where you've talked to admiral Havelock (the above screenshot). He will inform you about strange noises coming from the sewers. Characters occupying the area suspect that it's weepers that disturb peace and you will be asked to investigate it. You will receive old Port District sewer key.
New Main Quest: Investigate a disturbance in the sewers
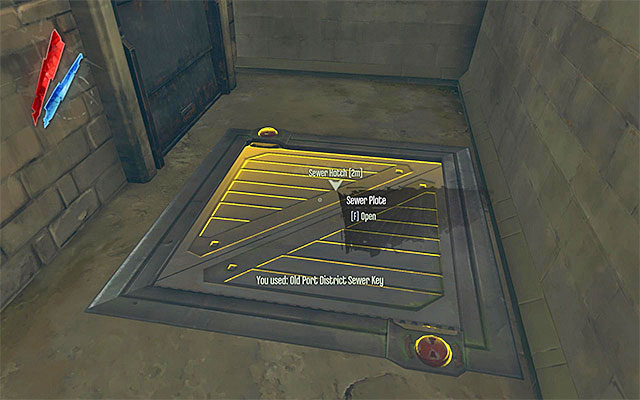
Use the key to open the manhole located nearby and jump down to the sewers. Start exploring the small location and follow a linear path. It's also worthwhile to look around for gold and food.
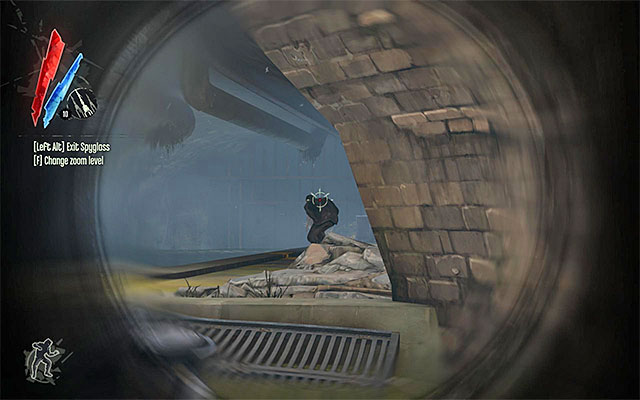
After you reach the end of the sewers, it will turn out that the pub's denizens were right, since the area is occupied by weepers. Weepers are people who were infected and have behaved like zombie ever since. It is worth noting here, that weepers are not treated like monsters, and therefore, killing them contributes to worse quest statistics. Since you need to neutralize them and not kill, in this case, I recommend using sleeping bolts (the above screenshot) and try to get the weepers from behind.
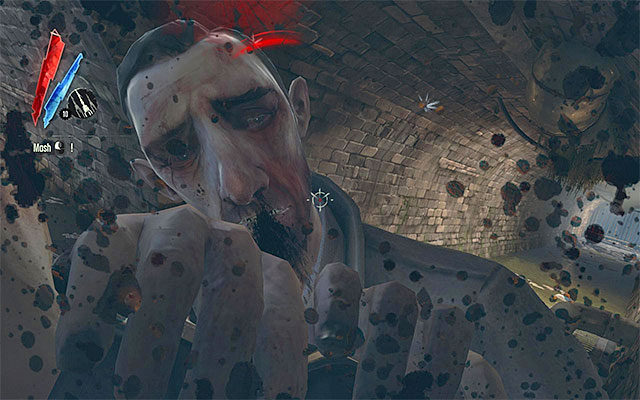
I recommend that you watch your steps, because the weepers will attack you if they spot you. In case you are grabbed (the above screenshot) I recommend pressing the left mouse button regularly. Regardless of the chosen approach, you need to remove weepers from the sewers.
New Main Quest: Leave the weepers in the sewer and report to Admiral Havelock
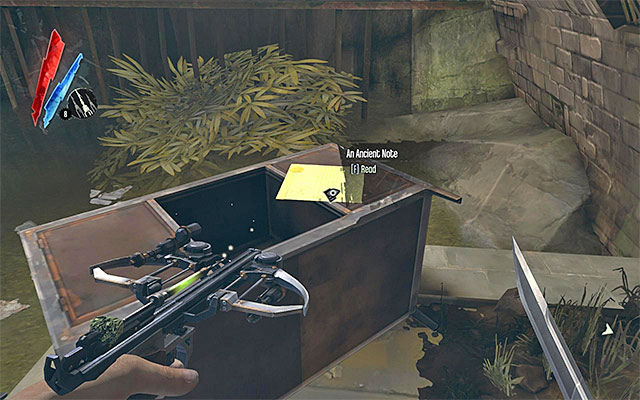
I recommend checking the area with weepers carefully. In here, you will find an ancient note and as many as two runes (one of them in the cupboard and the other one in the water).
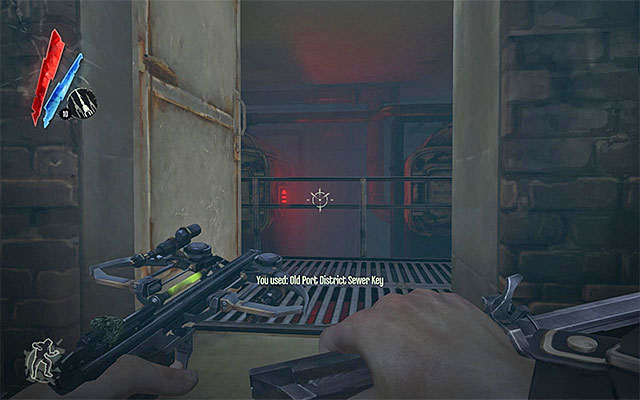
You can leave in two different ways. Find a turning handle and swim out of the sewers or use the door that leads to the Pub's basement(the above screenshot). Go now to meet admiral Havelock, who should be now in the bar, on the Pub's ground floor (the meeting will also be participated by Overseer Martin). Listen to the details of the next mission that includes the necessity to go to the Golden Cat.
New Main Quest: Go to the Golden Cat
New Main Quest: Eliminate the Pendleton twins in the Golden Cat
New Main Quest: Meet Samuel the Boatman on the docks and travel to the Distillery District
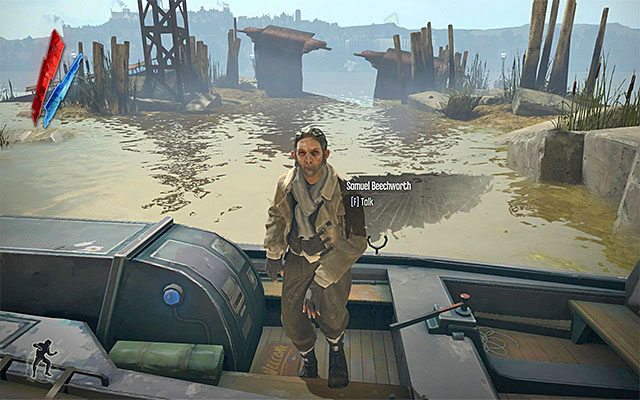
Go to the docks. On your way there, you should talk to lord Pendleton, who will not object to eliminating his brothers. To start the mission, talk to Samuel and confirm that you want to start a new mission..
Also this quest takes place in the [Distillery District], but main parts of the area will look differently this time around. Furthermore, you will spend a lot of time in the Golden Cat Club, that was inaccessible at the previous stages of the game. The quest's main aim is to neutralize the Pendelton twins, i.e. Custis Pendelton and Morgan Peldenton. Traditionally now, I recommend that you acquaint yourself with descriptions of side quests. Especially that one of them allows an alternative way of neutralizing the twins.
Below, you can find a list of all of the sub-points to this guide, connected with the described mission. If you want to explore the area thoroughly, follow all of my instructions from end to end. If you prefer to concentrate on the main mission instead, turn your attention only to the pages with the note (compulsory) attached.
Steps to take:
The below maps may serve as an additional help while navigating the area. A noteworthy fact is that you can also find these on your own. The first one of the maps is to be found near the first one of the watchtowers, the second one is located near the road leading up to the Golden Cat club. The third one (in two versions) is located on the first floor of Overseer Campbell's building.
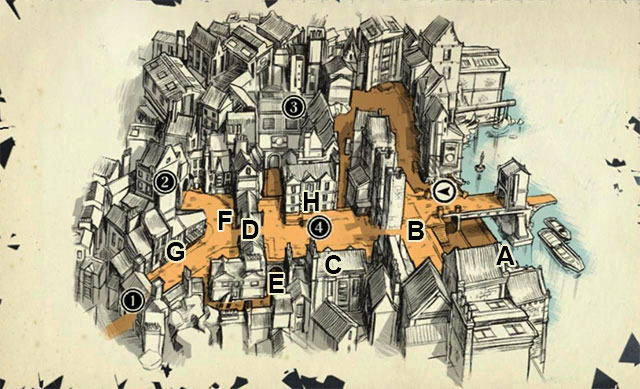
Legend:
Legend:
Legend:
New Main Quest: Eliminate the Pendleton twins in the Golden Cat
New Main Quest: Go to the Golden Cat
New Optional Quest: Meet with Slackjaw in the Distillery
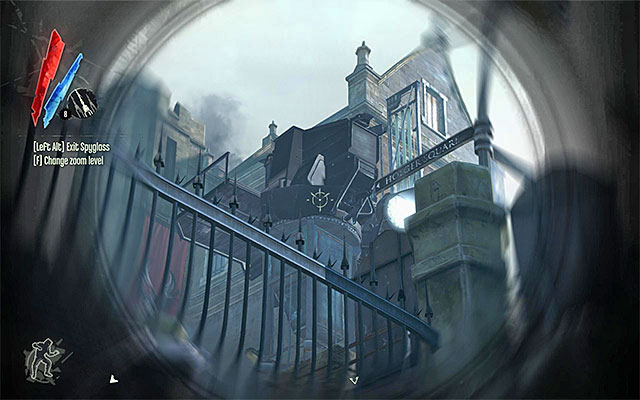
The quest starts in exactly the same place as the previous one, so you already should have much insight into the situation. Just like in the case of the previous stage, you can either take the main path, or swim up to the rocks at the water end. Keep vigilant, because this area is patrolled by , at least one guard. After you reach the place that a wall of light was located in, you will realize that it is shut now, and the wall has been replaced with a watchtower.
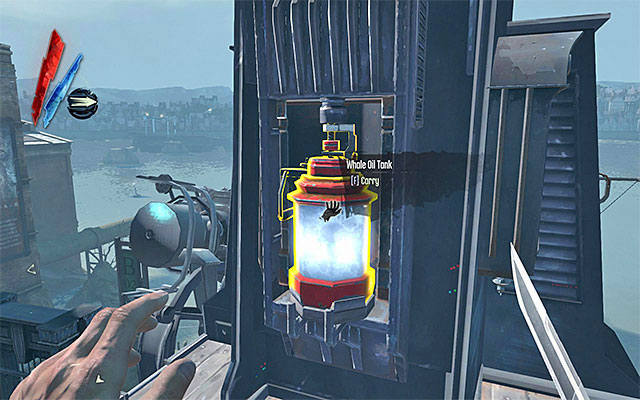
I guess, I don't need to add that you should avoid crossing areas lit by the watchtower at any cost. This would mean instantaneous death. Fortunately, the tower should be occupied with monitoring the bridge which you do not need to explore at all. What is even more, you can disable the tower if you don't want any disturbances while exploring. All you have to do is Blink to the top of the tower and remove the whale oil tank. This will result in the tower being shut down.
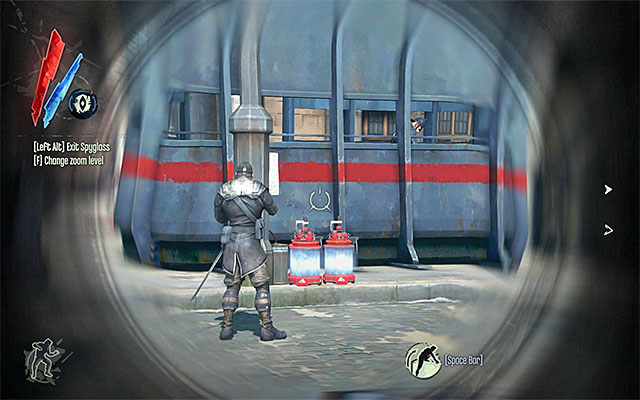
If you are bent on finishing this quest quickly, you can now skip to the sub-section entitled Reach the Clavering boulevard. Otherwise explore the entire area in detail. Be careful about the two guards near the watch tower (the above screenshot). If you suppose of them, you will be able to collect all the nearby loot. In this part of the district there are the following items to collect gold, food, ammo, two grenades, Sokolov's health elixir, Piero's spiritual remedy, rewire tool and an official guard report.
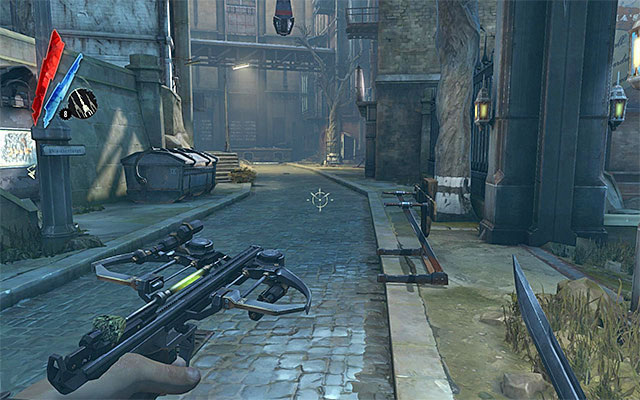
Do not go towards the bridge, because, beside weepers, you would only find there gold and food. I recommend that you focus on side alleys (the above screenshot) instead. On your way, look around for gold, food and Sokolov's health elixir (some of these are to be found on a roof, near a scout's corpse). Ignore Granny's shut apartment and take the path leading to the local gang's headquarters.
![In order to meet with Slackjaw, you need to go through the passage leading up to the [Dunwall Whiskey Distillery] location - Meeting with the Bottle Street Gang leader - Mission 3 - House of Pleasure - Dishonored - Game Guide and Walkthrough](https://game.lhg100.com/Article/UploadFiles/201512/2015121517551847.jpg)
In order to meet with Slackjaw, you need to go through the passage leading up to the [Dunwall Whiskey Distillery] location. It's worth noting here that you do not need to fear any hostile reactions from the criminals, even though it was ok with you to murder many of them during the previous mission.
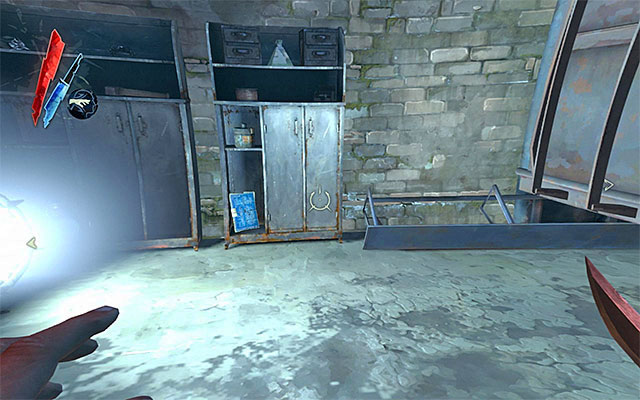
Start the exploration of the distillery area. It's worth to look around on your way, because you can find gold, food and a spring razor on your way. Use the building's main entrance and find gold, food, two spring razors, two Sokolov's health elixirs, a note (Bunting) and a book. Finally, gain access to the storage area shown in the above screenshot (pass through the tunnel in the body of a rat or use the valve handle). Inside, you can find gold, food, ammo, a spring razor, two grenades, Piero's spiritual remedy, a distillery reserve key, Sokolov's health elixir and a blueprint.
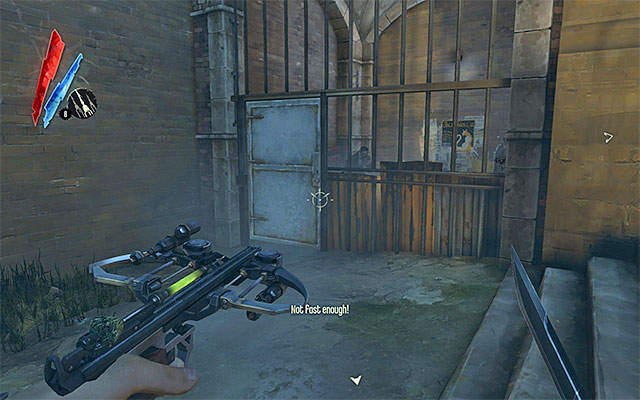
With the key that you have found in the storage room, at your disposal, you may now go outside for a moment and turn your attention to the enclosed area to the left of the building's main entrance (the above screenshot). Since there are several weepers inside, it's worth dealing with them (with your pistol/crossbow) still before you open the door. Otherwise, they will launch at you and the nearby gangsters. Inside the enclosed area there is a bone charm.
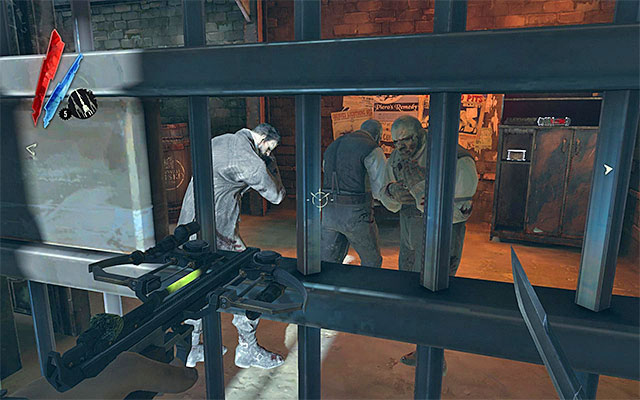
Reenter the distillery building and resume the exploration. I recommend that you turn your attention to the lowest floor (the above screenshot), because there is another enclosed area with the weepers there. If you dispose of them, you will be able to explore the area, thus obtaining gold, two Sokolov's health elixirs and a rewire tool.
New optional quest: Enter Dr. Galvani's offices
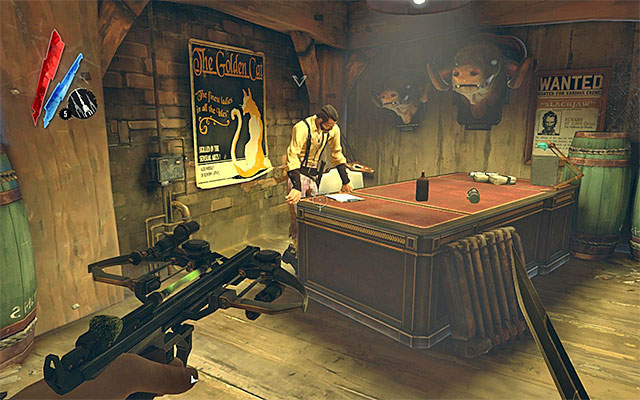
Keep going towards the rear part of the distillery. I recommend that on your way there, you look around for gold, food and two Piero's spiritual remedies. Slackjaw, i.e. the Bottle Streetgang leader, is staying in the same room, in which you might have poisoned the bootleg elixir during the previous mission (the above screenshot). Talk to Slackjaw and learn about the alternative way of disposing of the Pendelton twins. He will send you on a mission to find Crowley, who has not returned after he had set out for Dr Galvani's flat. You may now return to the door that leads to the main part of the district.
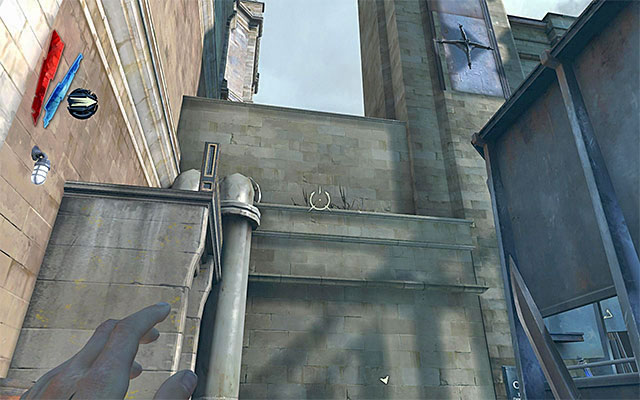
Just to remind you, the Clavering Boulevard is the square that connects both walls of light (the first one is inactive, the other one still functional). The safest way to get there is start by the watch tower you passed by during the first mission. The wall of light here is barricaded, but there is no obstacle preventing you from climbing (the above screenshot), or passing through ventilation shafts as a rat.
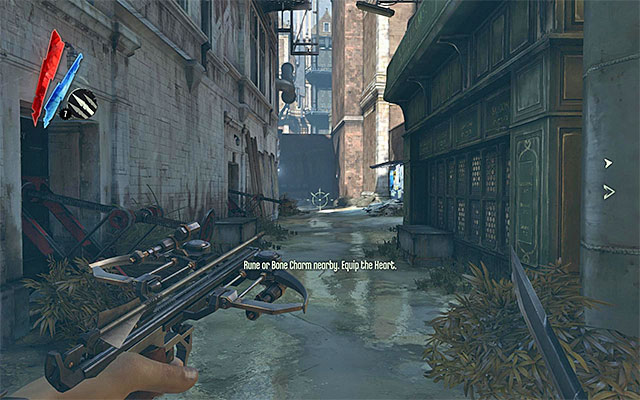
The other variant is to pass through an alley near the passage to the distillery district (the above screenshot). The main obstacle here is that the area is watched by three professional assassins. So, if you do not eliminate them early enough, you will have to face them in combat at close quarters. I recommend that, in such a situation, you use your pistol/crossbow, and remember to perform correct dodges and counterattacks.
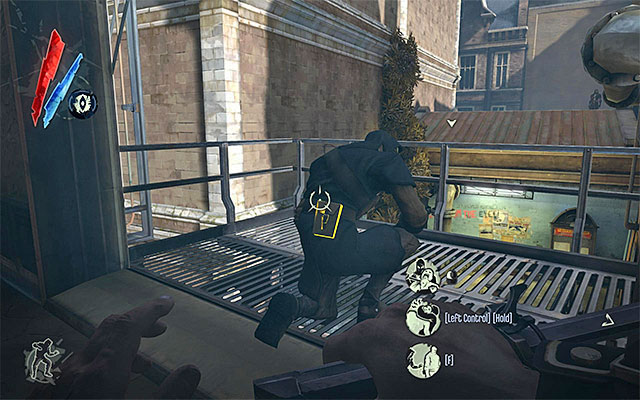
It is way better a solution to dispose of the assassins without alarming them of your whereabouts. I recommend that you use Blink (teleport) in order to do that. Start by teleporting to the roof of the building on the left. The first one of the assassins is patrolling the interior of the building to the left (the above screenshot). If you are patient enough, you will be able to get him from behind. After you dispose of him, look around for a Piero's spiritual remedy.
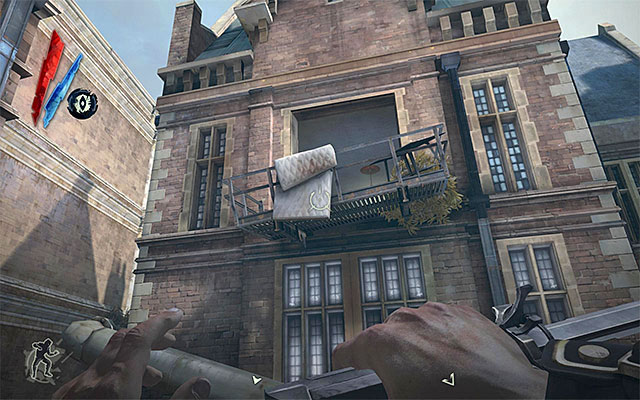
The other one of the assassins is patrolling the interior of the building to the right, and I would recommend that, at the right moment, you get to the balcony shown in the above screenshot. I recommend that after you eliminate the enemy, you have a look into the barred bathromm. Eliminate the weeper there in any way you want, and collect the bone charm. Apart from that, in the apartment, you can find gold, food, rewire tool and a Sokolov's health elixir.
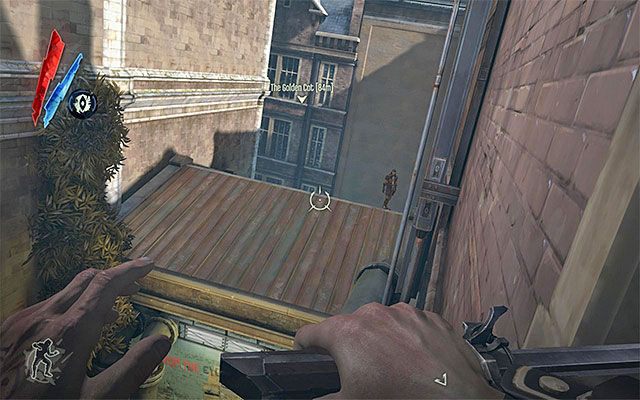
The last one of the assassins is walking around on the roof of the building on the right (the above screenshot), i.e. near Griff's staying place. It's bedt to wait for the enemy to turn his back at you and teleport right behind him. Note - Before you leave the area, consider bartering with Griff again to replenish the supplies you need most. It's also a good idea to have a look into the place where you first found Griff. Inside there are gold, food and incendiary bolts.
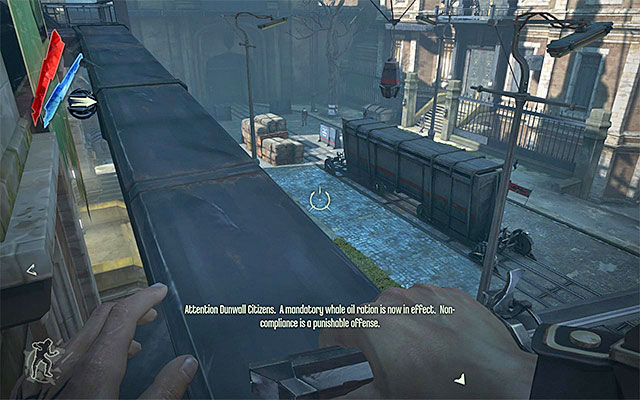
Regardless of how you decide to play it out, you need to reach the abovementioned boulevard. If you are planning on eliminating guards here, I recommend that you start with the ones standing nearest to the entrance to Dr Galvani's office. Otherwise, stick to roofs and upper balconies. You may now focus on your side quest received from Slackjaw (Locate Crowley in Dr Galvani's flat) or, focus on the quest's main aim (Get Past the Second Watchtower). Of course, I recommend that you focus on the first variant, because, as I have already pointed out, starting the co-operation with the gang is key to unlocking the alternative way of eliminating the Pendelton twins.
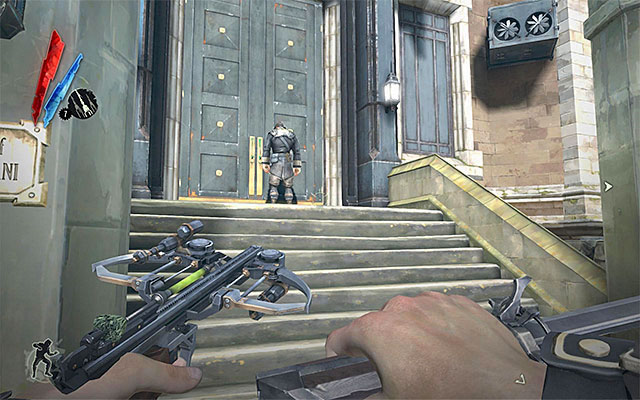
You have, probably, already visited Dr Galvani's flat during the second mission, so you should already be acquainted with the place. Unfortunately, the first obstacle to overcome is waiting for you right at the beginning, because the entrance on the ground floor (the above screenshot) and the one on the first floor are guarded. The solution to this problem lies in the skillful usage of Blink, although you can also kill or render unconscious the abovementioned. Regardless of the path you follow, you need to make your way into Dr. Galvani's Office.
New Optional Quest: Locate Crowley
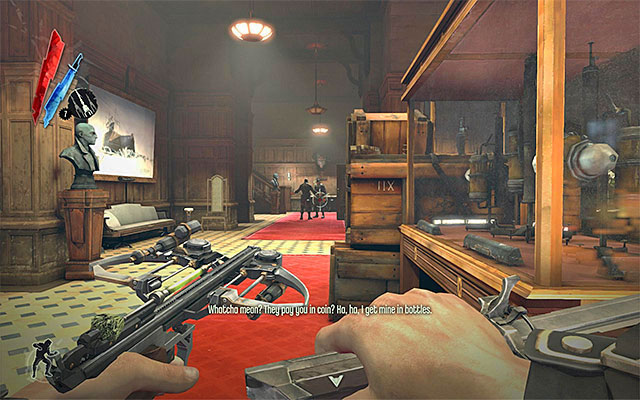
The ground floor of the building that Dr Galvani lives in, is patrolled by only two guards. This should make for easier evading, but there is nothing to stop you if you want to get rid of them. On the first floor, there should be nobody to encounter, and you should remember to explore all of the rooms in detail.
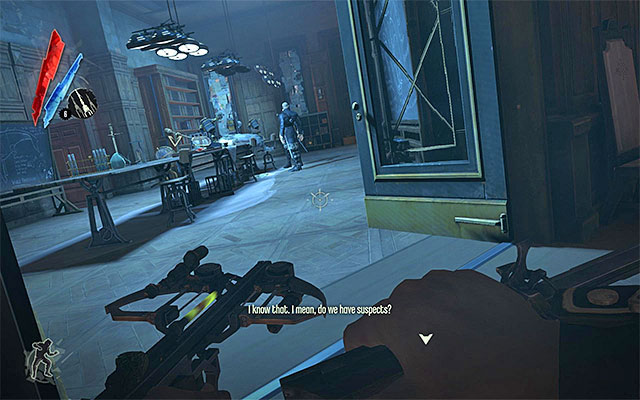
The most important thing is to reach the second floor and more precisely, the main laboratory room shown in the above screenshot. As a result, this will allow you to determine Crowley's death. Approach his corpse carefully to receive further instructions.
New Optional Quest: Search for Clues Near Crowley's Body
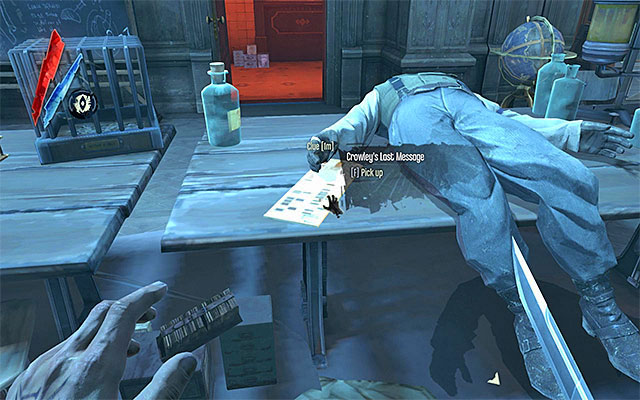
Before you focus on the new thing to do, it would be a good idea to deal with two nearby guards (one of them has a Galvani building key), although, all in all you may try and go around them. Whichever option you choose, you need to examine the table that Crowley's body is lying on, and pick up the Audiograph - Crowley's last message.
New Optional Quest: Return the audiograph to Slackjaw
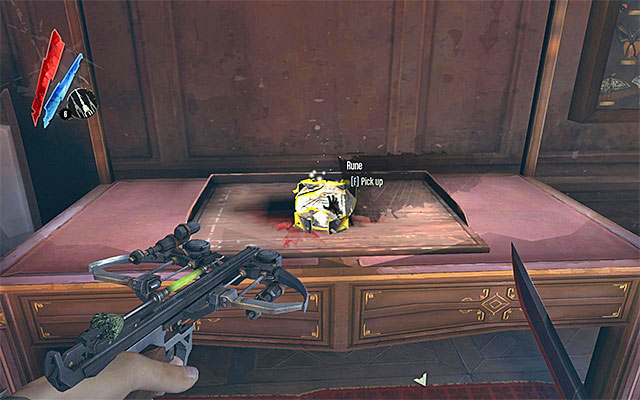
I recommend that you stay in the building for a bit longer and explore the entire second floor. I also recommend that you make your way to Dr Galvani's secret room again (the above screenshot), either by going through the ventilation shaft or by pulling the book. Inside the room there is a new rune.
New Optional Quest: Locate the Art Dealer in the Golden Cat
Nowy opcjonalny cel: Go to the Golden Cat via the Captain's Chair Hotel
![Leave the building through any of the doors, and go to the [Dunwall Whiskey Distillery] again - Finding Crowley in Dr Galvani's flat - Mission 3 - House of Pleasure - Dishonored - Game Guide and Walkthrough](https://game.lhg100.com/Article/UploadFiles/201512/2015121517552160.jpg)
Leave the building through any of the doors, and go to the [Dunwall Whiskey Distillery] again. Slackjaw should be now in the distillery's control room and zou need to initiate a dialogue with him in order to give him the audiograph. Listen to the recording and notice that you have received The Captain's Chair hotel key that will be helpful in getting near the Golden Cat club. You will also receive another job from Slackjaw that is connected with obtaining for him the combination from the art dealer that is currently staying in the club.
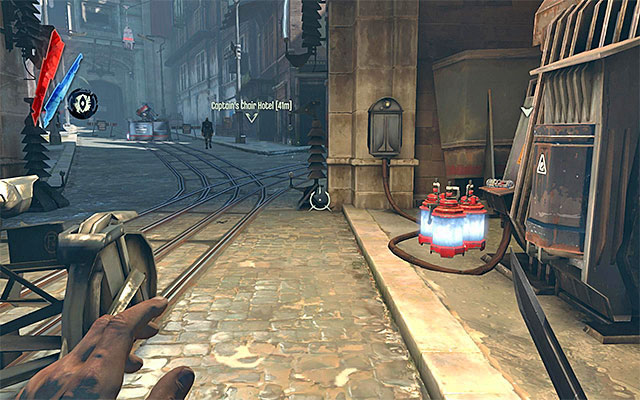
Before you reach the second watchtower, you will have to get through the second (the only active) wall of light. Just to remind you, the easiest way to do it, is to disable it by removing the whale oil canister located on its right side (the above screenshot). Notice however, that there appeared a control panel for the wall, so you can use the rewire tool to disable it. In both cases, you of course you would have to make sure that you are not seen by any of the nearby guards.
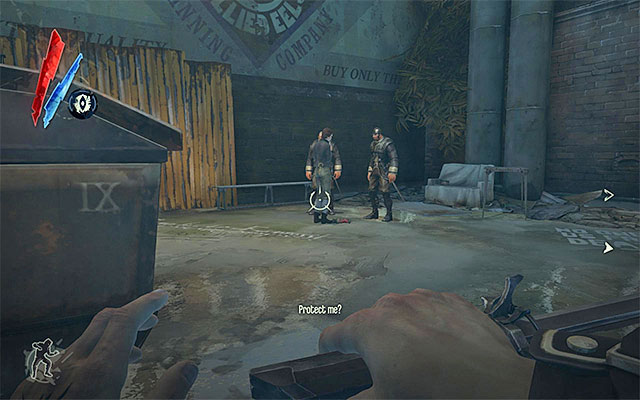
Still, there is analternative way of getting around the wall of light, and its by using side alleys. Also this time around, you will be witness to a situation. This time, it will be two guards attempting to snatch an elixir from an innocent woman, and if you do not take a decisive action, she will be murdered. If you want to help the woman and not reveal yourself, you can use your powers or sleeping bolts. For saving the woman, you will be rewarded with the art dealer's apartment key, that will come in handy in the later part of the quest. Note - if the woman dies, you will be able to obtain the key anyways, but you will have to run through the woman's pockets. Around, you can also find gold, fiid and Sokolov's health elixir.
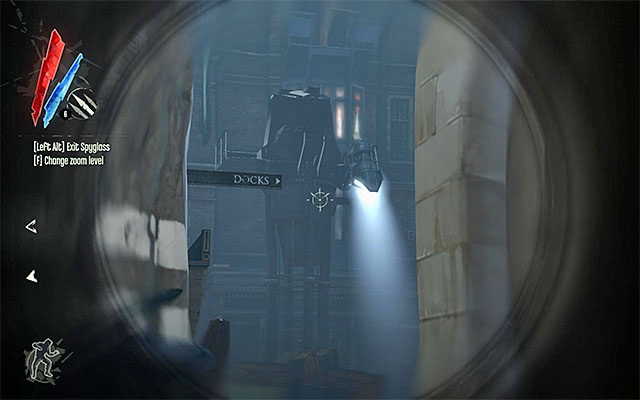
The second watchtower is located right behind the wall of light and it's best avoided if you've chosen to go through the side alleys. Just like in the case of the first watchtower, you can deprive it of its power supply by teleporting to the top and removing the whale oil tank
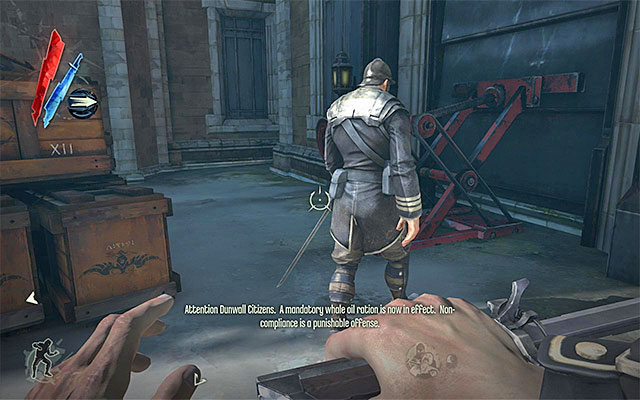
The area around the watchtower is patrolled by three or four guards and eliminating them may be somewhat tricky, because their paths intersect. If you do not want to lose time with the guards, you can move along roofs or aid yourself with your powers. If, on the other hand, you managed to eliminate all of them, don't forget to explore the area, because you can find here gold, food, ammo, three Sokolov's health elixirs, an official guard report and a rewire tool.
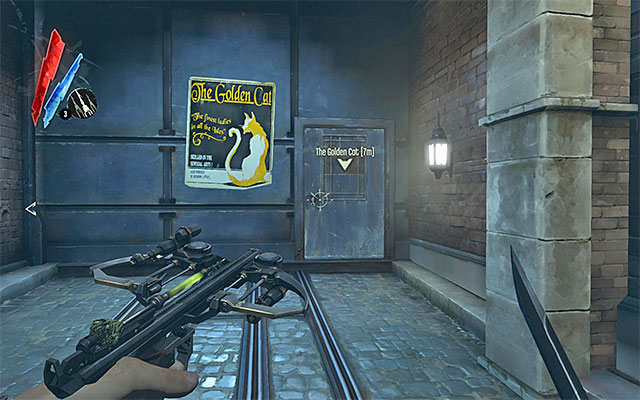
You can approach the neighboring location, the one that the Golden Cat club is located in, in two different ways. Variant one assumes using the main entrance (the above screenshot), located near the second watchtower.
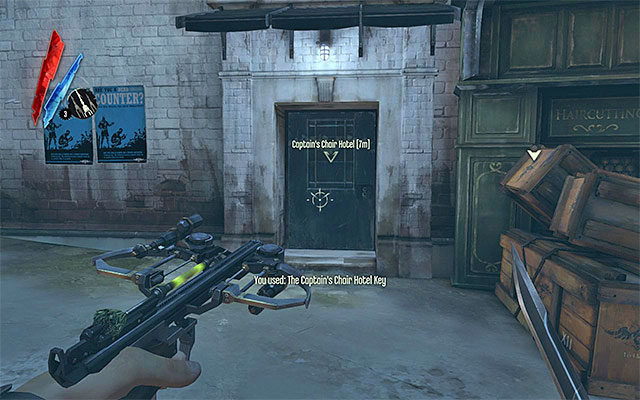
Varint two assumes going through the Captain's Chair Hotel, and it's only possible if you have performed the first quest received from Slackjaw (the Bottle Street Gang leader), because you need a hotel key (The Captain's Chair hotel key) for that. The hotel's entrance is located near the guard booth (the above screenshot).
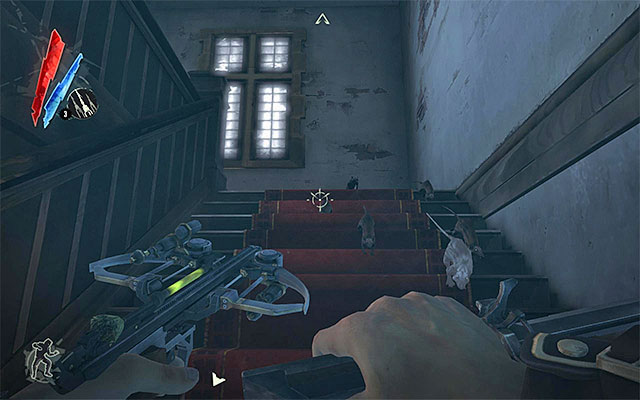
Start by exploring the ground floor, where you will find ammo and a bone charm. Next, climb the stairs to the higher-located floors, But be careful about rats that will attack you. You can either kill the beasts, or return to the previous corridor and wait for them to go past, and move to the upper floors. After you reach the top floor, you will find a door to the next area.
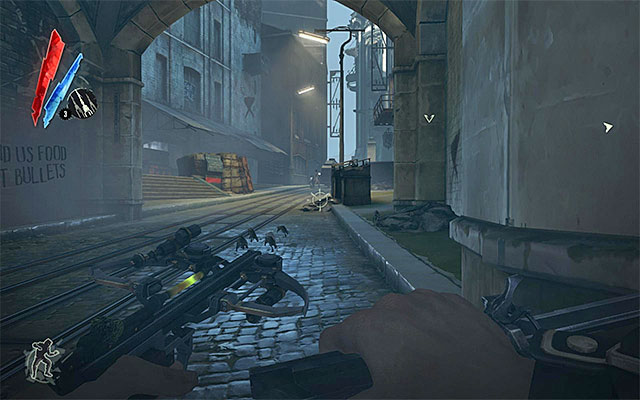
If you have entered through the main entrance, you will start the exploration of The Golden Cat at the road leading up to the club. Look out for the guards you may encounter on your way there (three, at least) and courtisans. Don't expect that the employees will behave the same way civilians do when they see Corvo. Therefore, it is best to avoid courtisans or take them out quietly.
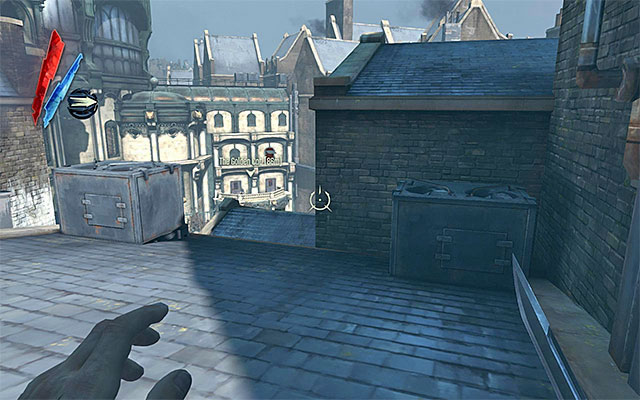
If you've decided to enter through the hotel, you will be starting in a way more interesting place, i.e. on on building roofs, across the street from the club. As a result, it will be easier for you to plan your moves and, should the need arise, to avoid the people walking down below.
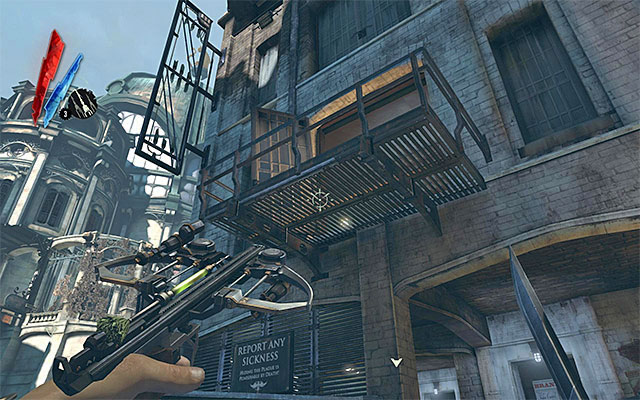
I recommend that you explore this part of the map before you do anything. It is especially worthwhile to explore the interior of the building to the right (the above screenshot). It is best to get there using Blink. On the higher floor of the building there is a rune.
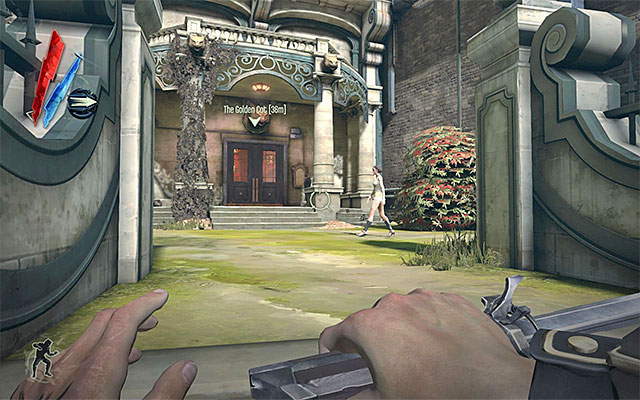
Traditionally for this kind of situations, the Golden Cat club can be accessed in a variety of ways. The most obvious variant is choosing the main entrance. It isn't a giid udea though, there are several guards around and you would have to make sure to avoid at least one courtesan. Note - apart from entering through the main entrance, you could also go through a nearby ventilation shaft, as a rat, to enter the changing room located in the building's basement.
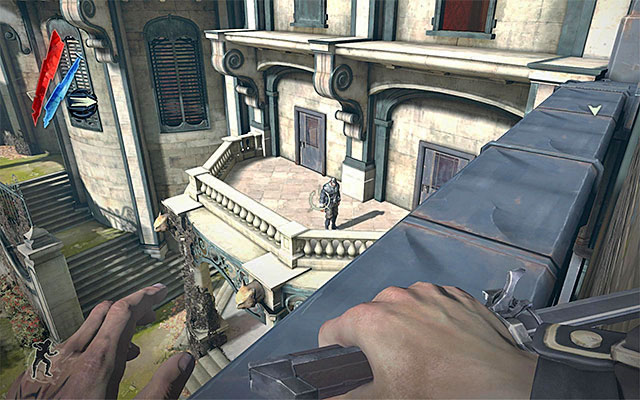
A bit better an idea is to get in through a small balcony on the first floor and more specifically the one above the main entrance. You can do it by jumping or teleporting over the roofs of buildings. The balcony is occupied by a single guard and, depending on your preference, you can either go around him or eliminate him.
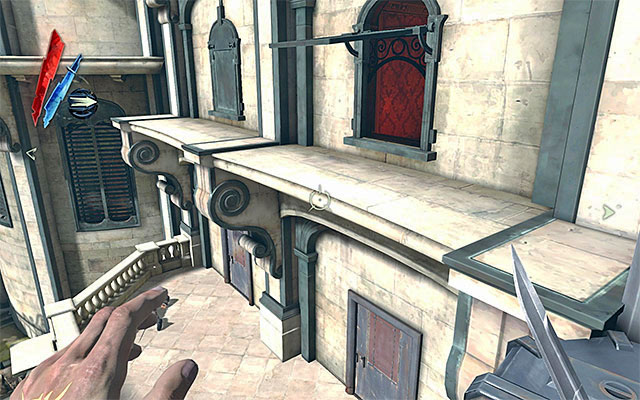
There is another, even more interesting way through the opened window. Since the window is located right above the balcony, you can reach it in a nearly identical way. The upside of this approach is that you do not need to avoid anyone while doing this.
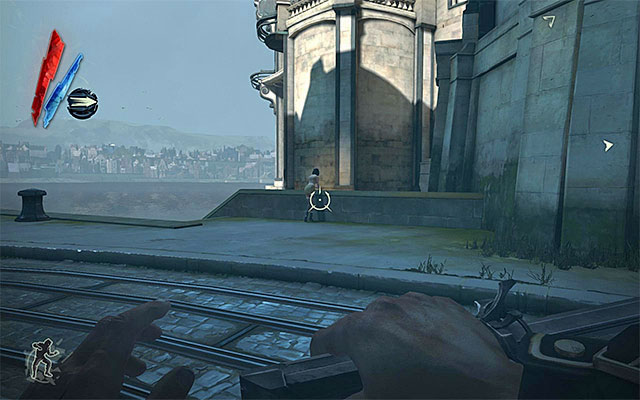
The least obvious approach assumes that you get inside through inderwater tunnels. To do that, you would have to go left and reach the spot with a courtesan in it (the above screenshot). Remember that courtesans can cause an alarm to be raised, so you need to either render her unconscious or go around her.
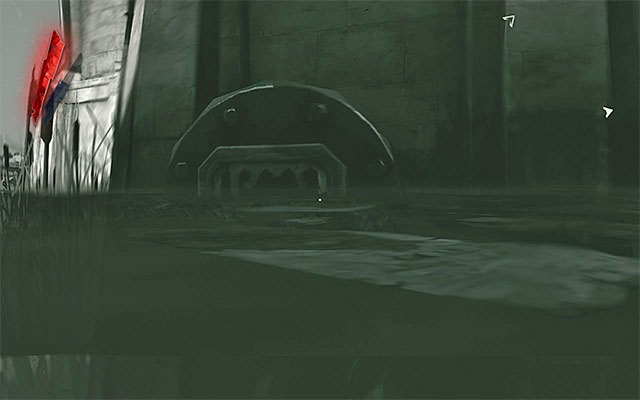
Approach water and use Possession on one of piranhas. After you take over the fish, enter the tunnel shown in the above screenshot. It will take you to a room with showers in the building's basement.
Note - I recommend that you now acquaint yourself with the further subsection of this guide entitled Explore the Golden Cat club. If, for any reason you are in a hurry, you can skip this step and go about rescuing Emily right away (Rescue Emily) and eliminating the twins (Choose a way to Eliminate the Pendelton Twins).
New Main Quest: Search the Madam's Office to find Emily's location
New Main Quest: Eliminate Lord Morgan Pendleton in ivory room, upstairs
New Main Quest: Eliminate Lord Custis Pendleton in smoking room, upstairs
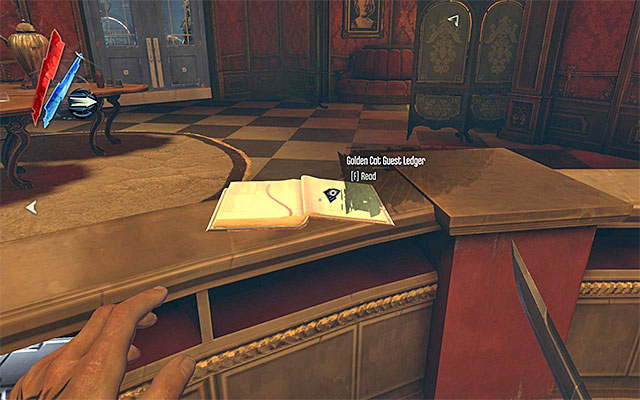
On the groud floor of the club, you will find the reception desk, and it's worthwhile to look around for gold, book and the Golden Cat guest ledger. Thanks to this, you will be able to determine that Morgan Pendelton is staying on the first floor in the Ivory Room, and Custis Pendelton is on the second floor in the Smoking Room.
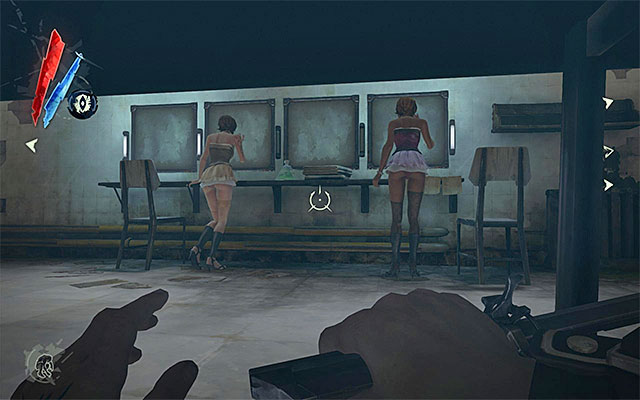
You can access the club's basement only by stairs, whose use is exclusive to hotel guests, as long as this is not the location in which you started your exploration. In the basement there is dressing room that is currently being occupied by two courtesans. You can find gold here, and explore a rtorage room to the side (can be opened with a key from Madam, or accessed though a hole in the wall. Inside there are Sokolov's health elixir and Piero's spiritual remedy.
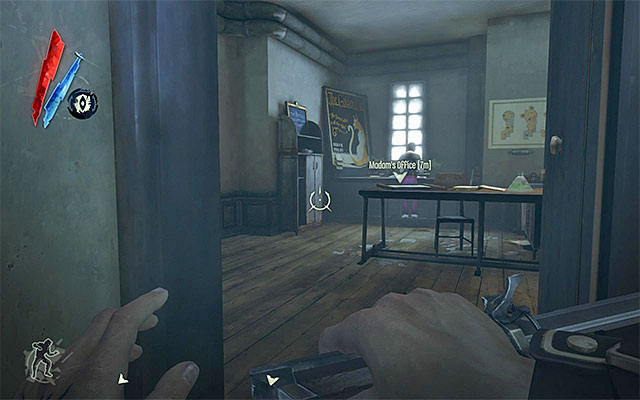
After you reach the first floor of the club, you will probably witness Madam's conversation with on e of the guards. After it finishes, it's worth going to Madam's office located near the staff exclusive stairs (the above screenshot) First of all, I recommend that you steal the Golden Cat master key from her, and render her unconscious. Thanks to this, you will be able ro ransack her office. In the office there are gold, another copy of the Golden Cat guest ledger, Sokolov's health elixir, two Piero's spiritual remedies and a note (Golden Cast Master Key), thanks to which you will learn that Emily is being kept in the dormitory.
New Main Quest: Find Emily in the dormitory
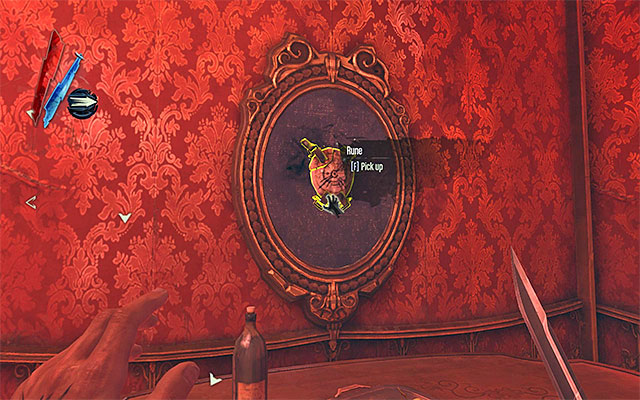
Stay on the first floor and explore its northern part. Wath out, at the same time, for any hostiles around. These are guards, above all. If you are planning on eliminating hostiles, remember to carry the bodies away and conceal them. This will prevent any prospective alarms. Look around for gold, food, Piero's spiritual remedy, a book and a rune hanging on a wall (the above screenshot).
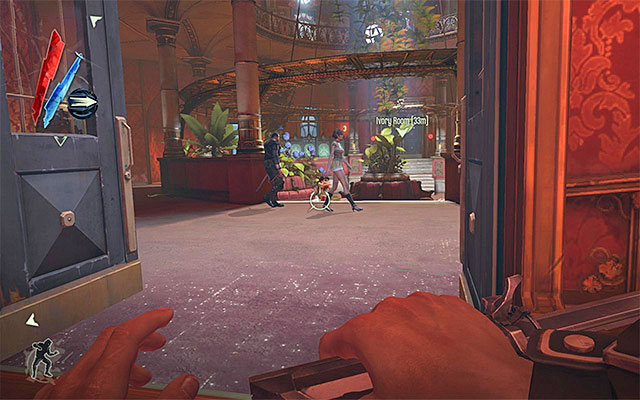
You should eventually reach the main area of the club (the above screenshot). Also here, you need to watch out for guards and courtesans, save two ladies dancing at the stage. If you want to ensure yourself with a better position for planning firther moves, you should move to the upper part of the round, metal structure with the use of Blink (teleportation). It is also worthwhile to explore this part of the club to find gold, food and Piero's spiritual remedy. Ignore, for the time being, the Ivory Room with Morgan Pendelton in it, because it is good to wait with the decision to eliminate him until all of the solutions are available.
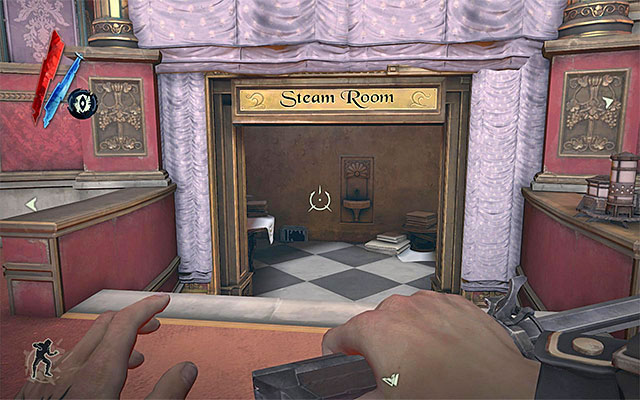
On the rims of the main area of the first floor there is a staircase leading down to the Steam Room - the above screenshot). It is an entirely optional area located on the club's ground floor. You won't find anything special in there and, additionally, you would have to watch out for two guards and a courtesan. It is wrth adding that the guard accompanied by the courtesan can be eliminated in a pretty nasty way. Namely, you need to take the valve handle from the table and put it into the slot, and then turn it. As far as the exploration itself is concerned, in the Steam Roomyou can find gold, food, a note (Steam Room) and a rewire tool.
New Optional Quest: Persuade the art dealer to reveal his safe combination
New Optional Quest: Return to Slackjaw with the safe combination
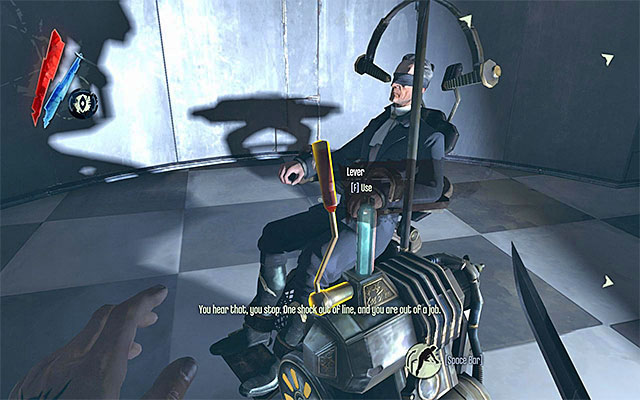
Return to the first floor and find the door leading up to the Silver Room. Inside, you will find the Art Dealer connected with the side quest received from Slackjawa. Start torturing torturing the dealer by pulling the lever over and over again. After the Dealer wishes to finish the play, pull the lever two more times and select the upper-right dialogue option, which will earn you the safe combination. You may now leave the room (I recommend against carrying on with torturing the dealer, or you can bring about his premature, unnecessary demise)
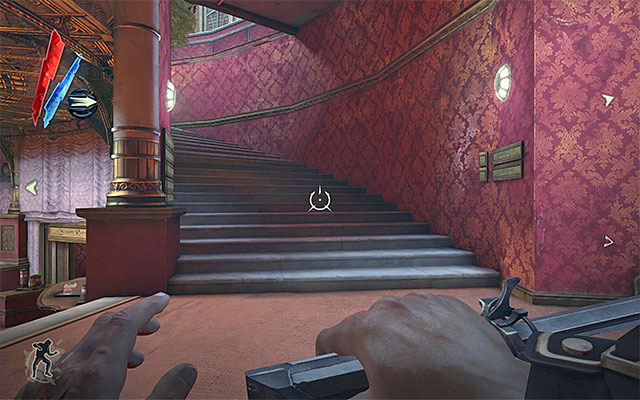
Remain in the club's main area and find the stairs to the second floor ( the above screenshot). I recommend that in here, you ignore the door to the Smoking Room, at least until you unlock all of the possible solutions to the current quest. Explore instead the remaining part of the second floor, but watch out for two guards and a courtesan (fortunately, two out of the abovementioned should be standing by balustrades). In the main area of the second floor, there are gold, food and a note (Smoking Room). Inside the optional Gold Room there also are Sokolov's health elixir, Piero's spiritual remedy and gold.
Irecommend that you now start the exploration of the building's top floors, and since it is concerned with the compulsory quest consistiong in rescuing Emily, skip now to the subsection entitled Rescue Emily.
New Main Quest: Find Emily in the dormitory
Note - before you set out to rescue Emily, make sure that you have the Golden Cat master key on you that can be taken away or stolen from Madam, who is currently occupying her office on the first floor (the above screenshot).To learn more about how to find Madam and determine Emily's whereabouts, refer to Explore the Golden Cat Club..
Take the staff exclusive staircase and after you pass the first floor, head towards the upper ones. On your way, it is worthwhile to look into one of the side rooms (requires Madam's key) to find gold (you need to look into the chest!), Piero's spiritual remedy and a bone charm hanging on a wall.
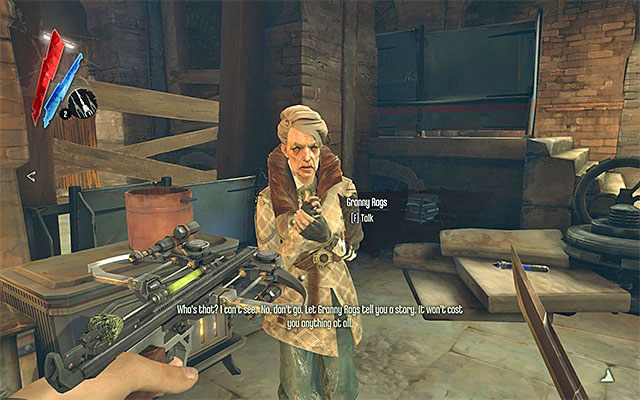
Continue towards the upper floors to reach the attic. In the first room of the attic there is a courtesan. Don't let her see you and search the room for gold, food, a book and a rune. In the third room there is gold and food. To end up, enter the second room, in which there isEmily. Listen to the conversation to learn that the girl will wait for you at the VIP door.
New Main Quest: Meet Emily near the Golden Cat VIP door
Backtrack to the staircase and return to the lowest level of the basement, choose the door marked as VIP Exit (the above screenshot). On your way, look around for two Sokolov's health elixirs and a note (Elixir Delivery), and approach Emily to talk to her again. Emily will resolve that she can reach the boat on her own and that she will be waiting there for you. Thus, you won't have to escort her on your own. Note - if Emily doesn't want to leave the location, make sure that you unlocked the door with the Master key from Madam.
I suggest that you turn your attention to the side quest connected with the exploration of the art dealer's flat (subsection Explore the art dealre's flat). I recommend that only after that you consider how to solve the main aim of the quest concerned with the elimination of the Pendelton Twins (subsection Choose your way of eliminating the Pendelton twins).

You could leave the Golden Cat club the same way you entered, but it's better to make use of the VIP Exit i.e. the one that Emily led you to. After you return to the [Distillery District], you will find yourself in the sewers underneath the second wall of light and you will meet Granny here. The old lady doesn't have jobs for you this time, but you can find gold, food, Piero's spiritual remedy, ammo, a letter (Allison's Letter), a book and a bone charm. WATCH OUT at the sewer's exit, because there are several weepers around. If you are not up to fighting them, you should use your powers (Blink, slow down/hold time) or try to eliminate them at a distance (pistol/crossbow).
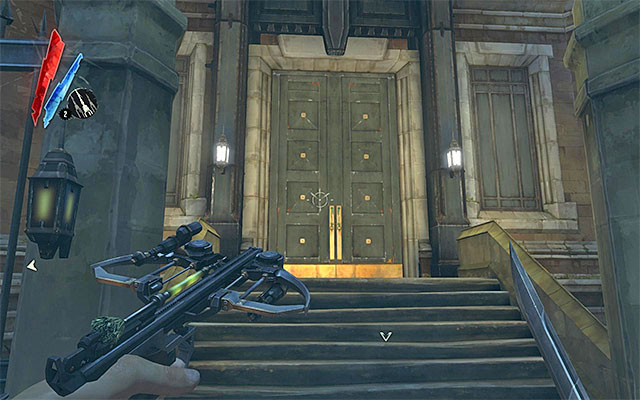
The art dealer's apartment is located at the Clavering Boulevard i.e. at the square between both walls of light (the active and the inactive one). It's the building located opposite Dr Galvani's flat. The easiest way to infiltrate the the apartment is to use the main entrance on the ground floor (the above screenshot). Unfortunately, you need to have the art dealer's apartment key obtained from the woman that you had saved in the side alleys (More about this in Get around the first Watchtower).
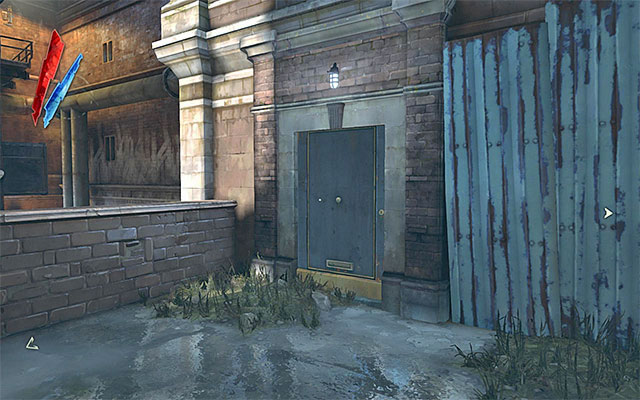
There is another waz that assumes that zou go to the back side of the building )the place where the dealer Griff is. There is a door at the back (the above screenshot), but also here you need to use a key. Note - if you have not yet eliminated the assassins, do not forget to deal with them now.
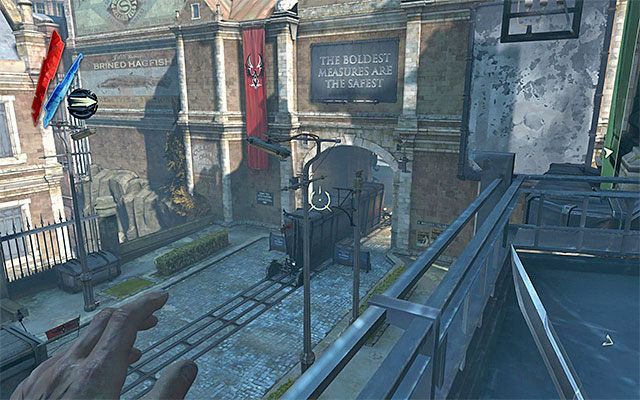
The only way to get inside without a key, is climbing roofs and pipes in order to get to the upper balcony (the above screenshot). The door here is unlocked.
![On the ground floor of the [Art Dealers Apartment] there is gold, food, an art dealers apartment key and Piero's spiritual remedy - Exploring the Art Dealer's Apartment - Mission 3 - House of Pleasure - Dishonored - Game Guide and Walkthrough](https://game.lhg100.com/Article/UploadFiles/201512/2015121517552560.jpg)
On the ground floor of the [Art Dealer's Apartment] there is gold, food, an art dealer's apartment key and Piero's spiritual remedy. Watch out for the rats in the bathroom. The bathroom itself is not worth exploring. There is nothing in there anyways.
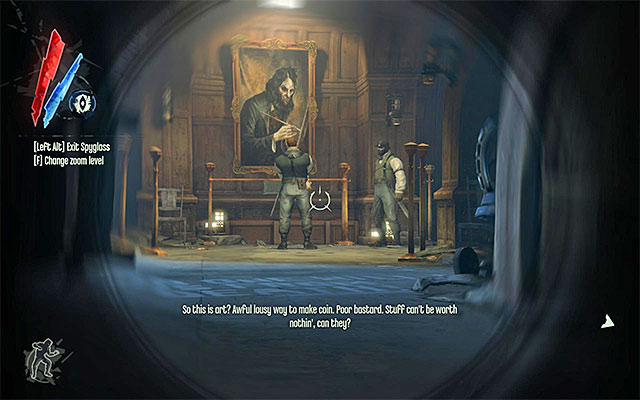
The first floor is patrolled by two gangters and, if you want to explore the area, it would be good to eliminate them quietly. In here you can find Sokolov painting. You can also examine the plates underneath the paintings znajdujace sie pod obrazami, including the missing ones.
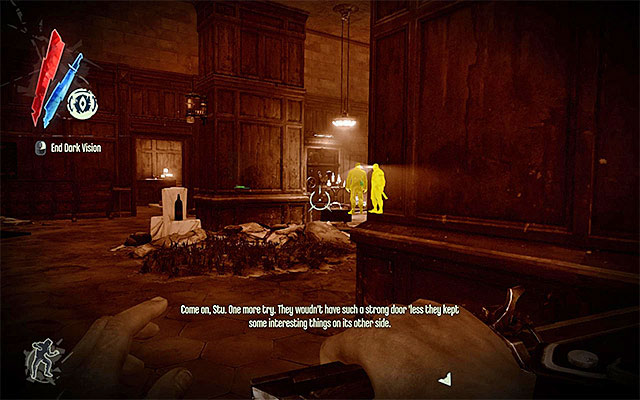
The second floor is occupied by two more bandits, who should be initially standing by the safe, and move away after a while. Also in this case, I recommend eliminating them. Examine this floor carefully to find gold, Piero's spiritual remedy, a book, a note (Golden Cat Reopening) and Sokolov painting, and also read further plates under the paintings.
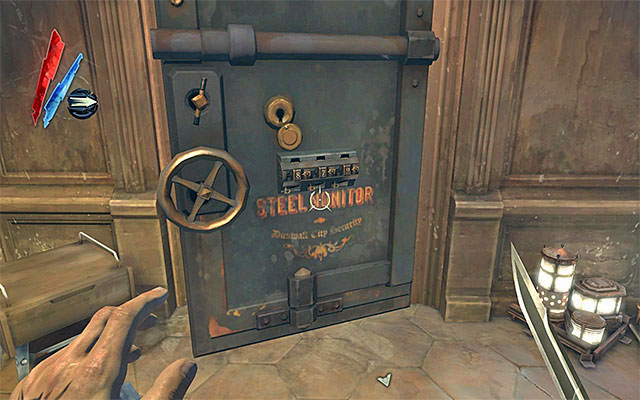
Eventually, you should of course turn your attention to the safe itself. It is worth observing that stealing the items from the safe will not have any adverse effect on your relationship with Slackjaw, so you do not have to worry about the alternative way of finishing this quest. The safe combination is 879, an inside there are Piero's spiritual remedy, Sokolov painting, a rune and a Boyle party invitation.
The twins problem may be resolved in two ways:
Variant 1 - murder Morgan and Custis Pendelton twins . In my opinion, this solution is less advantageous one , especially that each of the twins is surrounded by a group of people, and it might result in alarm being raised. If you still want to go for this variant, make sure that you are inside [The Golden Cat] club.
Variant 2 - Have Slackjaw eliminate the Pendelton twins without having to eliminate them yourself. It's much better a solution if you intend to beat the game in the east "invasive" way. If you want to choose this variant, make sure that you have successfully performed the first quest received from Slackjaw (subsection Find Crowley in Dr Galvani's flat) and the first half of the second quest (obtaining the combination for the art dealer's safe; subsection Explore the Golden Cat Club). After you meet all of the requirements, go to the [Dunwall Whiskey Distillery] location.
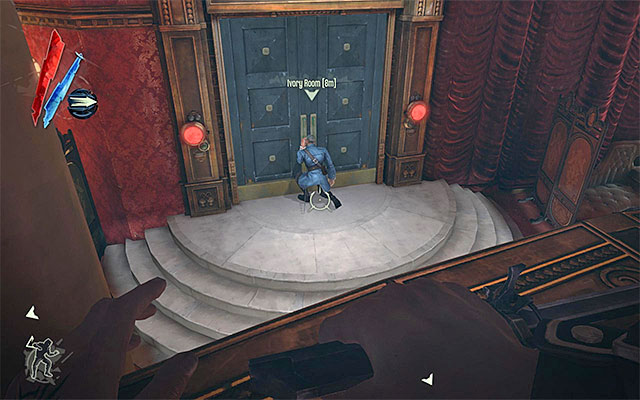
Variant 1 - murder the Morgan and Custis Pendelton twins) Morgan Pendleton is currently staying in the Ivory Room on the first floor of the Golden Cat club.Note that the area is occupied by several guards, and one of them is taking a peek through the key hole every now and then. That is why it would pay off to eliminate all of the guards.
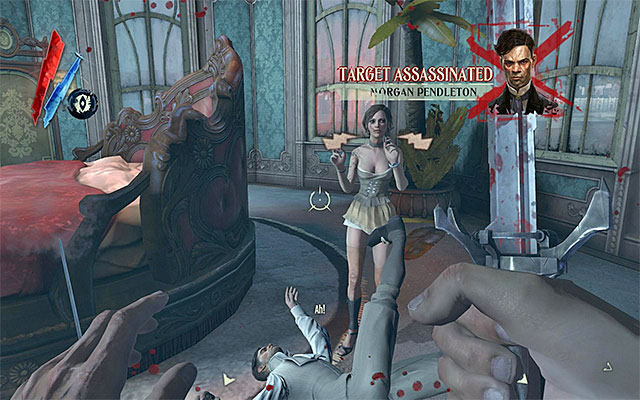
If you don't mind being violent, you may run into the room and deal a lethal blow to Morgan (the above screenshot). You need to realize, however, that this will alarm the whole of the building, as a result of which, Custis may change his whereabouts.
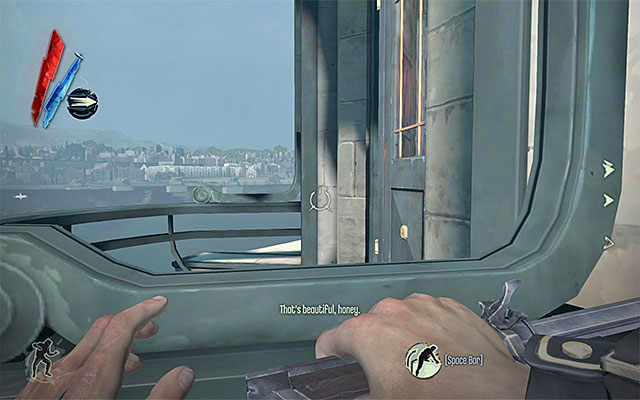
If you want to dispose of Morgan in a more refined way, you should definitely use the ledge shown in the above screenshot and walk on it to reach the balcony on the back of the Ivory Room. Morgan is accompanied by a courtesan, so you need to eliminate both of them as quickly as possibl, for example by slowing down or holding time and a crossbow (pistol is too loud). After the execution, do not forget to loot the room to find gold (Morgan has a pouch on him) Sokolov's health elixir and Piero's spiritual remedy.
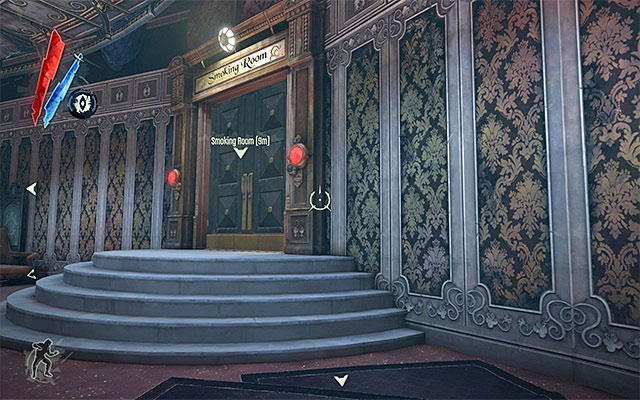
Variant 1; murder Custis Pendleton) Custsis Pendleton is staying in the Smoking Room. Also this time you need to expect guards patrolling the area, so this would bee a good idea to get rid of them early enough.
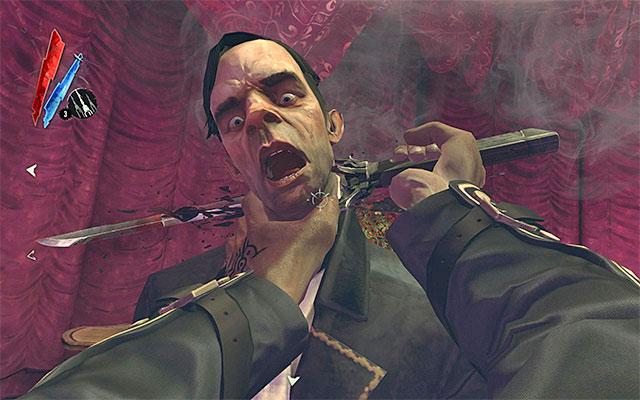
If you're no stranger to violence, you may run into the room and deal a lethal blow to Custis (the above screenshot). This will, however alarm the entire building and, as a result, Morgan may change his whereabouts (unless you killed him earlier).
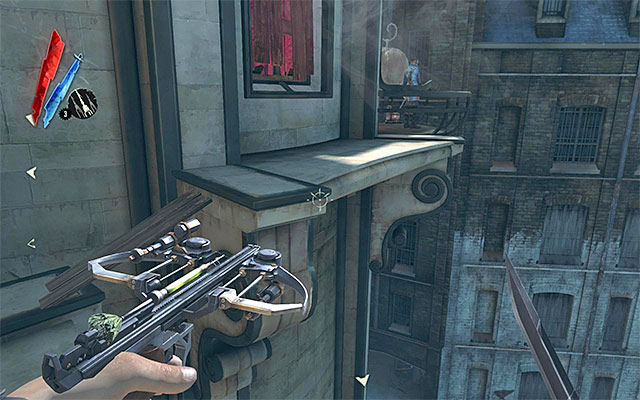
If you want to eliminate Custis in a more refined way, you should reach the Smoking Room's balcony shown in the above screenshot. Eliminate the guard ant conceal his body, Just in case.
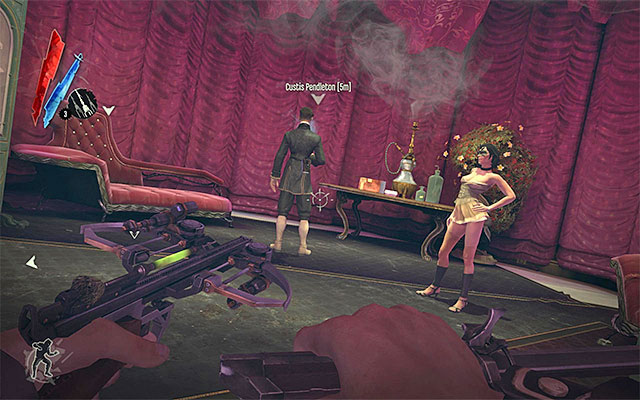
Custis is accompanied by a courtesan so you need to try and eliminate both of them by slowing down, or holding time and firing your crossbow (the pistol is too loud). This solution is good for one more reason. If you are patient enough, Custis will turn away from the courtesan. This will allow for an efficient elimination of both . After the execution, do not forget to ransack the room to find gold (Custis has a pouch on him).
Variant 2) If you do not want to kill the Pendelton twins, you Reed to do two quests for Slackjaw, i.e. the leader of the Bottle Street Gang. After you meet with Slackjaw (it is described in the subsection Meet with the Bottle Street Gang Leader) you will be asked to find Crowley. His body is to be found in Dr Galvani's flat (the above screenshot), and the description of this location is to be found in the subsection Find Crowley'a in Dr Galvani's flat.
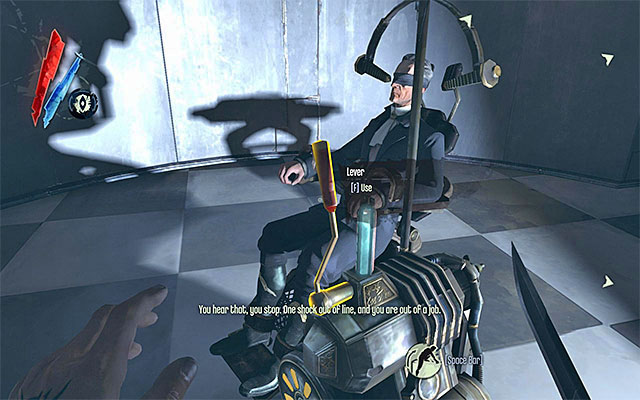
The second job is connected with learning the combination for the art dealer's safe. You will meet him Chile exploring the first floor of the Golden Cat club. The entire mission has been gescribed in the subsection Explore the Golden Cat Club. Note - you may also plunder the art dealer's flat before returning to Slackjaw.
After you perform all of the activities described above, you need to meet with Slackjaw again, in the bandits' hideout. During the conversation you need to tell Slackjaw the combination (the upper-right dialogue option). Slackjaw will thank you, and will promise you to eliminate the twins and keep them alive at the same time. Note- I recommend that you rob Morgan and Custis even if you do not want to kill them. You can do it by visiting them in the Golden Cat club and not revealing your position. This will allow you to maintain the statistics high, in connection with the loot you've obtained.
New Main Quest: Meet Samuel and Emily at the boat
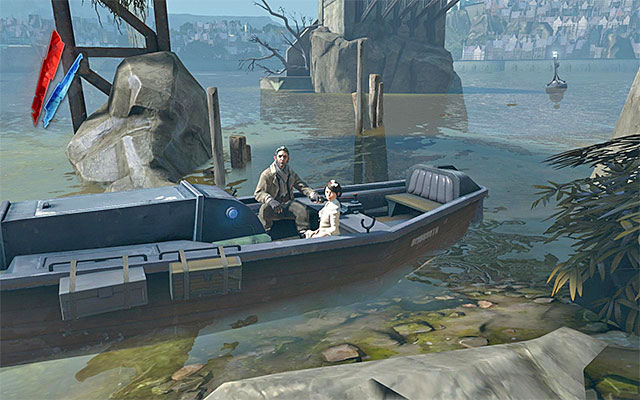
You can finish the mission after you have killed of disposed of the twins in a more humanitarian way with the help from the Bottle Street Gang Leader. Regardless of the path you've followed, you need to return to the starting point in the [Distillery District], i.e. to the docks. Approach the boat, talk to Samuel and confirm that you want to Lear (the upper-right dialogue option).
New Main Quest: Find Lord Pendleton
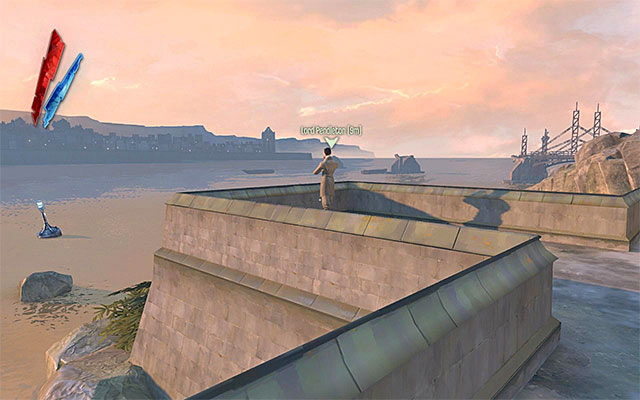
After you watch Emily's welcoming and have a conversation with Admiral Havelock, you will be sent away to see Lord Pendelton. Traditionally now, spend some time exploring the area and talking to Piero. As far as Lord Pendleton is concerned, He is standing at the viewpoint, at the foot of the Tower that Emily Has been lodged in. Of course, talk to Pendelton.
New Main Quest: Go and meet Havelock and Martin in the bar
Now, you need to go to the bar on the ground floor of the pub building to talk to Admiral Havelock and Overseer Martin. They will give you briefing on the next quest, whose aim is to abduct the royal physician Sokolov.
New Main Quest: Board Samuel's boat for Kaldwin's Bridge
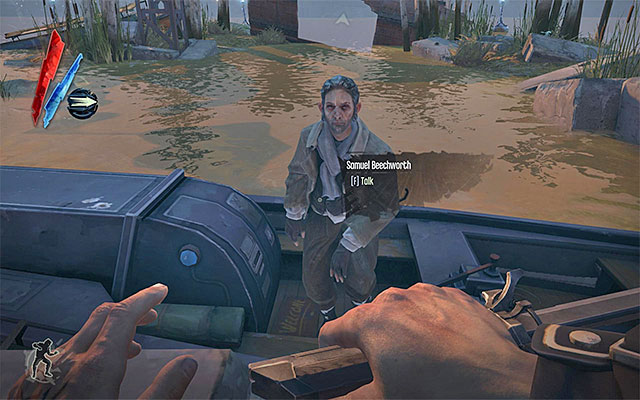
Make sure that you have handled all of your business in the pub and return to your starting point i.e. to the docks. Talk to Samuel and confirm that you want to leave for Kaldwin's Bridge, i.e. Sokolov's living place.
The mission takes place in two main locations i.e. [Southside Bridgeway] and [Northern Bridgeway]. The main premise to this quest is to reach Sokolov's apartment in order to abduct him. You reach Sokolov's apartment right at the end. This time around, there are fewer side quests to perform, but I recommend that you get acquainted with them anyways.
Below, you can find a list of all of the sub-points to this guide, connected with the described mission. If you want to explore the area thoroughly, follow all of my instructions from end to end. If you prefer to concentrate on the main mission instead, turn your attention only to the pages with the note (compulsory) attached.
Steps to take:
The below maps may serve as an additional help while navigating the area. A noteworthy fact is that you can also find it on your own. It's near one of the paths leading up to the drawbridge, right after you pass Pratchett's apartment.
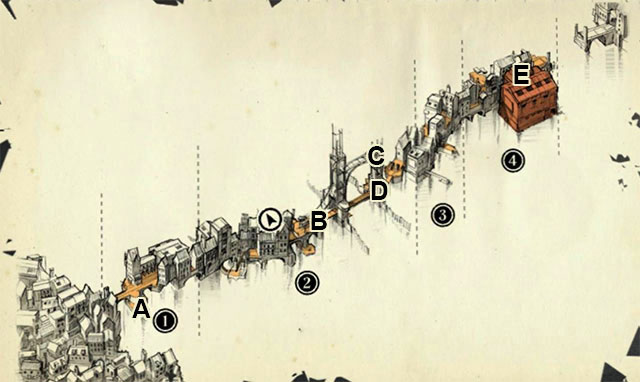
Legend:
New main quest: Deactivate the checkpoint spotlights so Samuel can move the boat closer to Sokolov's home
New main quest: Find and enter Sokolov's home
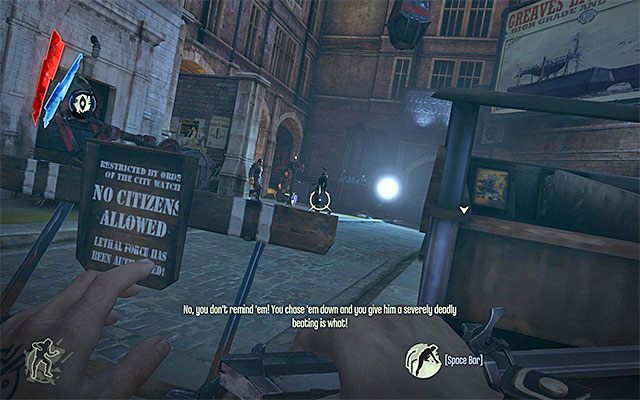
The mission starts at the water end. Right after you take the nearby stairs, you will run into the enemy's outpost (the above screenshot). The area is patrolled by the guards, inside the lodge there is a fourth one. Next to the lodge there is a spotlight that, unfortunately, cannot be destroyed.
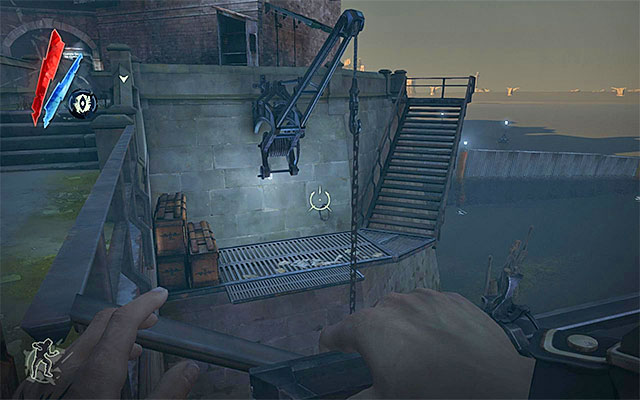
You can reach the outpost safely in two different ways. Variant one assumes jumping over to the catwalk to the right (the above screenshot) (use the chain that Corvo can jump onto). Right after you reach it, depending on your preferences, you could remain on the catwalk in order to eliminate the guard there, or start climbing to end up above the lodge.
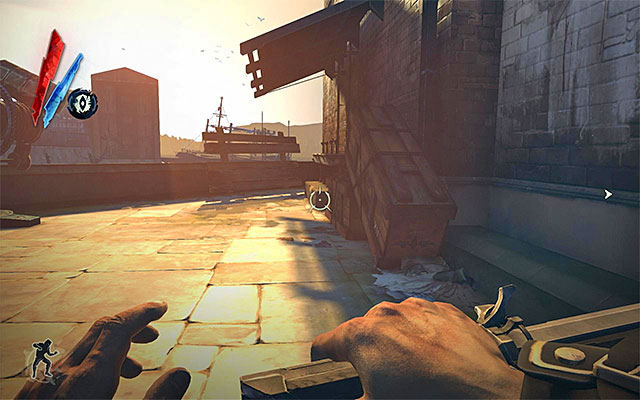
Variant two assumes that you reach a small square located to the right of the outpost (the above screenshot). Jump onto further objects to reach rooftops. It is a way better solution if you just want to go around the outpost without having to attack the guards.
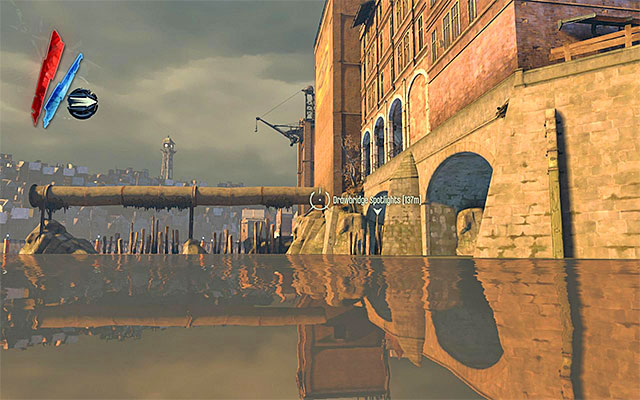
A less obvious way to go around the outpost is to swim up to the balcony visible in the above screenshot. First, you would have to teleport (Blink) onto the poles projecting above the surface of the water, and then onto the balcony itself. The downside of this approach is that there are piranhas in the water, and you could be attacked by them.
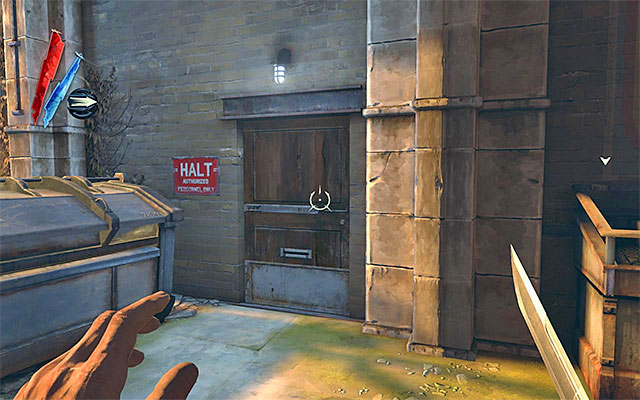
If you managed to eliminate all of the guards around, you could have a look around for gold and pistol ammo. Otherwise, go to the door leading to a nearby warehouse (the above screenshot). On the warehouse's ground floor, there are gold and food. On the first floor, you can find gold, food, a blueprint, the warehouse key and a Piero's spiritual remedy.
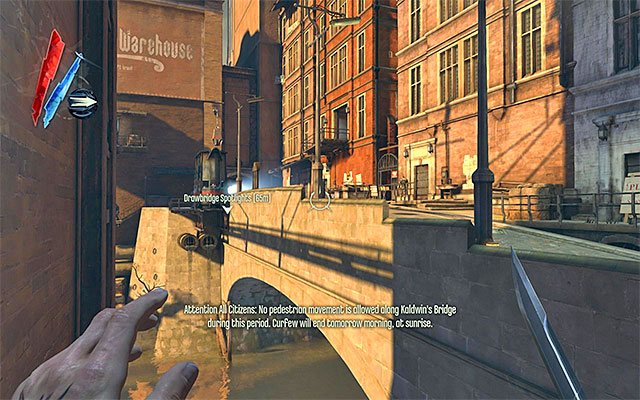
Near the outpost, there are even more guards, so you will have to watch your steps even more in order not to get within their sight. Just like in the case of the first outpost, the central point to this one is the lodge with a single guard inside, and an indestructible spotlight next to it.
You can get to the outpost mainly by choosing the main road. Make sure that you have the key from the first floor of the warehouse on you, and use it to open the door on the ground floor (the above screenshot).
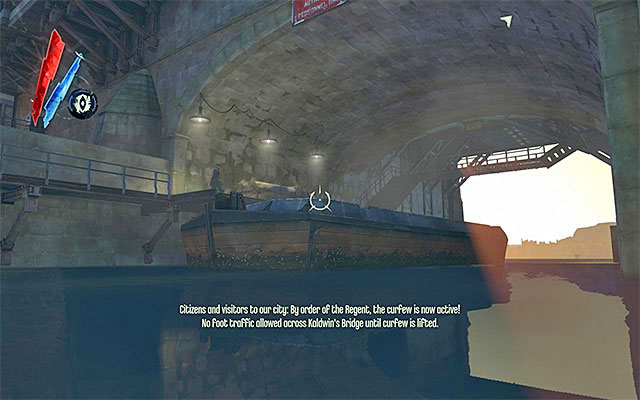
Going to the outpost in a straight line is nothing short of a suicide, of course. That is why you need to turn right as soon as possible, and go towards the waterlock. This will allow you to go around the outpost and reach the barge and catwalks (the above screenshot). It is worth mentioning that the area is patrolled by two more guards and it has been described in details in the further part of the text.
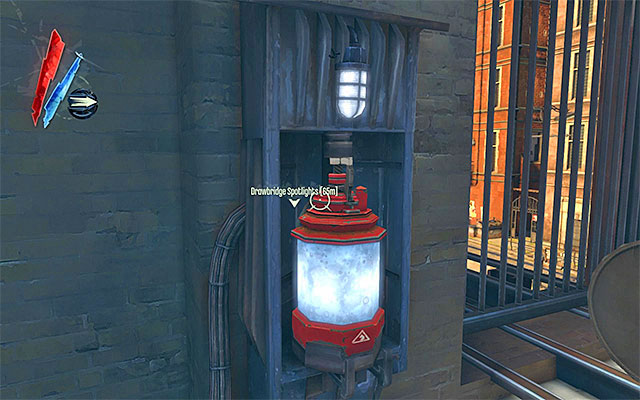
Fortunately, you can approach the outpost in two different ways, and both of them are attention worthy. The first one is using the railroad car located on the first floor of the warehouse. The car is inactive by default, so you need take the stairs to the second floor and jump over to a ledge with whale oil containers on it. Take one of the containers and place it carefully into the slot (the above screenshot).
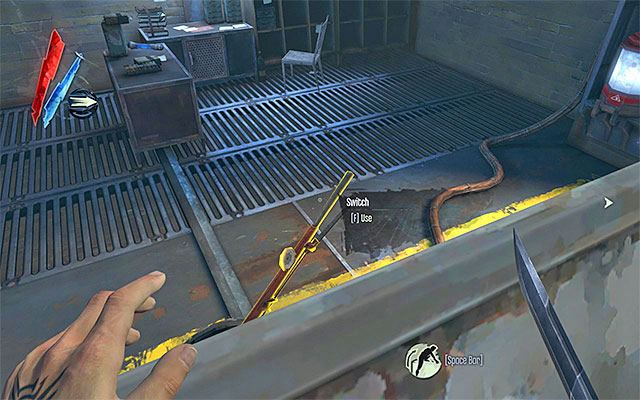
Do not try walking over the rail, or else you would be electrocuted. Instead, jump into the car, duck and pull the lever (the above screenshot). The only thing remaining for you to do is wait for the car to take you towards the outpost.
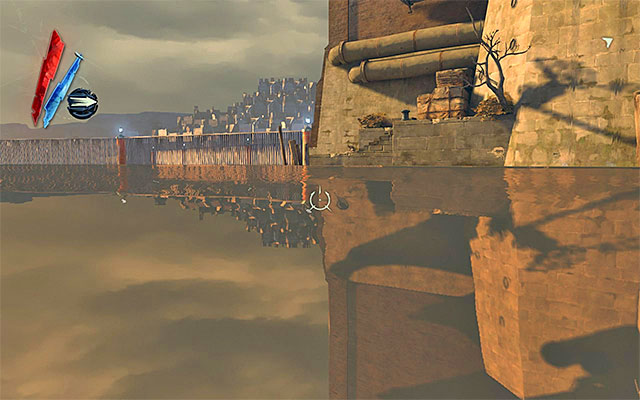
The other one of the above mentioned, safe methods is swimming up towards the outpost. You would have to reach the ledge shown in the above screenshot, and start climbing.
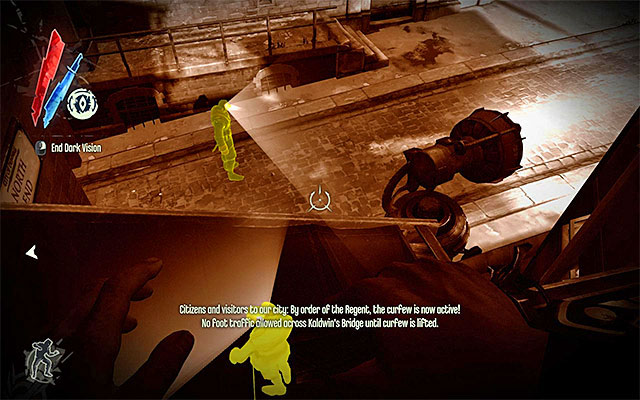
If you plan on eliminating the guards here, I recommend that you start with the ones gathered around the outpost (the above screenshot). The bodies are best stashed near the water, which will prevent anyone from noticing them. If, on the other hand, you do not want to attack anyone, you may go towards the area exit right away. This, however, will make you miss several secret items.
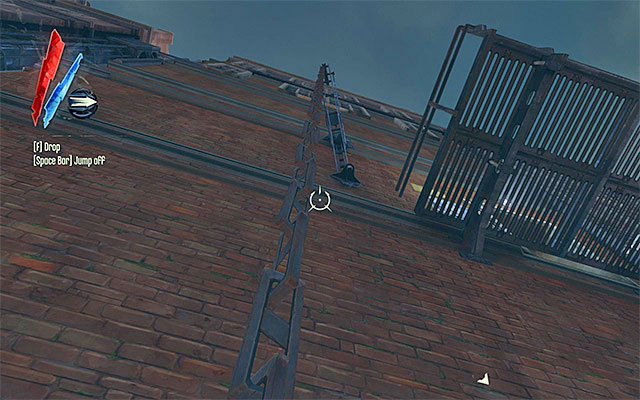
It's a good idea to explore the entire area before leaving it. First of all, I suggest using the abovementioned alley, located at the main, asphalt road that leads up to the outpost. After you find yourself behind the building, position yourself on the small balcony, look up, and grab onto the loose chain shown in the above screenshot. Pull up and leap towards the catwalk. Enter the building and collect the rune. It is also a good idea to get into the neighboring room, where there is gold and food.
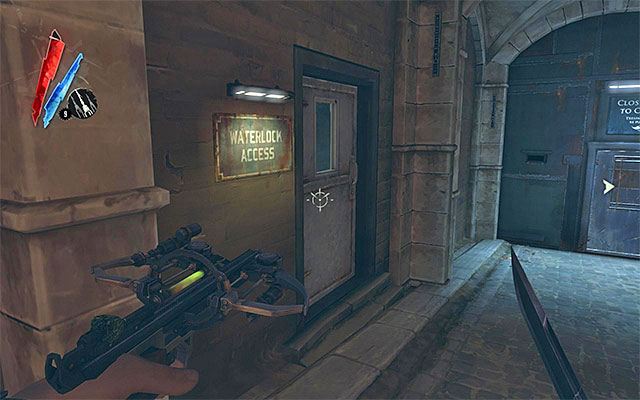
Another one of the optional activities is to explore the area around the waterlock, and it's best reached by means of the door marked Waterlock Access (the above screenshot), located behind the lodge. There are two guards around, but if you take precautions, you will be able to eliminate them easily. Note - if you do not want to attack the enemies, use teleport. It is also a good idea to swim up to the waterlock instead of using catwalks.
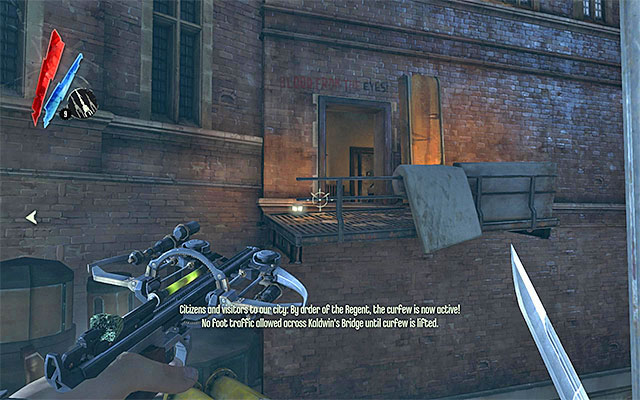
Approach the waterlock and look around for gold and food. Use the switch to lower the waterlock and walk over it to reach the balcony at the other side. Use the second switch, and quickly return onto the lock, ao that it lifts you. The purpose of this all is to reach the balcony shown in the above screenshot. Watch out for a weeper occupying the building. After you eliminate him, look around for gold, Sokolov's health elixir and a bone charm.
Regardless of how long it took you to explore the area around the second outpost, you now need to reach the door at the back of the lodge (the above screenshot).
Right after you reach a new location, you will witness a conversation between Pratchett and one of the guards. It is worthwhile to wait until the end of the conversation, and seize the opportunity to explore Pratchett's apartment. The interesting thing is that, if you are fast enough, you will be able to steal Pratchett's key from Pratchett, before he manages to enter the building.
Do not worry if you do not manage to steal Pratchett's key. You can gain access to the building in a number of other ways. The easiest thing to do is teleport to one of the balconies (the above screenshot), but you can just as well enter from the side of the roof, or walk over a ledge.
On the building's ground floor, you can find gold and a rewire tool. On the first floor there is gold, food, a book, Piero's spiritual remedy and a cupboard that requires a key to open it. Inside the cupboard there is a 100-gold-piece worth sextant. If you haven't already eliminated Pratchett, this is where you should meet him. Since he is hostile towards Corvo, it would be a good idea to render him unconscious or put to sleep with a dart.
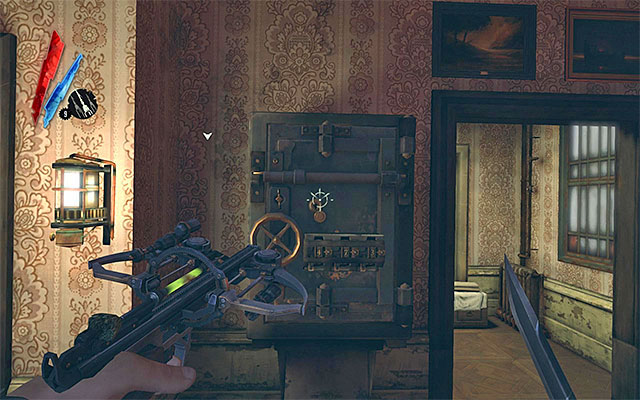
On the second floor of Pratchett's apartment, there is a safe (the above screenshot). The hint on how to open it was written down in the nearby Pratchett's Reminder. The puzzle consists in reading numbers that appear on the paintings hanging in the aristocrat's apartment - digit 4 on the painting with strolling people, 7 on the painting of a boat, and 3 on the painting featuring the slaughterhouse. Return to the safe and enter the combination: 473. Inside there are two bars and a rune. Wind up by exploring the remaining part of this floor, and find gold, a book and Sokolov's health elixir.
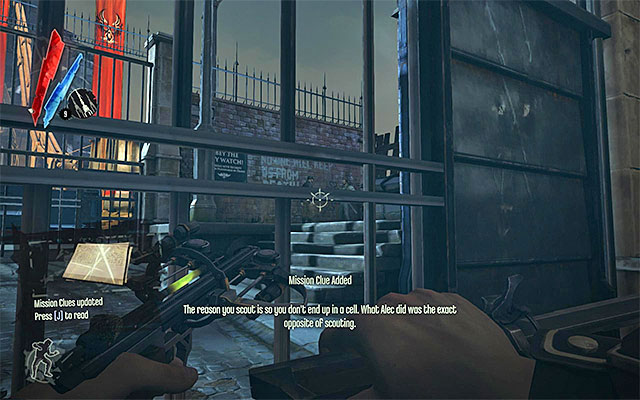
Apart from Pratchett's apartment, it would also be good to deal with the drawbridge and the remaining part of the district. I recommend that you take the main road and stop when you reach the window bars. Listen to the conversation between two criminals (the above screenshot) in order to learn that one of them (Alec) is currently being in the guards' custody. You will be able to free him later on. Make sure, however, that the two don't spot you, or else they will launch at you.
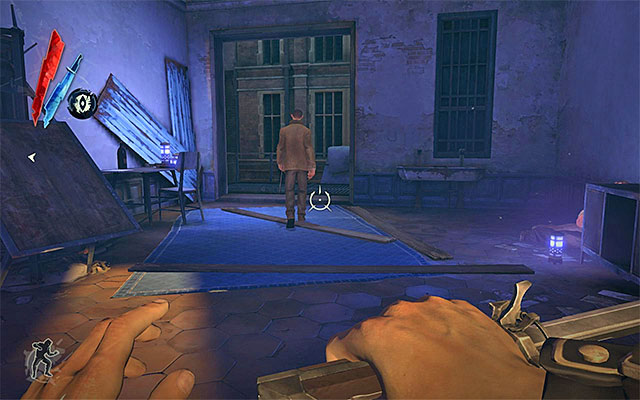
Around there are a few apartments on the upper floors, and it's easiest to access them by walking on rooftops (the best way to reach the rooftops is to take the staircase in Pratchett's apartment). The most valuable loot is to be found in the apartment patrolled by a deranged civilian (the above screenshot), whom it would be good to render unconscious or kill. Apart from gold, food and three log entries, there also is a rune.
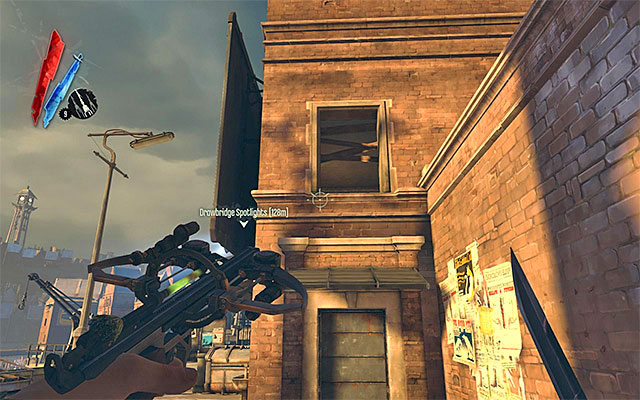
I suggest that you wind up by exploring apartments located the closest to the drawbridge. Inside the apartment accessed via the stairs and the footbridge, there are gold and food. Inside the apartment right next to the enemy's outpost, (the above screenshot) there are gold, a note (Cards Scoreboard) and a rewire tool.
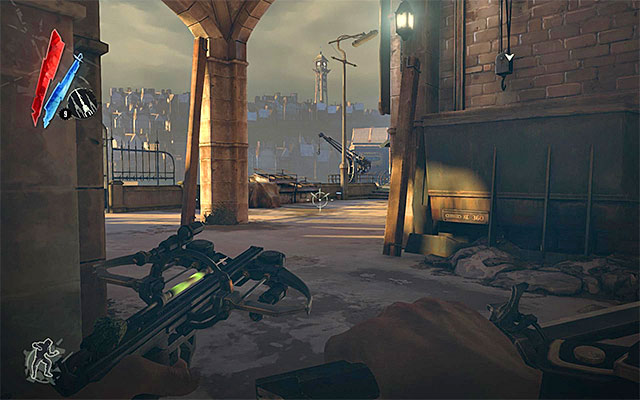
The circumstances of reaching the drawbridge depend on whether you explored Pratchett's apartment and the neighboring apartments, because there is a fair chance that you have already got into the area of your current destination point. Otherwise, I suggest that you stick to the main road and walk among buildings.
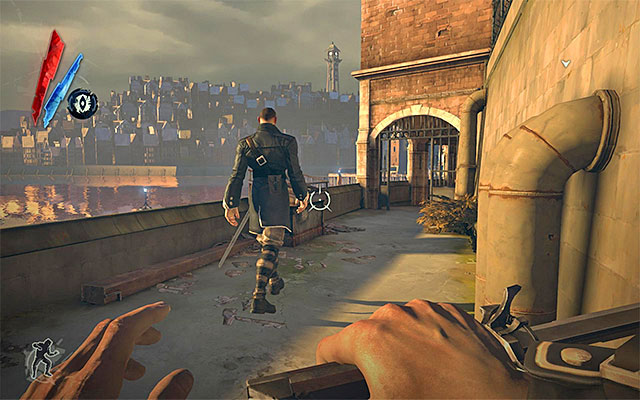
You may also take the path to the left, i.e. the one taken by the guard after he finished his conversation with Pratchett. This will allow you to explore several of the side alleys that you pass on your way. In there you will find gold and food.
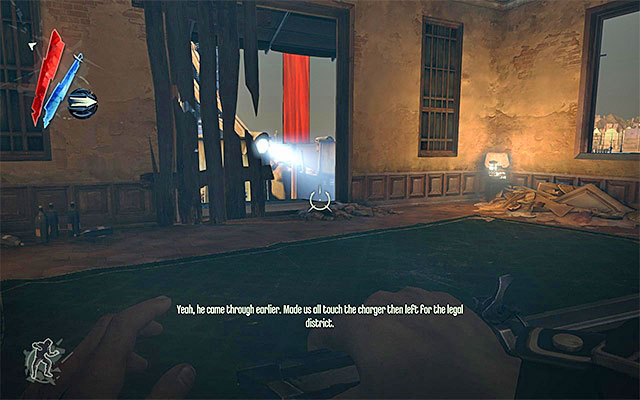
It is also a good idea to walk along rooftops, which should relatively easily get you to the building located the nearest to the drawbridge (the above screenshot).
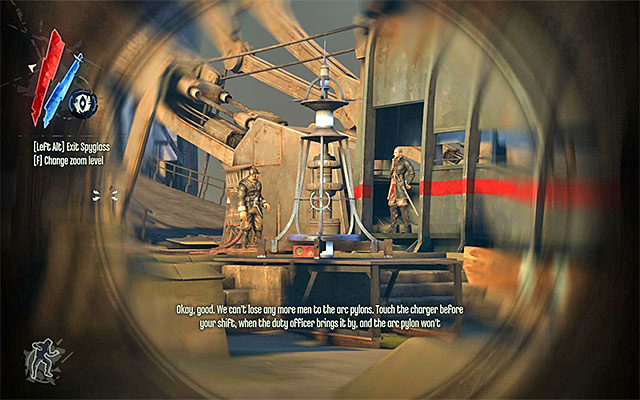
Regardless of the variant you chose, it is worthwhile to take a moment and get acquainted with the current situation. First of all, turn your attention to the pylon, whose operation you will learn after two bandits that attack you, come near it. The pylons are even more dangerous than walls of light that you have encountered so far. They automatically electrocute any hostile creatures that come near. Pylon is not the only threat, because there also are a couple of guards, including one in the lodge.
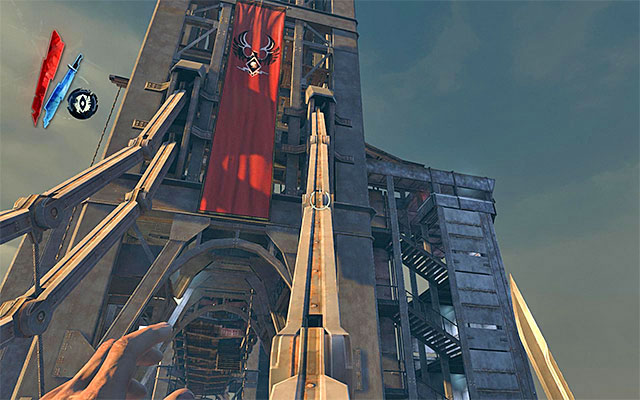
The most important piece of information relating to crossing the drawbridge is that you cannot reach the other bank by swimming towards it. As a result, you need to walk over the guarded drawbridge. The upside, however, is that you can implement one of many methods of operation. If you have Blink (teleport) at your disposal (ideally, upgraded to level 2), it is best if you climb over the metal elements of the structure (the above screenshot).
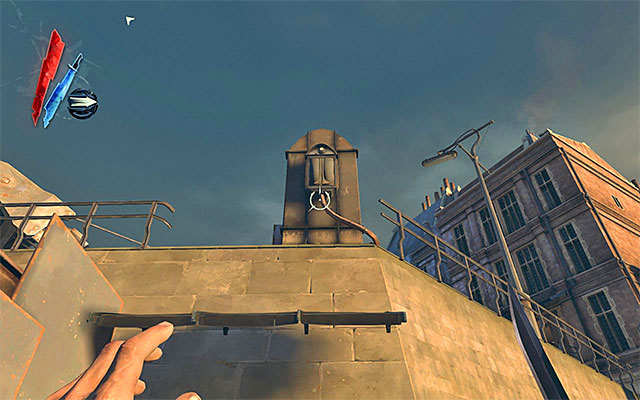
If you want to be more traditional in your approach, you need, above all, remember about the two active pylons - the one that has just electrocuted the bandits, and the other one, visible in the distance. Each one can be deactivated on two ways and to do this, you need to follow the cables that come out of them. In the case of the first one of the pylons (the one near the lodge) one of the cables would lead you up to the control panel (the above screenshot). You could use a rewire tool here. I recommend against this approach, as the pylon, when reprogrammed, would start to electrocute every guard that comes near it, and this will result in worse statistics at the end of the mission.
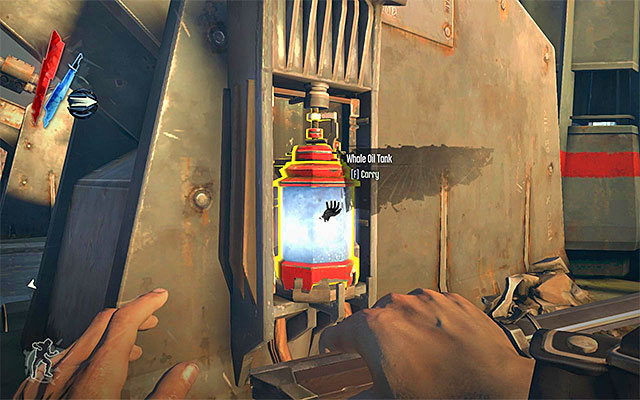
It's a much better solution to reach the spot where there is the whale oil container that supplies the pylon with power. Removing the container will shut the pylon down. Regardless of how you choose to play your cards, watch out for the nearby guards that can be avoided or eliminated. It also pays off to look around for pistol ammo and a boat with a Slackjaw's Shipment Note in it, and two Sokolov's health elixirs.
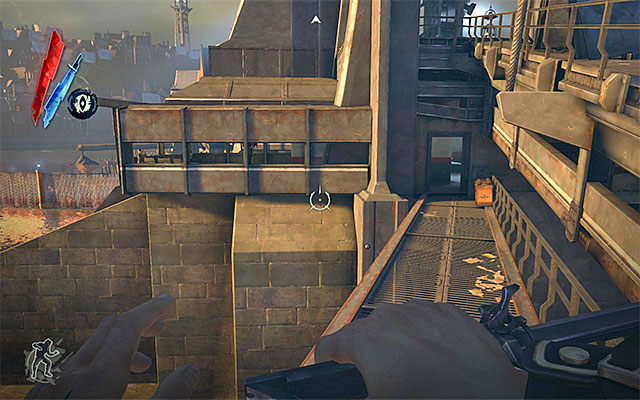
I recommend that, after you go around and optionally neutralize the first pylon, you take the catwalk (the above screenshot) to some sort of a bunker. Because using the main entrance, to access the bunker, is quite risky (the area is heavily guarded), you can teleport to its roof. When you manage to secure the bunker (watch out for stray guards that may appear occasionally), it's a good idea to explore the area for gold, food, ammo, Sokolov's health elixir, regular bolts and incendiary bolts.
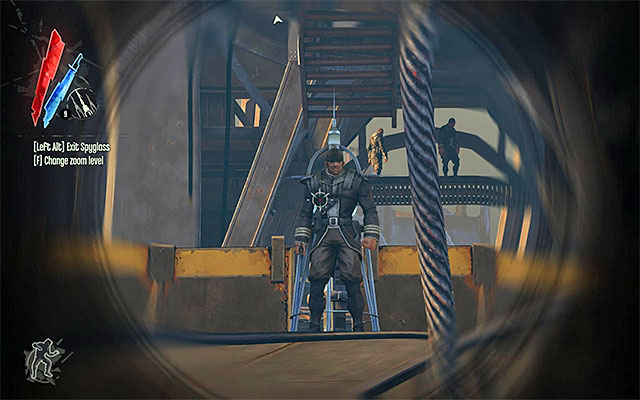
As I have already mentioned, there is another pylon further away. If you managed to secure the bunker, I recommend that you search the areas on its both sides. Thanks to that, you will find another one of the containers (the above screenshot). Removing the container will allow you to disable the second pylon. Otherwise, I recommend that you don't go near the pylon. At the same time, watch out for two guards occupying the area around it.
The next step is to reach the upper levels of the structure. This can be done in two different ways. The more obvious one is to use staircases (the above screenshot). Be careful, though, when you reach one of the uppermost levels, because there is a hostile officer occupying the area. The enemy has a drawbridge key, so it is worthwhile to loot him for that. .I recommend that you search the area for ammo, incendiary bolts and Sokolov's health elixir.
A less obvious variant assumes that you climb up one of the chains hanging around. The task consists in grabbing onto chains and landing on small ledges alternately. This variant is a way better idea if you aim at avoiding any contact with your enemies.
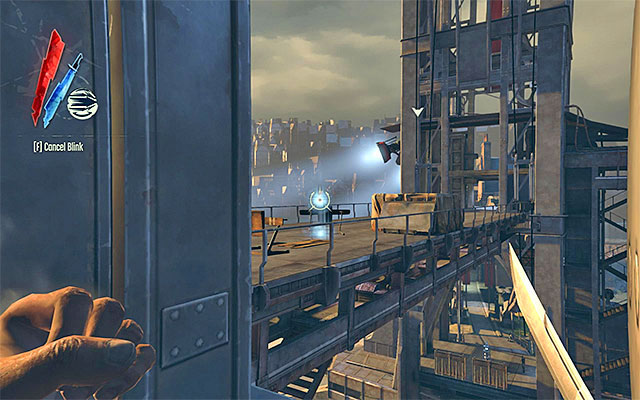
To wind up, several words of advice on how to get to the other side of the bridge. Easier an option is to cross over the footbridge shown in the above screenshot. It's worth adding here, that it can be elevated, using a lever located near the enemy officer. It's optional, but it will make things easier for you.
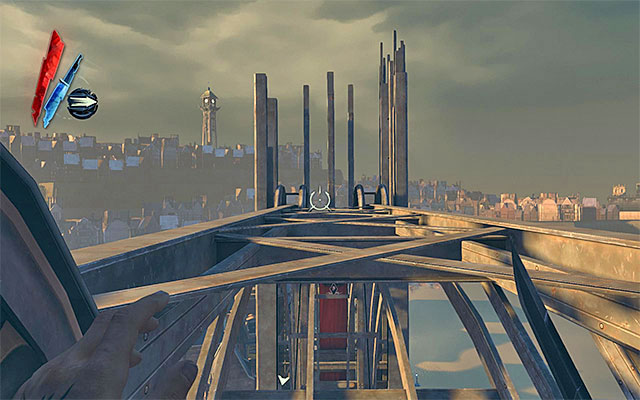
Climbing the chains and jumping onto the ledges is a more difficult approach. You can reach the top of the drawbridge this way (the above screenshot) and find there a worker, some gold and a rewire tool. Then, you would have to walk over the uppermost part of the structure, while minding your balance.
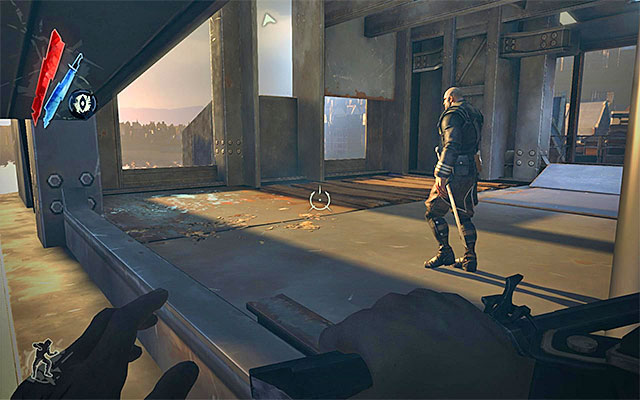
It's time to focus on the first one of the aims of the current quest. Generators, alongside with the spotlights, are located at the drawbridge's other end, on one of its higher levels. This means that if you've reached the other end by walking along one of the lower levels, you will now have to get higher. If so, be aware of the fact that you will meet another hostile officer on your way.
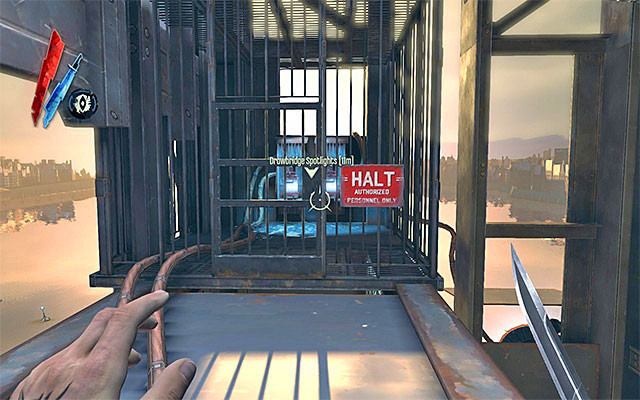
Your destination now, is the cage shown in the above screenshot. Open the door of the cage and remove the whale oil tanks from their slots. This will result in spotlights being deactivated, thanks to which, Samuel will be able to reach Sokolov's home.
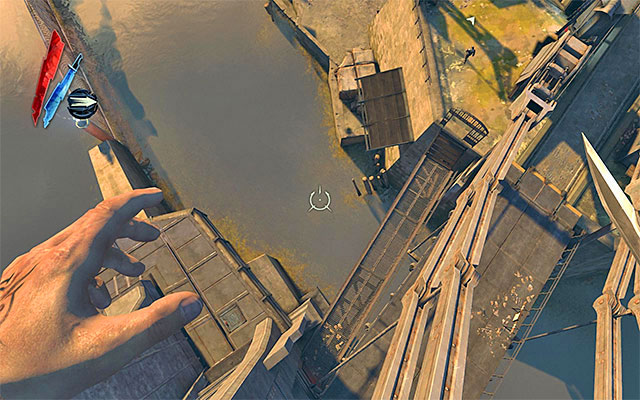
Another step to take is getting across to the other river bank. What's interesting, because you have gone around all of the barricades on the river, you can now jump into water (the above screenshot) and swim up to one of the ledges.
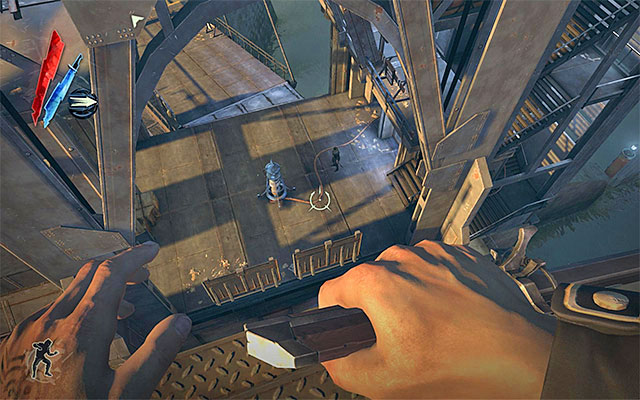
Just al well, you can make use of staircases or chains, and proceed this way towards the levels that are located below. In this case, you need to watch out for four guards and one more pylon (the above screenshot). Just like in the case of the previous pylons, also this one can be reprogrammed, shut down or you can go around it.
Note - if you intend to perform the side quest, connected with freeing the apprehended bandit, see now the subsection entitled Free Alec. If you prefer to focus entirely on the current mission, (abducting Sokolov) skip to the subsection entitled Get around the third outpost.
New optional quest: Find the cell key
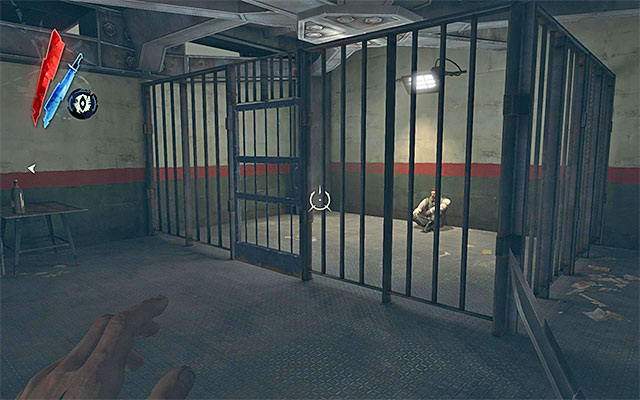
Alec is a bandit that you may have already heard about while eavesdropping on the conversation between two criminals, near Pratchett's apartment. Alec is currently being held by guards in a holding cell located in the bunker at the other side of the drawbridge (the above screenshot). Approach Alec and he will ask you to free him and will promise you a share in the loot of pearls as a reward.
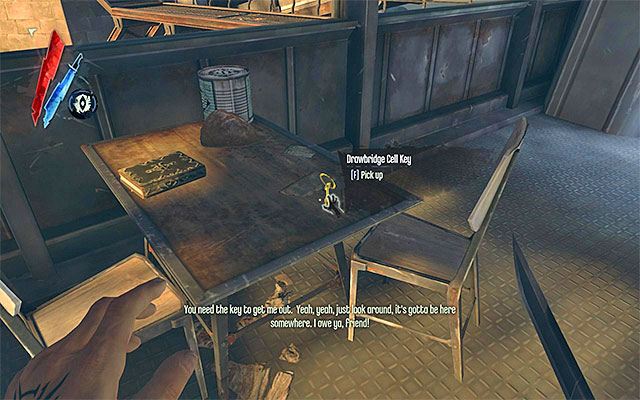
I recommend that you are VERY cautious, because, just like the previous one, this bunker is guarded by several guards. What is even more, some of them patrol the area, so it's better to explore it beforehand, so that you aren't caught and don't have to fight while escaping with Alec. The drawbridge cell key is on one of the tables inside the bunker (the above screenshot). It's also a good idea to look around the bunker for gold, food, a book, Sokolov's health elixir, Piero's spiritual remedy and a grenade.
New main quest: Open the cell
New optional quest: Follow the scavenger
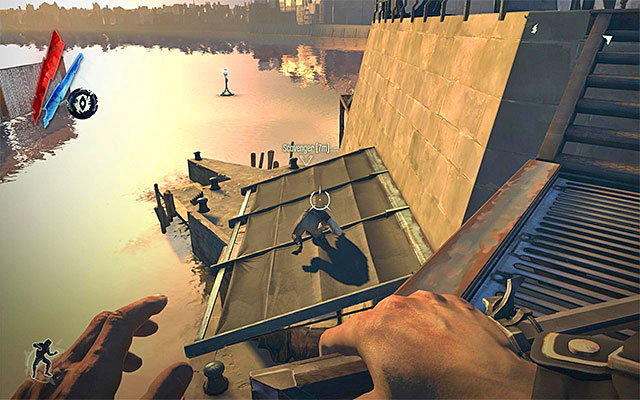
Return with the cell key, and use it on the cell itself. Now you have to follow Alec, and perform a few leaps on your way. As I have already said, it would be good to have the entire area clear of any enemies, so that you do not meet any on your way. Stop in the spot in which Alec asks you to get rid of river krusts.
New optional quest: Kill the river krusts
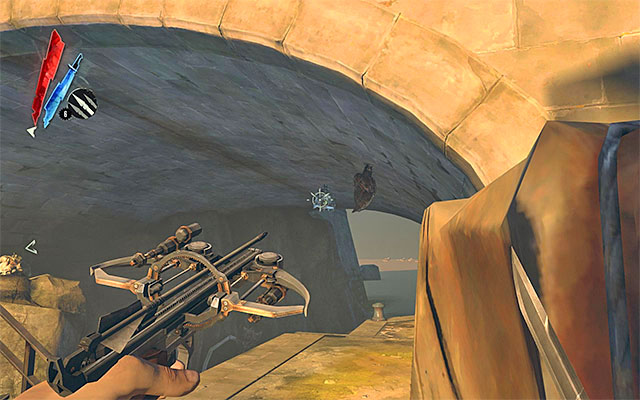
You'd better be careful here as river krusts spit poison and, if you are hit, you may lose quite a lot of your health points. I recommend here that you rely on the tactics of leaning from behind covers. As far as the choice of suitable weapon is concerned, the best one fr this job will definitely be your crossbow. This is especially advisable if there still are some guards around and you do not want to alarm them. Note - it is best to eliminate the river krusts when they "open up" and get prepared to attack themselves. This way, you will be sure that a single bolt will get the job done.
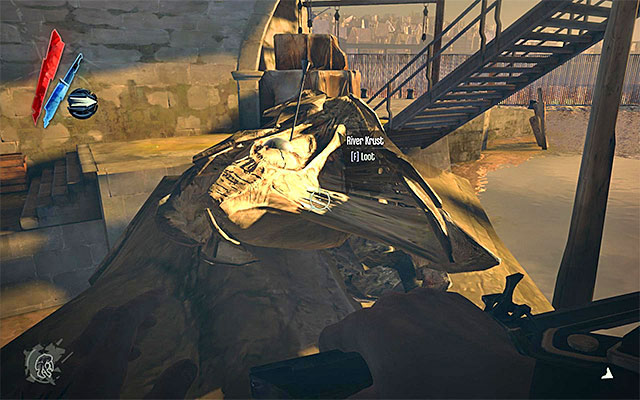
Eliminate the krusts one after another, and try not to take too much risk. I recommend that you examine their remains after you are done. This way, not only will you get the bolts back, but also you will acquire precious pearls. After you eliminate all of the river krusts, return to Alec.
New optional quest: Follow the scavenger
New optional quest: Find the pier key
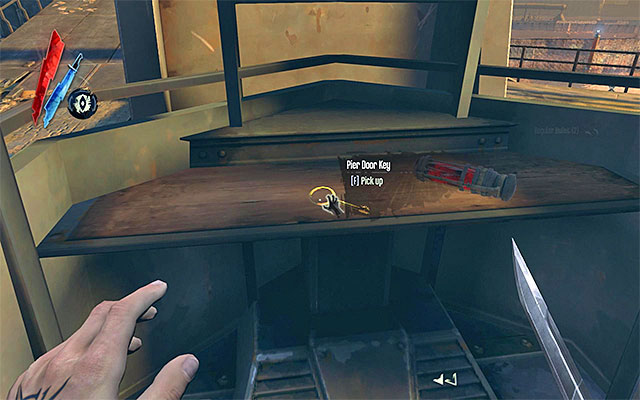
After having run for a dozen or so meters, Alec will stop at the locked gate and ask you to find a key for it. The pier door key that you are after is to be found in the lodge at the currently explored side of the river (the above screenshot). If you haven't yet eliminated the guards at this side, you'd better be careful, as there should be three more guards. You can eliminate one after another, or try and squeeze past them to get the key.
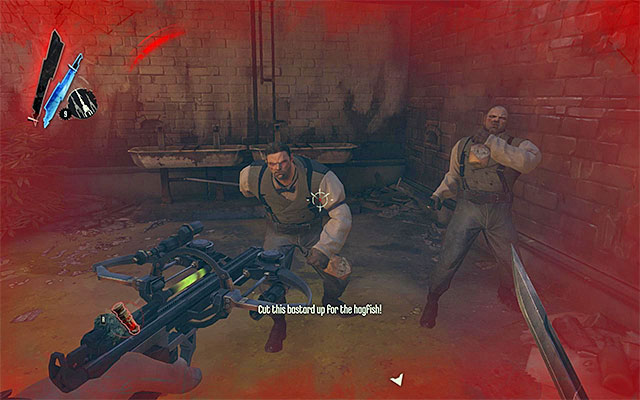
I suggest that you now stop and consider possible ways of completing the task. If you return to Alec, it will turn out that he simply tricked you and called two other bandits to his aid, and they will attack you.
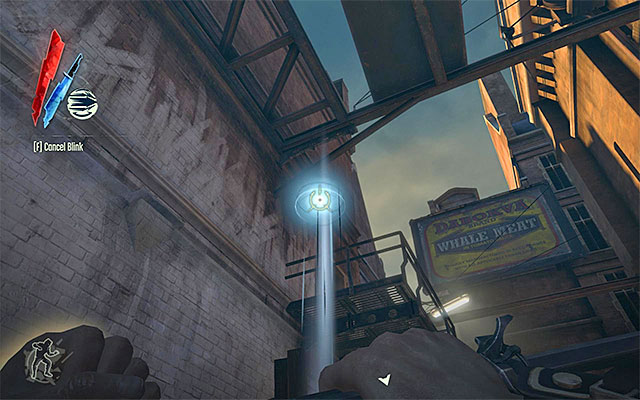
You can render Alec unconscious or kill him early enough, but definitely the most interesting solution is to deprive him of his reinforcements. To do this, you need to get to the balcony of the building adjacent to the main path (the above screenshot), still before you open the gate.
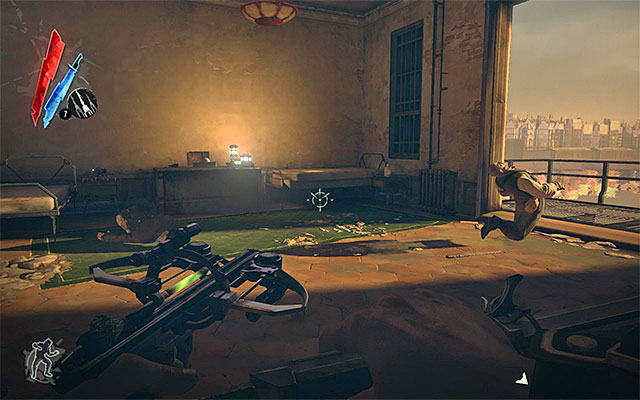
Carefully, sneak into the main area of the building in which there should be the two bandits. The best way of dealing with them is by using sleeping belts, although you can take a more aggressive approach. Either way, the most important thing to do, after you dispose of them, is exploration of the whole building to find the pearls that Alec promised to you, and also gold, rewire tool, bolts and an Alec's note. If you want to, you may now return to Alec and let him trick you without any help from his friends (he doesn't know about it). It's worth mentioning here that you can avoid losing your extra bonus, and remain undiscovered, if you walk away from Alec right after you unlock the gate, and not let him approach taps nor say his lines.
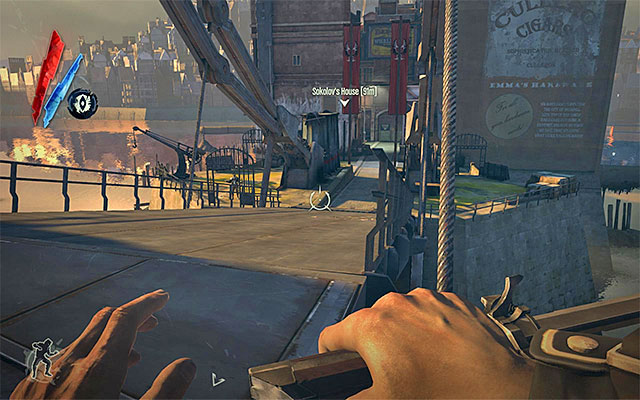
Before you get to go around the third outpost, you need to notice it first. I assume that you are starting somewhere around the eastern river bank, right after you've walked over the drawbridge. Keep your eyes open, because the area is patrolled by at least three enemies. You could go about eliminating them, but you can just as well go around them. In the latter case, you'd better choose the lower path, i.e. the one that you might have already gone through with Alec.
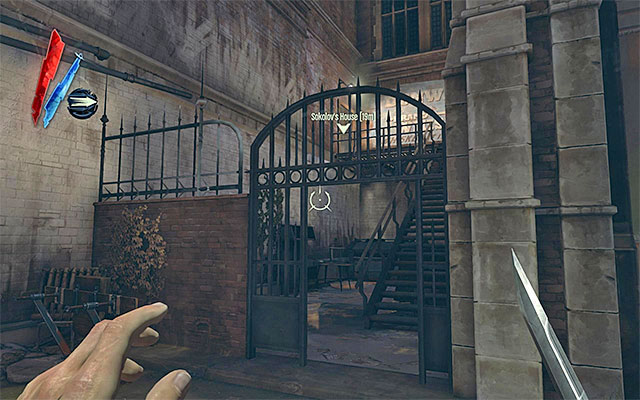
Since you are already here, it would be a good idea to explore the lodge located at this side of the river (unless you already have). Inside, you can find ammo, Sokolov's health elixir and a pier door key. Follow the main path in order to reach the passage to the next location (Midrow Substation). Once there, collect food, Sokolov's health elixir, a rune, a book and the Overseer's music note.
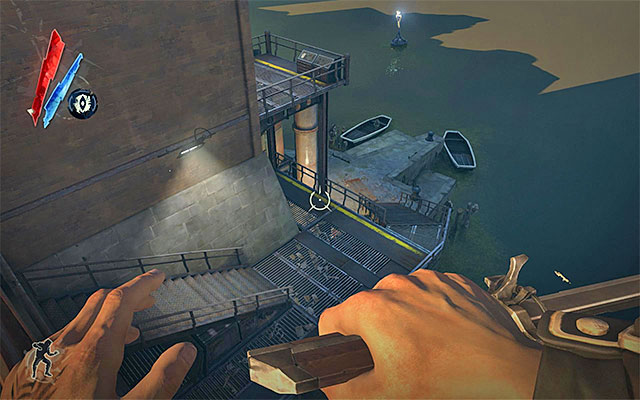
The surroundings are patrolled by quite large numbers of guards, so it would be a good idea to devote a few moments to planning further steps. It's not advisable to choose the main path. It's much better to get at the back of the building to the right (the above screenshot) and try to remain on rooftops, or other places above the ground.
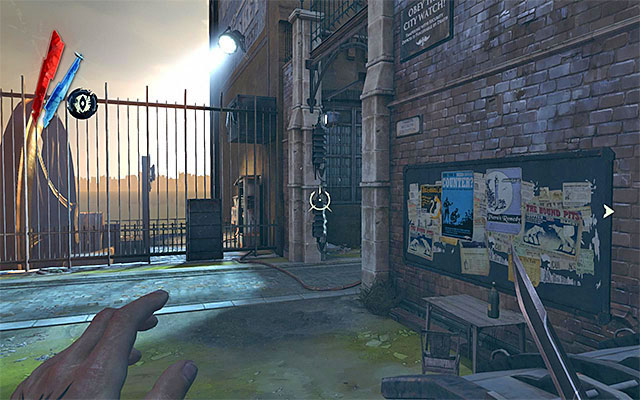
The passage to the district, where Sokolov's apartment is located, is guarded by another wall of light, and going around it can be tricky. In order to go around it or rewire it, you will have to reach an enclosed area to the left of the wall.
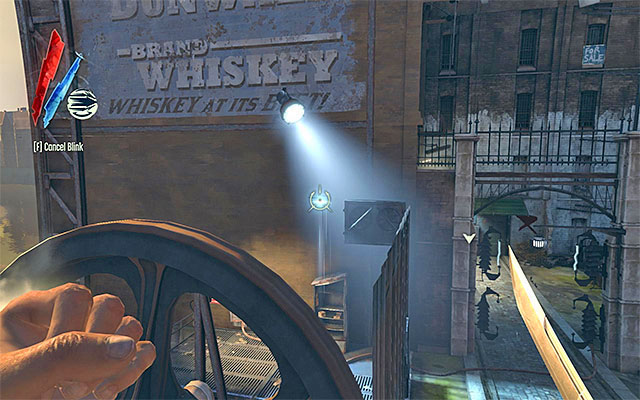
The objects controlling the wall of light may be reached in two ways. The easier solution assumes using Blink (teleport) to get over the fence to the left (the above screenshot).
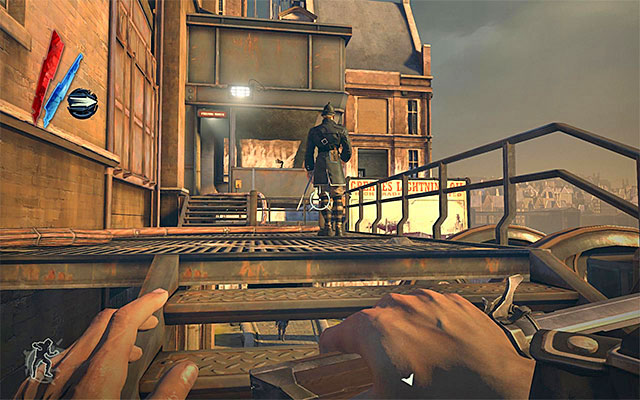
A less obvious variant assumes that you stop the running machinery that somewhat guards the entrance to the enclosed area. The problem may solve itself when you use the time stop power or reach the control room located on the catwalk above. It is worth mentioning here that the catwalk is patrolled by a single guard that you would have to eliminate or avoid at all times.
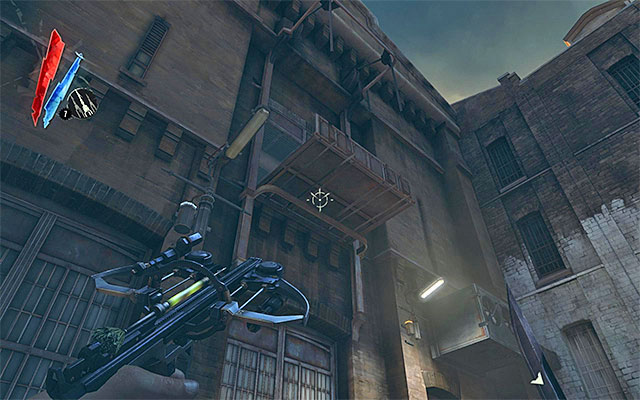
Regardless of the method adopted by you, you need to cut off the power source (whale oil tank) or rewire (the control panel) the wall of light. Before you go on, though, explore the entire area to find Piero's spiritual remedy and gold. You can also go to the water reservoir and kill river krusts to obtain their pearls. After you cross the wall of light, you should go and explore the warehouse to the left (the above screenshot). You can gain access to the warehouse by means of teleporting to the upper-floor balcony only.
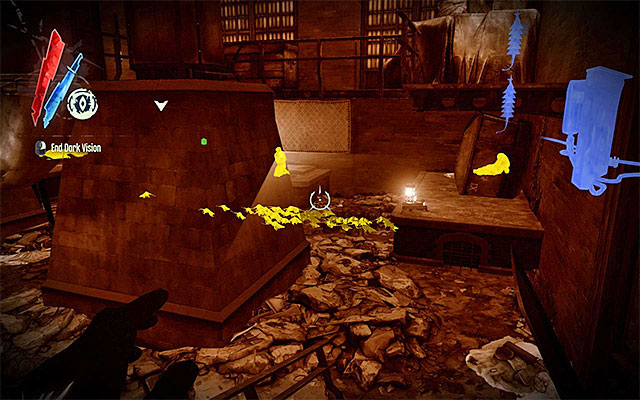
Start exploring the warehouse's upper floors to find gold, food, Sokolov's health elixir, Piero's spiritual remedy and three books. Go to the very bottom and turn your attention to the woman cornered by rats (the above screenshot). The easiest solution to the issue is throw down one of corpses, so that the rats develop interest in it.
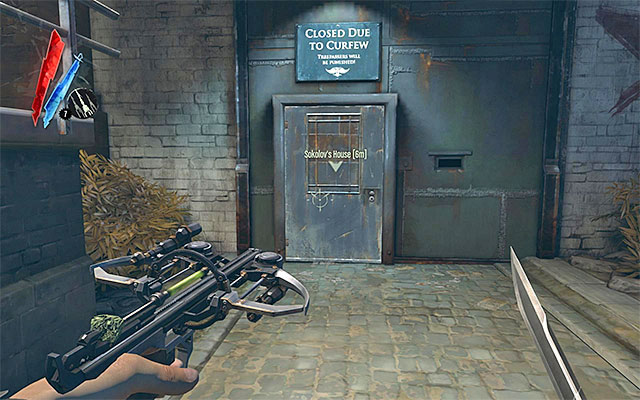
Approach the woman and convince her that she should escape. It's also a good idea to explore the remaining part of the warehouse's underground, to find gold, a book and a bone charm.You do not need to walk to the woman anymore, so you may now leave. Eventually, choose the passage to the [Northern Bridgeway]. Depending on your preference, you may now explore the new area (the Explore Sokolov's apartment subsection), or you can focus entirely on the main quest (the Gain access to Sokolov's apartment subsection).
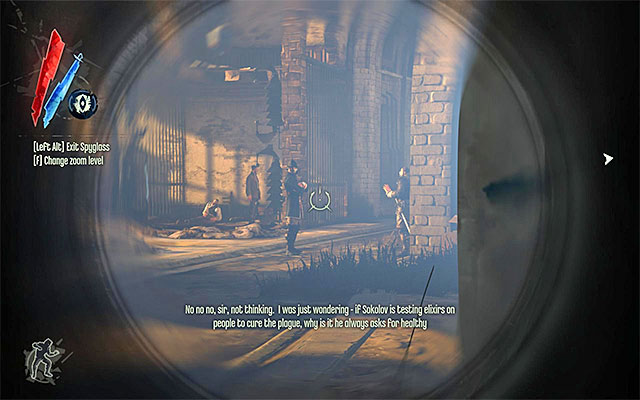
The district that Sokolov's apartment is located in is quite vast, but you'd better not neglect to explore it thoroughly, because you may find many valuable items here. To start with, a few words concerning the dangers here. The guards are concerned with patrolling the main road and guarding cages with civilians in them (the above screenshot). That is why you shouldn't leave unconscious guard at the main road if you intend to eliminate them. Soon enough (after you free the civilians) this might cause the bodies to be inadvertently discovered.
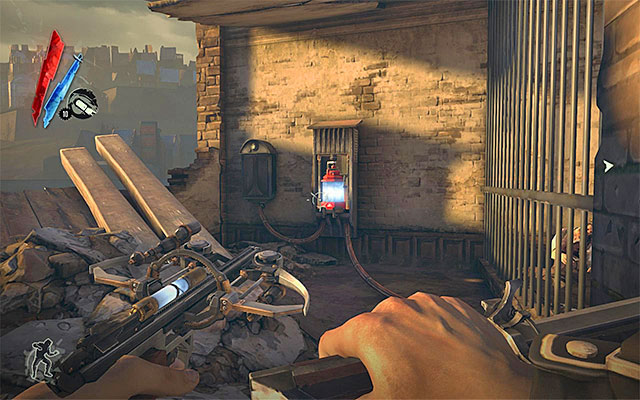
It's best to deal with the imprisoned civilians later on, after you get rid of all guards. Otherwise, this would unnecessarily lead to alarm being raised, and guards would also attack the escaping civilians. Disable the wall of light by removing the whale oil tank and listen to the conversation with one of the rescued civilians. You will learn about whereabouts of a nearby safe.
New optional quest: Open the safe hidden behind the painting
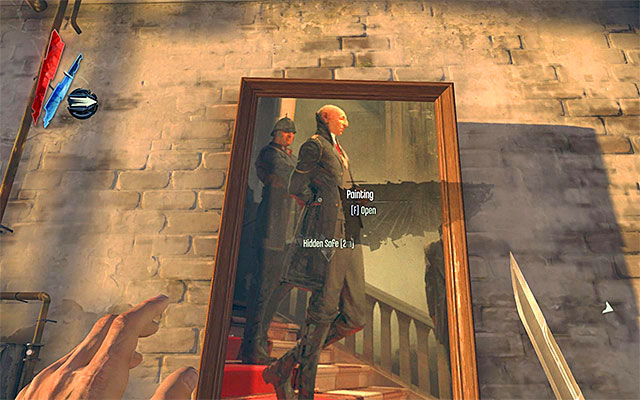
You now need to teleport to the highest located balcony of the destroyed building, at the foot of which the civilians were held. You will recognize the place by a big painting (the above screenshot) hanging here. Move the painting and enter the combination (294). In the safe there is gold and a note (Secret Stash Tip) containing information about the whereabouts of another stash.
Return downstairs and enter the building to the left of your starting point, i.e. the one that the rescued civilians returned to. On the ground floor there is gold and food. Next engage in the actions you learned about from the note that you found on the roof. Approach water tap (the above screenshot) and interact with it three times. This will result in a secret chamber being opened. Watch out though for the rats dashing from inside. After you eliminate or escape from them, you can explore the chamber itself. Inside there are gold and Piero's spiritual remedy.
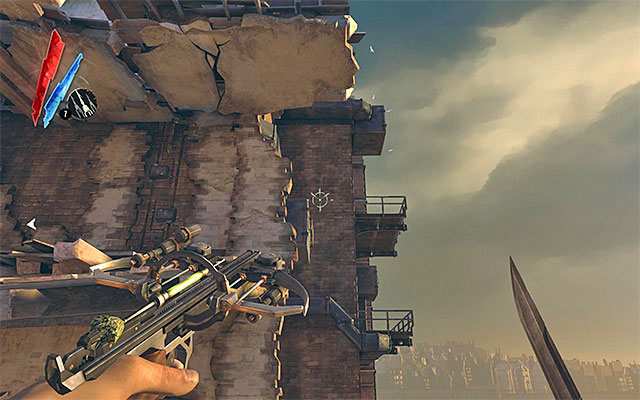
Unfortunately, you cannot use the stairs to reach the upper floors of the building with the liberated civilians in it, because it is blocked. Instead, you need to go back outside, go towards the river bank and reach the balconies outside, shown in the above screenshot, using teleportation and nearby runes. Resume the exploration of the building to find gold and a bone charm.
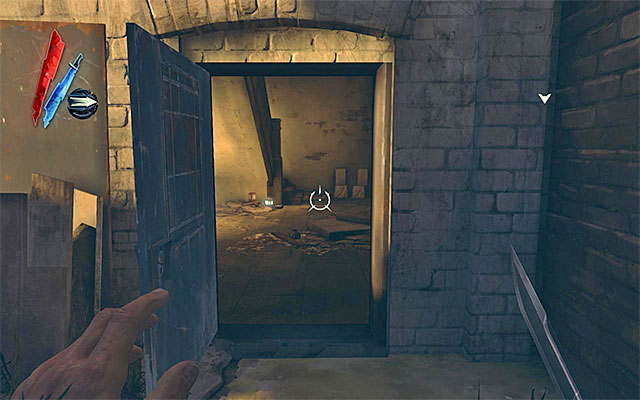
It is not the end of the exploration, yet. I recommend that you also explore the warehouse at the other side of the street from the building that civilians were kept in. It's best to take the door near the active spotlight to access it (the above screenshot), although you can also get inside from rooftops. Inside you can find gold, food and Piero's spiritual remedy.
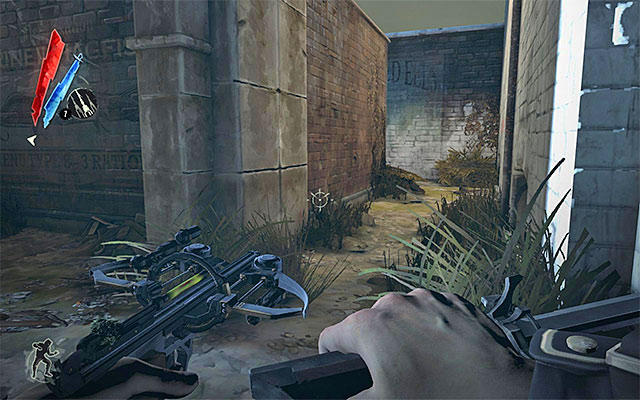
Sokolov's apartment is located at the other end on the district so, if you haven't eliminated the guards mentioned in the previous subsection, it would be a good idea to go around them now. It pays off, in such a situation, to turn right (the above screenshot), thanks to which it will be easier to avoid any contact.
![[Sokolovs House] can be accessed in three different ways - Gaining access to Sokolov's apartment - Mission 4 - The Royal Physician - Dishonored - Game Guide and Walkthrough](https://game.lhg100.com/Article/UploadFiles/201512/2015121517553981.jpg)
[Sokolov's House] can be accessed in three different ways. The first one assumes that you use the main entrance. Note that the area is patrolled by two guards so, if you do not intend to kill them, you need to teleport towards the door and enter the building before you are noticed. If you, however, don't mind using force (wait for them to scatter), explore the area for pistol ammo and a grenade.
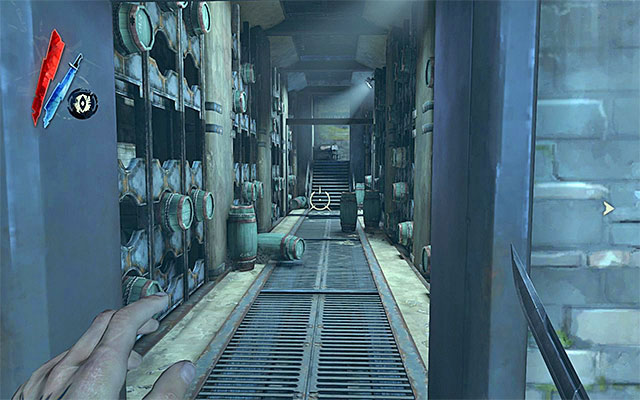
Variant two assumes that you gain access through the basement located underneath the mansion's main entrance. You can reach it by walking over pipes, or by swimming up to it. It is worth noting that the basement is not guarded at all.
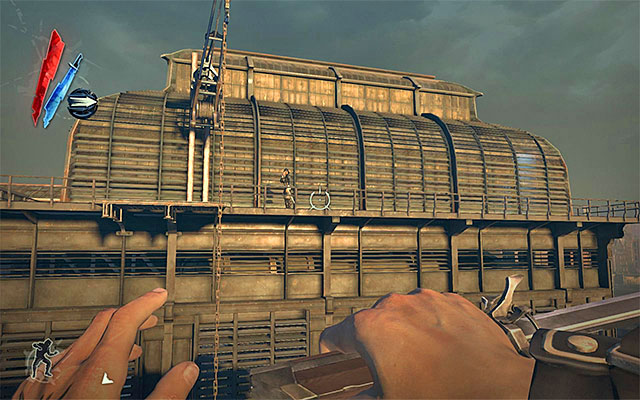
Variant three assumes that you reach the mansion's upper balconies and it's decidedly the best idea, if you want to finish this mission as quickly as possible, because Sokolov is staying in the greenhouse on the roof. If you haven't upgraded your Blink power to its maximum, and you cannot teleport over larger distances, you can try and jump over to the chain, or climb starting from the place, where the main entrance is located. Watch out a single guard patrolling the upper balconies.
Note - if you haven't managed to reach the balconies right away or, if you are planning on exploring the mansion thoroughly, skip to the subsection entitled Explore Sokolov's apartment.
New Main Quest: Find Sokolov
Sokolov's apartment is a quite atypical structure. The main problem about it, is that it is a vast, open area, thanks to which, enemies can easily observe your actions. You should especially watch out for the guards walking up and down the apartment - the one in front of the starting point (the above screenshot) and the one to the right, around the basement stairs. If you want to eliminate your enemies, be diligent in picking your targets and devote much time to concealing them.
On the ground floor of Sokolov's apartment there is a Sokolov's note to Howlcreek that you will learn from that Sokolov's staying at the greenhouse at the moment. You can also find here a rewire tool and Sokolov's painting (the above screenshot), but steal the pieces of art only after you have secured the area. At the same time, mind the wall of light and do not try to cross it when it's active.
After you explore the ground floor, you need to get to the second one. Note that some corridors on the first floor are protected by walls of light (the above screenshot), so don't be too fast. On the first floor, you need to watch out for new guardians and two chambermaids, who you can also be noticed by.
There is a variety of approaches to going around the abovementioned walls of light, like walking over pipes, or using Blink (teleportation) to reach the rooms on the floor, or even their upper parts. It's best to shut down the walls of light , so that you don't die accidentally, as a result of coming into contact with them.
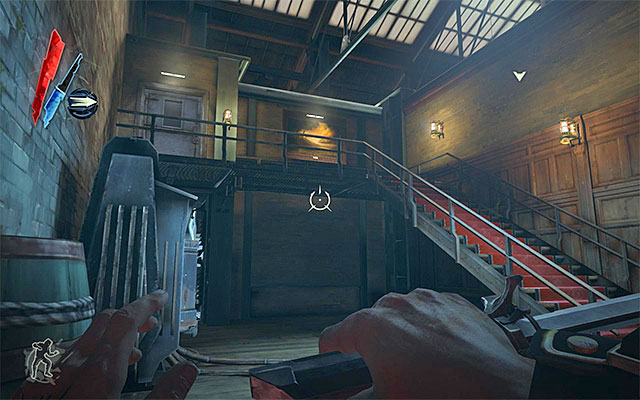
I recommend that you explore both of the first floor rooms, because you can find there gold, food and Sokolov's health elixir. After you have sufficiently explored the area, find the stairs shown in the above screenshot (they are near both walls of light) that lead up to the second floor.
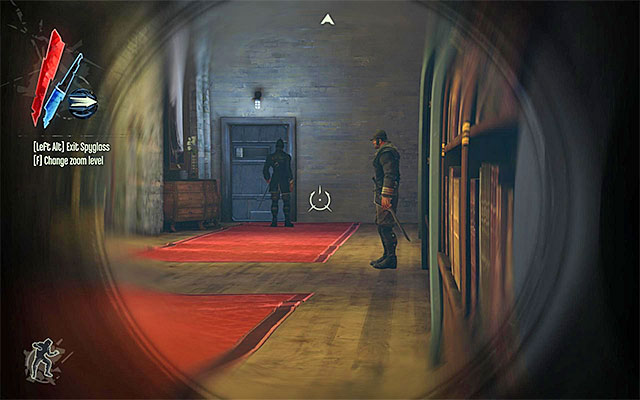
Watch out for two new guards on the second floor (the above screenshot). It would be best to neutralize them of course, but you can also go past them unnoticed by going left and crossing the well lit area with a large amount of pipes in it. Use the door to Sokolov's private chambers, and find gold, four books, bolts, sleeping bolts and a Piero's spiritual remedy. Eventually, take the stairs to the roof.
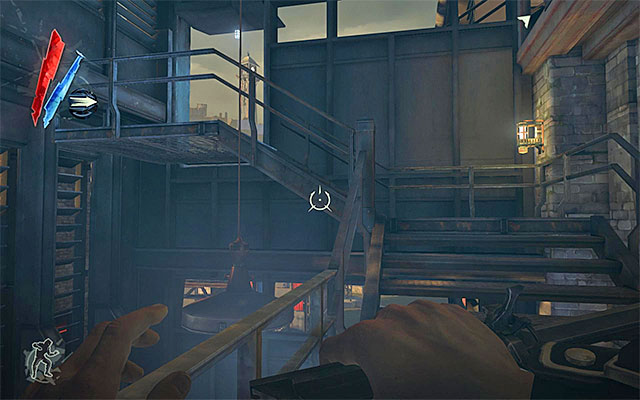
As I have already mentioned, Sokolov is staying in the greenhouse on his mansion's roof. If you have chosen to get here through Sokolov's building, you need to get to the second floor and find stairs to the roof (the above screenshot).
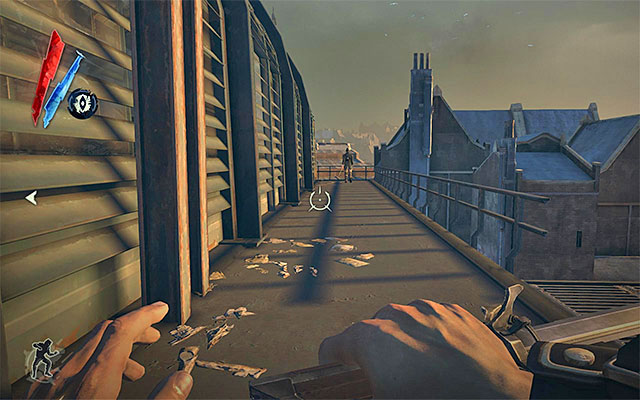
If you have got here without exploring the building, you just need to get to the upper balconies patrolled by a single guard (the above screenshot).
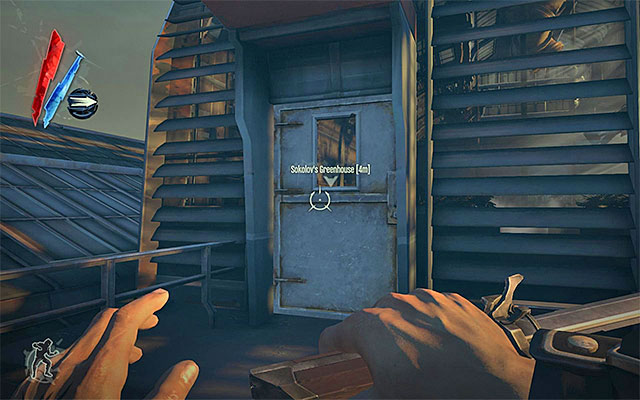
Regardless of how you got here, you need to take the door to Sokolov's Greenhouse (the above screenshot).
New Main Quest: Render Sokolov unconscious
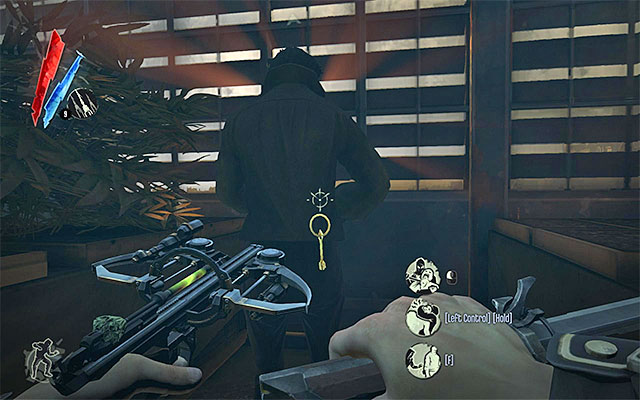
Remember that Sokolov cannot die or you will fail the entire mission. It's best to wait until he stops somewhere for a longer period of time, sneak from behind, and choke him. If you are noticed, use sleeping bolts and don't let Sokolov escape.
New Main Quest: Carry Sokolov to Samuel the Boatman, under the bridge near Sokolov's home
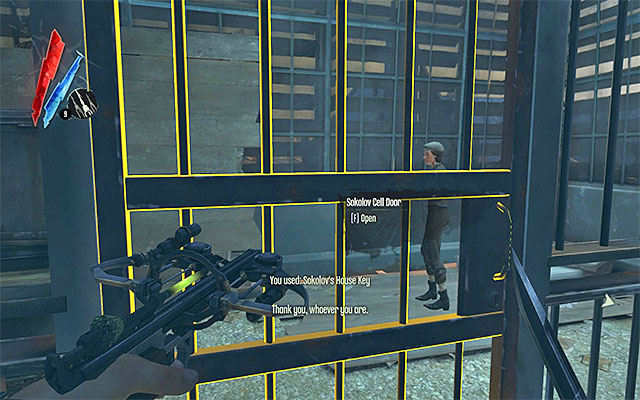
Before you carry away the unconscious Sokolov, it would be a good idea to perform a few additional actions. Collect the Sokolov's house key and use it to free the captive woman. Explore the greenhouse in search of Lieutenant Niles' Report, Sokolov's health elixir (another ones can be produced), an Audiograph and a rune. It's also a good idea to return to Sokolov's private quarters on the lower floor, and use the key to open one of the cupboards in order to find as many as three bars.
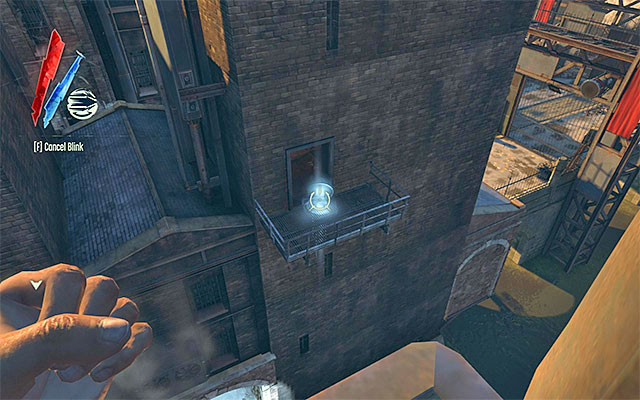
Return to Sokolov and lift his body. The easiest method to leave the mansion is by teleporting from one of the balconies (the above screenshot).
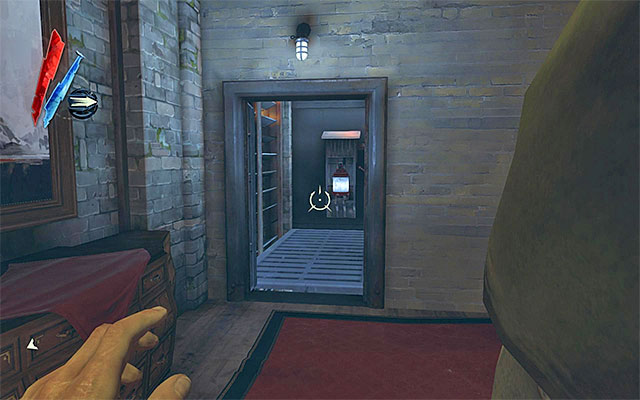
If your Blink is not developed enough, I recommend that you carry Sokolov down to the second floor. Turn left in order to reach the lift shown in the above screenshot. It's inactive by default so you need to bring here a whale oil tank and place it in the slot. After you restore the lift to full operation, use it to return to the ground floor and, more precisely, into the vicinity of the main entrance to the mansion.
New Main Quest: Travel with Samuel and Sokolov back to the Hound Pits Pub
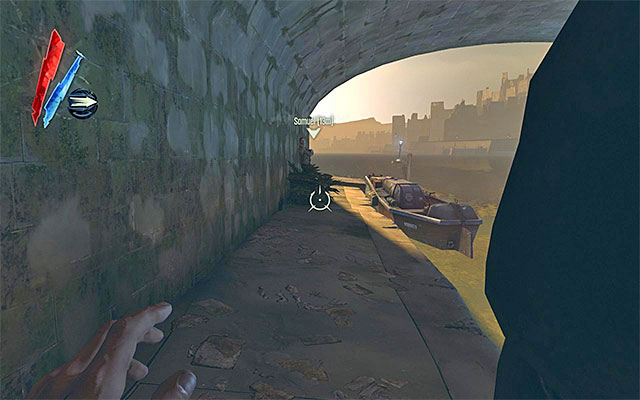
The only thing left here to do, is return to the rendezvous point, but be careful because there are new guards around. You do not need to use the main streets, especially that Samuel is waiting for you at the river bank underneath the bridge (the above screenshot). During the conversation with him confirm that you want to leave this location.
New Main Quest: Get some rest while Sokolov is unconscious
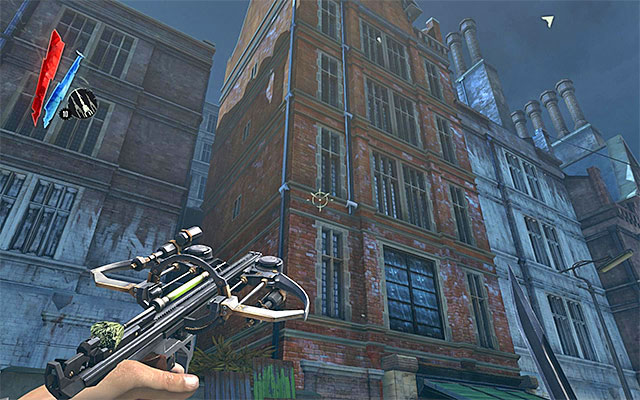
After you return to the pub, listen to the conversation with admiral Havelock, who will congratulate you on your success. Just like in the case of your previous visits to the place, I recommend that you explore the area to find new items like gold, books, audiographs etc. You should also pay Piero a visit in his workshop. Talk to Cecely, who should inform you that you may use the abandoned apartment. The abandoned apartment key may be found underneath the bed in room 203. The building that can be opened with the key may be recognized by unpainted walls (the above screenshot). Inside, there is a bone charm. After you have dealt with all business, return to Corvo's chambers located on pub's top floor and interact with the bed.
New Main Quest: Interrogate Sokolov
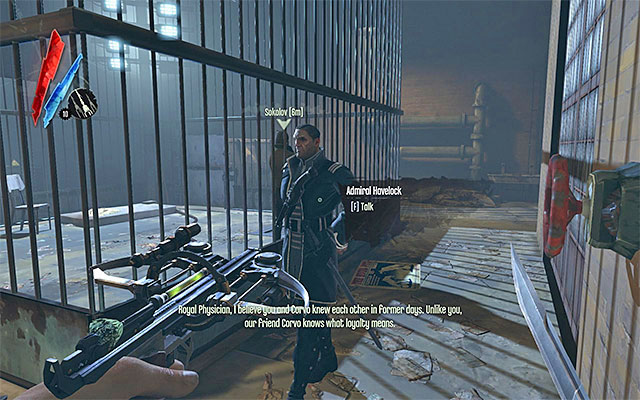
How you react to Emily waking you up, is of no significance whatsoever. Exit the pub and walk into the building that has been inaccessible so far, in which Sokolov is being interrogated. After you reach there, listen to Sokolov's conversation with Admiral Havelock. Seize the opportunity and explore the entire warehouse to find gold, two books and Sokolov's health elixir.
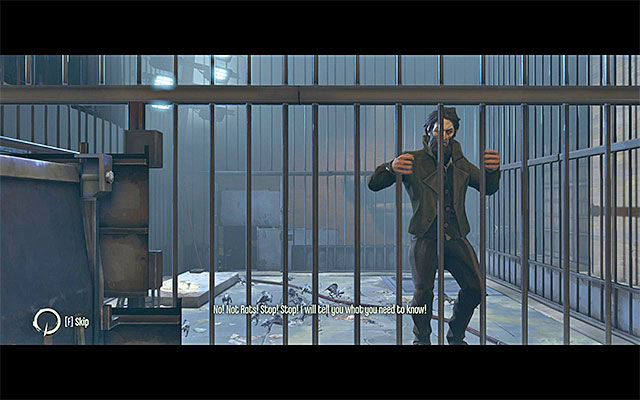
Initiate your conversation with Sokolov and notice that the game will allow you to choose the way in which you want convince the captive physician to tell the truth. A more aggressive variant consists in threatening Sokolov with setting rats on him (the upper-right dialogue option).
New Optional Quest: Talk to Piero and buy a bribe
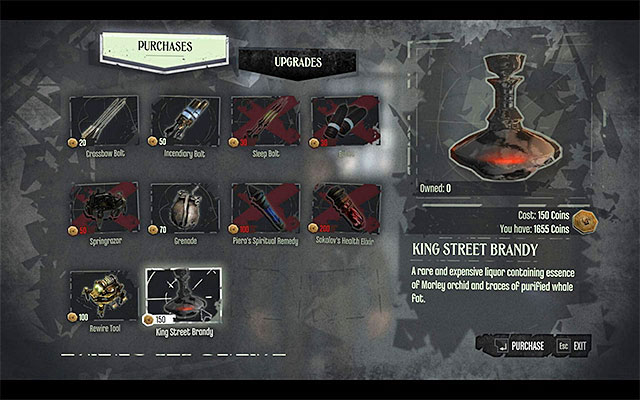
A less aggressive variant assumes that you bribe Sokolov (right-middle dialogue option). If that's the variant you chose, you need to find Piero that should be now occupying on of the higher floors of the pub. During conversation with Piero, you will learn that he is in the possession of unique brandy King Street, But he will refuse to part with it for free. As a result, you need to purchase it from him for 150 pieces of gold.
Return to Sokolov with the brandy and give it to him, thanks to which you will convince him that he should share his information. Regardless of the variant you choose, you will learn about the existence of some Lady Boyle and the necessity to go to a masked ball held in the Boyle Estate.
New Main Quest: Ride with Samuel to the Boyle Estate
New Optional Quest: Deliver a note to Lord Shaw: He's in a wolf-mask at the Boyle party
As you leave the warehouse, you should be accosted by Lord Traevor Pendleton and he will ask you to perform a quest for him, connected with delivering a note to Lord Shaw, who has been invited to the ball.
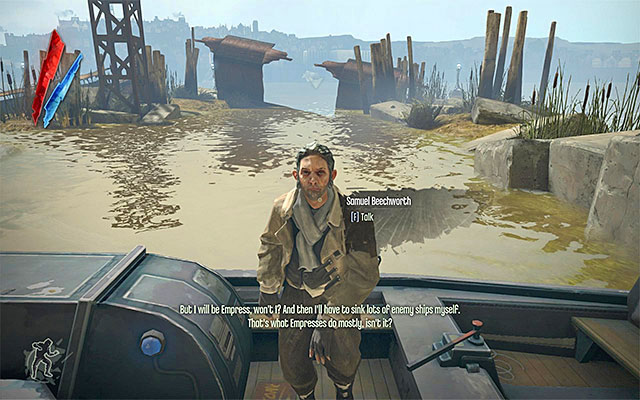
Traditionally now, meet Samuel the Boatman, and to confirm that you want to leave this location (the upper-right dialogue option), to finish your visit in the pub and finish this quest.
This mission takes place in the [Estate District] location. It's definitely the hardest to play through its initial part, but right after you gain access to the Boyle Estate, you will be able to act undercover and not worry about being exposed and attacked.
Below, you can find a list of all of the sub-points to this guide, connected with the described mission. If you want to explore the area thoroughly, follow all of my instructions from end to end. If you prefer to concentrate on the main mission instead, turn your attention only to the pages with the note (compulsory) attached.
Steps to take:
New Main Quest: Find a way inside the Boyle estate
New Optional Quest: Deliver a note to Lord Shaw: He's in a wolf-mask at the Boyle party
Right before you begin the mission proper, you will have the opportunity to learn a new obstacle, i.e. the tall boy. These are that move around on long, mechanical stilts and equipped with good, long-range weaponry. The most important piece of information is that you cannot eliminate them in a quiet way, so avoiding them is the best thing you can do about them. Note that their seeing range is much larger, but they, fortunately, follow predetermined paths, and a moment's observation is everything it takes to determine when it's safe to make another move.
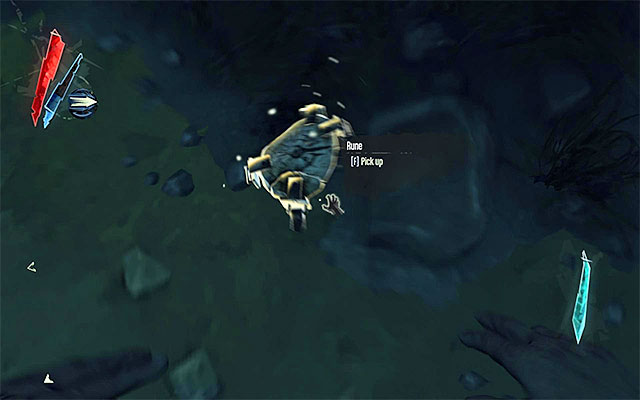
I recommend that you start in a non-typical way, which is by exploring the river. You should, of course, watch out for piranhas that you should be escaping from by teleporting, with time hold. You may also eliminate them with your crossbow while standing on the bank, which makes things safer. The purpose of the actions described here, is to find a rune at the bottom of the river (the above screenshot).
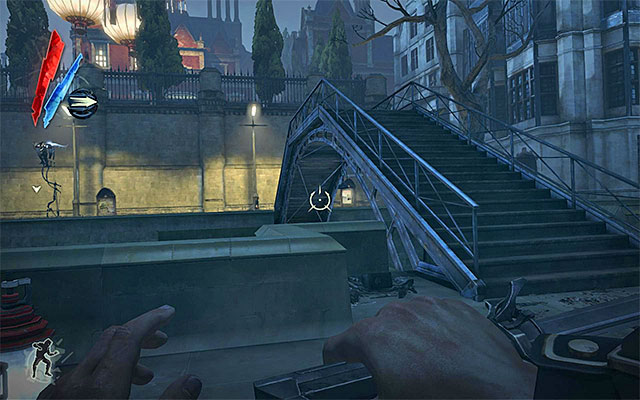
Return to your starting point and start the exploration of the actual area of the Estate district. Take a look into the two caretaker's lodges, in which there are ammo and two Sokolov's health elixirs. In the area where there are a guard and a civilian (both of them need to neutralized if you want to explore the area more thoroughly) there are gold and a rewire tool.
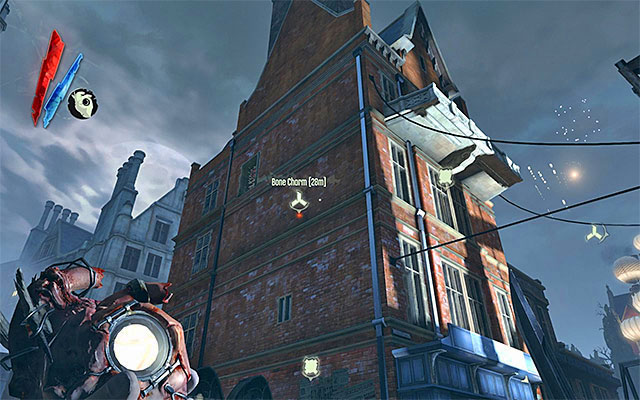
The most important part in the location is the building shown in the above screenshot. You can get inside in two different ways, namely enter through the main entrance on the ground floor or Blink (teleport) to the rooftops, and enter through one of the windows on the higher floors.
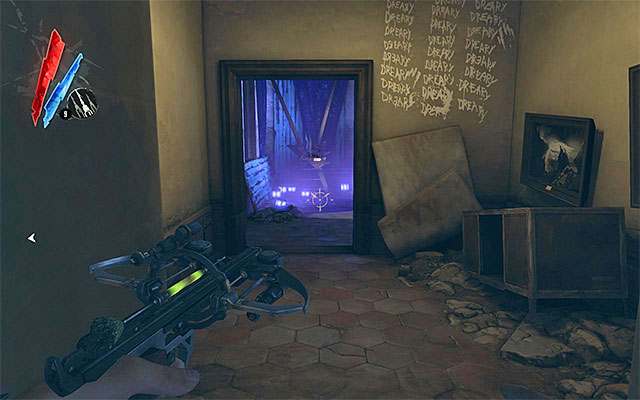
Since the building is occupied by weepers, you need to watch your steps. Depending on your approach, you can either kill them, render them unconscious (e.g. with sleeping bolts) or go around them. In the case of the last one, I recommend that you rely on teleportation, possession or time hold You definitely need to explore the top floor room (the above screenshot) that is occupied by three weepers. You can find here gold, two Piero's spiritual remedies, a book, a bone charm and a rune.
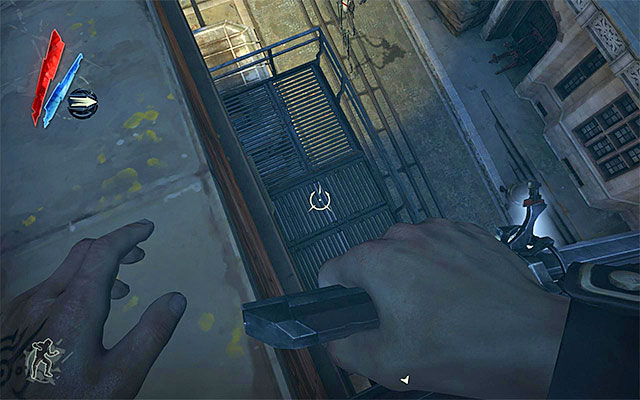
This is not the end yet, because you can reach the remaining rooms of the main building over the rooftops and by jumping down onto the external balcony shown in the above screenshot. In there, there are gold and a book.

It is compulsory to reach the other bank of the river, because this is where the Boyle Estate is located. The most obvious variant is to take the metal bridge located near the starting point (the above screenshot)
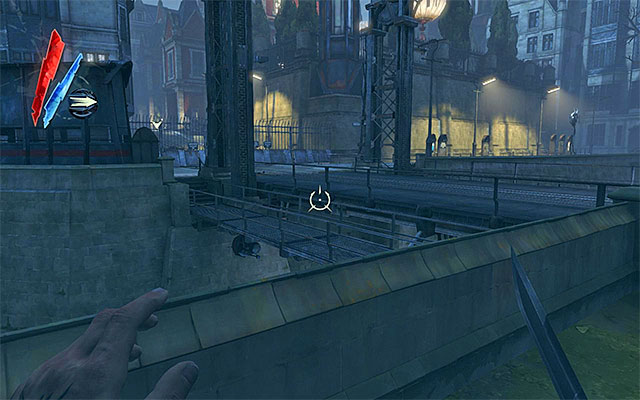
Another interesting solution assumes that you reach a bigger bridge. It is located further away from the Estate, and you would have to avoid the guards described in the previous subsection.
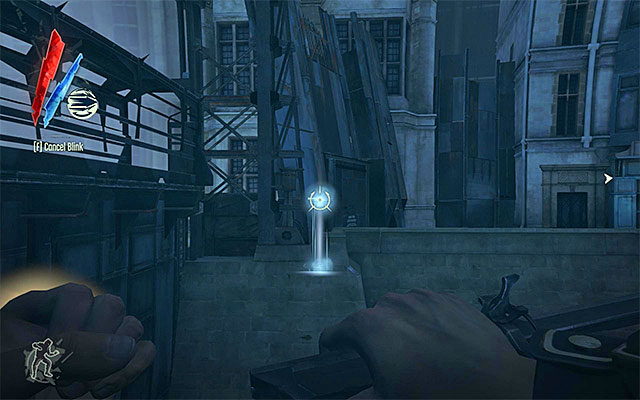
The least obvious variant is to use Blink (teleport) in the area in which both banks are the closest to each other, i.e. to the left of the big bridge (the above screenshot). It's is the best path to follow if you do not intend to attack anyone.
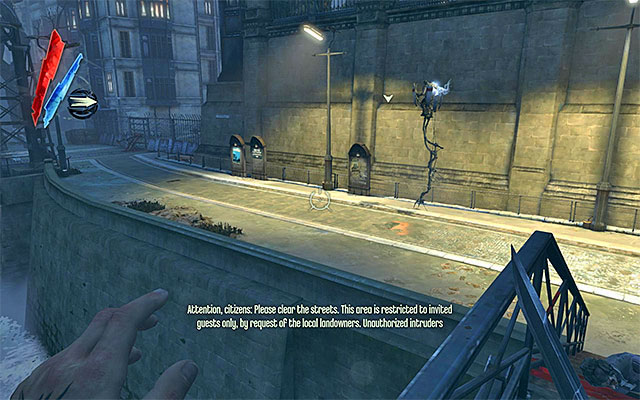
Regardless of how you cross the river, turn your attention now to the tall boy patrolling the street neighboring with the Boyle Estate. Furthermore, the area is guarded by a single guard and, if you are going to eliminate him, you should conceal his body as quickly as possible to prevent it from being seen by the enemy on stilts.
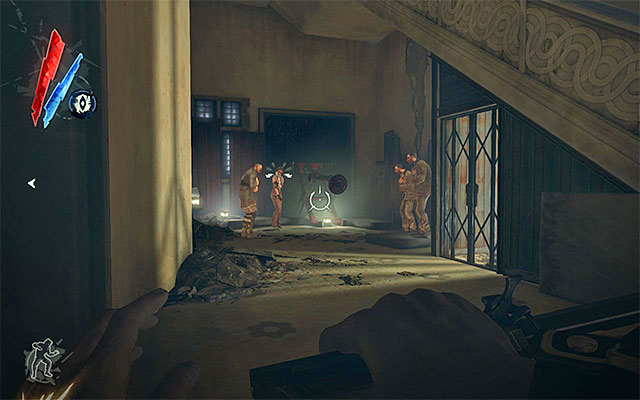
Before you decide on how you want to infiltrate the Boyle Estate, I recommend that you explore the building on the right (the above screenshot). Also this one is occupied by weepers . The largest group of these is staying on the ground floor (the above screenshot), and I would strongly recommend that you take all precautions in order to avoid them safely.
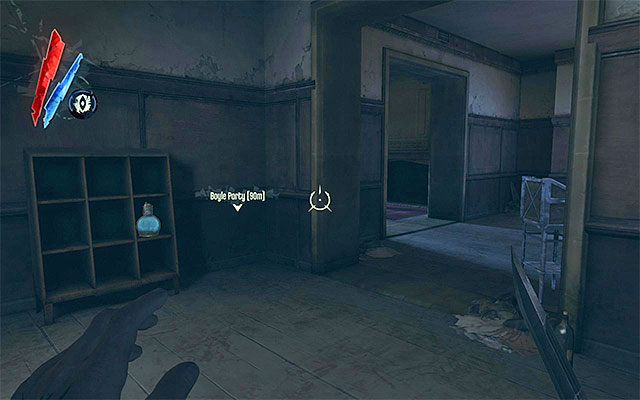
Explore the ground floor for gold, and go upstairs. In the room on the top floor there are gold, Sokolov's health elixir and a bone charm. It's worth adding that you can reach the room from the outside as well. You do it by using Blinking (teleportation) from one ledge to another. In this case you need to watch out for a group of rats that may attack you out of a sudden.
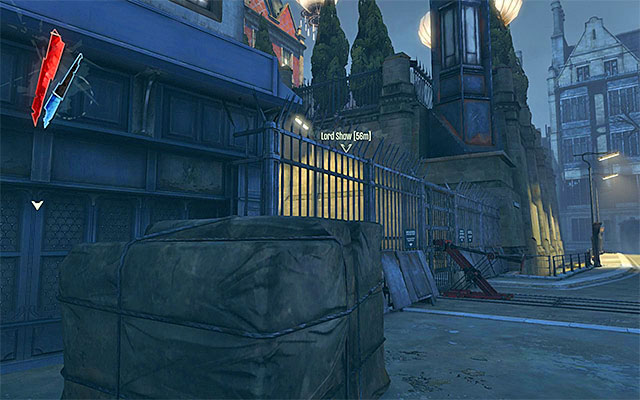
You can, of course, infiltrate the Boyle Estate in many different ways, and these can be categorized into three main acting methods. Method one is concerned with taking the main entrance for the guests. The entrance is located at the main bridge (the one further away from the starting point) and you can reach there in two ways. Variant one is an uncomplicated climbing (the above screenshot).
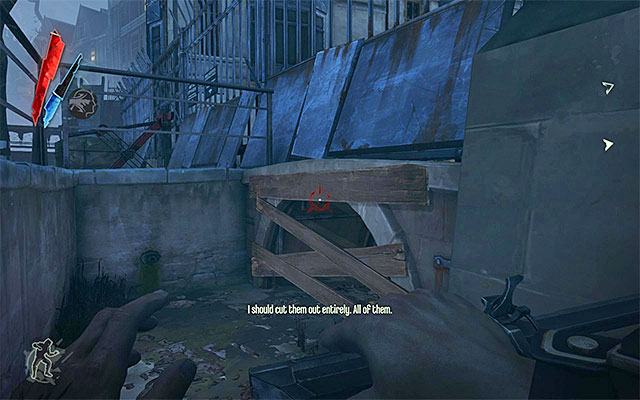
Variant two is jumping into a small hole and possessing a rat or destroying the wooden planks shown in the above screenshot. In both cases you need, of course, to make sure that you are not seen by the guards, and especially by the tall boy.
New Optional Quest: Use the party invitation to bypass the doorman
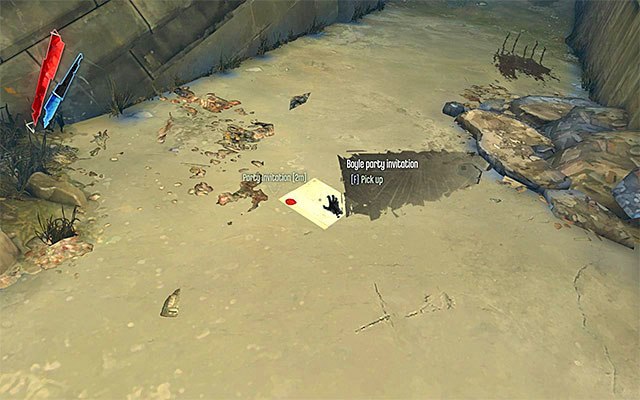
Approach the guest entrance and devote a moment to eavesdrop on the conversations people are having. As you will quickly find out, you need a Boyle party invitation. What is interesting, If you carefully explored the art dealer's apartment in mission 3, you might have found one of these in his safe. If you did not, take a look around the area to find one that has been lost by one of the guests (the above screenshot).
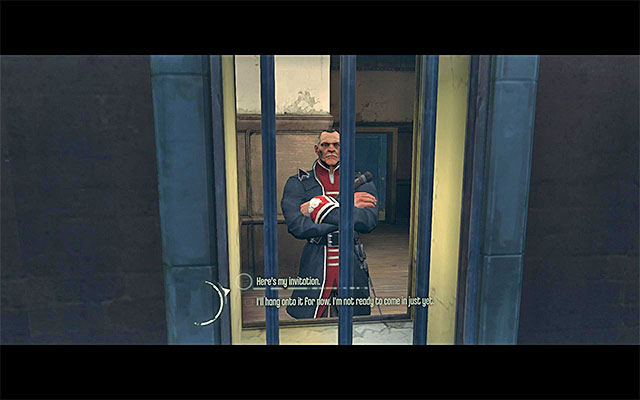
Equipped with the invitation (found in the Estate area, or obtained from the art dealer's apartment) approach the booth with the buttler in it. After you show him the document (the upper-right dialogue option - the above screenshot), go towards the Estate's main entrance.
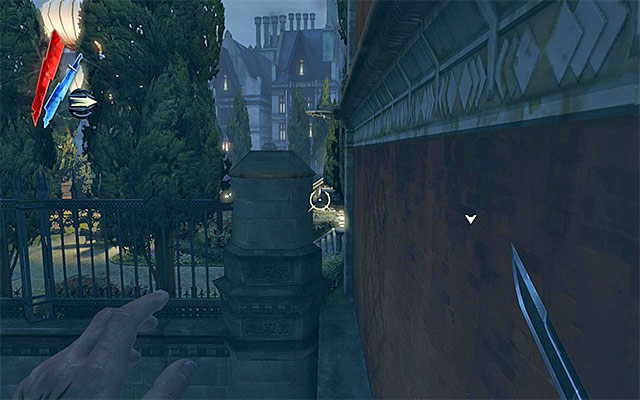
Another way to reach the main area of this quest, is connected with exploration of the alley to the right of the Boyle Estate. The plan is that you get over the fence in the spot shown in the above screenshot. To do this, you of course need to have Blink (teleportation) at your disposal.
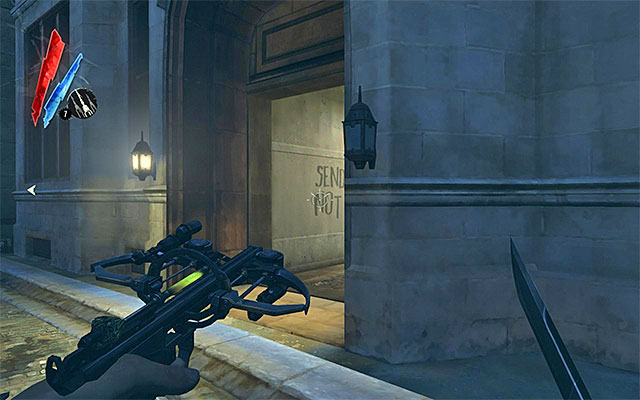
The last, third way is entering the area from the side of the guard quarters. Also in this case, you need to go to the alley to the right of the Estate, but I suggest that you first go through the building described in one of the previous subsections (the above screenshot). You, of course need to watch out for weepers on your way.
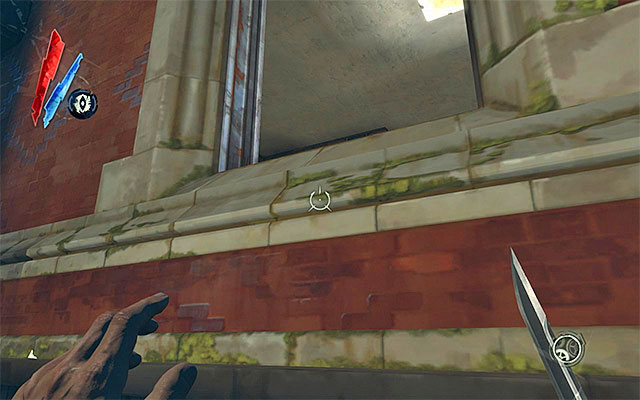
Reach the upper room in the building and go out to the balcony. From here you can teleport into two different places. The first one is a nearby window (the above screenshot). After you enter the room, you'll have to collect the guard quarters key and use it to unlock the passage.
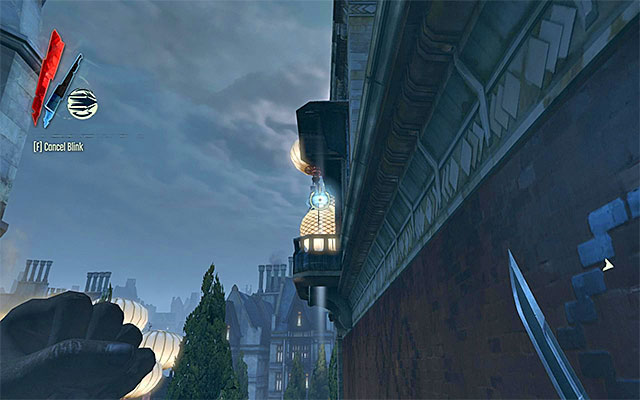
The other one of the possible places, you can teleport from the balcony to, is the highest located balcony of the guard quarters. Going for this variant will make it unnecessary to search around for the key, but getting downstairs safely may turn out to be more troublesome.
New Main Quest: Identify which costume your target is wearing
Note- the [Boyle Estate] is a place where all of the characters are neutral towards you. That is why, I recommend that you keep your weaponry sheathed/holstered (pressing and holding down the "F" key). Try and do not rob people that are within the sight of the other people, or else you may start an alarm after several attempts. You can eliminate the problem by waiting for an individual NPC go to an area that is not being watched, or by using a power (Possession of time hold etc.). It's worth noting here that the abovementioned restriction does not hold for items that you can find in the building. In this case you do not need to worry about negative reactions from guests and hosts alike.
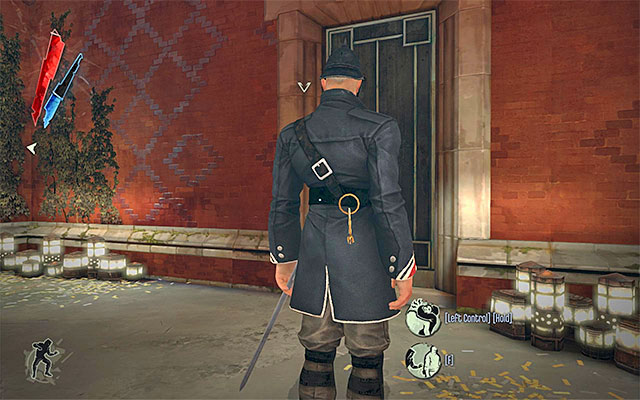
I recommend that you start by examining the enemy's outpost located near the main entrance to the Estate (the guest entrance). The location is locked off by default, but the guards watching over it, have gate house keys on them so you can steal it from one of them.
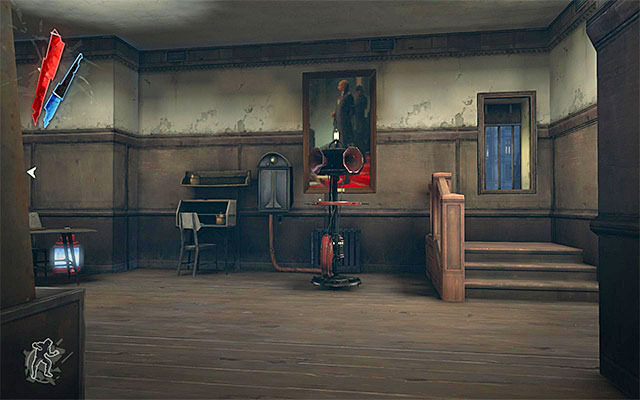
After you unlock access to the outpost, try and eliminate the guards inside quietly without raising alarm and letting the guests realize what is going on. After you do that, explore the entire room to find gold, food, Sokolov's health elixir, a book and a blueprint.
New Optional Quest: Follow Lord Shaw
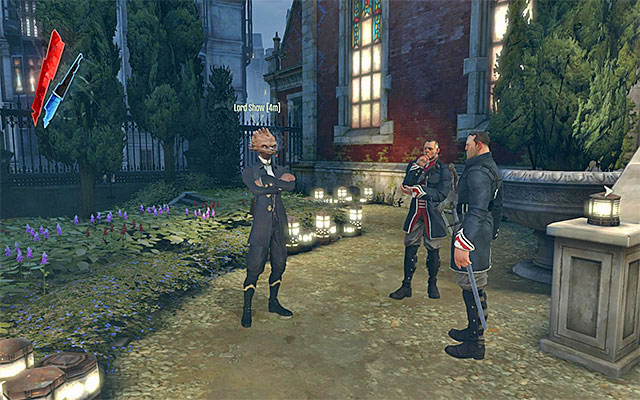
In the Estates garden, you will find Lord Shaw, i.e. the person you were asked to meet by Lord Pendelton on your last visit to the pub. It is of course worthwhile to initiate a conversation with him in order to give him the note. The aristocrat will ask you to follow him into another place.
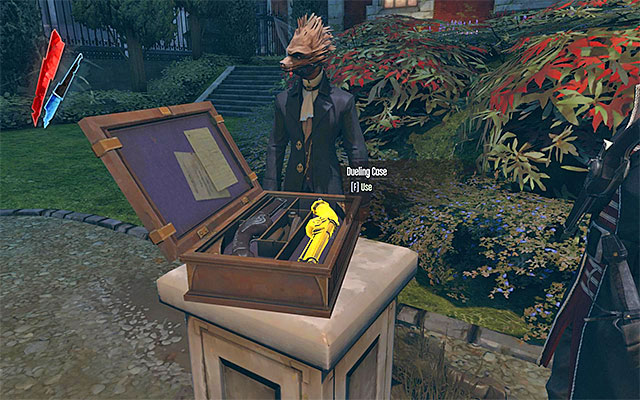
After you reach another part of the garden, it will turn out that you will have to fight a duel of honor on Lord Pendelton's behalf. Approach the box and collect one of the pistols. Note - If you do not want your statistics at the end of the mission to go worse, you need to ignore the duel, because the only way to win it is by shooting Shaw.
New Optional Quest: Return to the Hound Pits Pub
Position yourself back to back with Shaw on the plate, and wait for one of the gathered NPC to start the countdown. As soon as you hear "one", you need to turn around as quickly as you can and shoot Shaw. What is interesting, you can use the slow time/hold time power right before you turn around, which will make the duel easier for you to fight. After you shoot Shaw, run through his pockets to find gold.
Resume the exploration of the area adjacent to the Boyle Estate. I recommend that you explore the guard quarters (i.e. the building that you might have started your exploration of this area. Inside, there are gold, food, a guard quarters key, pistol ammo and a rewire tool.
There are three different ways in which you can access the Boyle Estate building. The most obvious one is through the main door.
You can also use the ballroom door. You will not profit from this, however, because you can move freely around the Estate's ground floor.
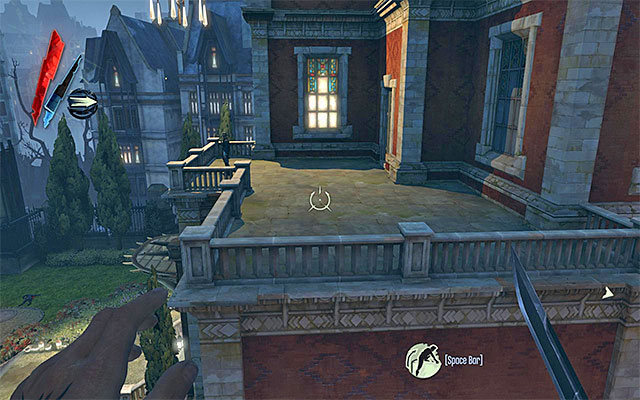
The least obvious variant is to reach the bedroom door on the upper balcony. To do that, you need to access the upper level of the guards quarters and teleport over to the balcony (the above screenshot), and go around or eliminate the guard there by killing or choking him.
Note - if you just want to focus on finding the right Boyle Lady, skip to the subsection entitled Identify your target. Otherwise, I recommend that you take a look at the optional subsections entitled Explore the basement and the ground floor of the Estate and Explore the Boyle Estate's first floor,
New Optional Quest: Gather information by talking with guests
New Optional Quest: Sneak upstairs and search the three bedrooms for clues
Note- the [Boyle Estate] is a place where all of the characters are neutral towards you. That is why I recommend that you keep your weaponry sheathed/holstered (pressing and holding down the "F" key). Try and do not rob people that are within the sight of the other people, or else you may start an alarm after several attempts. You can eliminate the problem by waiting for an individual NPC go to an area that is not being watched, or by using a power (Possession of time hold etc.). It's worth noting here that the abovementioned restriction does not hold for items that you can find in the building. In this case you do not need to worry about negative reactions from guests and hosts alike.
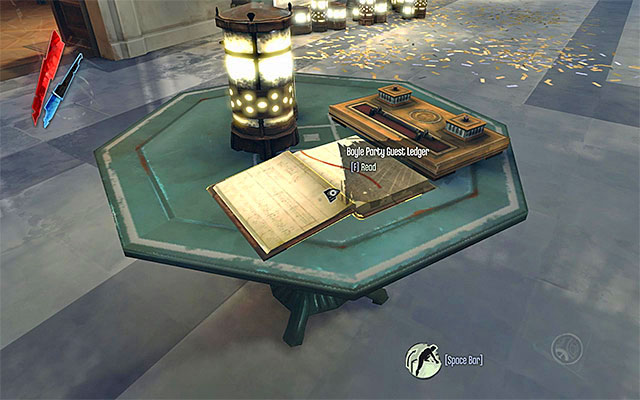
It is best to start the exploration of the Boyle Estate from the foyer (main entrance). You can here have a look at the Boyle Party Guest Ledger, and even add your name to it, although this will give you nothing. It is a good idea to deal with the newly-unlocked optional quest and start a conversation with a nearby group of guests. In the latter case, it's worth knowing that it does not have to be anyone in particular. You can even talk to an anonymous NPC without any specific name.
From the guests, as well as from your own observation, you will learn that in the Estate there are three ladies of the name of Boyle - wearing white, red and black clothes. Nobody knows which one is whoch and we will later on deal with determining their personals. Meanwhile, you can of course talk to each one of the three ladies, but it's optional. Continue your exploration of the ground floor and remember about the possibility of collecting valuables, gold, food and books. The same freedom of action does not concern the abovementioned gold pouches. If you are caught red-handed once too many, you will have to deal with guards.
New Optional Quest: Get Miss White a drink
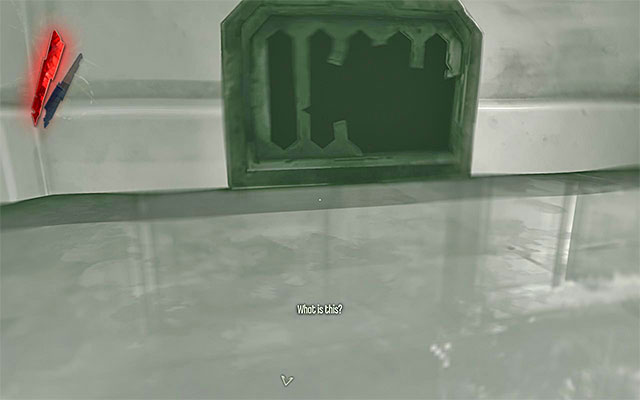
It's a good idea to eavesdrop on the conversation Miss White with Ramsey are having. Soon after the conversation ends, you should receive a quest connected with the lady. Go to the ballroom and prepare a drink by interacting with the fountain (the above screenshot). Return to miss White with the drink, and you will learn that Waverly Boyle ma is wearing white clothes, and Lydia Boyle - red ones.
After you have sufficiently explored the ground floor, find the staircase for servants that is located near the ballroom. Use the stairs to reach the kitchen area in the basement. Look around the place for gold, food, a book, Sokolov's health elixir and a Piero's spiritual remedy. It's worth adding that, although it's only service that's remaining in the kitchen area, you won't be chased away by anybody.
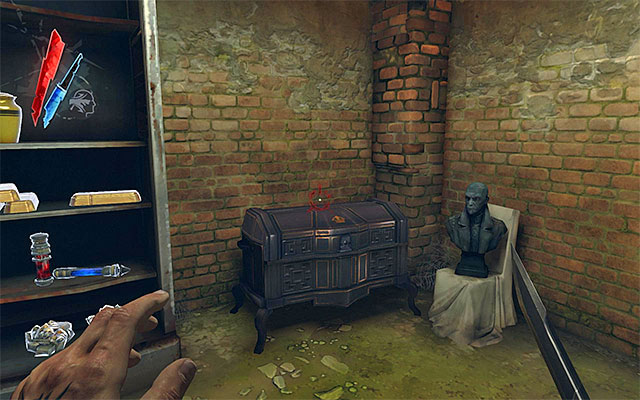
In the basement proper, you can only find gold and Sokolov's health elixir, but watch out for rats that may attack you out of a sudden. The most important place in the basement is the family vault, and you can access it in two ways. It's way easier to pass through the ventilation shaft as a rat, but you can also steal the basement vault key if your Possession power is not developed. The key can be stolen from Lydia Boyle's bedroom on the first floor. Inside the vault there is a considerable loot, like gold (including as many as five bars!), Sokolov's health elixir, Piero's spiritual remedy and a rune.
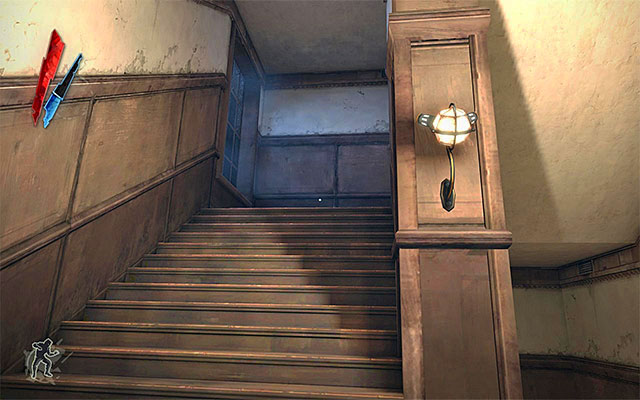
As I have already mentioned, the first floor is inaccessible to the guests. It is going to be much easier to overcome the obstacle if you have taken the door on the patio outside - the ones that were guarded by a single guard- because this will get you in one of the three bedrooms on the first floor. Otherwise, you will have to go creative. The easiest method is to choose the staircase for the servants that's adjacent to the ballroom (i.e. the one that you might have already used to get down to the basement). The staircase is guarded by a single guard, but if you wait, he will walk away, and you can go upstairs. To reach one of the bedrooms.

Another option is possessing a rat or a human. In the case of a rat, you would have to find a ventilation shaft that leads up to the floor (the above screenshot). As far as a human is concerned, you would have to cross the wall of light in the foyer, after possessing them, and take the stairs.
The last method consists in disabling the wall of light, which is, unfortunately, quite complicated. The power supply for the wall of light is located to the right of it, and the door to it is locked by default. As a result, you would have to steal the whale oil closet key from one of the guards in the foyer. After you obtain the key, unlock the access to the side room and rewire the wall of light, or disable it by removing the whale oil tank.
The Estate's first floor is patrolled by several guards, so you need to be extremely careful. If you plan on eliminating the guards, make sure that you carry away the bodies into secluded areas out of anybody's sight. I do not recommend stashing them in the toilet on the floor, because the guards like to visit it frequently. To stash the bodies, it is better to use bedrooms. I recommend that you seize the opportunity to loot the bodies, because one of them has the Waverly's bedroom key on him.
Regardless of whether you eliminated the guards or not, start exploring the rooms on the floor. In the abovementioned toilet there is gold. In the central room with the cabinets apart from valuables, you can find Sokolov's painting (the above screenshot). The last one of the less important rooms is the library. In here, you can find two books.
Lydia Boyle's bedroom (the above screenshot) is located above the foyer. In here you can find gold (you definitely need to collect pearls from both chests!), basement vault key and Lydia Boyle's Diary.

Waverly Boyle's bedroom is locked by default and you can access it through the attic (this was described further in the text) or by acquiring Waverly's bedroom key from one of the nearby guards. Inside the bedroom, there are gold, food, a copy of Waverly's bedroom key and Waverly Boyle's Diary.
Esma Boyle's bedroom is the one that you can access from the balcony outside and from the service staircase. You can find here gold, food, Sokolov's painting, Dunwall Tower skeleton key, Piero's spiritual remedy, Esma Boyle's Diary and Note to Esma Boyle, whose reading is a way of identifying your target (more about it in the subsection entitled Identify your target).
To wind up, it is worth mentioning the attic between Waverly's and Esma Boyle's bedrooms. In both of them there is a red rope (the above screenshot), whose pulling unlocks the access to the attic. It's worth going there, because you will find a lot of valuables in there.
As you can remember, there are three ladies in the estate marked as miss Boyle. Your aim is to establish the identity of each one of them, and single out the one that is connected with Lord Regent. This can be done in either of two ways described below.
New Optional Quest: Get Miss White a drink
Variant 1) Safer and more time consuming, but, at the same time, assumes remaining on the ground floor. There are two things to do here, and the first one of them was described in the subsection entitled Explore the basement and the ground floor of the Estate. You need to keep initiating conversation with miss White until you receive a side quest connected with bringing the lady a drink. To do that, go to the ballroom and prepare the drink by interacting with the fountain (the above screenshot). Return to miss White with the drink to learn that Waverly Boyle is wearing a white costume, and Lydia Boyle is wearing red.
New optional quest: Talk to Lord Brisby
New optional quest: Knock out Esma Boyle and deliver her alive to the basement
Remain on the ground floor and find Lord Brisby, that will ask you to listen to him (the above screenshot). After you initiate conversation with Lord Brisby again, he will reveal to you that the person you are after is Esma Boyle. At the same time, he will ask you not to kill her (more about it in the subsection entitled Choose your way of eliminating Esma Boyle). Since you already know what color costumes the ladies are wearing, you will conclude that Esma is wearing black.
Variant 2) This variant will allow for singling out your target quickly, but is, at the same time, more dangerous. This is so, because it assumes the exploration of the first floor, that is inaccessible for the party guests. You need to reach Esma's Boyle bedroom, which was described in detail in the subsection entitled Explore the Boyle Estate's first floor (it's the one connected with a balcony and the service staircase). Once you get to the bedroom, examine it carefully to find a Note to Esma Boyle.
New Main Quest: Eliminate Esma Boyle: Black Dress
New Optional Quest: Knock out Esma Boyle and deliver her alive to the basement
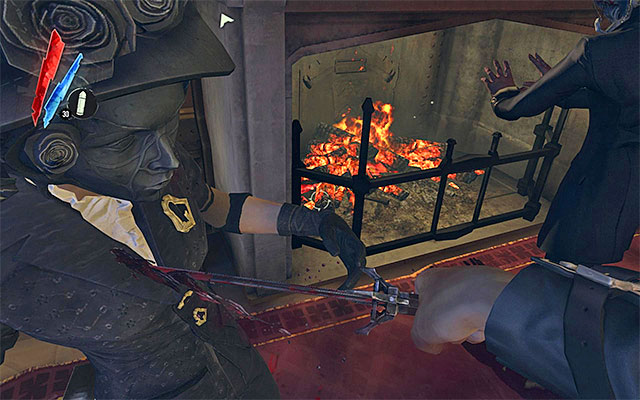
After you determine that it is Esma Boyle that is your target, you need to consider how you would like to eliminate her. You can, of course attack Esma, but in this case you would have to expect aggressive response from the guards. The problem can be settled by using a power (like time hold), or with sleeping bolts from a hiding place, but in general, it is better to try and find another solution.
If you've read Esma Boyle's Diary in her bedroom on the first floor, you will get to know that she has a soft spot for men. That is why it's worthwhile to initiate a conversation with her an suggest her that you two go to her bedroom.
Before you go to Esma's bedroom, it would be a good idea to talk to Lord Brisby on the ground floor (the above screenshot). This will unlock an alternative way of eliminating Esma without the necessity to kill her.
I recommend that, in order to get to Esma's bedroom, you use the service staircase next to the ballroom (the above screenshot), especially that you won't be stopped by anyone if you do.
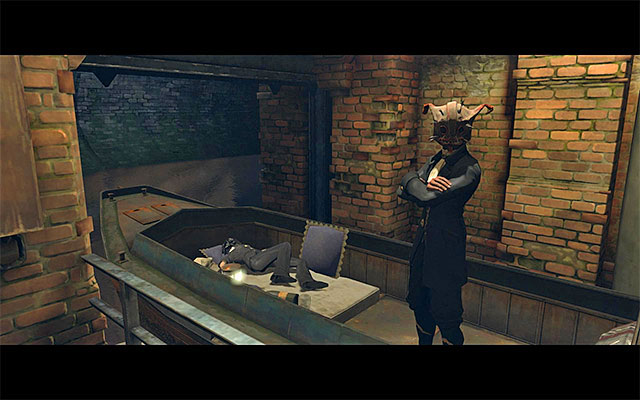
After you get to the bedroom, you need to decide whether you want to kill Esma, or only render her unconscious? The latter option is, of course, a better one. To neutralize Esma, you can either use sleeping bolts, or choke her after you sneak up from behind.
New Main Quest: Escape back to Samuel's boat
New Optional Quest: Knock out Esma Boyle and deliver her alive to the basement
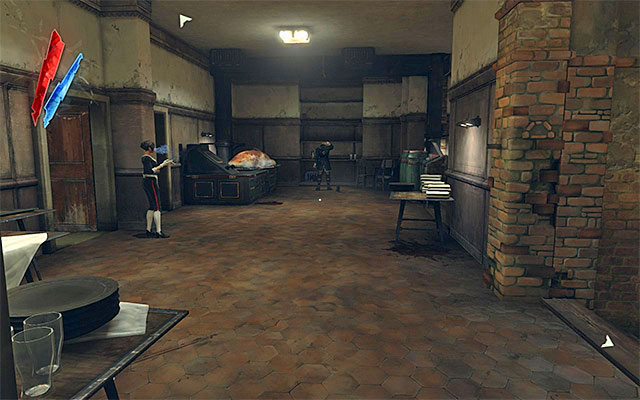
Regardless of how you eliminated Esma Boyle (by murdering her in front of everybody, killing her or knocking her down in her bedroom) you need now to return to your starting point. You'd better not go through the location you did to get here. Instead, use the service staircase again to reach the kitchen (the above screenshot). If Esma was murdered, you can go ahead right away.
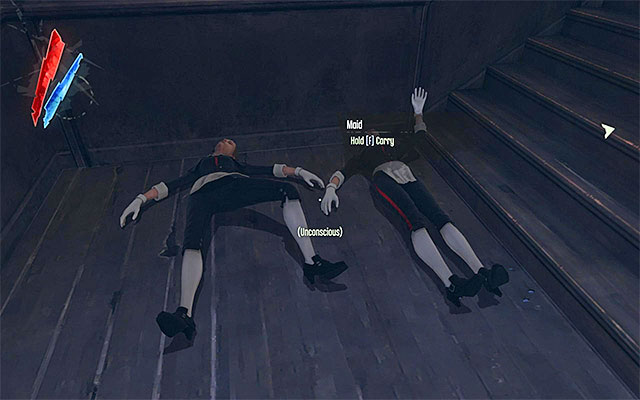
If Esma is only knocked out, you either need to eliminate all of the people in this location, or use the right power. In the latter case, the best would be time hold.

Another step is concerned with reaching the basement and the passage towards it is to the right. Make use of the switch on your way, and reach the main part of the basement. If you are carrying the body of the unconscious Esma, approach Lord Brisby, standing n the boat, and receive his thanks as well as his assertions that the woman will come to no harm.
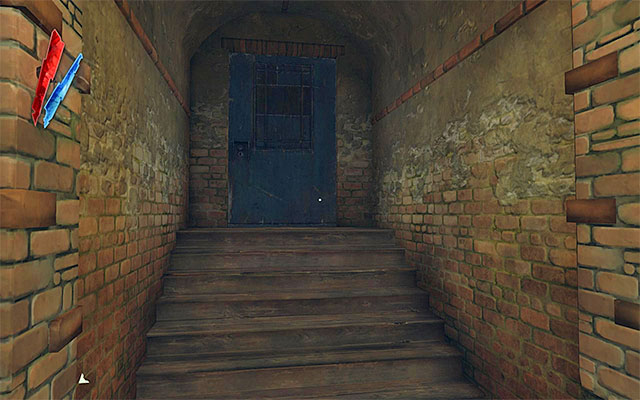
In order to leave the Estate area, you need to take the door to the sewers (the above screenshot). After you get in a new location, look around for gold and jump into the water.
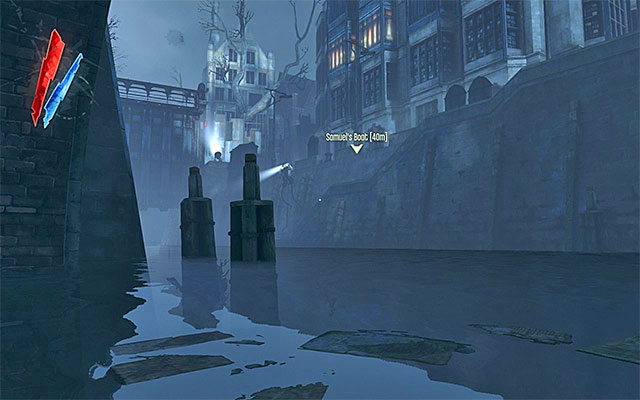
Eventually, you need to reach the circular valve handle and interact with it, which will unlock the passage for you. DONOT hurry with reaching the spot marked in the game because instead of Samuel you will meet there a tall boy. Read about the current quest.
New Main Quest: Samuel has moved! Find him - past the canal gate
New Main Quest: Talk to Lord Pendleton at the Hound Pits Pub
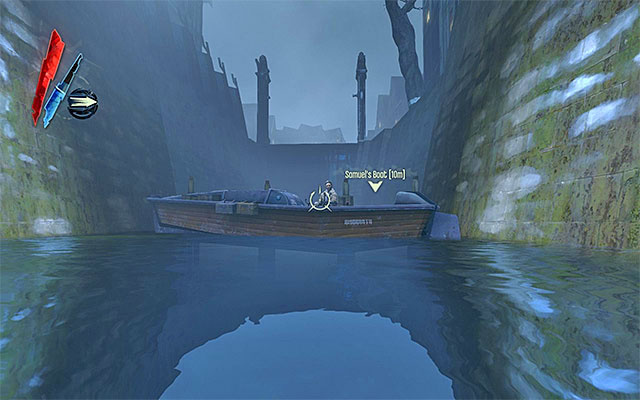
In order not to be seen by the tall boy, you need to dive, and then get to Samuel. You'd better not stop anywhere in order not to be attacked by piranhas. You can safely resurface only after you get near Samuel's boat, and during the conversation with him, confirm that you want to leave (the upper-right dialogue option).
New Main Quest: Talk to Lord Pendleton at the Hound Pits Pub
New Main Quest: Debrief with Lord Pendleton
New Optional Quest: Return to the Hound Pits Pub
New Optional Quest: Search the tower area for Emily
Just like in the case of previous missions, I recommend that you search the pub and its surroundings, because you can find here new items (gold, books, audiographs etc.). Seize the opportunity and talk to Callista, who will ask you to find the hiding Emily.
To find the girl, go towards her tower and examine its foot, thanks to which you will bump into Emily. It's worth noting that you will receive a valuable reward for finding her, because she will give you a rune.
New Optional Quest: Go get the note and package in your room
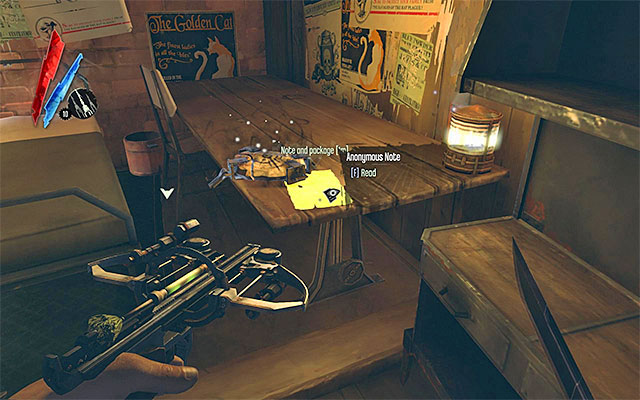
If you have only rendered Esma Boyle unconscious during the previous mission, on the pub wall there will be a Note from Courier. Follow the instructions in it, and go to your chambers to find an Anonymous Note and a rune.
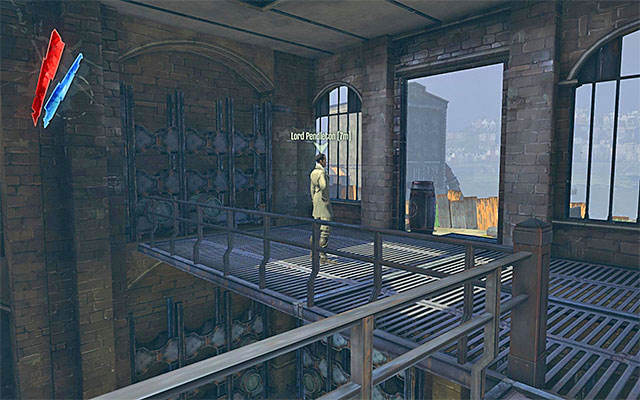
After you deal with all your business, go and talk to Lord Pendleton on the Pubs first floor balcony. If you have done the side quest for him at the Boyle Estate (connected with Lord Shaw), he will reward you with a rune. Then, Pendelton will send you to meet Admiral Havelock.
New Main Quest: Meet with Admiral Havelock
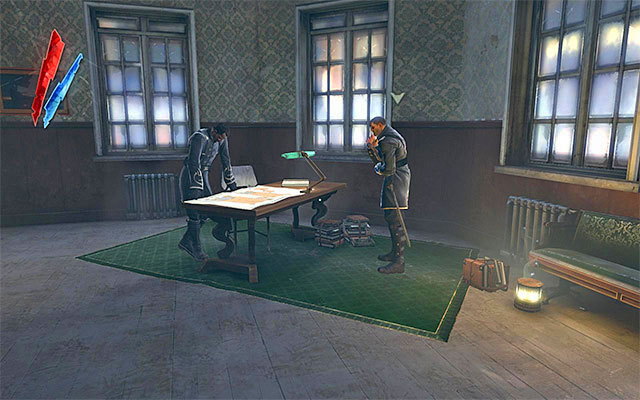
Admiral Havelock and the Overseer Martin are currently staying in room 202 in the pub. Listen to the premises of the next quest, that is concerned with going to the Dunwall Tower in order to eliminate Lord Regent. At the same time, it is worthwhile to have a look at the tower map on the table.
New Main Quest: Travel with Samuel to Dunwall Tower
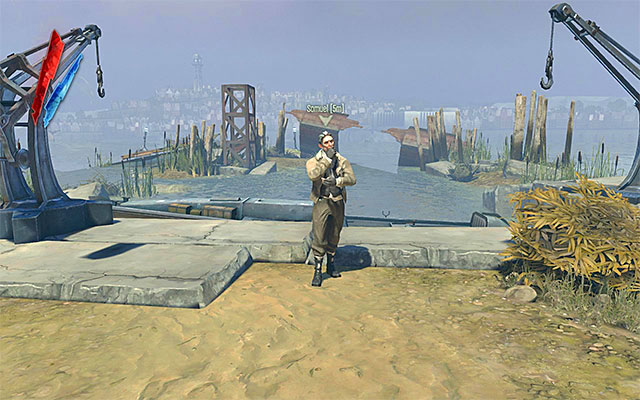
Make sure that you have dealt with all your business in the pub and return to Samuelem and confirm that you want to leave for Dunwall Tower, the staying place of the Lord Regent.
This mission takes place in the [Dunwall Tower] location. The primary aim is to reach the top level of the tower in order to eliminate Lord Regent. Traditionally for this type of quests, you will have the opportunity to decide if you want to kill him, or just deprive him of all his power in a more humanitarian way. Apart from the main quest, there are also side quests to perform, that are worthwhile checking out while exploring the tower.
Below, you can find a list of all of the sub-points to this guide, connected with the described mission. If you want to explore the area thoroughly, follow all of my instructions from end to end. If you prefer to concentrate on the main mission instead, turn your attention only to the pages with the note (compulsory) attached.
Steps to take:
The below maps may serve as an additional help while navigating the area. A noteworthy fact is that you can also find it on your own. The first one is to be found in Admiral Havelock's room, in Hound Pits Pub (you can see it before taking up the quest). Another copy is hanging on the wall on the Tower's ground floor, right near the entrance.
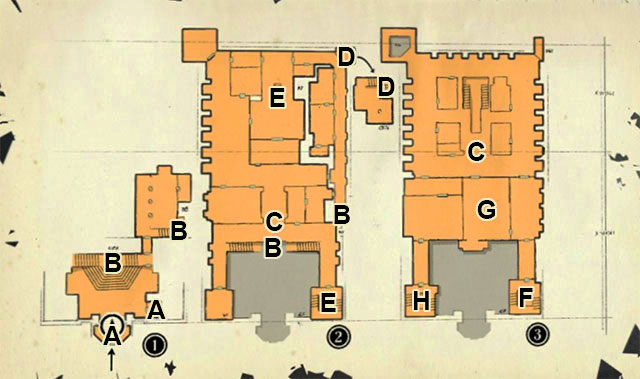
Legend:
New Main Quest: Infiltrate Dunwall Tower
New Main Quest: Kill the Lord Regent
New Optional Quest: Find the Broadcast Control Station
![The mission starts in [Dunwall Tower Waterlock], i - Reaching the waterlock top level - Mission 6 - Return to the Tower - Dishonored - Game Guide and Walkthrough](https://game.lhg100.com/Article/UploadFiles/201512/2015121517555224.jpg)
The mission starts in [Dunwall Tower Waterlock], i.e. the same place that you have already had the opportunity to visit while playing the prologue part. Jump out of the boat and swim inside. You need to start climbing here. After you run out of further objects to catch on, use Blink (teleportation) to reach the opening shown in the above screenshot.
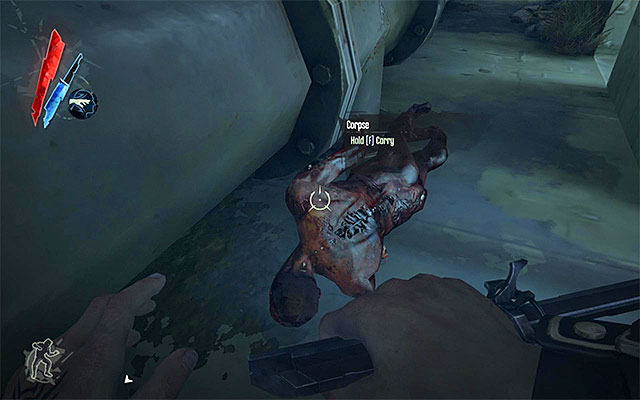
Turn your attention to the corpse on the right. It is lying behind the bars and, if you want to reach it, you need to Possess one of the rats around. On the corpse, you will find gold and a bone charm.
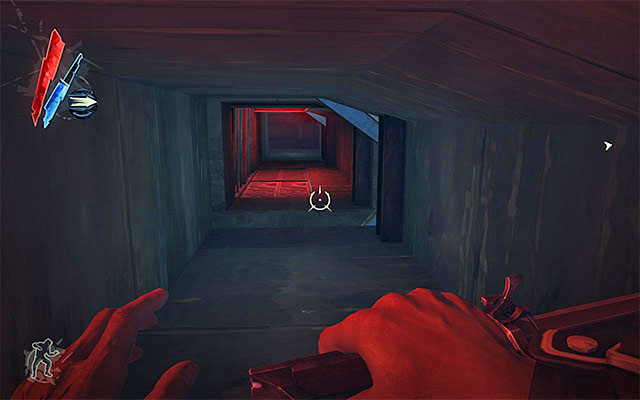
You can resume climbing in a number of ways. Variant one is to remain in the narrow shaft that you have just reached. On your way, there would be several moving objects that you would have to go past (the above screenshot), but you can, also here, use the power of Blink.
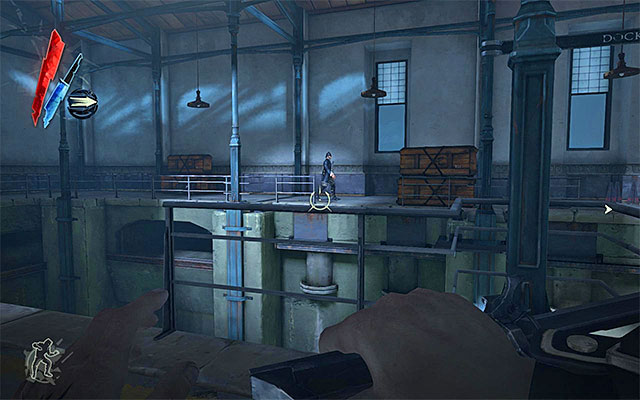
Variant two assumes that you use teleportation to reach higher-located catwalks, and ultimately reach the upper level patrolled by guards.
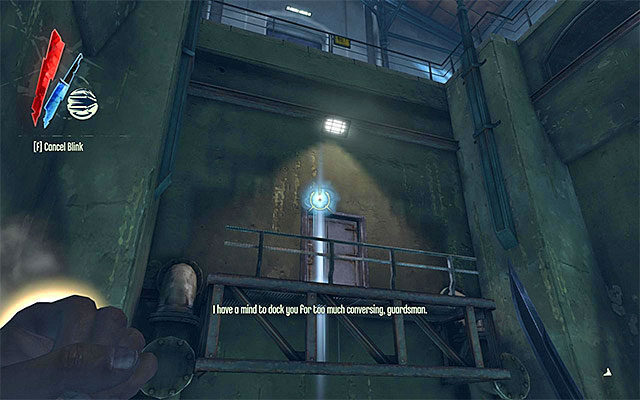
Variant three, the last one, is connected with reaching the small catwalk shown in the above screenshot. After reaching the door, you would run into an active arc pylon, and you would have to hold time to get around it. It's worth adding here that, if you want to explore the area around the pylon, you can disable it by removing the whale oil tank. Unfortunately, apart from small amounts of gold and a Piero's spiritual remedy, there is nothing interesting to be found here.

There is a number of paths leading up to the Tower, seen in the distance. The most obvious of variants assumes that you have managed to reach the balconies on the waterlock top level (the above screenshot). Unfortunately, they are constantly being patrolled by several men, so you would either have to eliminate them, or try to avoid them. A fact worth noting is that one of the guards has a waterlock side door key on him. While you are here, you can also check out a large eternal balcony to find the pantry with food and Piero's spiritual remedy (there is also a passage to the room with the active arc pylon here).
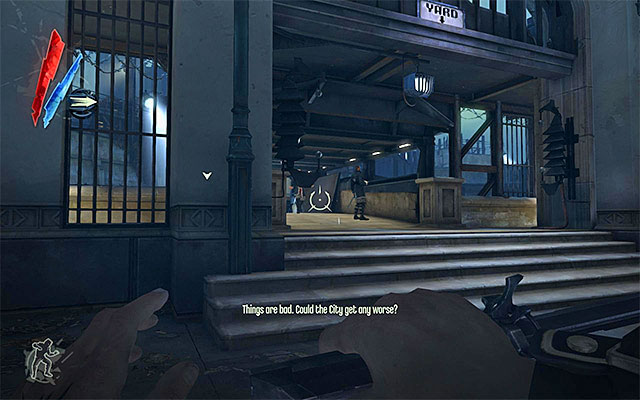
The main exit from the beginning part of this mission is guarded by the active wall of light (the above screenshot). As a result, you need to find a way to go around it. If you have stolen the key from the guard (waterlock side door key), you may now use it to open the door on the left.
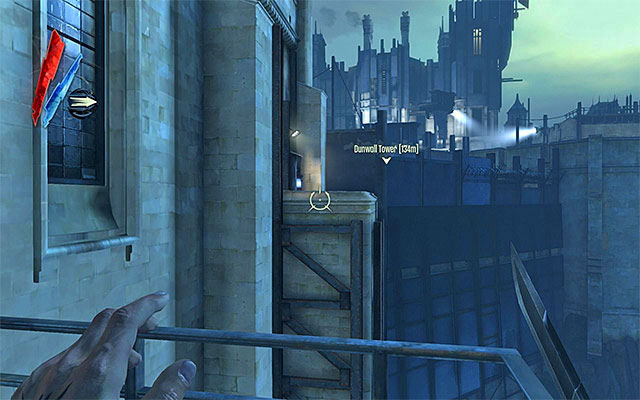
Another way to go around the wall of light is to reach the balcony to the right (the above screenshot) and teleport over to the neighboring one. You would find there a whale oil tank inside a slot that you can disable the wall of light with. You do not need to backtrack after you disable the wall, because you can just as well go ahead to go around it on the right side.
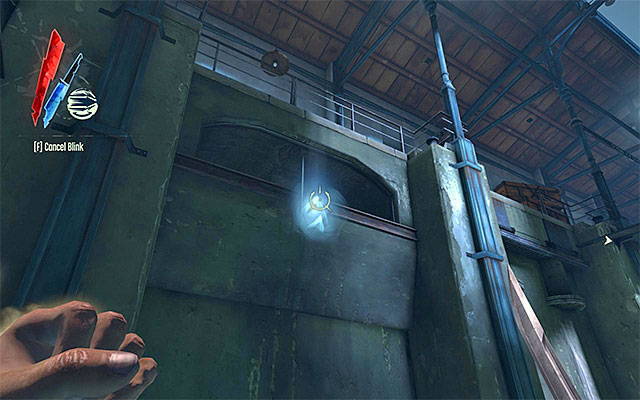
The least obvious way of going around the wall, is to reach one of the openings located underneath the balconies above, in the waterlock room. The upside of this approach is that eventually you reach the pipes outside of the building . By walking over these pipes, you can entirely go around the main balconies, as well as the wall of light (it's is a good choice if you want to avoid guards entirely).
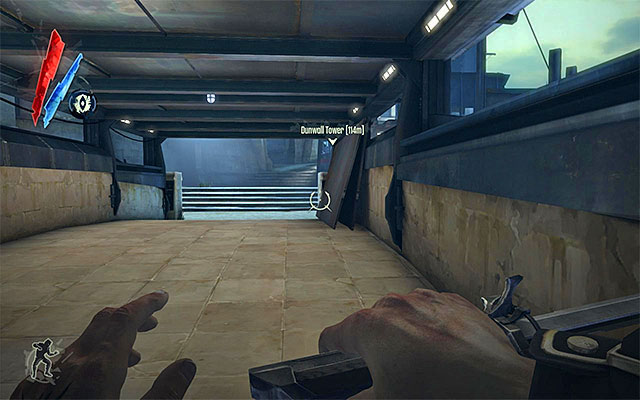
Regardless of your approach, you need to reach the yard vicinities. Also here, you can adopt a variety of approaches. The first one, is walking over the bridge that neighbors the wall of light, which is guarded by two men (the above screenshot). If do not want alarm to be raised, you need to take the guards by surprise, or quickly go around them using, for example, the time hold power.
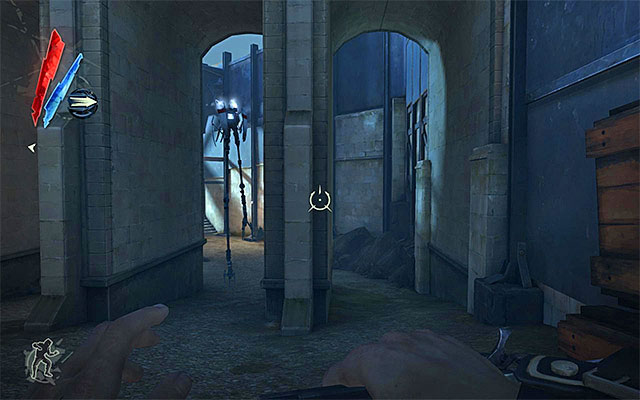
The remaining approaches assume that you near the area patrolled by the enemy on stilts (tall boy). You can follow him by going under the bridge (it's the place where you played hide and seek with Emily), and reach the stairs. On your way, look around for gold and a rewire tool.
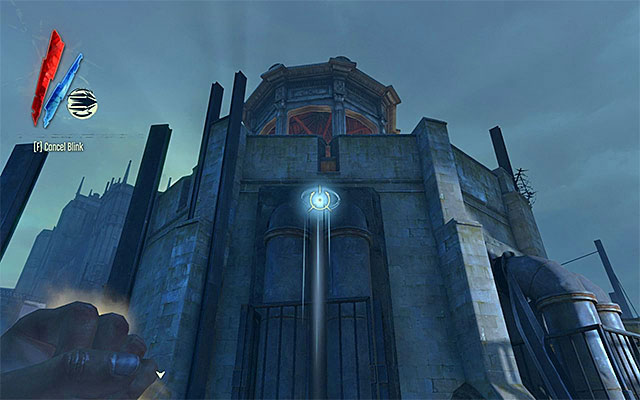
If you prefer to stay away from the tallboy, consider climbing in the spot shown in the above screenshot, thanks to which you would be able to reach the balcony that, during the prologue part, saw the murder of the Empress. You can eavesdrop here on the conversation between a chambermaid and a guard, and then let them leave.
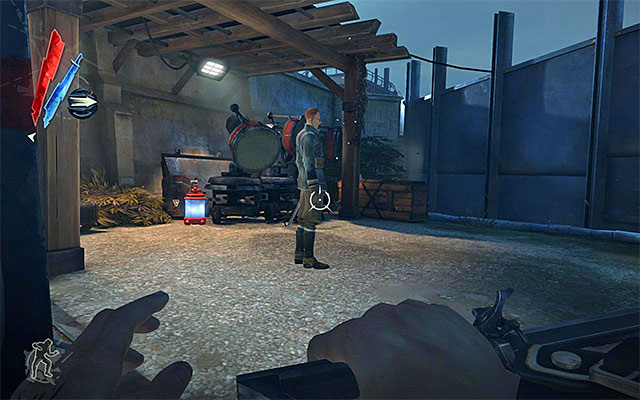
After you take the bridge neighboring with the wall of light, or passing under the bridge, you will end up around a police outpost guarded by a single enemy. Since you are here, it's also a good idea to have a look inside the lodge, where you can find ammo and a Sokolov's health elixir.
The entrance to the Tower is heavily guarded, but you need to devote most attention to the watchtower shown in the above screenshot. Apart from "scanning" the image the area in front of the Tower, it has a wide range of rotation to the sides. Therefore, I recommend that you do not stay out in the open, and move from cover to cover. Further on, you can decide on the possibility of disabling the watchtower and, to do that, you will have to teleport to the top of the watchtower and remove the whale oil tank from the slot.
There is also a tallboy patrolling the area around the Dunwall Tower, which poses a considerable threat also. Fortunately, he is quite predictable in his movements so, after a moment's observation, you will have a clear picture of the situation and know what to do next, and when.
For starters, I recommend that you explore the warehouse located to the left of the mission target (the above screenshot), especially that this the area is not monitored by the watchtower. It is enough to wait for the tallboy to go the other way.
Do not attack the engineer here, and talk to him. You will learn from him about the possibility of lifting the nearby flood-gate, and thus gaining access to the moat that surrounds the main entrance to the Dunwall Tower. Have a look around the warehouse to find gold, food, Sokolov's health elixir, rewire tool and a book. Eventually, enter the room with a valve handle that opens the abovementioned flood-gate.
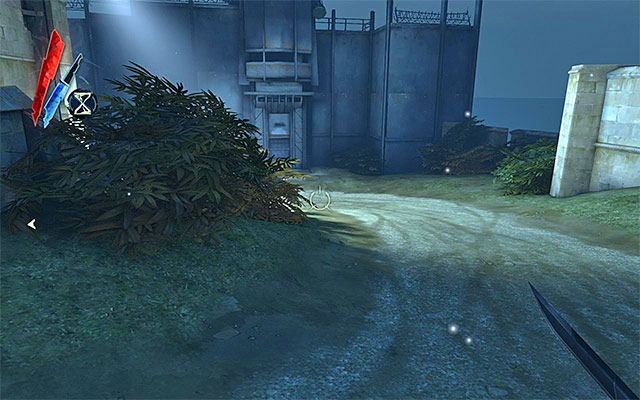
The area to the right of the Dunwall Tower Entrance is quite extensively developed (the above screenshot), but due to the presence of a watchtower and a tallboy, it is difficult to infiltrate it and stay in hiding at the same time. I recommend that you use the time hold power or teleport, but you can just as well access the area from the side of the Tower's main entrance.
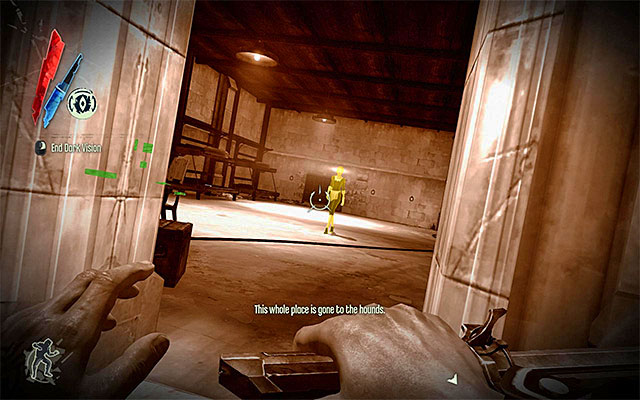
You may now start exploring the buildings here. You need to watch out, not only for the guards, but also for the chambermaid, ho mustn't notice your presence here. If you intend to eliminate the enemies staying in the area, make sure that you conceal the bodies properly, as all the enemies remain in a constant movement. In the room on the ground floor (the above screenshot), you can find a rune under the bed, as well as gold, food, an Official Decree, Sokolov's health elixir, ammo and a book.
New Optional Quest: Find the Torturer's chambers
New Optional Quest: Kill the Torturer
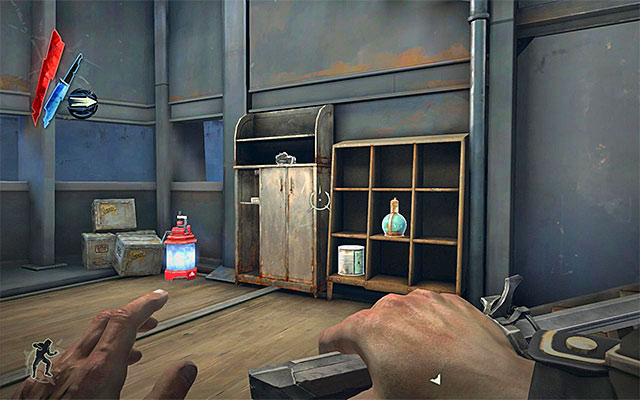
You should definitely explore the upper level of this structure. Especially, you should turn your attention to the observation spot. You can find there a message (Off-limits), whose collecting unlocks a new optional quest connected with eliminating the Torturer. Apart from that, in here you can find gold, food, a grenade and a rewire tool.
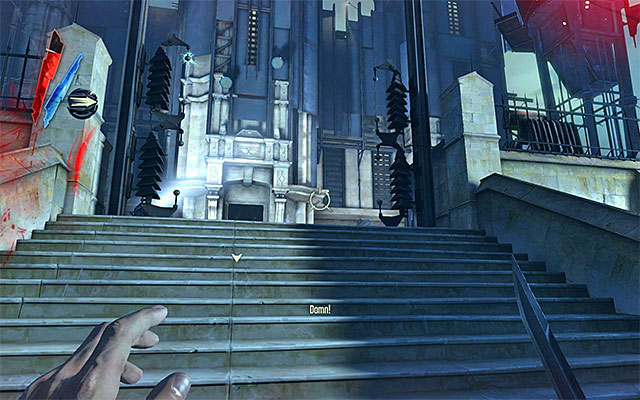
Before you decide to enter the Dunwall Tower, remember the main threats described in the previous subsections, i.e. the watchtower and the tallboy. These are not the only ones that you will encounter on your way to the Tower. The main path to the Tower is fitted with a wall of light (the above screenshot). You can, of course, try and jump over the wall of light, or use Blink, but due to a high density of security measures and guards, I would recommend against it.
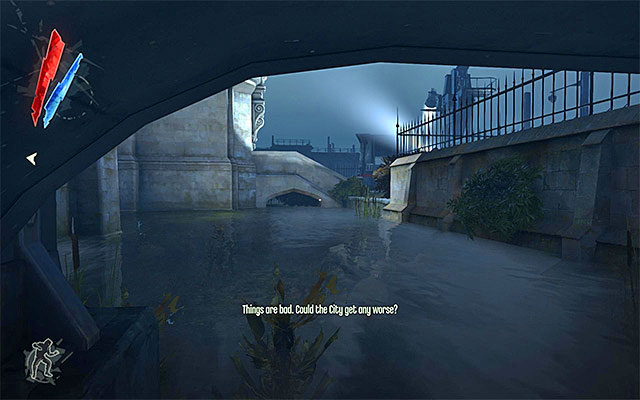
The safest way to reach the main entrance is to go through the warehouse described above, and unlock a passageway for yourself with the valve handle (the above screenshot). Keep in mind, however, the engineer's warning, concerning piranhas. That is why it is advisable to limit the time in water to a minimum (or kill out the piranhas with your crossbow).
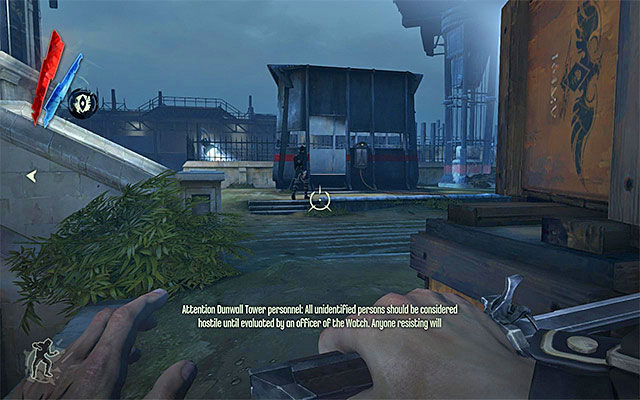
Notice that the small square in front of the Tower's main entrance is patrolled by several guards. You can, of course, try and go around them but, if you are going to explore the area (or e.g. disable the watchtower), it is better to eliminate them. Around, there are two lodges with gold and two Piero's spiritual remedies.
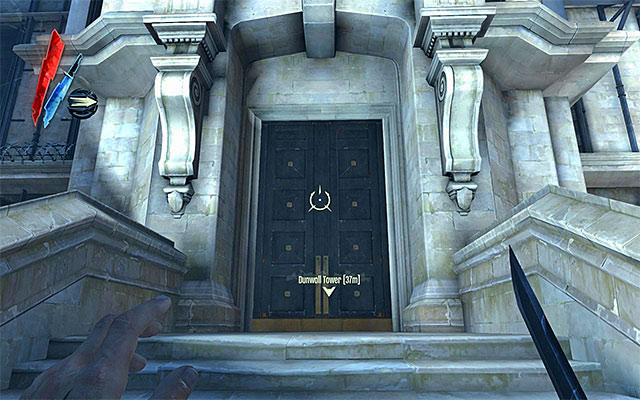
You can now focus on how to infiltrate the Dunwall Tower. The most obvious patch is through the main entrance, especially that it isn't locked.
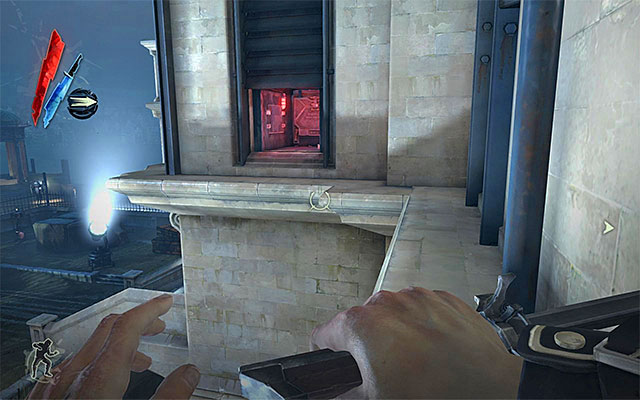
Another variant assumes that you move over to the Tower's ledges above. This will allow you to reach the ventilation shaft entrance (the above screenshot). After you take the tunnel, you start the exploration of the Tower on the ground floor, just not in front of, but above the main hall.
The most obvious approach here is by using the underwater tunnel. Because there is a grate that separates you from it, you would have to possess one of piranhas in the moat. The abovementioned tunnel leads to a small side room with gold and door leading to the Tower.
Note - I strongly recommend that you now get acquainted with the further four subsections to this guide. Otherwise, if you are in a hurry, skip to the subsections entitled Infiltrate Lord Regent's Chambers and Choose your way of eliminating Lord Regent That are connected entirely with the quest's main aim.
New main quest: Find the Lord Regent's bedchambers
Note - I recommend that, apart from the below description, you also acquaint yourself with the Tower Map contained in the subsection entitled Mission Plan. This should help you while navigating the Tower's floors.
![On the ground floor of the [Dunwall Tower] location, as a matter of fact, there are few places to explore - Exploring the Dunwall Tower Ground Floor - Mission 6 - Return to the Tower - Dishonored - Game Guide and Walkthrough](https://game.lhg100.com/Article/UploadFiles/201512/2015121517555599.jpg)
On the ground floor of the [Dunwall Tower] location, as a matter of fact, there are few places to explore. At the entrance, look around for Piero's spiritual remedy (and a copy of the Tower Map) and wait for General Tobias that you can see in the distance, finishes talking to Lord Regent. Only after that, start acting. Watch out for the patrolling guards and, if you intend to eliminate them, their bodies are best stashed at the Tower's main entrance.
The door to the right of the hal lead to the room with the underwater tunnel in it (the one you may have used to infiltrate the Tower). The door to the right of the main staircase leads to the kitchen . It is locked by default and needs a special Dunwall Tower skeleton key to open, which you may have found during the previous mission in Esma Boyle's bedroom. It's not the only such obstacle because, further in the mission, you will find here and there, door that requires the very same key. Do not worry, though. You can go around all of the locked doors in different ways.
After you open the door, collect the Dunwall Tower kitchen key. As far as the kitchen itself is concerned, you will encounter here a few servants and, at least, one guard. Traditionally now, you can decide on whether you want to eliminate the enemies you encounter, or go around them. In the former case, I recommend that you stash them in a nearby container. In the kitchen itself there are no unique items, only gold, food, rewire tool and a Piero's spiritual remedy.
The easiest way to reach the first floor is through the stairs (the above screenshot). You should, of course, watch out for the nearby guards. Turn your attention to the communication terminal used for communications with Lord Regent. It is OFF by default but, if you have already lead to alarm being raised, you can use it to make Lord Regent a bit anxious, and to tell him who he is actually dealing with.
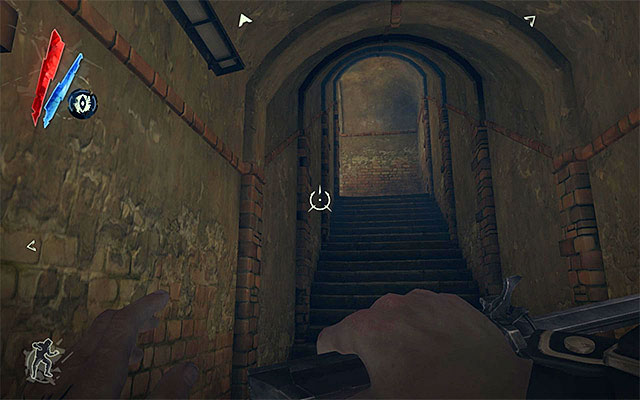
If you do not want to take the main stairs, you can take one of the two passages located in the abovementioned kitchen - the stairs (the above screenshot) or the hole located above the trash container.
To the left of the main stairs that you use to get to the first floor, there is a small storage room with Sokolov's health elixir in it. To the right there is another, separate staircase that leads up to the second, and the third floor. Also in this case, you need to have the Dunwall Tower skeleton key collected from Esma Boyle's bedroom (the previous mission). Opposite the staircase there is another active wall of light (the above screenshot).
The good news is that the wall of light may be easily disabled or reprogrammed because, to the right there is a widely available control room (a panel and a whale oil tank- the above screenshot). Apart from that, in the room there also are ammo and a book.
Resume your exploration of the first floor. You will be encountering guards on a regular basis here and if you plan thorough exploration the area, I recommend that you keep eliminating them. Also, try not to leave the bodies out in the open where everybody can see them because, some characters change floors and, as a result, not necessarily will you meet them right away. In the south-eastern part of the currently explored floor, there are small guard quarters (the above screenshot) and you can find there gold, a grenade, pistol ammo, a security room key and a book.
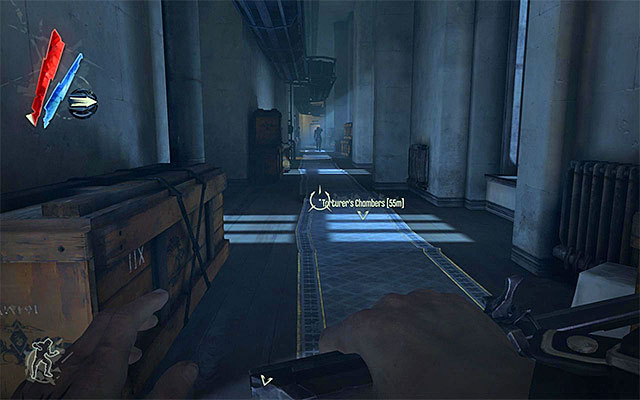
In the eastern part of the flor there is a long corridor (the above screenshot), that you can reach from the guards quarters, as well as from the staircase that couples this floor and the kitchen. The interesting thing here is that you can easily avoid or attack from hiding here. You do it by making use of the ventilation shafts beneath the ceiling. I recommend that, on your way, you take a look into three side rooms to find there gold, food and a Sokolov's health elixir.
![The eastern corridors will take you to the north-eastern corner of the first floor, and you will find here a staircase leading to the [Torturers Chambers] (the above screenshot)), i - Exploring the Dunwall Tower First Floor - Mission 6 - Return to the Tower - Dishonored - Game Guide and Walkthrough](https://game.lhg100.com/Article/UploadFiles/201512/2015121517555622.jpg)
The eastern corridors will take you to the north-eastern corner of the first floor, and you will find here a staircase leading to the [Torturer's Chambers] (the above screenshot)), i.e. to the place in which there stays the Torturer connected with a side quest of yours. I suggest that you eliminate the person right away. After you descend to the dungeons, hide in a place where you won't be seen, and plan your further steps carefully.
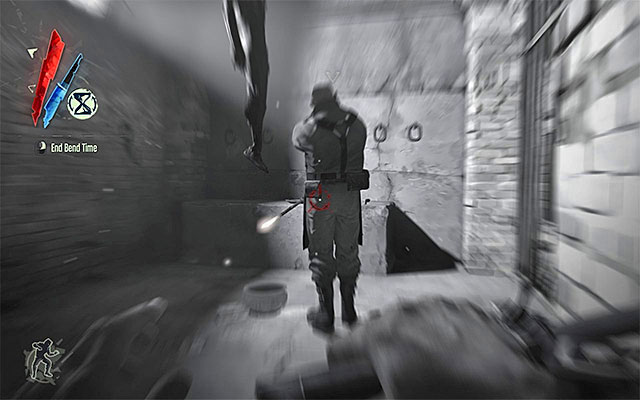
The most important piece of information, concerning the Torturer, is that he is much stronger than the other guards. Therefore, I recommend against trying to kill him with your pistol or crossbow. A single attack, even if aimed at the head, won't do no good. Instead, I recommend adopting either of two approaches. The first one of the suggested tactics assumes that you use the hold time power. What is interesting, this does not stop the enemy, but merely slows him down. When this happens, position yourself behind the Torturer, and execute him.
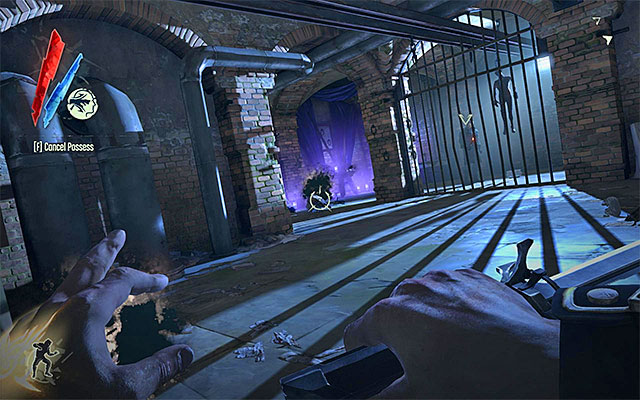
The other one of the methods is to possess one of the rats or the sleeping hound. You cannot attack the Torturer in this form, but you can easily position yourself behind him, so that, after you return o your human form, you can catch him off guard. Regardless of the adopted approach, try not to raise alarm or wake up the sleeping hound. You should aim at initiating a single direct surprise attack. After you eliminate the torturer, look around the area for gold, food, a rune and a letter (Dearie). Return now to the first floor to find a nearby book.
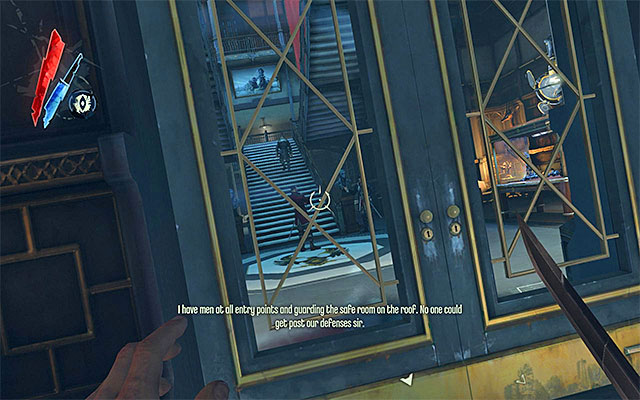
I suggest that you now explore the rooms located in the central part of the currently explored floor. Keep your eyes peeled after you near the room with the stairs to the second floor (the above screenshot). Wait again for the conversation that General Tobias is having and only then carry on with the exploration. Watch out for the nearby guards and pay attention for some valuables in cabinets. It is a good idea to return for these items only after you have secured the first and the second floor. Otherwise, the clatter of the smashed glass might alarm nearby guards. Still, you can collect two books right away.
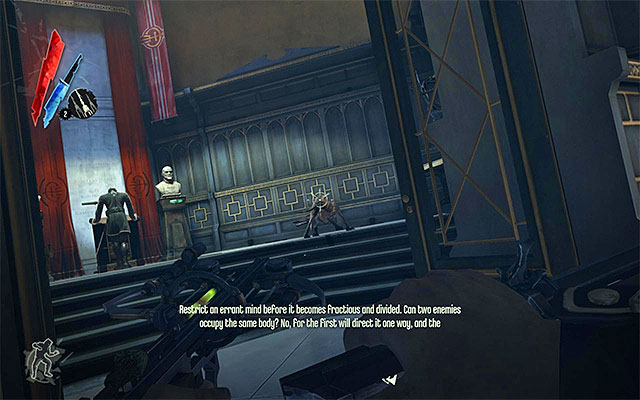
The big area in the western part of the first floor may be, actually, ignored because there is nothing interesting in here, and the spotlight over the area might make it difficult to remain in hiding. You can have a look into a small room in the north-western corner. At the same time, watch out for an overseer with a hound. If you manage to eliminate both of them, you will be rewarded with the opportunity to examine a book on the pedestal. The things that you will find here include gold, a grenade , a Piero's spiritual remedy and a note (Influences of the Outsider).
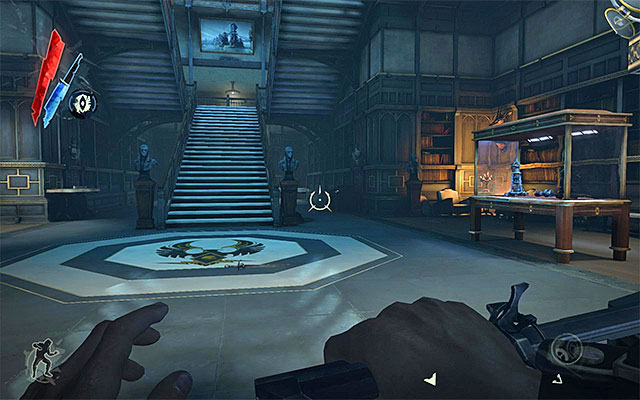
The easiest way to reach the Dunwall Tower second floor is via the stairs that General Tobias earlier stopped at (the above screenshot). What is interesting, you do not need to go all the way up the stairs, and you can stop on the landing, and use Blink to teleport over to the balcony in front of you.
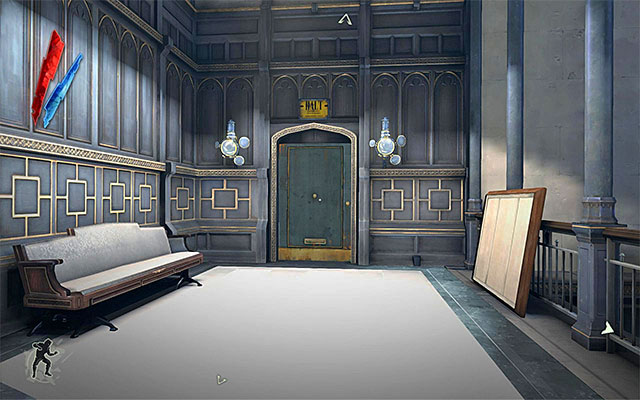
The best way to reach the second floor, if you want to remain hidden, is to go to the abovementioned, separate staircase located in the south-eastern part of the first floor. The staircase is behind the door that requires the Dunwall Tower skeleton key that you earlier collected from Esma Boyle's bedroom (the previous mission). After you unlock the door, you must remove the whale oil tank to disable the arc pylon above.
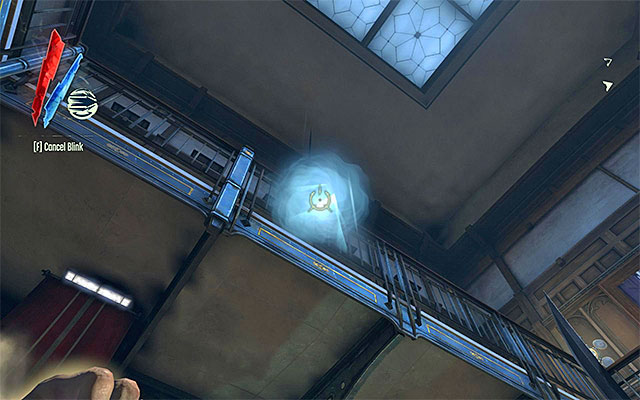
The last one of the suggested variants concerning reaching the second floor assumes that you go to the room in the north-western corner, described above, i.e. the one in which you encountered the guard with the hound. You can now use Blink (teleportation) to reach the above balcony (the above screenshot).
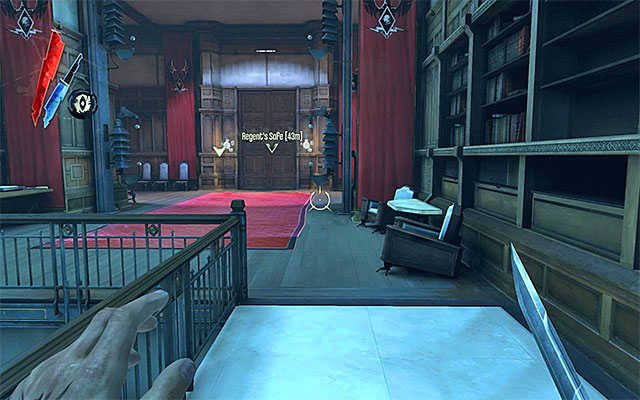
In the center of the second floor, there are, of course, Lord Regent's chambers, but it's best to leave them for the end, right after you concentrate on the performance of the quest's main aim. For starters, a few words about the threats. On the second floor there is yet another wall of light (the above screenshot), but you can go around the wall without any problem by taking one of the side corridors, or using Blink.
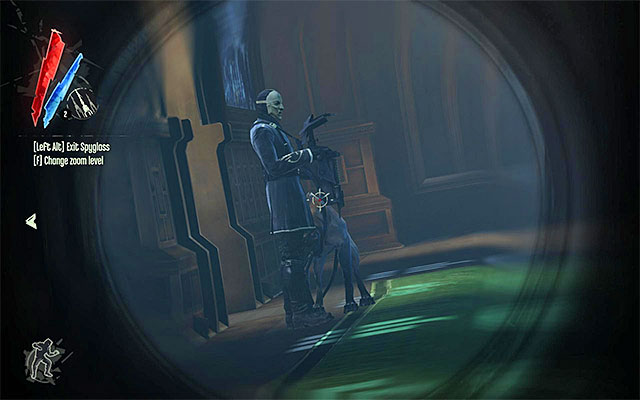
The main corridors of the second floor are patrolled by many guards, so it's a good idea to keep a constant vigil. If you are going to eliminate the enemies, try and stash their bodies on the lower floor, at the side staircase or, as a last resort, in dimly lit side corridors. You should especially pay attention to an overseer and a hound. As you can remember, the overseer is best attacked with sleeping bolts, after which you switch quickly to regular bolts to get rid of the animal.
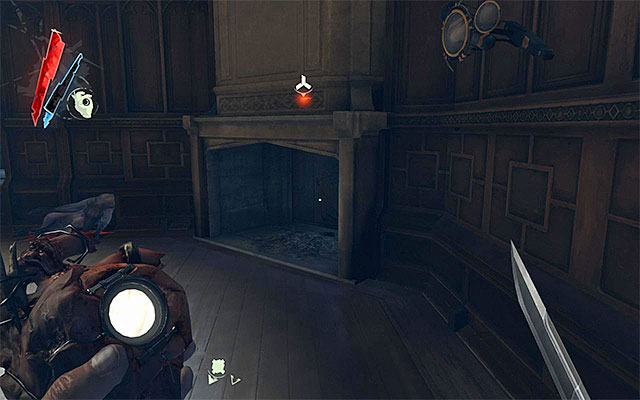
That's it by way of an introduction, it's time now to discuss individual areas of the second floor. In the two rooms in the south-eastern part of the Tower (the ones neighboring with the staircase and the arc pylon) there are, all told, three books. In the north-eastern part of the second floor there is a fireplace (the above screenshot). Pull on the lantern on the right hand wall to open a passage to chamber, in which you can find gold, Piero's spiritual remedy, a bone charm, an Audiograph - Letter to Emily from the Empress) and a letter (Empress to Corvo).
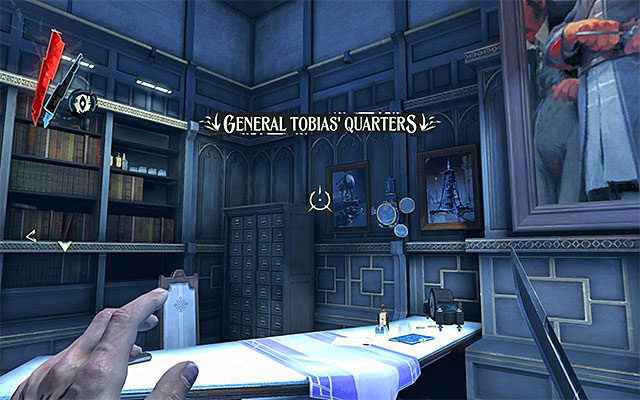
In the center of the second floor there are a number of smaller chambers to explore. The most important one is [General Tobias' Quarters] (the above screenshot), and in here you can find gold, a book, a letter(Concerns about the Royal Interrogator) and a blueprint. In the neighboring rooms there are gold, a rewire tool, Sokolov's health elixir, two books and a Lord Regent's chamber key.
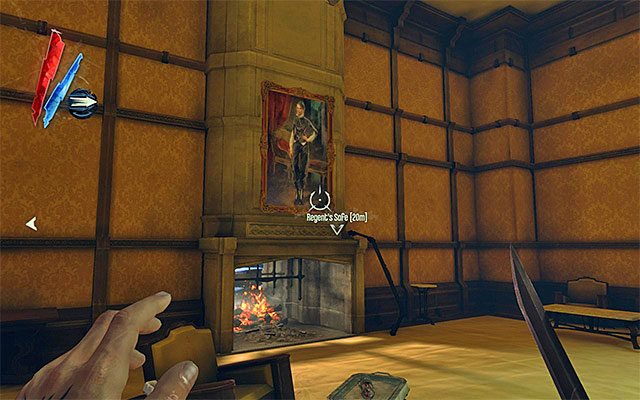
I recommend that you explore Lord Regent's chambers (i.e. the ones located in the south-western part of the Tower's second floor) as the last ones. In there, you can find gold, Sokolov's health elixir, a book and Sokolov's paintings (the above screenshot). Your attention should be drawn now by the stairs leading to the building's roof, but you'd better take up the exploration of this part only after you have visited Lord Regent in his chambers.
You can get to the Tower's third floor only by taking the staircase in the north-eastern part of the building. If you start on the first floor, you need to use the Dunwall Tower skeleton key collected from Esma Boyle's bedroom(the previous mission).
If you start on the second floor, you need to go towards the south-eastern corner of the Tower, i.e. towards the one adjacent to Lord Regent's chambers. Regardless of how you choose to behave, do not forget to disable the active arc pylon by removing whale oil tank located at the very bottom of the staircase. Climb the stairs to the very top, to reach a room connected with one of the side quests, and more precisely the [Broadcast Control Station].
New Optional Quest: Talk to the Propaganda Officer
New Optional Quest: Find the audiograph in the Lord Regent's bedroom
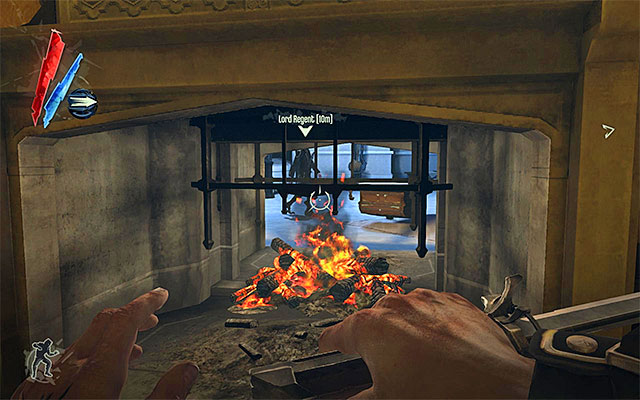
Approach the Propaganda Officer and initiate a conversation with him. You will learn a very important piece of information, namely, how you can remove Lord Regent from power. The plan assumes stealing Lord Regent's compromising confessions from his safe. Since you are already here, take a look around to find a single book.
Note - If Lord Regent has been alarmed to your presence and escaped to the Tower's roof, infiltrating his chambers becomes an optional matter. Still, it is worthwhile to take a look around the chambers to find a few items of value.
![Lord Regent's chambers are located on the second floor of the [Dunwall Tower], and you can access them in a variety of ways - Infiltrating Lord Regent's chambers - Mission 6 - Return to the Tower - Dishonored - Game Guide and Walkthrough](https://game.lhg100.com/Article/UploadFiles/201512/2015121517555903.jpg)
Lord Regent's chambers are located on the second floor of the [Dunwall Tower], and you can access them in a variety of ways. The most obvious way is through the main entrance located at the wall of light, mentioned in the previous subsection. The door is, unfortunately, guarded by a single guard and, at the first attempt to approach the door, you will run into General Tobias.
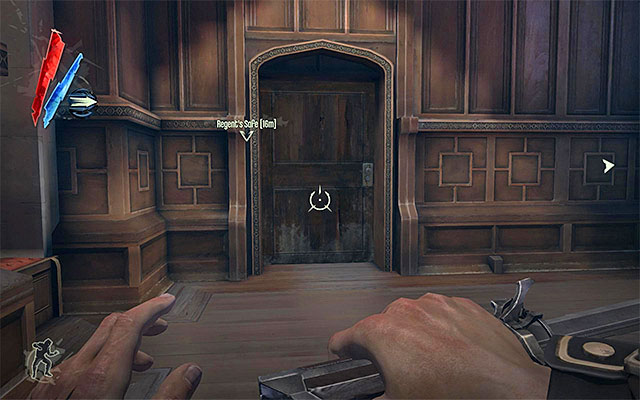
You can ignore the main entrance if you want to and, instead, take the side door. The upside of this approach is that the side door is not guarded. The downside is that the door is locked. You need, therefore, have at your disposal the skeleton key that you collected from Esma Boyle's bedroom or Lord Regent's chamber key found in General Tobias's quarters.
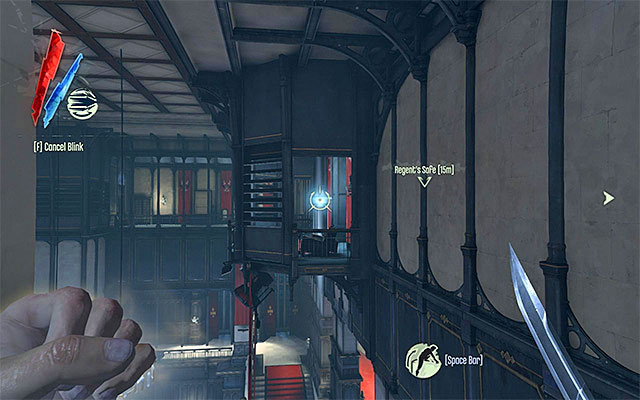
An interesting way here, is getting to Lord Regent's chambers by means of using Blink. Teleport to the external balcony (the above screenshot). It is best to do that when Lord Regent is not occupying that balcony.

The last one of the suggested variants assumes that you first gain access to the rooms located to the west of Lord Regent's chambers, so that you reach the fireplace shown in the above screenshot. Also in this case, it is recommended that you use teleportation, but you can just as well make use of the Windblast power, in order to put out the fire in the fireplace.
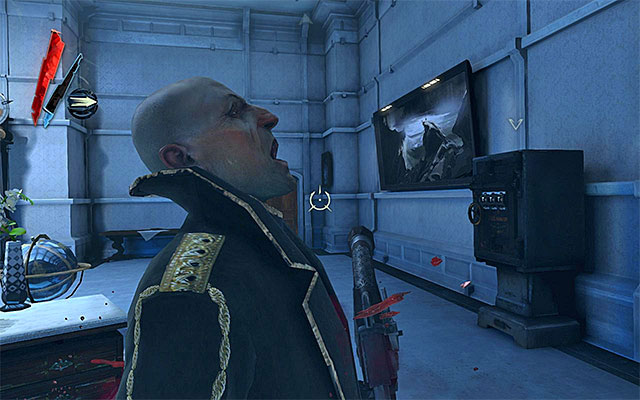
Lord Regent may be disposed of by initiating a direct attack. I recommend against this, especially that Lord Regent won't give up without a fight if he spots you.
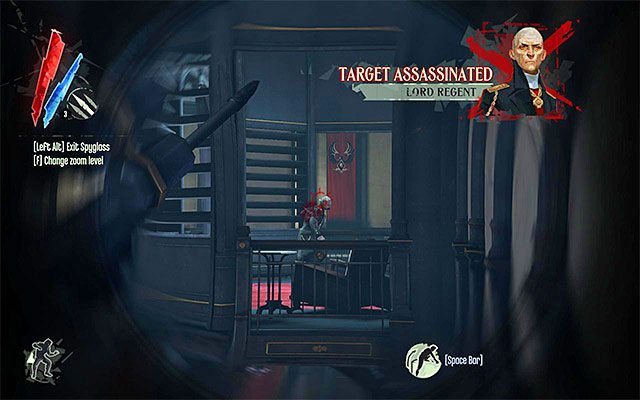
If you want to kill Lord Regent without alarm being raised, it is best to kill him as soon as he stops at the balcony (the above screenshot), or to shoot him from the side of the fireplace mentioned in the previous subsection. In both cases, it is recommended that you use your crossbow instead of the pistol that makes too much noise.
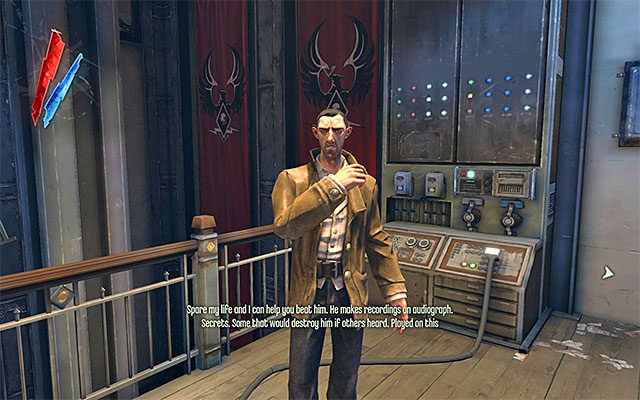
Definitely, the best solution is to remove Lord Regent from power without killing him. To do this, make sure that you have talked to the Propaganda Officer (the above screenshot; more about it, in the subsection entitled Explore Dunwall Tower's Third Floor. After you have seen the Propaganda Officer, enter [The Lord Regent's Chambers] and devote a few moments to their exploration. Note - If Lord Regent is any trouble, you can render him unconscious by choking him or putting him to sleep with a sleeping dart. This won't block the alternative solution.
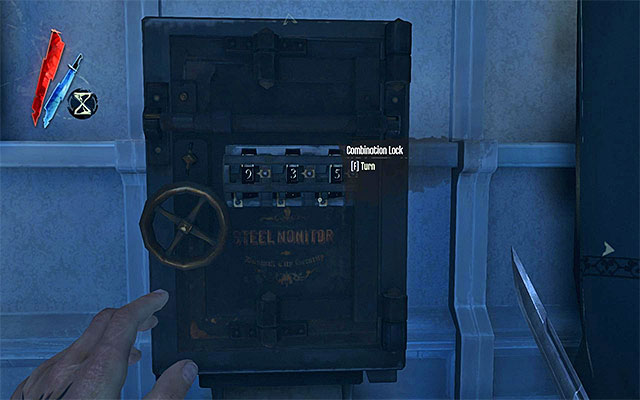
In Lord Regent's Chambers, you can find Piero's spiritual remedy, two books, a note Lady Boyle Missing and a rune. The most important thing to do here is opening the safe with the combination obtained from the Officer, i.e. 935 . From the safe, collect gold, a letter Dead Drop and the Lord Regent's Confession Audiograph.
New Optional Quest: Play the Lord Regent's audiograph in the Broadcast Control Station
![Equipped with the audiograph, return to the Tower's third floor (the staircase in the south-eastern corner), to reach once again the [Broadcast Control Station] - Choosing how to eliminate the Lord Regent - Mission 6 - Return to the Tower - Dishonored - Game Guide and Walkthrough](https://game.lhg100.com/Article/UploadFiles/201512/2015121517560089.jpg)
Equipped with the audiograph, return to the Tower's third floor (the staircase in the south-eastern corner), to reach once again the [Broadcast Control Station]. Interact with the Audiograph Player shown in the above screenshot, thanks to which you will discredit Lord Regent and complete the side quest. It is worth adding here that, if you want to witness Lord Regent's apprehension, you need to return to the second floor, to his chambers.
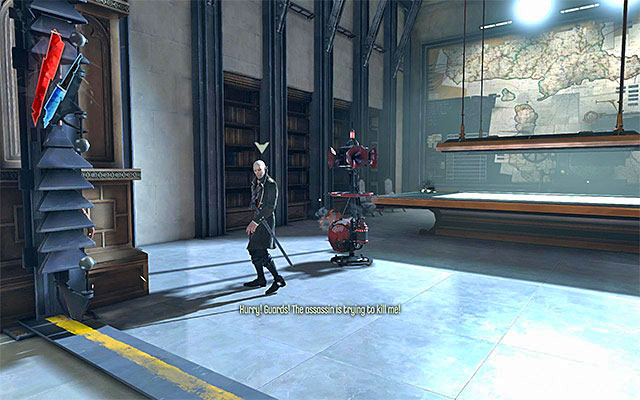
To wind up with, I will describe the circumstances in which you have alarmed Lord Regent to your presence in the Tower. If this happens, Lord Regent ill leave his chambers and go to the high-security area located on the Tower's roof, and more precisely to the [Regent's Safe Room]. In this case, exploration of the roof will turn out to be necessary. A detailed description of that location is contained in the next subsection of this guide, entitled Explore Dunwall Tower's Roof.
Note - Once Lord Regent has been alarmed to your presence, the exploration of the roof becomes compulsory. Otherwise, the exploration is optional. Still, it is a good idea to explore it anyways, as there are a few items of value to be found here.
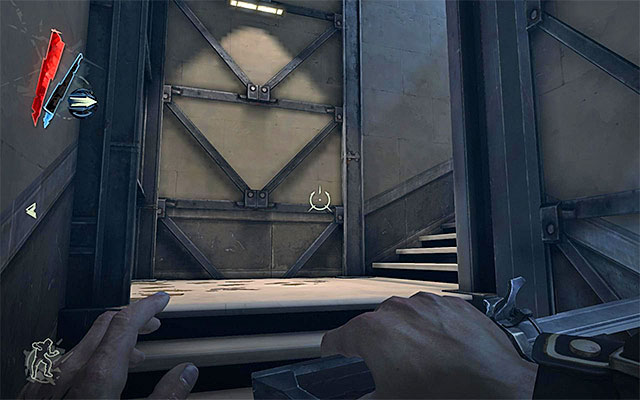
There is only one way to reach the roof, which is taking the stairs in the south-eastern corner of the Tower's second floor (the above screenshot). In order to get to the stairs you need to pass through several rooms neighboring with Lord Regent's chambers.
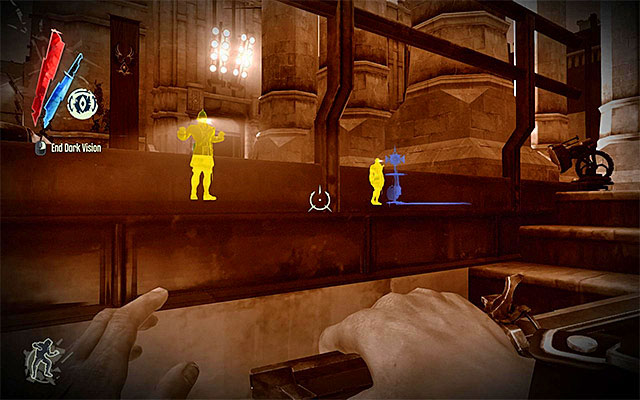
After you reach the roof, you should notice that it is being patrolled by several guards. If you plan on eliminating them, you should make sure that you conceal them properly. It is also a good idea to make use of the nearby pillars in the form of covers.
![The most important place on the roof is the [Regents Safe Room], that can be accessed in three different ways - Exploring Dunwall Tower's Roof - Mission 6 - Return to the Tower - Dishonored - Game Guide and Walkthrough](https://game.lhg100.com/Article/UploadFiles/201512/2015121517560158.jpg)
The most important place on the roof is the [Regent's Safe Room], that can be accessed in three different ways. Variant one consists in taking the main entrance. I recommend against doing it, because the place is well lit, and there is a tall boy behind the door.
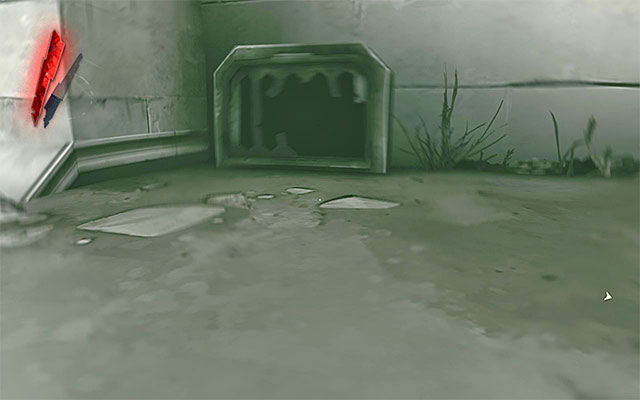
Variant two consists in exploring the area to the left of the main room. You could possess a rat here, and pass through the ventilation shaft.
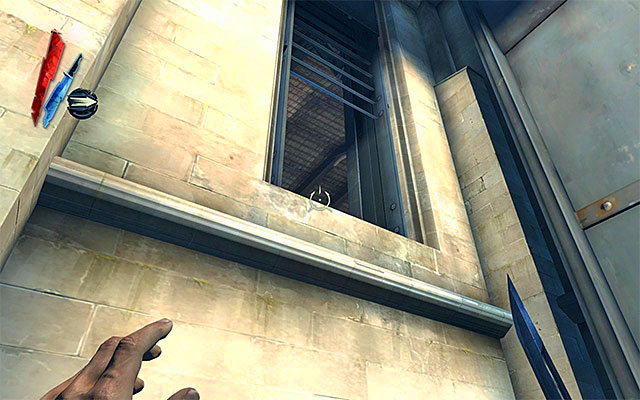
The third, and the last, variant, assumes exploration of the area to the right of the main room. You can find here an open shutter (the above screenshot), that can be reached by means of teleportation.
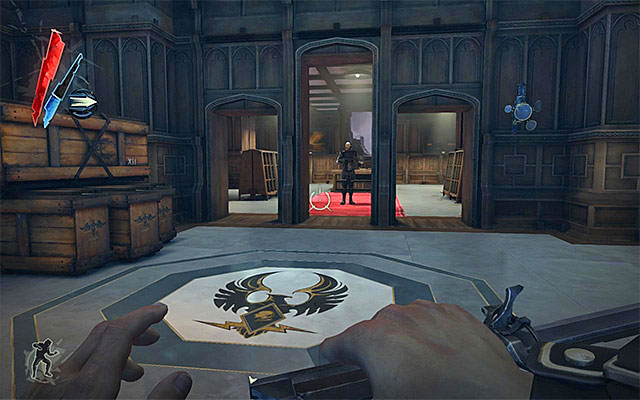
As I have already mentioned, Lord Regent's special room is patrolled by a tall boy. You'd better not attack him, especially that you can easily take cover behind bookshelves around. What is even more, in the room below, there is a single Overseer, so you'd better watch your steps. You can find here gold and a book.
On the upper level of the location you are currently exploring there is Lord Regent, but he will be staying there as long as he was alarmed to your presence earlier, and excaped from his chambers on the Tower's second floor. There is also a wall of light here, but you can easily disable it or walk around it by taking the door to the right. Explore the upper level to find Sokolov's health elixir, <br>a planning room key, books, notes Losing Support and runes.
New Main Quest: Reach Samuel's boat and escape Dunwall Tower
You now need to return to your starting point, i.e. to [Dunwall Tower Waterlock]. If you are currently staying on one of the Tower's lower floors, it's best to return to the Tower's main entrance. If you've explored the Tower's roof, I recommend that you take a shortcut, i.e. jump off the roof into the moat around the Tower (the above screenshot). Note - There may be Piranhas in the water, so try and get back to the dry land as quickly as possible.
New Main Quest: Leave with Samuel
On your way back, you should pay attention to all the threats you had to deal with at the earlier stages of the mission's performance. Expecially, you should remember about tall boys, walls of light, and the watchtower. After you reach the location in which Samuel is staying, initiate a conversation with him and confirm that you want to finish this quest (the upper-right dialogue option).
New Main Quest: Celebrate with the Loyalists in the bar
New Main Quest: Talk to Admiral Havelock and Lord Pendleton
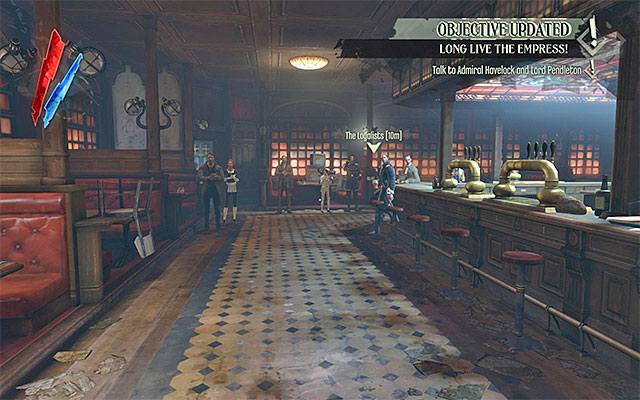
Go to the bar and join the Loyalists who are, at present, celebrating Lord Regent's removal from power and crowning Emily to the new Empress. At the same time, listen to the conversation with Admiral Havelock and Lord Pendleton.
New Main Quest: Rest before escorting Emily to her coronation in the morning
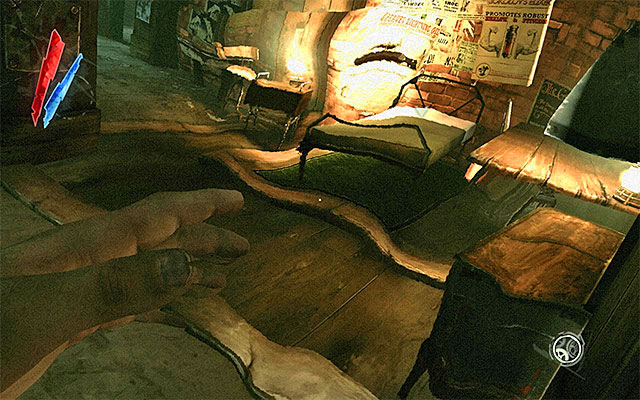
Now, it would be good to take care of all the business in the area (like meeting with Piero), and also explore the area for new items (gold, books, audiographs etc.) Now, you should go to Corvo's chambers on the Pub's top floor. You will watch here a cut-scene, from which you will learn that you have been betrayed by the Loyalists. After the cut-scene finishes, another quest will begin.
The mission takes place in the [Flooded District] and it's one of the longest ones in the game. After you get out of the prison, your main priority will be to find the Empress' assassin, Daud. This will not be the end on the mission yet, as you will have to return then to the Hound Pits Pub. Traditionally, you will have to perform a series of side quests on your way.
Below, you can find a list of all of the sub-points to this guide, connected with the described mission. If you want to explore the area thoroughly, follow all of my instructions from end to end. If you prefer to concentrate on the main mission instead, turn your attention only to the pages with the note (compulsory) attached
Steps to take:
New Main Quest: Escape from imprisonment
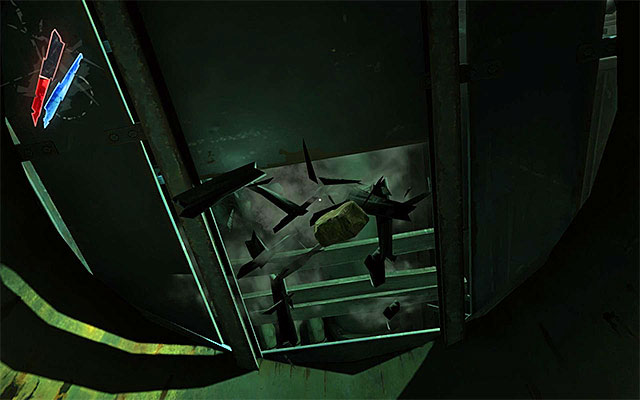
Before you start this mission, you will get to talk with the Outsider. The conversation isn't long and it doesn't involve taking any decisions. The actual gameplay begins when you are imprisoned inside a container in one of the [Flooded District's] warehouses. You can break free in two different ways. The first variant assumes that you pick up loose bricks and toss them against wooden boards.
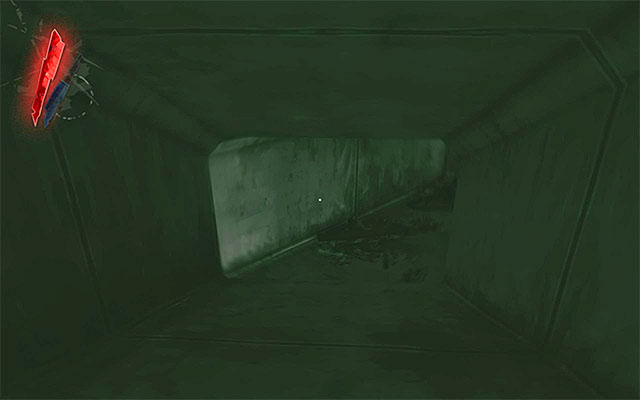
Variant two assumes that you possess a rat. You could, afterwards, squeeze through the ventilation shaft.
New Main Quest: Find a way into Daud's territory
New Optional Quest: Return to the Greaves Refinery, where your gear was dropped
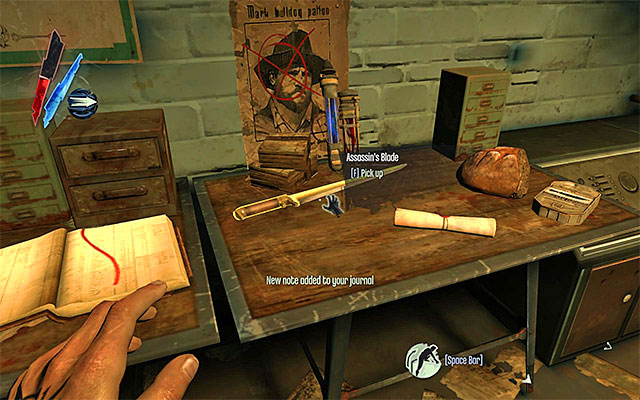
Regardless of how you freed yourself, you now are in a ruined warehouse. It is, of course, a good idea to explore it. Apart from the assassin's blade you can find here gold, food, a book, two Sokolov's health elixirs, Piero'a spiritual remedy and two notes (Corvo's Bounty Note), (Report to Daud).
The easiest way to leave the warehouse is to take the stairs to the lower levels. After you reach a water tank, you would have to jump into water and find an underwater tunnel.
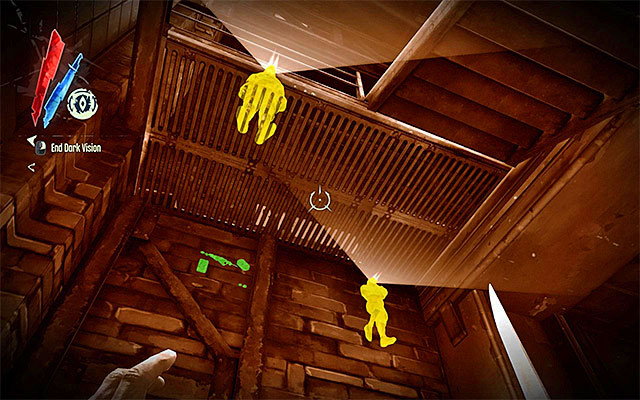
Another way to leave is to take the stairs to the upper level. Unfortunately, the upper leavel is guarded by two assassins. It would be best, if you went around them, with the help of the power of Possession or by holding time. If you are going to eliminate them, wait for them to move away, and only then move into action. Around the place, there are gold, food and a note (The Brigmore Job). After you do everything there is to do, walk onto an external balcony and jump into water.
![As I have mentioned before, the [Rudshore Waterfront] is quite vast, and that is why you will probably spend a lot of time here - Exploring Rudshore Waterfront - Mission 7 - The Flooded District - Dishonored - Game Guide and Walkthrough](https://game.lhg100.com/Article/UploadFiles/201512/2015121517560356.jpg)
As I have mentioned before, the [Rudshore Waterfront] is quite vast, and that is why you will probably spend a lot of time here. To move freely around the area, use water reservoirs, although in places where there are piranhas, it is better to use the objects projecting above the surface. You, of course do that by using Blink (teleportation).
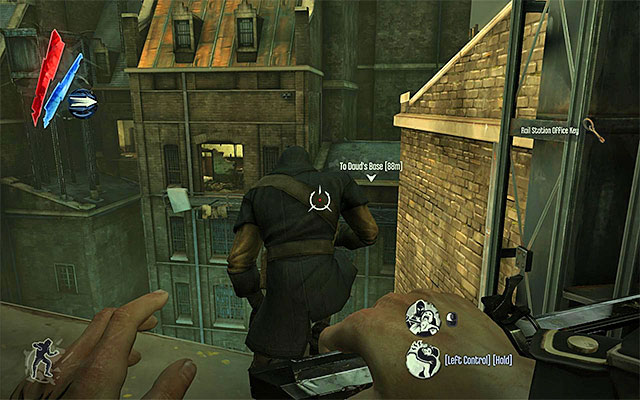
During your exploration, you should take a look into the building you pass, to find gold, food, Sokolov's health elixirs and Piero's spiritual remedies. You should also look around for the corpses of guards and assassins appearing here and there. On most of the corpses, you can find guns, grenades and ammo. As far as assassins are concerned, they patrol building rooftops so, you do not really need to worry about them if you are staying close to water. Still, if you want to climb up, you should definitely watch out for them. That's especially so because assassins use powers and are well equipped. It's worth adding that many of them have the rail station office key on them. It would be a good idea to steal one of them, as it will come in handy further on in the mission.
Note- If you want to eliminate assassins without killing them, grab them right after performing the attack, which will prevent them slipping off the roof. Otherwise, the assassins may die after falling to the ground.
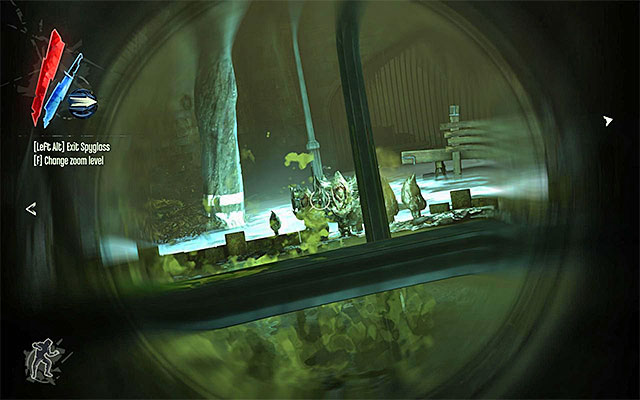
Assassins and piranhas are not the only danger here. There are two more things to keep in mind, and one of them are river krusts. It is a better idea to kill them but, if you don't want to raise alarm, it's better to use the crossbow. To kill a river krust, you need to take a shot when the creature "opens up".
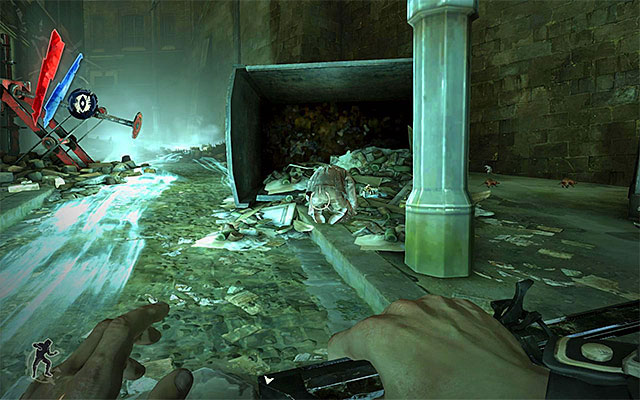
Another danger is the weepers that occupy the area. They are best neutralized by discharging sleeping bolts or by rendering them unconscious from behind, without being seen.
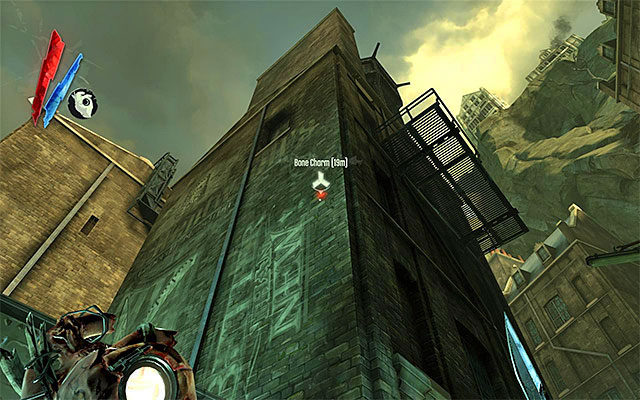
From among all of the buildings in the Rudshore Waterfront, the one show in the above screenshot is the most important one. You can access it by means of teleporting towards the window or the balcony. Inside the building there are gold, food, Donovan's Journal and a bone charm.
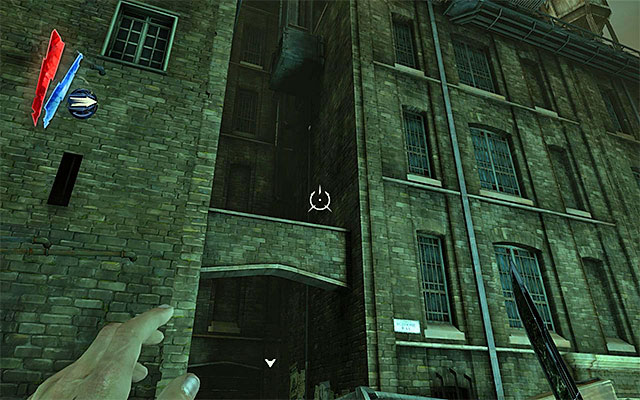
It would be a good idea to explore the buildings located at the other side of the water reservoir (the above screenshot). It is best to gain access from the rooftops, by regular utilization of teleportation. Around, there are gold, food, a Letter to Heather that contains a safe combination, and a Sokolov's painting (it can be found in a room in which weepers are also staying so, be careful).
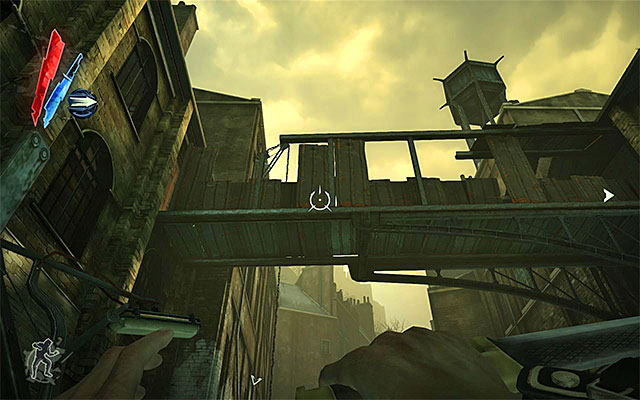
It is highly advisable that you go to the Greaves Refinery because, that is where Corvo's gear Has been dropped. You can infiltrate the refinery in two different ways. Variant one assumes that you get inside the building to the left, shown in the above screenshot. To do that, you either need to teleport to the catwalk overhead, or climb the loose chain. It's also a good idea to explore the abovementioned catwalk because, you can find there pistols, bolts, ammo and grenades. Next, teleport over to the building's roof and jump into a large hole.
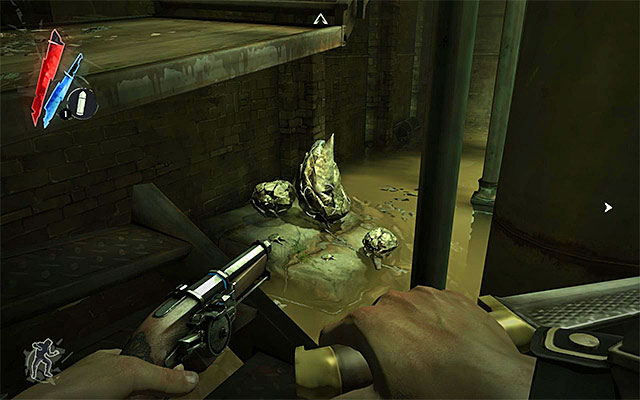
Be careful, because there are river krusts inside the abovementioned building. Since there are no enemies around, you can eliminate them using your pistol. Still, I recommend using grenades for this, especially that you can eliminate an entire group of these with just a single explosion. As you will be passing through the building, look around for ammo and further grenades.
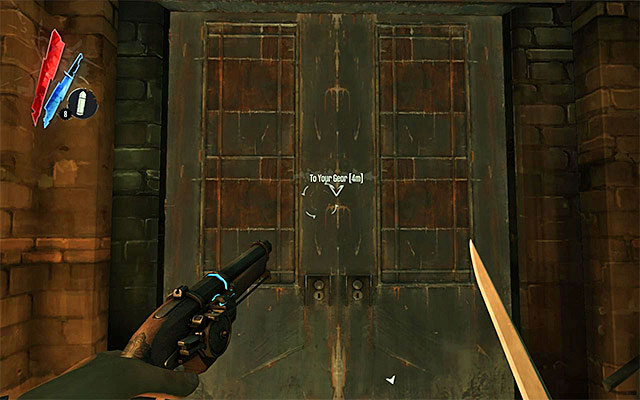
It would be a good idea to explore the entire building before you leave it, unless you want badly to retrieve your gear or you do not plan on fighting any more river krusts. Around, there is gold (also retrieved from the bodies of the river krusts), Sokolov's health elixir and Orders from High Overseer Campbell. Eventually, take the door shown in the above screenshot. .
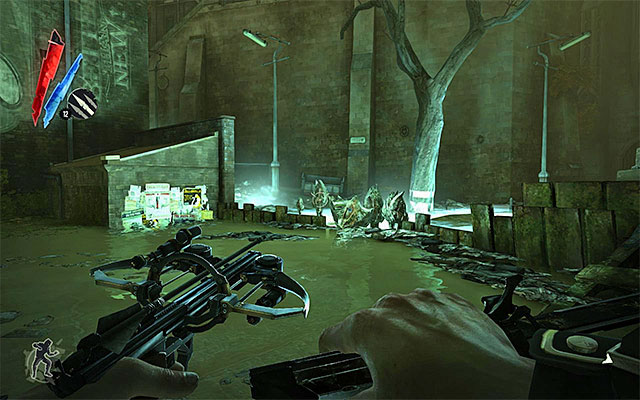
Variant two assumes that you reach the more distant entrance to the refinery. While exploring Rudshore waterfront go straight ahead, and remain close to the water. Eventually, you should reach a place, where you will encounter river krusts. The easiest way of disposing of them would be with your crossbow, but you can walk around them by climbing onto the rooftops of the surrounding buildings. In this situation, however, you should watch out for assassins that stay up there.
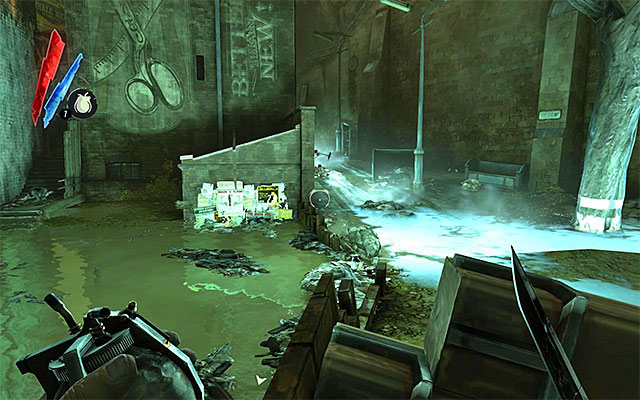
After you reach the end of the water reservoir, turn left and take the path shown in the above screenshot. You need to be careful here, because there are weepers around (the above screenshot). I recommend that you render them unconscious one by one. Although, you can just as well keep moving along rooftops, using powers available to you (e.g. Possession). On your way, keep looking around for gold, food, pistols, ammo, grenades and Sokolov's health elixirs.
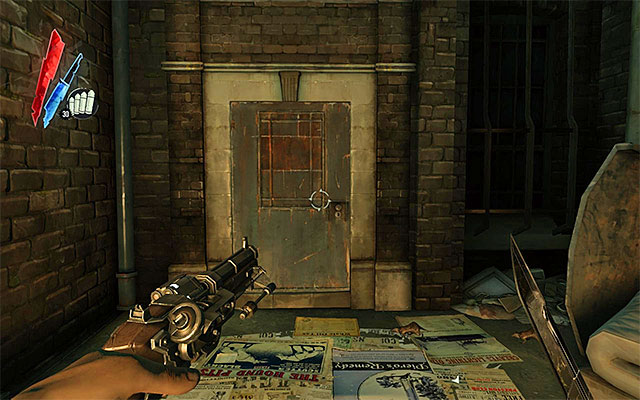
Eventually, you should reach a small camp with two weepers. Eliminate them or go around them, and find the refinery door shown in the above screenshot.
![If you have chosen variant one to reach the [Greaves Lightning Oil Refinery], you should be starting the exploration of the area in front of the gates (the above screenshot) - Exploring the Greaves Refinery area - Mission 7 - The Flooded District - Dishonored - Game Guide and Walkthrough](https://game.lhg100.com/Article/UploadFiles/201512/2015121517560558.jpg)
If you have chosen variant one to reach the [Greaves Lightning Oil Refinery], you should be starting the exploration of the area in front of the gates (the above screenshot). Search the area for Sokolov's health elixir, grenades and a note (Overseer's Warning). Then, use Blink (teleportation) to go around the first obstacle. If, however, you have chosen the second variant, you will be starting inside the building. In this case, you only need to reach the building's exit. On your way there, you can find food.
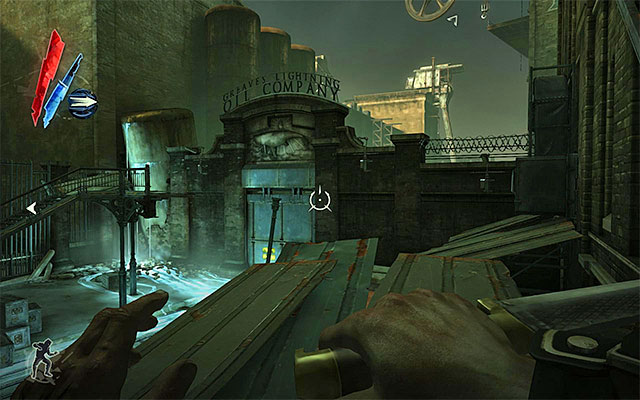
Regardless of the path you have chosen, you will reach a medium-sized square occupied by several weepers. Because the enemies are clustered together, you'd better not waste time or resources over them, especially that the only things to find here are gold and food. Therefore, it is much better to move along rooftops, and the other ledges above the ground, and use teleportation to go around the locked passage and reach near the refinery.
New Optional Quest: Find a way inside the Refinery
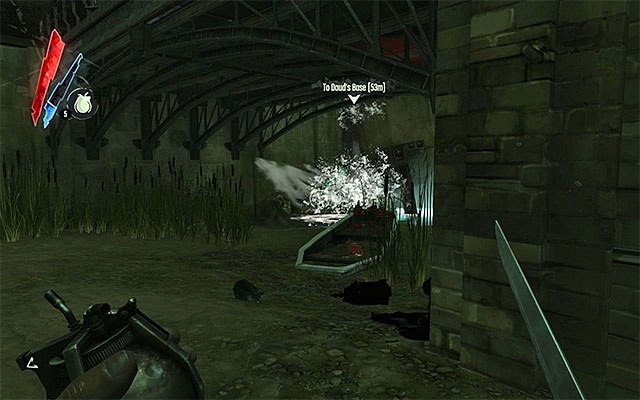
While exploring, you need to be extremely cautious about river krusts, especially that many of them may be initially overlooked. The creatures are grouped mainly near the water and it is best to use grenades to eliminate them, and especially because you do not need to concerned about being heard by anyone.
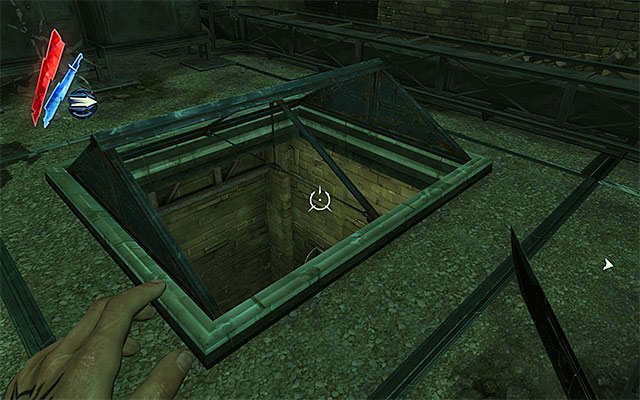
As far as the loot in this area is concerned, you can find here gold, food, a rune and two notes (Letter to Stew) (Refinery Safety Notice) that are a sort of a hint on how to solve the puzzle here. It is also a good idea to make use of the control room on the right. Jump inside through the hole shown in the above screenshot, and reach the room with gold, food, Sokolov's health elixir, Piero's spiritual remedy and a book.
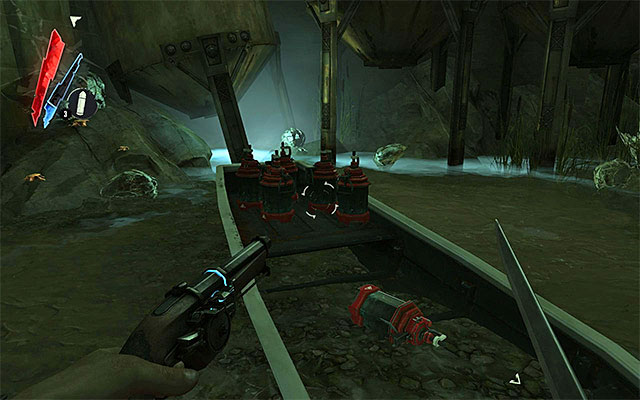
It isn't an easy thing to get inside the refinery building, and it's only possible by solving a puzzle of a kind, consisting in setting the machinery here into motion. Start by acquiring an empty whale oil tank, either from the boat near river krusts (the above screenshot) or by interacting with the machine for "summoning" empty tanks .
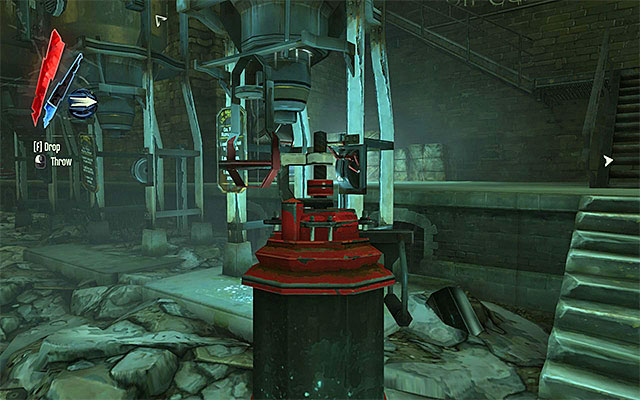
After you pick up an empty tank, take it to the unit shown in the above screenshot, located near the refinery building. Approach the unit so that it is automatically mounted into the unit. Then, pull the lever on the right, which will result in the tank being filled.
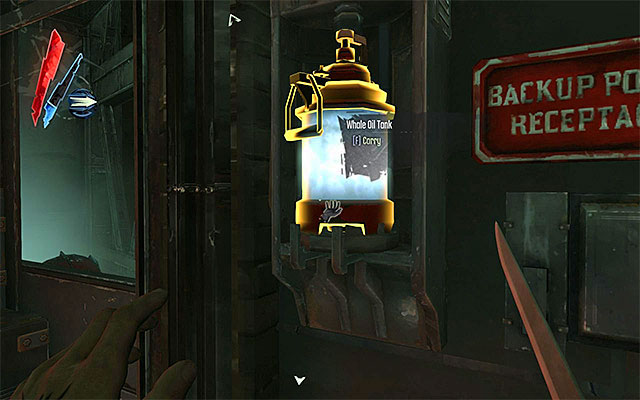
Take the filled tank and take the stairs to reach the nearby Control Room. Mount the tank in the Backup Power Receptacle.
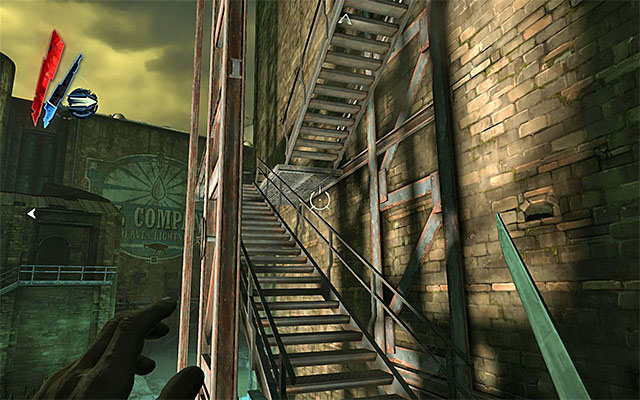
You may now pull the lever on the left (Stair Control). Leave now and go towards the staircase that has been lowered as a result of the most recent actions (the above screenshot). Climb the stairs to the very top. It is a good idea to take a look around the nearby balconies because, apart from gold you can also find here a bone charm.
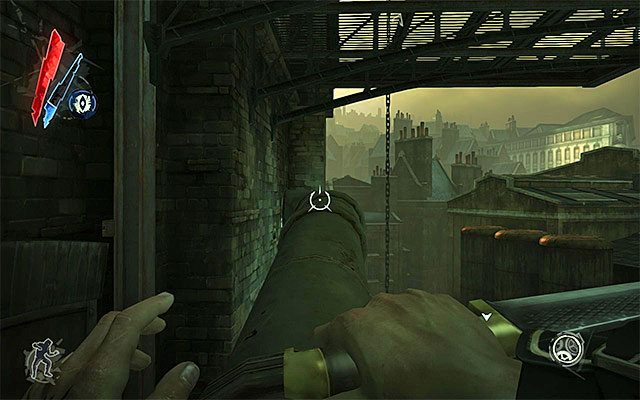
Go straight ahead. After you reach the end of the catwalk, catch onto the chain hanging from above, in order to continue on. Look around for gold and pass over the pipes on the outside of the building. Thanks to this, you will reach another chain, shown in the above screenshot. Listen to the conversation of two assassins who, after they finish talking, will fortunately leave this location. Climb the chain to reach the balcony that the assassins have been talking on.
New Optional Quest: Recover your gear
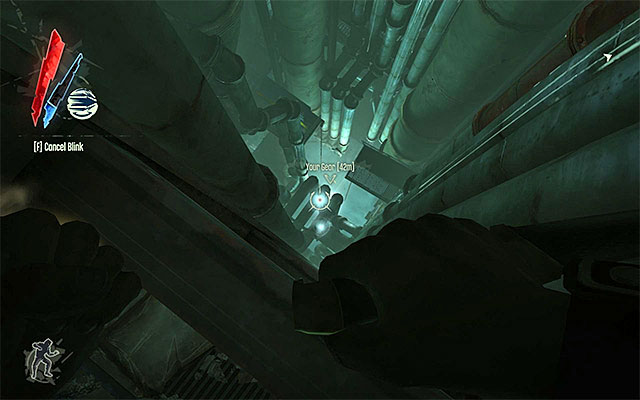
Enter the refinery, and start by searching around the area. In here, you can find gold, food, <br>a Refinery Foreman's Note and three books. Your destination now, is the ground floor of the building. If you want, you may try and jump down there (the above screenshot) , and use teleportation to aid you, but it is much better an idea to make a circuit, which will give you the opportunity of planning ahead of things.
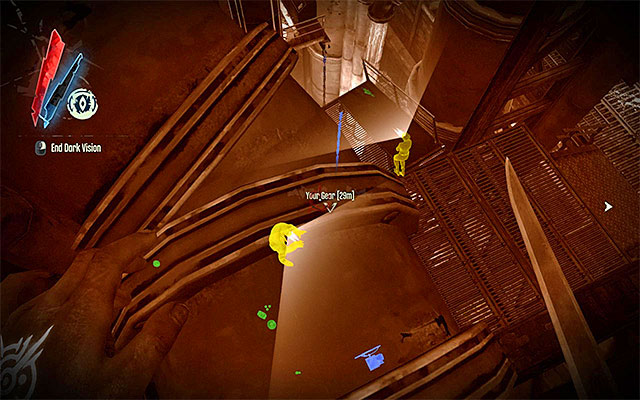
Go to the right of the refinery entrance, and stop in the spot shown in the above screenshot. Using your pistol, or your blade, smash the wooden planks in order to gain access to a storage room to the right. Collect gold and pick up one of the empty whale oil tanks.
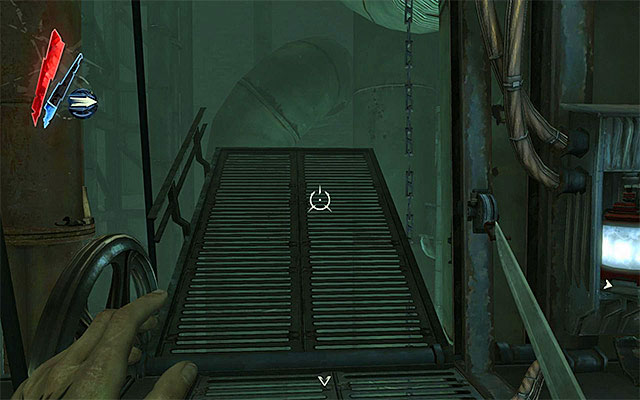
Toss the tank over the metal barrier, pick it up again and approach the nearby unit with it. Mount the tank and fill it with oil by pulling the lever. Collect the filled tank and carry it over to the nearby drawbridge. Mount the tank into the slot, which will result in the drawbridge being lowered (the above screenshot). Position yourself on the bridge, leap towards the chain to the right and start descending carefully.

This is not yet the end, as the lower floors of the refinery are occupied by weepers. The enemies can be avoided, with the use of teleportation, and by getting into areas ignored by them. You can also eliminate them, be getting them from behind and rendering them unconscious. While exploring the lower floors of the building, also look around for gold, food and two books.
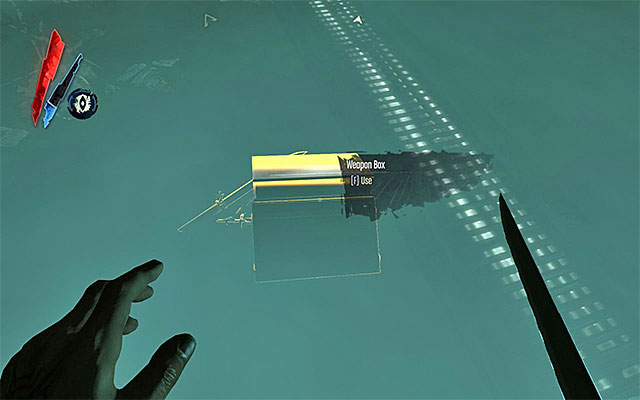
You can the bottom floor of the refinery by climbing down the chain, or by taking the stairs. Watch out here for yet another weeper. Regardless of whether you are going to dispose of the enemy or not, you should look around the area for a chest with Corvo's Gear (the above screenshot).
New Main Quest: Return to Rudshore Waterfront and proceed to Daud's territory
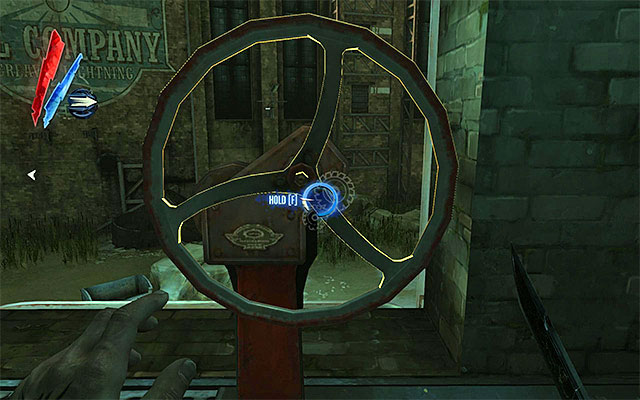
Before you leave the refinery, explore its ground floor to find gold and two Piero's spiritual remedies. You do not need to climb again, because you only need to go to the nearby balcony and interact with the handle shown in the above screenshot to open the exit way. You can now go towards one of the two abovementioned passageways connecting the refinery with [Rudshore Waterfront].
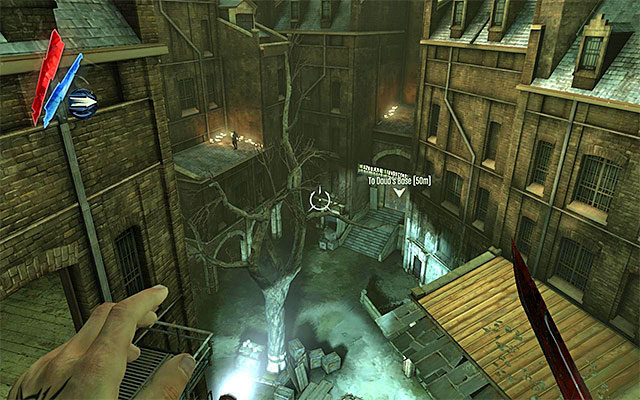
There is only one passageway leading up to Rudshore central part from the waterfront. It is located opposite the main water reservoir, than the passages connecting the waterfront with the refinery, described above. The easiest way to get there is by walking over rooftops of the nearby buildings. In this situation, however, you need to watch out for assassins.
Taking the rooftops is not the only option of getting to central Rudshore, as you can also take the footbridge that connects buildings on both sides of the water reservoir. You can also find a ventilation shaft in one of the rooms at the water, and get through it as a rat.
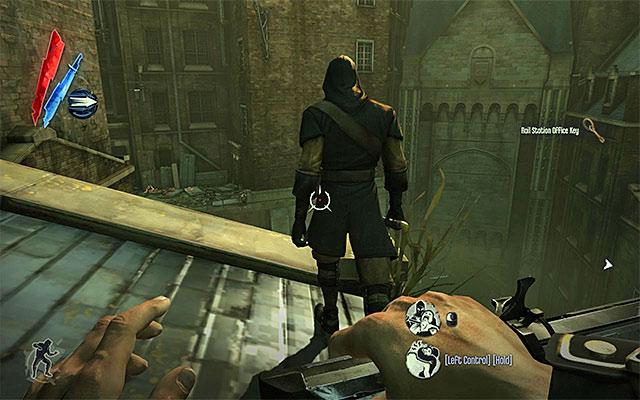
After you approach the discussed passage, you should notice that it is guarded by several assassins so, it would be a good idea to plan ahead. It's not the only problem you will have here, because you will have to obtain a rail station office key before heading for the next location. You can find the keys at nearly every one assassin in this location so, it would be the easiest thing just to snatch the key from one of them.
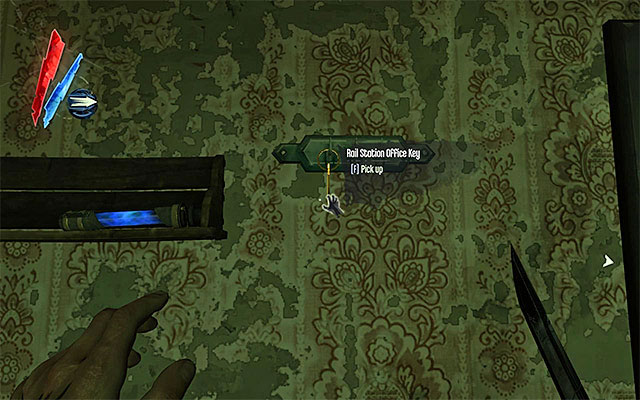
If you do not want to come close to the assassins, there is yet another way to obtain the rail station office key. You just need to explore the buildings located near your current destination, and you should find what you are after (the above screenshot).
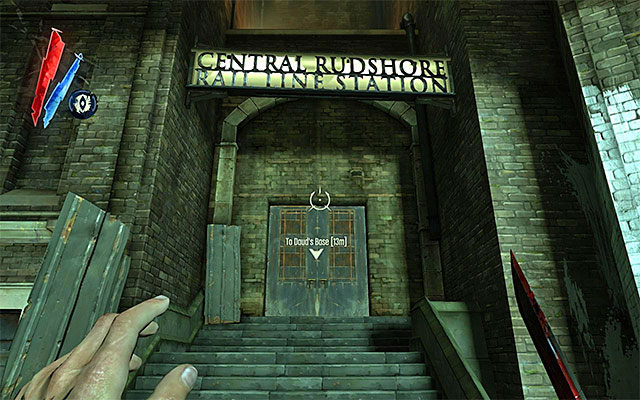
After you obtain the key, you can adopt one of several courses. The easiest solution would be to eliminate all of the assassins that guard the entrance to the central Rudshore, but you would have to reassure that you aren't spotted by them. If you do not want to take risk, you may, for example, use time hold or teleportation (in the latter case, it is a good idea to go through an unlit tunnel to the right of your current destination). Regardless of what you choose, at the end, take the door to the central Rudshore (the above screenshot).
New Main Quest: Infiltrate the base and find Daud
![While exploring the [Central Rudshore], you also need to watch out for numerous assassins that are staying here, especially that they won't be staying on rooftops anymore and, instead, they will be patrolling balconies ad ledges below - Exploring Central Rudshore - Mission 7 - The Flooded District - Dishonored - Game Guide and Walkthrough](https://game.lhg100.com/Article/UploadFiles/201512/2015121517560834.jpg)
While exploring the [Central Rudshore], you also need to watch out for numerous assassins that are staying here, especially that they won't be staying on rooftops anymore and, instead, they will be patrolling balconies ad ledges below. You can go around the assassins in two different ways, i.e. either by swimming through (there are no piranhas in the water here), or by using roofs of the tallest buildings.
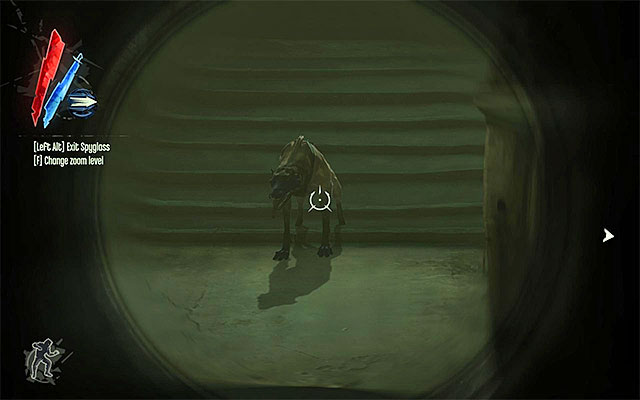
Unfortunately, assassins are not the only threat you have to deal with in here. Around Daud's base there are also several hounds. The good news, though, is that the hounds never stay near assassins, so you should be able to dispose of them relatively easily. The best method to adopt here is taking them out with your crossbow, so you do not draw unnecessary attention.
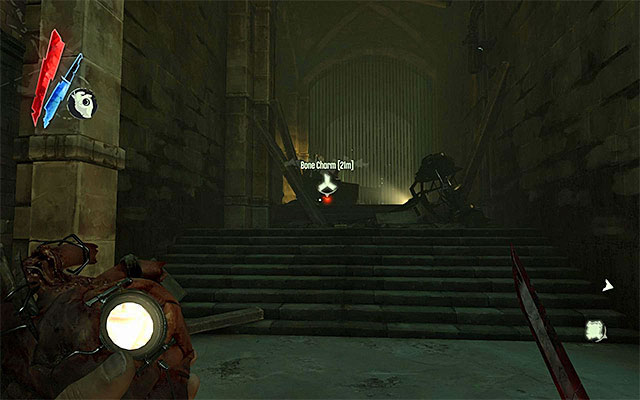
The loot you can find in the central Rudshore is quite standard, i.e. gold, food, ammo, Sokolov's health elixirs, Piero's spiritual remedies and two books. There are, still, two places that are worth mentioning. The first one of them is located at the very end of the explored location, right after you pass the water reservoir and the areas guarded by assassins. If you manage to get rid of two hounds, you will find a corpse with ammo and a bone charm on it.
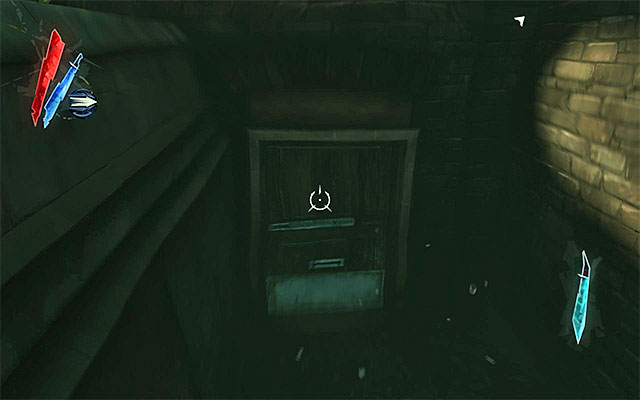
The other one of the interesting areas is not that easily accessible, and you need to dive to get there. Explore the area to the left of the starting point, and you should notice a spot, shown in the above screenshot, that can be used to get into a partially flooded building.
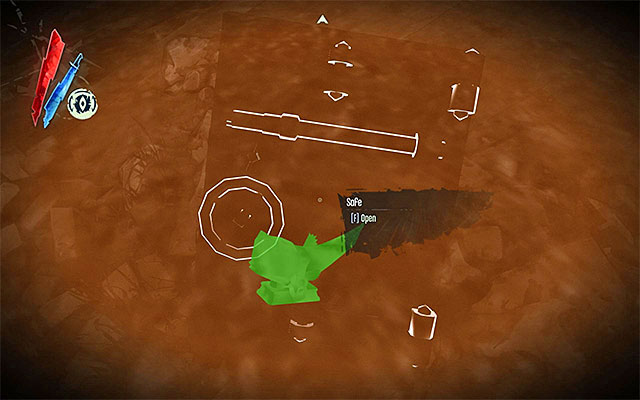
Once inside the flooded building, you need to act fast, of course, as you have a limited amount of oxygen. Take the stairs to the left and swim into the flooded basement. In here, you should notice a safe, the combination to which can be obtained in the previous location - it's 428. Inside the safe, there is a valuable item.
![Daud's headquarters is the tallest building in the [Central Rudshore], and the quickest way to get there is by taking the main path leading from the starting point (the above screenshot) - Infiltrating Daud's headquarters - Mission 7 - The Flooded District - Dishonored - Game Guide and Walkthrough](https://game.lhg100.com/Article/UploadFiles/201512/2015121517560861.jpg)
Daud's headquarters is the tallest building in the [Central Rudshore], and the quickest way to get there is by taking the main path leading from the starting point (the above screenshot).
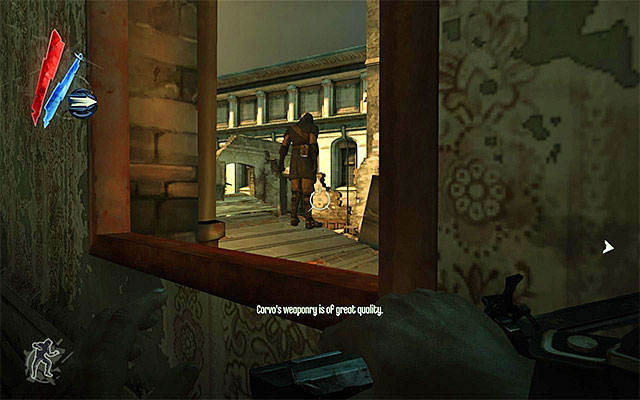
The main path is not the best choice, however, because it's constantly being patrolled by assassins. I recommend that, instead taking the main path, you go through the buildings located to the right of Daud's headquarters. Thanks to this, you will emerge behind enemy lines.
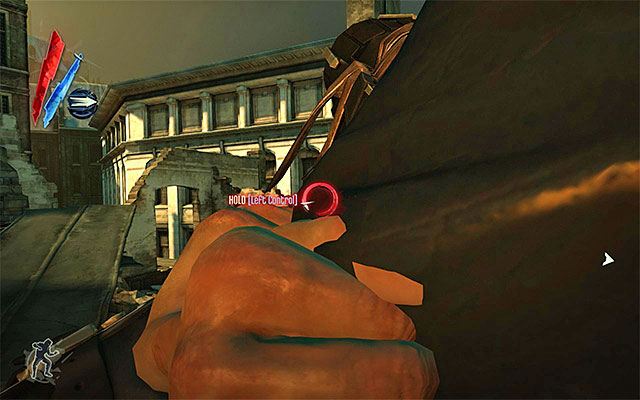
And now, bad news. First of all, there is only one footbridge leading to the headquarters, secondly, the headquarters is being watched by scores of assassins. If you are going to eliminate the enemies, make sure that you do it with care. Remember also that assassins can too use powers (this is also true for teleportation). Just like in the case of the previous location, try to catch the falling bodies of the choked enemies, to prevent them from dying as a result of the fall.
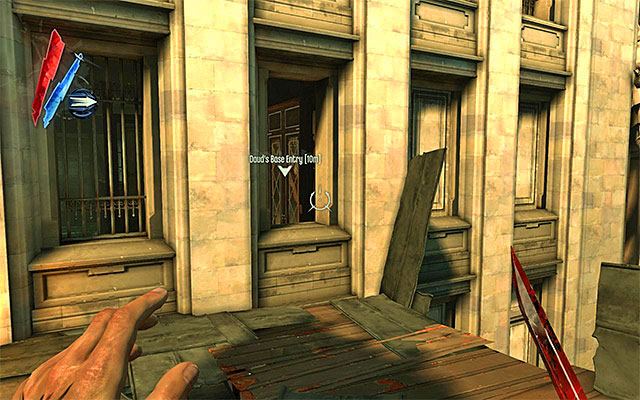
If you don't want to eliminate the assassins, you need to make use of your powers. A traditional solution to this kind of issues is holding time, but you can also squeeze past your enemies using teleportation, or use the power of Possession. Regardless of what you choose to do, take the passage shown in the above screenshot.
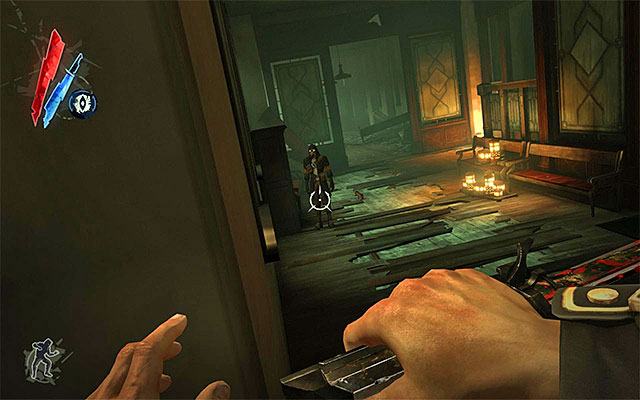
Take your time now, because the first assassin is standing to the left of the entrance, and he should be facing you. The best way to go around him is by teleporting, holding time, or using the power of possession (the nearby rats or the assassin himself). Take the opportunity and search around the first location in the headquarters to find gold, two notes (Notice from Daud) (Instructions from Daud) and sleeping bolts. For the time being, ignore the cabinets that are now locked. You will be back here when you obtain the right key.
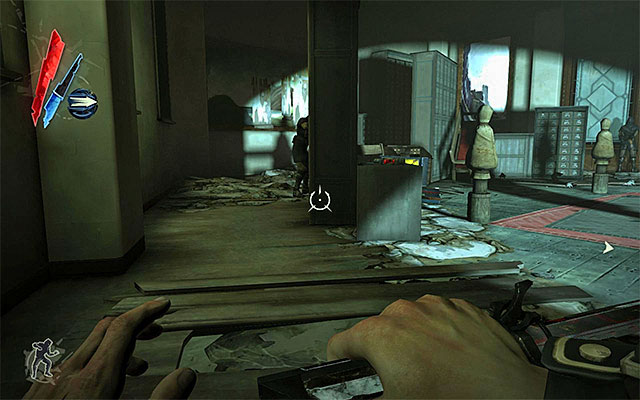
Go left now, and watch out for one more enemy. After you reach a larger room, you will encounter two additional assassins. If you are going to eliminate them, you'd better act quickly, and take out the student first, and then the teacher, who is turned away from you. Otherwise, try and walk past them and remain in shadows to the extent to which it is possible. As far as the room is concerned, you can find here gold, Sokolov's health elixir and a Piero's spiritual remedy.
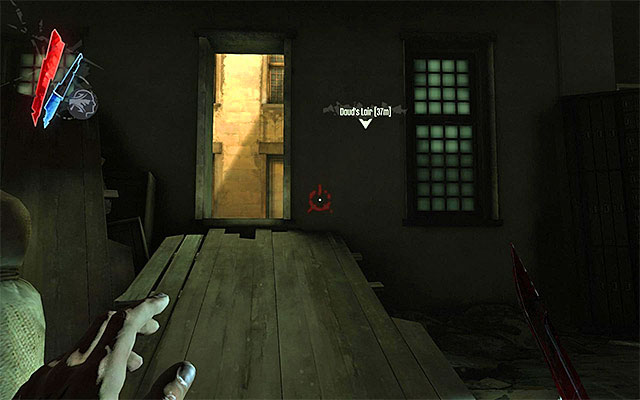
Regardless of whether you have dealt with the abovementioned assassins or not, you now need to reach the passage shown in the above screenshot. After you get to the lower-located roof fragment, use teleportation to reach either of the windows above. Personally I recommend the window to the right, which will make you get closer to Daud's chamber. Thanks to this, you will be able to eavesdrop on the conversation he is having with one of his subordinates. If you chose the other window, It may be necessary to eliminate, or avoid a single assassin.
New Main Quest: Steal Daud's key
New Optional Quest: Exact your revenge on Daud - blood for blood
New Optional Quest: Send Daud a message - steal the pouch from his belt, then leave him unharmed
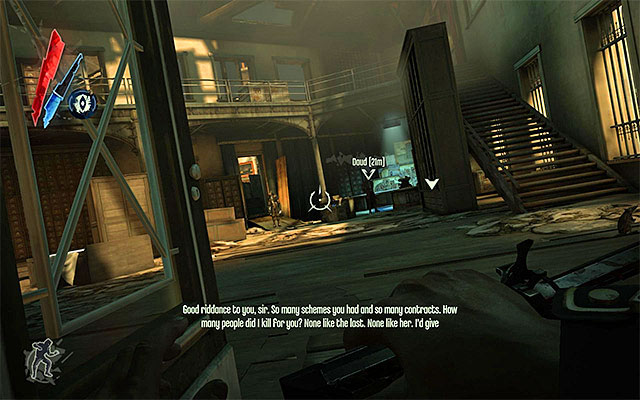
Notice here that the game gives you the opportunity to choose whether you want to kill Daud, or merely humiliate him by stealing from him and letting him live. The second variant is, of course, more advisable.
I recommend against attacking him directly, because Daud is accompanied by another assassin, plus he himself is "immune" to most of your powers and weaponry. As a result, don't count on being able to get close to him by using time hold, or that you can kill him with a bolt to his head. As a matter of fact, the only exception here is the power of Possession (there are several rats around) that enables you to get behind his back (the above screenshot).
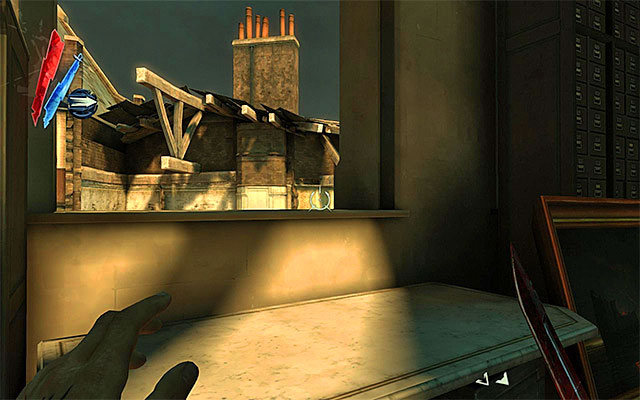
Another way to get close to Daud (with the intent of killing or robbing him), is by making your way to the first floor of his chamber. It is a good idea to use teleportation here. Exploration of this floor should be put off for later and, for the time being, focus on the opened window shown in the above screenshot.
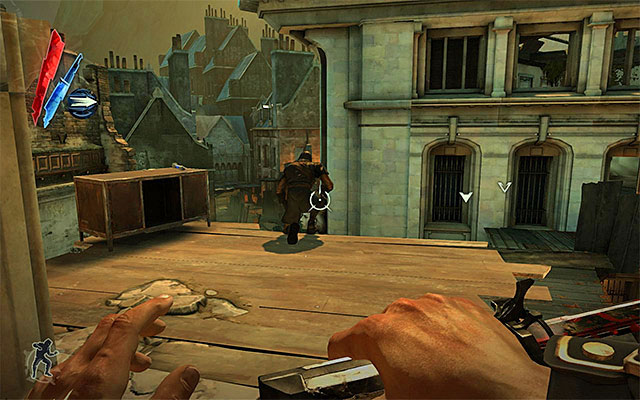
Remain vigilant here, as the nearby walls are patrolled by additional assassins. If you are going to eliminate them, start with the ones located on the highest floor and go successively towards lower levels. You can, of course, take the opportunity and explore the whole of the ruins. In the ruins, you can find gold, food and Piero's spiritual remedy.
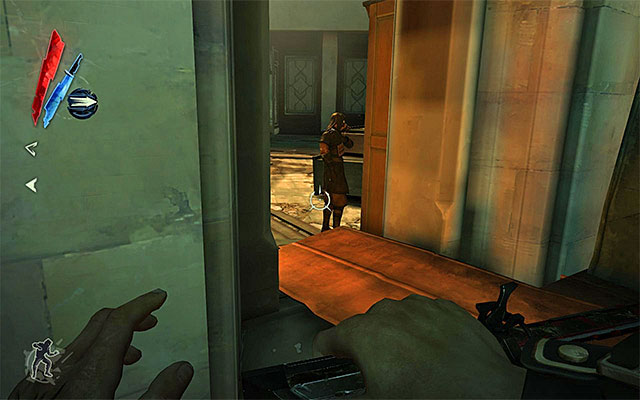
Eventually, you need to get to the second window, shown in the above screenshot. It is located behind Daud's, and the other assassin's back so, below the one that you left the building through.
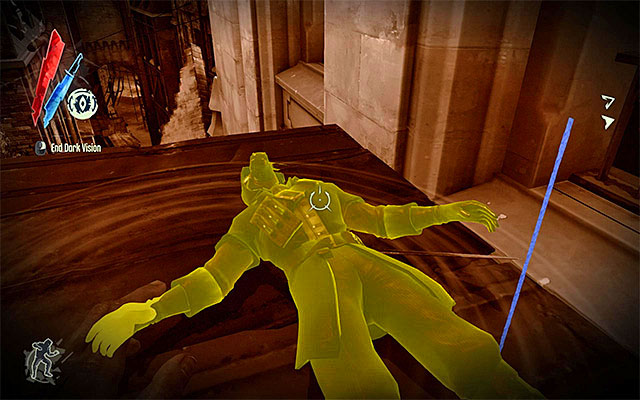
It is Daud's guard that it is best to take care of in the first place. Wait for Daud to turn another direction and, quickly, get the guard from behind to kill him or render him unconscious. Then, lift the body and carry it away, outside of the building.
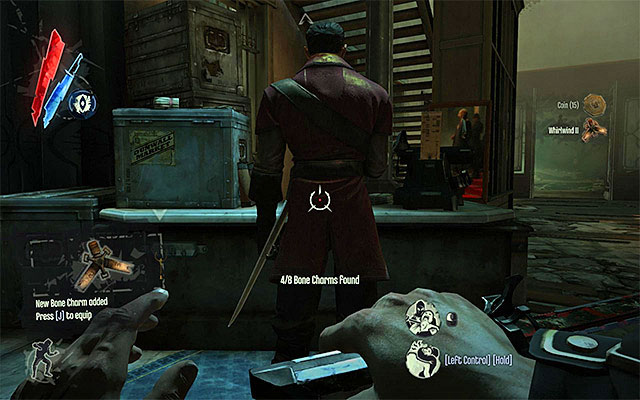
Then, come close to Daud. It is now that is the best moment to decide whether you want to kill him, or spare him. If you prefer to go aggressive on him, perform standard execution that he can defend himself against. If you prefer to do it peacefully, steal his pouch to obtain gold and a bone charm.
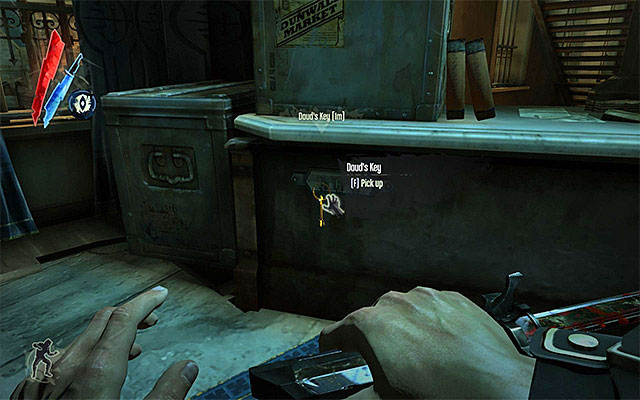
What is interesting, if you have robbed Daud, there is nothing to stop you from rendering him unconscious because, this will not make you fail the optional quest. The point worth considering here, is that you will be able to explore Daud's chamber unobstructed. Start by collecting Daud's key. On the ground level there are Sokolov's health elixir, Piero's spiritual remedy, two books and an Audiograph (Thoughts on the Lord Regent's Fall). On the second floor there are gold, four books, plus a locked chest with a valuable item and a letter (Letter to Daud) inside.
New Main Quest: Use the tunnel under Daud's base
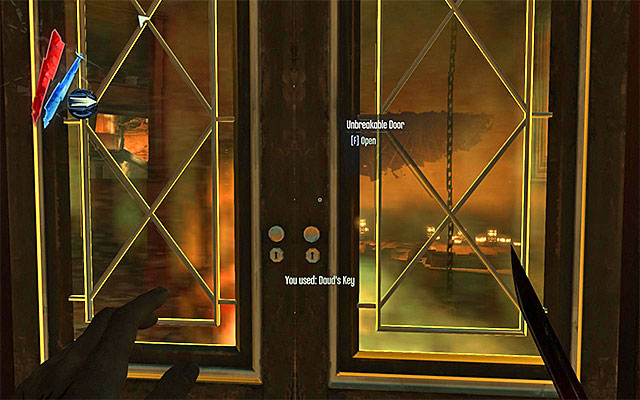
You can reach the tunnel in two different ways. The best idea is to take the same way you came here, to return to the lower level of the headquarters, so that you are back to the room where your starting point was. Use the key to unlock two, inaccessible by default, cabinets (there is gold inside) and the door shown in the above screenshot.
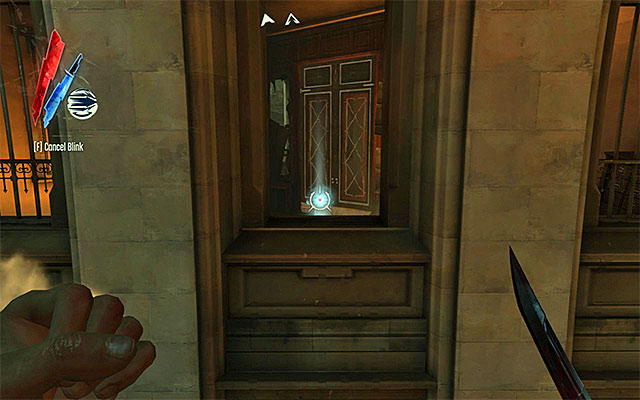
Another variant is to find a hole in the building's wall, thanks to which you will be able to go around the abovementioned hole. The downside of this approach, however, is that, if you haven't disposed of the assassins guarding the walls at the building's back, you will now have to eliminate or avoid them.
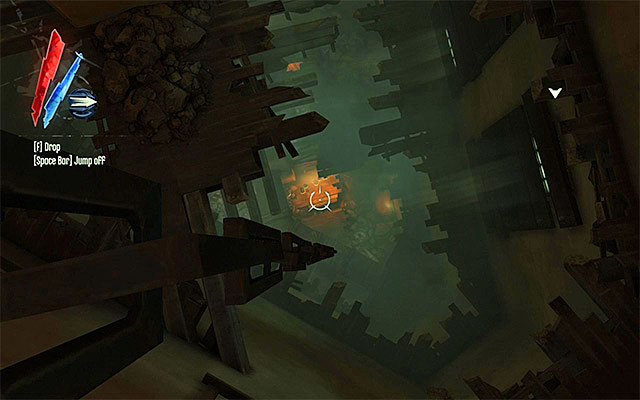
Regardless of your approach, you will end up in a small room with chain hanging loose. Leap towards the chain, and start to climb down. I recommend against sliding all the way down, to the bottom. Instead, explore the building's floors as you go down. This will enable you to find a Sokolov's painting, a rune and a Letter to the Director.
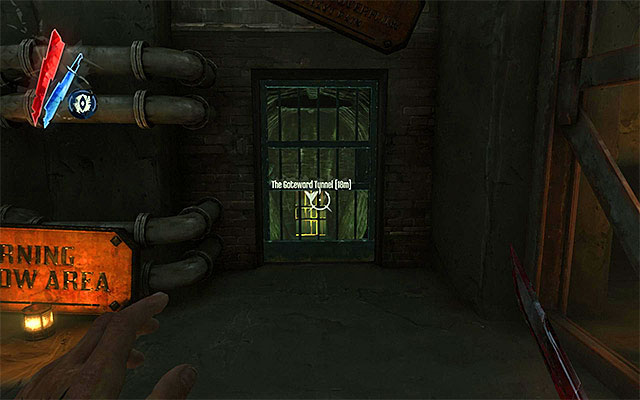
After you reach Daud's underground headquarters.
New Main Quest: Get through the quarantine wall and out of the Flooded District
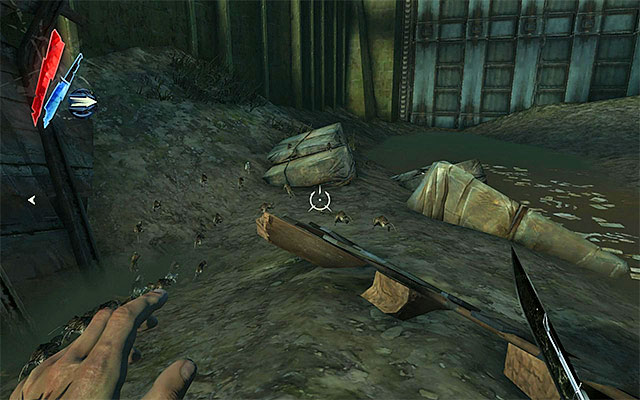
Right after you emerge from the tunnel, start exploring the area by going to the right. Watch out for a group of rats, that may attack you out of a sudden. They can be disposed of with your pistol or with grenades, but you can also avoid them by jumping onto one of the boulders and killing them off with your blade. After you dispose of the rats, explore the area in search of a bone charm.
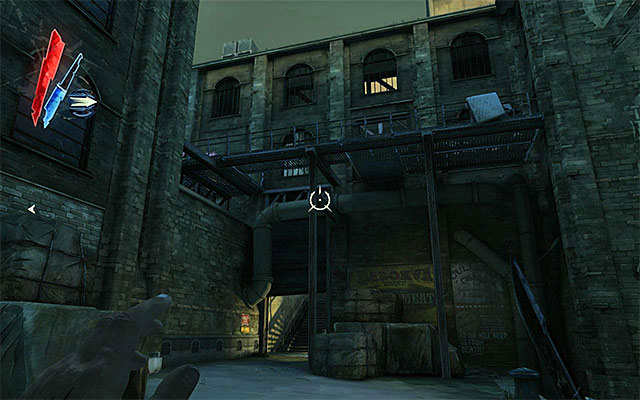
Backtrack to your starting point and, for a change, go left now. After you reach the place, where bodies are tossed out from railway cars, turn left. On your way, you should pass two civilians, but you do not need to help them, nor fear any negative reaction on their part. Go towards the warehouse shown in the above screenshot.
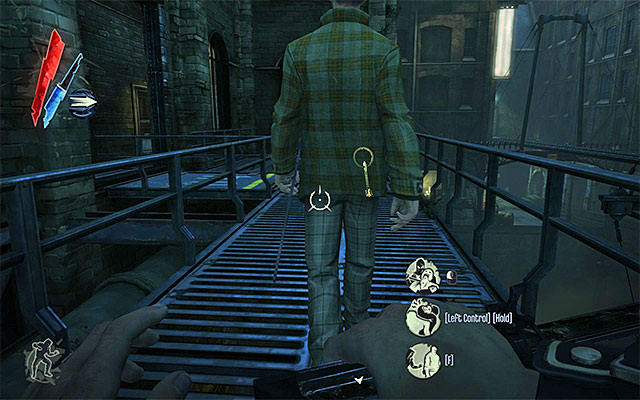
In the area, there are two bandits, who are neutral towards you, and it's worthwhile to listen to their conversation. This way, you will learn about one of the possible routes past the quarantine wall. After they are done talking, it is a good idea to rob one of them to obtain the Mosley's warehouse key.
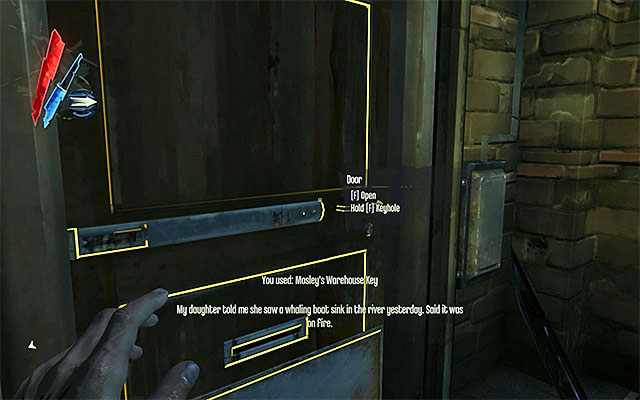
It's best to use the key right away to open access to the room located on this floor of the warehouse (the above screenshot). In here, you can find gold, ammo, a Letter to Ferg, a rewire tool and a Sokolov's health elixir.
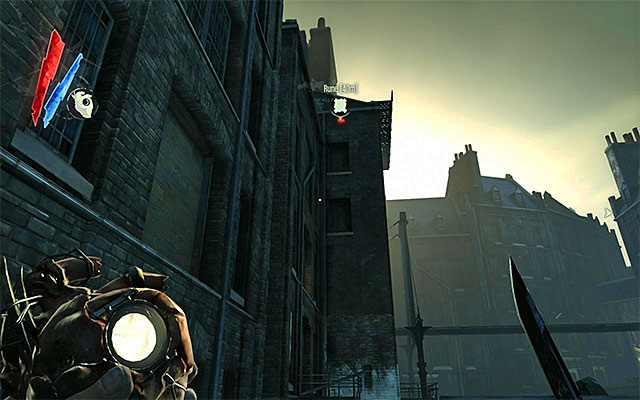
Return now to where you earlier met the two civilians. I recommend that you devote a few moments to exploring the buildings located on the left (the above screenshot). You can reach the higher levels of the building by using teleportation. On your way up, you will be finding gold, food and Piero's spiritual remedy. In one of the chambers, you will meet an infected woman, and from her, you can also learn how to get past the quarantine wall.
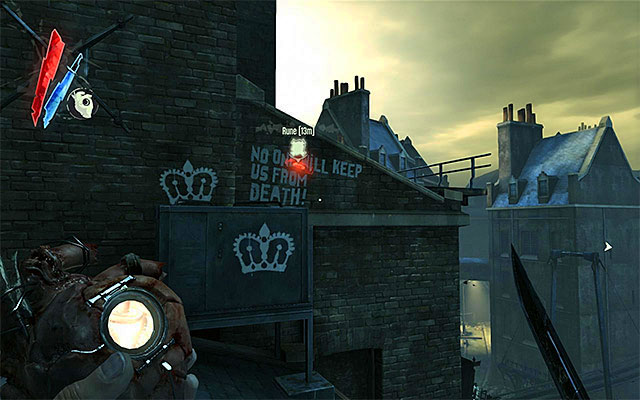
After you are done talking to the woman, collect gold, food, bolts, book and a Letter to Alfa. Continue towards the top floors . Your current destination is the roof shown in the above screenshot, where there is a rune. It is worth remembering this place, because you may be back here sometime in the future.
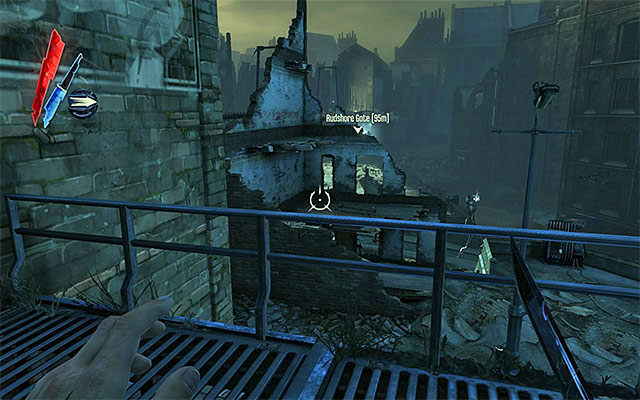
Another step to take is coming near the main square in this area, i.e. the [Rudshore Gate]. This can be done in two ways. The first one is to near the square from the side of the warehouse with the two, previously met criminals. You need to watch out, however, because there are a few guards around.
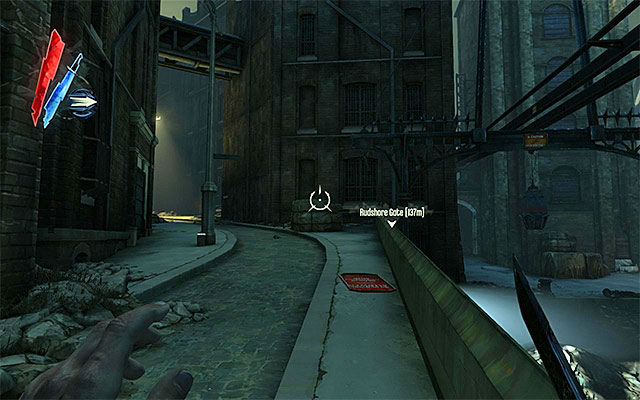
Variant two consists in taking the roads behind the railway track, that the train stops on to unload the bodies. The good thing about the path is that it isn't watched by anybody.
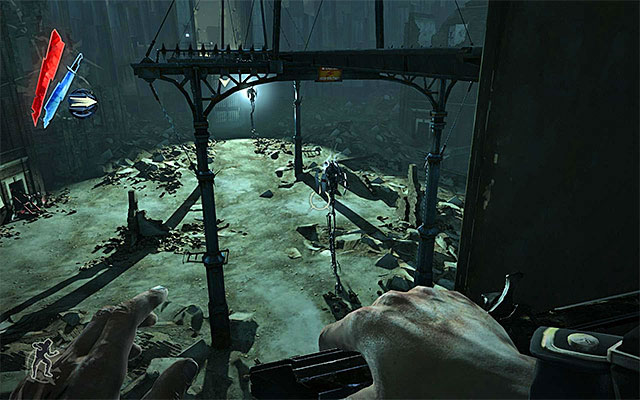
The most serious threat on the square neighboring with the quarantine wall, are tall boys. Remember that their range of vision is wider than that of regular enemies so, you need to be even more careful if you don't want to be spotted.
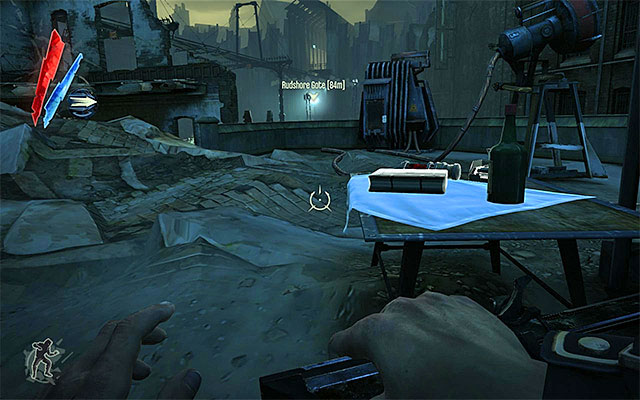
An interesting point here to mention is that the game allows you to distract tall boys. In order to do that, you would have to supply a whale oil tank (it's in the warehouse that you earlier opened with the key), to the slot shown in the above screenshot. I strongly recommend against doing this, however because, after spotlights turn on, tall boys focus on the civilians inside the nearby buildings and start eliminating them. It is, yet, a good idea to explore the area around the slot to find gold, food, ammo, Sokolov's health elixir, Piero's spiritual remedy, a book and two notes (Contractor's note) (Tallboy Orders).
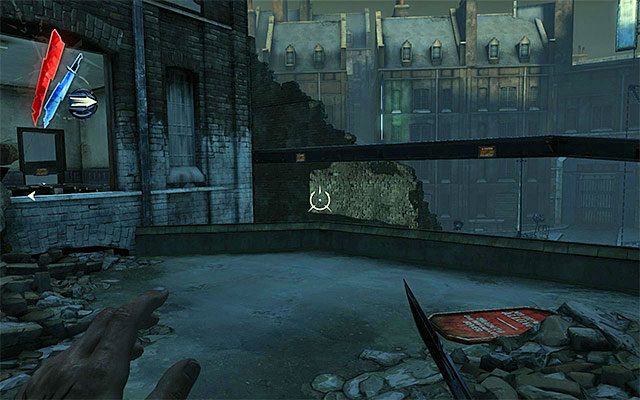
To wind up with, I recommend that you explore the buildings to the left of the railway track and the quarantine wall (the above screenshot). The buildings are best reached from the side of the abovementioned side alleys. You can find here gold, food and ammo. It is worth adding that a small room of one of the buildings is locked, but you can access it through the window.
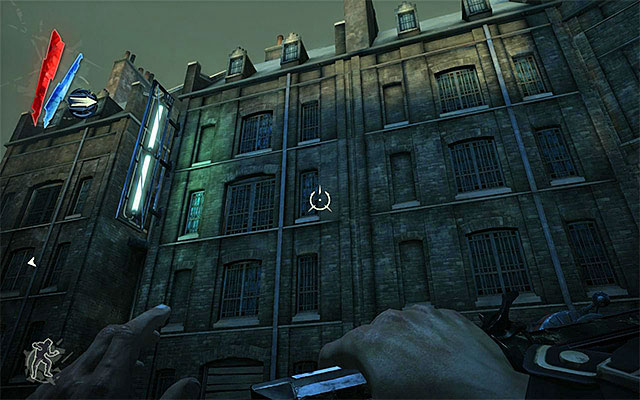
Survivors are staying in the dwelling house located to the right of the main square and the quarantine wall (the above screenshot) and it would be a good idea to go there before you decide to leave the area. Be cautious because the area around the tenement is patrolled by tall boys.
After you reach the dwelling house, start exploring it and listen to the conversations that the survivors are having. The only person to address you directly is Blake (the above screenshot). He will be ask you to disable the nearby arc pylon and secure the area, so that the survivors can safely leave.
New Optional Quest: Disable the arc pylon in the back court
New Optional Quest: Keep Blake safe
New Optional Quest: The tallboys and watchmen will attack any of the survivors on sight - keep them from harm
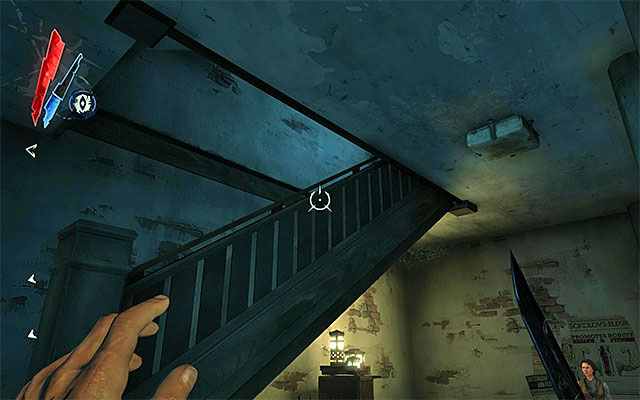
After the two of you are done talking, collect the tenement's key from the table to the right of Blake. Also, finish up the exploration of the building's ground floor to find gold, food and a book. After you are done, find the stairs to the first floor (the above screenshot).
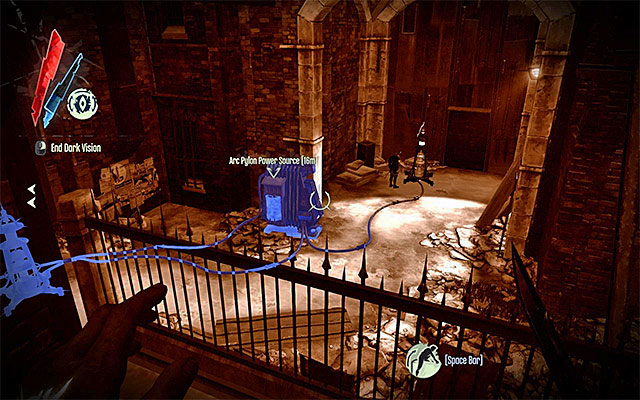
Make your way to the building's top floor to find some gold. Eventually, you should reach the balcony shown in the above screenshot, which gives you a perfect view of the court.
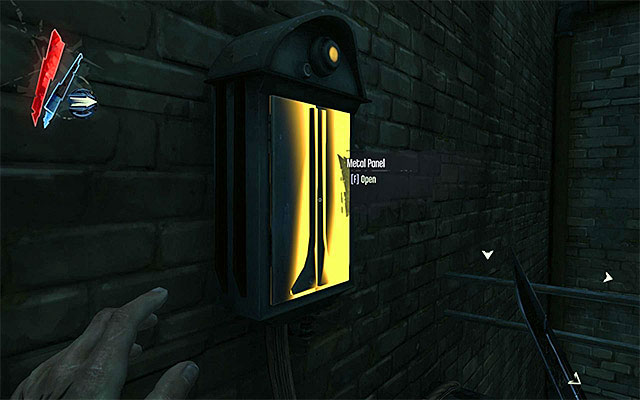
There are two things that you can do here. Variant one assumes that you reach the balcony on the left featuring the control panel for the arc pylon, which you need to reprogram. The downside of this approach is that, as a result, the guard that you can see below will be electrocuted.
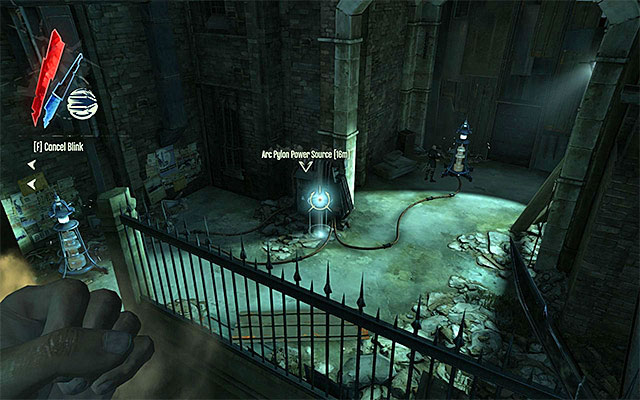
Variant two assumes that you teleport to the pylon's power supply slot. In this situation, however, you need to act quickly and remove the whale oil tank before you are electrocuted yourself. What is even more, after you pull that off, you need to take care of the guard (it's best to sneak up from behind and choke him). Regardless of what you decide to do, you also need to explore the area to find incendiary bolts, grenades, Sokolov's health elixir and Piero's spiritual remedy.
New Optional Quest: Go tell Blake that the coast is clear
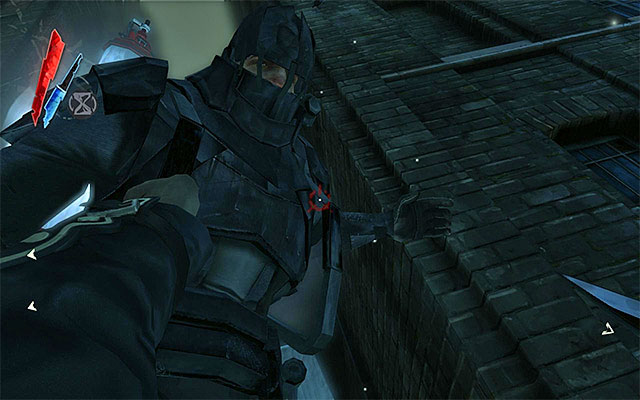
The new quest is somewhat misleading because there are still tallboys to deal with. If you are planning on going aggressive, it's best to get rid of them with incendiary bolts and grenades. Otherwise, it is a good idea to eliminate them quietly, e.g. by jumping towards them, or teleporting towards them, and performing standard executions (the above screenshot). Try, and eliminate both of the tallboys this way.
Note - do not count on it that waiting for the tallboys to move away will do the trick. Civilians need to be protected up until the moment of their leaving this location. Just because they are not spotted initially, will not do, because they may also be attacked after they reach the court.
Note - if you do not want any alarm to be raised, make sure that you conceal the bodies of the defeated enemies properly.
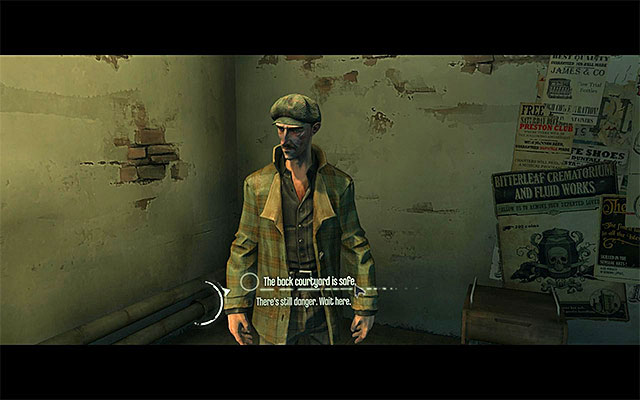
Only after you secure the area properly, return to Blake and choose the upper-right dialogue option during the conversation with him.
New Optional Quest: Stand watch as the survivors move to the safe haven
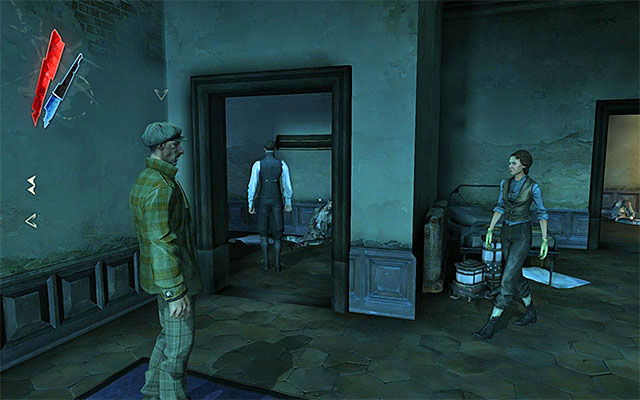
Since you have already disposed of both the guard and the tallboys, you do not need to perform any additional action. It is enough if you just wait for all of the civilians to leave the tenement and reach the yard. After you do that, you will complete this mission. You may now carry on with different business, or devote several moments to listening to Blake's speech.
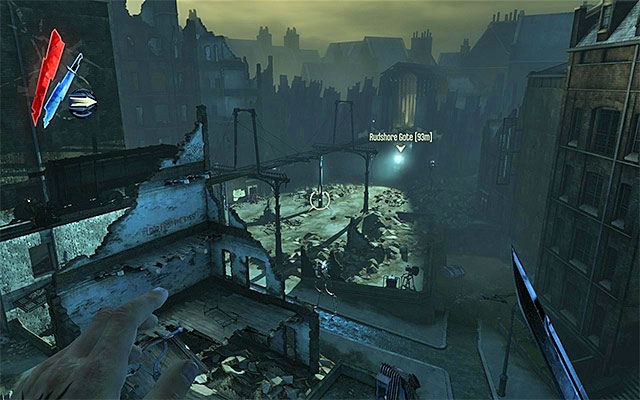
First off, a quick summary and a reminder at the same time. The quarantine wall that you need to get across, is located in the [Rudshore Gate], and the neighboring square is being patrolled by both regular guards and tallboys. An important piece of information is that the next area cannot be reached in a standard manner, because you are separated from your destination by an active wall of light. Below, there are suggested paths to follow here.
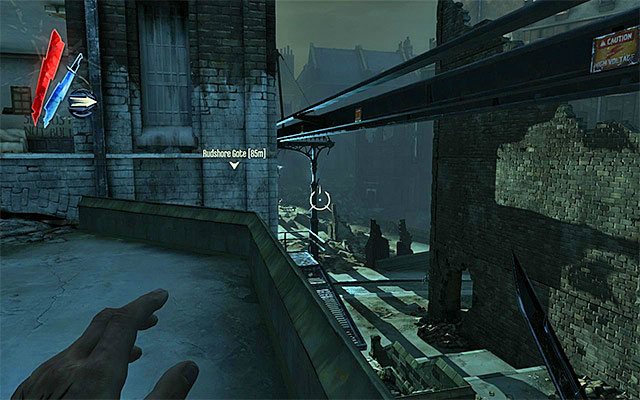
Variant 1; approach the quarantine wall from the left) If you want to approach the quarantine wall of light from the left, you need to get through the ruined buildings, mentioned in one of the previous subsections to this guide. It isn't too demanding a process, but it is a good idea to make sure you don't remain near windows, and other exposed spots, for too long.
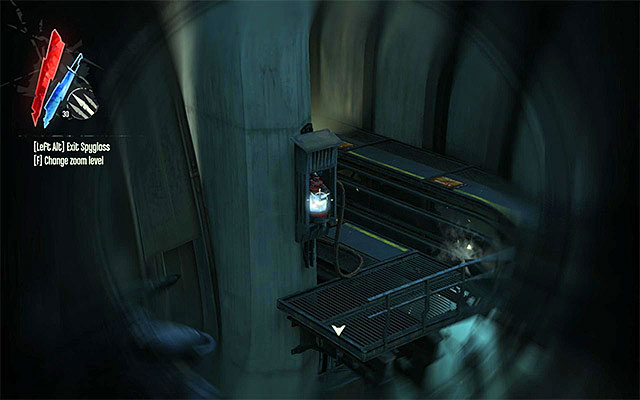
After you sufficiently near the wall of light, you should notice a power supply whale oil tank. Since you cannot reach the tank, and remove it, the best idea is to destroy it using your crossbow. After the wall of light is disabled, you can resume on your path, being, at the same time, mindful of tallboys.
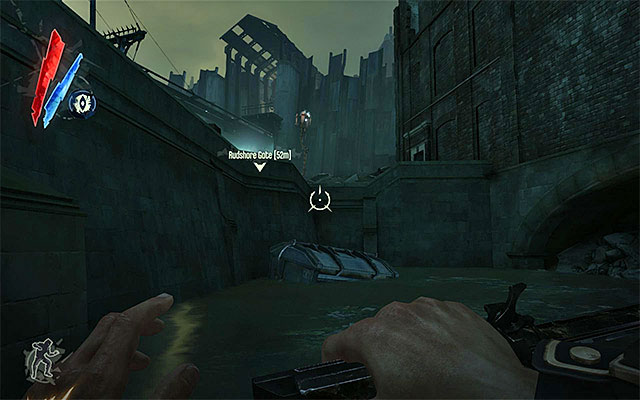
Variant 2; approach the quarantine wall from the right) If you want to approach the quarantine wall from the right, you need to walk near the building in which the survivors stayed. It is better to stay on the lower floor (the above screenshot), because this minimizes the risk of being spotted.
After you get sufficiently close to the wall of light, you need to use Blink (teleportation) to teleport to the balcony that is adjacent to the wall. Meanwhile, you should also avoid being spotted by tallboys. After you reach the upper balcony, use Blink again to avoid the live wire and approach the tank to remove it, and to disable the wall.
Variant 3; take the rail) The most interesting one of the available variants. It allows you to go around all of the tallboys around the wall of light. If you are going to take the rail cruising around the area, start where bodies are dumped from the bridge (the above screenshot).
The plan assumes that you get to the roof of one of the buildings, so that you can jump off of it onto the rail's roof. You need, therefore, start climbing up the buildings to your left (the above screenshot).
While climbing, you of course need to aid yourself with Blink (teleportation), and try not to lose your balance. Your destination here, is the roof shown in the above screenshot.
Position yourself directly above the tracks and wait for the rail to come, which may take a little while. When the rail stops and starts dumping bodies, use teleportation once again to mount it.
The rail should soon pull away. You cannot yet relax, because, as you can remember, you are nearing an active wall of light. You, therefore, need to jump off the rail sufficiently early, or use your crossbow to shoot the power supply tank on the move.
New Main Quest: Travel to the Old Port District
Summary) All of the variants described above, will allow you to disable the wall of light and, at the same time, get to the other side. Jump down to a lower level and find the door shown in the above screenshot, thus reaching the [Old Port District Outskirts]. Approach the second door and wait to be taken to a new location.
New Main Quest: Find a way through the sewer to the pub
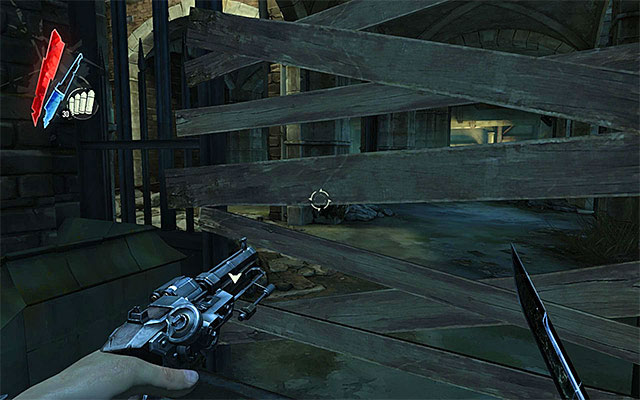
Go ahead and turn left.. DO NOT SMASH the wooden boards because this will draw unnecessary attention from weepers to you. Apart from that, even if you eliminated them, apart from small quantities of gold and food, you wouldn't gain anything interesting.
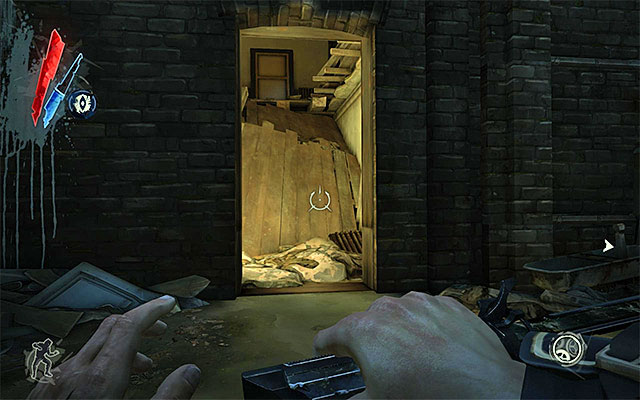
It is a way better idea to take the entrance to the building on the left, shown in the above screenshot. Explore the building to find a bone charm. You are up for some climbing here but, eventually, you will end up in the same area that you would be in if you destroyed the boards.
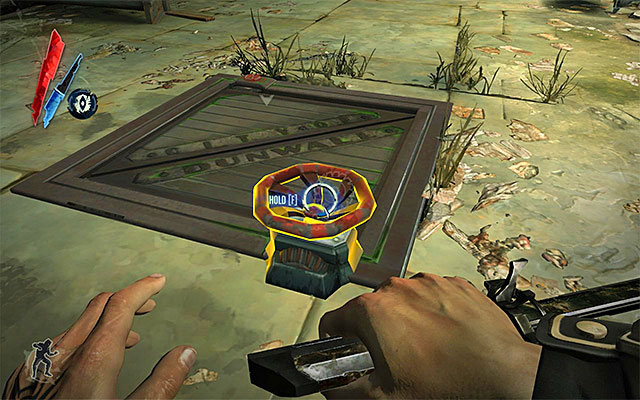
Follow the quite linear path. After you reach a bit larger area, go down and explore the location for ammo, Sokolov's health elixir and Piero's spiritual remedy. Finally, interact with the handle shown in the above screenshot. Quickly jump into the hole to reach the [Old Dunwall Sewer].
Go ahead. After you reach a larger area, go straight. Stop when you encounter a wounded bandit And listen to him. The man will send you on an errand to find Slackjaw, who is in the possession of the sewer master key.
New Main Quest: Find the Sewer Master key
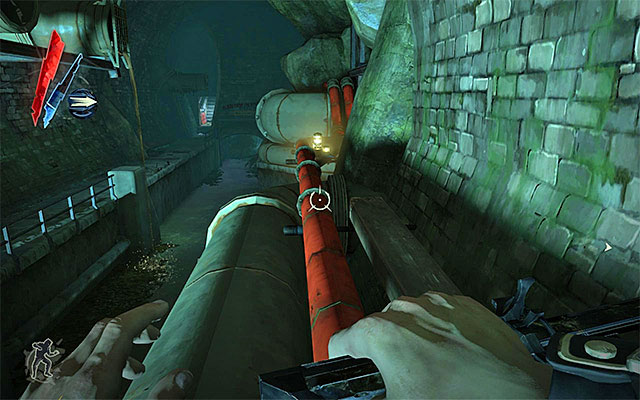
Explore the area to find some ammo, and jump onto the red pipe to get to the neighboring area of the sewers. There are a couple of linear tunnels ahead of you.
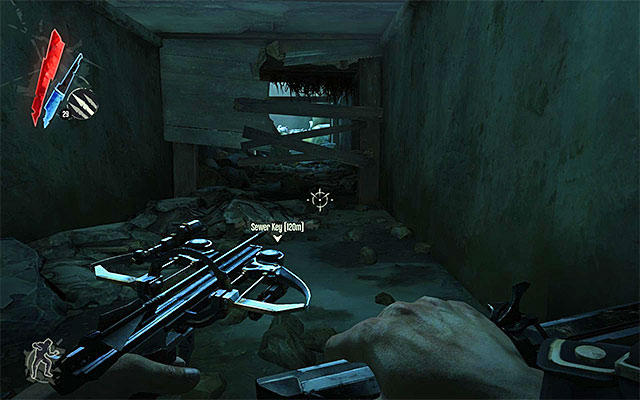
Watch out for river krusts, that you will encounter in one of the further parts of the sewers. Since you do not need to remain silent here, you can use your pistol, or grenades, to eliminate them. Do not forget to loot the bodies afterwards to find gold. In order to reach the next area, you need to smash the boards shown in the above screenshot.
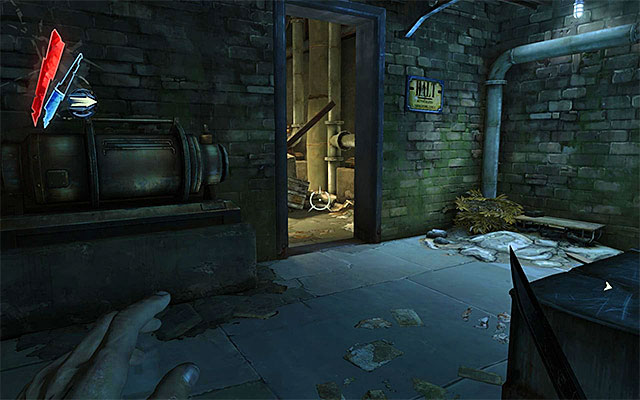
Carefully, approach the bodies and, at the same time, eliminate the river krusts that appear up ahead and to the right. Before you go any further, explore the room to the left (the above screenshot). In here, you can find a note (Jelly's Next Task) and a book. If you read both of them carefully, you will be able to arrive at the combination for the safe here - i.e.528. Inside the safe there is a bar and a bone charm.
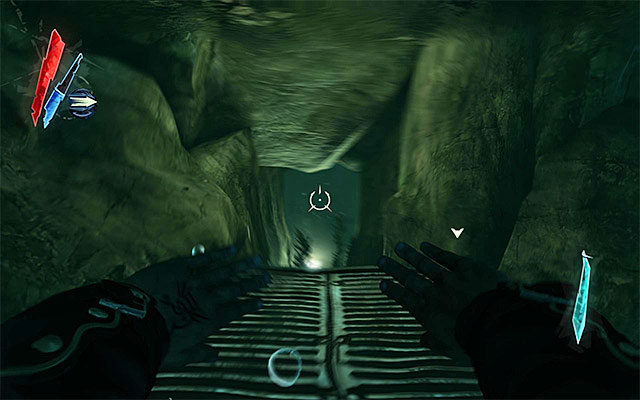
Return to the fork, and take the other path. Just like before, I advise against hurrying up, because there is yet another pack of river krusts. After you eliminate them, jump into water and dive in order to use the underwater tunnel (the above screenshot).
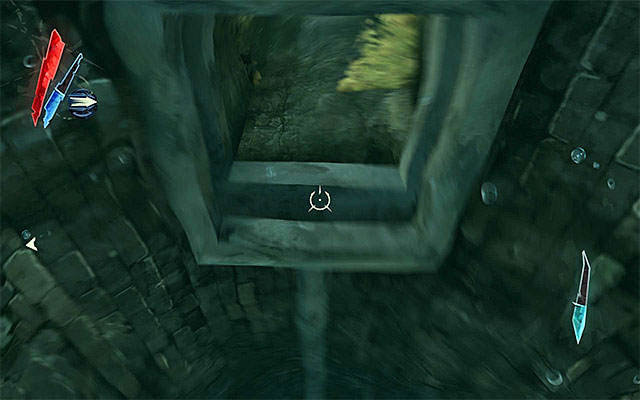
There is a long way through to swim so do not stop anywhere. Notice that on your way, you can use a small hole (the above screenshot), where you can draw some breath (and collect bolts). After you replenish your breath bar, go on swimming through to a new area.
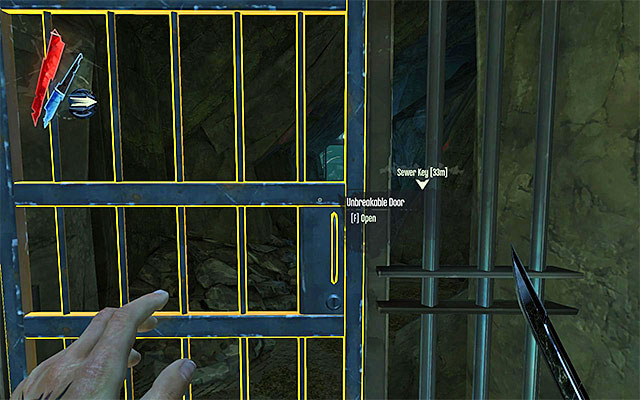
Find the stairs here and go towards the upper floors of the metal structure. On your way, it is a good idea to look around because there are gold, ammo, a grenade and a spring razor to get here. At the end, go towards the gate shown in the above screenshot. Proceed on to a large cavity, where you will have to make an important decision.
New Main Quest: Get the Sewer Master Key from Granny
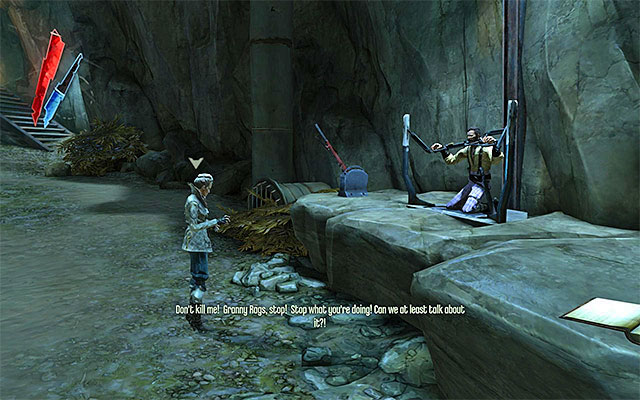
After you enter the cave, you will meet Granny Rags and you will find out that she managed to catch Slackjaw (the leader of the gang, for whom you might have already performed some missions), whom she intends to murder and make into a stew. There are several variants for you to choose from. The suggested variants have been described below.
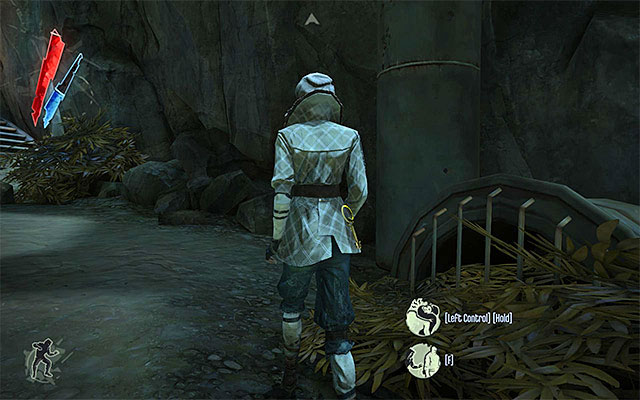
Variant 1; Quickly, obtain the key) If you don't want to lose your time over resolving the conflict between the Granny and Slackjaw, you may just focus on getting the Dunwall sewer master key really quickly. To do that, you need to rob the Granny, but you need to know that you will be caught red handed even if you've used sneak mode and hold time. The important piece of information here, is that you leave as soon as possible after you steal the key (more about this in the subsection entitled Summary).
Variant 2; Cooperate with the Granny) If you want to play along, so that she gives you the key of her own volition, you need to initiate a conversation with her and confirm that you want to cooperate and kill Slackjaw.
New Optional Quest: Incapacitate Slackjaw
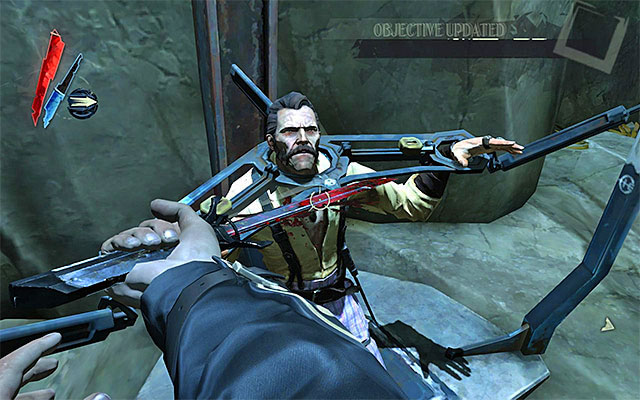
Approach the imprisoned Slackjaw and use your blade, or your pistol, to kill him.
New Optional Quest: Get Granny's key
New Optional Quest: Unlock Slackjaw
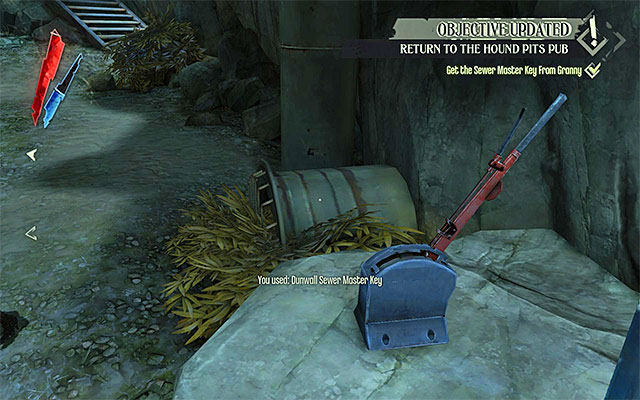
Approach Granny and take the Dunwall sewer master key). In theory, you could already leave the place already but, if you want to keep her company, act in accordance with Granny's wish, return to the dead Slackjaw and pull the lever on the left to release his corpse.
New Optional Quest: Put Slackjaw in the tub
New Optional Quest: Talk to Granny
New Optional Quest: Get your gift from Granny
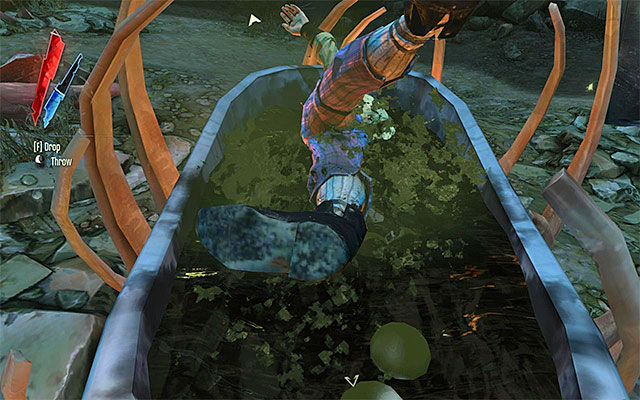
Approach the dead Slackjaw and lift the corpse. Carry the body over to the tub, shown in the above screenshot, and put him in. The only remaining thing to do here, is talk to Granny to learn about a reward for your deed. (the whereabouts of the reward is described in the subsection entitled Summary).
Variant 3; cooperate with Slackjaw) If you want to rescue Slackjaw from certain death on the hands of the Granny, it is a good idea to initiate a conversation with him, and confirm that you indeed want to help him. It is worth pointing out here that it is a way better variant than the previous one because nobody (neither Slackjaw nor Granny) will have to die.
New Optional Quest: Find Granny's cameo
Start the same way as in the case of variant 1, i.e. by robbing Granny of the Dunwall sewer master key. The next step is less obvious, because you need to find the only physical object connected with Granny, so you can get rid of her once and for all. Notice, at the same time, that Granny has sent rats to get you, so you need to remain in motion for the whole time.
Go now to a shack located on a higher level of the cave. The object that you are after, is the pillow shown in the above screenshot.
New Optional Quest: Destroy Granny's cameo in the furnace
Right after you collect Granny's pillow, you need to perform the following activities, thanks to which the rats won't manage to get you. Turn around to face the furnace and use to lever to the left to open it, toss the pillow inside (the upper-right dialogue option - the above screenshot), and pull on the lever to the left again.
New Optional Quest: Defeat Granny one last time
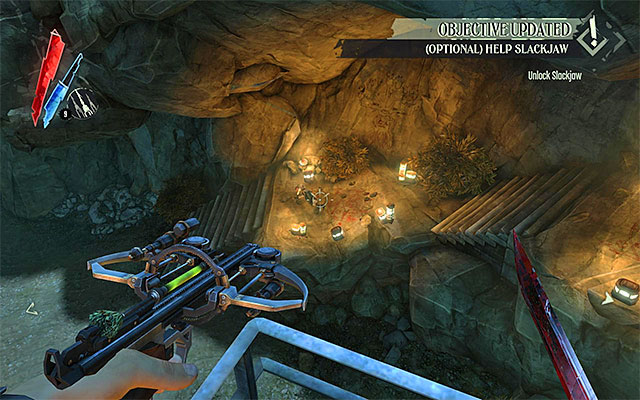
It's not the end, yet. You need to deal with Granny for good, now. She started to teleport all around the cave. The good piece of news is that the game does not make you kill her. The best method, therefore, is using sleeping bolts (the above screenshot), or holding time combined with choking Granny.
New Optional Quest: Unlock Slackjaw
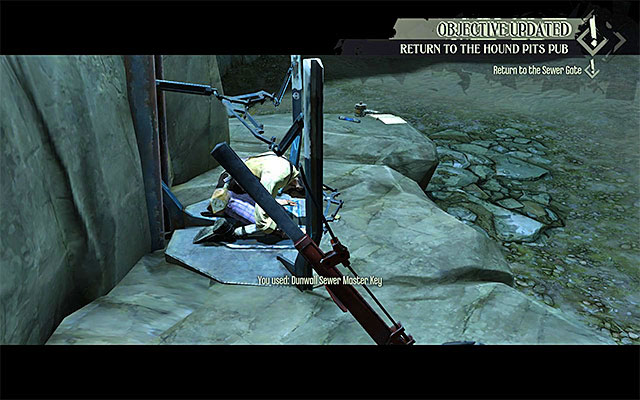
Before you leave (more about it in the subsection entitled Summary), make sure that you have the sewer key on you, and use it to free Slackjaw. As a means of rewarding you, the bandit leader will give you large amounts of gold.
New Main Quest: Return to the Sewer Gate
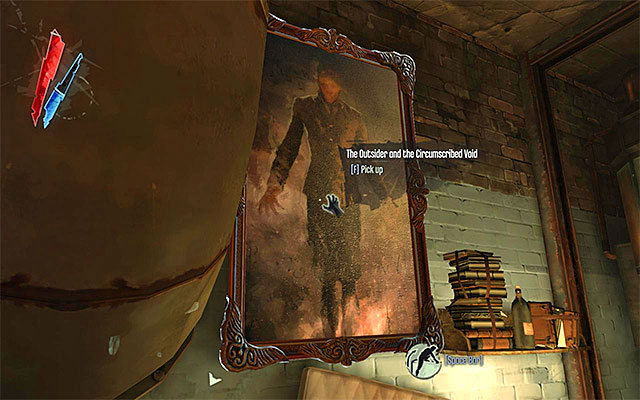
Summary) Regardless of how you chose to resolve the conflict between Slackjaw and Granny, it would be a good idea to have a look around the entire cave. In the cave there are gold, food, Sokolov's health elixir, two Piero's spiritual remedies, sleeping bolts, three books and a Sokolov's painting.
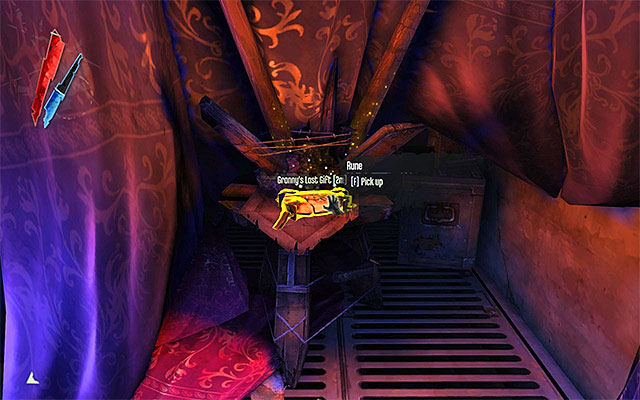
Finally, inside Granny's shack, there's door that can be opened with the sewer key. Search the place for gold, ammo, bolts and a rune (the above screenshot). It is worth adding that you can collect the rune even if you haven't cooperated with Granny.
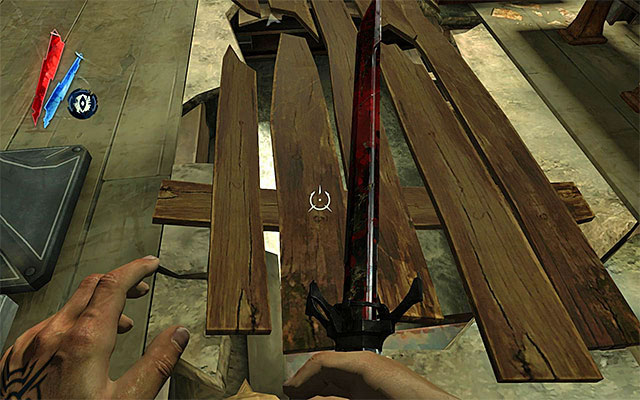
To leave this location, you need to smash the boards shown in the above screenshot, jump into water and wait for the current to take you an area in the sewers that you visited earlier.
New Main Quest: Unlock Sewer Gate
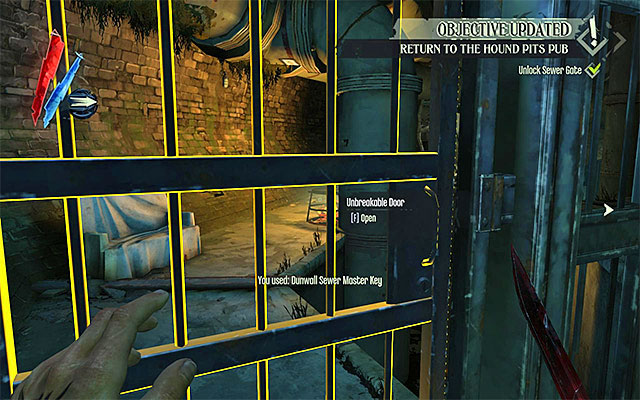
Reach the upper ledge, approach the locked gate and use the key that you obtained from Granny. After the gate is open, you can go on.
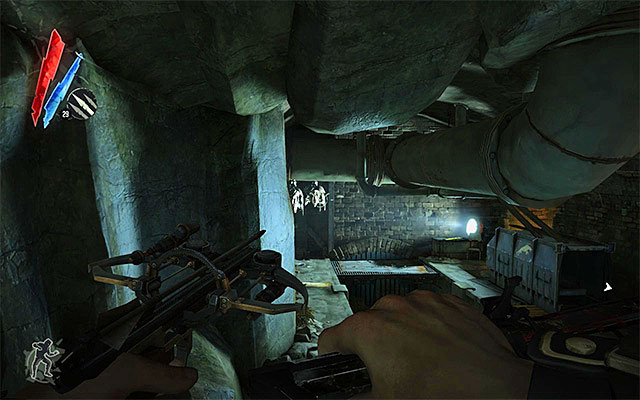
After a while, you will reach a camp occupied by friendly civilians. This does not mean, however, that you can feel safe here, because you need to eliminate river krusts attached to the ceiling (the above screenshot). After you dispose of the creatures, explore the area for gold, food, bolts, <br>a grenade, two Sokolov's health elixirs and a rune.
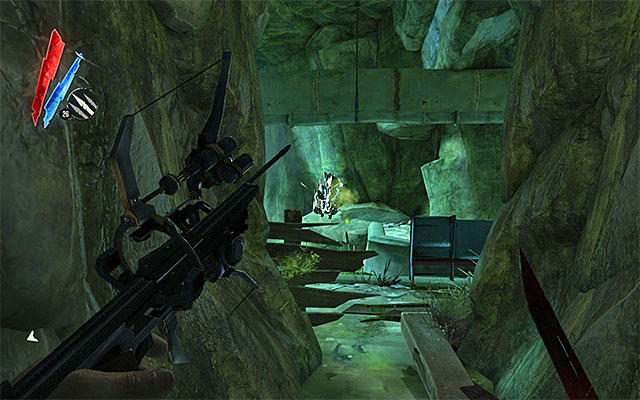
Continue along the sewers on a linear path. On your way, there are wooden boards to smash and further river krusts to eliminate. You should also watch out for piranhas in the water. Take a look around the cave to find two Piero's spiritual remedies and a bone charm.
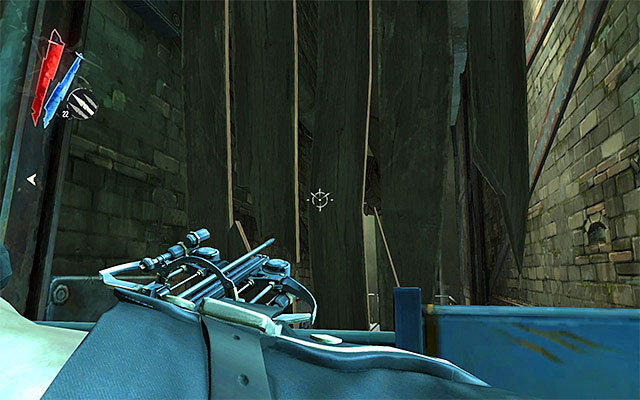
In order to unlock a path further, you need to smash the planks shown in the above screenshot. In the last area of the sewers, you can find gold, food and bolts. Go to the door marked by the game. Interacting with it equals being promoted for the next stage of the game.
The next mission is quite short and it takes place in the location that you know very well, i.e. [The Hound Pits Pub]. The basic difference is the presence of hostiles in the Pub. Traditionally, apart from several compulsory things to do, there is a number of side quests to perform.
Below, you can find a list of all of the sub-points to this guide, connected with the described mission. If you want to explore the area thoroughly, follow all of my instructions from end to end. If you prefer to concentrate on the main mission instead, turn your attention only to the pages with the note (compulsory) attached.
Steps to take:
New Main Quest: Find a way through the sewer to the pub
![Exploration of [The Hound Pits Pub] starts in an abandoned tenement that you might have had the opportunity to explore already, during your previous visits to the Pub - Reaching the pubs vicinity - Mission 8 - The Loyalists - Dishonored - Game Guide and Walkthrough](https://game.lhg100.com/Article/UploadFiles/201512/2015121517562099.jpg)
Exploration of [The Hound Pits Pub] starts in an abandoned tenement that you might have had the opportunity to explore already, during your previous visits to the Pub. Start by talking to Cecelia, who has been standing around, to learn more about the situation at hand.
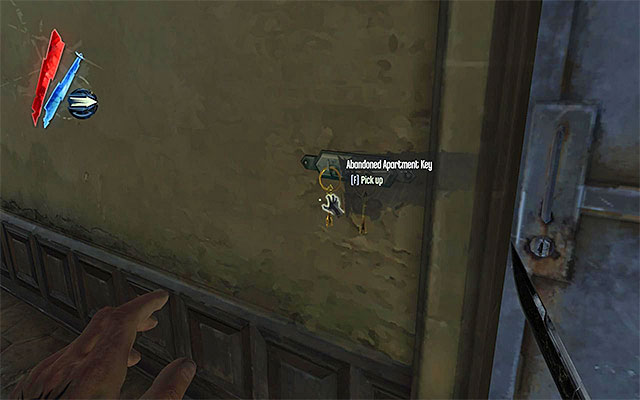
Climb the stairs and explore all of the rooms in the apartment to find some food, Sokolov's health elixir and Piero's spiritual remedy. The most important thing is to collect two keys from the wall - the abandoned apartment key and the old port district sewer key. Take the exit to get to the Pub's vicinity.
New Main Quest: Find Emily or any clue to her whereabouts
New Optional Quest: Find Havelock or some clue to his plans
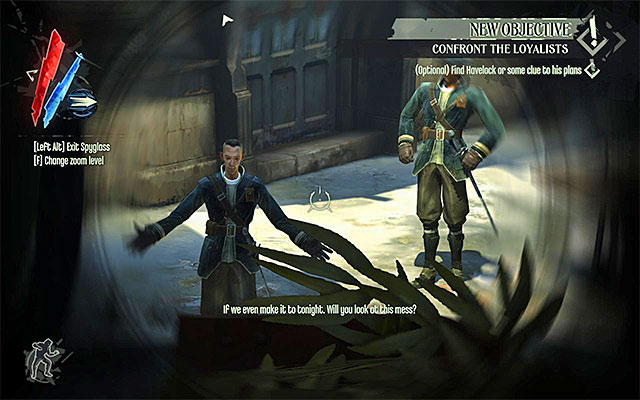
Unfortunately, infiltrating the Pub is not an easy thing to do, and this is due to swarms of enemies in the area. The nearby alleys (the above screenshot) are patrolled by both regular guards and tallboys. It is also worth adding that there are two additional tallboys in the area of the docks.
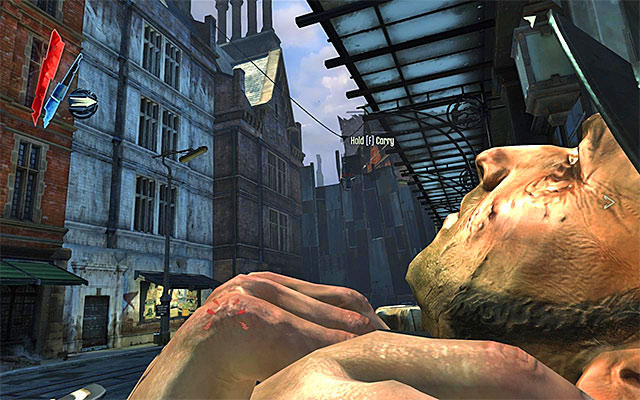
If you are going to eliminate the enemies here, it is a good idea to wait for them to disperse. It is immensely important that you move into action only when tallboys move the other way, and that you make sure that corpses are concealed in a proper and quick manner. You also need to be aware of the fact that from there may be further enemies leaving the pub building, so you should never, actually, be off your guard. In my opinion, it is best to avoid coming into any contact with enemy forces whatsoever.
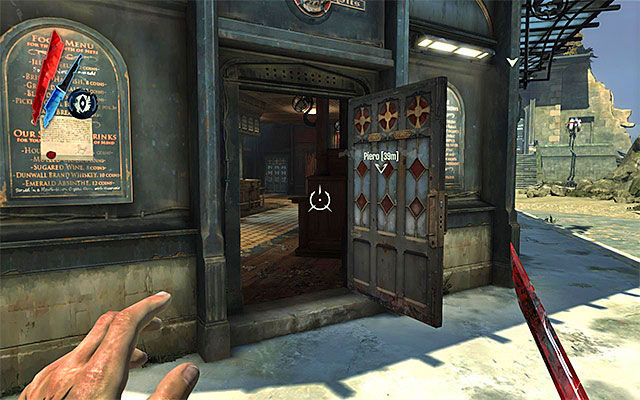
As far as the methods to infiltrate the Pub are concerned, you of course, have a considerable freedom of movement. The easiest way is by taking either of the doors on the ground floor. It isn't a good idea, though because there are several guards inside the Pub. As a result you would have to come up with a way of avoiding them with the aid of time holding or Possession.
Another variant would be to reaching the passage between the pub building and Piero's workshop (the above screenshot). You could take here the alternative means of entering the pub, or start climbing a loose chain. Also this variant is not advisable as, as has been mentioned before, there are two tallboys patrolling the area.
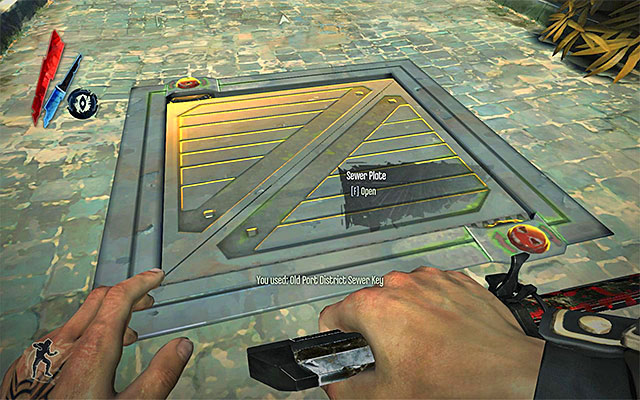
An interesting means of infiltrating the pub building is the sewer. You already have the sewer key on you, and the manhole that you can access the sewer through is located in one of the alleys near the abandoned tenement in which this mission starts.
While crossing the sewer, you need to watch out for the river krusts. It is also a good idea to look around for gold and an Audiograph - Pendleton Embraces the Future. As you can probably remember, from one of the initial missions, the sewer can be exited in several ways. Definitely, the best option here, is to chose the passage that leads into the basement under the pub building (the above screenshot).
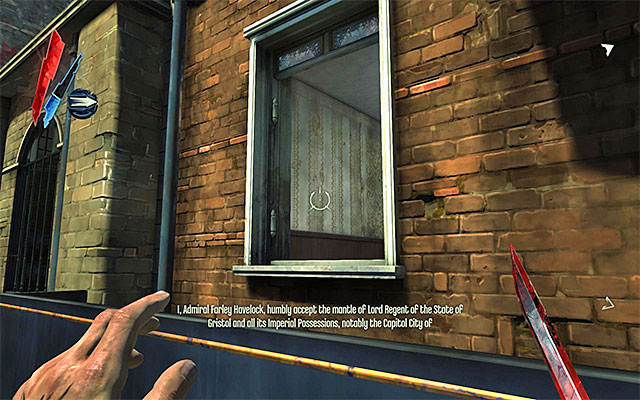
One of the more interesting methods is reaching the open window on the first floor (the above screenshot). Entering through the window will take you into room 203. Of course, you would have to use the power of teleportation to approach the window, but you also need to watch out for both regular guards and tallboys.
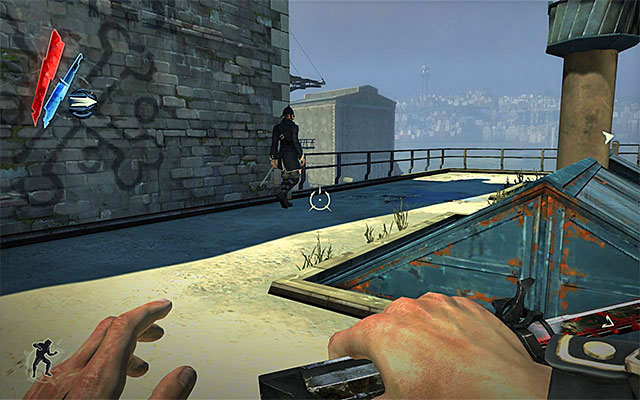
There is also another variant connected with the solution described above. It consists in reaching the door located on the building's roof. It's best to start by the opened window on the first floor, and continue climbing to reach the small fragment of the roof. You need to watch out here, because there is a single guard patrolling the roof (the above screenshot). Depending on your preference, you can either render him unconscious, kill him or walk around.
New Optional Quest: Make contact with Piero and Sokolov inside the workshop - Enter the shop through the river-side balcony
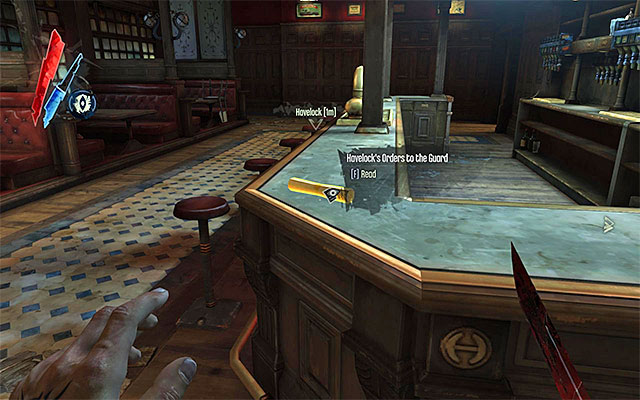
On the pub's ground floor, there are food, ammo and Havelock's Orders to the Guard. Thanks to the note, you will complete a side quest connected with this character.
New Optional Quest: Deliver the blueprints to Piero
New Optional Quest: Incapacitate every guard on the premises yourself
New Optional Quest: End the siege on Piero's workshop and ensure the safety of the two natural philosophers within
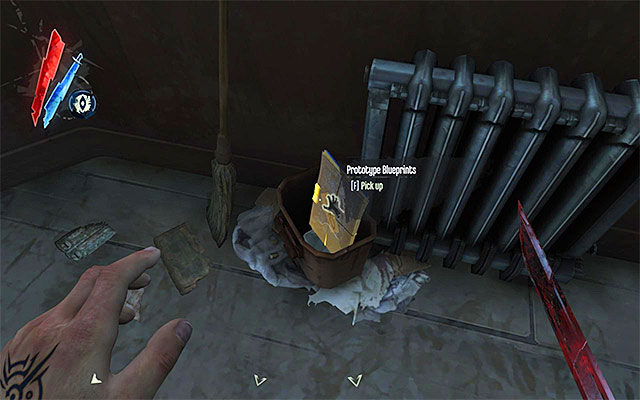
On the first floor of the pub, you can find Sokolov's health elixir and Prototype Blueprints, hidden in room 202. Thanks to these, you will be able to unlock several side quests connected with Piero and Sokolov.
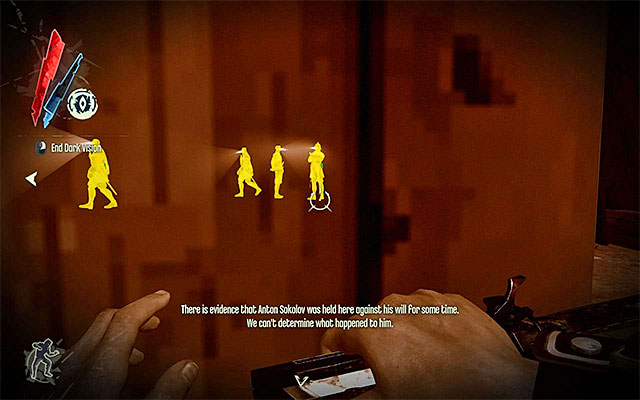
The most important thing to do here is the exploration of the pub's third floor, i.e. the one where Corvo's chambers are located.
New Main Quest: Find Callista and Samuel's signal flare
You definitely need to search Corvo's chambers, in order to find A Letter from Emily shown in the above screenshot Apart from that, around there is Sokolov's health elixir and Piero's spiritual remedy.
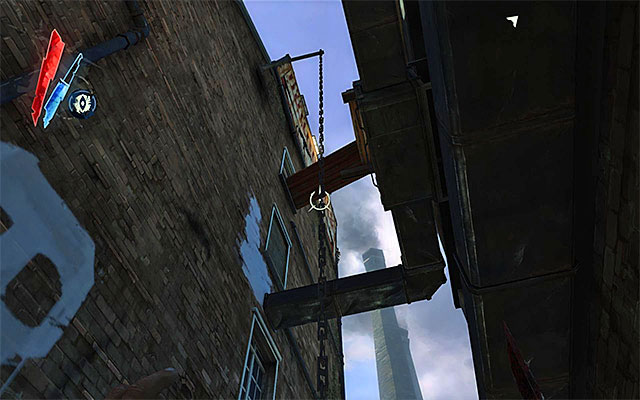
Before you turn to doing the main quest, it would be a good idea to complete all of the side quests connected with Piero. Step one is, of course, getting near Piero's workshop and, as you can probably remember, it is located right next to the pub building. If you are starting on the ground floor, you can also make use of the chain mentioned in the earlier part of this description (the above screenshot).
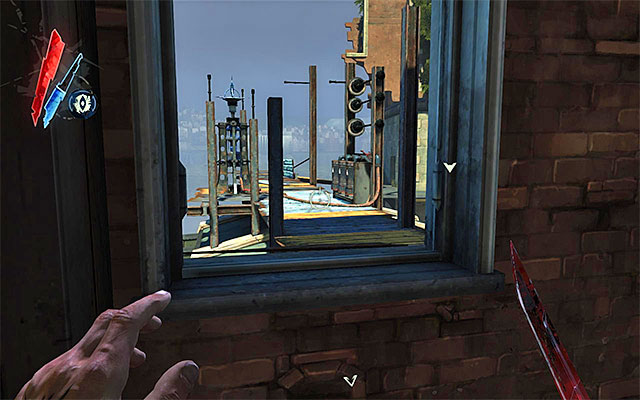
A way better means of reaching Piero's workshop is taking the footbridge connecting the third floor of the pub (Corvo's chambers) with the tower that Emily used to stay in. Regardless of the path you decide on, stop after you reach the workshop's rooftop
The only way to get inside the workshop is by reaching its external balcony, and more precisely, the one that overlooks the river. The balcony has been shown in the above screenshot, and make sure that you aren't spotted, while attempting to reach it, by a tallboy.
Start by exploring the upper floor of the workshop, and find food, a rune and an Audiograph - Piero Finds a New Ally. Go down the stairs now, in order to meet with Piero and Sokolov. Listen to the conversation carefully, and learn that your allies need help to complete working on the arc pylon on the workshop's roof.
Since you already have the blueprint that you have collected from room 202 of the pub's building, you can talk to Piero right away and give them to him.
Now, you need to make an important decision, because you need to decide on how you want the pylon to work. Selecting the upper-right dialogue option leads to enemies being electrocuted right after the pylon activates. The dialogue option in the middle will result in the pylon's stunning opponents, which is far better an option.
New Optional Quest: Bring a whale oil tank to the Arc Pylon on the roof of Piero's workshop
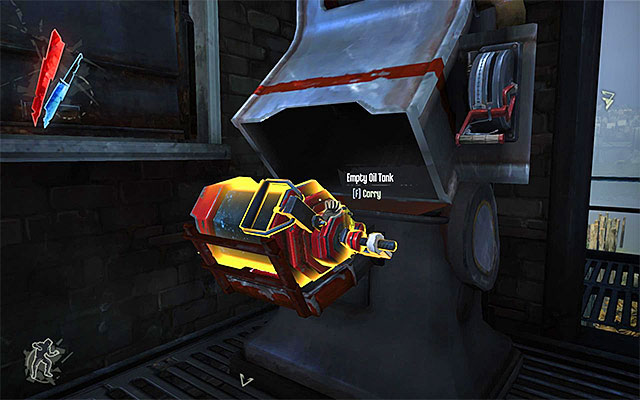
This particular puzzle is an easy one, and it consists of several steps. First of all, return to the workshop's first floor and interact with the device to the left (the upper screenshot), in order to "summon" an empty tank.
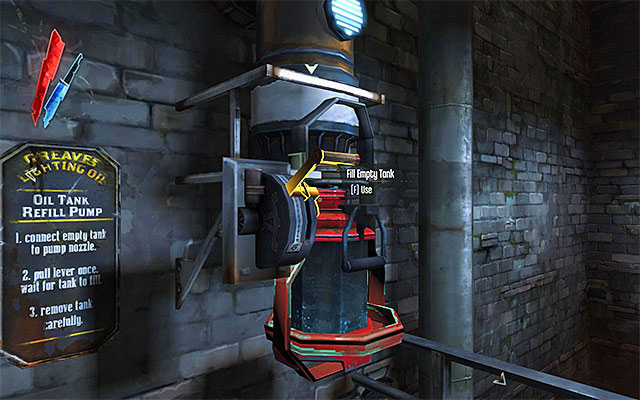
Lift the tank now and carry it over to the device to the right (the above screenshot). Pull the lever to fill the tank with whale oil.
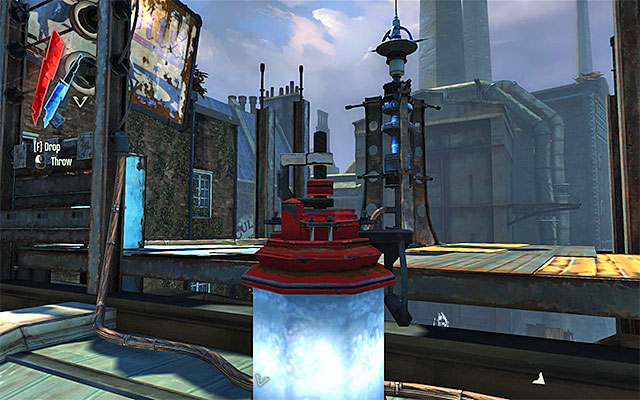
Now, carry the filled tank over to the external balcony. This is the most troublesome part of the puzzle, because you need to carry the tank over to the roof. Try and perform longer leaps, while minding tallboys.
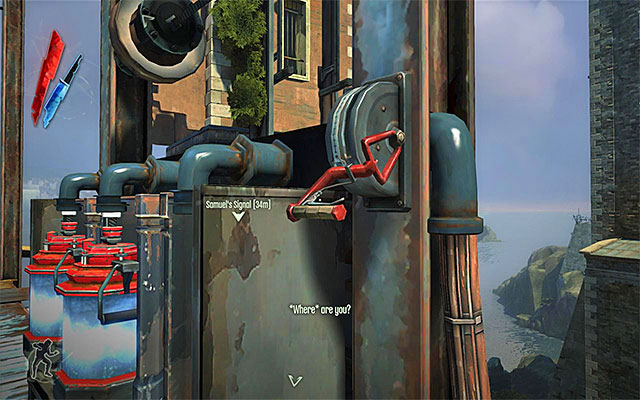
Once you reach the roof, put the tank down for a moment, and pull on another lever (the above screenshot), which will result in all three slots being exposed. The only thing remaining here for you to do, is put the tank you've carried over here, into the empty slot.
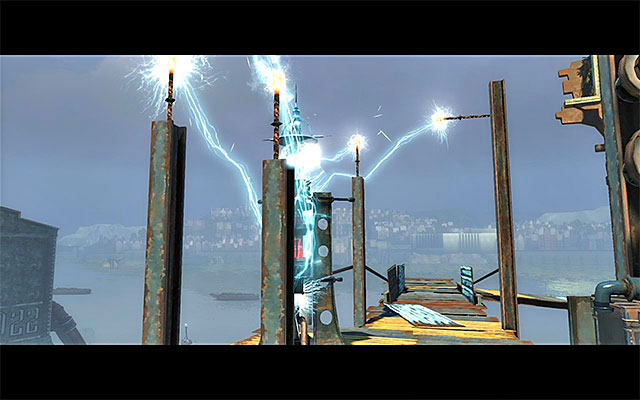
Wait for the arc pylon to activate, and either kill or stun (depending on your earlier decision) the enemies around. Now you can barter with Piero in order to replenish your resources and acquire the upgrades that you ignored earlier.
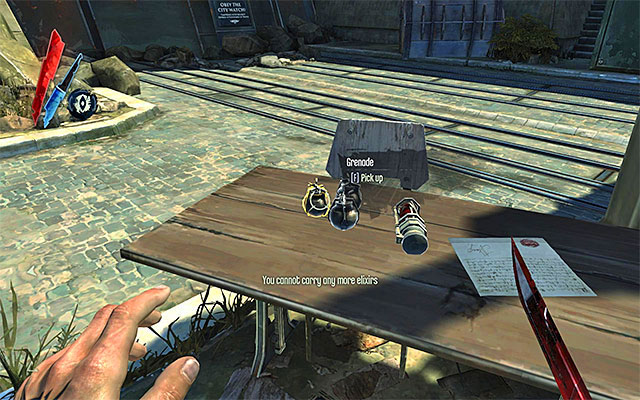
It would be a good idea to devote now several moments to the exploration of the pub's vicinity. The pub building has been covered with the General Notice all over. Near the crossroad close to the starting point, you will also find a Sokolov's health elixir and grenades.
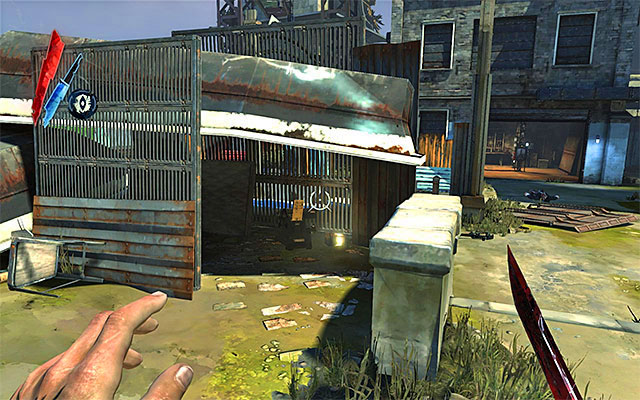
You definitely need to take a look into the shack (the above screenshot) located near the passage to the docks and the warehouse, in which Sokolov used to be kept during your earlier visits to the pub, and find an Audiograph - Samuel Stays Wary.
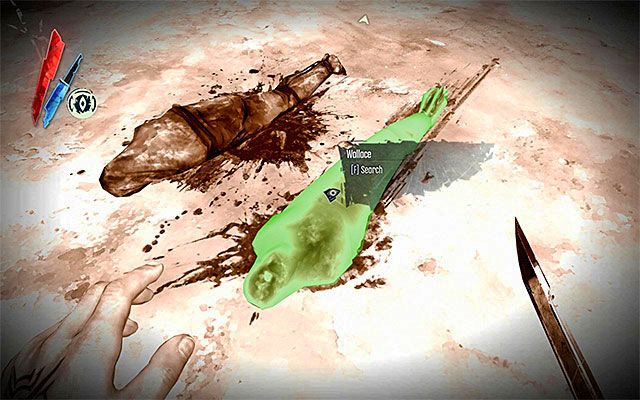
Finally, look around for Wallace's corpse (the above screenshot) in order to find on him a Note to Wallace.
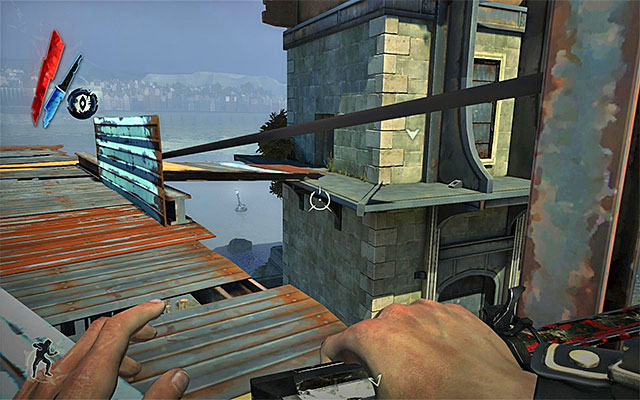
Your destination now is the tower which used to be occupied by Emily. As you can probably remember, the room on one of the top floors of the tower, can be reached through the footbridge shown in the above screenshot, which you can reach starting from Corvo's chambers (on the third floor of the pub building), and by walking over the workshop's roof.
Approach the door and interact with it. This will result in initiating a conversation with Callista, who has been hiding here.
New Main Quest: Use the flare launcher in Emily's tower to signal Samuel
After the conversation ends, search around the room for Emily. You will find an Emily's tower key), a Letter to Callista, a Sokolov's health elixir and Piero's spiritual remedy. Finally, interact with the flare launcher shown in the above screenshot.
New Main Quest: Meet Samuel on the beach beyond Emily's tower
Since Samuel will approach the tower (and not the docks as he usually does) it's best to use the key you have just obtained, to open the nearby door (the above screenshot).
New Main Quest: Embark for Kingsparrow Island with Samuel
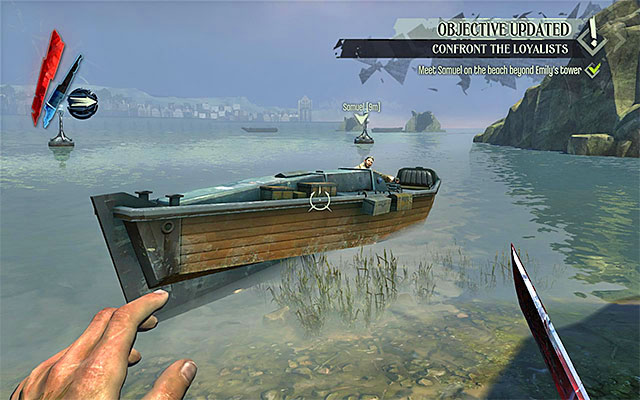
After you reach the balcony, teleport downstairs (you could just as well use the stairs to get there, but this would take more time). Wait for Samuel's boat to reach the bank and start a conversation with him. Confirm that you want to leave for the place where Emily is being kept captive (the upper-right dialogue option).
This is the last, ninth, mission, played on the [Kingsparrow Island]. The primary objective here, is to get to the top of the lighthouse on the island in order to rescue captive Emily. Crossing the fort, before you reach the lighthouse, is non-linear, but the final part of this mission does not give that much freedom of action. Apart from exacting revenge on two characters that betrayed Corvo, there are no side quests at all.
Below, you can find a list of all of the sub-points to this guide, connected with the described mission. If you want to explore the area thoroughly, follow all of my instructions from end to end. If you prefer to concentrate on the main mission instead, turn your attention only to the pages with the note (compulsory) attached.
Steps to take:
The below maps may serve as an additional help while navigating the area. A noteworthy fact is that you can also find it on your own. The first one is lying on the chest , right next to the starting point. . Another two copies are hanging on the wall near the main passages to the fort (the ones with the active walls of light).
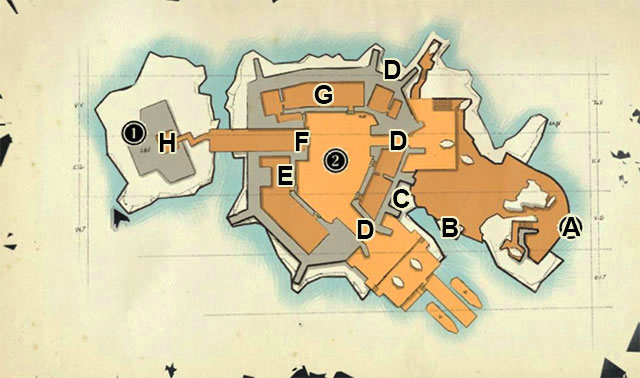
Legend:
New Main Quest: Enter Kingsparrow fort
New Optional Quest: Find Martin
New Optional Quest: Find Pendleton
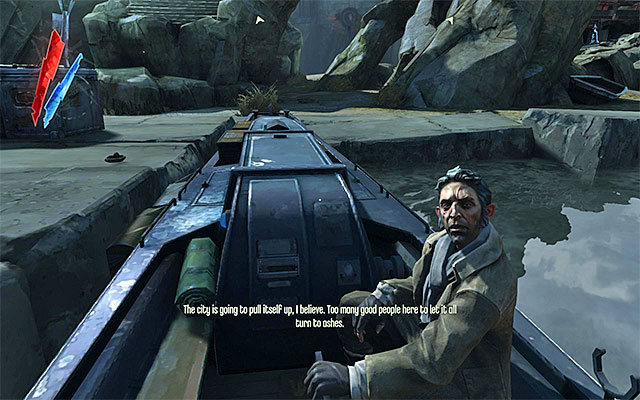
In some respect, this mission is unique and he opening sequence may vary, depending on your approach throughout the game. If your chaos is low, Samuel will allow you to start the mission in a hideout.
If, on the other hand, your chaos is high, Samuel won't be friendly towards you, and will alarm the guards by firing his gun into the air. If you do not want to fight guards, I recommend that you dive or wander off from the starting point as quickly as possible.
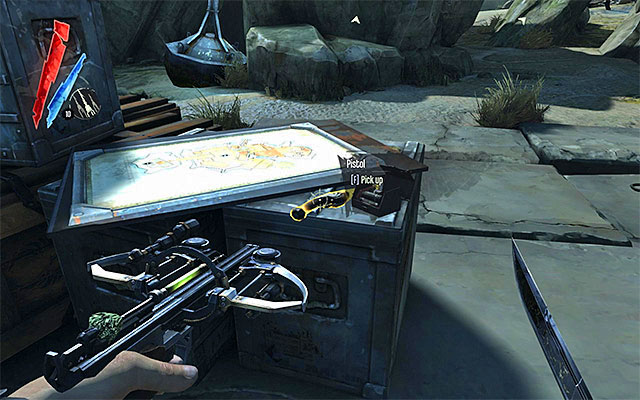
Regardless of how this mission begins, it is a good idea to have a look around for supplies of ammo, Sokolov's health elixir and a Piero's spiritual remedy.I also recommend to take a look at the map of the surrounding area.
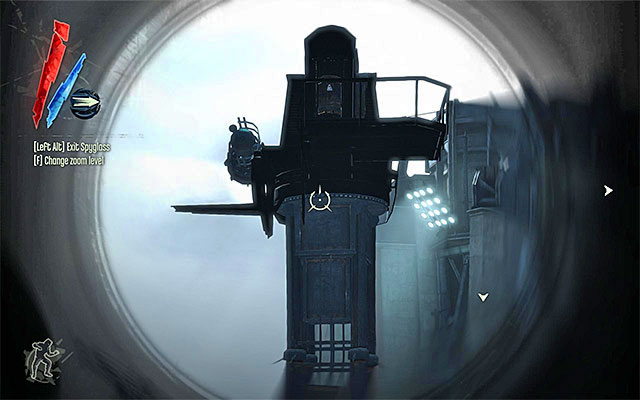
The most serious treat waiting for you near the fort, is the watch tower, near your starting point, shown in the above screenshot. If you can, teleport over to the upper balcony of the tower, in order to disable or rewire it. Otherwise, avoid it at all costs by holding time or remaining in water (in this case you also need to avoid piranhas).
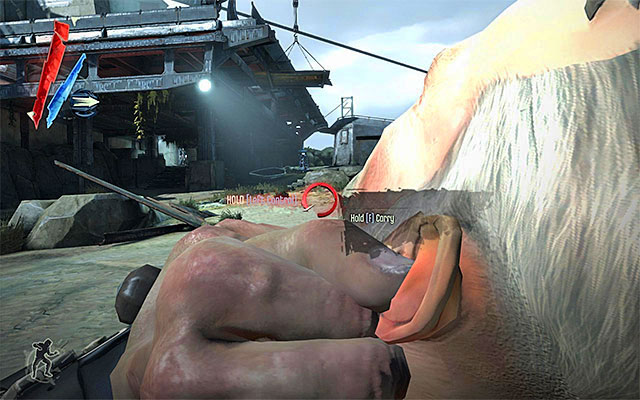
The watchtower is not the only threat around. In the area, there also are scores of guards and, although some of them stay put in one spot, you also need to watch out for patrols.
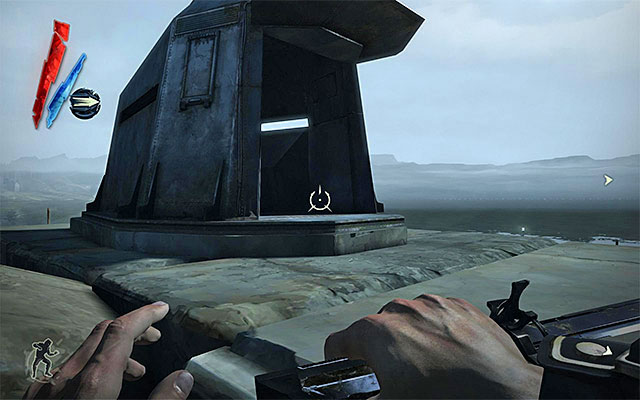
While exploring, you will, surely, turn your attention to the medium-sized bunkers. It is a good idea to take a look inside each of the bunkers , because inside there are lockers in some of them. These contain gold, bolts, rewire tools, Piero's spiritual remedies and grenades.
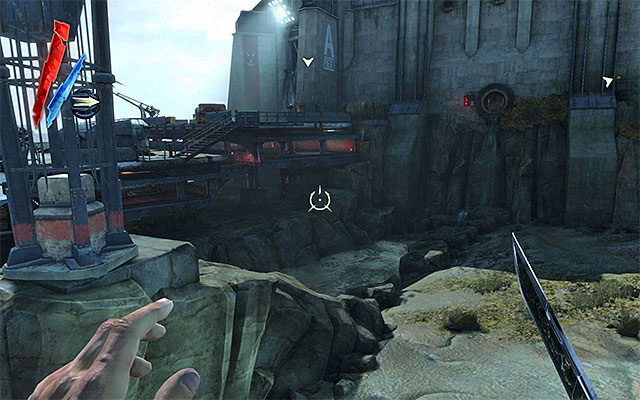
There are three different ways to infiltrate the fort. The first variant assumes that you take the harbor-side entrance which is located to the left of the starting point (the above screenshot). The entrance can be recognized by a large letter A painted on walls.
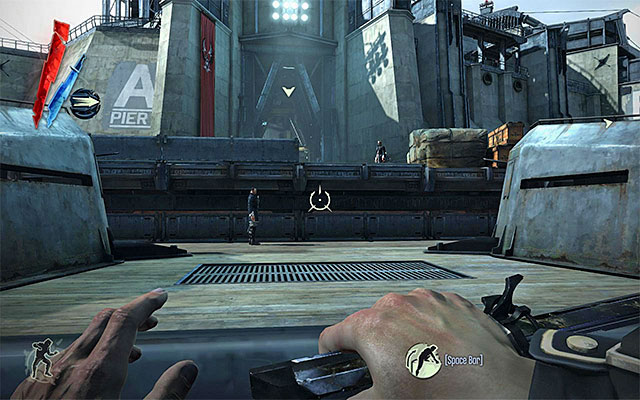
The harbor area is occupied by numerous enemies, including an overseer with a device that inhibits Corvo's powers. If you are going to eliminate your enemies, try and attack them one by one, and avoid being spotted by larger groups. It is also a good idea to make sure that corpses are concealed in places that are not frequented by anybody, because you need to be aware of the fact that, after a while, new enemies may unexpectedly exit the fort.
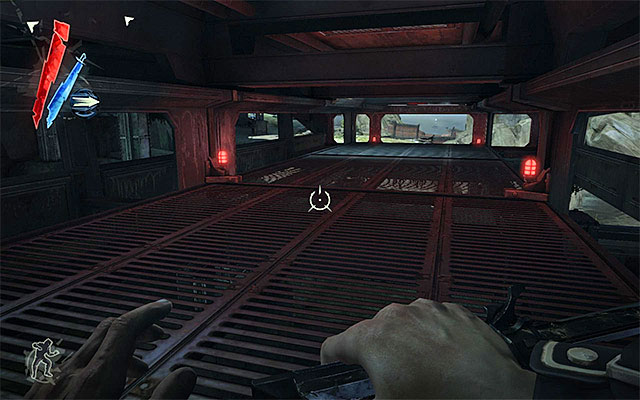
If you prefer to go around the enemies, you can use your powers or use pass under catwalks shown in the above screenshot. Using these passages and manholes will allow you to approach the current destination, without any problem. Whenever it is possible (securing the area), you should take a look around the harbor to find ammo, Sokolov's health elixir, Piero's spiritual remedy and grenades.
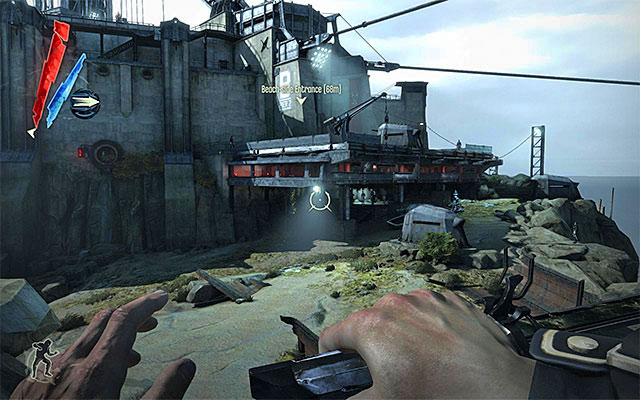
Variant two assumes that you infiltrate the fort through the beach-side entrance which is located to the right of the starting point (the above screenshot). The entrance can be recognized by a large letter B painted on walls.
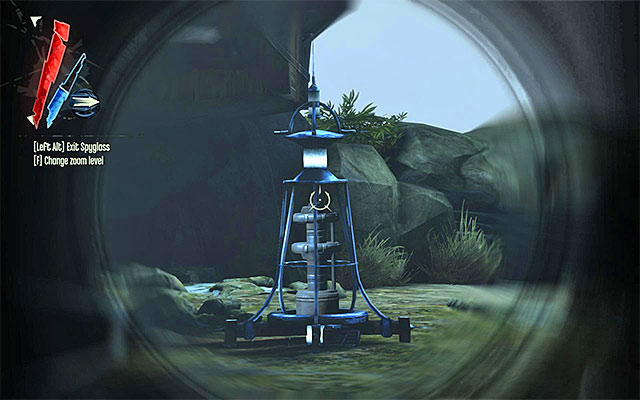
Also around here, there are a plethora of enemies. Still, the most serious threat is the active arc pylon shown in the above screenshot. The safest option is to stay away from the pylon, but you can, just as well, find a device connected to it, which can be then used to disable or rewire the pylon.
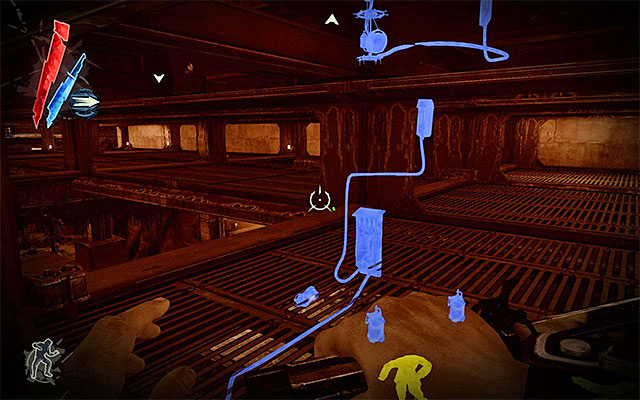
Just like in the case of the harbor-side entrance, you can use passages underneath catwalks in order to approach enemies safely and eliminate them, or go around them. Traditionally, I recommend that you make sure to conceal corpses properly. Finally, take a look around the area for Sokolov's health elixir, Piero's spiritual remedy and sleeping bolts.
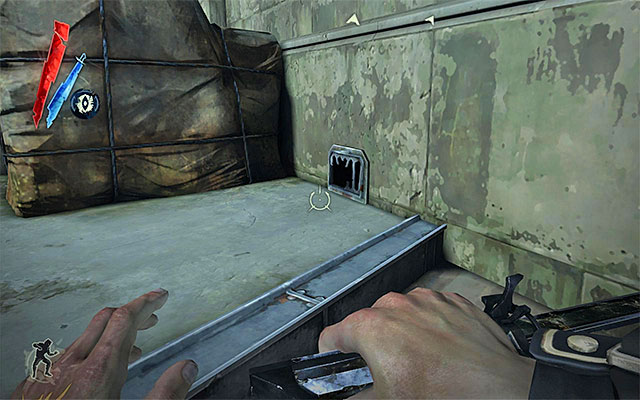
The thing that variants one and two have in common, is that, in both cases, you are separated from the fort entrance by walls of light. What is even more, they cannot be quickly disabled. This problem can be approached in two ways. The first one is about possessing a rat in order to pass through a small ventilation shaft .
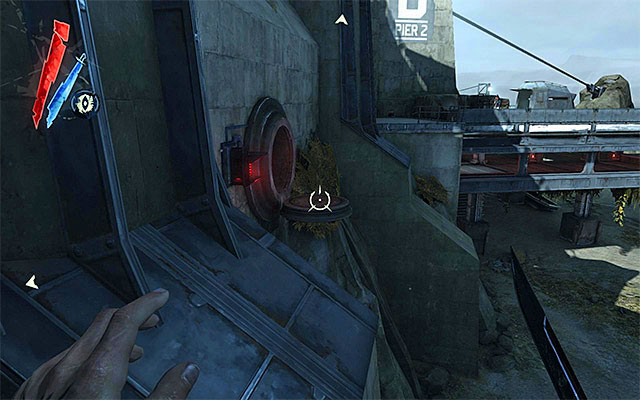
The other way requires you to reach the sewer entrance shown in the above screenshot, located in between the two fort entrances described above. It is a good idea to aid yourself with teleportation to approach the entrance.
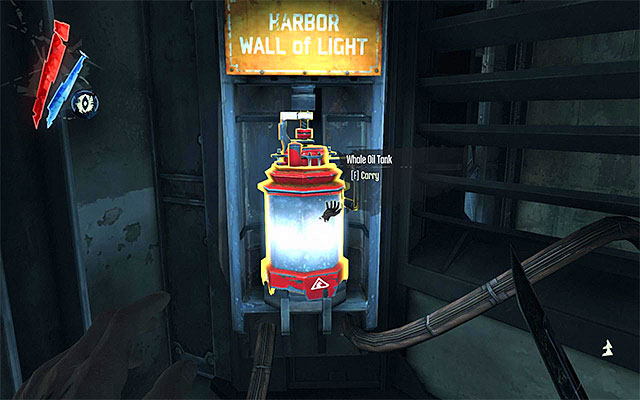
Pass through the tunnel and start climbing after you reach metal balconies. Eventually, you should reach interconnected control rooms which should be patrolled by a single guard. The most important thing to do here, is find the whale oil tank, or the control panel linked to the wall of light of your choice. After the performance of the activities that are known to you, you will be able to return to the inactive, or rewired wall of light and enter the fort as a result. I recommend that, since you are there, you should search around the control rooms for gold, Sokolov's health elixir and Piero's spiritual remedy.
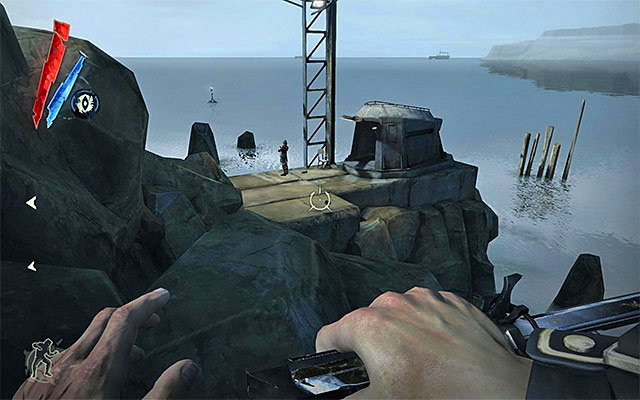
The last, third variant assumes that you reach another sewer entrance . To do that, you need to go to the right of the beach-side entrance (variant 2; letter B), thus reaching the bunker shown in the above screenshot, guarded by two enemies. Go around them, or dispose of them. Inside the bunker, there are ammo and Sokolov's health elixir.
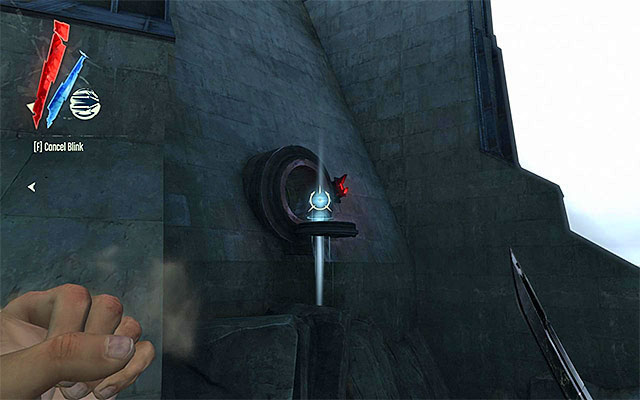
Regardless of whether you have disposed of the guards or not, use Blink (teleportation) to reach the sewer entrance shown in the above screenshot. Using this tunnel will allow you to gain access to the fort without the necessity to worry about the active walls of light.
New Main Quest: Enter the Gatehouse
New Optional Quest: Eliminate Martin
New Optional Quest: Eliminate Pendleton
![The first step you should take here is reaching the yard of the [Kingsparrow Fort] - Exploring the fort - Mission 9 - The Light at the End - Dishonored - Game Guide and Walkthrough](https://game.lhg100.com/Article/UploadFiles/201512/2015121517562868.jpg)
The first step you should take here is reaching the yard of the [Kingsparrow Fort]. If you have chosen one of the two main passages (the one guarded by walls of light), you will have to use teleportation in order to go around the barrier. If you used the sewer tunnels instead, you need to catch onto the loose chain and reach the door to the yard.
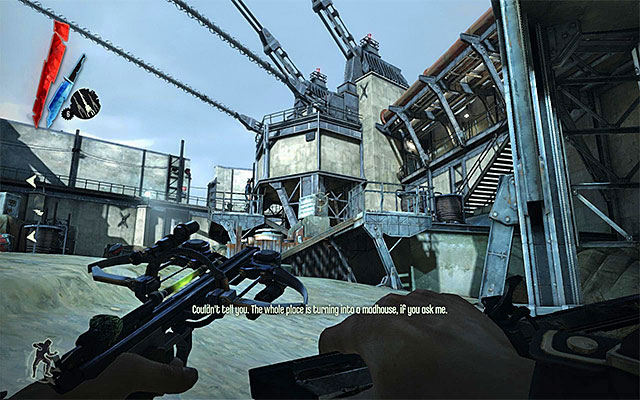
Unfortunately, the yard is occupied by a number of enemies. Therefore I recommend that you avoid them, even if you prefer a more aggressive approach. This is especially that you could be spotted by guards patrolling the fort's higher floors. If you are really bent on going aggressive, you should wait with dealing with the guards until the very end of your stay in this part of the fort (i.e. until you secure the upper-level balconies). It is worth adding that at least one of the guards should have a control room key on him It is a good idea to steal it if you still haven't explored the rooms with the whale oil tanks that power walls of light.
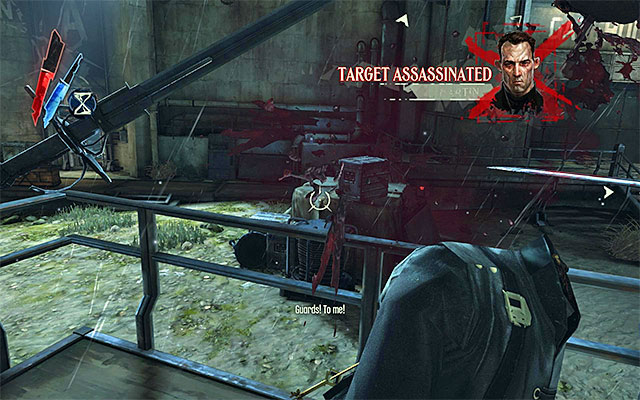
If your chaos rate is high at current, in the yard, apart from regular enemies, you will encounter one of the traitors, i.e. Overseer Martin. The game will unlock side quest connected with the elimination of that character. Because he is surrounded by other enemies, it is a good idea to dispose of him from a larger distance, or aid yourself with powers such as time hold (which, in my opinion, is the best option).
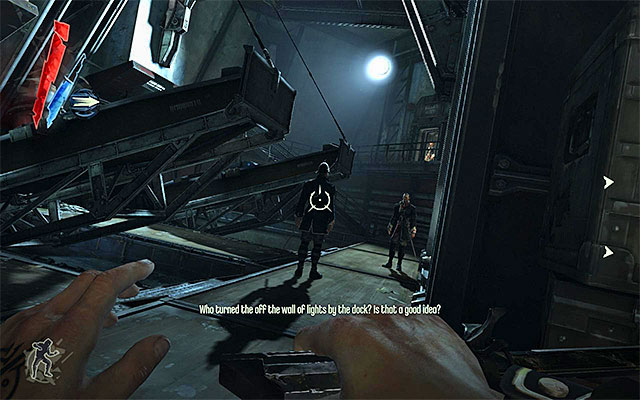
At the fort's lower level, there are two larger rooms. In the south-eastern part of the floor there is a Lifeboat Access. If you dispose of them, you will be able to explore the area freely for incendiary bolts, Sokolov's health elixir and Piero's spiritual remedy. It is worth noting that the enemies may be easily avoided as well, by using numerous underwater tunnels to get around.
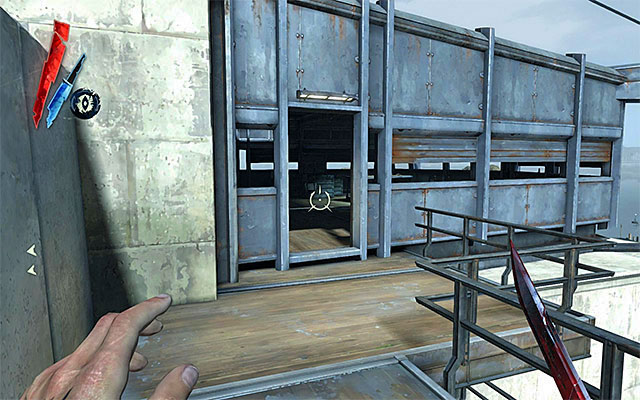
Another one of the larger rooms, is the machine room, and it is located in the northern part of the fort. The place is connected with your current main objective, but you can already search the area for a Piero's spiritual remedy and a rune.
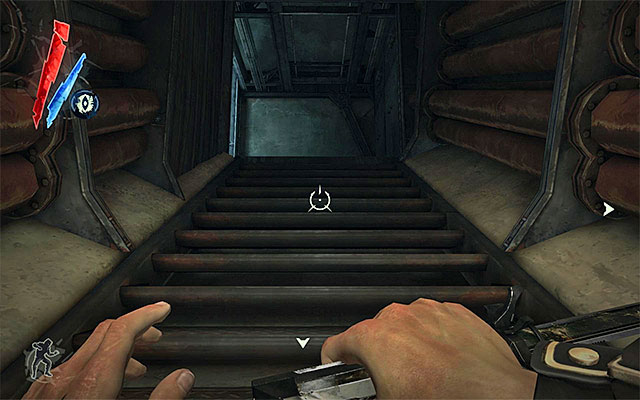
You can, of course, explore the upper areas of the fort also. You can get there in a number of ways, like by taking the stairs located in the area with the lifeboats (the above screenshot), in the main yard or near the wall of light that separates the yard from the gatehouse.
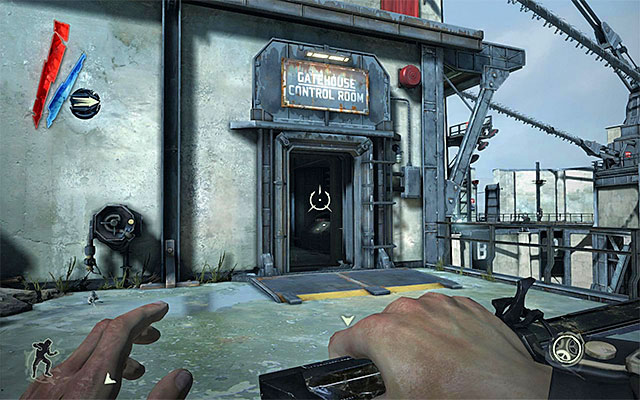
I recommend that, while on the upper levels of the fort, you should check out the Gatehouse Control Room, located in the westersn part of the fort. Also this place is connected with the current main mission objective , but you can already now explore the area for Sokolov's health elixir, Piero's spiritual remedy and gold.

Around, there are two more large areas that function as bunkers of some sort (the above screenshot). Exploring them will give you gold, Sokolov's health elixir, Piero's spiritual remedy, ammo, grenade, a control room key and a book. You should watch out for guards while exploring the walls that surround the fort, especially that many of them are constantly moving.
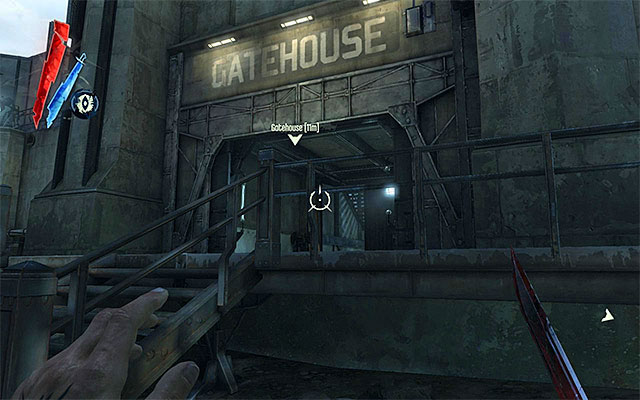
The gatehouse is a separate area in the fort, and it can be reached in three different ways, although their availability is governed by your gaming style. Variant one assumes that you take the main entrance guarded by a wall of light (the above screenshot). The important piece of information is that this variant is only available with a low chaos rating.
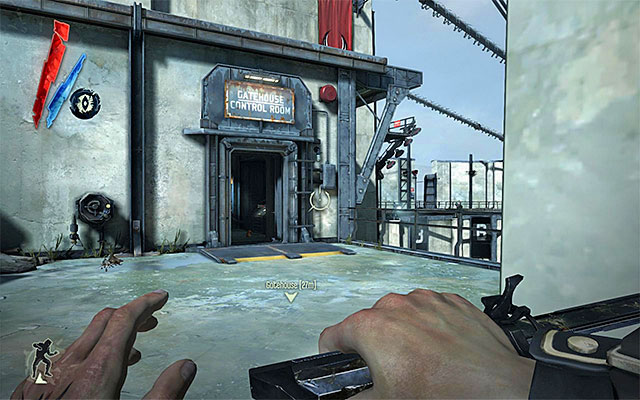
A considerable problem here is, of course, the wall of light. In order to solve the problem, you need to gain access to the higher levels of the fort, and more specifically, into the gatehouse control room located in its western part (the above screenshot). Look out for, at least, one guard remaining in this area and, depending on your preference, either disable or rewire the wall of light.
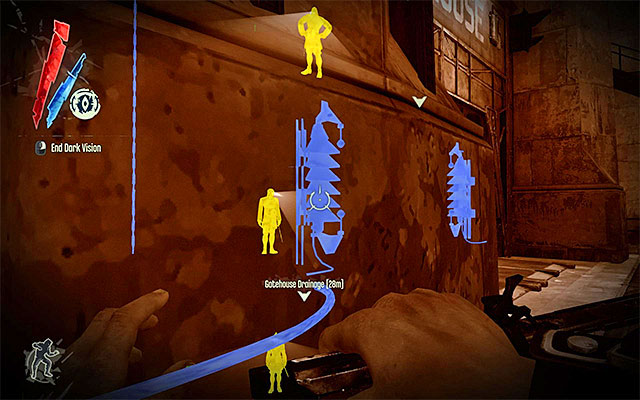
Right after you return to the neutralized wall of light, keep vigilant. As I have already mentioned, there are many enemies in the yard and, at the other side of the wall, there is at least one guard, who may be turned your way. It is a good idea to use a power here (teleportation, possession, time hold etc.), or wait for the enemy to turn away.
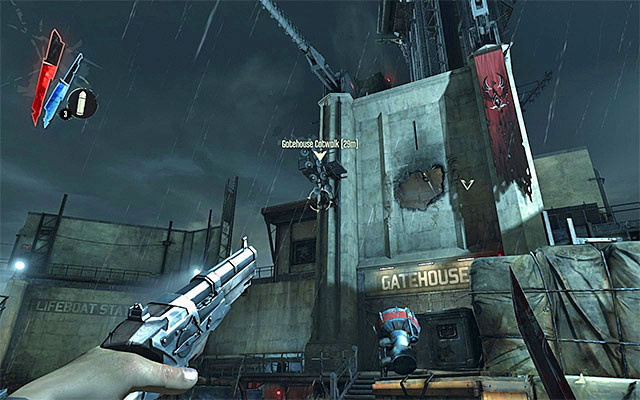
Variant two assumes accessing the gatehouse through a hole in the wall (the above screenshot) and its is only available with the high chaos rating.
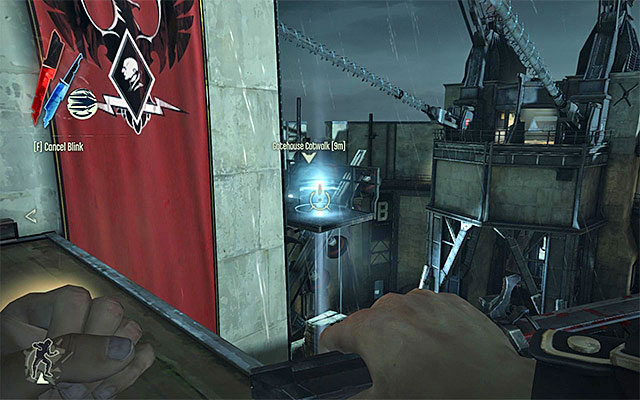
The hole in the wall is best accessible through the Gatehouse Control Room, located on the upper level of the fort. Instead of entering the control room, climb onto its roof. Once there, turn right and teleport over to the small platform shown in the above screenshot.
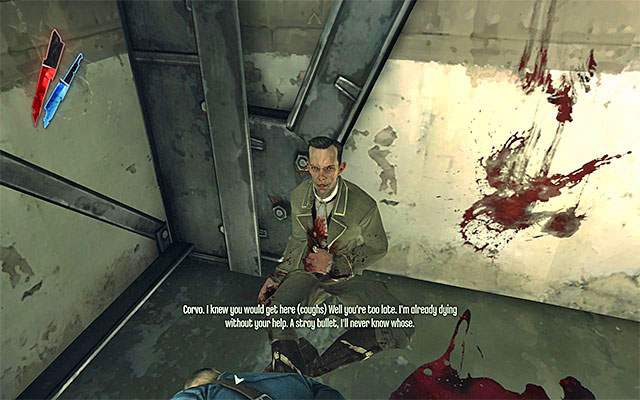
Then, teleport again to cross the hole. After you dispose of the enemy there, stop for a moment at the dying Lord Pendleton, as you complete the side quest connected with him.
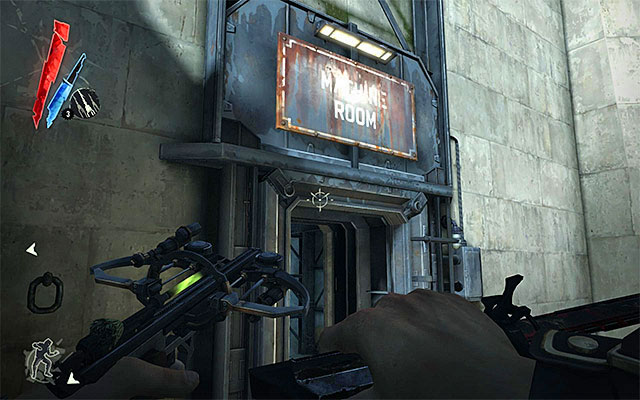
The last one, third variant assumes taking the sewer tunnel system, and it is available regardless of the player's chaos rate. Start by infiltrating the machine room located in the northern part of the fort's ground floor.
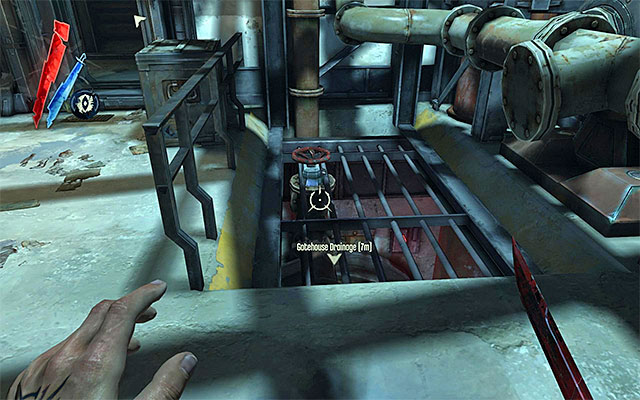
Explore the machine room and watch out for, at least, two guards that are staying in this area. Your destination here is the handle shown in the above screenshot and, after you find it, you need to interact with it.
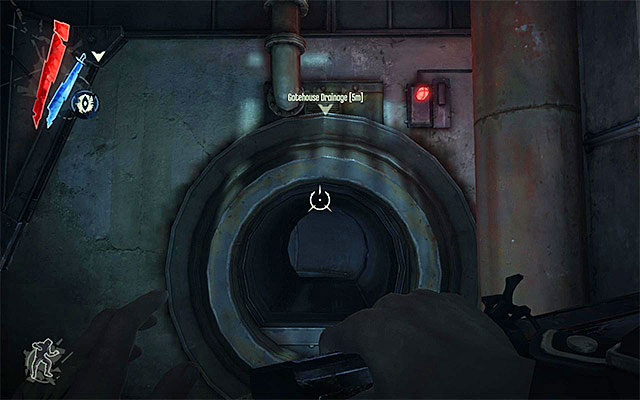
Turn around and jump down. Turn again and that the newly-opened gatehouse passage(the above screenshot).
New Main Quest: Enter the Lighthouse Elevator
![What you can see ahead, is the staircase that leads up to the [Kingsparrow Gatehouse] and, depending on where you start, you may encounter either one or several guards - Reaching the Lighthouse elevator - Mission 9 - The Light at the End - Dishonored - Game Guide and Walkthrough](https://game.lhg100.com/Article/UploadFiles/201512/2015121517563178.jpg)
What you can see ahead, is the staircase that leads up to the [Kingsparrow Gatehouse] and, depending on where you start, you may encounter either one or several guards. It is a good idea to explore the lower level of the staircase (the one that neighbors the sewer tunnel), where you can find a rewire tool.
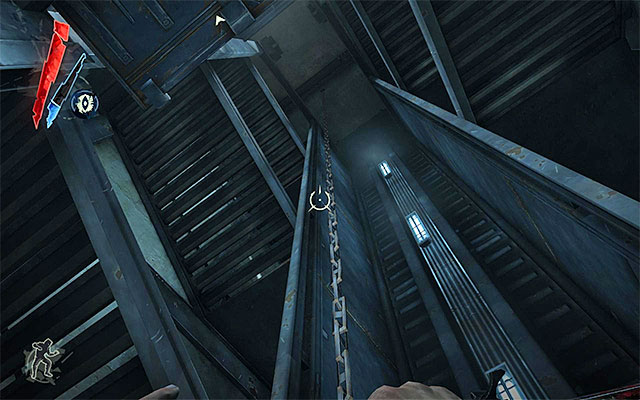
If you want to avoid enemy units at all costs, you, it's a good idea to grab onto the loose chain shown in the above screenshot and climb it.
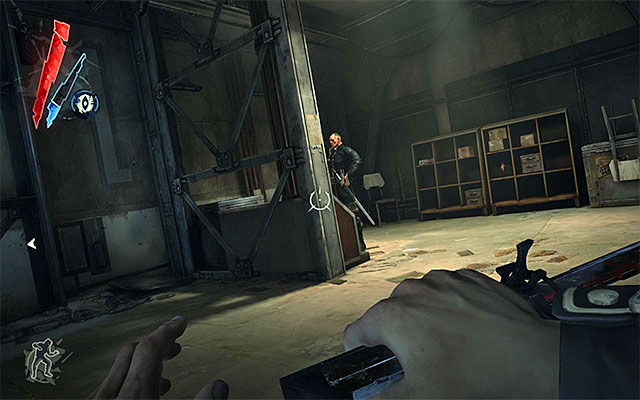
If you don't mind eliminating guards you encounter, it is better to use the stairs. I recommend that, on your way, you turn your attention to the outpost occupied by a single enemy. You can find here Sokolov's health elixir, a lighthouse elevator key and a note (The Lighthouse elevator key).
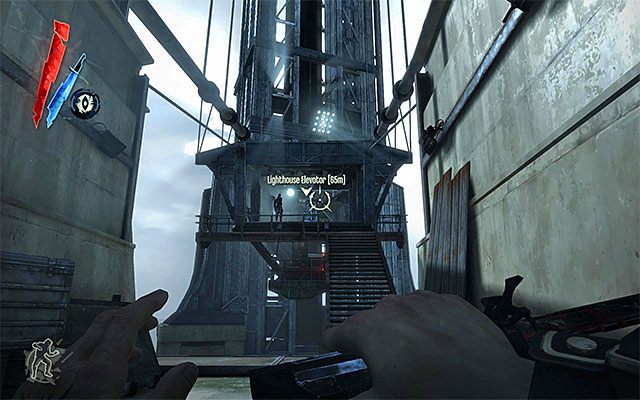
Continue forward, or up the chain. As you progress, you will meet two other guards. Your destination here, is the top catwalk, shown in the above screenshot.
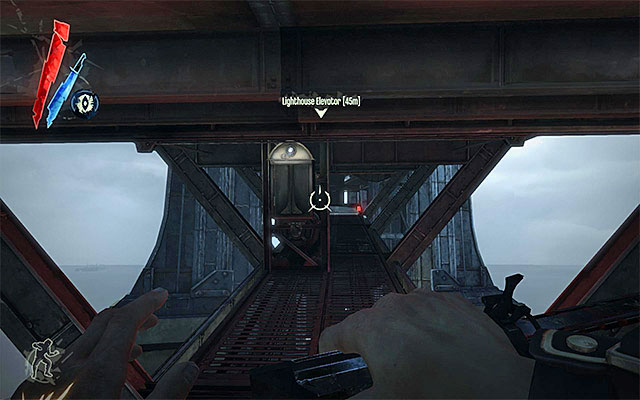
You have probably noticed already that on the bridge ahead of you, there is an active arc pylon so, you need to react to this inconvenience. You can disable the pylon by shooting its power supply tank (it's on the pylon's left side) from the distance, but this would alarm your enemies to your presence. An interesting solution is to walk underneath the pylon (the above screenshot) in order to go around it, disable it or rewire it (the control panel).
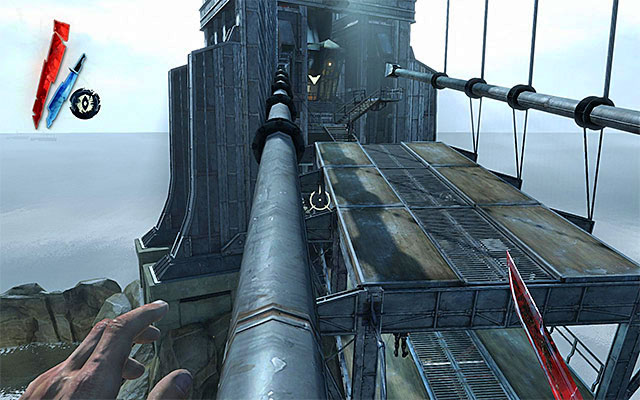
In my opinion, the best way to go around the arc pylon, is to climb using the structure's construction elements (the above screenshot).Of course, you need to be careful so that you don't fall. The additional advantage of this solution is that you can easily go around the guard on the stairs seen in the distance (otherwise, you would have to kill him).
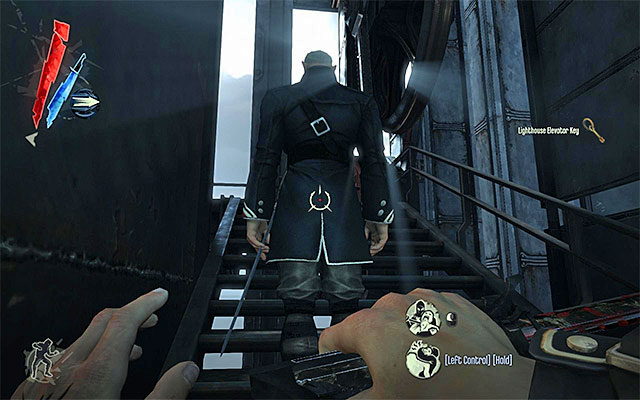
You need to watch out because there is one more enemy near the elevator. You can render him unconscious, especially that he has a lighthouse elevator key on him.
New Main Quest: Reach the Lighthouse
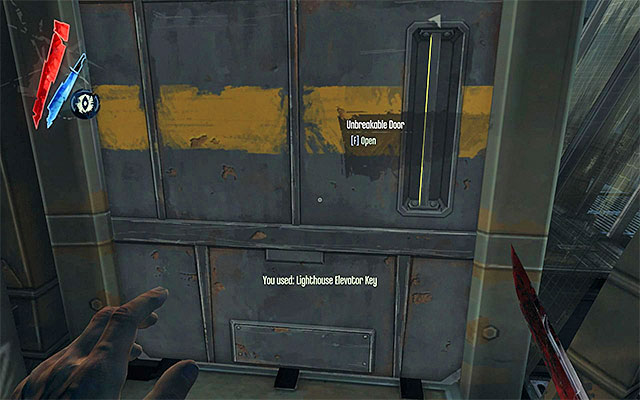
Your destination is the elevator and you can get inside in two ways. If you have one of the keys on you, you can use it on the door shown in the above screenshot..
If you don't have the key, you need to reach higher levels of the metal cage around the elevator and eventually, on the roof. Once there, jump into the hole shown in the above screenshot. Regardless of your variant, pull the lever and confirm that you want to go to the lighthouse.
New Main Quest: Enter the Lighthouse
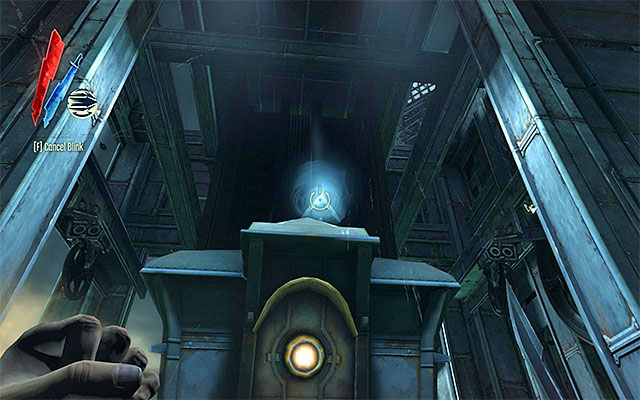
The last part of the level isn't particularly demanding. The lighthouse can be accessed in two ways. If you want to avoid running into the last group of enemies, you should use teleport to reach the elevator's roof (the above screenshot). Continue teleporting over to the higher-located construction elements.
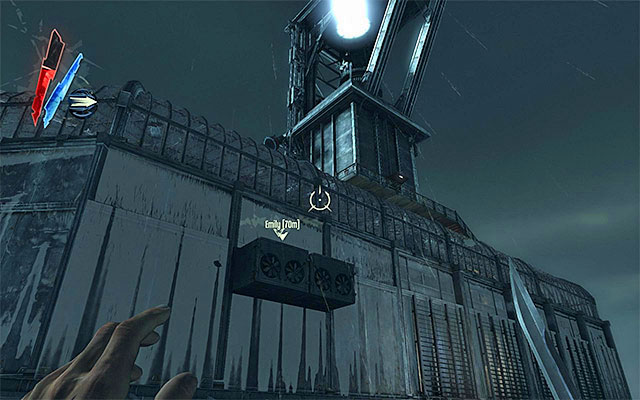
After a few moments, you should finally reach the roof shown in the above screenshot. Go straight ahead and teleport several more times on your way, and reach the lighthouse's upper entrance .
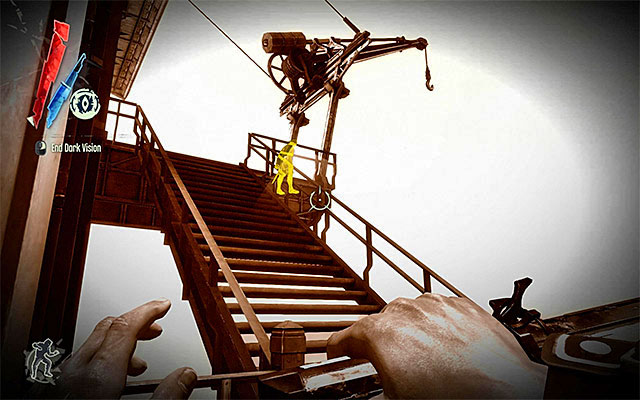
If you don't mind going aggressive on your enemies, decide to progress over catwalks here. The first one of the enemies can be easily avoided, because he will be facing the crane. Do not forget about grabbing the bodies after you eliminate the enemies, or else they might fall down.
A bit further away, there are two more enemies. In this case, it is a good idea to wait until they walk their ways and the one to the right turns towards the ballustrade.
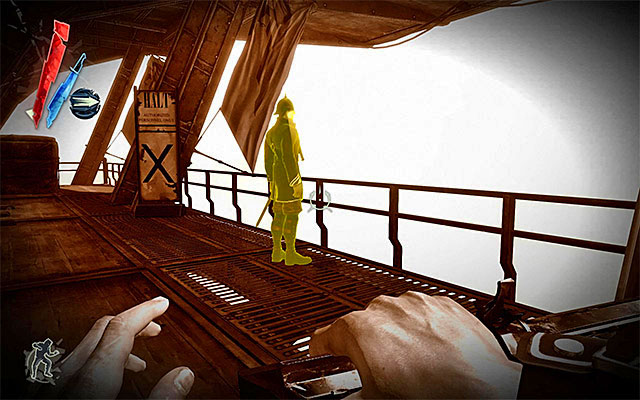
There is only one enemy left for you to eliminate or walk around. It is best to wait until he goes to the right and stops at the balustrade.
Eventually, you should reach the lighthouse's main entrance.
Note -Go now to the subsection entitled Game's end to find out how you can finish this little adventure of yours.
New Main Quest: Rescue Emily
New Main Quest: Find Martin, Pendleton and Havelock
New Optional Quest: Find Havelock
New Optional Quest: Eliminate Admiral Havelock
The beginning of this part of the game is the same for all possible endings. You need to reach the top area in the [Burrows Lighthouse], by taking the main stairs (the above screenshot) or side stairs.
If you kept your chaos rate at a low level, you will have no choice to make. After you reach the upper floor, you should notice Havelock and two remaining plotters, whom he murdered.
At first, the admiral will not even want to fight with you and, instead, leaves himself at your mercy. I recommend that you choose either to kill him or stun him. I definitely advise against leaving him as he is, or else, he will attack you as soon as you try to free Emily.
Seize the opportunity to have a thorough look around the lighthouse (both levels), to find gold, ammo, two Sokolov's health elixirs, Piero's spiritual remedy, two books, an Emily's room key and an Audiograph - Havelock's Log: Entry Five.
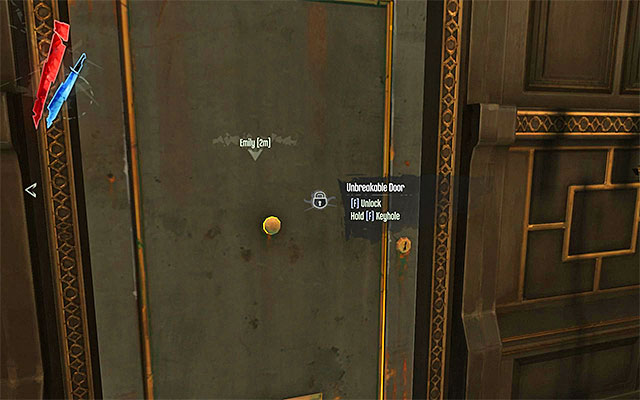
Finally, return to the place where Emily is being kept captive. Use your key to open the door and finish the game.
If your chaos rate is high, you will have to make a choice between two main endings. After you reach the upper floor (the above screenshot), you will meet nobody, so devote several moments to exploring the area to find gold, ammo, two Sokolov's health elixirs, Piero's spiritual remedy, two books and an Audiograph - Havelock's Log: Entry Five.

Locate the exit to the lighthouse's external balconies (the above screenshot) and go up. The path is linear so you shouldn't lose your directions, still, on your way, you could devote several moments to finding Piero's spiritual remedy.
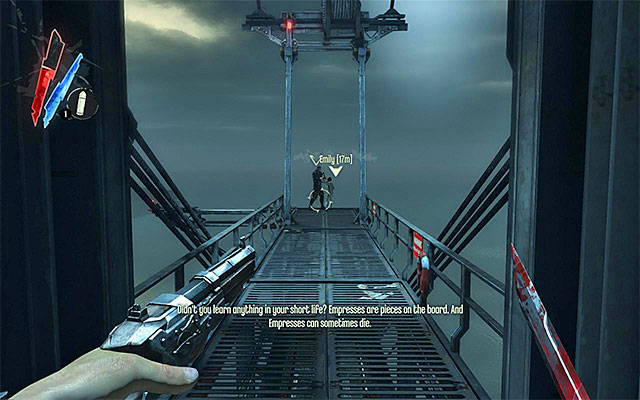
You should, eventually, reach the place where you will witness the struggle between Emily and Havelock. Make a few steps forward. Havelock will grab Emily and you will have to make a choice of how it all ends.
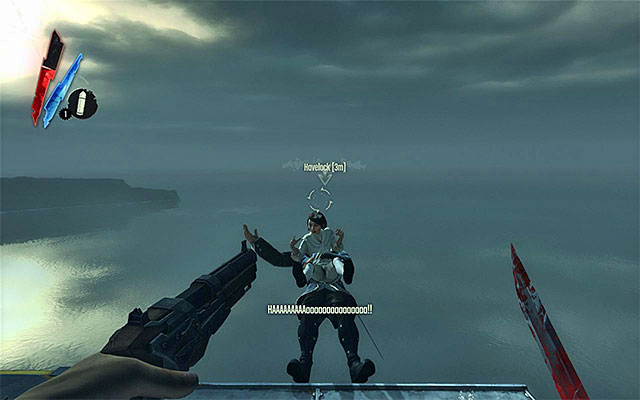
If you approach Havelock, he will throw himself into the void alongside with Emily, which will make it impossible to save her.
Emily can be saved though after you activate the power of total time hold. After you activate the power, run up to Havelock and Emily. Depending on what you prefer, you can either render Havelock unconscious, kill him or just focus on saving the girl. If you do not have the force of time hold available, you could teleport towards Havelock. Once you did that however, you would have to grab Emily instantaneously .
You can also use your ranged weapon to dispose of the admiral, and use your pistol or your crossbow to hit him. However, you need to make sure that you do not hit Emily, and that you catch her right afterwards.
Which one of the final cutscenes you will see, depends on the decisions that you have taken. In general terms, they can be divided into three main endings:
ENDING 1 (low chaos only) - Admiral Havelock gives up without putting up a fight and he dies or is unconscious. Emily is saved
ENDING 2 (high chaos only) - Both Admiral Havelock and Emily die.
ENDING 3 (high chaos only) - Admiral Havelock dies or is unconscious. Emily is saved.
In the Dishonored game, apart from the regular loot like gold, Corco's gear and quest items you can also find a lot of secret items (collectibles). In general, these can be divided into five main categories
The game allows you to keep track of your progress, as far as collectibles are concerned. After your completion of each stage, the game displays for you the information regarding mission summary, including the information on how many collectibles you have found (the above screenshot). The listing does not include, however, blueprints or audiographs, so you should pay special attention to not missing any one of them.
The below table informs on what collectibles, and in what quantities, can be found in individual missions.
Stage
RUNES
BONE CHARMS
SOKOLOV'S PAINTINGS
AUDIOGRAPHS
BLUEPRINTS
Mission 1 - Dishonored
0
0
0
1
0
The Hound Pits Pub
0
0
0
3
0
Somewhere Else...
1
0
0
0
0
The Hound Pits Pub #2
2
0
0
1
0
Mission 2 - High Overseer Campbell
7
5
1
4
3
The Hound Pits Pub #3
2
0
0
3
0
Mission 3 - House of Pleasure
5
5
3
1
1
The Hound Pits Pub #4
0
0
0
0
0
Mission 4 - The Royal Physician
5
3
1
1
1
The Hound Pits Pub #5
0
1
0
4
0
Mission 5 - Lady Boyle's Last Party
3
2
2
0
1
The Hound Pits Pub #6
3
0
0
3
0
Mission 6 - Return to the Tower
4
2
1
2
1
The Hound Pits Pub #7
0
0
0
3
0
Mission 7 - The Flooded District
5
8
3
1
0
Mission 8 - The Loyalists
1
0
0
3
1
Mission 9 - The Light at the End
1
0
0
1
0

Some runes can be bought or received as a reward from NPCs, but overwhelming majority of them can be found during the gameplay. For finding the runes, it is best to use the Heart by selecting it from the inventory window, each time after a new area is loaded. An additional facilitation is the fact that each rune emits a characteristic sound which should help you find it.
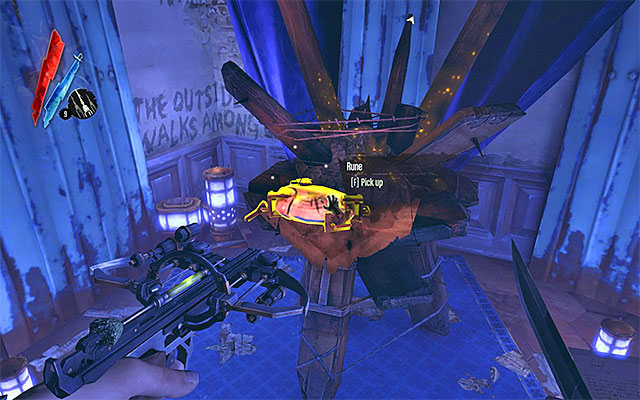
It is worth noting that some runes have the Outsider chapel tied to them . As soon as you collect such a rune, a short cutscene of the meeting with the Outsider is initiated, so you do not have to perform any additional actions.
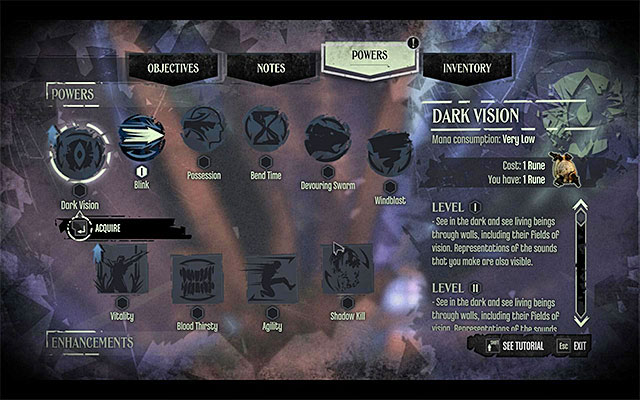
You collect runes in order to spend them afterwards to develop Corvo's powers (the above screenshot). An important piece of information is that you do not need to spend the runes to develop powers right after you obtain them. It is way better to save them up for later, especially that it is not possible to unlock all of the powers during a single example of a campaign.
There are ten powers available in the game, and there are two levels of development for each of them. A list of all ten of them, alongside with hints on their usability, can be found in the table below.
In a nutshell: What is the sequence for unlocking powers? I recommend that you acquire an upgraded version of teleportation (Blink II) as soon as possible. This will save you stress getting around the game world. Another item on your shopping list should be time hold (Bend Time II). Still, if you want to ensure yourself with a greater variety of powers, you can also acquire the basic version of the power that enables you to see through walls (Dark Vision I), as well as possession (Possession I).
THE NAME OF THE POWER
POWER DESCRIPTION
COST
USEFULNESS
Dark Vision
Seeing enemies through walls (I).
Seeing enemies and objects through walls (II).
1 rune (I)
2 runes (II)
A very useful power, especially if you are going to remain in hiding. I recommend that you develop it to its maximum. This wil make you sure that you haven's missed any item
Blink
Teleportation over a small distance (I).
Teleportation over a larger distance (II).
- (I)
3 runes (II)
You will be probably using this power most frequently. It is a priority to unlock its second level because, initially, its range is limited.
Possession
Possession of animals (I).
Possession of people and animals (II).
3 runes (I)
5 runes (II)
Possession is one of powers prepared with people, who prefer to stay hidden, in mind. It is a good idea to unlock , at least, the first level early in the game.
Bend Time
Slowing down time (I).
Holding time (II).
2 runes (I)
8 runes (II)
The power shows its true potential only after it is upgraded to level II. Thanks to holding time, you can effortlessly go around enemies, or get them from behind . Therefore, it is a good idea to unlock it as soon as possible, even though it requires as many as ten (8+2) runes.
Devouring Swarm
Summoning of a swarm of rats (I).
Summoning of a big swarm of rats(II).
3 runes (I)
4 runes (II)
I recommend that you use rats only if you don't mind killing your enemies. I recommend that you send such a swarm against larger groups of enemies, especially that this consumes a lot of mana.
Windblast
A weak gust of wind (I).
A strong blast of wind (II).
3 runes (I)
4 runes (II)
The upside of this power is its versatility. You can use it not only for knocking your enemies down, but also for smashing wooden passages and putting out fire. Upgrading the power to level II is advisable only if you kill your enemies frequently.
Vitality
Lengthens the health bar (I).
Lengthens the health bar and makes it regenerate faster (II).
1 rune (I)
3 runes (II)
This power isn't too useful if you keep operating from hiding. All in all, you can unlock level I of this power, because it only requires 1 rune.
Blood Thirsty
Single adrenaline-based assassinations(I).
Multiple adrenaline-based assassinations (II).
2 runes (I)
3 runes (II)
Same as above, you can ignore this power completely if you keep staying in shadows. If you, however, get involved in fights frequently, you can focus on it.
Agility
Jump over larger distances (I).
Move faster in water and on the ground (II).
2 runes (I)
3 runes (II)
This is an attractive power, and that's regardless of your gaming style. Double jumps are especially useful because they allow to reach higher without the necessity to teleport.
Shadow Kill
Sneak-killed enemies turn to ash (I).
All killed enemies turn into ash (II).
2 runes (I)
4 runes (II)
This power's main function is to diminish the risk of alarms raised by guards when they find corpses. Personally, I think that the runes are better spent on other powers.
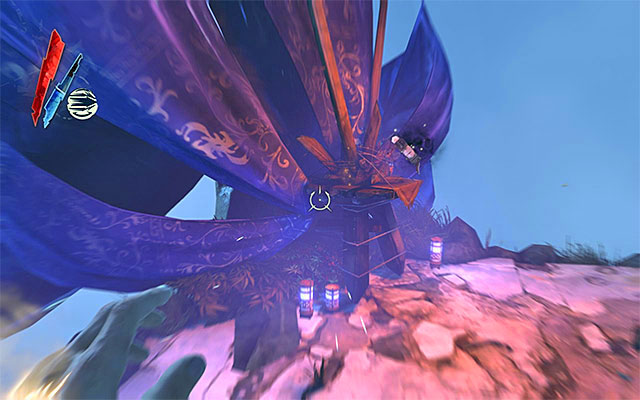
RUNE 1/1 - You cannot miss this rune because obtaining this one is a part of the first encounter with the Outsider.
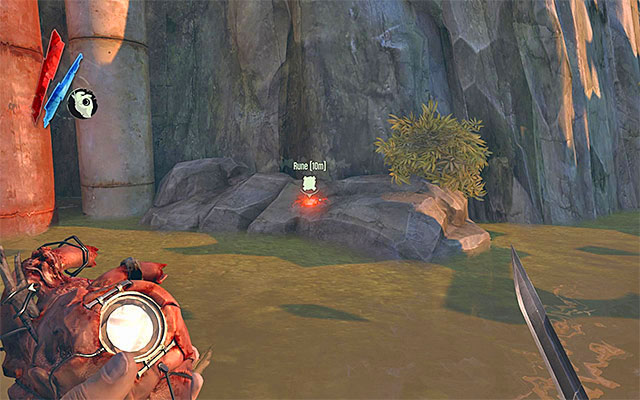
RUNE 1/2 - The rune can be found on an islet near the docks.
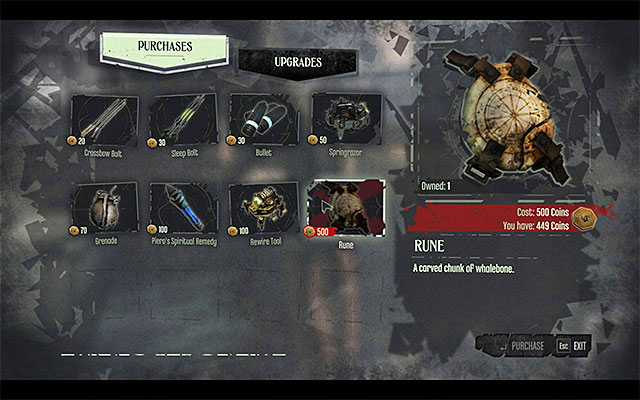
RUNE 2/2 - The rune is in Piero's stock (you can also buy it during one of your visits to the pub).
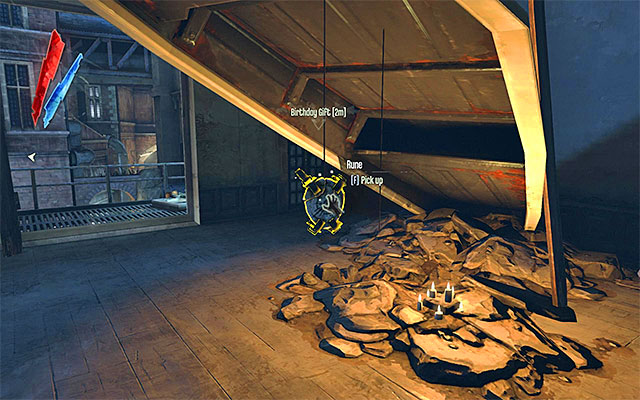
RUNE 1/7 - The rune is in the basement of Granny's apartment.
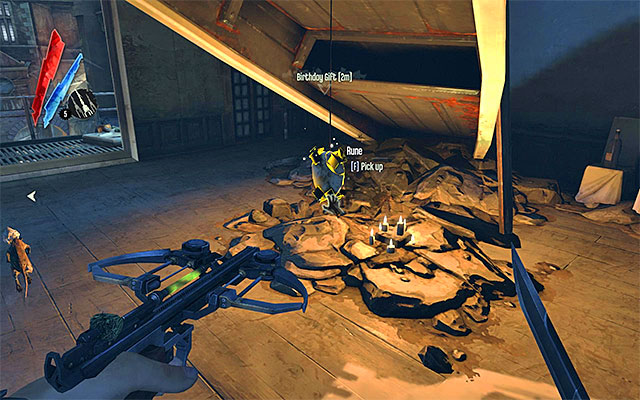
RUNE 2/7 - The rune is a reward for completing the first assignment from Granny (eliminate a group of bandits). You can find it upstairs in the apartment.

RUNE 3/7 - The rune is a reward for performing the second assignment for Granny (contamination of elixir in bandits' headquarters). You can find it upstairs in the apartment.
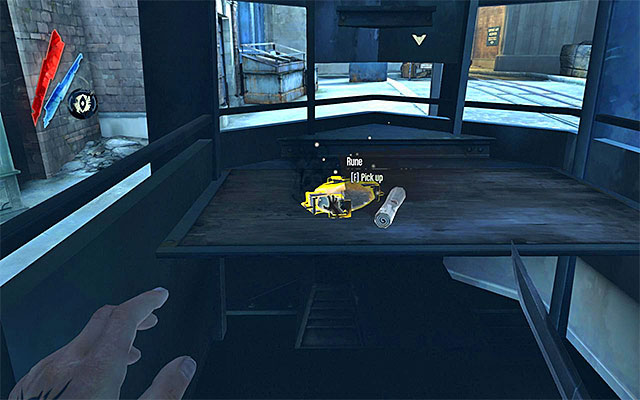
RUNE 4/7 - The rune is in the guard booth near the Holger Square.
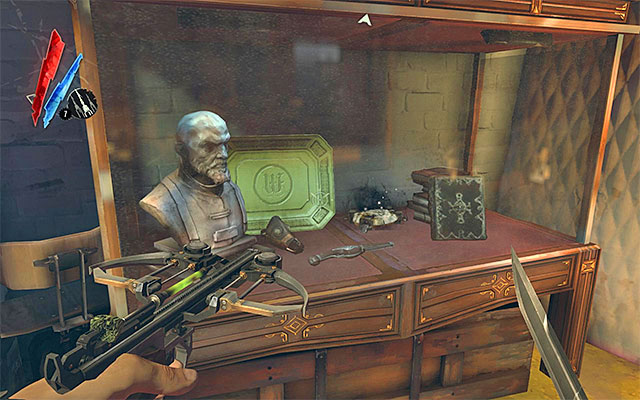
RUNE 5/7 - You can find the rune inside Campbell's secret chamber, in the basement of the Overseer's building. You need to smash the glass cabinet to get it.
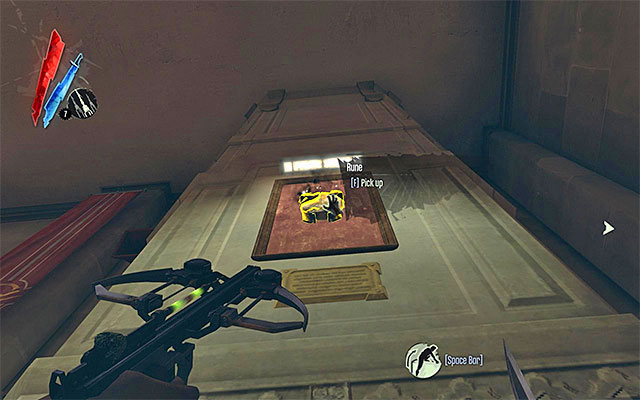
RUNE 6/7 - The rune is hanging on the wall in the meeting chamber of the Overseer's building.
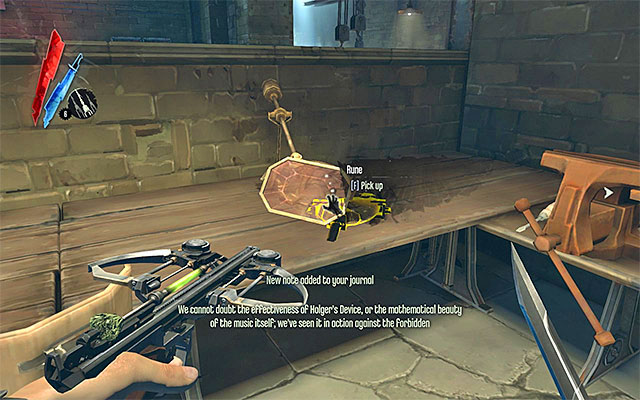
RUNE 7/7 - The rune is in the workshop in the backyard (behind the Overseer's building).
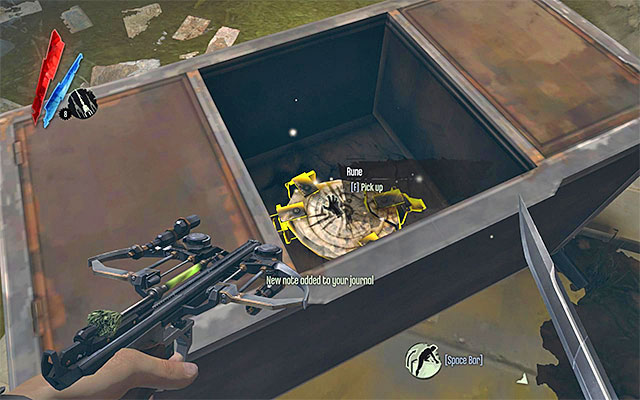
RUNE 1/2 - The rune is located underneath the pub, close to the place where there are weepers.
RUNE 2/2 - The rune is in the sewers under the pub, near the place, where there are weepers. You need to dive to find it.
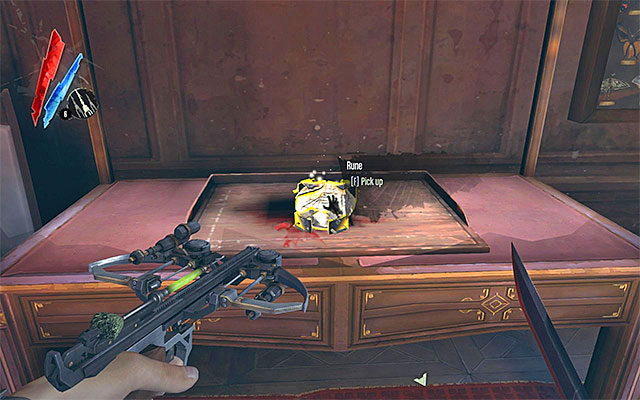
RUNE 1/5 -The rune is in the secret chamber in doctor Galvani's apartment.
RUNE 2/5 - The rune is inside the deserted tenement located to the right of the Golden Cat club.
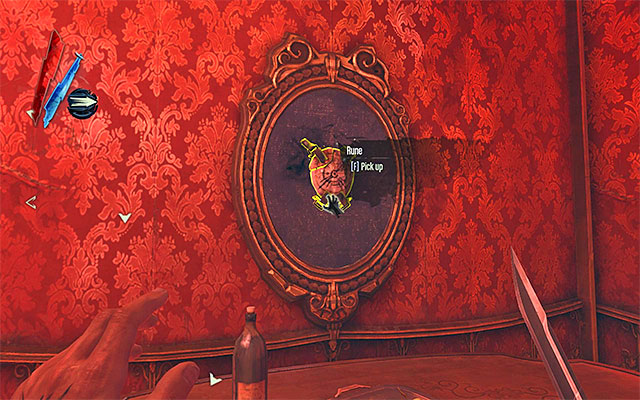
RUNE 3/5 - The rune is hanging on the wall, on the first floor of the Golden Cat club.
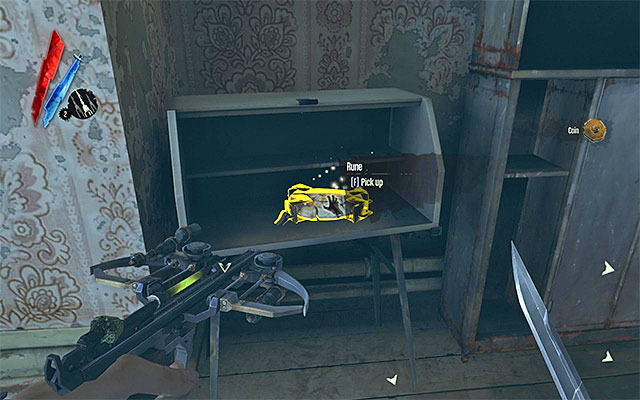
RUNE 4/5 - The rune is in the attic of the Golden Cat club, in one of the rooms.
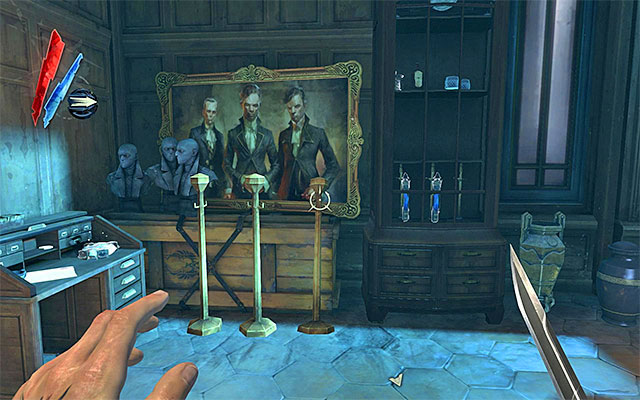
RUNE 5/5 - The rune is inside the treasures, on the second floor of the Art Dealer's apartment.
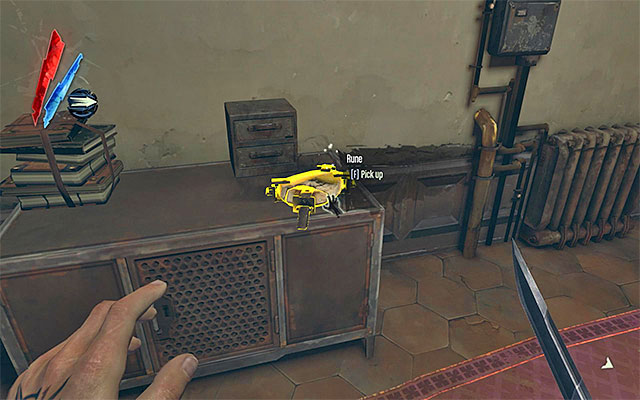
RUNE 1/5 - The rune is in the back room of the tenement located near the second outpost.
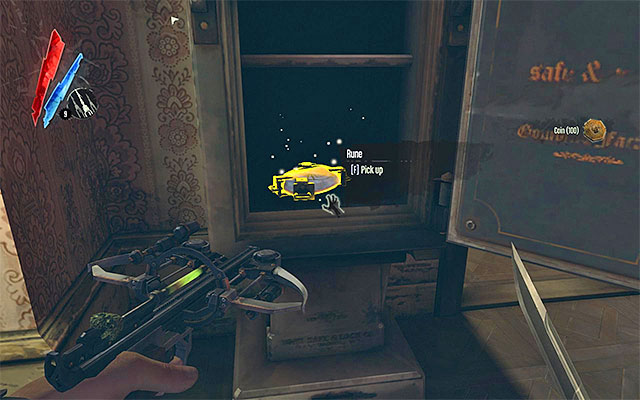
RUNE 2/5 - The rune is inside the safe in Pratchett's apartment.
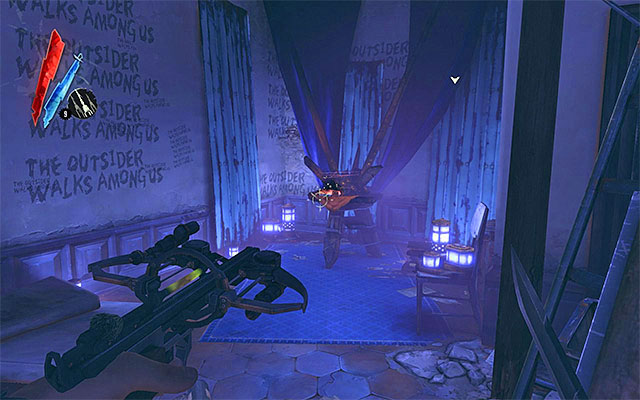
RUNE 3/5 - The rune is inside the building with the deranged civilian in it, neighboring with Prattchet's apartment.
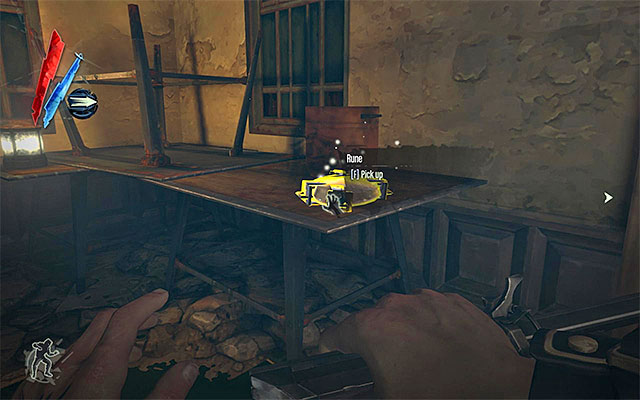
RUNE 4/5 - The rune is inside the tenement, and you run into it right after you reach the location that functions as the enemy's third outpost.
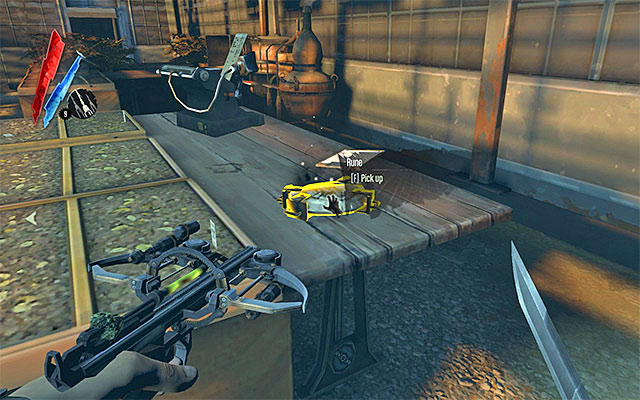
RUNE 5/5 - The rune is in the greenhouse in which you find Sokolov.
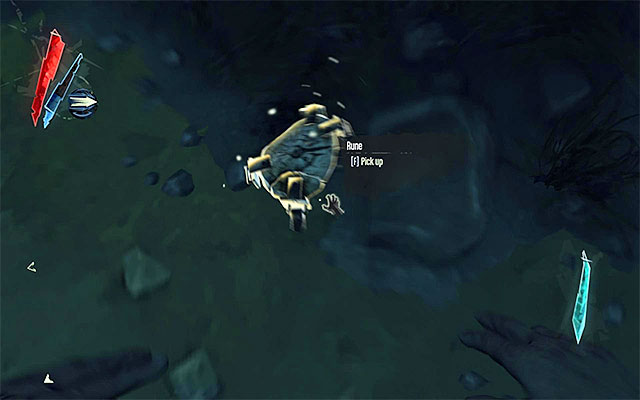
RUNE 1/3 - The rune is at the river's bottom, near your starting point.
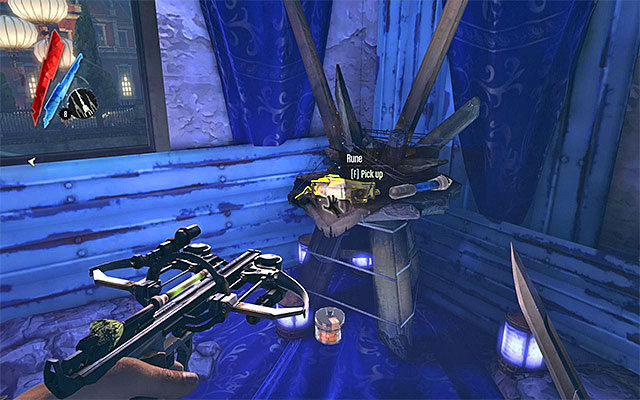
RUNE 2/3 - The rune is on one of the upper floors of the tenement located near the starting point.
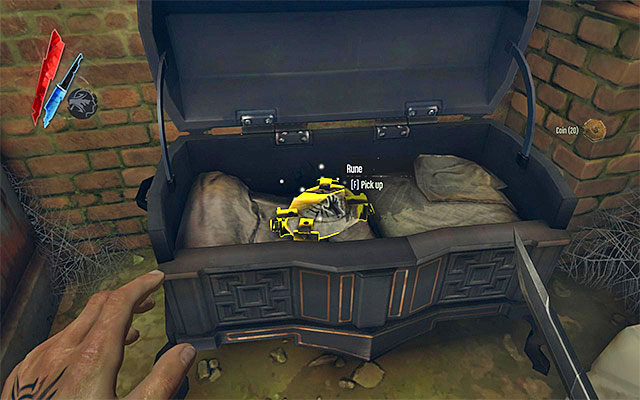
RUNE 3/3 - The rune is I the treasures of the Boyle Estate.
RUNE 1/3 - The rune is a reward for finding Emily, and it's the girl that you receive it from.
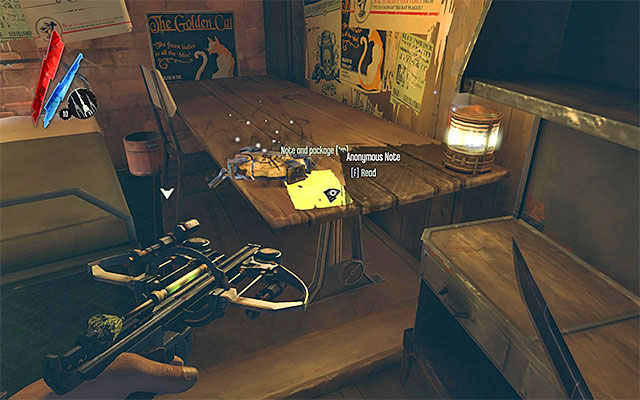
RUNE 2/3 - The rune is lying on the table inside Corvo's chambers. You receive the rune only if none of the Boyle sisters was killed.
RUNE 3/3 - The rune is a reward from Lord Pendelton. You can expect to receive it only if you have won the duel with Lord Shaw.
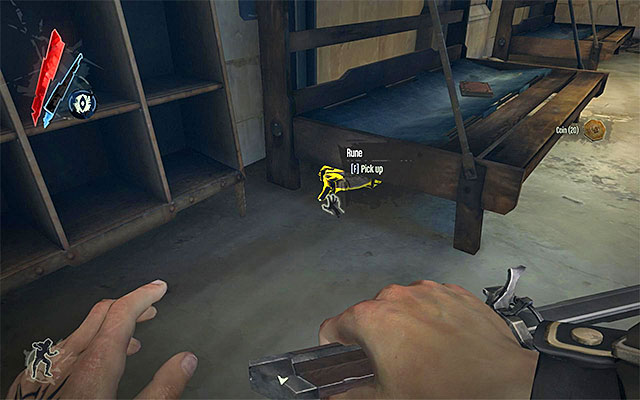
RUNE 1/4 - The rune is located in the buildings neighboring with the Dunwall Tower (to the right of the tower's main entrance). It has been hidden under the bed.
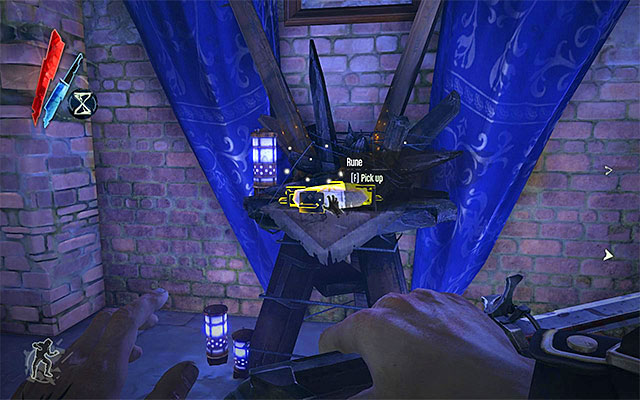
RUNE 2/4 - The rune is in the dungeons of the Dunwall Tower occupied by the Torturer.
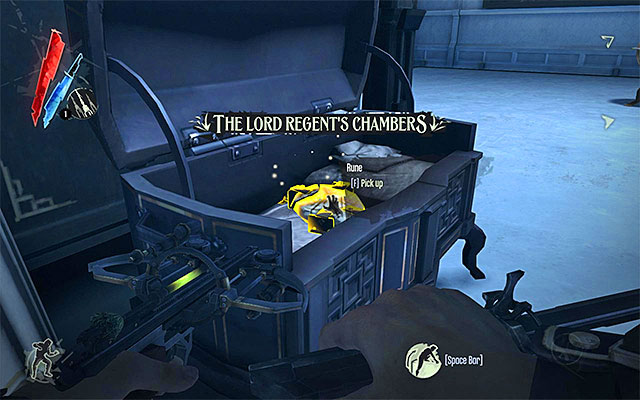
RUNE 3/4 - The rune is in the chest in the Lord Regent's Chambers, on the second floor of the Dunwall Tower.
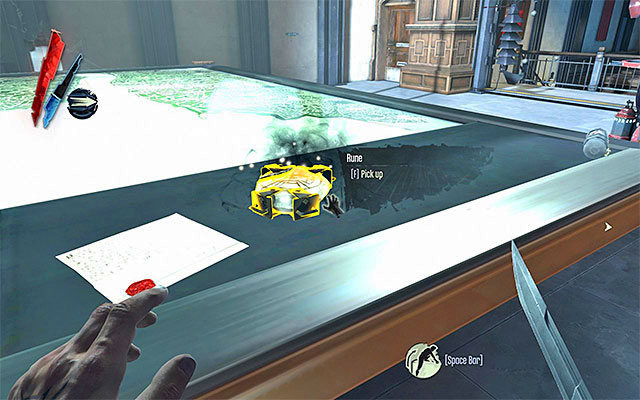
RUNE 4/4 - The rune is in Lord Regent's safe room on the Tower's rooftop.
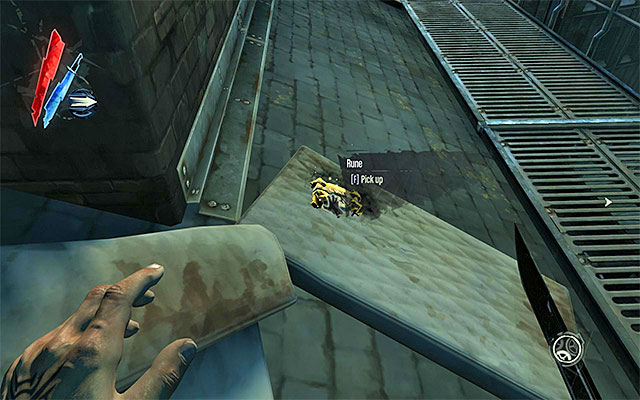
RUNE 1/5 - The rune is lying on the ground near the refinery building (the one with Corvo's gear in it) and the water reservoir.
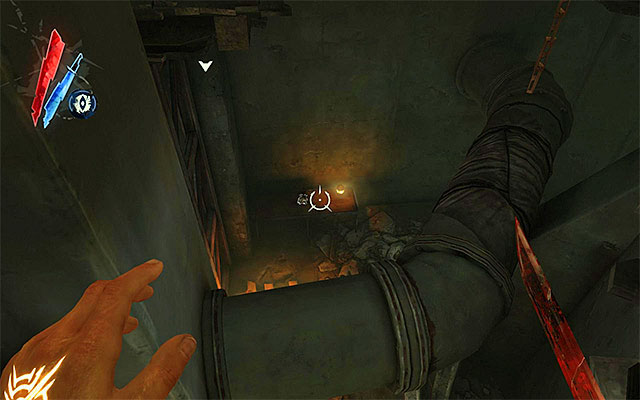
RUNE 2/5 - The rune is in the dungeons of Daud's headquarters (you run into it still before you take the tunnel.

RUNE 3/5 - The rune is on the roof of the tenement located right next to the track.
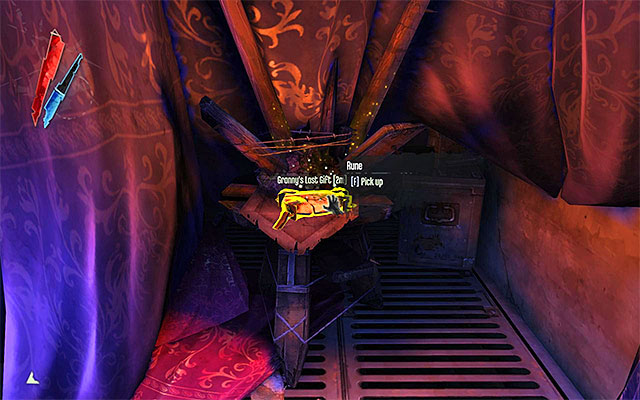
RUNE 4/5 - The rune is inside the cave neighboring with the sewers (the one where you can meet Granny and Slackjaw).
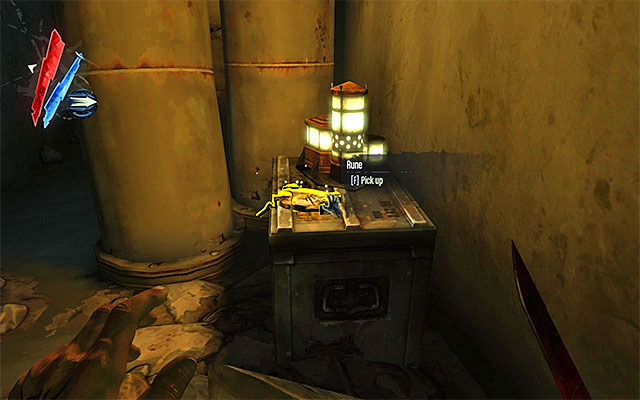
RUNE 5/5 - The rune is in the survivors' (or weepers') camp located in the second part of the sewers.
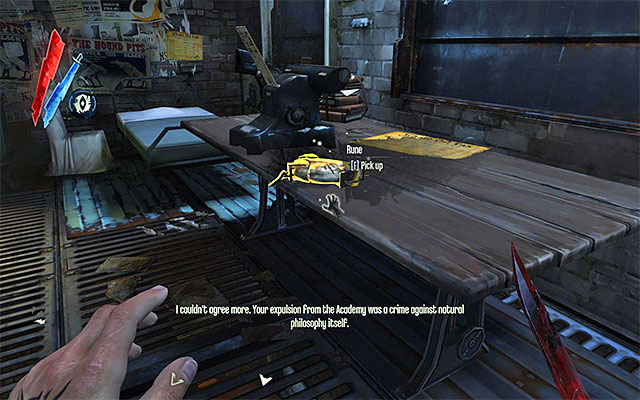
RUNE 1/1 - The rune is in Piero's workshop, upstairs.
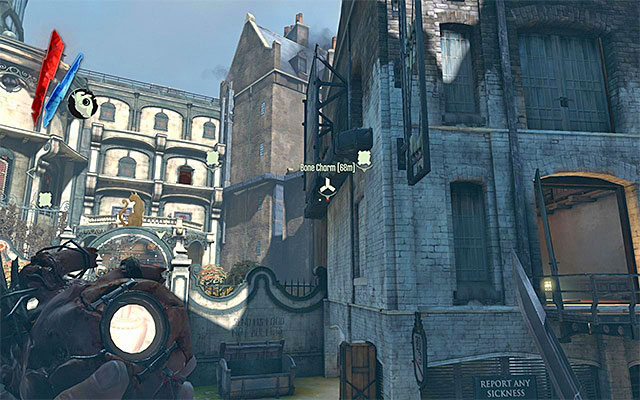
RUNE 1/1 - The rune is in the fort's machine room that neighbors its yard.

Bone charms are to be found during the gameplay. It is best to use the Heart to find them, by choosing it from the inventory every time a new area is loaded. An additional facilitation is the fact that each bone charm emits a characteristic sound, which should help you find it. An important piece of information is that the type of charm you find in a given place is selected at random by the game each time you do it. So, when you find the most useful charms is entirely a matter of luck.
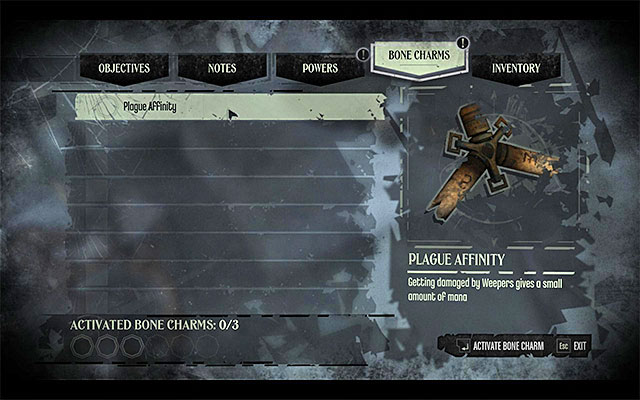
Bone charms have (more or less useful) properties. Each time you find a new bone charm, the game suggests that you wear it. At first you can only wear three bone charms at a time, but you can increase the limit to six, by buying appropriate upgrades from Piero (Bone Charms Capacity).
As I have already pointed out, you acquire bone charms completely at random. Below you can find a list of bone charms, alongside with hints on which ones are the most attention worthy.
In a nutshell: Which charms is it best to wear? Strong Arms (which makes it easier to choke enemies), Undertaker (which makes corpse concealing easier), Swift Shadow (more agile movement in the shadows), Ox Blood or Spiritual Pool (improved mana management), Sturdy Bolts or Reinforced Bolts (increases crossbow's effectiveness), Acrobat (easier climbing) or Fleet Fighter (quicker movement with drawn weapon).
BONE CHARM NAME
BONE CHARM PROPERTY
USEFULNESS
Acrobat
Faster climbing.
Quite interesting a charm but, in many cases, it is better to teleport instead of climbing.
Albino
Increased chance for albino rats to appear.
You can easily ignore this charm unless you use Possession frequently.
Carrion Killer
You receive adrenaline points for killing rats.
Not really useful. You can easily ignore it.
Clockwork Malfunction
Grenades thrown by your enemies take slightly more time to explode.
A charm that is virtually useless for those, who remain in shadows. You can ignore it even if you occasionally participate in fights.
Falling Star
You receive mana points each time you kill an enemy from above by jumping down on them.
It is a good idea to wear this charm only if you like landing on enemies to kill them.
Fleet Fighter
Holding your weapons in your hands doesn't slow you down.
A bonus offered by this charm is especially handy if you fight often but, even if you avoid open conflicts, it is a good idea to have both weapons drawn, just in case.
Healthy Appetite I
You receive more health points when you eat your food.
Not really useful for someone who stays in shadows at all times. It's also moderately useful for someone who needs to replenish their health points on a regular basis.
Healthy Appetite II
You receive considerably more health points when you eat your food.
Not really useful for someone who stays in shadows at all times. It's also moderately useful for someone who needs to replenish their health points on a regular basis.
Ox Blood
Extends mana bar.
A very interesting charm that is worth getting regardless of the preferred gaming style. A longer mana bar makes for a more frequent and more convenient use of powers.
Plague Affinity
Taking damage from weepers comes with receiving additional mana points.
A charm that is useless for those who operate in shadows, because they avoid coming into any contact with weepers. You can check it out if you prefer a more aggressive approach.
Plague Resistant
Weepers deal less damage to you.
The charm is useless for those who operate in shadows, because they avoid coming into any contact with weepers. You can check it out if you prefer a more aggressive approach.
Rat Scent
Rats attack Corvo only if he comes really close.
The charm may turn out to be useful regardless of the preferred style of game play, although rats can be avoided easily, on the other hand, or simply killed.
Reinforced Bolts
A lower chance for a bolt to break when it sticks into enemy body.
It is a good idea to wear this charm if you like using your crossbow frequently..
Robust I
You receive more health points when you drink a potion.
Not really useful to those who remain in shadows, an moderately useful to those who need to replenish their health frequently.
Robust II
You receive considerably more health points when you drink a potion.
Not really useful to those who remain in shadows, an moderately useful to those who need to replenish their health frequently.
Spirit Water
Drinking tap water slightly regenerates your mana.
I recommend that you wear it only if you have no better solutions connected with mana regeneration.
Spiritual Pool
Faster mana regeneration.
Quite useful a charm, especially if you use powers frequently .
Strong Arms
Choking enemies is faster.
One of the most useful charms for those operating in shadows. Allows faster movement between locations occupied by the enemy.
Sturdy Bolts
Decreases the risk of breaking a bolt.
It is a good idea to wear this charm if you like using crossbow frequently.
Sustained Rage
Adrenaline lasts for longer.
It is a good idea to wear this charm only if you often take part in open fights.
Swift Shadow
Faster movement if you stay in shadows.
It's one of the more useful charms for a player who constantly stays in shadows. It allows easier movement between locations occupied by enemy units.
Throwing Hand
You toss items over longer distances.
This charm is not that useful, unless you often use grenades or other throwable objects.
Tough Skin
Extends the health bar.
Wear this charm only if you opt for aggressive gameplay.
Twist of Fortune I
Slightly increases the chance of regenerating your mana after you drink an elixir.
It is much better to focus on charms that offer certain bonuses.
Twist of Fortune II
Increases a bit the chance of regenerating your mana after you drink an elixir.
It is much better to focus on charms that offer certain bonuses.
Undertaker
Faster movement while carrying bodies.
One of the most useful charms for someone who operates in shadows. Very often, you will face a situation in which concealing a corpse will be of key importance.
Unnerving Target I
Slightly cripples the enemies' ability to wield weapon.
A charm that is useless to someone, who operates from hiding, and moderately useful to someone who engages in open fights.
Unnerving Target II
Cripples the enemies' ability to wield weapon.
A charm that is useless to someone, who operates from hiding, and moderately useful to someone who engages in open fights.
Vengeance
As you take damage, your mana increases.
It is a good idea to turn your interest to this charm if you often engage in open fights
Water of Life
Drinking tap water results in health bar being slightly regenerated.
I recommend that you wear this charm only if you do not have any better solutions concerning health regeneration.
Welcoming Host
The power of Possession lasts longer.
You can ignore this charm unless you like using the power of Possession frequently.
Whirlwind I
Bladed attacks slightly faster.
A charm useless to those who prefer to operate in shadows, and moderately useful to those who engage in open fights.
Whirlwind II
Bladed attacks faster.
A charm useless to those who prefer to operate in shadows, and moderately useful to those who engage in open fights.
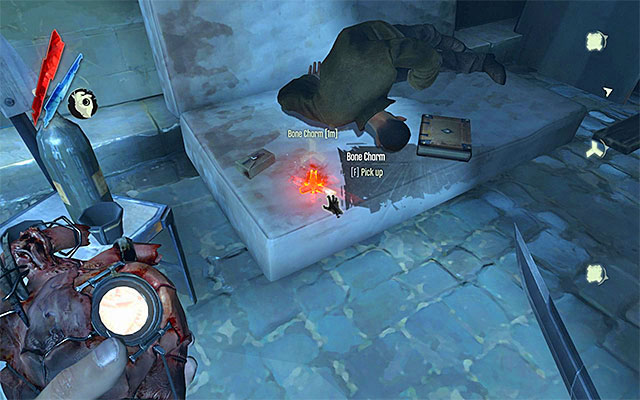
BONE CHARM 1/5 - The charm is to be found at the very end of the bridge near the first wall of light (the one that guards dump corpses from).
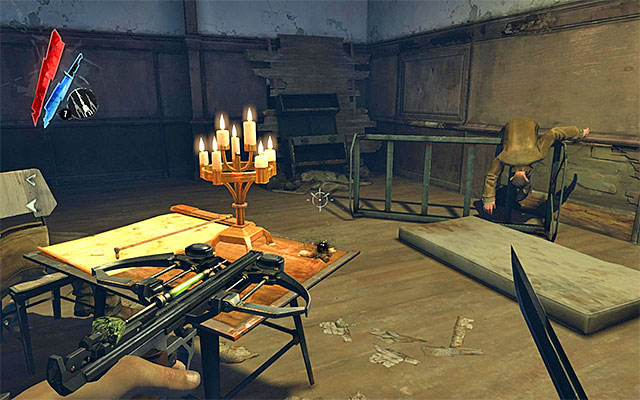
BONE CHARM 2/5 - The charm is upstairs, in the building that Griff was hiding in.
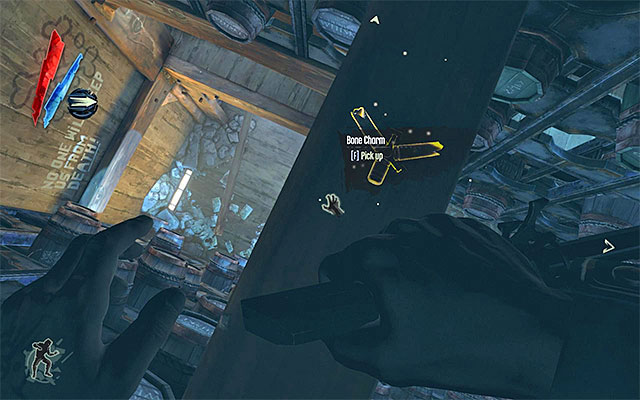
BONE CHARM 3/5 - The charm is on the horizontal beam underneath the ceiling of the last room in the distillery. The best method to reach the ledge is by teleporting.
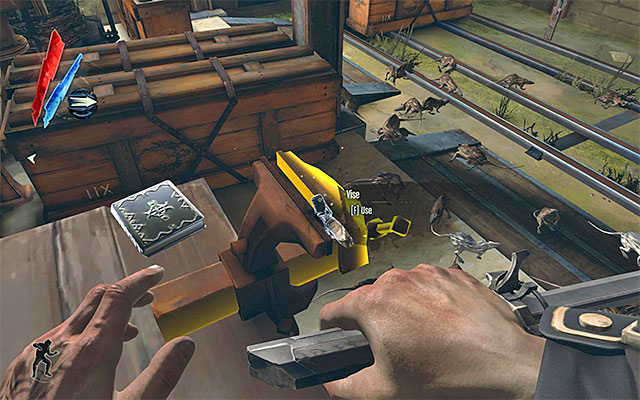
BONE CHARM 4/5 - The charm is in the warehouse with rats, located in the backyard (behind the Overseer's building).
BONE CHARM 5/5 - The charm is in the building located at the end of the yard, at the cliff. You can access the building through the window or, by supplying the handle to the damaged door.
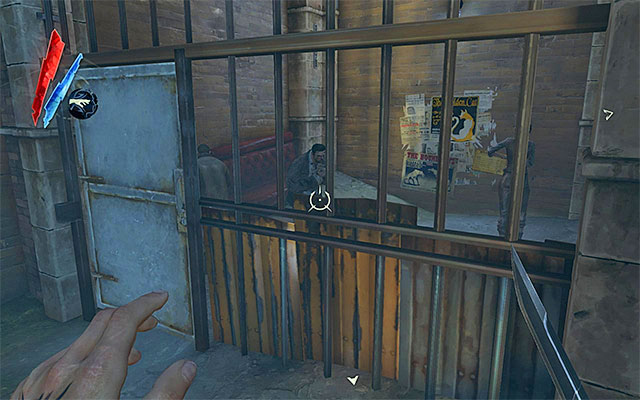
BONE CHARM 1/5 - The charm is located in the enclosed area where weepers are kept, located to the left of the entrance to the distillery building.
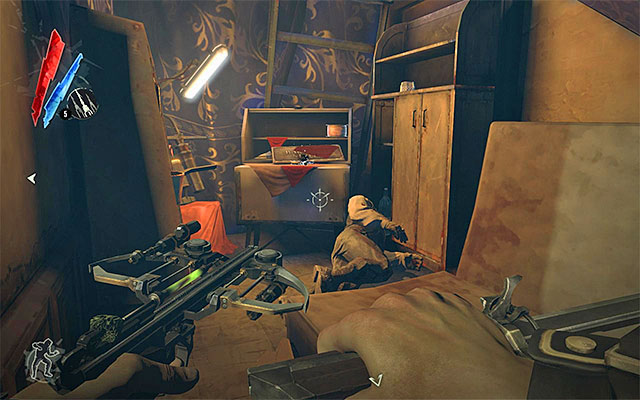
BONE CHARM 2/5 - The charm is in the bathroom of the building that neighbors the distillery and the Clavering Boulevard (the interior is patrolled by an assassin, and there is a weeper in the bathroom itself).
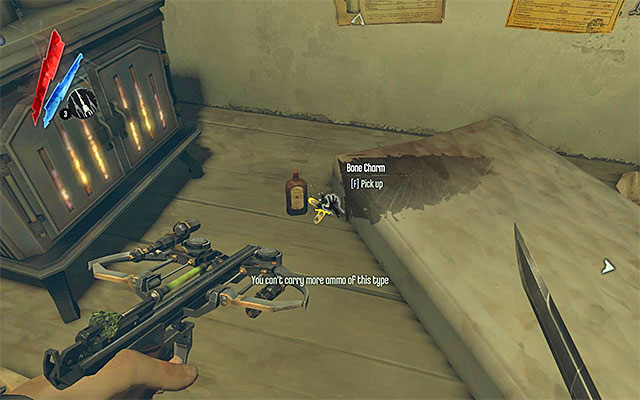
BONE CHARM 3/5 - The charm is on the ground floor of the Captain's Chair hotel.
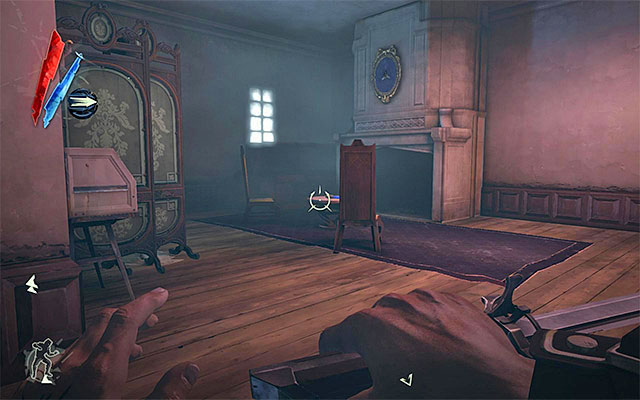
BONE CHARM 4/5 - The charm is hanging on the wall of the locked room, on the second floor of the Golden Cat club.
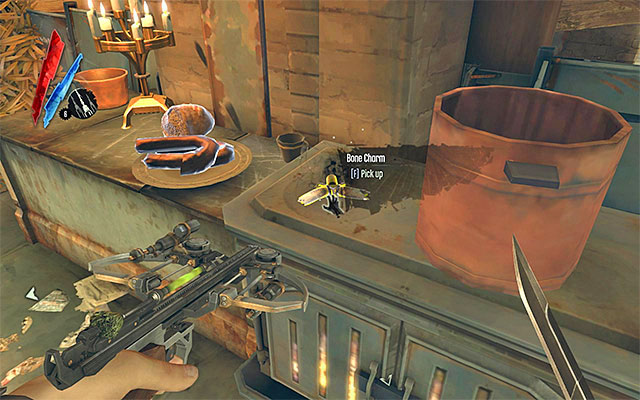
BONE CHARM 5/5 - The charm is in the sewers under the second wall of light, more precisely, in the area where there stays Granny.
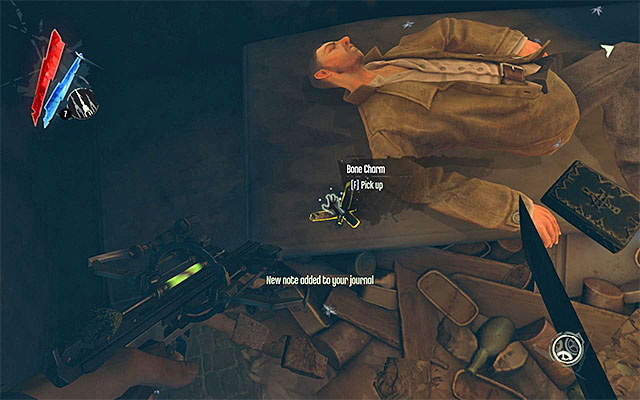
BONE CHARM 1/3 - The charm is in the building neighboring with the waterlock, close to the second enemy outpost (there is a weeper inside that building).

BONE CHARM 2/3 - The bone charm is in the warehouse right after the third enemy outpost. You need to explore the basement with rats and the innocent woman in it.
BONE CHARM 3/3 - The bone charm is on one of the higher floors of the tenement located near Sokolov's apartment (it's the building that the survivors run to).
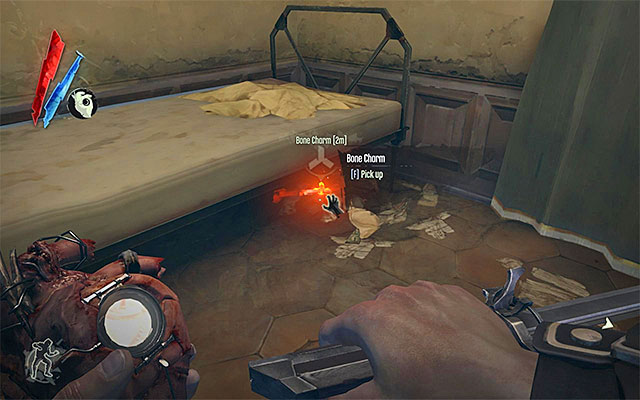
BONE CHARM 1/1 - The charm is inside the abandoned apartment under the bed.
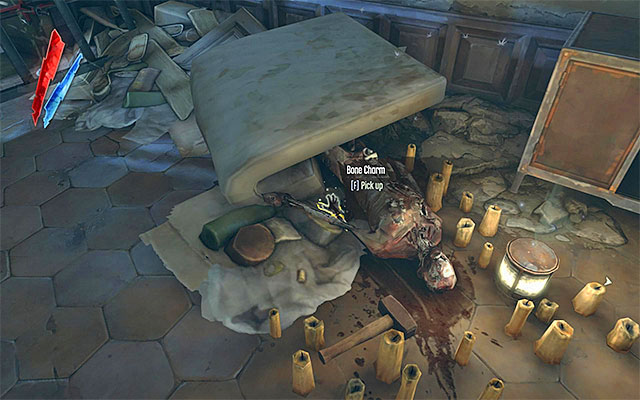
BONE CHARM 1/2 - The charm is inside the tenement located near the starting point.
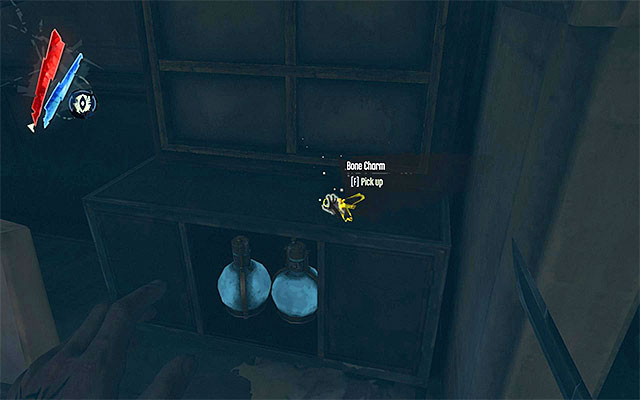
BONE CHARM 2/2 -The charm is on one of the highest floors of the tenement neighboring with the Boyle Estate.
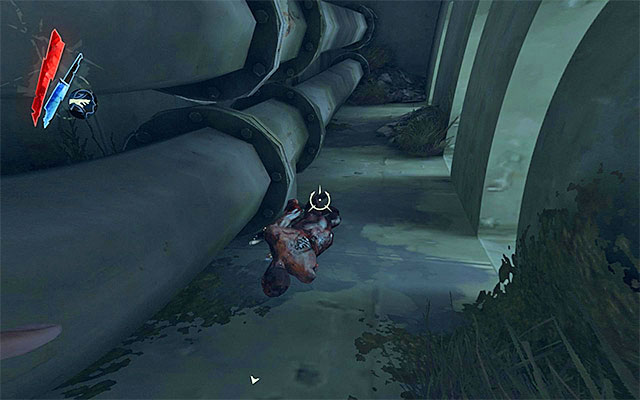
BONE CHARM 1/2 - The charm is on one of the balconies of the starting point (the one with the waterlock), close to the severed corpse .
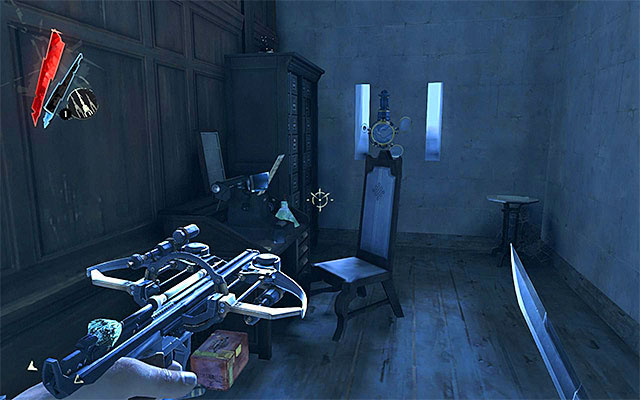
BONE CHARM 2/2 - The charm is inside the secret chamber on the Dunwall Tower's second floor. The chamber is in one of the corners, and you can get inside by pulling on a lamp near the fireplace.
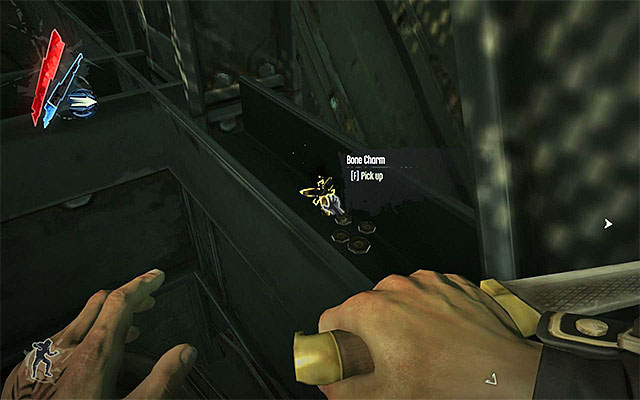
BONE CHARM 1/8 - The charm is on one of the external balconies of the refinery. You can find it on your way to the refinery's upper entrance.
BONE CHARM 2/8 - The charm is on one of the higher floors of the building located at Rudshore Waterfront (the starting point with large water reservoir).
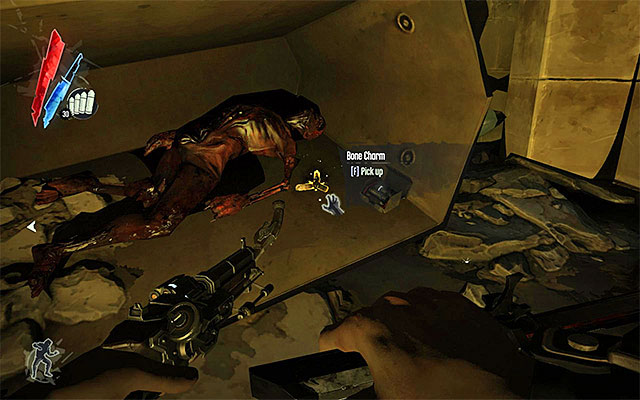
BONE CHARM 3/8 - The charm is near the corpse, close to Daud's headquarters. The area is guarded by hounds.
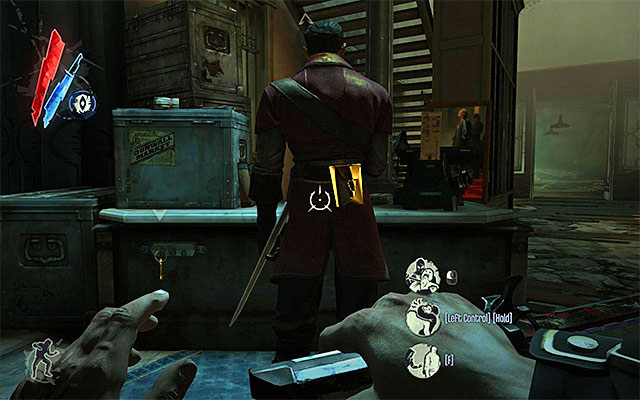
BONE CHARM 4/8 - The Charm is in Daud's pouch that he has attached to his belt (you can either pickpocket him, or run through his pockets after you neutralize him).
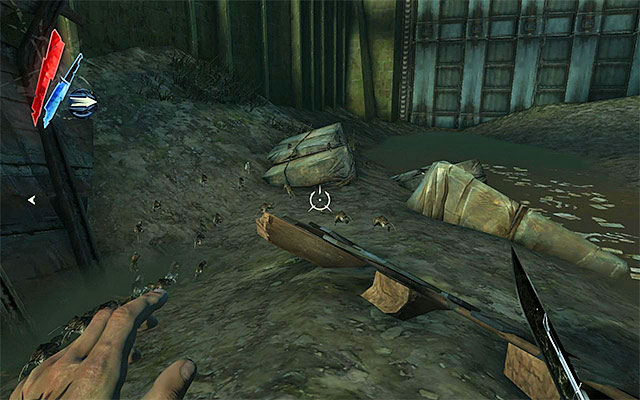
BONE CHARM 5/8 - The charm is on the floor to the right of the exit from the sewer leading up to Daud's headquarters.
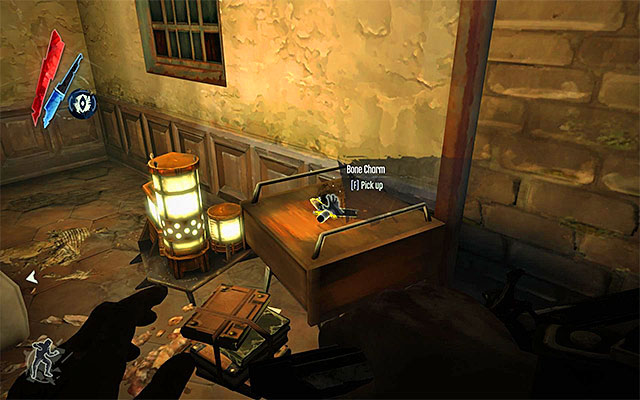
BONE CHARM 6/8 - The Charm is in the decrepit building located near the entrance to the Dunwall sewers.
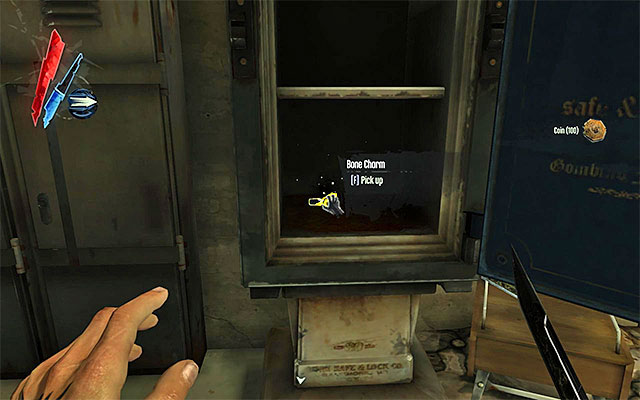
BONE CHARM 7/8 - The Charm is in the safe in the Dunwall sewers.
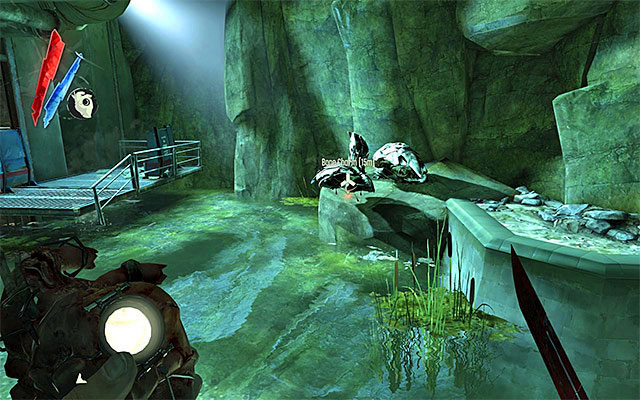
BONE CHARM 8/8 - The Charm is close to the exit from the sewers, and more precisely, in the area where you fight the river krusts.
You can find paintings during the gameplay. An important piece of information is that it is not enough to approach the painting . In order to collect it, you need to rip it off the wall (the above screenshot), which will give you several hundred of gold pieces.
SOKOLOV'S PAINTING 1/1 - The painting is in Campbell's secret chamber inside the Overseer's building.
SOKOLOV'S PAINTING 1/3 - The painting is on the first floor of the art dealer's apartment.
SOKOLOV'S PAINTING 2/3 - The painting is on the second floor of the Art dealer's apartment.
SOKOLOV'S PAINTING 3/3 - The painting is inside Art Dealer's treasures.
SOKOLOV'S PAINTING 1/1 - The painting is on the ground floor of Sokolov's apartment.
SOKOLOV'S PAINTING 1/2 - The painting is in the gallery on the Boyle Estate's first floor.
SOKOLOV'S PAINTING 2/2 - The painting is in Esma Boyle's bedroom, on the Boyle Estate's first floor.
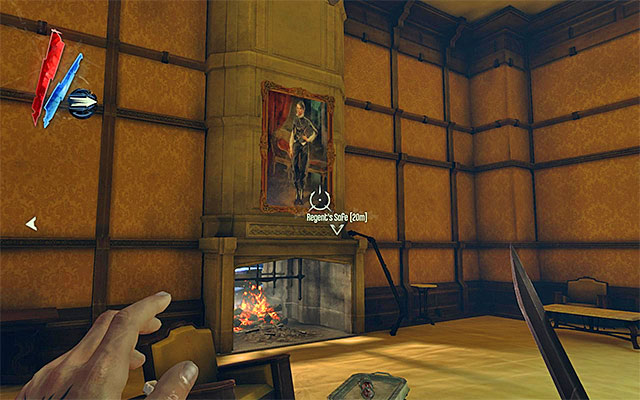
SOKOLOV'S PAINTING 1/1 - The painting is in the room neighboring with Lord Regent's chambers (Dunwall Tower's second floor).

SOKOLOV'S PAINTING 1/3 - The painting is inside one of the buildings located in Rudshore waterfront (the ones located closer to the passage to Daud's headquarters). It is guarded by a single weeper.
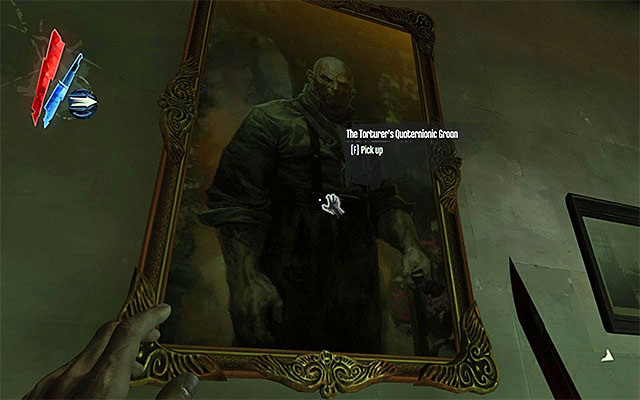
SOKOLOV'S PAINTING 2/3 - The painting is in the underground part of Daud's headquarters.
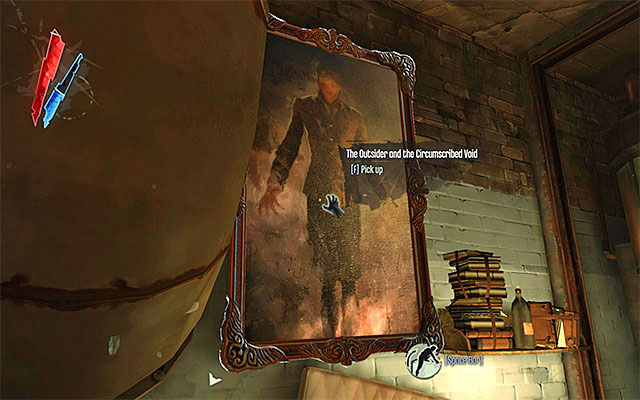
SOKOLOV'S PAINTING 3/3 - The painting is in the cave neighboring with the sewers (the on in which you can meet Granny and Slackjaw). It is hanging on the wall in a small shack.
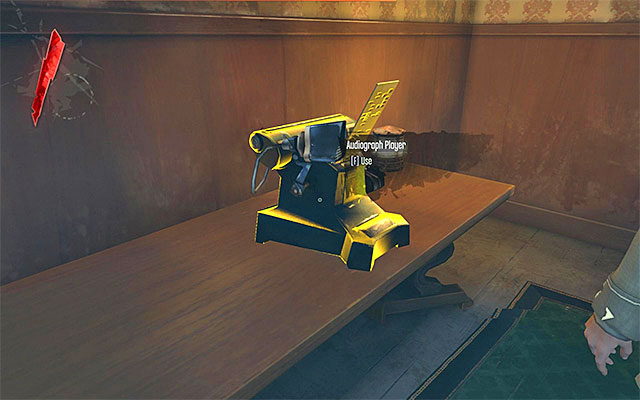
You find audiographs during your gameplay, and your visits to the pub. In the latter case, it is a good idea to develop the habit of visiting all of the main locations in the pub, every time you are there. Thanks to that, you won't miss any of the audiographs.
For majority of times, audiographs are inserted into special players. Thanks to that, you will be able to listen to them right after you find them. Only in special cases will you need to take such an audiograph to an audiograph player.
The table below informs of locations in which individual audiographs can be found:
THE TITLE OF THE RECORDING
STAGE
PLACE WHERE IT IS TO BE FOUND
Interrogation of the Royal Protector
Mission 1
The audiograph is to be found in the interrogation room.
Havelock's Log: Entry One
The Hound Pits Pub
The audiograph is to be found in room 202, in the pub.
Pendleton's Arrival
The Hound Pits Pub
The audiograph is to be found in room 201 in the pub.
Piero Considers Life Energy
The Hound Pits Pub
The audiograph is to be foundin Piero's workshop.
Havelock's Log: Entry Two
The Hound Pits Pub #2
The audiograph is to be found in room 202 in the pub.
Galvani's Speculation
Mission 2
In the lab in Dr Galvani's apartment
Campbell's Lamentation
Mission 2
The audiograph is to be found in Cambell's secret chamber, in the basement of the Overseer's main building.
Whaler Assassin Interrogation
Mission 2
The audiograph is to be found in the interrogation chamber control room, upstairs in the Overseer's building.
Overseer Music Boxes
Mission 2
The audiograph is to be found in the workshop in the yard.
Piero's Dark Dreams
The Hound Pits Pub #3
The audiograph is to be found in Piero's workshop.
Lord Pendleton Memoirs: Chapter 28
The Hound Pits Pub #3
The audiograph is to be found in room 201 in the pub.
Havelock's Log: Entry Three
The Hound Pits Pub #3
The audiograph is to be found in room 202 in the pub.
Crowley's Last Message
Mission 3
The audiograph is to be found at Crowley's corpse in Dr Galvani's apartment.
Sokolov's Observations on Test Subject 312
Mission 4
The audiograph is to be found in the greenhouse in Sokolov's apartment.
Piero's Thoughts on Sokolov
The Hound Pits Pub #5
The audiograph is to be found in Piero's workshop.
Lord Pendleton Memoirs: Chapter 41
The Hound Pits Pub #5
The audiograph is to be found in room 201 in the pub.
Havelock's Log: Entry Four
The Hound Pits Pub #5
The audiograph is to be found in room 202 in the pub.
Callista's Progress Report
The Hound Pits Pub #5
The audiograph is to be found in Emily's room in the tower.
Piero's Arc Pylon
The Hound Pits Pub #6
The audiograph is to be found in Piero's workshop.
Callista Talks About Emily
The Hound Pits Pub #6
The audiograph is to be found in Emily's room in the tower.
Pendleton Shows Signs of Strain
The Hound Pits Pub #6
The audiograph is to be found in room 201 in the pub.
Letter to Emily from the Empress
Mission 6
The audiograph is to be found in the secret chamber on the tower's second floor .
Lord Regent's Confession Audiograph
Mission 6
The audiograph is to be found in the safe in Lord Regent's chamber.
Piero Speculates on His Future
The Hound Pits Pub #7
The audiograph is to be found in Piero's workshop
Pendleton Considers the Future
The Hound Pits Pub #7
The audiograph is to be found in room 201 in the pub.
Emily Tells a Tale
The Hound Pits Pub #7
The audiograph is to be found in Emily's room in the tower.
Thoughts on the Lord Regent's Fall
Mission 7
The audiograph is to be found in Daud's chamber.
Pendleton Embraces the Future
Mission 8
The audiograph is to be found in the sewers under the pub.
Piero Finds a New Ally
Mission 8
The audiograph is to be found in Piero's workshop.
Samuel Stays Wary
Mission 8
The audiograph is to be found in the shack, close to the docks.
Callista's Final Words
Mission 8
The audiograph is to be found in Emily's room in the tower. You can find it only if Callista is dead.
Havelock's Log: Entry Five
Mission 9
The audiograph is to be found inside the lighthouse.
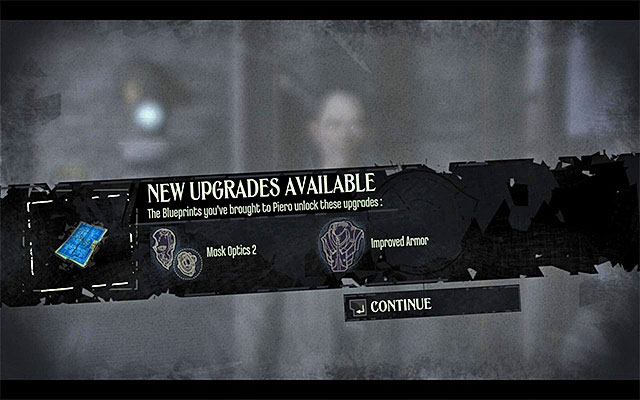
The blueprints can be bought from Griff or, you can find them during your gameplay. Finding a blueprint is not enough, as you return to Piero in the pub, to use it, and give the blueprints to him. This will result in the enrichment of the stock offered by him by a new piece of equipment or an upgrade to Corvo's gear.
Note - If you missed any of the blueprints earlier in the game, you do not need to go back to that location to get it. The game gives other opportunities to obtain this particular blueprint during the next missions.
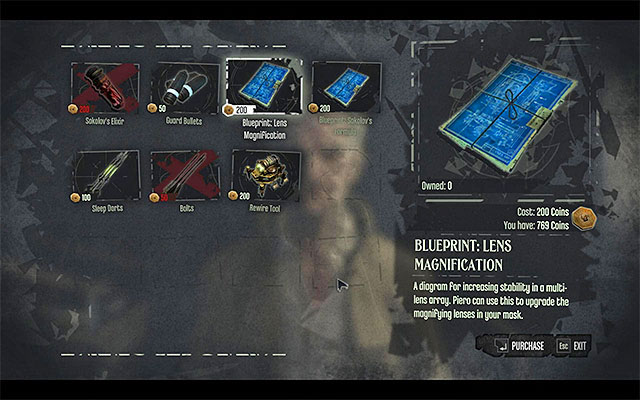
BLUEPRINT 1/3 (Lens Magnification) - The blueprint can be bought from Griff the merchant (you need to save him from bandits first).
BLUEPRINT 2/3 (Sokolov's Formula) - The blueprint can be bought from Griff the merchant (you need to save him from bandits first).
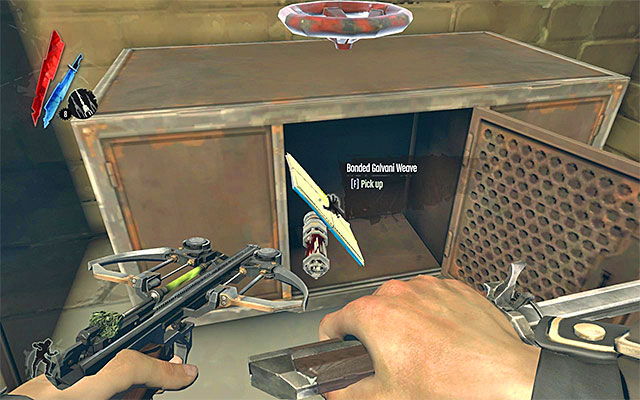
BLUEPRINT 3/3 (Bonded Galvani Weave) - The blueprint is in the workshop in the backyard (behind the Overseer's building).
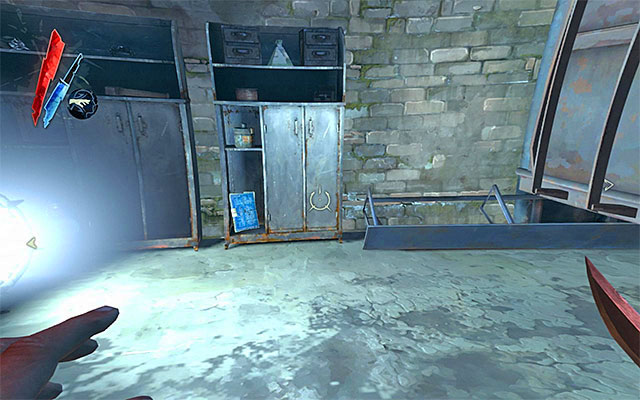
BLUEPRINT 1/1 (Incandescent Puzzle) - The blueprint is hidden in the storage room in the distillery building. You can get into the room in the body of a possessed rat or, by turning the handle to open access for yourself.
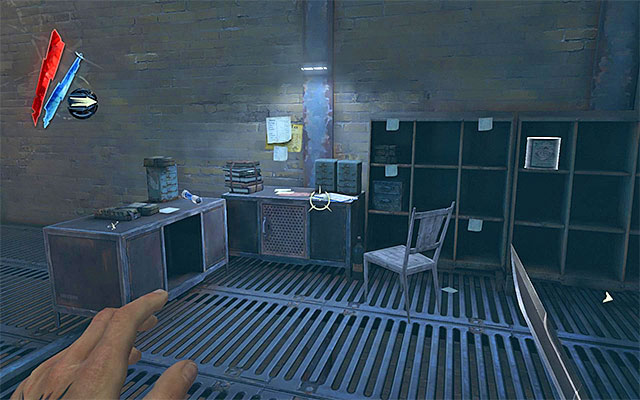
BLUEPRINT 1/1 (Folded Galvani Resin) - The blueprint is on the table on upstairs the warehouse between the first and the second outpost.
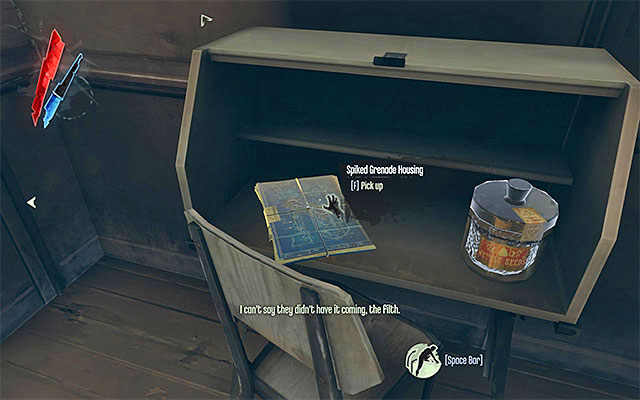
BLUEPRINT 1/1 (Spiked Grenade Housing) - The blueprint is inside the lodge at the entrance to the Boyle Estate.
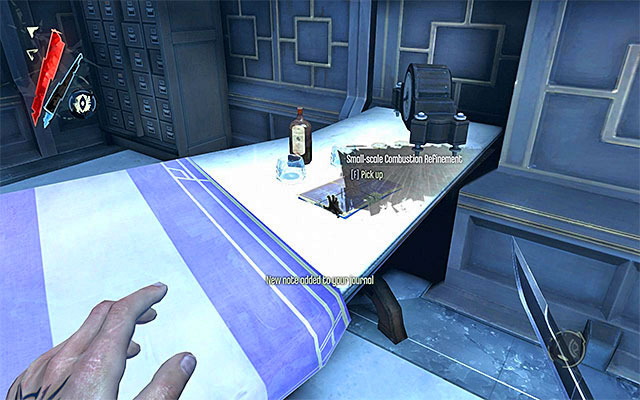
BLUEPRINT 1/1 (Small-scale Combustion Refinement) - The blueprint is in General Tobias's quarters on the second floor of the Dunwall Tower.
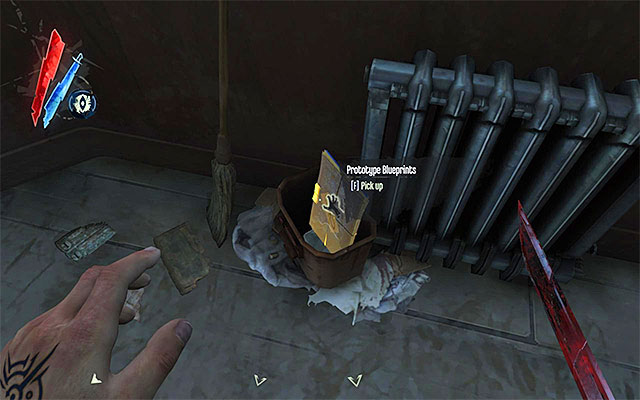
BLUEPRINT 1/1 (Prototype Blueprints) - The blueprint is in room 202 in the pub building.
Piero is the main merchant in this game and you can buy from him every time you visit the Hound Pits Pub. Piero's headquarters is his workshop and, apart from standard items, he offers special ones, like upgrades. These allow permanent upgrading Corvo's gear. You also need to return to Piero with all of the blueprints that you can find in the game, in order to unlock new purchase options. Detailed information, concerning what you can buy from Piero, alongside with their usefulness, is presented below in the table.
ITEM NAME
ITEM KIND
PRICE
REQUIREMENTS
USEFULNESS
Crossbow Bolt
disposable
20
-
You don't really need to replenish your bolts, because you will be finding them during your gameplay in sufficient quantities.
Incendiary Bolt
disposable
50
-
If you operate from shadows, you won't be needing these bolts. Otherwise, it is a good idea to keep a big reserve of these.
Sleep Bolt
Disposable
30
-
It is definitely a good idea to buy these often because, when you need to neutralize your enemies without putting them to death, they will come in handy. What is even more, you don't run into many of them during your gameplay.
Bullet
Disposable
30
-
I don't recommend buying these, as you will be finding plenty of ammo during your gameplay.
Springrazor
Disposable
50
-
Springrazors aren't that often used during the gameplay, so replenishing these is not a priroty.
Grenade
disposable
70
-
If you operate in shadows, you won't need many grenades. Otherwise, you can occasionally buy them, but you can find plenty of these during your missions.
Piero's Spiritual Remedy
Disposable
100
-
Buy the remedies only if you have used up all of the ones that you had with you. Otherwise, it is not necessary because there's plenty of them throughout the game..
Sokolov's Health Elixir
Disposable
200
Find Sokolov's Formula
Due to its high price, it is not advisable to buy these, especially that there is a lot of them. Apart from that, you can replenish your health by eating food.
Rewire Tool
Disposable
100
-
Rewire tools are used quite rarely, so you don't need to buy them as there is a sufficient number to be found during the missions.
Rune
Rune
500
Complete Somewhere Else...
Rune (Piero has only one to sale) it's of course, worth buying sooner or later.
Crossbow Accuracy
crossbow upgrade
300
-
This upgrade increases crossbow accuracy and it is worth buying if you use this weapon frequently.
Crossbow Range
crossbow upgrade
450
-
This upgrade increases crossbow range, as well as the power bolts are shot with. It is worth buying if you use this weapon frequently.
Crossbow Reload
crossbow upgrade
600
-
This upgrade shortens crossbow reload times. If you operate from shadows, buying this upgrade is not a priority. Otherwise, it is worth obtaining pretty early in the game.
Bolt Capacity 1
crossbow upgrade
300
-
This upgrade allows Corvo to carry more regular bolts (20 at most). If you rely on them frequently, it is a good idea to increase the limit. If you use bolts of different kind, or don't use them at all, you can ignore this upgrade.
Bolt Capacity 2
crossbow upgrade
600
Buy Bolt Capacity 1 upgrade
This upgrade allows Corvo to carry more regular bolts (30 at most). If you rely on them frequently, it is a good idea to increase the limit. If you use bolts of different kind, or don't use them at all, you can ignore this upgrade.
Combat Sleep Dart
crossbow upgrade
600
-
This upgrade makes for immediate rendering enemies unconscious with sleeping bolts, also in a direct fight. It's a quite useful upgrade, also from the perspective of a player who aims at remaining in shadows.
Corvo's Pistol Upgrade
pistol upgrade
600
-
The upgrade increases damage dealt with pistol, and unlocks different upgrades connected with firearms. It is worth attention unless you do not use pistol at all.
Pistol Accuracy 1
pistol upgrade
300
Buy Corvo's Pistol Upgrade
The upgrade increases pistol accuracy. It's a good idea to buy it if you rely on firearms often.
Pistol Accuracy 2
pistol upgrade
600
Buy Pistol Accuracy 1 upgrade
The upgrade increases pistol accuracy. It's a good idea to buy it if you rely on firearms often.
Pistol Magazine 1
pistol upgrade
300
Buy Corvo's Pistol Upgrade
This upgrade increases the capacity of your clip by 1 bullet. It isn't an important upgrade unless you use the pistol often.
Pistol Magazine 2
pistol upgrade
450
Buy Pistol Magazine 1 upgrade
This upgrade increases the capacity of your clip by 2 bullets. It isn't an important upgrade unless you use the pistol often.
Pistol Magazine 3
pistol upgrade
600
Buy Pistol Magazine 2
This upgrade increases the capacity of your clip by 3 bullets. It isn't an important upgrade unless you use the pistol often to win your fights.
Pistol Reload 1
pistol upgrade
300
Buy Corvo's Pistol Upgrade
This upgrade shortens reloading times for your pistol. If you act from hiding, the upgrade is not a priority. Otherwise, it is a good idea to turn your interest to it early in the game.
Pistol Reload 2
pistol upgrade
600
Buy Pistol Reload 1 upgrade
This upgrade considerably shortens reloading times for your pistol. If you've unlocked the previous upgrade of this group, this one's also worth getting.
Pistol Explosive Shot
pistol upgrade
600
Find Small-scale Combustion Refinement blueprint
This upgrade unlocks the possibility of firing explosive bullets. If you have unlocked previous upgrades of this kind, also this one is worth acquiring quite early in the game.
Bullet Capacity 1
pistol upgrade
300
-
This upgrade allows you to carry more bullets (20 at most). Buy the upgrade if you use the pistol frequently.
Bullet Capacity 1
pistol upgrade
600
Buy Bullet Capacity 1 upgrade
This upgrade allows you to carry more bullets (30 at most). Buy the upgrade if you use the pistol frequently.
Springrazor Radius
Springrazor upgrade
600
-
This upgrade increases the range of the springrazor. Buy this upgrade if you use the gizmo often.
Springrazor Capacity
Springrazor upgrade
450
-
This upgrade allows you to carry more springrazors (9 at most). Buy it if you make a regular use of these..
Grenade Capacity
Grenade upgrade
450
-
This upgrade allows you to carry more grenades (9 at most). I recommend obtaining it only if your gaming style can be characterized as an aggressive one, because it is important then to have as many grenades with you as possible.
Sticky Grenade
Grenade upgrade
600
Find Spiked Grenade Housing blueprint
This upgrade unlocks the option of using grenades that adhere to various surfaces. It is a good idea to buy it if you use grenades often.
Sword Crossing
Blade upgrade
600
-
This upgrade increases Corvo's sword's effectivity while fighting with other characters. It's useful, if only you engage yourself in fights at short quarters
Mask Optics 1
Corvo's armor's upgrade
300
-
This upgrade unlocks the ability to zoom in. Not only is it useful when it comes to eavesdropping and looking around the area, but also for aiming with your pistol and crossbow.
Mask Optics 2
Corvo's armor's upgrade
400
Buy Mask Optics 1 upgrade; find Lens Magnification blueprint
This upgrade ensures zooming in of even larger range. I recommend that you acquire it if only you have used regular zoom frequently.
Bone Charm Capacity 1
Corvo's armor's upgrade
300
-
This upgrade allows to wear one more bone charm. I recommend that you buy it as soon as possible, because most of the charms give useful bonuses.
Bone Charm Capacity 2
Corvo's armor's upgrade
450
Buy Bone Charm Capacity 1 upgrade
This upgrade allows you to wear two additional bone charms (6 in total). Just like in the case of the previous one, this upgrade is worth buying as soon as possible.
Boot Stealth 1
Corvo's armor's upgrade
450
Find Folded Galvani Resin blueprint
This upgrade allows you to move around more silently. It is an absolute must-have for those who aim at remaining in shadows.
Boot Stealth 2
Corvo's armor's upgrade
600
Buy Boot Stealth 1 upgrade
This upgrade allows you to move around noiselessly. It is an absolute priority for those who aim at remaining in shadows
Improved Armor
Corvo's armor's upgrade
600
Find Bonded Galvani Weave blueprint
This upgrade increases the effectiveness of the armor by reducing damage Corvo takes. It is a useful one for someone who frequently engages in fights.
You meet Griff only during the second and the third mission. What is interesting, the first time you meet him, you actually need to save him from gangsters trying to apprehend him (to learn more, read the guide for the second mission). After Griff is saved, you will be able to meet him in one of the side alleys, close to the Clavering Boulevard and the distillery door. I recommend that you turn your interest only to his blueprints, so that Piero can build new items after you deliver them to his workshop. As for regular items, I do not recommend buying them, as they are way more expensive than at Piero's. A detailed of what Griff has in stock, as well as their usefulness is presented below.
ITEM NAME
ITEM KIND
PRICE
REQUIREMENTS
USEFULNESS
Sokolov's Health Elixir
disposable
200
-
It is not an advisable buy, considering its high price. What is even more, you can obtain these during your game play in considerable quantities. You can also replenish your health by eating food.
Guard Bullets
disposable
50
-
I recommend against buying these, as you can find ammo in considerable quantities throughout the game.
Crossbow Bolt
disposable
50
-
You do not need to replenish bolts at all costs, because you can find many of them throughout the game.
Sleep Bolt
disposable
100
-
It is definitely advisable to buy sleep bolts frequently, because they are useful for silent neutralizing of enemies. Also you do not find many of them while performing missions.
Rewire Tool
disposable
200
-
The tool is not used too often, so you do not really need to buy these. There is enough of these, to go round, throughout the game
Blueprint: Lens Magnification
Blueprint
200
-
You definitely need to buy these blueprints during your second or third mission. This will unlock access to the Mask Optics 2 upgrade
Blueprint: Sokolov's Formula
Blueprint
200
-
You definitely need to buy this blueprint during your second or third mission. This will unlock access to Sokolov's elixirs that you can buy from Piero.
Below, there is a list of Steam Achievements available in the PC version. These are equivalent to achievements in the Xbox 360 version, and Trophies in the PlayStation 3 version.
ACHIEVEMENT NAME
HOW TO OBTAIN
Alive Without Breath
You need to Possess a piranha.
An Unfortunate Accident
You need to kill Morgan Pendelton during the third mission (he is in the Steam Room) using the rotary handle in the neighboring room. Morgan Pendelton will be staying at the Steam room only if your chaos rating is high.
Art Dealer
You need to find all of Sokolov's paintings.
Back Home
You need to catch a grenade thrown your way by an enemy, and throw it back in order to kill that enemy.
Big Boy
You need to kill a tallboy with your blade. It is easiest to do after you unlock "double jump". After you jump up to the tallboy, perform a regular execution.
Bodyguard
You need to save Captain Curnow from death during the second mission.
Capturing Genius and Madness
This achievement is awarded automatically during the campaign, and you cannot skip it.
Child Care
This achievement is awarded automatically during the campaign, and you cannot skip it.
Clean Hands
You need to beat the game without killing anyone.
Cleaner
You need to engage into a fight with, at least, 5 enemies, and defeat them all.
Creepy Crawly
You need to possess a rat and go through a ventilation shaft of your choice.
Dishonored
This achievement is awarded automatically during the campaign, and you cannot skip it.
Dunwall in Chaos
You need to beat the game with high chaos rating..
Excommunication
You need to kill Overseer Campbell during the second mission
Faceless
You have to complete a mission without alarming your enemies to your presence. This can be achieved during the second mission at earliest.
Food Chain
You need to kill an assassin who works for Daud.
Gentleman Caller
You need to complete all of the side quests assigned to you by Granny Rags (missions 2, 3 and 7).
Ghost
You need to beat the game without alarming your enemies to your presence or, without killing anyone (excluding mission targets ).
Harm's Way
You need to bring about suicide of five NPCs. The easiest way to do it, is by possessing them, and jumping down from a height or walking through a wall of light.
Hornets' Nest
You need to kill 4 enemies within 1 second. The easiest way to do it is by bending time and shooting them with crossbow upgraded to its maximum.
Inhabitant
You need to use the power of Possession, so that you spend, at least, 3 minutes in the body of another human being or animal.
Just Dark Enough
You need to beat the game with low chaos rating.
King of the World
During the fourth mission, you need to climb to the very top of the drawbridge.
Lights Out
During the ninth mission, you need to disable, at least, 5 security systems.
Long Live the Empress
During the ninth mission, you need to save Emily from death.
Manipulator
You need to bring about the situation, in which your enemies kill, at least, 5 of their allies. You can achieve that, for example, by getting into the guards' shooting line.
Merchant of Disorder
You need to buy at least 15 gear upgrades from Piero.
Mercy is the Mark
You need to let spare Daud during the seventh mission.
Mostly Flesh and Steel
You need to beat the game using Blink (teleportation) and standard pieces of equipment only. This means that you can neither use runes to unlock new powers, nor buy any upgrades from Piero.
Occultist
Collect 10 bone charms.
Poetic Justice
In missions 2, 3, 5 and 6 eliminate the main targets without killing them.
Political Suicide
During mission 6, you need to bring about Lord Regent's apprehension.
Razor Rain
You need to kill 5 enemies by landing on them.
Regicide
During mission six, you need to kill Lord Regent.
Resolution
Beat the game on any difficulty level.
Rogue
You need to take by surprise, and kill, 10 enemies.
Shadow
You need to complete all of the missions in the game (this does not apply to the Prologue) without alarming enemies to your presence.
Specter
You need to complete a mission without alarming enemies to your presence. This can be, at earliest, achieved in mission 2.
Speed of Darkness
You need to cover the distance of 30 meters within one second. The easiest way to do it, is by bending time.
Street Conspiracy
You need to complete all of the side quests received from Slackjaw (missions 3 and 7).
Surgical
You need to complete missions 1-4 and kill no more than 10 people.
Tempest
You need to kill, at least, 6 enemies within 1 second. The easiest thing to do it, is by bending time and using the pistol.
The Art of the Steal
You need to gain access to the Art Dealer's treasures in the third mission.
The Escapist
You need to flee from, at least, 5 hostile NPCs. This can be achieved, at earliest, during the second mission. Escaping, by means of reaching a loading area for another location, doesn't count.
Thief
You need to pickpocket the NPCs you meet for items worth, at least, 200 gold pieces.
This Is Mine
You need to get back Corvo's gear during the seventh mission.
Vanished
You need to complete the first mission without alarming your enemies to your presence.
Versatile
You need to use every weapon, and every gadget, to kill, at least, one enemy.
Wall of Sparks
You need to use a wall of light to electrocute, at least, one enemy. The easiest way to do it is by rewiring that wall of light.
Well Mannered
You need to eliminate Lady Boyle, during the fifth mission, without raising alarm at the party.




 Deadfall Adventures Game Guide & Walkthrough
 Dragon Age: Origins Game Guide & Walkthrough
 Divinity: Dragon Commander Game Guide & Walkthrough
 Dragon Age II: Legacy Game Guide & Walkthrough
 Dead Space Game Guide & Walkthrough