Welcome to the guide to the exciting survival-horror Dead Space! The following pages contain a detailed walkthrough along with locations of key items. I tried to limit the number of spoilers in the walkthrough and didn't include scripted monster attacks so that I wouldn't spoil your fun. You should be able to deal with most such encounters without difficulty. I described the toughest fights and ways to deal with bosses suggesting the easiest ways to deal with them. Have fun on board USG Ishimura.
Lukasz "Verminus" Malik
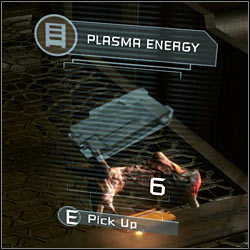
Many of the important items can be found just lying on the ground or on desks, shelves etc. Locations of the most important items have been noted in the walkthrough. Try to get every item you can find and sell excess in the store terminals. Items were marked orange in the walkthrough
Monster drops
This is our most important source of items. Most of the time drops are random and contain ammo for weapons we have on ourselves. On rare occasions we will encounter med packs. Only a bunch of enemies will leave behind valuable items. All of these particular drops have been listed in the walkthrough.
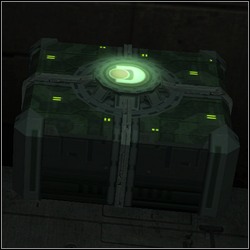
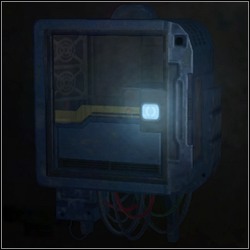
Containers
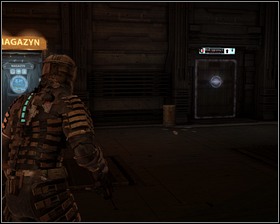
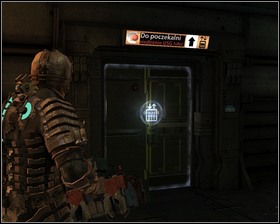
Containers with a flashing green light can be found all over Ishimura. The easiest way to open them is stomping on them (Space). We can also crush them against the wall using kinesis.
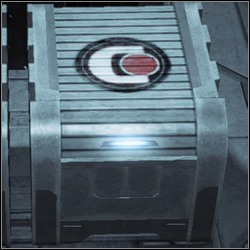
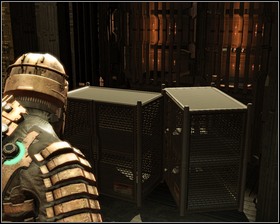
Crates
Open crates have a white light on the side..
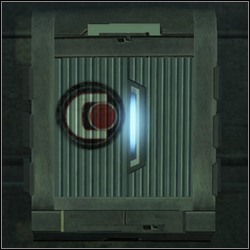
Lockers
They come in two variations - small hanging on the walls, and big ones, standing on the ground. The case is same as with crates - the open ones shine white, while the locked ones have a red light.
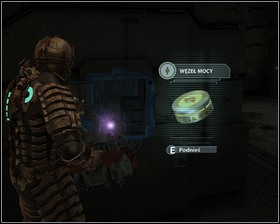
Power Node containers
Small and easy to miss lockers hanging on the walls. They contain precious power nodes, that we can use to upgrade weapons and suit.
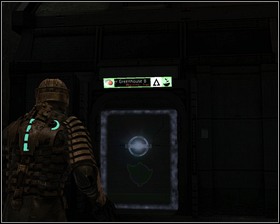
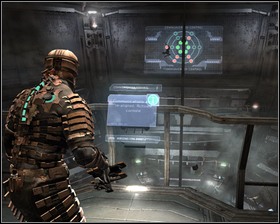
All of the important locations can be found on the map we bring up with M button. Below the map we can see the list of our objectives. It's worth noticing that map shows the way towards our objective. We can switch between objectives by pressing E button. Whenever we get lost pressing B will bring up a hologram pointing us in the right direction.
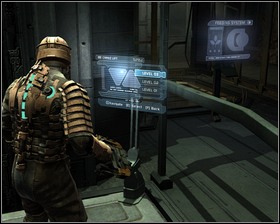
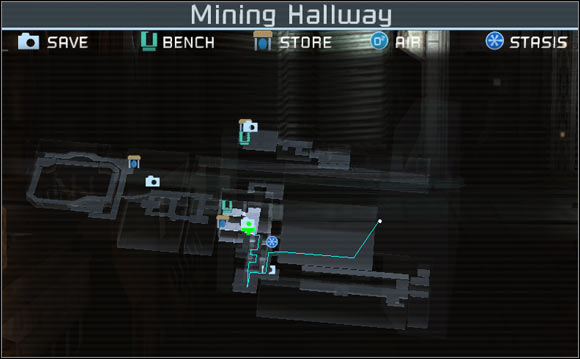 On each level we can see the area map and important locations. Map also shows us the way towards our objectives.

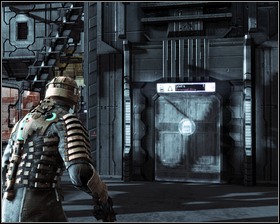
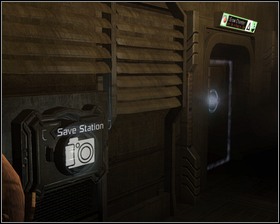
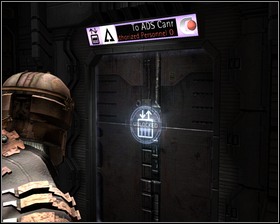
Save point
We can save our game here and use the station multiple times. There are twenty available save slots but we can overwrite the old saves. Save files can be found at \My documents\Electronic Arts\Dead Space.
Important! The game doesn't save your progress automatically, only suggests you to save it. There are checkpoints before the toughest parts, but they are remembered only for a single session - you need to save your game at the Save point before leaving.
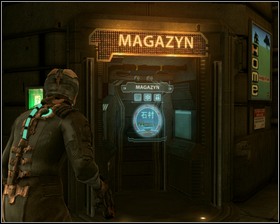
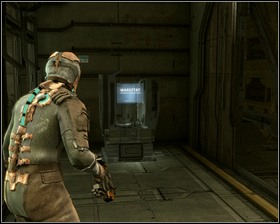
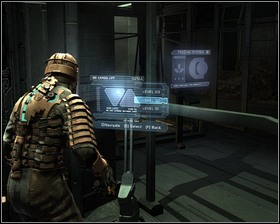
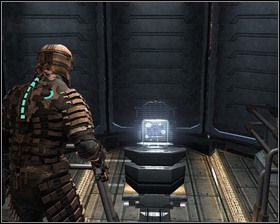
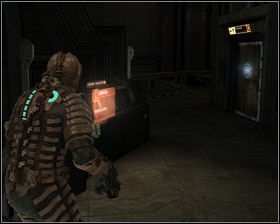
Store terminal
Here we can buy equipment for credit and deposit your stuff in the storage.
Important! In order to obtain some items (suits, weapons) you will first need to find schematics for them. Locations of the schematics have been listed in the walkthrough.

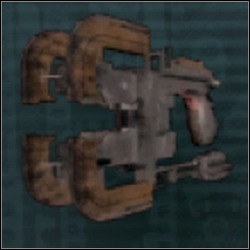
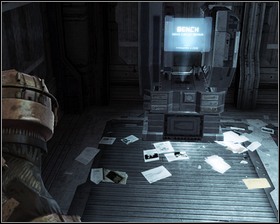
Upgrade bench
In the workshop we can upgrade weapons, suit (RIG) and also stasis and kinesis modules. In order to conduct an upgrade we need Power nodes that can be found in special lockers or bought in Store terminals. They can also, on rare occasions be found on the bodies of dead monsters.
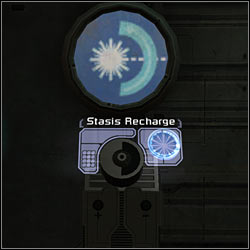
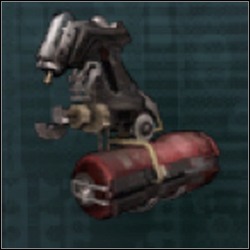
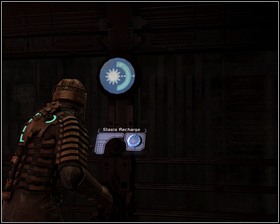
Stasis recharger
These stations can recharge our stasis module, which grants us the ability to slow down enemies and machines.
Important! Stasis can also be recharged by using Stasis recharge pack. It can be found in our inventory (Tab), and used by pressing E.
Oxygen recharger
Sometimes we will need to get around area that for some reason lack oxygen (ex. The hull may have been breached). Our suit shows us how many seconds are we able to survive on our current oxygen reserve. These stations are in place to secure replenish that reserve.
Important! Our O2 reserve can also be replenished using Air Cans. They can be found in our inventory (Tab), and used by pressing E.
All of the weapons along with their alternate fire modes have been described in the manual, so I'll only focus on the three tools of destruction I consider best.
Plasma cutter (0 credits)
The weapon we find at the very beginning of the game should accompany us up to the ending scores. Try and upgrade it whenever you can, focusing on improving the damage output (DMG).
Maximum damage: 18
Maximum cartridge size: 20
Ammo: Plasma energy (1200 credits for 6 shots)
Line gun (9000 credits)
Quite an impressive range makes it a great weapon for fighting large groups of enemies. A single shot on leg level should effectively slow down charging foes. In the alternate fire mode (Space) the gun produces a small orb of energy that explodes after few seconds damaging everything around. Buy damage upgrades first (DMG), considering the beam width (WID) as the second most important.
Maximum damage: 27
Maximum cartridge size: 9
Ammo: Line racks (2000 credits for 2 shots)
Flamethrower (11000 credits)
This choice may seem controversial for some, as the flamethrower is rarely useful, but it's irreplaceable when fighting the small, crawling necromorphs. It is however, not worth upgrading.
Maximum damage: 1,5
Maximum tank size: 250
Ammo: Liquid hydrogen (1000 credits for 25 units)
Item name
Price (credits)
Plasma cutter
0
Line gun
9000
Pulse rifle
7000
Flamethrower
11000
Force gun
11000
Ripper
8000
Contact beam
9000
Level 2 Suit
10000
Level 3 Suit
20000
Level 4 Suit
35000
Level 5 Suit
60000
Plasma energy
1200 (6 shots)
Line racks
2000 (2 units)
Pulse rounds
1250 (25 units)
Flamethrower fuel
1000 (25 units)
Force energy
900 (3 units)
Ripper blades
1800 (4 units)
Contact energy
2000
Small med pack
2000
Medium med pack
5000
Large med pack
10000
Small air can
1000
Medium air can
2000
Stasis module
5000
Power node
10000
Name
Price (credits)
Plasma cutter
0
Line gun
4500
Pulse rifle
3500
Flamethrower
5500
Force gun
5500
Ripper
4000
Contact beam
45000
Plasma energy
600
Line racks
1000 (25 units)
Plasma rounds
625 (25 units)
Flamethrower fuel
3000 (150 units)
Force energy
450 (3 units)
Ripper blades
1800 (3 units)
Contact energy
1000 (1 unit)
Small med pack
1000
Medium med pack
25000
Large med pack
5000
Small air can
500
Medium air can
1000
Stasis module
2500
Gold semiconductor
3000
Ruby semiconductor
10000
Diamond semiconductor
25000
Peng
30 000
Important! Weapon prices are the base ones, not including upgrades that increase the value.
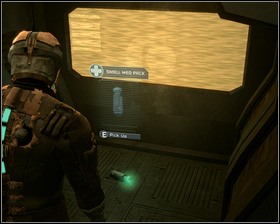
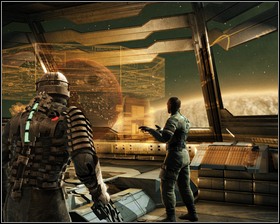
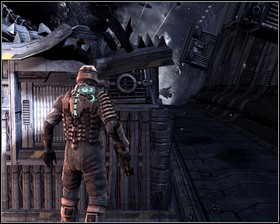
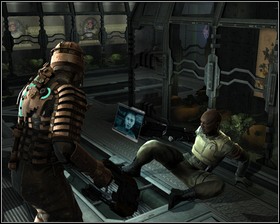
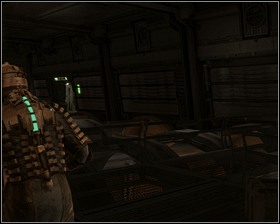
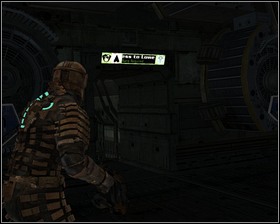
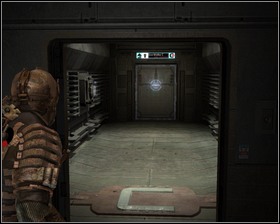
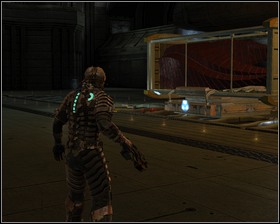
Before you leave the ship visit the small room to the left and pick up a Small med pack. Join the team.
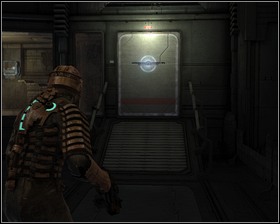
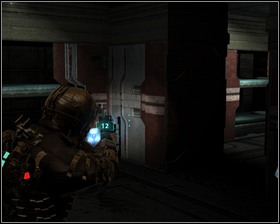
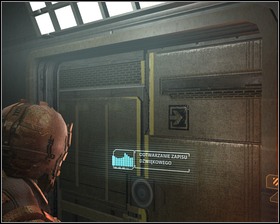
Open the door using E button and enter the room. Search it thoroughly - shelves to the left contain a Small med pack and some credits. Before getting to the next objective use the Save point located on the wall opposite from the entrance. Approach it and press E.
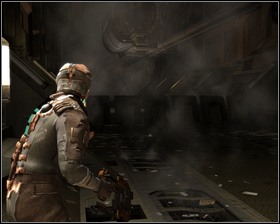
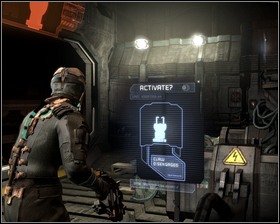
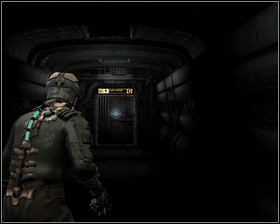
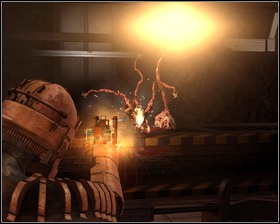
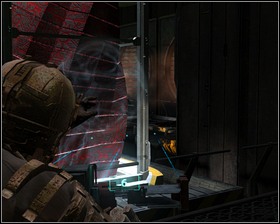
Enter the room and activate the console. Now's when the fun starts.
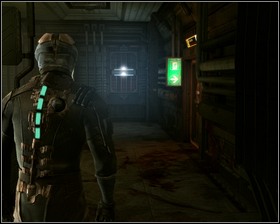
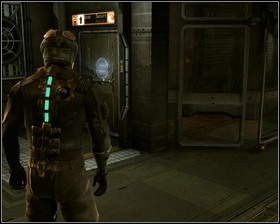
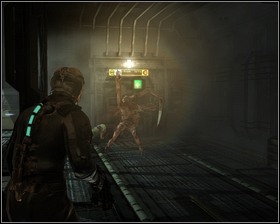
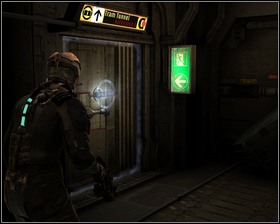
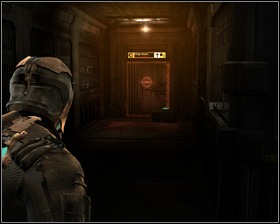
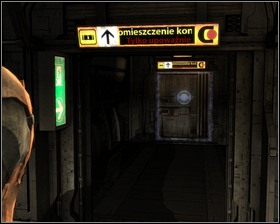
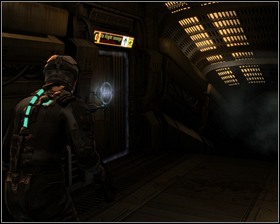
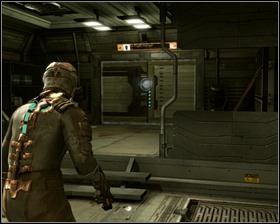
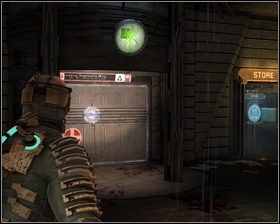
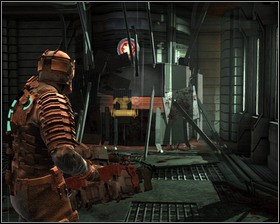
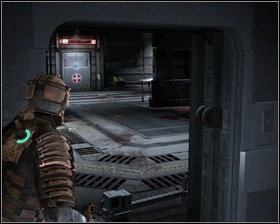
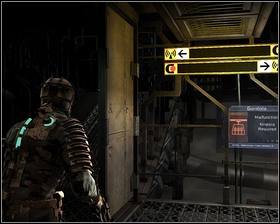
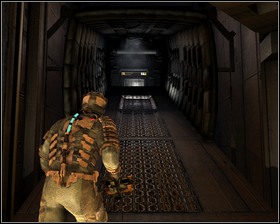
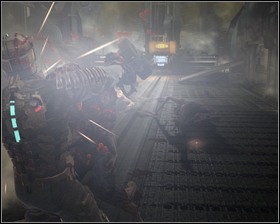
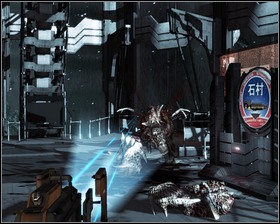
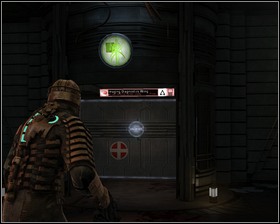
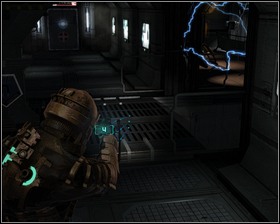
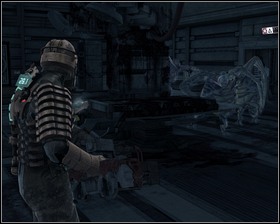
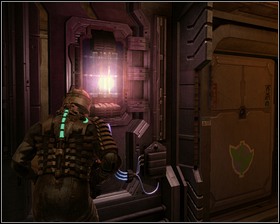
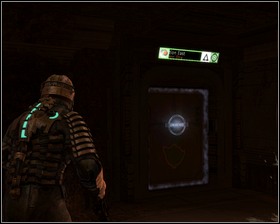
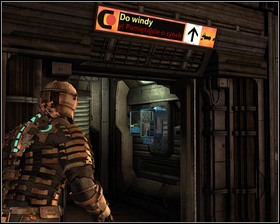
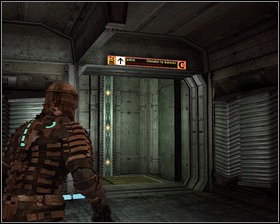
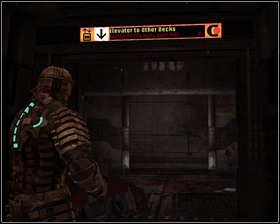
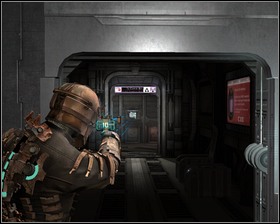
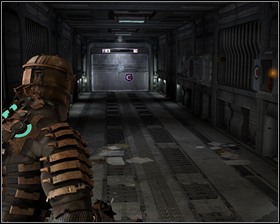
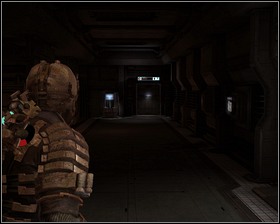
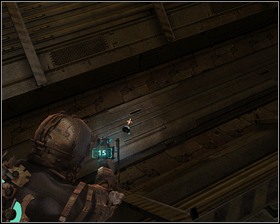
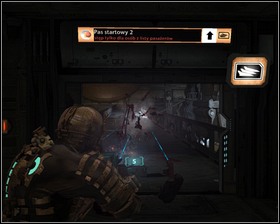
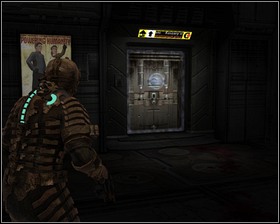
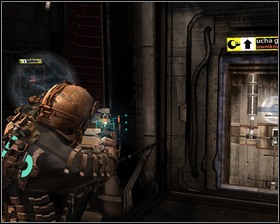
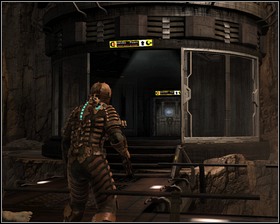
The emergency exit marked with a green arrow should be open now. Run (by pressing Shift) and don't look back. A few necromorphs will chase you and don't even try fighting them. Run up to the elevator, open the door, enter, turn 180 degrees, close the door. Simple as that.
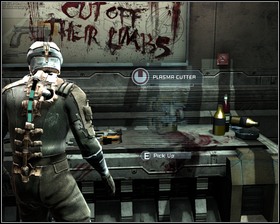
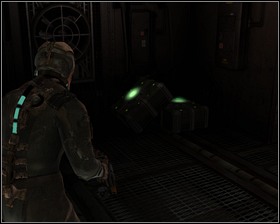
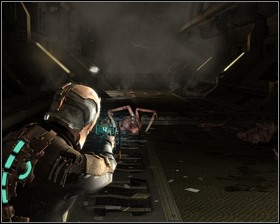
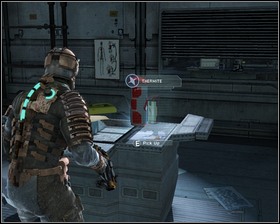
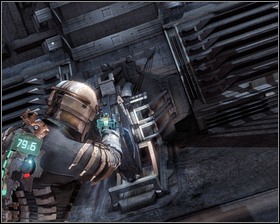
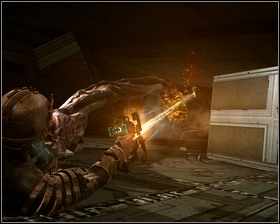
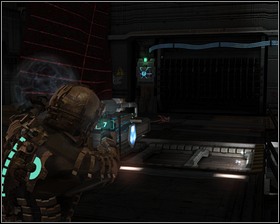
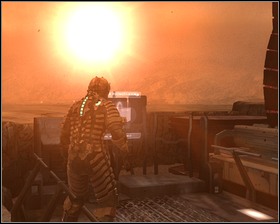
Your first weapon lies on the workshop table, the Plasma cutter. Pick it up. From this point onwards you will be able to fight and destroy various in game objects. Kick open the two crates (Space) - don't use your weapon, as you will only waste ammo. Collect the drop from the crates.
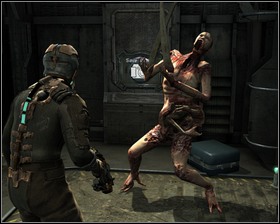
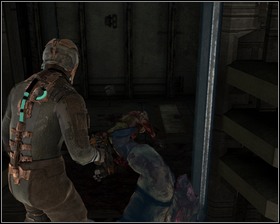
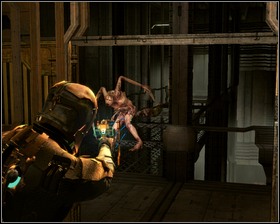
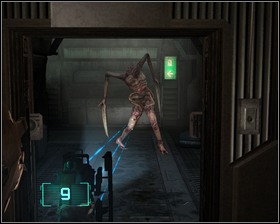
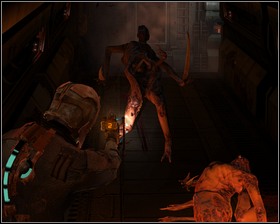
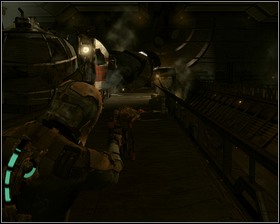
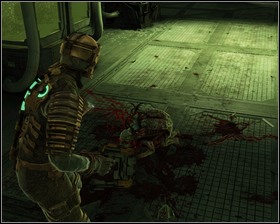
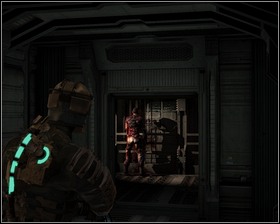
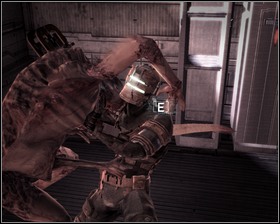
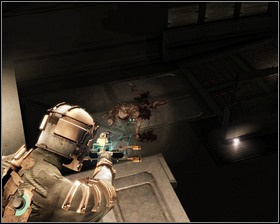
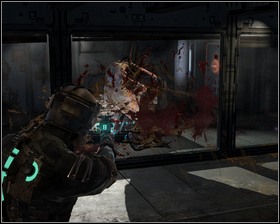
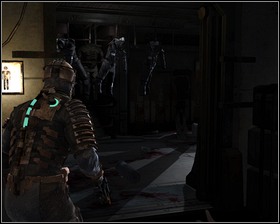
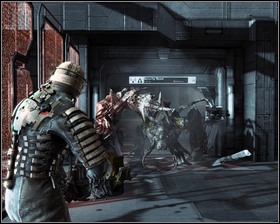
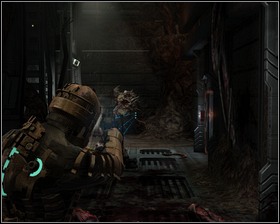
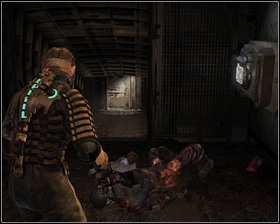
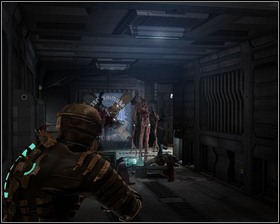
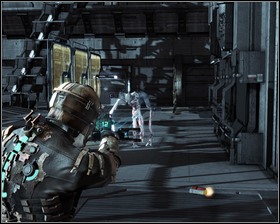
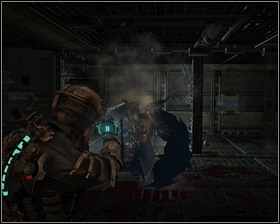
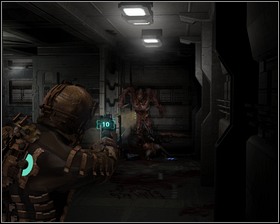
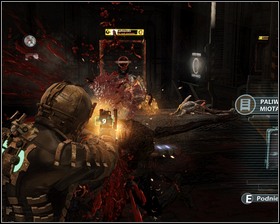
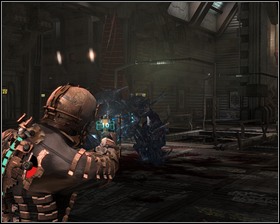
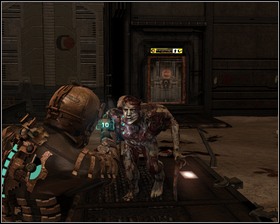
Destroy the control board by smashing it with your weapon (LMB). Again, it would be a waste of ammo to fire at it. Open the door and prepare for your first fight. You can try melee combat (LMB and Space) or shoot the necromorphs limbs off (RMB to aim, LMB to fire). Remember, that aiming for the head is not effective in Dead Space. After the battle collect the drop from the necromorph.
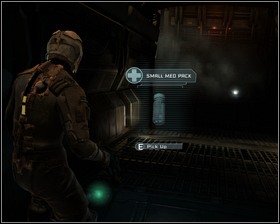
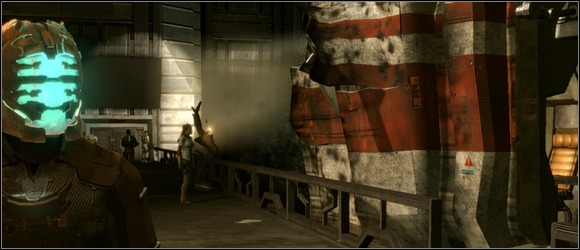
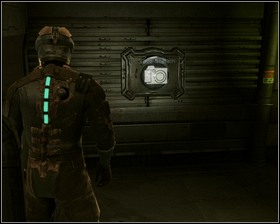
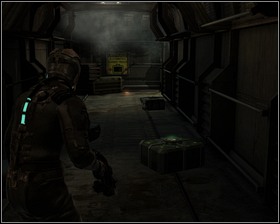
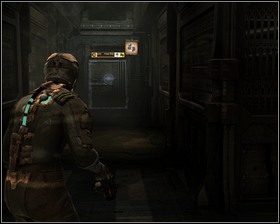
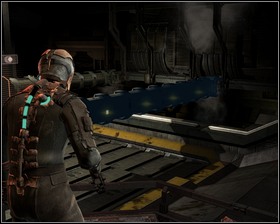
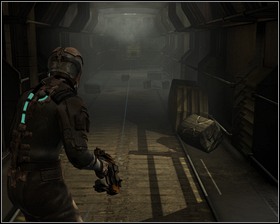
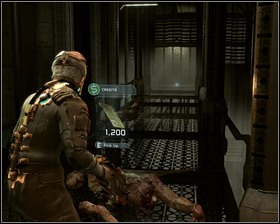
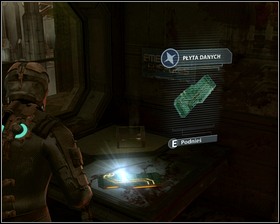
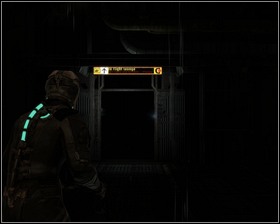
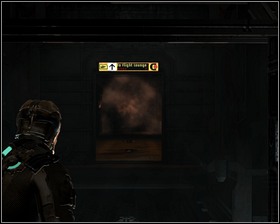
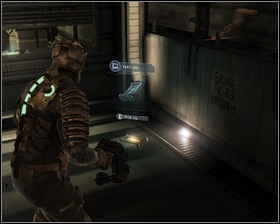
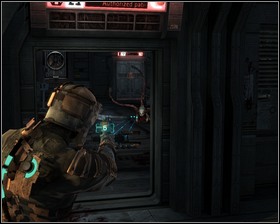
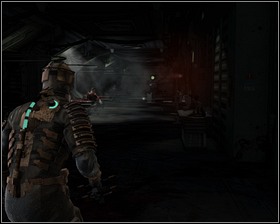
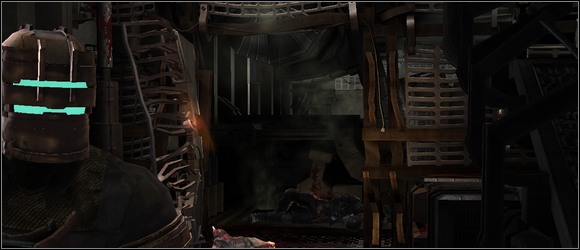
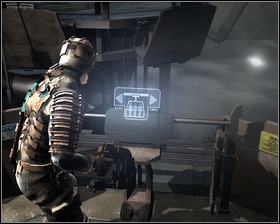
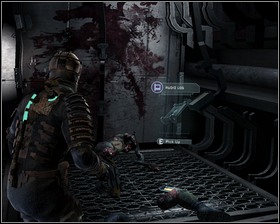
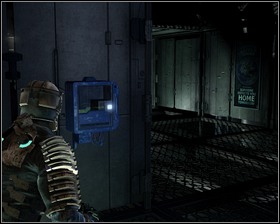
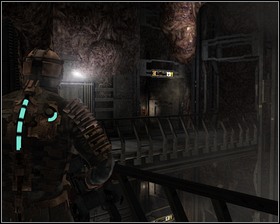
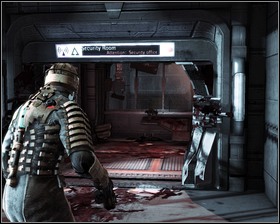
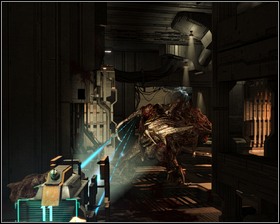
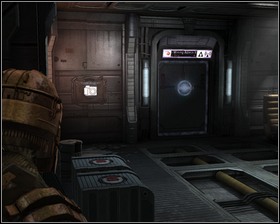
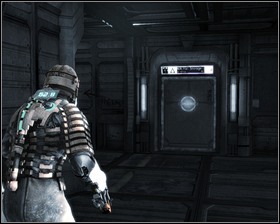
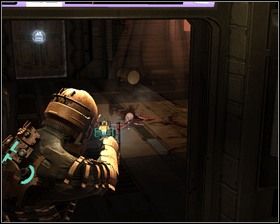
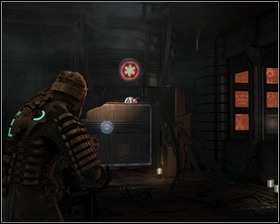
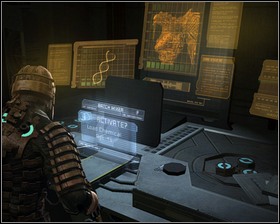
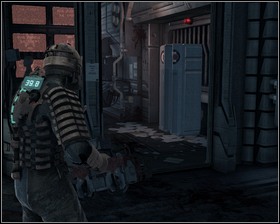
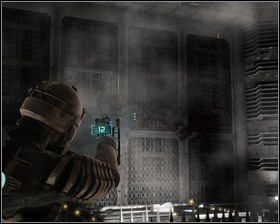
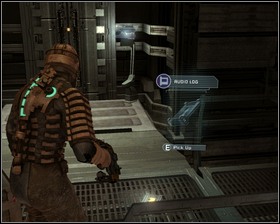
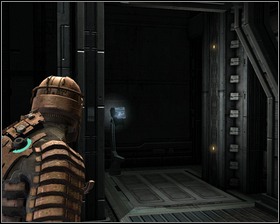
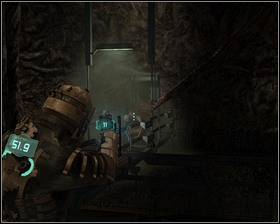
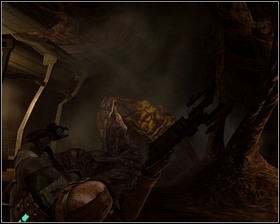
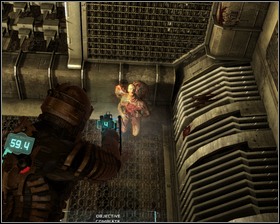
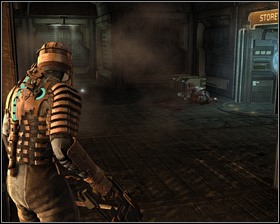
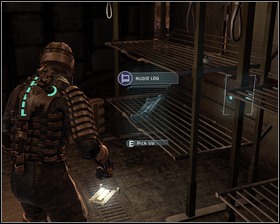
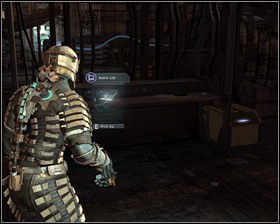
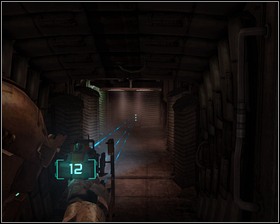
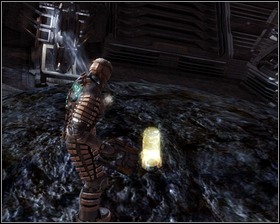
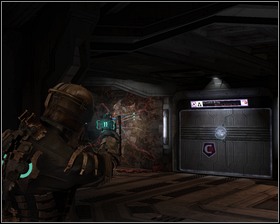
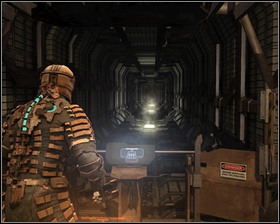
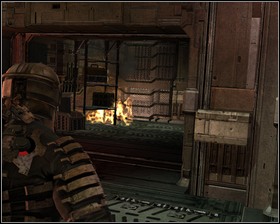
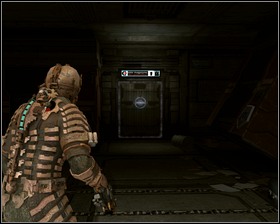
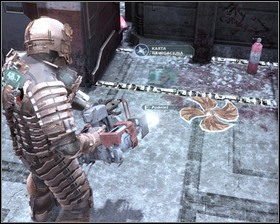
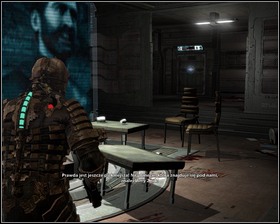
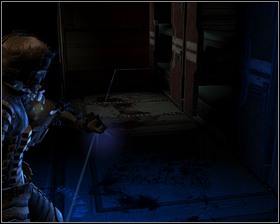
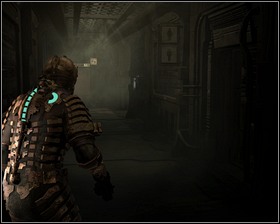
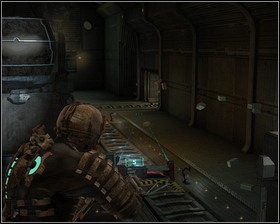
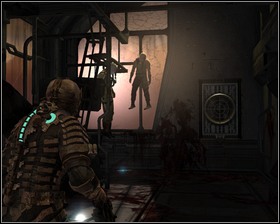
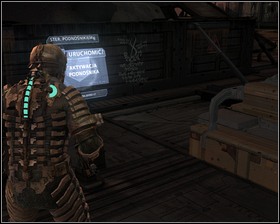
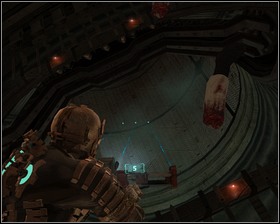
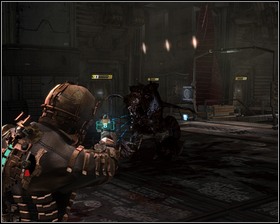
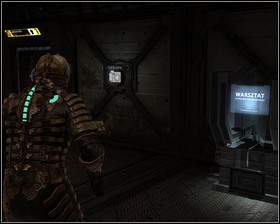
Follow the corridor to the control room and turn left - it's a dead end but it contains some credits, and on your way back a Small med pack and the Audio log that you can see shining on the second picture.
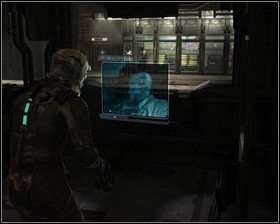
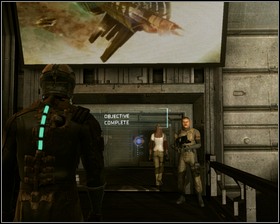
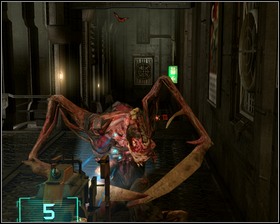
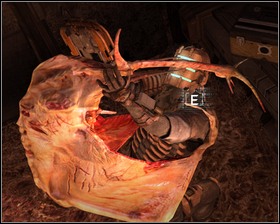
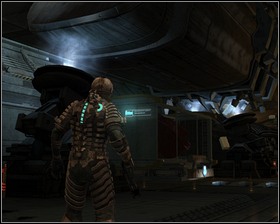
Enter the room to trigger an interactive cut-scene. After it's over you will receive a new objective. Also, there is a Save station On the wall.
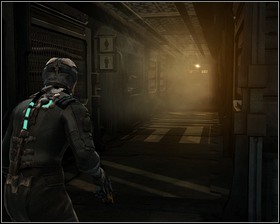
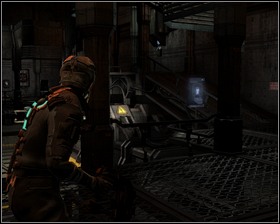
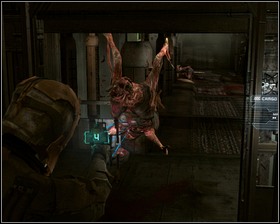
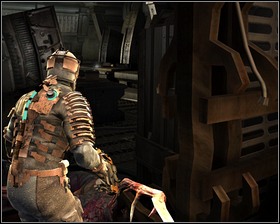
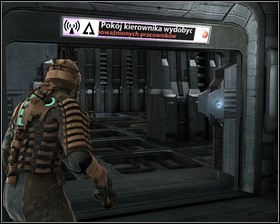
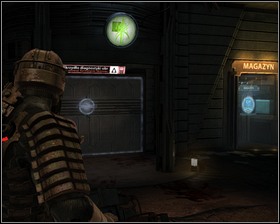
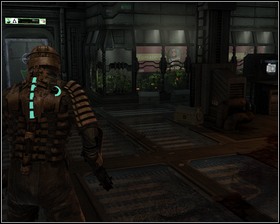
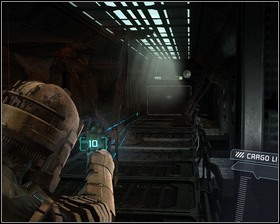
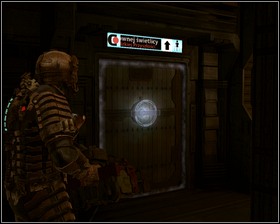
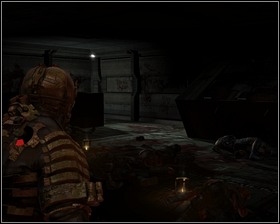
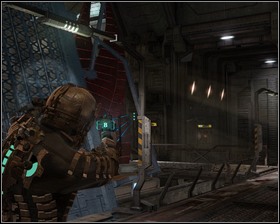
Leave the room going to the cargo hallway and turn left when you reach the wide corridor (remember to check the container). I am aware that the objective tells us to go the opposite way, but it's worth to spend a few minutes collecting items and saving the game. A necromorph blocks the way to the Save station, be sure to pick up what he drops. A Medium med pack can be found in the area, also there's an Audio Log lying at the very end of the corridor.
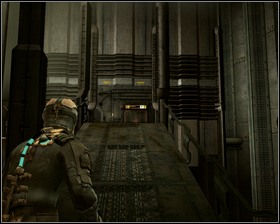
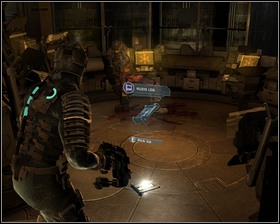
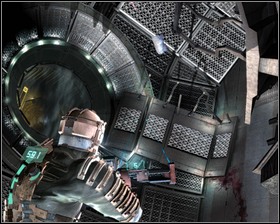
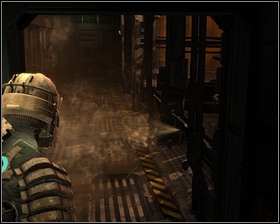
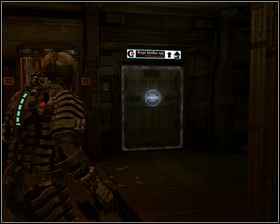
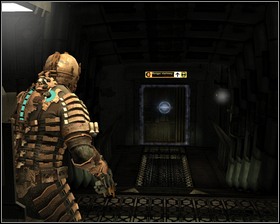
In order to get to the objective you need to pass through the door leading to the tram tunnel. Continue until you reach a large room - search it to find some useful items.
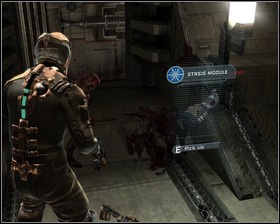
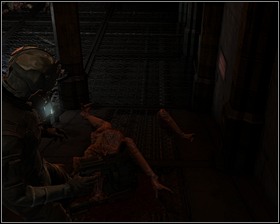
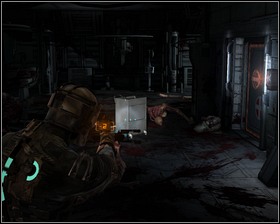
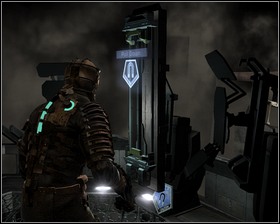
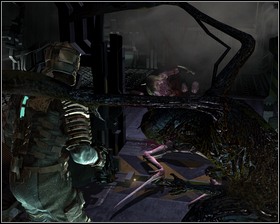
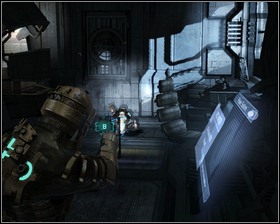
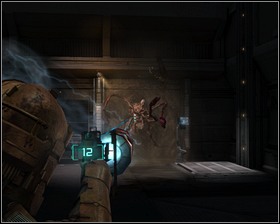
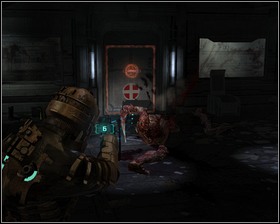
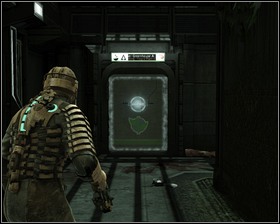
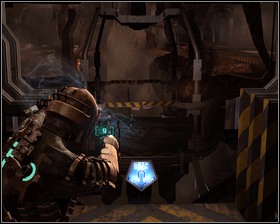
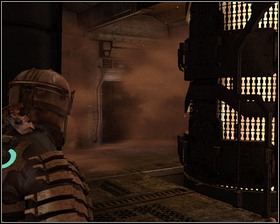
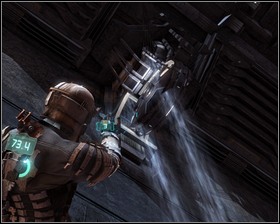
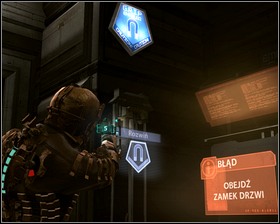
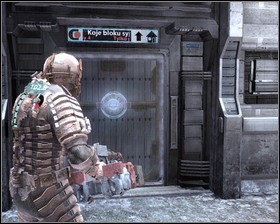
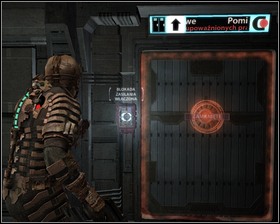
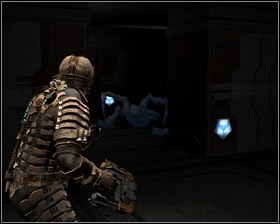
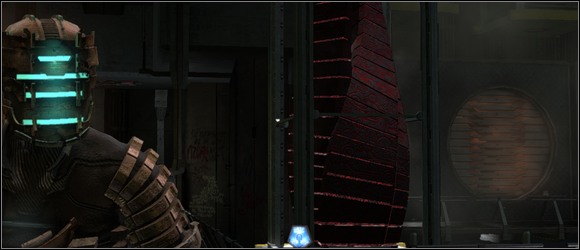
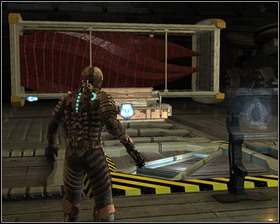
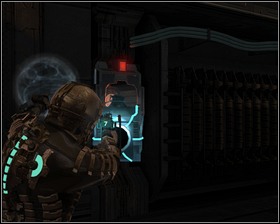
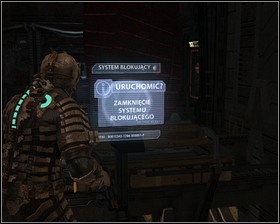
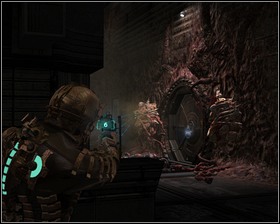
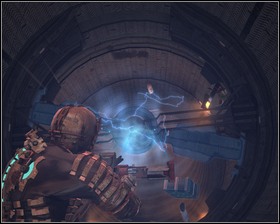
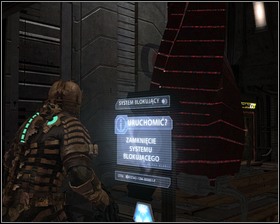
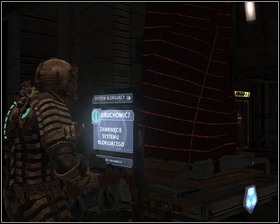
The locking mechanism on the door is broken, and trying to go through it may only result in being shred to pieces. Our main interest is not what lies on the other side, however, but right in front of the door - the Stasis module. Install it and get to the Stasis recharger to charge it. With this gadget we will be able to slow down enemies and mechanisms, and the first opportunity to do so is right now. Target the door (LMB) and fire, by pressing C. The nearby body should also get hit, but our main interest are the door, which now can be safely crossed.
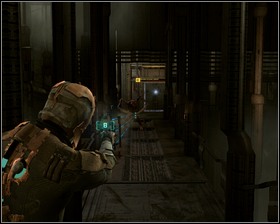
When you reach a wide corridor look to your right to find some credits. Be sure to check the toilet for items.
Going right you'll find Save station, and if you check the dead end you'll see a container just waiting to be smashed. Behind the open door is the tram repair room.
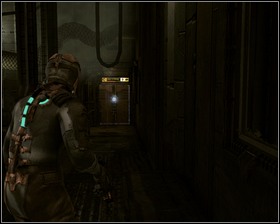
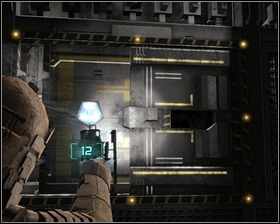
Power Node is waiting for you in the locker on the right wall. Searching through the room you will find an Audio log.
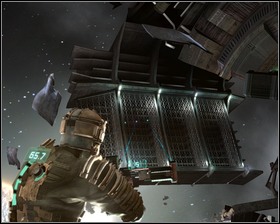
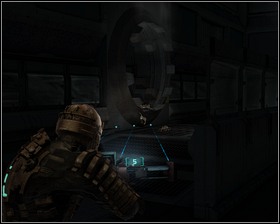
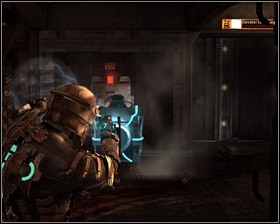
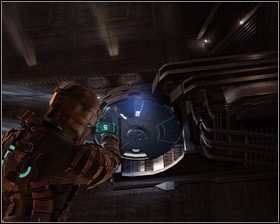
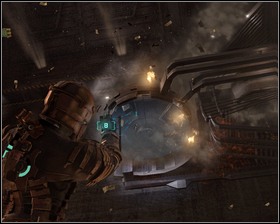
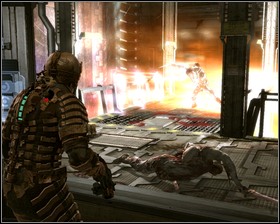
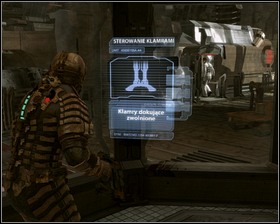
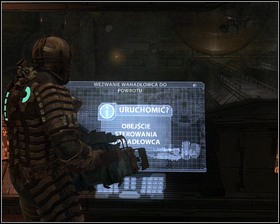
It's time to take care of the broken tram. The problem is, that while first claw works just fine, the second one grapples the tram and then immediately detaches from it. The solution is shooting it with stasis just as it latches onto the tram. In case you run out of stasis there's a Stasis recharger nearby.
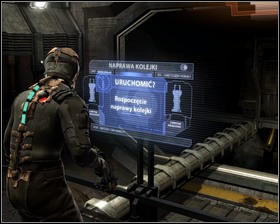
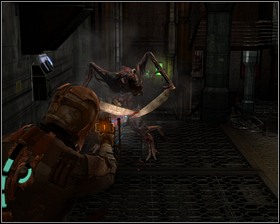
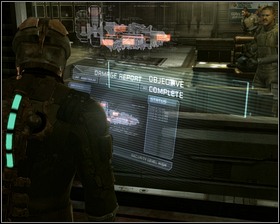
Once you managed to activate the second claw approach the large console in the middle and initiate the repairs. After you'll receive a new objective you will be attacked.

Return to the tram tunnel and once again slow down the broken door with stasis. There are two necromorphs waiting for you in the large hall.

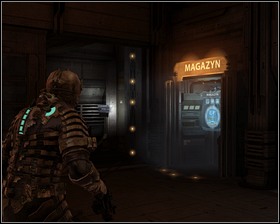
Go down the corridor, turn right and use the elevator to reach the Maintenance Bay.
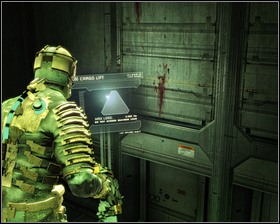
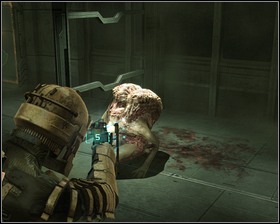
The previous objective is unimportant for now - you need to get the key to the Maintenance Bay. When the elevator door opens you'll find yourself in another large room facing two necromorphs. Destroy a nearby container and head right where there's another elevator guarded by more necromorphs.
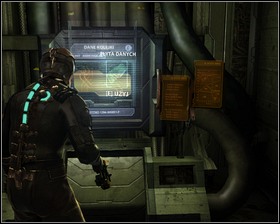
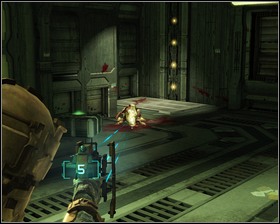
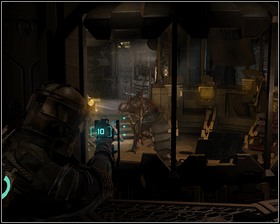
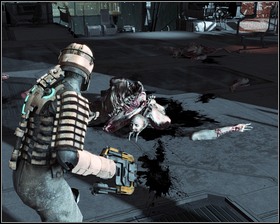
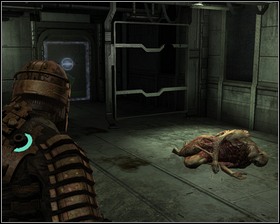
When the elevator door opens aim at the necromorph lying on the ground - it only pretends to be dead. On the right hand side there's a container and a locker to the left. Going forward will result in yet another attack, and at the very end of the corridor your prize awaits - the Maintenance Bay Key and a Database file. Look around and go back to the elevator only to be attacked yet again.
When you get to the elevator ready your weapons as an unpleasant surprise awaits you at the end of the ride. When you get off the elevator turn right and check the locker and container. Proceed along the sloping platform.
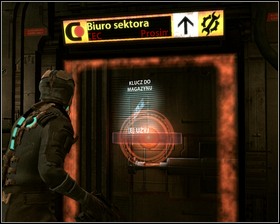
Using the key will open the door to the sector office which holds the precious Data board. In the same room there's an Upgrade bench and a locker containing a Power node. It's a good idea to upgrade the Plasma cutter now.
Leave the office, deal with the necromorphs and head to the elevator which you used to get to the Maintenance Section. Keep weapon at ready when leaving the elevator.
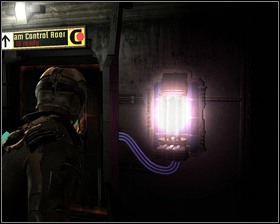
Proceed along the corridor and be sure to use the Save station. Turn into the first corridor to the right and enter the Tram Control room. Install the Data board in the terminal at the very end of the room.
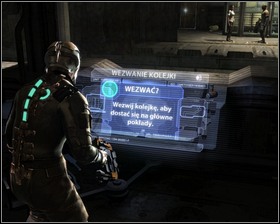
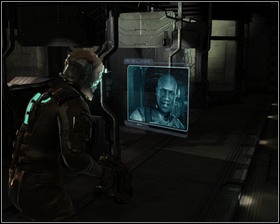
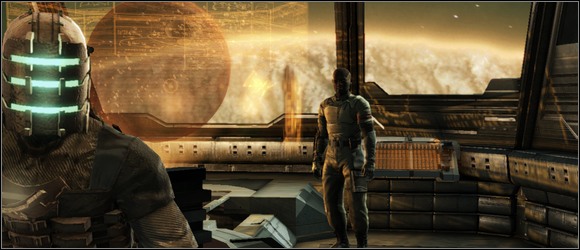
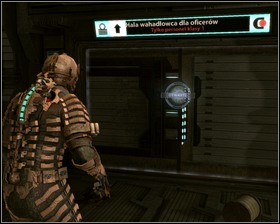
All that needs to be done now is calling the tram. There's a second terminal in the same room - use it to watch the message from our companions - we need to get back to Kellion, the ship we used to reach the Ishimura.
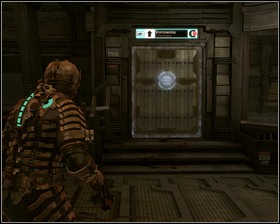
Leave through the door leading to the Flight Lounge and get through the first door to your right. Going forward you will reach the elevator.
Go straight, turn left and prepare to be attacked by two necromorphs.
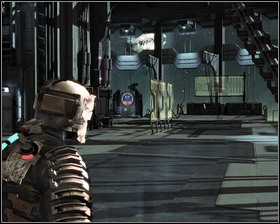
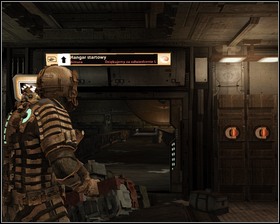
Enter the Flight Lounge and proceed to the hangar we landed in. On your way you will find a few crates worth smashing - you weren't able to do that when you first got here. Remember to use the Save station in the lounge.
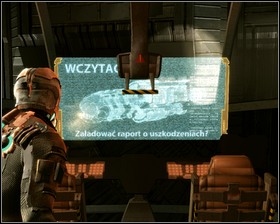
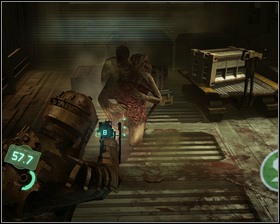
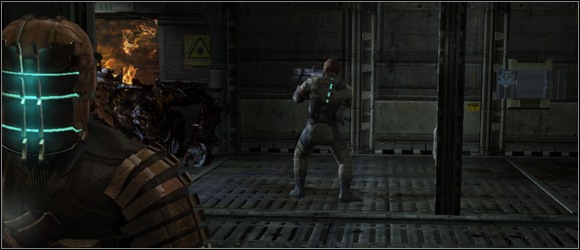
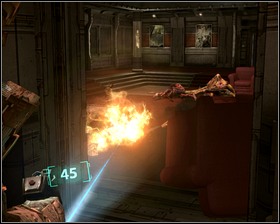
Our path to the ship is blocked by a single crawling necromorph. Deal with it, enter the ship and start diagnostics.
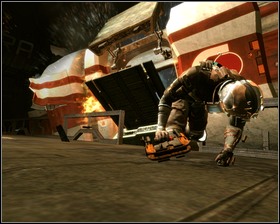
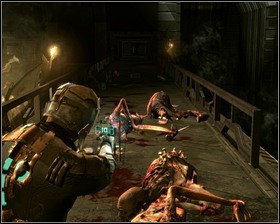
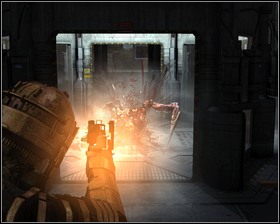
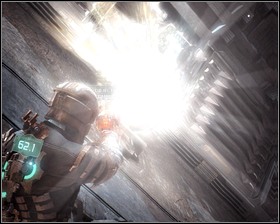
... which turns out to cause a serious malfunction. Get out of the burning ship and prepare to dispatch a horde of necromorphs - after you'll deal with them you'll receive a new objective.
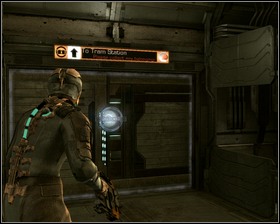
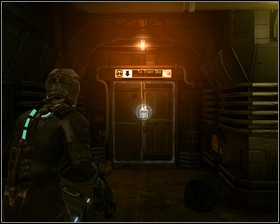
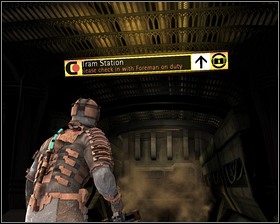
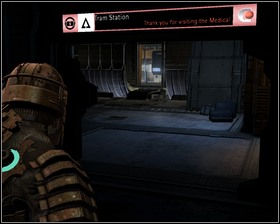
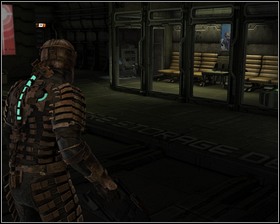
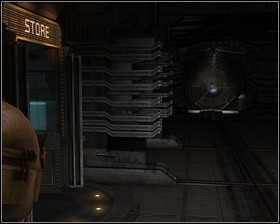
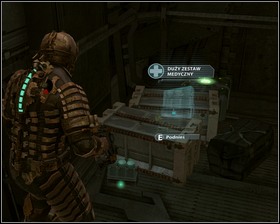
Get back towards the Lounge and enter the room to the tram station. There are two crates in front of the elevator, and the toilet to the right holds a Large med pack. Use the elevator.
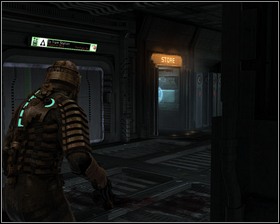
There's a Store here, and I suggest you buy a Level 2 suit.
There's also a Work bench here. To proceed to the next chapter enter the tram and activate it.
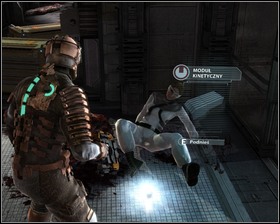
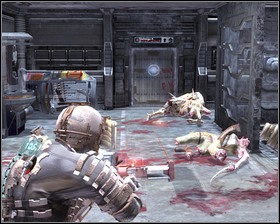
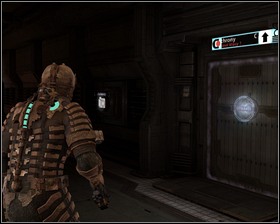
You start off in medical bay. A dying woman will give you the Kinesis module, which works more or less like the gravity gun from Half-Life. Aim using the LMB and fire by pressing F. There's also a Store in the room. In the corridor filled with body bags you can find a Small med pack. Clear the way with your new toy and carry on forward. On your way you will also find a Flamethrower schematics. Just take it to the nearest store and the weapon will become available. Open the door and go into the security room.
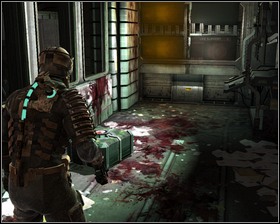
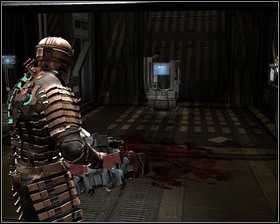
You will receive a message from Hammond. Two new objectives will appear, and it's up to you to decide the order of completing them. Before you get around it, however, use the Save station, pick up credits and get to the room which is literally covered in blood. You'll find a crate and a locker here. You can also use the Store here.
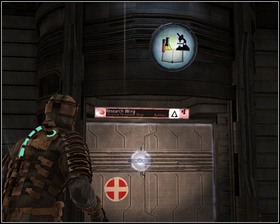
Leave through the door leading to the lab. You'll pass by the Stasis recharger on your way there which will prove quite useful as you need to slow down another door with a broken mechanism. Near the station you will find some credits. The lab seems to be safe, but not for long. A woman's voice will inform you of quarantine and some necromorphs will crawl out - time to fight for your life. Again.
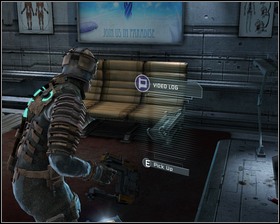
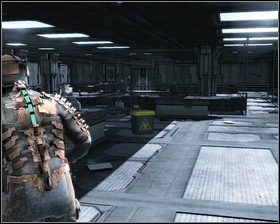
Get to the platform, go down to the lower level of the labs, deal with the necromorphs and collect the items - the quarantine will be over. In one of the rooms you will find an interesting Video log. The lower level also offers access to the Stasis recharger. One of the lab rooms contains two open lockers and a container, so don't waste the opportunity to acquire some valuable items.
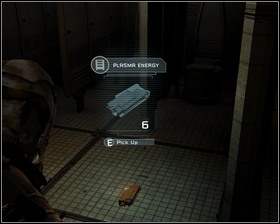
Enter the biology lab. After dealing with the naughty baby search the room - there's a crate lying around, and some Plasma energy. Go up.
After dealing with more "necrobabies" go into the main laboratory where the Thermite awaits. In the same room you will find a Power Node in a wall locker. Leave the research complex using stasis on the broken door.
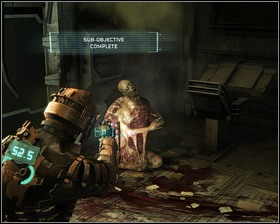
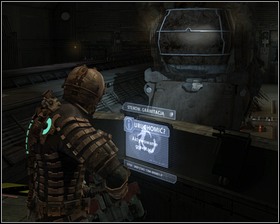
Go back to the security station (you might want to save the game here) and head to the Imaging Diagnostic room. You'll be the witness of quite a gruesome death. Near the newly created body you will find a random item. The wall to the right holds the Stasis recharger.
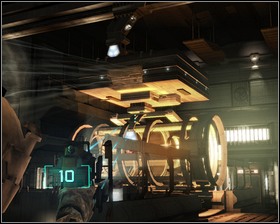
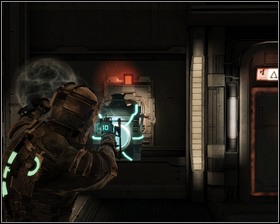
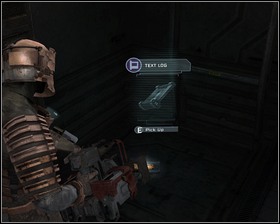
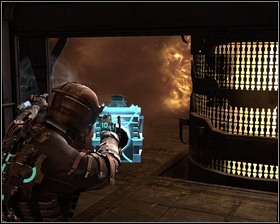
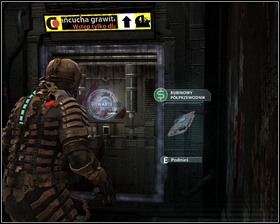
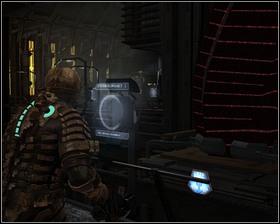
Enter the large room. The door to the left is blocked and you'll need to spend a Power node to open it. On the other side there's a Audio log, a Gold semiconductor worth 3000 credits and a Large med pack worth 5000 credits. Since the Power node can be bought for 10000 credits you need to decide on your own whether listening to the log is worth 2000 credits for you. Near the note saying "Evacuate this area immediately" you'll find a Text log. In order to continue you will need to use kinesis on the large cylinder, moving it to the left. Prepare yourself for a fight.

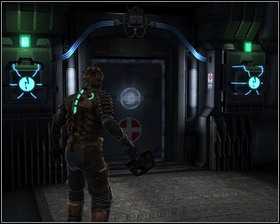
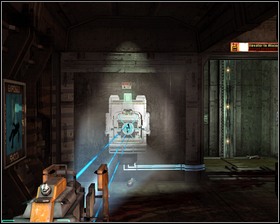
Behind the cylinder there's an office with two treasures inside - Pulse rounds schematics and a Power node. In order to fulfill the objective you will need to use the elevator, which seems to lack power at the moment. Use kinesis to place the power unit into the slot next to the lift - now you're able to use it.
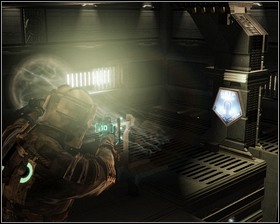
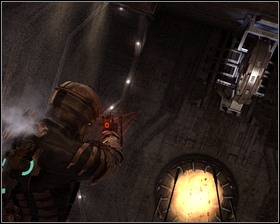
Kinesis will be of use twice now - you'll need to use it to summon a platform in order to proceed forward. You'll reach the Zero G Therapy Area this way. There's a Save point to your left, be sure to use it. On the right side of the door there's a fuse box you'll need to attack in order to open the door.
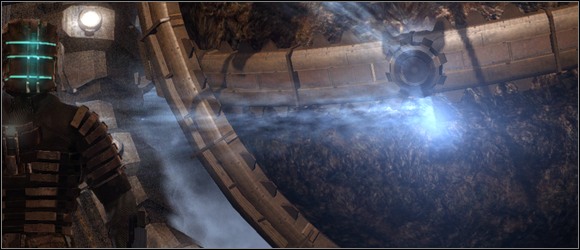
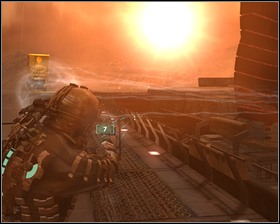
You can either spend the next seconds admiring the beauty of the space or rush to the next door before your oxygen runs out. You'll reach a large spherical room in which you'll need to activate zero-g from the panel just next to the entrance.
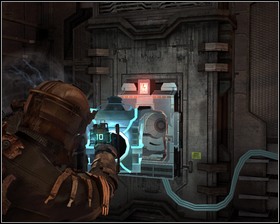
Now's the time to practice some jumping - in order to jump to a certain point target it and press Ctrl. This way you'll need to get to the door right across the room. When you get there kinesis one of the power units and place it in the slot marked red. Enter the room - our main interest here is the Shock Pad, be sure however, that you don't miss the Audio log and be sure to check all the lockers. On your way back you will have to fight in zero-g.

Backtrack to the security station. You'll need to fight off some necromorphs in the vacuum and then use your remaining oxygen to check the nearby lockers. When you'll leave the zero-g therapy complex visit the Save station. Then use kinesis again to summon the platform and continue.
On your way back you'll encounter a few more necromorphs. When you reach the familiar surroundings of the security station save the game and buy necessary equipment. After you're done with that you can proceed destroying the barricade - just approach it and press E.
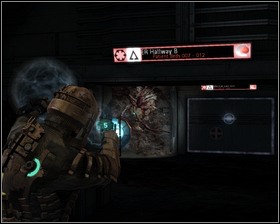
The coast is clear. Proceed onwards to find a Video log. When you reach the ER more necrobabies will attack you. After dealing with them search the room - there are some crates and lockers here, as well as the Oxygen recharger and the monster drops. You need to get to the end of the ER Hallway A, but the door is locked. Kinesis a power unit in order to open it.
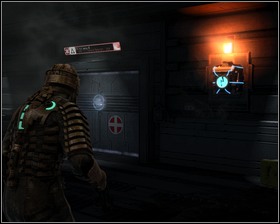
The next room contains an Audio log, a Text log and the Oxygen recharger. There's also a locked room here, which can be opened by using a Power node. Behind the door you will find the Line racks schematics and some random items. Proceeding onwards you will reach intensive care which contains a Save station, and continuing along the path you will reach the elevator to the morgue.
In the morgue you will be the witness of a grotesque transformation of captain's body into a necromorph. After the creature is defeated it will drop our objective - the Captain's RIG. Search the area to find a Text log, a Power node and few other items of value.
The elevator that activated after Captain's death will take us up. Heading towards the security station we will soon reach more familiar surroundings. Now head back to the tram you used to arrive in this chapter, trying to collect everything you may have missed before and not letting your guard for even a second.
There's a locker at the end of the lounge. You'll receive three objectives. Our base of operations for this part will be the control room. Head there and search the room thoroughly - there's a Store, Save station, and a Audio log there, along with a few open lockers. In order to take care of the first objective, head for the machine shop.
Look around the men's locker room - there are two open lockers there, and you'll find an Audio log, and Flame fuel schematics inside. Watch out for not-really-dead necromorph on the floor. Proceed forward to find a Text log and a Upgrade bench. Enter the refueling chamber.
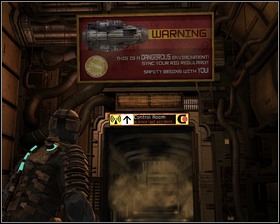
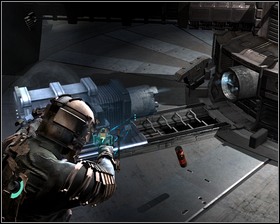
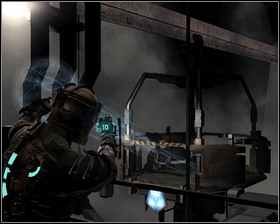
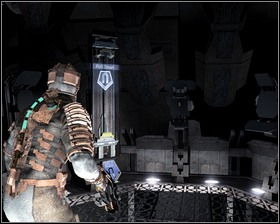
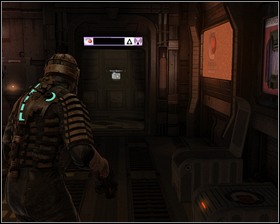
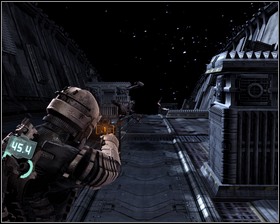
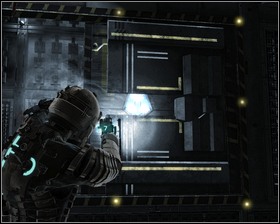
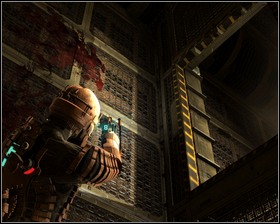
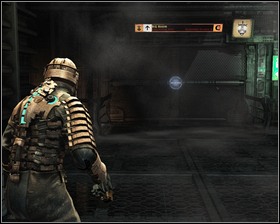
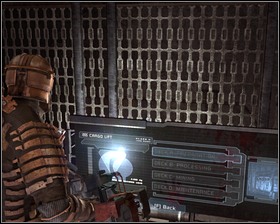
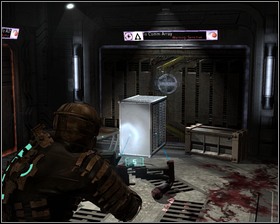
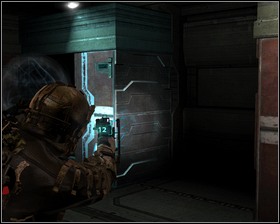
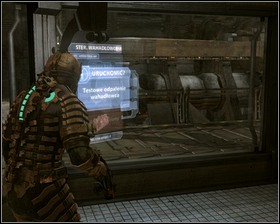
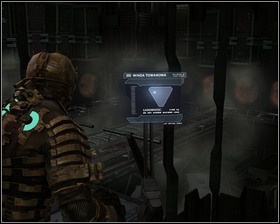
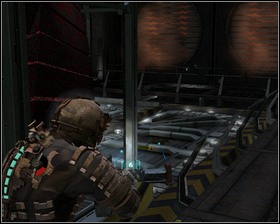
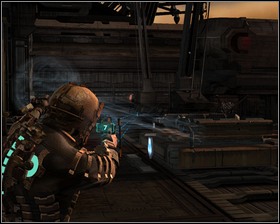
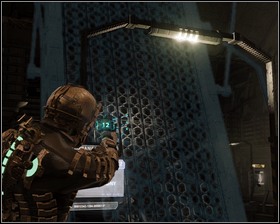
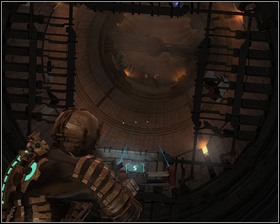
On the right side of the room there's a locker, crate and some credits. Go up the ramp (just as the left arrow on the first screen tells you to). Use kinesis on the mechanism to move the switch to the down position.
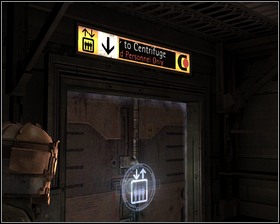
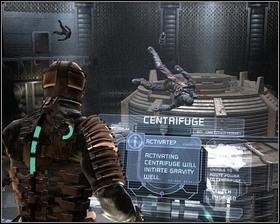
Go along the platform behind you and back to the control room. A flying necromorph will take over one of the bodies, so be ready to fight the moment you enter the room. Use the Save station and head for the Centrifuge door.
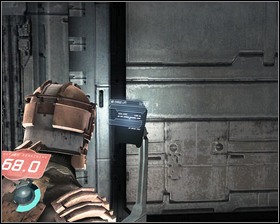
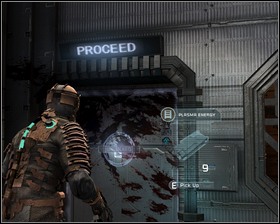
Before entering decontamination room look around and check nearby lockers. Among other items you'll find a Small med pack, some ammo and an Audio log. After collecting the items enter the chamber and use the console to start decontamination. An alarm will sound and some necromorphs will attack, so stay cautious. After the decontamination process is complete feel free to get through the door marked Proceed. Collect items on your way and continue onwards until you reach a save point.

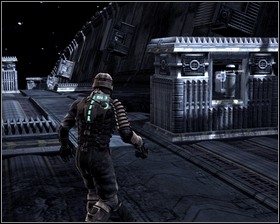
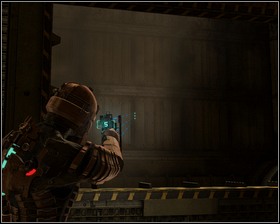
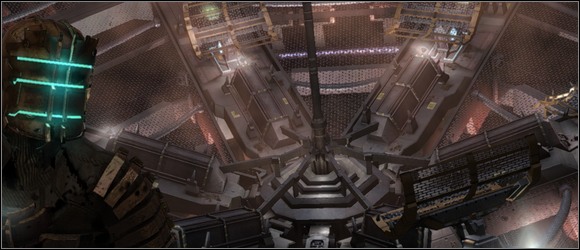
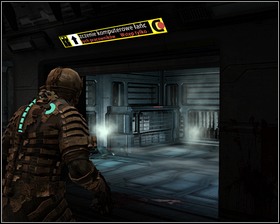
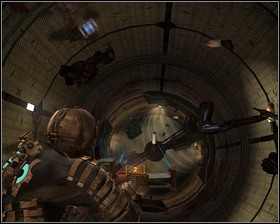
In short you'll need to get to the control panel that can be seen in the distance in the first screen. Zero-G is an additional difficulty here - just a reminder - you need to aim at the spot you want to reach and press Ctrl. There's a locker on a nearby wall, as well as Stasis recharger. You can catch floating containers with kinesis. Before reaching the control panel, however, you will need to move two generator modules that power the machinery here.
Stasis the module, than move it when kinesis. When done, move to the other side of the room and repeat.
Approach the console and press E. The gravity will come back to normal, but the area lacks air. Turn around and use the platform to get down - watching out for the centrifuge module that spins clockwise around the room. The idea is to get from one alcove to another during each spin. This way you will move piece by piece through the room - there will be some necromorphs awaiting you in the alcoves, as well as a Oxygen recharger, which may prove quite useful. Get to the platform and go up. As soon as you'll leave the chamber you won't have to worry about the timer on your back.

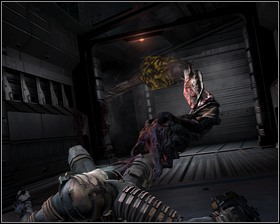
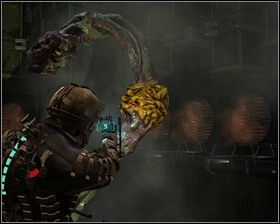
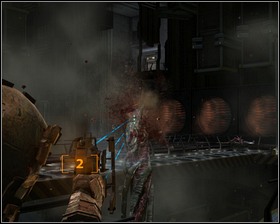
Go back towards the control room. As you walk along the corridor a tentacle will grab you and pull you towards a hole in the wall - you'll need to shoot at the yellow portion of the tentacle in order for it to release you. Once it has released you can continue your way towards the decontamination chamber, but before you do so go down the round corridor to find a locker with a Power Node inside.
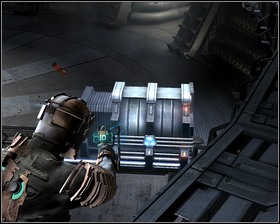
When you reach the control room turn to the refuelling station and go to the place where you activated the first console. Use kinesis on the car to pull it towards you.
Get onto the car and activate it by pressing E. There is quite a welcoming committee awaiting us at the other side - collect all the drops and smash the nearby container.
Going up along the walkway you will find a Audio log, and one of the alcoves has a locker with a Power conduit inside. Continue upwards.
There's a switch to the right of the save station which you'll need to activate using kinesis. The objective is complete, however it seems that you'll need to manually activate the engines. Your orientation point will again be the control room, which we should be able to reach without much difficulty. Before pursuing the next objective be sure to visit the Store and the Save station.
You'll get to the machine room by leaving the control room through the round door. You'll end up in vacuum again - you should try to jump to the places seen on the screens. Your space walk will be disturbed by two necromorphs but they shouldn't be that much of a problem. Carry on to the more stable ground.
You'll find the Medium med pack schematics and a locker. You'll finally enter the room covered with some organic matter, but before you'll get into the elevator search the two smaller areas to your right and left. You'll find an Audio log, a Text log, and some lockers, including one with a Power Node.
Use the platforms to get to the lower levels until you reach the broken door. You'll need to use stasis on them in order to continue.
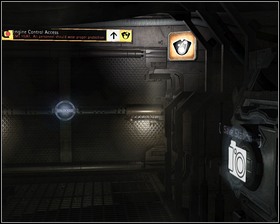
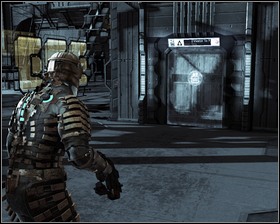
More crawling necromorphs here, those can be dispatched however by blowing up the red barrel when they come near. One more necromorph will appear in our way after we deal with the first group. Before getting through the door, be sure to use the save station.
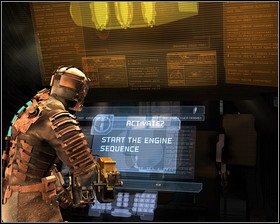
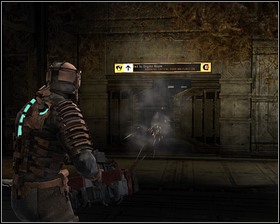
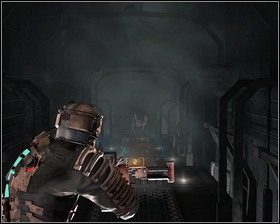
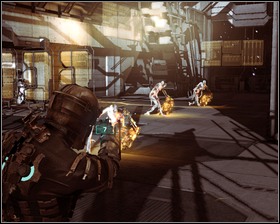
Quite a welcoming committee awaits here, but you should be able to deal with them without much problem. After defeating the first wave search the room to find a locker, and some containers in the upper portion of the room. When you'll collect all the items start the engine sequence. You'll face another, more serious wave of necromorphs including some spitting ones. After you deal with them, confirm the start sequence thus completing the objective.
Going through the door straight ahead you will reach the control room and from there you'll need to head to the tram which will take you to the next chapter.
Leave the tram and search the station thoroughly. Going to the Main Atrium you will pass by a Store. You'll find some items in the Atrium, including an Audio log. Continuing onwards you will reach the staircase leading to the Captain's Nest - there's a Save station halfway. Go down the elevator to find a Level 3 Suit schematics. Try to lay your hands on it as early as soon as you get to the nearby Store. Hammond will hand you new objectives, but before you'll proceed with your new mission be sure to check the lockers and the crate.
Go back to the Main Atrium and save the game. When you'll approach the security station door a large necromorph will bash through them. When it's facing you need to aim for the yellow spots on their legs. If you manage to get behind them it's a piece of cake - it's back has no shielding. Obviously, the first thing you should do when it appears is using the stasis.
Enter the room that the necromorph just "opened". There's a locker containing a Power Node on the left side of the door, and further on there's a Upgrade bench, some lockers and a store at the end of the room. When you're equipped and ready, activate the elevators using the terminal.
Atrium elevator is up and running so use it and go down - in the room you'll enter, there's a locker, a container and a crate. Next on our way is the Save station, Contact beam schematics and a small storage compartment where a necromorph only pretending to be dead awaits you. The room contains a Stasis recharger and some lockers.
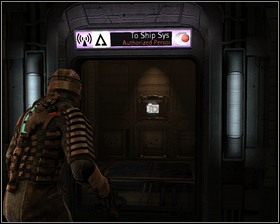
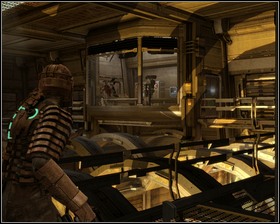
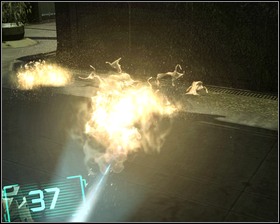
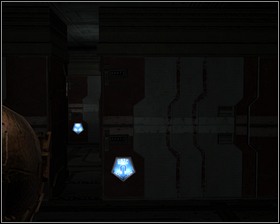
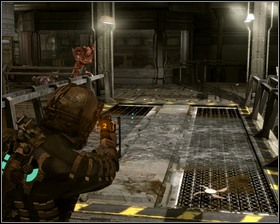
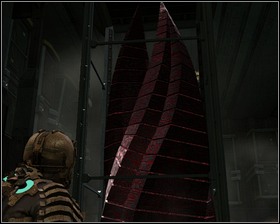
Enter the Ship Sys but watch out not to step on the glowing plates on the floor - you'll see in a moment what it does to one of the necromorphs that attack you. Use kinesis on the shelves that block your way, but before you continue, use the nearby Stasis recharger.
You'll face another large necromorphs - again, aim for the yellow spots on it's legs. You'll need to stasis the wires that block your way. Approach the console and press E.
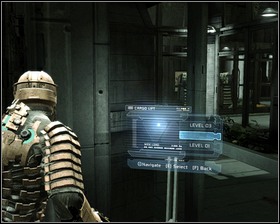
Get back to the main atrium, saving the game on your way there. After you leave the elevator a group of bipedal necromorphs will attack you. After dealing with them go around the elevator and enter the second one, going to the Level 01.
There are a few containers and a Save station here. After getting through the door next to the station you will step into vacuum. Don't worry, the distance here is not that long, and you can visit a nearby Store. There are also some lockers nearby.
The mining administration room contains a package of necromorphs, which you shouldn't have problem dealing with. There's a Store to the left, but what should really interest you is the MA Computer room (to the right from the entrance) which contains a Text log, along with some other items. And within the storage area you can find a locker with a Power Conduit. Get back to the main room and go further inside. Avoid the unstable parts of the floor and eliminate the appearing necromorphs. At the very end of the room there's a terminal which is our main interest - after using it get back to the elevator.
Level three contains a few lockers, Force gun schematics, and a Save station. Enter the room, kill the enemies and activate the terminal. The door on the left hand side will lead you to your next objective.
Go up the elevator and head for the large round gate leading into space. Duck behind the first cover, let the meteors pass by and recharge the oxygen, then make a run for the next cover.

Hide behind a second cover and let the wave of meteors pass you by. Keeping in mind that we're in zero-g you should aim for the station on your right, refill your oxygen and hide behind it.
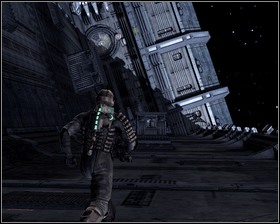
Now just continue jumping from cover to cover until you reach the last one. Refill your oxygen, jump towards the large gate and enter.

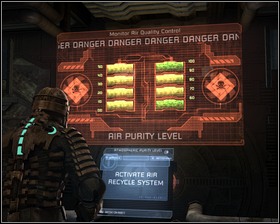
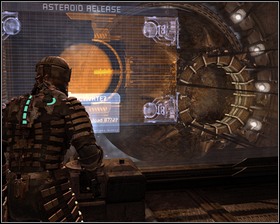
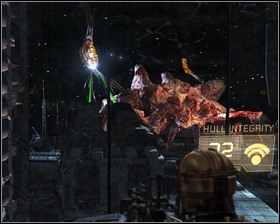
Behind the door awaits a Save station, a crate, and a huge cannon. Approach the console, press E and start shooting at them asteroids. You'll need to last a bit over a minute. There's a hull integrity information screen to your right and you cannot allow it to reach 0. Also, you need to be sure not to overheat the cannon, so don't keep the LMB and RMB buttons pressed for too long.
All that needs to be done now is to get back to the tram. The spacewalk part will be a lot easier now, as there are no more asteroids to dodge, but some necromorphs will appear instead. You shouldn't have problems reaching the atrium (take the elevator to level 02). On your way there you will encounter some bizarre-looking heads with legs. When you reach the atrium head to the tram station and into the tram.
You get back to old thrash once more. Head for the security station and use the Save station and Store. Also be sure to use the Stasis recharger on your way to the objective.
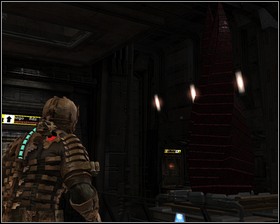
Enter the room and use kinesis on the red barrel to take down the necromorph that attached itself to the wall. Enter the elevator to the right of the now-dead-monster and go up.
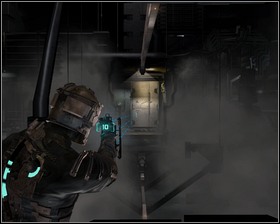
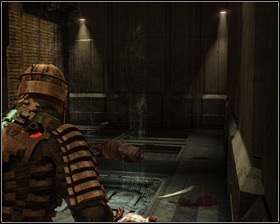
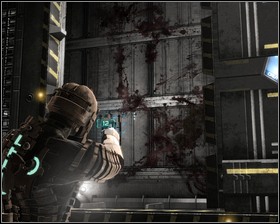
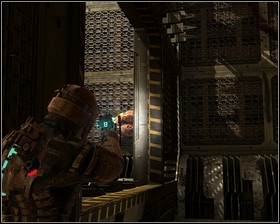
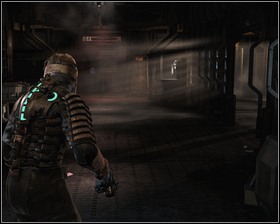
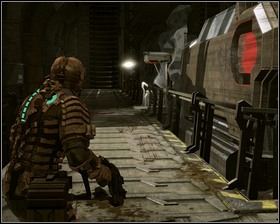
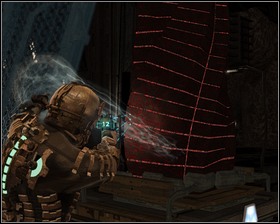
Slow down the moving platform and kill the necromorph. In order to get to the door visible in the second picture you will need to slow down the platform. Before you enter be sure to use the Save station.
Head for the chemistry lab, go down the elevator and when you get off be sure to pick up the Audio log. Go to the lab, take the Power node from the locker and check the two containers and a crate. On the table you will find a Force energy schematics. When you'll collect all the items approach the console and activate it. Few seconds later our chemicals are ready. After a shot cut-scene you will be forced to fight a new type of necromorphs that brakes out off the testing tube. Trying to take down it's limbs won't do much - it will regenerate them. Time to run. Go back the way you came to the laboratory.
On your way to the security station you will be surprised by a large number of crawling necromorphs - line gun's alternative fire or flamethrower should help let you dispatch them quite easily. Save the game and resupply in the Store, then head to the Ishimura clinic.
After a short interactive cut-scene. The ER door will open and behind them you'll encounter another invincible monster. Shoot him in his groin to slow him down for a while.
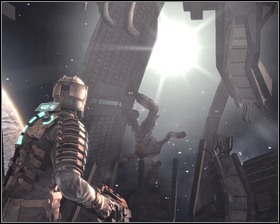
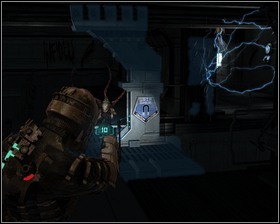
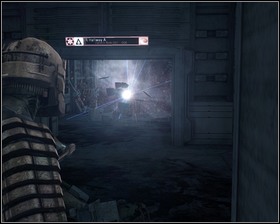
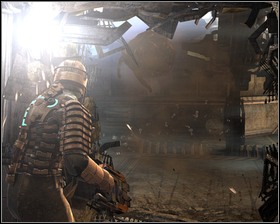
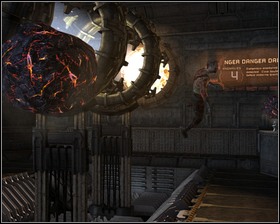
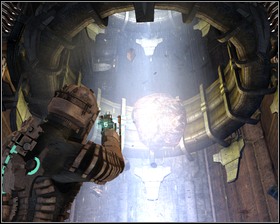
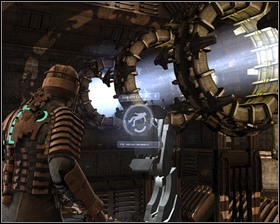
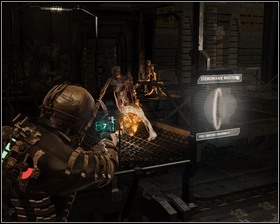
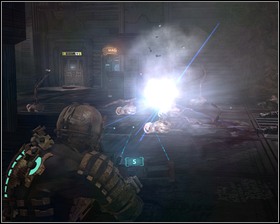
It is not the end of your problems, however, as more necromorphs will appear and attack you, and you will have to survive until Kendra manages to open the door (the ones on the left side of the shining coil). It's your way out.
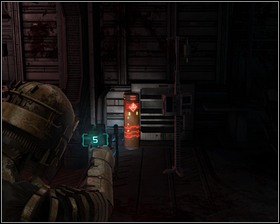
You're safe, at least for now. Proceed down the corridor until you reach a red can that can be lifted with kinesis and hurled at the monster you encountered before. If you time it right you can hurl it at its belly before it spawns the smaller necromorphs. After it's dealt with, go through the door to it's right.
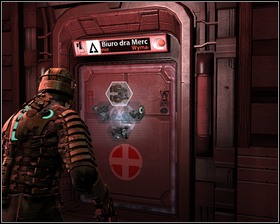
Going forward you will reach the ER. Dr. Mercer's office is on the opposite side from the save point. Enter it, check the containers on the floor, collect the random items and an Audio log. Activate the console, take the container and get ready to fight for your life!
You need to run to the security station - the only difficulty here is the lack of oxygen. Leave the office, run through the ER and dispatch the crawling necromorphs - again, it's time to use the line gun's alternative fire or the flamethrower. When you reach the room with invulnerable monster don't fight - just use stasis on him and his buddies, use the Oxygen recharger and leave the room.
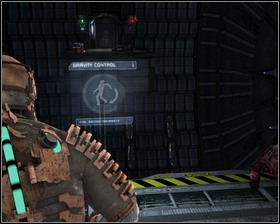
Run to the security station without looking back. To the left from the save station you'll find a room with life support console.
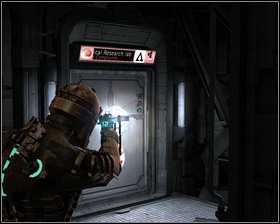
You will now need to go from the security station into the Imaging Diagnostics lab.
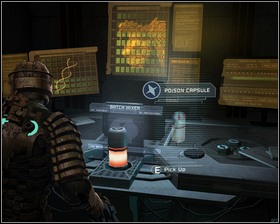
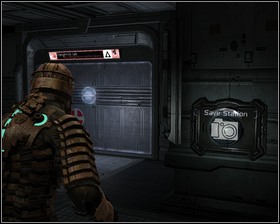
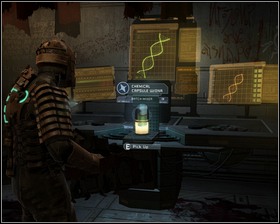
Activate the console and pick up the capsule. After a few seconds, the door to the right will open. Enter, and check the two crates in the dead end. Proceed along the corridor to the Cryogenics Lab. Use the Save station and help yourself to the things you'll find in the lockers to your left.
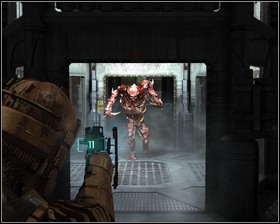
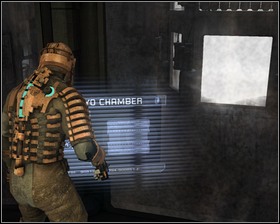
During the dialog be sure to set Isaac in the most advantageous position - your interest is the cryo chamber. When the regenerating necromorphs gets inside shoot at his groins, then attack its two remaining limbs in order to immobilize it for some time. You can also use stasis to slow him down even further.
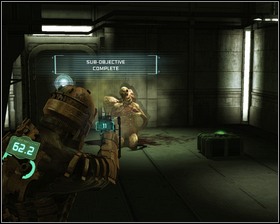
Ignore the remaining necromorphs and head to the room separated from cryo chamber by thick glass and activate cryo chamber thus freezing the necromorph! In the very same room you will find a Power node. Now's the time to deal with the remaining necromorphs. Also be sure to check the containers around the area.

You will reach the tram station by going through the room with the console you used to activate cryo chamber. Off to the next chapter!

Right outside the tram you will find an Audio log. On your way to the grow chambers be sure to check the toilet to your right - you'll find some crates there, along with some other items scattered around - be wary of the crawling necromorphs. Take the elevator. Just outside the Grow Chamber you'll find a container and a Force energy schematic. Continuing on you will encounter Hammond and receive a new objective.
In the Atmosphere control room you will find a Save station, Store and some lockers. Let's try and tackle the objectives in the order you're given. Go to the western growth chamber, but watch out for the corridor with some broken valves and shooting steam - you'll need to time it right. There are some alcoves to the left, and the middle one holds an Upgrade bench. Take the elevator up.

The pleasant mood created by the slowly growing plants will be disturbed by a large band of necromorphs. After dealing with them get to the other side of the room and leave through the unmarked door - you'll find the first of your eight objectives. Kill the necromorph and check the containers and move to the eastern grow chamber.
Second of our objectives is right behind the door to the Inner Greenhouse A. On leaving the room you will be attacked by a fat necromorphs that "gives birth" to the small crawling creatures you met before. Get your flamethrower ready.
There is an elevator in the western growth chamber - take it to get to the second level. Go into the Hydroponics control room (the door are marked with a large red logo) At the end of the room you'll find another pod. After dealing with it you'll see two creatures "awakening" the dead soldiers' bodies. Deal with them, search the locker and go back towards the elevator.

Still on level two you'll need to get to the Refrigeration West. Right behind the door to that area you'll find a container and a Save station. Some new necromorphs will appear - you'll deal with those by shooting the yellow growths on their limbs.
Go past the Stasis recharger and into the zero-g room. Use kinesis on the floating container. You'll need to get to the wall seen on the picture and use kinesis to open the door. Some necrobabies will attack you.
Jump to the next room and repeat the door trick.
The door to the Air Filtration room can be opened in the same manner. Leave the zero G area.
Enter the large hall - there's an elevator to the right with an Audio log out front and a container nearby. Go down the elevator. You'll find some items and a Stasis recharger.
Time for another test of your reflex - destroy the fuse box, enter the room just as the flames die out, rince, repeat. This way you will get to the last room.
Dispatch the necromorph and the poison pod spoiling the air. Take the elevator up. Before continuing with the next objective visit the glass room - there are some lockers there, including a one with a Power Node. You'll find a container and a crate on your way. Go through the door leading to west grow chamber.
Approach the elevator where a pregnant necromorph awaits only to set the grounds for the attack of the crawling ones. Use the flamethrower to deal with them and enter the Atmosphere Control, avoiding the broken valves on your way there. Save the game and resupply, then enter the east grow chamber.
You'll find a Text log there's a necromorph attached to the wall opposite from the entrance, but since there are no explosive cans around you'll need to deal with it the traditional way. After killing it and its offspring, search through the rooms to the right. You'll find an upgrade bench in the first one and a container guarded by a necromorph in the second. The third room requires you to expend a Power node. Behind the door you will find 5000 credits, loads of ammo, some random items and a Large med pack. Get into the elevator.

The upper chamber is not as pleasant as the west wing. In the left side of the room you will find a locker, but few steps into the room you will be attacked by the large necromorph that can be killed by shooting a yellow growths on its groins or by attacking its vulnerable back. Head to the door across the room, keeping to the left side of the chamber.
You will find a container right behind the door, and your objective not much further. There's also a Stasis recharger here, along with two containers. Leave the room through the door ahead. In the inner greenhouse B you will find some useful items.
Get into the elevator leading to the east growth chamber and get to the third floor. You shouldn't have any problem finding the pod here. Get back to the level one.
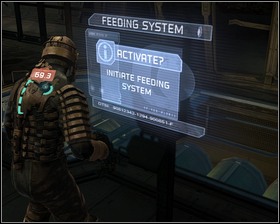

Right outside the elevator you will find a feeding system terminal. The pod is below. When you'll activate the feeding system, the door will shut to fast for you to take a shot. Use the stasis on the glass door and circle the room until you can take a shot. Objective complete.
Take the elevator to level 2. You'll find two crates there and in front of the refrigeration room you will find an Audio log. Use the Save station on the other side of the door
Another yellow tentacle will grab you - shoot the yellow part of the tentacle in order to brake loose. Enter the refrigeration east. On the other side of the door you will find a Audio log.
Enter the zero g area and jump into the room. Electricity blocks our way, so you'll need to jump towards the generator and stasis it.
Two more jumps are needed - one above the generator and the second into the door leading to the next room. Move out of the range of electricity and dispatch the necromorphs.
Jump to the wall seen on the first screen, and then through the yellow gateway.
You'll encounter another necromorph here, but you neither can reach it with a gun nor jump to the wall it's sitting on. Instead jump to the wall opposite from the gateway.
Dispatching it now shouldn't be a problem. You will also face some smaller ones. Jump in front of the gateway.
Jump to the wall seen on the first screen and then near the generator switch. Turn it off to remove the electric obstacle.

Jump to the next wall and then over the generator.
You should now be able to get back to the entrance to the zero g area. You can use the Stasis recharger on your way out.
You shouldn't have problems getting to Atmosphere Control from here. When you get there activate the filters. Before moving on be sure to check the Store, and the Save station.
Leave through the large round gate picking up the Audio log and checking the containers on your way. Activate the terminal.
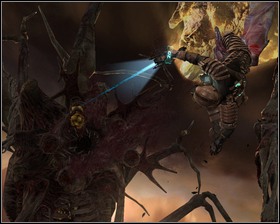
Time for a boss fight... conducted in zero g. There are quite a few ways to dispatch the Leviathan. Knowing its weaknesses is the main point here. One of them are the yellow bumps on its limbs. After some time it will reveal a mouth that spits out something of a fireball You need to keep moving not to get hit be either of his attacks. If you're playing on low difficulty you'll only need a weapon with improved damage rate to deal with him effectively. The higher difficulties require a bit more cunning and reflex. You'll need to toss the exploding barrels at him as well as the balls he shoots at you - just throw them back into its maw. This way allows you to conserve a lot of ammo.
Jump in front of the gate and back to the Atmosphere control, then head to the tram station.
Check the locker. Proceed along the corridor - to the left of the RIG room you will find a locker with a z Power node, there's also a container out back. The RIG room contains an Upgrade bench and two containers. On the right side of the room you will find the Store along with a few lockers. Be sure to use the Save station right next to the elevator.
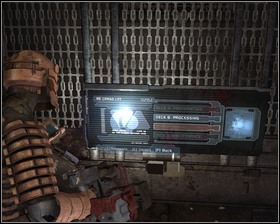
Get to the B deck - Processing Antechamber. On your way there you will take part in quite a slaughter. When you'll reach your destination in one piece take a look around. There are some crates in the left part of the room, along with some monster drops. There's also a Save station here. The door opposite from the entrance lead to the Antechamber.
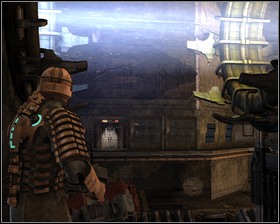
There's a Store in the room, as well as the text log shining in the distance in the first picture and two crates. Use the breach in the wall to get into the zero g area.
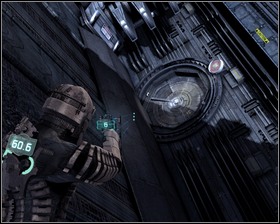
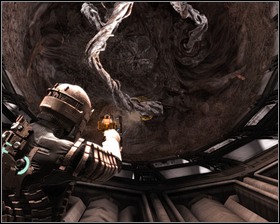
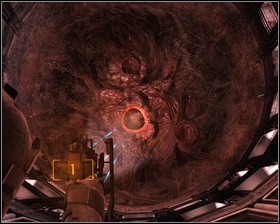
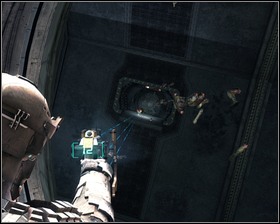
In order to get into the Mineral Processing Control Room you will need to restore the gravity, but you cannot do that until you remove the meteors floating about. The wall counter shows 4 and it is supposed to show 0. How do you do that? Just pick a meteor and throw it into the energy beam. Thanks to the zero g you should be able to move about swiftly.
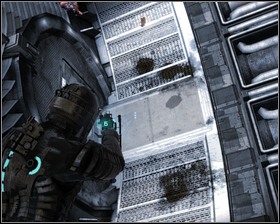
Get to the terminal and activate the gravity. Reload, and restore your health to the maximum, as the necromorphs will approach from two directions. After dealing with the monster you can approach the door behind the terminal - you will need to spend a Power Node (worth 10000) to get through them. On the other side you will find some random items and a treasure worth exactly 10000 - Ruby semiconductor. You can now get to the mineral processing room on the other side of the hall.
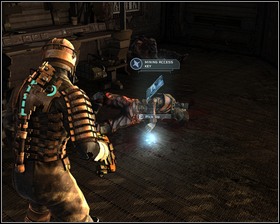
In this room you will find the Mining access key as well as three crates. Leave through the room leading to the elevator, but don't miss the Power node locker to your right. Get into the elevator and go down to the maintenance level.
You will need to dispatch some necromorphs to safely look around. There's an Audio log in front of the shelve, and right next to it a crate. Among the organic matter in the room you will find a Gold semiconductor. Get into the repair section.
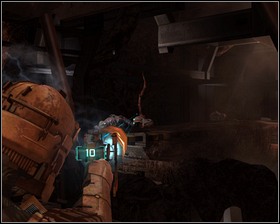
Make use of the Save station to the right. A hanging tram awaits, but you'll need to pull the wagon with Kinesis. On your way you will need to defend against the spitting necromorphs. When you'll reach your destination refill your supplies using what you can find on the shelves and within the two crates. Enter the repair room.
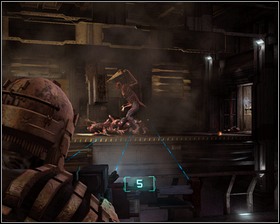
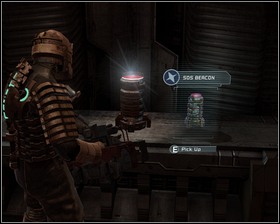
The storage room door are closed and your girlfriend will try to open them. Defend her from the necromorphs, paying attention to her health bar. After dispatching the creatures enter the room. There is a locker with a Power node here, as well as our objective- the S.O.S. Beacon. One of the shelves in the room holds the Level 4 suit schematics.
Get back to the hanging tram - you'll be under constant pressure on your way back. Make use of the exploding barrels by throwing them at the enemies with kinesis. Enter the elevator and go up to the RIG room - you can now buy a new suit and upgrade you equipment in the Upgrade bench. Next take the elevator to the C deck - extraction.
After defeating the welcoming committee go to the left side of the room, where you'll find a Save station and the Store. On the desk right in front of it you will find an Audio log, there's also a crate nearby. The rest of the room contains three containers and an Upgrade bench.
Opposite from the upgrade bench you will find the coil powering the elevator - pick it up using kinesis and get to the other end of the complex where you will find another, unpowered elevator. Place the coil within the slot. On your way to the elevator you will be attacked by some necromorphs with exploding bumps on one of their limbs. You will need to put down the coil to deal with them. Get into the elevator you just activated and go down.
Going along the corridor you will reach the Mining Bay. Before entering pick up the Text log and the Gold semiconductor, and check the three lockers on the wall. Be sure to use the Stasis recharger.

Destroying the first tether shouldn't be much of a problem. Slow it down with stasis, then aim for one of the shining points for a beautiful flash.
The second tether also shouldn't pose any problems, even though it's high above you - remember that you're in zero g and you can easily get to a comfortable position. Again: stasis and shot at the flashing point.


Now's when the fun begins. Make sure you have an extra Air can and Stasis module. In order to use them, press Tab, browse through the inventory with arrows and press E. Pay attention to how the metal arms rotate around the asteroid before jumping. Try to reach the spot seen on the screen. And run into space to get out of the metal arms' reach. Before destroying the third tether you will have to deal with some enemies.

Locating and destroying the last tether is a sheer formality, but in the meantime you will probably need to refill your oxygen and stasis.

Time to get back to our main objective - planting the beacon. It's really simple, you just need to press E while standing on the chunk of rock. You can even do it before destroying the tethers. Now jump back to the mining bay.


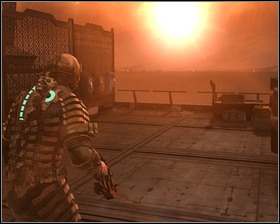
You need to get back to the room where you picked up the energy coil and take it back to the first elevator. Flames may seem like a problem, but they burst in a set order, so you'll just need to run past them as they disappear. Pick up the coil from a safe distance.

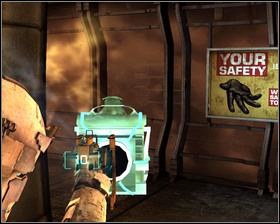
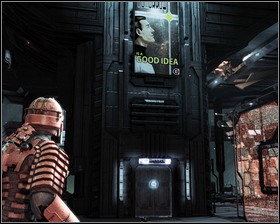
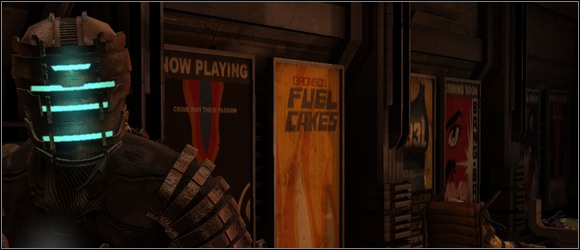
Avoid the flames by turning left, right and left again near the poster.

Get to the other side of the room, place the coil in the slot and take the elevator to the upper level.
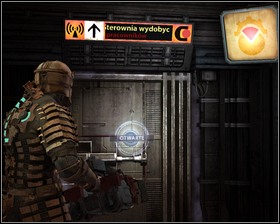
Get to the mining control and use the key (E). Before releasing the asteroid search through the room - there's a Power node in a wall locker here and two crates. Approach the console and press E.

Now you need to get back to the tram. Before you leave the area however, a quarantine will be placed and you will need to dispatch some monsters. Get to the large elevator, get to the RIG room, resupply and go back to the tram station.
Now's when the fun begins. Make sure you have an extra Air can and Stasis module. In order to use them, press Tab, browse through the inventory with arrows and press E. Pay attention to how the metal arms rotate around the asteroid before jumping. Try to reach the spot seen on the screen. And run into space to get out of the metal arms' reach. Before destroying the third tether you will have to deal with some enemies.

Locating and destroying the last tether is a sheer formality, but in the meantime you will probably need to refill your oxygen and stasis.
Time to get back to our main objective - planting the beacon. It's really simple, you just need to press E while standing on the chunk of rock. You can even do it before destroying the tethers. Now jump back to the mining bay.

You need to get back to the room where you picked up the energy coil and take it back to the first elevator. Flames may seem like a problem, but they burst in a set order, so you'll just need to run past them as they disappear. Pick up the coil from a safe distance.

Avoid the flames by turning left, right and left again near the poster.
Get to the other side of the room, place the coil in the slot and take the elevator to the upper level.


Get to the mining control and use the key (E). Before releasing the asteroid search through the room - there's a Power node in a wall locker here and two crates. Approach the console and press E.

Now you need to get back to the tram. Before you leave the area however, a quarantine will be placed and you will need to dispatch some monsters. Get to the large elevator, get to the RIG room, resupply and go back to the tram station.
Get out of the tram and into the Atrium. A large group of enemies awaits you here - after you deal with them, the quarantine will be lifted and you will be able to take the elevator to level 03.
When you'll reach the room with the Save station don't rush to save the game, but take down the necromorphs attached to the walls first. After you deal with them, search the nearby lockers save the game and get through the door.
A thin necromorph will appear, and when you deal with him more little necromorphs will crawl out of his body and try to reanimate the corpses. A line gun alternative fire should dispatch them quickly. Make your way through the corridor using kinesis, until you reach the door.
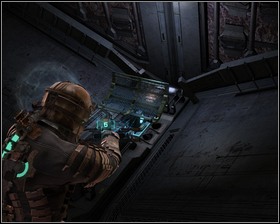
There's an Upgrade bench, in the middle of the room, a Save station, to the left and an elevator to the right - that's our way forward. In front of the door on the upper level you will find an Audio log. Behind the door you will find a locker with a Power node. Enter the wagon and activate it.
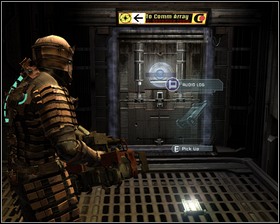
You'll receive a new objective the moment you enter the room. Search it thoroughly - there's a Save station on the left side of the control panel, and the a Stasis recharger on it's right side. In the back of the room you will find a Medium air can schematic and a container. Leave through the door leading to comms array. You'll find a Power node locker there, a crate along with some other open lockers. Leave through the round hatch.

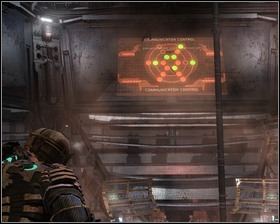
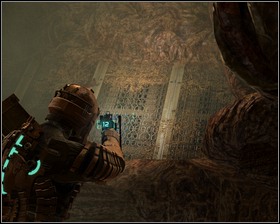
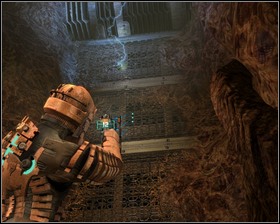
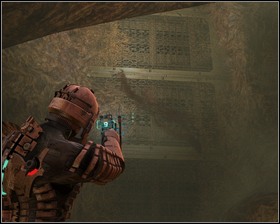
You will need to replace three damaged dishes from the inner part of the array (marked red) with three from the outer array (marked light blue. The schematics on the wall should provide you with assistance. No gravity in the room should help you move about more swiftly. Stay alert as there will be some necromorphs interrupting the repairs.
You will need to move three red dishes from the inner part of the array and replace them with the three blue from the outer array. The schematics will update as your work progresses.
Return to the communication room and activate the console.
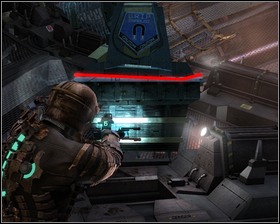
Take the lift to the lower level. In the room behind the large door you will find a Save station and an Upgrade Bench. Right behind the door there's also an elevator. In the room with the cannon entrance you will find a crate and two containers. Enter the cannon through the round hatch.
There's a Save station here, as well as a locker with a Power node inside. Sit comfortably behind the gun controls and try to take down the monster by attacking the yellow bumps on its body and destroying the exploding objects it hurls our way. The hull integrity can be seen on the right hand side of the cannon and we cannot allow it to drop to 0. After dealing with the monster, a cut-scene will begin.
Return to the Atrium and from there to the tram. The road back shouldn't be much of a challenge except for the thin necromorph in the atrium. You can deal with it or just slow it down and ignore it - it doesn't drop anything of value. The tram will take you to the next chapter.
The tram station offers access to the Upgrade bench as well as a container and a crate. Further on your way you will find another crate, a container and the Store. Get through the round hatch. On the other side you will find a locker with a Medium air can and another hatch.
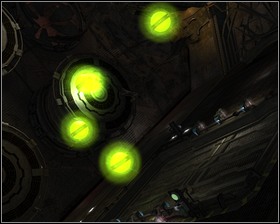
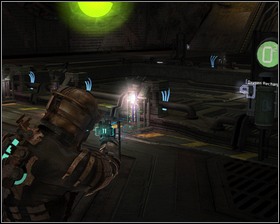
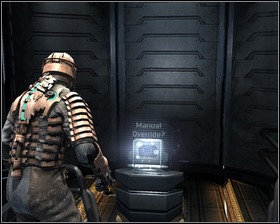
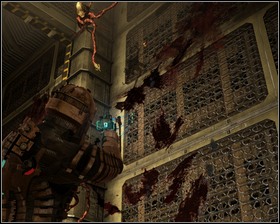
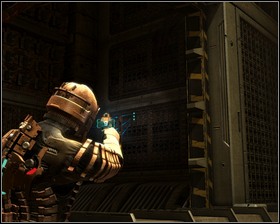
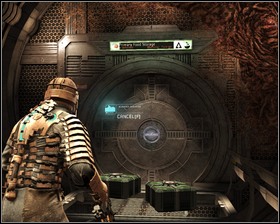
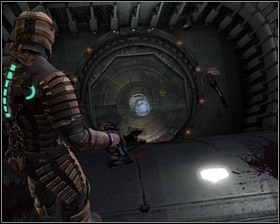
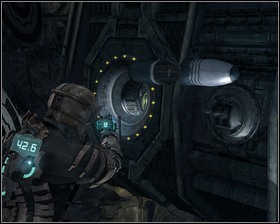
The door leading to the ship is locked, because the sensors detected some radioactive materials. You will need to remove the six glowing spheres floating about the room, by tossing them into space. In order to do that you will need to stomp on each of the six fuses around the door in the center of the room, but don't do that until you place the spheres near the door - opening it will suck out all the air and put quite a pressure on you. When you destroy the last of the six fuses try to position yourself around one of the two Oxygen rechargers in the room.
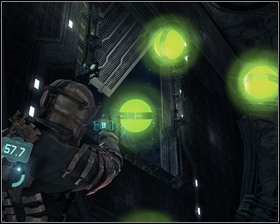
Toss all the spheres out into the space and fight the appearing necromorphs. Use the Oxygen recharger when it's necessary. When you deal with the radiation jump through the round hatch and into the ship.
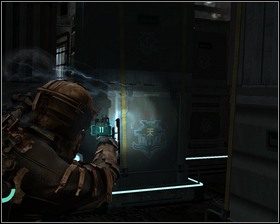
There's a container, right to your left, but pay close attention to the energy coming out from the floor. Use the Save station and enter the cargo area. Two more crates to smash here. Make your way through the room by moving the glowing containers along the rails - nothing very refined here.
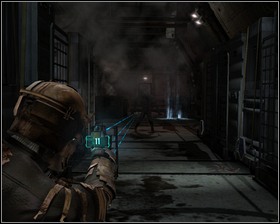
Your way is blocked by mutated, ultrafast soldiers, they are not as tough as they may seem however. After dealing with the first wave, proceed deeper into the room. Use the kinesis to open the way to the torpedo room.
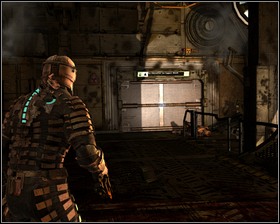
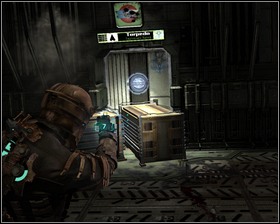
There are some containers and crates here. Get through the wide elevator door and take note of the crate to your right. Use the Save station. Calling the elevator will result in a malfunction and trigger an attack. The attempt to use the coil from the other side of the room proves futile - only after shooting the mechanism with stasis will you be able to plug the coil in. When everything's working, get into the elevator.
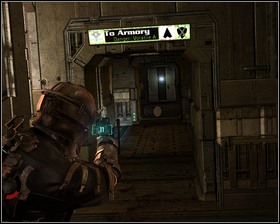
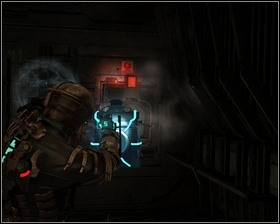
Head to the armoury and search the room after you deal with all the enemies. There's a crate here, as well as a Power node locker.
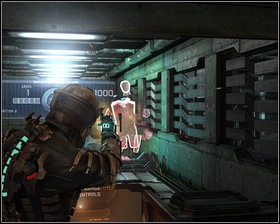
You can test your aim at the shooting range - you'll also find an Audio log there. Get into the infirmary, use the Stasis recharger, and enter the next room.
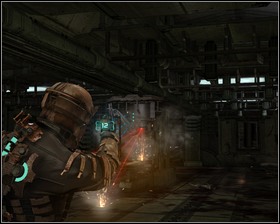
The lasers here ought to kill you unless you hit their source with stasis. When you do, run over to the other side of the room and deal with the attacking necromorphs. There are some crates here that you might want to check out after you slow the lasers down again. Then head to the barracks.

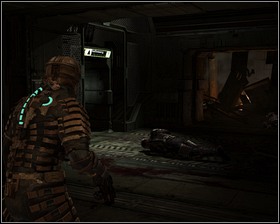
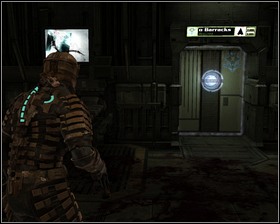
There's a locker with a Power node in the dead end, along with some items around the soldier's body. Go right and you'll reach the Save station - use it before proceeding. There are also two crates in the area.

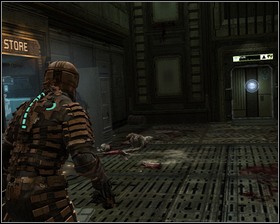
There's a horde of enemies awaiting you in the barracks. When you'll deal with them search through the open lockers in the room. There's also a Store here, and next to it - the exit.
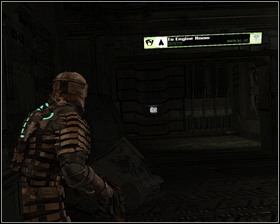
On your way to the engineering you will pass by another Save station. Search the larger room for supplies and enter the engineering through the large door. Take the elevator up.
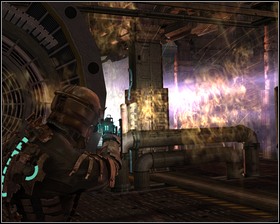
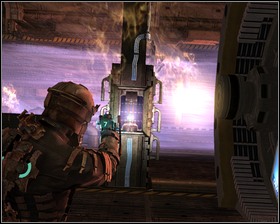
Now's the time to test your patience, precision and timing. You will need to turn off the engines to proceed. In order to do that you will need to destroy six fuses on the both sides of the room. You cannot however, just stand and shoot the fuses, since the ignition sequence will fry you. You are only safe when standing behind the metal cylinders. Use the kinesis to move one of them towards the metal column, shoot the fuse. You cannot take care of the fuses on the one side, and then those on the other - you'll need to do it symmetrically - one to the left, one to the right etc.
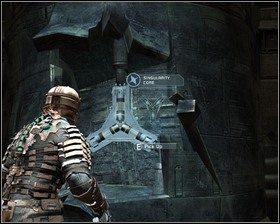
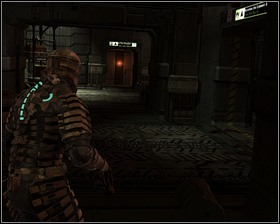
Singularity core lies in the back of the room. Pick it up and run through the door to your right.
Run until you meet up with Hammond. After a brief cut-scene you will have to deal with a familiar, but even stronger than before foe. Slow it down and shoot it in it's groins or it's back if you manage to get behind him Pick up the Diamond semiconductor (worth 25000 credits) and follow the signs to the lower level.
The power coil fell out of it's slot - you will need to place it back with kinesis to activate the elevator.
When you leave the elevator head left until you reach a large hatch. Behind it lies a more familiar landscape - the way back to Ishimura. Jump back to your ship and head for the tram station to proceed to the next chapter.
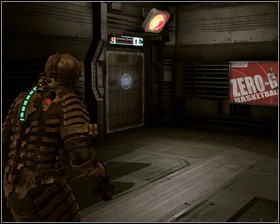
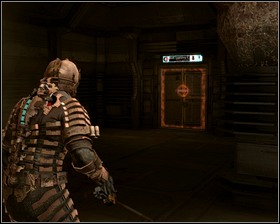
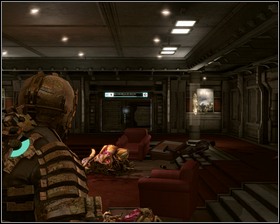
Before going after your objective look around the commons, as there are some lockers and crates there. Enter the Sleep Block C through the entrance on the right side of the Store. Go on towards the basketball court - go through the locker room where you'll find Level 5 suit schematics in front of the washbowls. Get back to the commons and buy a new suit in the Store. Now is the time to look for the key
Take the elevator on the left side of the Store. There is a Save station on the upper floor, you'd probably want to use it now. Go through the door next to the Upgrade bench.
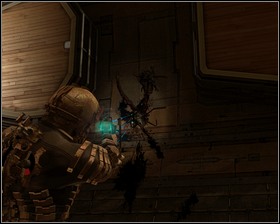
Enter the mess hall, where you'll find two containers. Use the elevator in the back of the room. Deal with the necromorphs. At the very end, near the body grown into the wall you will find a crate with the Crew key inside. On the same wall, under the red flags you will find a Power node.

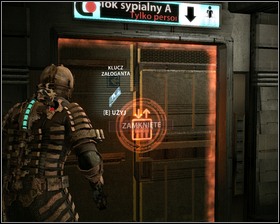
Enter the mess hall and head for the door to the right. You'll see another necromorph attached to the wall. Shoot its tentacles. There's an elevator nearby and you'll need to use the Crew key to enter it. Go down to the room with a Save station. In the toilet there is a necromorph pretending to be dead and behind it there's a locker. The block B doors seem to be blocked - you'll receive a new objective.
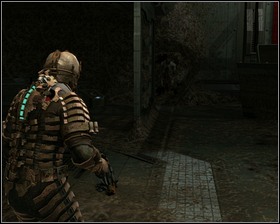
Go to the sleep block A bunks - a tentacle will grab you, and you'll need to shoot the yellow part in order to break free. There is a crate near the hole through which the tentacle shot out.
There is a switch in the storage compartment. Flip it with kinesis. Get back to the commons and turn right.
You'll reach the Sleep block b bunks. The life support is down in this area, so you will have to use your suits' air supply. You will be in for quite a rough fight when you'll enter. Proceed to Sleep block B.

After you deal with the enemies look to the left from the second row of beds - you will find a navigational card. Within the same room there is a storage area where you can find some items, among them Power Node is the most notable. The whole area is worth searching through - there are lots of items worth picking up. Refill your oxygen tank at the Oxygen recharger hanging in the main area. After looting the area return to the commons and save the game.
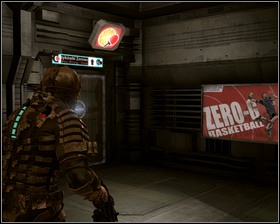
You will now need to return to the area near the tram station. Take the elevator and go past the mess hall, Upgrade bench and the Save station ant take the small elevator. Resupply at the Store and go for the door marked Sleep block C. From there go to the basketball court.
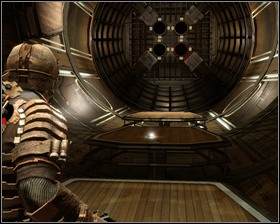
There is a locker and a Text log describing the zero g basketball out front of the court, but before you start the mini-game try to complete the objective. Jump to the second platform of the court and kill the necrobabies. After they're gone pick up the second Nav card. Now you can try to play some basketball.
The last card can be found in the Sleep block C commons, that you can reach by turning right after leaving the locker rooms. You might want to resupply in the main area. Prepare for the attack of the mantis that animates the dead bodies. You should focus on it before taking care of the rest of the enemies. Get back to your mission. Get to the sleep block C and open the door with the crew key. After leaving the elevator save the game.
Get to the bunks area - there's a storage to the righ, but you will need to expend a Power node in order to get past the door. It's worth doing since you there is a lot of various ammunition there, as well as a Large med pack which pretty much covers the expense.
Move the bunks using kinesis in order to open up the way forward. In one of the openings there is a Ruby semiconductor.
The bloody trail leads to the scene of massacre. One of the corpses is of a woman that shot herself in the head - look behind the crate next to her to find the Nav card and a Medium med pack. Before you pick them up prepare for a fight - charge your stasis, reload, heal yourself. Then pick the card up.
The next fight will require both reflex and coordination. The regenerating necromorph will appear - shoot him in the groin to knock him down and hit him with stasis. You need to get away as fast as you can and set the bunks between the two of you, just as they were when you came here. You don't need to build the solid wall, if you manage to make the opening half as wide, it should be enough to block him - you can now seal him in the bunks area by moving more beds to the spot. Make sure that you recharge your stasis and reload before you leave.
It seems that the creature has found a way around the barricade and it's after you once more. Get inside the room with the rotating holoprojector, the entrance however, has been locked. You need to survive for about a minute before the door reopens. A horde of necromorphs will rush at you, but keep in mind that your regenerating friend is still around, so try not to waste stasis on the others. Line gun should prove to be the best weapon here. Once the door is open make a run for it.
Resupply once more, then take the elevator to the save point and enter Executive security room. Watch the cut-scene, then search the locker and enter the elevator leading to the Executive sleep block.
Some fatties will welcome you to the executive area, and after you kill the large ones, the smaller necromorphs will come crawling out of their bodies - these should be easily taken down using flamethrower. Search the four rooms filling your pockets with the items you find in the lockers and crates. You will also find an Audio log here. Leave through the wide door leading to the hangar bay.
Get onboard and install the Nav card.
Go to the control room and activate the panel to the left. Take not when the engine fire comes out.
Our regenerating friend is back! Run out of the room and lure him on the bridge where the fire hits. When it gets close enough shoot it in the groin - it will crawl towards you. When it gets into the burnt part of the bridge, hit it with stasis. Now make a run for the control room dispatching the fast necromorphs on the way. Activate the engines once more to finally destroy the regenerator.
When the doctor arrives use the right panel. Feel free to look around the shuttle hall now.
Return to the commons and then back to the tram.
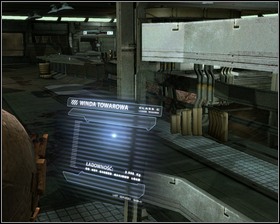
The station contains a Store and a Upgrade bench, and there is a container in the lobby. Go to the tram station hallway. There's a container in the toilet, and a second one lays opposite from the Save station. Enter the cargo room, there's an Upgrade bench right beyond the door. Dispatch the enemies from afar and take the elevator to the lower level.
Go around the room checking all the lockers, including the one with a power node and some other containers. Activate the console and you will see the Marker!
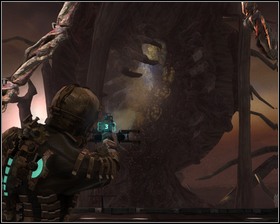
The aritfact will draw more enemies towards you. When you'll move around the room, the giant tentacles will attack, and you'll need to aim for the yellow parts. Be sure to clear the room.
Pick up the Marker using kinesis and place it on the rail platform. When you start moving it, more necromorphs will appear.
Go back to the tram station and take the elevator to the lobby. In the toilet to the left you will find a container. When you'll enter the lobby, the quarantine will begin - kill all the enemies and search the room thoroughly. Take the wide door to the hangar bay.
The entrance to the control room is right behind the entrance to the launch area 2 - go there and turn off the gravity. One thing worth noticing here is the Peng treasure worth 30000 credits situated between the two walkways. Pull it down using kinesis.

Jump towards the Marker. Kill the necromorphs and search the hangar bay, as there are loads of lockers and containers here. Approach the Marker and pull it along the rail with kinesis. Turn left and continue until you reach the junction.
Switch the junction and move the Marker to the blind spot in the railing, turn the junction again and pull the artifact towards the shuttle.
You will be attacked on your way to the shuttle. When you reach the second junction switch it and pull the Marker near the shuttle. Objective complete.
Two jumps will take you to the control panel governing the gravity of the area. First jump near the USG Ishimura sign, and then right towards the console. Activate it.
Approach the shuttle and watch the cut-scene.
Get back to the control room where you switched the gravity and leave through the nearby door, then take the platform up. Kill the necromorph on the wall ahead and take care of its children. Enter the room to meet Nicole.
This objective only sounds hard, all you need to do is activate the console. Watch the cut-scene and look around to find a Power node, and a Diamond semiconductor. Save the game.

Return to the launch area 2, dispose of the necromorphs and enter the shuttle. It's time for the last chapter.
Before taking care of the mission go around the shuttle and collect the items from containers and lockers making sure to take the Power node. Go towards the barracks. Inside you will find a Save station, Store and an Upgrade bench.
Through the cold storage window you can see bodies being changed into necromorphs. Kill the transforming ones first, before they can get out of the room and morph the four remaining bodies. There are three containers here, as well as a energy coil, that you do not need for now. Enter the gravity tether control room - that's the glass room you saw upon leaving the shuttle. There is an Audio log, Gold semiconductor, two crates and a locker there. After you collect the items leave the room and kill the necromorph.
Move the crane towards the shuttle using kinesis. When you'll move it all the way a nearby console will turn blue. Use it.
Get back to the barracks and pick to coil you've seen here before. Place it in the slot outside.
Pull the Marker towards the complex - the rail turns right. Enter the building an pull the Marker further towards the large gate.
Important! The cart transporting the Marker can only be moved using kinesis.
Once the gate opens pull the cart to the closed bridge. Enter the large hall and deal with the quarantine situation. Once you'll dispose of the first wave of attackers ignore the quarantine and get to work.
Approach the console that controls the bridge, raise it, than hit it with stasis. Pull the cart under the bridge. In order to complete the objective you will need to repeat it a few more times. Luckily there are stasis rechargers all around the room.
When you get past the third bridge. Pull the cart towards another gate and prepare to fight a bunch of necromorphs with yellow growths on their bodies. After they're gone the quarantine will be lifted and you will be able to continue forward. Pick up the items scattered around the room. If you're still short on supplies use one of your Power nodes to open the door with the radioactive symbol.
In front of the right entrance to the next area there is a Ruby semiconductor. Enter, pull the marker in and activate the console.
Hiding behind the column cut off the tentacles of the two creatures blocking the hatch, then dispose of their children using the line gun. You can use the Store, Save station and the Stasis recharger or just check the nearby lockers. Get through the hatch.
The tunnel has no gravity, so you can just dodge obstacles by jumping around them. On your way through the tunnel you will encounter some necromorphs.

Jump in front of the control panel and use kinesis to flip the switch. There are two crates here as well as a Stasis recharger. Look up and jump back.
Two fans block your way, you will need to slow them down using stasis. You will have to jump under the first one, but you can just run under the other. Leave the tunnel and check the locker to get Large med pack.
Another familiar necromorph will pop up - slow it down with stasis, shoot it in the groin to sewer the limbs from the body. You will get a Power node for killing it. Save the game and get back to the Marker.
Open the bridge, slow it down and move the Marker. Only one more gate left. Activate the terminal.

Repeat the sequence in this room, but look around carefully - there are some lockers here (including a one with the Power Node) and containers.
Before moving the Marker an inch forward restock on ammo by looting the crates, then pull the Marker to the end of the platform killing the enemies on your way.
Once you get to the end of the rail activate the console, watch a brief cut-scene. And leave through the door leading to the shuttle. Watch another cut-scene - that's not the end of your problems.
Heading towards the shuttle check all the lockers (including one with a Power node) and containers. You will also reach a small storage through which you will get to the familiar room with the Upgrade bench, Store and the Save point. One more fight left, so:
Aim for the yellow spots around the mouth. Keep moving, especially when the monster flexes preparing to hit you. At some point you will be grabbed and will have to end the first part of the fight from a rather uncomfortable view.
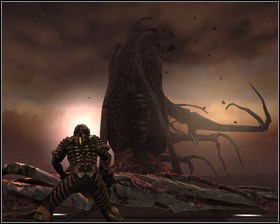
In the second part of the fight aim for the yellow cocoons. Additionally, throw the exploding barrels at it using kinesis. After the last cocoon is gone, the monster will die. Get to the shuttle and watch the final scene.


 DMC: Devil May Cry Game Guide & Walkthrough
 Dying Light Game Guide & Walkthrough
 Devil May Cry 4 Game Guide & Walkthrough
 Dragon Ball: Xenoverse Game Guide & Walkthrough
 Devil May Cry 4 (PC) Game Guide & Walkthrough