

A Dead Space 3 guide includes a detailed walkthrough of completing all 19 campaign chapters, as well as side missions. You'll find here also a list of all hidden items along with their exact locations (they are also mentioned in the descriptive part of chapters, at the place of finding them.
The guide includes:
In this guide following color markings are used:
In addition, three main categories of secrets you can find in the game are also marked with colors:
There are several game side missions, available in co-op mode, where you can also find secrets (artifacts, logs, weapon parts). If you want to complete the game in 100%, you have to play those missions - there is no other possibility to obtain those items while playing in singleplayer mode.
Artur "Arxel" Justynski
Translated by Maciej "Elrond" Myrcha

Move

Quick stasis

RIG

Inventory hotkey

Interact

Missions hotkey

Sprint / Rappel jump

Log database hotkey

Dive roll

Scavenger bots hotkey

Crouch

Cancel (logs/menus)

Punch

Pause menu

Stomp

Navigating in the inventory, etc.

Zero-G jump

Tab left/right

Zero-G align

Share (bench) - only co-op mode

Locator

Construct/sell (bench)

Quick health pack

Aim mode (hold)

Weapon slot

Aim mode (toggle)

Weapon cycle

Reload

TK module

Fire

Stasis gun

Secondary

Zero-G jump


Move

Camera

Crouch (single press)

Sprint / Rappel jump - press
Dive roll - double press.

Stomp

Melee punch (with current weapon)

Locator (hold)

RIG

Interact

Cancel action (logs/menu)

Zero-G jump

Zero-G align

Quick health pack

Recharging stasis

Pause menu

Navigating in the inventory, etc.

Tab left/right

Share (bench) - only co-op mode

Sell (bench)

Aim mode (hold)

Fire (after aiming)

Secondary (after aiming)

Kinesis (after aiming)

Stasis (after aiming)

reload

Weapon slot 1

Weapon slot 2

Weapon slot 3
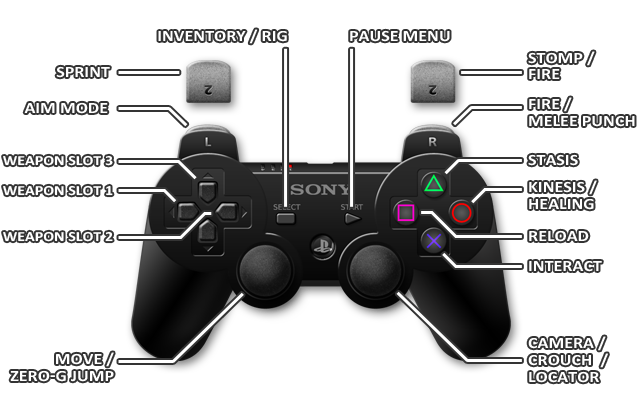

Move

Camera

Crouch (single press)

Sprint / Rappel jump - press
Dive roll - double press.

Stomp

Melee punch (with current weapon)

Locator (hold)

RIG

Interact

Cancel action (logs/menu)

Zero-G jump

Quick health pack

Recharging stasis

Pause menu

Navigating in the inventory, etc.

Share (bench) - only co-op mode

Sell (bench)

Aim mode (hold)

Fire (after aiming)

Secondary (after aiming)

Kinesis (after aiming)

Stasis (after aiming)

Reload

Weapon slot 1

Weapon slot 2

Weapon slot 3

Supplies
Tungsten
Semiconductor
Scrap Metal
Somatic Gel
Transducer
Ration Seals
Weapon Crafting - A system which allows you to create a weapon from scratch, using available resources - both collected during the game and created from other resources.
Blueprints - These allows you to craft a weapon based on "recipes" collected in the game.
Weapon Upgrades - Allows you to increase weapon damage, decrease reloading time, increase ammo clip capacity and rate of fire. Depending on the frame you use, you can unlock up to 4 slots for tools (upper/lower). Unlocking the slot costs 20 tungsten.
Craft Items - There are several basic items which can be crafted - in pure survival mode you can only get supplies by crafting them.
Safe - Holds up to 25 items - suitable for storage of extra ammo or med kits which will be definitely useful when playing in survival modes.
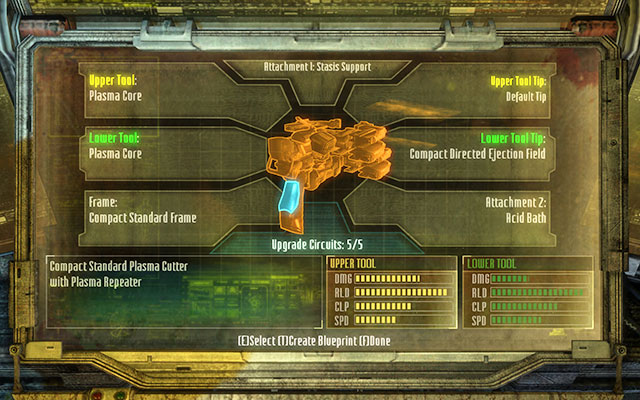
Frame - It is the basis of any weapon. Defines how many upgrades can be attached to the weapon as well as whether the weapon has one or two modes of fire.
Upper Tool - The basic fire mode, each weapon has an upper tool.
Lower Tool - Alternate fire mode - depends on frame.
Upper/Lower Tool Tip - Defines the style of the various modes of fire, resulting in the increase of selected statistics.
Attachment 1/2 - Allow attaching to the weapon such things like sight, additional damage from acid/electricity, auto-reload and many more, including those which affect your partner in co-op mode.
Upgrade Circuits - Upgrades have an impact on one or two factors which allow increasing damage, decrease reloading time, increasing ammo clip capacity or rate of fire; some upgrades have a positive impact on one factor but a negative impact on another; the cost of purchasing new slot is 20 tungsten.
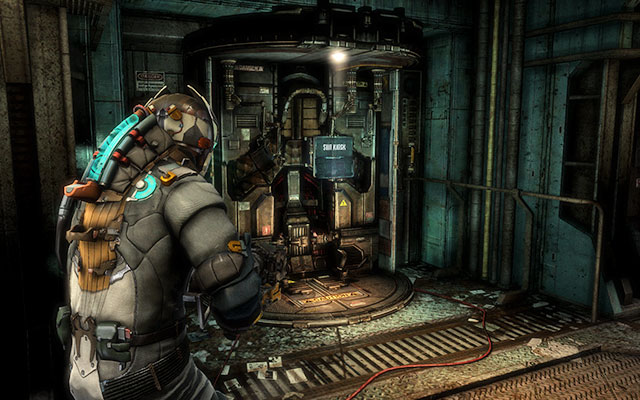
There are several suits in the game, which can be unlocked automatically during the gameplay and also get after fulfilling appropriate conditions. A detailed description can be found in the below table. However, it is worth noting that suits have only visual effect and do not affect your statistics - the exception is the initial suit, which is not resistant to low temperatures.
SUIT
HOW TO GET
EVA Suit
Automatically in: Chapter 3
Arctic Survival Suit
Automatically in: Chapter 8
Archaeologist Suit
Automatically in: Chapter 11
Legionary Suit
Automatically in: Chapter 14
Elite Suit
Automatically in: Chapter 16
Engineering Suit
You'll get it after finishing the game on any difficulty mode.
Hostile Environment Suit
You'll get it after completing all side missions (also co-op missions).
Deep Dig Suit
You'll get it after collecting all Weapon Parts.
Flight Suit
You'll get it after collecting all Artifacts: EarthGov, Unitology, S.C.A.F., Alien;
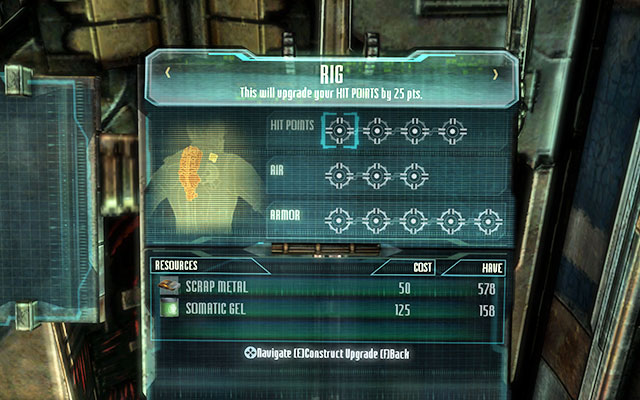
Suit upgrade tree is common for all, which means that when you change the suit, you keep all upgrades. Armor development is divided in three categories, within which you can develop the following statistics: RIG (health, armor, air), Stasis (energy, duration, recharge), Kinesis (damage, range). More detailed information can be found in tables below. Each level increases statistics with same value.
Supplies:
Scrap metal;
Somatic gel;
Tungsten;
Semiconductor;
Transducer;
Upgrade
HIT POINTS
+25ppoints
AIR
+60 seconds
ARMOR
+5%
Level 1
50x scrap metal
125x somatic gel
200x scrap metal
125x semiconductor
Level 2
5x tungsten
250x scrap metal
250x somatic gel
250x scrap metal
250x semiconductor
100x scrap metal
Level 3
25x tungsten
500x scrap metal
500x somatic gel
300x scrap metal
25x tungsten
500x semiconductor
200x scrap metal
Level 4
100x tungsten
1000x scrap metal
1000x somatic gel
40x tungsten
750x semiconductor
300x scrap metal
Level 5
65x tungsten
1000x semiconductor
400x scrap metal
Upgrade
ENERGY
+1
DURATION
+2points
RECHARGE
-10 seconds
Level 1
25x tungsten
250x scrap metal
250x transducer
125x transducer
300x scrap metal
150x transducer
Level 2
50x tungsten
500x scrap metal
500x transducer
50x semiconductor
225x transducer
50x tungsten
600x scrap metal
200x transducer
Level 3
50x tungsten
80x semiconductor
325x transducer
Level 4
75x tungsten
100x semiconductor
425x transducer
Upgrade
DAMAGE
+20%
RANGE
+2points
Level 1
100x scrap metal
25x scrap metal
Level 2
25x semiconductor
200x scrap metal
100x transducer
5x tungsten
50x scrap metal
Level 3
50x semiconductor
300x scrap metal
200x transducer
10x tungsten
75x scrap metal
Level 4
75x semiconductor
400x scrap metal
300x transducer
15x tungsten
100x scrap metal
Level 5
100x semiconductor
500x scrap metal
400x transducer
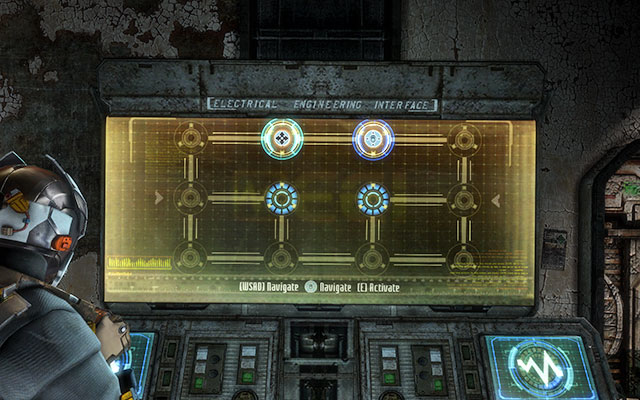
Hacking electrical interface is not a difficult task if you play with your partner. The task is to put two rings in given places within a limited time. Each ring is connected in a given way and you can move only on designed routes. When you play alone, you have to arrange both rings - it is not a problem with initial interfaces but later the connections are very different, often asymmetric, making it harder to focus on both rings at the same time.
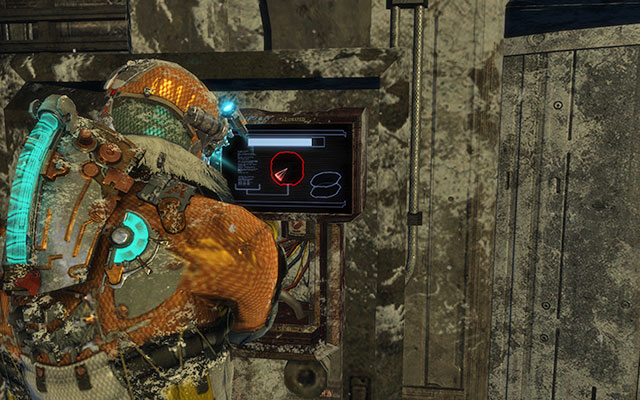
A seemingly easy task, where you have to locate three places on radar which are blue. In each stage there are three places on radar - two red and one blue. But there are two difficulties - time and narrower "triangles" which you have to locate. When you find one of places, you have to wait a while to see its color which also makes it difficult to solve the puzzle by taking the valuable time. If you hit the red dot twice do not waste your time at the third place to see the color - just press the button.
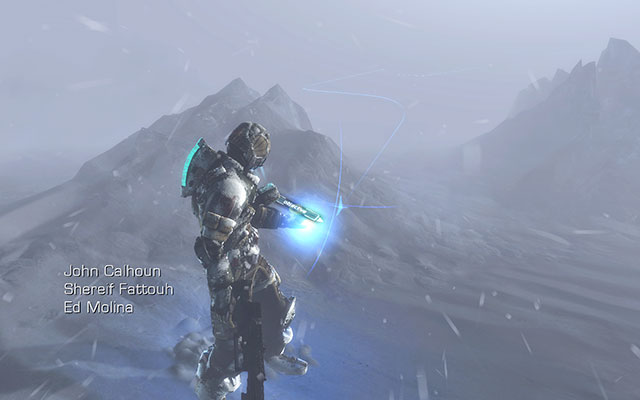
Before you enter a proper gameplay, you can get to know a summary of previous parts of the series. After a brief introductory cutscene you'll take control of the main character. Press and hold locator key to display a path leading to the mission goal. It is hard to determine the reference point because of the blizzard, so start the mentioned system and head to the designated direction.
S.C.A.F. Artifacts 1/1 - Right after starting the game, turn to the left and move along the hill until you come across the artifact.
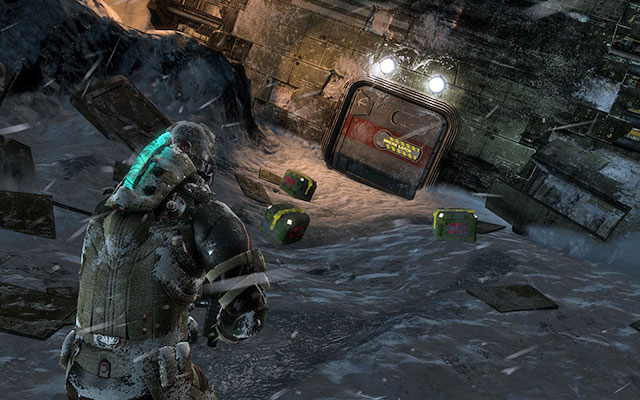
After a short walk almost blindly, you'll get out of the blizzard (you'll run a bit faster). You should see a huge ship wreck. Right in front of the entrance gate you'll find three supply crates on the ground. Such crates can be destroyed by shooting them with any weapon for example, but a better idea is to crush them (a default key for such action will be shown on the screen when you come across the crate for a first time). Inside crates you'll find ammo - pick it up and reload your weapon.
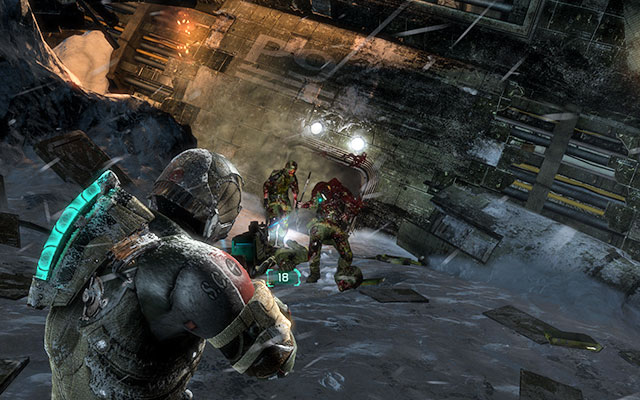
In order to shoot, you have to aim first (if you press shoot key without aiming, you'll perform a melee attack with your current weapon). Shoot down the door panel blockade (Break Latch sign) and open the gate. Once you do this, two Necromorphs will come out running towards you. A headshot or shooting off one of their limbs won't eliminate them immediately (they will crawl towards you if you shoot of their leg(s)).
Tip: Always try to stomp opponents' corpses, because they can drop ammo or weapon part then.
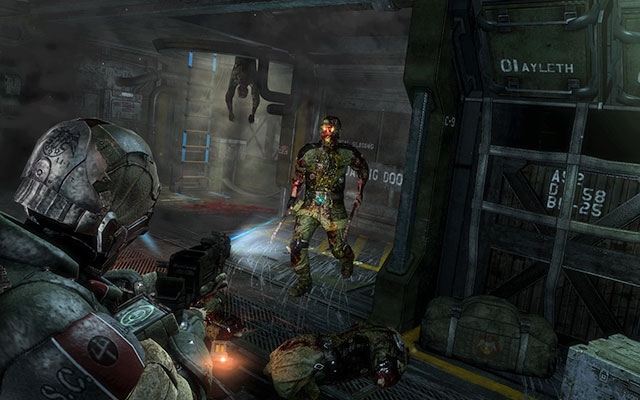
Go inside the ship. Right after that you'll come across four new Necromorphs - pay special attention to the one, who lurks behind one of walls. After clearing the level climb up the ladder to the upper floor.
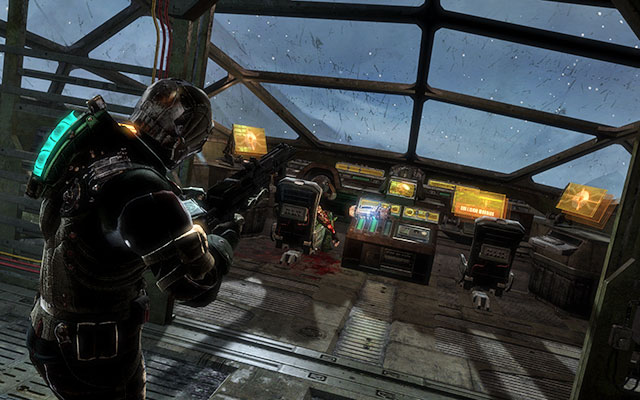
You'll encounter a cockpit here. Use one of two panels in order to open gate blocking the way and pick up the mysterious item, for which you came here [Codex]. A cutscene will start automatically.
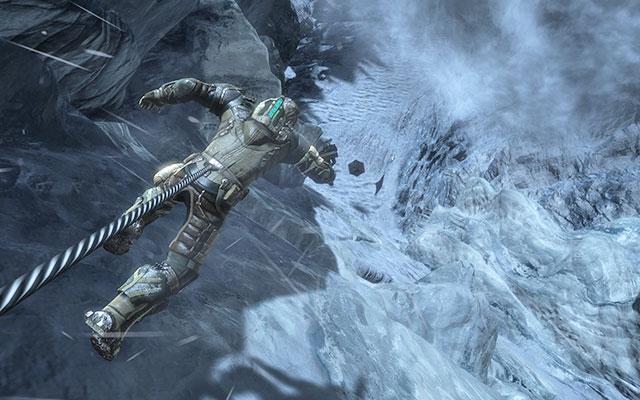
After a moment you'll find yourself outside the ship, rappelling down the hill. Head forwards, jumping over crevasses by pressing run key (by default). Try to watch out for ship parts, which might hit you from behind. Once you get to the bottom, the entire ship will start falling towards you.
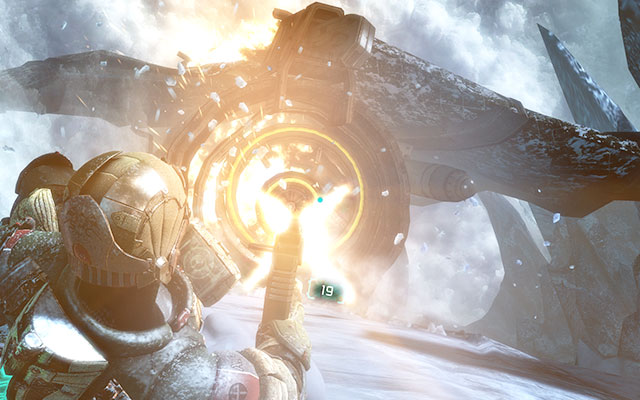
You will start sliding on your back, while parts of damaged ship will be moving towards you. First of all you have to watch out for a huge engine, which can be destroyed by shooting at it. You can also avoid it by rolling to the very left. Once you destroyed the engine, slide through the hole by maneuvering your hero appropriately. Another cutscene will start, ending the prologue.
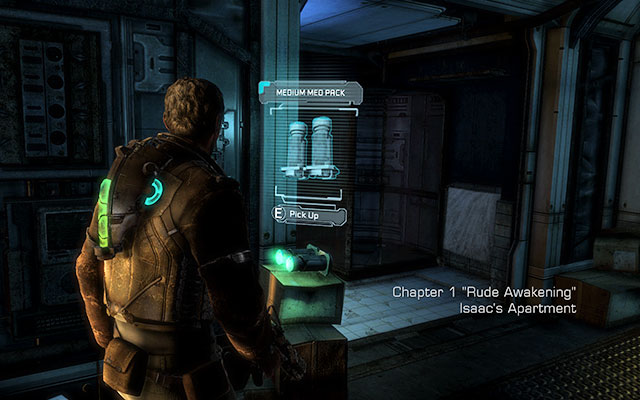
The action will move about 200 years to the future and you'll advance to the proper gameplay - you'll take control over Isaac Clarke. After beginning cutscene, pick up medium med pack lying on boxes and use it.
Audio Logs 1/1 - you'll find it on the desk on the right, inside the room where you start the gameplay.
Text Logs 1/1 - it lies on the table inside the room where you start the gameplay.
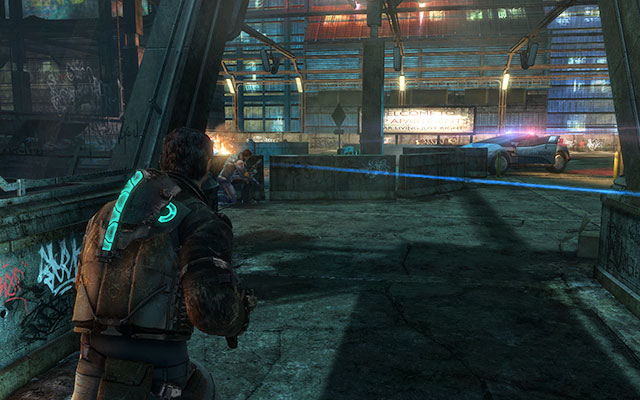
Leave the room and go to the left. Go down the stairs and cross the red gate - you'll find yourself outside. Run towards the gate, where you've EarthGov soldiers are standing. Once they open the gate, crouch and move towards the vehicle on the right. Do not worry about enemies. When you reach the car, a cutscene begins.
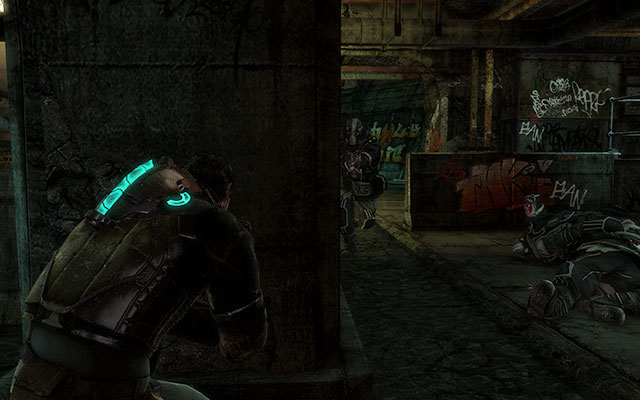
Ground will collapse under you. When you stand up, quickly run straight ahead, to avoid grenades thrown from above. Cover behind the pillar and eliminate Unitologists one by one - you have to get rid of four enemies in total. Pick up ammo and do not forget to examine all opponents' bodies.
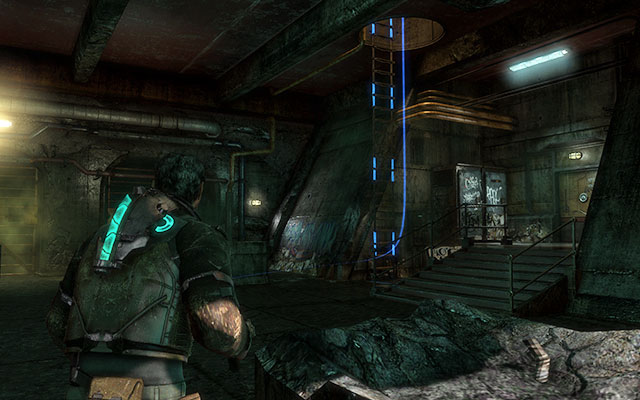
A bit further a Unitologist-suicide grenadier will come up running towards you. Try to eliminate him before he gets close to you and detonate his explosives. After killing him move ahead. You should find a ladder - climb it up.
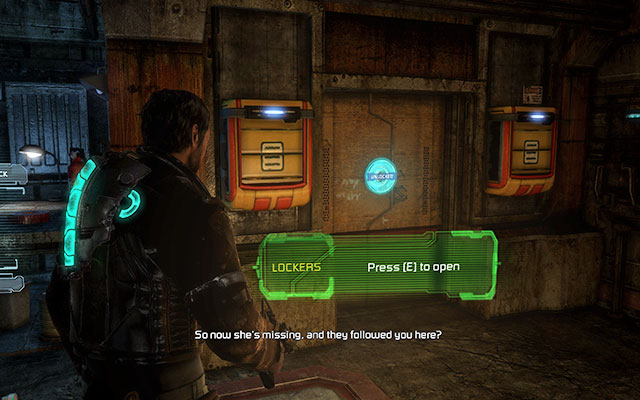
Before you leave the room, look around carefully - you'll find here two ammo crates and locker with med pack and stasis. Unfortunately, you can't use the bench yet. Once you are ready, leave the room crossing the two pairs of gates.
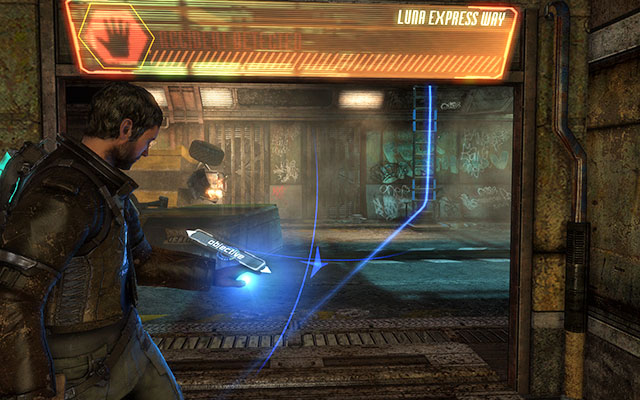
You'll find yourself on the street, where you'll see a woman being killed. Watch out, because right behind the corner two Unitologists are waiting for you - one is located on the balcony. You'll reach a highway full of running cars. Aim your weapon and use stasis to cause an accident. Now you can safely get to the other side, where you'll find a ladder.
EarthGov Artifacts 1/1 - After causing the accident on the highway, go around the car on the left - in a distance you should see an artifact lying in the corner.
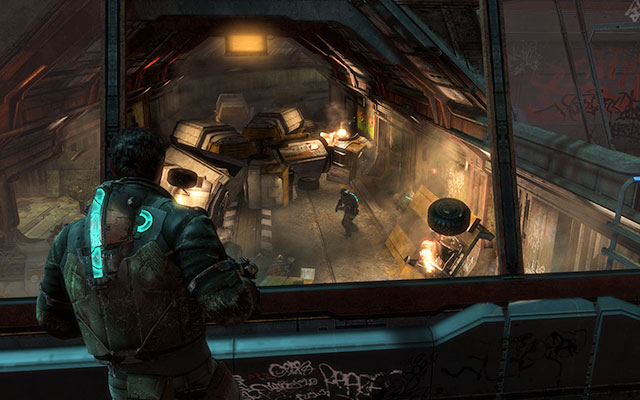
Once you get up, two Unitologists will attack you. You can get rid of them or just ignore them. Before you cross an active gate, it would be good to move to the door on the other side - you can find there a crate and two lockers. On your way back, two new Unitologists will appear downstairs.
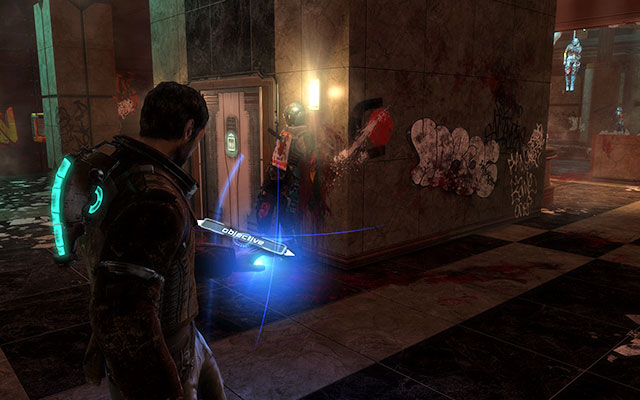
Go along the corridor and pass another gate - you'll find yourself in a large chamber full of corpses. Move ahead - regardless if you go right or left, you'll reach the elevator. Do not forget to explore four lockers near walls. Enter the elevator and ride it up.
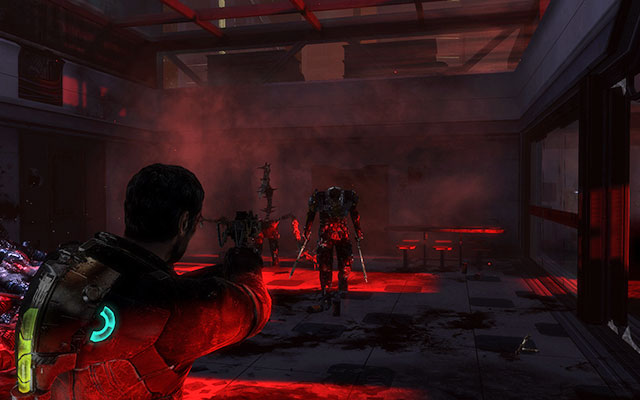
After a short cutscene you'll find yourself in a small trap - few Necromorphs will attack you after few seconds. Pick up med kits lying on the ground and heal yourself. Get rid of monsters, check the lockers and leave the room.
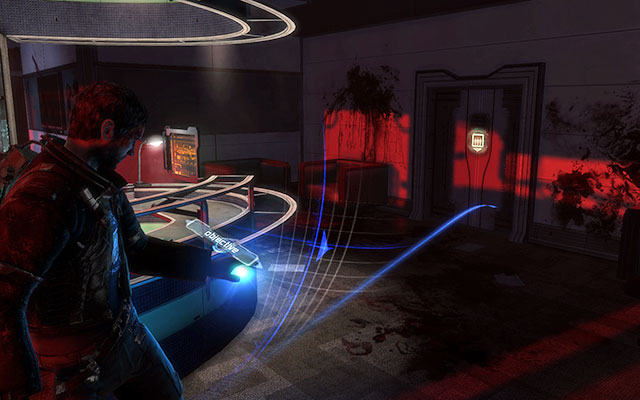
Go through a short corridor - you'll find yourself in the next room, where another wave of Necromorphs will attack you. There are more of them than the last time, so try to eliminate them from a distance. After eliminating them and checking all lockers, go to the elevator. Ride it down.
Unitology Artifacts 1/1 - Right after leaving the elevator, next to the table on the right.
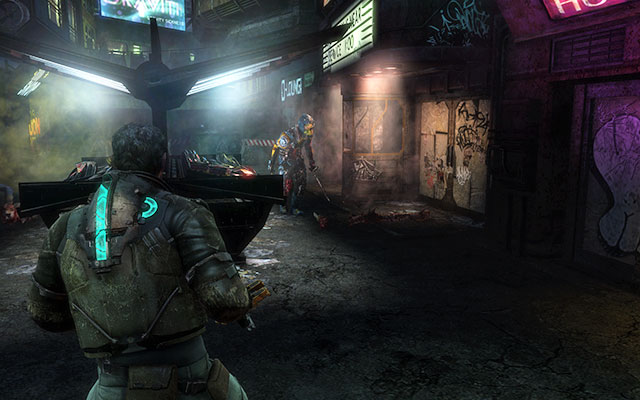
After leaving the elevator, go straight ahead - the only possible way leads through the door on the right. Cross the gift shop and leave it on the other side. After few steps a large group of Necromorphs will attack you. A fight might be difficult due to a small area. Once you deal with all monsters, keep going, heading towards the subway.
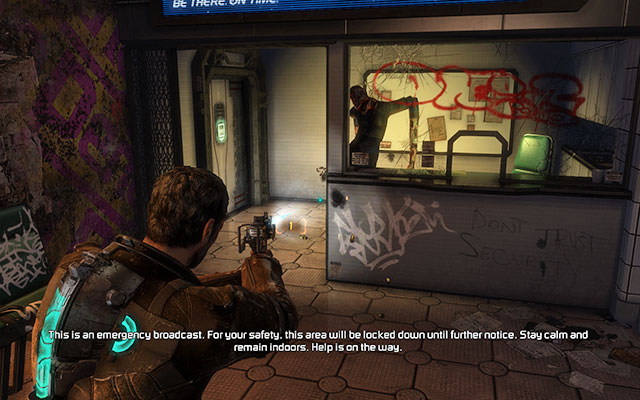
Kill two Necromorphs lurking downstairs - one is waiting at grates and another will jump on you near the elevator. Call the elevator and ride it down.
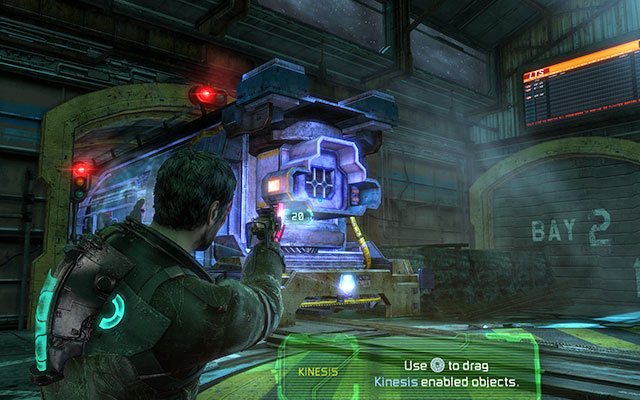
Your next objective is assembling the train. Use kinesis - drag the train engine to the end of the platform. Once it gets to the proper position, it will spin automatically. Now move the train engine forwards. The platform will spin again. Do the same trick with a train car - move it to the end of the platform with kinesis.
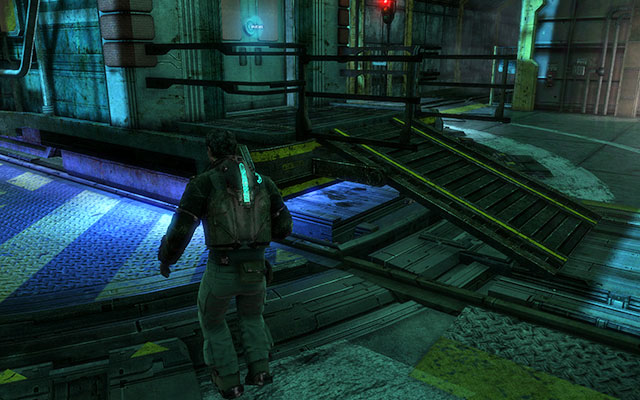
After assembling both fragments, the train will move and only the last train car will stop at the platform. You can board it but make it quick because Unitologists started getting through one of entrances.
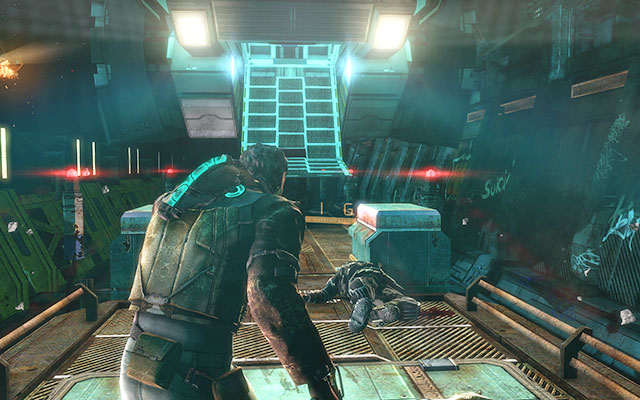
Listen to the message and wait until a passage on the other side gets unlocked. Move ahead, eliminating Unitologists along your way. Once you get to the front of the train and killing two last enemies, quickly run towards the ship until it flies away.
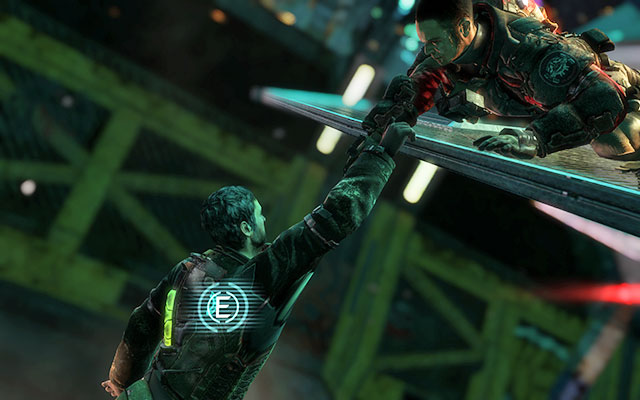
Try also not to fall down from the edge by pressing the appropriate key.
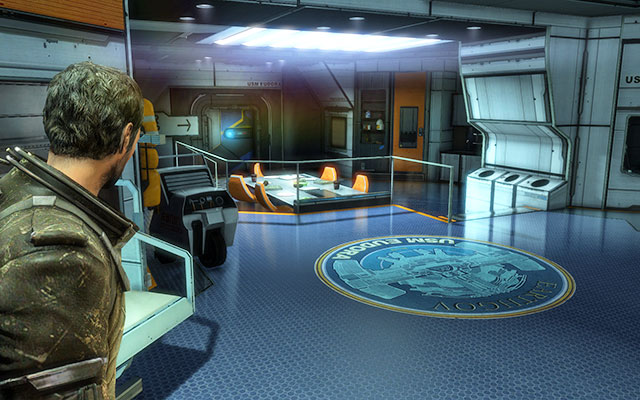
Before you leave the room, look around for ammo and med kits. Once you're ready, head to the only door here.
Audio Logs 1/1 - Near beds in the room, where you start this chapter.
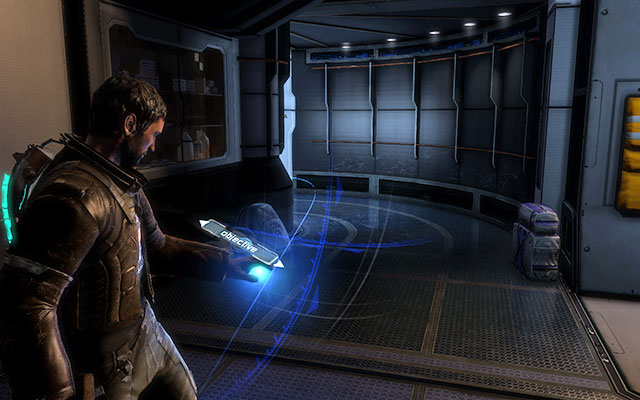
Cross the bath and go down the stairs. Clear all lockers and head to the next, only open door. You'll find yourself on the fork - accordingly to the locator, you should go left. After a while you'll reach the bridge with Captain Norton.
EarthGov Artifacts 1/1 - While on the fork, turn right. The artifact can be found at the end of the corridor.
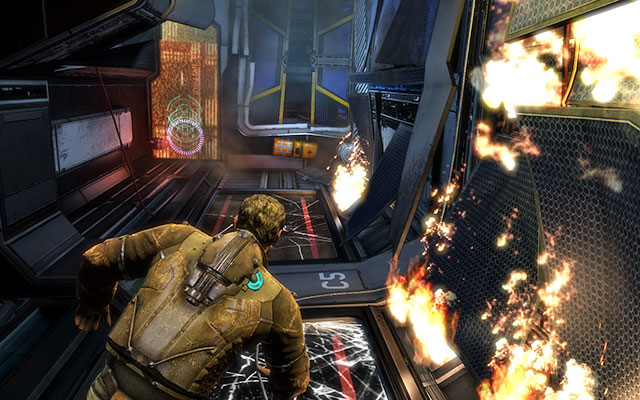
After the cutscene you'll have to reach a suit. The way there is not easy - at the beginning the gravity starts to go crazy and you'll have to go over windows (do not worry, they won't break).
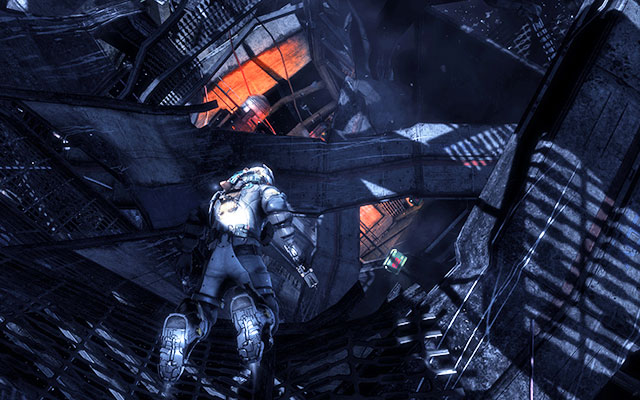
You'll find yourself in zero gravity - at the beginning controlling the flight might be problematic, so it is useful sometimes to use the key which rotates you to correct "vertical". Fly straight ahead, remembering about destroying crates and collecting ammo and other useful things.
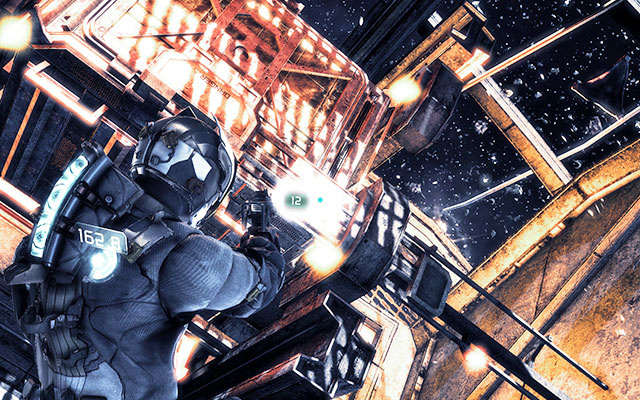
Finally you'll reach an emergency room, which has to be unlocked. Use kinesis to unlock both clamps and the activate evacuation. The room will launch but unfortunately you won't be able to keep up and you have to follow it right now.
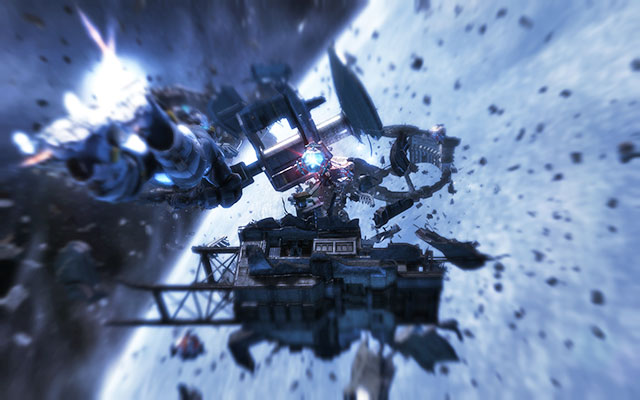
Along your way you'll come across both mines and drifting ship debris. Mines can be easily destroyed by shooting them, which is of course the best solution. Finally you'll manage to catch up with your companions, who were drifting all the time with emergency room.
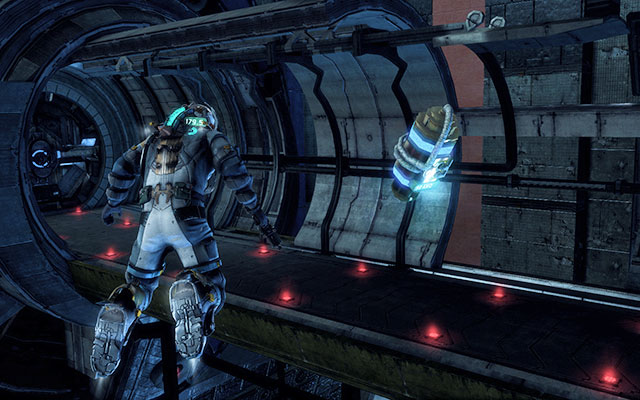
When you get closer to your companions, you'll learn that the entrance the emergency room can fit in is closed. Quickly move towards the second entrance (next to it you can encounter an oxygen container, which should be used if suit oxygen level is low). Land by switching off zero gravity and use kinesis to open the gate. Now you can get inside.
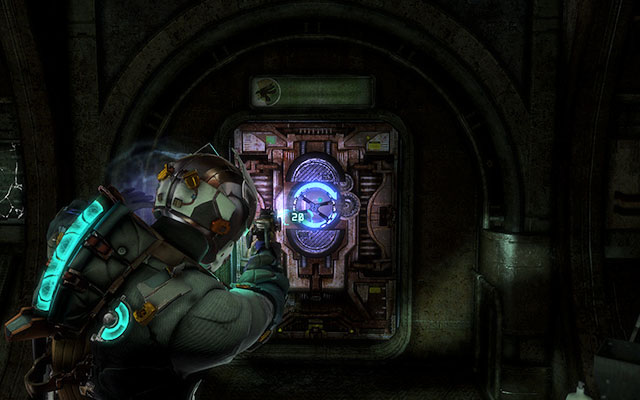
Wait until the air level gets to normal and go through the next door. Turn left, where you'll find the only passage available for now. Open it the same way as previously, by using kinesis.
Weapon Parts 1/2 - Next to the closed door on the left side of the corridor leading from the entrance to the ship.
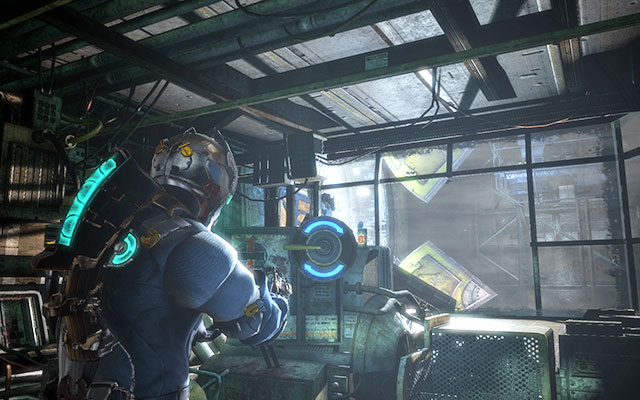
Inside you'll find the lever which opens the cargo door, letting in the emergency module from the outside. The lever is activated with kinesis. Wait until you companions get inside.
After a while you'll get a message, that second door is unlocked from the other side. Leave this room and cross the gate on the left - it should be active. Wait for further instructions.
Weapon Parts 2/2 - In front of the large exit gate from the cargo room.
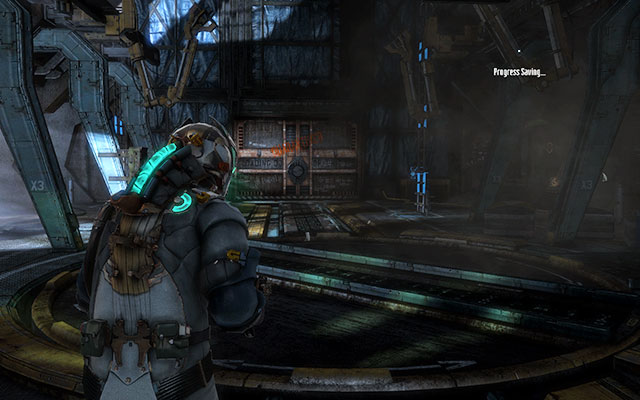
Before you continue exploration, it would be worth to climb up the ladder to the catwalk - you'll find there two crates. Now open the large gate and move through the short corridor to another gate - open it too. You'll find yourself inside a huge chamber.
Upgrade Circuits 1/2 - After entering the huge chamber, turn right - there is a locker on the wall with an upgrade inside.
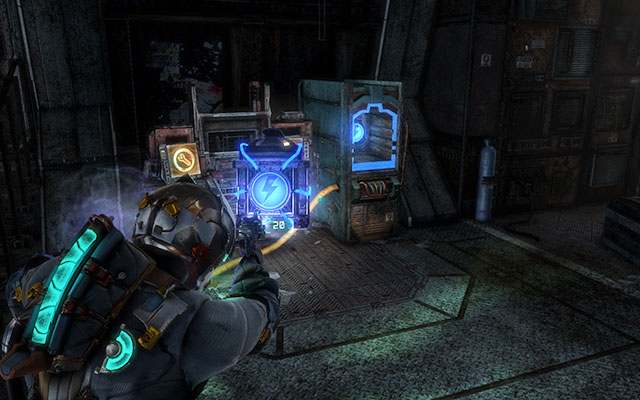
Climb up the ladder to find two crates. Get down and look for a power core lying on the table - it must be places in the slot next to the bench. Use kinesis to manipulate a core.
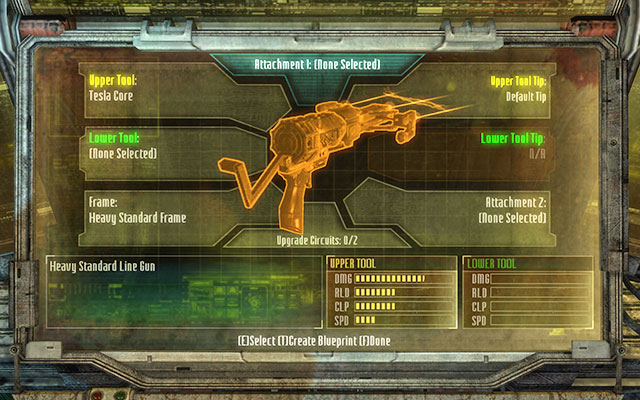
After activating the bench, you'll obtain a side mission to build or upgrade a weapon.
A detailed description of how the bench works can be found in a relevant chapter of this guide.
If you were picking up all parts, you are able to build a weapon now. Select weapon crafting option and then build new weapon. There are two main stages now: selecting a frame (Heavy Standard Frame) and an upper tool (Tesla Core). The base of the weapon is created now. Accept your choice and the weapon will be moved to the safe (you can switch it with any weapons you currently have).
You can also add any attachments to your weapons, if you have any.
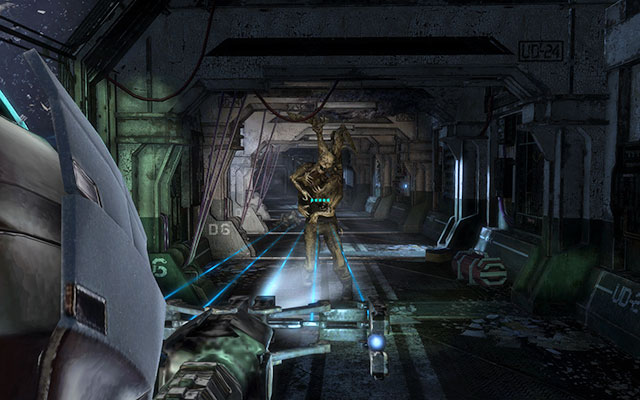
Once you are ready, open the large gate with "Quarantined" sign on it. Go through several empty rooms until you get to the long corridor, where few Necromorphs will attack you.
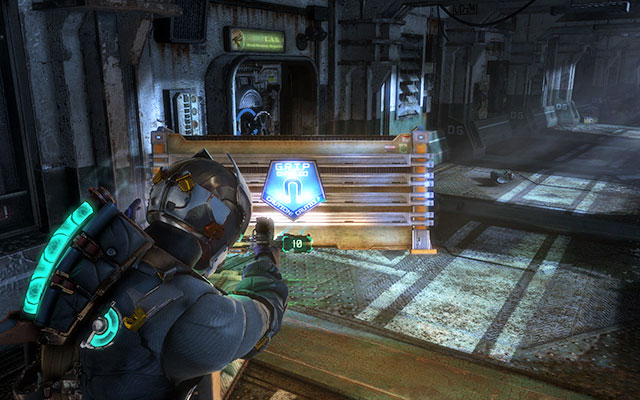
Empty all lockers on the corridor and go to its other side. You'll come across a crate blocking a passage - use kinesis to lift it up and move it. Go through the unlocked door.
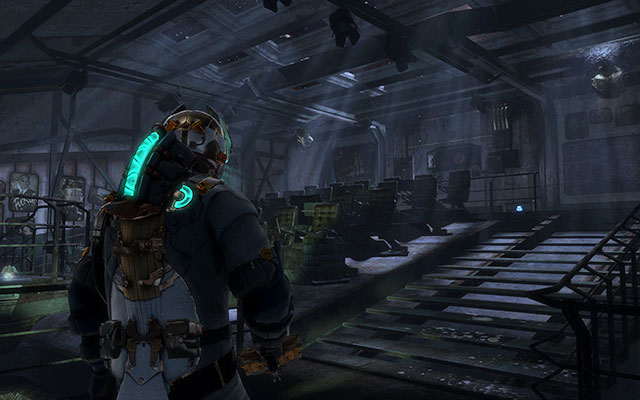
You'll find yourself in a room looking like a small theater. There are two Necromorphs hanging from the ceiling - eliminate them from a distance. Once you start the attack, one more creature will come out running from the other entrance. Clear the room and exit it from the other side.
S.C.A.F. Artifacts 1/1 - In the theater room, in front of the screen on the ground.
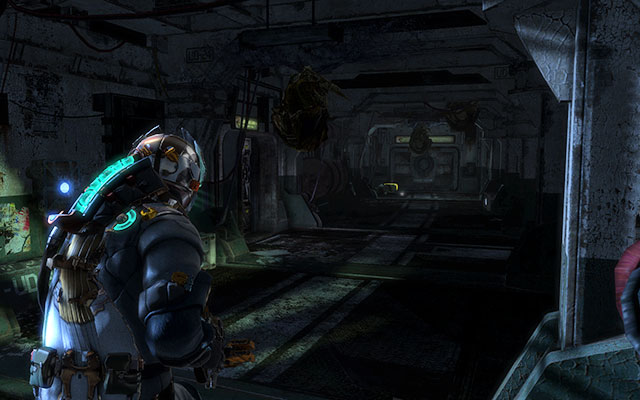
You'll find yourself in a corridor again. Turn right, exterminating three Necromorphs encountered there, hanging from the ceiling. Examine all crates and lockers in the corridor and go through the only unlocked door.
Upgrade Circuits 2/2 - In the locker at the end of the corridor, on the right side.
Text Logs 1/2 - At the end of the corridor, next to the corpse and a crate.
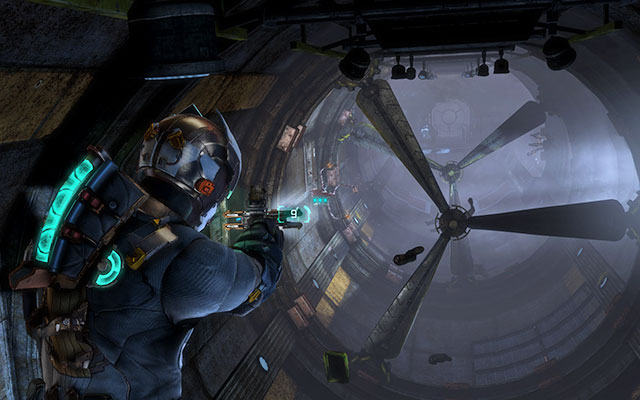
Go down the ladder and open the next gate. You'll find yourself in the chamber with zero gravity. Start drifting forwards, eliminating three Necromorphs along your way - try to shoot off their tentacles, so they won't be able to attack you anymore. Do not forget about smashing crates and pick up crafting.
Text Logs 2/2 - Inside a room with a ladder leading up.
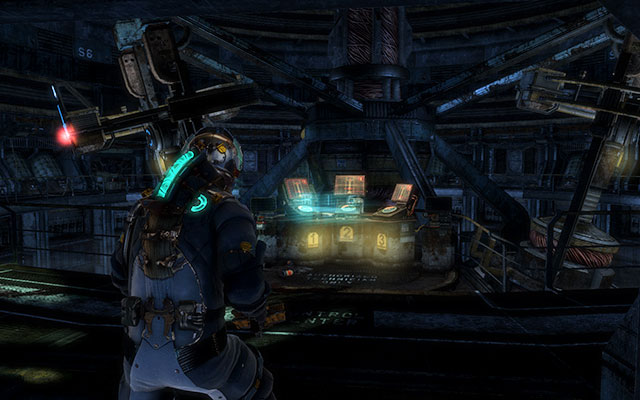
After getting to the other side, land and replenish stasis (if needed). Go through the door and then climb up the ladder. You'll get to the large chamber with a generator.
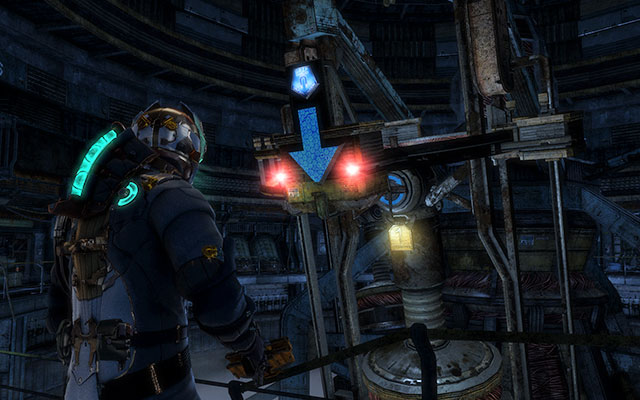
There are three large mechanisms around the generator. First you have to move the rings down by using kinesis and then activate each generator to turn circular arrows over them (also use kinesis).
Do the same actions with each part. After starting the first and the third generator, you'll be attacked by a wave of Necromorphs.
Finally you have to activate the generator. Approach three consoles and press Activate button. Once you are done and the power in the ship is restored, go to the elevator and ride it down.

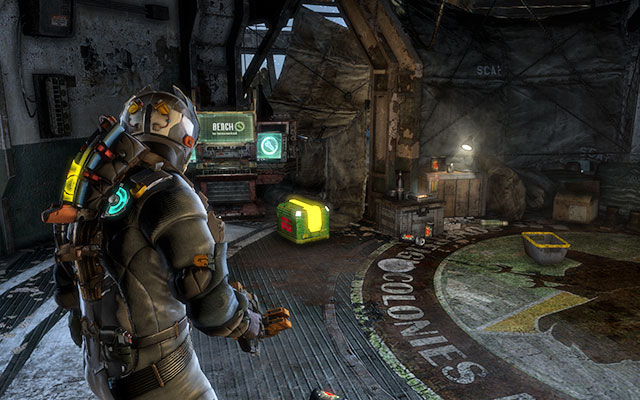
Before you leave the room and go to the elevator, look around carefully - you can find here several crates with ammo, met kits and crafting parts. In addition there is also a workbench, where you can store previously obtained elements and upgrade your weapons.
Text Logs 1/5 - On the box, next to the workbench.
Weapon Parts 1/12 - Between boxes on the right, next to metal pillars.
Upgrade Circuits 1/7 - In the tent - you have to use kinesis to pull the upgrade towards you.
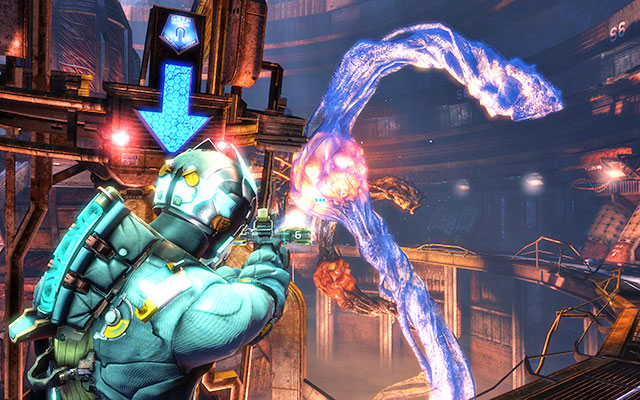
Take the elevator and ride it down. You'll get again to the generator chamber and you have to activate it once again. This time, in addition to standard Necromorphs, you'll have to find with a huge tentacles. Use stasis to slow them down and then shoot the off, so they won't be able to attack you again.
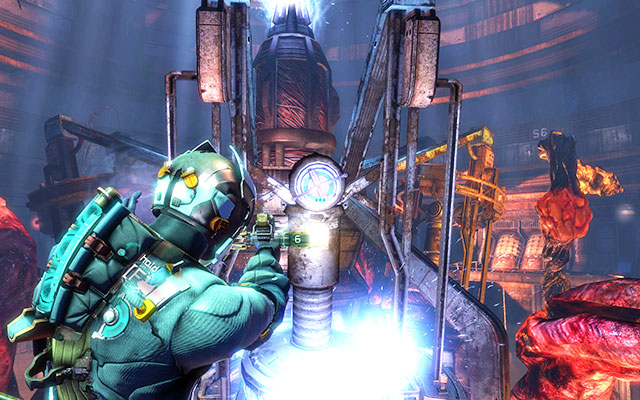
Activate the generator the same way as you did it previously - use kinesis on the rings to lower them and then turn the valve. Keep moving forwards until you get rid of the monster and activate the generator.
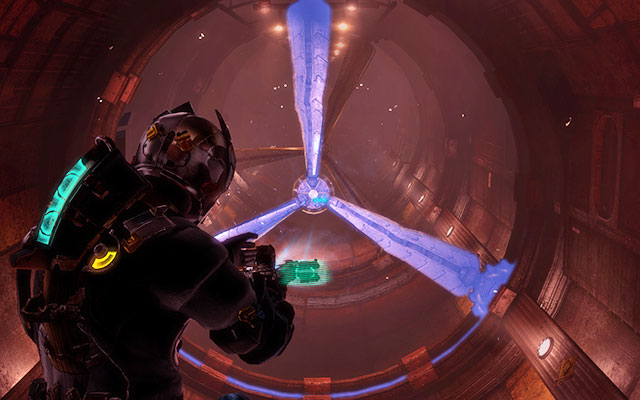
Go through the door and climb down the ladder - you'll find yourself in the zero gravity room. Before you move towards huge fans, replenish your stasis. Use it to slow down fans, so you can safely fly through them. Do not forget about destroying drifting crates.
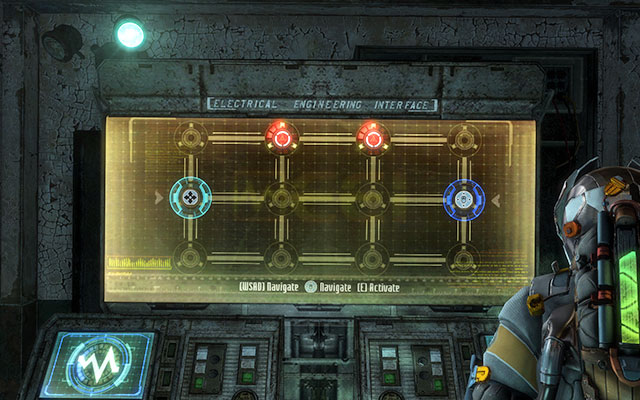
After getting to the other side, leave the room and climb up the ladder. You'll find yourself in a corridor. Eliminate Necromorphs lurking there and go to the interface next to blocked door. Your task is to manipulate two circles so they go to the proper positions - after that activate them. Repeat those actions until the passage is unlocked.
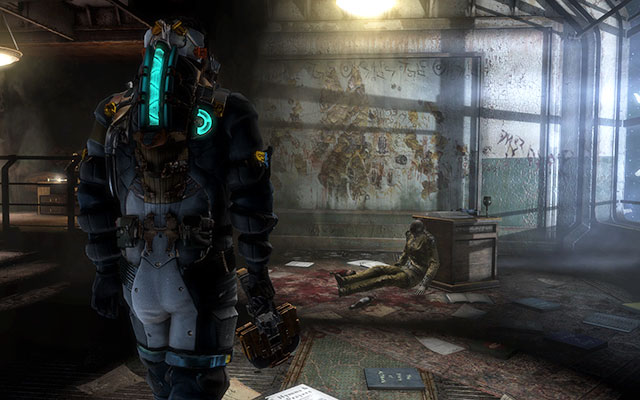
Take an elevator and ride it up. You'll find yourself in admiral's quarters - wait until the cutscene ends.
EarthGov Artifacts 1/2 - Next to the crate in the admiral's quarters.
Audio Logs 1/3 - On the shelf in the admiral's quarters.
Text Logs 1/5 - On the table in the admiral's quarters.
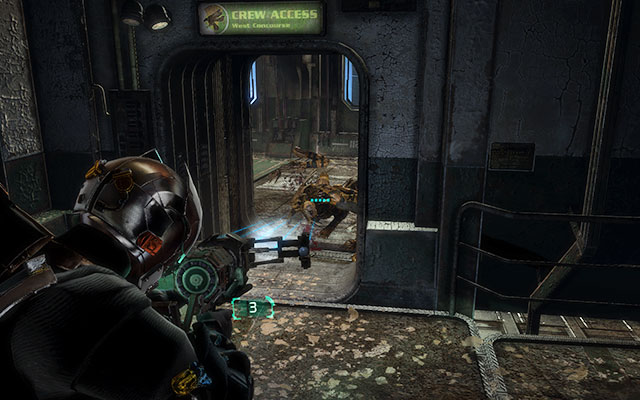
Return to the elevator and get back to the corridor. Follow your target towards the door leading to the theater room - this time it is empty. After getting to the other exit you'll be welcomed by a Necromorph.
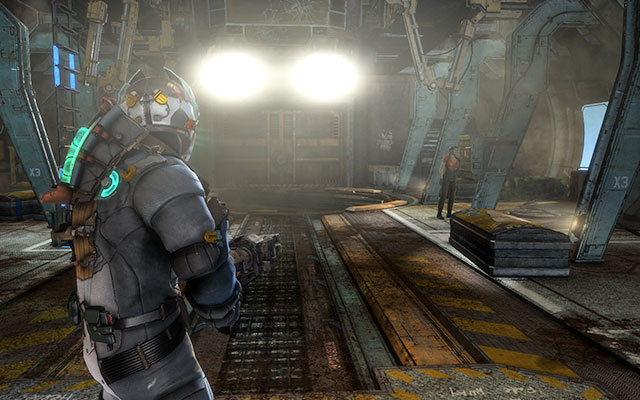
Go to the end of the corridor and then pass the door in front of you. You'll regroup with a crew in a huge chamber. You can find there a workbench, so before you continue, it would be good to upgrade weapons for example or store weapon parts obtained previously.
Blueprints 1/1 - Go through the door on the right before you regroup with the crew. A blueprint lies on the ground inside a storage room.
Upgrade Circuits 2/7 - Go through the door on the right before you regroup with the crew. An upgrade can be found in the locker on the left inside a storage room.
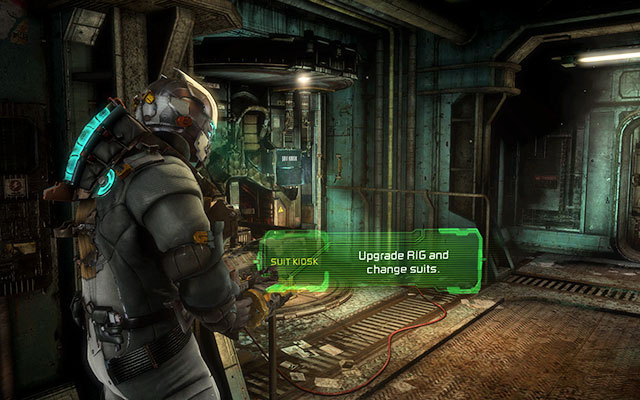
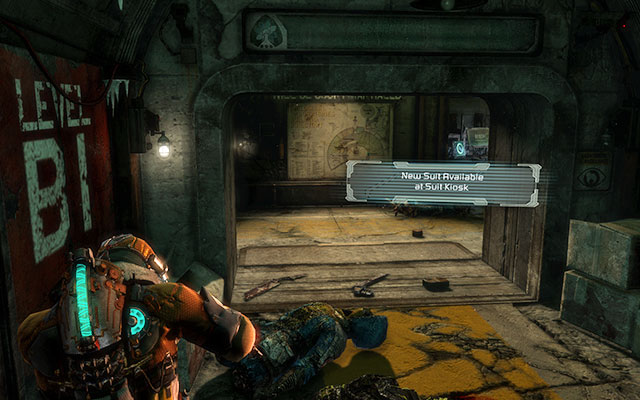
On your way to the exit you'll pass by a suit kiosk, where you can change your suit or upgrade it, if you have needed parts.
Side missions: When you go outside, you'll be able to start side missions [C.M.S. Greely] and [C.M.S. Brusilov]. In order to start them, go to the proper ship by using a transport ship.
Technical note: Side mission C.M.S. Brusilov is available only in co-op mode.
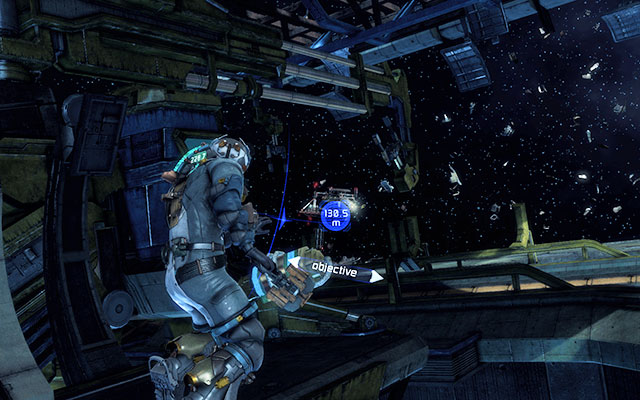
Once you go into space, you'll get a message about drifting oxygen containers - keep monitoring you oxygen level. If it gets too low, use kinesis to pull the container towards you and replenish the oxygen. Some of containers are kept inside ships - you have to destroy the shield first, so the container will fly out. Head towards the transport ship.
S.C.A.F. Artifacts 1/3 - Fly straight ahead. When you come across a recess under you, you should be able to see the artifact.
Weapon Parts 2/12 - Fly around the ship, from which you have to go to the transport ship and move straight ahead. The part can be found in one of cargo bays.
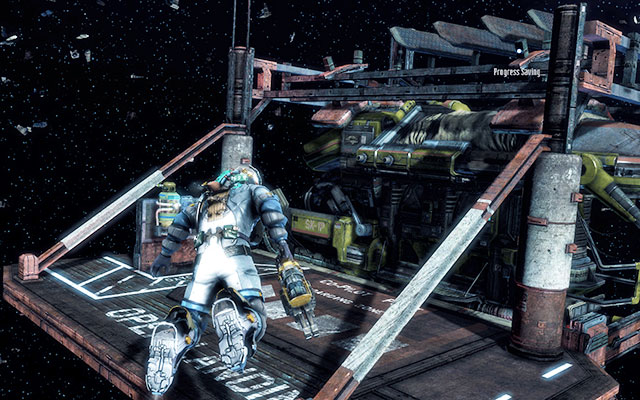
Once you get to the destination, you can replenish oxygen, although it is not required, because after entering the transport ship you'll be able to breathe normally. Go to the panel and select C.M.S. Terra Nova.
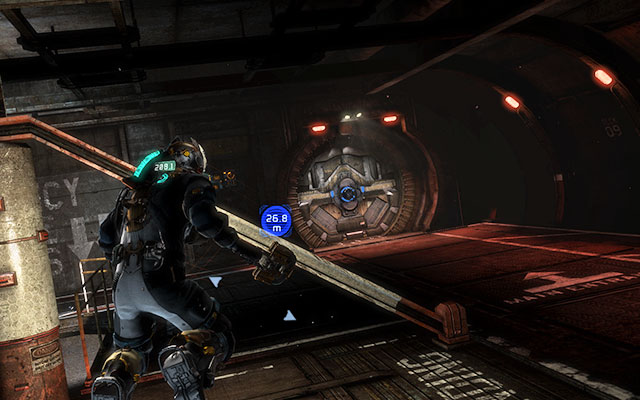
Once you get there, leave the transport ship and go through the only available gate, where you'll finish this chapter.
Upgrade Circuit 7/7 - Once you get to the ship, leave it through the emergency exit. Fly straight ahead and go around the ship part in front of you. You should see a crate there - inside it you can find the upgrade.
Weapon Parts 12/12 - Once you get to the ship, leave it through the emergency exit. Fly straight ahead and go around the ship part in front of you. You should see a crate there - inside it you can find the weapon part.
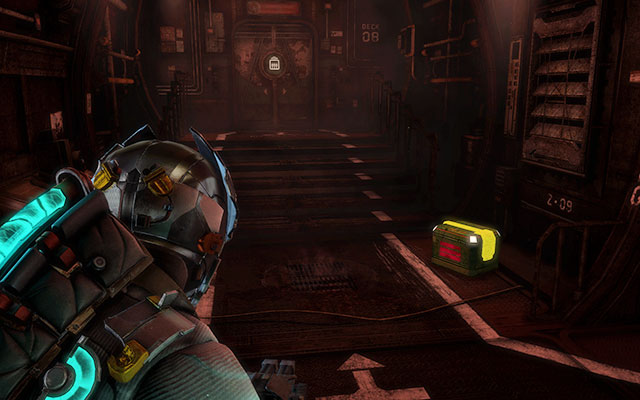
After leaving the transport ship, go to the entrance to Terra Nova. In the corridor on the right you can come across the suit kiosk and a bit further you'll find the elevator. Take it to the second floor.
Weapon Parts 1/6 - On the right in a vent chamber.
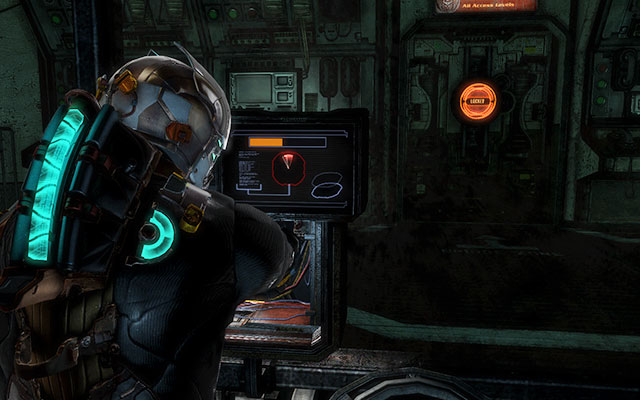
After a short walk, you'll find yourself on the completely ruined bridge. Turn right and go to the other part, where you can find an interface panel. In order to activate the system, you have to hack a small module. Your task is to locate three weak points marked in blue.
Audio Logs 1/4 - After getting to the bridge, on the right.
SCAF Artifacts 1/3 - After getting to the bridge, right next to the pilot seat on the right.
Upgrade Circuits 1/6 - In the wall locker on the left - turn right twice after getting to the bridge.
Text Logs 1/5 - In the other part of the bridge, next to the interface.
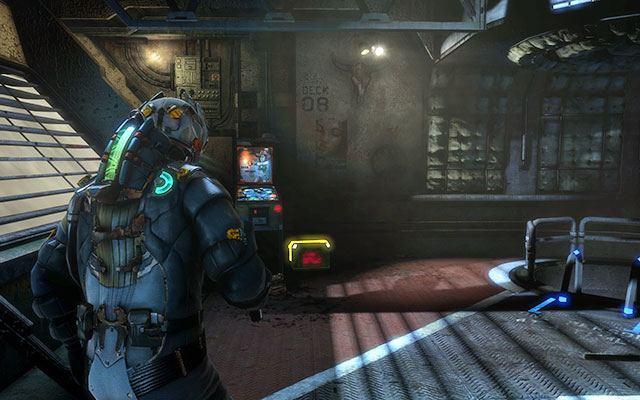
Your current target is Aft Station. But first you have to find a tram station room. Leave the bridge through the newly unlocked door. Go through the corridor until you reach a room with a ladder and pinball machine.
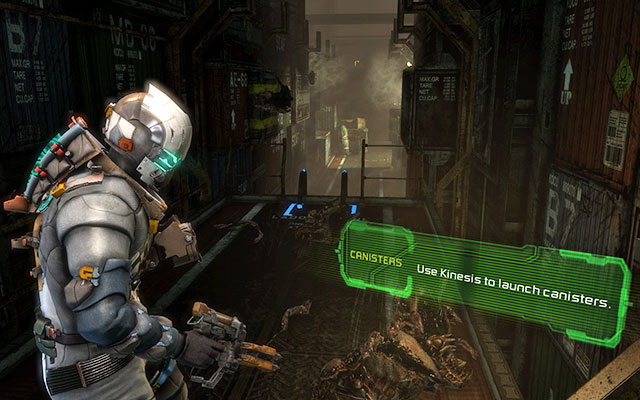
Go down and then turn left on the fork. You'll find yourself in a large hall full of containers and Necromorphs. Start exterminating enemies, while moving ahead with the only possible way. Use kinesis to pull supply crates from unreachable places.
Weapon Parts 2/6 - After climbing down the ladder turn right on the fork.
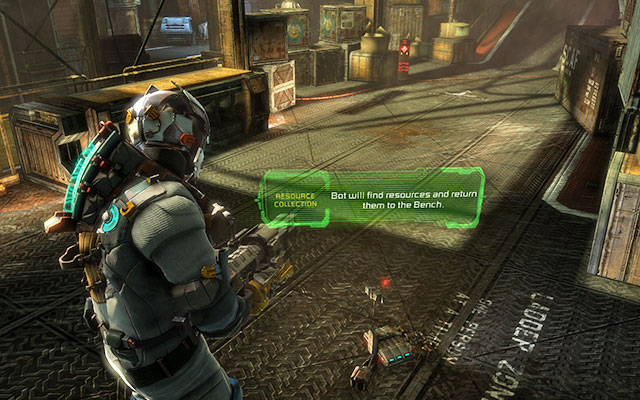
After climbing down another ladder, you'll come across a scavenger bot - it is useful because it collects resources (it is also the only way to get ration seals), so always try to send it for searching. When the bot collects resources, it will take them to the workbench and you'll get relevant information on the screen.
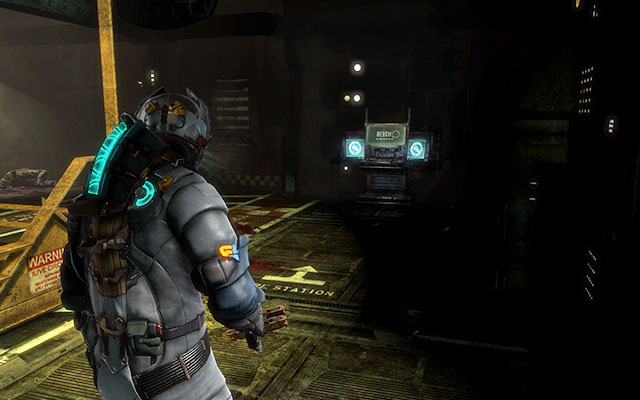
Examine all crates in the hall and head the only possible way, eliminating encountered Necromorphs. You'll finally reach the gate, which can be opened with kinesis. You'll get into a room with a workbench - you could empty your inventory here. Watch out - when you make few steps, two Necromorphs will attack you.
Text Logs 2/5 - On the table on the left.
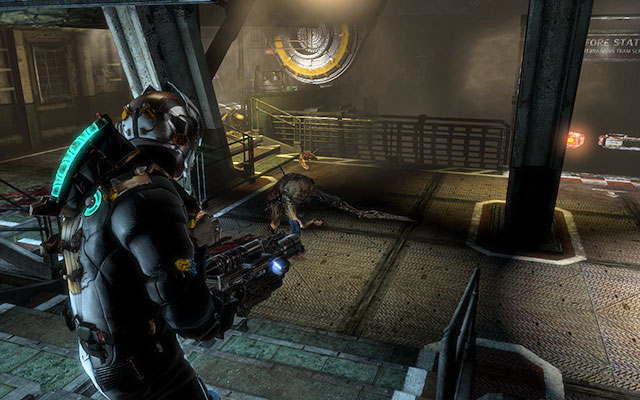
Leave the room and keep going. Finally you get to the tram station where a large group of Necromorphs will give you warm welcoming. After clearing the room go to the console panel and call a tram.
Upgrade Circuit 2/6 - On the wall, near the gate where tram comes.
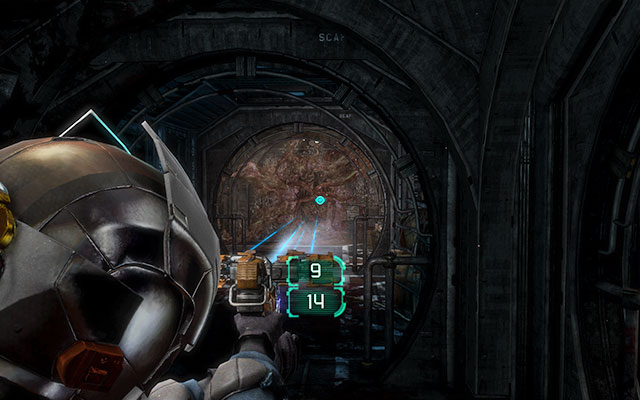
Unfortunately, something goes wrong. Quickly go through the door on the left, and climb up the ladder. In the corridor you'll come across a Necromorph glued to the wall, which spits small crabs. In order to get rid of him, you have to shoot off all his tentacles.
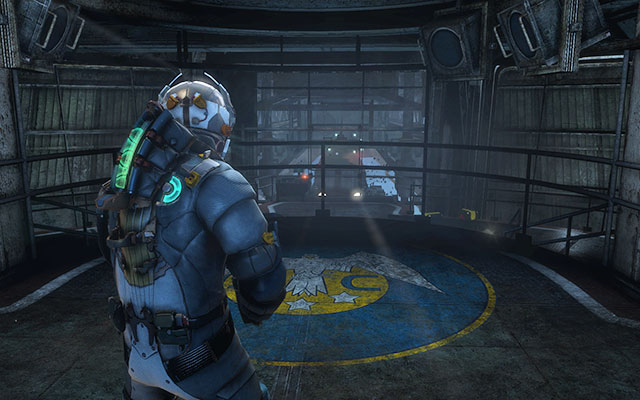
Enter the elevator and ride it up. You'll find yourself in a large chamber. After a while as shield will be taken off and you'll be able to enjoy the space. You'll notice also a blocked tram.
Audio Logs 2/4 - In the corner, right from the entrance.
Weapon Parts 3/6 - On a lower level, right next in front of the control panel.
Text Logs 3/5 - On a lower level, in front of the control panel, next to lockers.
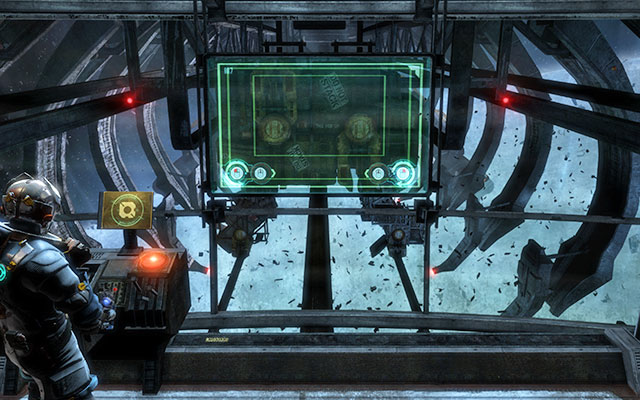
In order to clear the way for a tram, you have to match 5 pairs of debris. By turning right and left part, position two fragments so they fit together perfectly - there is no time limit and also there are no too many combinations, so the task is not so difficult.
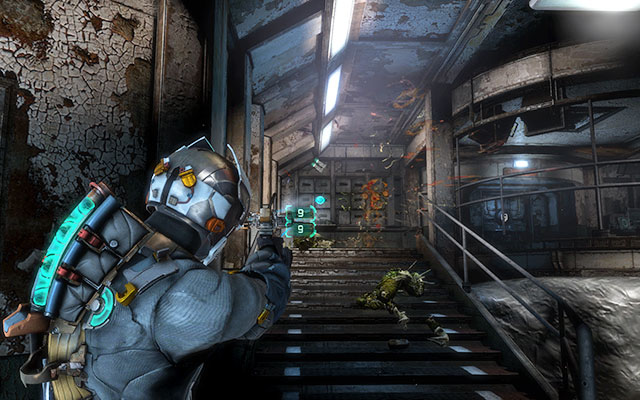
Once you get rid of all debris, you'll be attacked by Necromorphs. There is stasis on your path, so you might slow them down, especially that there is not much space for fight. Particularly watch out for a Necromorph, which will attack you after opening the elevator.
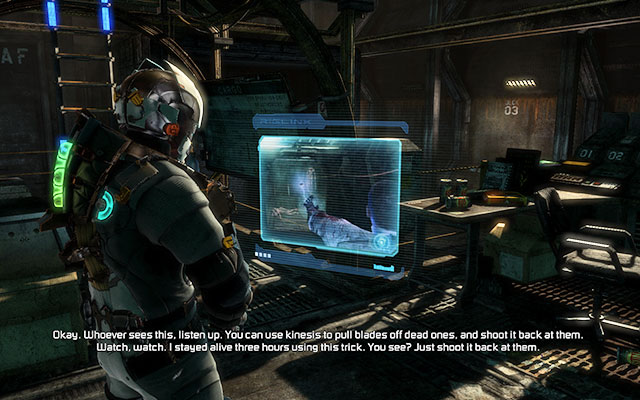
Time to get back to the tram station. When you head to the elevator, it will fall down. Go to the door on the left. When you enter the next room, you'll learn that you can use kinesis to shoot blades of dead Necromorphs.
Audio Logs 3/4 - On the right, after leaving the elevator.
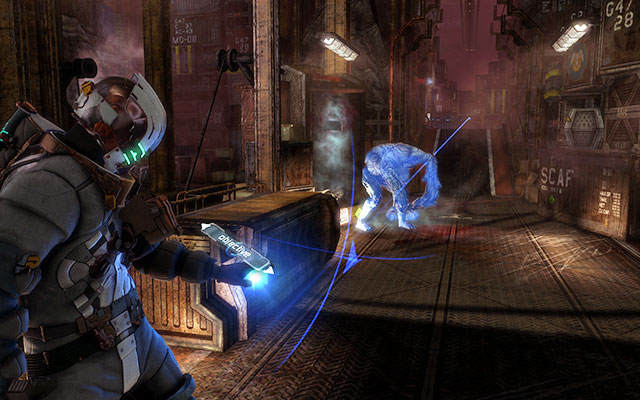
Climb up the ladder and keep moving forwards.
S.C.A.F. Artifacts 2/3 - On the crate on the right, after climbing the ladder.
You'll again find yourself in the chamber with container. Once you get down, you'll come across a new type of Necromorph - unlike others, this can regenerate. The only way to fight him is to slow him down with stasis and escape. But it is also worth to shoot off his legs to slow him down even more.
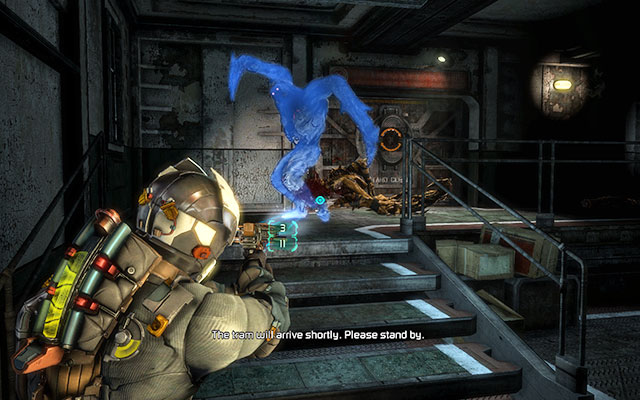
In this moment you shouldn't care about other monsters and run forwards. Along your way you'll come across two more "immortal" Necromorphs. The room with the workbench is the only one, where you're safe. After getting to the tram station, quickly call the tram. Before it comes, you'll have to repeal Necromorphs' attacks. Same as previously - slow down those who regenerate and run over the room, so they can't catch you.
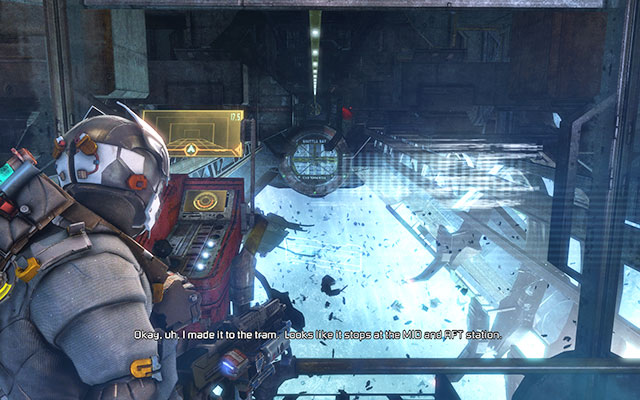
Once the tram appears, quickly jump inside. Go to the Mid Station first, where you can turn on the power and after that select Alf Station as your destination.
Side mission: Go to the Mid Station where you can start the side mission [Conning Tower].
Weapon Parts 4/6 - Element can be found in the Mid Station but you have to turn on the power first.
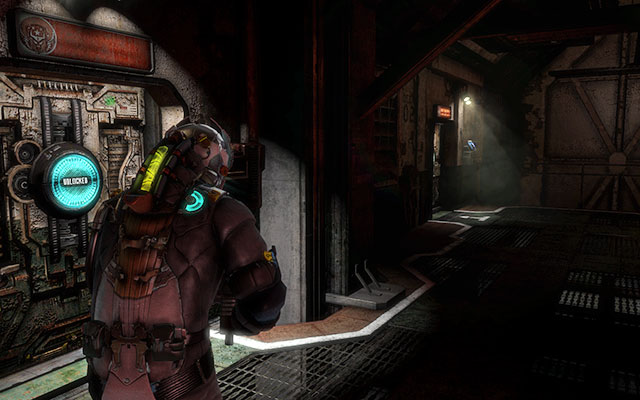
After getting to the Aft Station, go to the elevator on the right. After you call it, few Necromorphs will attack you. If you have a torque bar, you can go to the door on the left - in a small room you'll find ammo and other useful resources.
Audio Logs 1/1 - You'll find it in the Mid Station, inside the control room on the left (you have to restore the power first).
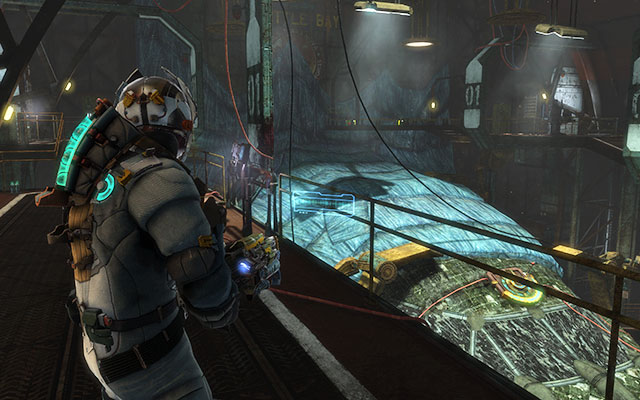
After riding the elevator down, you'll see a huge shuttle. In order to release it, you have to start it first. The first step to do this is creating a remote relay. Go to the elevator on the left and ride it to the lower level.
Weapon Parts 1/1 - Between crates on the scaffolding on the right side of the shuttle.
![Once you get down, repel Necromorphs' attacks and then head to the leader - first part of the module [Remote Circuit Board] can be found on the shelf on the left - Craft a remote relay - 6: Repair to Ride - Dead Space 3 - Game Guide and Walkthrough](https://game.lhg100.com/Article/UploadFiles/201512/2015121517380389.jpg)
Once you get down, repel Necromorphs' attacks and then head to the leader - first part of the module [Remote Circuit Board] can be found on the shelf on the left.
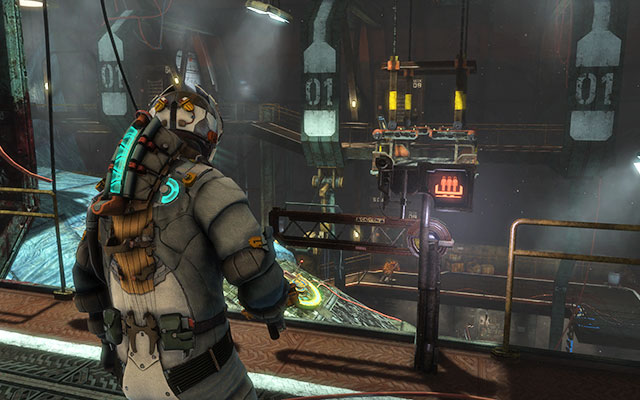
Go back up, watching out for another wave of Necromorphs. Use a gondola to get to the other side of the shuttle. You can use advantage of your current position and shoot monsters which appear on the other side.
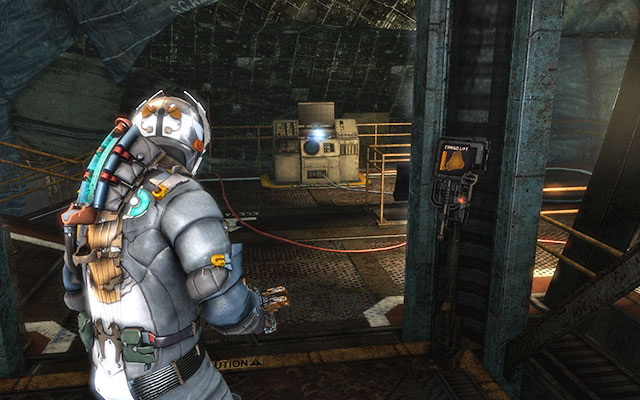
Go again to the elevator and ride it down to the lower level. The next part [Remote Radio Controller] can be found on the machine in front of you.
![Go to the left and climb up a bit - the last part [Remote RAS Locator Module] is also located on the inoperative machine - Craft a remote relay - 6: Repair to Ride - Dead Space 3 - Game Guide and Walkthrough](https://game.lhg100.com/Article/UploadFiles/201512/2015121517380427.jpg)
Go to the left and climb up a bit - the last part [Remote RAS Locator Module] is also located on the inoperative machine.
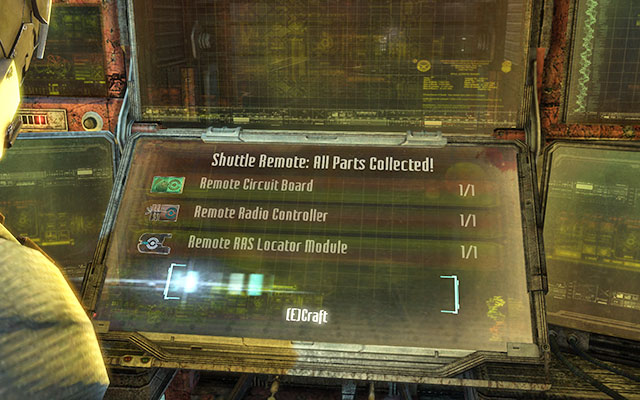
Return to the cargo elevator go ride it up. You should see a bench in front of you, where you can combine parts you've just found into a working module.
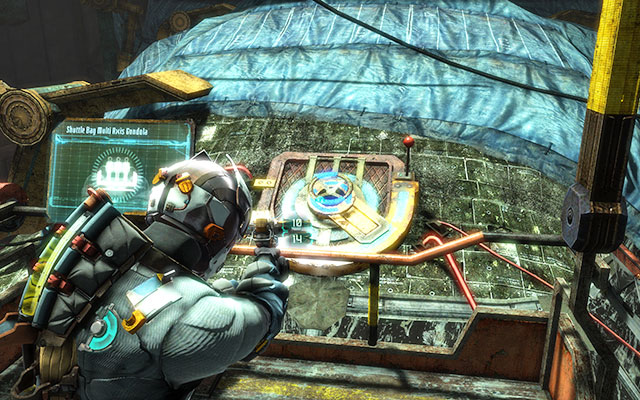
Go to the gondola and ride under the shuttle hull. Use kinesis to open the nose and install there a remote relay.
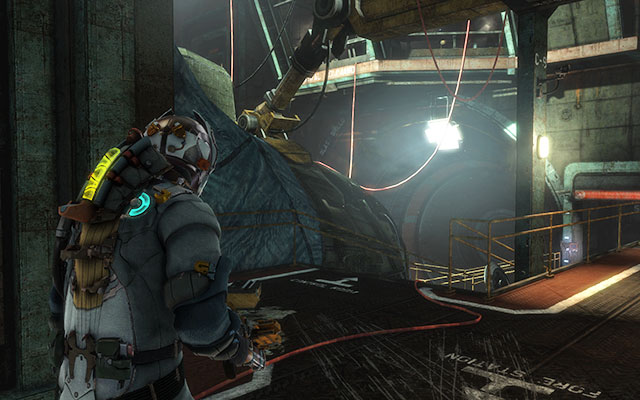
You'll receive information that the shuttle is out of gas. Use the gondola and go to the right side (with bench). Get the cargo elevator, ride it down and then go to the door on the right. You'll get to the shuttle back end.
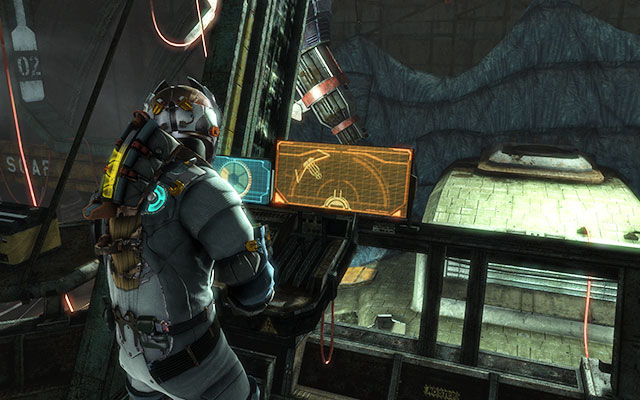
Go to the cargo elevator and ride it up to the control room. Clear all crates and lockers inside and approach the panel which activates a fueling pump.
Upgrade Circuits 1/2 - In the wall locker in the control room.
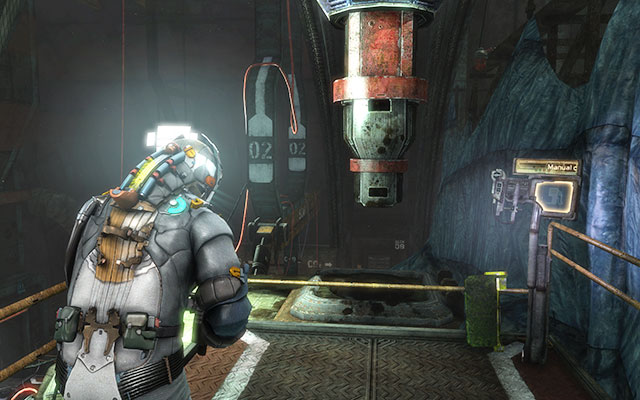
Unfortunately you have to mount the pump manually. Go outside on the right and approach the pump. Use kinesis to pull the pump to the shuttle. While fueling the shuttle you'll have to repel Necromorphs' attacks. Once the fueling is done, release the pump via the main panel.
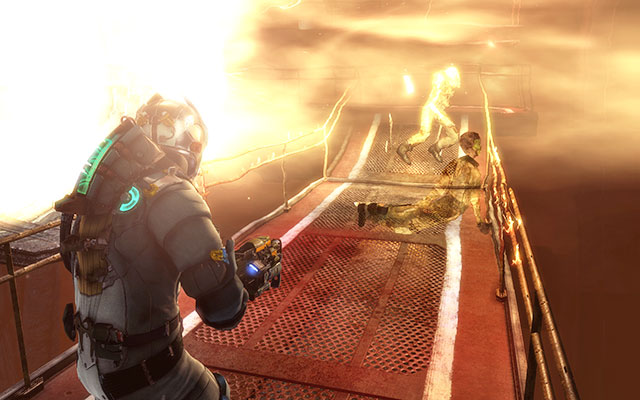
Unfortunately, the way back is not so easy and enjoyable. You have to watch out for columns of fire appearing from time to time. You can use them to fight Necromorphs, which die once hit by fire. Take the cargo elevator and ride it down. Go to the right. Wait until fire stops coming out of nozzles and continue your walk.
Walk past the regenerating Necromorph and climb down the ladder.
Upgrade Circuit 2/2 - Next to the door after climbing down the ladder.
Go through the door and move to another cargo elevator on the right - watch out for fire! Now you have to stay alive until the elevator comes.
When you get to the very top, call the gondola and ride it to the other side. Ride the cargo elevator down and turn left. Cross the door and the head through the room to the elevator on its end.
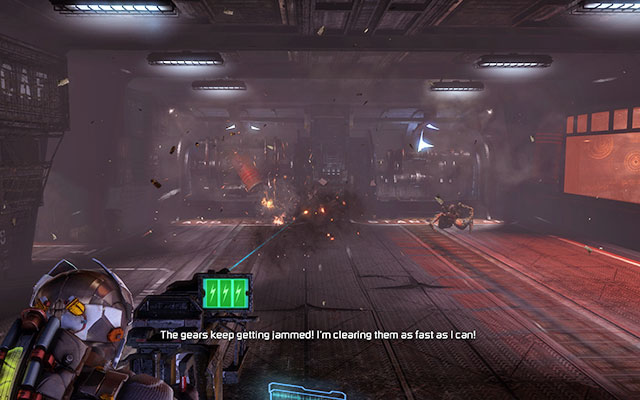
You'll find yourself in the room with two turret guns and gears blocked with explosives. When you destroy the first barrel, Necromorphs will appear. Keep eliminating them and destroying the barrels, until the huge explosion.
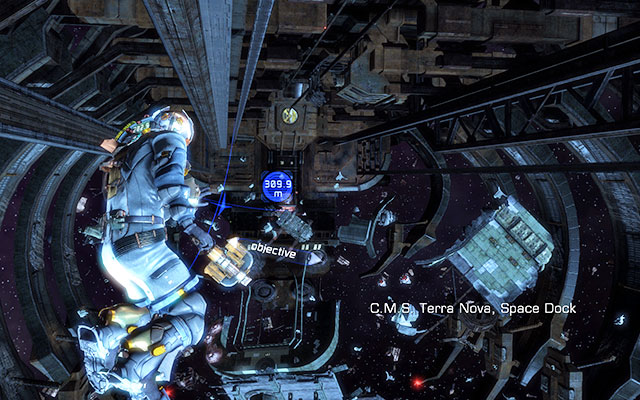
You'll be thrown into space. In order to end this chapter, fly straight ahead to the Terra Nova emergency entrance.
S.C.A.F. Artifacts 1/1 - Between huge ship debris on your way to the emergency entrance - it is best to notice them from the entrance side.
You'll get information that one of port engines is missing. Once you get to Terra Nova, go right away to the transport ship and travel to C.M.S. Greely.
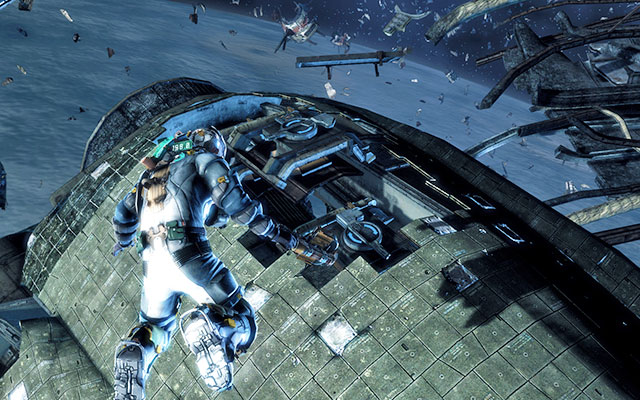
Once you get to the destination, head to the engine (use locator to locate it). First, use kinesis to remove its metal shields and then pull out three panels.
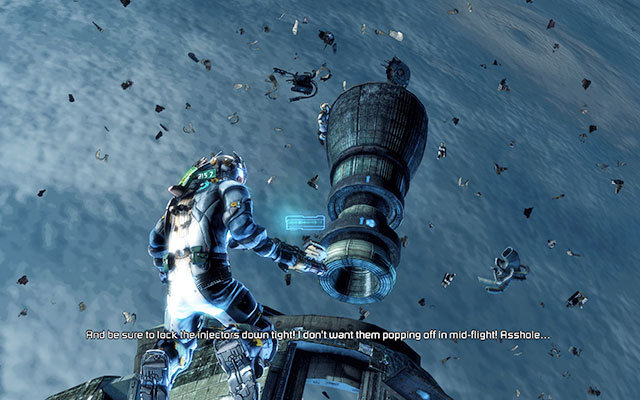
When you get an access to the engine, pull it out using kinesis.
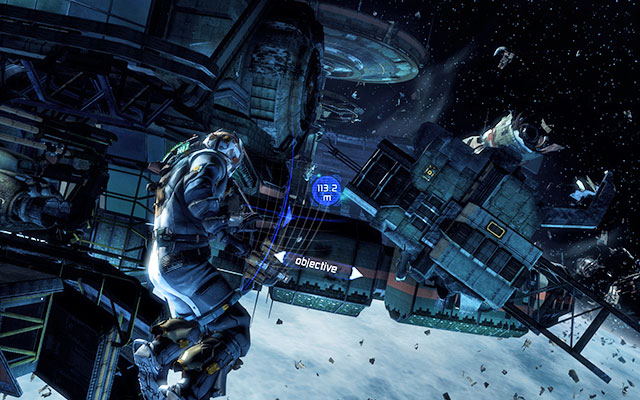
Now it is time to get recordings with information about the course. Return to the transport ship and go to the C.M.S. Roanoke. Once you get there, start flying straight ahead.

Watch out for mines - try to shoot them out until they can reach you. Your target is three drifting stations containing modules with required information.
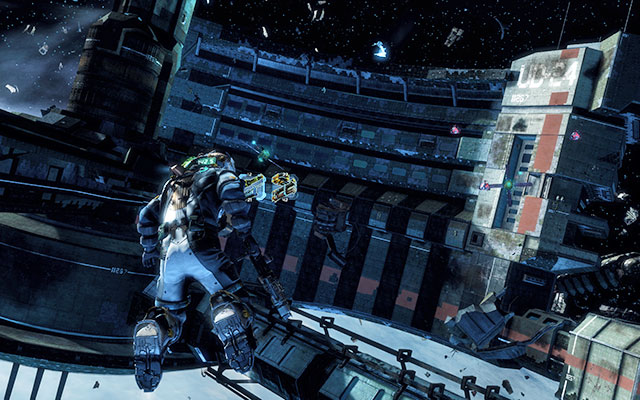
The first is quite close, two more a little further - but with more mines around them. After gathering all three of them, you'll have to construct a navigation module by yourself.
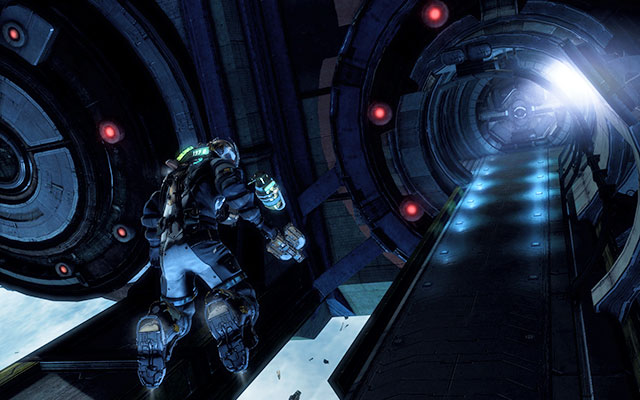
The only way to construct a navigation module is using the workbench. The nearest one is located on the C.M.S. Roanoke. Use the locator to find the ship entrance. Try to monitor your oxygen level - if you haven't use containers, you might get short on oxygen.
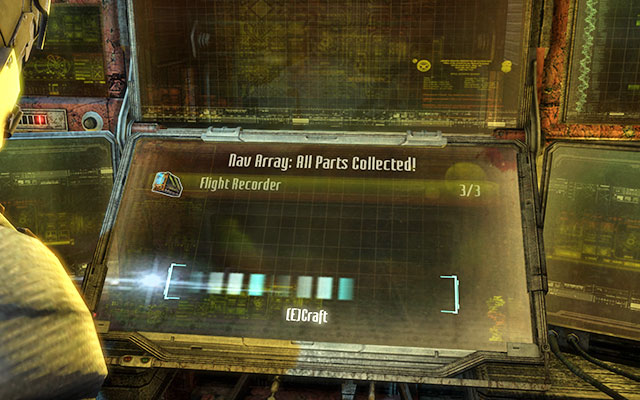
Once you get inside, go to the right, passing by suit kiosk. Finally you'll reach the room with the workbench. When you activate the bench, information about crafting the required module will be shown. Now it is enough to install it.
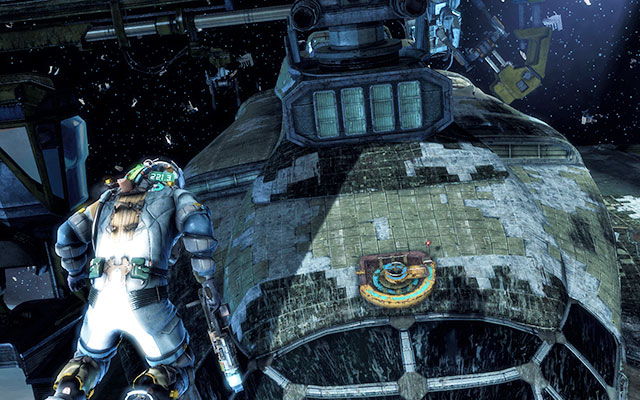
Leave the ship with the same way. Once you get outside, you'll notice the shuttle. Install the module the same way as the previous part you've installed - via the front panel. Use kinesis to open it.
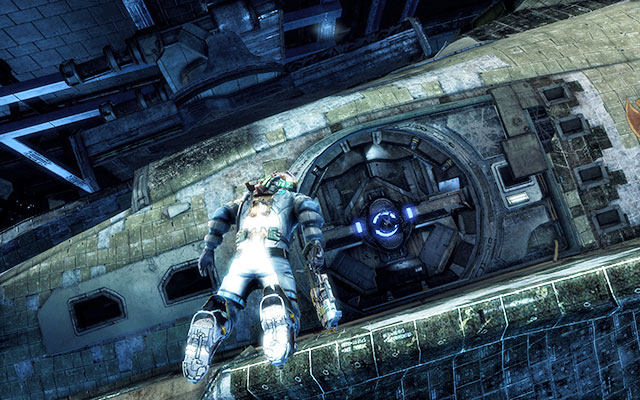
When you're ready, you can enter the shuttle. The entrance is located on the right side (when looking at the hull). Use kinesis to open the gate. While inside, wait a moment for equalize air level. Go through another door to the next room, where you'll meet the rest of crew.
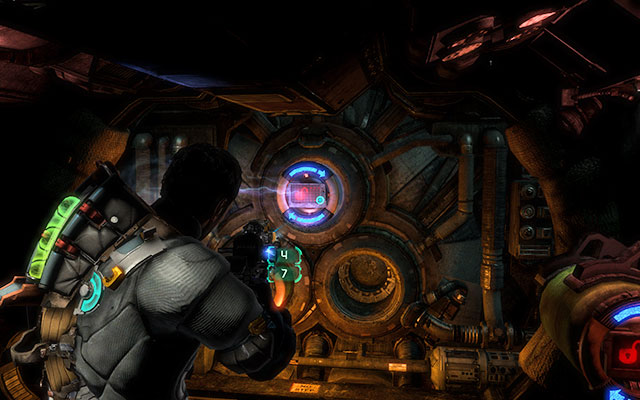
Once inside you'll notice that oxygen injectors are not located in slots. Use kinesis to pick up canisters and put them in correct slots. Do not forget to turn them.
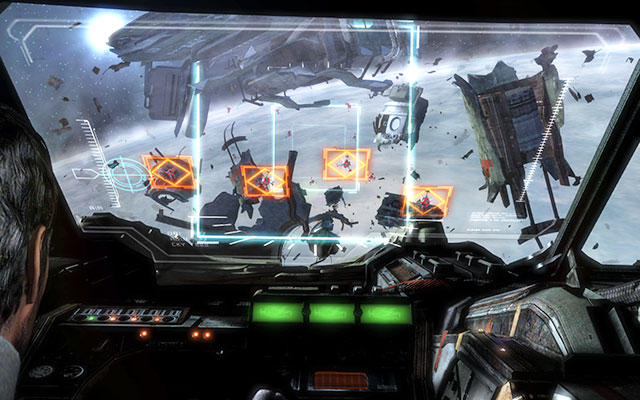
After completing this task, head to the cockpit and activate start button. Your objective is to keep the shuttle inside blue squares and shooting approaching mines - first you have to mark them (it is possible to mark more than one) and then shoot projectiles. If you get off the course, you'll be informed about this.
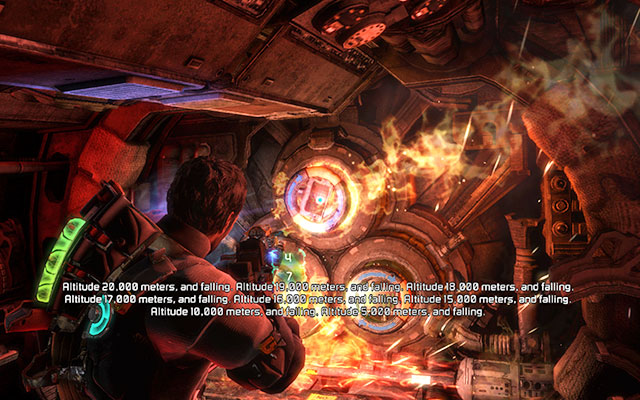
Later on you'll have to avoid debris instead of mines. At some point a serious damage will be indicated and oxygen injectors will pull free. Quickly get to the back of the shuttle and block canisters using kinesis. Once done, get back to the cockpit.
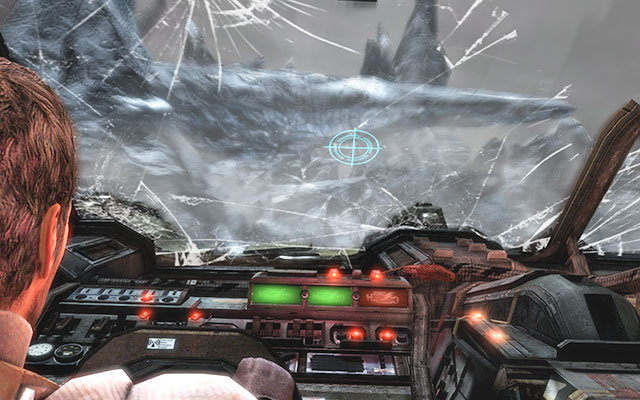
You'll be flying on low altitude, close to the surface. Maneuver between rocks, destroying the ones you can, until a cutscene starts.
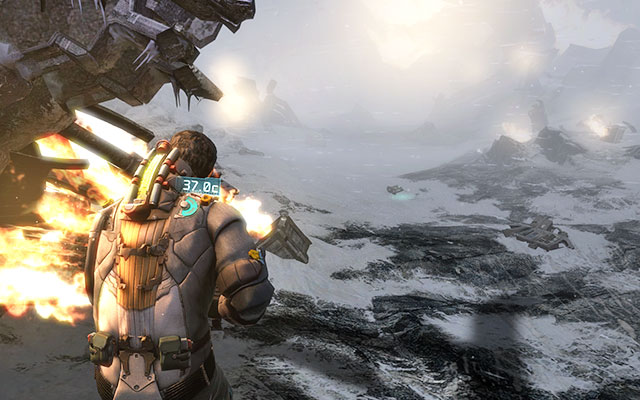
After crash-landing you'll find yourself on the snow-covered planet. During your walk you must monitor your body temperature, which is displayed on your suit back. The maximum value is 37 Celsius degrees. In order to warm yourself, you have to approach fire which you can encounter along your way. Go straight ahead, picking up a med kit and crashing a crate.
Weapon Parts 1/3 - On the left, near the crate at the place where you start the chapter.
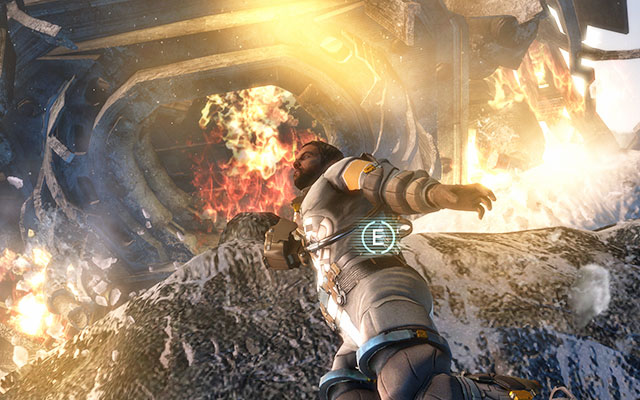
The locator doesn't work but there is only one way - head mainly towards crates visible in a distance and fire (remember to always warm yourself to the maximum). After a short walk you'll exit the blizzard and find a collapsing part of the shuttle - QTE will activate - quickly press a correct key to avoid being killed. Finally you'll fall down.
Upgrade Circuit 1/2 - After the fall go around flaming shuttle parts on the right - you should see the circuit.
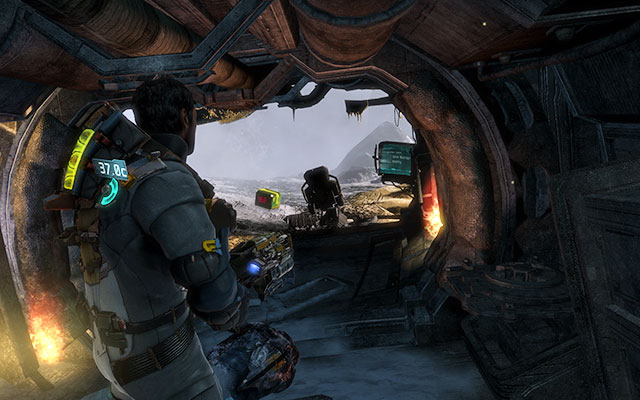
Keep moving forwards, heading towards other flames. You'll get to the bigger part of the shuttle, the one with the rest of the crew. The entrance will collapse behind you so do not forget about crashing crates next to it first. Listen to the video-recording before you move forwards.
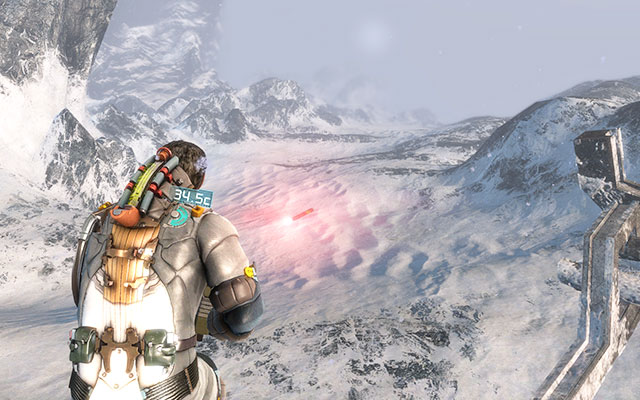
This time you have to follow flares, but try to keep on the route and not explore too much, because you might freeze to death. At some point a cutscene will start, during which you'll be knocked down the hill by a large creature.
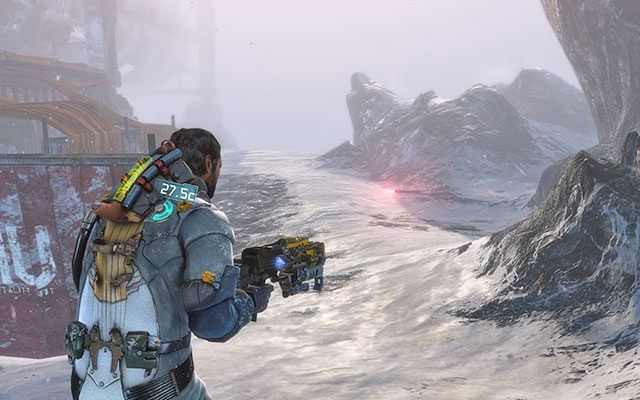
Move ahead carefully - you should encounter a chamber surrounded by red plates, inside which you can get warm. But first you have to start a generator - use kinesis to turn the valve several times. Without starting the generator, your body temperature will stay at the same level inside any room.
Text Logs 1/2 - Inside the chamber, on the table, left from the entrance.
Audio Logs 1/2 - In front of the entrance to the chamber - you have to start the generator first.
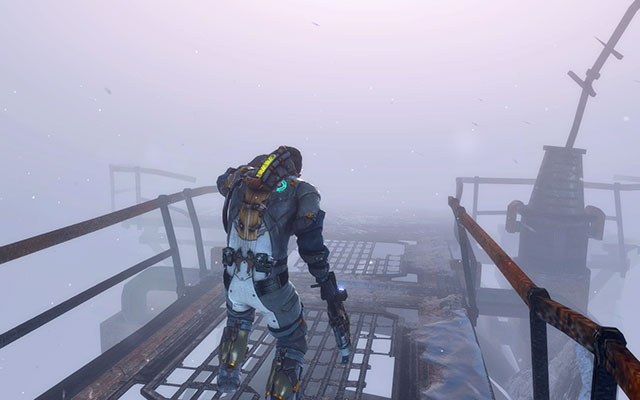
Once you warm up and explore the chamber clearing all crates, move outside and keep following flares. You'll reach the bridge - on its other side you'll find a ladder leading up. Climb it to the very top.
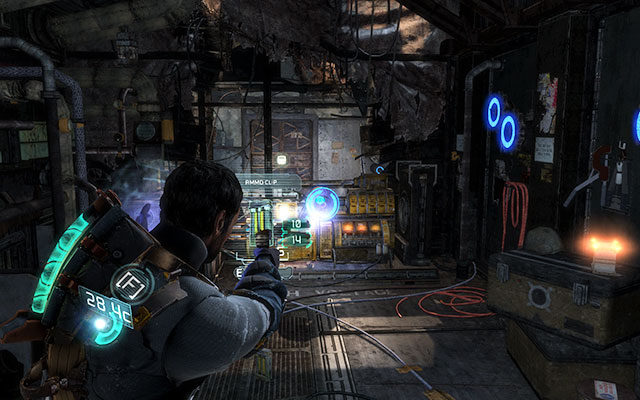
You'll get inside another room, where you can warm up. To do so, start the generator. Once done, you'll see tentacles of the creature, which attacked you previously. You'll find here also a workbench, where you can store some of items you've found.
Blueprints 1/1 - On the table in the left side of the room, next to colorful lights.
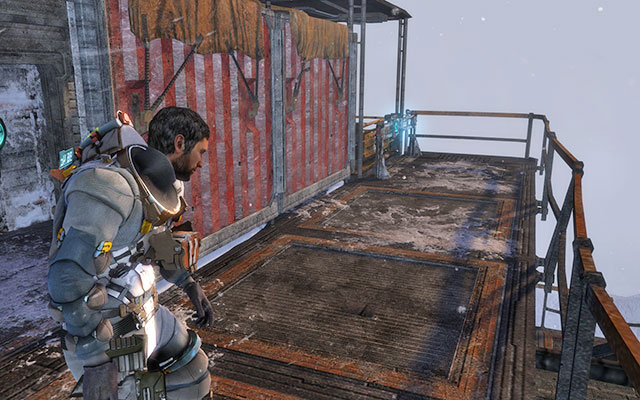
After clearing all lockers, exit the room through the door next to the workbench. Go past red plates and walk over the bridge towards the cargo elevator, which will take you down.
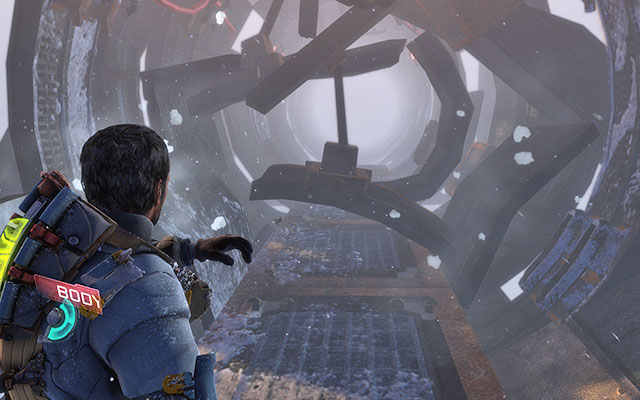
Go straight ahead, entering the large pipe-like part. After several steps, a fragment in front of you will collapse, allowing you to go down to the surface.
Upgrade Circuit 2/2 - After entering the "pipe", turn right - the circuit should be seen nearby.
Weapon Parts 2/3 - After leaving the collapsed pipe, go to the right. You'll get to the room, inside which you can find a weapon part lying on the bed to the right.
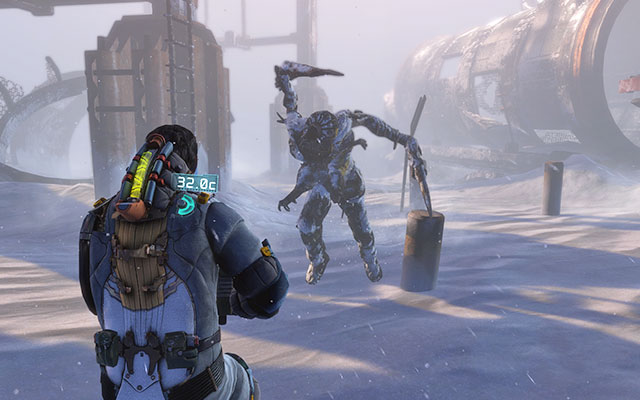
Move forwards but watch out, because you'll be attacked several times by Necromorphs hiding under the snow. You can easily trace their position and a moment then they will jump on you, because you can notice track of their activity on the snow.
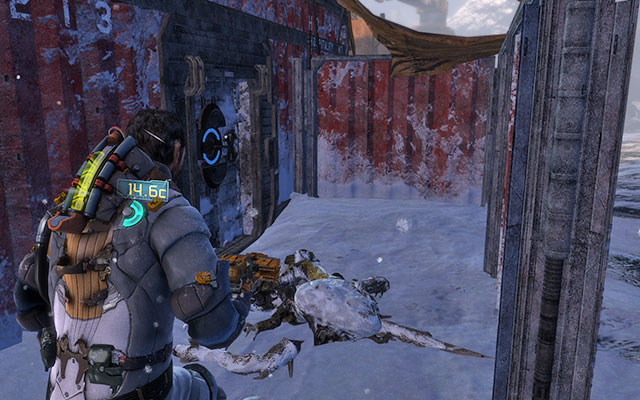
Go past the quite large gate on the right - you need a keycard to get inside.
S.C.A.F. Artifacts 1/1 - In front of the gate you'll find a ladder - an artifact is located at its top, at the left side of the catwalk.
You'll get to another room with entrance surrounded by red plates. Watch out, because a Necromorph is lurking behind the gate - he will jump on you unexpectedly.
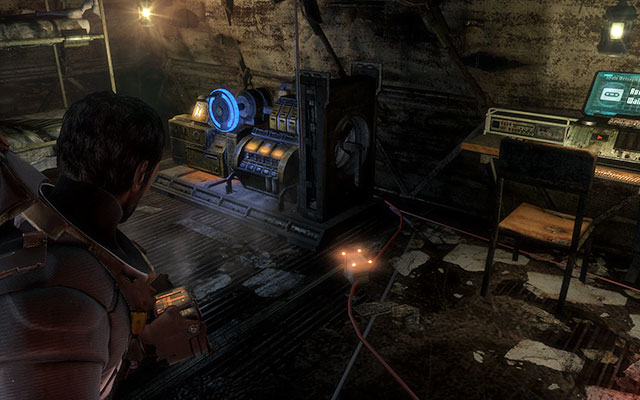
Inside the room you'll find a generator - activate it to warm yourself up. There is also a scavenger bot on a ground and you can have more that one of these, thus increasing number of supplies delivered to the workbench.
Audio Logs 2/2 - Right from the entrance - you have to start the generator first.
Text Logs 2/2 - Next to the bed, on the ground.
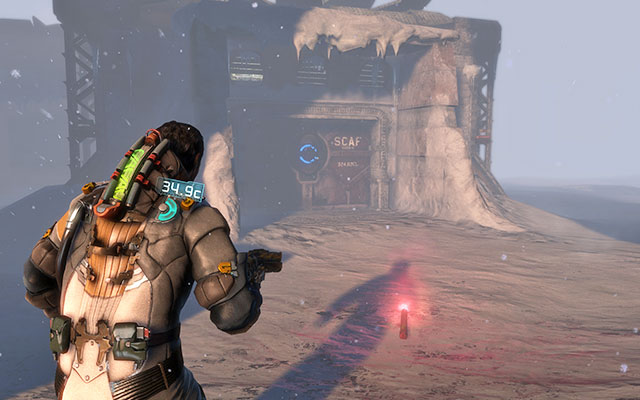
After collecting all useful items warming up, leave the room. You'll find yourself on the large, open space - Necromorphs will attack you here several times. Keep moving ahead, following pillars. At some point you'll be able to choose a path leading left or straight (where you'll probably see a gate and the entrance to the passage) - go left. You'll get to the large entrance where you'll find first survivor.
Weapon Parts 3/3 - Inside the cave, on the right. When walking along the hill you should see the entrance with no problems.

After listening to first survivor you came across, go to the left with the only available path. You'll get to the room with a generator - use kinesis to activate it. You can use also a workbench there.
Weapon Parts 1/8 - On the crate on the right, in the generator room.
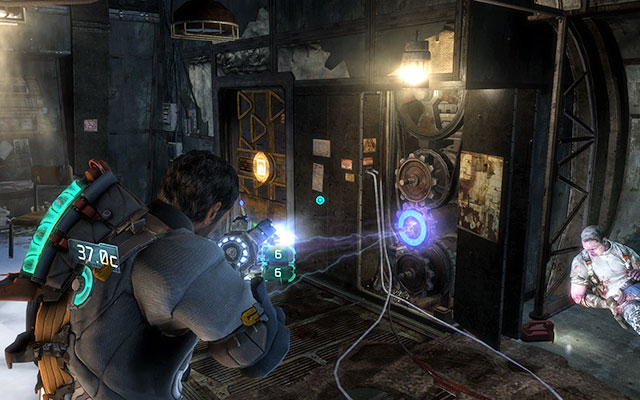
Use kinesis to pick up a one of three gears hanging on the wall to the right and return to the room with a dead ally. Fit the gear into the open part of the machine, thus unlocking the elevator.
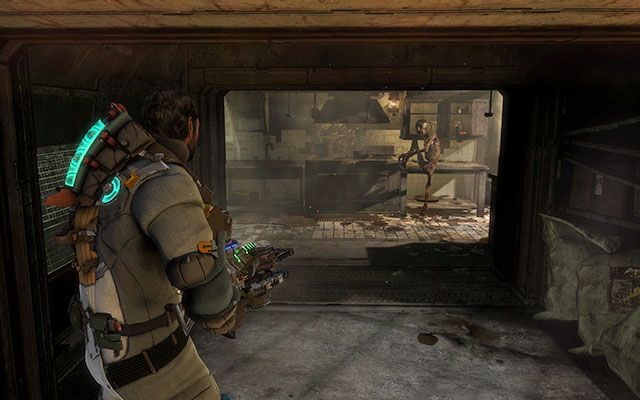
After riding it down go across the only possible door - you'll find yourself in the kitchen. Prepare for the quite intense fight with skeleton-Necromorphs. These opponents are vulnerable to shots so try not to waste better weapons on them.
Weapon Parts 2/8 - On one of tables in the kitchen.
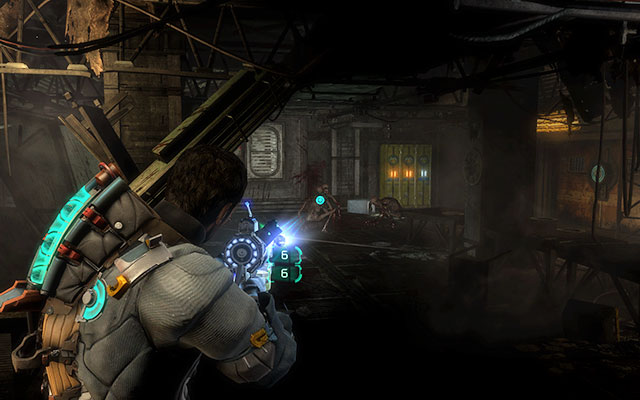
Move ahead, through the cold room. You'll get to the large room (with a fridge), where you'll get attacked by a horde of skeleton-Necromorphs. After eliminating them and clearing all lockers and crates in the location, go through the next door.
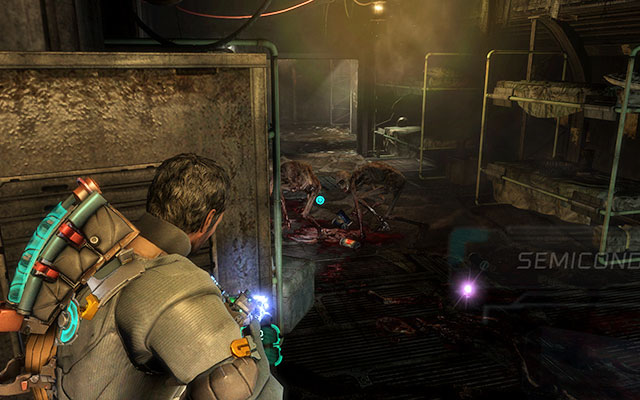
Go through the hallway, destroying a crate you encounter.
Audio Logs 1/7 - In a corridor on the left, next to the sink.
You'll get to the room full of skeleton-Necromorphs. Stay close to the gate when you get overwhelmed, so you can retreat and block the passage to get some rest and not let them surround you.
Upgrade Circuit 1/5 - On the floor in the second part of the room.
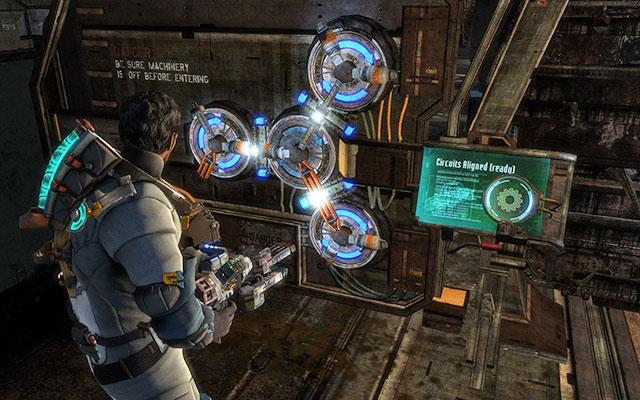
After clearing the area, run forwards. You'll get to the room with steam pipes - you'll hear monsters behind blocked door on the left.
S.C.A.F. Artifacts 1/3 - In the storeroom on the left, next to the barricaded door.

After crossing the next door, you'll find yourself in a large room. Climb down the ladder. You have to activate a first pump by connecting proper joints in the center circle - the solution is shown on the above screen. Each circle has three joints and you have to match them all together, so the whole thing is working properly.
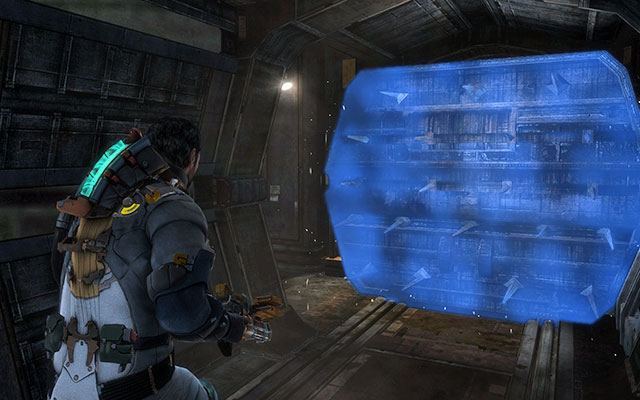
Run to the tunnel when the pump starts to move away and then turn right to the passage. There is stasis on the wall. The second part of the walk is more difficult - you have to slow down the pump when it will be passing by the first passage, so you could be able to safely get to another one.
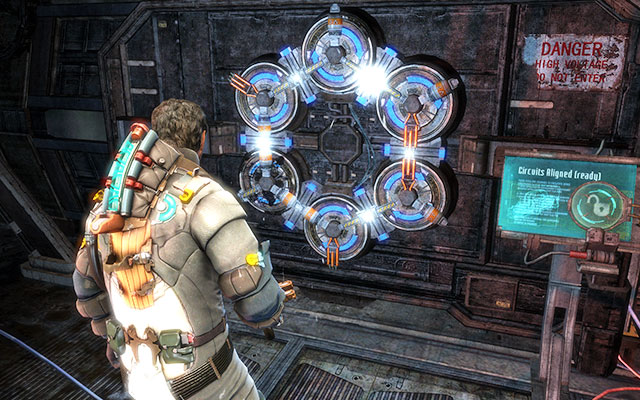
In order to start the second pump, you'll have to solve the circuit puzzle again. The solution which activates the pump is shown on the above screen.
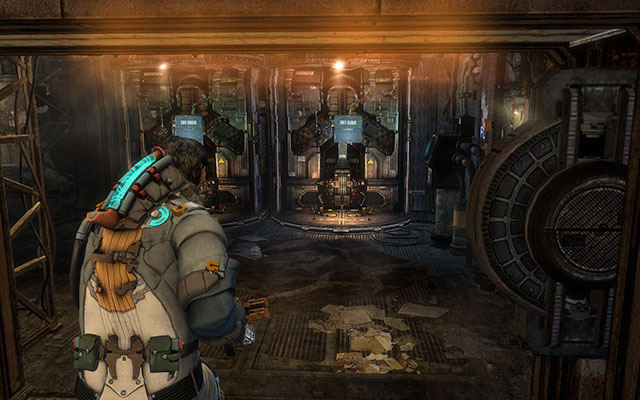
You'll be attacked by Necromorphs immediately but you should deal with them without problems. You can also ignore them and quickly run into a tunnel with the second pump. This time you must slow it down when it approaches the very left side and unlocks a passage for you. Climb up the ladder.
Weapon Parts 3/8 - At the edge of the large generator. You must use kinesis to pull the part towards you.

You'll get to the control room, from which you can reach a room with suit kiosk.
Side mission: Inside the control room you'll find a supply depot key, which activates Supply Depot side mission.
Blueprints 1/3 - On the table inside the control room.
Audio Logs 2/7 - In the control room - activates when you pick up a supply depot key.
Once you activate the suit kiosk, you'll unlock a new suit - Arctic Survival Suit, which will allow you to survive outside and you'll have not to worry about body temperature.
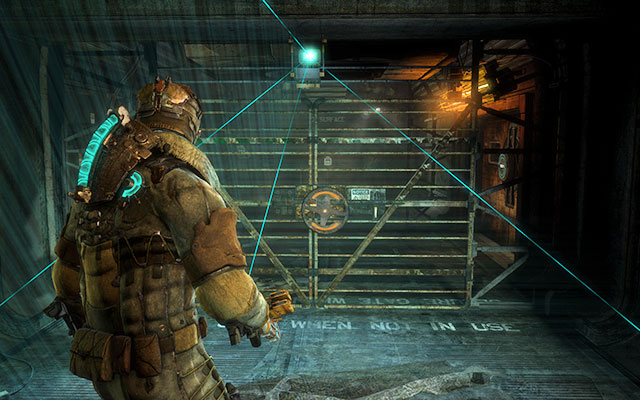
Once you get a new suit, you'll be able to get to the previously inaccessible places, because of scanners blocking passages for people who do not wear proper suits. When you approach the grate, you'll be scanned and the system will let you in.
Audio Logs 3/7 - On the left side, right after passing the grate.
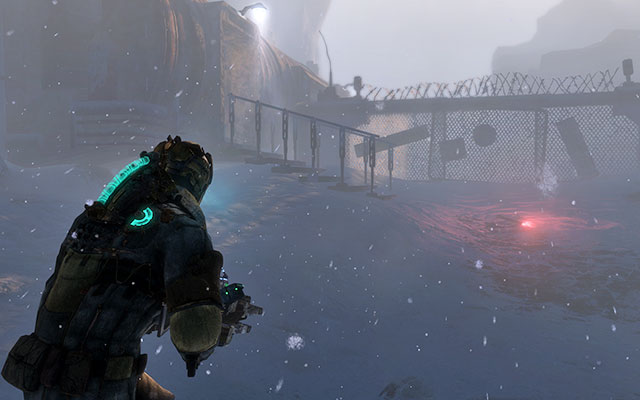
Get into the elevator and leave this location moving outside. Follow your locator to the right, until you get to the place with a fence. Enter the room where you'll be scanned to unlock the further way.
Weapon Parts 7/8 - Inside the room with a scanner, on the left side.
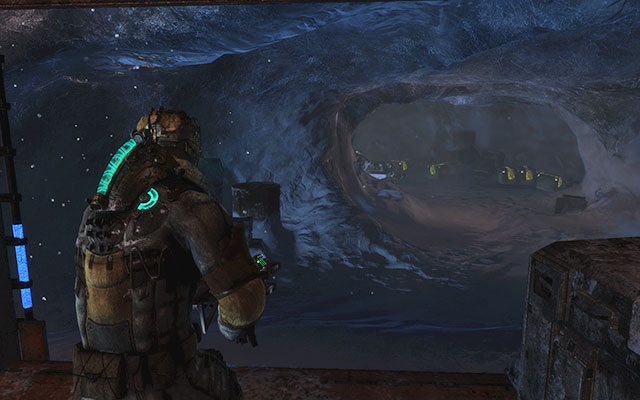
Keep going forwards, until you reach some kind of the bridge - watch out, because a Necromorph will appear in front of you. You should see a cave full of crates in the distance - kill Necromorphs which will attack you and replenish your supplies.
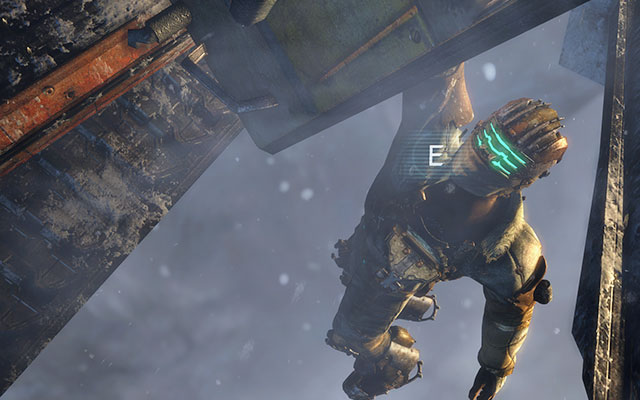
Climb up the ladder and move forwards. You'll get to the backhoe, where you'll have to deal with another QTE - your task is to crawl inside the backhoe and avoid a drastic fall which ends in death. First, hold the forward key and keep pressing action button quickly. Once you get inside the vehicle, hold the forward key again until you jump out from the other side.
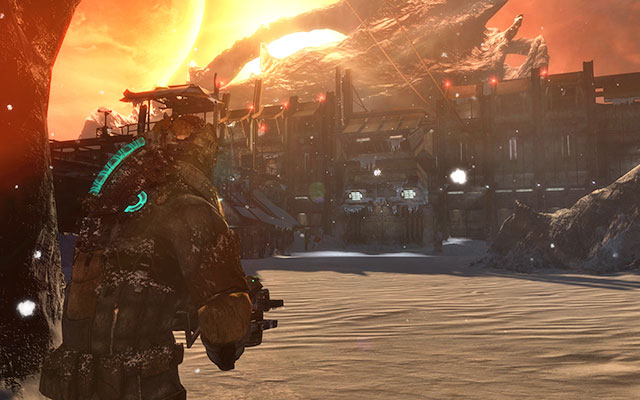
Run forwards, entering the cave. You shouldn't get lost inside, because there are not many paths there. You'll find several crates and get attacked by few Necromorphs. When you exit from the other side, you'll see a huge complex.
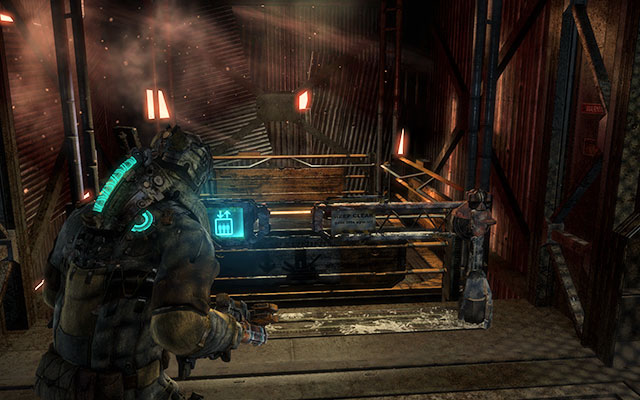
A cutscene activates, in which you see one of your companions. In order to get to the top, you have to activate a cargo elevator first.
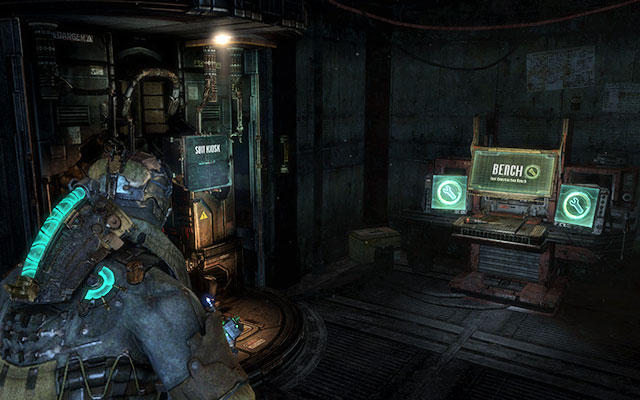
Get to the nearby room and start the generator by using kinesis. There is also a workbench and suit kiosk inside. Exit the room and go to the elevator. When you almost get to the top, a huge monster will appear - you've met him earlier.
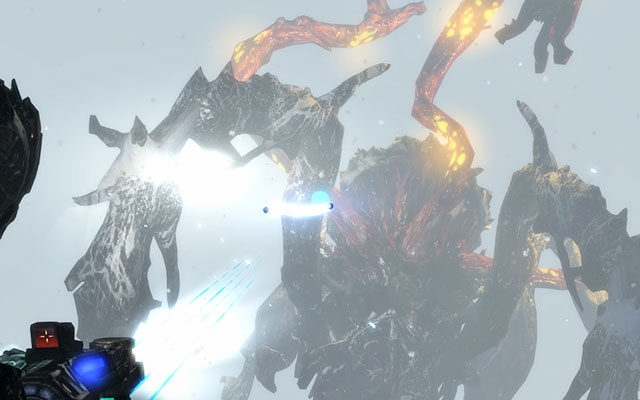
A fight with the monster is quite easy - the main aspect is to avoid his attacks. The creature has three tentacles growing out of his head - you have to shoot them first. Once you get rid of one of them, the monster will attack you. It would be good to use stasis to slow him down (both at the time as he starts to charge at you and when you try to shoot off his tentacles).
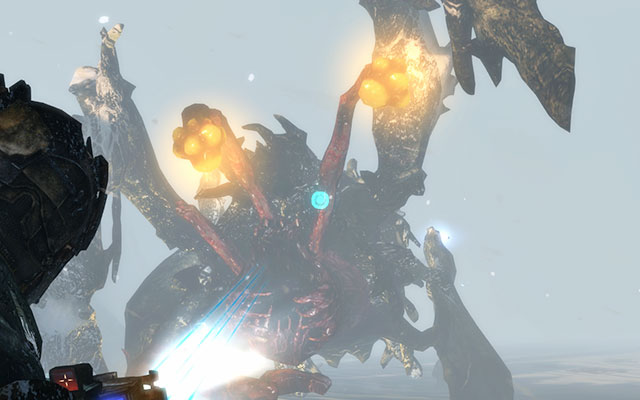
After getting rid of three tentacles the monster will open his mouth to present you three more tentacles - you can deal the damage to him only by destroying them. After eliminating one of them, you'll have to start again from the step one. Once you destroy two tentacles from monster's mouth, he will flee.

Go up over the damaged part of the catwalk and enter the complex. Run through the corridor to its end until you get to the cargo elevator - ride it down.
Weapon Parts 8/8 - On the table to the right, after entering the complex.
Blueprints 3/3 - Once you enter the complex, climb up the ladder in the first room. A blueprint can be found on the table to the left.
Text Logs 3/4 - Once you enter the complex, climb up the ladder in the first room. A log can be found on the second table to the left.
S.C.A.F. Artifacts 3/3 -Once you enter the complex, climb up the ladder in the first room. An artifact can be found behind the curtain at the end of the room.
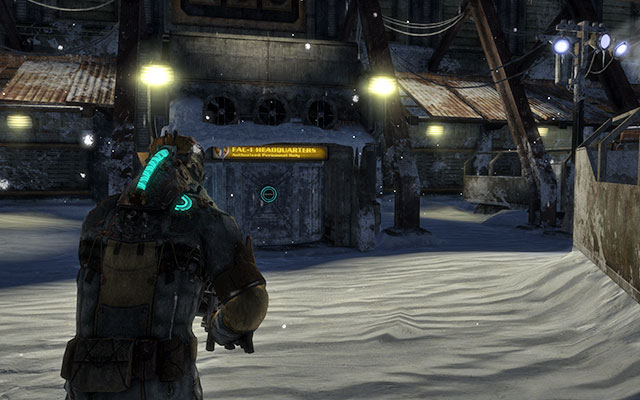
Leave the elevator and head to the left, towards the entrance to the main quarters. Go through the corridor to the right. You'll get to the room where you'll come across your crew.
Text Logs 4/4 - After riding down the elevator run forwards, to the door on the right. Open it by hacking a panel. The log can be found on the shelf to the left.
Upgrade Circuits 5/5 - After riding down the elevator run forwards, to the door on the right. Open it by hacking a panel. Get to the next room. A circuit can be found in the locker on the left from the entrance.
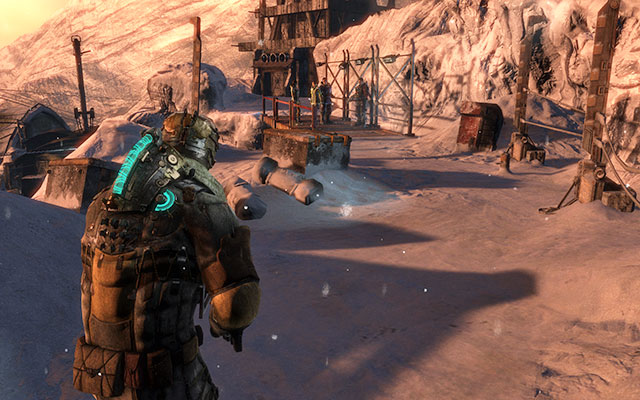
After the introductory cutscene, you will find yourself in a large room with a facility model on the table. Go towards the corridor leading up to the workbench- on your way you will run into several crates. Cross the passage that leads outside to meet up with the team.
Audio Logs 1/1 - On the locker to the left.
Weapon Parts 1/4 - inside the depot, to the left of the entrance that can be opened with a torque bar.
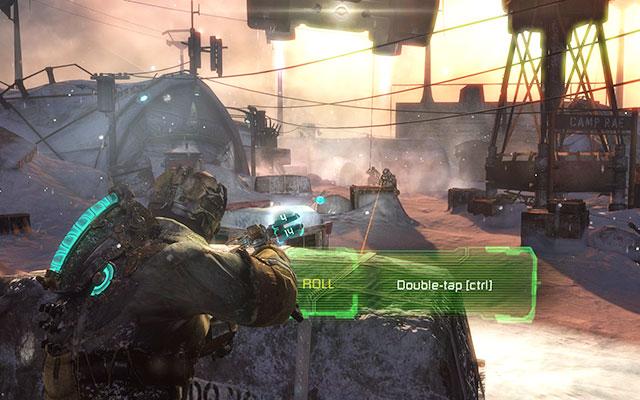
After a while, you will be attacked by Danik's troops. After you regain control over your character, take cover quickly, to prevent becoming an easy target. Since you are fighting people now, the easiest way to eliminate your enemies is a headshot.
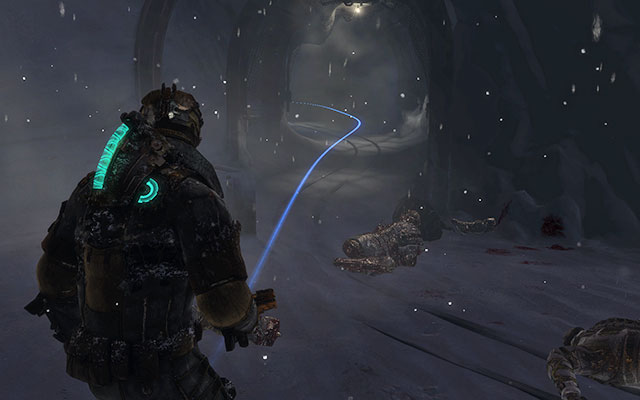
After the battle finishes, go towards one of the tent-like structures. Inside there is nothing more than several crates. That is why you should take the next gate to leave. Search the location for any possible crates and go to the cargo lift.
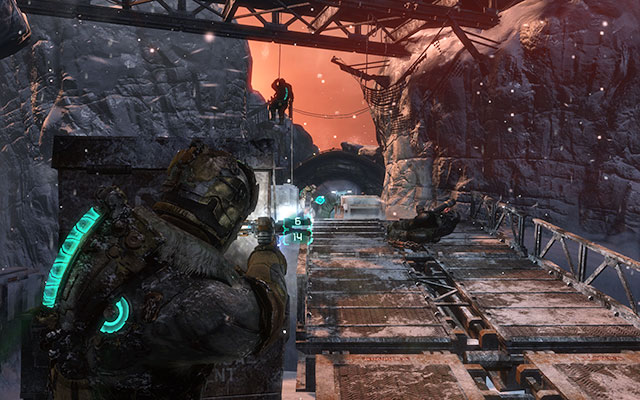
Down below, right next to the bridge, you are up for an unpleasant surprise by soldiers. Make sure that you do not lean too much and keep pressing forward- some of the soldiers will be occupying the other side, so it is you that will have to approach them.
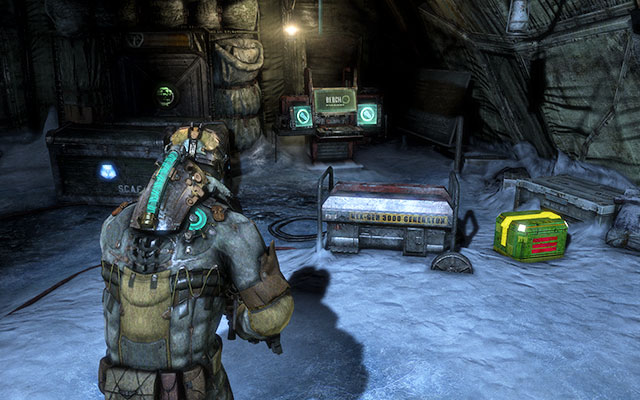
Enter another tent, where there is a suit kiosk, a workbench and several crates with supplies. Use kinesis to move the crates blocking the door next to the workbench and move on.
Weapon Parts 2/4 - Inside the room with the suit kiosk in it.
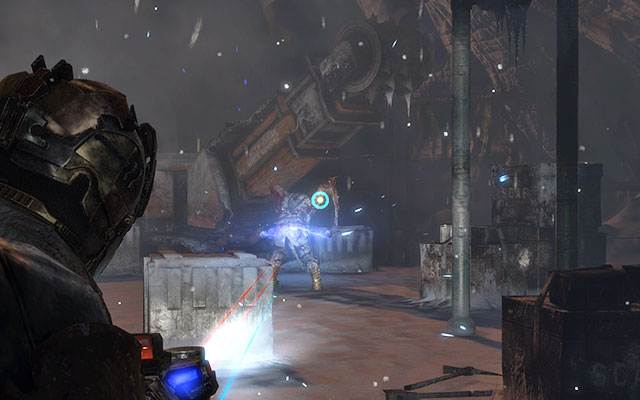
Once again, you will find yourself outside - once again you will have to face enemy soldiers as well as Necromorphs, who will also attack your enemies. You may wait a while to save some bullets, and then finish off the remnants.

Go along the rails and eliminate on your way the dangers you encounter (which are not going to be considerable), until you reach another entrance.
Alien Artifacts 1/1 - on the right at the scaffolding to the right of the railway.
Right after you open the gate at the other side, you will be attacked by a Necromorph.
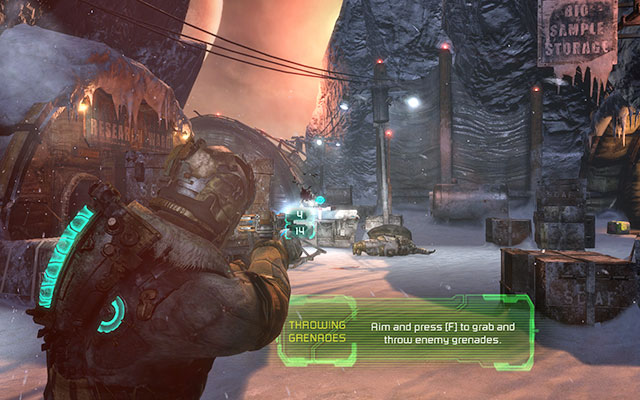
Go left to reach a ladder, which you need to climb down.
Weapon Parts 3/4 - Among the rocks behind the ladder - use kinesis to pull the element your way.
Cross the next gate to leave. You will face another wave of soldiers. If any one of them tosses a grenade your way, use kinesis to toss it back at him.
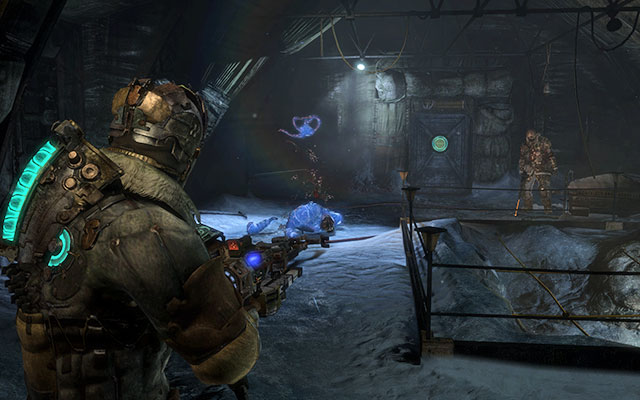
Clear your path to reach the next door. Inside, you will learn about a new enemy type - small Necromorphs, which are capable of taking control over corpses. It is crucial that you eliminate the creature, or else it will seize control over another dead body.
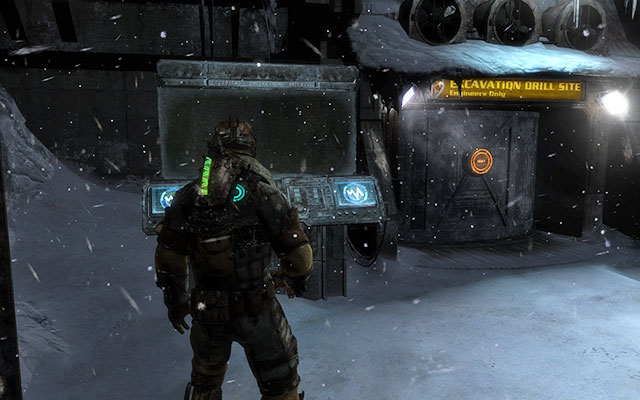
After you leave, you will encounter another group of Necromorph soldiers. Eliminate all of them and comb the place thoroughly for crates. The entrance to the facility is locked, and you need to unlock it with the interface that you have already been using. Your task here is to steer two pointers into designated fields by moving only over permissible paths.
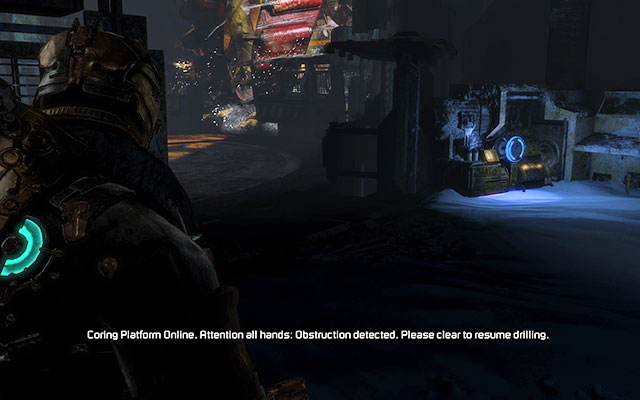
You will enter into a huge area with a large drill in it. Go right to reach a generator - start it to open the entrance gate to the drilling site.
Upgrade Circuits 1/1 - To the right of the entrance to the huge area.
Weapon Parts 4/4 - On the desk right next to the workbench.
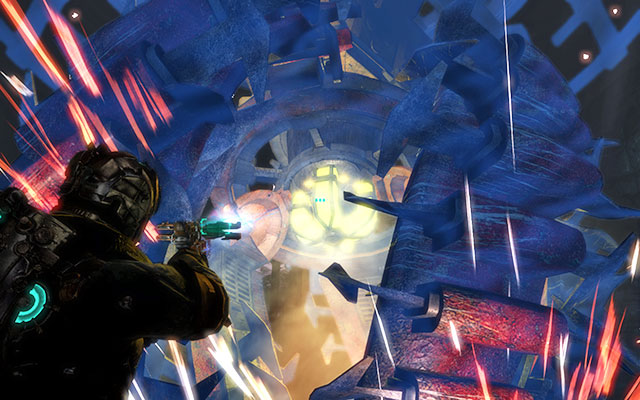
With the use of kinesis release two blockades - by turning the knobs on both sides of the drill. That is when you will be attacked by the drill. Your target now should be the two yellow light bulbs inside the mechanism. Use stasis to slow the rotor down, and pound at the target.
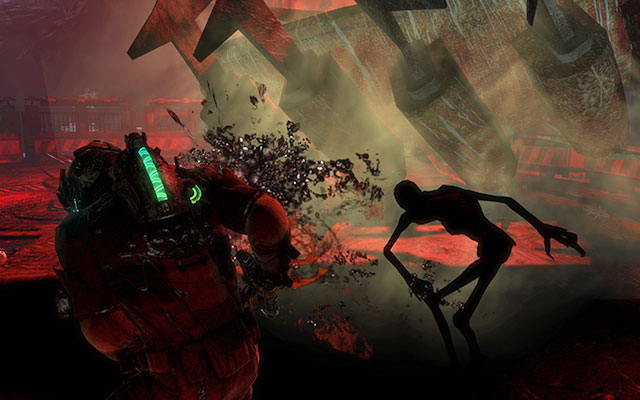
Do not pay that much attention to Necromorphs, who will be appearing, from time to time, and attacking you. If you find yourself surrounded, clear your escape path, to prevent being rammed by the drill. Try to remain in constant movement, by running around. This way you will increase the probability of the drill hitting one of the creatures.
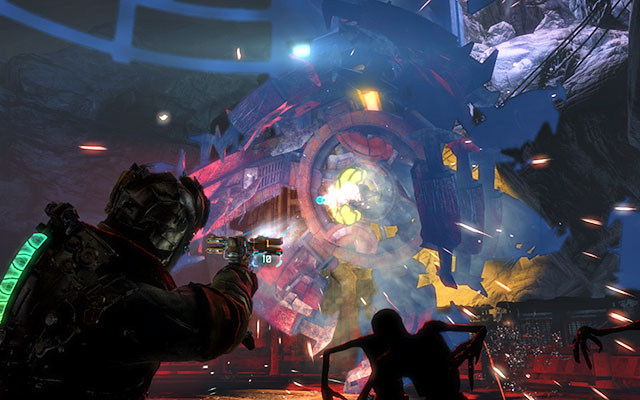
After several successful attacks, the drill will go offline, still only for a moment- Once it starts attacking again, it will be even more unpredictable than before. After you shoot another light bulb, she drill will stop attacking you directly- remember to slow it down at all times, with stasis, and shoot the remaining bulbs.
After you put end to this unevenly balanced fight, and unlock further passage for yourself, cross the gate leading outside. Take the cargo lift to reach a higher level. Walk past the two corpses and enter through the entrance to the facility that you are looking for.
S.C.A.F. Artifacts 1/1 - Behind one of the pillars, right next to the crates, to the right.
In the large area, you will notice a gigantic creature, that you will heave to examine. Unfortunately, you won't be able to as long as the heating system is offline To the right of the entrance, there is a workbench - as soon as you are ready, go left, along the path and to the abovementioned heating system.
Walk through the door at the end and go towards the next one. You will receive information about obtaining a new suit [Archaeologist Suit]. The kiosk is to the right, close to the cargo lift. It is a good idea to get acquainted with the capabilities of the new suit, and also replace the one you are wearing at present.
Audio Logs 1/6 - On the table to the left, right after you enter the next room.
Upgrade Circuits 1/10 - On the wall to the left inside the room with the lift.
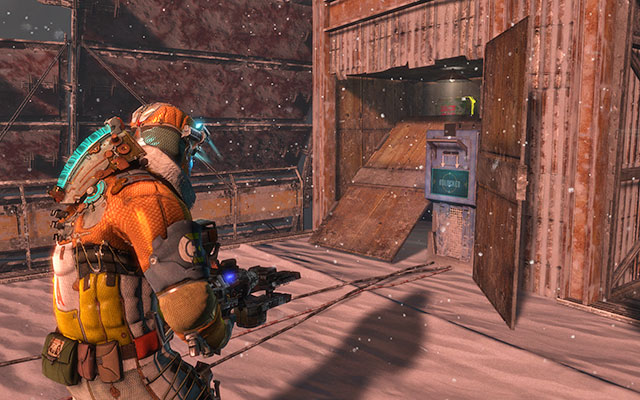
After you clear the room and take care of all the business, enter the lift to reach a higher level. To the right there are several crates and a locked slot with a power core. Open the box and remove the core, using kinesis.
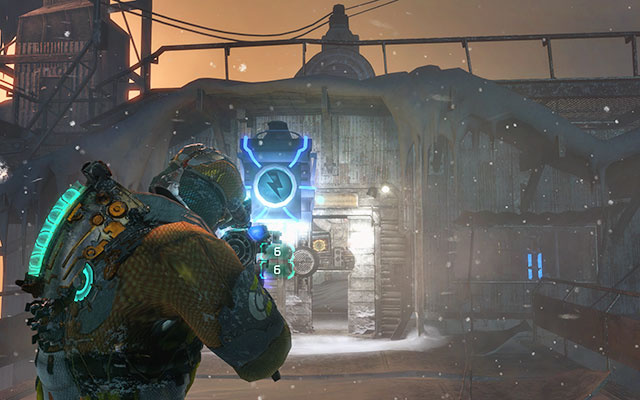
Go straight ahead towards the door in the distance. Unfortunately, on your way, you will be attacked by a larger wave of Necromorphs. Put the core aside for the time being and deal with the enemy. After you clear the way, pick it back up and put it next to the locked door - or, even better, toss it inside.
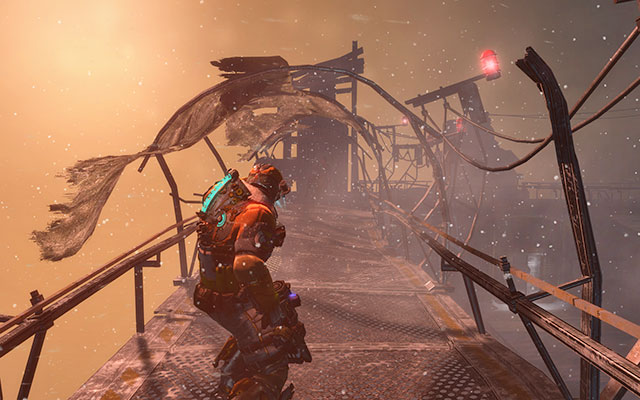
Backtrack a little bit to get to the ladder, and climb it upstairs, Go towards the end of the path, and eliminate the two Necromorphs on your way there. At the very end, you will find a ladder that you need to take to room that has been blocked from the outside.
Upgrade Circuits 2/10 - On the wall at the far end of the generator room.
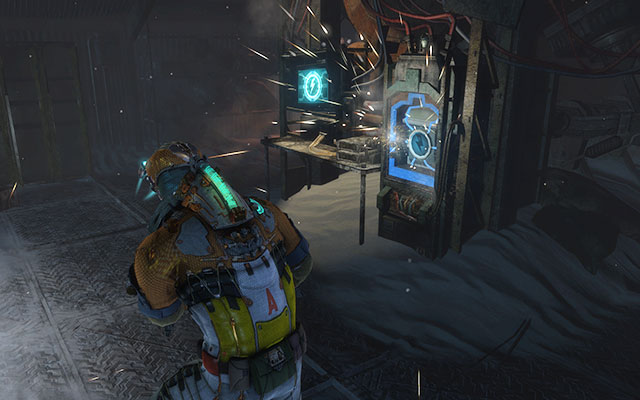
Pick up the core and put it into the slot - this should activate the equipment. You can now activate the power generator. Once you achieve it, you will be attacked by a Necromorph straight away.
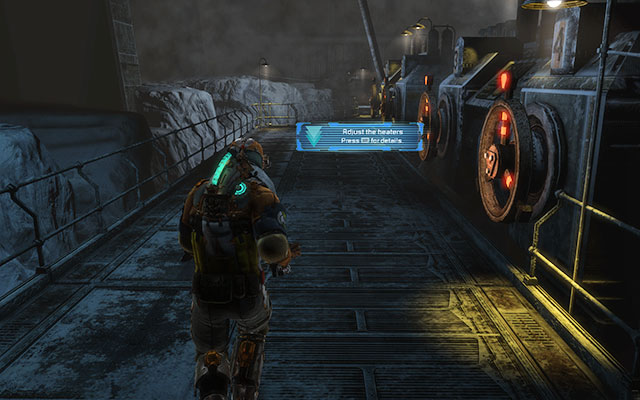
Now you can leave through the door that has been locked before. Take the lift to return to the facility's main hall, where there is the examination subject. You will receive a note that, although the generator is online, the creature does not unfreeze. Approach the four heaters.
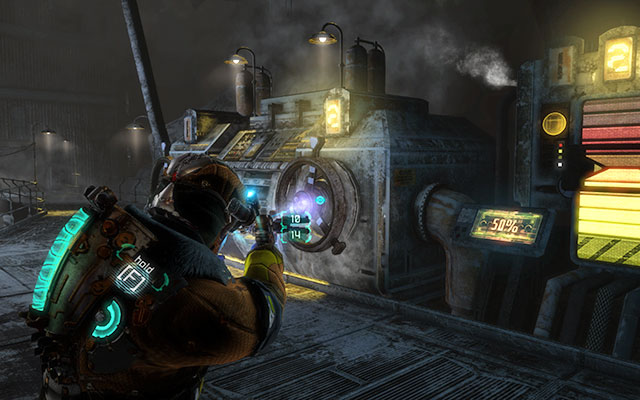
To set the heating to maximum, you need to remove the heaters in the correct sequence. After you activate the panel, you should notice that above both the current temperature gauge, and the knobs, one of the digits went alight- this indicates which knob needs to be turned up . By using kinesis on the big knobs, unscrew the heaters one after another to achieve the maximum possible heating level.
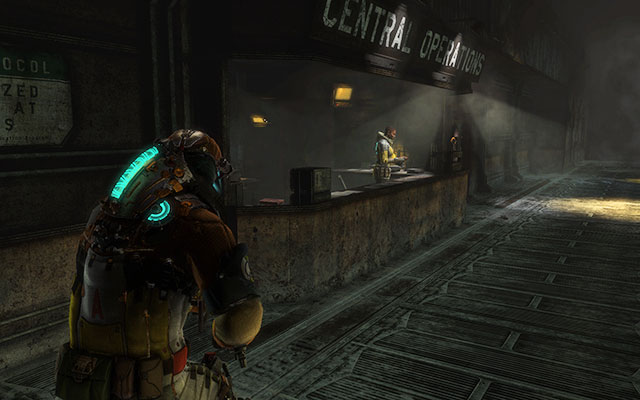
Go towards the lift, right next to the workbench near the entrance to the facility. You will find Santos there, who will fill you in on the whereabouts of the parts necessary to build the probe, and give you blueprints [Probe Gun].
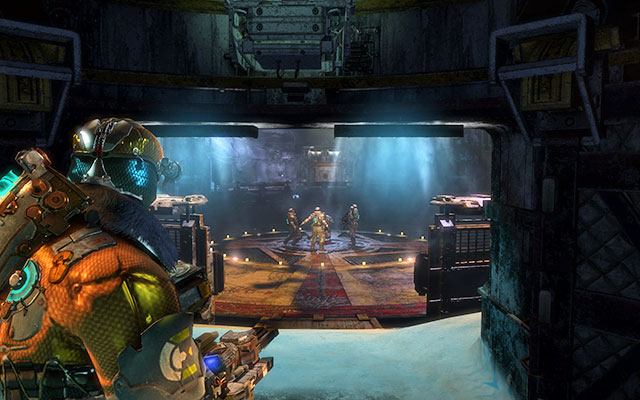
Take the lift downstairs and go towards the facility's exit. Once outside, go left and take the cargo lift to a lower level - walk over to the next facility. Inside you will notice four men that, in a moment, cut their throats.
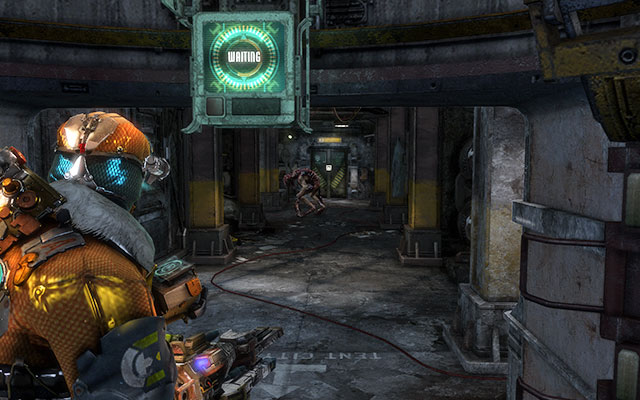
Proceed on and pass a workbench on your way, until you go out again. Keep to your path until you reach another entrance. Inside, you will notice a fleeing creature- ignore it. Turn left to get to the elevator.
Text Logs 1/4 - on the barrel, opposite the lift entrance.
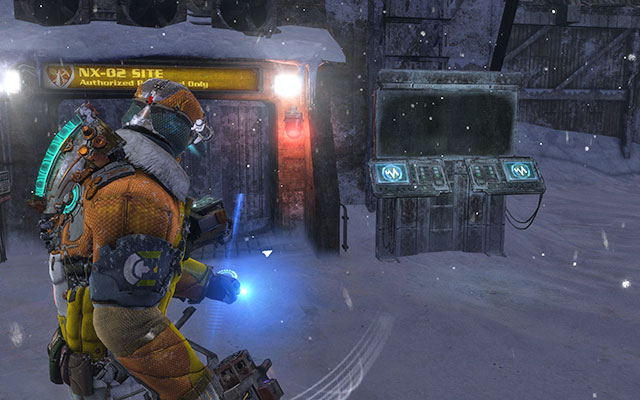
Once outside, you will learn about a new Necromorph type - once you are sufficiently close to one, you will hear music being boosted in a characteristic way. What is characteristic for those creatures, is that they attack from hiding.
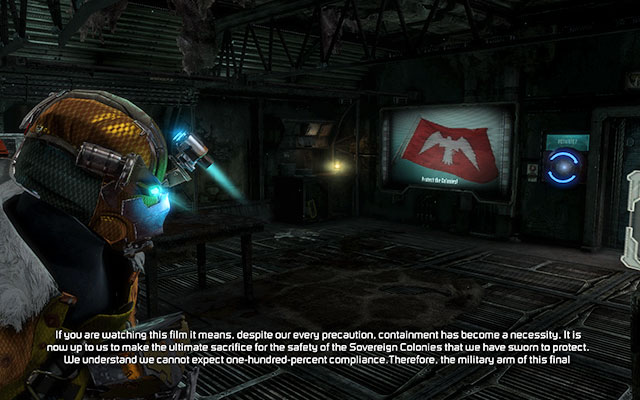
Keep along your path until you reach barracks. Inside you will hear a looping recording, and also you will find several crates and lockers, that are worth looting.
Unitology Artifacts 1/3 - On the crates to the left in front of the barracks entrance.
Text Logs 2/4 - On the shelf, right next to the entrance, right next to the lockers.
Text Logs 3/4 - On the table to the right, inside the first area.
Weapon Parts 1/9 - Inside the depot in the room that you open with a torque bar.
Upgrade Circuits 3/10 - inside the depot, in the room that you open with a torque bar.
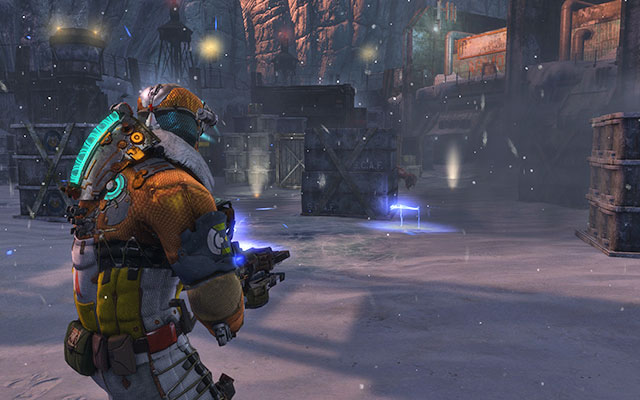
Go further and through the exit to the yard. You are up for a fight with the kind of Necromorphs that you have just learned. Mindful of the number of the crates that they are able to hide behind, do not charge headlong, because you can be taken unawares and attacked from several sides at once.

After you eliminate all of the creatures, open all of the crates and go to the door to your left. To open it, you need to use the interface.
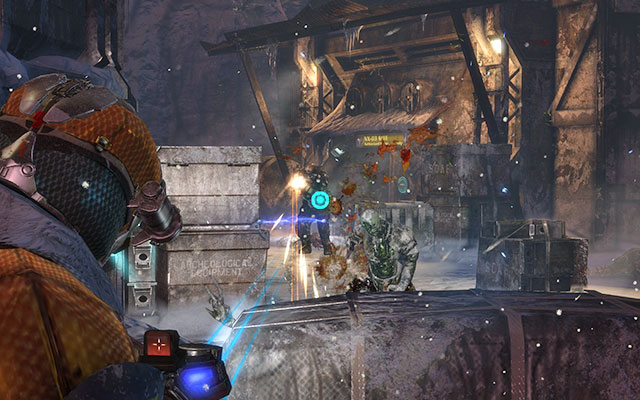
You will enter a huge and completely demolished warehouse.
Upgrade Circuits 4/10 - In the locker on the wall, to the right of the entrance.
Go right and climb down the ladder. The first one of the parts [Probe Tip] can be found on the demolished bridge next to the box.
![The probe's second part [Probe Engine] is on the table opposite, which you can also find some equipment on - Collect the Probe components - 11: Signal Hunting - Dead Space 3 - Game Guide and Walkthrough](https://game.lhg100.com/Article/UploadFiles/201512/2015121517381780.jpg)
The probe's second part [Probe Engine] is on the table opposite, which you can also find some equipment on.
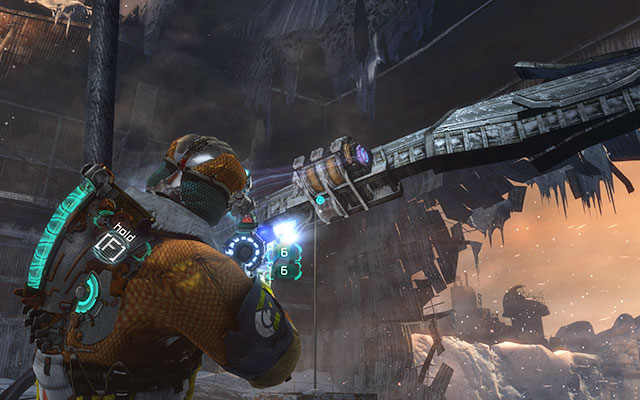
To get the third part, you need to pull up the cargo lift- you do this by using kinesis on the knob, above. Press and hold down the right key as long as it takes for the lift to come up. Approach the lift and collect the part [Probe Frame].
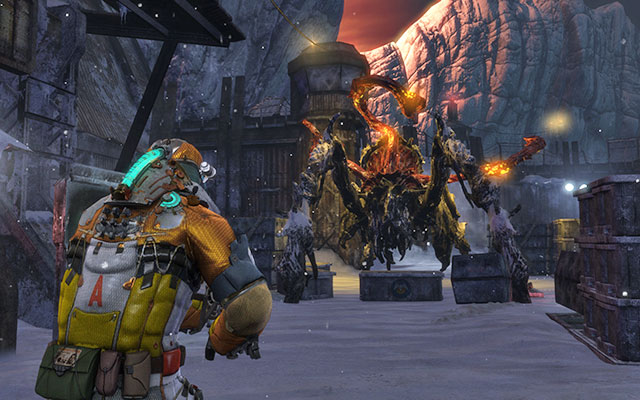
Now, that you have all the parts that you need, climb up the ladder and return to the facility. Unfortunately, while in the yard, you will be attacked by an spider-like Necromorph. The tactics to eliminate the creature is the same as before - you first need to shoot the three tentacles projecting from its head, and then the one that sticks from the mouth. After you destroy all three mouth tentacles, the creature will flee again.
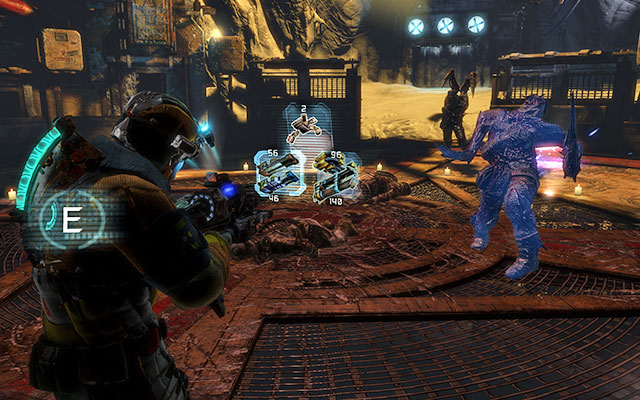
After you deal with the monster, return to the path back to the facility. On your way there, near the arena, you will find a workbench where you can craft a new weapon - the probe gun. You will also be attacked by several Necromorphs here.

After you take the cargo lift up, you will be attacked by yet another Necromorph wave. This time around, it's little, crab-like, creatures. Try to eliminate them as fast as possible to prevent them from changing bodies. All in all, you will reach the facility with the monster inside.
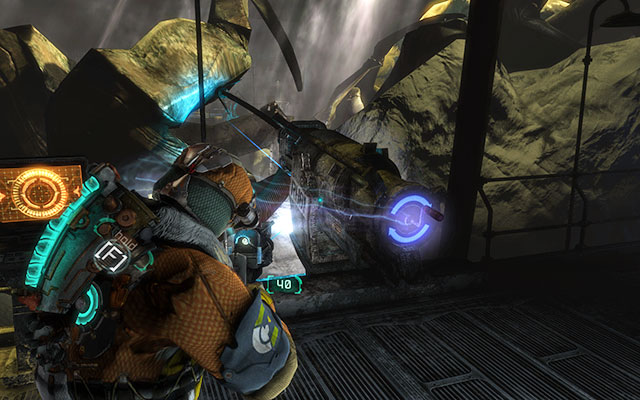
In case you haven't done that yet, right after you enter the facility, there is a workbench to your right, where you can raft a new weapon- the Probe Gun, basing on the blueprint and the collected parts. Go up now and to the first one of the harpoons. Activate the gun and when the harpoon catches on to the monster's flesh, , use kinesis to open it up. Do the same with the harpoon at the other side of the hangar.
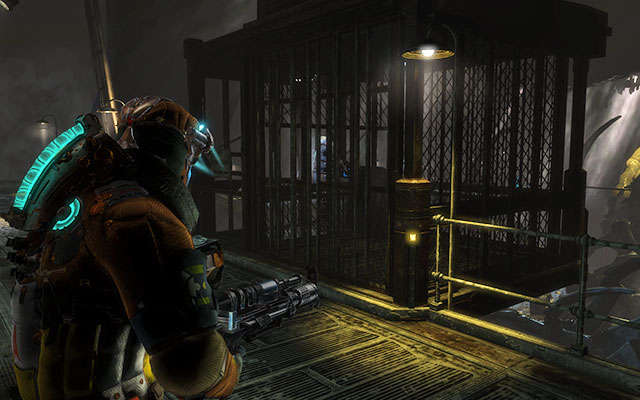
Go back now to your comrades and enter the cage in the middle. Wait for a moment, until you are transported inside the body cavity.
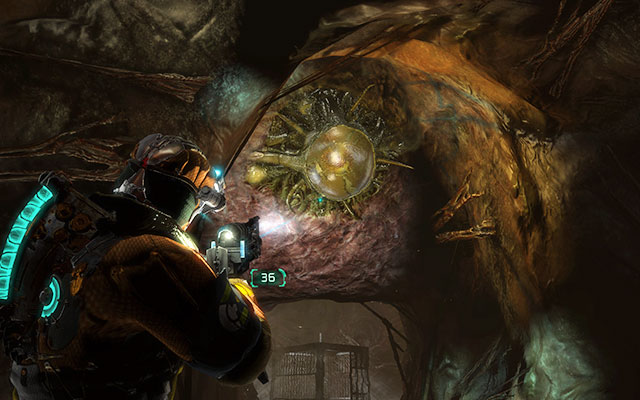
Your task now is to find the synapses that you need to examine. While aiming the probe gun, you should be hearing a beeping sound - the higher the frequency of the beeps, the closer to your target you are. The first one of the synapses can be found to the right of the entrance to the cage. As soon as you take a shot at it, you will be attacked by a horde of Feeders. The best strategy is to return to the cage, where you can be sure that you won't be taken from behind.
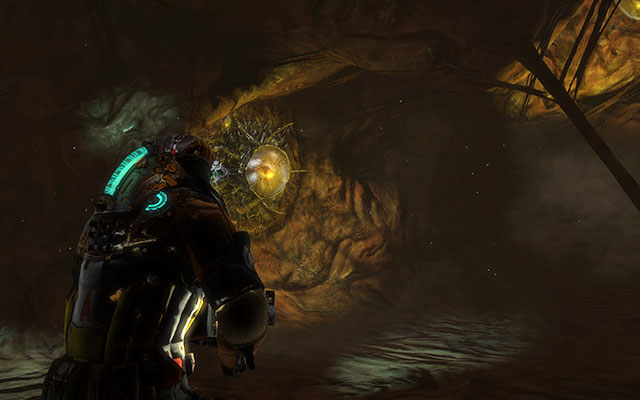
As soon as you handle the first wave, set out to find the second synapse. The fastest way to find it, is return to the cage and go to the left (of the cage's entrance). This time, you won't be attacked by anything. As you proceed on, you will finally find the third synapse- inside the largest cavity.
This time you will be attacked, by an even larger group of hostile creatures. Return to the cage as fast as possible, where you will be able to drive off all of the attackers.
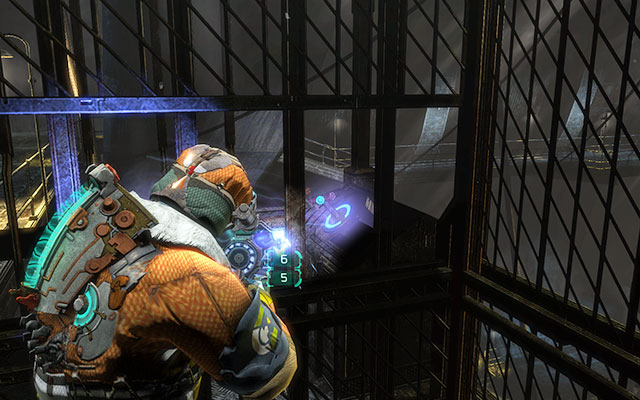
Once everything falls silent again, return to the cage- after a while, you will be pulled back out of the cavity. Unfortunately, Norton is not inclined to cooperate and he won't open the cage for you to exit. Don't worry though - You can open it yourself by using kinesis on the knob.
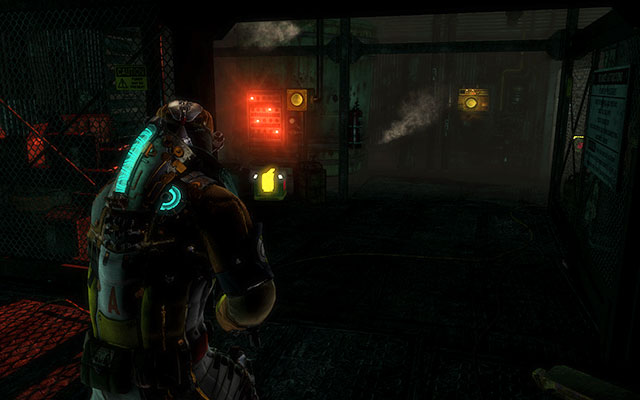
Take the lift to go down, and go to the room with the suit kiosk. This time the other door - the one to the left of the entrance- will be open. Go that way and you will end up in a dark corridor with crates in it, do not forget to replenish your supplies.
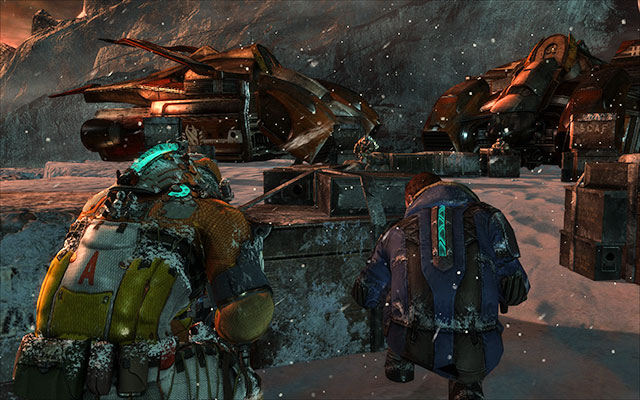
After you reach the door outside, you will see a cutscene. As soon as it finishes, you will have to fight enemy soldiers- the exchange will not take too long.
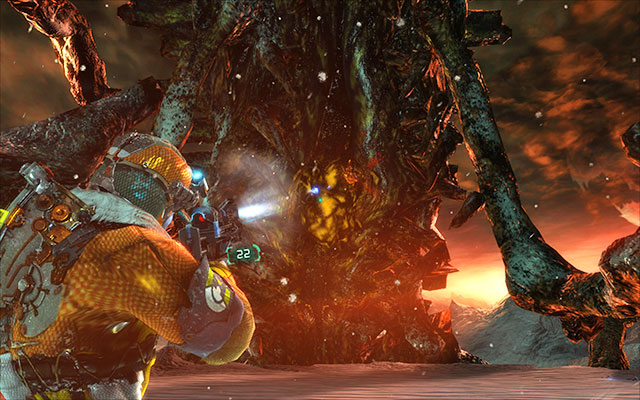
After a while, a giant beast that sucks everything within reach, will enter the stage. Be mindful of its appendages - try to avoid them. You do not need to pay that much attention to Feeders. You'd better focus on shooting the yellow formation on the monster's crate.
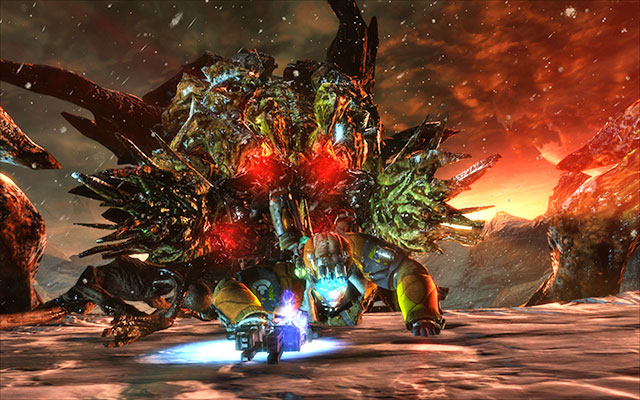
After you take several, well-aimed, shots, the monster will go mad and it will start to suck in everything, including you. To prevent being eaten, shoot at the yellow formation on the mandible. After you destroy one, the monster will stop sucking in. Repeat this tactics as long as all of the yellow formations turn red.
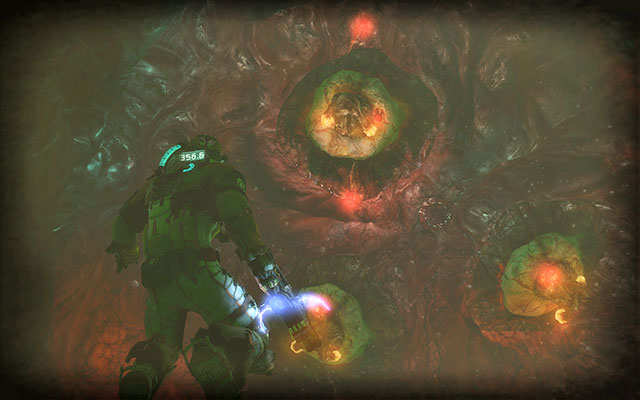
Unfortunately, you get swallowed by the monster anyways. After a short "journey" along the esophagus, you will regain control over the character. Your task now is to shoot nine glowing abdomens organized in three points- try to do it quickly, depending on how much oxygen your suit holds.
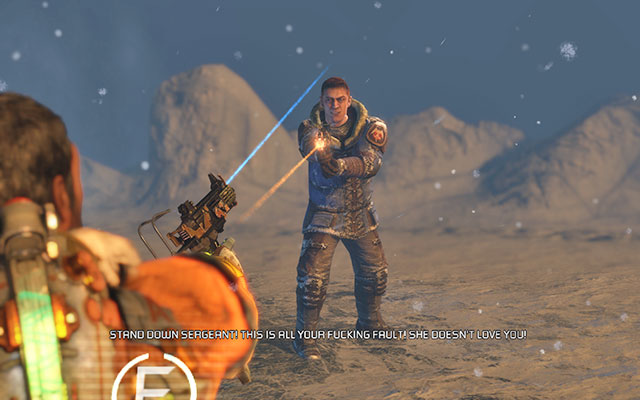
After you shoot all of the abdomens, you will be spitted out. This will trigger a cutscene of your confrontation with Norton. You can eliminate the traitor by pressing the correct button.
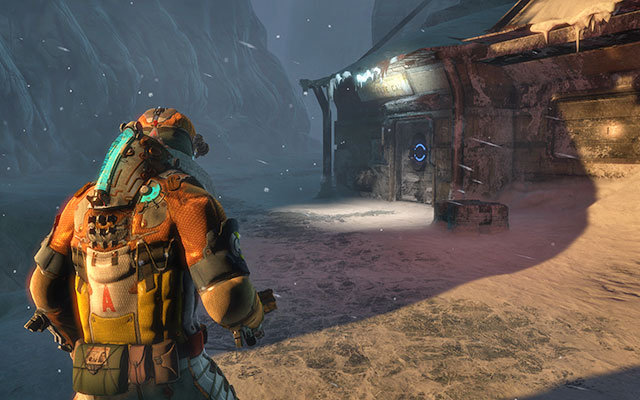
You will start over a cliff. Go straight ahead until you reach a small room with a and a workbench in it - it will go online only after you start the generator.
Blueprints 1/1 - On the crate right next to the building.
Upgrade Circuits 1/1 - Inside the building in the locker, to the right of the entrance.
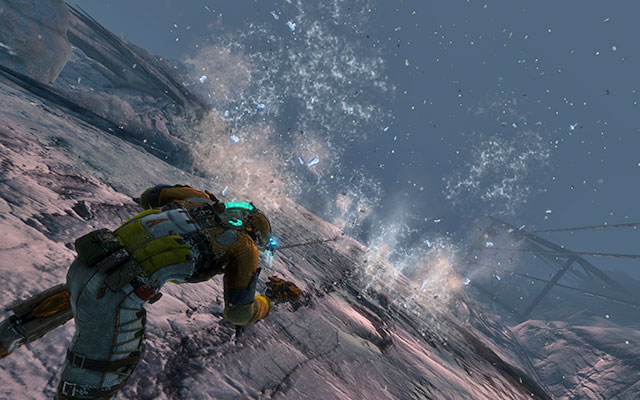
Keep going, until you reach your companions. After a short conversation, search the cave for crates, and approach the climb support mechanism. Start climbing up while steering clear of the falling debris. After some time, you will encounter a hole in the middle of your path - by using the directional pad (right or left arrow key) combined with the jump key, you are able to perform a swift jump to the side- this allows you to avoid obstructions and jump over holes quickly.
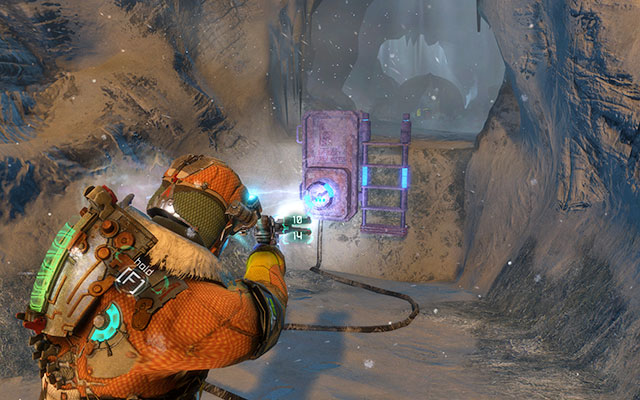
After you reach the top, detach the line and go towards the next panel. This means another climb. As soon as you reach the top again, go left. You will reach a cave and a mechanism with ladder- by using kinesis, extend the ladder and climb it.
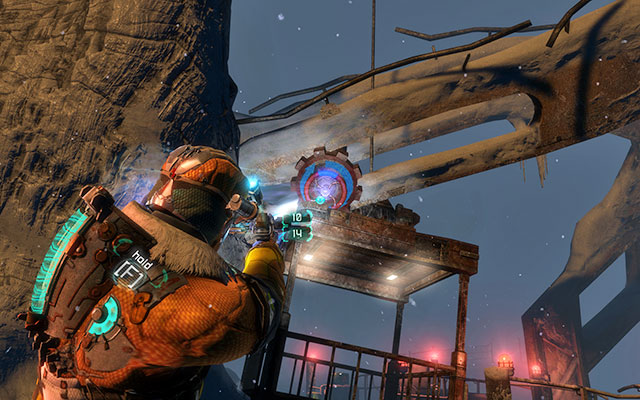
Inside the cave there is quite a number of crates- remember, therefore, to replenish your supplies.
Weapon Parts 1/4 - Near one of the tents in the cave.
Go left and you will encounter a Necromorph, that has been trying to smash a rock, which it has been crushed by, with a pickaxe. Ultimately, it will give up and attack you with its upper part. As soon as you start shooting at the creature, the other creatures will come.
Weapon Parts 2/4 - Behind the crate, to the right of the spot where the Necromorph has been crushed.

After you clear the cave completely, proceed along your path until you leave the cave. A bit further, you will reach a blocked lift. Use kinesis on the gear to release the lift that will go down for your companions.
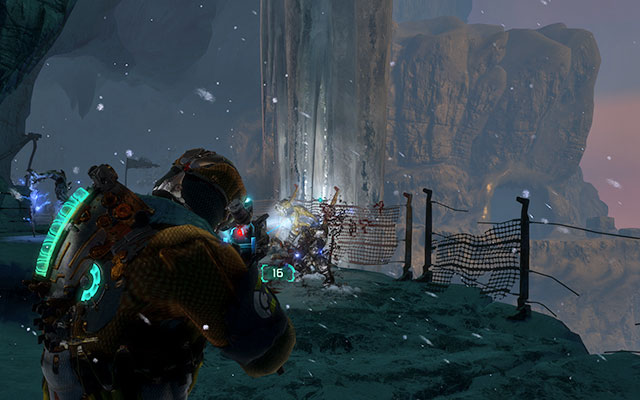
Your next task is to find the lift controls, to bring your team members up. On your way to the next cave, you will be attacked by a considerable swarm of Necromorphs.
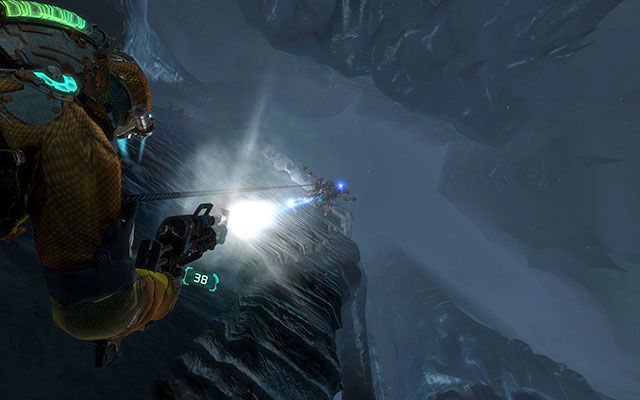
Eventually, you will reach another climbing mechanism - this time around the climbing is going to be more demanding.
Weapon Parts 3/4 - On the crate near the climbing mechanisms. Right next to the crates.
Along your path, you will bump into several Necromorphs- Try to be the one to eliminate them because they will be shooting at you also. Furthermore, you will reach the spot where it will be impossible to go any further - you need to jump, over the hole, to the right. A bit late, you will have to do the same thing again.
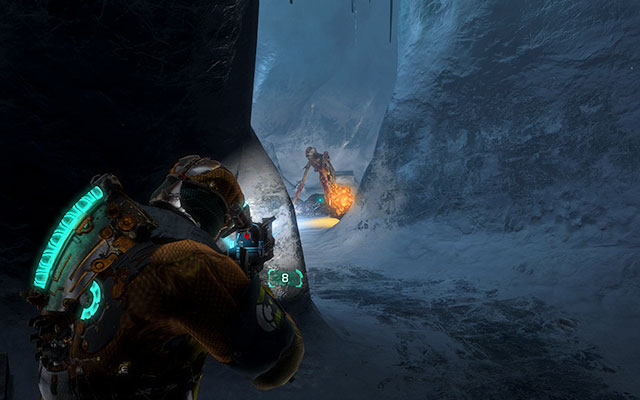
Go straight ahead- where the road forks for the first time, go right, to your left, you will find some crates to loot. After some way further, you will be attacked by Necromorphs- pay attention especially to the exploding ones and eliminate them at a distance.
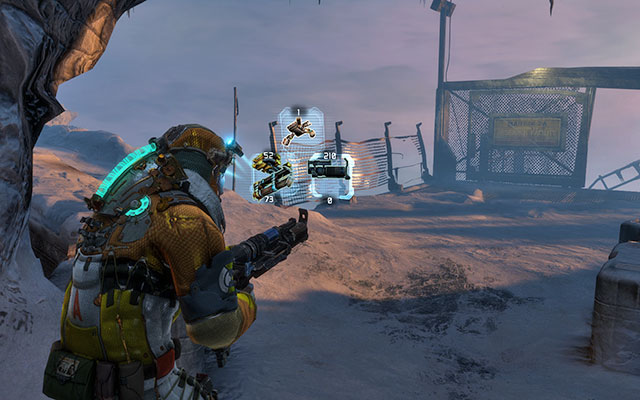
At the second forking, go right . To the left, there is a Scavenger Bot - you can't get fed up with them, so it's a good idea to go there. After a quiet journey, you will leave the cave.
S.C.A.F. Artifacts 1/1 - On the forking, turn left, the artifact is on the ground next to the crate.
Weapon Parts 4/4 - After you leave the cave, turn left - the part is right next to the crate in a small encampment.
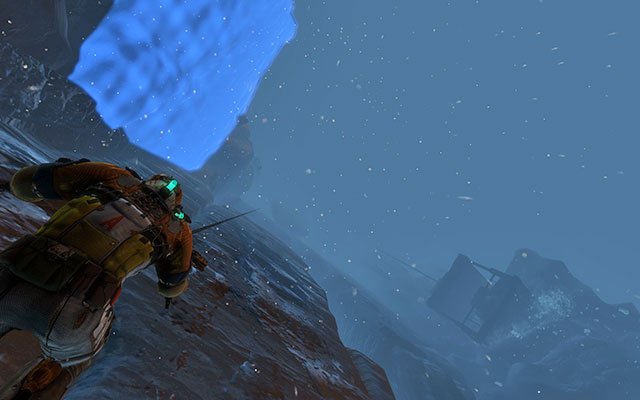
Turn left and you will reach another climbing mechanism. This time, it's the toughest part of all - with stasis, slow down the large rock falling to your left. A bit further up, you will find a swinging lift. As soon as it reaches to the wall on the left, another piece of rock will fall. At this moment use stasis to slow down both the lift and the rock- under no circumstances should the lift start to swing.
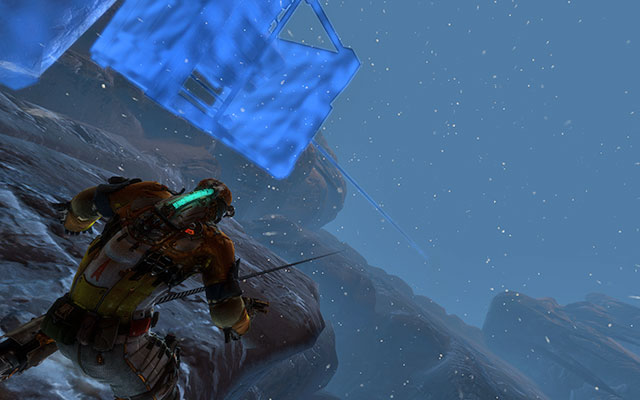
Jump across the hole to the right- keep your eye on the lift at all times, As soon as stasis deactivates, and the lift begins to move your way, slow it down again. If you get hit, you will fall and die on the spot.
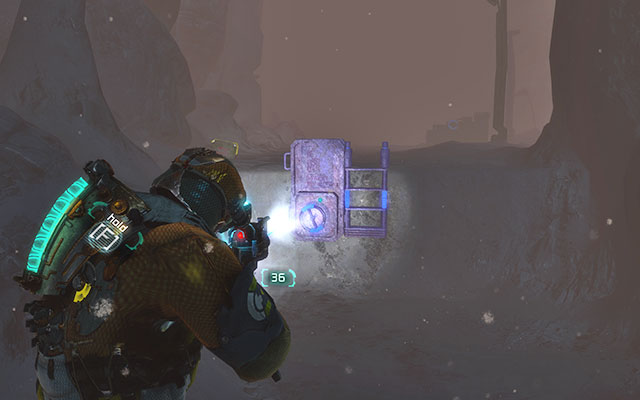
As soon as you reach the top, take the path forward and eliminate the Necromorphs on your way. Use kinesis to start the ladder mechanism to climb higher.
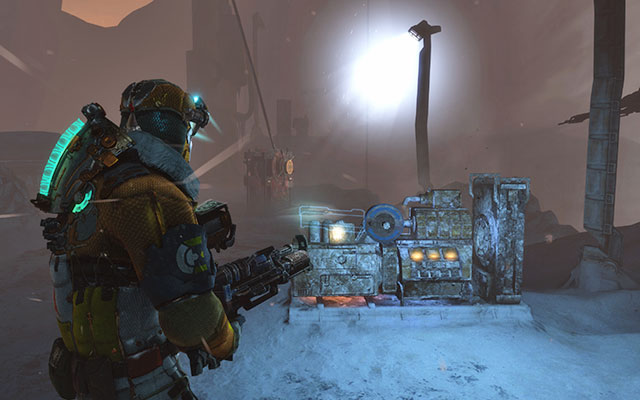
Eventually, you will reach the lift control mechanism - use kinesis and start the mechanism straight away.
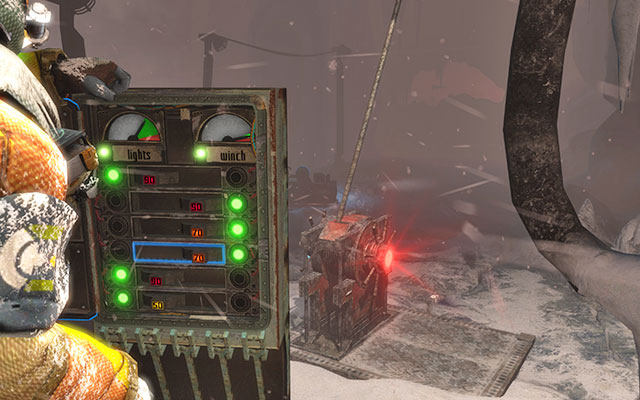
After a while a fuse will blow - take the path on the left side to find a fuse box. Your aim now is to set power onto the winch. As you surely noticed, the field that the pointer needs to be placed in is small. First of all, move the fuse [50] to the left, and then [70] to the right- this should help.
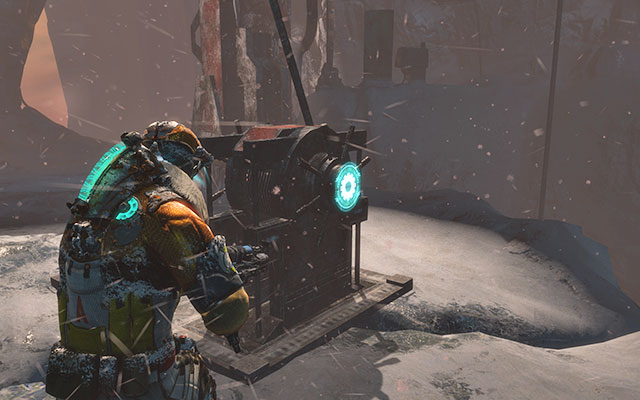
Go down now and to the mechanism - this time around, you need to set it into motion manually. Fortunately, the lift, with the team inside, is almost there.
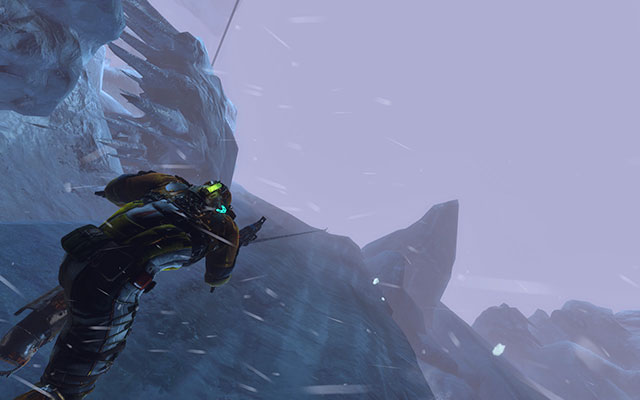
Unfortunately, the lift will be attacked by the monster you've already had the pleasure to meet. This time, you will lose another team member and you yourself will fall to the lower level. Go straight ahead to reach the climbing mechanism - as soon as you approach it, the creature will come up.
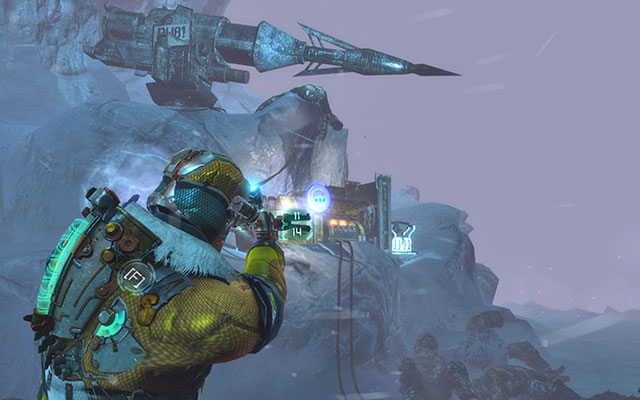
Instead of wasting your ammo on the creature, do not shoot at its tentacles, but run around it until you reach the harpoon-activating generator. Use kinesis to set it into motion. Try and keep your eye on the monster, at the same time, that will surely be coming your way. It's definitely a good idea to use stasis to slow it down, which will buy you some time to activate the mechanism.
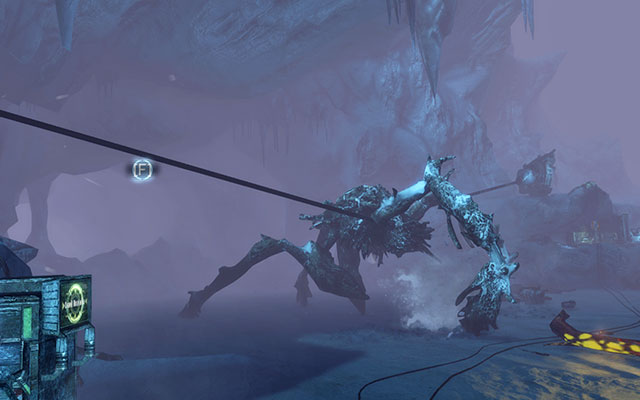
After you activate the system, you should notice blue laser beams - you now need to lure the monster into the area operated by those beams. To drive the monster mad, destroy the three tentacles projecting from its head- this will prove effective at encouraging the monster to charge at you.

As soon as the monster is captured, run towards the small controls to the right, to initiate tearing the it apart, by. If you aren't quick enough, the creature will liberate itself, and you will have to lure it within the reach of the laser beams again.

When you manage to put an end to the creepy-crawly's life, collect the supplies it left behind and make your way to the climbing mechanism. The last journey up is devoid of any unpleasant surprises - when you finally reach the top, you will meet up with Ellie.
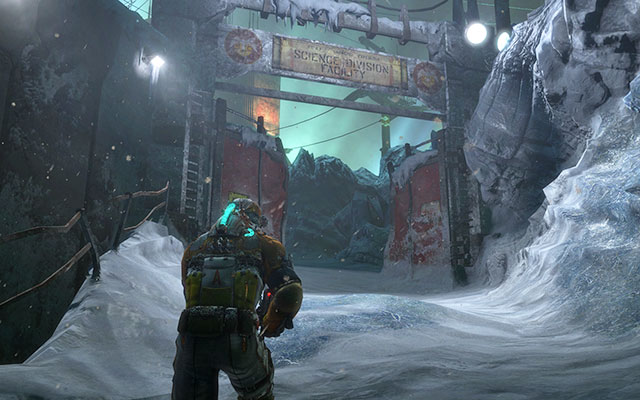
Run towards the ladder where your companions climbing up. Unfortunately, in the middle of way up, the ladder will collapse.
Upgrade Circuits 1/13 - On the crate to the left, next to the ladder.
Cross the cave until you get to the large red gate. You'll see a new type of opponent in a distance but you'll encounter him later.
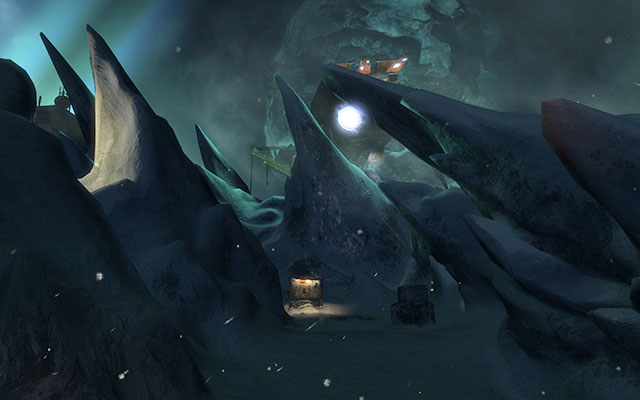
After a short walk you'll reach the entrance to the front gate of the facility. In the corridor you'll find two crates with supplies. The next door leads again outside, where you'll see a shuttle flying by.
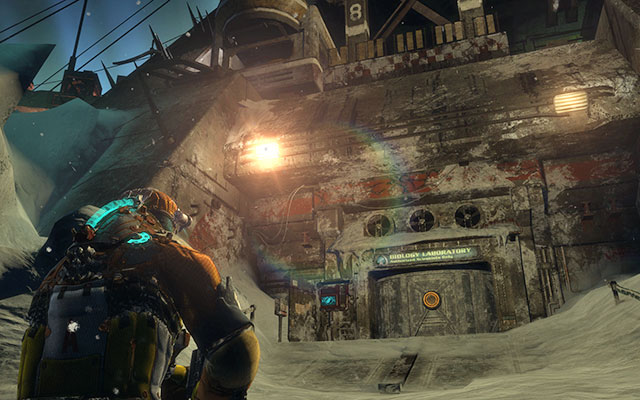
Keep going forwards, walking past the destroyed vehicle, until you reach the entrance to the facility.
Blueprints 1/3 - At the back of the destroyed vehicle.
Use the panel at the entrance to bypass security and unlock the gate. After that, go inside.
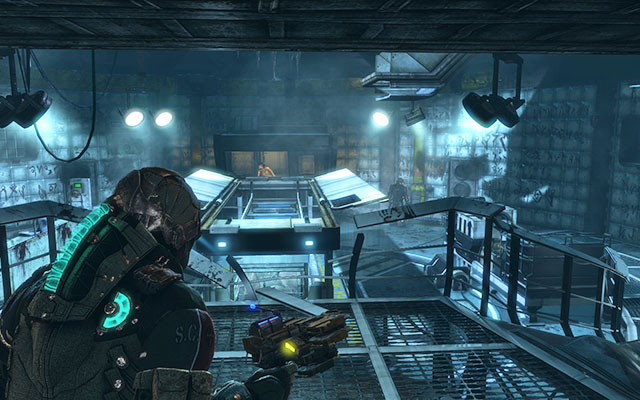
You'll find yourself in the biology section. In a corridor you'll notice crab-Necromorphs running towards you, which will attack you if you move forwards. In addition, larger Necromorphs will also try to attack you.
Weapon Parts 1/14 - On boxes to the right, next to the entrance to the facility.
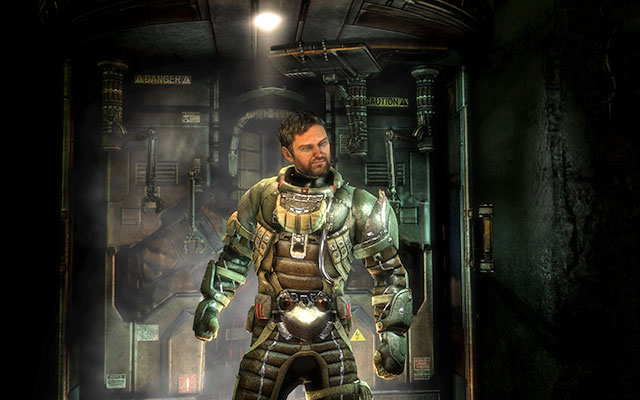
On the left side of the corridor you'll find suit kiosk - after entering the facility you'll get information about unlocking a Legionary Suit - it is worth to put it on. Once you're ready, head to the elevator at the end of the corridor.
After leaving the elevator go through the corridor to one of passages leading to the lab. Listen to the conversation with Ellie, during which you'll learn that you have to collect Rosetta samples, scattered throughout the facility.
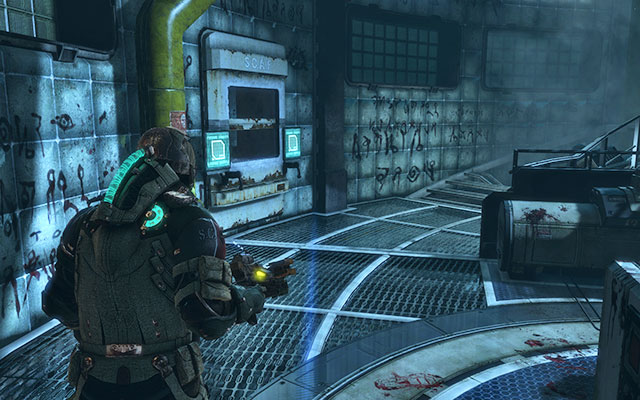
The first slab can be found in the lab, where you are now. Go to the control panel - you'll see a recess with S.C.A.F. sign. After activating it, the first Rosetta stone will appear.
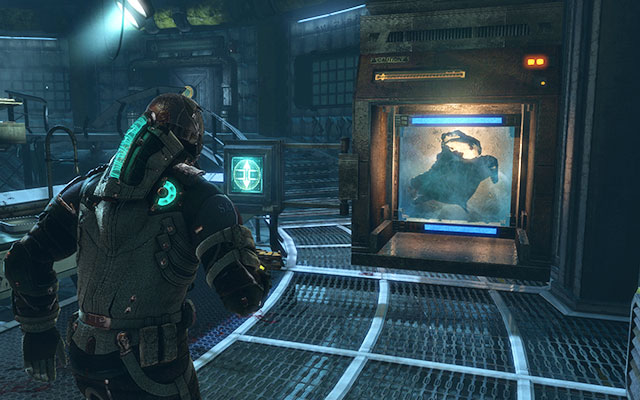
Use kinesis to pick up this part and move it to the other side of the room, to a special cataloging system. After few moments the piece will appear in the middle of the lab, where you'll be able to reconstruct Rosetta stone after collecting all pieces.
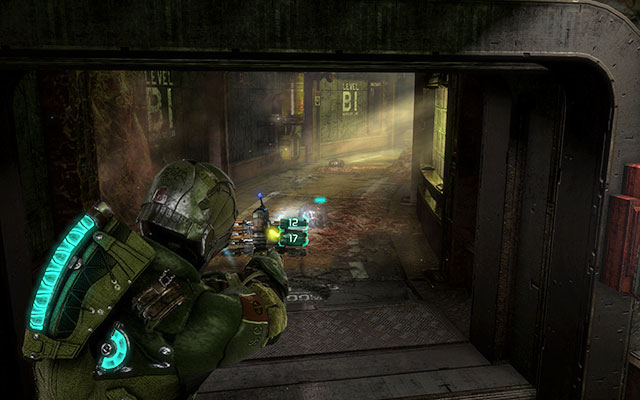
Take the Research Facility Key provide by Ellie - you can find it in a small hole in the booth where your partner stays and leave the lab. Walk the corridor to the elevator and ride it down - in the next corridor go t its end, to the biology sector. Walls are covered with some kind of organic matter - watch out for spiting bulbs.
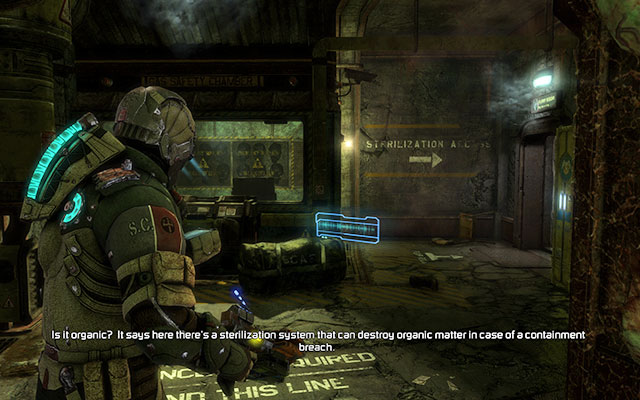
Clear the path and head to the end of the corridor. You'll encounter a small control room, where you can deploy gas. Unfortunately the pump is off - choose the only available door there and ride down the cargo elevator.
Upgrade Circuits 2/13 - On the wall to the right in the room with the elevator.
Text Logs 1/7 - On the table in the room with the elevator.
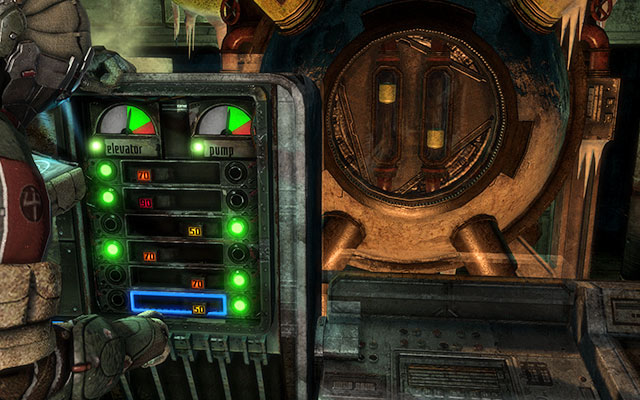
On your way down you might deal with Necromorphs which will appear on walls to the left and right side. After getting to the bottom you'll see a fuse box. Your task is to manipulate fuses in such way, that you'll power up both the pump and the elevator. The above screen presents the correct fuses combination.
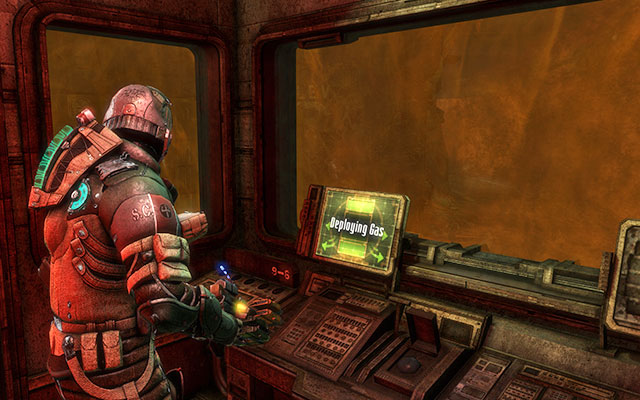
When you power up both the pump and the elevator, you'll be attacked by few Necromorphs. This location is quite small, co remember to use stasis to slow down your opponents, which should make their elimination easier. After getting rid of the opponents go to the elevator, ride it up and go to the room, where you will deploy gas.
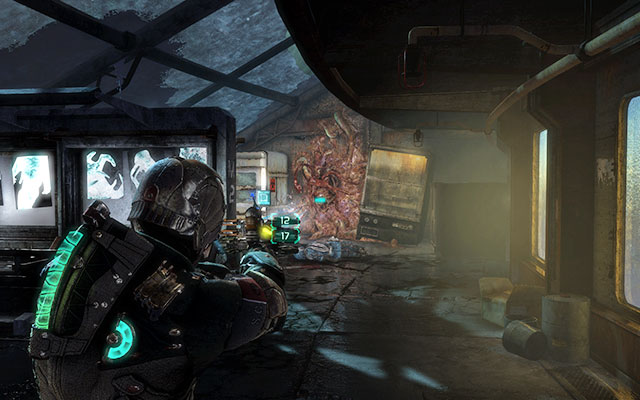
Wait until the door gets unlocked and follow the cleared corridor to the unlocked door on the right, more or less in the middle of the corridor. Go through the door to the next room where you'll find another Rosetta plate. Next to it you'll encounter a Necromorph with tentacles - shoot them off to quiet the monster.
Audio Logs 1/4 - On the desk to the left, after entering the room.
Alien Artifacts 1/2 - On the barrels to the left, next to X-rays.
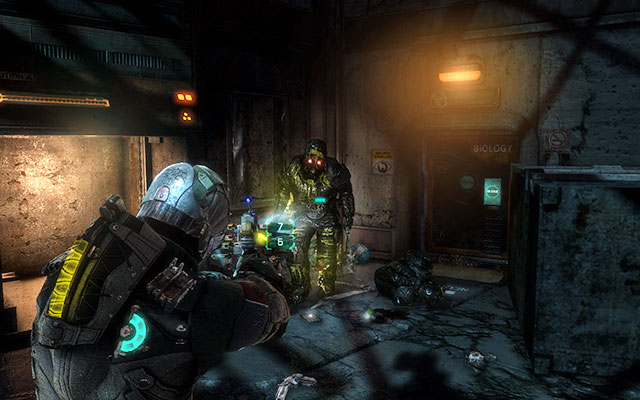
Call the plate and use the kinesis to get it to the cataloging system, located next to the entrance door. Unfortunately during this action you'll get attacked by a horde of Necromorphs - throw away Rosetta plate for now and deal with monsters. Once everything is cleared, take the plate and place it in the proper spot.
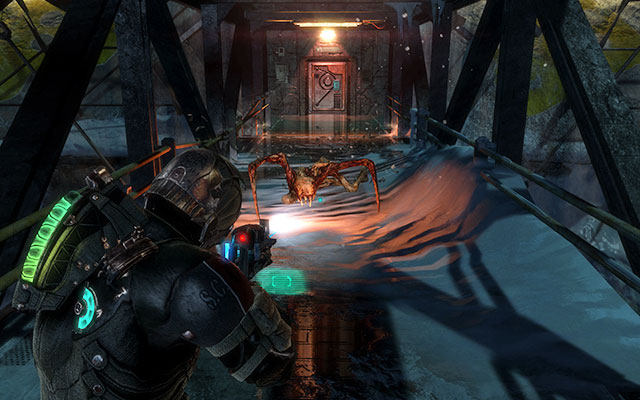
Leave the room and walk to the corridor, where you'll find a cargo elevator - you'll ride it to the next floor. Go through further doors until you get to the long bridge connecting biology and paleontology sectors. On your way there you'll be of course attacked by several Necromorphs - watch out also for your back, because some creatures may surprise you from this side.
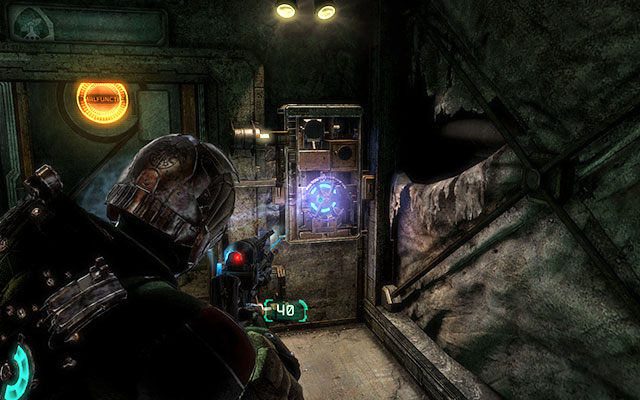
In the next room you have to use kinesis on the nearby crate in order to open the door. Inside the crate you'll find a mechanism of opening the door manually. Clear lockers in the next room and head right, towards the elevator.
Upgrade Circuits 3/13 - On the wall to the left, near the elevator.
Weapon Parts 2/14 - On the shelf inside the supply room which can be opened with a torque bar.
Side mission Reaper Barracks - you'll find a key to side mission on the table [Reaper Barracks Key].
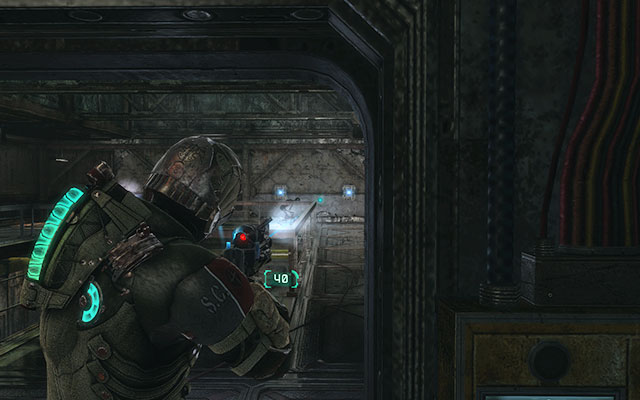
After getting down with the elevator you'll be welcomed by a horde of skeleton-Necromorphs. As they attack you from every side, staying at the same place is not a best idea.
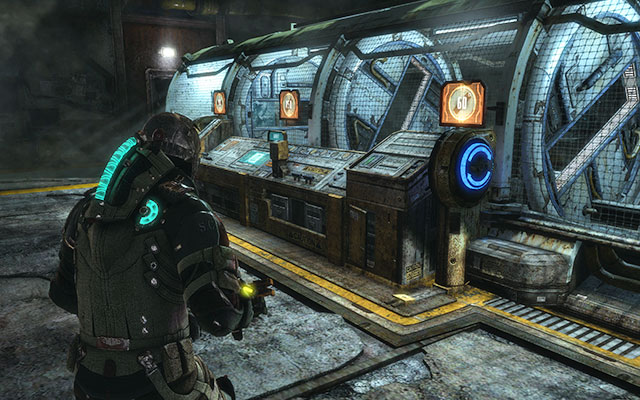
After long fight loot all supply lockers located on walls and go to the other side of the room, where you'll find a cargo elevator. You'll find yourself in front of the large tube-like machine, inside which you can find the next plate.
Audio Logs 2/4 - On the table, near the plates cataloging system.
There are wheels on both sides of the panel:
Left wheel: turns the left disc at 90 degrees and the middle disc at 60 degrees;
Right wheel: turns the right disc at 60 degrees middle disc at 90 degrees.
Your objective is to set all disc at 0 degrees, so you can pull out the plate. If you didn't touch any wheel yet, you have to turn both wheels 5 times each to solve the puzzle.
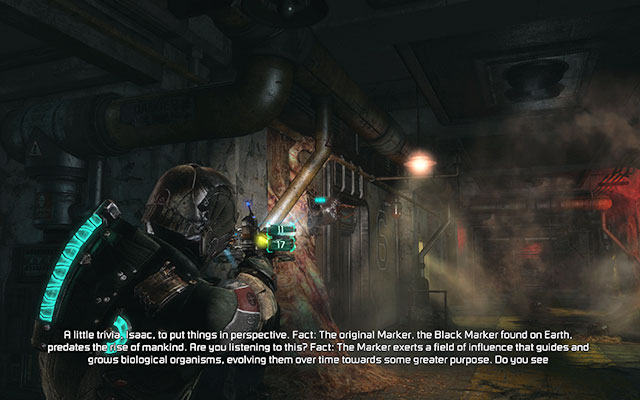
After setting all wheels at 0 degrees, activate the panel to eject the plate and pick it up using the kinesis - take it to the cataloging system. Go through the next door and then head to the left door. You'll find yourself again in the corridor covered with an organic matter - first deal with spitting bulbs, eliminating them from a distance.
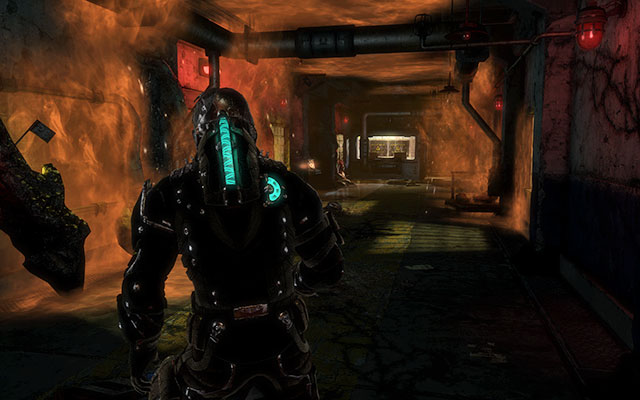
You have to deploy gas again - unfortunately you fail to do it inside the control room. Go to the end of the corridor - use kinesis on the panel to take off the cover and then turn the wheel. Gas will fill the corridor. Do not wait for anything and run towards the room - once you get there, the door will shut and you'll be able to safely wait until utilization is over.
Upgrade Circuits 4/13 - On the wall behind the control room, where you can deploy gas.
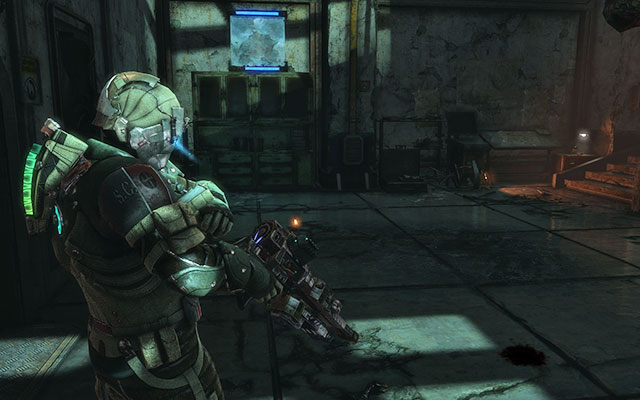
You'll find yourself in quite large room, full of Necromorphs. When you finish their extermination, you should loot out the room first, before you'll grab another plate. The next part of Rosetta can be found in the corner, on the closet.
Alien Artifacts 2/2 - On the drawing table, right from the entrance.
Audio Logs 3/4 - On the table near the wall, on the right side of the room.
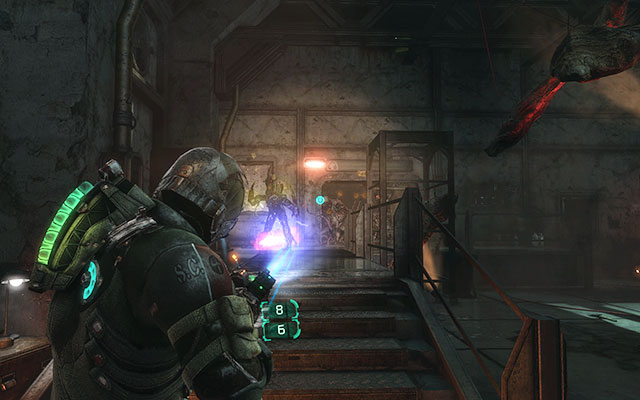
Head to the exit where you'll be attacked by Necromorphs lurking behind the gate. In the next room you'll find some lockers - the next exit leads outside.
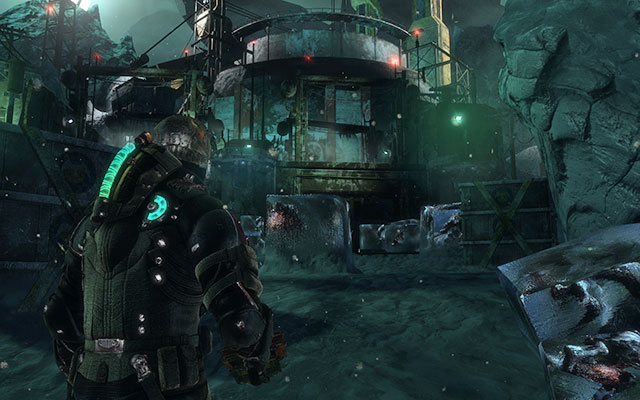
The further way is guarded by a patrolling ship - try to carefully move forwards, trying to avoid spotlights. If you get spotted, they will open fire at you.
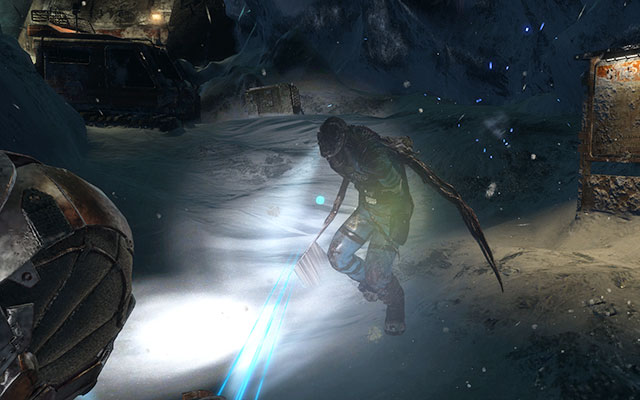
Run towards the entrance to the next part of the facility. When you get past the vehicle, you'll come across a new type of Necromorph - fast-moving one. The best technique to deal with such creatures is using stasis to slow them down and cutting off their legs. Before you enter inside, you'll have to fight several such opponents.
Go through the corridor in biology section, until you reach another exit outside and then head towards poorly looking bridge.
Weapon Parts 6/14 - While being close to the bridge, go to the cave on the right. Weapon part can be found in one of branches.
Near the large crates you'll encounter few Necromorphs - try to watch out between crates because these creatures are unwilling to attack in the open.
Unitology Artifacts 1/1 - Next to one of pillars between crates.

Go left, to the cargo elevator and ride it up. Now head to the next complex, passing by frozen parts of monsters along your way and exterminating encountered Necromorphs.
S.C.A.F. Artifacts 2/3 - Behind the crate on the right.
Another passage leads to the geology sector. You'll find yourself in the room full of frozen monsters. Inside the room you can find a workbench and few usable items.
Upgrade Circuits 7/13 - On the wall inside the room with frozen creatures.
Go through the next door and turn right when you reach a small corridor.
Side mission Disposal Services - a key is located on the shelf.
Blueprints 3/3 - Inside the supply room which can be opened with a torque bar.
Weapon Parts 7/14 - Inside the supply room which can be opened with a torque bar.
You'll find yourself in the room with lasers. Use kinesis and grab a large stone block - move it to block the laser bean. Go through the first part and then block next beams in the way you did it previously. Go to the very end, where you'll find another plate. The way back is the same with one addition - at some point you'll be attacked by few Necromorphs. Place the plate in cataloging system and go to the lab.
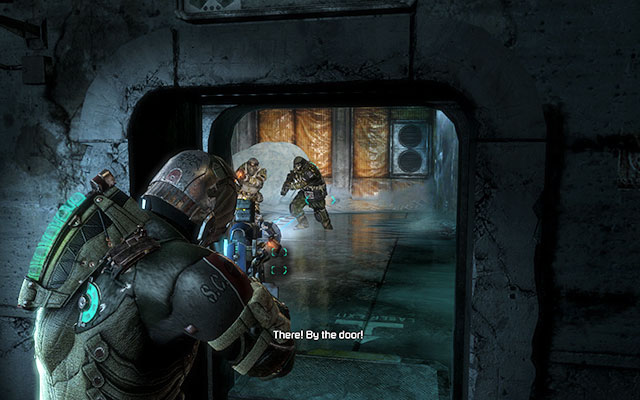
On your way back you'll be attacked by Unitologists inside a room with frozen monsters. A further way goes without problems - go to the cargo elevator, ride it down and head to the biology sector with the lab.
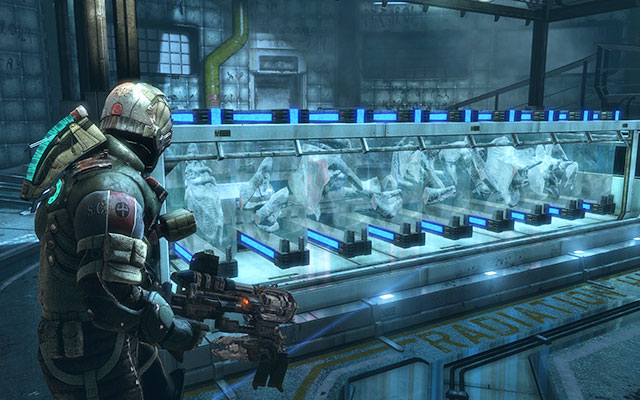
After rejoining with your friend in the lab, go down and approach collection of frozen part, you've collected earlier. Two outer are in place and you are not able to move them. Your task is to shift the pieces in the correct order, using kinesis of course. The solution is described below:
There are 9 fragments in total - two outer ones are in places and you are not able to move them. A part closer to Ellie is marked with number 1.
Explanation: 2 -> 8 means that you have place fragment number 2 on position 8 etc.
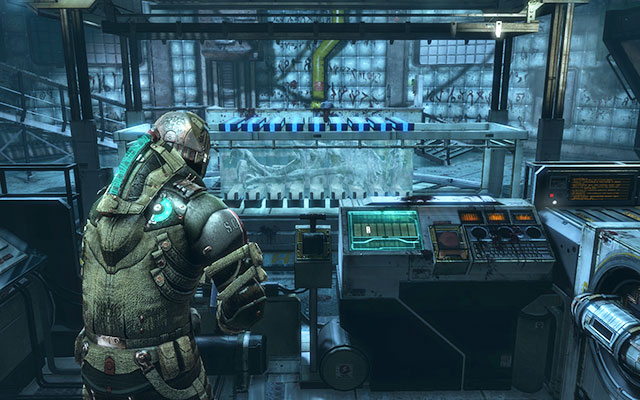
After proper rearranging all pieces, Rosetta should be completed - so now it is time to start the machine. Move to the walkway on the opposite side of the creature and activate the panel.
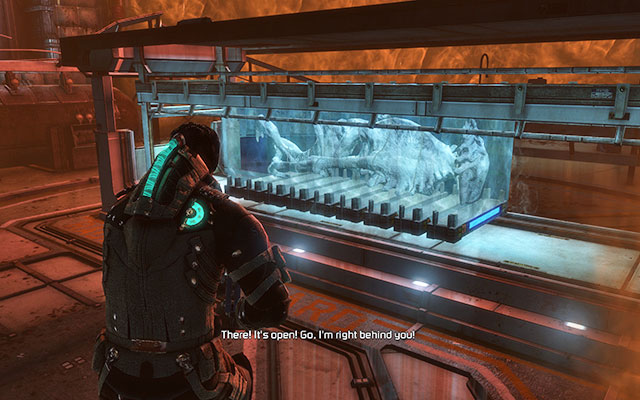
After the process is finished you'll watch a short cutscene - once it is over quickly run towards the exit. If you wait even a few second, the gas which slowly fills the rooms, will block your way. Walk around the Rosetta on the left side - it is the only way - and then run up the stairs towards your companion.
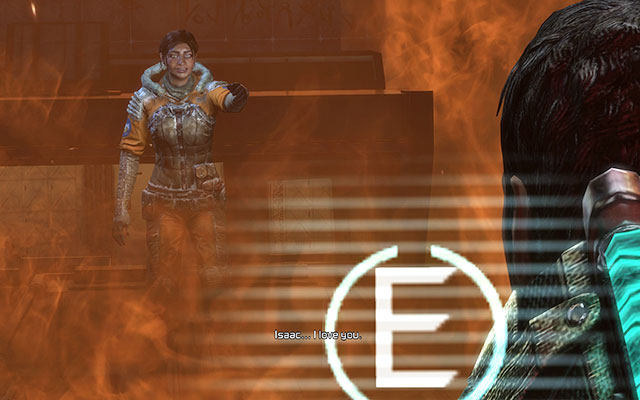
After getting to the passage, the door gets damaged - help your companion to close the door by pressing a proper key, thus leaving Ellie to die. If you do not close the passage, you will die.
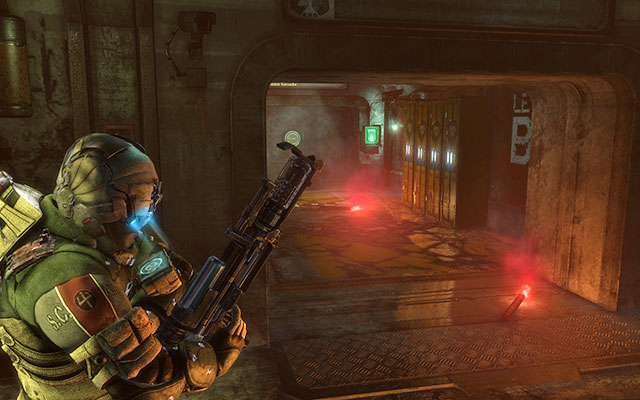
When the gate is open, run to the end of the corridor to the elevator, watching out for gas. You'll split with your companion, going to another floor. After exiting the elevator, go to the first entrance to the left - there are flares on the ground. You'll also find several lockers at the wall. Now go outside.
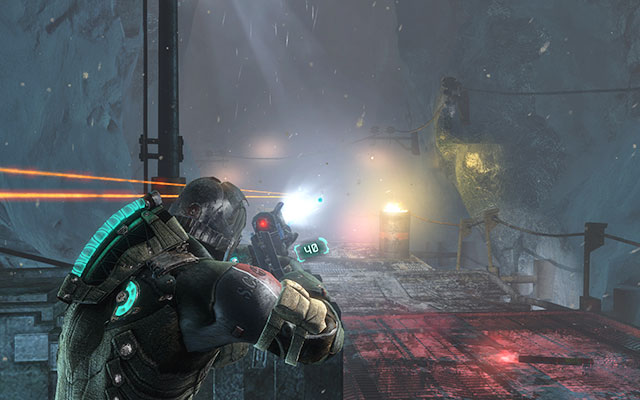
Right after exiting the facility you'll be attacked by Unitologists - particularly watch out for the enemy with RPG.
Weapon Parts 1/2 - On the crate, on right side near the bridge entrance.
After defeating the first wave of enemies, move further - try to quickly get off the bridge, because otherwise you'll become an easy target. This time soldiers will be joined by Necromorphs.
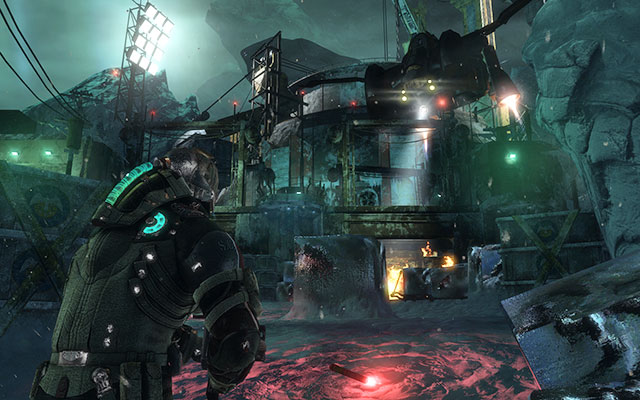
Go to the cargo elevator which will take you up. Quickly run to the next part of the facility, the one, where you can see flames. Watch out for the patrolling helicopter. Near the entrance you'll be attacked by few Necromorphs. Loot lockers and go through the door.
Weapon Parts 2/2 - On the desk inside the room with monitoring system.
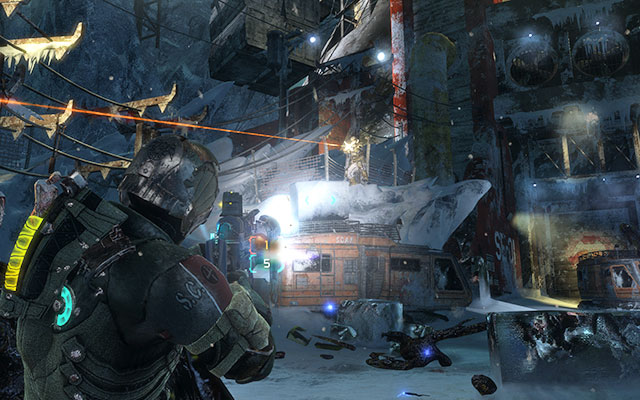
Exit the room, walking to the yard. After few steps you'll get attacked by several Unitologists and a horde of Necromorphs. Watch out for the sniper lurking on the building on the left. Try to use stasis to slow down bigger groups of enemies.
After extermination and clearing the field, move forwards. Once you get past the damaged vehicle and approach the interface which unlocks the passage, you'll get attacked by more snipers. Turn around and use the vehicle wreckage as a cover. Hide from the RPG rockets, waiting for a good moment to counterattack.
When it is finally quiet, unlock the door using the electrical interface and go inside. In a short corridor you'll encounter three supply crates. After walking through the next door you'll see Danik fleeing.
Before you start the pursuit, it would be good to look around and pick up supplies from crates. There is also a workbench nearby. Once you're ready, approach the machine - hook yourself and start descending. If you press the run key you can make a jump, thus avoiding holes. If you combine it with the direction keys (left/right), you'll be able to jump aside quickly. After short walk you'll be attacked by Necromorphs.
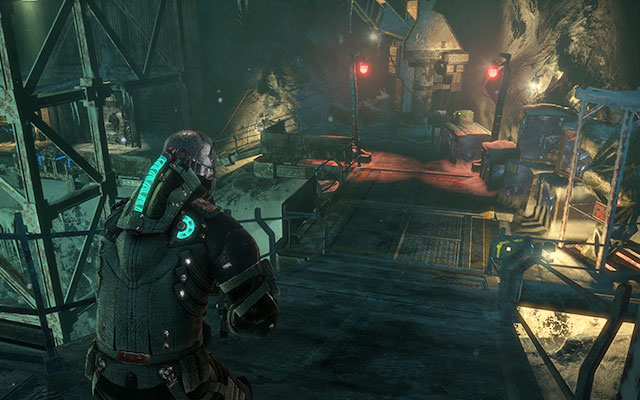
Once you get to the very bottom, unhook yourself - you'll get attacked again, so watch out. Loot supply crates and go to the elevator, which will take you down. You'll find yourself on another platform with several crates as well as with line mechanisms.
Weapon Parts 1/4 - On the piece of ice, near the line mechanisms.
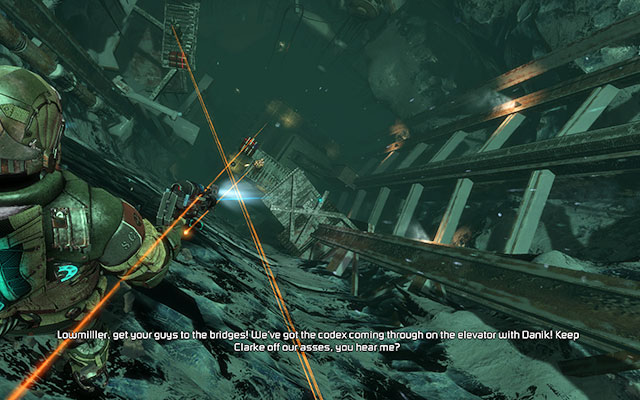
This time your walk down is getting tougher and tougher. At the beginning you'll have to deal with Unitologists - shoot at red clusters of container, which will explode thus killing your enemies.
Weapon Parts 2/4 - On one of the destroyed bridges on the right - near the long metal railing. You have to use kinesis to pull it towards you.
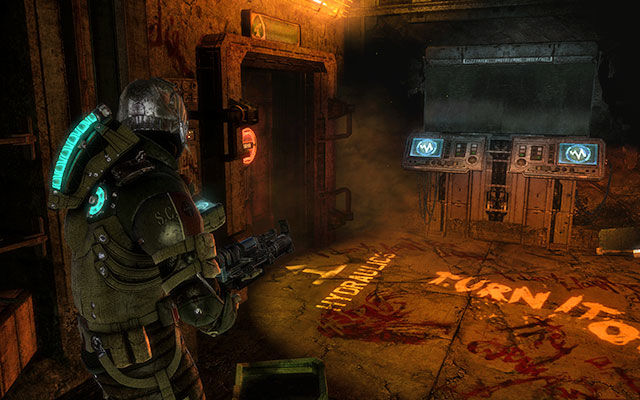
Keep descending until you get to the very bottom - after unhooking quickly find a cover because you'll be attacked by two Unitologists on the other side of the shaft. Once you get rid of them, head right to the only available door. There is interface inside which activates further passage.
Weapon Parts 3/4 - On the locker on the left, in the room with the interface.
In the next room you'll find a workbench and a suit kiosk. After moment information about unlocking a new suit will appear - it is Elite Suit. Use the kiosk to exchange your current suit for the better one.
Audio Logs 1/1 - On the desk to the left, near the suit kiosk.
Upgrade Circuits 1/1 - On the wall, near the passage to the next room.
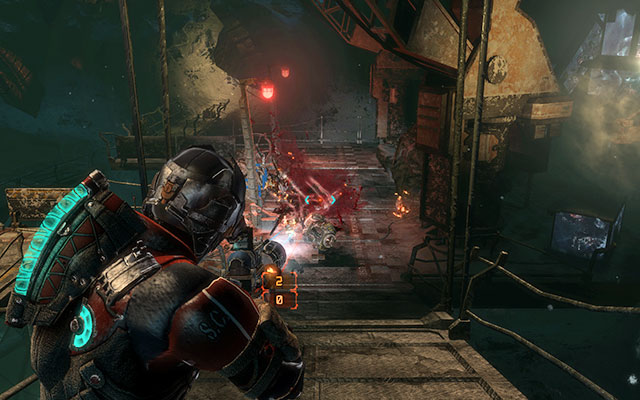
After leaving the room you should see another mechanism with lines - after few steps you'll get attacked by a horde of Necromorphs. Keep your position near the door, to have a better view on the catwalk.
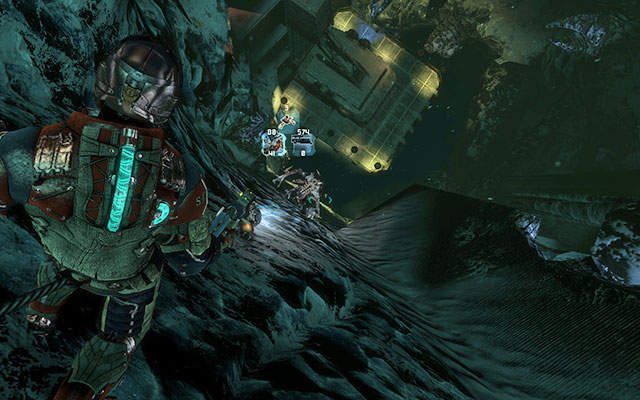
After the fight, keep your walk down the shaft. While descending, a cutscene will start at some point - you'll get to know a new type of Necromorph. This huge creature is very strong so try not to ignore him.
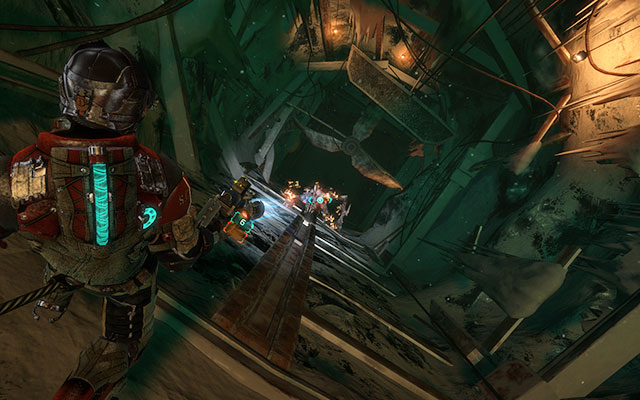
When you get to the bottom, you'll come across another monster fighting two Unitologists. A good idea is to eliminate him before unhooking, so you'll have an advantage over him. Move ahead walking through the short corridor into the room with a huge fan. Again use the line mechanism to get deeper. On your way there you'll encounter huge Necromorphs several times.
Blueprints 1/1 - Under the scaffolding on the right.
Weapon Parts 4/4 - On the crate to the left, near the scaffolding.
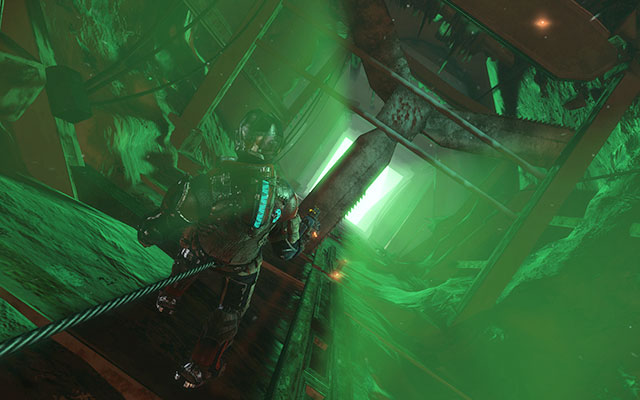
While getting deeper, you'll come across turning fan - use kinesis to slow it down and continue walking. Unfortunately, you'll get stuck and the fan will try to smash you. Quickly press action key to save yourself by cutting off the line.
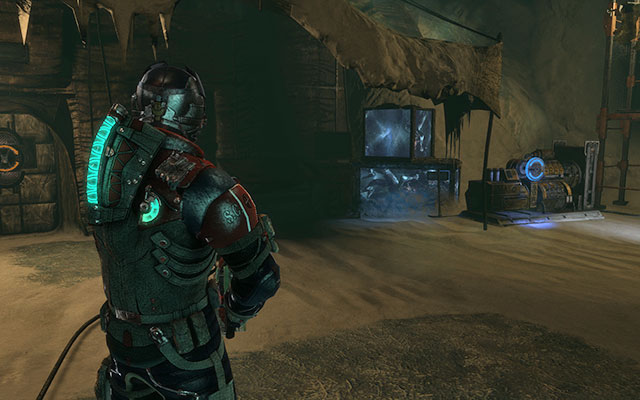
After regaining control over your character, activate the generator on the right using kinesis. Thereby you'll restore the power, unlocking a workbench and door leading further. Do not forget to collect supplies from all crates.
Alien Artifacts 1/3 - On the left, near the workbench - right behind the pillar.
In the next room you have to listen to the audio log first. In order to unlock the door, use the device with three symbols - in order to enter a correct code, start the video message on the left. Once you enter the code, the door is opened.
Text Logs 1/4 - On the table, right from the entrance.
You'll find yourself in the large room with a green light in a distance. After short conversation with Carver, go down catwalks - a bridge, where your companion was walking on, is destroyed. After reaching the fork, go to the right - you'll find there a powering device.
Upgrade Circuits 1/10 - On the right side, near the powering device - use kinesis.
Grab it with kinesis and take with you until you get to the blocked wall with a socket for power module. When you put it inside, quickly move away because there will be an explosion after a moment. The further way is unlocked.
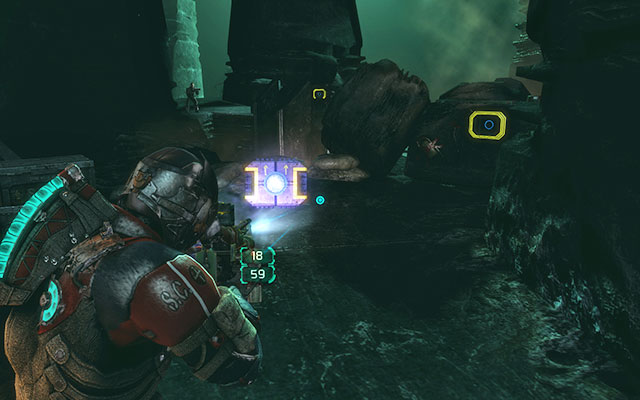
You'll see fleeing Danik - get rid of enemy soldiers on the lower catwalk and head to the left. You'll have to use the power module again, destroying two obstacles on your way.
Unitology Artifacts 1/1 - In front of the blocked passage, on the left, between supplies.
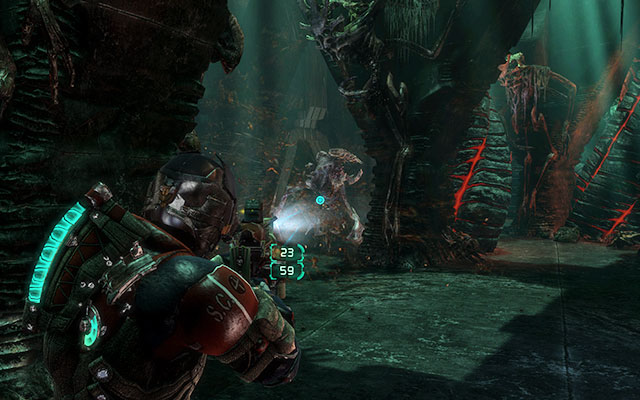
After the second detonation a cutscene starts - you'll fall down, retrieving Codex on the way. Head forwards in the complex room, until you get attacked by a large Necromorph.
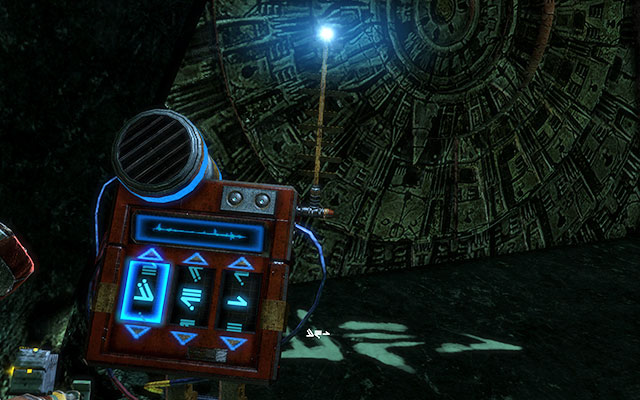
After getting to the fork, walk over the catwalk to the right. You'll find yourself in front of the alien gate. You can open it using the previously learned code.
Audio Logs 1/3 - On the table in the left part of the fork - you have to bypass the system to restore the power.
Side mission [Artifacts Storage] - Go to the left on the fork and bypass the system to activate the elevator. The side mission starts there.

In the next room you'll find the generator - when you start it, plates in the on the floor will be activated. Thanks to them you can enter the zero-gravity state. Navigation in this room is quite difficult, so try to occasionally rely on locator to head to the correct side - mainly up.
Upgrade Circuits 8/10 - It floats in the air.
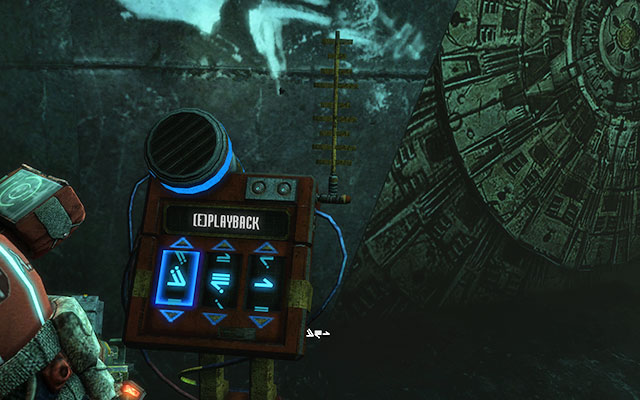
Finally you'll reach another door - a code is written on the wall.
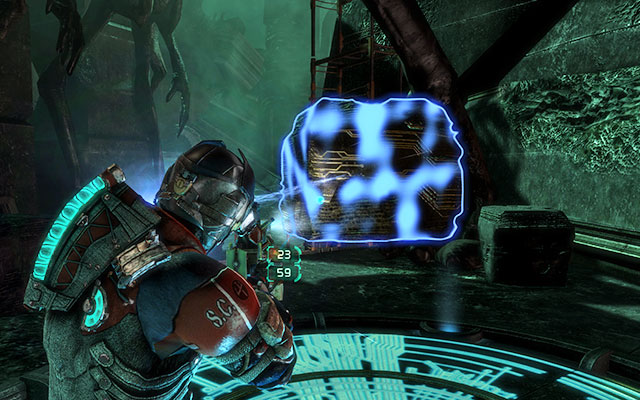
You'll get to the path blocked by large blocks. Stand on the round platform to strengthen kinesis effect and use it to remove the blockade.
Upgrade Circuits 9/10 - On the scaffolding near the platform.
Eliminate all Necromorphs, which appear when you get close to the elevator. Once you deal with them, active the generator, thus powering the elevator and the workbench.
Weapon Parts 2/2 - On the crate to the left, near the elevator, the workbench and the generator. Next to the way to the portal.
After getting up you'll notice four arched pillars. Move to the round platform in the center - you should hear the recording. On the wall you'll notice two symbols - pay attention to the left one, because you have to organize pillars behind you to look like this symbol. Use kinesis (remember to stand on the platform which strengthens its effect) and move shining orbs as shown on the above screen.
Audio Logs 3/3 - On the table near the wall.
In front of you, right behind pillars, you should see a slot with Codex - turn it to open the portal.
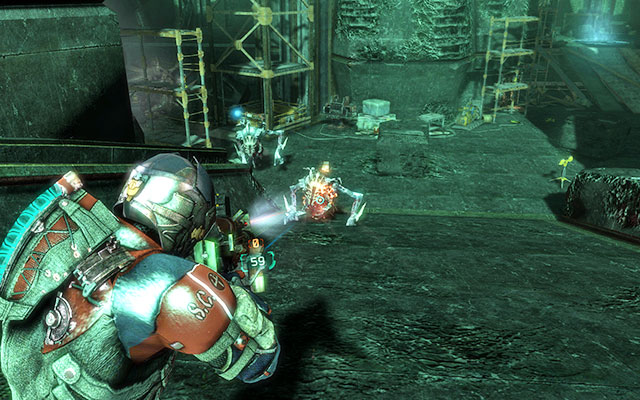
Return to the elevator and ride it down. You'll be attacked by a group of large Necromorphs. If you play on lower difficulty level, you can fight them, otherwise just run to the portal without wasting ammo.
A travel through the portal is quite simple and is limited only to controlling your character and avoiding all obstacles, just like shuttle flight in the early stage of the game.
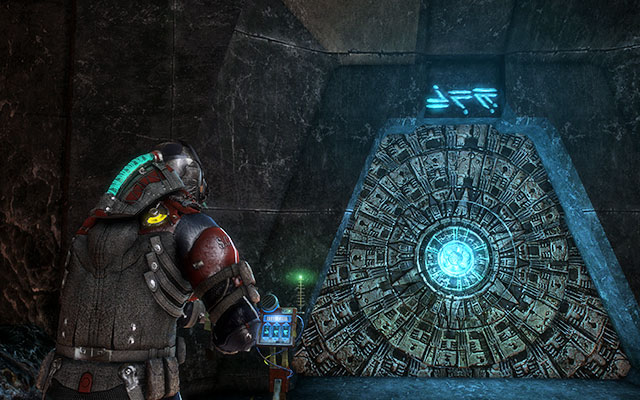
After landing go ahead, until you get to the locked door. A code is written above it.
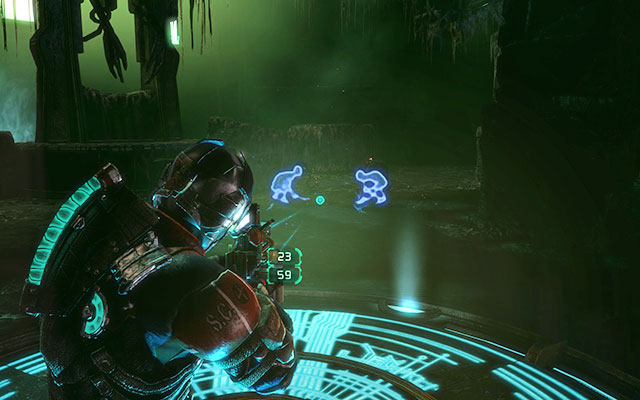
Before you enter a huge room with a statue in its center, you'll find a round platform - when you stand on it, kinesis and stasis effects will be strengthened. Use stasis on skeleton-Necromorphs in front of you. After a while more of them will come - try to stay on the platform, using your strengthened abilities.
Alien Artifacts 3/3 - Behind the stone inside the room, left from the gate entrance.
Upgrade Circuits 10/10 - Near the statue in the center of the room.
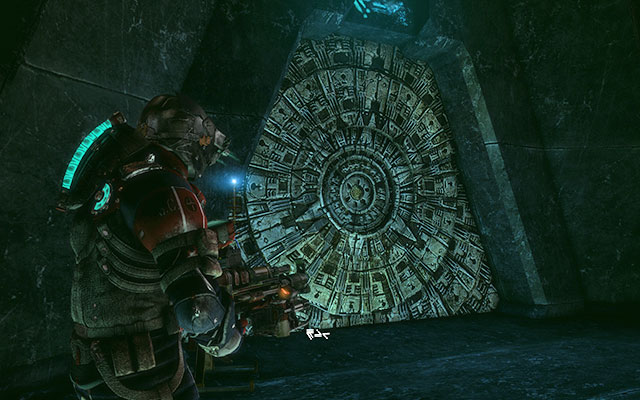
After walking around the statue, you'll come across another platform and the next wave of Necromorphs. A little further you'll find the next gate - code is written on the wall over the entrance.
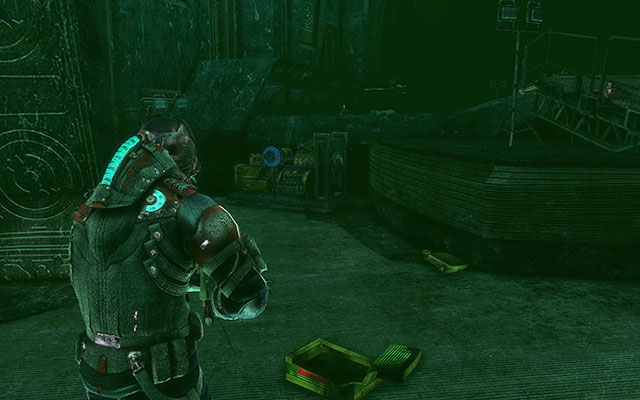
After crossing the gate you should see three empty power slots - these are opening the passage to the Machine.
Weapon Parts 1/2 - On crates, right from the three slots.
Weapon Parts 2/2 - On crates, right from the three slots.
Go up the catwalk and move to the right - you'll find a generator there, which activates a workbench. There is also a gate on the opposite side of the room.
Text Logs 1/1 - On the scaffolding near the workbench and the generator.
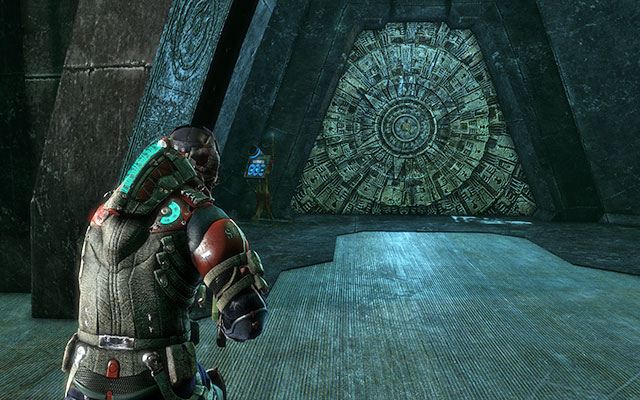
Go to the other side. Along your way you'll be attacked by several Necromorphs. A code for opening the door is written on the floor in front of the gate.
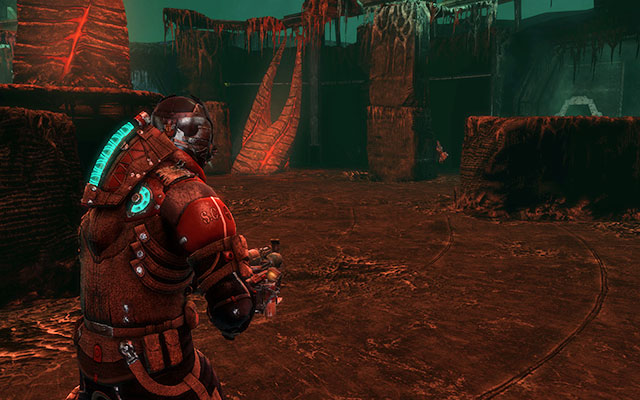
In the next room, with Marker in the center, you'll encounter several Necromorphs - these types do not like fighting in open and mostly attack by surprise.
After extermination of enemies, run around the Marker and leave the room through the next gate - a code is written on the ground.
Alien Artifacts 1/2 - On the ground to the left, near the rock with crate.
Outside you'll find a portal. During the flight to the other side, look out for huge Necromorphs.
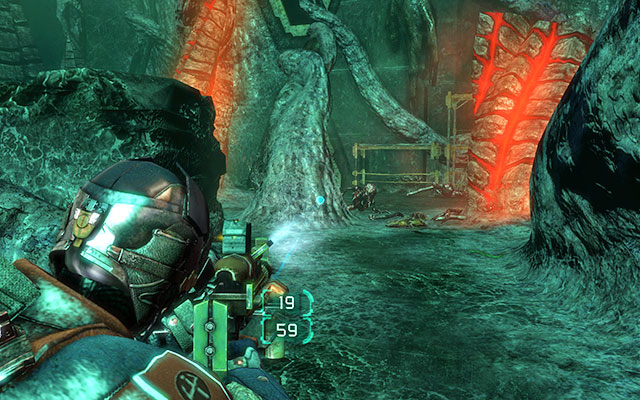
You'll find yourself in the place with several Markers - keep your eyes opened, because you'll get into ambush after a while. Since you'll be attacked from both sides, it would be best to stop somewhere in the corner.
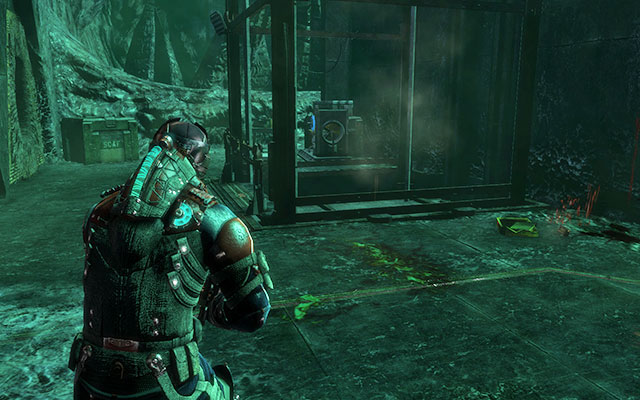
Once you eliminate any thread, move further until you reach the elevator - in order to activate it, you have to start the generator.
Audio Logs 1/2 - Near the generator - you have to start it to activate the log.
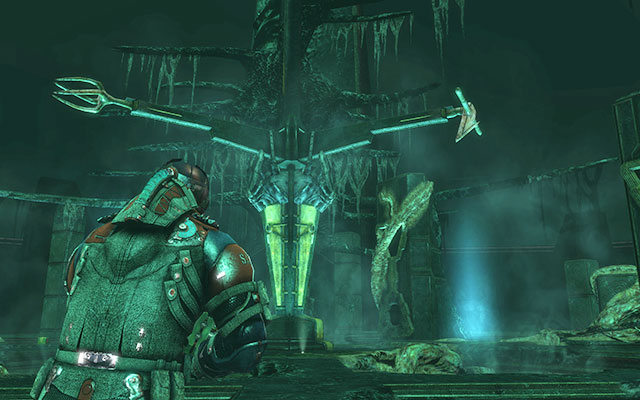
Once you ride the elevator up, you'll see a huge machine. After few steps, the machine will turn and you'll notice a flow of energy between two endings. Your task is to position both a central machine and three outer ones (each of them has two endings).
Upgrade Circuits 1/1 - Near crates behind the elevator.
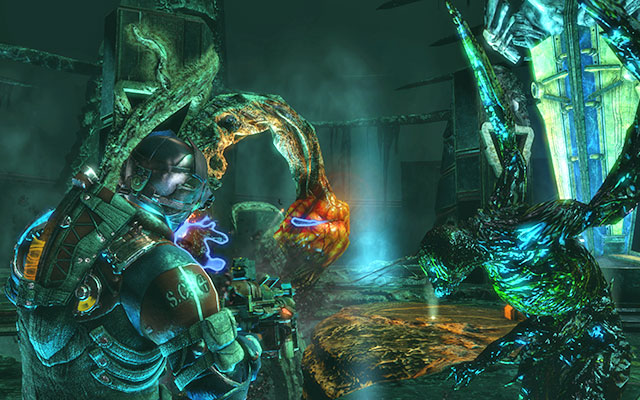
Both on the left and on the right side, you'll find round platforms, which strengthen kinesis - you have to stand on them in order to turn machines. This task is not quite easy, because when you start solving this puzzle, Necromorphs will attack you. In addition, large tentacles will appear around you - try to deal with them first.
Alien Artifacts 2/2 - On the passage blocked by a growth, left from the elevator.
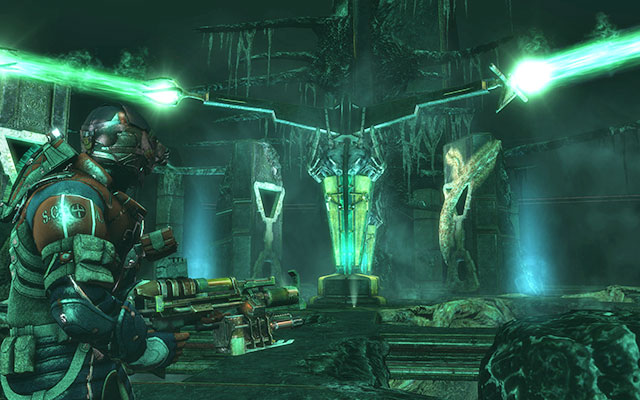
On the above screen you can see a correct setting of the machine, looking from the side of the elevator.
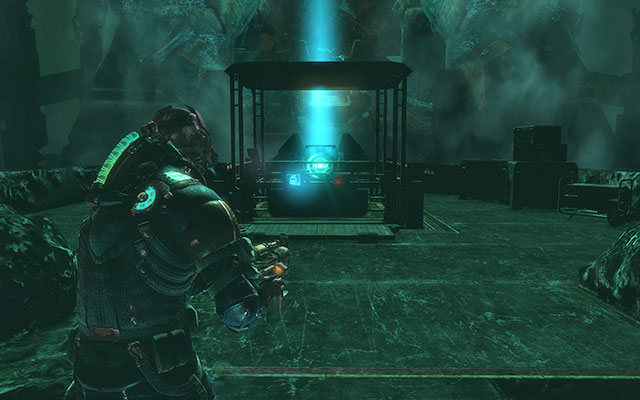
When you activate the machine, go behind the elevator - you'll find there a slot with Codex. Turn it to finish activating the Machine.
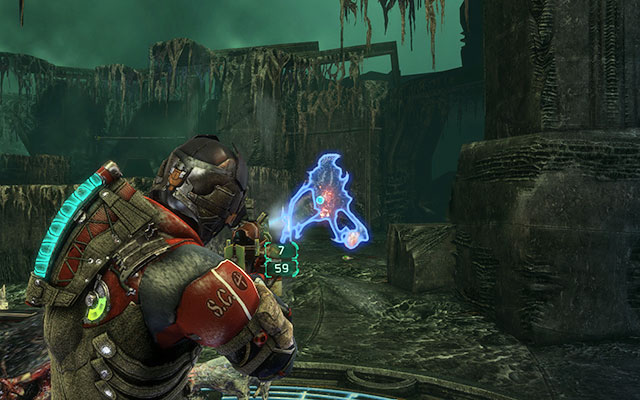
Ride the elevator down and go to the portal. Now return to the room with three power slots (at the beginning of this chapter). Keep walking, watching out for large Necromorphs which will attack you in the room with a statue in the center. Use the platform to strengthen your stasis and kinesis effects.
Return with the next portal, where you'll be attack by Unitologists' soldiers (and Necromorphs fighting soldiers).
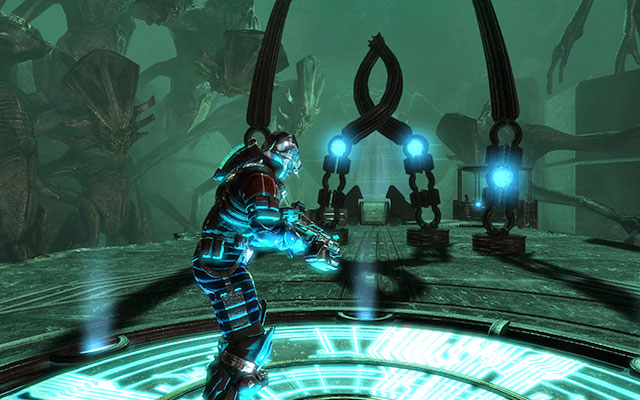
After clearing the location, go with the elevator to the place with pillars and two symbols on the wall. This time you have to create the right one. The screen above presents a final effect - you can notice how to set glowing orbs.
Go again to Codex and turn it. Ride down the elevator and go to the portal. In the next location, with a statue in its center, you'll be attacked by Unitologists. Remember about using platform to make your abilities stronger.
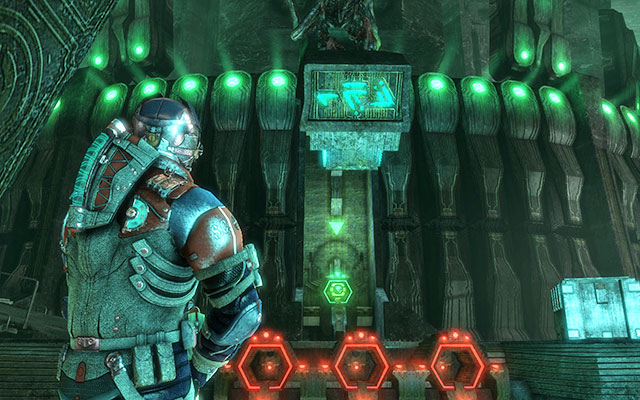
After reaching the room with three empty slots, you'll notice that the statue in front of you went up, thus exposing the power core. Get it out with kinesis and put in proper place (the order of symbols is shown above it). The other two cores can be found on the right and left side of the location.
When you put all cores in proper places, you'll unlock the further passage.
Audio Logs 2/2 - On crate next to corpses.
Go to the machine with ropes and start ascending. Use stasis at right time to slow down large rotating circles and move on.
After getting to the top, you'll meet Carver and when you move to the Codex, another cutscene will start.
Keep moving ahead, watching out for breakaway fragments of the ground - there is only on available path. Finally you'll reach the place, where you'll be attacked by Necromorphs. In addition, two tentacles will appear - you have to destroy them to unlock a further way. Remember to aim at red spots.
Alien Artifacts 1/1 - On the ground to the left from the path leading to the tentacles.
A little further you'll find a portal, which will take you quite far. Try to avoid flying boulders. Along your way you'll encounter also Necromorphs - it is worth to get rid of them, before they cast at you small creatures.
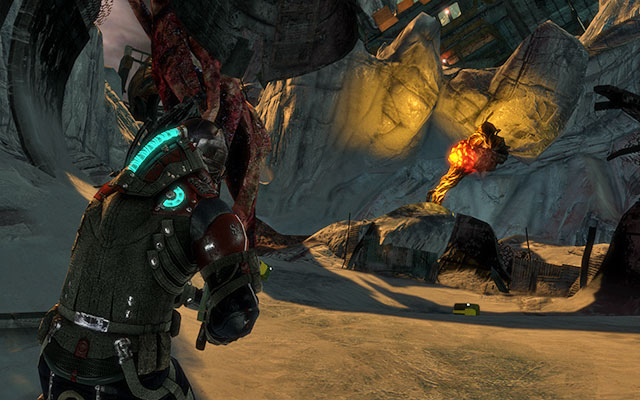
After a fairly hard landing, go ahead - on the right you'll find several supply crates. After walking a few steps you'll be attacked by several fast Necromorphs - remember about using stasis. Just around the corner you'll encounter another tentacle - once you neutralize it, you'll unlock the passage looking like destroyed tube.
After walking through the first part, turn right and move ahead, eliminating enemies along your way and collecting supplies from scattered crates. Finally you'll get to the room with a workbench and a suit kiosk - you should prepare before the further way. A good idea is to craft a very good weapon that will allow you to quickly deal with the last boss.
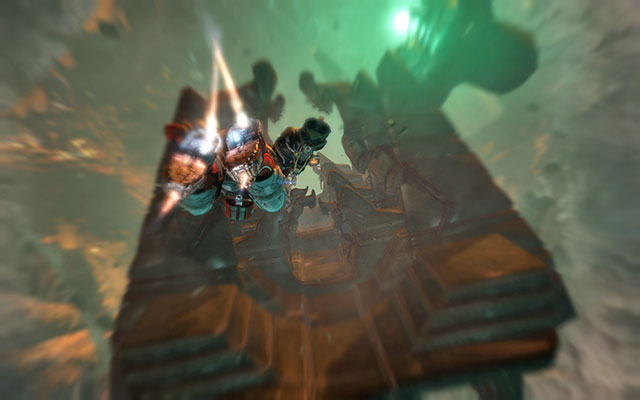
Once you're ready, go to the panel near the locked door - when you start opening it, an explosion will happen and after a while you'll have to fly between fragments of the machine.
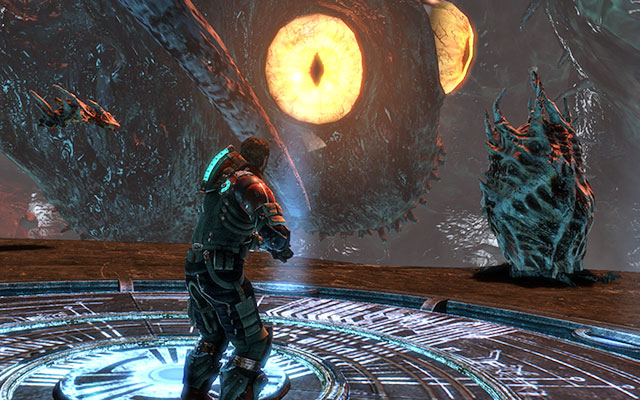
After a short flight you'll stop at the large platform, starting the fight with the last boss in the game. Do not focus only on him, but also on Necromorphs that hatch from cocoons thrown around you from time to time.
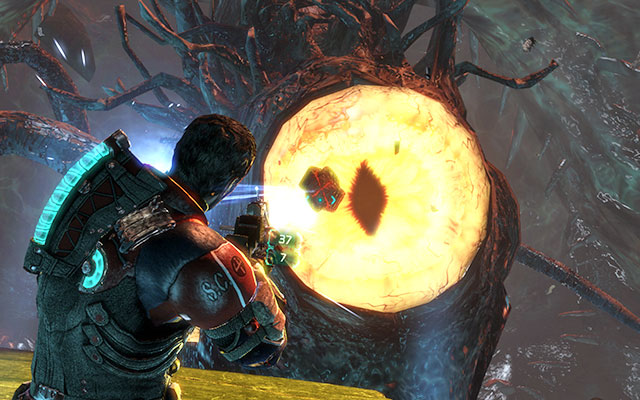
In order to get rid of the monster, you have to shoot his three eyes. Use blue Markers to do this. Remember to stand on the platform, which strengthens kinesis effect.
When the monster starts to pull you, you have to cut off his two tentacles, which grab a shard you're standing on. If you have a very good weapon, then destroying large yellow points shouldn't be a problem.
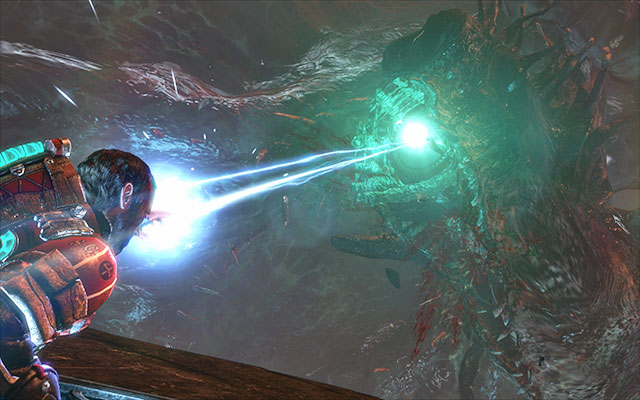
When you destroy all three eyes, the monster will pull inside his stomach a fragment with Codex and Carver. Use kinesis (remember to stand on a platform) to pull your companion out of monster's bowels.
After a successful rescue, quickly run towards your partner and jump onto the recovered shard - a QTE activates, during which you have to press action button, not to fall. Once you get to the shard, the final cutscene activates. There remains nothing more than watching the ending, credits and also ...
Dead Space 3 side mission from the chapter 4: History's Ember.
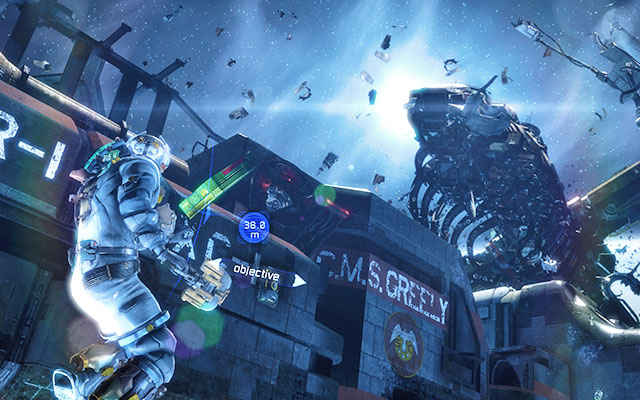
In order to start this mission, use the transport ship to approach C.M.S. Greely. Enter the zero-gravity state and start flying following your locator to the ship entrance. Use kinesis to open a hatch and enter inside.
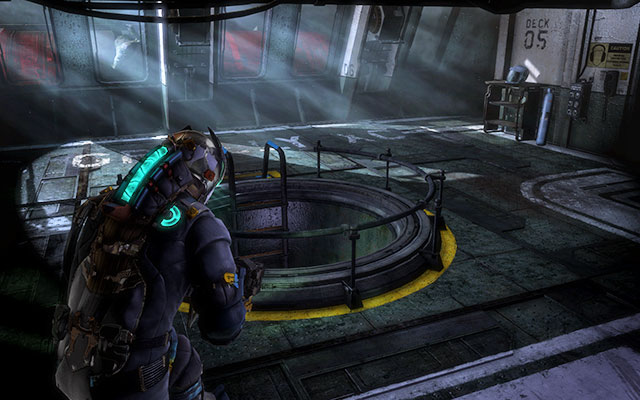
Go through the next doors until you get to the room with a ladder in its center. Before you use it, explore the room, clearing all the lockers.
Weapon Parts 3/12 - On the right, on the table with a helmet.

After getting down you'll be warmly welcomed by Necromorph, but you should have no problems with him. Search all wall lockers to get some useful supplies.
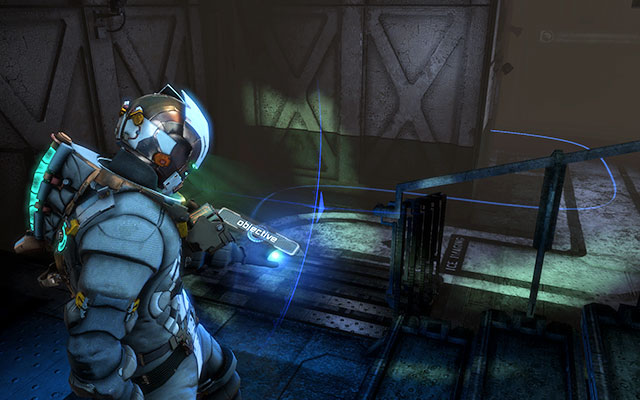
You'll learn that system is automatically closed and all passages are locked. You must restore power on the ship, thus turning off the blockade. Go down the stairs and walk to the next door, past lockers and a crate.
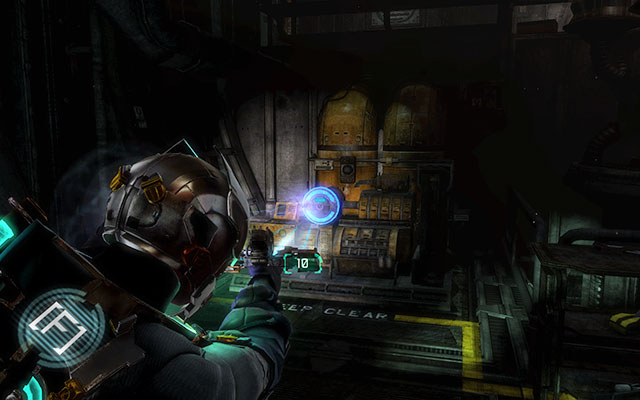
Climb down the ladder - you'll find there a generator. After using kinesis several times, it should turn on.
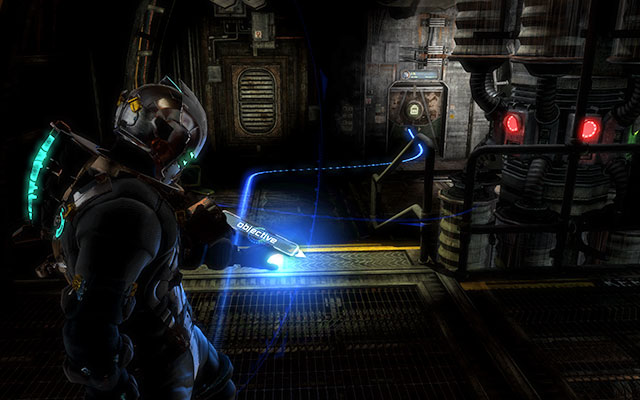
Return to the ladder and go ahead, to the elevator. Watch out for Necromorphs, which will jump on you from shafts.
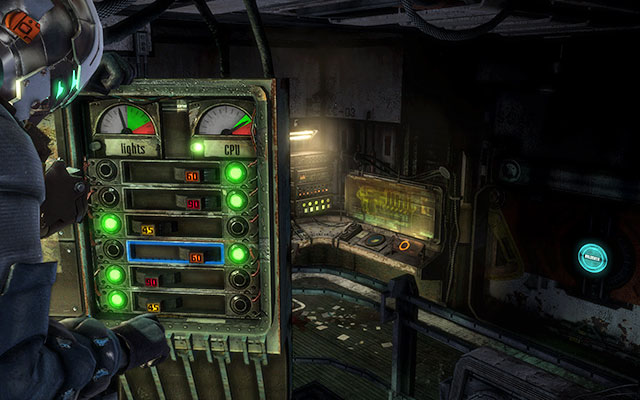
You'll get to the communication center. You'll find there a fuse box, where you can switch fuses to channel the power to lights or computer power supply. Tour task is to start machines, so CPU control indicator should be in the green field. This puzzle has many solutions - one of them is shown on the above screen.
Audio Logs 1/3 - After activating CPU power supply the audio log will be played automatically.
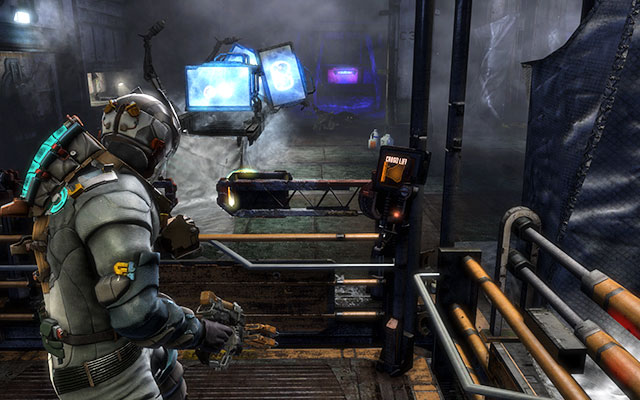
Go down the stairs and head to the unlocked door. You'll find yourself back in the main room - you can use the workbench there, which is also unlocked. You'll be attacked by several Necromorphs, so watch out in this narrow room. Once you're ready, go to the gate at the bottom of the stairs.
Upgrade Circuit 3/7 - Inside the bathroom, which can be found on the right, next to the stairs.

You'll find yourself in the room with many panels. Once you get inside, you'll be attacked by Necromorphs. After dealing with enemies, explore the room, because you can find there many crates. Once you're ready, go to the cargo elevator and ride it down.
Alien Artifacts 1/1 - On the shelf, illuminated by purple light.
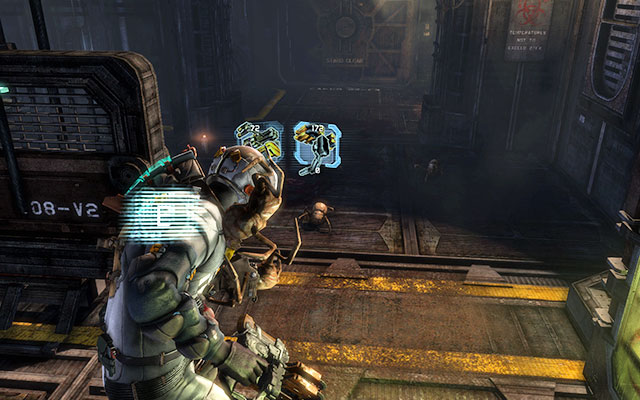
A further way leads through several corridors full of crates with radioactivity marks and Necromorphs. You'll get to the corridor with a workbench, where you'll be attacked by small Necromorphs looking like crabs - when they find a corpse they get inside it and takes control over it. So try to totally destroy all enemies.
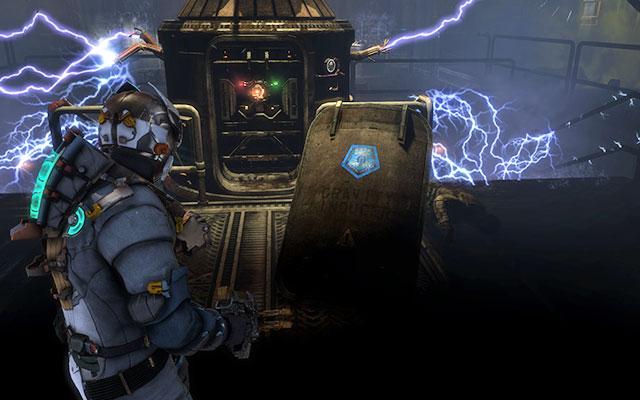
Use kinesis to turn the valve thus opening the next door. You'll find yourself in a room with a generator. In order to get rid of static, use kinesis to open the hatch and remove the semiconductor from inside.
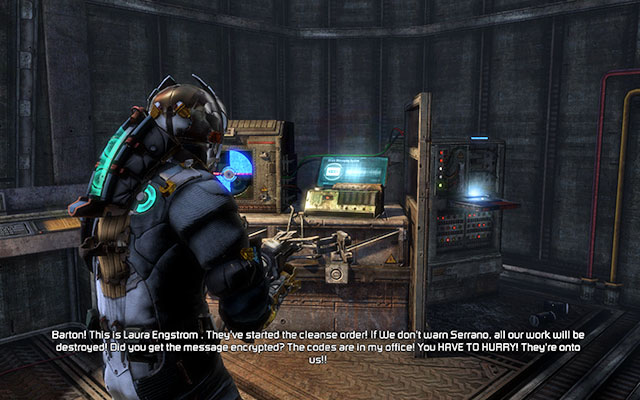
Now you can safely move to the other side. Start the blue generator and you'll open the drawer - there is a decoder which will unlock the door.
Weapon Parts 4/12 - On the control panel.
Audio Logs 3/3 - Start the blue generator and the message will be played automatically.
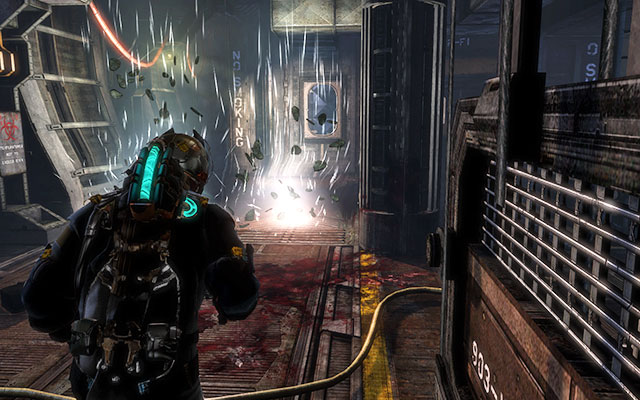
It is time to go back to the start point. If you haven't destroyed a corpse next to the door, small Necromorphs will appear to take control over bigger ones. On your way back some of gravity panels will start to break - if you step on them, you'll die, but so Necromorphs will do, so try to use those covers in your advantage.
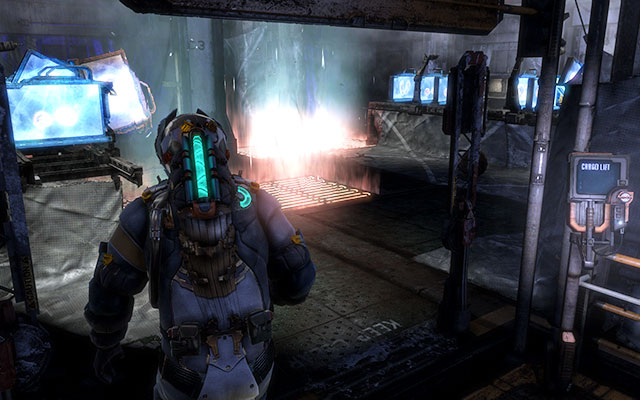
Run forwards, until you get to the cargo elevator - ride it up. Prepare to fight with huge horde of Necromorphs and to cross a small maze with destroyed panels - walk past them on the left.
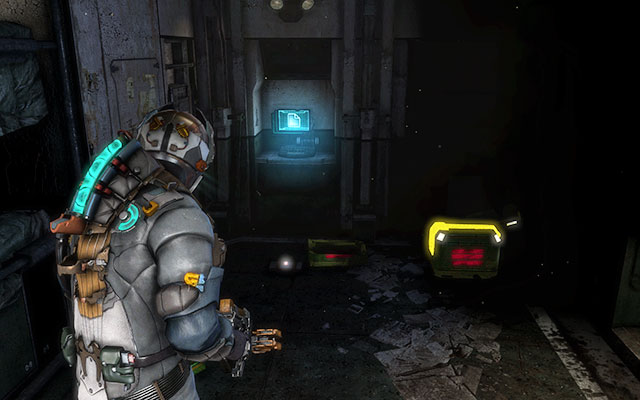
Finally you'll get to the starting room, where you can use a card to walk into a small room. You'll find a computer inside - use it to get decryption codes. You can now climb up the ladder, leaving the C.M.S. Greely.
Upgrade Circuit 4/7 - Inside the room which can be opened with a torque bar crafted at the workbench.
Weapon Parts 5/12 - Inside the room which can be opened with a torque bar crafted at the workbench.
S.C.A.F. Artifacts 2/3 - After leaving C.M.S. Greely, head to the broken off part B1348, where you'll find a room with an artifact in the corner.
Weapon Parts 6/12 - After leaving C.M.S. Greely, head to the broken off part B1348, where you'll find a room with weapon part in the crate.
Dead Space 3 side mission from the chapter 5: Expect Delays.
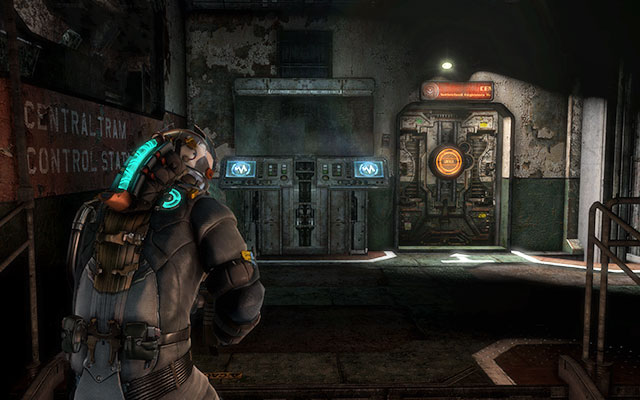
In order to start the mission, you have to go to the Mid Station, where you first must start the generator using an electric interface.
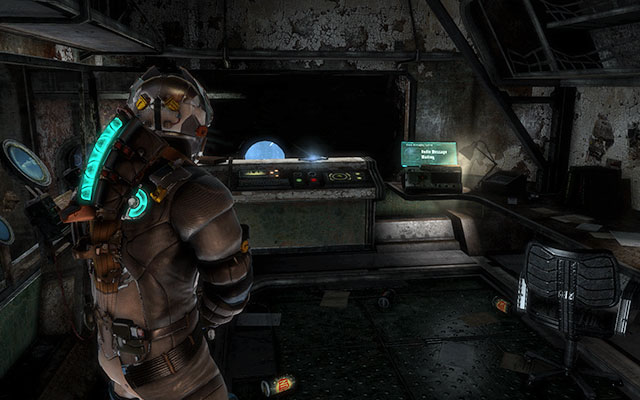
Inside the room you'll find a workbench and a crate. Go up the stairs to the panel, where you can locate a decoder which opens the second door (a side mission begins).
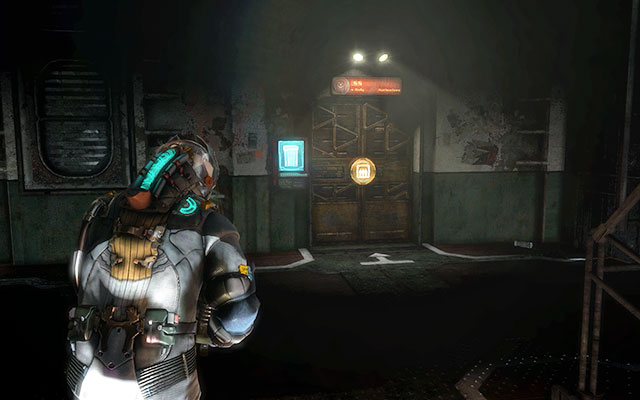
Leave the room and turn left, to the unlocked elevator which will take you to the upper level.
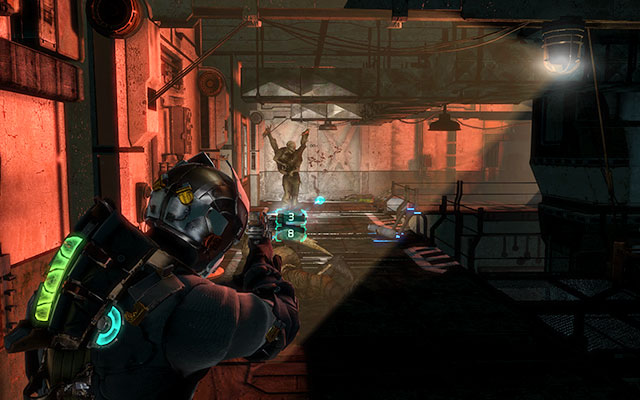
Go through the corridor to the next room - go up and approach the next gate. Unfortunately the system will be blocked and after a while explosives will explode, unlocking shafts full of Necromorphs. The fight won't be fair, so try to use containers with electric spheres, which deal huge damage after being thrown at the enemy.
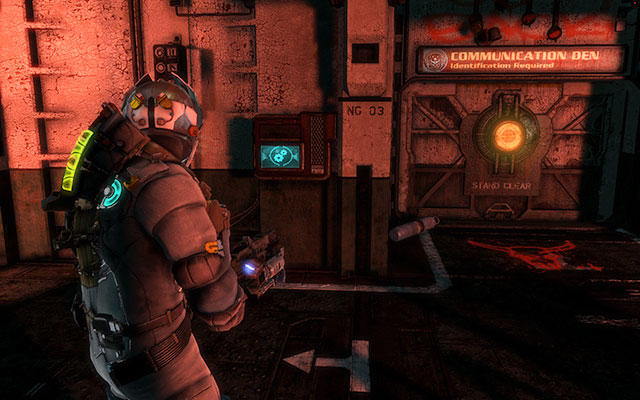
Once you're done with extermination, go to the panel on the wall to walk around the system - the task is to locate three blue-flashing points. This should unlock the door - keep going.
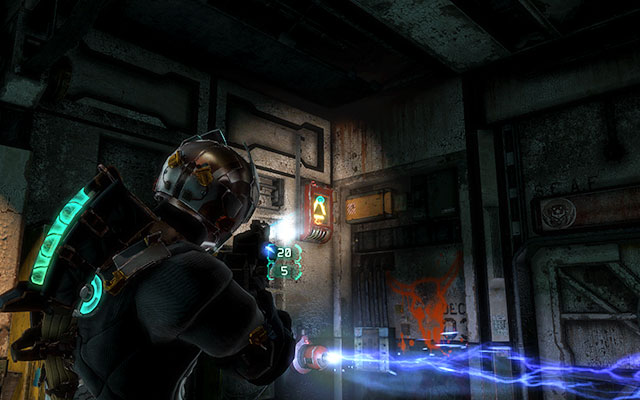
After crossing the next corridor, you'll get to the empty control room, with several Necromorphs. A bit further you'll come across and electric blockade - in order to get rid of it, you must destroy a yellow fuse box located on the wall to the left.
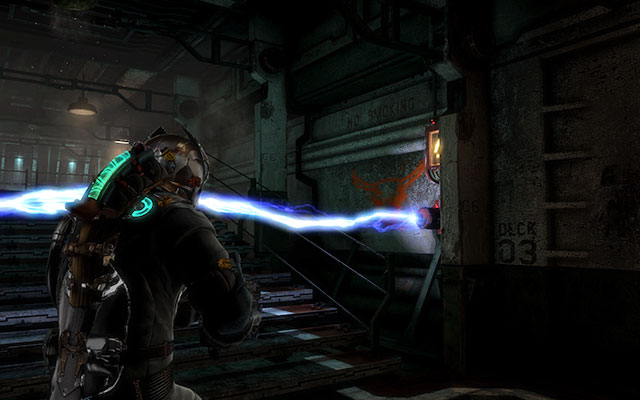
After crossing the gate, you'll come across another electric blockade - a panel is located in the right, behind a pillar. You'll get attacked by a Necromorph - let him enter the electric beam to be killed.
A next panel is located on the wall in a distance (screen above). Do not forget about looting lockers before you continue your walk.
Upgrade Circuit 3/6 - On the panel to the right, in front of the cargo elevator.
Ride the cargo elevator down. Few Necromorphs will attack you, but you should have no problems with eliminating them. It would be good to use a container with electric sphere to save your ammo.
Move further, until you get to the room with a ladder - there are lockers on the right. You'll come across another trap, which is a destroyed gravity panel.
Climb down the ladder - you'll find a workbench here, where you can leave items found earlier. Go through the gate and then climb up the ladder. You'll come across another electric beam. A fuse panel can be found on the wall, next to the lamp. Watch out for Necromorphs lurking here.
Upgrade Circuit 4/6 - Inside the room which can be opened with a torque bar crafted at the workbench.
Weapon Parts 5/6 - Inside the room which can be opened with a torque bar crafted at the workbench.
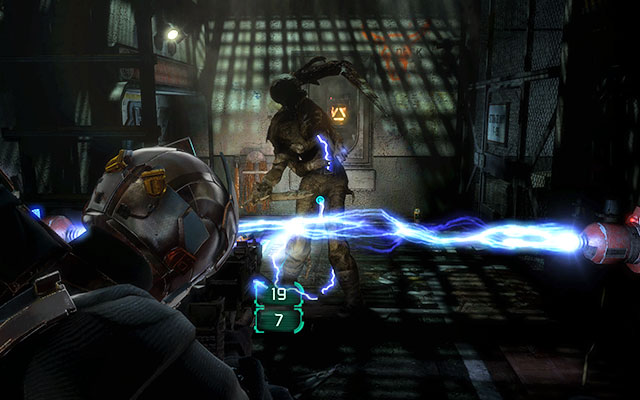
Climb down the ladder next to the room which can be opened with a torque bar. At the very bottom a Necromorph will attack you. You should notice a yellow fuse box, which will turn off an electric beam after being destroyed.
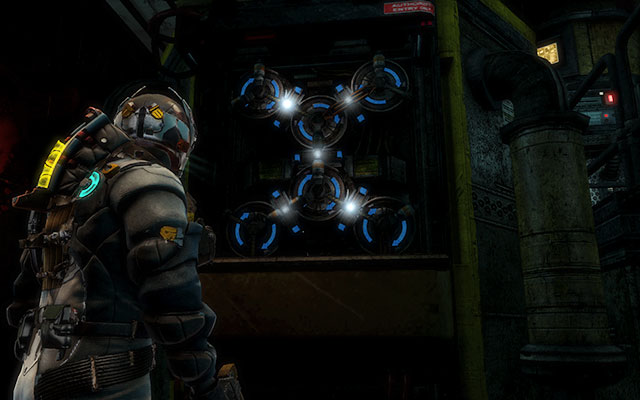
Now you'll get to the large room - remember to check all crates and lockers before continuing further. Unfortunately, a try to open the door will result in a blockade and a large group of Necromorphs attacking you. After extermination, go to the huge generator. In order to restore power you have to manipulate circles in such way, that after connecting they fit together (there are three types). The solution is shown on the above screen.
S.C.A.F. Artifacts 3/3 - Next to one of chairs.
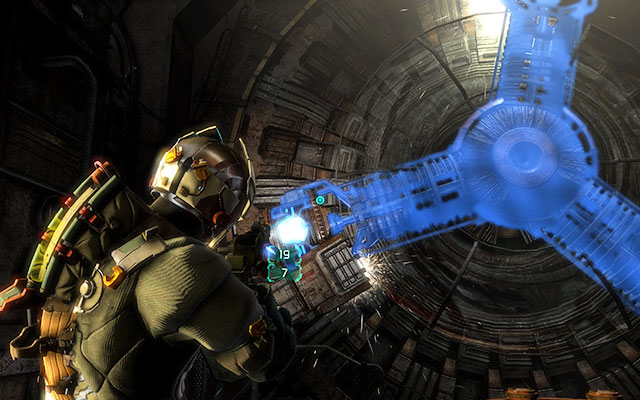
Get inside the elevator and ride it up. You'll find yourself in the room with huge fans. The task is easy - slow down the huge generator using stasis and pull out three cores. If you run out of stasis, you can replenish it at the nearby wall.
Text Logs 4/5 - On inactive panel, right from the entrance.
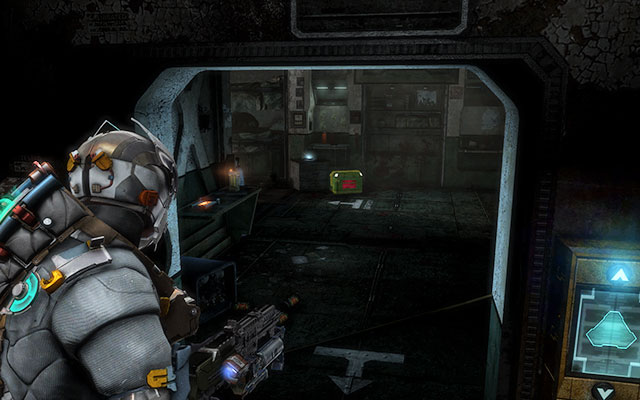
Go back the same way you got here, until you reach the broken gravity plates. Once you get into the elevator, ride it to 2nd floor - you'll find there Edwards access key.
Text Logs 5/5 - On the shelf on the left on the second floor.
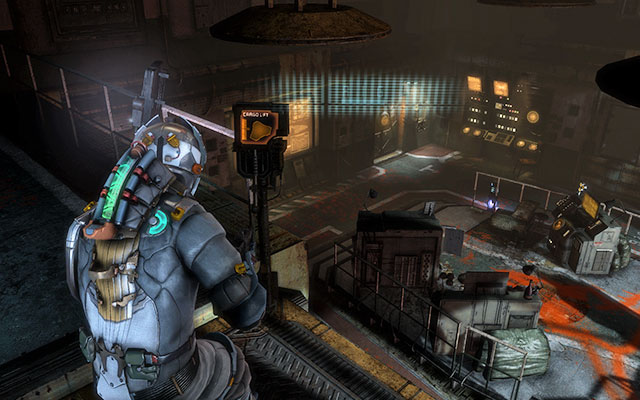
Now go to the third floor, where you'll find Edwards - unfortunately he is dead. Use the cargo elevator to ride up - you'll get to the supply storage room, which can be opened with an access key found on the second floor.
Audio Logs 4/4 - Next to the dead Edwards.
Upgrade Circuit 5/6 - In the crate inside the room opened with a key card.
Weapon Parts 6/6 - In the crate inside the room opened with a key card.
Upgrade Circuit 6/6 - In the crate inside the room opened with a key card.

After collecting supplies, you'll hear information that last explosives were launched. You'll face the last huge fight with Necromorphs - it would be good to take advantage of the high and stay close to the cargo elevator. After the extermination, take the elevator to the first floor and go to the exit.
Dead Space 3 side mission from chapter 9: Onward.
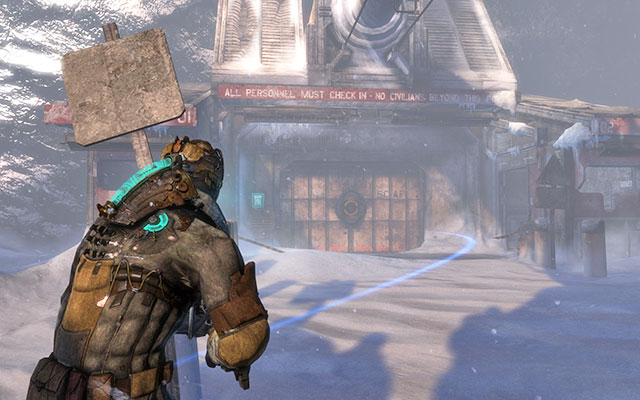
The key to this mission is in the pump station. After you leave the complex, go towards the storehouse- a large gat that you went by in the main mission. Inside the booth to the right, there is a Necromorph lurking so, do not let yourself be taken by surprise.
Use the key you have obtained to gain access. Inside, to your right, there is a workbench.
Audio Logs 4/7 - In the first area, on the table to the right.
Weapon Parts 4/8 - Take the lift to the right, to the very top. The part is inside the vending machine in the dimly-lit part of the room.
Go to the gate to the left - you will be attacked by Necromorphs here, They should be no challenge for you. Go straight ahead - you will find blocked off door. To open it, you need to hack into the system.
Text Logs 1/4 - On the table to the right, right after you pass the gate.
You are up for a walk along several corridors - you will find a supply crate in the first one, in the next one, you will be attacked by Necromorphs. There are no major problems any further. Finally, you will enter an area where you will find by a man nailed to the wall.
Audio Logs 5/7 - On the table to the right, next to the lockers.
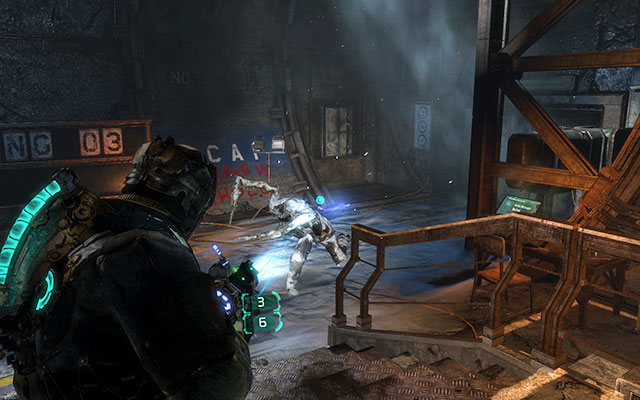
Loot all of the lockers, located there and go up the stairs to reach another door. As soon as you attempt to open it, power supply will go down- this will result in the door being sealed temporarily, and you will be attacked by a horde of Necromorphs. It's kind of difficult to determine the right position here to defend - first of all, try not to remain close to the door. Next to the door, there is a ventilation shaft that the monsters come out of.
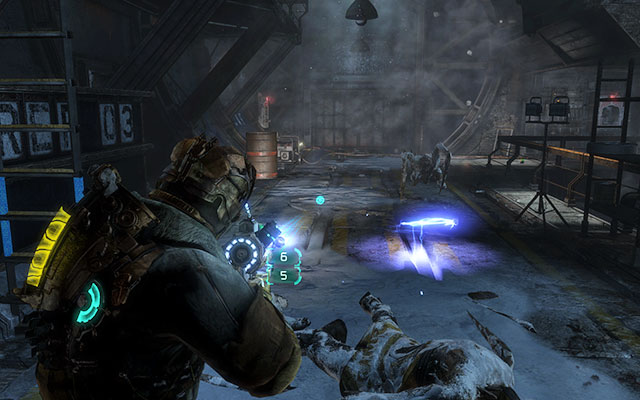
After you are done with the battle, take the door that used to be locked. After a trifle long walk, you will get into a tunnel-like room. Climb down the ladder and deal with the attacking Necromorphs.
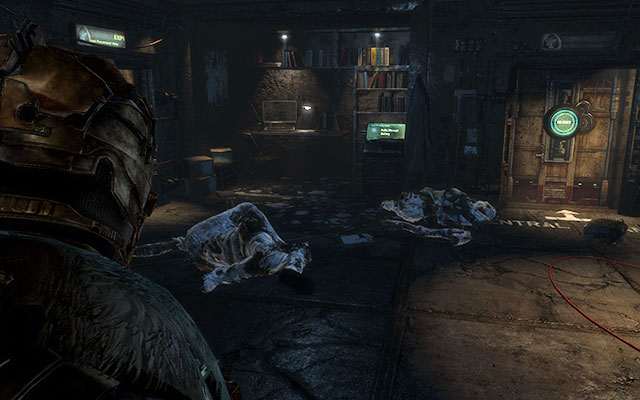
To your right, there is a live power core. Use kinesis to remove it, and put it into the slot next to the gate that you need to take to go further. Inside the short corridor, there are three crates to your left.
Weapon Parts 5/8 - On the shelf inside the small storage room, which you can open by placing the core into the slot at the door.
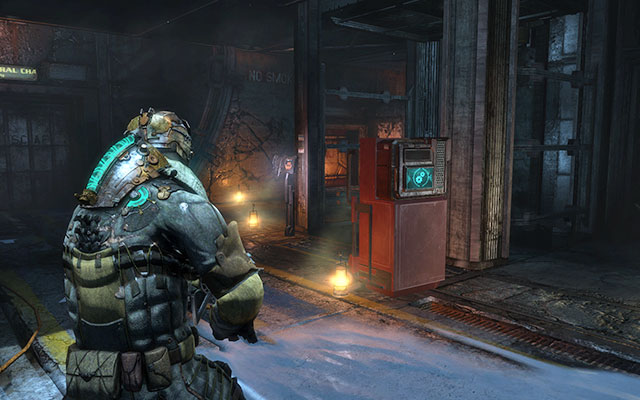
You will reach a cargo lift. To open it, you need to bypass the security system, in the box beside. Once you do that, and the lift will, finally, start to come down, you will be attacked by Necromorphs. Get rid of them and take the lift. Go forward through the room with the workbench in it.
Text Logs 2/4 - Inside the room with the workbench in it, on the shelf to the right of the entrance.
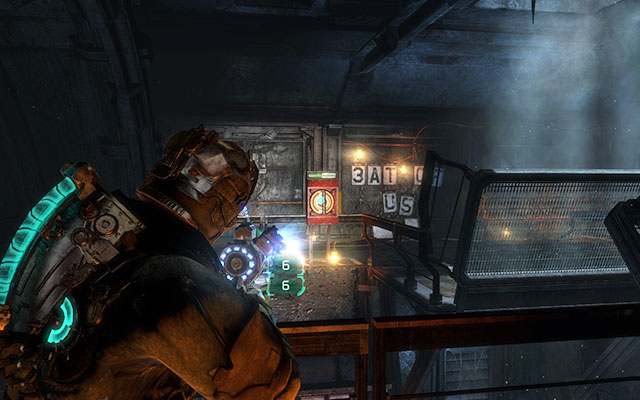
You will approach a drawn drawbridge. Use kinesis on the knob at the other side, to lower the bridge and get prepared for a short fight with Necromorphs. Cross the gate to your right.
Blueprints 2/3 - Inside the storage that can be opened with the torque bar.
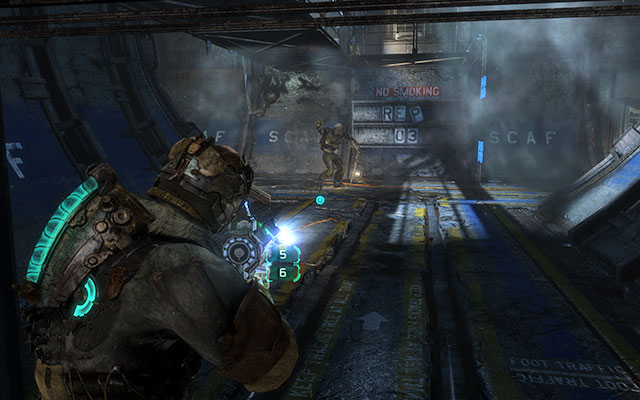
Turn left inside and climb down the ladder. Pass along several, empty corridors until you reach one with Necromorphs. After you exterminate them, climb up the ladder.

Go ahead until you reach a lift and take it to get to a lower level. Be prepared to put up a fight with Necromorphs in the next room.
Audio Logs 6/7 - Next to the desk with computer on, right after you go out of the lift.
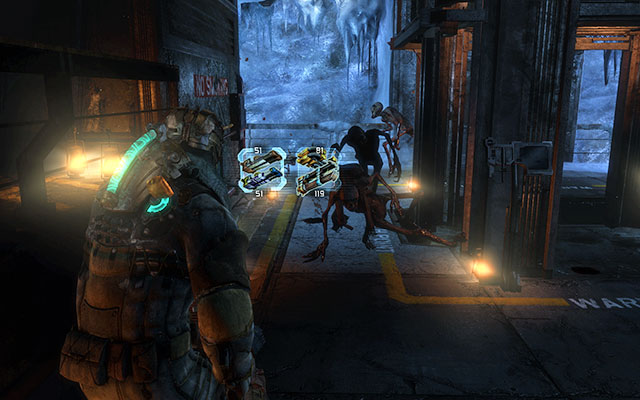
Go straight ahead through the next door. On your way, you will be passing a workbench, and you will eventually reach the supply room. As soon as you activate the lift, you will be attacked by a horde of Necromorphs. It's going to be a demanding battle, so try to pick up the ammo and health packs dropped by the creatures.
S.C.A.F. Artifacts 2/3 - At one of the pillars in the corner of the room.
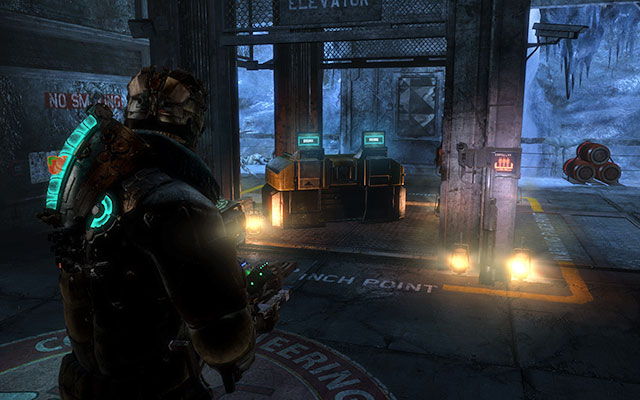
After you deal with all the dangers, the cargo lift will go down, thanks to which you will be able to put your hand on the supplies. You can now leave the complex - Climb down the stairs to reach the door, and then, along the corridor to the lift. Through another passage, you will get nearly to the very beginning, where you will be able to leave.
Upgrade Circuits 2/5 - Inside the supply crate.
Upgrade Circuits 3/5 - Inside the supply crate.
Weapon Parts 6/8 - Inside the supply crate.
Audio Logs 7/7 - On your way back, inside the chest in the room with computer screens.
Upgrade Circuits 4/5 - On your way back after you leave the lift, on the wall close to the lockers.
Dead Space 3 side mission from chapter 11: Signal Hunting.
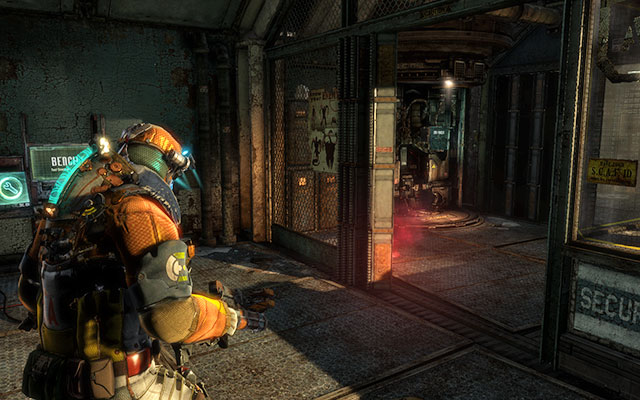
You can start this side mission after confronting a huge Necromorph, who manages to escape just before his death. After entering the part of the complex, where this mission takes place, it would be smart to use the workbench and suit kiosk.
Unitology Artifacts 2/3 - On the floor in a small reception room, right after entering the facility.
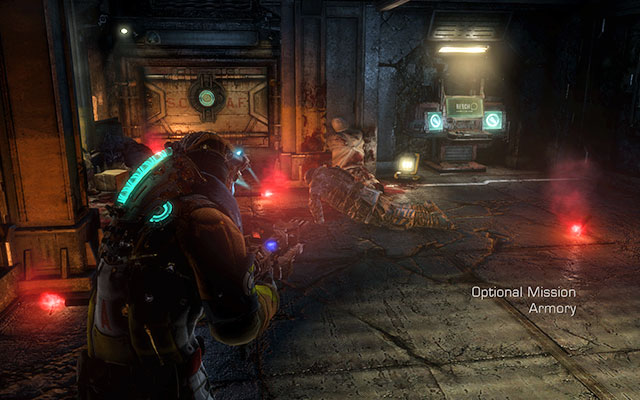
After preparations for the mission, head to the elevator. Ride it down and go to another one. In this room you'll find one more workbench and a suit kiosk, as well as a tram, which can be used to move to another side mission. After exiting the elevator you'll see information about starting the mission on your screen. You'll notice a crawling man, who dies after a while.
Walk through the gate on a small bridge inside huge silo.
Upgrade Circuits 5/10 - Behind grate on the right side in the silo. You have to use kinesis to open the gate and then pull the upgrade towards you.
In the next room you'll be welcomed by a group of Necromorphs - you should have no problems dealing with skeletons. Larger creatures could be slowed down with stasis to deal with them one by one.
Weapon Parts 2/9 - On the shelf at the left side of the room.
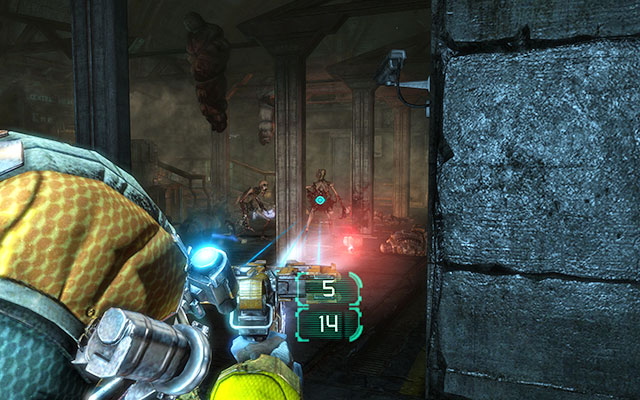
Go to the elevator and then go through several rooms until you get to larger chamber (Raised Hell) full of skeleton-Necromorphs. Once you're done with them, head to the interface and unlock the next gate.
Blueprints 1/2 - Right before entering the room with Necromorphs, on the left side, behind lockers.
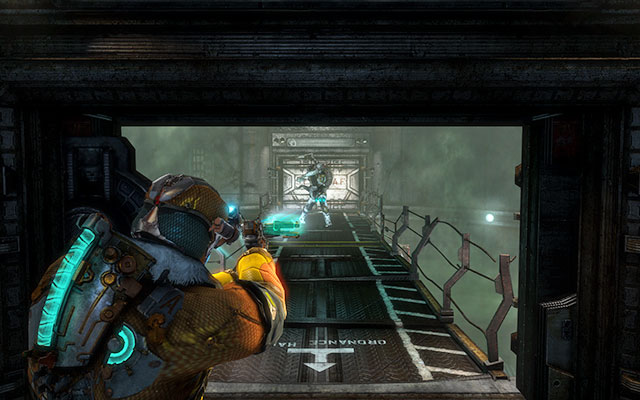
Prepare for walking through several corridors, where you'll find mostly supply crates and fortunately no enemies, until you get to the bridge in the next silo, where you'll be welcomed by few Necromorphs. A good tactics is staying near the gate and retreating if you can't cope with opponents, thus closing the gate and having a moment to regenerate.
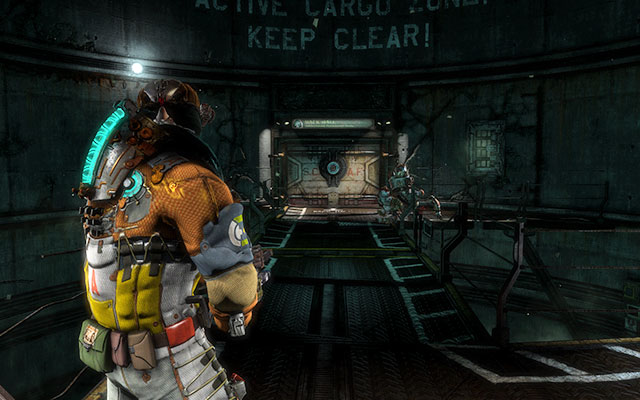
After crossing the bridge, you'll get to the door to the next room. When you try to open it, they will get stuck and you'll have to prepare to fight a horde of Necromorphs, which will attack you immediately. After eliminating them the door will get unlocked and you'll be able to continue to the next silo.
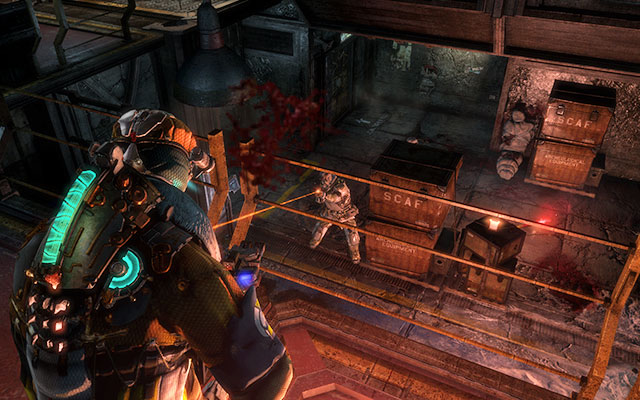
In the next room the only possibility is to use the elevator - enter it and ride it down.
Upgrade Circuits 6/10 - On the table in the room with the elevator and one locked door, opened with a key.
Audio Logs 2/6 - On the table in the room with the elevator and one locked door, opened with a key.
You'll find yourself on the catwalk at the top of the room, full of Unitologists and Necromorphs. Use your convenient position and get rid of all enemies.
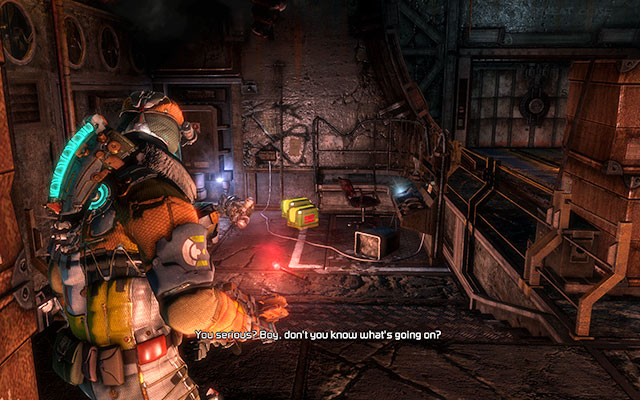
When you approach cargo elevator, few Necromorphs will jump on you. Ride the elevator down and take the armory key from the panel. Do not forget to loot all supply crates.
Weapon Parts 3/9 - On crate, next to the cargo elevator.
Audio Logs 3/6 - On crate, next to supply crates at the bottom.
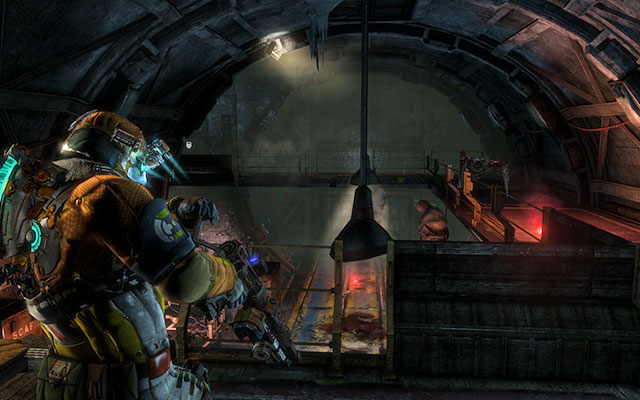
After picking up the key you'll be attacked by next wave of Necromorphs. A good idea is to go to the cargo elevator and ride it up, so you'll get a safe and convenient position to eliminate enemies. Unfortunately, it is not easier at the top, because after you walk few steps, more Necromorphs will crawl out of the ventilation shafts.
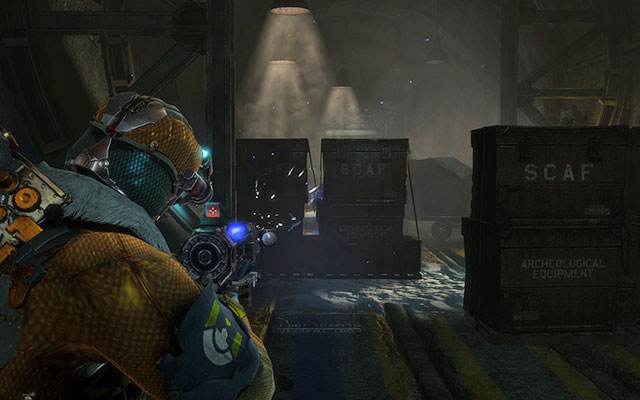
Ride up the elevator and head to the door on the right - you have the access key to open it. You'll find yourself in the corridor with mining carts. Watch out for Necromorphs lurking behind crates - it could be difficult to lure them out, so move forwards carefully.
Unitology Artifacts 3/3 - At the end of the tunnel, behind crates.
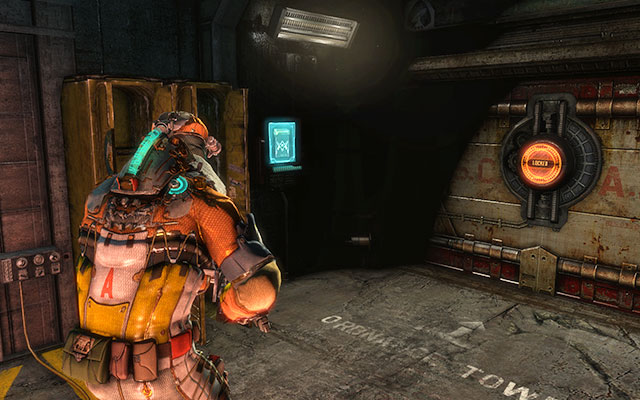
Walk around carts and bypass the door security to continue your walk. The next gate gets stuck and you have to fight off the horde of Necromorphs. After clearing the room, keep going forwards. Go through the corridor to the next room, where you'll find an elevator. After riding it up, go to the gate on the left and unlock it with the key.
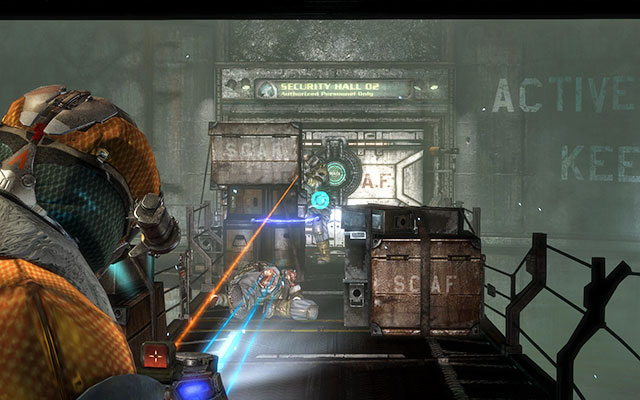
There are several Unitologists on the bridge - use crates as covers and get rid of opponents. Move forwards.
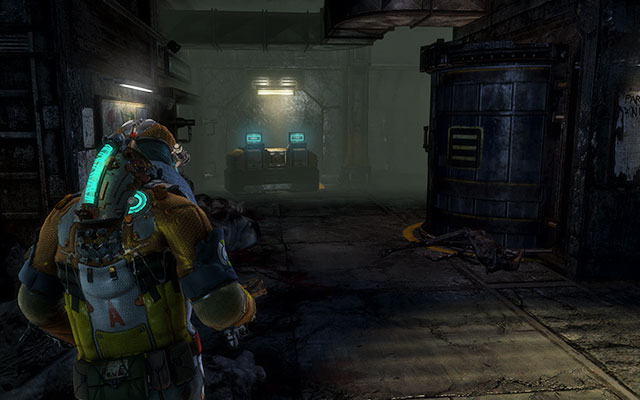
Go to the end of the corridor and ride the elevator up. You'll find yourself in the supply room - kill Unitologists and Necromorphs lurking here and loot supplies. Now you can take the elevator and ride it to the room, from which you can easily exit the armory and go outside.
Weapon Parts 4/9 - Inside the supply crate.
Weapon Parts 5/9 - Inside the supply crate.
Dead Space 3 side mission from chapter 14: Everything Has Its Place.
The elevator leading to barracks can be found in the corridor starting in the room with huge tube and an angle puzzle in the paleontology sector. After riding down the elevator, you'll find yourself in front of the grate - the passage to the left is not accessible.
Text Logs 2/7 - On the floor in front of the grate.
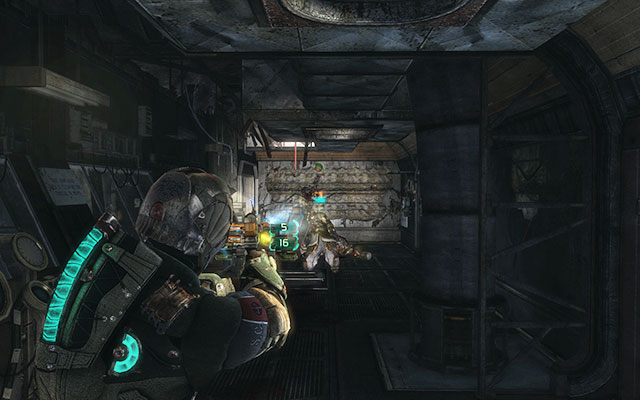
In the further part of the corridor you'll find several crates and lockers and a suit kiosk.
Text Logs 3/7 - On the floor next to the door, near the kiosk.
Once you're ready, use the only available door to move ahead. After getting to the destroyed room turn right and prepare to unexpected welcome from Necromorph.
Text Logs 4/7 - On the desk inside the control room.
Go ahead, watching out for Necromorphs which took control over dead soldiers on the catwalk on the other side of the room. Climb down the ladder - you'll come across a huge piston. Use stasis on it when it unlocks the passage in the tunnel (it is at the distance from you).
Weapon Parts 3/14 - On the table with the head, in the passage between pistons.
Upgrade Circuits 5/13 - In the side corridor near the second, inoperative piston. You'll notice the locker when you enter the piston.
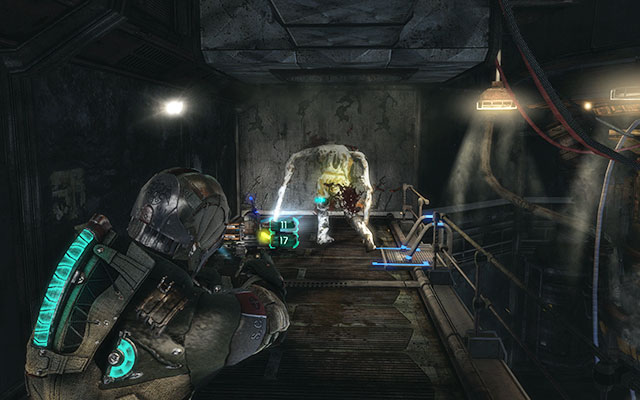
The second piston is blocked, so you can move further without problems. You'll find a ladder in the corridor - climb it up. When you get up to the catwalk, you'll be attacked by Necromorphs.
Move further through two rooms until you get to the room with beds. Get rid of small Necromorphs, which take control over dead bodies. There is a workbench in an adjacent room.
S.C.A.F. Artifacts 1/3 - On a locker, right from the entrance, in the room with radio station and a bed.
After crossing the gate you'll get to the corridor full of explosives with a laser beam coming out of it. You can easily get rid of them by shooting at them.
In the next room a recording is played - there is a supply crate you're looking for in the corner.
Weapon Parts 4/14 - Inside the supply crate.
Weapon Parts 5/14 - Inside the supply crate.
Blueprints 2/3 - Inside the supply crate.
On the floor, near the exit, you'll find Reaper Officer's Key, which allows you to unlock the door. Watch out, because several Necromorphs are lurking behind it.
Go through the bloody room and the kitchen and turn to the gate on the left.
Upgrade Circuits 6/13 - At the end of the room full of mines. You can access it by bypassing a security box.
A little further you'll come across the elevator which will take you back to the beginning of the stage.
Dead Space 3 side mission from chapter 14: Everything Has Its Place.
The entrance to the facility can be found near the cargo elevator. After riding it down, go to the end of the empty corridor. You'll find yourself in the tunnel, where you'll get attacked by Necromorphs.
Text Logs 5/7 - On the table, near lockers.
Move ahead, walking over the next part of the tunnel until you reach the elevator which will take you up. In the corridor with the ladder you'll be attacked by explosive Necromorphs - watch them out and try to keep away from corners.
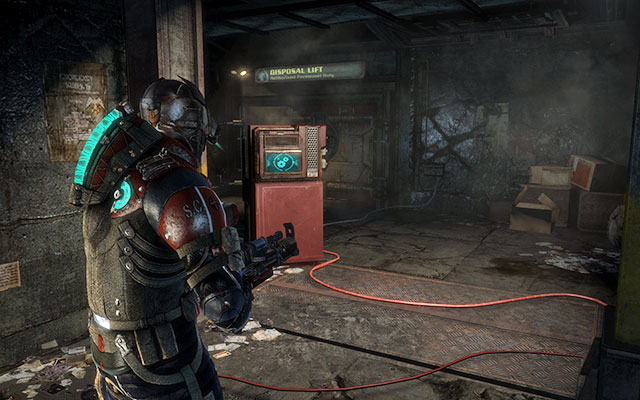
Go up and move ahead - you'll find yourself in a corridor with blocked door. In order to unlock it, you have to bypass security in a red power box. After that several Necromorphs will attacks you.
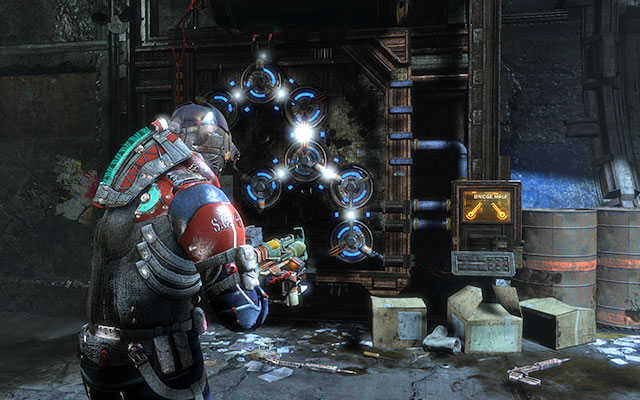
Go forwards, collecting supplies from wall lockers. You'll find yourself in the room with a raised bridge. Climb down the ladder, where you'll find a generator. Use kinesis to set all knobs in such positions so the current flows through them. The solution is shown on the above screen. Watch out for Necromorphs which will attack you as soon as you start playing with generator.
Upgrade Circuits 8/13 - In the locker on the wall, near the generator.
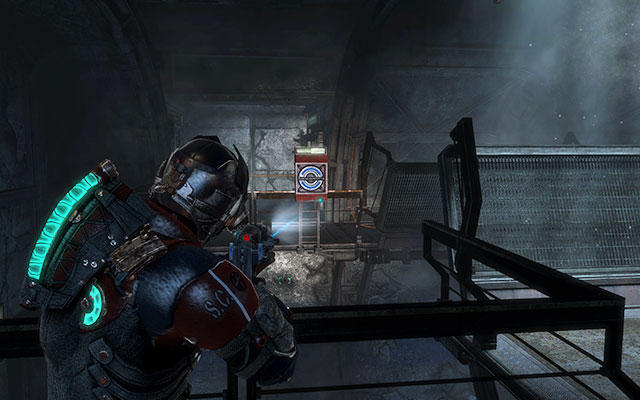
Climb up the ladder and walk through the lowered bridge to the elevator. Go through the corridor ahead, eliminating Necromorphs along your way until you reach the next location with a raised bridge. Use kinesis on the knob on the other side to lower the bridge.
The next door gets stuck when you try to open it. This of course is connected with attack of horde of Necromorphs. Due to the relatively little space try not to get surrounded by enemies.
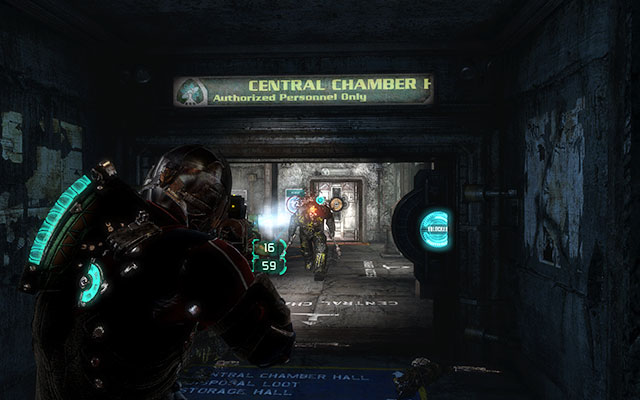
In the next room you'll find a workbench and several lockers. Once you are ready, head to the cargo elevator. Ride it down and kill Necromorphs. Run ahead. Watch out for the monster charging at you after opening the next gate.
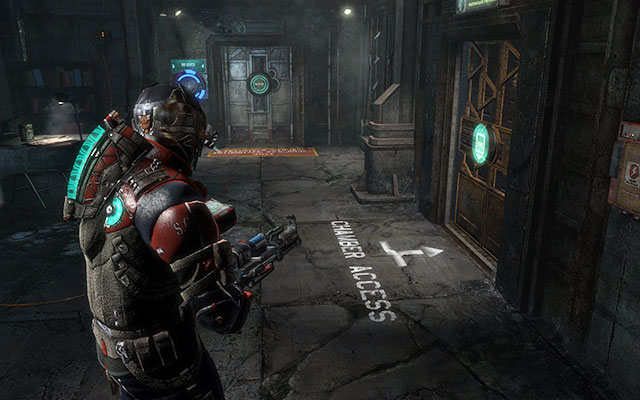
You'll find yourself in the room with the elevator and locked storage room, which can be opened with torque bar. Your target is the elevator mentioned earlier - it will take you up.
Text Logs 6/7 - On the table in the room with the elevator and storage.
Upgrade Circuits 9/13 - Inside a storage, which can be opened with torque bar.
Weapon Parts 8/14 - Inside a storage, which can be opened with torque bar.
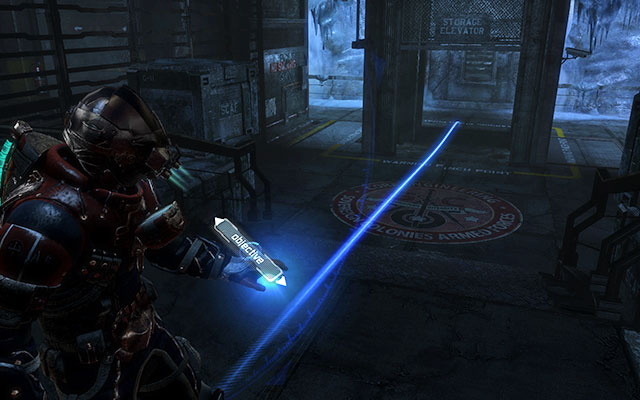
Get rid of Necromorphs lurking here and move ahead - you'll find a workbench on your way. Use it if needed.
Text Logs 7/7 - On the desk, next to the computer.
Eventually you'll reach the room with the cargo elevator.
S.C.A.F. Artifacts 3/3 - In the corner, near one of locked doors.
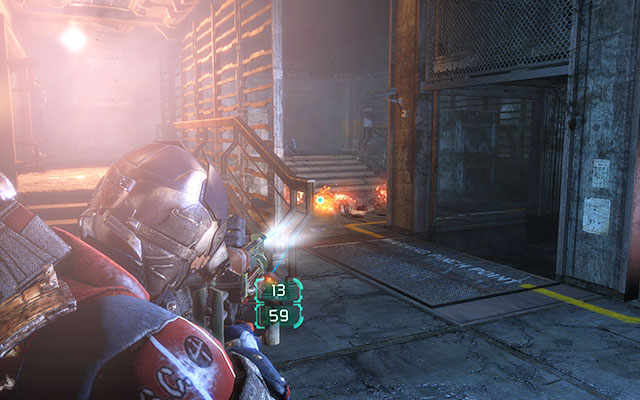
At the moment you call the elevator, it will get stuck at half way and you'll be attacked by a horde of Necromorphs. Once you repeal the attack and the elevator gets down, you'll be able to get to the supplies. When you clean this place, turn around and use the elevator to get to the beginning of the facility.
Weapon Parts 9/14 - Inside the supply crate.
Weapon Parts 10/14 - Inside the supply crate.
Weapon Parts 11/14 - Inside the supply crate.
Weapon Parts 12/14 - Inside the supply crate.
Dead Space 3 side mission from chapter 17: A Strange City.
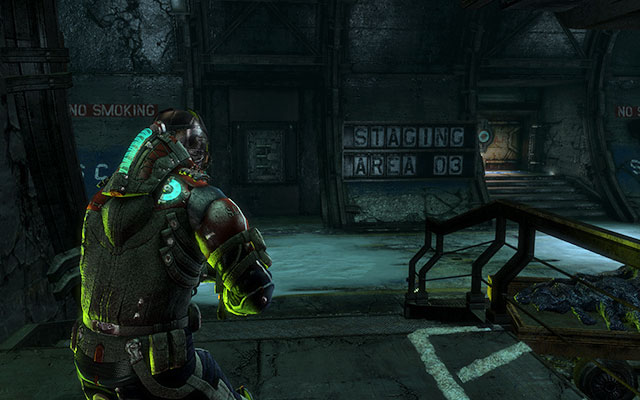
The elevator which takes you to the part of the facility, where you'll find the side mission, can be activated by bypassing the security in power box. After riding it down you'll find yourself in the room with suit kiosk and a workbench.
Audio Logs 2/3 - On the table near the cart and a creature.
Text Logs 2/4 - On stairs, in front of the door.
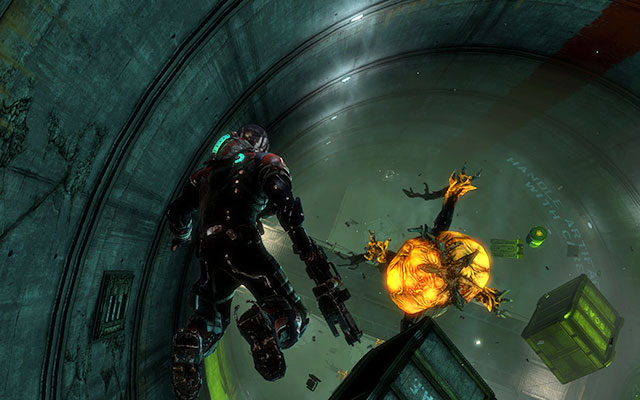
Move ahead until you reach a silo with zero-gravity. Fly to the very bottom, watching out for Necromorphs along your way.
Text Logs 3/4 - Log is floating over one of passages - right behind the first Necromorph.
Weapon Parts 1/2 - In the recess at the bottom of the silo. Use kinesis or fly to this part.
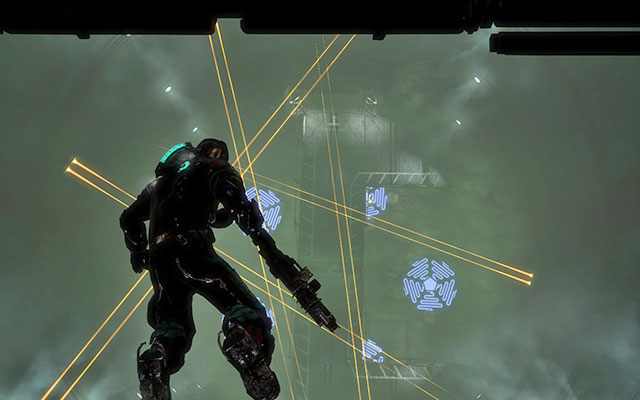
Once you get to the bottom, walk through the only available door. In the corridor you'll find few lockers with supplies. The next door will lead you to the next silo with zero-gravity.
Upgrade Circuits 2/10 - On the wall, in the recess on the left.
Fly down, watching out for laser along your way.
Text Logs 4/4 - Log is floating right over the catwalk at the bottom.
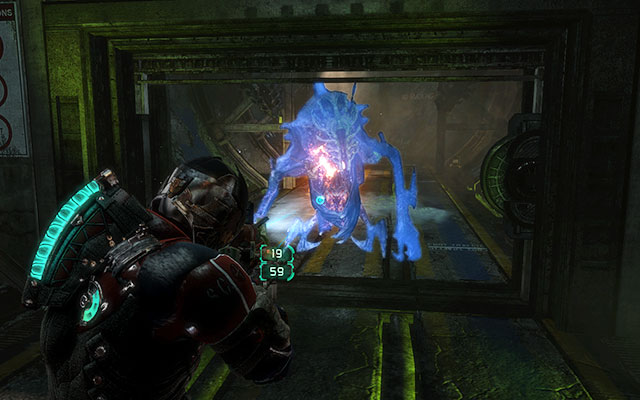
In the next corridor you'll come across a display showing a set of symbols representing the Warrior. Move ahead to the tunnel lit in green. Watch out for Necromorph, who will attack you in the further part, after opening the gate.
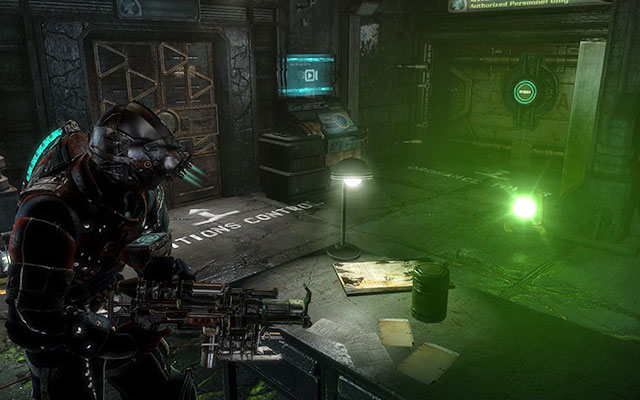
Move ahead, eliminating all threats along your way. Finally you'll find yourself in a small room with a display - this time it shows set of symbols representing Final.
There is another silo waiting for you - enter the zero-gravity and this time fly up, watching out for laser and also for Necromorphs which will start appearing on walls after a while.
Alien Artifacts 2/3 - In the recess at the very bottom of the silo - you have to fly there because you can't use kinesis on the artifact.
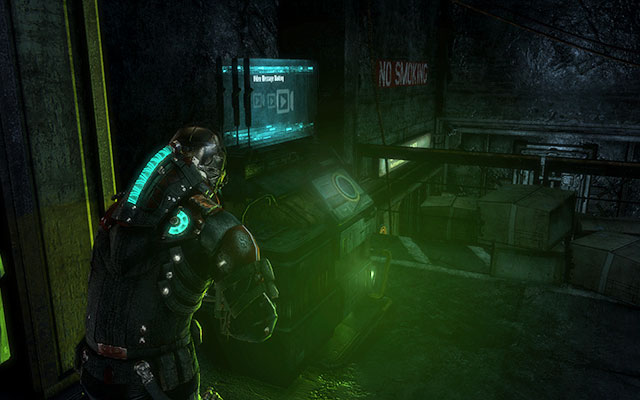
At the very bottom use the interface to unlock the next gate. Walk through the room with the workbench in order to get to the room you're looking for.
Upgrade Circuits 3/10 - Next to the workbench.
After crossing the door, you'll find another display on the left. This time it shows set of symbols representing Sacrifice.
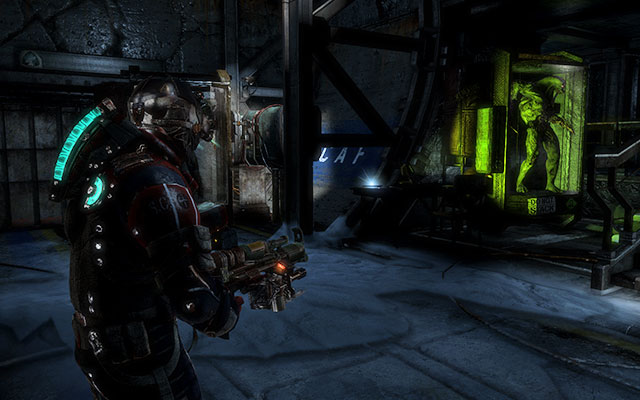
Do not worry of closed Necromorphs - they won't attack you. Thoroughly clear the supply crate and do not forget the artifact manifest, which lies on the desk near regenerating monsters - once you take it, you'll end the mission.
Upgrade Circuits 4/10 - Inside the supply crate.
Upgrade Circuits 5/10 - Inside the supply crate.
Upgrade Circuits 6/10 - Inside the supply crate.
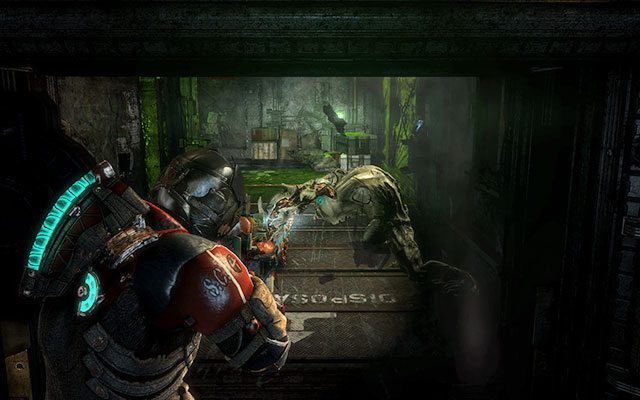
Go to the unlocked exit, searching through lockers encountered on the way. In the next corridor you'll be attacked by regenerating Necromorph - shoot out his lower limbs and in addition use stasis on him to slow down his regeneration.
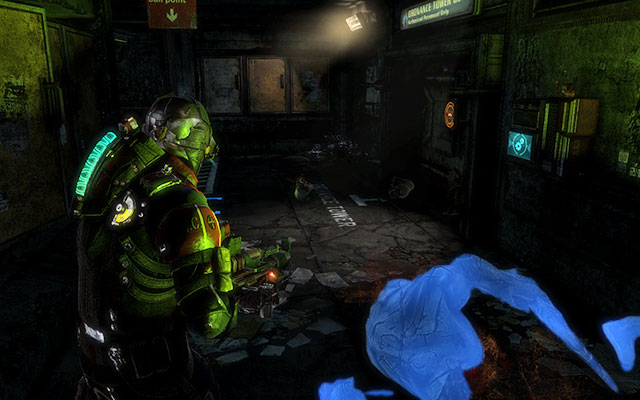
Quickly run forwards - try to get rid of all Necromorphs which can be killed. You'll get to the locked door with a box near it - you have to bypass security to flee from the facility.
Upgrade Circuits 7/10 - On the wall, after climbing down the ladder, near the locked door.
Before you start hacking, paralyze regenerating Necromorphs, so you can safely bypass security. Inside the silo go u, where you'll be able to get to the starting place of the facility.
Dead Space 3 side mission from chapter 4: History's Ember.
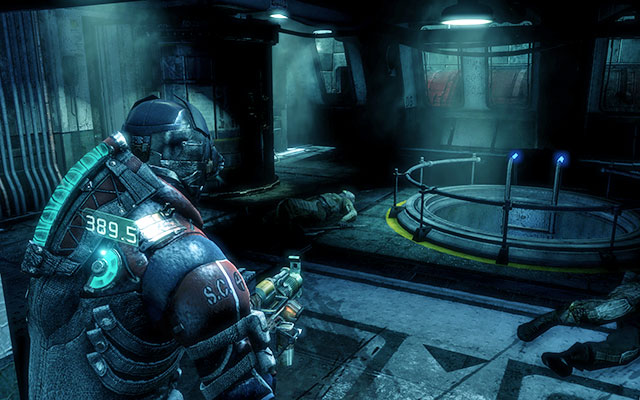
After boarding the ship, you'll get information about absence of oxygen. Your first task is to activate airing system. Go ahead through the corridor until you get to the room with a ladder leading inside the ship. Watch out for Necromorphs, which will soon attack you. Inside the room you'll find also several lockers.
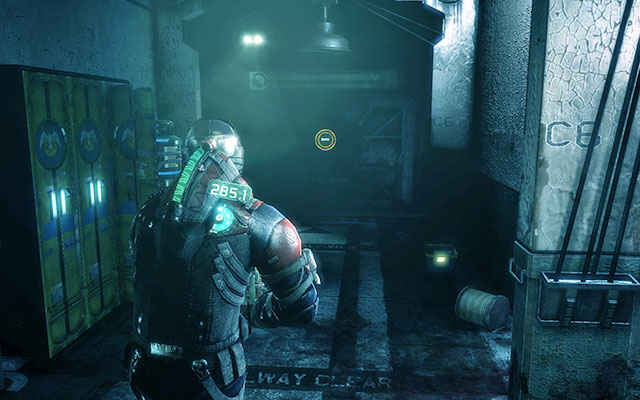
After climbing down you'll be surprised by Necromorph. Clear the location and move ahead - there is an oxygen container near lockers along your way.
Text Logs 3/5 - On the floor, near the first oxygen container.
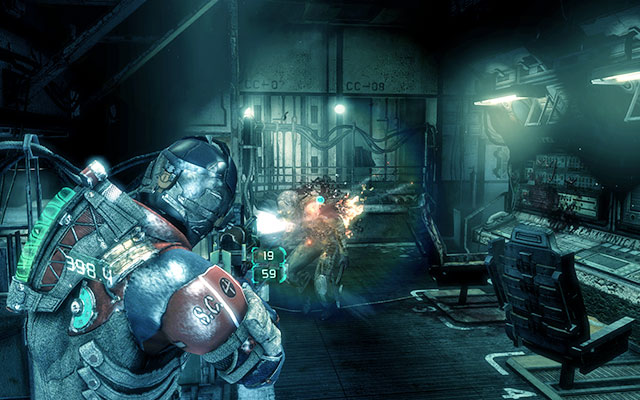
Walk through the maintenance room, eliminating Necromorph there and go to the next corridor. Inside the bath you'll find some ammo. Now head to the elevator, which will take you to lower levels.
You'll get to the room, where you can start ship airing. There is also an oxygen container near the ladder - use it if needed. After climbing down the ladder, you'll find a box - you have to bypass security to restore airing system in the ship.
Text Logs 4/5 - On the locker, next to the generator.
Weapon Parts 8/12 - On the locker, next to the generator.
When you're able to breathe normally, you'll be attacked by several Necromorphs. Once you eliminate them, climb up the ladder and head back to the elevator. You'll get to the newly unlocked corridor where you'll be attacked by larger group of Necromorphs.
EarthGov Artifacts 2/2 - On the bed in one of room on the left inside the corridor.
Run forwards through the corridor, eliminating any threat along your way, until you get to the electronic interface.
Text Logs 5/5 - Inside the storage, next to the interface.
Upgrade Circuits 6/7 - Inside the storage, next to the interface.
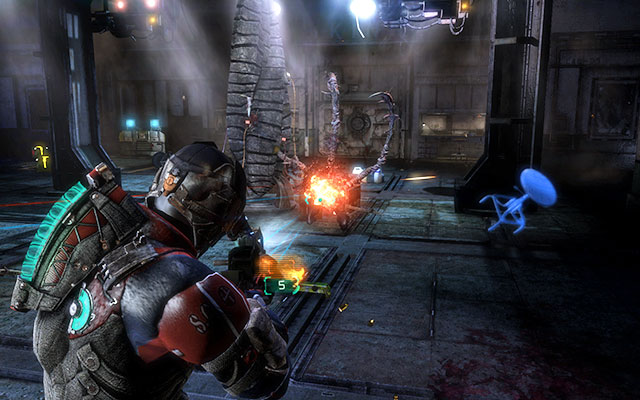
You'll find yourself in the room with Marker in the center - there is a supply crate in the left corner. But before you can open it, you'll have to repel attack of horde of Necromorphs. After clearing the room, go out through the next door. Walk through the system of corridors, until you get to the starting point, thus leaving the ship.
Weapon Parts 9/12 - Inside the supply crate.
Weapon Parts 10/12 - Inside the supply crate.
Weapon Parts 11/12 - Inside the supply crate.
While playing as Carver, during your visit on the ship you'll notice toy soldiers scattered around. It will be similarly at the end, near Marker - Carver will pick up a small figure during the cutscene.
Weapon Parts 7/12 - Inside one of storages in the large part with "6" digit - you should see it when standing on the edge of the ship entrance.
S.C.A.F. Artifacts 3/3 - In the crate inside the storage located behind the large part of the ship with "6" digit. The secret can be found outside Brusilov.
Upgrade Circuits 5/7 - In the crate inside the storage located behind the large part of the ship with "6" digit. The secret can be found outside Brusilov.
Dead Space 3 side mission from chapter 11: Signal Hunting.
After riding down the elevator to the proper part of the facility, climb down the ladder. In the first part of the corridor you'll be attacked by Necromorphs.

Walk through several more empty corridors, until you get attacked again. In the same corridor you'll find the ladder - climb it up. In the next room, next to the gate, Necromorph will jump down on you.
Text Logs 4/4 - On the table in one of corridors.

During crossing the bridge a small horde of Necromorphs will surprise you - it is best to stand in the middle of the bridge and watch each end, so both of you can take out creatures on both sides. Also watch out for monsters crawling on the ceiling - these enemies are particularly resistant and tough.

Cross the room with the workbench and empty all lockers here. Now move to the cargo elevator which will take you down. Prepare for a small fight with several monsters.
Audio Logs 4/6 - In the room with the workbench, near the wall.
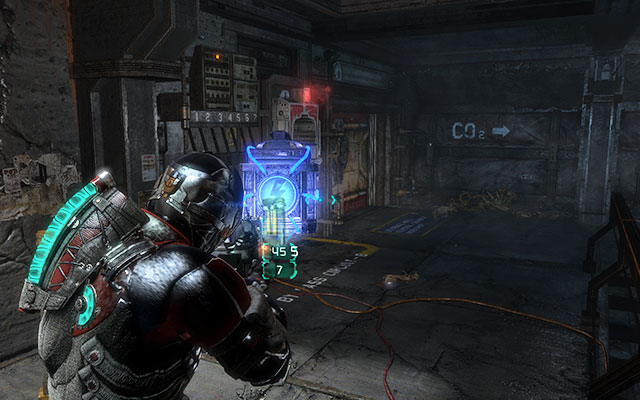
Move further until you get to the corridor with several blocked doors (there are slot for powering cores near them). Clear the location out of monsters and then one of you should take a powering core with kinesis and put it in the slot near the door close to the stairs.
Upgrade Circuits 7/10 - In the corridor at the top - you have to use the powering core, to unlock the passage.
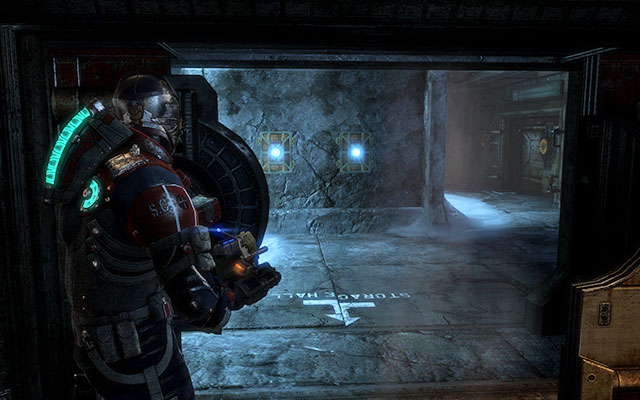
In the next corridor you'll find supply lockers. Move forwards, crossing the new part of the tunnel, where you'll find more lockers, worth plundering.
Audio Logs 5/6 - On the floor in the bigger part of the corridor with lockers.
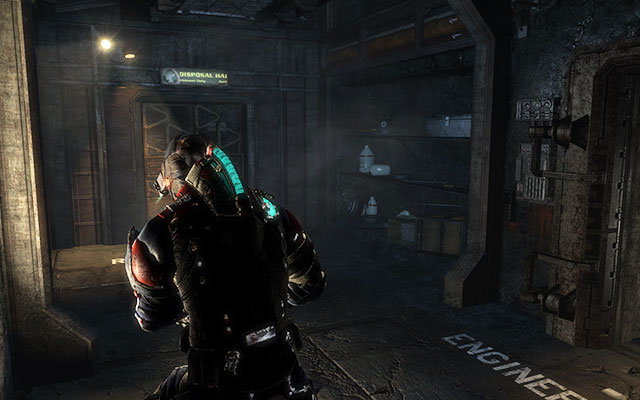
Go to the next part of tunnel, where you'll be welcomed by several Necromorphs. Head to the door on the left. Finally you'll reach the elevator which will take up.
Weapon Parts 6/9 - On crate, in the tunnel, in front of the corridor leading to the elevator.
After exiting the elevator, repeal attack of Necromorphs and climb up the ladder.
Audio Logs 6/6 - On the crate, in the tunnel, after exiting the elevator.
The next corridor will lead you to the fork - the door in the left is inactive, so move forwards where you'll find another elevator and a raised bridge.
Weapon Parts 7/9 - Under the desk, near the inactive door left from the fork.
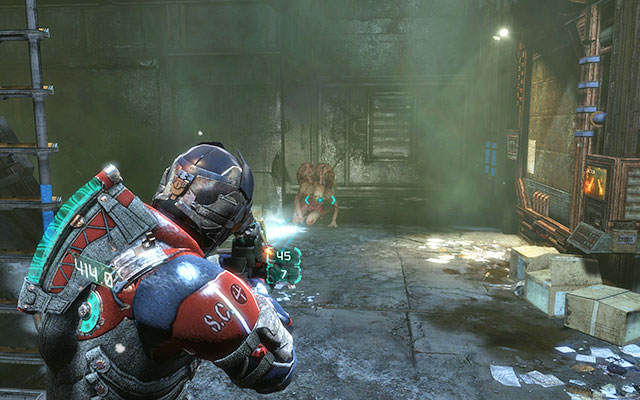
Climb down the ladder - you'll notice strange kneeling creature. Get rid of it and prepare to fight a horde of Necromorphs which will appear here. After clearing the place climb up the second ladder - you'll be not able to lower the bridge.
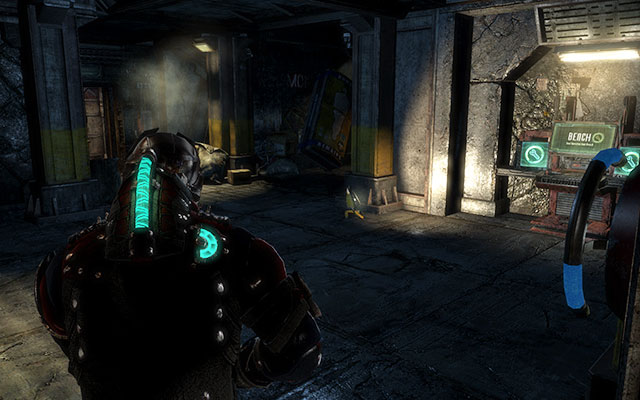
Now go to the next corridor, where you'll find the elevator. After riding it up you'll find yourself in the room with the workbench and a locked door which can be opened with torque bar.
Blueprints 2/2 - Near the body, inside supply room which can be opened with torque bar.
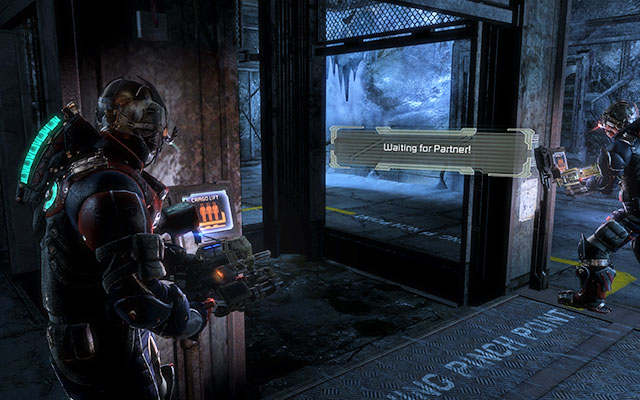
After replenishing your supplies, continue your walk. You'll find yourself in the warehouse with a cargo elevator in the middle. Approach panels and activate the elevator at the same time.
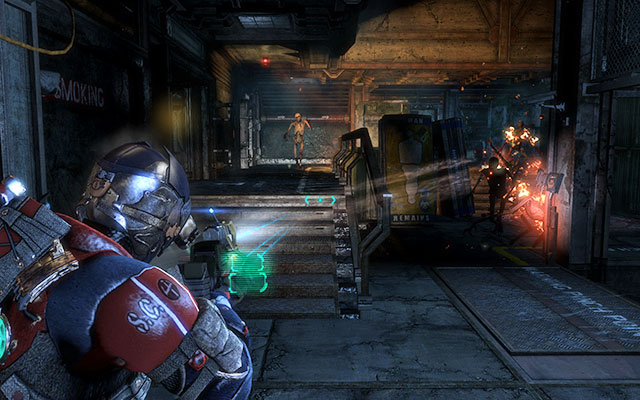
Of course, the elevator jams halfway and you'll be attacked by several waves of Necromorphs. It is best to stay close to each other in the corner of the room and watch back of your companion. After a long fight, when the elevator gets down, open it together with your companion and pick up supplies.
Weapon Parts 8/9 - Inside the supply crate.
Upgrade Circuits 8/10 - Inside the supply crate.
Weapon Parts 9/9 - Inside the supply crate.
Upgrade Circuits 9/10 - Inside the supply crate.
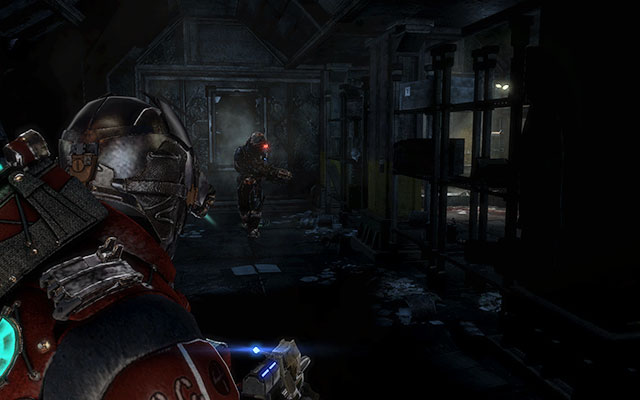
After plundering this place, go to the next door which will lead you to the corridor with few displays. Turn right behind shelves and go to the elevator which will take you to the beginning of this stage.
EarthGov Artifacts 1/1 - On the shelf in the corridor with the workbench and displays, next to the elevator.
Upgrade Circuits 10/10 - On the wall in the corridor with the workbench and displays.
Dead Space 3 side mission from chapter 14: Everything Has Its Place.
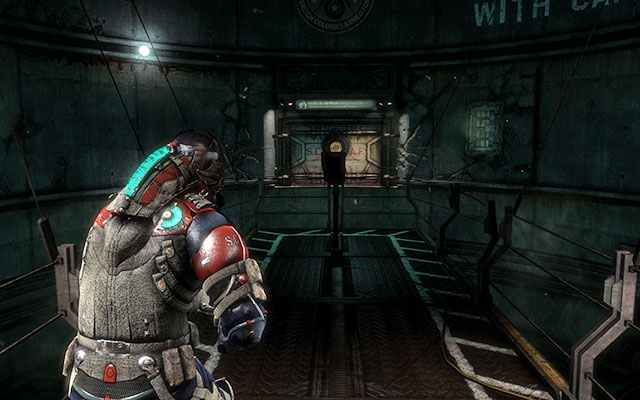
After riding the elevator down, you'll walk through the first corridor, getting rid of Necromorph who will appear here, until you get to the silo with a moving catwalk.
Audio Logs 4/4 - On the table in the room after crossing the first catwalk.
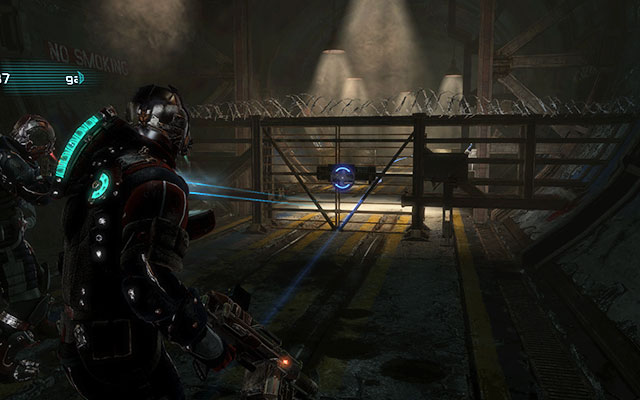
Walk through next rooms until you get to the corridor which begins with a locked door - use kinesis to open it and then move forwards. Prepare for the fight with fast Necromorphs.
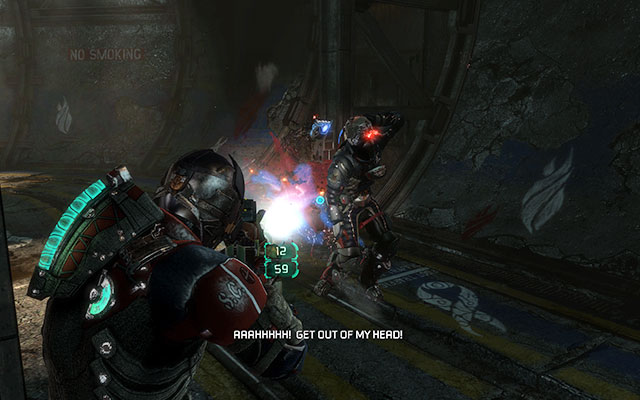
In the next part of the tunnel, the player playing Carver will be transferred to the imaginary world, where he has to fight his own fight. Isaac will face "normal" Necromorphs.
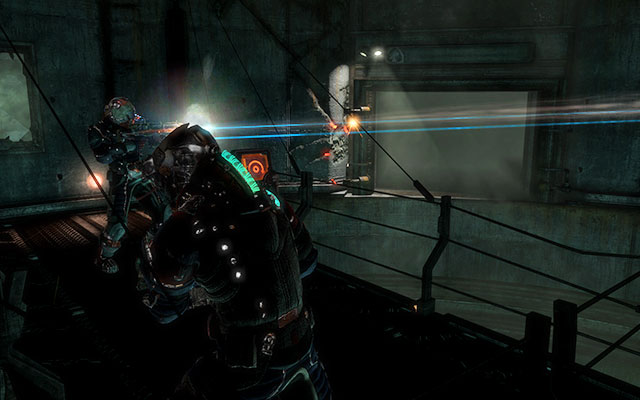
If you play as Carver, you'll be transferred into imaginary world in your mind, where you have to fight ghost. Your main objective is to destroy Marker, located on the other side.
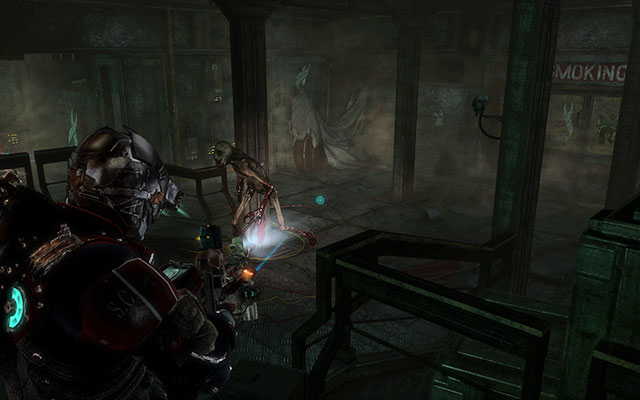
Go further, replenishing your supplies with crates on the floor, until you get to the room with pillars and slightly glaciated part of the room. After few steps toward the next door, you'll be attacked by a horde of Necromorphs. After clearing the location, go forwards.
Upgrade Circuits 10/13 - On the ground, right from the entrance.

In the next room you'll find an elevator, which will take you up to the tunnel with a cargo elevator.
EarthGov Artifacts 1/1 - On the catwalk in the upper part of the tunnel with a cargo elevator.
Upgrade Circuits 11/13 - On the wall to the right in the next room after crossing a tunnel with the elevator.
Go forwards, to the next silo with moving catwalk. This time you'll be attacked by several Necromorphs.
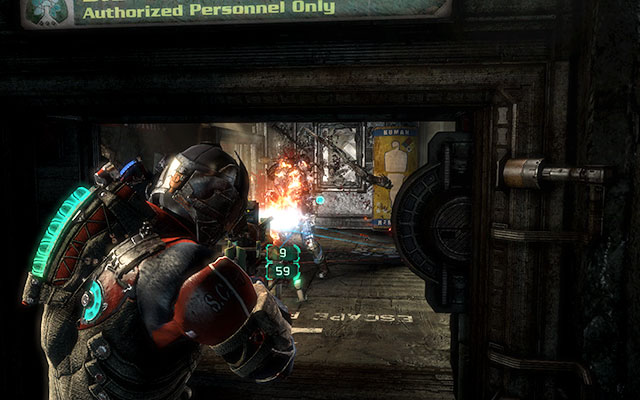
The next corridor, with several lockers, leads to another silo - again turn the catwalk at 180 degrees to be able to move further. In the next room go to the left, choosing quite dark path.
Weapon Parts 13/14 - Behind the crate, near the stairs.
Once you open the next large gate, you'll be attacked by several Necromorphs.
Finally you'll get to the location with a supply crate. Prepare for one more fight - Carver will suffer hallucinations again and move to an imaginary world.
Weapon Parts 14/14 - Inside the supply crate.
Upgrade Circuits 12/13 - Inside the supply crate.
Upgrade Circuits 13/13 - Inside the supply crate.
During the second visit in the imaginary world, all objectives are the same. You have to repel attack of small, quite intrusive spirits and destroy the Marker as fast as possible. It is located at the end.
Dead Space 3 secrets in prologue.
S.C.A.F. Artifacts (1)
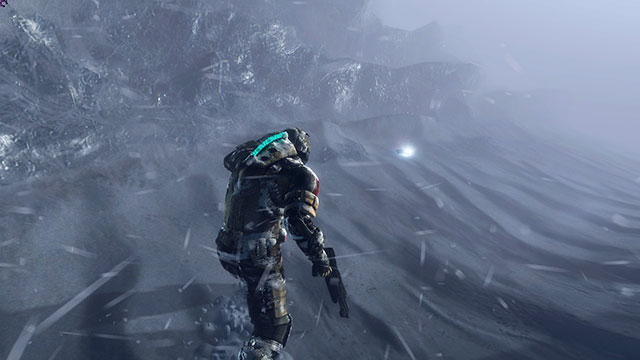
Right after starting the game, turn to the left and move along the hill until you come across the artifact.
Dead Space 3 secrets in chapter 1: Rude Awakening.
EarthGov Artifacts (1)
Unitology Artifacts (1)
Text Logs (1)
Audio Logs (1)
Inside the room, after starting the chapter. Turn right - the audio log is lying on the table.
Inside the room, after starting the chapter. Text log is lying on the bed.
After stopping the traffic on the highway with stasis, go left. Go around the car and move to the corner of a small recess, where you can find the artifact.
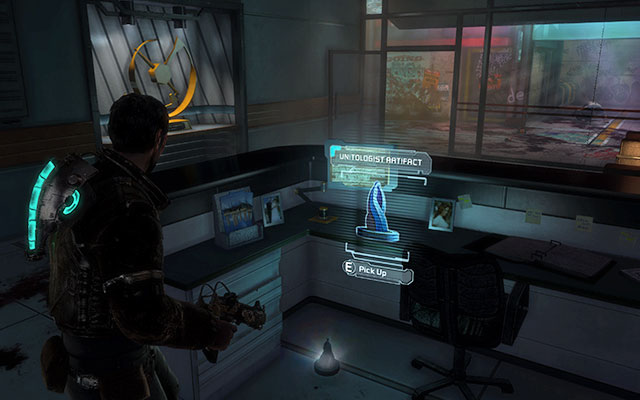
After eliminating Necromorphs in two rooms, ride down the elevator. Look under the table on the right, next to the elevator door - you'll find there an artifact.
Dead Space 3 secrets in chapter 2: On Your Own.
EarthGov Artifacts (1)
Audio Logs (1)
Almost in front of you, when you start the chapter. It lies next to beds on the right.
When you get to the fork, with a long corridor on the right, go to its ends. Artifact lies next to the door.
Dead Space 3 secrets in chapter 3: The Lost Flotilla.
S.C.A.F. Artifacts (1)
Text Logs (2)
Weapon Parts (2)
Upgrade Circuits (2)
Once you get inside the ship, after getting to the corridor you'll find only one active door. The weapon part lies next to the second, inactive door.
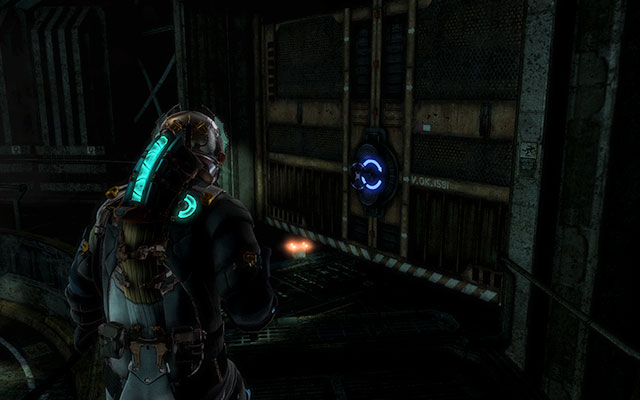
When you let in the rest of crew and get to the cargo bay, turn right. The weapon part can be found in front of the door leading further.
After entering the large hall with a workbench, when you cross the gate, turn right. There is a locker on the wall with the upgrade inside.
Next to the projector, in the theater room.
After exiting the theater room you'll find yourself in the long corridor. The upgrade is in the locker on the wall at its end.
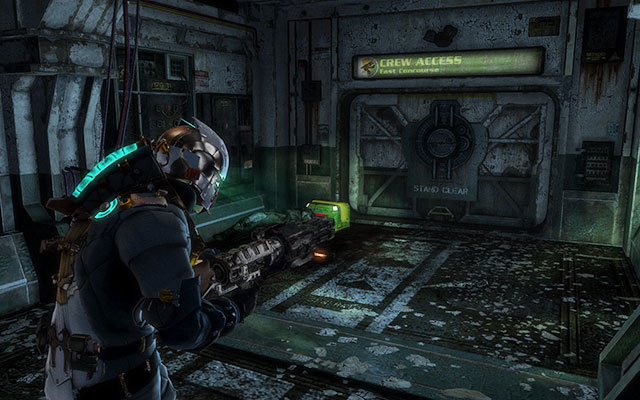
After exiting the theater room you'll find yourself in a long corridor. Text log lies on the ground at its end, next to the crate and the body.
After getting to the other side of the zero gravity room, you'll enter a small room with a ladder. A log can be found on the ground, nearby.
Dead Space 3 secrets in chapter 4: History' Ember.
EarthGov Artifacts (2)
S.C.A.F. Artifacts (3)
Alien Artifacts (1)
Text Logs (5)
Audio Logs (3)
Weapon Parts (12)
Blueprints (1)
Upgrade Circuits (7)
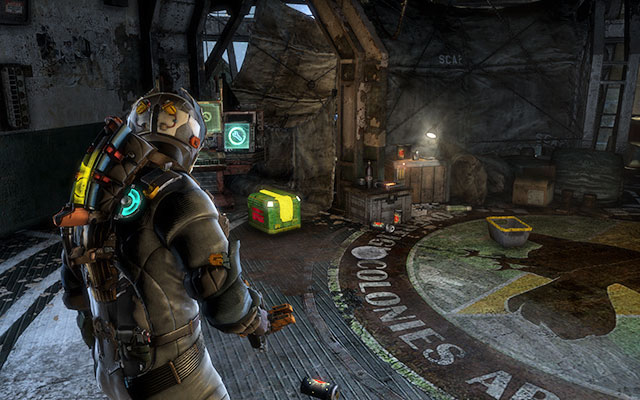
Inside the room right after starting the chapter. Log is located on the crate in front of you.
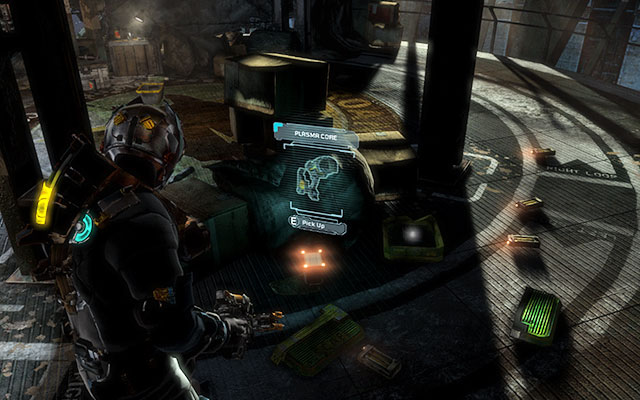
Inside the room after starting the chapter, between boxes on the right. Near metal pillars.
Inside the room after starting the chapter, in the tent - you have to use kinesis to pull it towards you.
In admiral's quarters, near the crate right from the entrance.
In the admiral's quarters, on the crate, after climbing up the stairs.
In the admiral's quarters, on the table.
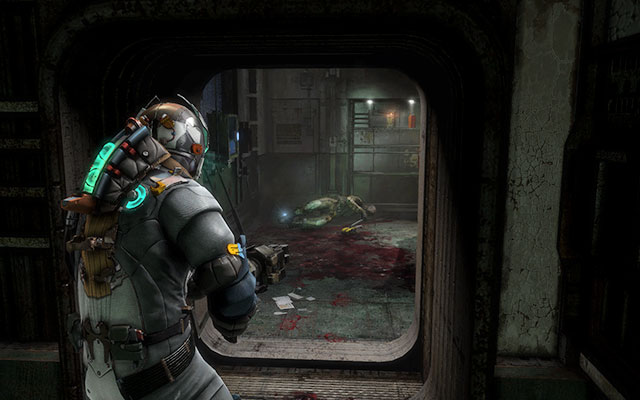
Before you join your crew in the large hall, you'll find yourself in the room with two doors - cross the one on the right. The blueprint lies next to the body on the ground.
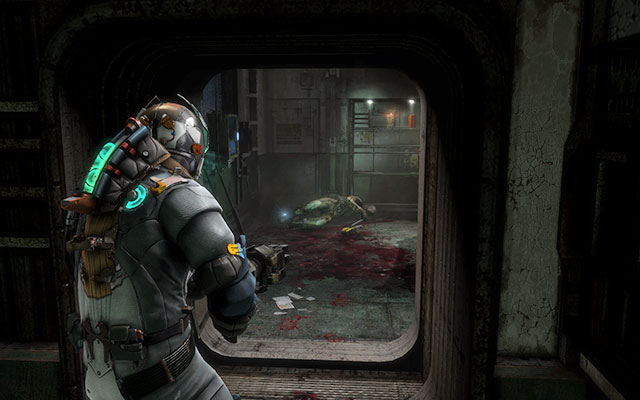
Before you join your crew in the large hall, you'll find yourself in the room with two doors - cross the one on the right. The upgrade is in the locker on the wall on the left side, near the entrance.
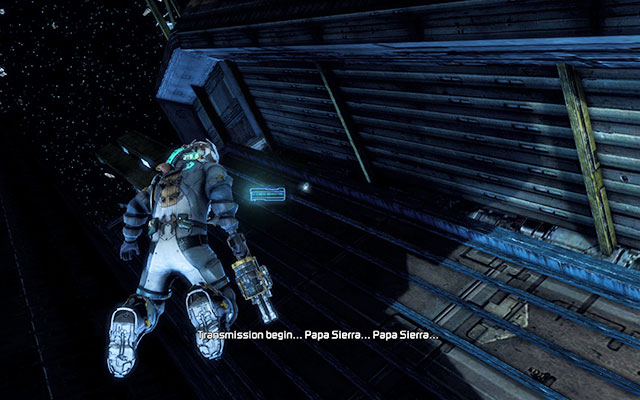
After leaving the ship and entering the space, fly straight ahead - you should see a recess with the artifact.
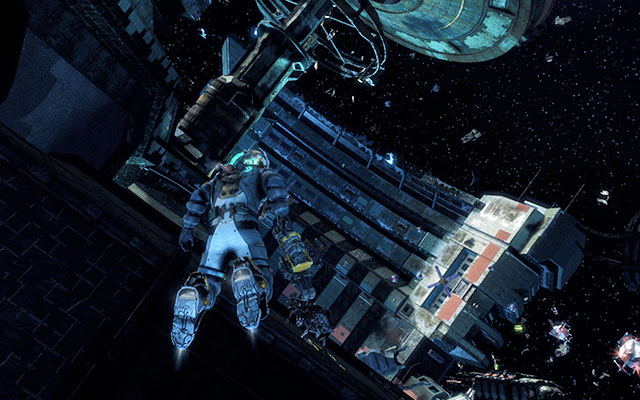
After leaving the ship and entering the space, fly around the ship, heading left. You should see in a distance a part of the ship shown on the above screen.
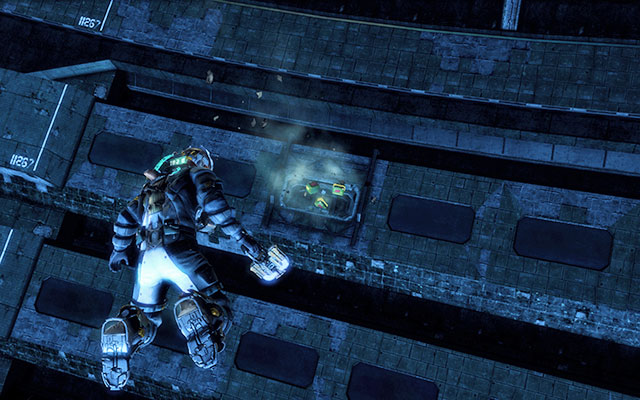
Fly towards it and destroy one of shields - crates and weapon part will fly out of it.
After entering the ship and getting to the room with the ladder. It lies on the table to the right, with helmet on it.
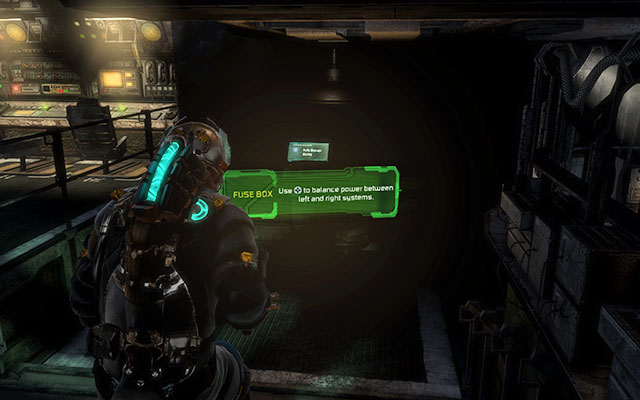
After activating CPU power, the log will be played automatically.
Inside the bathroom, this can be found on the right, next to the stairs. You have to restore the power first, to gain an access.
Inside the room with many panels, on one of shelves enlightened with a purple light.
After turning off the generator, go to the other side of the room. A weapon part lies on the panel in the middle.
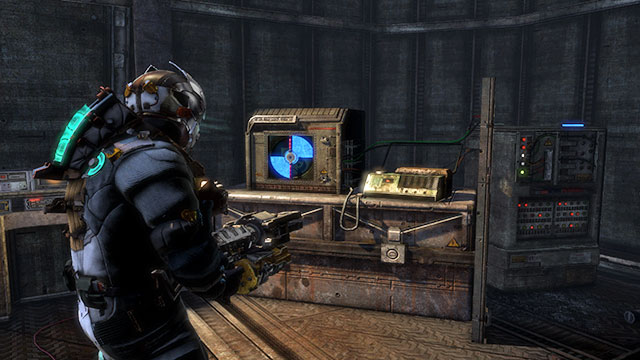
After turning off the generator, go to the other side of the room. Activate the blue module and the log will be played automatically.
Inside the room which can be opened with a torque bar crafted at the workbench. On the wall to the left.
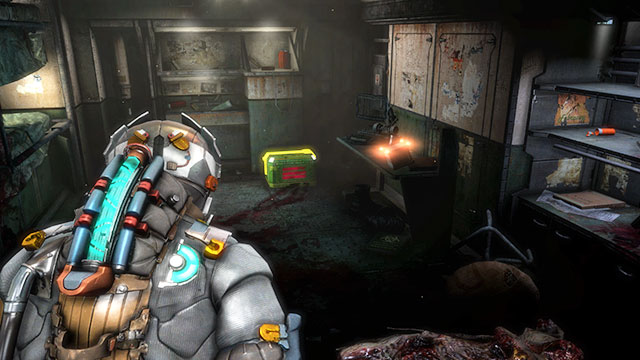
Inside the room which can be opened with a torque bar crafted at the workbench. On the table to the right.
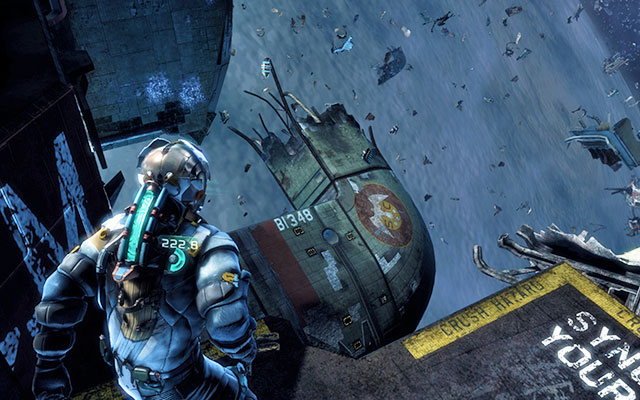
After leaving C.M.S. Greely go to the broken off part B1348.
On the other side you'll find an entrance to the room, where artifact lies in the corner.
After leaving C.M.S. Greely go to the broken off part B1348.
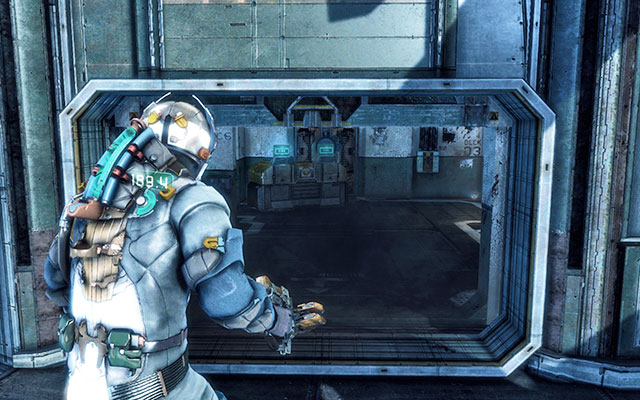
On the other side you'll find an entrance to the room, where weapon part lies in the crate.
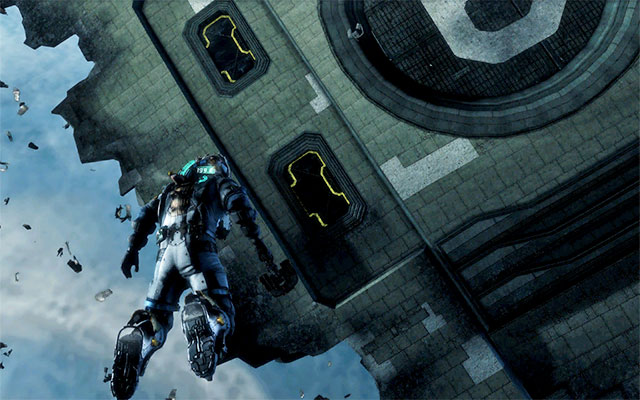
In one of storages with a huge digit "6" - you should see it while standing on the edge of the ship entrance.
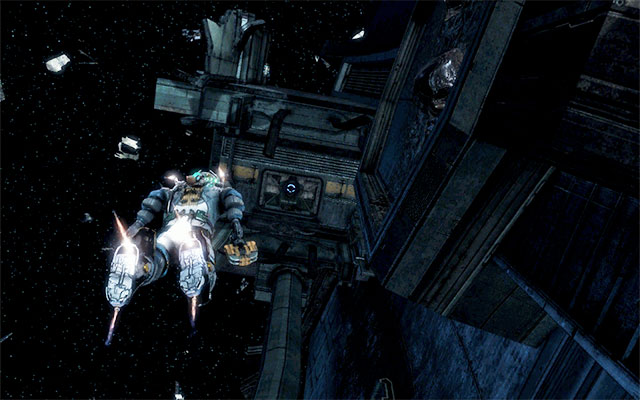
In the crate inside the storage located behind the huge ship part with digit "6". The secret is outside Brusilov.
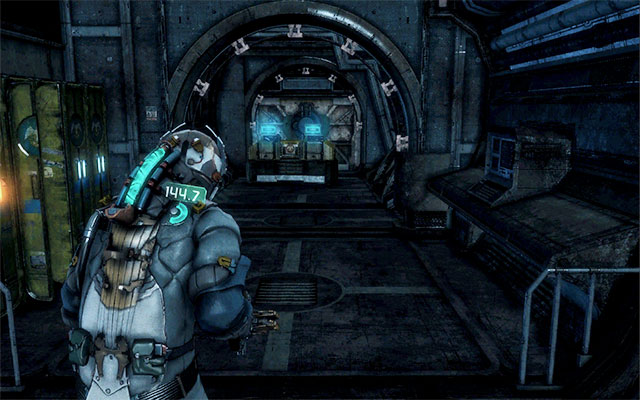
In the crate inside the storage located behind the huge ship part with digit "6". The secret is outside Brusilov.
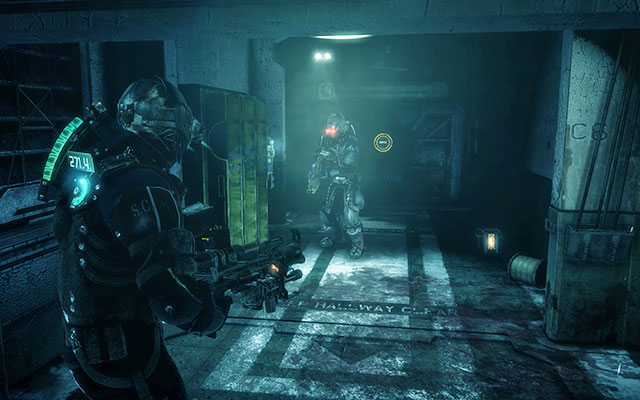
On the ground, near the first oxygen container.
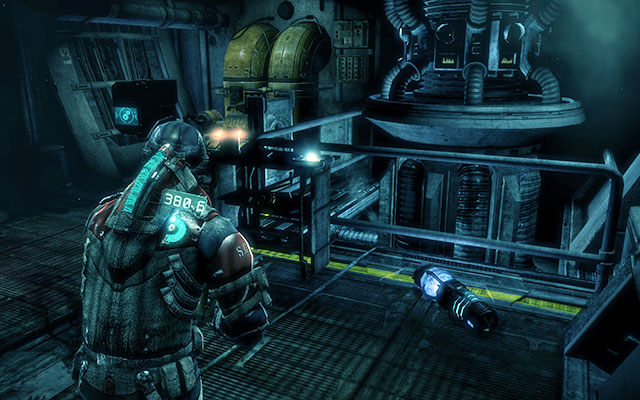
On the locker, next to the generator.
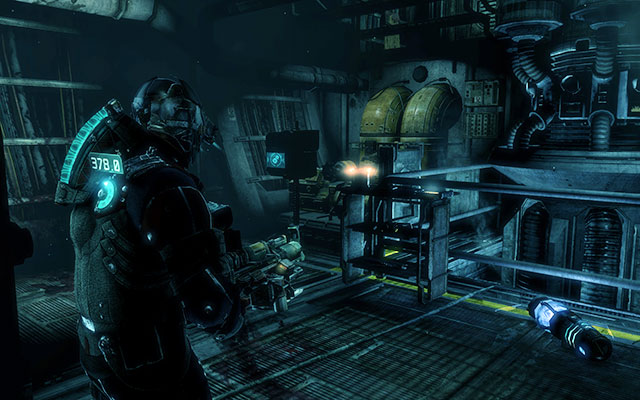
On the locker, next to the generator.
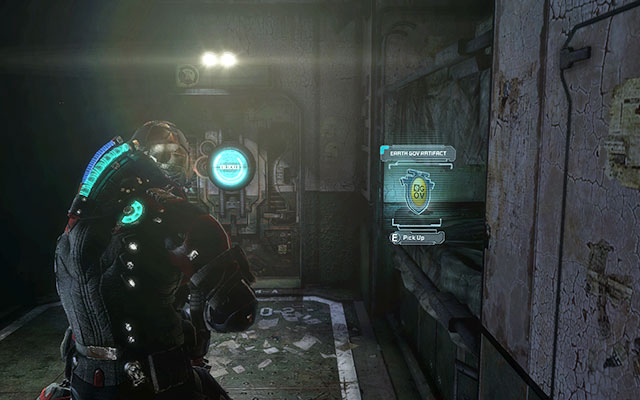
On the bed in one of rooms on the left side inside the corridor.
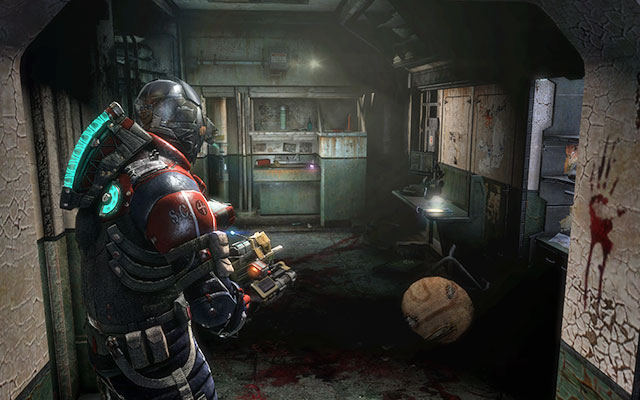
Inside the storage, next to the interface.

Inside the storage, next to the interface.
Inside the supply crate.
Inside the supply crate.
Inside the supply crate.
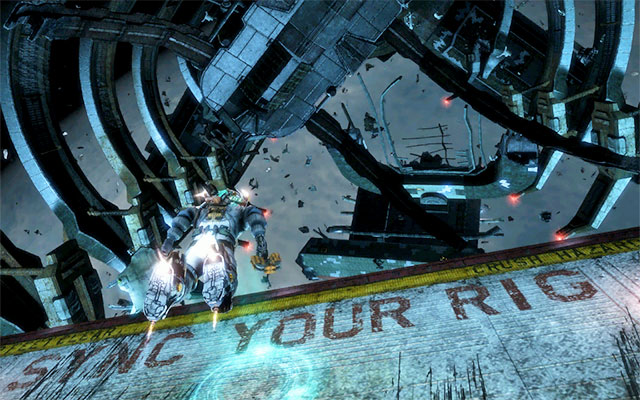
Once you get to the ship, leave it through the emergency exit. Fly straight ahead and go around the ship part in front of you.
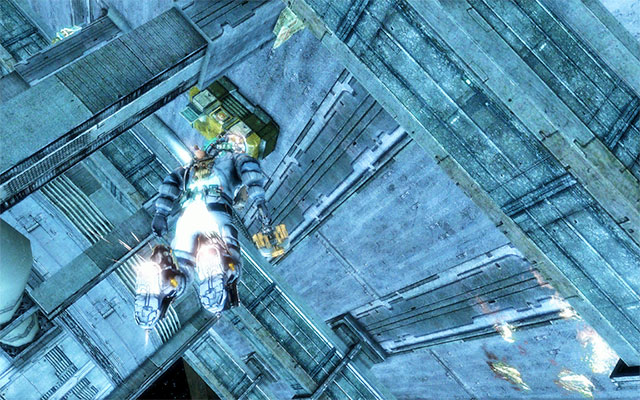
You should see a crate there - inside it you can find the upgrade.
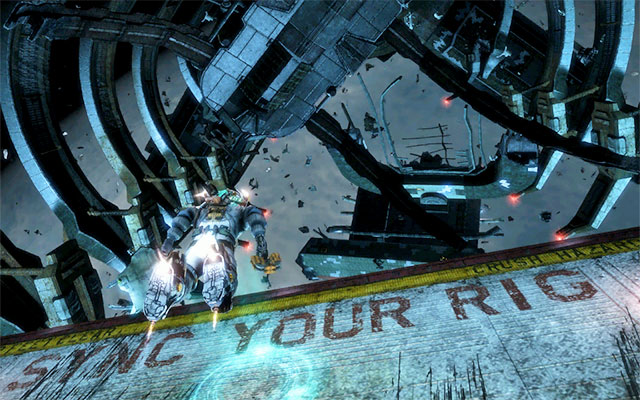
Once you get to the ship, leave it through the emergency exit. Fly straight ahead and go around the ship part in front of you.
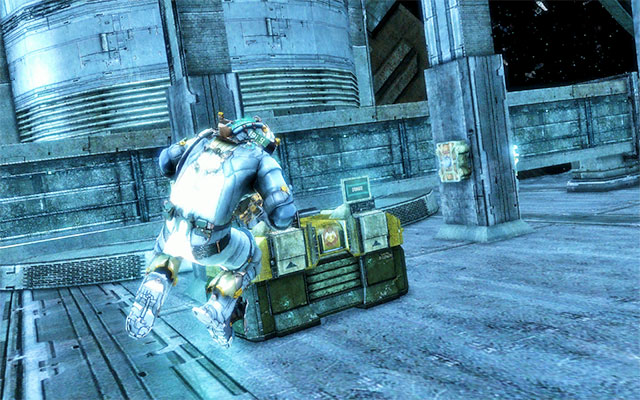
You should see a crate there - inside it you can find the weapon part.
Dead Space 3 Collectibles in chapter 5: Expect Delays.
S.C.A.F. Artifacts (3)
Text Logs (5)
Audio Logs (4)
Weapon Parts (6)
Upgrade Circuits (6)
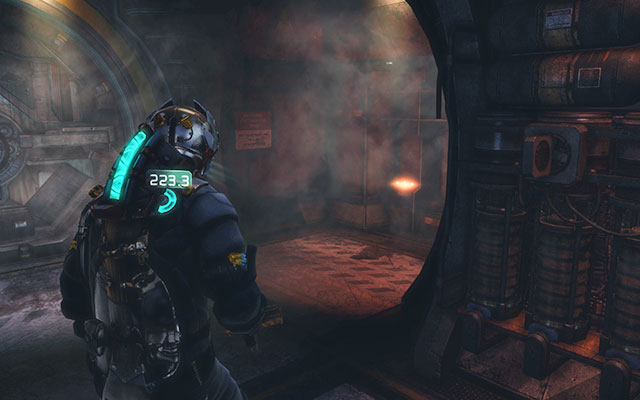
Right after you walk over from the cargo ship to the aeration chamber in Terra Nova, on the shelf to the right, before you reach the second gate.
Right after you climb onto the captain's bridge, on the shelf to the right.
Right after you climb onto the captain's bridge next to the pilot's seat, to the right.
Inside the locker on the wall, after you climb onto the captain's bridge turn right twice. On your way to the other part of the bridge.
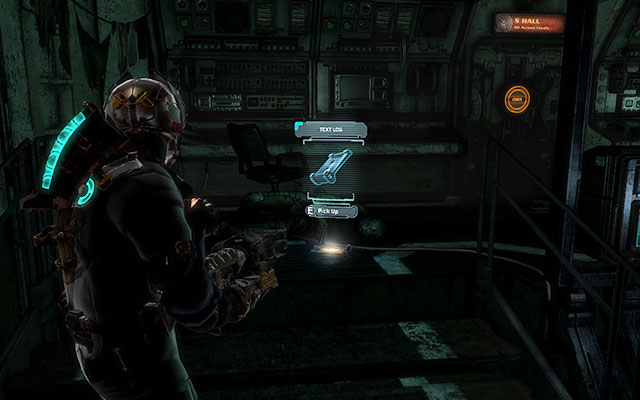
In the other part of the captain's bridge, right next to the interface.
After you climb down the ladder, in the hall filled with containers, turn right where the path forks. Right behind the box.
After you reach the room with the workbench, on the table to the left.
Inside the tram station, in the locker on the wall close to the tram gate.
Inside the waste control room, after you walk out of the lift, to the right.
Inside the waste control room, after you reach the lower level and approach the panel, turn around- the part is located close to the lockers.
Inside the waste control room, after you reach the lower level and approach the panel, turn around- the log is located close to the lockers.
Right after you leave the lift that broke loose , and fell to the very bottom.
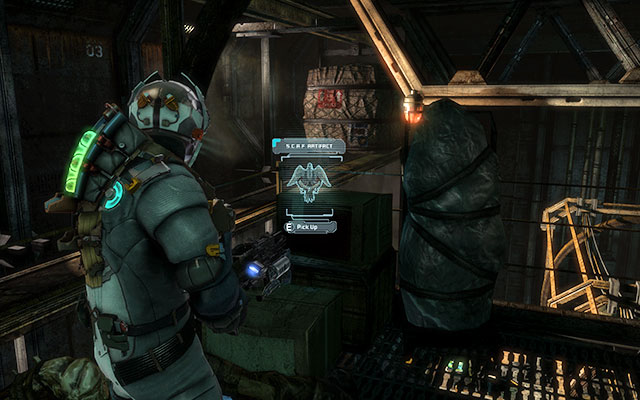
After you climb the ladder, right in front of the door to the large hall filled with containers. The artifact in on the crate next to the ladder.
Inside the control room of the Mid Station - you need to use the interface to restore power first (the puzzle, that is about putting two pointers into designated area, that you have been solving before).
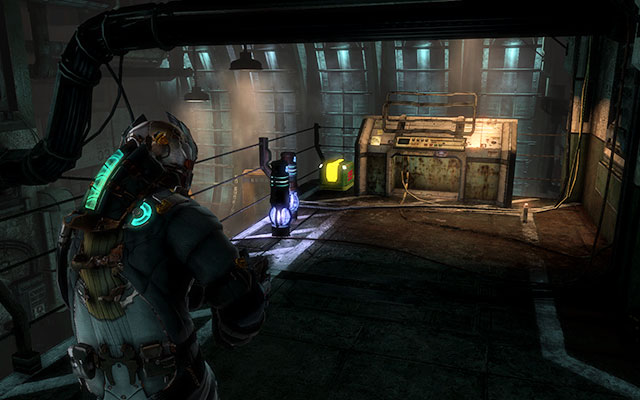
On the panel to the right- opposite the cargo lift. Right after you destroy the third electrical beam.
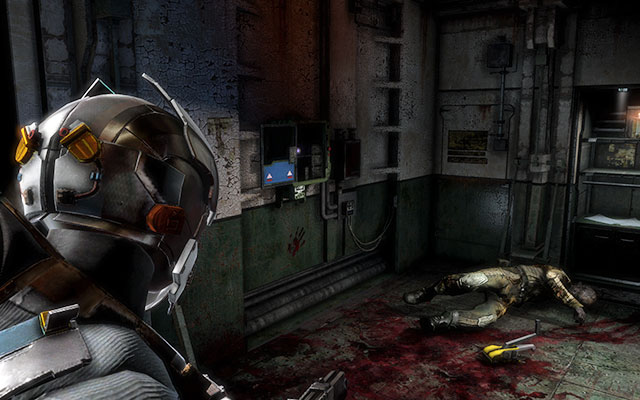
Inside the room that you can open with a torque bar (craft one on a workbench). On the wall to the left.
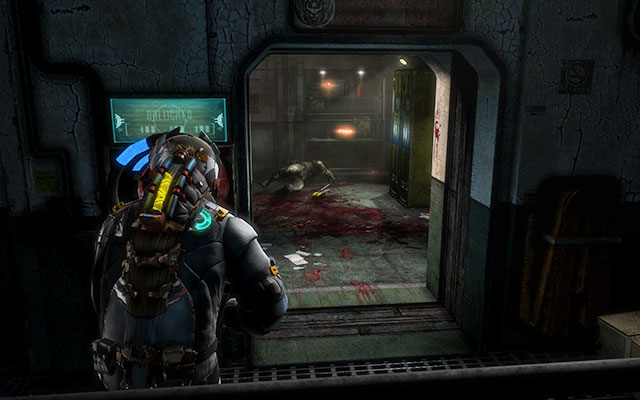
Inside the room that you can open with a torque bar (craft one on a workbench). The part is in front of you, on the shelf.
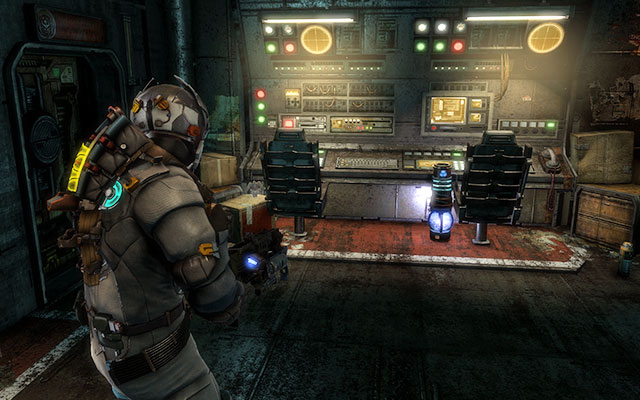
Inside the room in which you will be locked for an extended period of time. Next to one of the chairs.
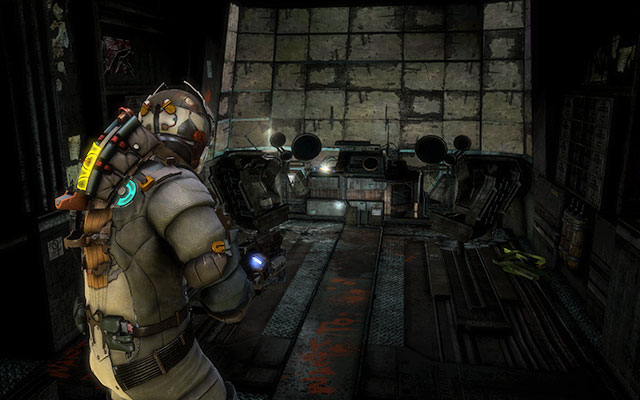
On the deactivated panel to the right of the entrance to the room, with the giant generator fan.
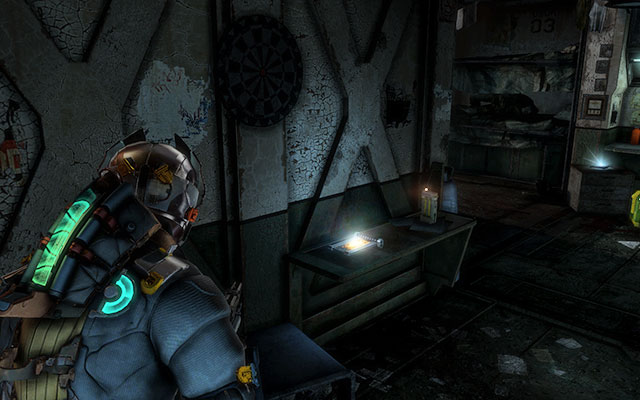
On the shelf to the left on level 2 (only in one of the lifts can you pick the level that you want to go to).
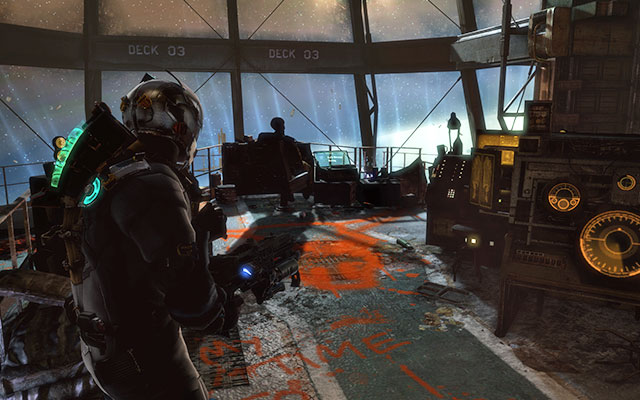
Right next to Edwards' corpse on level 3.
In the chest inside the room opened with the access card.
In the chest inside the room opened with the access card.
In the chest inside the room opened with the access card.
Dead Space 3 secrets in chapter 6: Repair to Ride.
S.C.A.F. Artifacts (1)
Audio Logs (1)
Weapon Parts (1)
Upgrade Circuits (2)
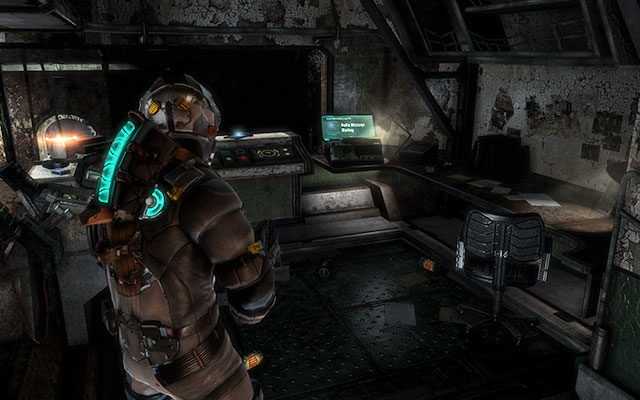
Inside the control room on Mid Station - first you have to turn on the power using the interface.
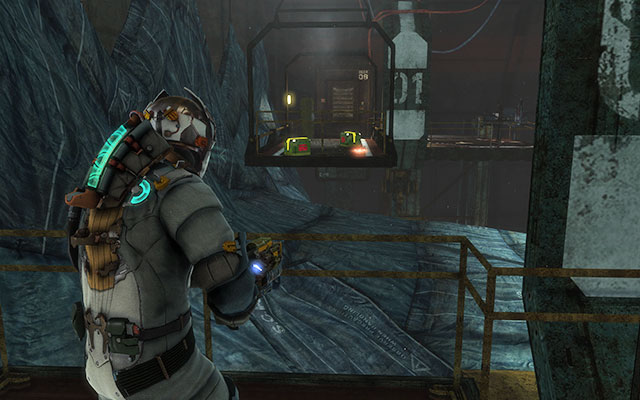
On the scaffolding near the shuttle, at its right side. You can get there with gondola or from the side, where you'll find yourself after entering the room - you can use kinesis to pull the item towards you.
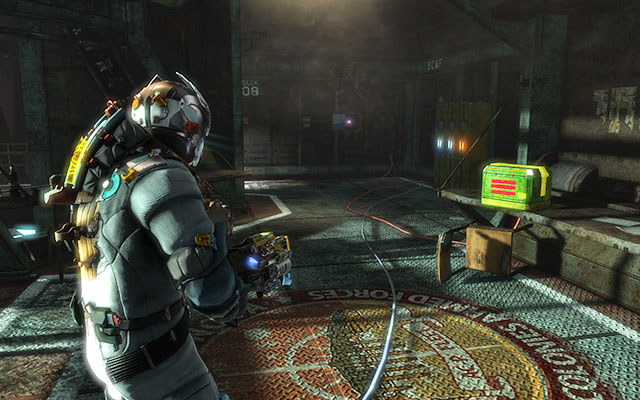
Inside the fuel pump control room, in the back, next to lockers.
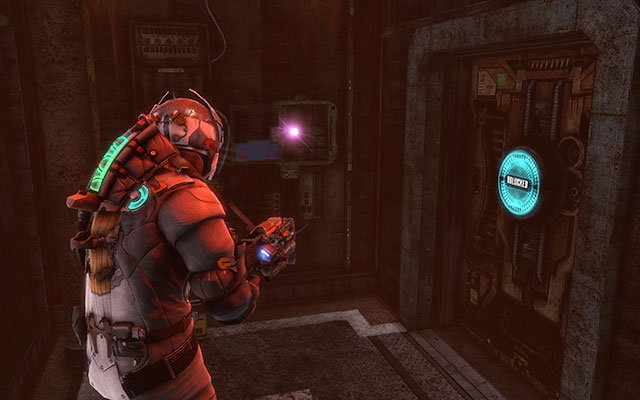
After climbing down the ladder, near the door, after starting the shuttle engine (fueling it).
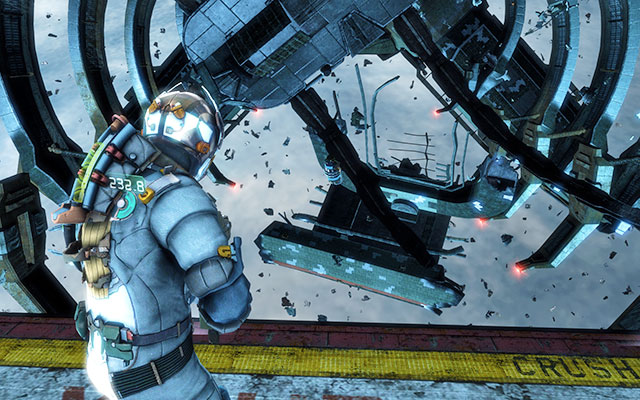
Between large drifting shift elements - the easiest way is to fly to the emergency entrance to Terra Nova and move from there towards the part shown on the screen - the artifact is drifting behind the first part of the element.
Dead Space 3 secrets in chapter 8: Off the Grid.
S.C.A.F. Artifacts (1)
Text Logs (2)
Audio Logs (2)
Weapon Parts (3)
Blueprints (1)
Upgrade Circuits (2)
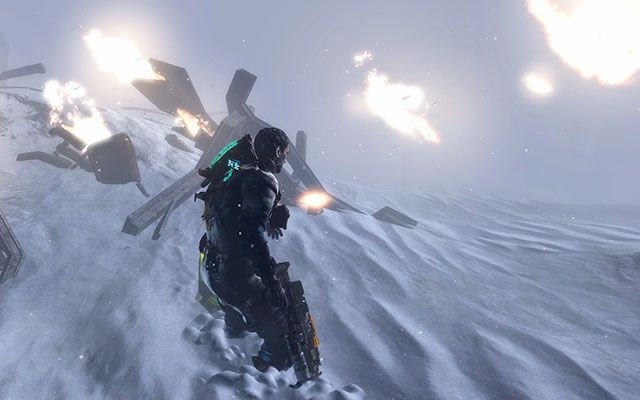
After starting the chapter move forwards, keeping on the left. The weapon part is located near the firs crate you'll come across.
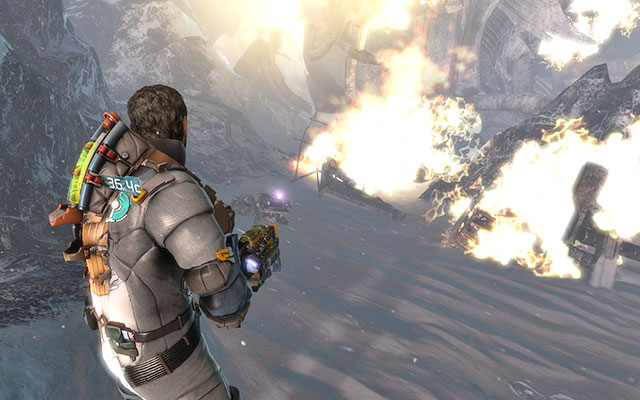
After falling down from the cliff, walk around burning parts of the shuttle on the right - you should see a circuit.
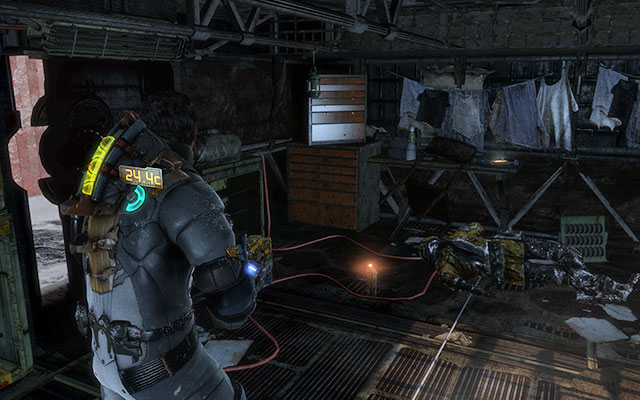
In the first room with a generator, on the table left from the entrance.
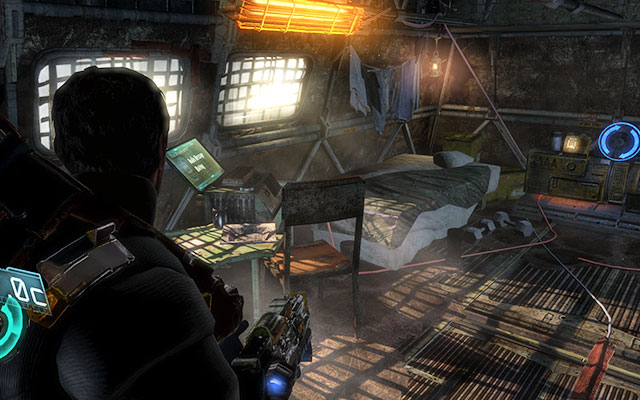
In the first room with a generator. When you start it, an audio log panel will activate.
In the room with colorful lights on the wall, in the dark side - right after passing by mentioned lights, on the table.
After exiting the cargo elevator and reaching the part looking like a huge pipe, turn right - the circuit is on the nearby catwalk.
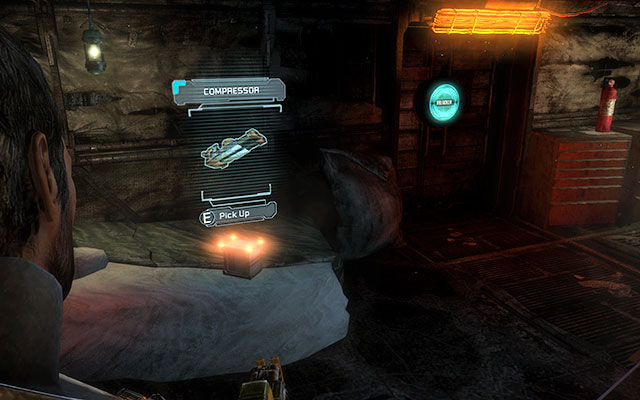
After leaving the collapsed "pipe", go to the right - you'll reach a room with a generator. The weapon part lies on the bed, right from the entrance.
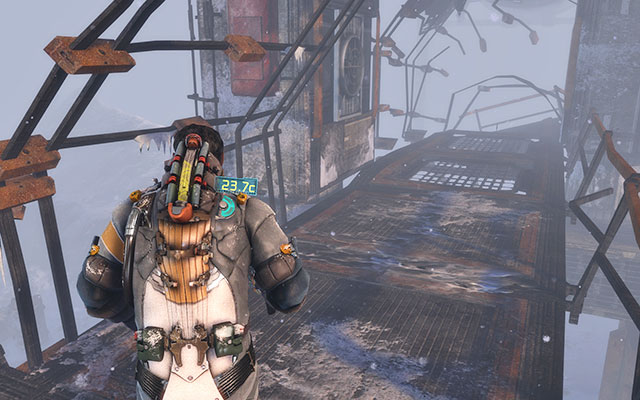
On the catwalk, where you can climb with a ladder located in front of the initially inaccessible gate.
After walking past the large gate, initially inaccessible, you'll get to the room with a generator. Once you start it, an audio log will be played.
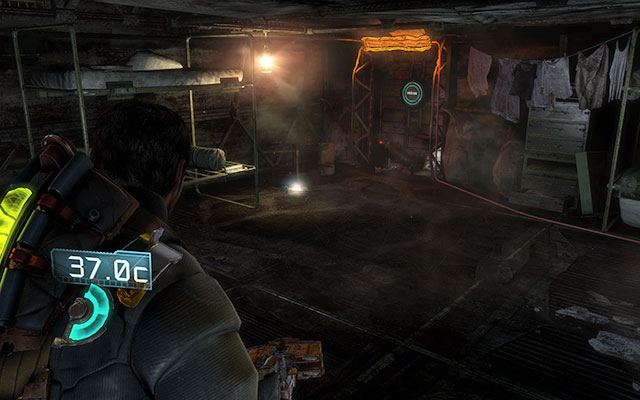
After walking past the large gate, initially inaccessible, you'll get to another room with a generator. Log can be found on the ground, near the bed and the second exit.
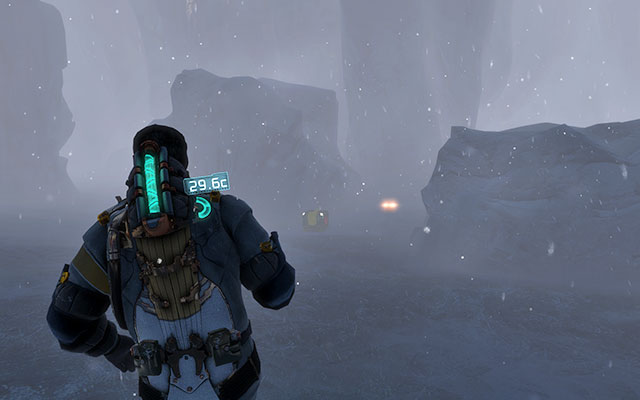
Inside the cave on the right. If you walk along the hill, you should see the entrance without problems.
Dead Space 3 collectibles in chapter 9: Onward.
S.C.A.F. Artifacts (3)
Text Logs (4)
Audio Logs (7)
Weapon Parts (8)
Blueprints (3)
Upgrade Circuits (5)
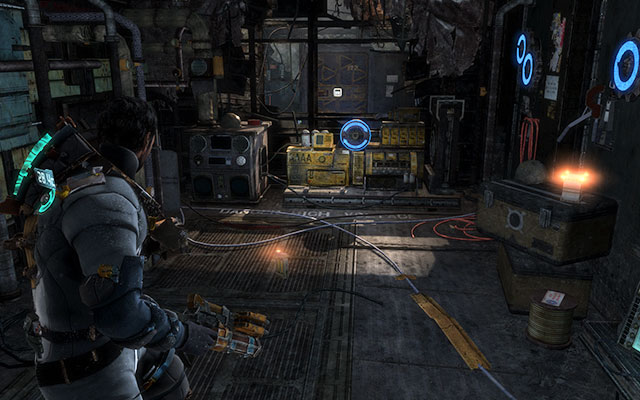
To the right in the room with the generator and the gear.
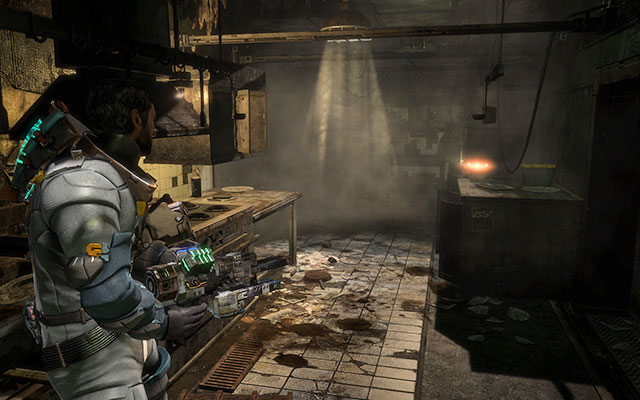
In the kitchen to the right, on one of the tabletops.
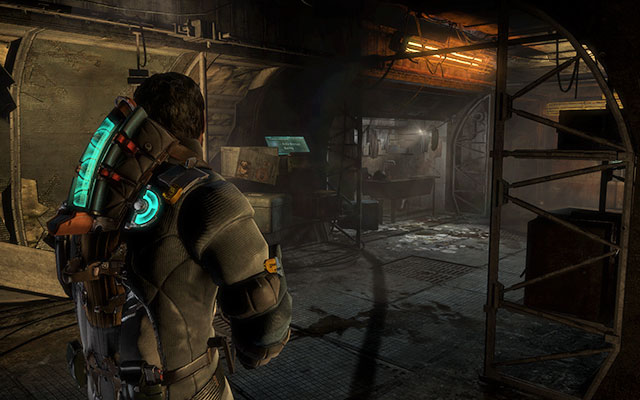
In the corridor that you enter from the room with the fridge. To the left, close to the sink.

On the floor in the second part of the room where you are attacked by Feeders.
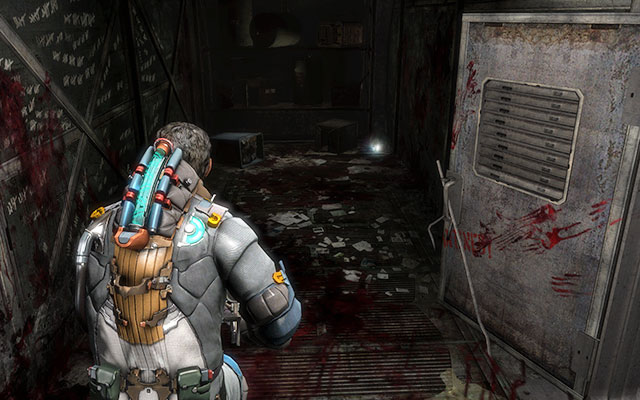
After you enter the room, where there is a barricaded door to the left (the one with monsters banging at it), to the left, there is an entrance to a small storage room, at the end of which there is the artifact.
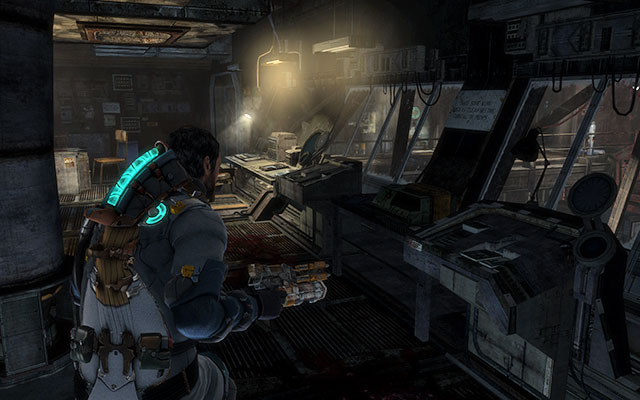
On the edge of the large generator, in the room with two pumps. You need to use kinesis to pull the part your way.
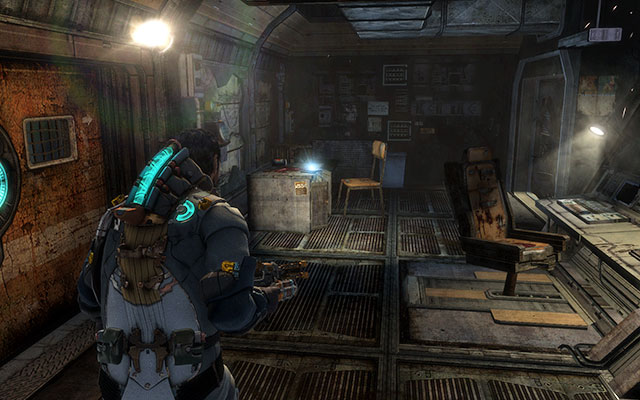
On the table of the pump station control room.

In the pump station control room, the audiolog activates as soon as you collect the supply room key.
After you've obtained a new suit and stepped through the scanner look at the barrels to the left.
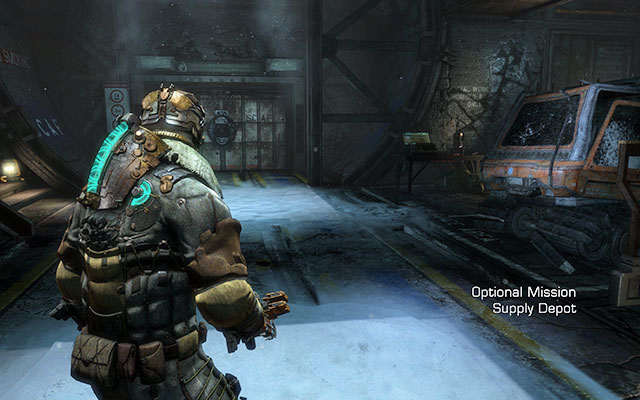
On the table to the right, behind the plough right after you enter the facility, inside which the side mission takes place.
After you enter the facility, take the lift on your right. After the lengthy way up, go towards the passage between the suit kiosk and the workshop - in the dimly-lit portion of the room, on the vending machine, there is the part.
In the next room, on the table to your right. Immediately after you go through the large gate.
In the area with the corpse nailed to the wall- to the right on the table, next to the lockers.
Inside the storage room that you open by putting the core into the slot beside the door.
In the next room, after you use the cargo lift, on the shelf to the right - there is a workbench to the left.
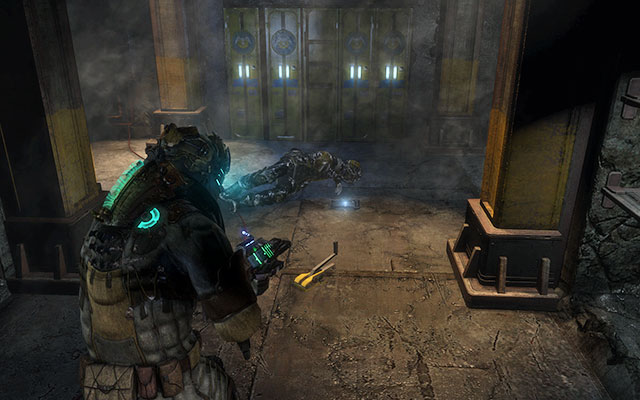
Inside the storage room that can be opened with a torque bar.
On the desk next to the computer, in the room you enter from the lift.
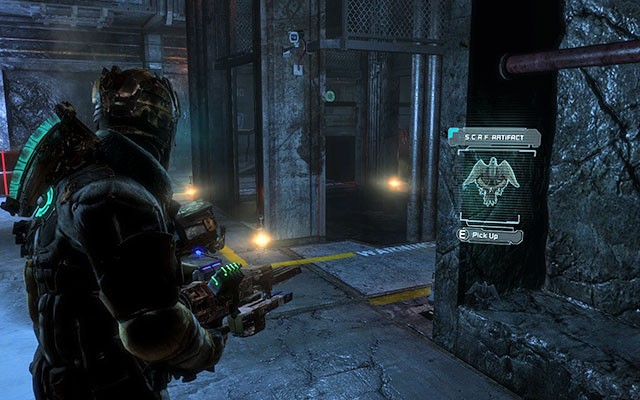
Near one of the pillars in the supply room.
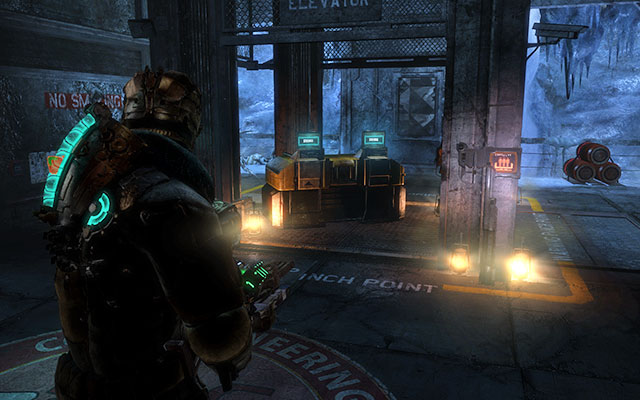
Inside the supply crate.
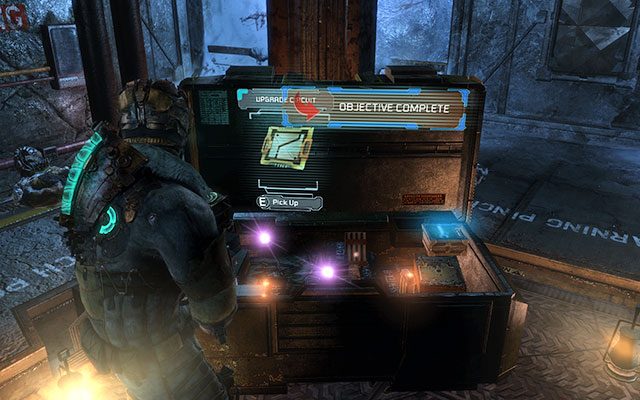
Inside the supply crate.
Inside the supply crate.
On your way back, inside the room with computer screens.
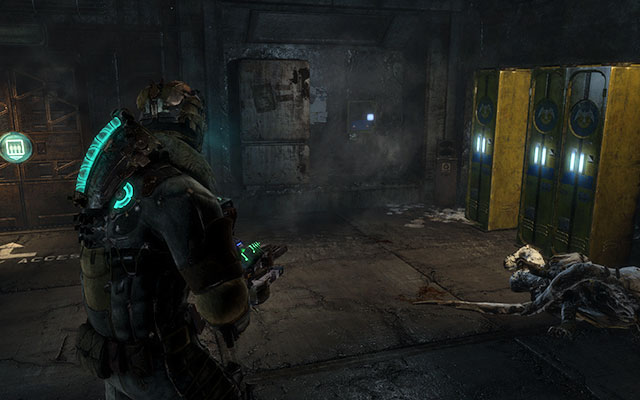
On your way back, after you leave the lift, on the wall near the lockers.
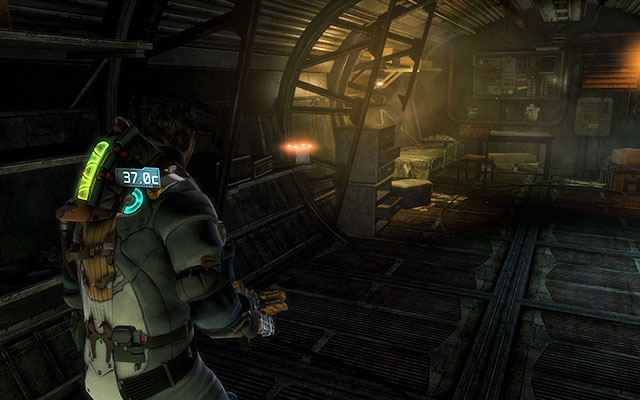
Inside the room adjacent to the enclosure, where you are scanned. The part is to the left.
On the table to the right, immediately after you enter the huge complex, soon after the boss fight.
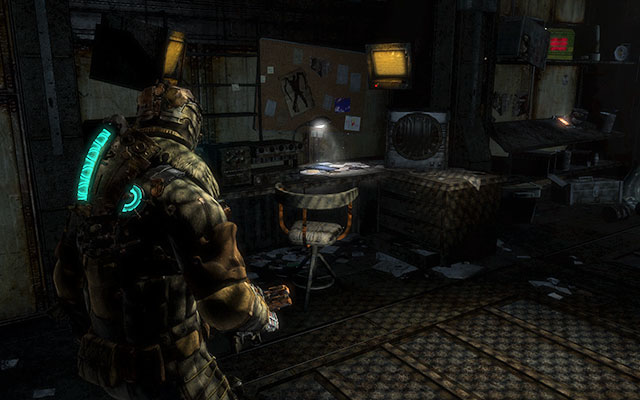
After you enter the complex, climb the ladder in the first area, the blueprint is on the table to the left.
After you enter the complex, climb the ladder in the first area, the log is on the second table to the left.
After you enter the complex, climb the ladder in the first area, the artifact is behind the curtain in the far end of the room.
After you take the lift down, run straight ahead towards the door to the right - Open it by hacking into the panel. The log is on the shelf to your left.
After you take the lift down, run straight ahead towards the door to the right - Open it by hacking into the panel. Enter the next area, where you will find a locker with the circuit inside.
Dead Space 3 collectibles in chapter 10: Now We Know.
S.C.A.F. Artifacts (1)
Alien Artifacts (1)
Audio Logs (1)
Weapon Parts (4)
Upgrade Circuits (1)
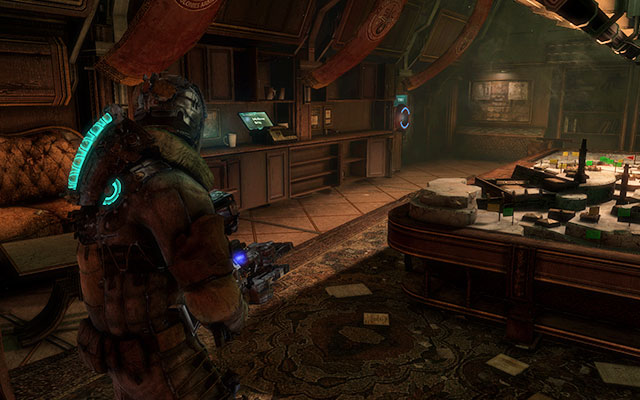
On the locker to the left, in the room with the model in the middle.
In the storage area in the room with the model, which you can open with a torque bar.
Inside one of the tents with the suit kiosk and the workbench. Next to the kiosk.
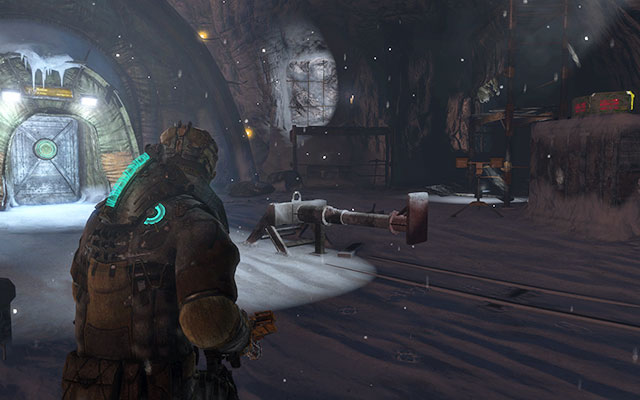
To the right, next to the scaffolding at the end of the rails.
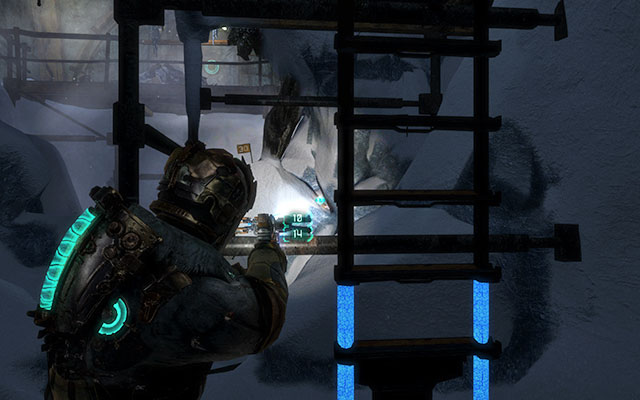
In the room with a monster hanging down from the ceiling. Among the rocks behind the ladder - you need to use kinesis to pull the part your way.
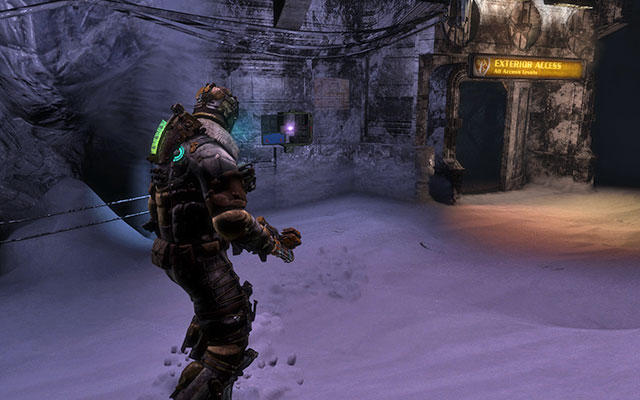
To the left of the entrance to the large hall with the drill.
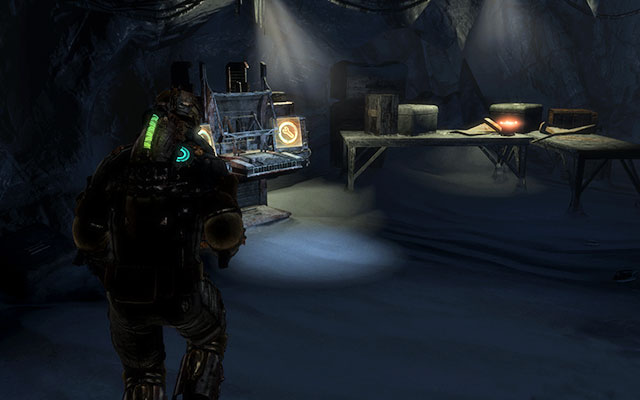
On the desk right next to the workbench. In the hall with the large drill.
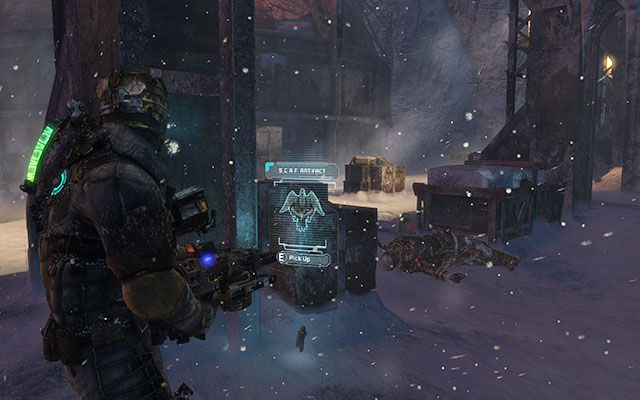
Behind one of the pillars, right next to the crates, to the right in front of the facility's entrance.
Dead Space 3 secrets in chapter 11: Signal Hunting.
EarthGov Artifacts (1)
Unitology Artifacts (3)
Text Logs (4)
Audio Logs (6)
Weapon Parts (9)
Blueprints (2)
Upgrade Circuits (10)
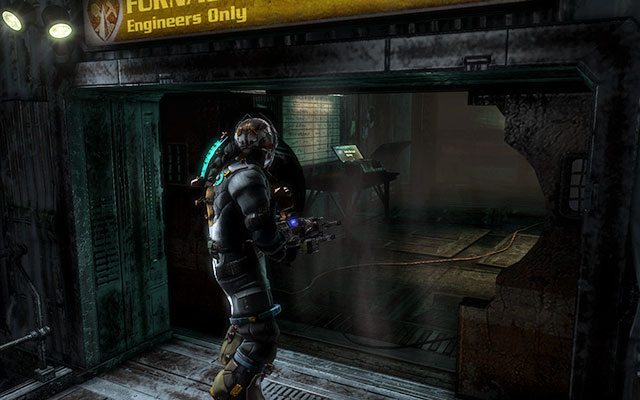
On the table to the left, next to the entrance to the first room with the suit kiosk.
On the wall to the left from the entrance, inside the room with the elevator.
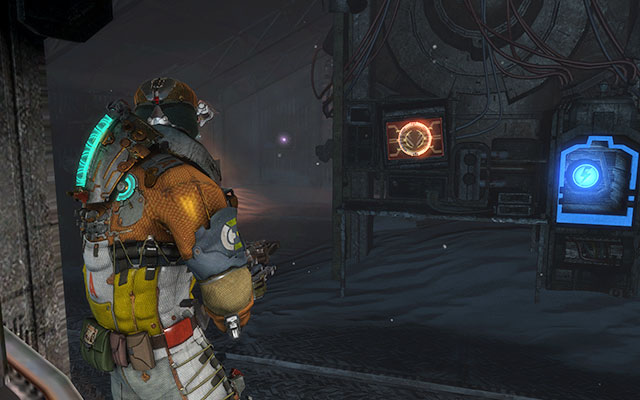
On the wall at the back of the generator room.
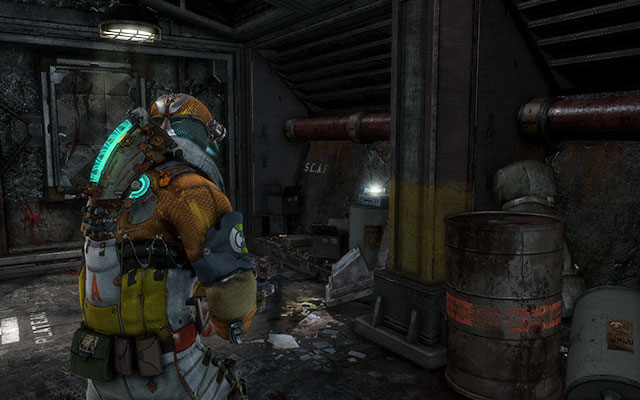
On the barrel, in front of the elevator entrance. In the corridor where you'll see fleeing creature.
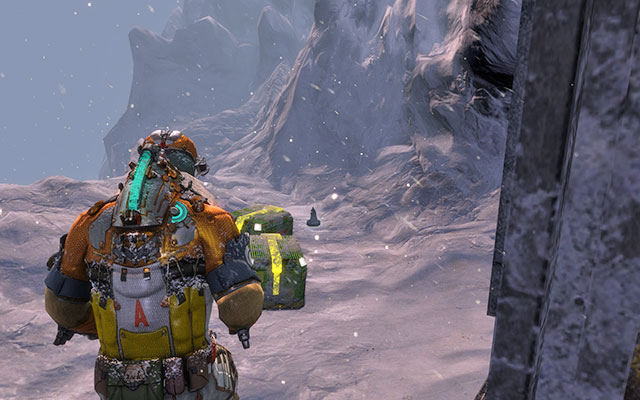
Near crates on the left side, in front of the entrance to barracks.
On the shelf to the left from the entrance to barracks, near lockers.
On the table to the right, inside the first room in barracks.
Inside the storeroom in the room which can be opened with torque bar.
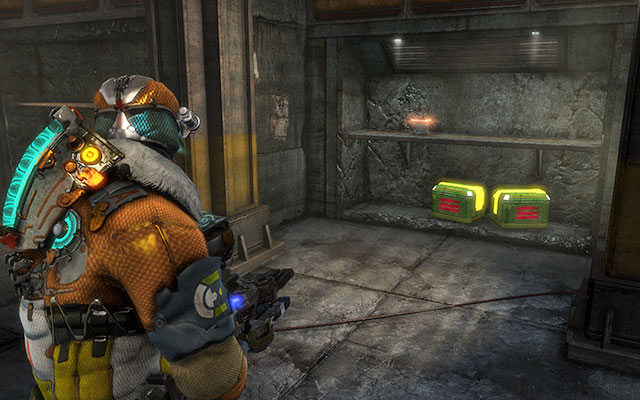
Inside the storeroom in the room which can be opened with torque bar.
In the wall locker, to the right after entering the large, damaged hall.
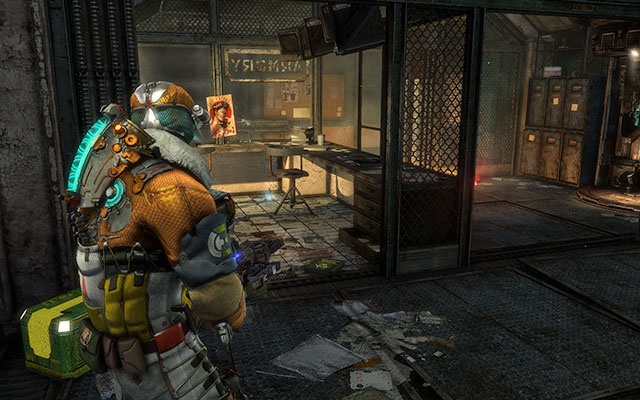
On the floor in the small reception room, after entering the facility where you start a side mission.
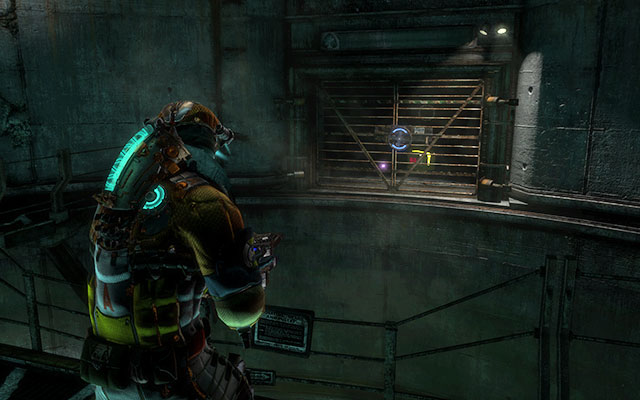
Behind the grates on the right side in the silo. You have to use kinesis to open the grate and then pull the upgrade towards you.
On the shelf in the left side of the room, inside which you can enter after crossing the first silo.
Right next to the entrance to the room with Necromorphs, on the left, behind lockers.
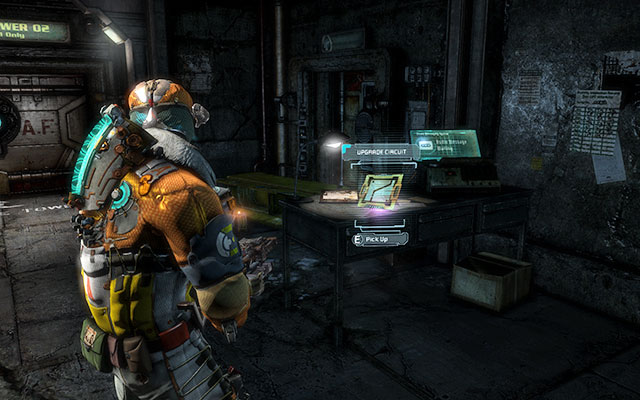
On the table in the room with the elevator and one locked door opened with the key.
On the table in the room with the elevator and one locked door opened with the key.
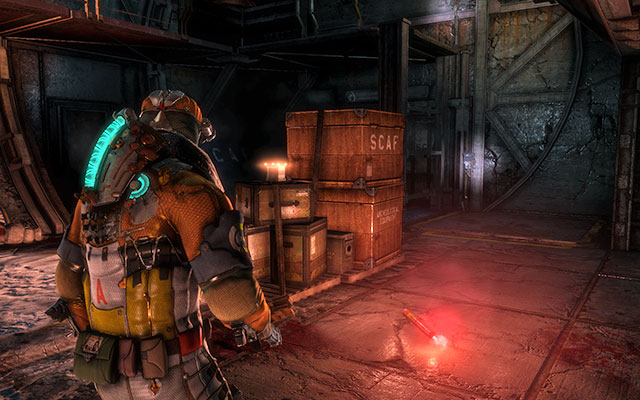
On crates, next to the cargo elevator, at the place where you obtain the access key.
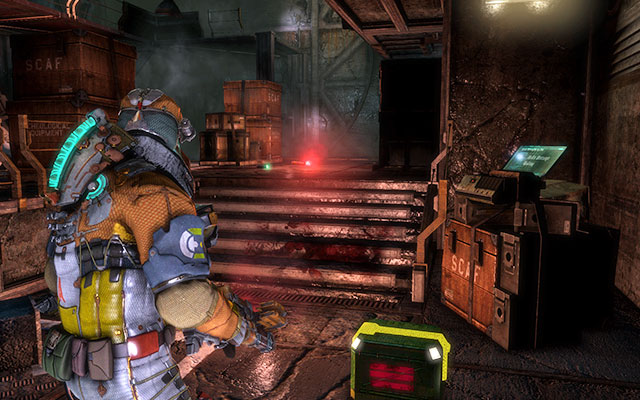
On crates, next to the supply crates at the bottom, at the place where you obtain the access key.
At the end of the tunnel with mining carts, behind crates.
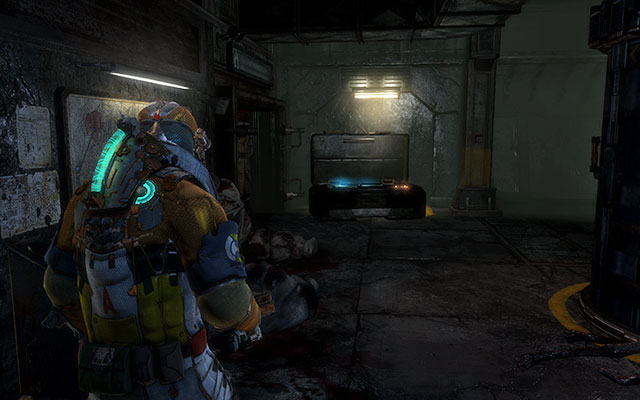
Inside the supply crate.
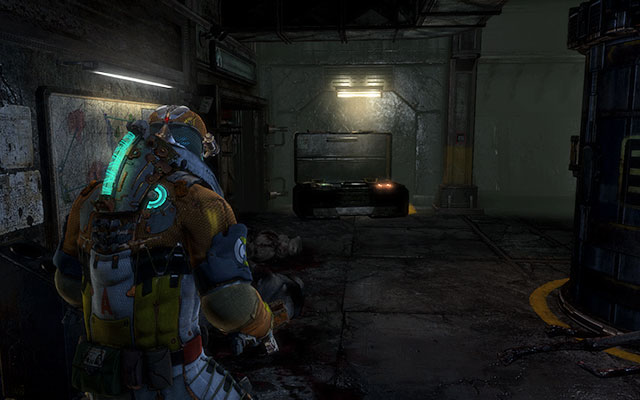
Inside the supply crate.
On the table in one of early corridors.

In the room with a workbench, at the wall.
In the upper corridor - you have to use powering core to unlock the passage.
On the ground, in the larger port of the corridor with lockers.
On crates, in a tunnel right before the corridor leading to the elevator.
On the crate, in the tunnel after exiting the elevator.
Under the desk, neat inactive gate, left on the fork.
Near the corpse, inside the storage which can be opened with torque bar.
Inside the supply crate.
Inside the supply crate.
Inside the supply crate.
Inside the supply crate.
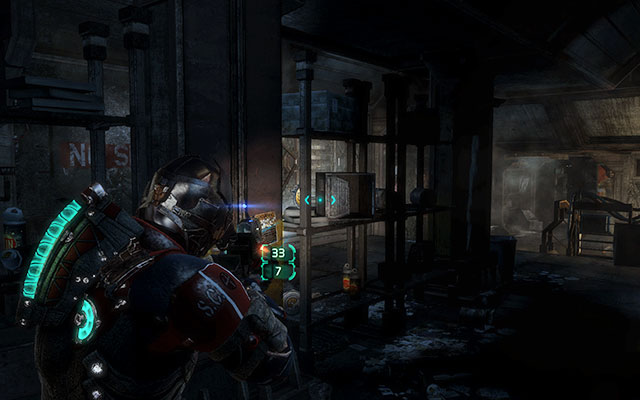
On the shelf in the corridor with a workbench and displays, near the elevator.
On the wall in the corridor with displays and a workbench.
Dead Space 3 collectibles for Chapter 13: Reach for the Sky.
S.C.A.F. Artifacts (1)
Weapon Parts (4)
Blueprints (1)
Upgrade Circuits (1)
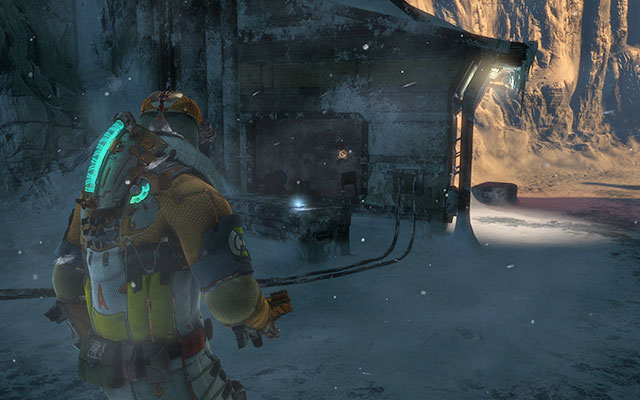
On the crate, right next to the building you pass.
Inside the building you pass, in the locker to the right, next to the entrance.
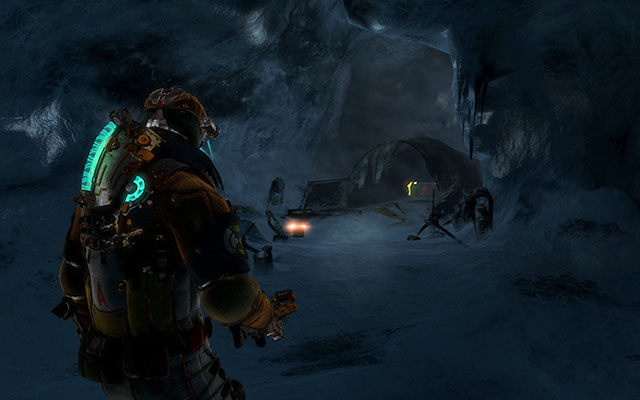
Near one of the tents inside the cave.
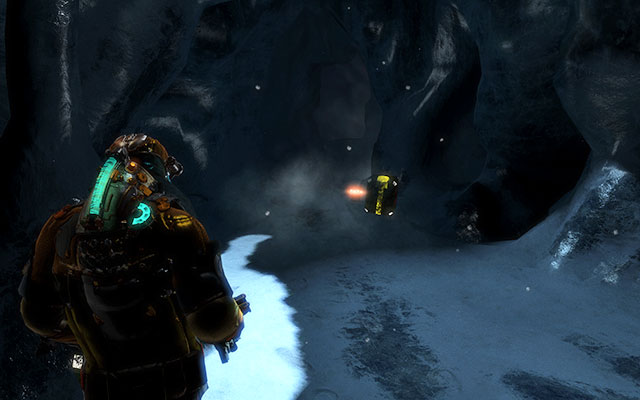
Behind the crate, to the right relative to the spot where the monster was crushed by a rock.
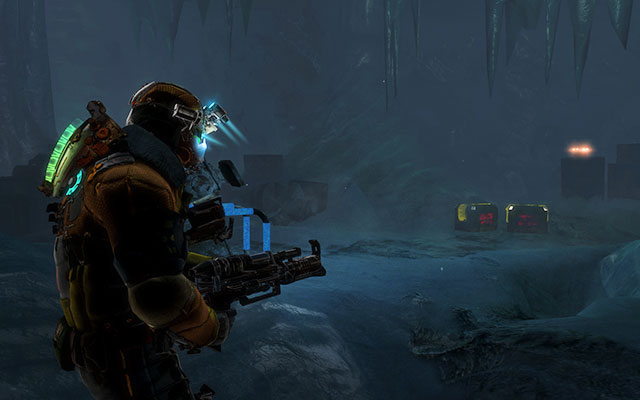
On a crate close to the climbing mechanisms. Right next to the supply crates.
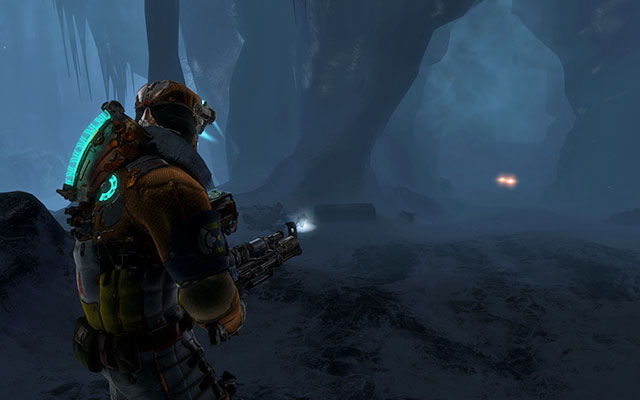
In one of the caves, in which you will come up to a forking- take the path left on the second one of them.
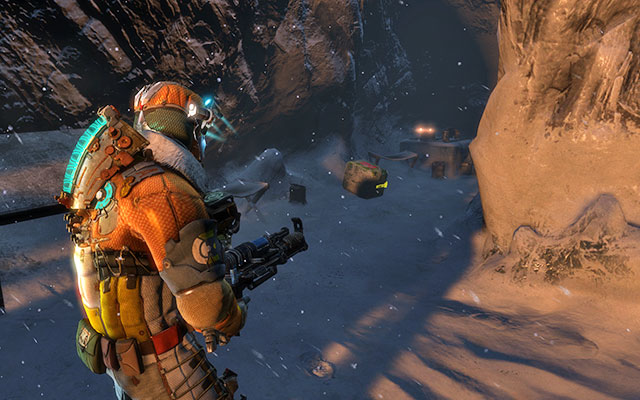
After you leave the cave, go right - the part is next to a crate in a small encampment.
Dead Space 3 secrets in chapter 14: Everything Has Its Place.
EarthGov Artifacts (1)
Unitology Artifacts (1)
S.C.A.F. Artifacts (3)
Alien Artifacts (2)
Text Logs (7)
Audio Logs (4)
Weapon Parts (14)
Blueprints (3)
Upgrade Circuits (13)
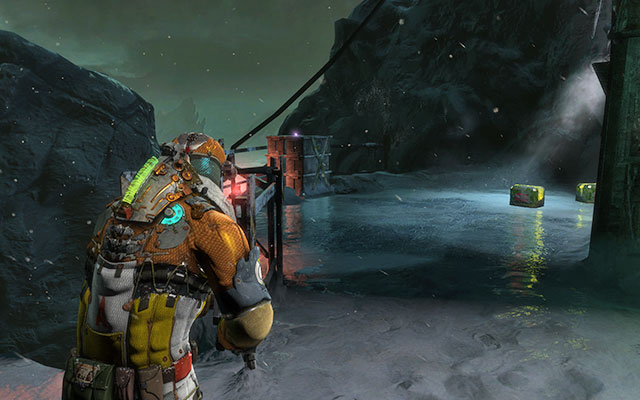
On the crate on the left side, next to the ladder at the beginning of the chapter.
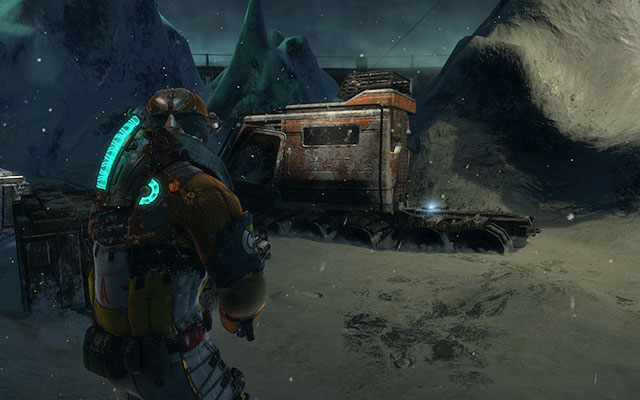
At the back of the damaged vehicle.
![On crates to the right, next to the entrance to the facility to the biology sector] - Chapter 14 - p. 1 - Secrets - Dead Space 3 - Game Guide and Walkthrough](https://game.lhg100.com/Article/UploadFiles/201512/2015121517391239.jpg)
On crates to the right, next to the entrance to the facility to the biology sector].
![On the wall to the right in the room with the elevator leading to the pump [biology sector] - Chapter 14 - p. 1 - Secrets - Dead Space 3 - Game Guide and Walkthrough](https://game.lhg100.com/Article/UploadFiles/201512/2015121517391285.jpg)
On the wall to the right in the room with the elevator leading to the pump [biology sector].
![On the table in the room with the cargo elevator leading to the pump [biology sector] - Chapter 14 - p. 1 - Secrets - Dead Space 3 - Game Guide and Walkthrough](https://game.lhg100.com/Article/UploadFiles/201512/2015121517391277.jpg)
On the table in the room with the cargo elevator leading to the pump [biology sector].
![On the desk on the left side, next to the entrance to the room, where you can find second Rosetta piece [biology sector] - Chapter 14 - p. 1 - Secrets - Dead Space 3 - Game Guide and Walkthrough](https://game.lhg100.com/Article/UploadFiles/201512/2015121517391396.jpg)
On the desk on the left side, next to the entrance to the room, where you can find second Rosetta piece [biology sector].
![On the barrel on the left side, next to X-rays in the room with the second Rosetta piece [biology sector] - Chapter 14 - p. 1 - Secrets - Dead Space 3 - Game Guide and Walkthrough](https://game.lhg100.com/Article/UploadFiles/201512/2015121517391325.jpg)
On the barrel on the left side, next to X-rays in the room with the second Rosetta piece [biology sector].
![On the wall to the left, near the elevator [paleontology sector] - Chapter 14 - p. 1 - Secrets - Dead Space 3 - Game Guide and Walkthrough](https://game.lhg100.com/Article/UploadFiles/201512/2015121517391340.jpg)
On the wall to the left, near the elevator [paleontology sector].
![On the shelf indie the supply room, opened with the torque bar [paleontology sector] - Chapter 14 - p. 1 - Secrets - Dead Space 3 - Game Guide and Walkthrough](https://game.lhg100.com/Article/UploadFiles/201512/2015121517391355.jpg)
On the shelf indie the supply room, opened with the torque bar [paleontology sector].
![On the table near the cataloging system, in the room with the tube-like-puzzle [paleontology sector] - Chapter 14 - p. 1 - Secrets - Dead Space 3 - Game Guide and Walkthrough](https://game.lhg100.com/Article/UploadFiles/201512/2015121517391301.jpg)
On the table near the cataloging system, in the room with the tube-like-puzzle [paleontology sector].
![On the wall behind the control room, where you can dispose gas [paleontology sector] - Chapter 14 - p. 1 - Secrets - Dead Space 3 - Game Guide and Walkthrough](https://game.lhg100.com/Article/UploadFiles/201512/2015121517391384.jpg)
On the wall behind the control room, where you can dispose gas [paleontology sector].
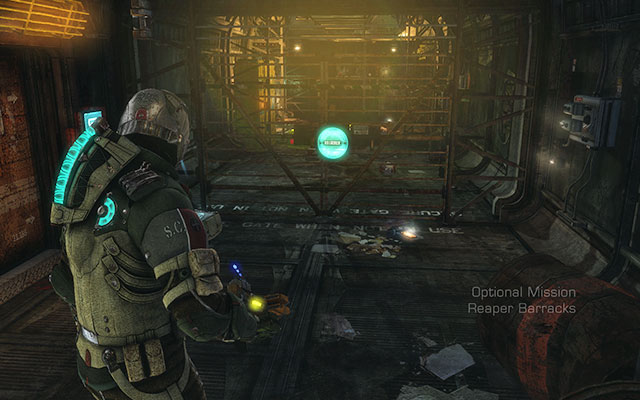
On the ground in front of the grates, at the beginning of the mission.
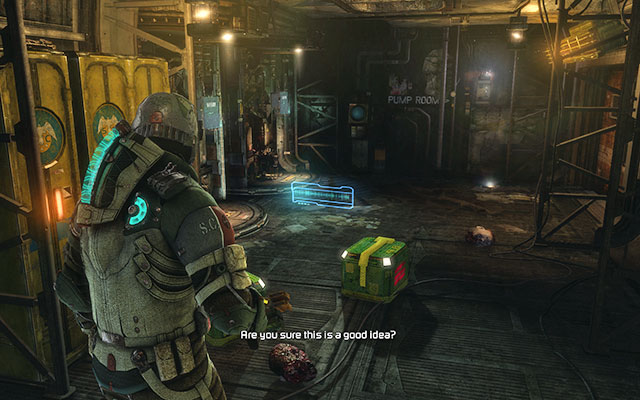
On the ground, near the door and the kiosk.
On the desk inside the control room.
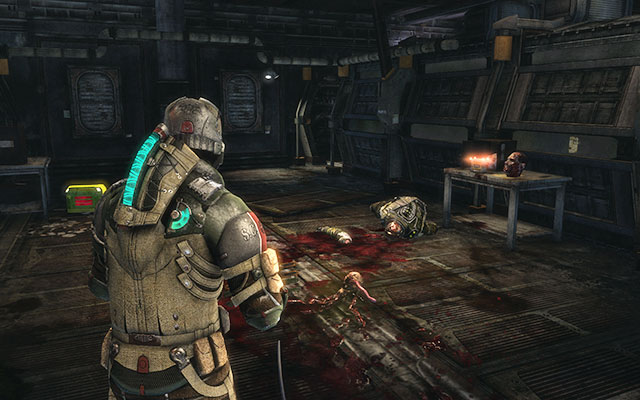
On the table with a head, in the passage between pistons.

In the side corridor near the second, inactive piston. You'll notice the locker after entering the piston.
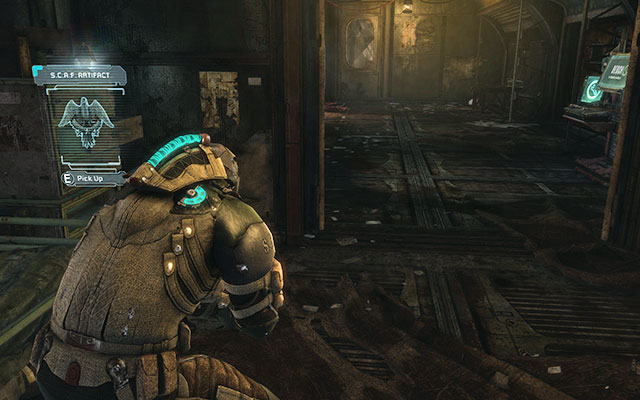
On the locker right from the entrance, in the room with a radio station and a bed.
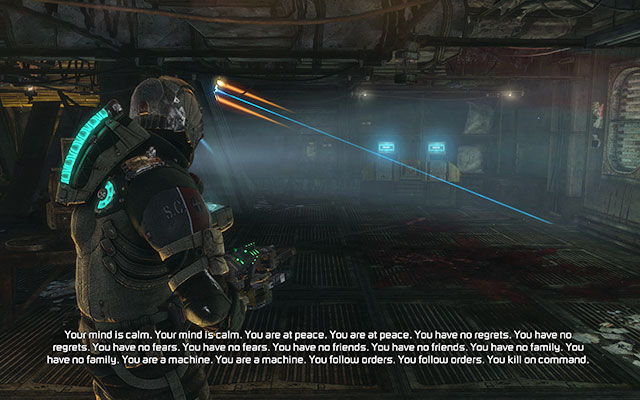
Inside the supply crate.
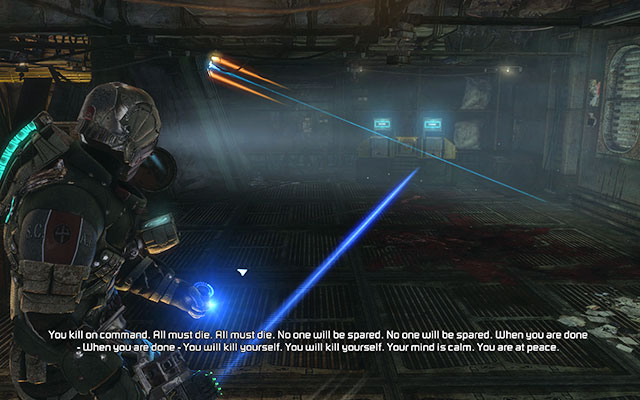
Inside the supply crate.
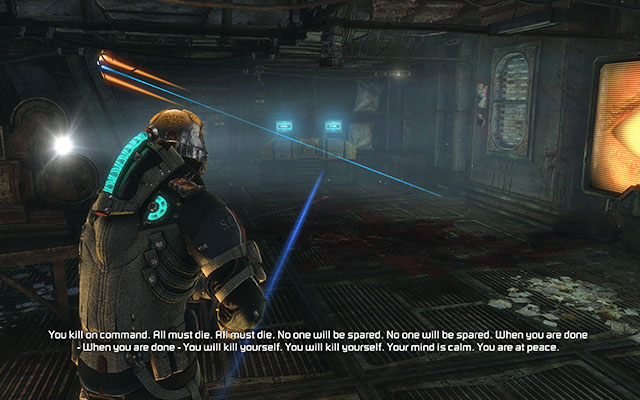
Inside the supply crate.
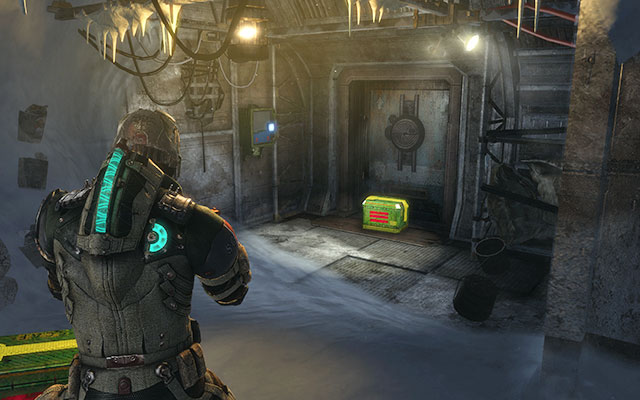
At the end of the room full of mines. The entrance can be unlocked by bypassing security box.
![On the drawing table to the right from the entrance, in the room with the second plate [paleontology sector] - Chapter 14 - p. 1 - Secrets - Dead Space 3 - Game Guide and Walkthrough](https://game.lhg100.com/Article/UploadFiles/201512/2015121517391443.jpg)
On the drawing table to the right from the entrance, in the room with the second plate [paleontology sector].
![On the table near the wall to the right side of the room with the second plate [paleontology sector] - Chapter 14 - p. 1 - Secrets - Dead Space 3 - Game Guide and Walkthrough](https://game.lhg100.com/Article/UploadFiles/201512/2015121517391466.jpg)
On the table near the wall to the right side of the room with the second plate [paleontology sector].
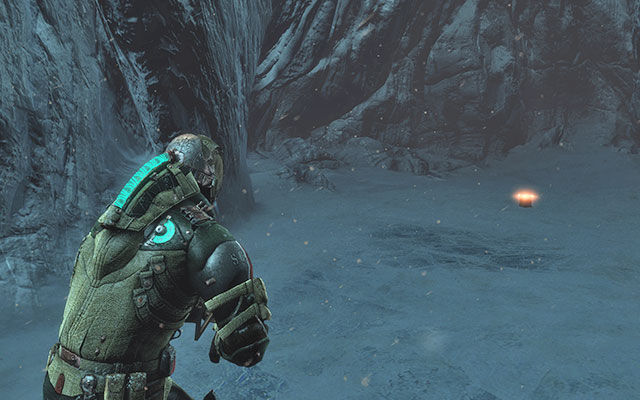
Near the bridge, go to the right inside the cave. The weapon element is in one of branches.
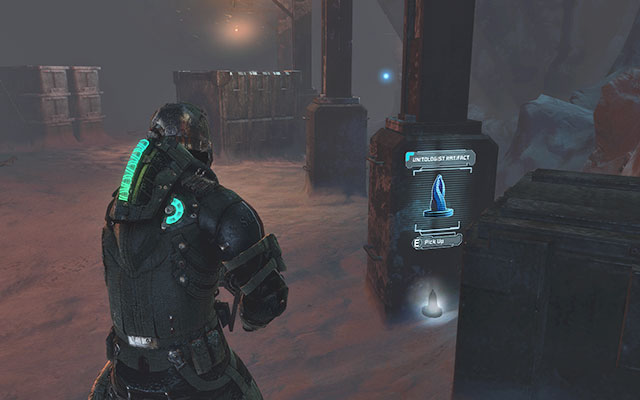
Next to one of the pillars between crates, near the cargo elevator.
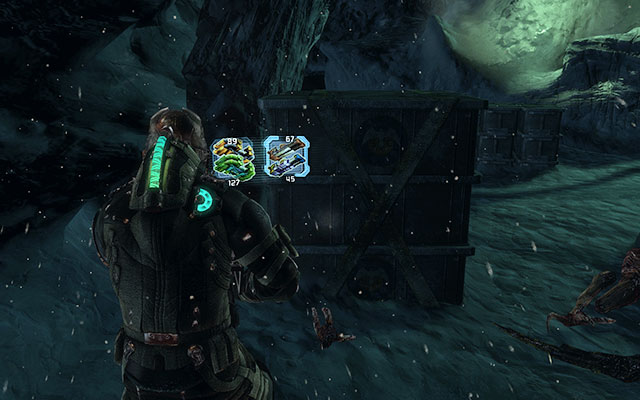
Behind the crate on the right, in front of the entrance to geology part.
![On the wall inside the room with frozen monsters [geology sector] - Chapter 14 - p. 1 - Secrets - Dead Space 3 - Game Guide and Walkthrough](https://game.lhg100.com/Article/UploadFiles/201512/2015121517391565.jpg)
On the wall inside the room with frozen monsters [geology sector].
![Inside the supply room opened with the torque bar [geology sector] - Chapter 14 - p. 1 - Secrets - Dead Space 3 - Game Guide and Walkthrough](https://game.lhg100.com/Article/UploadFiles/201512/2015121517391531.jpg)
Inside the supply room opened with the torque bar [geology sector].
![Inside the supply room opened with the torque bar [geology sector] - Chapter 14 - p. 1 - Secrets - Dead Space 3 - Game Guide and Walkthrough](https://game.lhg100.com/Article/UploadFiles/201512/2015121517391552.jpg)
Inside the supply room opened with the torque bar [geology sector].
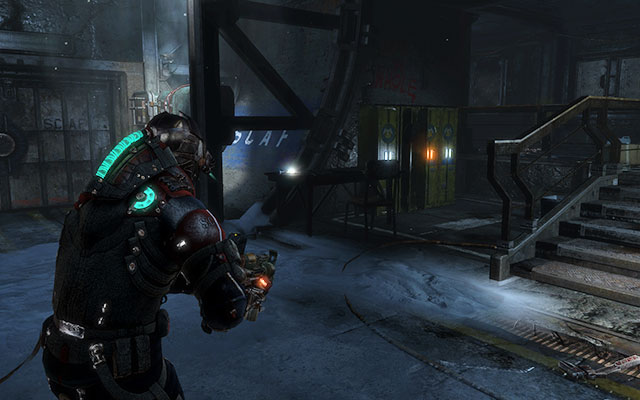
On the table, near lockers at the beginning of the mission.
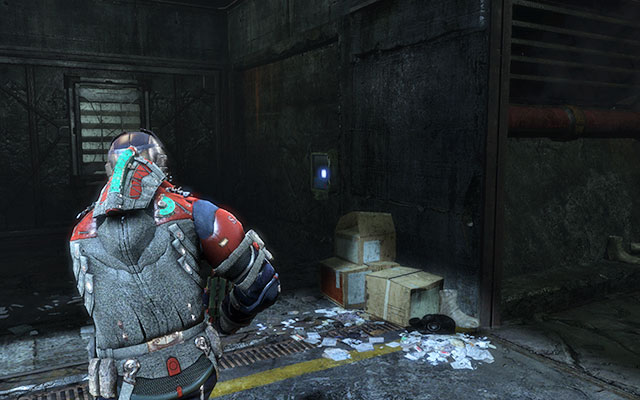
In the wall locker, near the generator under the bridge.
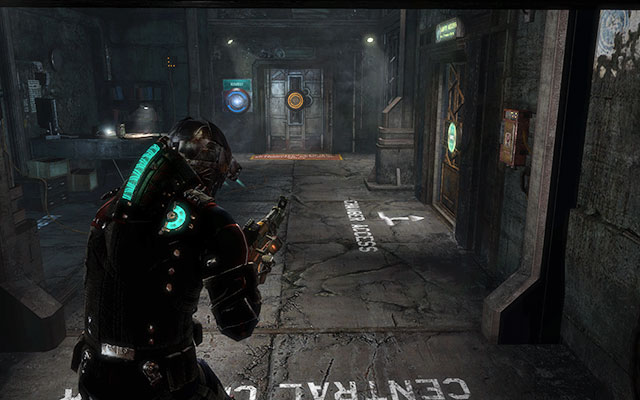
On the table in the room with the elevator and a storage.
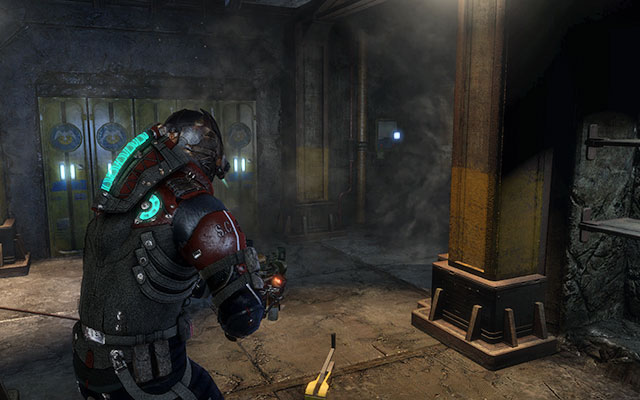
Inside storage which can be opened with torque bar.
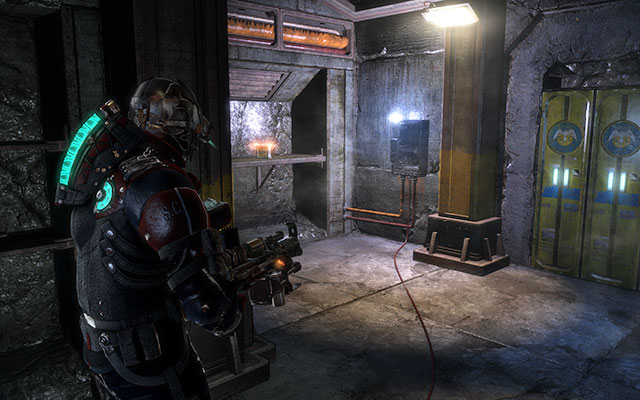
Inside storage which can be opened with torque bar.
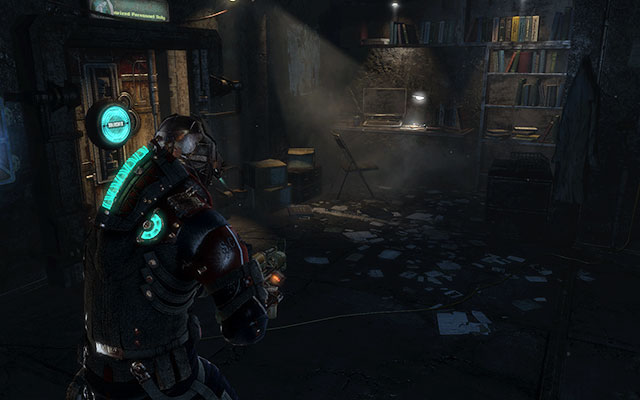
On the desk, next to the computer, right before entering the room with a cargo elevator.
In the corner, near one of locked doors, in the room with supplies and a cargo elevator.
Inside the supply crate.
Inside the supply crate.
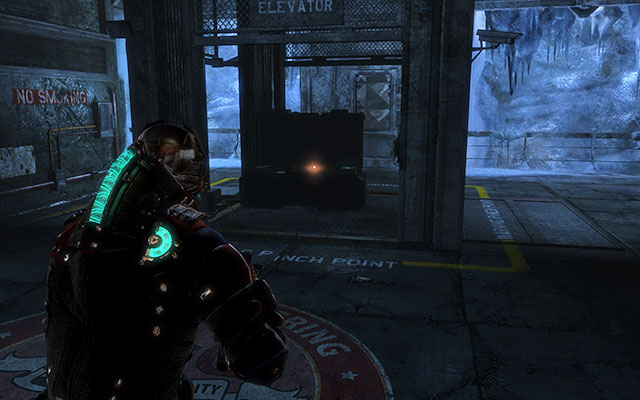
Inside the supply crate.
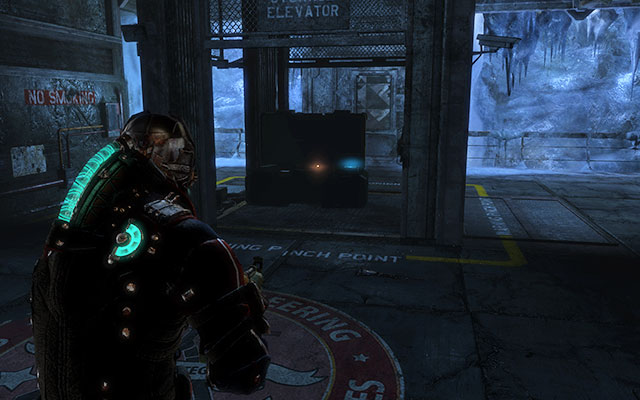
Inside the supply crate.
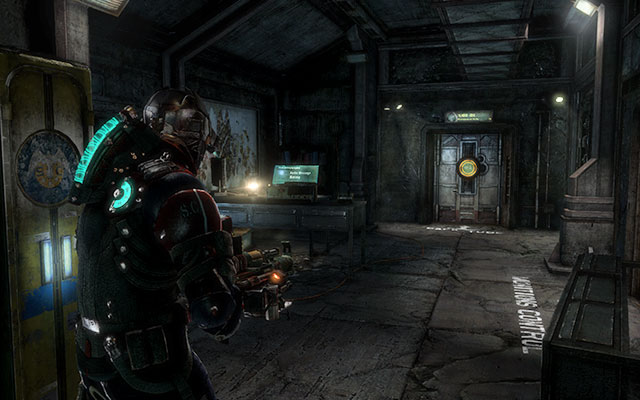
On the table in the room after crossing the first catwalk.
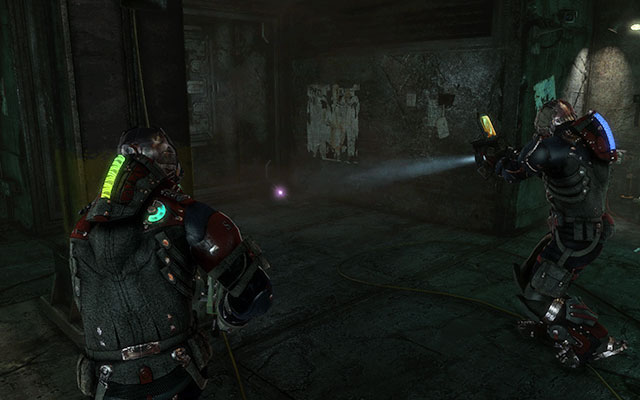
On the ground, on the right side after leaving the room with pillars.
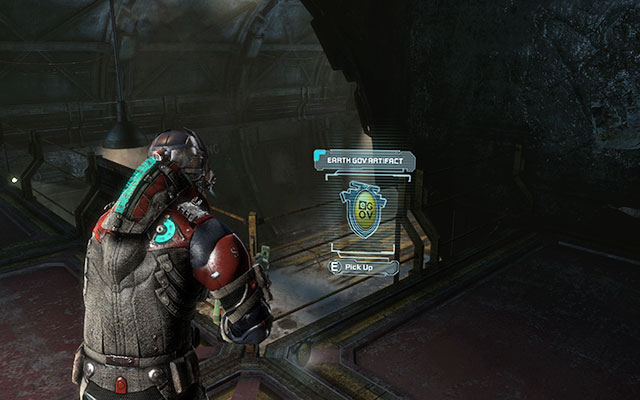
On the catwalk in the upper part of the tunnel with a cargo elevator.
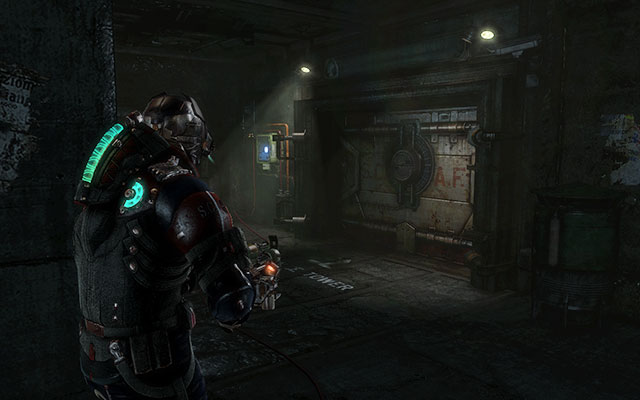
On the wall on the right side in the room after the tunnel with the elevator.
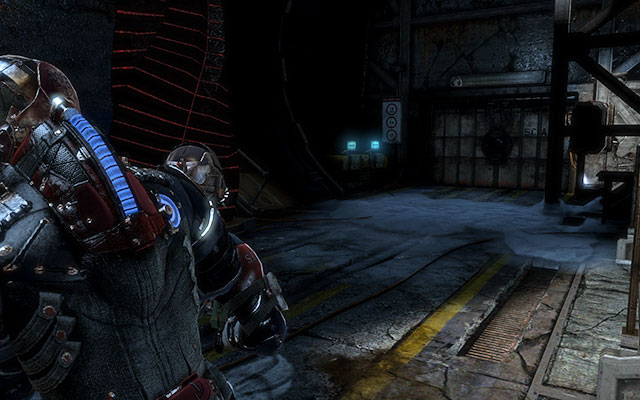
Behind the crate, next to the stairs, in the dark part of the corridor.
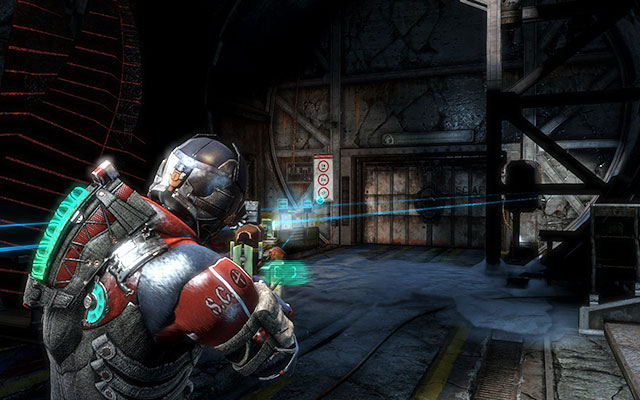
Inside the supply crate.
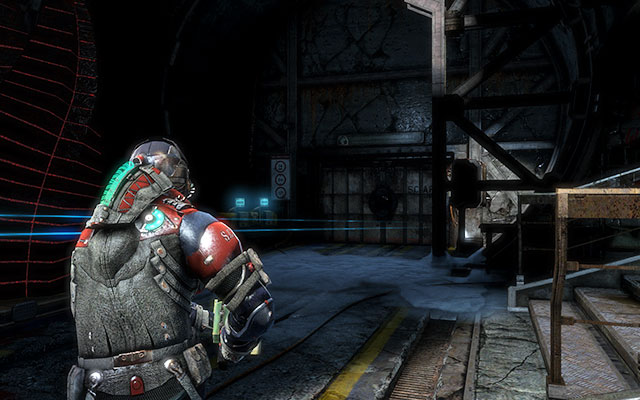
Inside the supply crate.

Inside the supply crate.
Dead Space 3 secrets in chapter 15: A Change of Fortitude.
Weapon Parts (2)
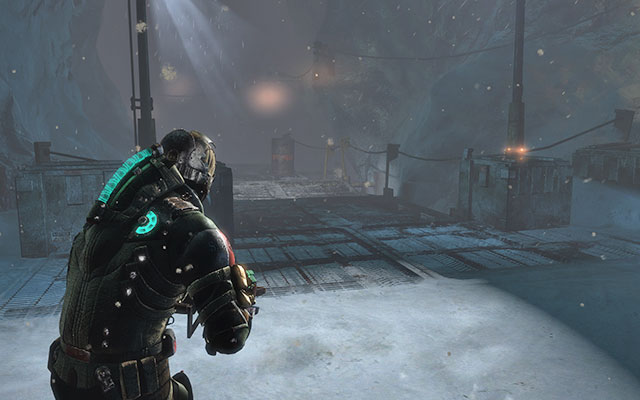
On the crate to the right, near the bridge entrance.
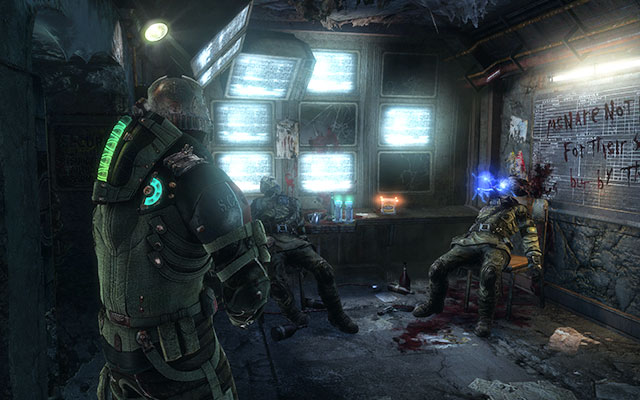
On the desk inside the room with monitoring system.
Dead Space 3 secrets in chapter 16: What Lies Below.
Audio Logs (1)
Weapon Parts (4)
Blueprints (1)
Upgrade Circuits (1)
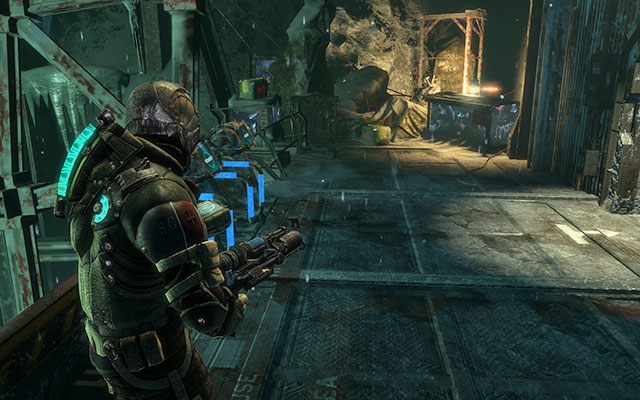
One the piece of ice, neat the line mechanisms.
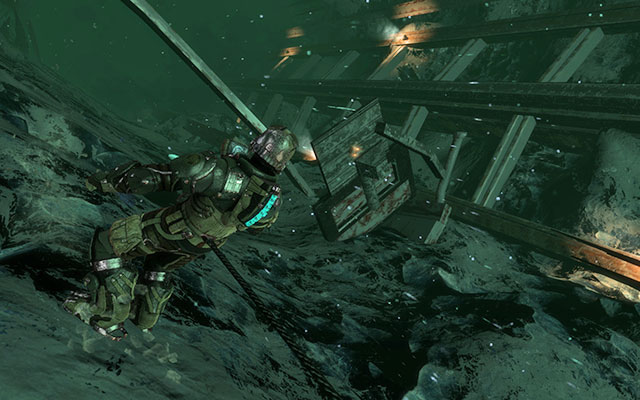
On one of damaged bridges on the right, near the long metal railing. During one of your descending walks, you have to use kinesis to pull the part towards you.
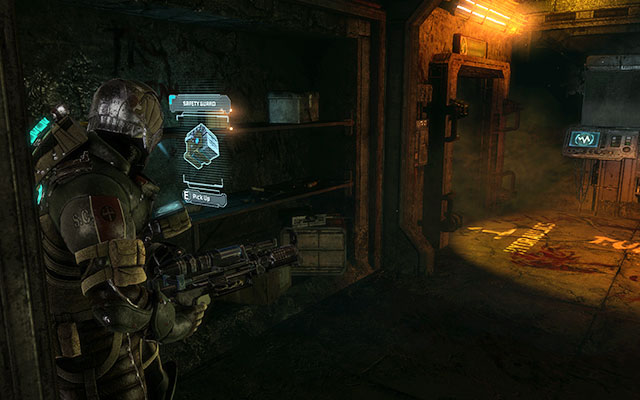
On the shelf to the left, in the room with interface opening the next passage.
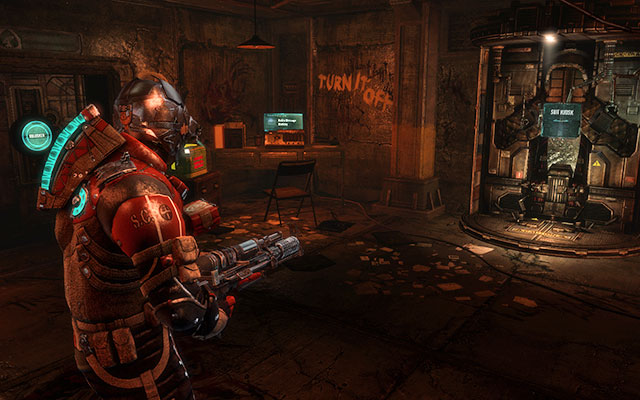
On the desk to the right, next to the suit kiosk.
On the wall near the passage to the next room from the suit kiosk room.
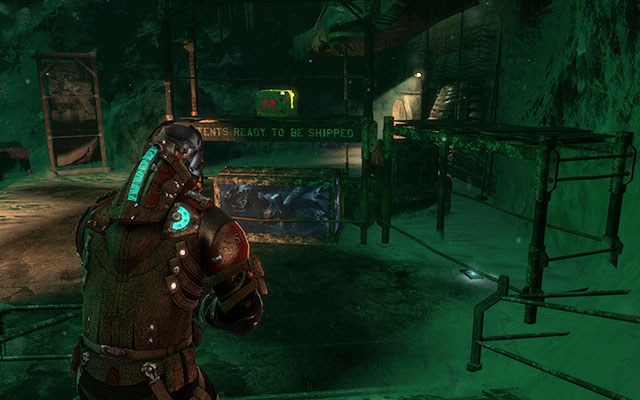
Under the scaffolding on the right.
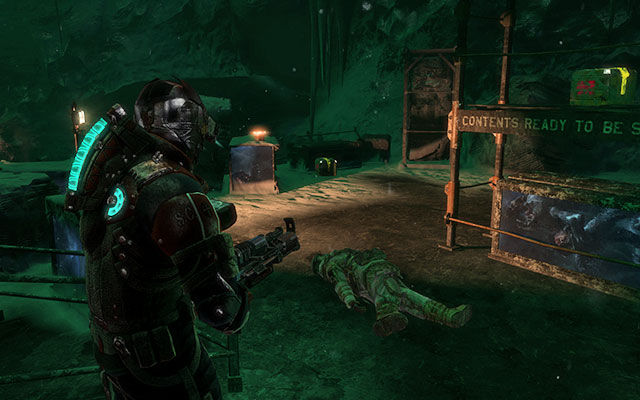
On the crate to the left, near the scaffolding.
Dead Space 3 secrets in chapter 17: A Strange City.
Unitology Artifacts (1)
Alien Artifacts (3)
Text Logs (4)
Audio Logs (3)
Weapon Parts (2)
Upgrade Circuits (10)
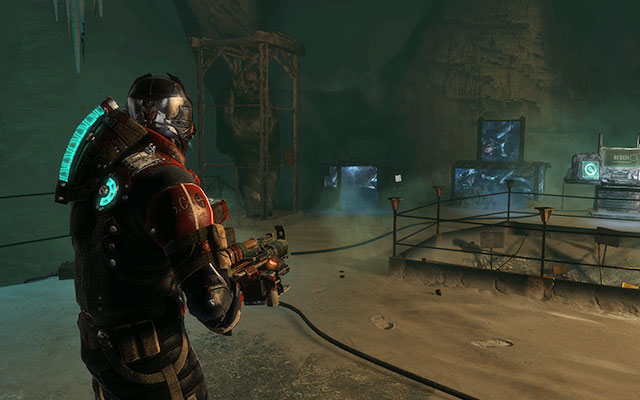
On the left, near the workbench - right behind the pillar. At the beginning of the chapter.
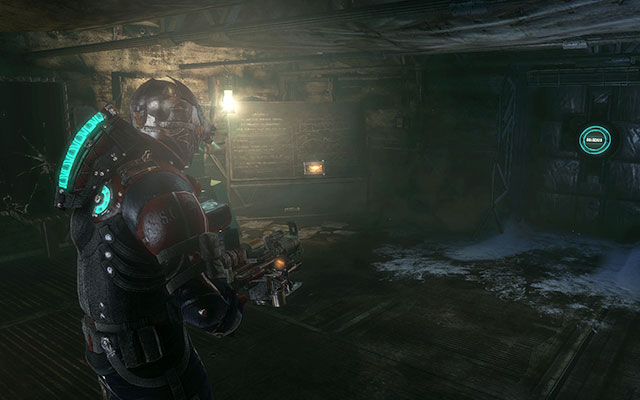
On the table, right from the entrance.
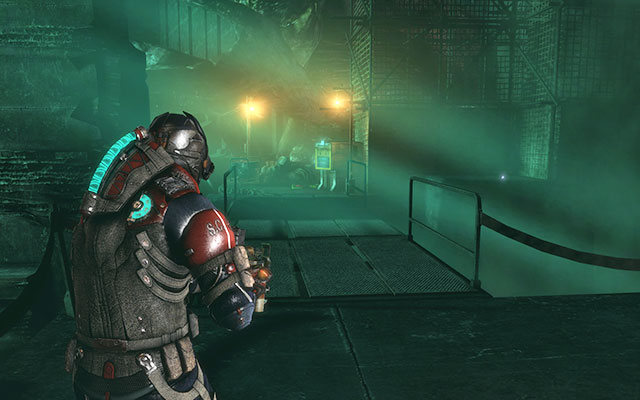
On the right side, near the powering device - use kinesis.
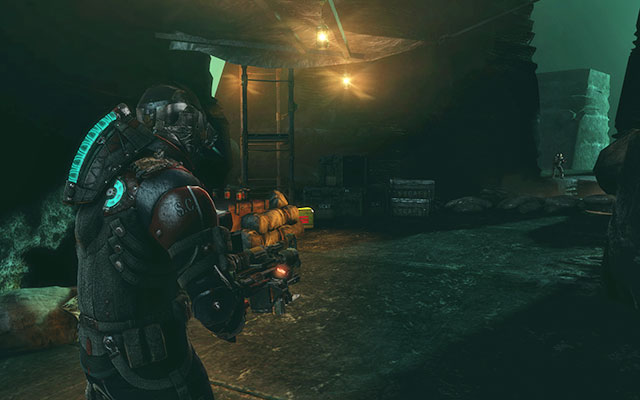
In front of the blocked passage, on the left, between supplies.
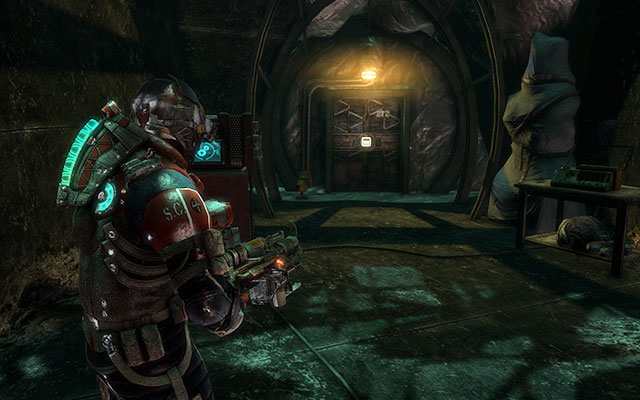
On the table in the left part of the fork - you have to bypass the system to restore the power.
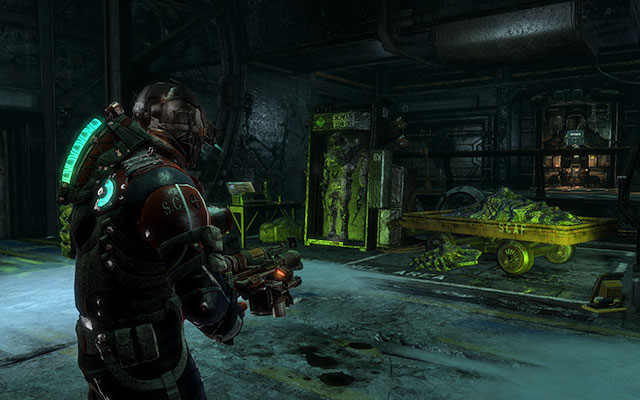
On the table near the cart and the creature, in the room where you'll get after riding down the elevator.
On the stairs next to the door, in the room where you'll get after riding down the elevator.
Log floats over one of passages connecting gates - right below first Necromorph.
In the recess at the very bottom of the first silo - use kinesis or fly towards this element.
On the wall in the recess on the left, in the second silo.
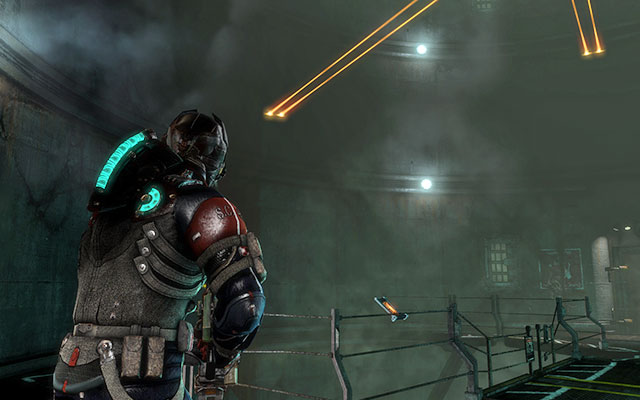
Log floats over the catwalk at the very bottom of the second silo.
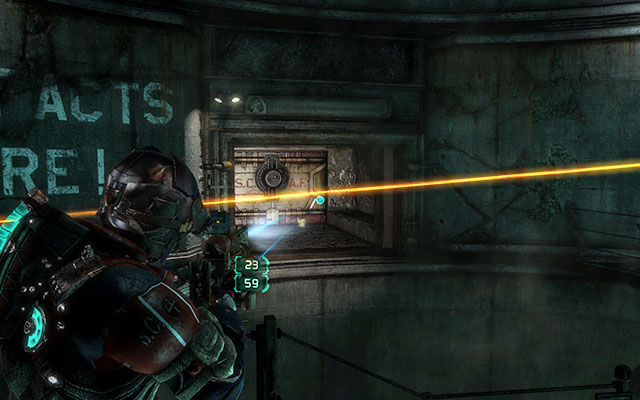
In the recess at the very top of the third silo - you have to fly towards it because you are not able to use kinesis on the artifact.

Next to the workbench in the room after leaving the third silo.
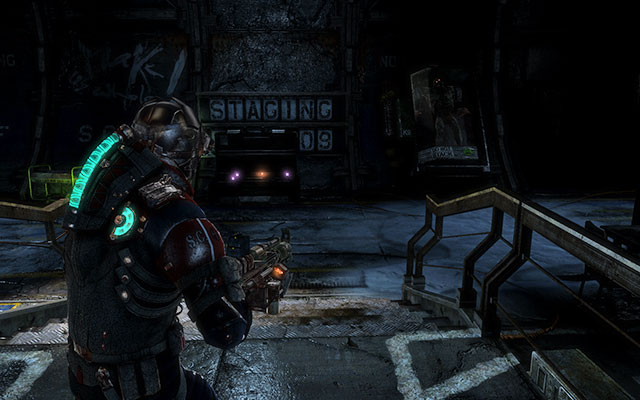
Inside the supply crate.
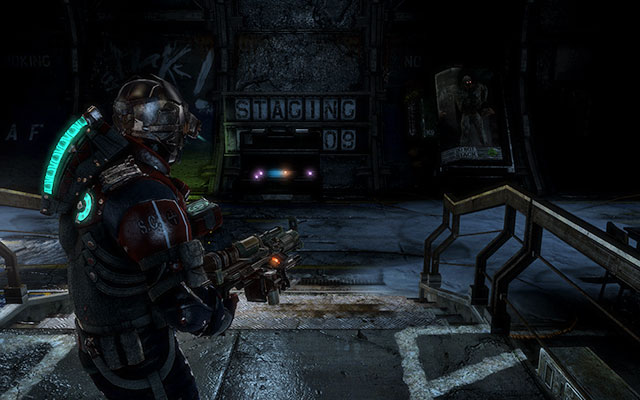
Inside the supply crate.
Inside the supply crate.
On the wall, after climbing down the ladder, near the locked door - on the way back.
It floats in the air in the room, where zero-gravity is activated after starting the generator.
On the scaffolding near the first platform.
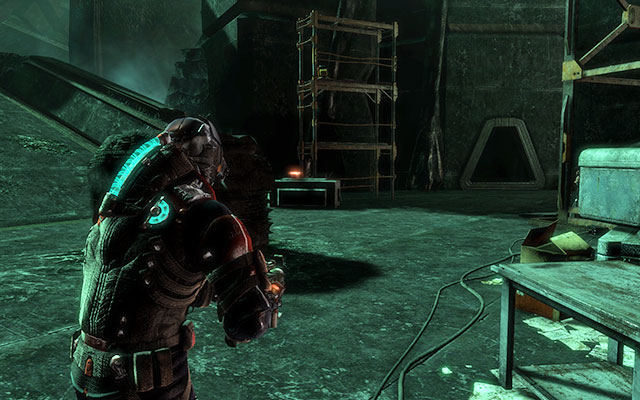
On the crate to the left, near the elevator, the workbench and the generator. Next to the way to the portal.
On the table near the wall with strange symbols.
Behind the stone inside the room, left from the gate entrance to the first room after using the portal.
Near the statue in the center of the room.
Dead Space 3 secrets in chapter 18: Kill or Be Killed.
Alien Artifacts (2)
Text Logs (1)
Audio Logs (2)
Weapon Parts (2)
Upgrade Circuits (1)
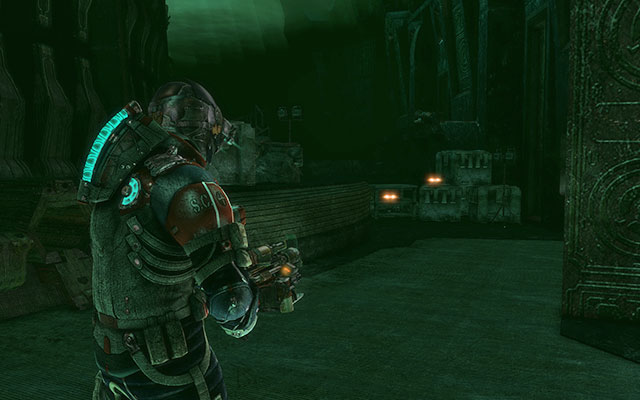
On crates, right from the three slots, at the beginning of the chapter.
On crates, right from the three slots, at the beginning of the chapter.
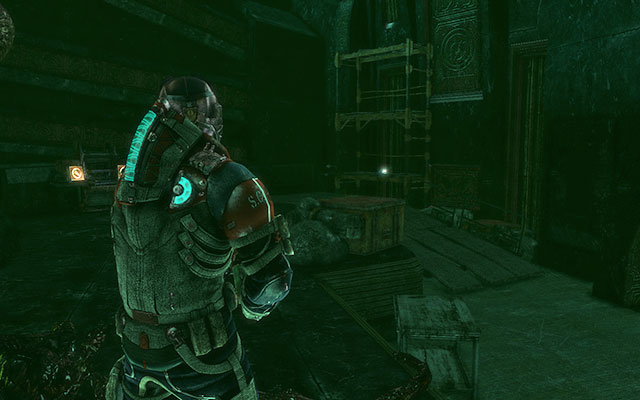
On the scaffolding near the workbench and the generator in the starting location.
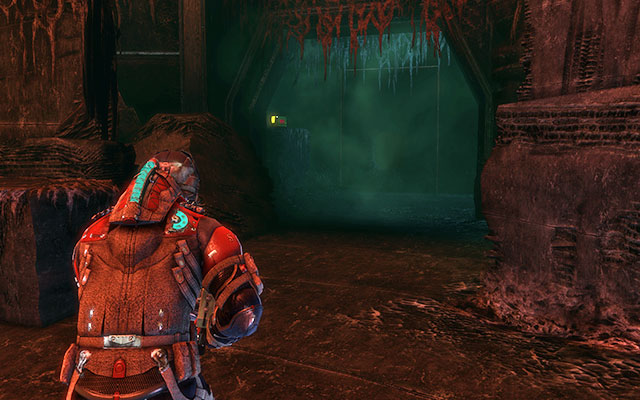
On the ground to the left, near the rock with crate - in the room with a statue in the center.
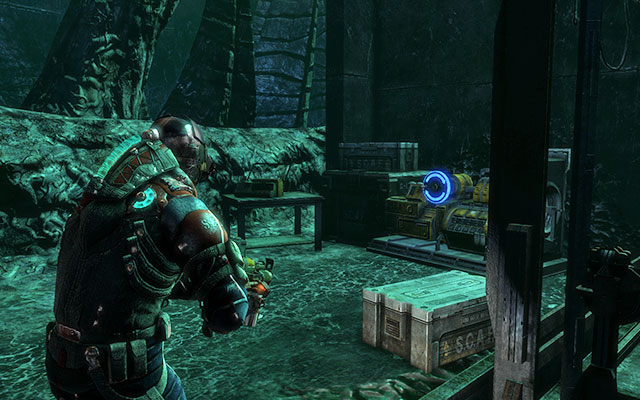
Near the generator and a cargo elevator - you have to start it to activate the log.
Near crates behind the elevator, after riding it up.
On the passage blocked by a growth, left from the elevator. You have to walk around it from the left.
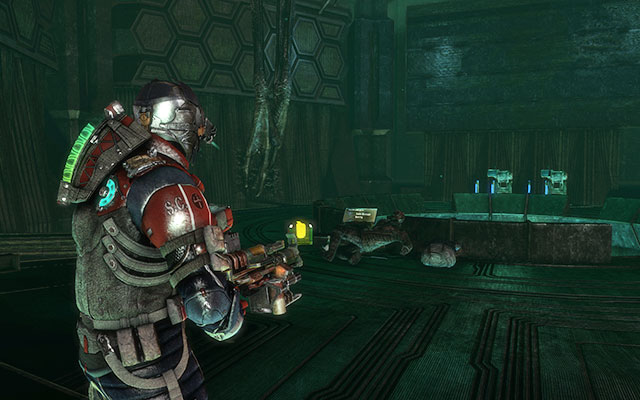
On crate next to corpses, in the room with climbing devices.
Dead Space 3 secrets in chapter 19: Endings.
Alien Artifacts (1)
After getting to first two tentacles, after descending the hill, turn left - the artifact lies on the ground.
The below table lists achievements available in the Xbox 360 game version. These are the same as trophies for PS3 version.
ACHIEVEMENT
HOW TO GET IT?
And Then We Doubled It!
Dismember 1000 limbs from living enemies. Both, Necromorphs and soldiers count. Use kinesis to do it.
Architect
Share a blueprint with your partner in co-op play. Share option can be found in a workbench.
Aren't You Thankful?
Complete the game on Hardcore mode. You have to finish the game without dying. There is an option of saving and continuing, but if you die you have to start it over again.
Axes High
Kill 30 Necromorphs using axes.
Blast Corps
Kill 30 enemies with explosion bullets.
Circuit's Edge
Add a Circuit Upgrade to any weapon. Remember, that the weapon needs a proper frame with upgrade slots.
Dropping Acid
Dissolve 50 enemies with acid. You need to craft weapon with acid bath.
Electric Lawnmower
Kill 30 enemies using an electrified Ripper blade. You need to craft weapon with rip core and electric charge.
Empty Chamber
Kill 30 enemies using melee strikes or a melee Weapon Part
EMT
Craft Large Med Pack in a workbench - you need 240x somatic gel.
Epic Tier 4 Engineer
Complete the game on Classic mode. Only classic weapons can be crafted in the workbench using blueprints. Co-op mode is inactive; you have a classic aiming mode.
From the Jaws
Save your partner from an execution by killing the attacker. It is best to do this on smaller Necromorph, which can be killed with one shot.
Full House
Craft a Weapon with 2 tools (upper and lower), tips, and attachments with all circuit slots filled (8).
Get On My Level
Complete the game on any difficulty setting.
Ghosts of the Past
Face all of Carver's demons by completing all co-op side missions.
Go for the Limbs!
Dismember 500 limbs from living enemies. Both, Necromorphs and soldiers count. Use kinesis to do it.
Gun Collector
Collect all weapon parts. A detailed description can be found in the appropriate section in the guide as well as within the description of the chapters.
Master Plan
Craft a weapon based on a blueprint which requires at least 2000 resources worth of parts and circuits.
Medic!
Revive your partner 10 times.
Metal Detector
Deploy scavenger bot to 15 resource areas.
My Buddy
Retrieve resources from a bot at a workbench.
Overpowered Healing
Use quick heal to heal yourself 20 times.
Payback
Kill a Soldier by TK'ing a grenade or rocket back at them. You'll often come across Unitologists which will throw grenade at you - use kinesis to catch it and throw it back.
RIG Master
Fully upgrade your RIG.
Share and Share Alike
Use the RIG to give an item to your partner.
Shootbang
Kill 30 soldiers with head shots. It is best to do it on Unitologists.
Slow Mo
Kill 50 enemies while they are in stasis.
Strapped
Craft a weapon - it is also one of side mission during the gameplay. The detailed description of crafting weapons can be found in appropriate part of this guide.
Survivalist
Complete the game on Pure Survival mode. Killed enemies do not drop any item, you have to craft everything at the workbench.
The Armorer
Collect all upgrade circuits. A detailed description can be found in the appropriate section in the guide as well as within the description of the chapters.
The Explorer
Complete all side mission - 7 mission for single player and 3 in co-op mode.
The Librarian
Collect all logs. A detailed description can be found in the appropriate section in the guide as well as within the description of the chapters.
The Professor
Collect all artifacts. A detailed description can be found in the appropriate section in the guide as well as within the description of the chapters.
There's Always Peng!
Peng can be found in chapter 14, in side mission [Reaper Barracks]. Along your way there you'll come across two pistons - Peng is in one of them. You have to slow him with stasis in order to pick up a statue with kinesis.
ACHIEVEMENT
HOW TO GET IT?
Aliens
Collect all Alien Artifacts. A detailed description of their locations can be found in the appropriate section in the guide.
Close Encounter
Kill 10 alien Necromorphs. You'll encounter them only at the end of the game, during your visit in the Machine. These are one of the largest enemies you can come across in the game.
Critical Mass
Fix the shuttle in chapter 6.
Drill Sergeant
Deal with the Drill (chapter 10) without taking any damage. You should also avoid being hit by Necromorphs which will appear on the arena. It is best to start the fight with a very good weapon to quickly deal with the Drill.
Hungry
Get to the pump chamber without alarming any Necromorphs in chapter 9. There are several Necromorphs which are feeding - try to not flash them with flashlight and keep on sides, moving slowly forwards.
Hydra
Kill Snowbeast - you fight this creature three times, finally killing it in chapter 13.
Infernal Machine
Get to the alien machine - complete Chapter 18.
Intestinal Fortitude
Defeat the monster Hive Mind in chapter 12.
Shoot for the Moon
Defeat The Moon - you get this achievement after completing chapter 19.
Snow Crash
Get to Tau Volantis. You unlock this achievement after completing chapter 8, right after crash landing.
Space Ace
Shoot at least 70 targets during shuttle flight in chapter 7.
Space Odyssey
Experience your first spacewalk - you have to complete chapter 2. You'll get the achievement after reaching the ship entrance.
Stranger in a Strange Land
Complete the prologue.
Together as One
Arrange Rosetta plates in chapter 15.
Under a Buck
Shoot down the trophy (deer head) in admirals' chamber in chapter 4.
Weedkiller
Kill 5 plant-Necromorphs at once using the gas. In chapter 14 you'll get to the biology sector and come across a corridor full of these plants - since they shoot some projectiles, you have to catch them with kinesis so they won't kill themselves.

 Diablo III Game Guide & Walkthrough
 Dark Souls II Game Guide & Walkthrough
 Devil May Cry 4 (PC) Game Guide & Walkthrough
 Deponia Game Guide & Walkthrough
 Dungeon Siege II: Broken World Game Guide & Walkthrough