This guide to Assassin's Creed Revelations includes complete walkthrough for the game along with tips to facilitate getting the full synchronization in each memory. In addition you can find here a comprehensive part of text on secondary missions. These include:
- Desmond's Journey
- Piri Reis Missions
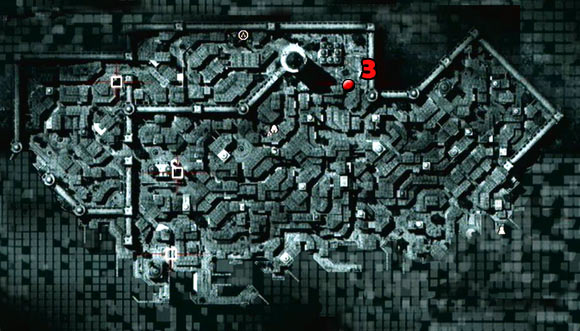
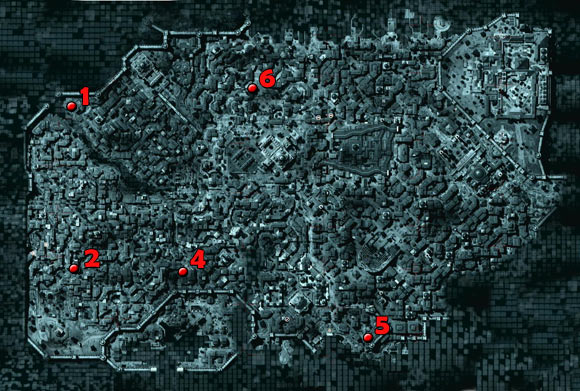
- Recruit Assassins
- Master Assassin Missions
- Faction HQ Missions
This guide is also very richly illustrated and includes maps of Constantinople, enabling instant finding the described missions.
Michal "Kwisc" Chwistek
Translated by: Maciej "Elrond" Myrcha
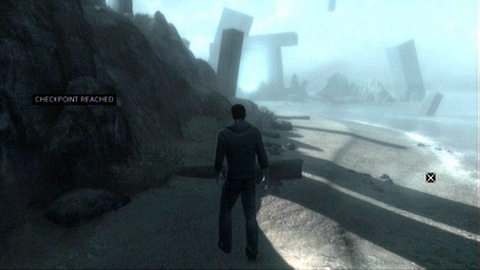
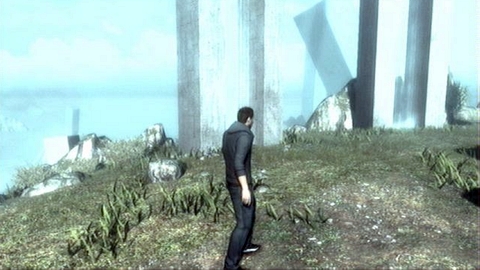
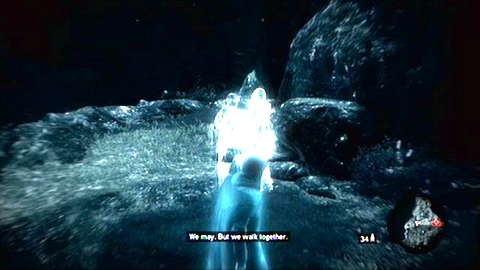
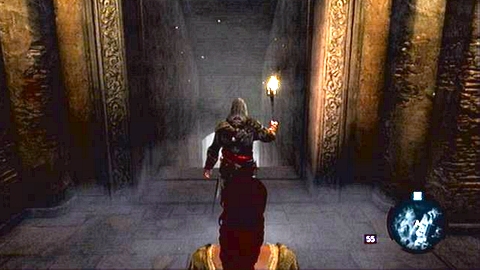
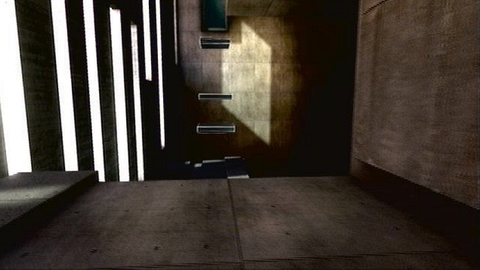
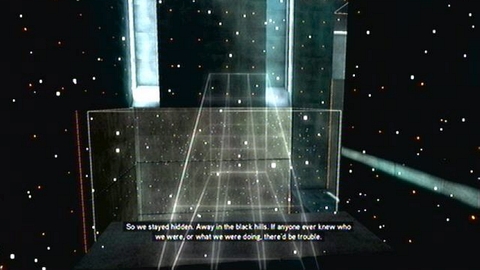
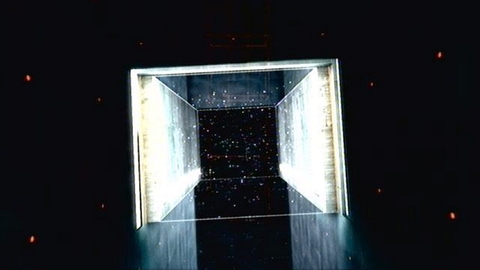
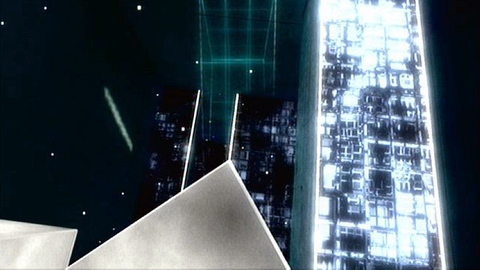
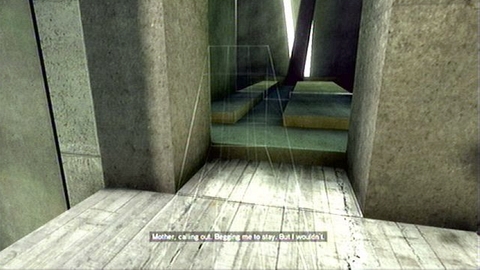
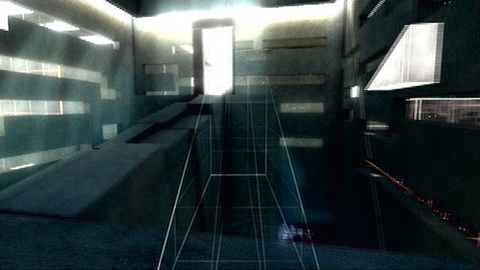
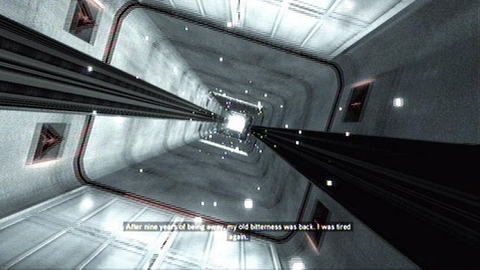
After the intro ends, you'll find yourself as a Desmond on the Animus Island.
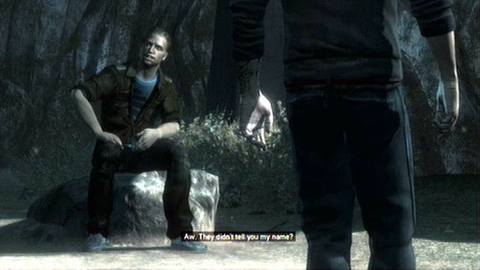
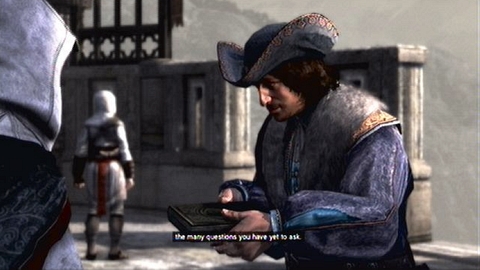
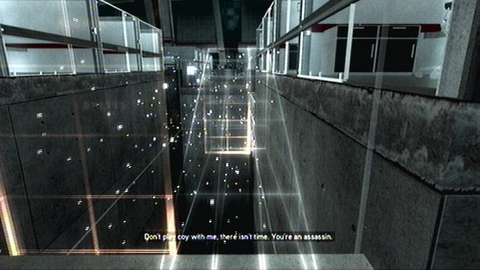
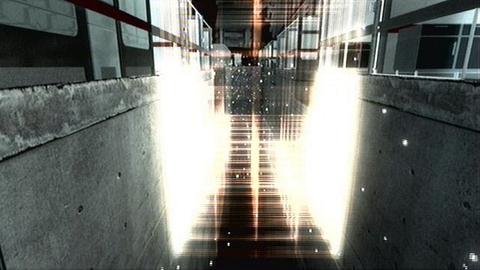
Walk few steps and next cinematic starts. You meet a man, who presents you with your situation and shows you so-called Sync Nexus. It is a gateway to Ezio's memories.
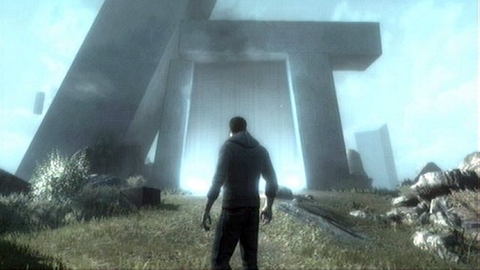
You have to walk through it, but before doing so wait a moment and listen to the conversation between William and Shaun.
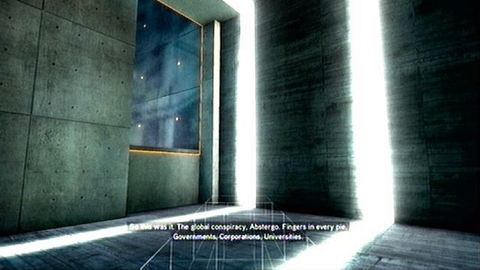
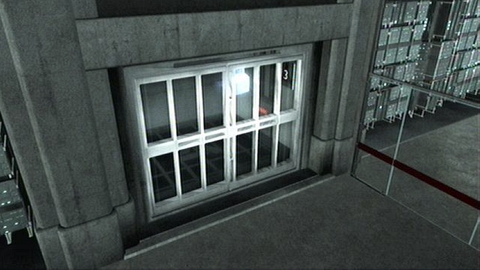
You can also run in the opposite direction and check smaller gates. However they are closed for now. In order to open them you need Animus Data Fragments, whose locations can be found in this guide's chapter dedicated to them.
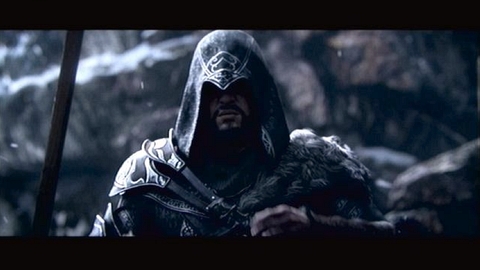
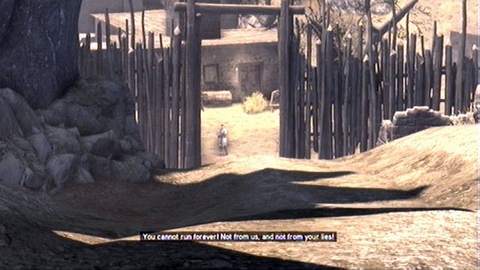
After entering Ezio's memories new cinematic begins.
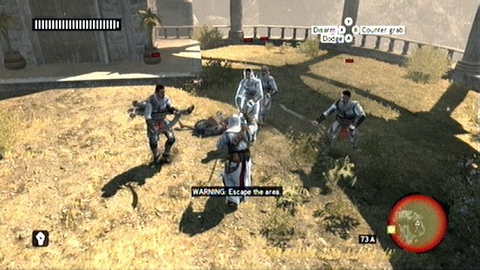
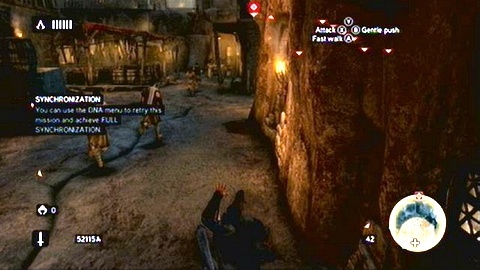
Full Sync: Kill a Byzantine Templar with a counter kill.
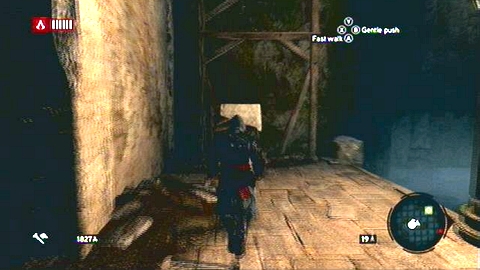
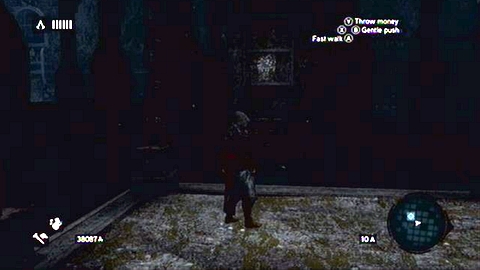
After you take control over your hero, hold RT and A and run following the spirit of your ancestor.
At some point you'll encounter a guard. Defeat him with your fists by pressing X and then continue your escape.
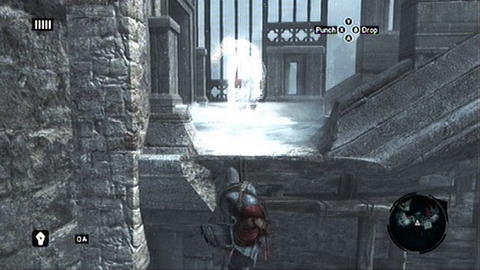
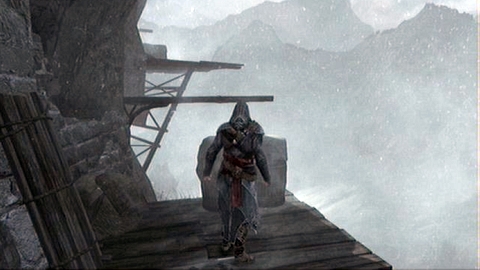
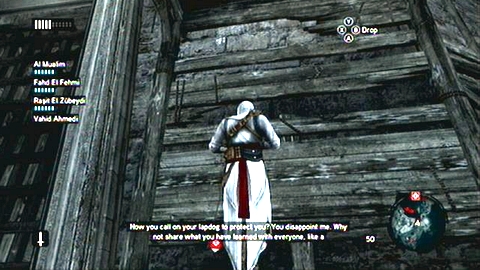
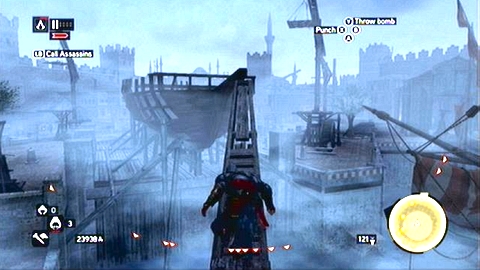
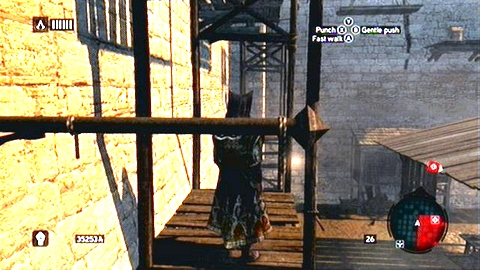
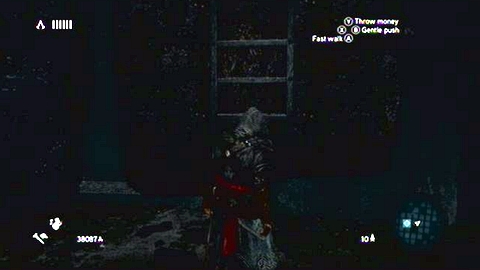
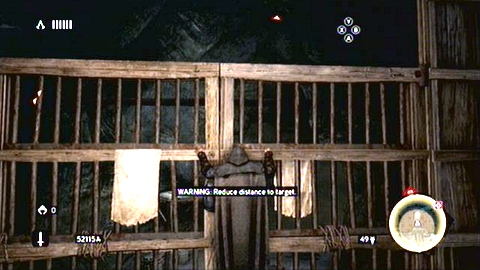
Once you get to the wooden scaffolding point your character to the very top.
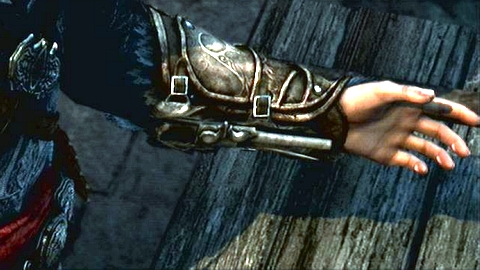
In this way you'll recover your weapons.
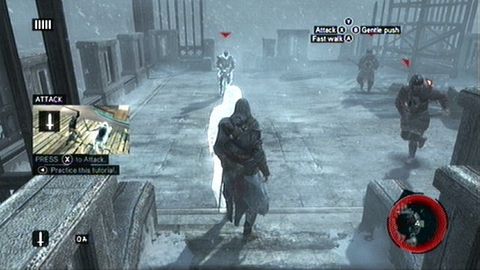
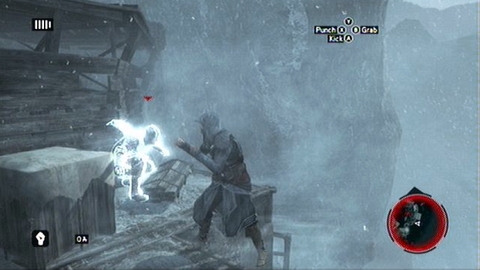
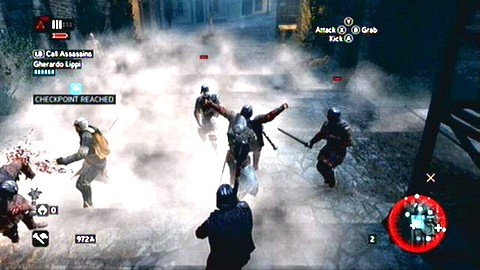
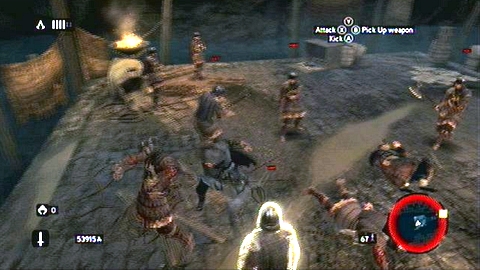
A bit further you'll face off with a group of armed guards. At the beginning of the battle press LT to select your target.
Then wait for an enemy's attack holding RT. As soon as you see him raising a sword press X and you'll execute a counterattack.
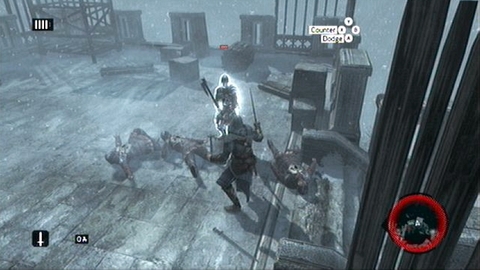
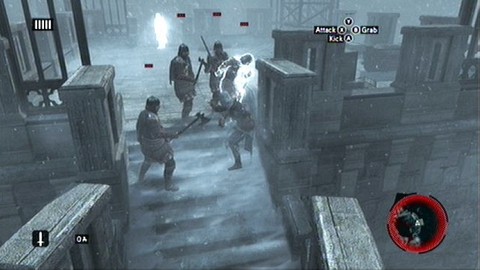
To quickly get rid of other soldiers point the left analog stick towards the nearest enemy during the counterattack and press X twice. Repeat this operation several times until all enemies are dead. Always remember to hit guards with a blinking rectangle over their heads first. It means that this enemy is about to begin an attack. If you fail to kill him, again hold RT and X to perform quick counterattack.

Run after the spirit once the area is clear.
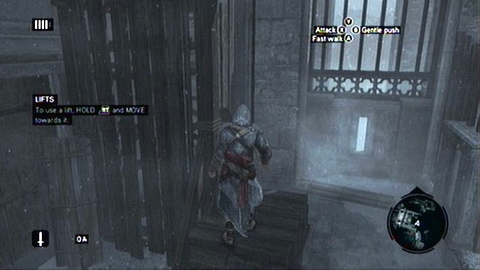
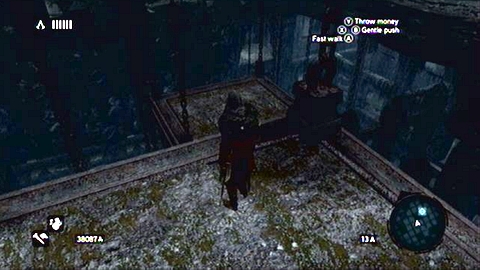
He will lead you to the lift which can be used by holding RT and approaching it.
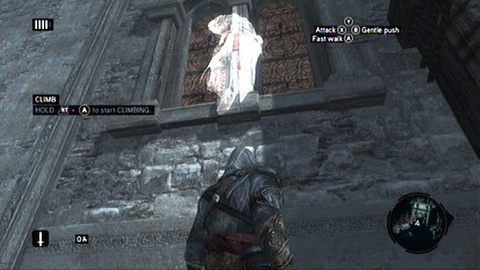
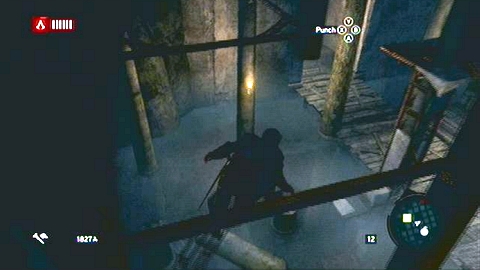
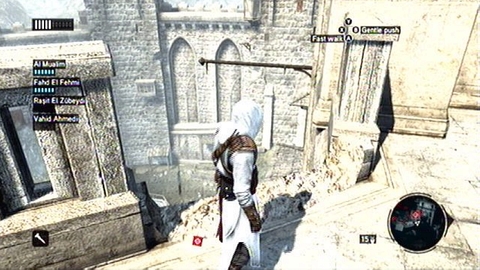
On the upper floor run up the wall and then keep following your ancestor's spirit.
In order to jump backwards tilt the left analog stick in the proper direction, hold RT and press A.
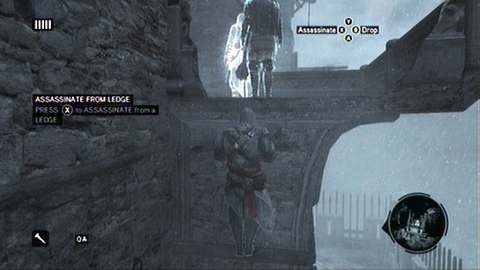
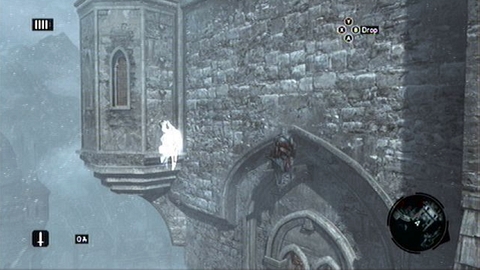
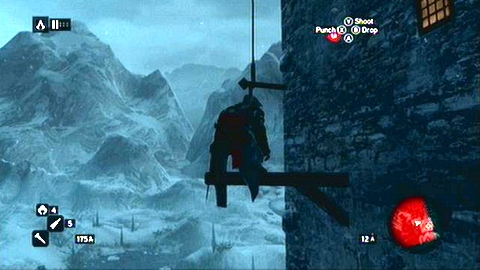
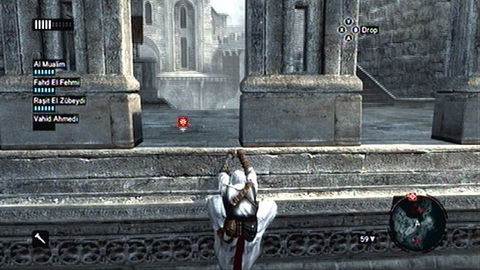
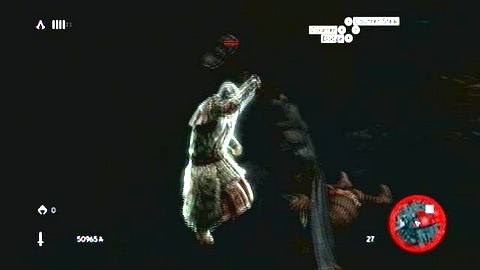
Climbing up you'll come across another guard. While hanging from the edge aim at him (LT) and then pull him down (X).
Approach second enemy from behind and stab him at his back (X).
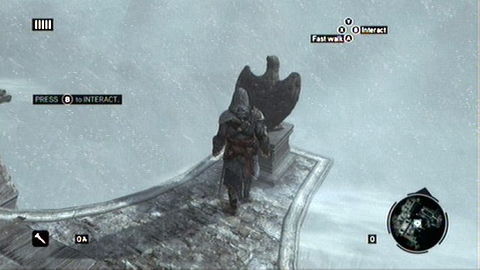
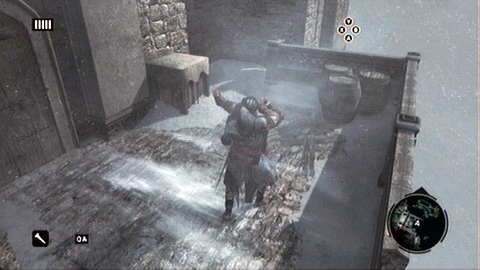
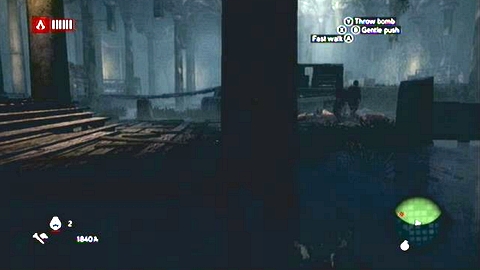
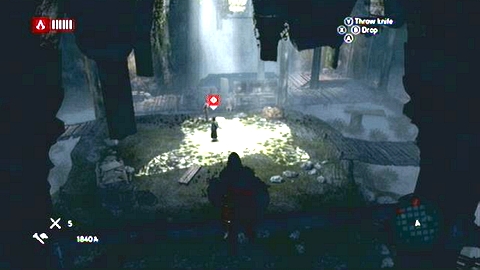
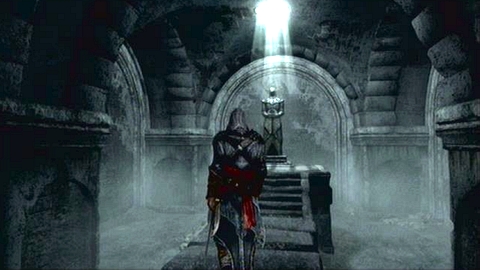
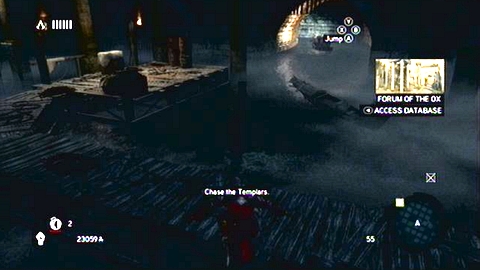
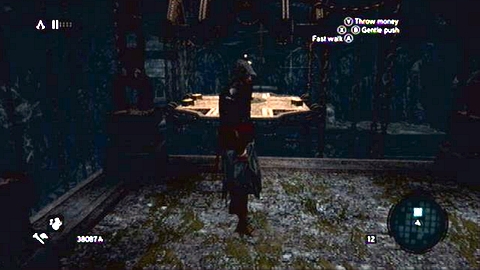
Once you've get to the eagle statue press B to kick it off. You'll find yourself in the sewers.
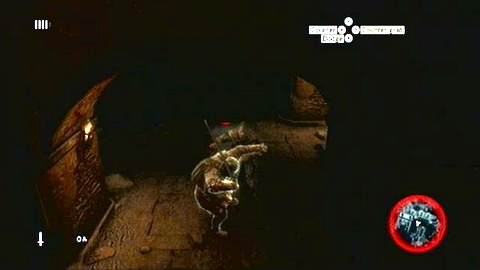
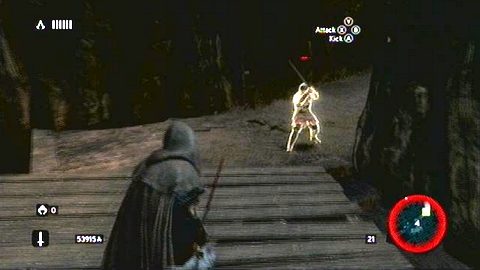
Moments later you'll be attacked by one of the Templar. In order to get full sync you have to kill him with the counterattack.
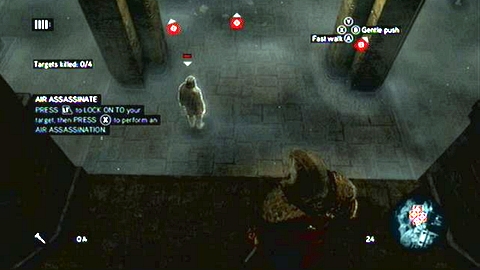
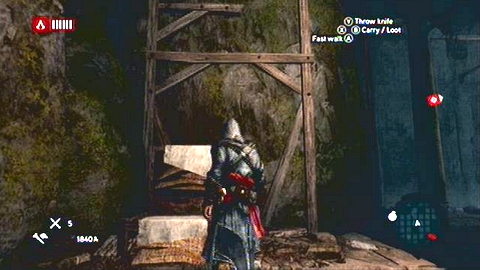
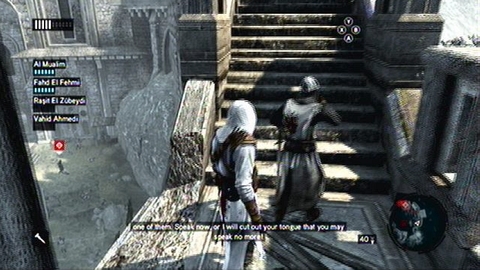
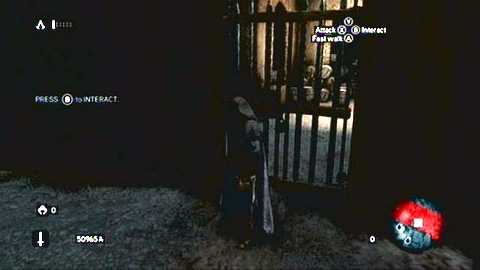
Run straight ahead after the fight until you'll see the closed gate and a group of guards. Walk to the edge then, select your target (LT) and perform the assassination (X).

The rest of enemies can be killed in the normal fight or quietly with the hidden blade.
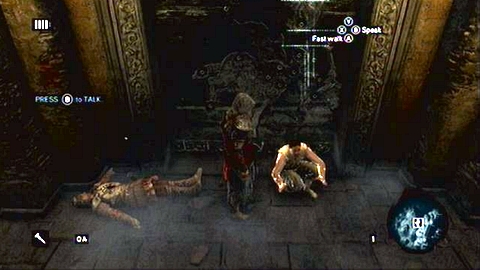
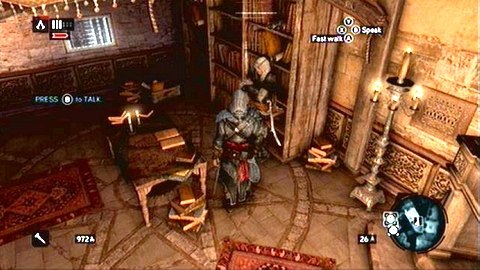
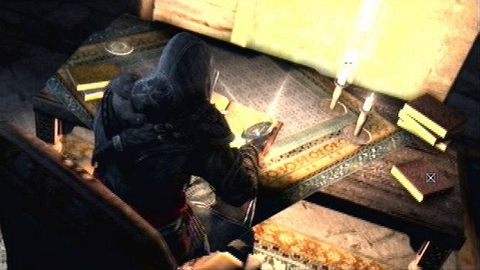
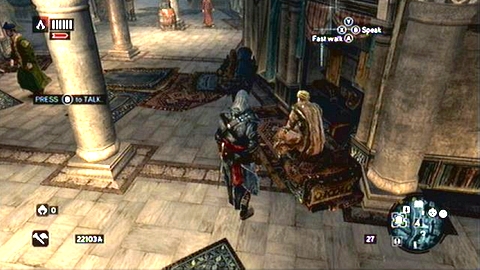
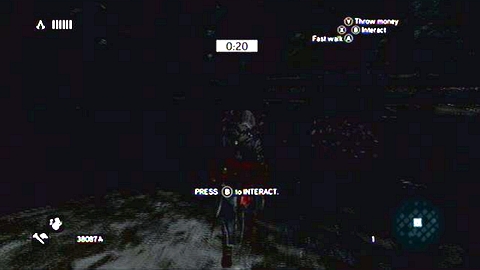
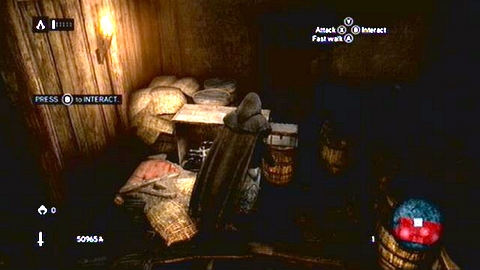
Once the chamber is secured, walk towards the man crouching at the stone gate and talk to him (B).
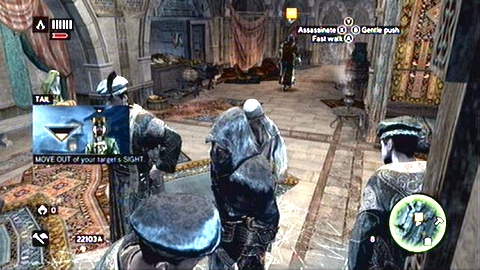
Full Sync: Do not fail a single tail.
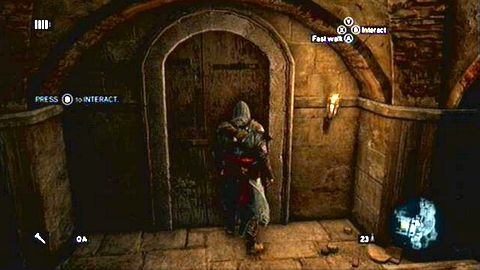
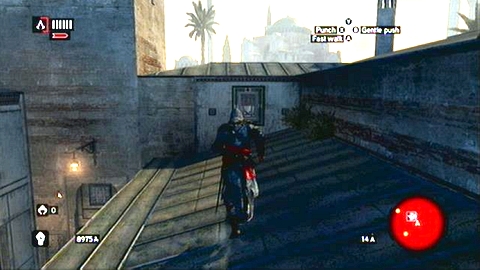
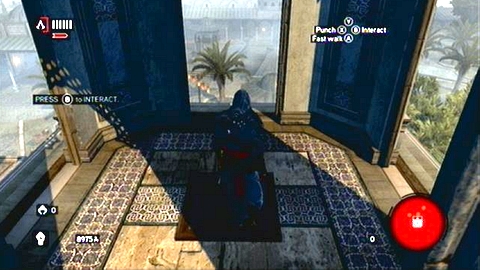
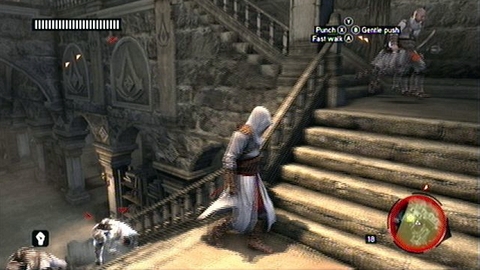
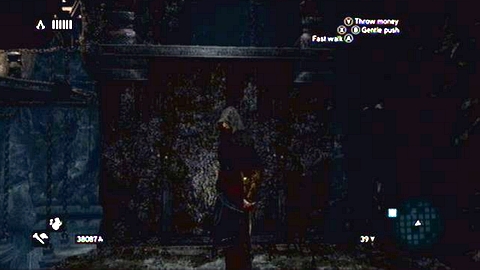
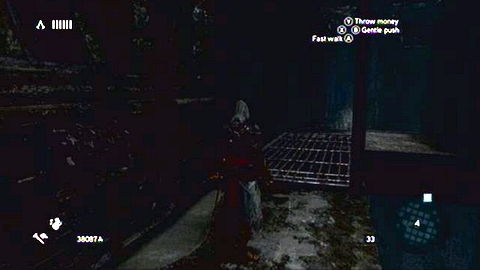
After the conversation with the worker run straight ahead and then open the door at the end of the chamber (B).
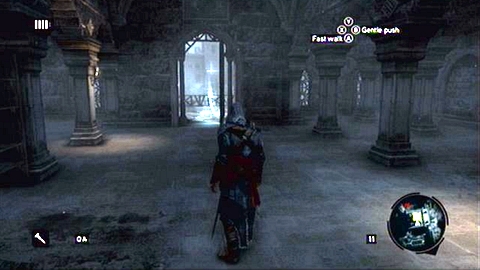
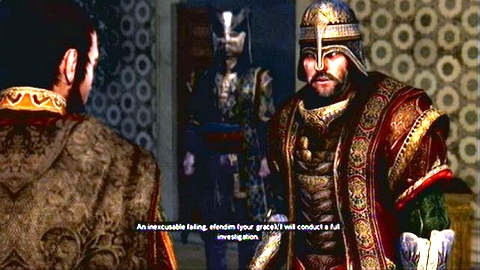
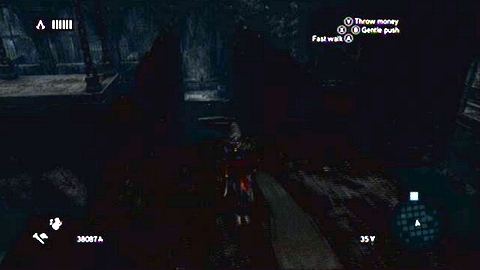
In the new room use the first stairs and leave the building using the door on the right. You'll see a cinematic then.
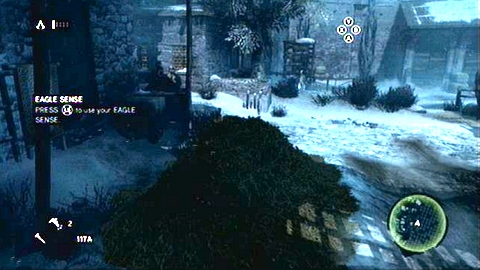
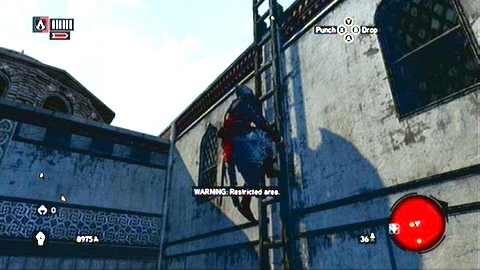
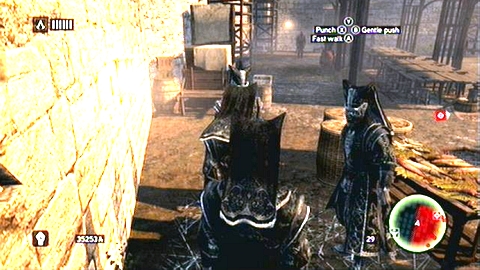
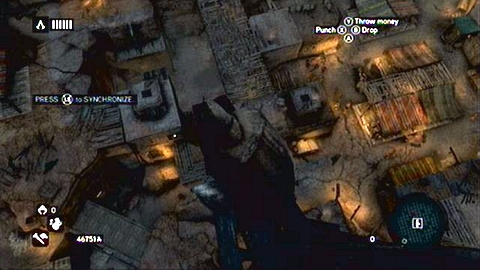
Move to the ladder in the left corner of the courtyard when the cinematic is over. You can do it "hard" way by killing all guards patrolling this area or more discretely by jumping down over the railing and running towards the target when opponents go in another direction.
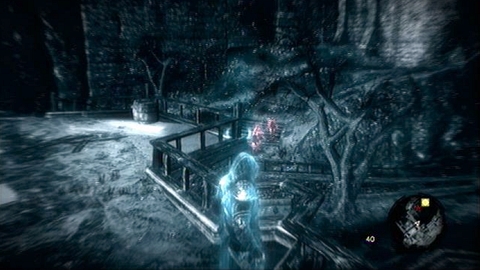
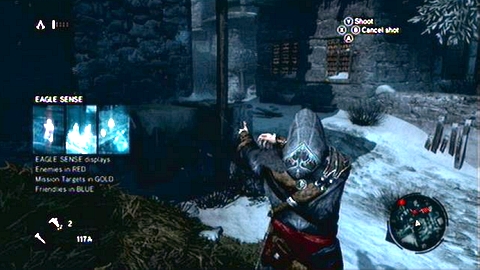
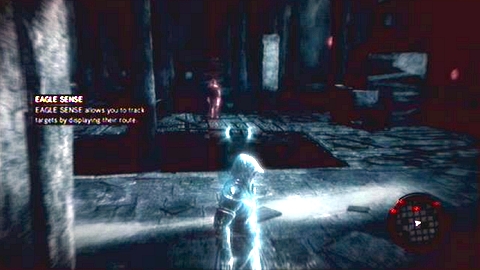
Use the Eagle Sense (press the left analog stick) to better see your enemies. Whichever method to reach your target you choose doesn't affect the full sync.
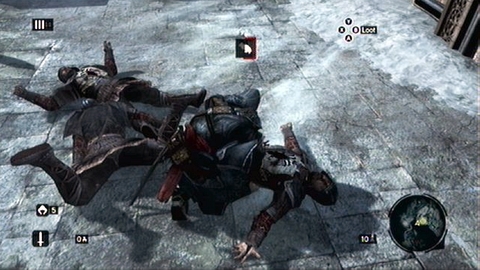
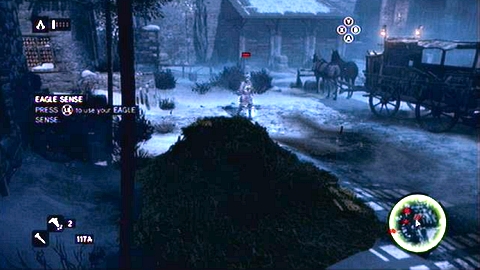
After getting up get rid of another patrol. It is worth to search the corpses before you'll climb the tower on the right. In order to do so, walk towards the corpses and hold B.
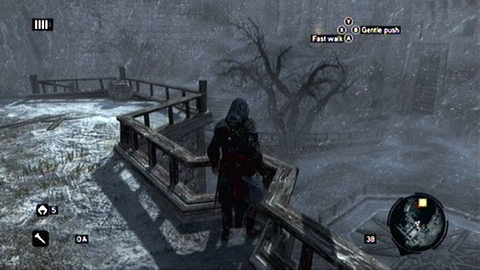
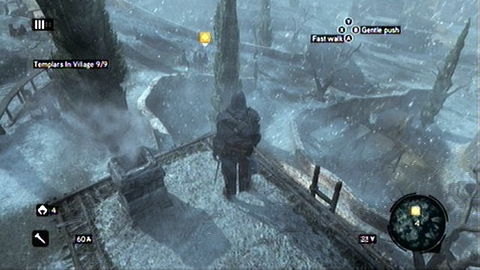
At the top of the walls, move towards the white cone and you'll see a squad of soldiers, which you must follow. To get full sync you can't kill any of them.
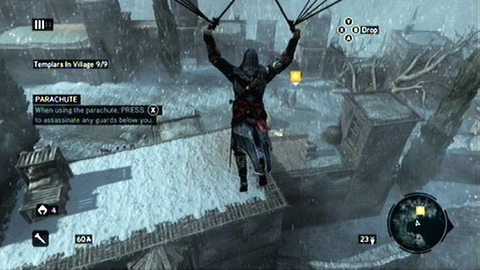
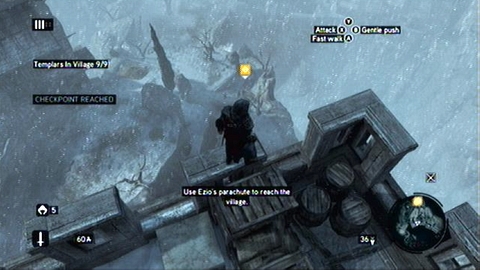
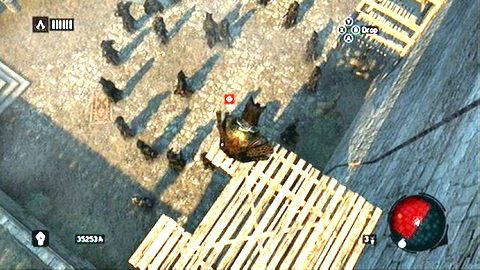
Wait 3-4 seconds at the top and then jump down (RT+A). During the fall, press B to use the parachute and while gliding try to land on the building next to the followed group.
When you get yourself at the proper height, press X again and you'll land on the ground. You must now follow the soldiers, without being spotted.
To do this, try to always be a bit behind them and jump across rooftops to the right of the path.
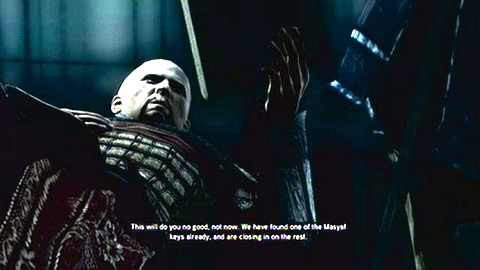
When the guards arrive to their destination, another cinematic begins, followed by next memory.
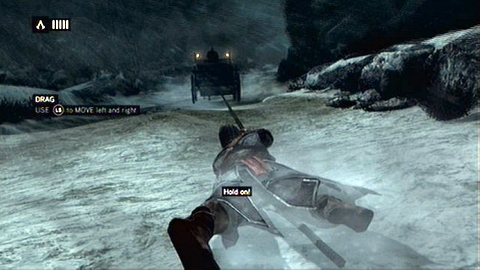
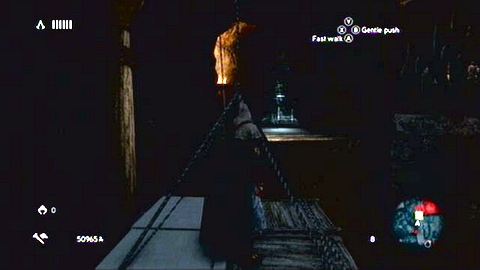
Holding the rope attached to the chariot, try to control Ezio so he avoids stones on both sides of the road.
Once the rope starts to break try to crawl towards the chariot as fast as possible by tilting the analog stick forward. But remember that you can't move from side to side then so crawl up the rope only when the road is safe.
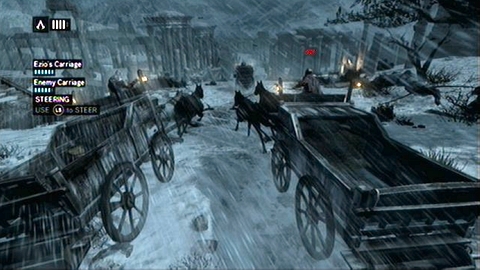
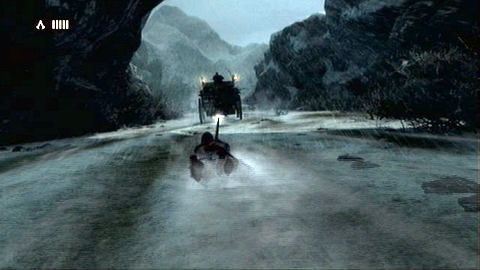
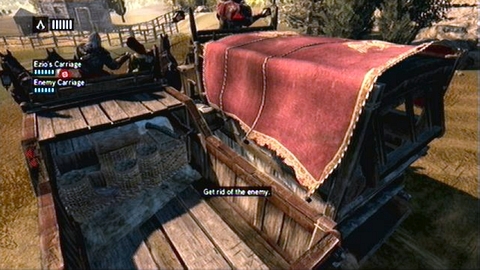
After a long ride you'll finally end up on the chariot and gain control of it. In the first phase of the pursuit you need to weaken the enemy's chariot. To do so, try to push it to the right when you see rocks there.
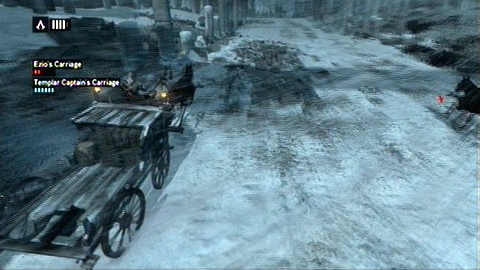
Once the second phase begins you'll have to watch out and avoid being pushed to the rocks. Some of them can be avoided at the left side, others by colliding with the opponent right next to them.
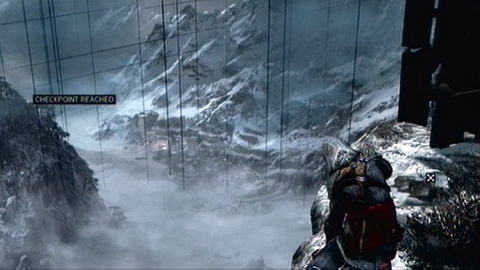
Repeat everything until the short cinematic starts and you'll end up at the bottom of the abyss.
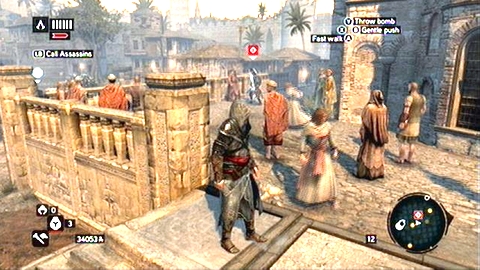
Full Sync: Kill at least 5 guards from a haystack.
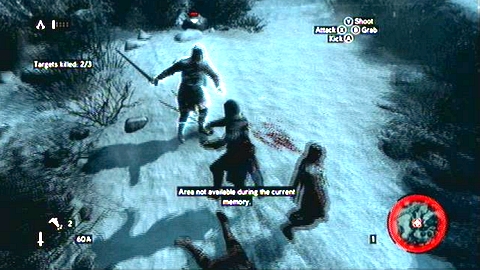
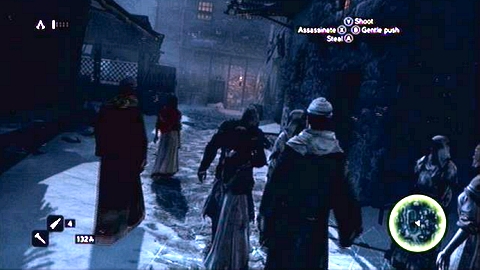
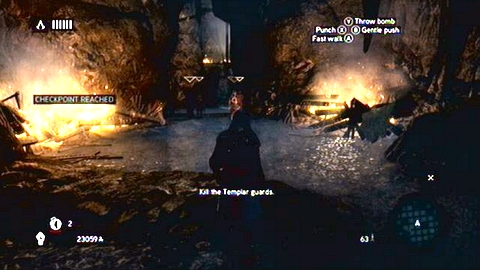
As soon as this memory begins, you'll be attack by group of guard. Kill them quickly with counterattacks and then run straight ahead.
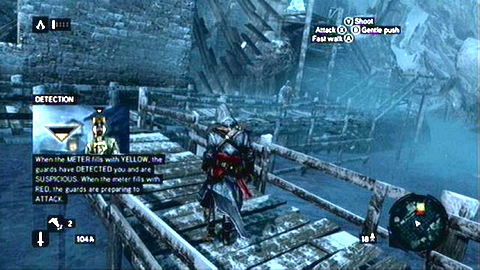
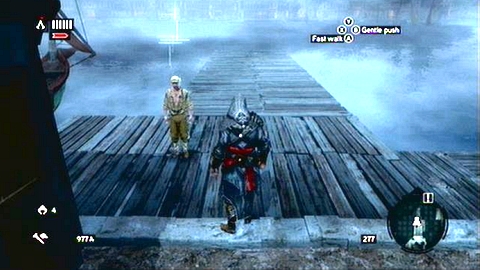
You'll encounter another enemy on the bridge. Sneak on him from him and stab him in the back. While sneaking, pay attention to the triangle above his head. If it starts to fill up with yellow it means that the enemy is becoming suspicious. Red indicates a preparation for an attack. You should then withdraw as fast as possible.
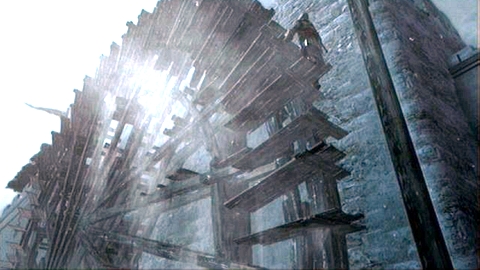
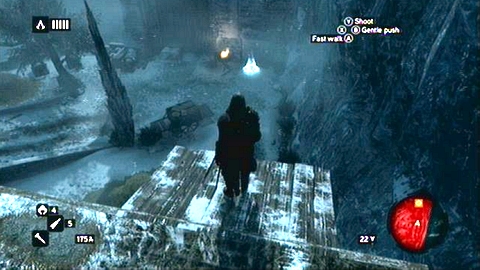
After killing the guard, go up the stairs and then step onto the near mill-wheel.
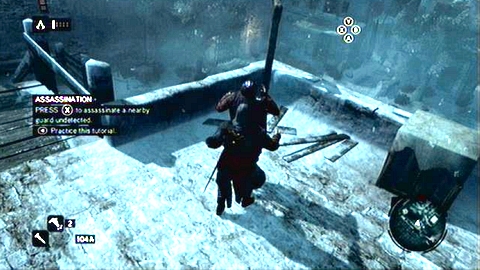
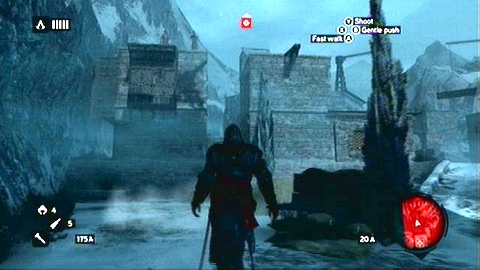
Once you get to the walls, you have to quietly kill another enemy (X).
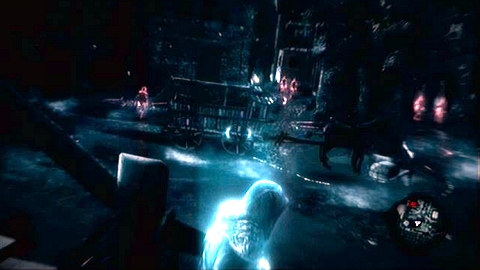
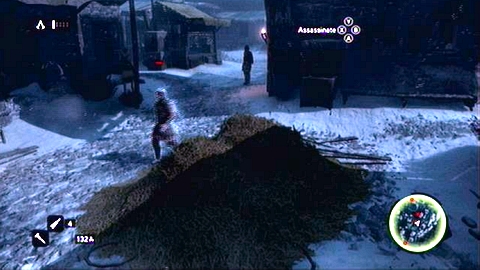
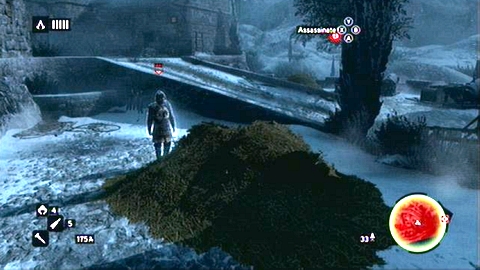
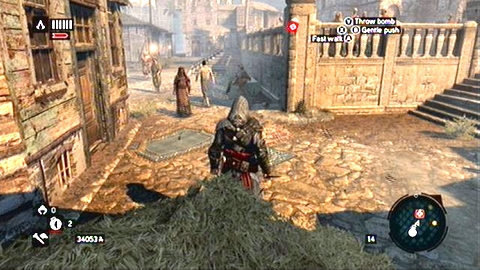
Go down and use the Eagle Sense (LS). Look at the soldiers guarding the courtyard. Two stands on the right, two in the middle and one walks along the chariot with hay. In order to get full sync hide behind the chariot and wait until the opponent walks to the right.
You will then have a clear way to the haystack, where you have to hide (run onto it while holding RT).
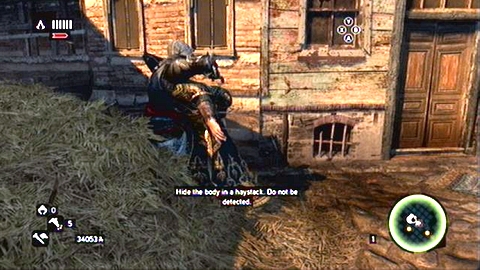
Being inside the haystack, highlight the guard patrolling the area and wait until he approaches you close enough to kill him (X). To get full sync you need 4 more similar killings.
Your next targets are two opponents on the right. After they go away a little, fire in the sky with a hidden gun by holding and releasing Y and then quickly hide in the haystack.

One of guards should then come close to you, so kill him quickly. Get rid of another enemy the same way.
You can also lure rest of guards towards the hay stack. Walk towards them and wait until the triangle above their heads slightly tings red and then quickly hide in the haystack. If they do not come close enough to you, you can shoot one of them with poison darts and hide again. You should kill from a haystack at least two to three guards out of 5 which you've seen at the beginning.
To see the direction where you need to go, use the Eagle Sense and follow the memory of the soldiers' leader.
This way you'll reach the courtyard with two opponents walking around. Hide in the crowd (just slowly walk towards the group of citizens) and sneak to the right side. There is another haystack in the right corner.
You can lure three guards walking around and get the full sync in this way.
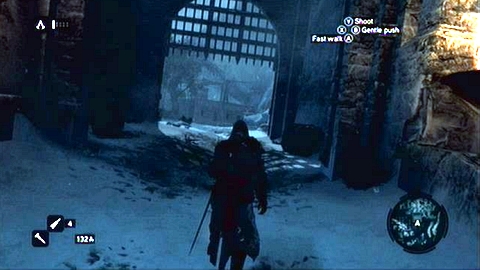
Once again follow the captain's spirit. He will lead you to the gate, which will be lowered after a short cinematic and you will be attacked by a squad of guards.
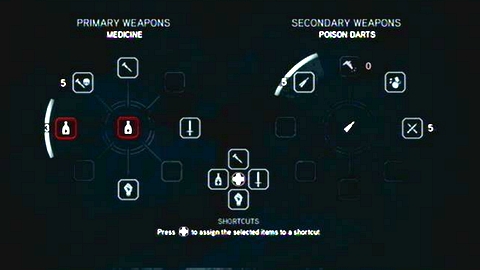
When the last opponent is dead, examine the corpses. You'll find Medicine. In order to use it, hold RB and select the proper item with left analog stick. You can also map this item to the D-Pad by selecting it with the analog stick and then pressing the proper D-Pad arrow.
After healing yourself you'll be finally able to climb the buildings. By jumping between the rooftops, sneak up to the target marked on your map.
While climbing the wall two guards will start shooting at you. Drop down then (B) and take care of the opponents.
After their death you can use the nearby haystack if you do not have full sync yet.
After you've climbed to the first tower floor, continue climbing to the left from the wooden door.
This way you'll reach the rope which can be used to get to the top. The captain awaits you there.
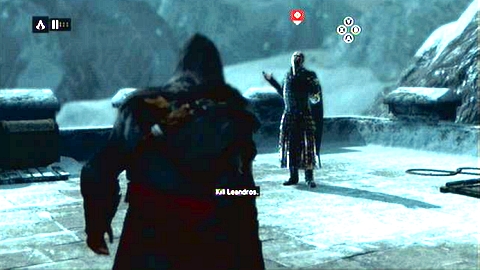
Walk to him and kill him finishing the sequence.
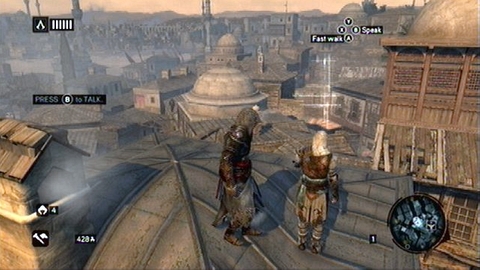
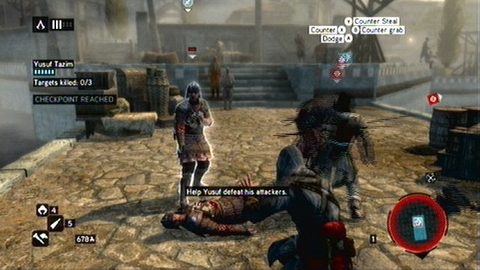
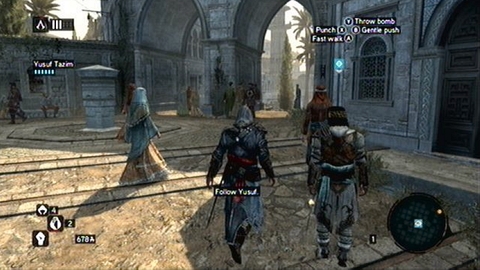
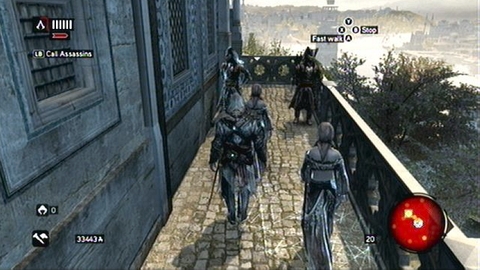
Full Sync: Do not wander far from Yusuf.
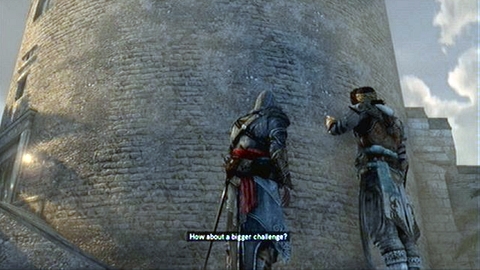
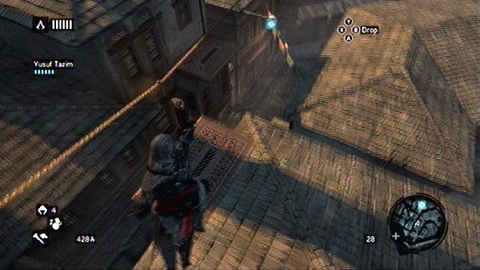
After leaving the ship walk to Yusuf and talk to him (B).

The man will start walking straight ahead and you must follow him. Hold A to speed up.

At some point you'll be attacked by the guards. Finish quickly three opponents and continue following Yusuf.
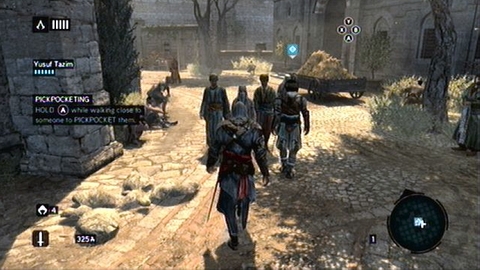
During your walk you can pickpocket a few unlucky citizens by quickly pressing A when they are close enough.
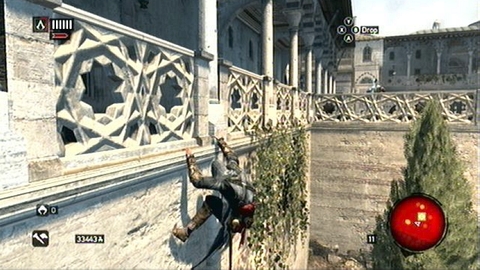
Keep following your companion. Finally you'll reach the Assassins' Order HQ, where your memory ends. If during the march you were close to Yusuf all the time, you should get the full sync. Enter the building through the door on the left.
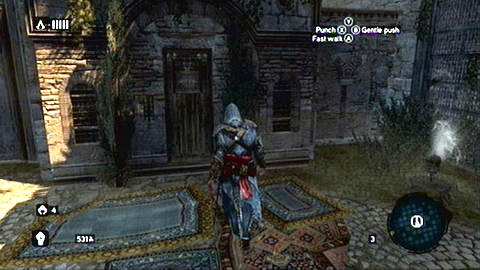
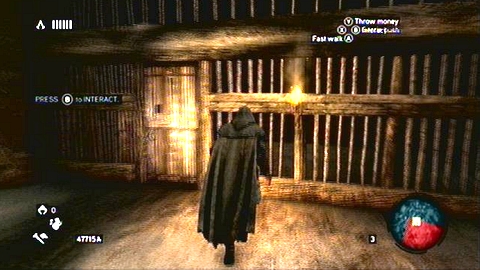
After the cinematic is over, leave the building through the door at the end of the corridor.
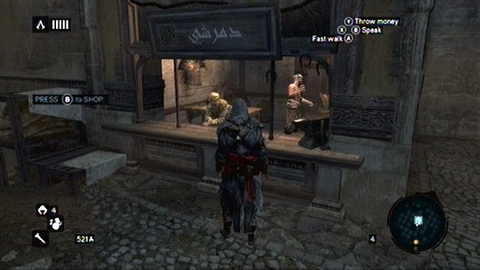
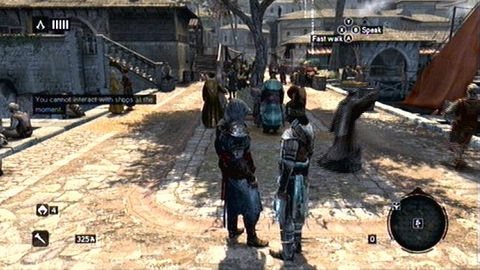
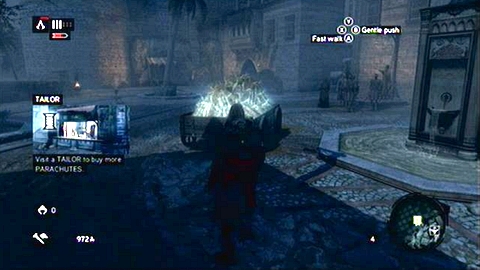
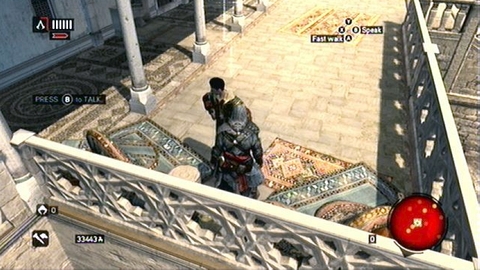
Your current task is to get money to buy a new armor. I suggest pickpocketing a few citizens. When you gather 343 coins, go to the blacksmith marked on the map.
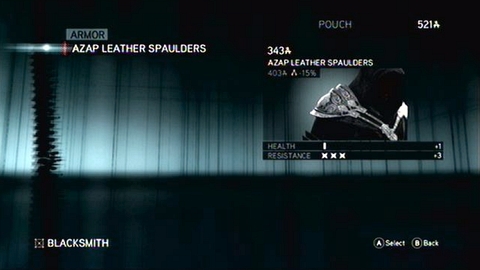
In the "Armor" bookmark you'll find "Azap Leather Spaulders". Buy them and then return to the Assassins' base. Your new armor increases your resistance and health, but remember to repair them from time to time.
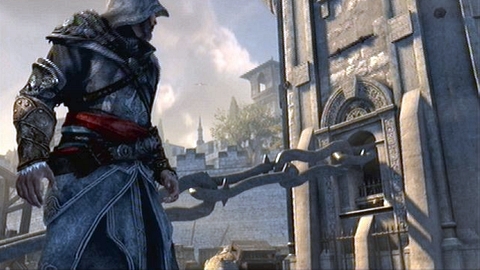
Full Sync: Perform every hookblade move successfully at least once.
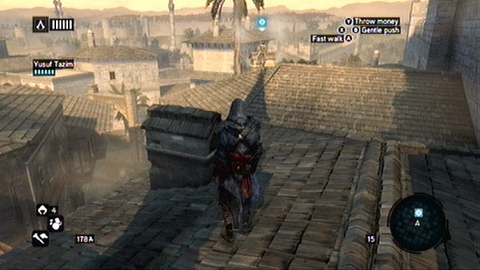
After receiving the new blade run after Yusuf to the rooftop of the nearby building. The first move you're about to learn is to catch the edge while in mid-air.
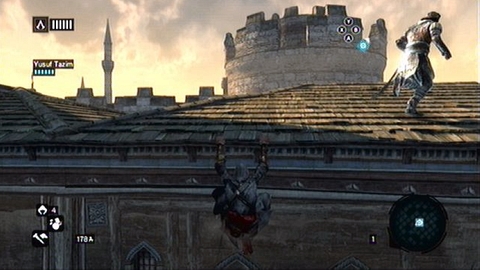
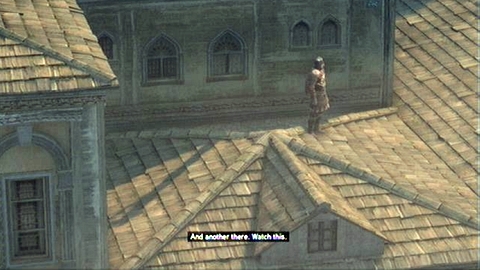
Jump after your companion to the adjacent rooftop, holding B during the jump. You'll be able then to reach out the edge of the rooftop. Keep running after your companion, using your new ability.
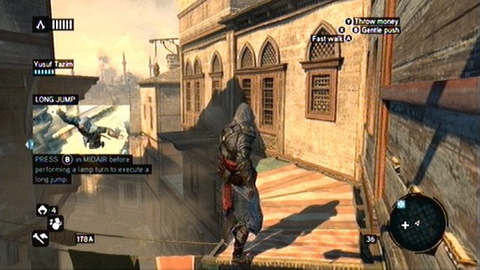
Another feature of the new blade you'll learn near the lantern hanging from the rooftop. If you press B just before catching the lantern, you'll perform a long-jump. Train this during your run after Yusuf.

After several long-jumps you'll reach a group of assassins, where you'll learn how to "jump over" the opponents. In order to perform so-called Hook and Run, run towards the selected target and hold B. If you perform such move three times, the memory will be over. In order to start the next memory, go and talk to Yusuf.
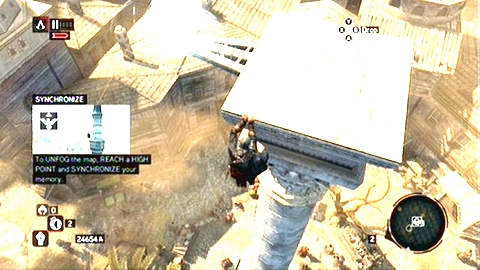
Full Sync: Climb the tower in under 60 seconds.
This time your task is to climb the nearby tower. In order to do this, follow your companion who will show you the shortest way.
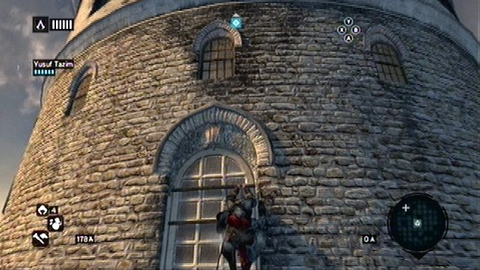
Remember to use your hookblade. Otherwise you won't get the full sync. Press quickly A while holding RT to speed up climbing. This way you'll jump up and be able to hook on the edges.
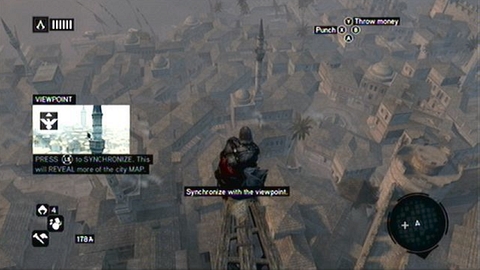
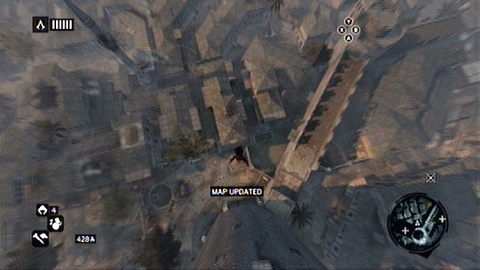
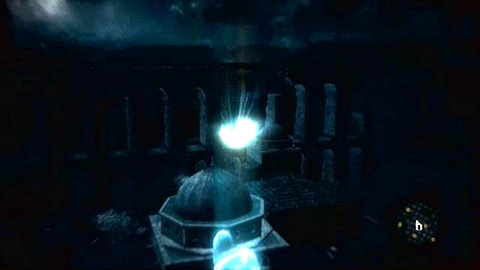
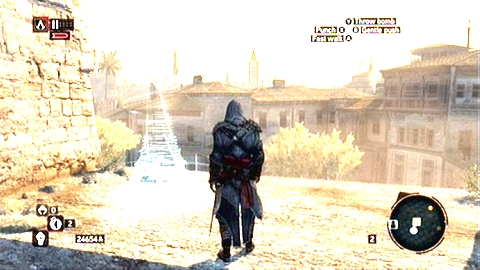
Once you get to the top, listen to Yusuf and then walk on the wooden beam and press left analog stick (LS). In this way you'll reveal a fragment of map. It is so called Waypoint - you'll find many of them in Constantinople. It is worth to find them since the map helps you greatly to move around the town.
The last thing to do is a Leap of Faith. To do this, hold A+RT and head toward the edge of the wooden beam. Ezio will then jump down, landing safely in the haystack. Moments later the next mission begins.
Full Sync: Perform a zipline assassination.

Climb after Yusuf to the rooftop of adjacent building and then turn towards a zipline hanging nearby.
In order to use it you must to leap towards it by holding RT+A. Ezio will catch the line with his hookblade and quickly move to the other side.
While following your companion you'll encounter two guards. Yusuf will kill one of them. The second is yours.
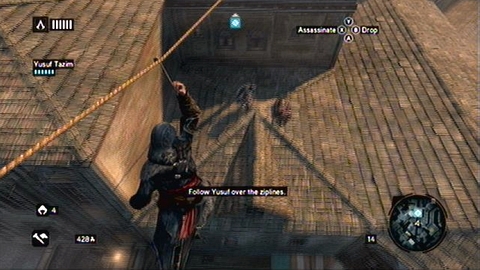
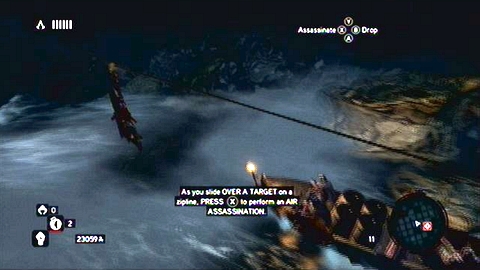
Use your the zipline and as soon as you find yourself above the man, press X. Remember that during sliding down you can control your speed by pressing and releasing RT. If you manage to kill the enemy while sliding down the zipline, you'll get the full sync.
After short cinematic, go to the place marked on the map and you'll start another memory.
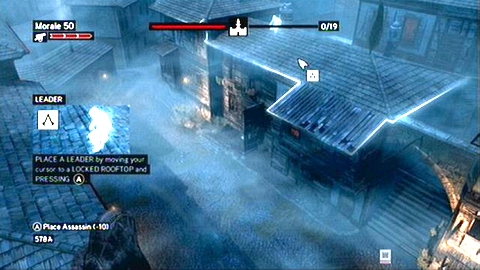
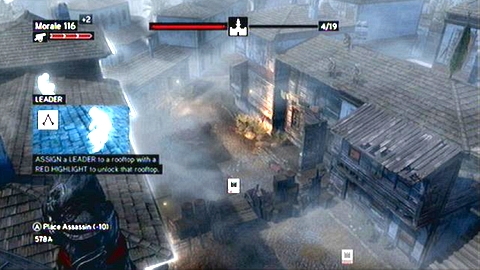
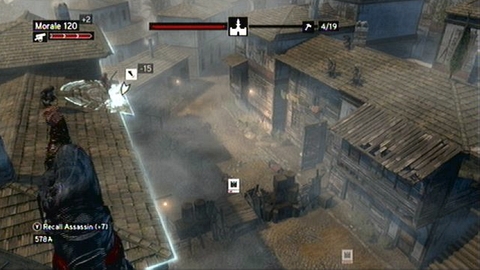
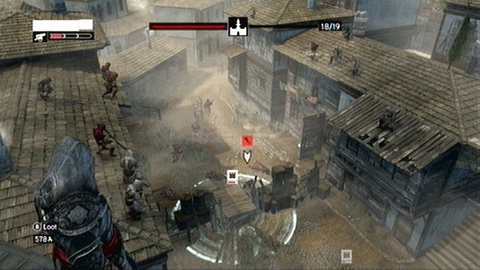
This time you have to defend the Order's HQ against Templar. Start it with placing the leader on one of the rooftops. In order to do it, move your cursor in the selected place and press A. To place another assassins, you have to spend Morale points (visible in the left, upper corner), which can be gained for killing enemies.
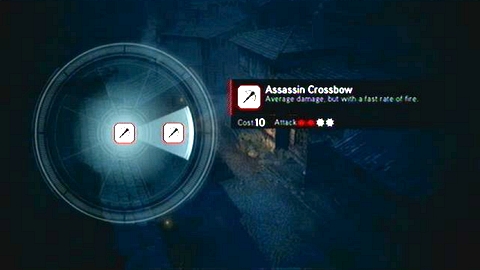
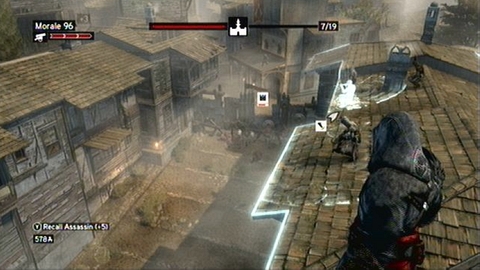
Another unit which you need is Crossbowman. To call him, press RB and select the crossbow icon.
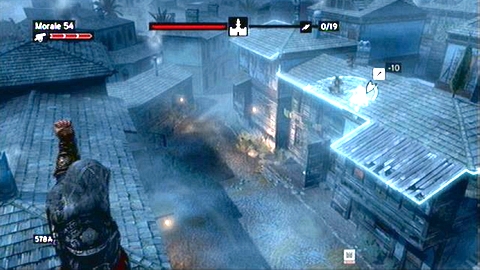
Place two Crossbowmen on the same roof where the leader stands and you'll be able to stop first wave of Templar.
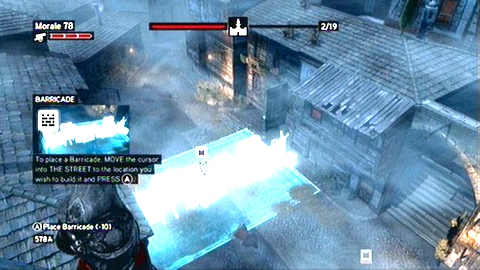
When the last opponent is dead, you'll get the possibility of placing Barricades. Hold RB, select "Install Barricade" and place it near the Crossbowmen (A). It will slow down the movement of enemy troops, giving your defenders more time to kill Templar. If opponents cross to the other side of street and destroy your HQ, you'll fail.
Before the next wave of guards, you'll be able to place one more leader. Place him on the other side of the street, in front of other assassins. In this way you'll unlock the second rooftop, so you'd be able to place more units there.
Place two Riflemen units near the leader. They are very effective against armored enemies.
During the enemy attack, quickly place the second Barricade and few more assassins. You can also place the third leader on one of the empty rooftops and then add few more Crossbowmen and Riflemen.
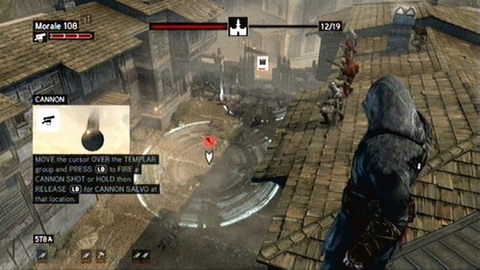
Use cannons to destroy next wave of opponents. In order to fire the cannon, move the cursor to the enemy group and press LB. If you hold it for a moment and the release LB, you'll fire salvo. A red bar in the left upper corner shows you ammunition. It can be loaded by killing enemies.
In order to defend yourself against the next Templar attack, place assassins on all rooftops and upgrade your Barricades (select them and press A). You can place more units behind upgraded wall. Ezio himself can be very useful in the defense by shooting with his hidden gun (X). He will not only inflict some injuries this way, but also indicate the highest priority target for others.

In the last attack Templar will be joined by the battering ram. Destroy it with several cannon shots and you'll finish this memory (Gunmen are best against rams). As a reward you'll get some money, items and a new defensive unit: Air Assassin.
In order to begin the next memory, turn on the map (BACK), select the icon with an exclamation point (A) and go in that direction.
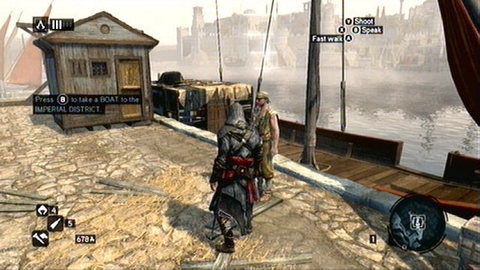
There will be a sailor waiting for you in the port, who will take you to another district.
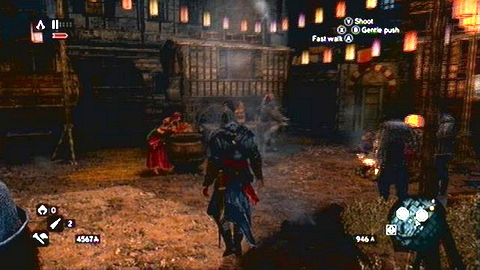
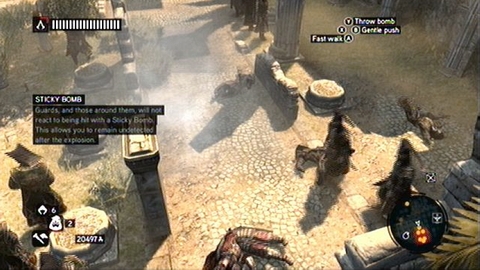
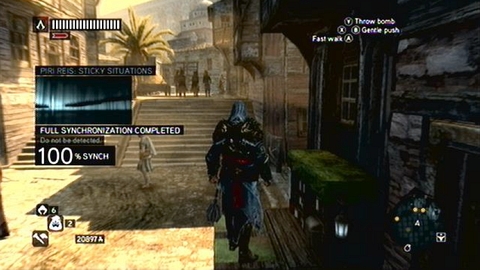
Full Sync: Do not create any conflict in the Imperial North District.
Right after beginning of the memory, you'll be attacked by a squad of guards. Get rid of them and follow Yusuf.

He will show you bombs, which distract enemies. Just throw the bomb and opponents will quickly run towards the explosion.
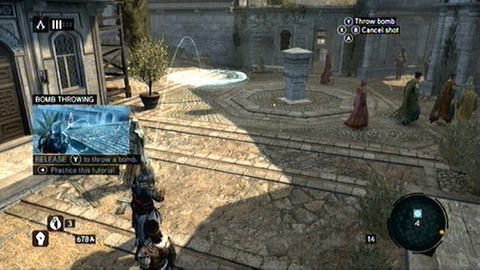
After you receive the Cherry Bomb, hold RB and select a new weapon with right analog stick. In order to indicate the target, hold Y. By releasing it you'll throw the bomb.
Now aim the explosive at the marked place and then keep following your companion. During the sprint you can throw a bomb at your feet by pressing quickly Y.
At some point Yusuf will stop.
After short cinematic, use the zipline and kill the guard on the rooftop.
After his death, talk to your companion again. He will teach you how to identify captains.
In order to do this, use the Eagle Sense and point the cursor at men below. If the enemy lights up gold after few second, it means that he is the defender's leader. Now you have to kill him.
This is not a difficult task, but in order to get the full sync, you must to do it quietly. To do so, jump to the building on the left and then slowly move to the left, using its edge.
You'll be able to lower down just around the corner.
Select now throwing knives, aim at the captain and throw the weapon.
Once the man is dead, wait until the guard above turns around and then kill him with the hidden blade.
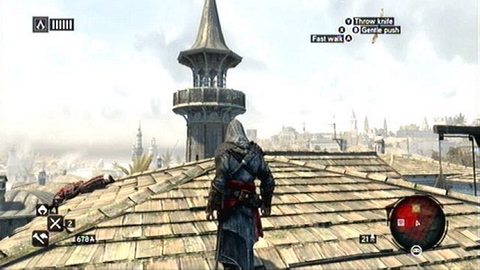
You have to jump onto the selected tower from the rooftop.
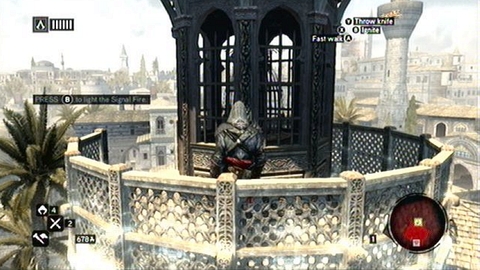
Climb up to its top and press B to fire up the building. After jumping down to the haystack, you'll finish this memory.
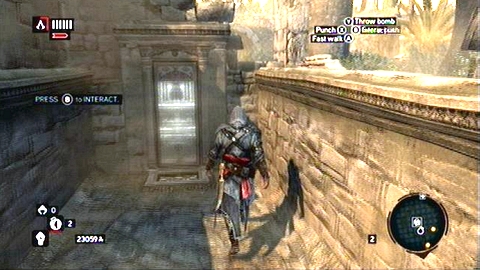
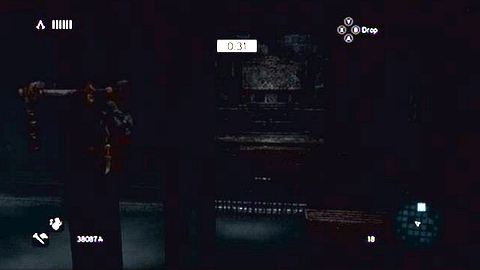
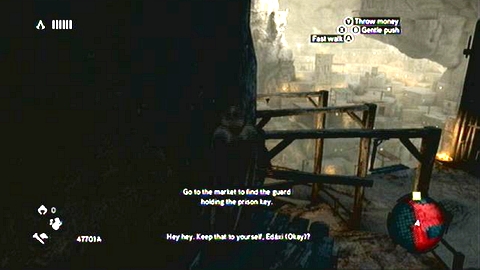
Full Sync: Pickpocket the guard to retrieve the key.
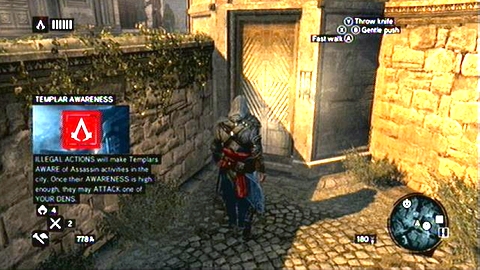
To start this memory, you need to go to the place marked with the exclamation point. During your walk, control the Templar Awareness indicator in the upper left corner. You fill it by doing suspicious actions such as jumping between building or pickpocketing citizens. If it goes all red, Templar patrolling the town will attack you as soon as they spot you. To "calm them down", you have to completely reset Templar Awareness indicator. For this purpose bribe heralds standing on the streets and kill Templar officials. Both groups are marked on your map.
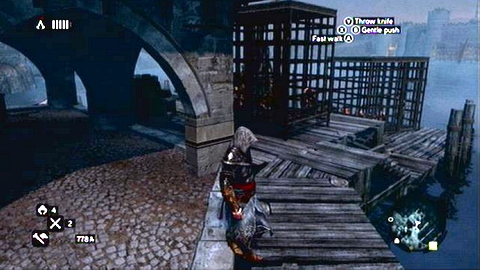
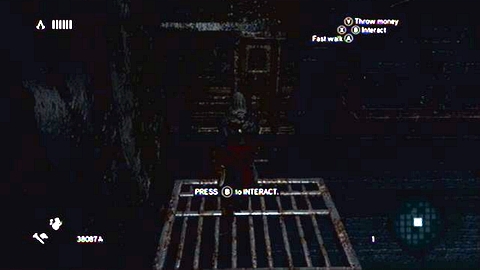
You'll start this memory after a conversation with a prisoner standing in the cage. He will ask you to free him.
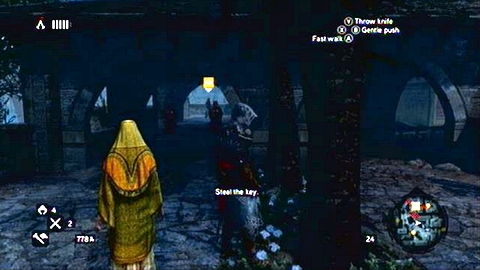
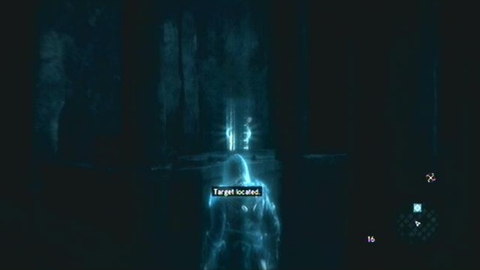
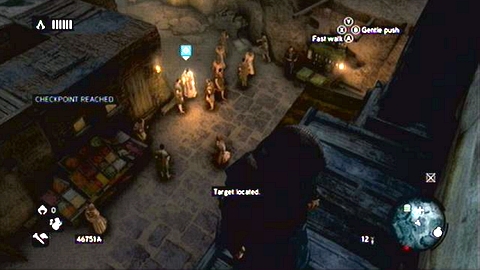
First, go to the green zone marked on your map and look for a guard with the key. After you spot him, he will be marked with orange color. During your searches remember about avoiding guards.
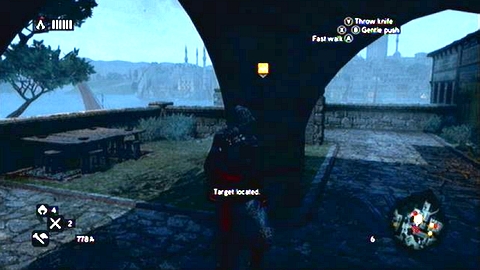
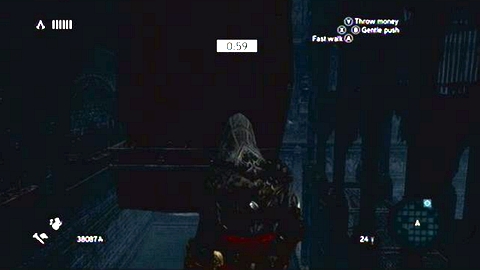
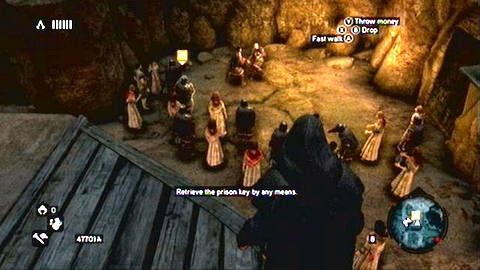
The best way to reach your target is to sneak up on him from east. Pass by guards on the right and then hide behind the pillar.
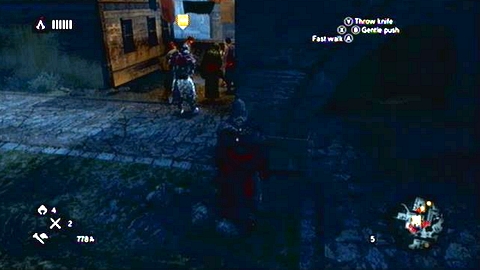
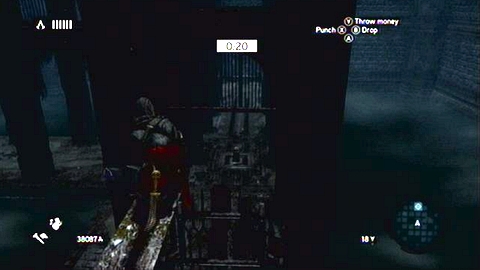
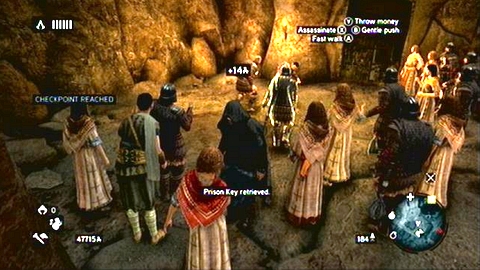
When the man approaches a group of citizens, move towards him and quickly press A. You'll pickpocket his key and get the full sync. In order to avoid detection, blend in the crowd as soon as possible.
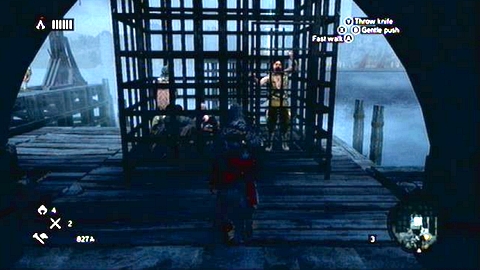
You can now return to the prisoner and free him. To thank for your kindness, the man will join the Order. In order to recruit other citizens, save them from Templar.
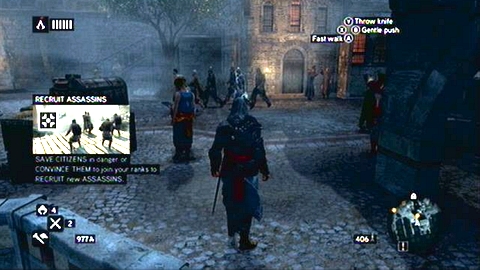
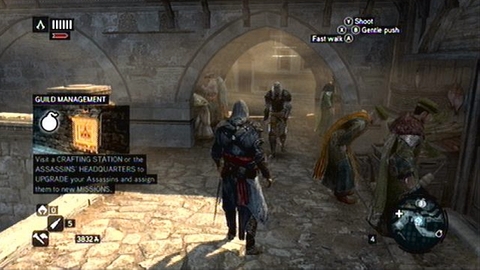
From now on, people who need your help will be marked on the city map. Sometimes you'll have to do some simple missions, whose description can be found later in this guide. With new killers on your side, you can send them into action at any time by selecting the target and pressing LB. You can kill guards this way, remaining unnoticed. Red bars in the left upper corner show number of available helpers. They regenerate over time
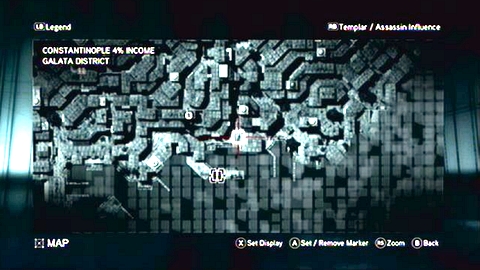
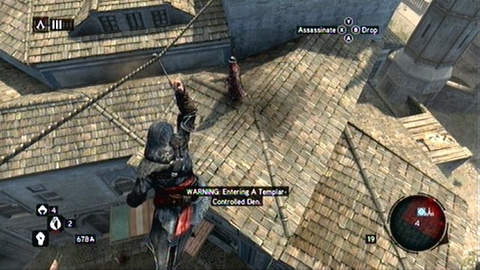
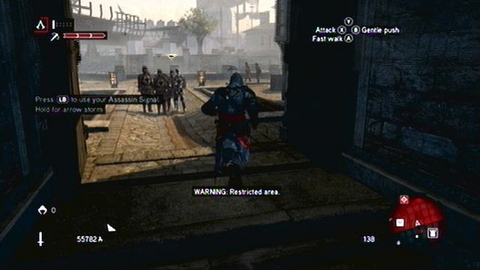
Full Sync: Use Assassin Signal at least 1 time.
In order to start next mission, you need to go to the Galata District. So talk to one of the ferry captains, standing on the pier.
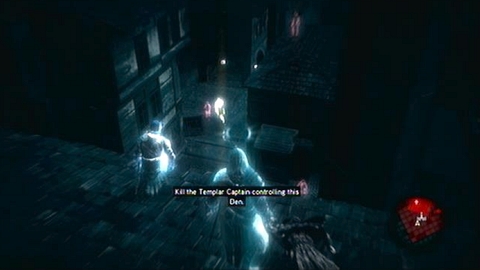
Walk to the white cone inside your HQ. This will give you the basic information about Den Leaders.
Choose one of the available assassins for this position and then talk to the man standing next to the fireplace.
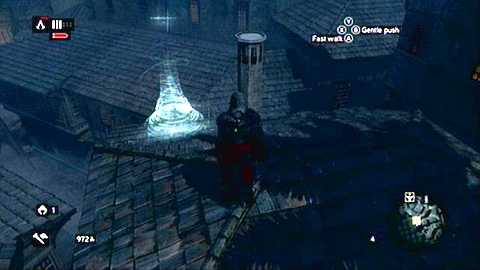
After short conversation, go to the place marked on the map. It is located on the building's rooftop.
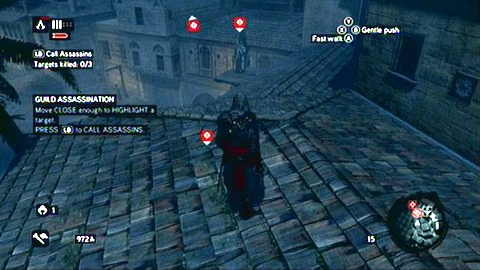
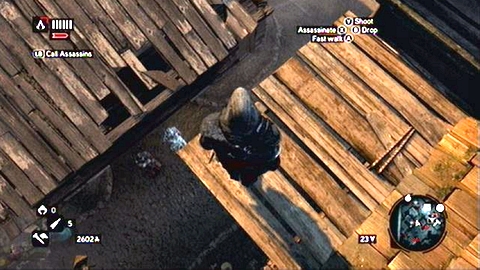
Cinematic starts moments later. After that you'll receive the order to kill three guards. Get rid of the nearest of them by calling a killer for help. To do this, choose your target (LT) and then press LB.
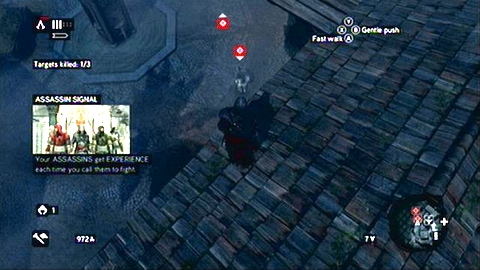
Jump and kill the enemy standing on the street below you.
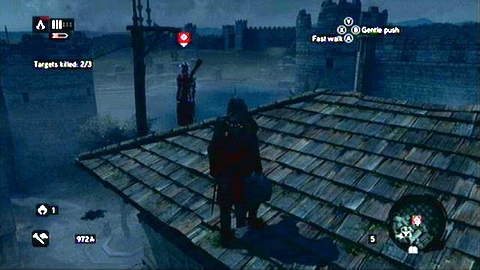
The last opponent awaits you on the building's rooftop. Climb to the top, sneak up behind him and stab him with the hidden blade.
Jump down once the area is clear. You need to go now to the haystack, where your companion is hiding.
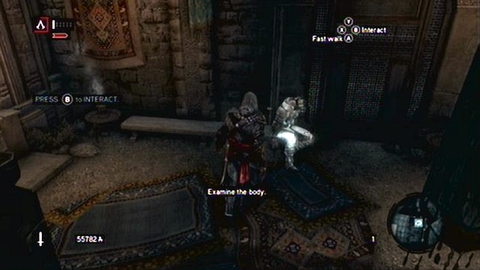
Use the Eagle Sense after the short conversation and walk towards the corpse lying on the bench. Move your cursor there.
Examine the blood stain on the right side.
You'll see a man then whom you have to chase. Run after him through the streets, until you'll get attacked by guards.
Defeat quickly all enemies and you'll finish the memory.
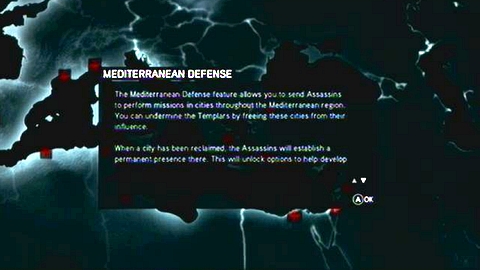
After finishing the previous memory, the camera will show you the pigeon house, which allows you to send your Apprentices to perform missions or to train them. Use it and then choose "Mediterranean Defense".

In this tab you can send assassins to take control over towns in the Mediterranean region. There is only one contract available now in Bursa - The Little Princes. Accept it and then send your strongest assassin to this town. He won't be able to help you in Constantinople for some time, but he'll receive experience points for completing the mission and you'll get gold and items.
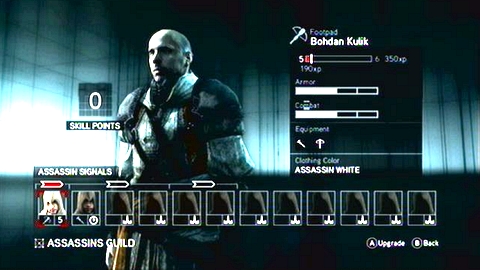
If you use the pigeon house again, you'll be able to manage your Apprentices and choose their abilities after they get next experience level. In order to raise number of available assassins, conquer Templar Dens.
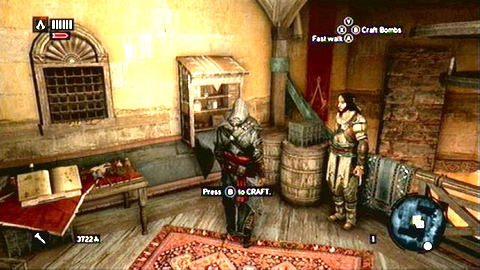
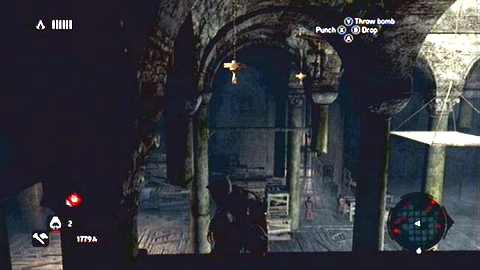
During this memory you'll learn how to create various types of explosives. First, empty the box on the left of the room and then use the cabinet to the right (B). You'll see the screen where you can craft grenades.
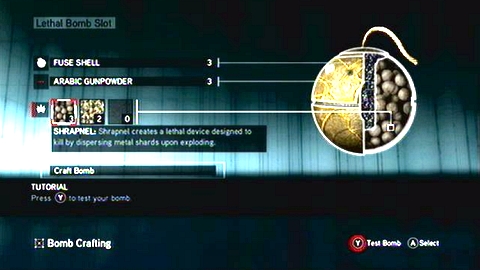
Choose an empty slot and ingredients marked with the white frame. Shell affects moment of explosion, gunpowder defines its range and third ingredient determines the result of the explosion.
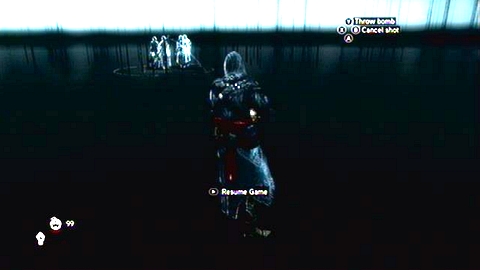
When you use proper ingredients, test the bomb by pressing Y. A short tutorial will start then. Hold Y and aim for the free space between nearby guards. They all will gather around the explosion place. Then you can throw the second grenade and kill the entire group at once. To return to the "normal" game, use START.
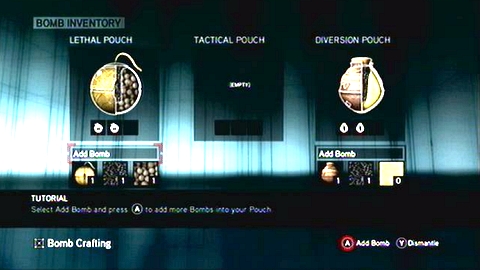
Your task now is to create a bomb by choosing "Craft bomb" option and then adding it to your equipment (Add bomb). A short cinematic will start moments later. After that you'll have to go to the man named Piri Reis. His shop will be marked on your map.
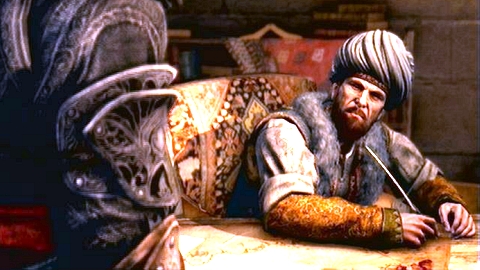
As soon as you talk to this inventor, the memory will be over. Remember however, that engravings hanging on the wall allow you to start sidequests connected to various types of grenades. Their description can be found later in this guide.
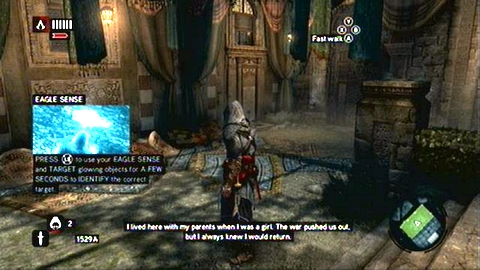
After short conversation with Sofia, go to the shop back and then use the Eagle Sense (LS).
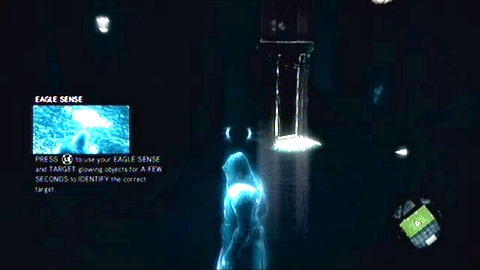
You have to aim the cursor at the hidden passage on the right.
You'll end up in the town's underground moments later, where the next memory begins.
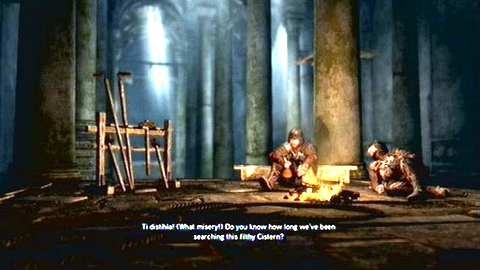
Full Sync: Do not be detected.
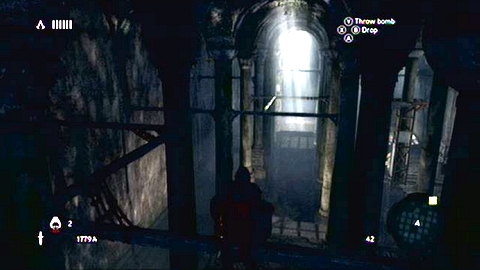
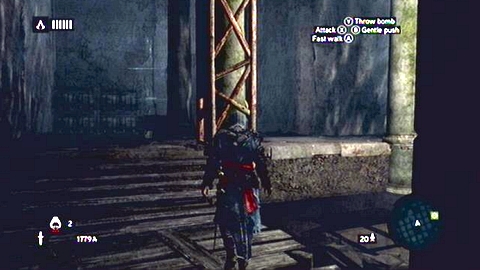
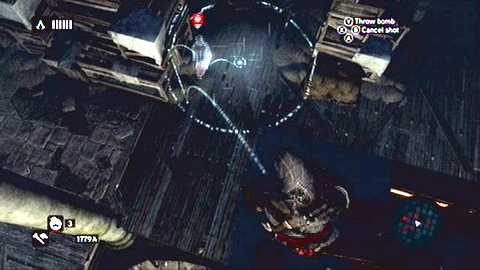
At the mission's beginning, jump on the second wooden beam in front of you and move slowly to the left.

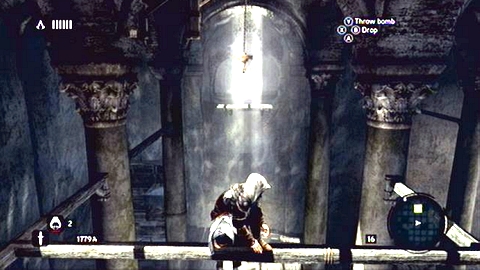
Jump over successive ceiling elements and eventually you'll get to the small item hanging from above. Jump towards it and just before touching it, press B to perform long-jump.
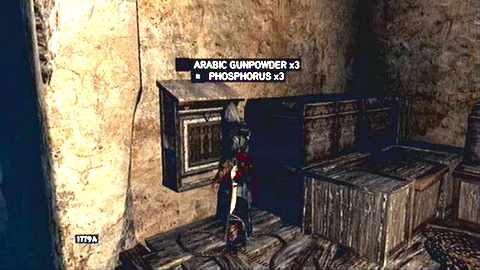
After landing jump down, empty the chests near the wall and then climb on the nearby pillar. Further way leads to the right.
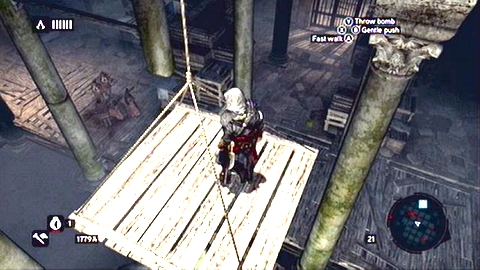
Perform the long-jump again. You'll reach the place marked with the white comb.
On the other side you'll see another chests and a bomb crafting cabinet. Use it and create Splinter Bomb and Cherry Bomb. First one kills the target and the second one attracts the attention of guards. They will be useful in the next chamber, full of opponents.
At the beginning walk slowly to the enemy in front of you and kill him with the hidden blade.
After you're done, climb on the pillar on the right. Jump between wooden beams and try to get to the right corner of this location.
You should see a captain marked with red from there, who posses they key to the next part of the underground. Wait until go walks towards the worker with a pickaxe and then throw the Splinter Bomb at him. Once he is dead, you'll get his key.
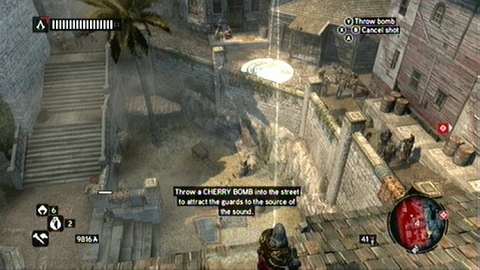
Go back now to the centre of the chamber and look at the iron bars. To distract all of the guards you have to throw the Cherry Bomb to the left from the passage. Opponents will gather in one place and you can jump down and leave the chamber unnoticed.
In the next room empty three chests, replenish your grenades supplies and climb to the place marked on the map.

A bit further you'll encounter a chamber full of enemies. First, jump onto the wooden beam in front of you and then kill the worker working on the left (watch out for the guard on the right!).
Once the man is dead, quickly jump to the other side of the flooded corridor. On the left you'll see a tunnel which will lead you to the upper floor of this chamber.
Wait there until the captain turns around and kill the nearby guard. Another one awaits you later in the tunnel.

Once you get to the top, watch out for another captain. Sneak up behind the boxes on the right. There will be two men with spears patrolling this area. Lure them one by one in the safe place and kill quickly with the hidden blade.
After clearing the area, climb up the boxes in the centre and then jump on the platforms hanging from the ceiling.
Once you get to the last of them, you'll be able to aim at the captain and assassinate him. After he is dead, jump down. The grating leading to the next chamber is not guarded by anyone.
When you get to the other side, open the nearby chests and then climb on the wall to the left, watching out for the single guard.
You can jump on the nearby wooden beams, which will lead you to the white comb marked on the map.

In the next chamber, the last captain awaits you. But before you use the Eagle Sense and identify him, jump-kill the nearest guard.
Once he is dead, quickly hide behind the pillar standing behind you. A large group of enemies will approach the laying corpse. Kill them all with the Splinter Bomb.
After the explosion, other enemies should appear. Kill them with the grenade too and then climb the wall on the left.
Jump between wooden beams and get to the other side of the chamber. You can now use the Eagle Sense and find the captain. Aim all opponents one by one until one of them is marked with red icon. Killing him should not be a problem. Once he is dead, walk to the next chamber.
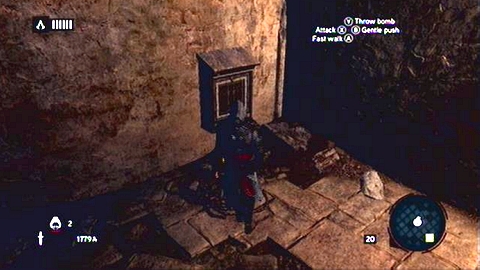
Inside the dark room, use the Eagle Sense again and point your cursor at the glowing wall on the right.
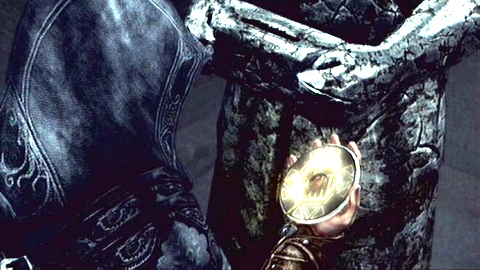
You'll find a secret room, where the key wanted by you is hidden. Pick up the item and you'll finish the memory.
This is only a cinematic, where Ezio talks with Sofia about Nicolo Pollo's map. In this particular moment you can decide, which sequence you get into first. One is marked with the black square with an exclamation mark and another is marked with the book with the same symbol. In this guide I'll describe missions according with their numbering in the DNA bookmark.
Full Sync: Save all citizens under attack.
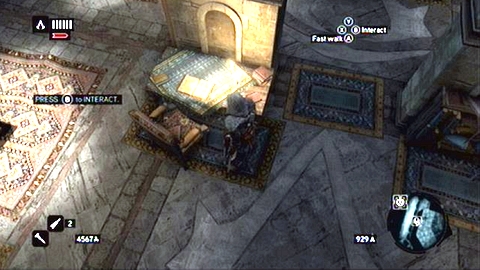
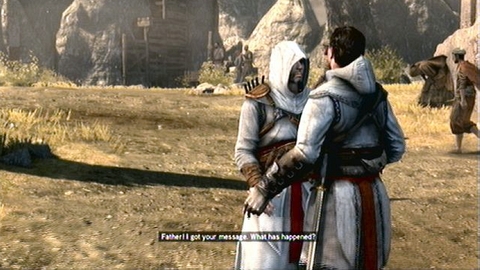
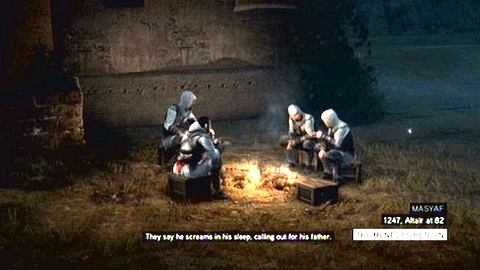
In order to start the memory, walk to the table in the Assassins' HQ and press B. This time you'll take the role of Ezio's ancestor - Altair.
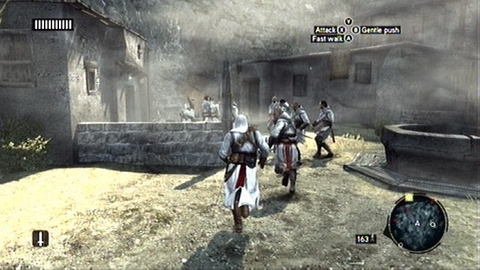
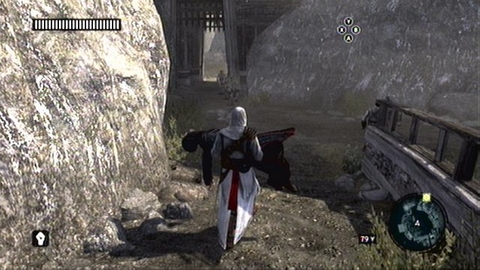
After the cinematic ends, quickly run towards the enemies and start the fight.

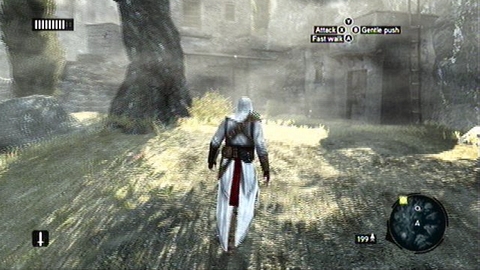
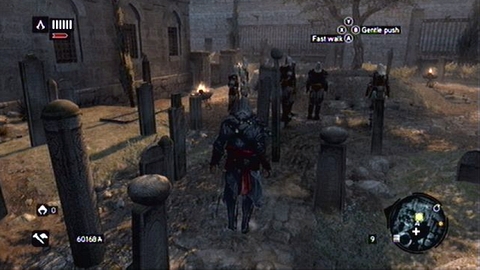
You need to get to the hill top, where your Mentor awaits you. If you want, you can run there avoiding any fights.
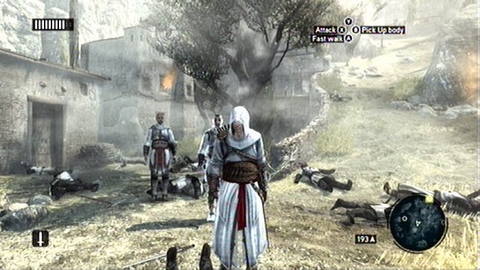
But in order to get the full sync, you have to save four citizens first. They are marked on the mini map with black dots. First of them can be found to the left from the beginning of this level. Kill all Templar threatening him and the men will flee to a safe place.
To get to another victim, go to the village's exit and turn left. While walking along the wall you should see a black dot on the map.
Two further victims can be found on the higher part of the hill, to the left of the path. They stand near each other, so you should have no problems with finding them. After saving the last citizen, you'll get a message confirming the completion of additional mission.
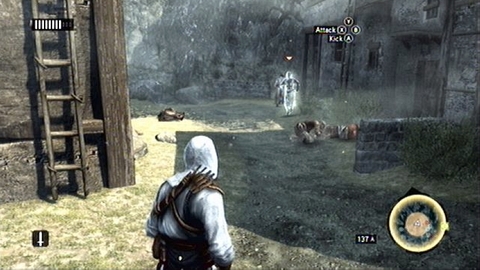
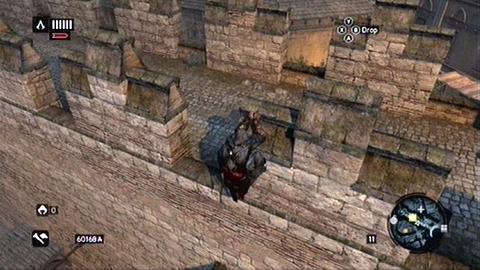
Once you get to the keep on the top of the hill, select the hidden blade as your weapon and start climbing the wall on the right.
There is a guard on the top awaiting you. Kill him while hanging from the wall edge.
Another two enemies can be spotted at the op on the right. Kill them quietly, staying unnoticed.
At the other end of the wall you'll find gap, where you can jump onto a wooden beam.
Now just aim at your victim from here (LT) and press X to end this memory.
Full Sync: Poison all of your targets while blending in with the Romanies.
In order to quickly move to the place marked on the map, use the nearest entrance to the sewers.
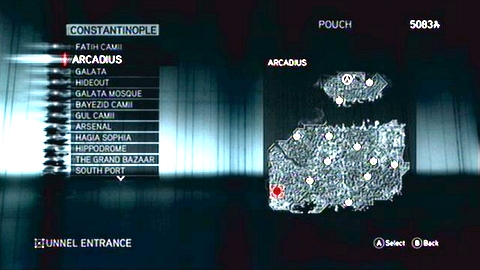
It is enough to select the proper place on the map now, and you'll be moved there immediately.
After talk to the Romani's leader, go to the indicated place and hire the group of Romanies (B). If you walk between them, you'll be automatically hidden.
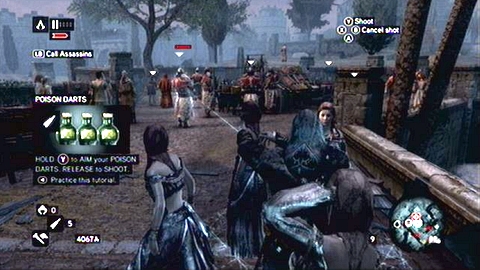
Women will lead you to the first thief. Select then poison darts as your weapon and then hit your victim with it (Y). During the attack you must be between Romanies all the time, because otherwise you won't get the full sync.
Once the man is dead, follow others and kill them the same way, as soon as they are marked with the red sight. Remember to stay in the middle of the women.
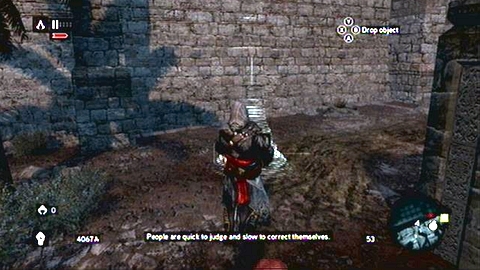
Once all thieves are dead, pick up the chest. You have to deliver it to the nearby Romani encampment, which is marked on your map. During the walk do not worry about the guards. They all will flee from a cursed object.
When you get to the destination, the memory will be over.
Full Sync: Do not be detected while you search for the prisoners.
After the mission starts, walk towards your apprentice and talk to him (B). He will inform you about assassins, who have been imprisoned by one of the Templar. Both targets will be marked on your map.
Head to the indicated place and find the prisoners. They are guarded by soldiers, who however won't attack you until you approach the assassins. You can divert soldiers' attention in two ways. First solution is to use the Romani help. Hire group of women and then walk with them near guards. Men will quickly lose interest in prisoner and start chasing dancers.
You'll be able then to quickly talk to freed assassin.
Another method uses distracting explosives, namely Cherry Bombs. Be sure to remain unnoticed and then throw a grenade a bit further from prisoner. When the soldiers run away to see what happened you would be able to walk to your target. After conversation with the other victim, go to the place marked on your map. You'll meet there assassins' traitor, whom you need to chase. Run after him staying on the ground. Your apprentice will follow on the rooftops. After a while he will jump on the fugitive and kill him with the hidden blade. Memory ends then.
Full Sync: Beat Yusuf to Topkapi Palace.
After conversation with Yusuf, start running as fast as possible after assassins towards the point marked on the map. Try to follow your companions all the time, trying not to fall down the buildings.
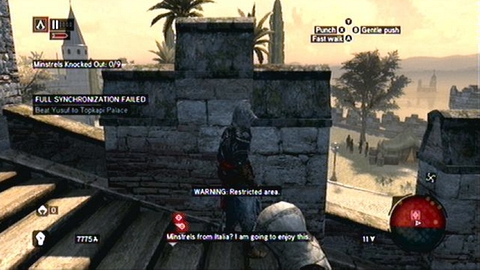
But if you however fall down, do not waste your time to climb the building. Instead run on the ground and just next to your target, climb the palace's walls. During the race, also pay attention on your companions' positions. If they run over you they can throw you off the rooftop. After getting to the destination faster than Yusuf, you'll receive information about completing the additional task.
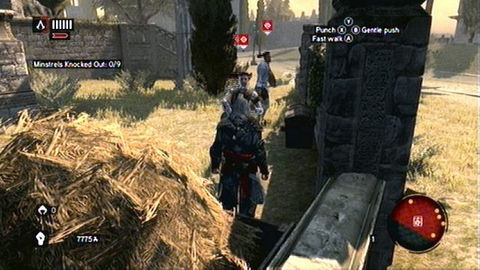
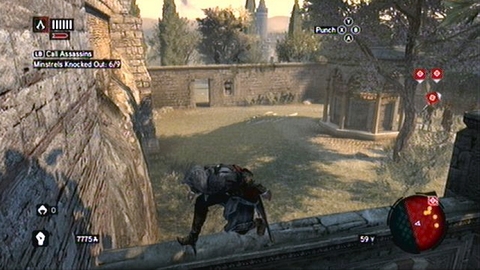
Next thing you have to do is to get the appropriate disguise. In order to do this, jump down, beat three Minstrels standing nearby (remember to select bare hands as your weapon!), and then take one corpse (B) to the wagon with hay. You have to repeat this operation twice more, all the time remaining undetected.
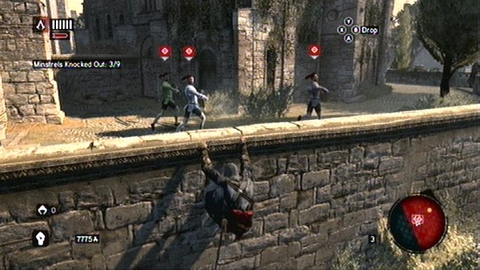
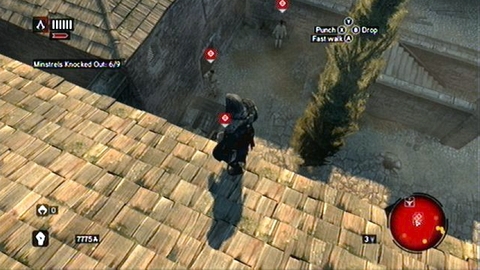
Another group of Minstrels can be found a bit further, just around the wall. Climb the wall and hanging from the edge wait for them to run towards you. You'll be able then to throw them into the same hay wagon as previously.
Reaching the third group is a little bit trickier. At the beginning walk along the high wall until you get to the place with the transverse wall, which is situated at the target's height.
Climb the wall and quickly run to the other side of the guarded square.
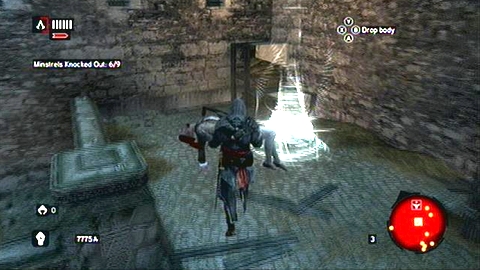
When you beat three musicians, take their bodies to the indicated place. It is not guarded by any enemy.
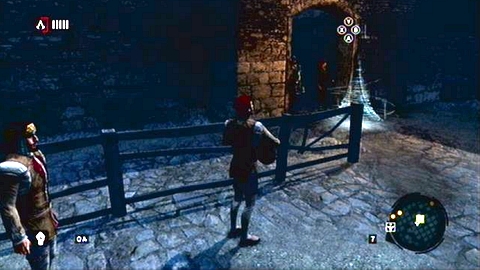
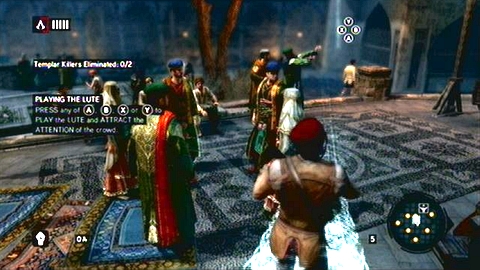
Properly dresses, you can now safely approach the palace guards. Initially, soldiers won't let you but it is enough to sing one of the funny songs (X, Y, A or B) and you will easily go inside.
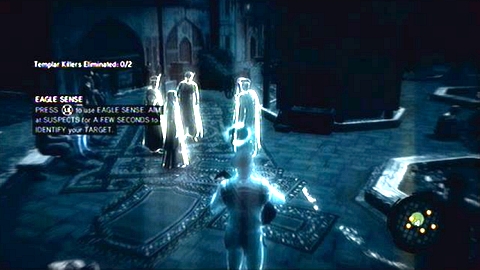
When you reach the courtyard, go to the place marked on the map. In order to identify the killer, you have to use the Eagle Sense and check all glowing figures.
When you see your target, go to the indicated place and then sing the song. The rest is in hands of your assassins.
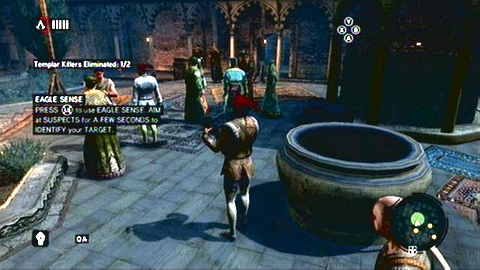
Use the same method to get rid of the second traitor and then walk to the other part of the courtyard.
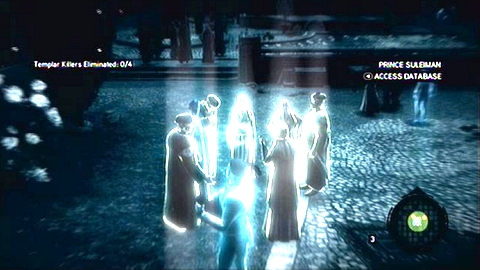
This time you have to protect Prince Suleiman. Follow the man, until you'll see the green sight on the map. Walk then to the indicated place and find the assassin.
You must set yourself in such way, that the rest of guests stand with their back to the victim. You will not be detected in this way.
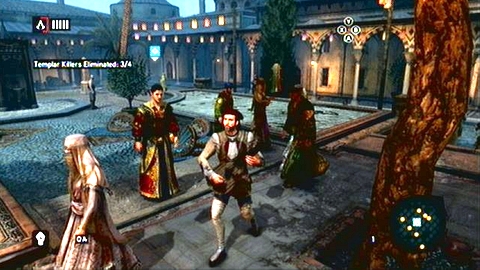
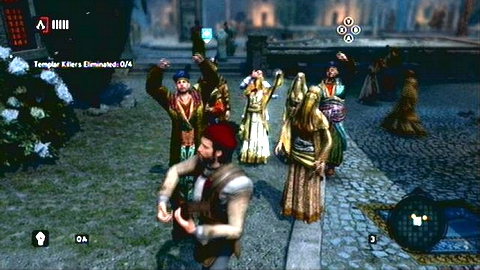
Get rid of the killers as soon as possible, so they won't be able to complete their task.
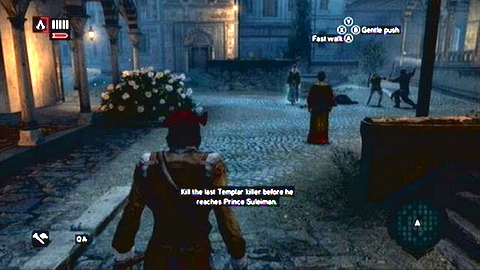
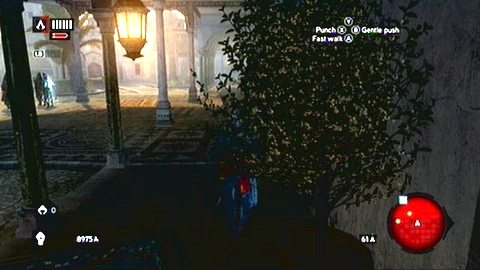
After eliminating four opponents, you will have to deal with only one Templar more. Use the sprint to run towards him (RT+A) and stab him in his throat with your instrument. You must do it very quickly, because otherwise Suleiman will die.
Full Sync: Do not be detected.
After mission beginning, sprint to the right, along the palace wall.
In the other corner you'll find a ladder. Use it to quickly climb to the top. Nearby guards will become suspicious, but if you're fast enough, they won't notice anything.
Once you get to the top, head to the tower marked on your map.
You'll find there a hatch which will lead you to the hidden room.
A short cinematic begins, after which the memory is over.
Full Sync: Get in and out of the port without being detected.
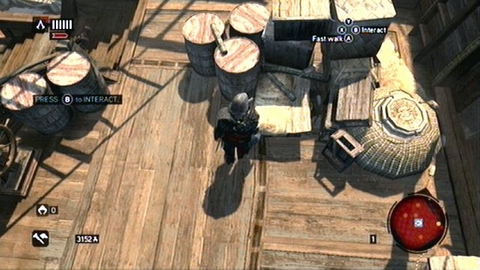
After the conversation with Sofia, walk over boxes lying on the right of the four guards.
Use the wooden beams on the adjacent building to get to the rooftop of the coastal building.
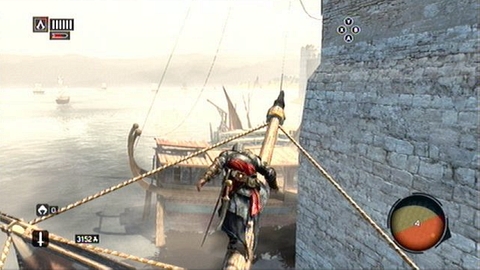
You'll find there a zipline leading to the boat. But use it only when two enemies patrolling the boat start walking on the stairs to the left. In order to see them better, use the Eagle Sense.

Right after the landing you have to quickly run to the other side of the boat and hang down from the overboard. Thus you'll stay unnoticed by the guards.
Hold on the edge and wait until the opponents split up. Then kill them one by one using the hidden blade.
Once the deck is clear, again use the Eagle Sense. Aim at the parcels lying on the deck and find the one Sofia is looking for. It is located on the boxes near the steering wheel.
Pick up the item and go to the front of the ship.
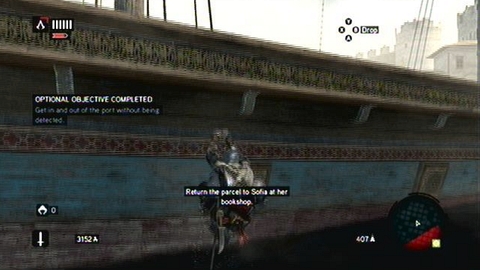
Jump to the water and swim towards the other ship. Once you get to its deck, you'll be no longer wanted.
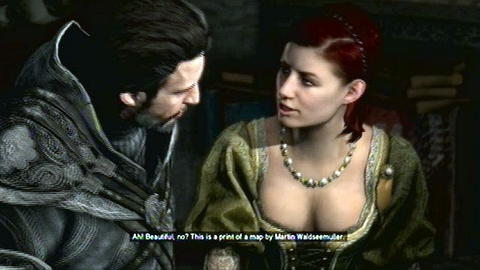
You can now go safely to Sofia's, ending the memory.
In order to begin this memory, you have to climb up the tower marked on the map.
Once you get there, use the Eagle Sense and examine glowing spots in this area. The one you're looking for is located in the central part of the temple rooftop.
After finding it you can jump down and go to the indicated place.
A short cinematic begins and after it the memory ends.
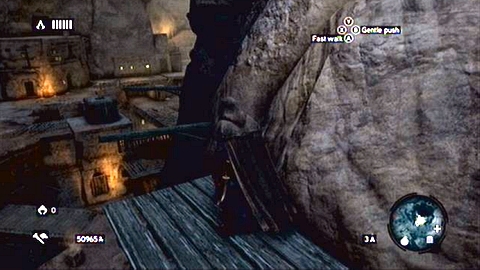
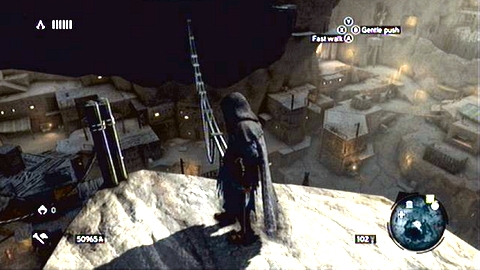
Full Sync: Complete the level within 6 minutes.
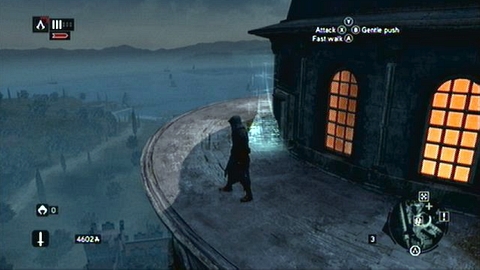
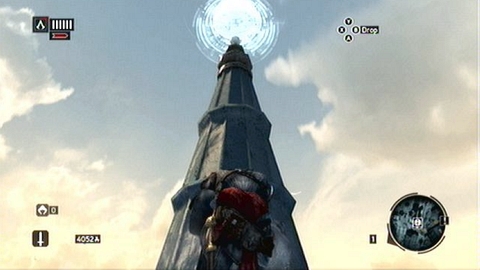
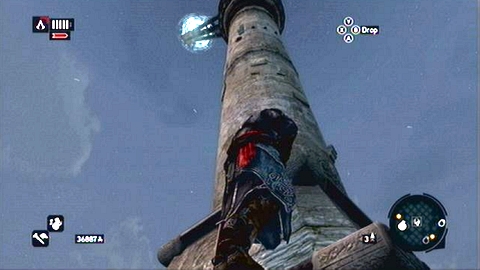
This time your task awaits you on the top of the high tower (Galata Tower).
Climb there and open the marked gate. Moments later the memory begins. First go down the stairs and jump on the platform hanging near.

Ezio starts falling down after a short cinematic. Your task is to control him in such way, that he avoids rocks.
Once you stop falling, start climbing on the damaged construction. If you can't get there, try to move to the right a little.
From the very top you'll see a huge rock arch, on which you have to jump.
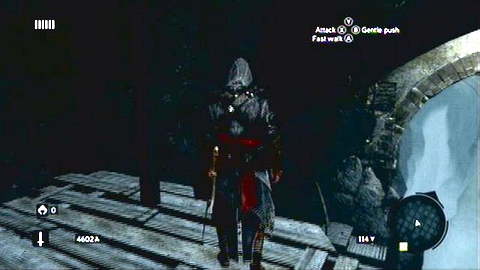
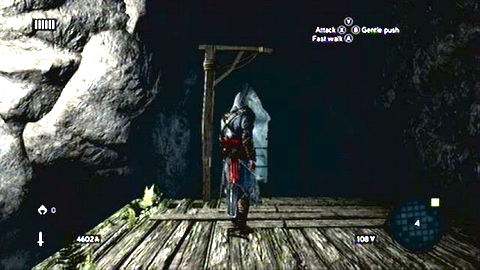
Move over it to the right until you get to the wooden scaffolding. Use the rope hanging there to get to another platform.
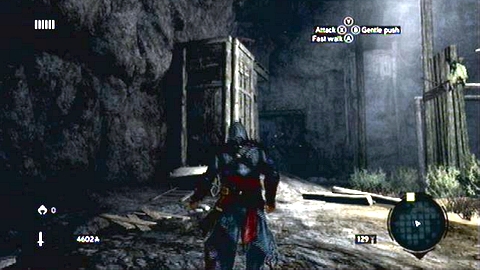
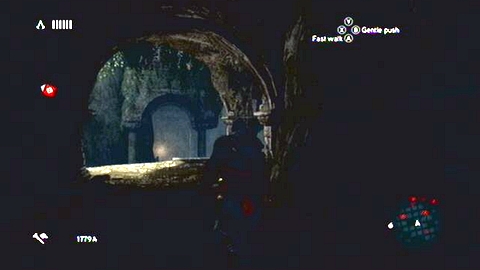
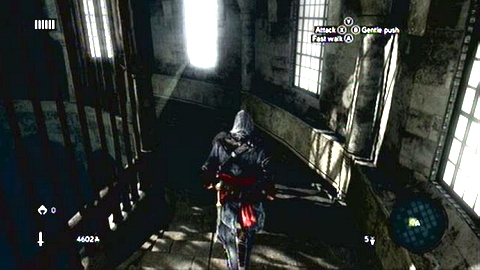
Right next to it you'll find a tunnel leading to the large chamber. Enter it and then turn left and climb on the rock enclosed by wooden logs.
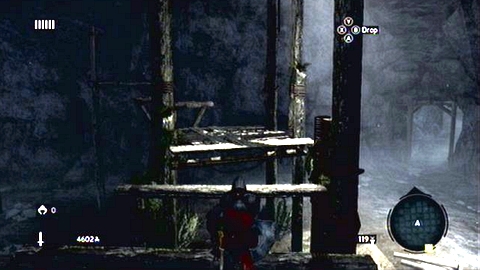
Keep jumping ahead until you'll get to another similar construction. Climb to the top, walk around to the right and jump towards the wooden beam.
Run further ahead until you'll reach the damaged mill wheel.
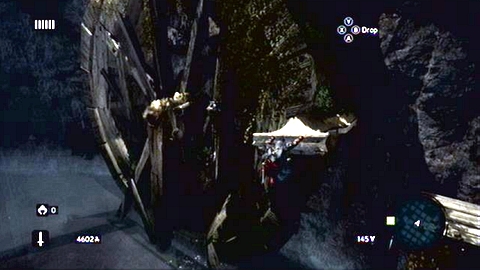
You can use it to jump to the platform hanging from the ceiling. Then jump on the wall on the other side.
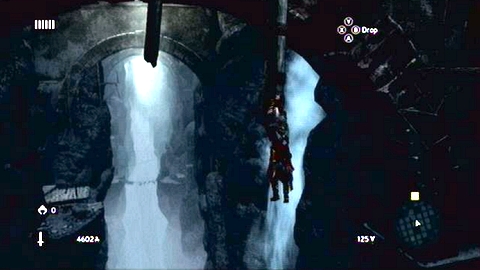
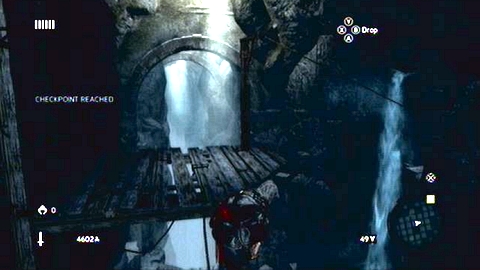
Once you get to its top, move further to the right. A long tunnel will lead you to the zipline hanging from the pole. Use it to slide down and run further ahead.
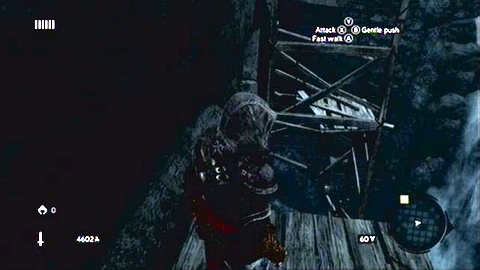
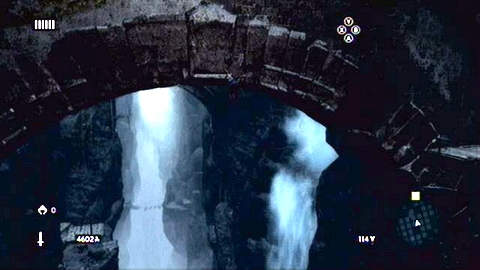
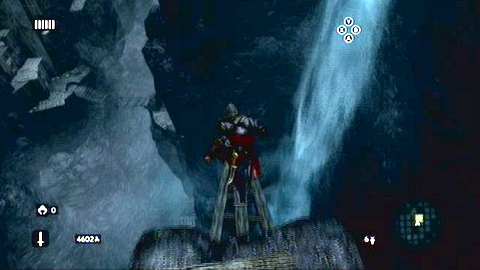
Walk behind the waterfall and climb on the high wall. Jump between further constructions until you'll reach the wooden scaffolding, which starts collapsing after a while.
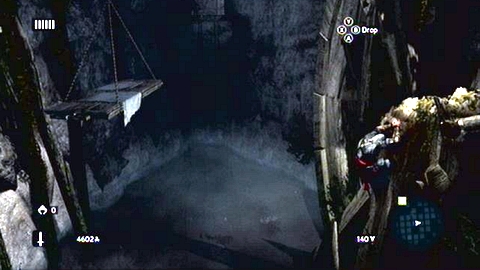
After the cinematic ends, use the zipline to slide down to the other side of the cavern.
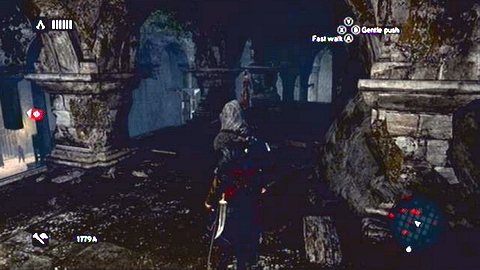
Next to your landing place you'll find a point where you can jump down into the water. Do it and then run along the edge of the abyss.
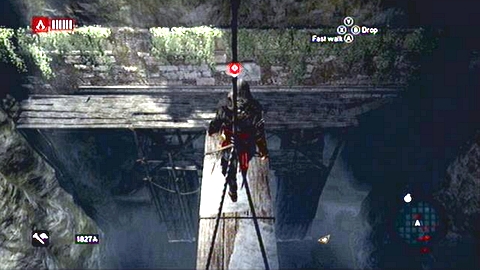
Pass the damaged bridge and climb the high wall. Head to the right. After a while you'll reach the wooden scaffolding. If you can't climb it, try to move to the right a bit.
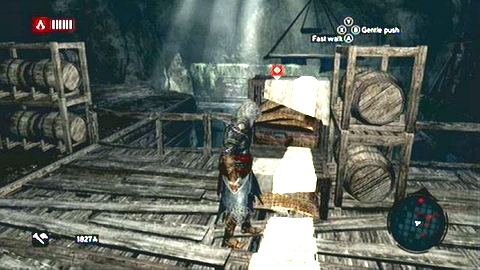
Climb to its top and prepare for another zipline slide. You'll get to the small room with boxes.
Once you get there, use the Eagle Sense and look for the passage. It is hidden on the right side of the room.
Go inside. On the other side you'll find Altair's key you're looking for. Grab it to end the memory.
Full Sync: Do not lose more than 3 synchronization points.
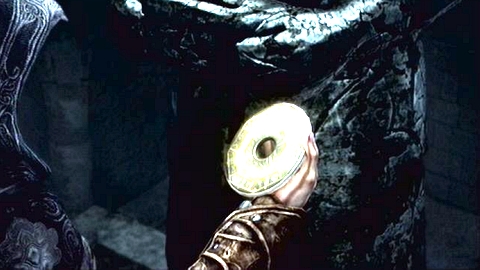
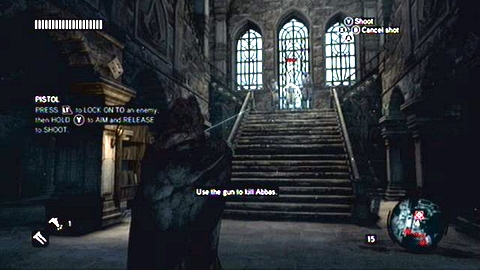
The last memory awaits you in the Assassins' HQ. In order to start it, go to the indicated desk and use the key laying there. Again you'll become Altair.
Using your former master body, go to the place indicated on the map.
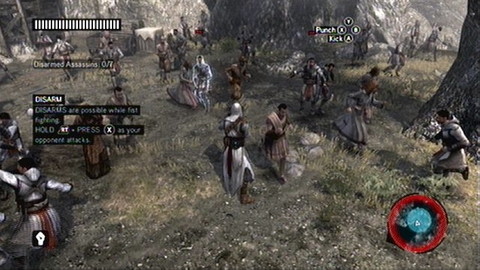
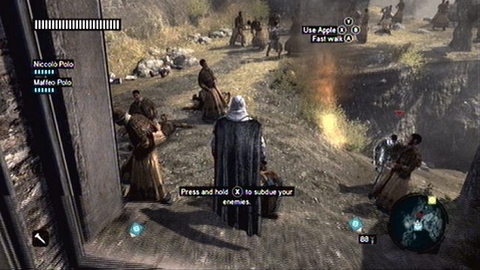
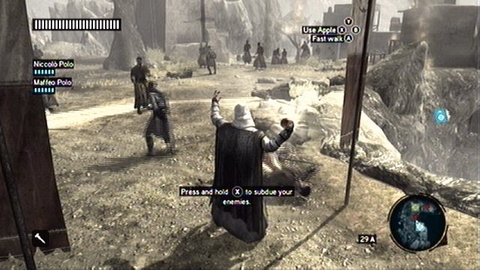
A short cinematic starts there, after which you'll be attacked by group of enemies. Quickly mark one of them (LT) and prepare to perform many counterattacks. You will thus disarm your opponents. During the battle try to be very careful not to lose the chance of full synchronization.
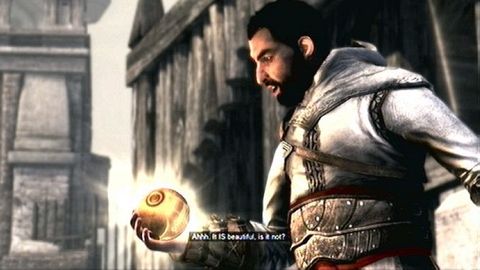
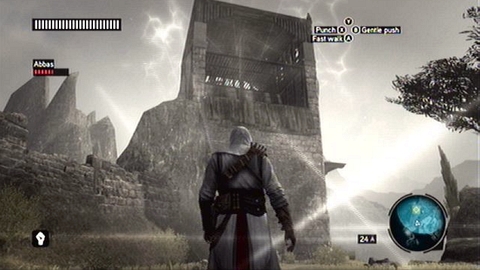
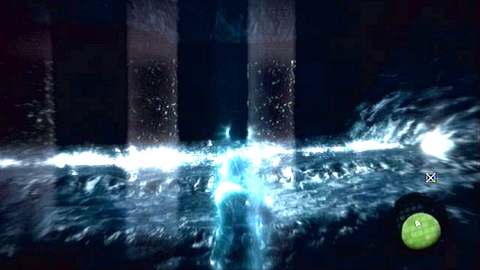
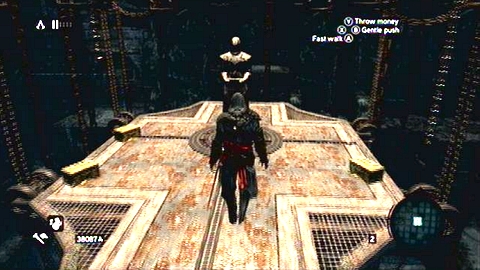
When you disarm a certain amount of assassins, the second phase of the mission begins. This time you have to get to Abbas standing on the tower as soon as possible.
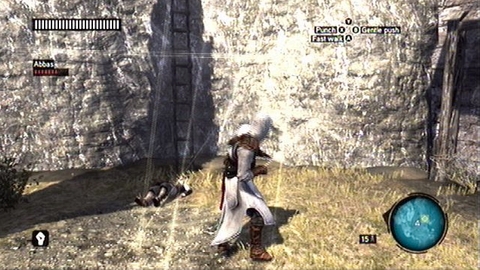
From time to time during climbing you'll be hit by a shock wave cause by the Apple of Eden. But you'll be warned by a characteristic voice before it is going to hit you.
Try then to stand in the safe place, so losing the balance won't make you fall down. But if you start to fall, try to grasp the edges by pressing B.
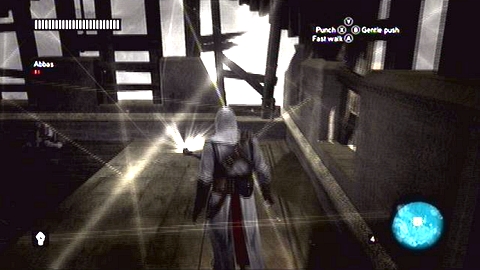
Once you get to the destination and walk to the Apple, the memory ends.
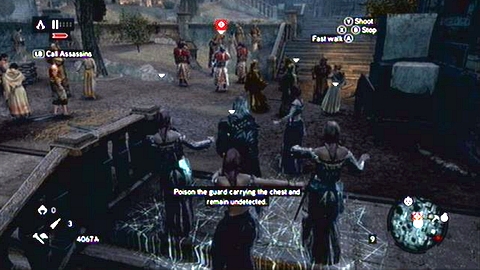
Full Sync: Distract 2 guards with bombs.
After the conversation with a carpet merchant, go to the area marked on the map. You have to find captain Tarik there.
As soon as he gets into your range of sight, you'll be informed about this fact.
Follow him, blending within groups of citizens.
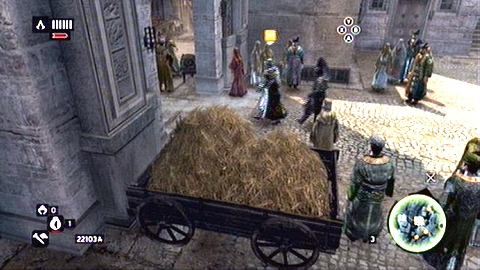
However when your target will leave the market for a moment, quickly hide inside the wagon with hay. Thus you'll avoid detection, after citizens split up.

Continue following Tarik, until you get to the point, where two guards will block your way.
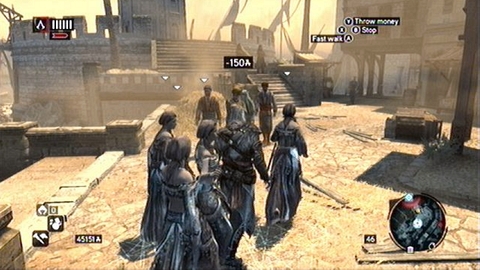
Blend in the crowd and throw the Cherry Bomb, to distract soldiers. Then you will be able to continue following your target.
During your march you'll come across a few similar pair of guards. Get rid of them with bombs or groups of Gypsies.
After some time you'll finally get to the target and mission come to an end.
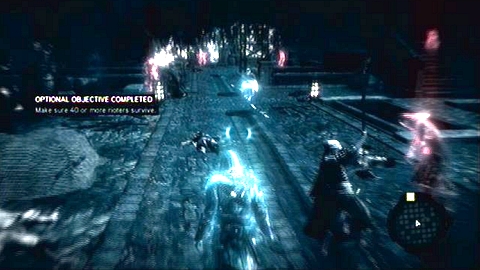
Full Sync: Make sure 40 or more rioters survive.
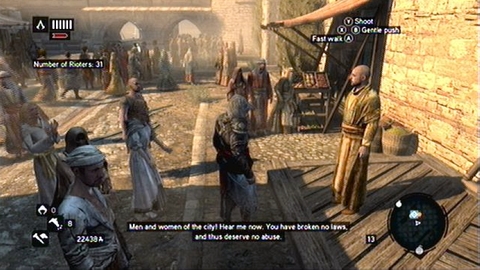
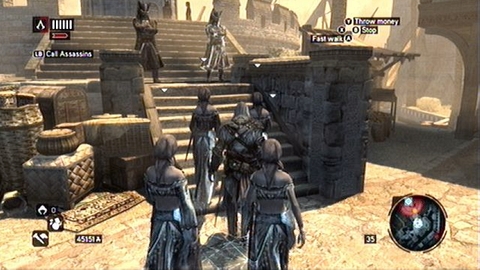
Your first task is to bribe three Harolds on the courtyard. Walk towards them and give them bribes (B). Remember to be unnoticed by guards.
Once you've done this, go to the indicated place, where attack begins.
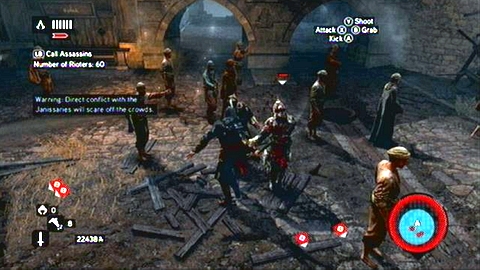
This time you have to protect rioters against attacking army. To get the largest number of civilians alive, try to kill enemies very quickly. Perform counterattacks and so-called kill streaks. Do not worry about soldiers in mask though. Fight with them doesn't last long and the villagers should deal with single enemies. It is worth to use your Apprentices now, which will make the battle easier.
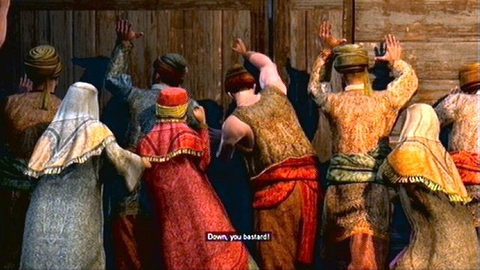
Once the peasants destroy the third gate, another memory starts.
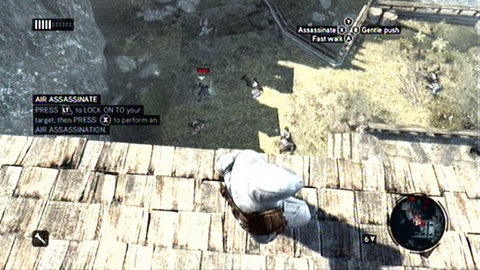
Full Sync: Perform an Air Assassination from a zipline.
First walk few steps ahead and use the Eagle Sense. You'll see a trail of man's spirit. You have to follow it.
Opponents won't bother you until you reach the stairs leading down.

Wait until the man patrolling area walks away and them quickly run to the left and jump into haystack. You can kill the enemy standing near from here.

Once he is dead, jump to another haystack, which is located closer to the shore.
You have to jump into the water now and swim to the other side of the ship.
There is another opponent close to the trail indicated by the Eagle Sense. Do not kill him. Instead climb the building behind his back.
Go to the zone marked green on the map, killing enemies standing on rooftops.
You'll find there a large wooden warehouse. Go inside. A short cinematic begins.
When it's over, quickly run ahead, jumping on poles sticking out from water.
At the end of the short bridge you'll find a ladder, leading to the top of the scaffolding.
Climb it and then use the zipline there. During your slide assassinate the guard below you. You'll get the full sync this way.
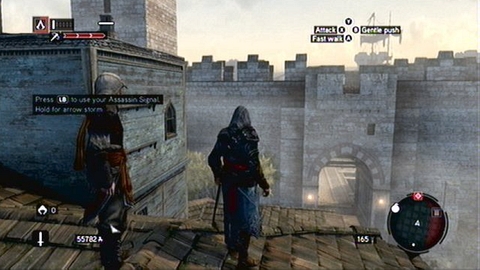
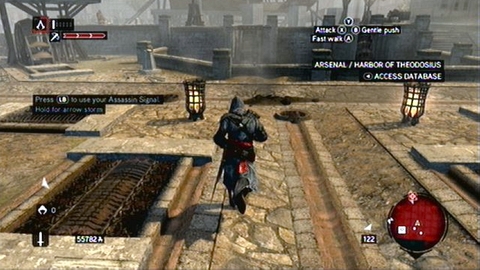
In order to end this memory, you have to leave the arsenal. Head north where you'll see scaffolding. Climb it.
Jump from the scaffolding onto the ship hull and use another zipline. It will take you to the exit.
Full Sync: Steal the painting without the merchant spotting you.
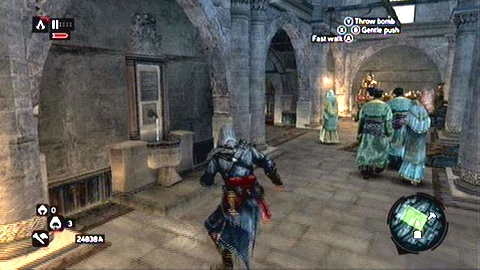
After conversation with Sofia, go to the Bazaar and then move to the zone marked on the map.

Use there the Eagle Sense and then point at the man sitting on the carpet.
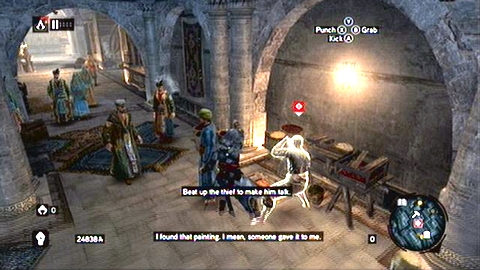
Once he is located, start to beat him up until a cinematic begins.
Your next target can be found a bit further, also in this area. A bookcase with the painting you're looking for is located next to the merchant marked on the map. Distract him by throwing the Cherry Bomb somewhere near and then grab the painting (B).
It is enough to deliver it to Sofia to end the memory.
To start this memory, you need to climb the high pillar standing in the centre of the square.
Once you get to the top, use the Eagle Sense and point at the symbol on the right.
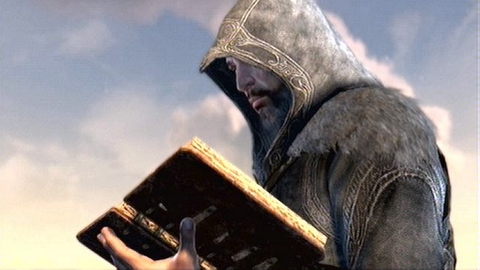
After discovering it, go to the indicated place. You'll find a book there and end the memory.
Full Sync: Do not take any damage.
In order to start the mission, walk through the door in abandoned ruins. After short cinematic, a chase begins. You must now run following Templar boat, jumping on various elements of the surroundings. Do not worry about shots, because none of the cannon balls will hit you.
At the beginning, go to the end of the bridge and then turn left.
Keep jumping ahead until you get to the place with rock pillars sticking out from water. After dealing with them, turn right and run to the end of the tunnel. If you encounter metal object hanging on ropes, remember to perform long jumps (B).
During slide on the zipline, you'll get a command to kill opponents. Wait until they are below you and then press X.
A moment later the fight with soldiers begins. During the struggle remember not to being hit, because otherwise you won't get the full sync.
Once the last enemy is dead, turn around and use the Eagle Sense. In order to discover the hidden passage, you have to point at the central rectangle.
On the other side you'll find a statue with Altair's key.
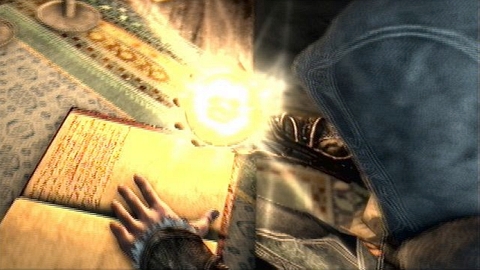
You'll start this memory in the Assassins' HQ. It is enough to walk towards the indicated desk and pick up previously found artifact.
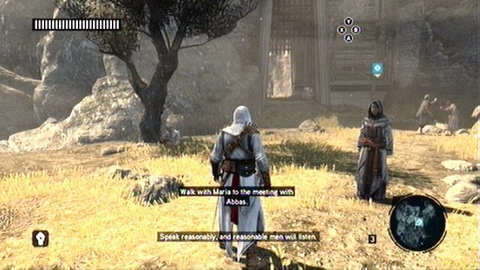
Once you get control over Altair, follow your wife.
After meeting Abbas, a short cinematic begins after which you'll be attacked by a squad of enemies.
You do not have to fight them though. Your goal is to escape from the keep and reach the indicated place. Run all the time towards this direction and you'll eventually get inside the building. Turn then right, go up the stairs and then jump through the window.
A further way leads behind the gate and down the hill.
Once you get to the destination, you'll meet your son, who will give you an infinite number of throwing knives.

Use it to kill encountered targets (Y) and keep running after your son.
After killing a large group of enemies, leave Masyaf, ending the memory this way.
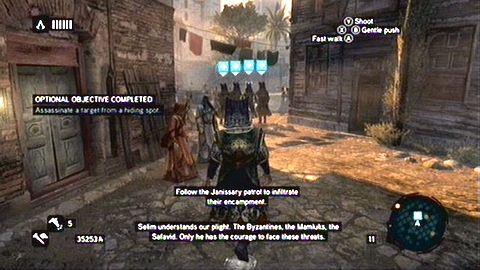
Full Sync: Assassinate a target from a hiding spot.
After a starting cinematic ends, go to the indicated place, where Janissary awaits you.
In order to get the full sync, you have to kill him being hidden. I suggest hiding in the haystack to the south. Before you jump into it, throw the Cherry Bomb with 3 seconds fuse near it.
In this way you'll lure your victim around and you'll be able to assassinate him from a haystack. Moments later the memory ends.
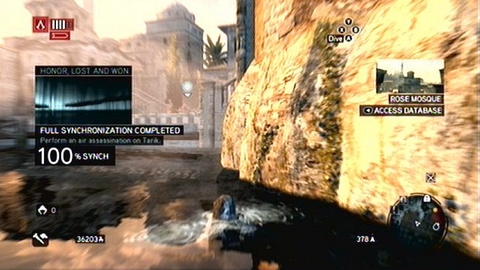
Full Sync: Perform an Air Assassination on Tarik.
Right at the mission beginning, blend into the group of soldiers and walk between them all the time.
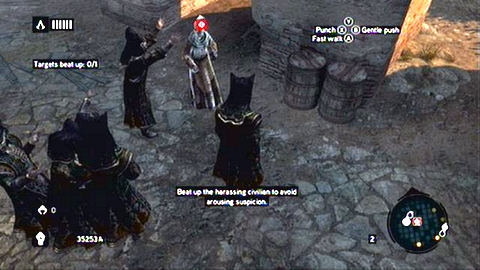
At some point you'll be attacked by an unarmed civilian. You have to beat him up to get confidence of your companions.
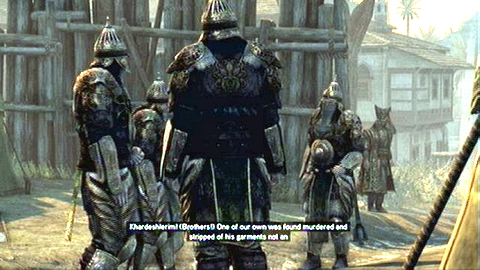
When you get to the enemy camp, it will become dangerous. Guards without masks will be able to recognize you, if you're not hiding.
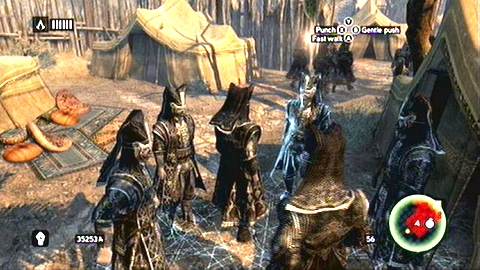
First blend into the group on the right and then move to the three men patrolling the area. You'll be able to walk with them next to guards.
On the other side again blend between soldiers standing there.
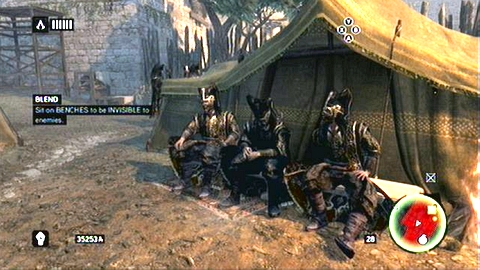
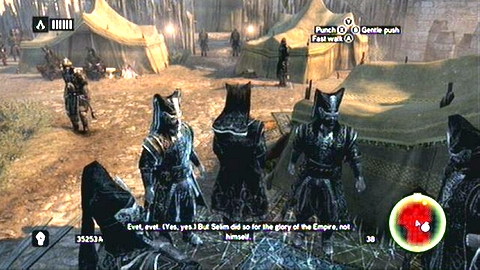
Watch out for enemies wandering there and slowly sneak to the bench on the left.
You can now head toward group of soldiers standing next to the wall and then blend into Janissaries at the left end of the camp.
When the guards walking around the tent turns around, quickly run onto the tower.

Jump from the tower to the right and hide inside the well. Then walk towards the white cone.
After a short cinematic, move to the left. There are three soldiers next to the wall. Blend between them.
As soon as guards patrolling this are turn around, quickly run onto boxes next to the wall and climb the wooden scaffolding.

Keep jumping along the stone wall until you get to the platform located just over your target.
Aim at Tarik and wait until he approaches you. Then assassinate him with the hidden blade.
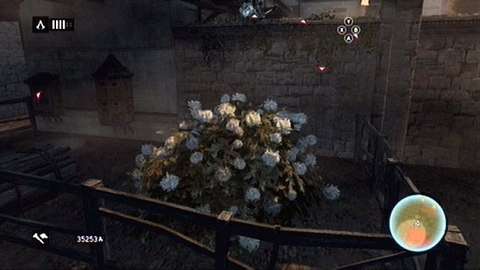
After a short cinematic you'll be attacked by opponents standing around you. But instead of fighting them, turn to the left and jump from the wall into bushes.
You have to leave the zone marked on the map and hide from guards. In order to do it, run ahead all the time until you get to the shore. You'll quickly lose the chase in water.
Full Sync: Do not kill anyone.
In this mission you have to go to Prince Suleiman unnoticed. He awaits you in his palace. Memory starts as soon as you enter the palace area, but I suggest restarting it then, so you can start it in front of the main gate.
After getting inside, hide a group of Romani and go between them behind another wall. During your walk try to avoid all patrols, because you'll lose two women on each of them.
In the second garden you have to keep on the left, where you'll find another group of Romani dancers.
Walk with them to the very north and then turn left. You'll see two guards standing there and one walking along the balustrade.
Once he goes around the corner, take care of two standing guards with help of Romani.
You'll be able then to go safely on the other side of the balustrade.
Stay at its edge and slowly move towards the Prince. Then talk to him.
When a cinematic comes to an end, long-jump to the right. You'll land behind two guards, but fortunately they look in other direction. Walk around their backs and try to avoid other guards. Head towards Romani women standing in the southwest. Right next to them you'll find the last wall, patrolled by one man. Wait until he turns around and then leave the square. If you haven't killed anyone, you'll get the full sync.
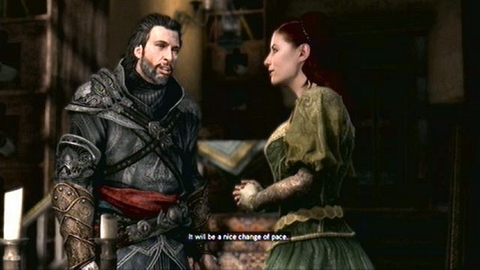
After conversation with Sofia, go to the place marked on the map.
You'll find a florist there, who unfortunately has no flowers you're looking for.
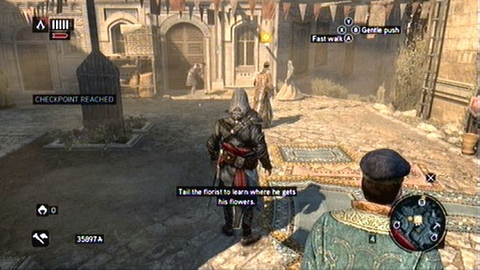
In order to find out where they grow, follow the man. Remember, that you have to stay unnoticed by him.

Once you get to the destination, all tulips will be properly marked.
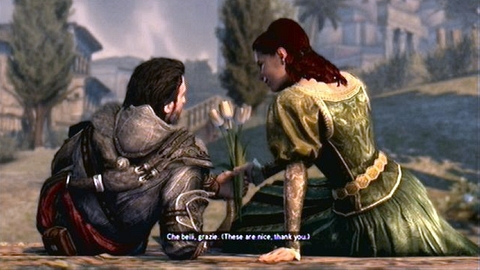
Pick up three of them and then go to meet Sofia. You'll end the memory this way.
In order to start the mission, walk to the white comb, which is located on the top of the tower marked on the map.
Use then the Eagle Sense and point at the symbol on south-west. In that place you'll find another book.
Full Sync: Obtain the Masyaf Key without falling into the water.
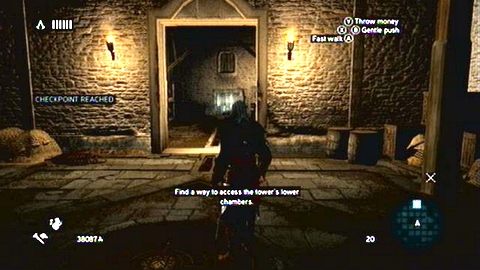
After getting inside the tower, examine the hatch on the ground and then open the descent to the sewers.
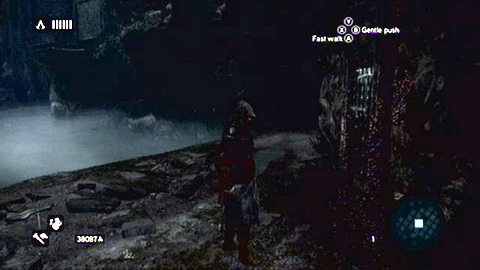
Downstairs you'll find a switch, which you have to pull. Once you've done this, quickly run to the left.
Climb up and then keep jumping along the wall until you'll see another mechanism. You have limited time to reach it, so hurry up. If you fail, pull the first lever and try again. All other mechanisms in this level work the same way.
In order to find another one, jump on the rocky block in front of you. Use it to go down and then jump onto the opposite wall.
Keep going to the left. When you reach the wall, run along it until you'll find yourself on the same height as the marked lever. Jump over stone arches in order to get to the lever.

Pull the lever and then climb the wall on the right. Jump from its top to the bar behind your back and go ahead.
When you reach the wall, turn left twice. Then jump over ruins and reach another mechanism. Use it to unlock further path to the right.
Moments later you should find the third lever. Head to the right. You'll get to the destroyed pillar. Climb it and place yourself so you can jump to another stone pillar. Then jump to ruined fragment and then towards the third mechanism.
After you use it and a short cinematic ends, switch the lever on the right.
The next thing to do is to jump on the nearby rocky block. Move to the left so you can go onto the wall. Run along it, jumping between different ruin fragments.
When you get to the last wooden beam, turn right and move to the other side of grates. You'll find there the last mechanism.
Switch it and then go up over the lowered rocky block. Once you get there, go to the next platform on the left.
In order to get higher, you have to climb the nearby wall.
On its top you'll find yet another rocky block - climb it. The next one is located on the left.
Only one jump separates you from the statue with the artifact.
Once you grab it, the memory will end.
Full Sync: Do not kill anyone except Abbas and his Captains.
Same as after collecting previous artifacts go to the Assassins' HQ and examine the mysterious item. You'll start another memory of Altair.
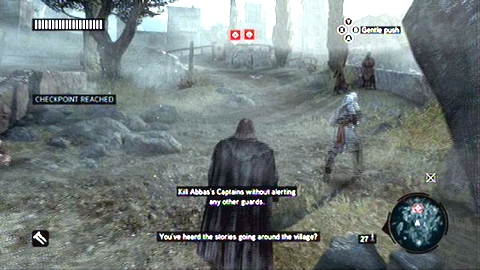
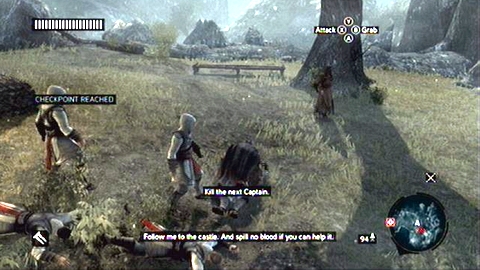
After watching the cinematic, follow the blue marked assassin, until you see first two captains.
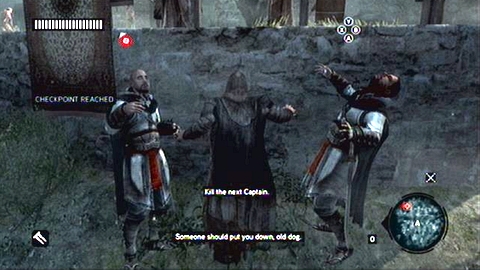
Quickly walk between them and use hidden blades. Both of them should die at the same time.
During your further walk, use the Eagle Sense from time to time. In this way you'll see spirits of the past.
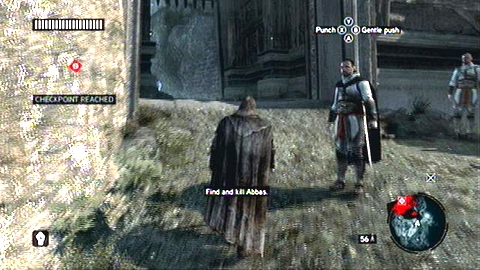
Another enemy is located a bit further from previous two. But once the man sees you, he will start to flee.
Follow him slowly, until you'll be attacked by a group of enemies. Ignore them and approach the indicated target to assassinate him. Your "bodyguards" will take care of the rest.
Move up the hill. When you reach the gate, one of the captains will join your army and you'll be able to enter the keep.
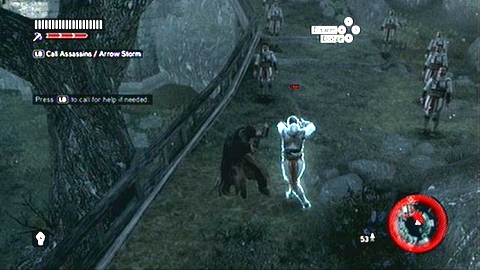
After a short cinematic, go towards Abbas. During your walk you'll be attacked by few assassins, but do not use your allies to help you. Instead try to disarm them by performing counterattacks. Only in this way you'll get the full sync.
When you finally get to the destination, use the Eagle Sense for a last time and then shoot your enemy (LT and Y). A moment later the memory ends.
Full Sync: Do not kill anyone with blades.
After conversation with Yusuf, go to the place marked on the map, hiring the nearby group of dancers.
Use them to distract four guards.
Once guards walk away, run around the tower and press B when you get to the indicated target.
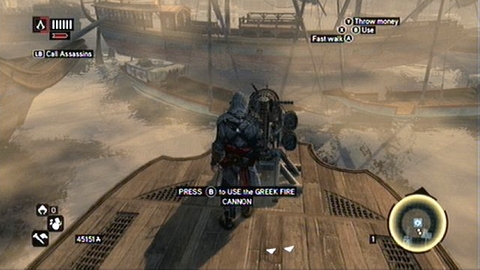
A short cinematic begins, after which you'll be attacked by a group of soldiers. Do not fight with them, but instead run towards the marked gun. Other assassins will deal with enemies. In order to use this powerful weapon, you have to become neutral first, so hang from the edge. You'll lose you opponents in this way.
Once you get to the cannon, press B and slowly turn around killing enemies marked with triangles.
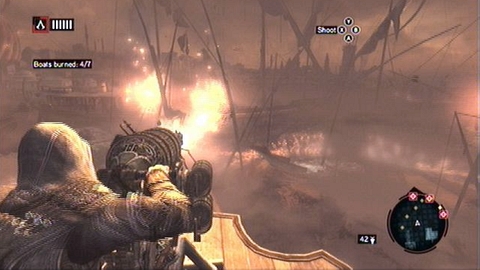
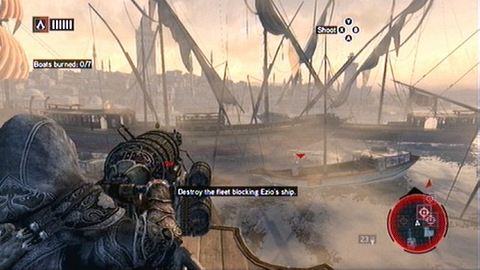
Your next targets are cannons marked on the map. In order to destroy them, you have to aim a little higher.
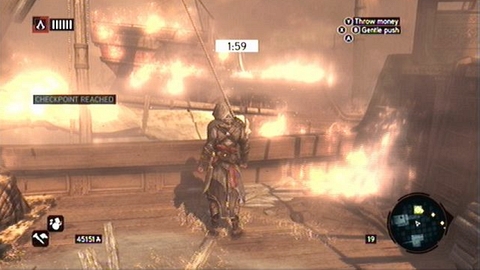
After burning the last ship, a short cinematic begins. After its end, you'll have to get to your ship quickly.
Run between indicated targets and do not fight with any guards. If you kill any of them, you won't get the full sync.
When you get to the destination, the memory will end.
Full Sync: Do not be detected.
After leaving the deck, run straight ahead up the hill. The path will lead you to the underground city.
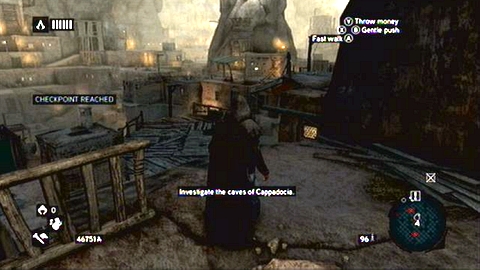
Inside the city, jump to the very bottom and head to the exclamation mark on the map. During your walk you have to avoid all red spots.
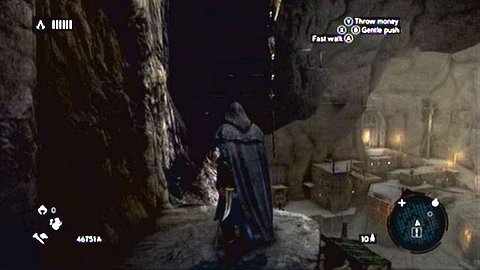
When you get to the indicated place, go up the floor. Walk around the high stone construction and look for a wooden wall. Climb up and continue your walk to the tower's top.
This way you'll reach the point, where you will be able to fill the map of this area (LS). Do it and then safely jump down.
In the green zone which appears now, you have to use the Eagle Sense to find your target. She can be found near the bank and the doctor.
Point your sight at the spy and walk towards her. As soon as the woman sees you, she'll start to flee. Follow her and you'll end the memory.
Full Sync: Do not kill anyone.
After beginning the memory, run up the stairs and walk to the white comb. A short cinematic will start.
Once it ends, go back keeping on the left of the location. You'll reach the green marked zone in this way.
Your task is to find the guard with the key. You'll find him in the north, inside the crowd watching the fight.
Use the Eagle Sense to locate him and then walk towards him and grab the item (A). You have now to return to the Templar keep.
Stairs are guarded by two men but you can bypass them by walking above them (with same way they you used when you've leaving the hideout).
Open the prison door and you'll end the memory.
Full Sync: Do not let Janos lose more than half his health.
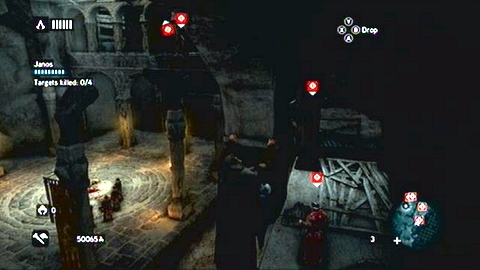
After conversation with a woman, climb the pillars in front of you.

You will be able to kill a firs guard from one of the pillars.

Once he is dead, go to another pillar. Jump towards the second enemy and assassinate him silently. Remember to remain unnoticed!
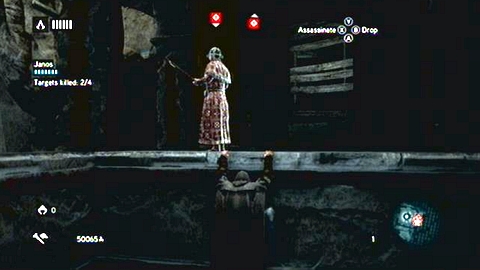
A third soldier awaits you a bit further around the corner. Pull him down while hanging on the edge.
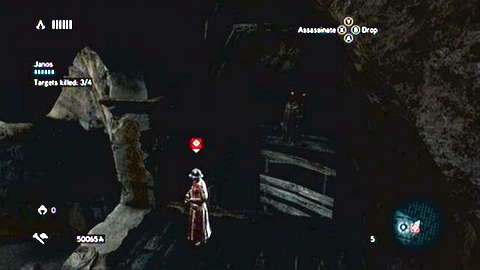
Climb then the wooden wall and jump-kill another victim.
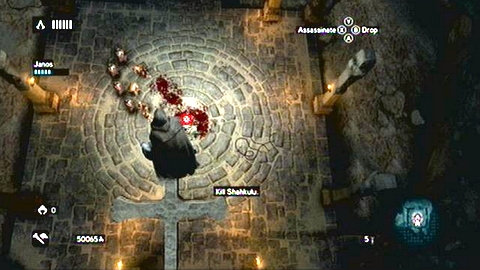
Your last target is located at the bottom. Assassinate him from the nearby cross. The man is tough however and will survive your attack.
Finish him in the standard fight then, using few counterattacks.
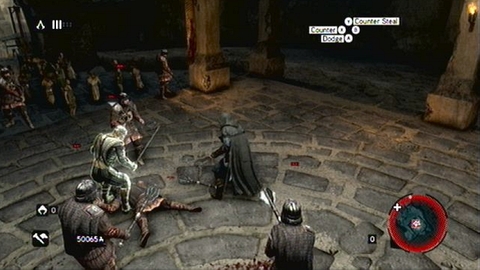
Full Sync: Do not take any damage.
When the memory start, run straight ahead and climb the top of the rocky tower.
You'll see a zipline there. Use it to slide to the other side.
Move along the wall all the time until you'll reach the white comb.
A bit further you'll be attacked by guards. Kill all enemies, avoiding any damage. If you got hit, you won't get the full sync.
Eliminate next enemies and go towards the box marked on the map. Inside the box you'll find explosives, which can be used to blow up the gunpowder.
In order to get to barrels, go up the stairs and then walk to the other side of the warehouse. Press B next to grates and start the next memory.
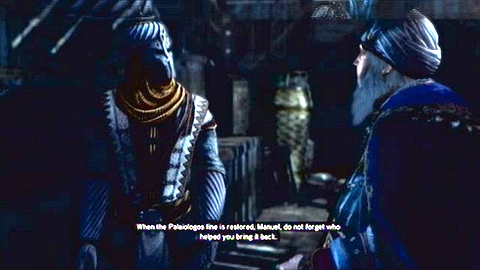
Full Sync: Do not take any damage.
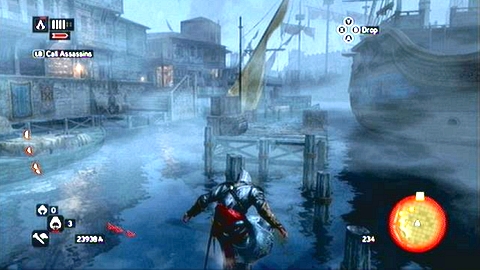
Your first task is to catch fleeing descendant of the emperor. Run after him trying to jump on the rooftops. In this way you'll avoid the fight with guards.
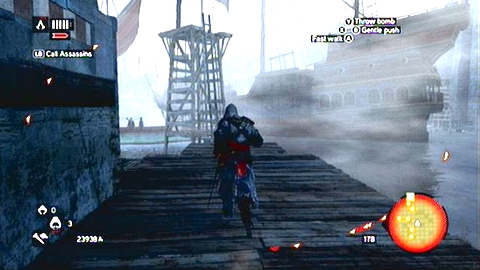
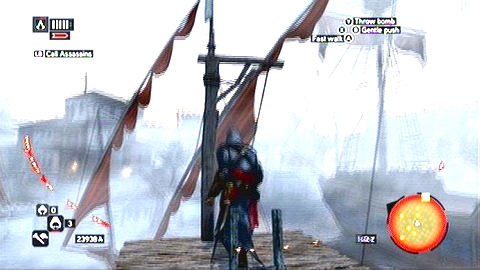
When you get to the gate, climb it and keep following Manuel.

Your target will stop next to the bridge and then start to fight. Kill him with one successful counterattack.
Full Sync: Do not lose more than half your health.
Right at the beginning a group of soldiers will attack you.
Quickly kill all enemies and then run up the stairs. Prepare for the short fight there. Then head in the direction indicated on the map. After explosion you've made, entire town is filled with smoke. Try to go outside as fast as possible, because you'll get damage from time to time. If your life bar gets to its half, use the medicine. In this way you can get the full sync easier.
Once you finally get outside, do not fight any opponents. Instead run to the indicated place and end the memory.
This mission is one of the easiest. Your task is to escort two friends.
Head down the hill all the time, moving between marked spots and eliminate your opponents using the powerful artifact.
It is enough to press B to immediately kill all enemies.
When you get to the indicated place, the mission will end.
Full Sync: If attacked, kill 5 Guards in close combat without getting hit.
At the beginning of the memory explore Sofia's shop and examine Yussuf's corpse.
A short cinematic starts then, after which you'll find yourself in front of the future sultan.
Walk quickly through the gate and then run towards the target marked on the map.
During your search make a quick break to kill five guards (you'll get the full sync there). Your recruits will take care of the rest.
Once you get to Suleiman's uncle, the mission will end.
Full Sync: Rescue Sofia before she loses 50% health.
After the mission beginning, run to the indicated place and talk to assassins standing there.
Then climb the wall, where exchange takes place.
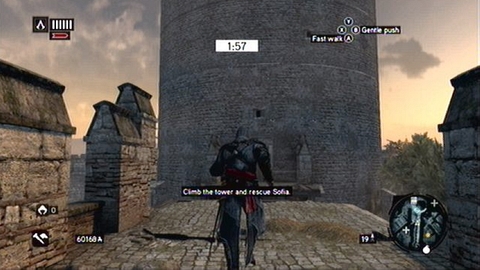
When the cinematic ends, you'll have 2 minutes to get to the tower top.
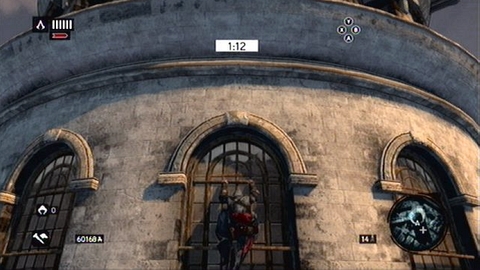
During climbing hold RT all the time and quickly press A to climb faster. Use the analog stick to move to the sides. After reaching the top, you'll learn that the imprisoned woman is not Sofia. Ezio's beloved is located at the very bottom and loses part of her life from time to time.
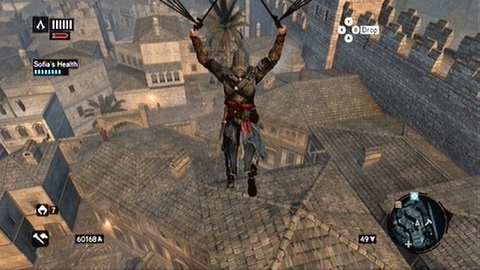
In order to save her, use the parachute to fly to the indicated direction (X) and then press B near the tree.
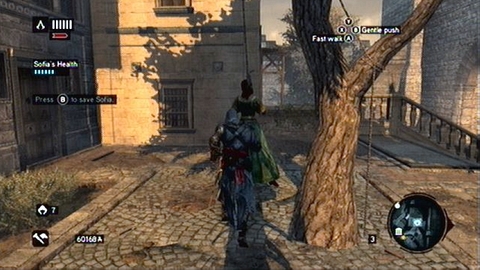
If you do it quickly enough, you'll get the full sync.
Full Sync: Kill 20 guards.
At the beginning of the memory you'll be driving the chariot. During the ride try to hit opponents' chariots, pushing them to rocks and avoiding shots this way.
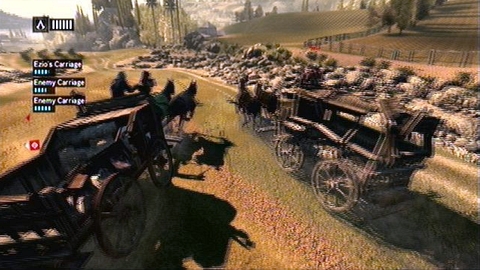
When you'll see the narrowing of the road ahead you, try to hit the opponent's vehicle right before it. If you drive onto rocks, you'll die immediately.
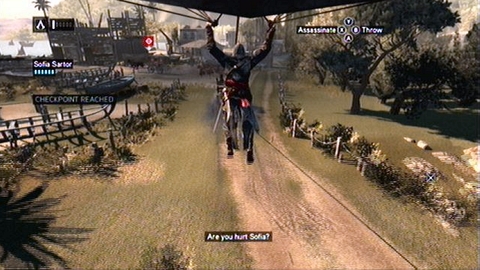
After few such narrowing, Ezio will fall down. Open the parachute then (X) and you'll quickly glide up the air.
Your current task is to avoid buildings you're passing by. Be prepared, that there is a turn in the other direction behind each building you've passed by. At the beginning you'll have to avoid two walls of one building and then the path will become so narrow that you'll have to take turns one after another. Right, left, right, left and so on.

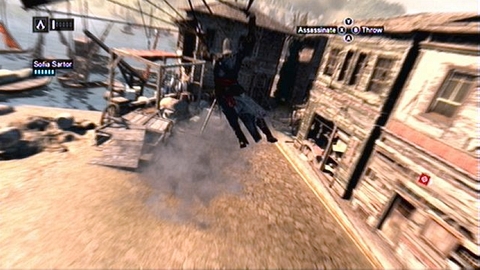
After getting out from the village, your chariot will be attacked by cavalry. As soon as you find yourself in the same line with the opponent and close to him, perform dive (X). You'll assassinate your opponent in this way.
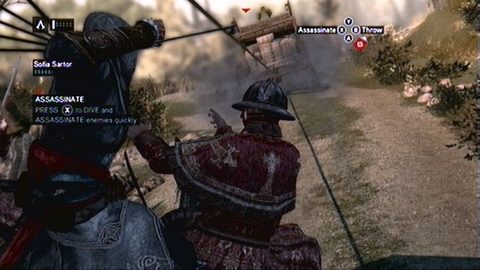
In order to get the full sync, try to eliminate as many targets as possible, without losing time for failed attacks. Instead of regular moves, try to catch your opponents and throw them at others (hold B).
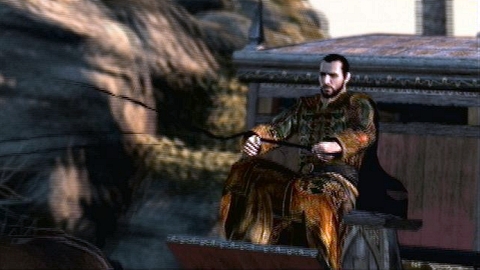
Combat with cavalry phase and the avoidance of buildings phase will alternate with each other, until you finally catch Suleiman's uncle.
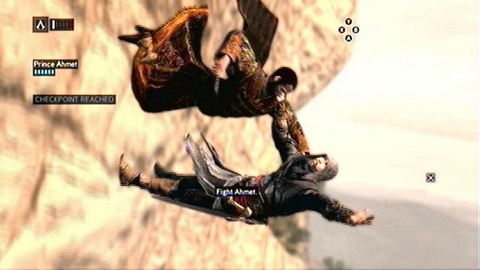
After that you'll fall down. At the beginning only defend yourself (RT). Only in the second part of this mid-air combat start your attack (X), blocking him from time to time.
After this strange struggle the memory will end.
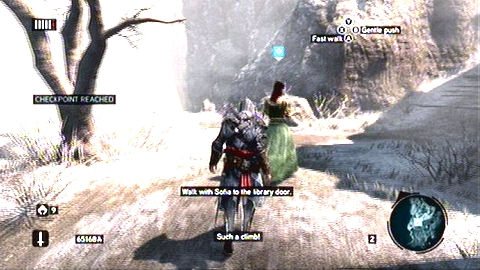
After starting the mission, follow Sofia.
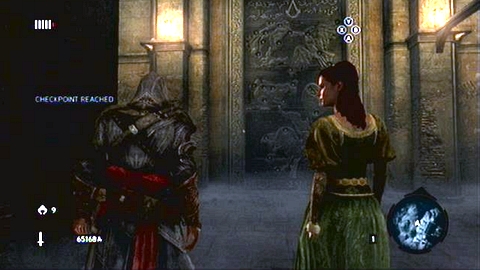
You'll get to the door, behind which you'll find the gate to the Altair's library.
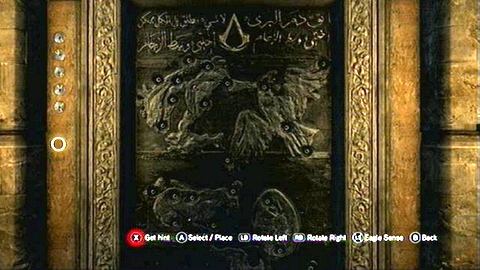
In order to open it, you have to solve a puzzle. Use the Eagle Sense first and become familiar with controls. A button selects and puts away keys on the left. Artifacts can be turned with LB and RB.
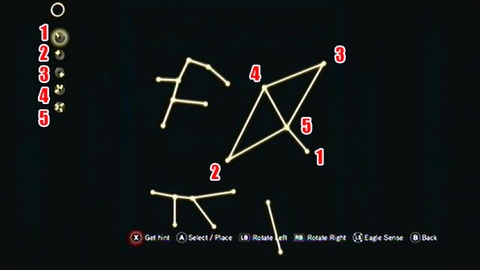
All available circles must fit constellations in the upper right corner. The easiest way to do it is to examine the amount of lines on each key. There is only one 4, 3 and 1. Put them as firsts and then take care of the rest. The solution is shown on the screen above.
Once you've done, the passage will open. Inside you'll find the library and Altair's corpse.
Once again you'll act as Altair. Go to the other side of the chamber. Hide the artifact in the hidden recess and then sit down in the indicated place.
As Ezio walk to the shining object and you'll end the game this way. Congratulations :). After the final cinematic you'll still be able however to find missing collectibles and complete unfinished missions.
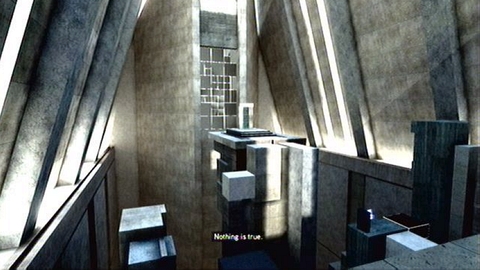
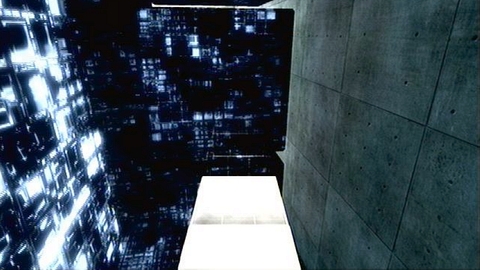
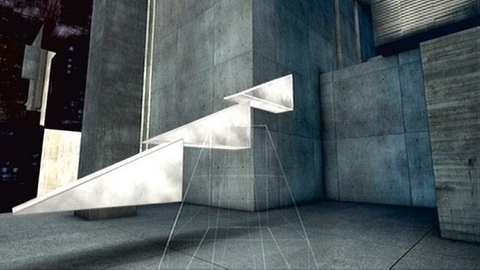
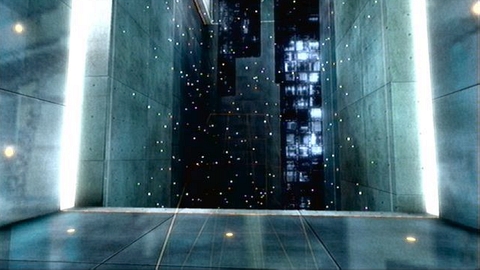
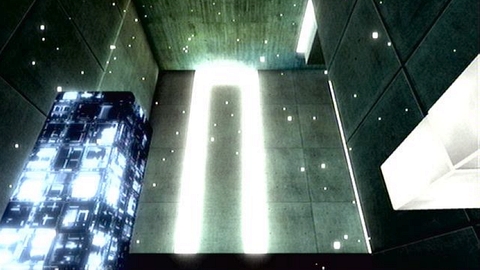
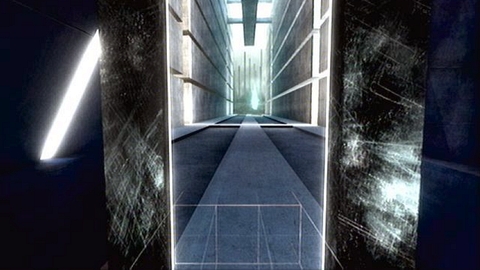
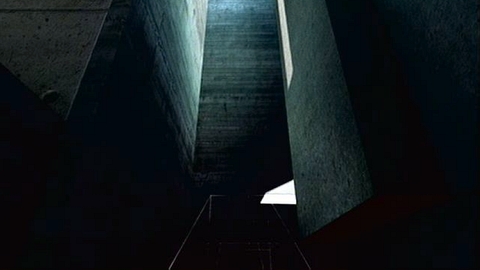
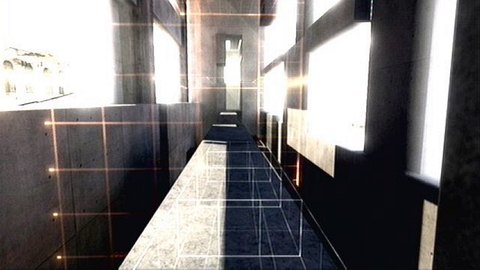
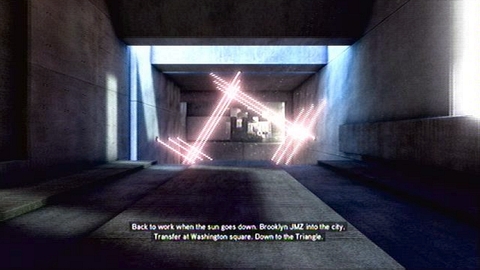
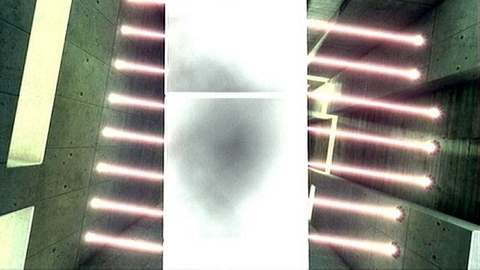
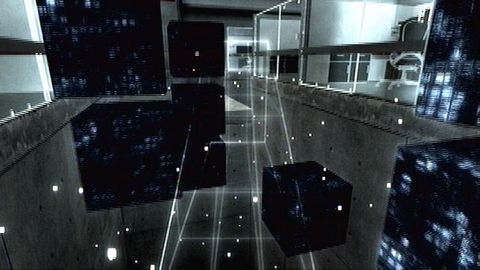
On the Animus Island, opposite to the gate leading to Ezio's memories, you can find five smaller portals. In order to use them you have to obtain a certain number of Animus Data Fragments. Location of all collectibles can be found in proper part of this guide.
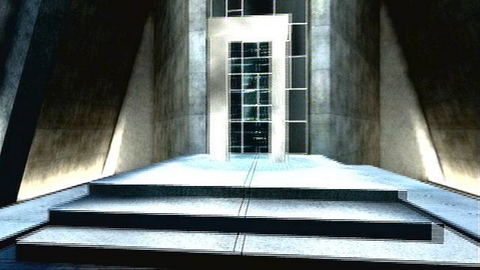
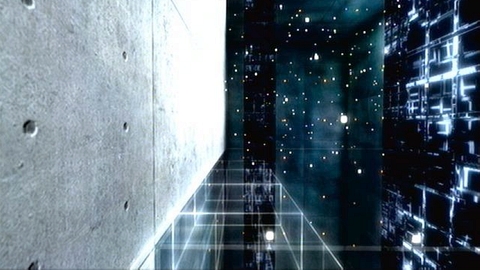
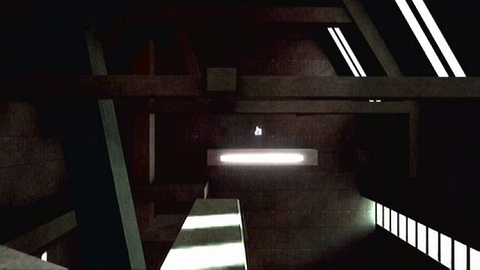
Once you get inside Animus, go forward dropping down from high steps.
After reaching the very bottom, turn left.
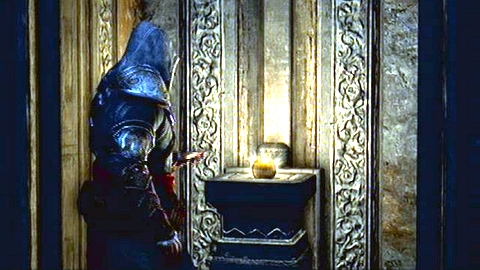
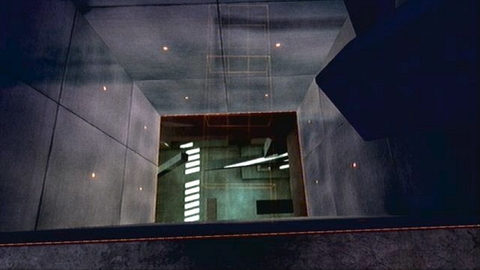
At the end of the small room you'll find a hand symbol. Activate it (B).

You'll unlock the nearby passage.
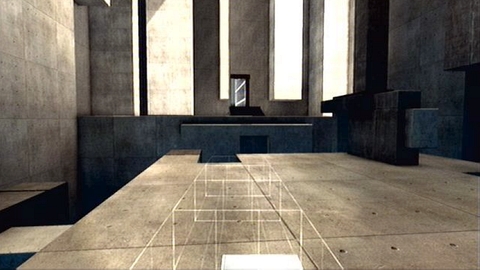
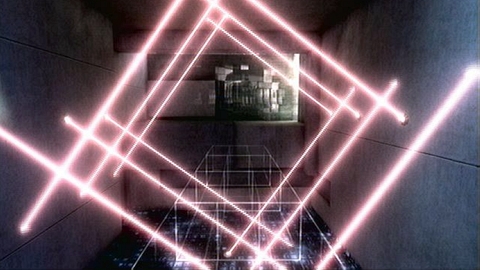
In the next chamber go forward and then to the right.
You'll find there stairs leading to the upper floor.
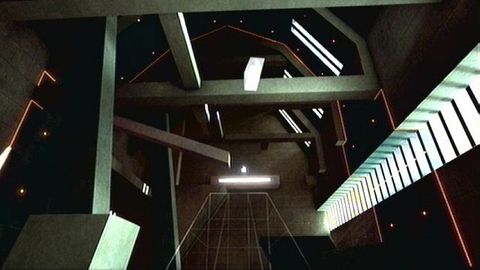
At the end of the narrow corridor you'll find another hand symbol. Activate it to open the passage on the left.

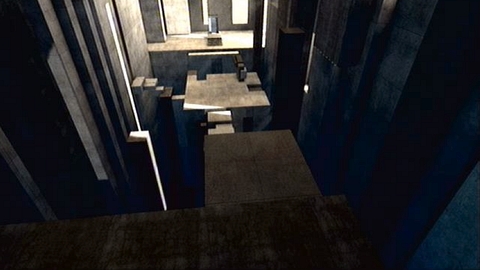
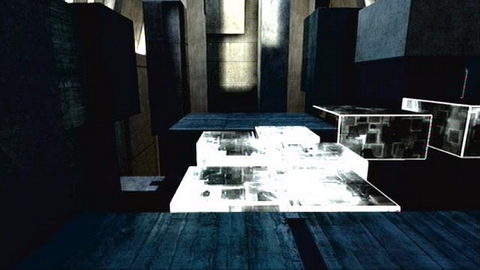
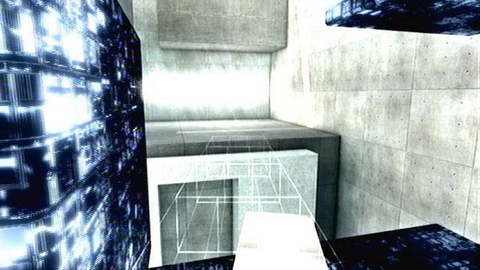
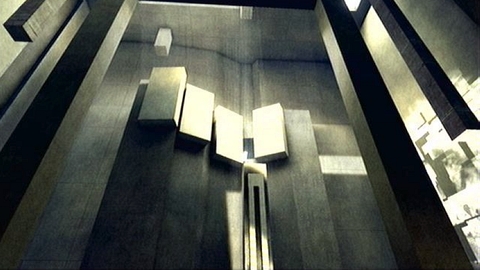
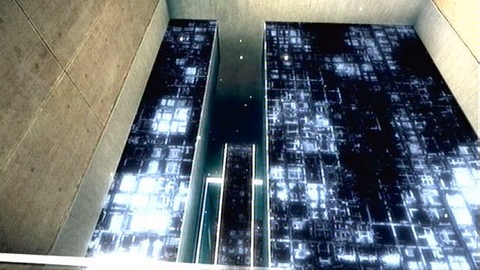
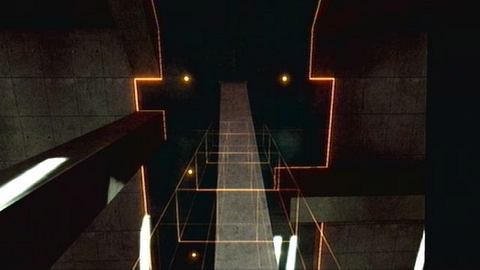
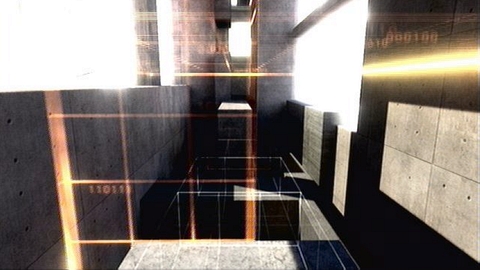
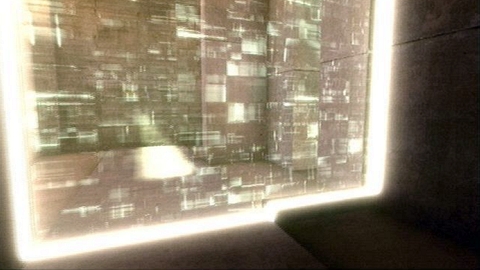
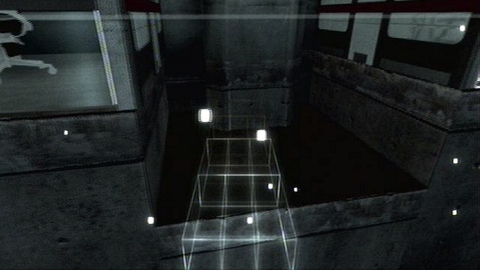
Steps will lead you to the room with high shiny wall. Walk around it and jump down.
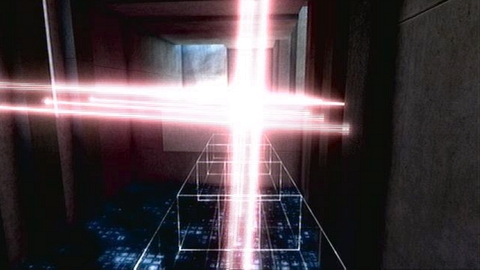
You'll see three moving platforms. You have to climb them to get to the higher floor.
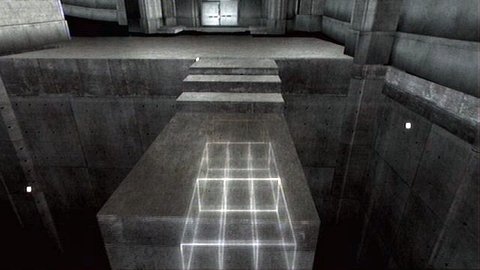
When you reach the large chamber with precipices, go to the right and then go down.
Shiny walkway will lead you to the platform, which will take you to the hand symbol.

When you activate it, another part of the walkway will be created. Jump onto it.
A bit further you'll find another platform and the next symbol.
Activating it will create two ramps. You can now get to the very top and move further with just unlocked path.
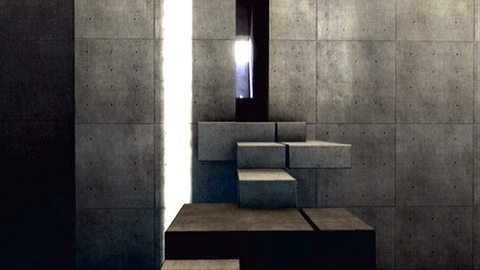
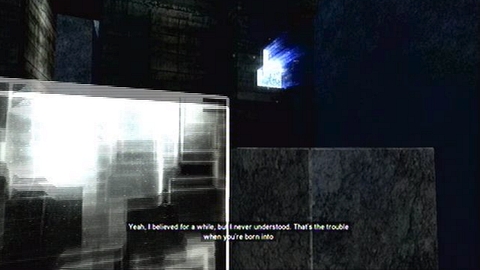
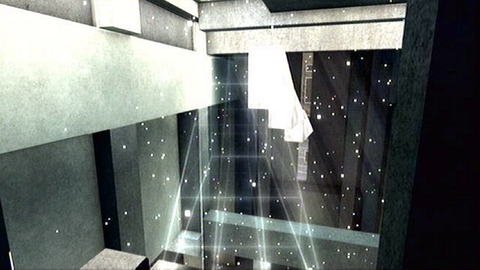
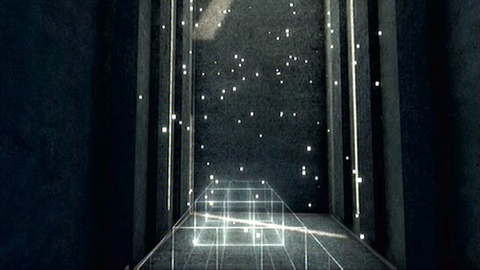
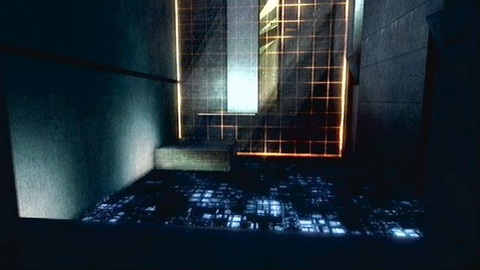
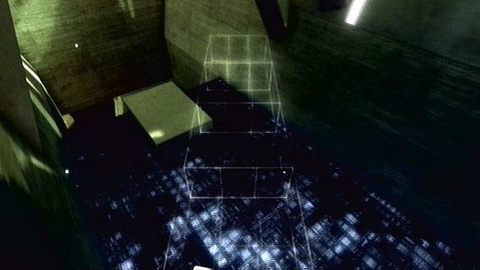
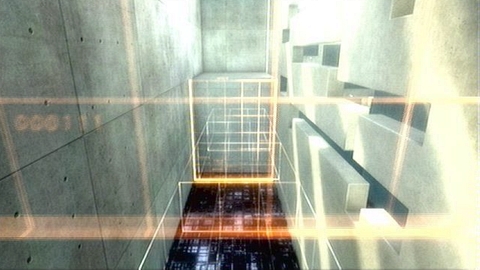
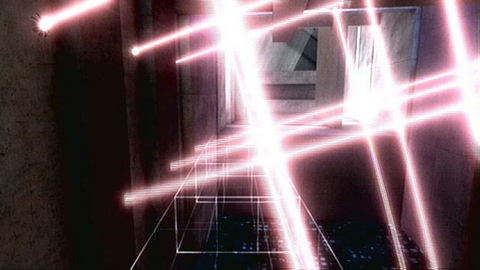
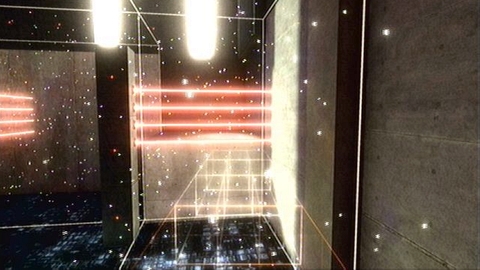
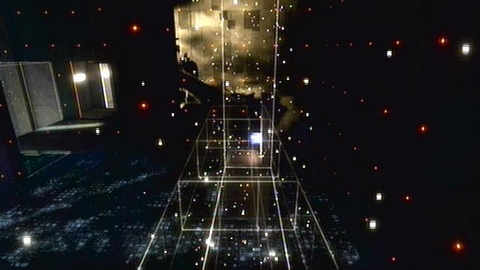
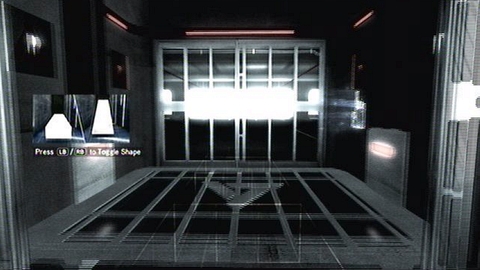
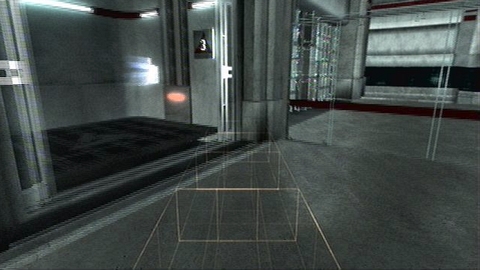
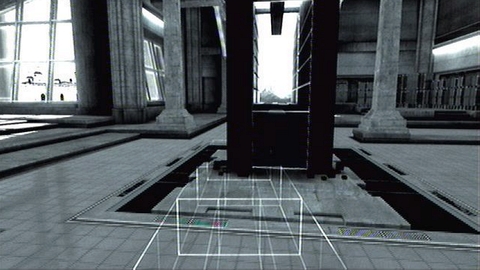
At the top you'll find portal. Enter it and you'll unlock a possibility of creating objects (RT).
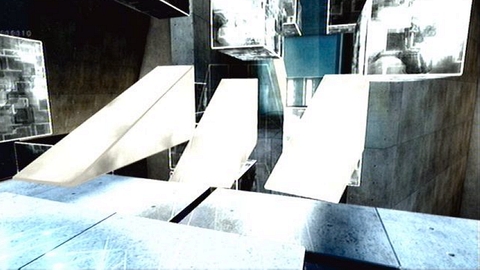
You can now create two types of objects: vertical walkways and ramps. Switch between them using RB or LB. Remember that only three objects can exist at the same time. By creating fourth object you'll make the first one disappear. All objects are hovering and can be created on different heights (left analog stick).

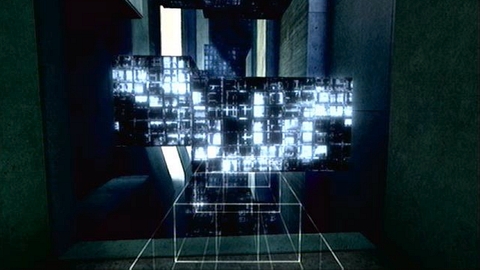
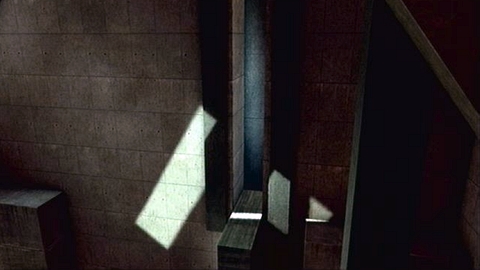
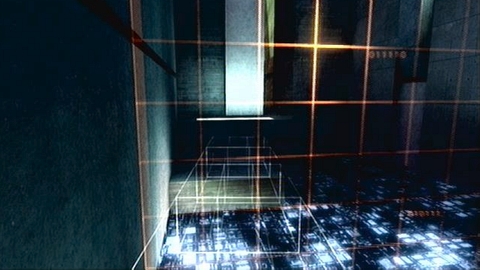
Use this ability to get to the other side of the precipice. It is best to create walkways at the height of your characters feet, so you do not have to jump.
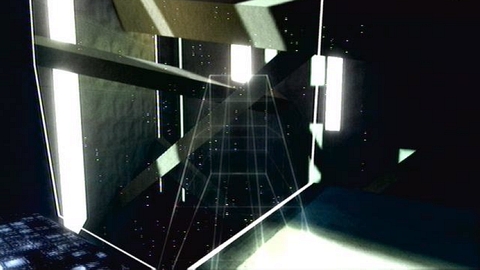
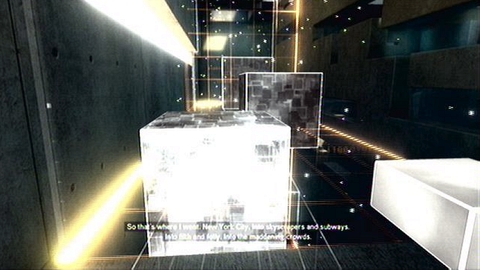
Behind the gap, jump down and then go to the left. You have to create objects in the way that they won't "touch" dark blue walls. If you collide with them, you'll be moved back to the start position of this chamber.
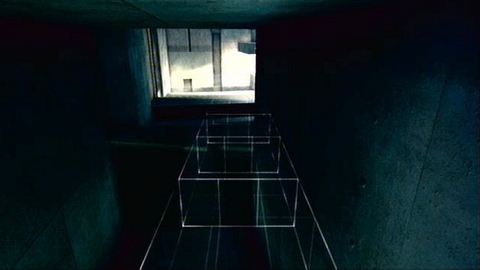
When the tunnel lowers, turn the camera down, jump and while falling create a walkway just under your feet. Now you have to walk between moving walls. Wait until you get enough space and then quickly run to the other side.
Further way leads to the left. In order to get to the top, use the ramp.
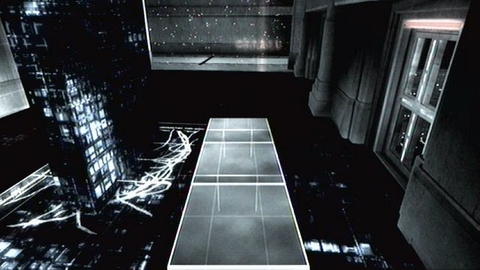
A straight way will lead you to another large room. Go to its other side by creating walkways and enter the portal. You'll end the mission.
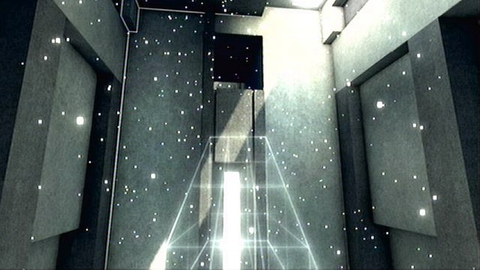
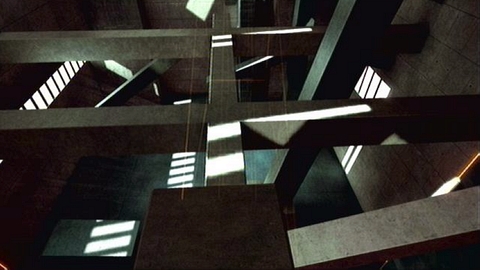
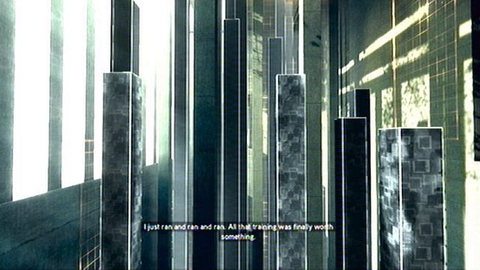
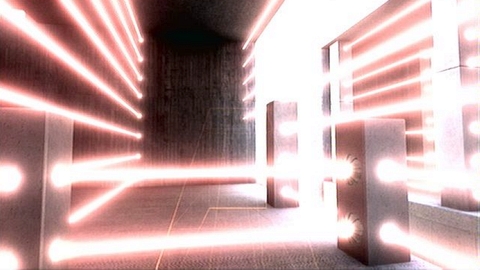
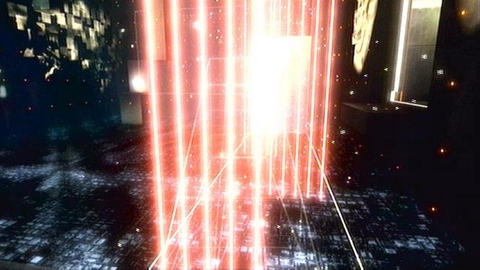
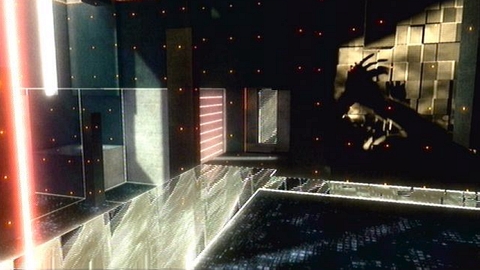
After mission start go forward until you reach the room with moving white squares. In such places all objects created by you will be moving in a certain direction.
Your first task is to get to the tunnel at the top. It is located on the other side of the chamber. Get there by quickly creating ramps.
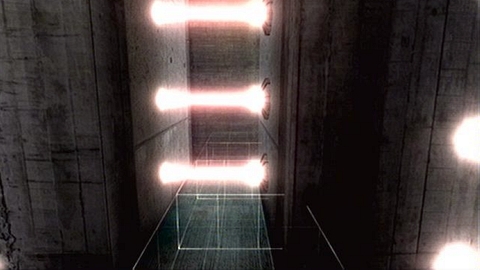
A bit further you'll find a shaft with white squares floating up. Just create a walkway there and stand upon it to get to the upper floor.
There is another chamber with a corridor located high above. You have to get there by using ramps.
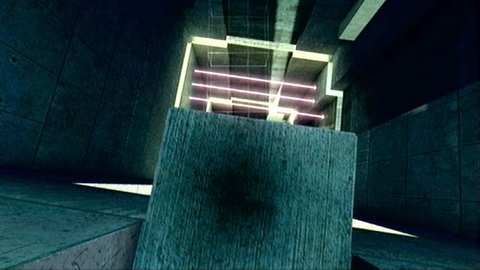
Move forward until you reach the tunnel with dark blue blocks.
Walk them around at the top and then jump down and create a walkway next to the exit.
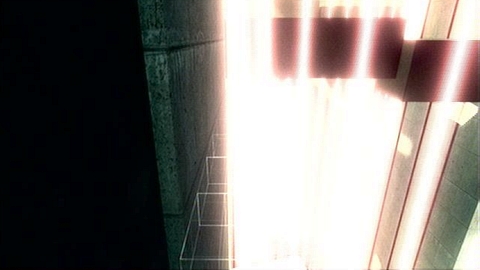
In the next room you'll see walls with orange markings on them. You can't create objects on their height.
First walk over first orange line and then jump into the hole on the other side of the chamber. During your fall keep the camera down, so you can create a walkway when you pass orange barriers.
A bit further you'll see more white squares. This time they pull all objects down.
Walk on the narrow walkway to get to another similar shaft. In order to get upstairs, quickly create ramps. If you run out of place in one direction, start creating them to the left or to the right. It is important going up all the time.
At the end of the dark corridor, go up again until you'll reach the room with orange walls. Look for a place with floating white squares and create a walkway there. Jump onto it and you'll be taken to the other side of the room.

Unfortunately, just at the end orange walls will appear again. Point then the camera down and just above the ground create an object beneath you. You have quickly to go to the right, because you'll start floating towards destructive blocks.

In the next shaft all objects are pulled up and to the right. During the flight create walkways in such way, that you'll avoid colliding with walls and dark blue pillars.
Your target is the corridor on the left.
It will lead you to the room with another gravity streams. First float to the very top of the room.
Move then forward, creating blocks on the right because they will be pulled to the left.
After reaching the other side, jump down and keep creating walkways beneath you until you can stand on them.
A further way leads forward and up. Remember about avoiding dark blue pillars!
Move forward until you'll reach a deep hole.
Create ramps or walkways beneath you to avoid dark blue blocks. Try to get to the safe slots as fast as possible and create blocks above them.
If the slow method doesn't work, try to fall down all the time, aiming at passages and creating objects beneath you only from time to time.
When you get to the bottom, move in only possible direction. Enter the portal and end the mission.
After beginning of the level move forward until you reach a hole with orange edge. You have to jump into it and create a walkway under your feet while falling down.
When you land, turn around and then get to the stone beams placed along and across the room.
Standing at the end of one of them you should see a hand symbol.
Move towards it using the walkway on the left and then activate it.
You'll unlock the passage on the other side.
In order to get there, climb the highest beam and jump down one level. Now you can use your own objects.
In the narrow corridor with dark blue block, go to the upper left.
You'll find there a large room with an orange grid. It destroys all objects which pass through it.
In order to get to its other side, follow it quickly until you reach the platform on the left.
Low steps will lead you to the chamber with high pillars. Move from one to another, avoiding grids floating around. You have to get to the other side of the location.
It is best to do this from the right side. When you get to the last pillar there, wait until the grid passes you and quickly run towards the exit.
Walk through the short tunnel. You'll see another gravity stream. You have to "swim" to its end, changing your position from time to time to avoid the dark blue surface at the bottom.
On your way you'll find solid platforms. Use them to make a short break.
Behind second such platform you'll see a "waterfall" - a gravity stream pulling all objects down. Bypass it, jumping on the stairs to the right. They will lead you to the high precipice. In order to get to its bottom, jump down and just before fall create a walkway under you.
A bit further you'll find a corridor full of orange grids.
When you get to the gap in the path, wait until lasers move and then quickly run to the other side.
Move forward until you'll see bigger gap. In order to cross it, follow the upper grid first and in the middle of the gap get down to the lower level.
On the right you'll see another big gap. Cross it by following horizontal lasers and avoiding vertical lasers. Three cubes will make your way easier.
On the other side you'll find the exit portal.
In the first room you'll see many red lasers. In order to bypass them, create a walkway above the precipice and stand on its edge.
When beams will bypass each other directly in front of you, quickly run through the square they just created.
Another similar puzzle can be found on the upper floor. This time run between lasers on the right side of the corridor.
In the third case walk on the left side and instead of the first walkway, create the ramp to get a little higher.

After getting to the other side, go up again.
A corridor on the left will lead you to the room with laser barriers. Turn right and move forwards, walking on the ramps over low blockades.
An exit is guarded by flashing beams. Go to the other side as soon as they disappear.
Further way leads down.
While falling create walkways under you to avoid lasers. After landing go to the left.
A bit further after the transparent bridge you'll encounter a blockade. To turn it off, you need to activate a hand symbol.
Turn to the right and walk along the wall, avoiding laser barriers.
You'll get to the place with series of vertical beams.
Walk between them and then climb to the upper level. You'll find the symbol you're looking for in the left. In order to get there, create walkways in the narrow gravity stream.
Once you activate the hand, the passage will be unlocked.
On the other side you'll find more lasers. Wait until left side becomes empty and then walk next to the wall, following disappearing beams.
Use the same method to avoid next barriers and you'll reach the other side of the location.
A bit further you'll find the level exit.
After mission start move forward, until the grate opens in front of you.
On the right you can find a hand symbol, which you have to activate.
Once you do this, a gravity stream appears. It is enough to create a walkway under your feet to go up.
When you get to the top, move forward walking over precipices and jump between black cubes.
You'll reach a gap with orange grids. A grid will appear first on the right and then on the left and so on. Bypass them and get to the other side.
Activate a hand symbol there to open another grate.
This time your way is blocked by dark blue cubes. They move to sides so head in the direction where they disappear. Remember also about gravity stream. Use ramps instead of walkways, so you won't be pulled down.
A large orange grid passes through the next gap.
Follow it a bit and then hide in a niche on the right. You have to wait there until beams return and you can follow them again.
To the right you'll find another niche. Wait there until the grid passes you by and quickly get to the other side of the precipice.
To the left you'll see an elevator with a hand symbol inside. Activate it. Another gravity stream appears which will take you up.
Once you get to the destination, turn right. In order to get to the other side of the black floor, you have to run over blocks you'll create. Remember to avoid orange grids. A centre of the room is safe, so you can wait there a while.
A further path looks very similar. Move all the time along the black floor, avoiding orange lasers.
Once you get to the end of the tunnel, jump to the right and end this level.
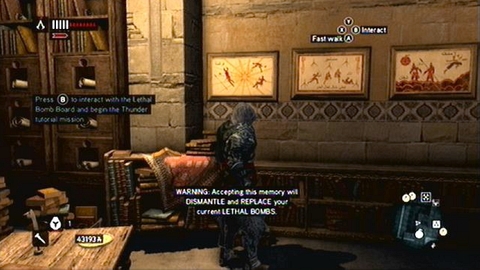
In order to start Piri Reis Missions, go to the merchant's house marked on the map and then walk towards pictures hanging on the right wall. Each of them indicated another mission.
Full Sync: Do not kill anyone.
After receiving a bomb, go to the indicated place. You'll find your victim there.
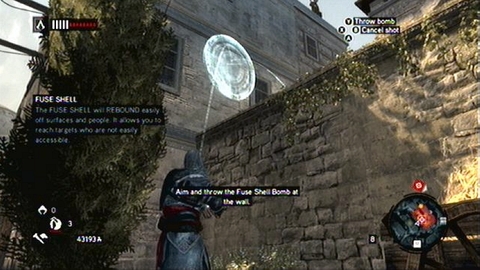
In order to subdue you victim, throw the bomb at the wall on the left. Thunder Bomb is crafted of so-called Fuse Shell, so it bounces on the surface it hits. If you can aim at the middle of the glowing circle, you'll stun the man.
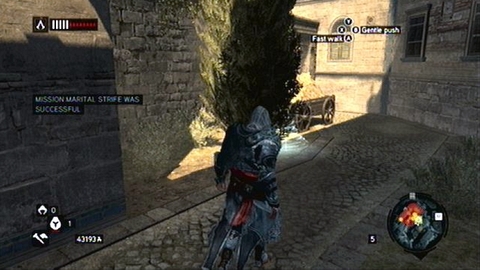
You'll end the mission after leaving the yellow zone.
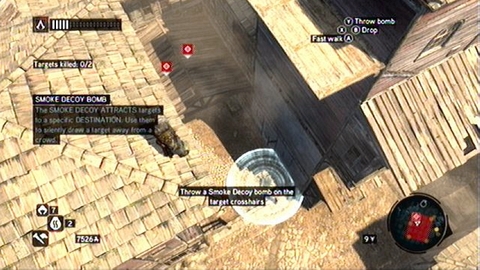
Full Sync: Do not kill anyone.
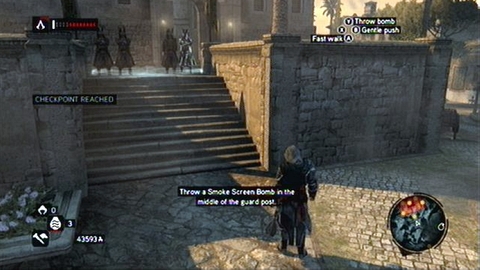
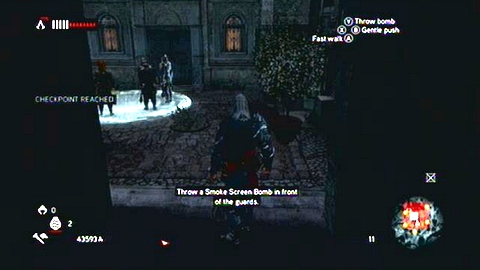
This time you'll receive a Smoke Bomb. Walk towards the white comb marked on the map and then throw the grenade at the group of guards.
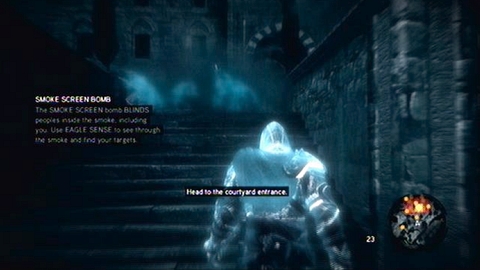
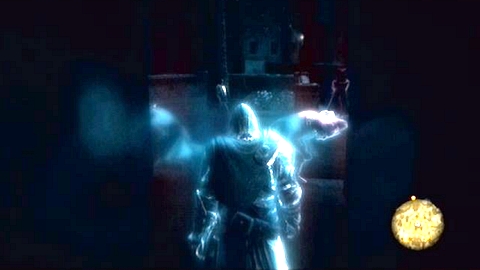
Use the Eagle Sense and sneak between opponents to another indicated spot. Before you start to run, remember to press LT, so you'll stop aiming at the enemy.
Once you get to the destination, use the bomb again. This time you have to open the box (B) before soldiers can spot you.
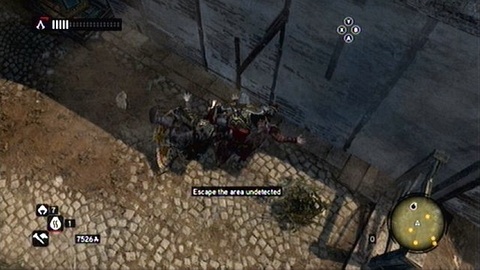
When you're done, hide at the exit. There is a pair of soldiers in front of you. Throw the last bomb at them and then quickly run to the left, leaving the zone unnoticed.
Full Sync: Create at least two conflicts between factions with different guards each time.
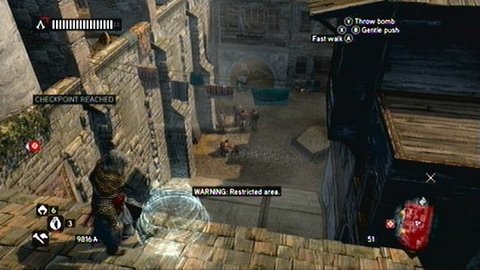
This time you'll learn how to use Cherry Bomb. This is a grenade, which attracts near guards with its explosion.
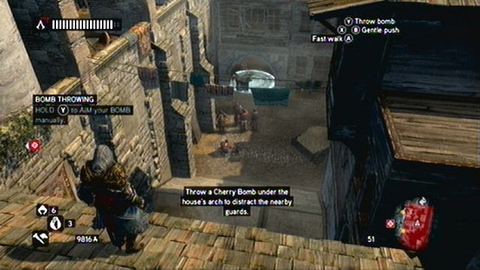
Once you get to the indicated place, throw the bomb near the group of enemies. They will leave their post then, and your recruit will be able to sneak on the other side.
Your next target is located bit further. This time, when you throw a grenade at the marked point, you'll attract there Ottoman soldiers and Templar. Both groups will start fighting with each other, paying no attention at assassin running by.
You can now leave the zone and end the mission but if you want to get the full sync, you have to create one more fight between different guards. You can find them on the right from the previous group. It is enough to throw a grenade near them and you'll accomplish your task.
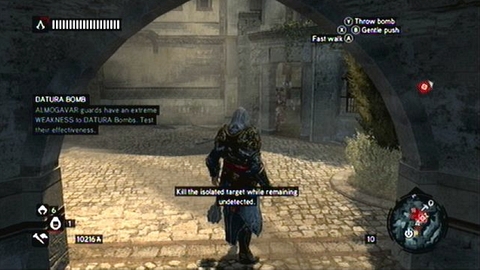
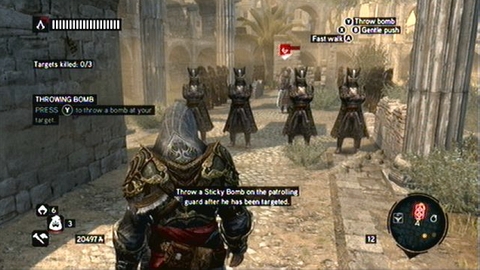
Full Sync: Do not any ranged or melee weapon to kill your target.
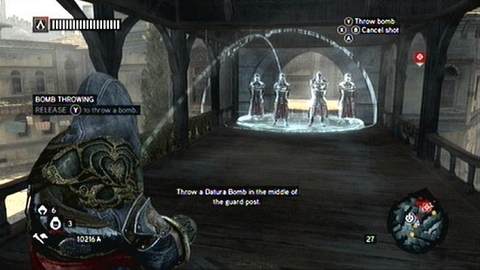
After the mission begins, walk towards indicated guards and throw the Datura Bomb at them.
The grenade will poison them and you'll be able to safely cross to the other side.

Another group of enemies awaits you there. Throw the next grenade at them and wait until they die.
Once they are dead, walk around the passage. Now you have to aim your third bomb, so it can kill the last man. After his death the mission ends.
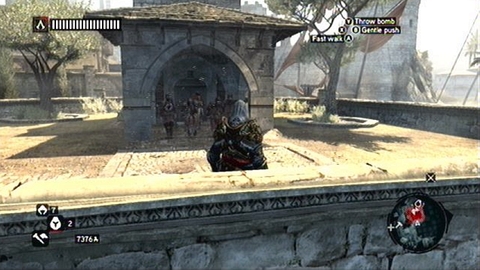
Full Sync: Do not fall into water.
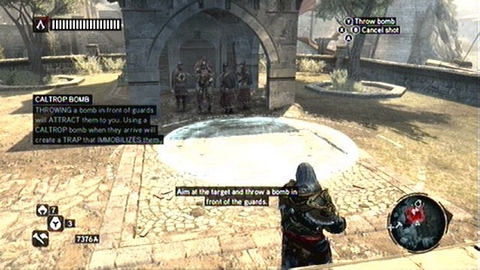
After mission beginning throw the Caltrops Bomb in front of the group of soldiers.
Its explosion will scatter glass pieces on the ground, which stop enemies.
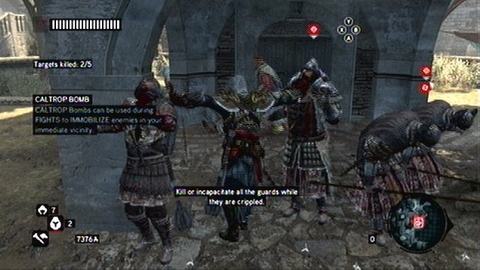
Kill them with hidden blades then and leave the danger zone to become neutral. You'll finish then the memory.
Full Sync: Do not kill anyone except your target.
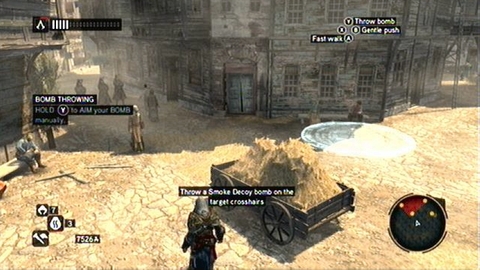
In this mission you'll learn how the Smoke Signal Bomb works. This kind of grenades creates smoke, which attracts guards when they see it. At the beginning throw one of them at the wagon with hay and you'll be able to safely bypass the group of guards.
Behind their post, climb the indicated building. You'll see two targets from there, which you have to lure out using the grenade.
Once they get out, aim the camera down (do not press LT!) and use the X button. Ezio will automatically jump down, assassinating both men at the same time.
Just leave the marked zone and become neutral to end the task. Remember not to kill anyone, because otherwise you'll lose the full sync.
Full Sync: You must not be detected.

Bombs which will you use, can stick to different surface. This can be very interesting to use.
Go to the place indicated on the map and then throw a grenade at the guard patrolling the area. He will become selected automatically, as soon as he approaches you.
The thrown grenade will stick to his robe and explode after a while, killing the entire group of enemies.
Quickly leave the area and the mission will end.
Full Sync: Kill only the corrupt dignitary.
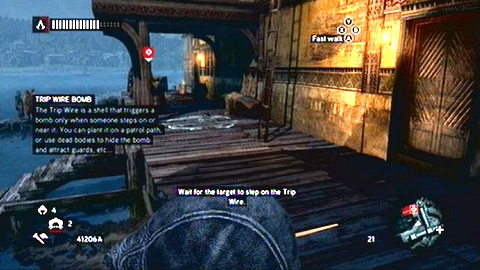
Tripe Wire Bomb works the same as mine. Just place it on the spot and wait until the enemy walks onto it.
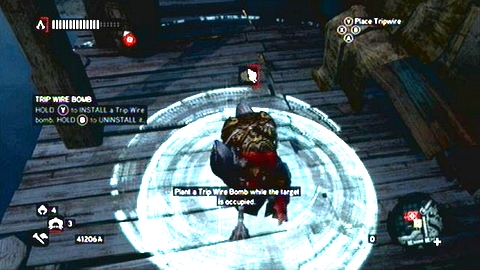
At the beginning go to the indicated place and then place the explosive there by holding Y.
When you get to the whit comb, your target will walk towards the trap.

After the explosion quickly run toward the man, kill him and leave the zone.
During completing mission from the main game plot, you'll familiarize with a system of managing your own group of assassins. There are two ways to recruit its new members. Sometimes it is enough to just save a citizen marked on the map from Templar and he will join your order. Another time you'll have to complete a short side mission. Description of such missions can be found below. An amount of assassins which you can recruit (and available missions) can be increased by taking over Templar Dens.
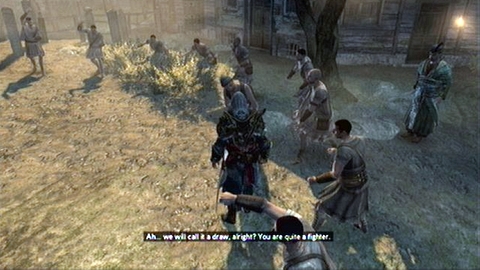
Your task is to defeat the opponent in a melee fight.
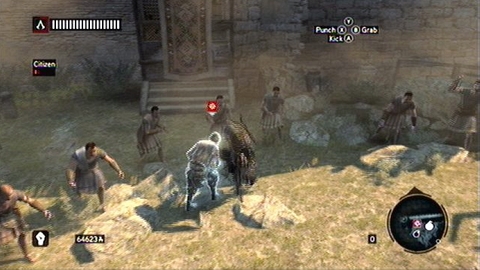
By pressing X all the time, you should quickly win this fight. But if you have problems with hitting him, kick him several times and he will become vulnerable to punches (A).
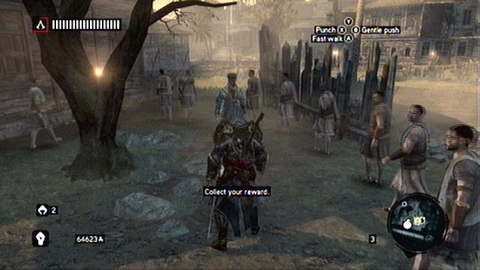
After the fight go and collect your reward at the bet taker.
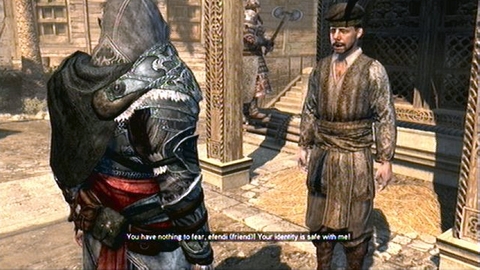
In order to test new assassin's skill, you have to beat him in a short race.
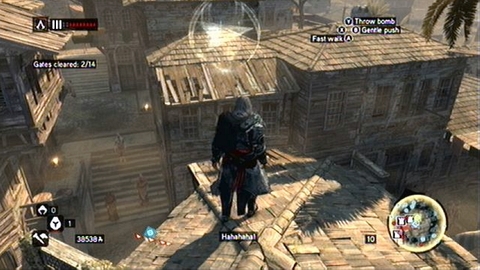
Run between checkpoints, carefully watching shiny arrows. They indicate future direction of the race. If you overtake the opponent at the beginning and during the race you do not fall any buildings, you should win easily. My advice: take your time slowly :)
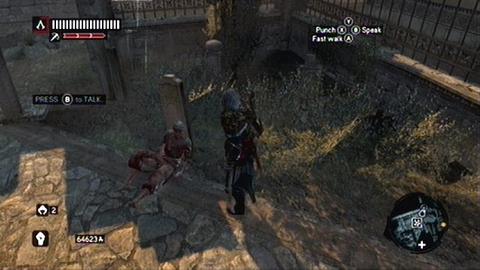
After conversation with the man, go to the zone marked on the map.
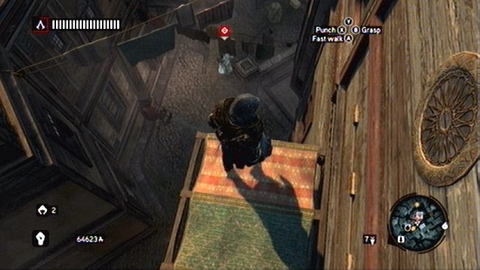
You'll find there a bandit, whom you have to kill.
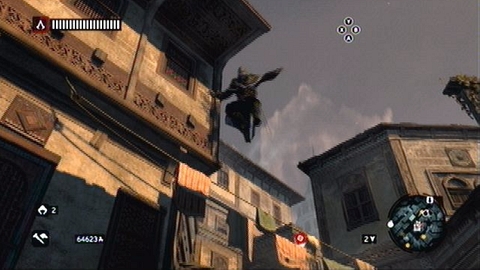
Perform an air-assassination on him and then get rid of other bandits.
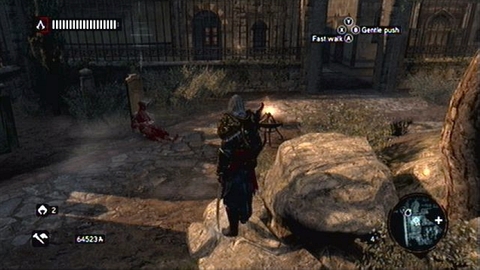
Once they're dead, return to the mission giver and end the mission.

As soon as you get close to the marked house, a short cinematic starts. After its end kill three opponents and talk to the Acrobat woman.
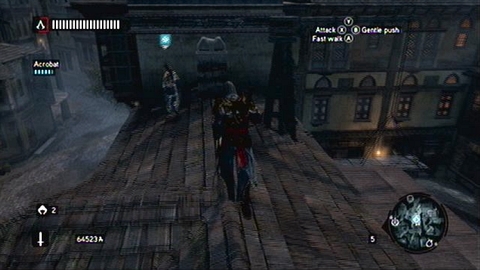
Now you have to go with her to the robbed shop. Run and jump just like her and you'll quickly get to the destination.
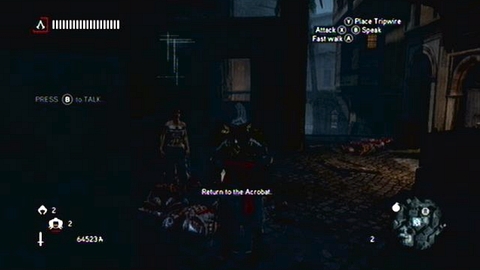
You'll find there more guards. You have to kill them while watching out for your companion's life bar. It is best to get rid of opponents with Arrow Rain (hold LB if you have 3 available recruits).
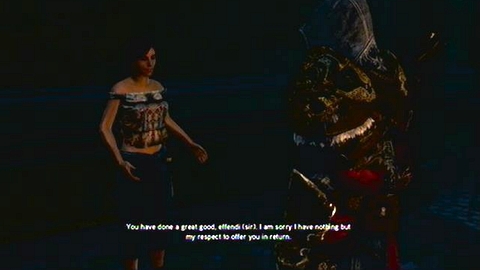
When they all are dead, talk to the woman and you'll end the mission.
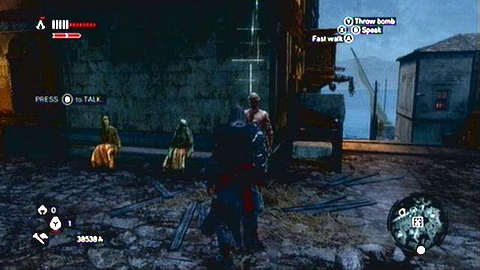
After conversation with the man, go to the area marked on the map and use the Eagle Sense.
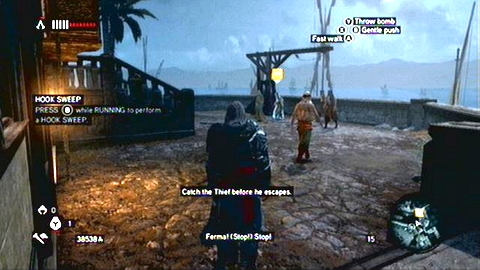
You'll find the pickpocketer in the south-east corner of the location.
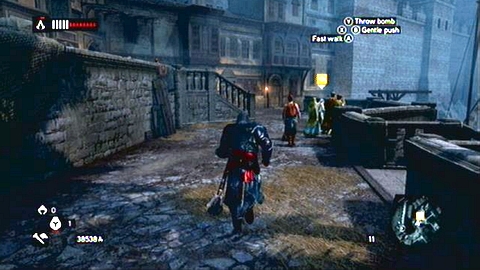
When the woman starts to flee, run after her and use the hookblade (RT+B) to knock her down. You'll end the mission then.
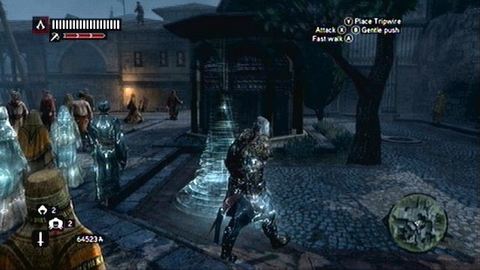
In order to start the mission, walk towards the white comb on the small square.
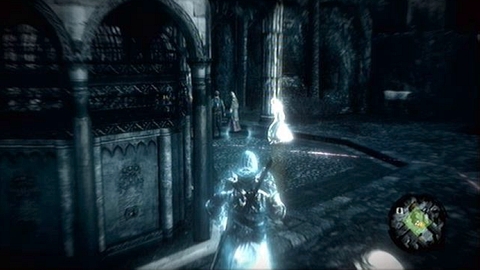
Your first task is to find pickpocketer. Use the Eagle Sense to do it.
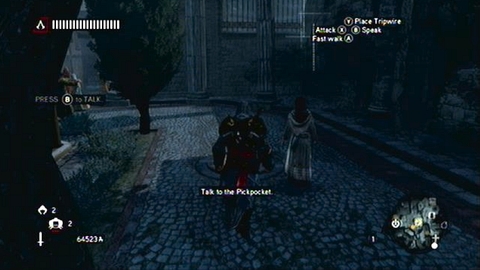
When you discover the woman, talk to her. She will challenge you to a dual in pickpocketing. In order to win, you have to get 150 coins in given time.
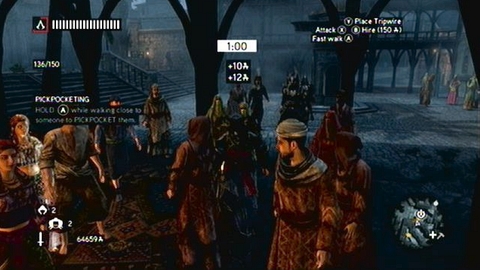
Quickly walk inside the nearby crowd and start pickpocketing citizens (A). It shouldn't take long to get 150 coins. When you're done, meet the woman again and you'll end the mission.
During completing mission from the main game plot, you'll familiarize with a system of managing your own group of assassins. You can train your recruits by sending them on special missions available in pigeon houses. When one of your recruits gets to 10th experience level, you will be able to assign him to the previously taken over hideout (Assassin Den). To do so, go to the den and walk towards the white comb there. Choose a proper apprentice and approach the desk with orders. You'll find there Master Assassin Mission bookmark. Each den has different types of missions and each mission is divided into two parts. The second part becomes unlocked when the recruit gets to the 15th experience level. When you complete both parts, the den won't be attacked by Templar anymore.
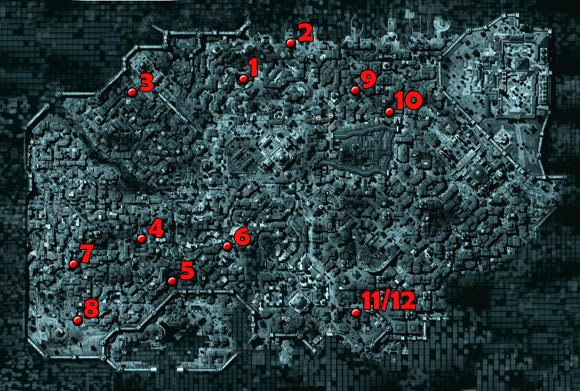
Full Sync: Locate your informant on the first try.
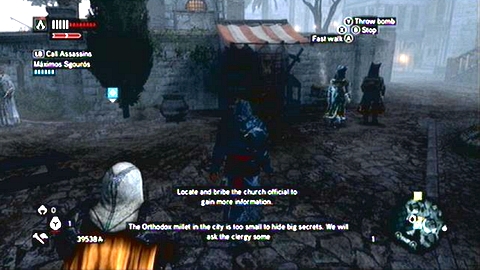
After beginning of the mission, go with your recruit to the area marked with green.
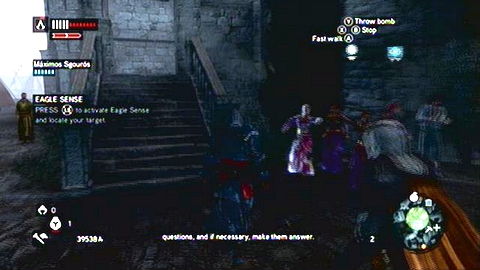
You should see stairs there with group of dancers standing nearby.
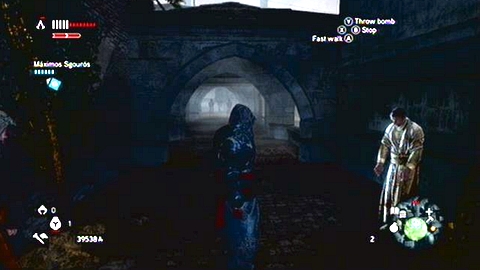
Go up the stairs and then use the Eagle Sense. Check the man standing there.
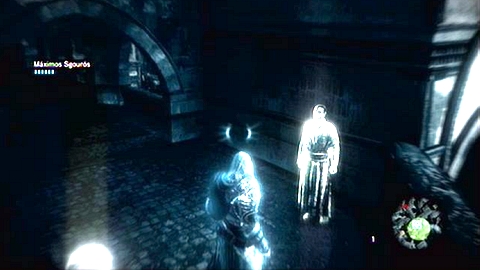
This should be a priest you're looking for. Remember not to use the Eagle Sense earlier on any person, because otherwise you won't get the full sync.
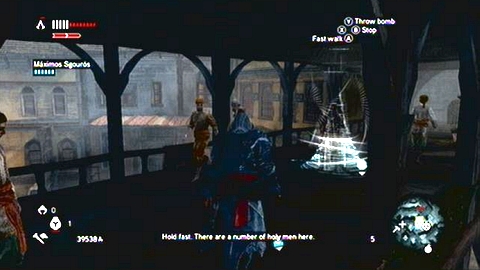
After conversation, run after the recruit to the place indicated on the map. You have to locate there your victim.
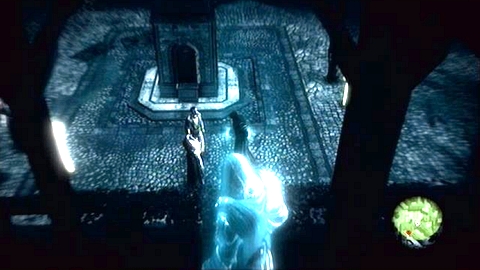
You'll find him on the northwest. Unfortunately, your apprentice is not yet fitted and he will kill wrong person.
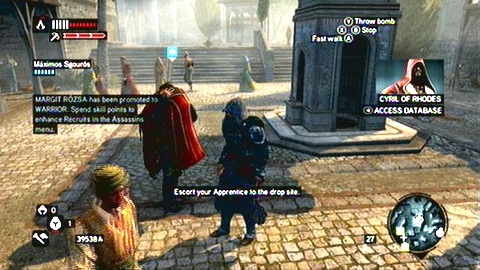
Go with him to the pier in order to get rid of the corpse.
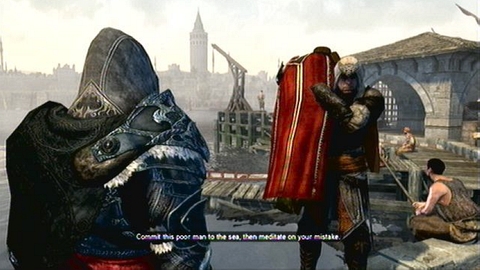
During your walk you'll be attacked by guards. You should deal with them quickly, while there are not too many opponents.
Full Sync: Kill your target with the hidden blade.
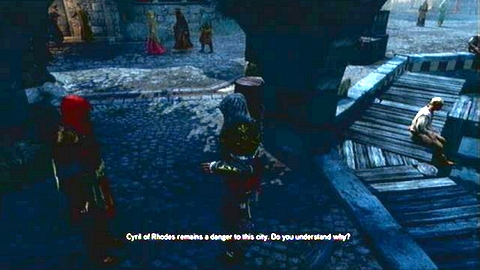
At the beginning talk to your apprentice and then walk with him to the marked place. You'll see there a corpse of a friendly official. Examine it using the Eagle Sense.

You'll see a golden trail then - follow it. At its end you'll find a priest you're looking for.
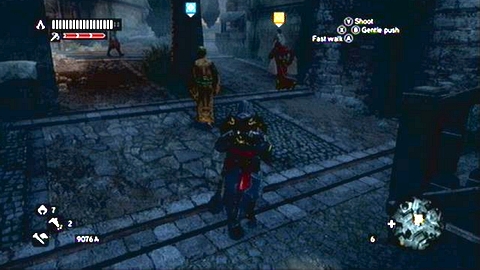
Your recruit will get an idea to lure the man in a less crowded place and kill him there.
So run after your victim until he is marked red. In order to get the full sync, you have to kill him with the hidden blade.
Full Sync: Do not let any of Romani get killed.
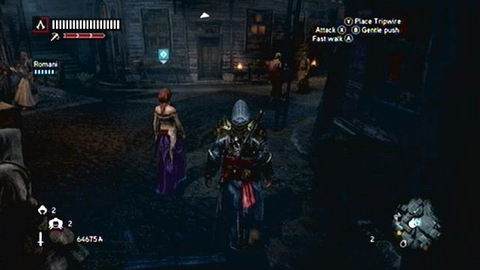
At the beginning listen to your apprentice and then follow the Romani woman.
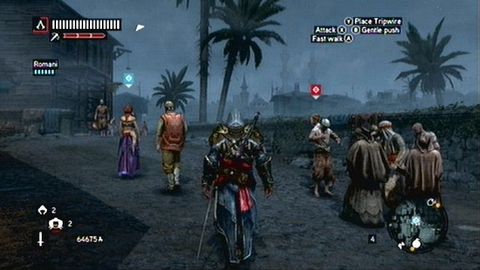
You have to protect her against enemies attacking her from time to time. Quickly kill targets indicated with red.
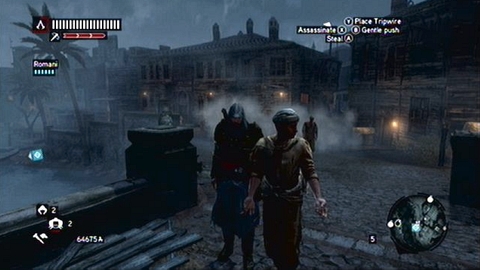
It is best to use hidden double blades in this situation. You can kill two enemies at the same time. Another assassin will help you also, throwing smoke bombs from above.
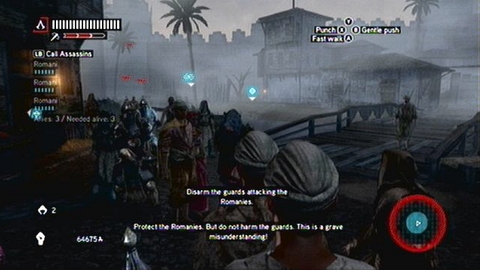
Once you get to the destination, a short cinematic begins in which guards attack Romani. In order to protect them, hit every soldier with your fists. You'll distract them then. Perform counterattacks to disarm your enemies (select bare hands as a weapon) and the mission will end. Remember not to kill any of soldiers!
Full Sync: Kill your target with poison.
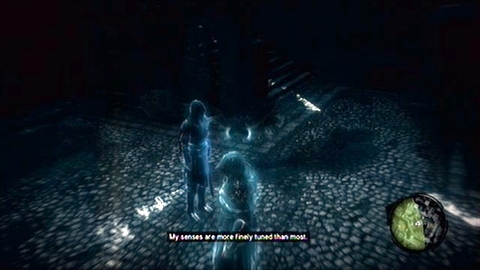
After your apprentice report the situation, use the Eagle Sense and follow the golden trail.
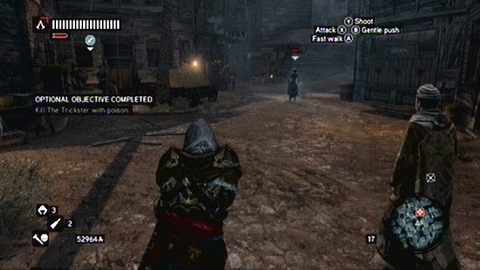
It will lead you to the woman, who starts fleeing.
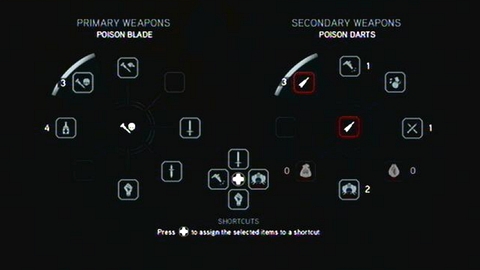
Run after her and when you have a clear shot, mark your target (LT) and shoot her with a poison dart (Y).
A moment later mission ends.
Full Sync: Stay on the rooftops during tracking the target.
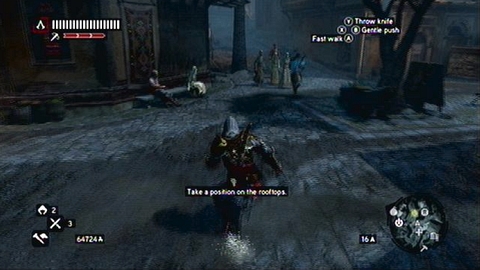
Your apprentice will lead you to the printer, whom you have to escort.
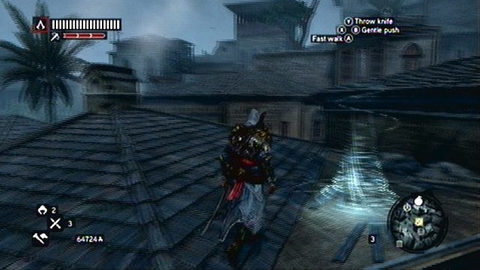
Your recruit will stay on the ground, while you have to follow him on the rooftops.
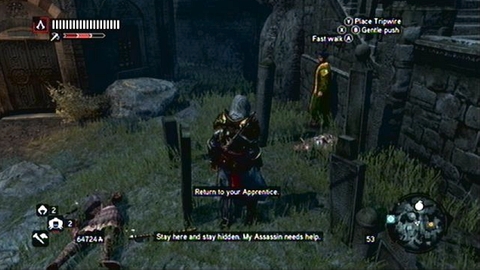
When you see enemies, kill them with throwing knives, a pistol or using backup (LB).
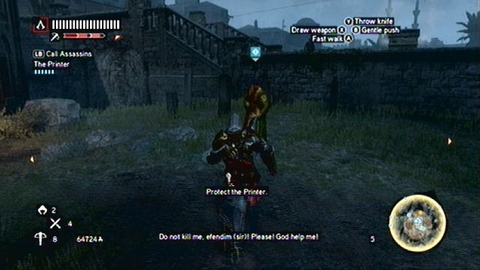
After a long walk a short cinematic begins. You have to run quickly after escorting man (you can now get to the ground) and save him from Templar.
Get rid of enemies by using your recruits. Once they all are dead, return to your companion and you'll end the memory.
Full Sync: Do not let herald get hurt.
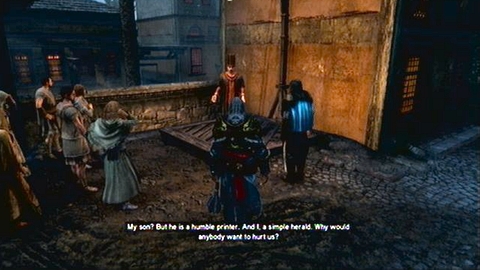
Go with your apprentice to herald and talk to him.
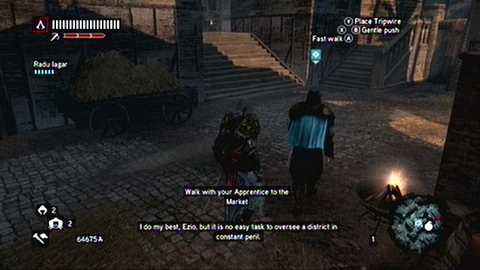
A moment later you'll be attacked by group of enemies, so quickly place the Smoke Bomb with Tripe Wire in front of the man
.
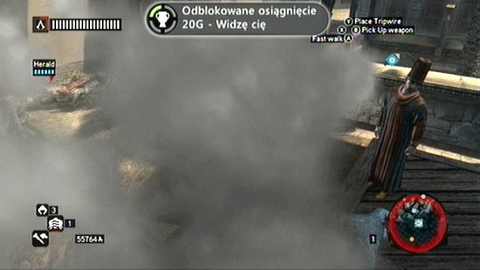
Thus confuse the attackers, so you can quickly kill them (you can use the Eagle Sense).
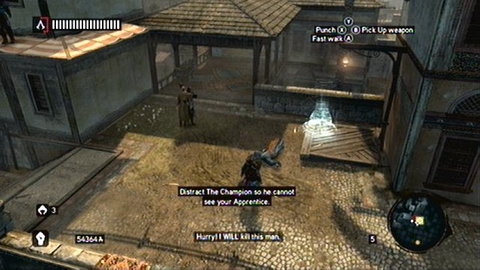
Repeat a similar operation with every wave of enemies, until their leader appears.
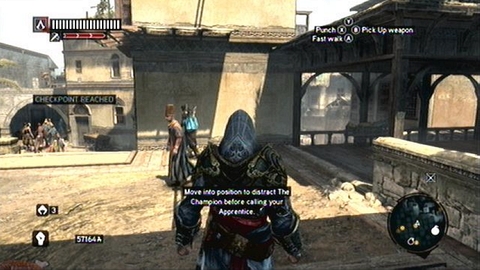
He will take herald as the hostage and put a knife to his throat. In order to kill the enemy, stand in the indicated place and then press LB. You'll end the memory this way.
Full Sync: Do not get into open fight during infiltration.
Go with your apprentice to the market place and meet with bribing merchant.
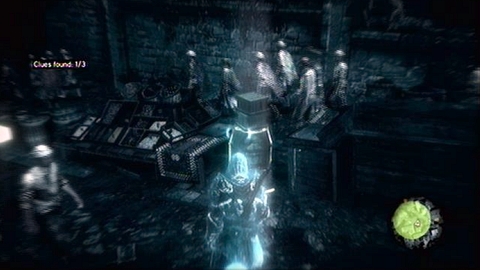
After a short quarrel, use the Eagle Sense to examine all boxes on the right.
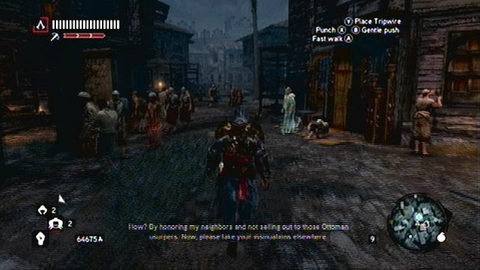
Once you've located last of them, walk towards indicated merchant.
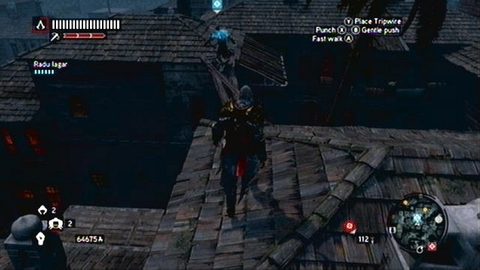
Now you have to run after your apprentice and kill guards along your way. Eventually you'll get to the mansion of the man who cooperates with Templar. Your task is to sneak upon him, without getting into open fight.
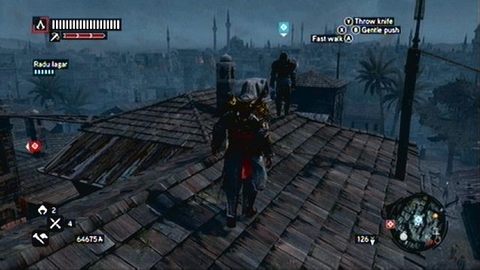
First, move over rooftops in the indicated direction. Use the hidden blade or your recruits to kill the enemies quietly.
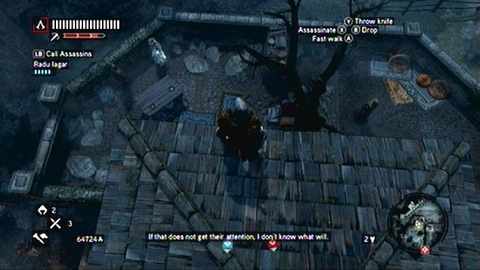
When you get above your target, distract guards with proper bombs (Cherry Bombs), go down and end the level.
Full Sync: Do not get detected before the meeting.
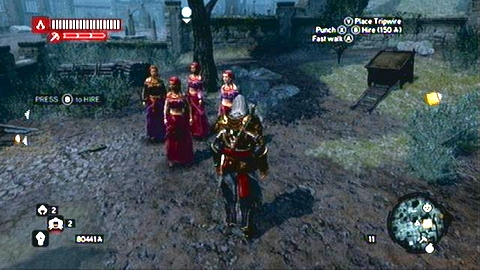
During tracking the merchant hire nearby Romani women and walk with them.
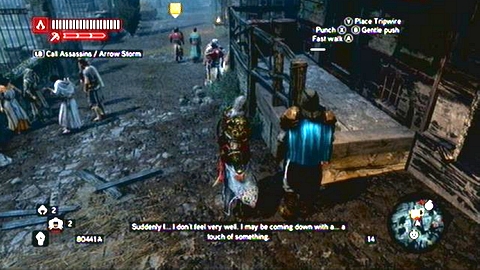
After the man meets Templar, you have to kill a guard standing on the right. Do it, leaving dancers a little behind (B).
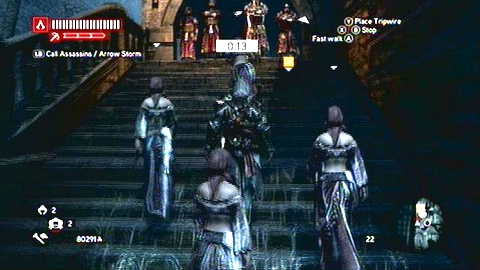
When you're finish go to the Romani women and keep following your target. Dancers will get rid of enemies blocking the passage and you'll be able eavesdropping the conversation.

Moments later both men will start to flee. Your task is to catch and kill the enemy on the right.
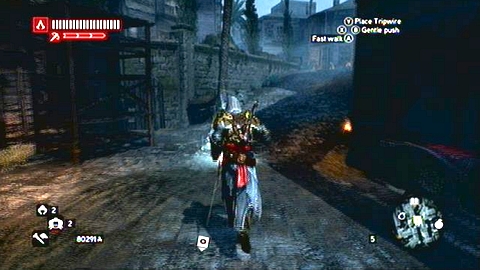
Once he is dead, take care of the other Templar.
After his death your mission is over.
Full Sync: Win the race with your apprentice.
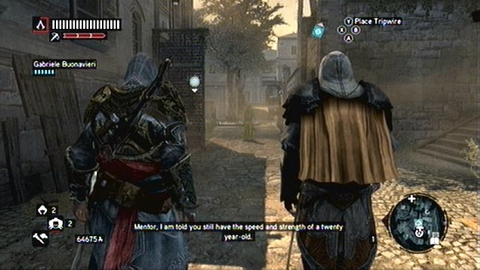
After conversation with the recruit, a short race begins. In order to get the full sync, you have to win it.
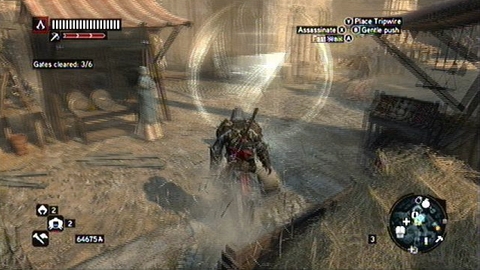
Fortunately it is not tough mission, because most of the race takes place on the ground and white arrows show the way.
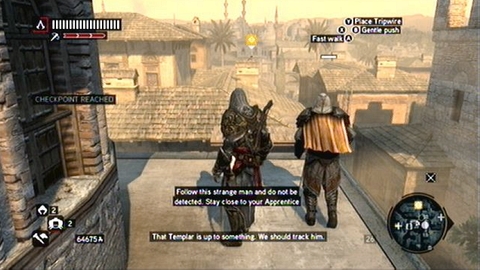
When you climb the lever to one of the building, the race is over. You'll see then the Templar, whim you have to follow.
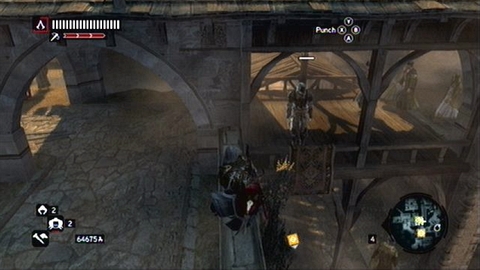
Follow him to the small square and then approach your apprentice.
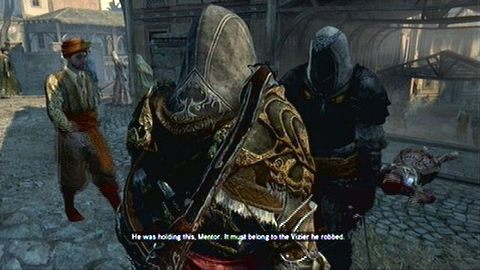
After short cinematic run after the thief and watch your apprentice kills him.
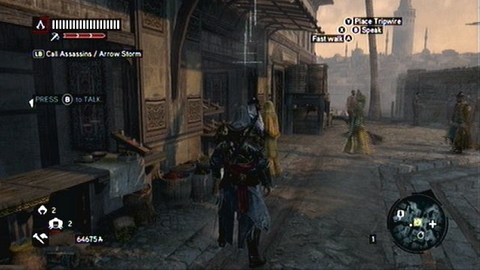
The last thing to go is to give the item to his owner.
Full Sync: Reach your apprentice in less than one minute. Do not get into open fight.
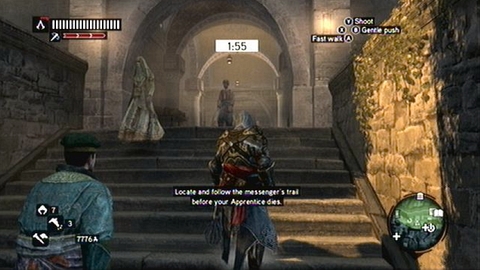
After talking to the man, quickly run to the west. On the left you'll find an entrance to the market place.
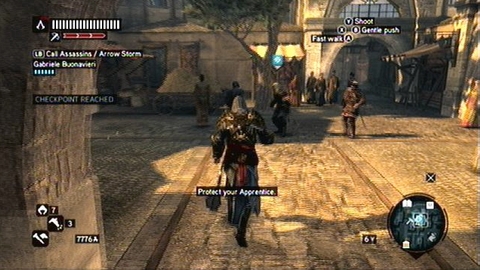
Once you get inside, turn right and then quickly turn left. Then run forward south and choose right path at the junction. You'll get this way to the square, where your apprentice is being attacked. Help him in the fight.
After elimination of all enemies follow your recruit, killing other enemies.

Finally you'll get to the man dressed in blue. Your companion will kill him, ending the mission.
Full Sync: Do not let your recruit get hurt.
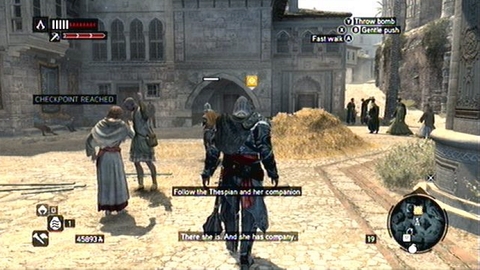
Follow your apprentice until you see a suspicious woman.
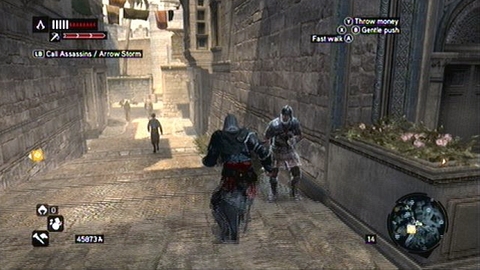
Contrary to what your recruit says, do not track her from above but follow her on the ground. Your assassin will be attacked by guards from time to time. Your task is to instantly kill enemies, so he won't get hurt. It is best to eliminate them before they are marked with red.
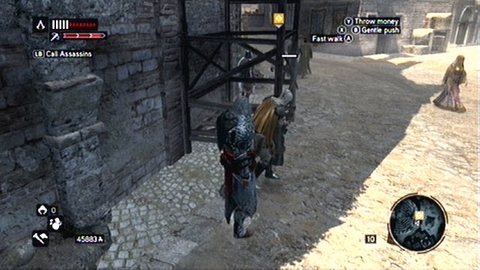
First enemy stands behind the scaffolding on the left.
Another one can be found bit further, on the street to the right.
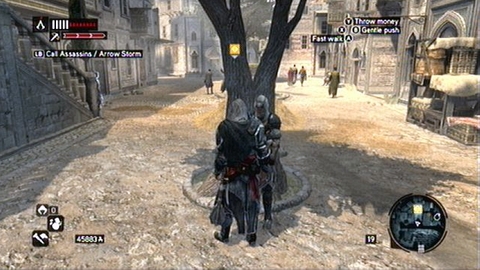
When the recruit hides behind the tree, prepare from being attacked by two men. One is located next to the stairs on the left and another stands to the right from him. If you have problems with eliminating them, call the support (LB).
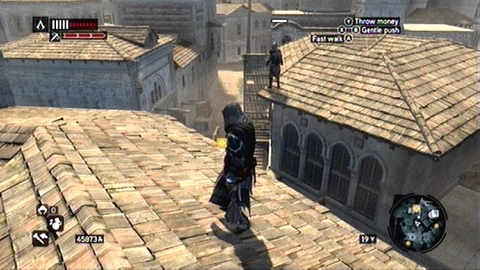
After short struggle, climb the building on the left and keep following your apprentice. No one will bother him anymore.
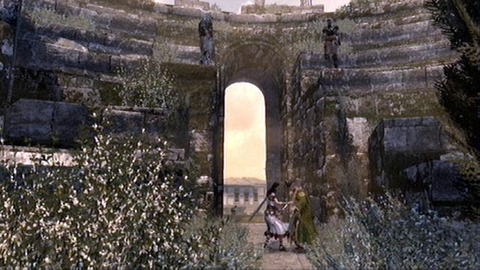
In ruins you'll see the woman murdering her companion.
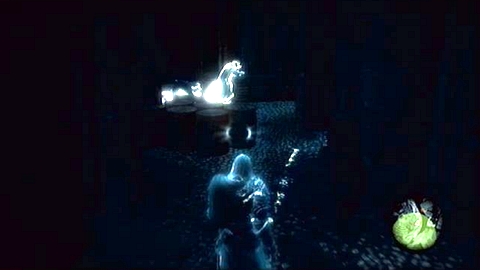
Use the Eagle Sense and follow her golden trail to the left. You'll find there corpses of another victims.
Full Sync: Kill your target before your apprentice does so.
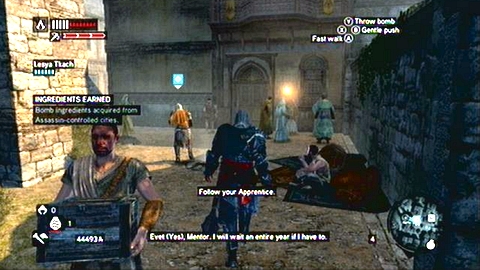
After conversation with your apprentice, follow him until you see a woman, whom you have to kill.
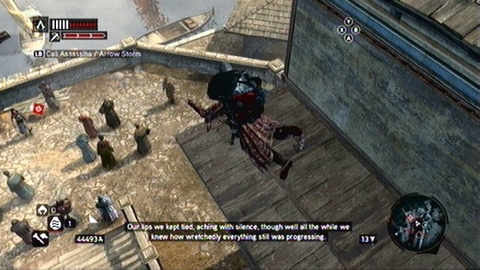
Use then a zipline on the right and kill the guard on the rooftop. Keep jumping on buildings. You'll encounter yet another enemy - kill him quickly.
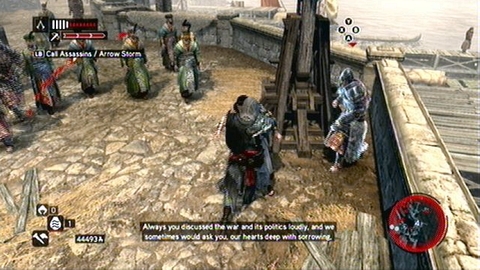
You can now jump down and run towards to your target. Then assassinate her.

Once she is dead, flee from guards to the west. After leaving the yellow zone, you'll become neutral and end the mission.
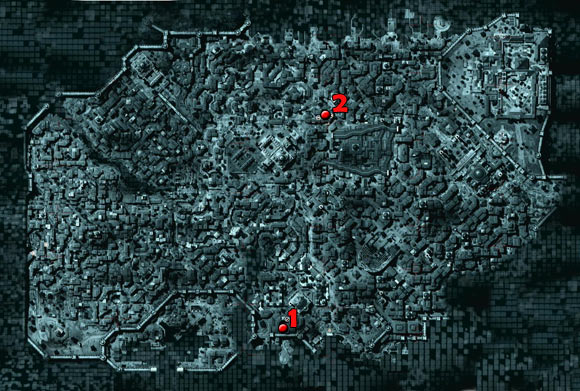
Full Sync: Save captured mercenaries while staying unnoticed.
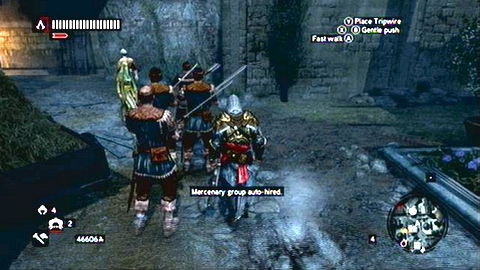
At the beginning of the mission follow the group of mercenaries to the green zone. When you get to the destination, you'll be able to give them orders.
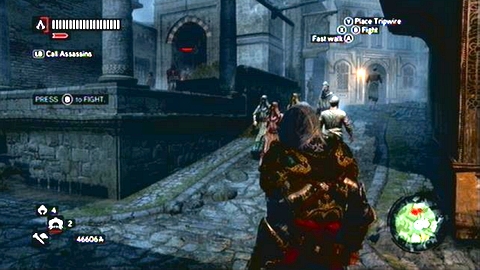
Walk with them to soldiers marked with red. Aim at your opponents (LT) and then press B.
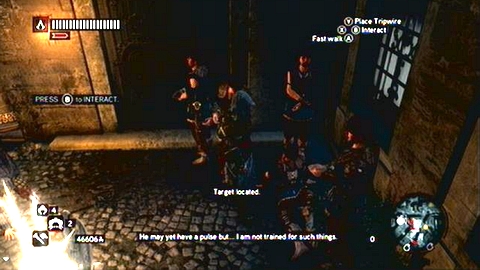
You'll start the battle, during which you'll be able to talk to captured mercenaries. It turns out that one of them was poisoned. Pick him up (B) and run with him to the indicated doctor. Try to avoid groups of enemies along your way, because your time is limited. A poor guy loses hid health from time to time.
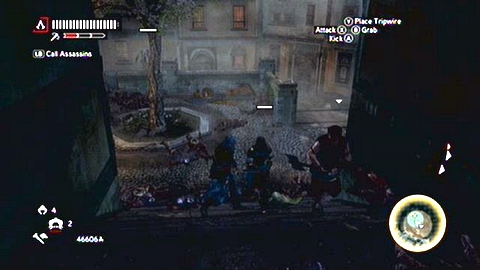
Once you get to the indicated place, you'll be attacked by Templar. Kill them all as fast as possible, watching out for the man health. You might call few recruits, because there are plenty of enemies.
Full Sync: Use the group of thieves to lure the victim out of his safe zone and then kill him.
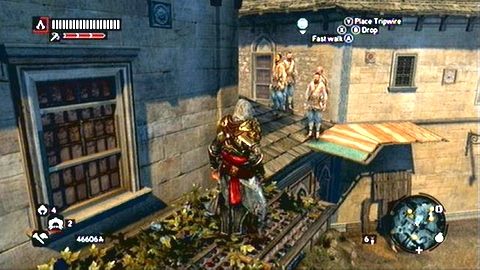
After conversation with the man, go to the marked place and hire group of thieves.
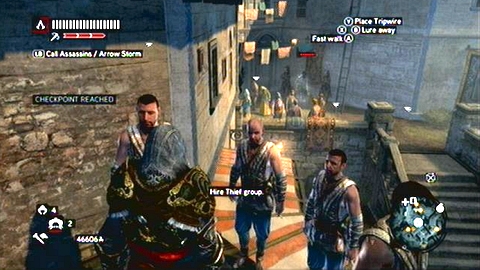
You can use them to get rid of nearby guards. Just point at one soldier (LT) and press B.
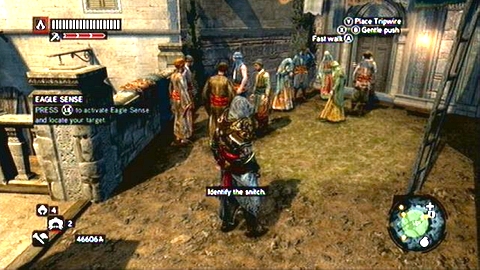
Once the area is clear, use the Eagle Sense and locate your target (from a great distance!). It is one of the men standing next to the ladder.
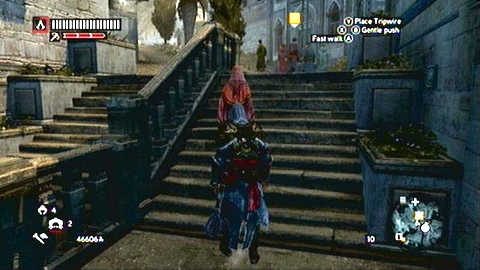
Your task is to follow him to his employer.
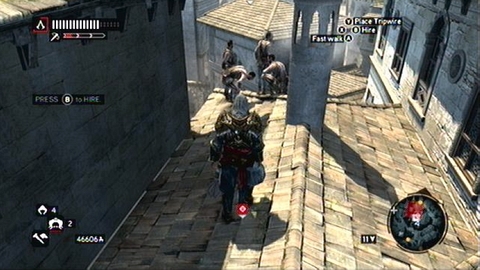
When you get there, climb the nearby building. You'll find a group of thieves there.
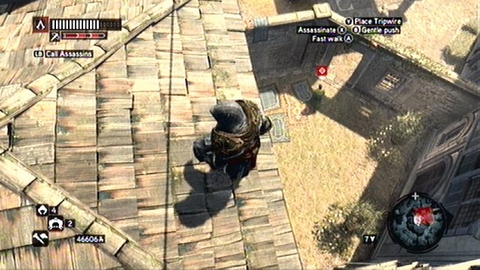
Send them on your victim. When the man leaves his mansion, kill him and explore his body (B).
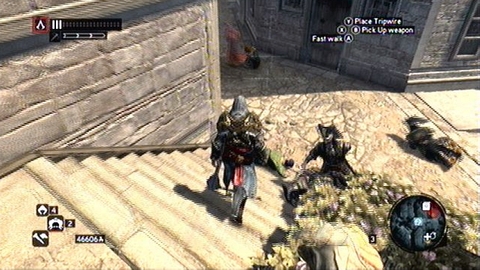
You'll end the memory this way.
A second guide to Assassin's Creed Revelations is focused primarily on all secrets and collectible items available in the game. With a help of many detailed maps and screens, you'll easily obtain all hidden treasures in Constantinople. These are:
- 100 Animus Data Fragments
- 121 treasure chests
- 10 pages of ancient manuscript
- 7 hidden books
- armor of powerful assassin
A second part of this guide contains knowledge compendium, where you'll find a lot of interesting information about new things introduced in Revelations. This chapter includes:
- information about crafting and using all types of bombs
- tips on assassins' training, dens defense and guild management
- description of the new ways of moving around the city
- map with the location of all buildings in the game
The last chapter of this guide concentrates on challenges. Each of them is accompanied by detailed comment, describing how to complete it. With these brief tips you will easily get all the rewards.
Michal "Kwisc" Chwistek (www.gry-online.pl)
Translated by Maciej "Elrond" Myrcha
Animus Data Fragments are small shiny objects which are hidden in various parts of Constantinople. Acquiring them unlocks Desmond's memories on Animus Island. Detailed description of this task can be found in previous guide to Assassins Creed Revelations, which was focused on main and secondary missions. In this chapter you will know the location of all 100 data fragments.
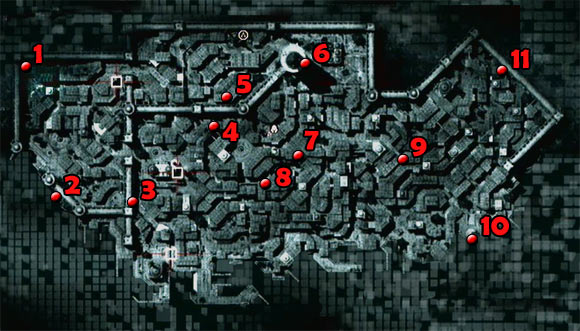
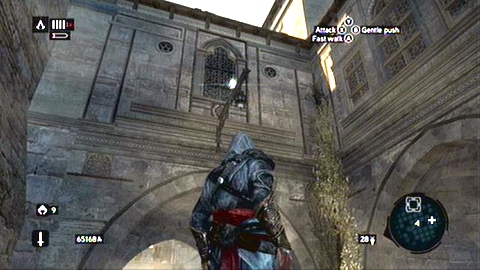
It lies on the lantern hanging over the passage at the corner of the location.
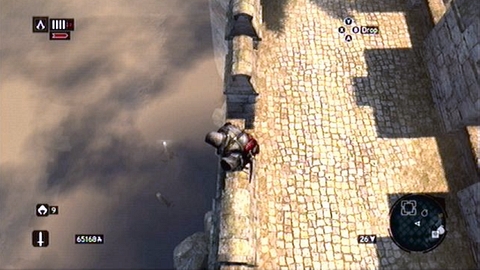
You will find it on a wooden pole, sticking out from the water outside the city walls.
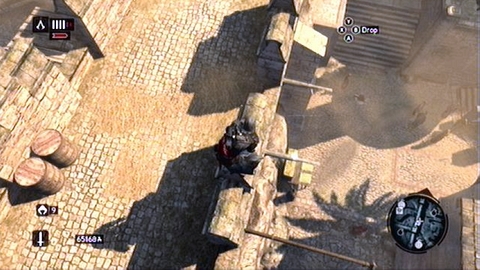
It is located on the wooden beam, sticking out from the eastern part of the wall.
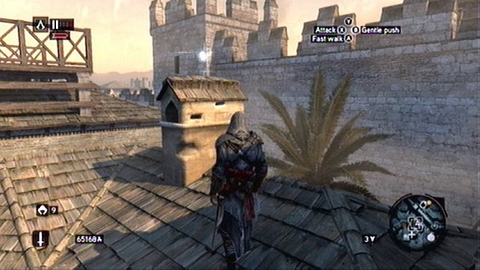
It is placed on the chimney of one of the buildings.
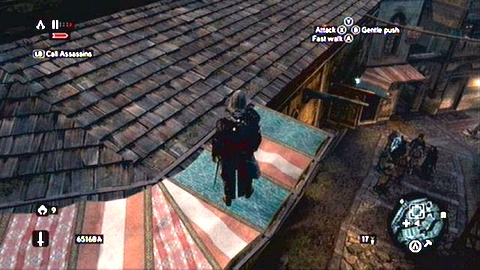
It lies on a board hanging over the street.
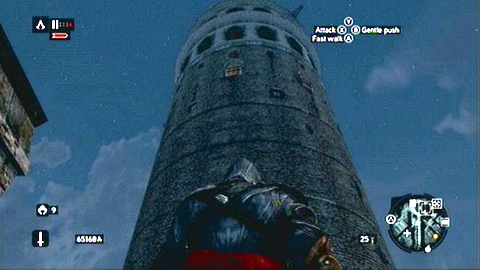
You will find it on the eastern wall of Galata Tower.
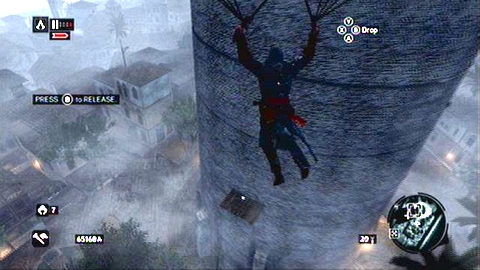
Unfortunately, the wooden platform with this fragment can't be reached by climbing on it or by lowering onto it. The only solution is to get to the top, jump from the northern part of the building and then use the parachute to fly to your target.
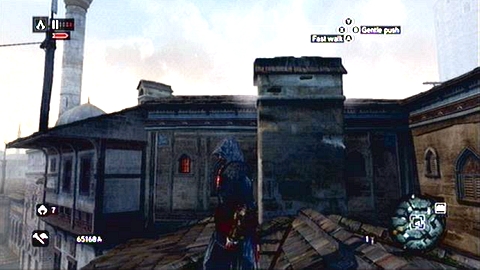
Fragment is located on one of the chimneys.
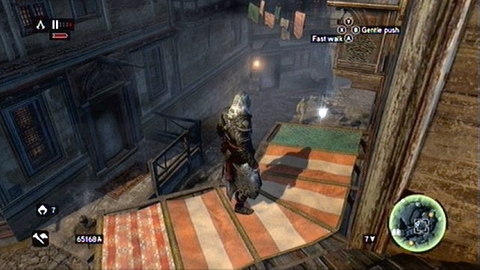
It is placed on the roof hanging over the street.
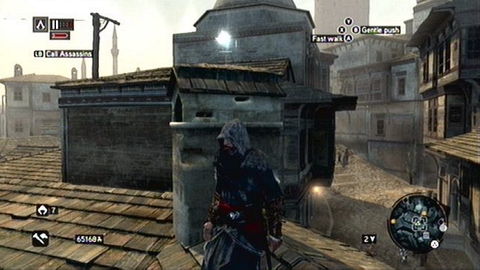
It hovers over the chimney.
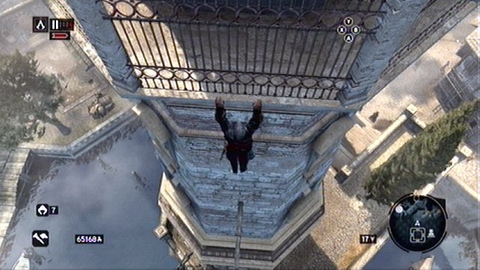
A fragment can be found on the southern wall of the lighthouse.
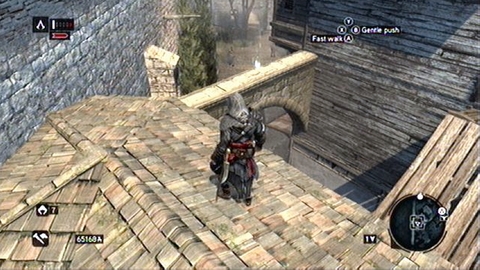
It is hidden in a stone arch over the street.
It is hidden on the first level of the minaret.
It lies in the middle of a small courtyard.

This fragment can be found at the top of wooden scaffolding.
It is hidden in the ruins of the aqueduct.
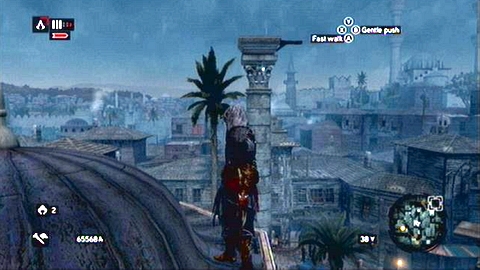
It hovers near the top of ancient column.
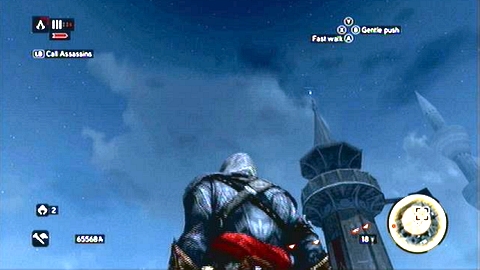
Fragment is at the top of the Templar tower.
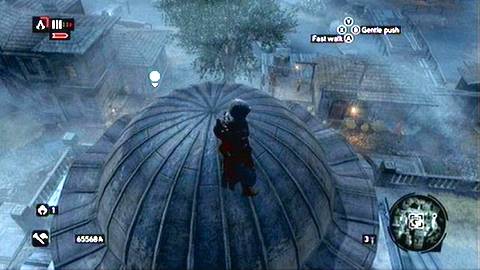
You will find it on the dome of the tower.
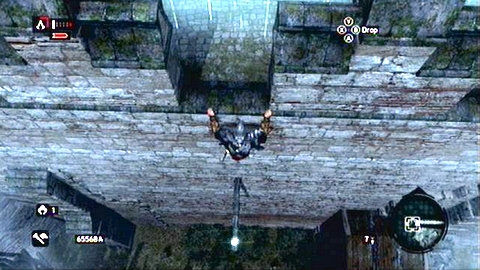
It hovers over the wooden beam, near the circle of fighting men.
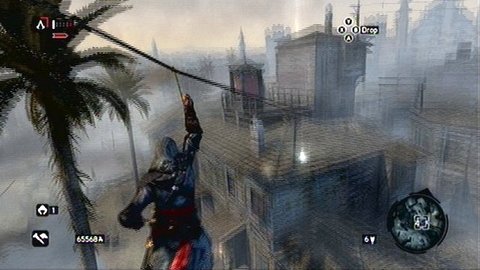
This fragment is placed under the rope hanging over houses. To get it, you have to slide down a rope.
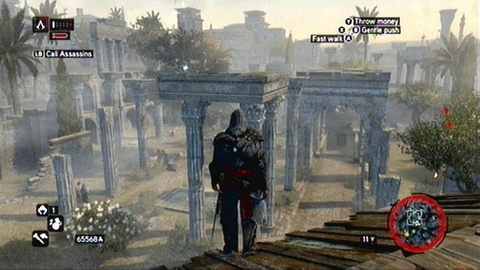
It is placed on top of ancient columns.
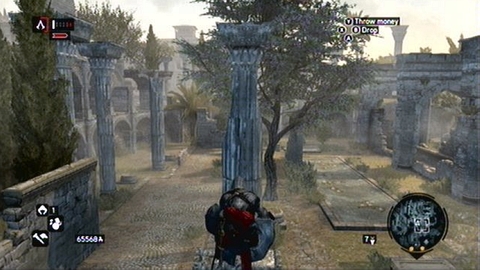
In order to get there, climb on the lowest stone pillar on the east and then jump over next parts of ruins.
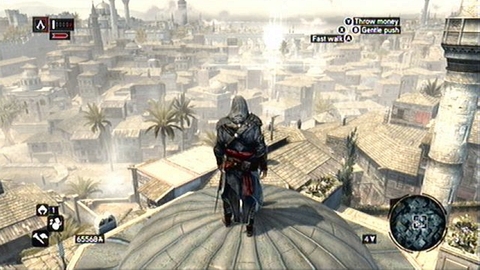
Fragment hovers over the dome of the tower. Get it by jumping up (RT + A).
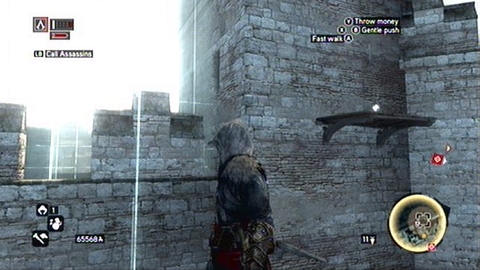
You will find it on a wooden platform hanging off of the walls.
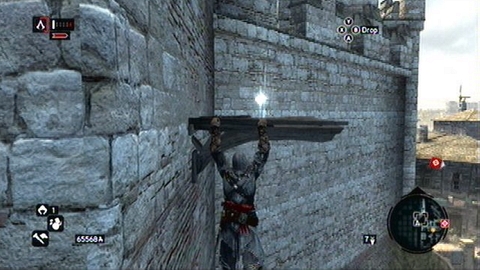
First climb on the nearby wooden beam, run upwards and then jump aside to the right.
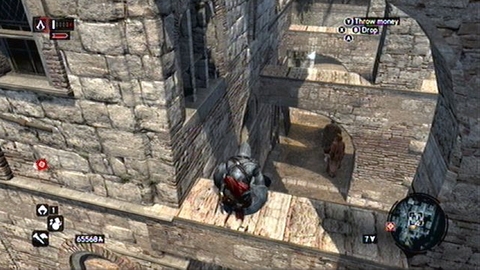
It is hidden under the stone arches of the building.
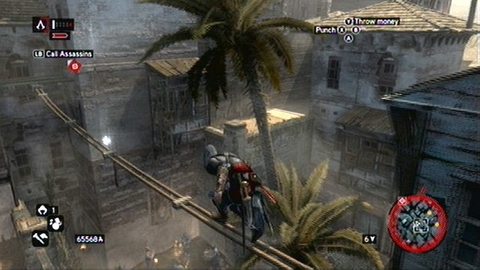
It hovers over the rope hung between buildings.
It is located on one of the towers domes.
It is placed on top of the Templar tower.
It hovers in the roofed dead-end street.
It lies on the ground near the stairs.
In order to get this fragment, climb on the building next to the walls and then jump from there to the wooden beam.
It is located in the cemetery between the two stone pots.
Fragment is on top of stone column.
In order to get there, climb on the lowest pole on the other side of the street and then jump over next columns towards your target. Before your last jump gather some speed and remember about using hook blade (hold B while in the air).
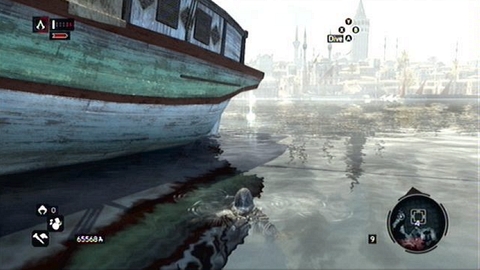
It hovers over the water, next to the ship.
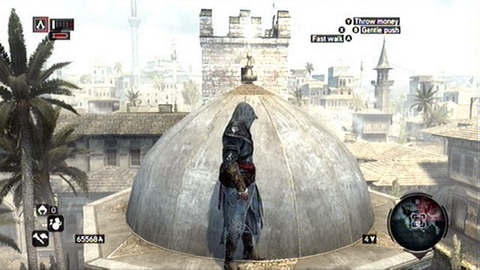
You will find it on top of a small dome.
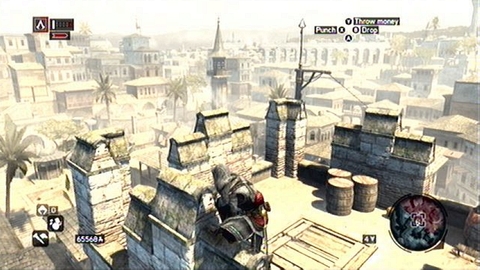
This fragment is hidden on one of the high towers.
It is placed on the next small dome.

It is located on top of one of the buildings.
It is hidden on top of an ancient column. Jump there from the rooftop of a nearby building.
This fragment also hovers over the column.
You will find it on the roof of a high building.
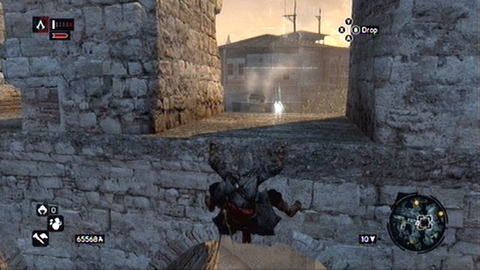
Fragment is in the middle of the old aqueduct.
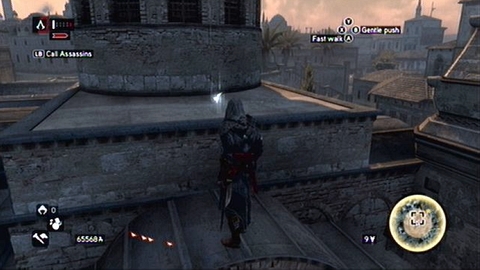
It hovers above the roof of the temple.
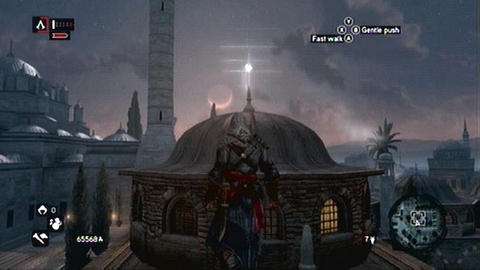
It is placed over the dome above the gate.
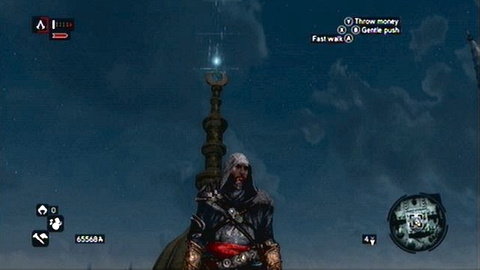
This fragment is located on the spire of the large dome.
You will find it at one of the ancient columns. To access it, jump on the near stone pillars.
It hovers on top of the tower.
It is placed on top of a small dome.
This fragment is also placed on a similar dome.
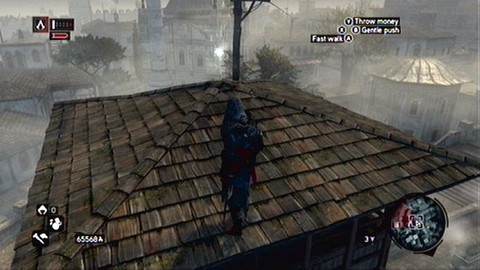
You will find it at the top of the guard tower.
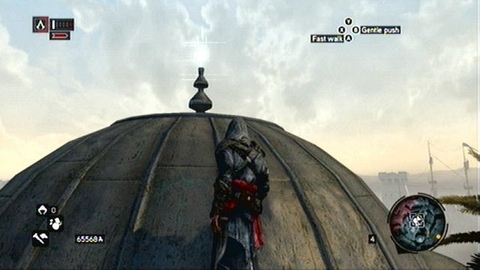
It hovers over the mosque's spire.
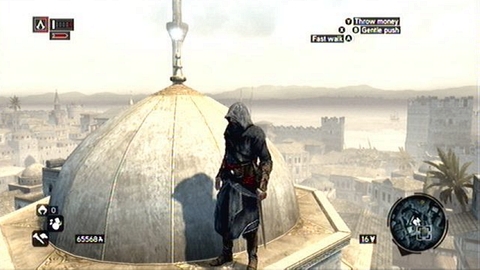
It is located over a small dome.
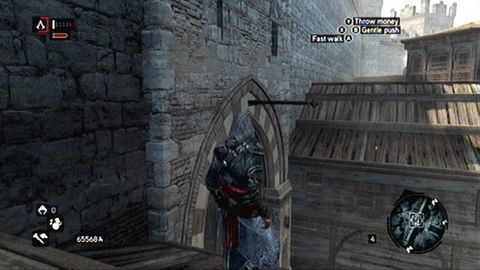
It is hidden on a wooden beam hanging over the gate.
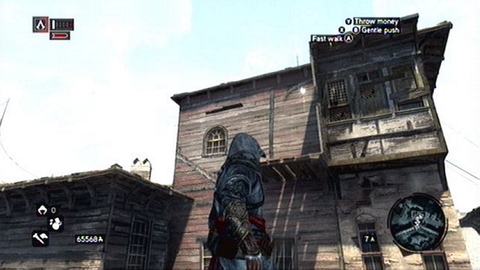
Fragment is placed at the northern wall of the building.
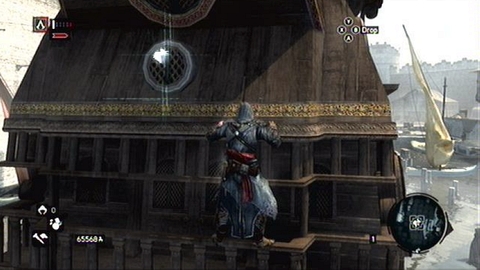
Moving to the side of the ship, go to the rear part. There you will find next fragment.
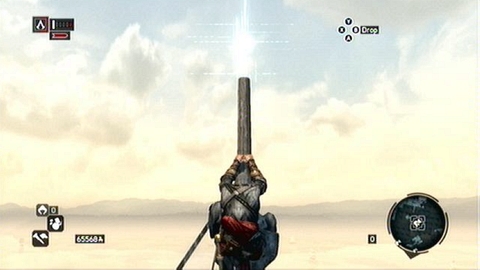
This fragment is located on the second ship, exactly at the top of its mast. When you reach the crow's nest, lower from its edge, move closer to hanging ropes and go over them a bit higher.
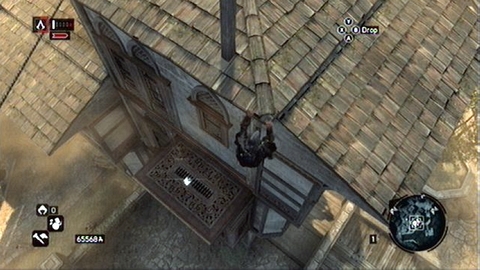
It hovers at the western wall of the building.
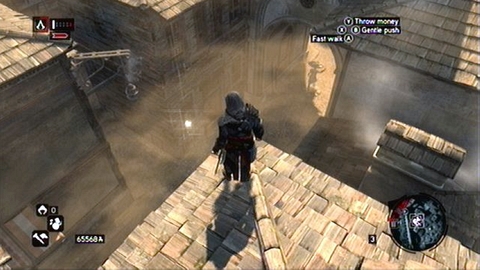
It is placed over a street.
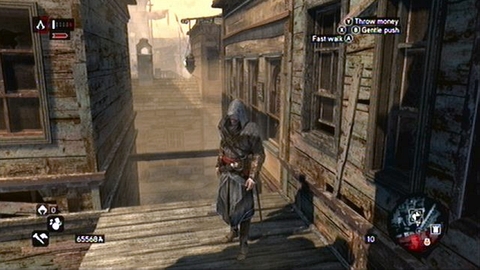
You'll get it by executing a long jump with help of the hook blade on a small container hanging under the rooftop.
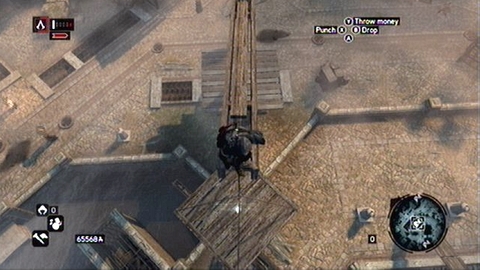
In the shipyard you will see many high cranes. Climb on the one marked on the map, and then lower to the wooden platform at the end. There you'll find another data fragment.
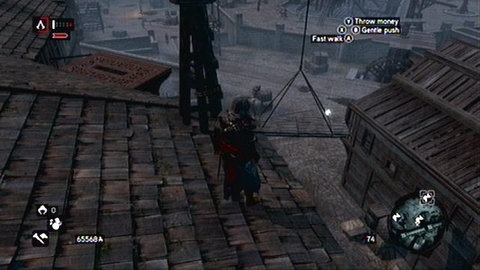
The next one is located in a similar place. But this time the crane is far smaller and is located on the building rooftop.
It is located inside the ship hull being constructed.
It hovers above the roof of one of the buildings.
Fragment is hidden under the rooftop of the large workshop. To get there, climb over the entrance and jump from there onto the wooden beam.
It is placed on top of a high tower.
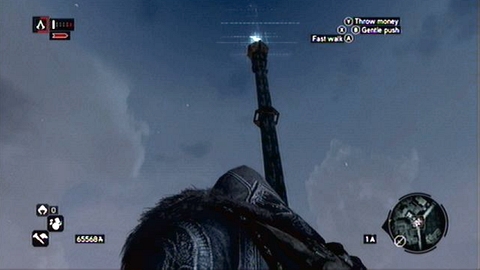
This fragment is located also on the tower, but this time you'll find it on the top of the mast.
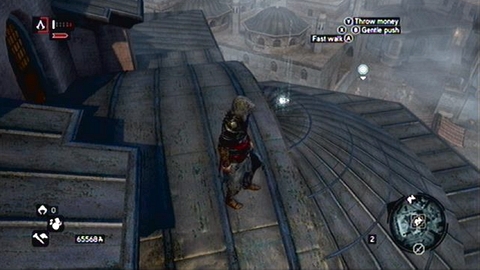
You will find it over one of the domes of the temple.
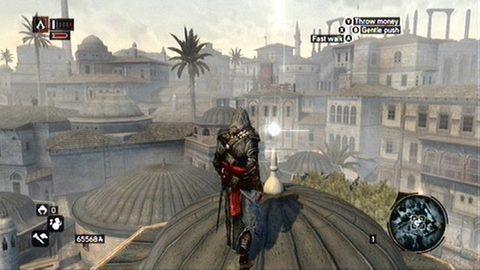
It hovers over a small dome.
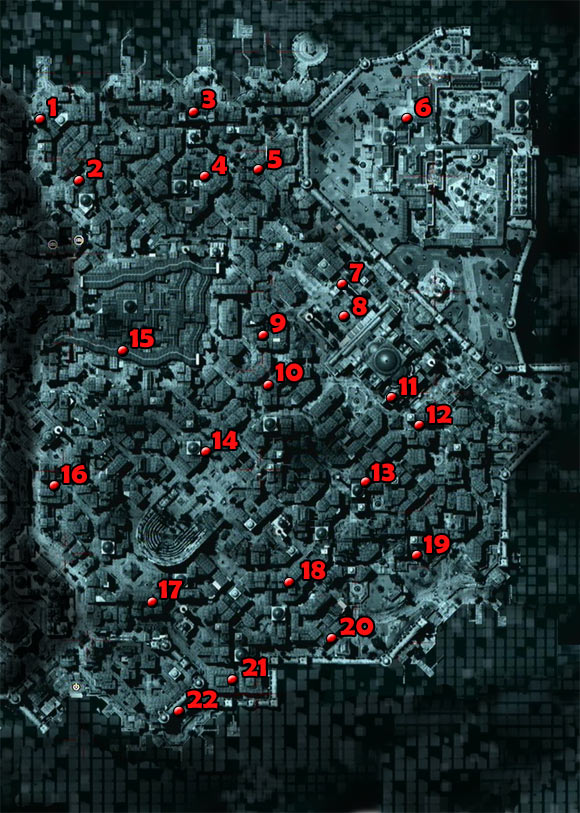

It hangs over one of the gates.
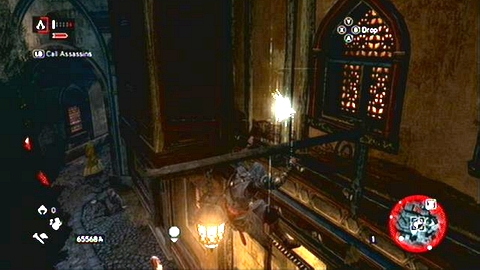
You will find it on the lantern hanging over the street.
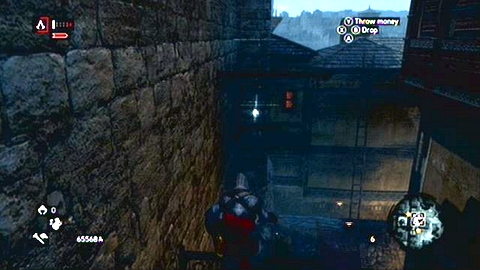
It hovers over a wooden beam sticking out from the wall.
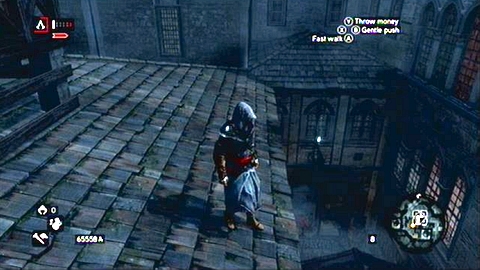
It is placed on the wall one of the houses.
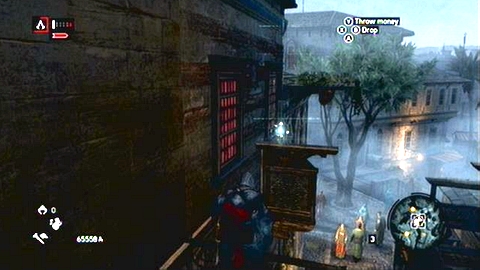
This fragment can be found on a wooden board hanging over the shop.
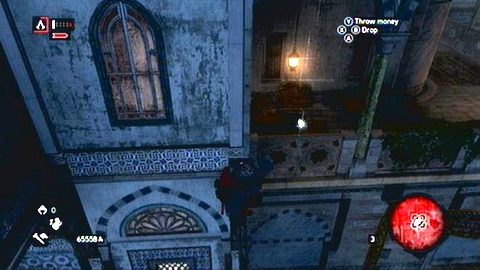
It is hidden in one of the balconies of the palace.
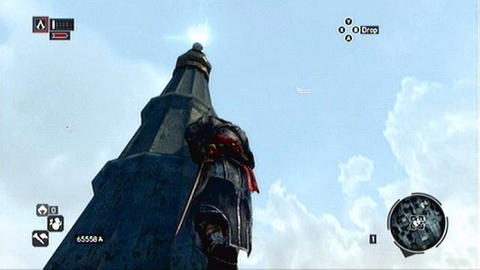
You will find it at the top of the minaret.
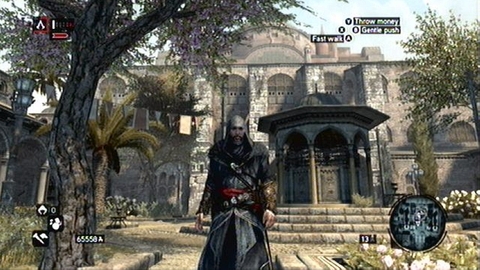
In the middle of the courtyard is a small gazebo. Above the roof hovers a data fragment.
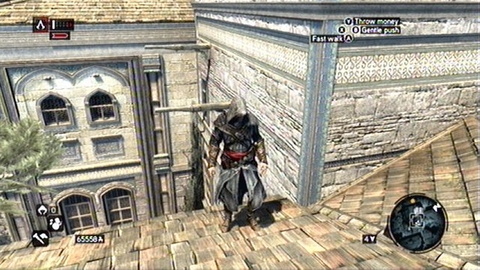
It hovers over the wooden beam sticking out from the wall of the building.
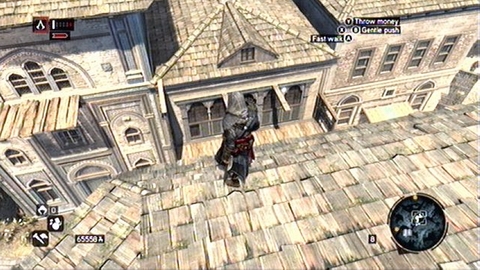
This fragment is located over one of the balconies.
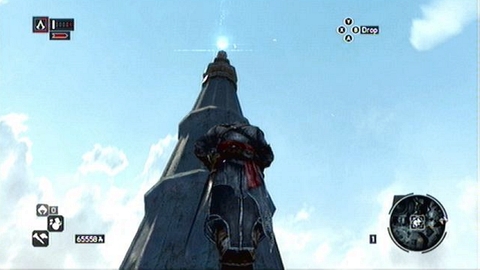
It is hidden at the top of the minaret.
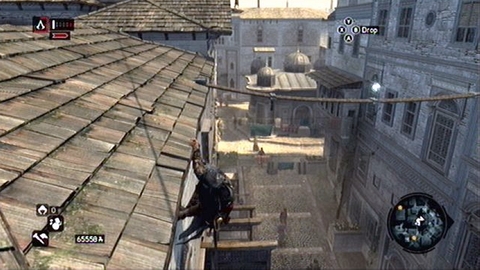
You'll find this fragment on a rope hanging over the street.
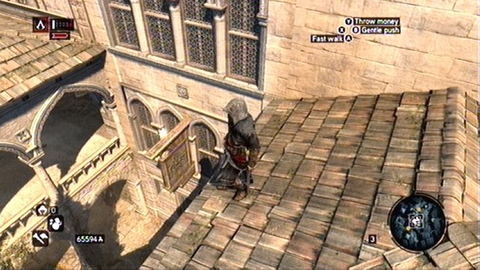
It lies on a wooden board attached to the wall of the building.

It hovers over the passage between buildings.
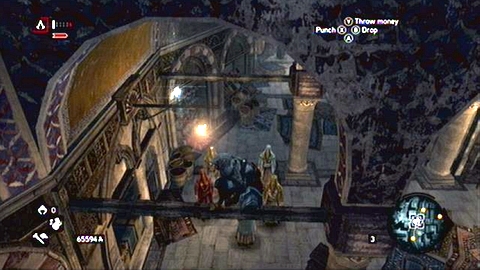
It is placed over lantern hanging in the bazaar.
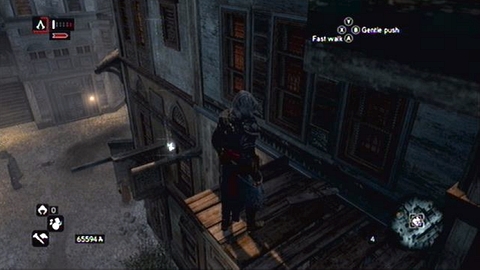
This fragment is hidden on a wooden beam sticking out from of one of the buildings.
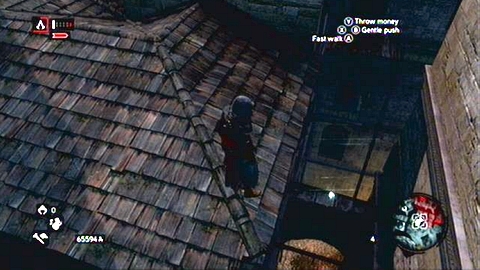
It is located on stone arch built over the street.
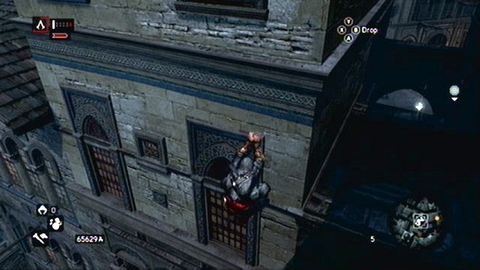
Just like the last fragment, it is hidden over a stone arch.
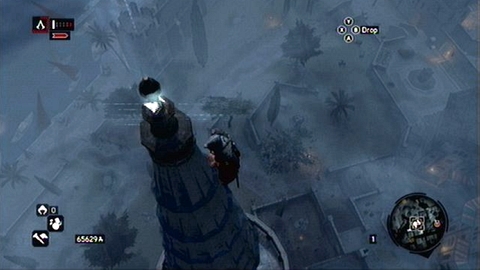
It is placed on the top of the minaret.
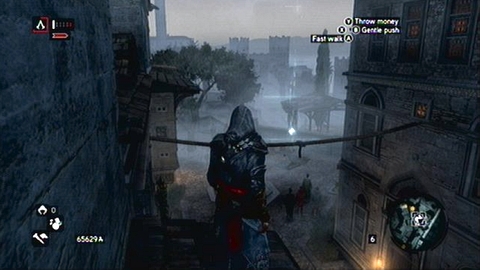
Fragment it is hidden on a rope hanging over the street.
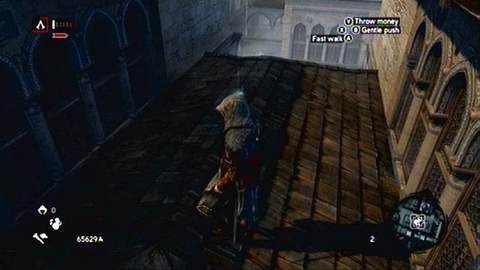
It hovers above the roof of passage between buildings.
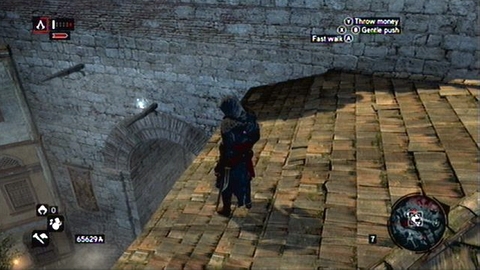
It is located over passage in the wall.
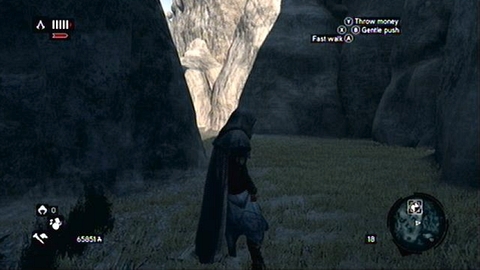
Right before entering to the underground, turn left.
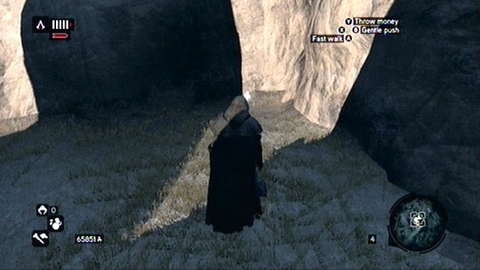
At the end of the path you will find first fragment.

It is hidden inside the building.
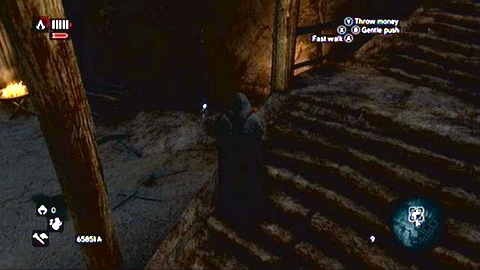
Go up the stairs in the south and then jump down to the north. Fragment lies in the corner.
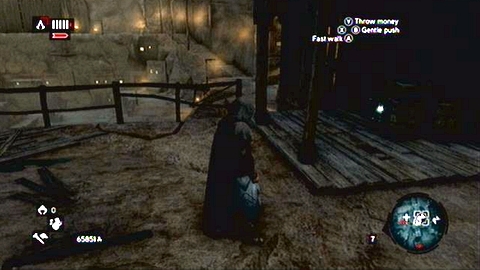
It hovers under the wooden roof.
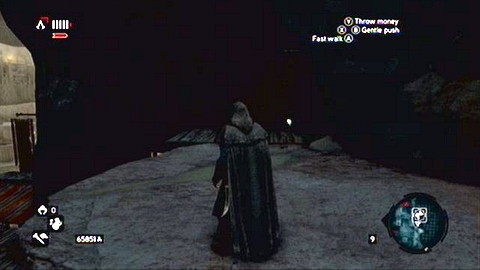
You will find it on the roof of one of the buildings.
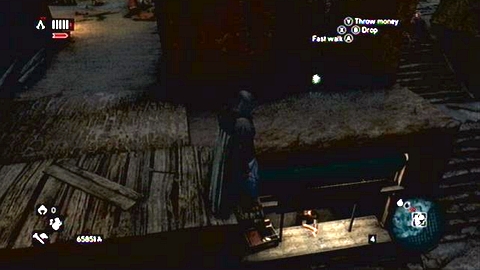
Fragment is hidden above a bookshop.
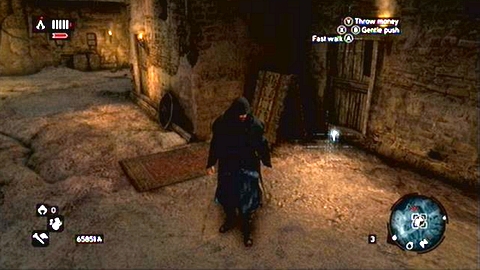
It lies at the door of one of the houses.
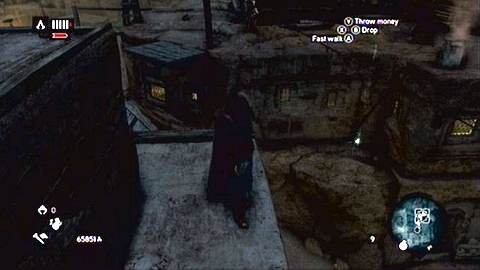
It is located on a ledge next to the narrow path.
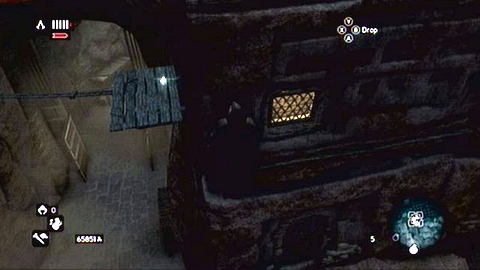
This fragment is placed on a wooden platform hanging over the street.
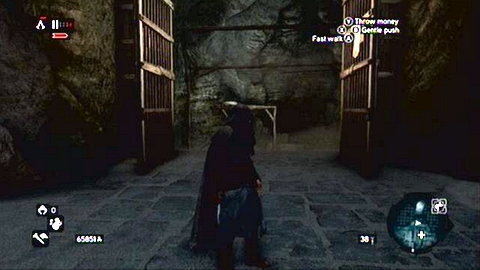
Go into the tunnel leading to the underground river, then down the stairs.
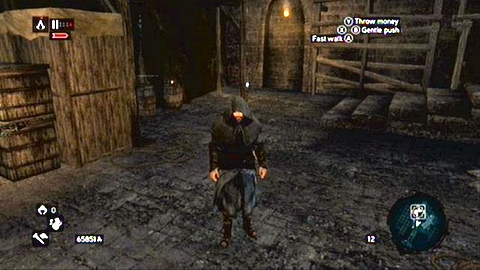
Near the last step you'll find the fragment.
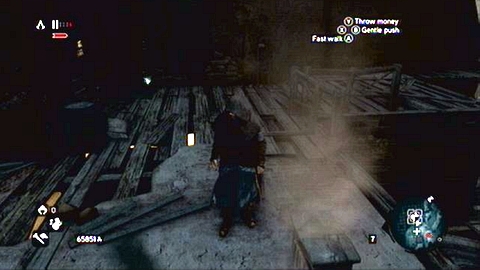
It hovers over the roof of one of the houses.
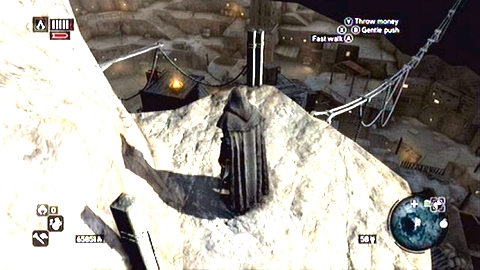
First, climb up the high tower standing in the city center.
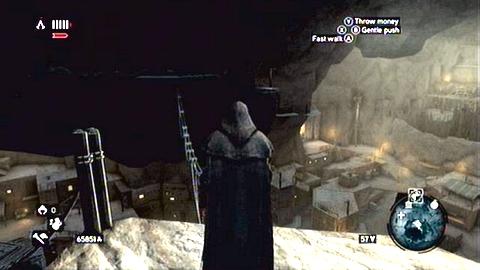
You'll find there a line leading north. Move over it and then go along the cavern wall.
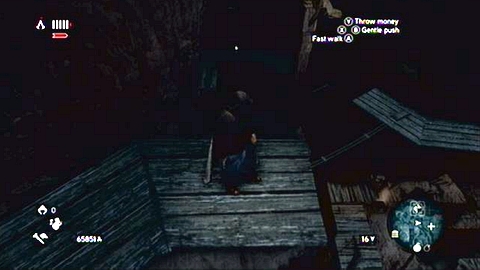
Right before pole with line you have to turn left. At the bottom you'll find the last fragment.

Chest is located under the stone arches.
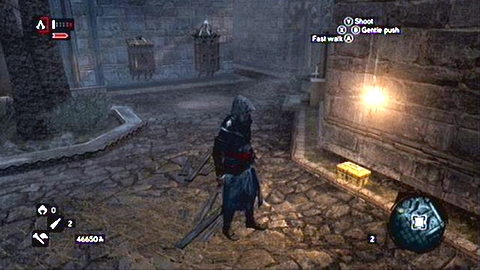
It lies at the wall near the pigeon loft.
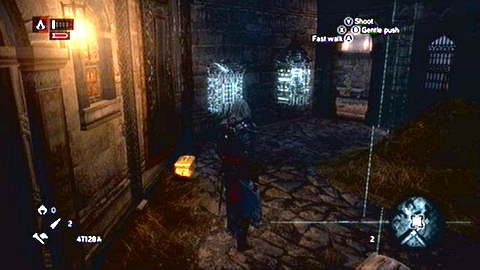
Just like the previous treasure, you will find it near the pigeon loft.

Chest lies next to the stone stairs.
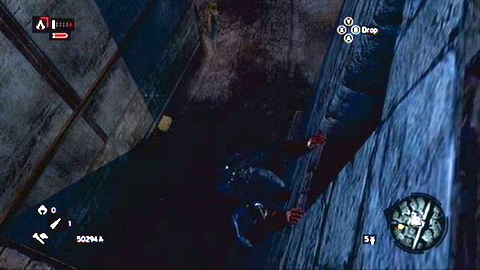
It is hidden by building next to the wall.
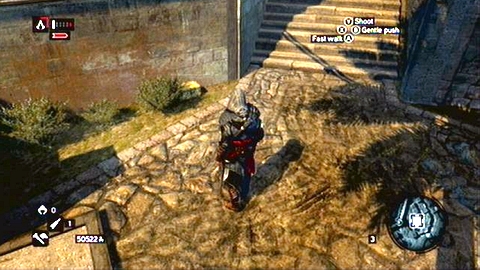
It is located in bushes near the stairs.
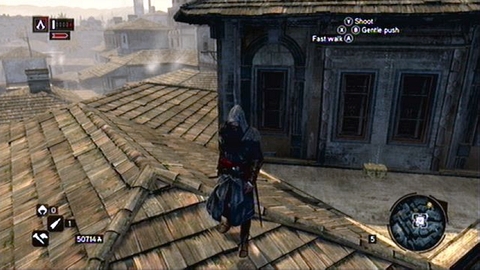
You will find it on the roof of one of the buildings.
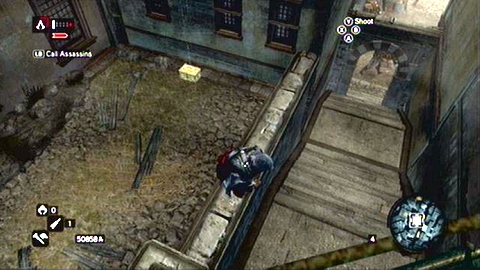
It lies on the left of the top of the stairs.
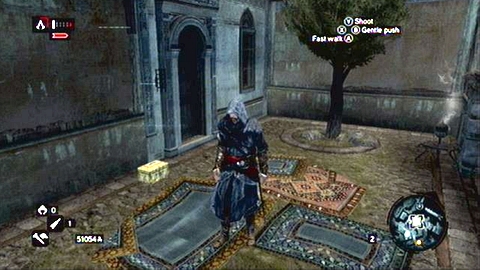
The chest is left on the ground near a single tree.
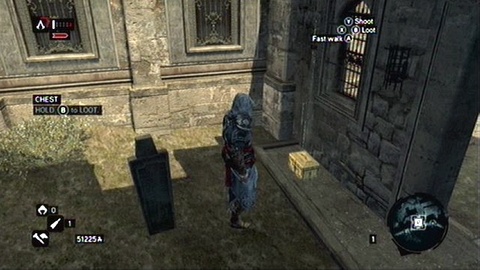
Treasure is hidden next to the exit from the cemetery.
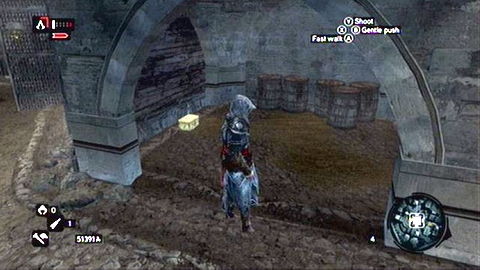
You will find it under a stone arch next to barrels.
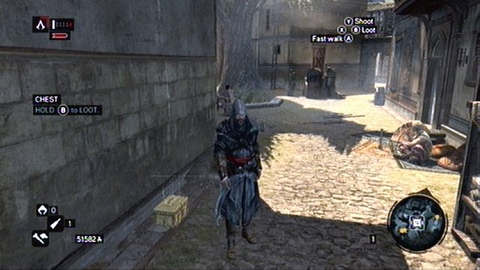
It is located near the wall of a building.
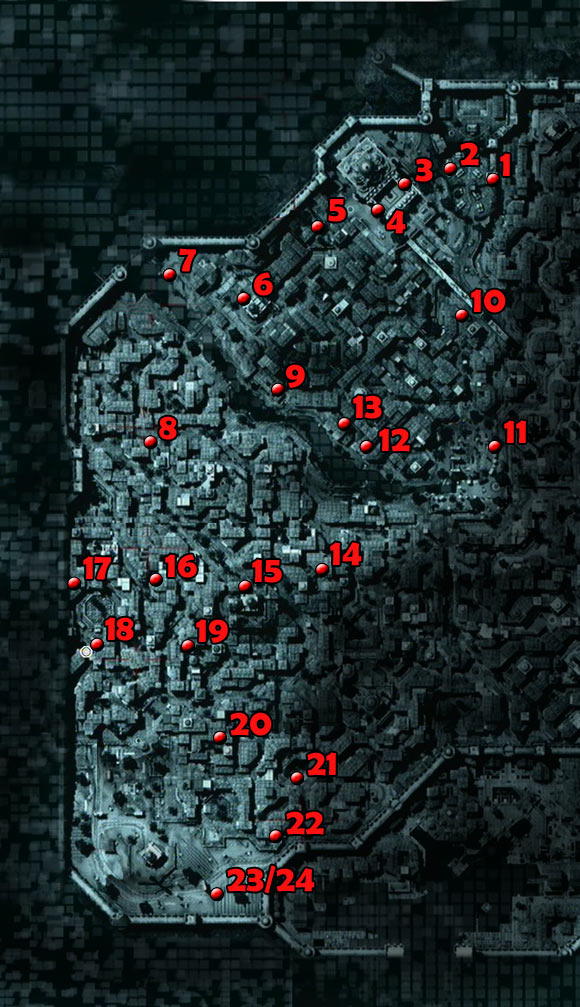

The chest lies on the ruined tower near the pigeon loft.
You will find it next to the tent and the guard sitting in front of it.
It is hidden near the wall of the palace courtyard.
It lies on the other side of the same courtyard where you found the previous treasure.
It is hidden by the wall near the pigeon loft.
The chest is left near the entrance to housing.
You will find it at the end of a small bridge.
It lies on the left of the top of the stairs.
Treasure lies in the corner of one of the buildings. Behind a wooden fence.
It is hidden by the wall near the pigeon loft.
It lies under a broken aqueduct.
It is located under a wooden roof between buildings.
You will find it on the roof of a house. Behind damaged walls.
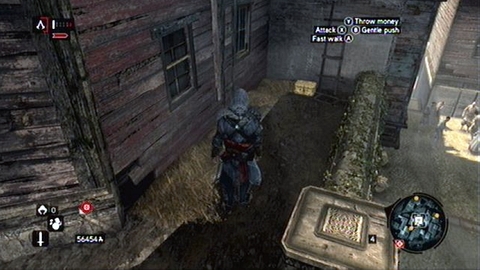
Treasure is located in a narrow alley near the stairs.

The chest lies by the wall of a building.
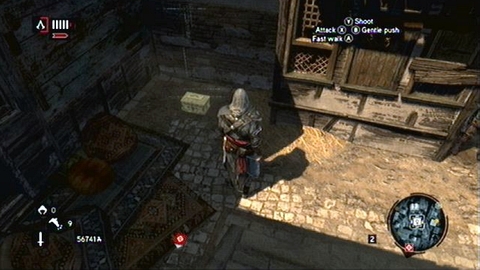
It is hidden in a narrow alley, where you'll encounter guards.
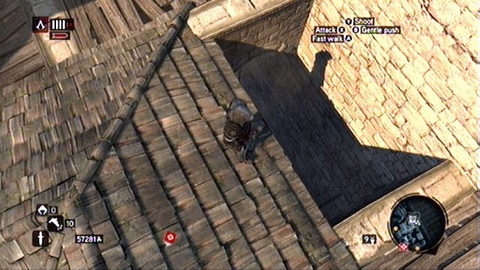
In order to get to the treasure, climb the rooftop above it and then search for the hole at the wall.
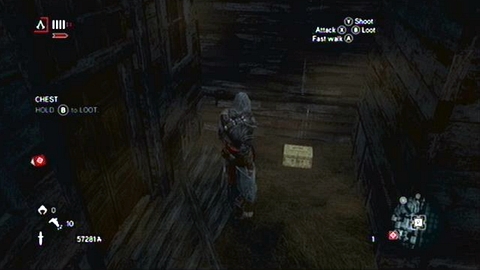
Once you get down, head south. At the end of the narrow corridor you'll find the chest.
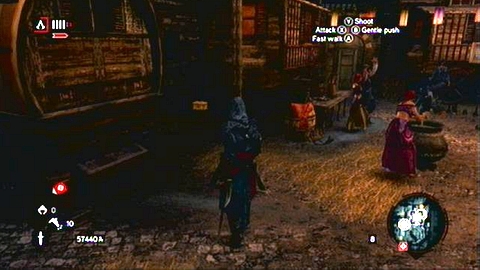
You will find it in the alley near a group of Romanies.
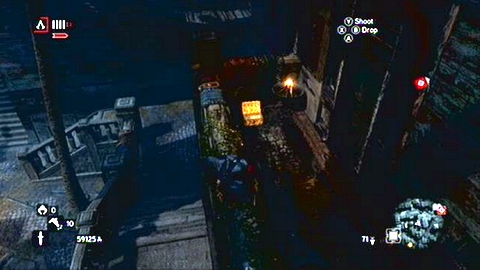
It is left at the door of the house. Next to the top of the stairs.
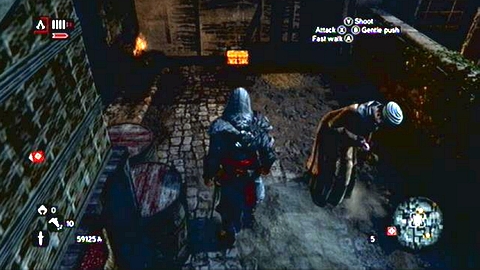
It lies under the wooden roof.

The chest is hidden next to the stairs.
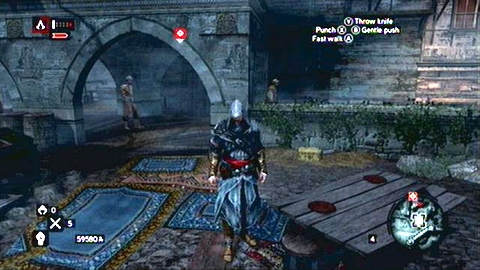
It is located near the stone arches and a wooden table.
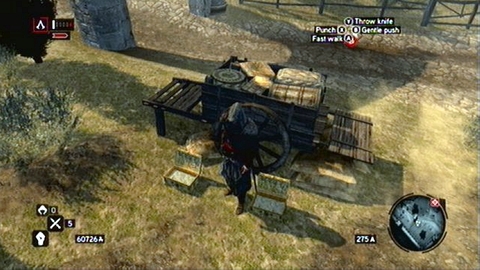
Both chests lie next to the cart protected by the guard squad.

You will find it on the building next to the wall.
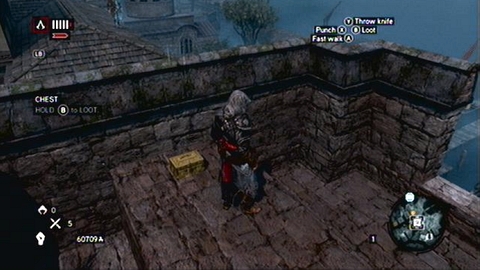
The chest is hidden on top of a high tower.
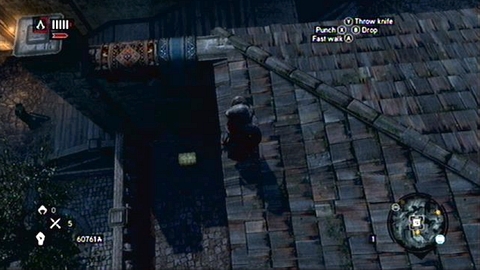
It lies on a terrace near the stairs.
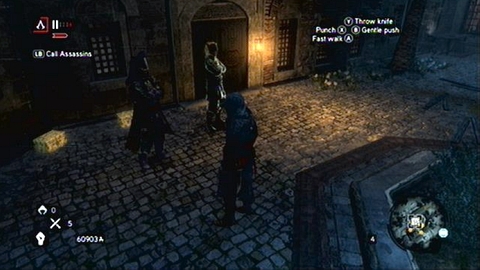
Both treasures are located by the wall one of the buildings and are protected by a pair of guards.
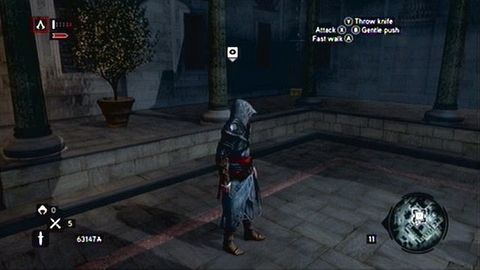
It is hidden in a corner of a small courtyard. Near the columns.
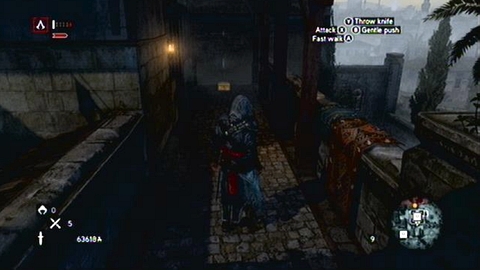
It lies between the door and stone wall.
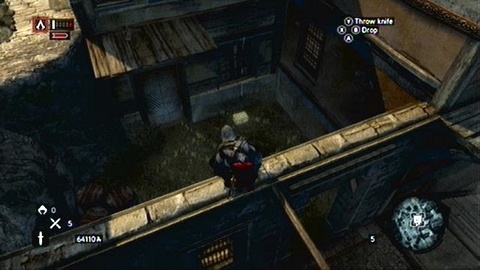
The chest can be found on a small yard.
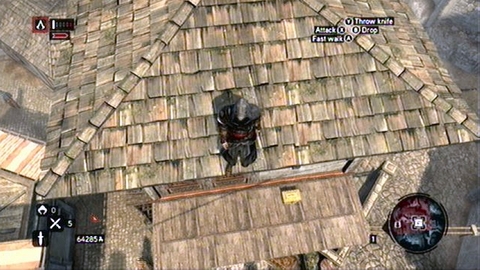
It is located on a wooden roof attached to the wall of the building.
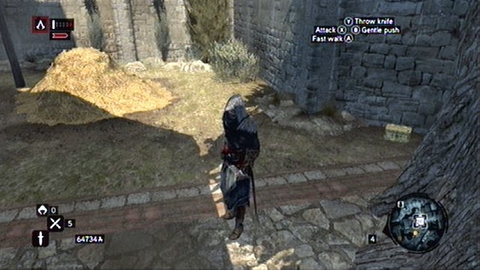
It lies on a high wall, near a heap of hay.
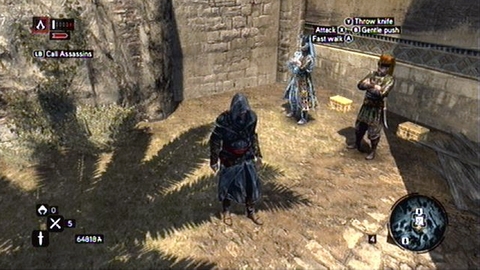
You'll find both treasures on a large yard. They are guarded by a pair of guards.
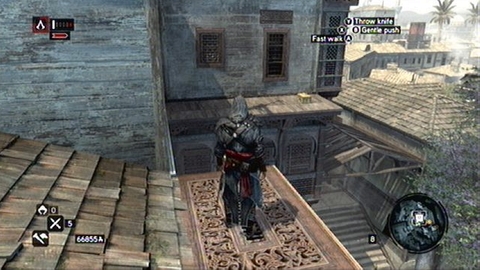
The chest is hidden on a wooden platform in the middle of the building.
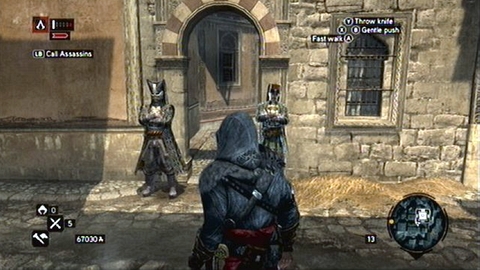
Treasures are placed in the courtyard protected by guards.
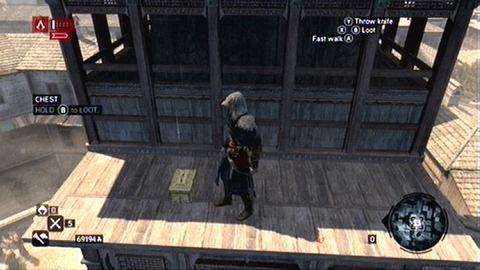
It lies on a wooden platform attached to the watchtower.
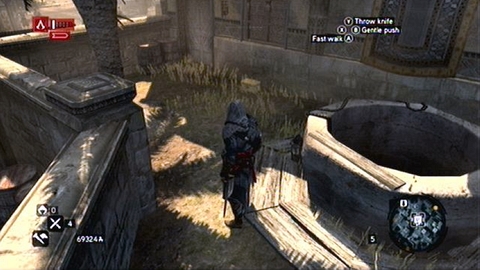
You will find it by the wall near the well.
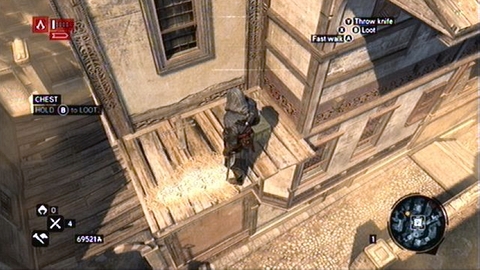
The chest is hidden on the wooden platform next to the house.
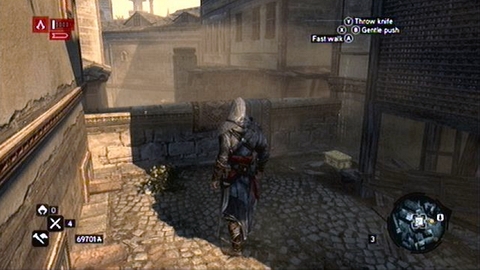
It is located at the stone wall next to the wooden scaffold.

It lies in a corner of the yard, near the pigeon loft and the well.
You will find it in the middle of the street, between a tree and a pile of boxes.
The chest is hidden near the high wall.
It is located on a wooden balcony, right next to the roof.
It lies on the roof of the building, near the scaffold.
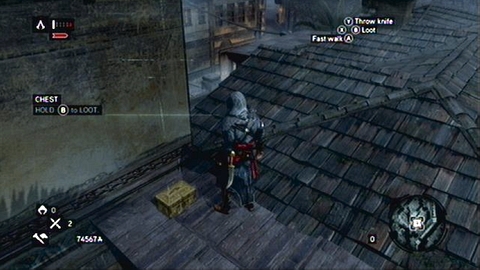
You'll find this treasure on a wooden rooftop.
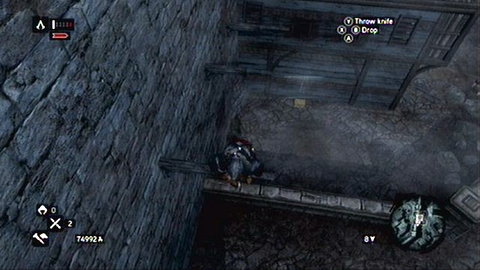
It is located next to eastern wall of the high wall.
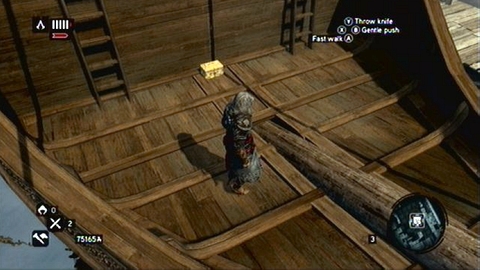
It lies in front of the ship.
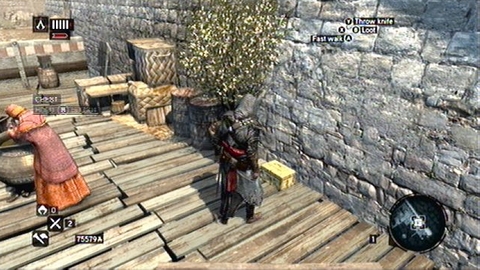
The chest is located on the bridge built next to the wall.
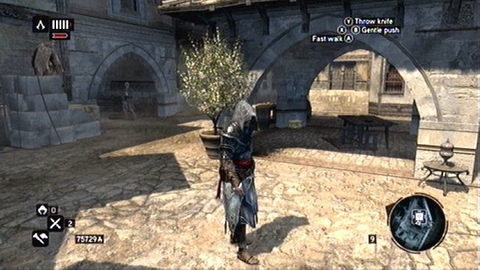
It is located under the stone gazebo standing in the middle of a small courtyard.
You will find this treasure at the top of the tower standing on the quay.
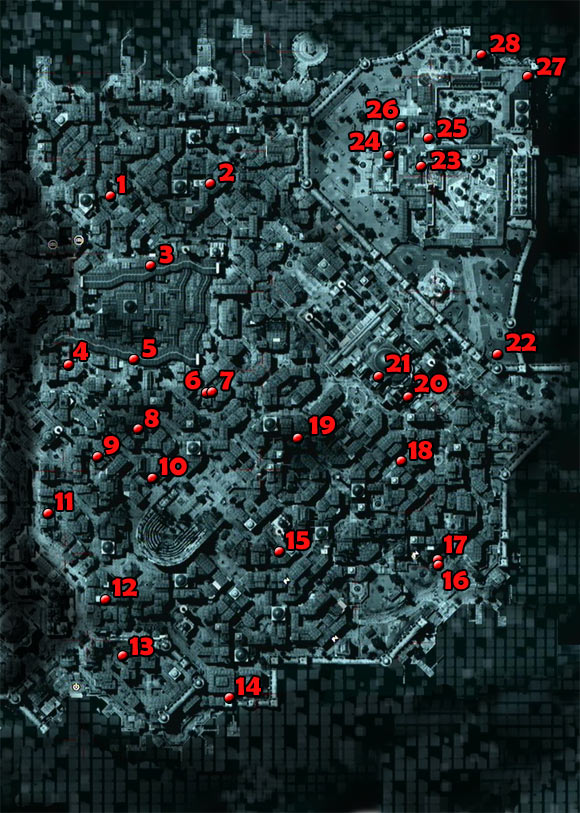
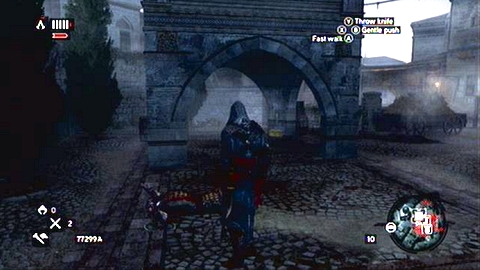
The chest lies under a stone tower. To open it, first shoot two soldiers standing in the east.
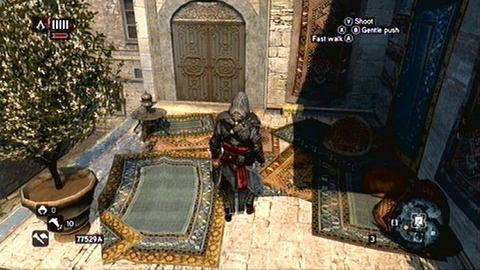
It is hidden on the terrace of one of the apartments.
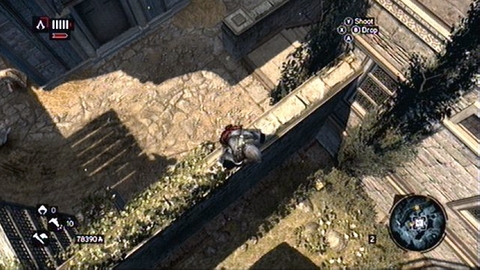
It lies on a shelf under the window inside the bazaar.
You will find it in the bushes between the wall and the wall of the building.
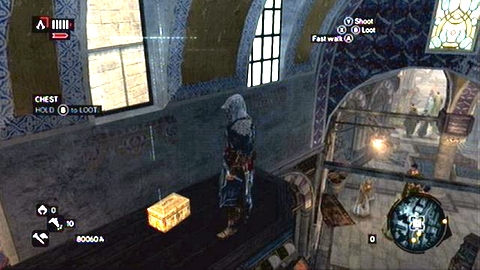
This treasure is located on the shelf under the window inside the bazaar.
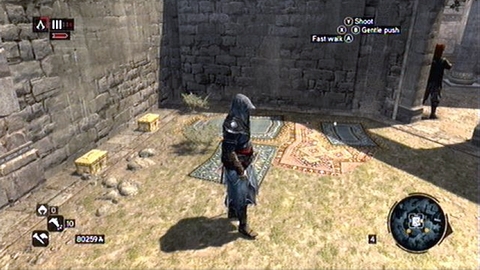
Both boxes are located in a guarded courtyard. To avoid a fight, jump down there from the roof of a nearby building.
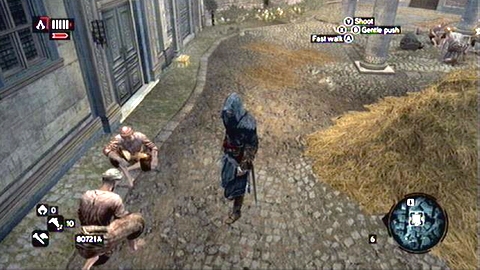
It lies near the wall, next to the haystack.
It is hidden in a small yard.

You'll find this treasure next to the high wall.
It is located in alley between the bushes.
It lies just under the roof of the building.
The chest is hidden next to barrels on the roof.
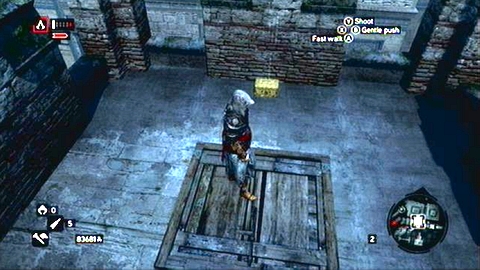
You will find it at the top of the tower.
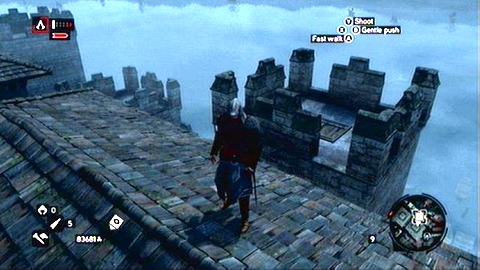
In order to get there jump from the roof of nearby building.
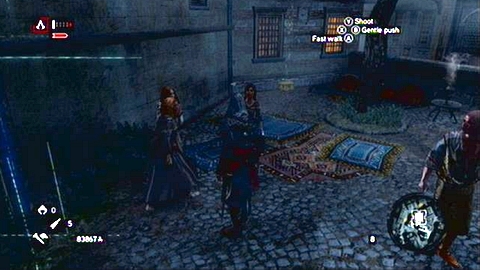
This treasure is hidden at the wall next to a tree.
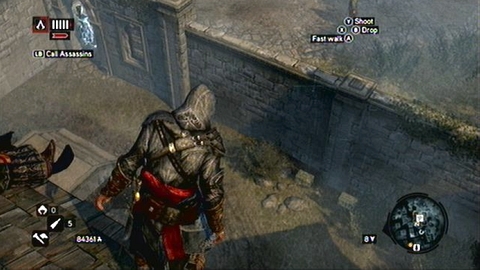
Both boxes lie next to wall on a guarded courtyard. To avoid a fight with the guards, jump there over the fence.
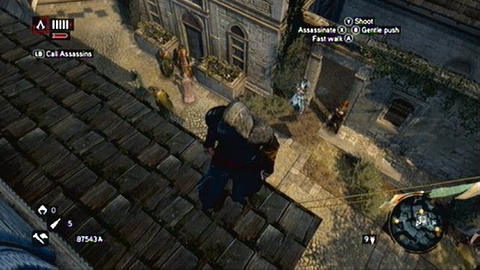
It can be also found on a small guarded yard.
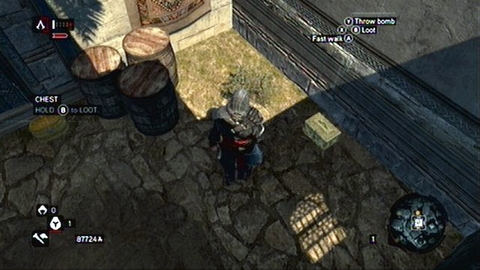
Same as previous treasure, it is also hidden in a small yard.
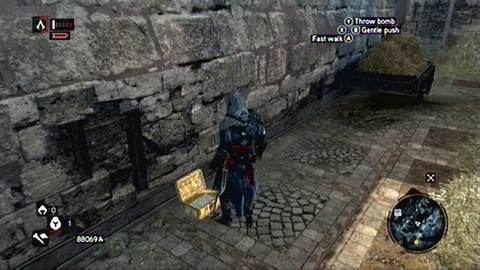
It lies at the wall of the temple, near the cart with hay.
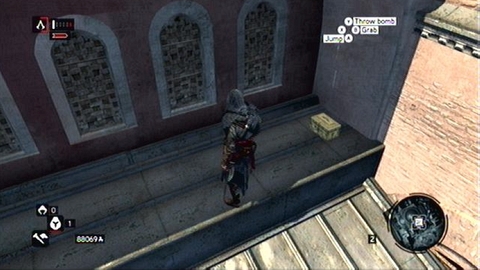
It is located on one of the side walls of the temple.
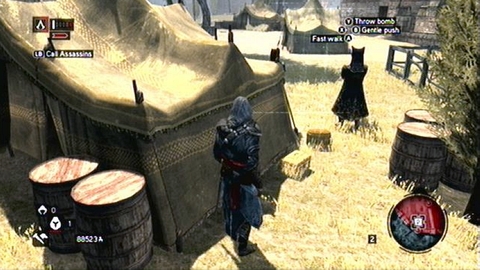
It is guarded by two soldiers standing next to tent.
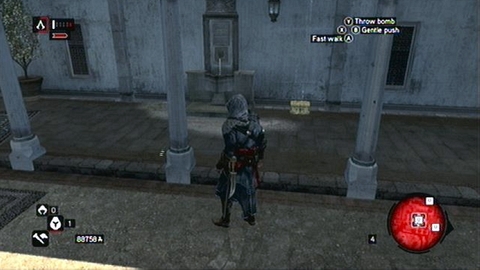
You'll find in in one of the side wings of the palace.
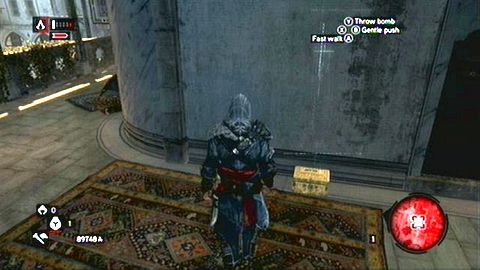
It lies on the balcony in the western part of the palace.
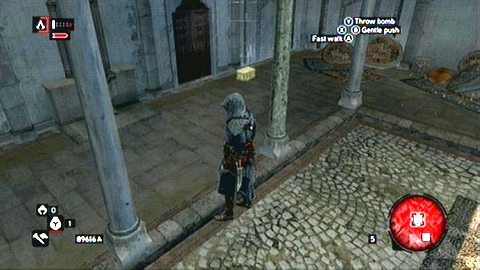
It is hidden in a corner of a small courtyard.
It is located on the balcony in the north-western corner of mansion.
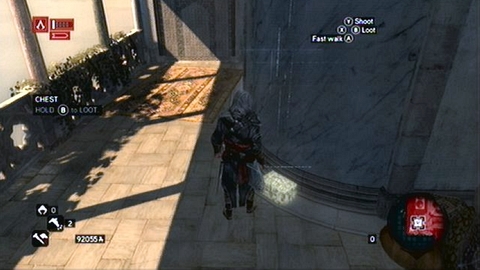
Like previous, you will find this treasure on one of the balconies of the palace.
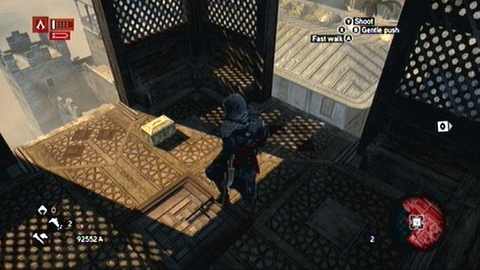
Last chest is hidden on the watchtower.
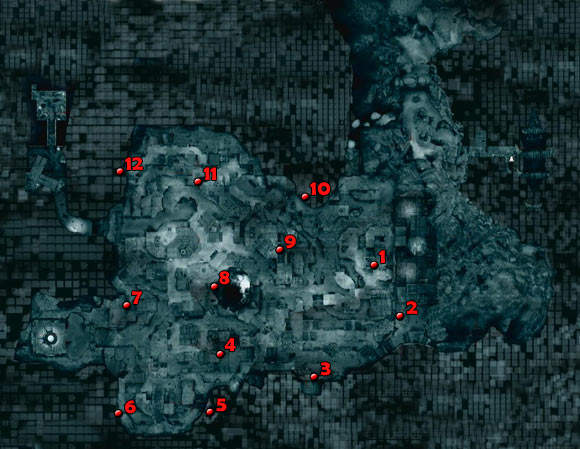
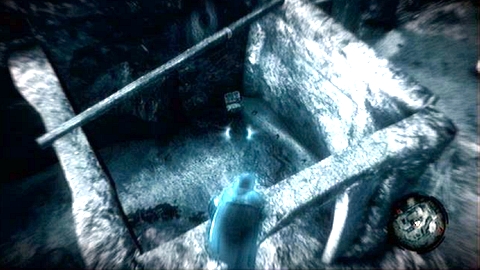
The first treasure you will find in the corner of the destroyed building.
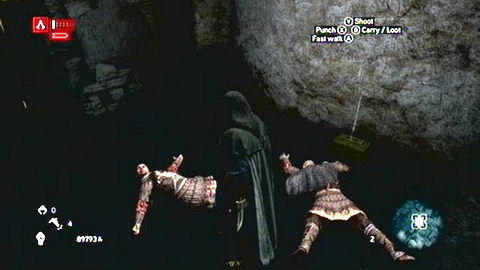
Go down to the lowest level of the city then go up the stairs in a dark alley. At its end you will find the chest.
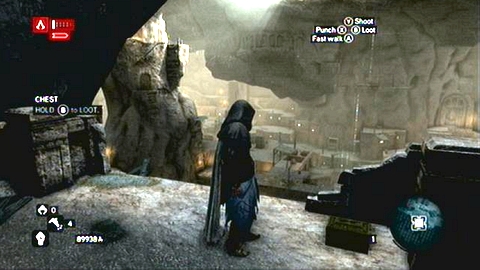
Treasure lies on a high balcony. You can climb there over wooden scaffolding.
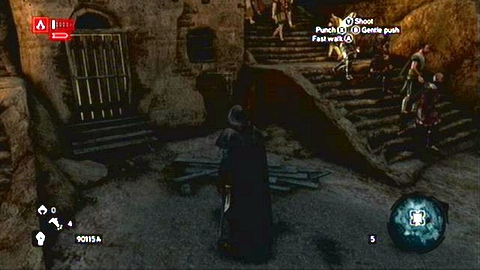
It is located in a dark corner under the stairs.
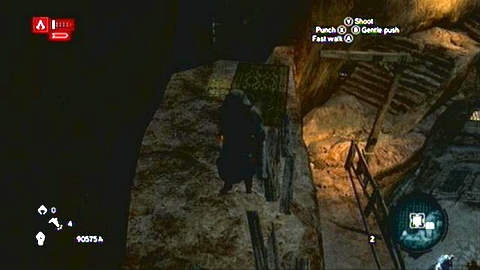
It is located on a rocky ledge above the path.
It lies in the corner of street on one of the higher levels of city.
It is hidden near the wall of the building behind a pile of wood.
Climb to the top of a rock tower in the middle of the location, and then walk around it. At the end of a wooden platform, you will find a treasure.
It lies in a corner of a ruined building.
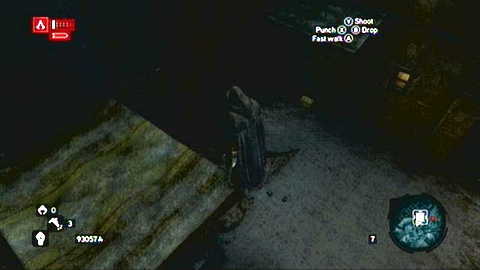
Treasure is placed under a small roof near the wall of a house.
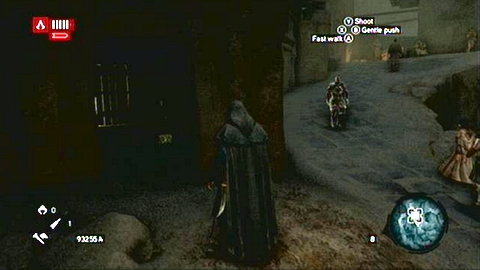
The chest is hidden inside an abandoned building.
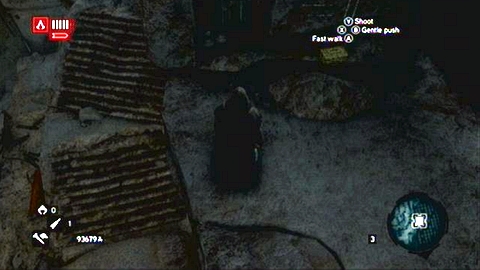
You will find it on a stone ledge above the stairs.
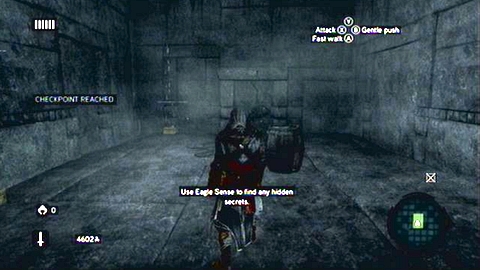
Besides treasures hidden in the city, you can also find 15 chests which are located in underground and in abandoned buildings. 12 of them can be found in locations visited in the main game plot. They lie in threes right in front of chambers with Altair's keys.
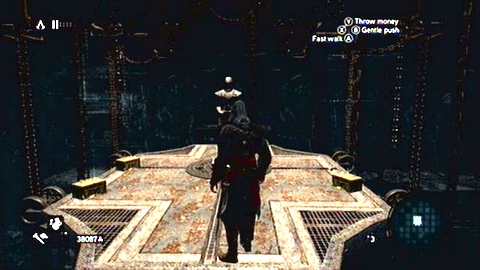
Only with the last artifact, treasures are located next to the statue with a magic circle.
List of memories with treasures:
Sequence 3 - Memory 6 - Yerebatan Cistern
Sequence 4 - Memory 5 - Maiden Tower
Sequence 5 - Memory 6 - Forum of The Ox
Sequence 6 - Memory 6 - Galata Tower

Three last chests are located in Hagia Sophia temple, near the sarcophagus with armor. You can get there by collecting Ishak Pashas' Memoir Pages. Their location and description of how to get to the tomb can be found in the next chapter of this guide.
Ishak Pasha's Memoir Pages are pages of an ancient manuscript, which are scattered throughout streets of Constantinople. When you collect 10 pages, you will unlock an access inside the Hagia Sophia temple, where you can find the best armor in the game. In this chapter you'll learn the location of all pages and how to finish the secret level.
Location of pages
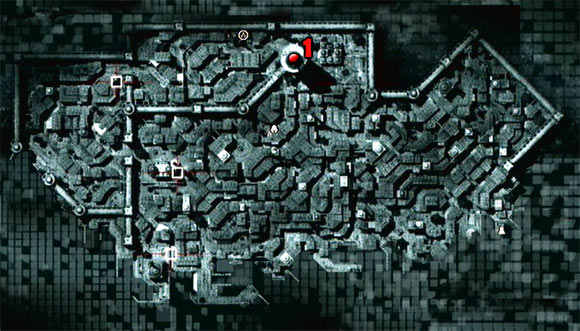
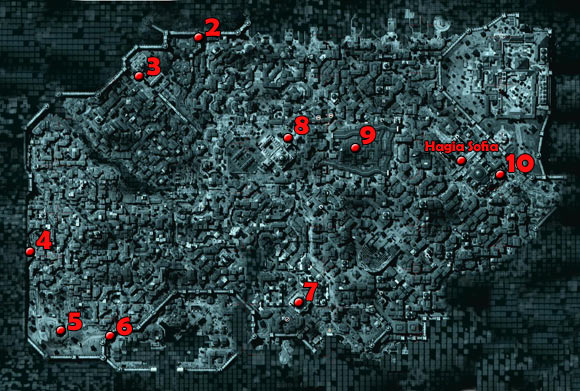
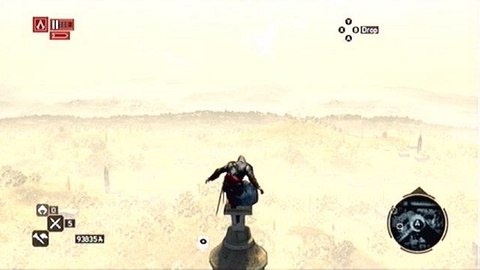
The first page you will find at the top of Galata Tower.
It lies on the wall, near the tower.
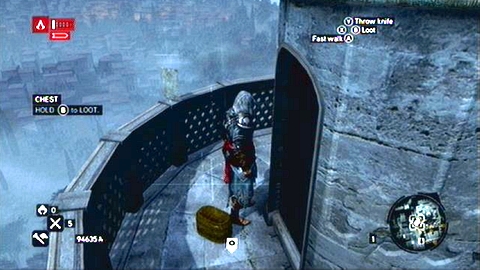
Parchment is hidden at the top of the minaret.

You can find it under a covered walkway.
The page lies on the roof of building with a small dome.
It is hidden under the roof of the wooden warehouse.
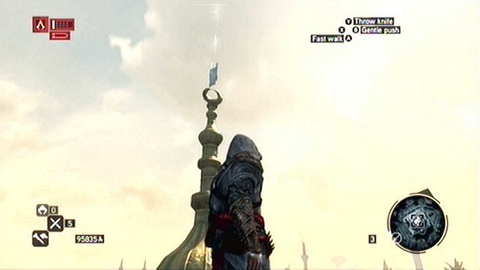
Parchment hovers over the spire of the dome.
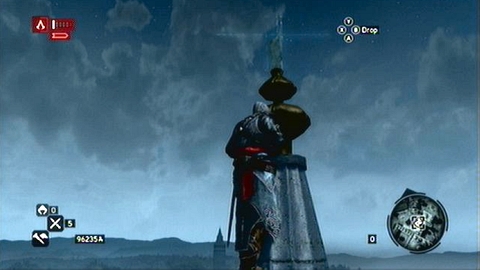
You can find it at the top of the minaret.

It hovers over the dome of the bazaar.
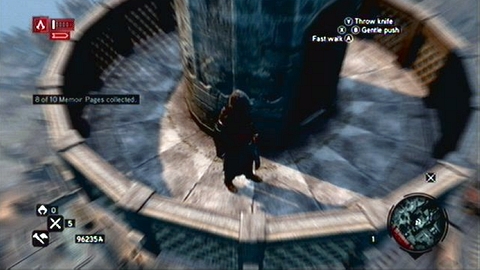
The last page is hidden on the balcony of the minaret.
Full sync: Finish the memory within 6 minutes.
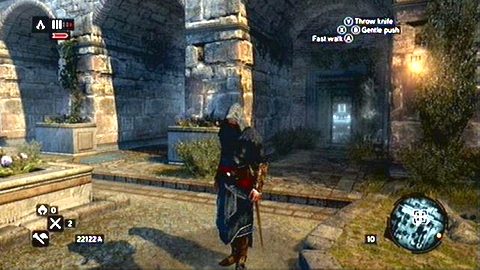
After collecting all ten pages, the catacombs under Hagia Sophia temple will be unlocked. The entrance can be found in the front wall of the building.
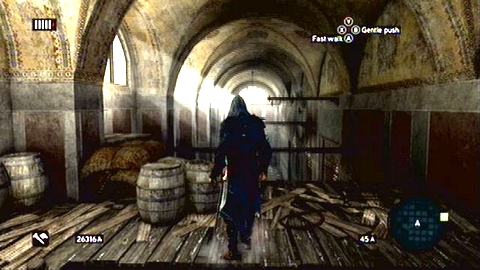
Once you get inside, climb the wall in front of you and then get to the last wooden beam on the right.
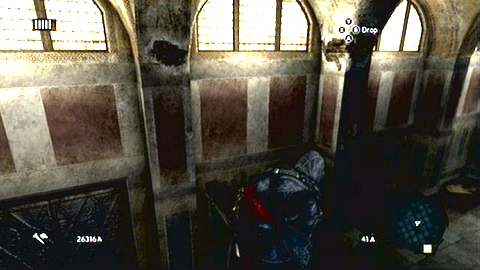
From there you have to jump to the left and grab a damaged pillar.
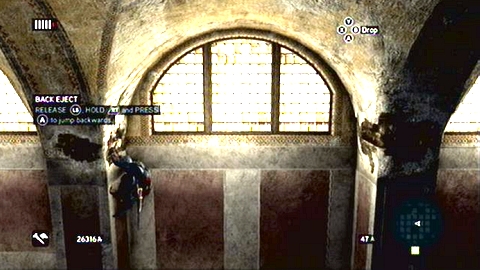
Jump to the right and then jump to the other side of the corridor (RT+A - do not use the analog stick during the jump!).
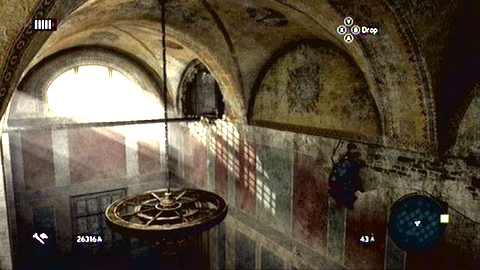
Move along the wall until you get to the chandelier hanging from the ceiling.
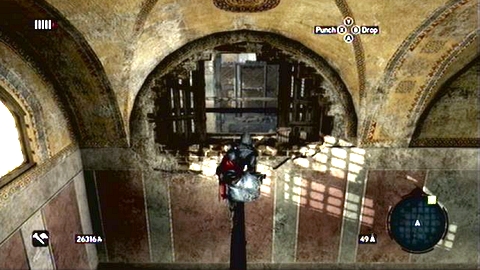
From the chandelier you can get to the wooden beam, which will lead you to another chamber.
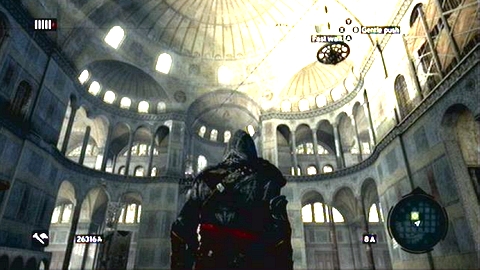
Jump down there and go to the main nave.
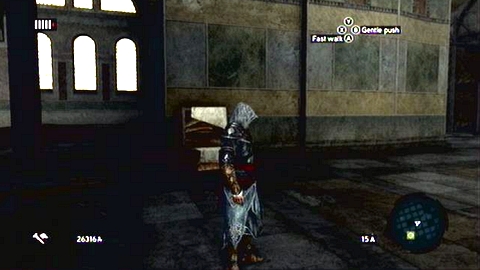
On its other side you can see some boxes. Use them to climb up the wall and from there try to reach other chandeliers.
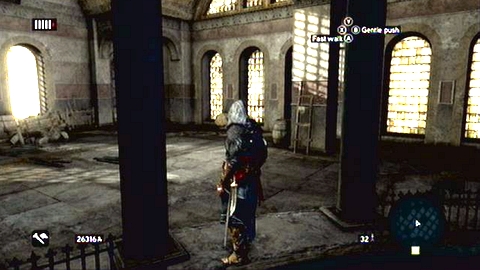
When you get to the last of them, jump towards the wall and climb up.
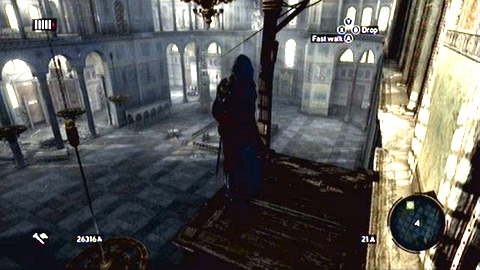
Go to the left until you reach a rope hanging over the chamber. Use it to slide down. When you land, you'll drop the ladder, which allows you to get back there in the case of fail.
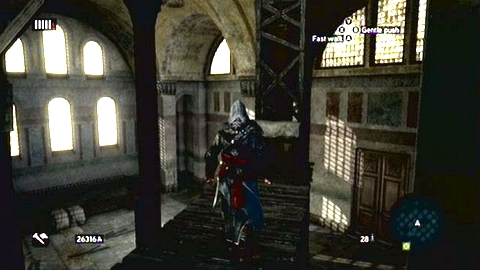
A further path leads to the top of the wooden scaffolding.
Move to the left, until you get to the upper level of the building.
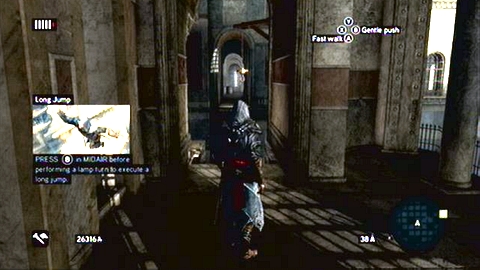
Now go to the right and then jump over the gap using the hook blade (press B while in the air).
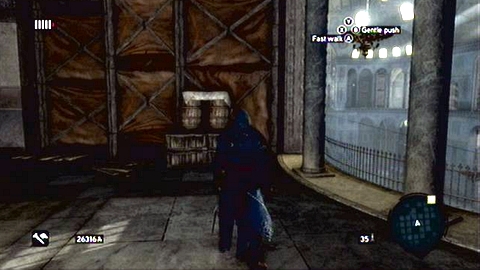
On the other side run up the wall to the right and move in the same direction.
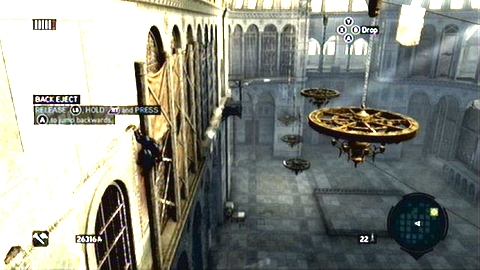
You'll reach another chandelier - jump onto it.
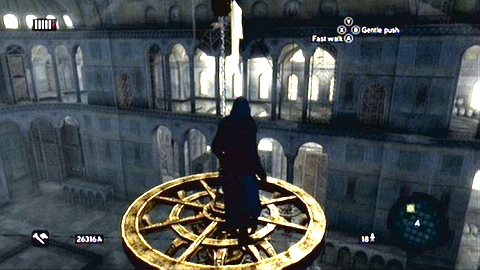
Use the line to slide down.
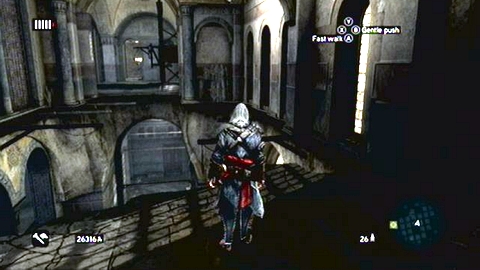
Now head to the left jumping over the wooden beams and performing a long jump on an object hanging from the ceiling (B during the "flight").
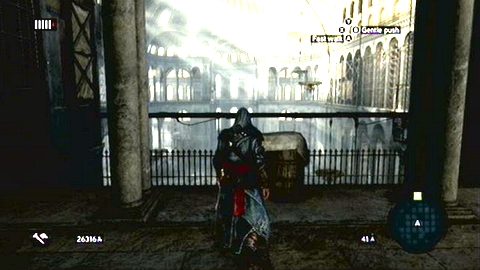
On the other side turn left again and jump on the wooden beam behind the balustrade.
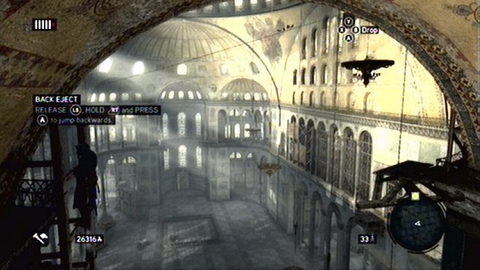
From there climb the wooden scaffolding on the left and then climb the wall on the opposite side of the chamber.
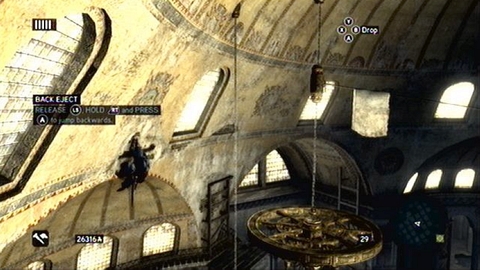
Move along the wall until you reach the golden chandelier.
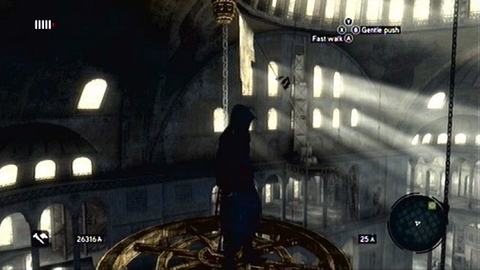
Jump onto it and then slide down the line.
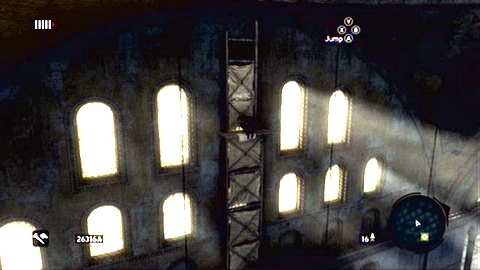
On the platform you'll find scaffolding. Climb it.
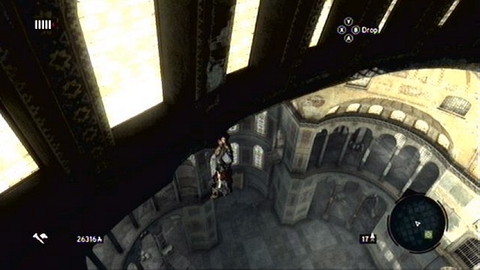
Keep moving to the right.
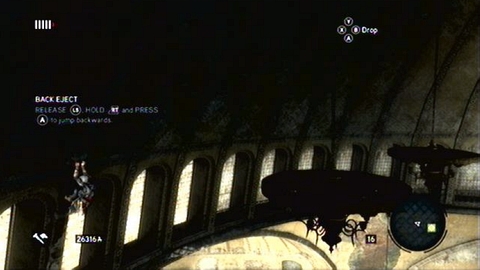
When the path ends, move a bit higher and jump over the chandelier.
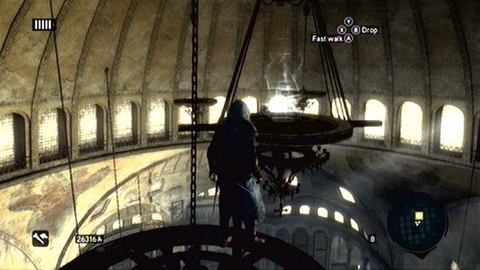
Once you get there, you can jump to the place marked on the map.
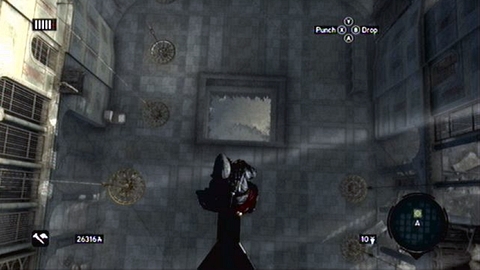
After a short cut-scene, jump down to the underground lake.
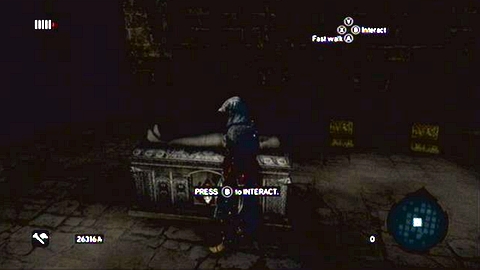
At its shore you'll find the sarcophagus. The best armor in the game is hidden inside it.
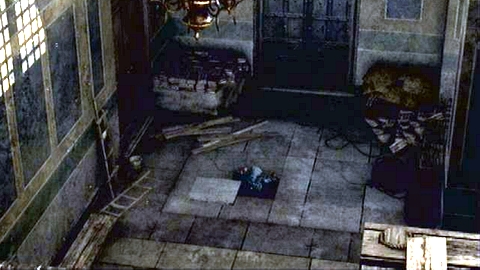
In order to leave the underground, use the grate on the left.
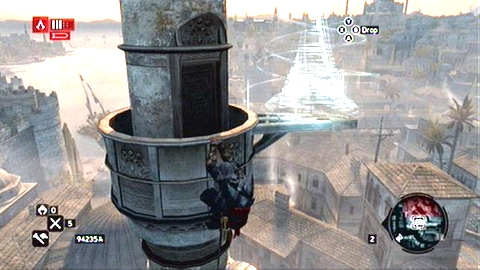
In addition to books available in bookstores, there are seven books hidden on the streets of Constantinople. In order to get them, go to the places marked below and then use Eagle Sense.
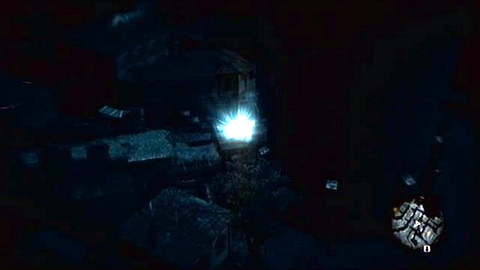
With its help, you'll have to examine all near shiny points. If you find the correct one, it will be marked on your map.
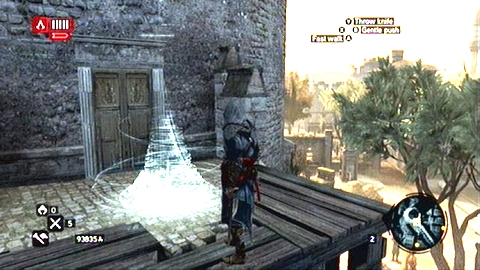
Then move to this place and collect the item by holding B.
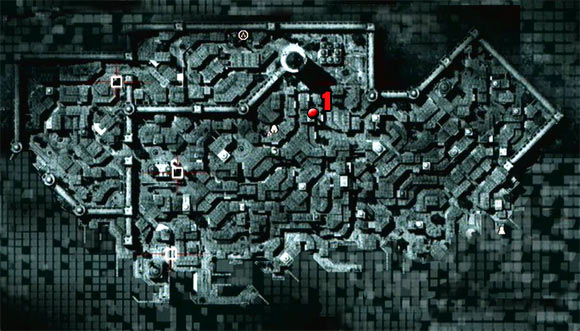
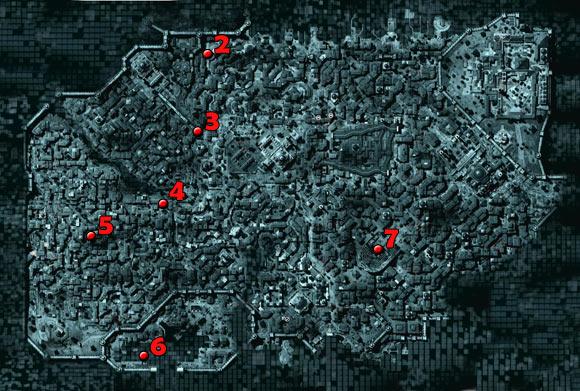
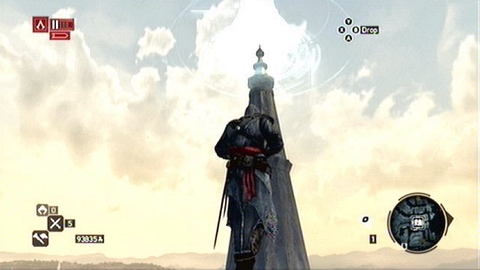
You will find observation point at the top of the minaret.

The second is also located on the minaret.
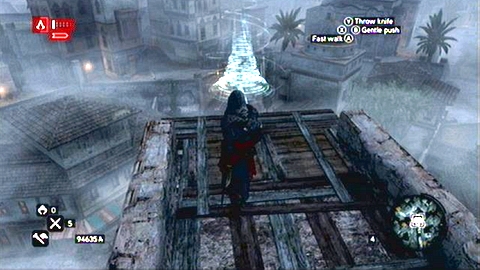
The third is placed on a broken aqueduct.
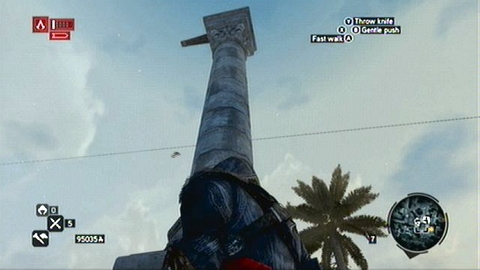
The next point is on an ancient column.
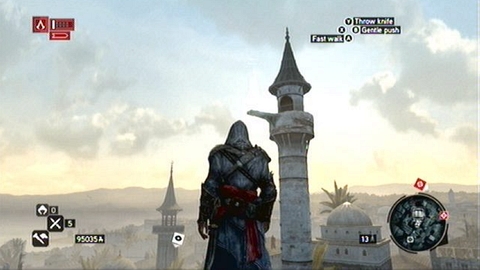
To get another book, you need to climb to the top of the minaret.
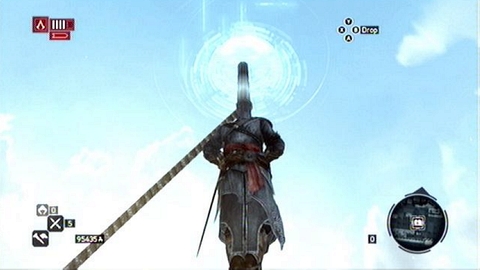
The sixth observation point is placed on top of the ship's mast.
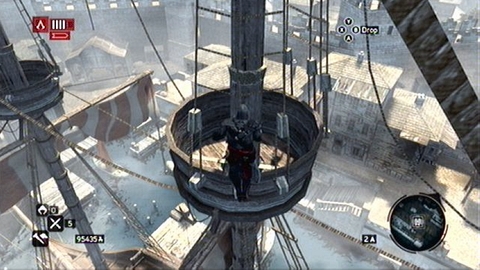
When you reach the crow's nest, lower yourself behind its edge, move under ropes and then climb over them.
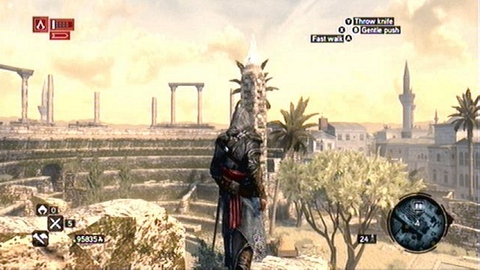
The seventh is located a stone pillar in the middle of the Hippodrome.
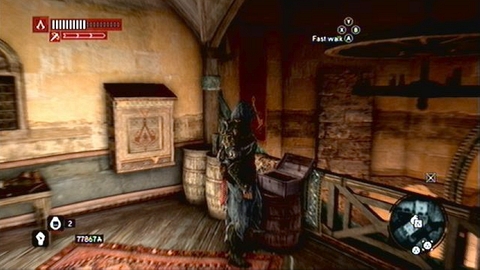
In order to craft explosives, you have to find one of special cases marked on the map with a white bomb icon. You can find them on streets of Constantinople, in assassins' dens and at Piri Reis' shop.
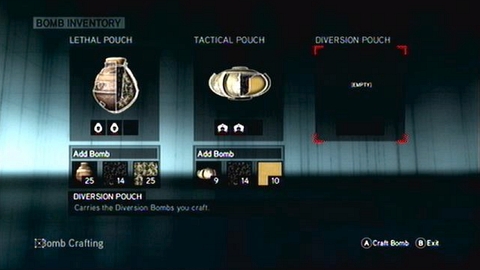
When you open such mini-workshop, you'll see the bomb crafting screen. It is divided into three pouches, each corresponding to different types of explosives. These are (from the left):
Lethal Pouch - lethal grenades
Tactical Pouch - bombs which can stun or immobilize enemies
Diversion Pouch - charges used to distract attention
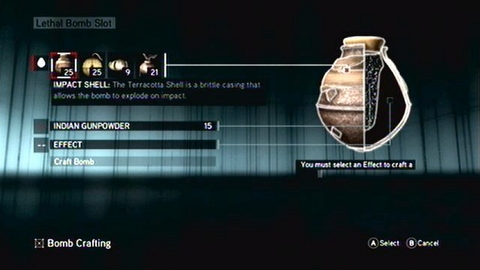
After decision, which kind of bomb you want to craft, you'll be asked to choose a casing, gunpowder and effect (special ingredient). First ingredient determines how the bomb "behaves" when it hit the target. Second ingredient determines the radius of an explosion and the third one determines a special effect.
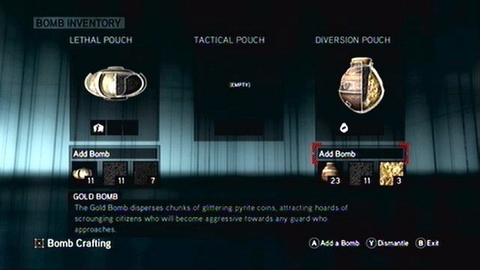
When you choose all of them, just select "Craft Bomb" and add the appropriate amount of explosives to your pouch. A detailed description of ingredients can be found later in this chapter.
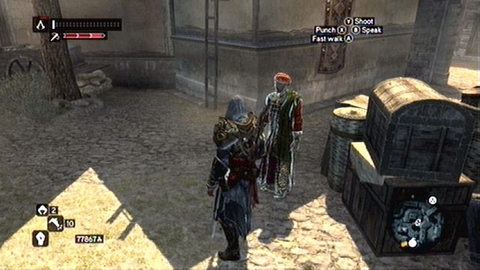
If you do not want to play with fireworks, you can buy ready-made bombs on the black market. Merchants are marked on the map with a black bomb icon.
Crafting a bomb requires many different ingredients, which has to be somehow obtained first. Below you'll find methods to replenish gunpowder or casings supplies.
1. Ingredients can be found in each bomb crafting case.
2. Materials are located in chests hidden in the city. In addition to treasures described in previous chapter of this guide, there are a lot of wooden chests which are automatically replenished over time. They often lie next to the bomb crafting cases and in assassins' dens.
3. By sending your recruits on a mission to the Mediterranean region, you will be able to gain influence in different cities. Each metropolis provides then a constant supply of gold and ingredients.
4. You can find ingredients by enemies' dead bodies. Loot them by holding B.
5. Many different materials are available in Piri Reis' shop. In order to unlock new types of materials, send your assassins to complete contracts with his name. After that, the shop's offer will expand.
The way the bombs works, depends on materials it is constructed of. These can be divided in three categories: shells, gunpowder and effects. First two are the same for each of available pouches (Lethal, Tactical and Diversion). Differences occur in the case of special substances. Below I'll try to explain each of materials and how to use its properties.
Casing
Impact Shell - bomb explodes on impact.
Comment: This is the simplest type of bomb, which works perfectly in most situations. Just throw it in the target and it will explode.
Fuse Shell - grenade bounces off the surface it hits and explodes after 3 seconds.
Comment: Thanks to delayed fuse, this type of bomb is very usable, when you want to distract guards in one place and quickly move to another. You can also throw it in poorly accessible place by bouncing it off the wall. The exact trajectory will be presented before the throw.
Trip Wire - this charge acts like mine. It is placed on the ground and explodes when target approaches it.
Comment: This type of grenade makes detecting you harder, but requires a moving target. So if you want to use it to kill standing guard, show yourself to him and the lure him out to the desired location. You place the mine by holding Y.
Sticky Pouch - it sticks to the surface it hits and explodes after 5 seconds.
Comment: With the right use of this type of bomb, you can easily hit a hidden or normally inaccessible opponent. The only thing you need is another guard, who patrols the area and approaches to your target from time to time. Just stick a bomb to him and wait until he unwittingly delivers a lethal charge to the right place.
Gunpowder
Indian Gunpowder - creates a small explosion radius.
Comment: It is effective on crowded streets. You'll avoid unnecessary casualties among civilians.
Arabic Gunpowder - creates a medium-sized explosion.
British Gunpowder - creates a wide explosion radius.
Special ingredients determine the name of the bomb. It has been shown in parentheses.
Special ingredient - Tactical Pouch
Lamb's Blood (Blood Bomb) - it pours blood on victims, allowing you to escape or quick execution.
Caltrops (Caltrop Bomb) - it scatters spikes on the ground, which immobilize opponents.
Phosphorus (Smoke Screen) - creates a dark smoke, allowing escape or surprise attack.
Comment: During the fight in smoke use the Eagle Sense.
Skunk Oil (Stink Bomb) - it stuns the hit target and deters surrounding people.
Comment: A good way to get rid of the crowd surrounding the target or guards.
Special ingredient - Lethal Pouch
Shrapnel (Splinter Bomb) - rapidly kills all the targets around.
Datura Powder (Datura Bomb) - poisons hit targets, killing them after a few seconds.
Coal Dust (Thunder Bomb) - kills certain targets while stuns others for a few seconds.
Comment: It works well in crowded streets. You will not kill too many civilians around the target with it.
Special ingredient - Diversion Pouch
Sulfur (Cherry Bomb) - produces a loud sound that attracts enemies
Comment: A great way to distract enemies in sneak missions. Just throw it in some distance from the enemy and he will run there, unlocking a passage for few seconds.
Salt of Petra (Smoke Decoy) - produces bright smoke, which attracts the attention of the guards.
Comment: It works like Cherry Bomb but only on these enemies, who see the smoke. You have to throw it in the range of their sight.
Pyrite Coins (Gold Bomb) - scatters coins on the ground, attracting passers-by.
Comment: It works well in crowded places. You can throw a charge at the guard, and the inhabitants of the city will divert his attention from you.
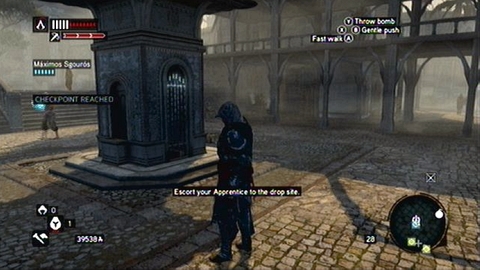
In AC Revelations there are some changes in moving around the city. First of all, due to lack of open space, you can't ride horses. But this doesn't mean that you have to go everywhere on foot. There is a sewer system in Constantinople, allowing fast transportation between districts. All descends are marked on the map and free of charge. The only condition to use them is to remain anonymous. If you're being chased by guards, sewers become unavailable.
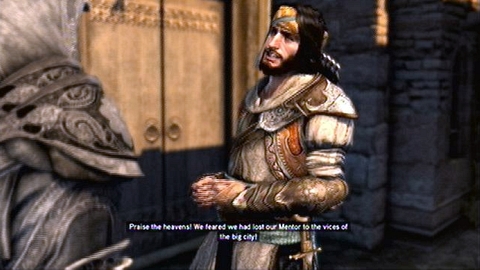
A novelty in series is hook blade, which you receive from Yusuf during completing the main game plot. It has some interesting uses.
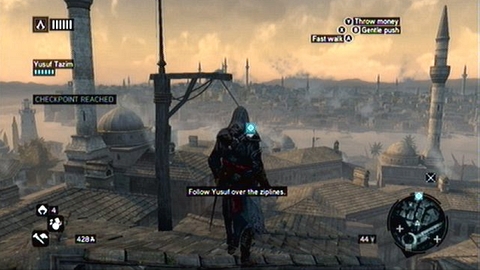
First of all you can use it to slide down ropes hanging between buildings. To do this, stand next to the upper end of rope and jump along it (RT+A). By holding and releasing RT you control the slide speed.

It is also possible to perform air assassinations (X).

Thanks to hook blade you can also faster climb up buildings. By holding RT and pressing A quickly, you can get to the top much faster. Sometimes using the hooked blade is even necessary. This applies to the situation, when you run up the wall. If during this operation you quickly press A, Ezio will jump higher, grabbing the previously inaccessible edge.
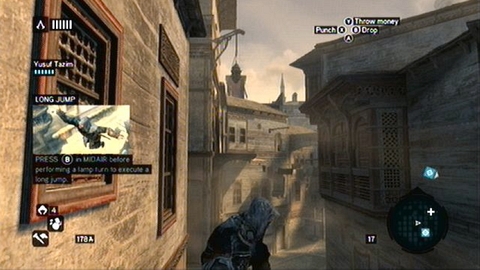
Another interesting way to use a new toy is so called long jumps. While moving around the city or in catacombs, you'll often encounter small metal objects hanging on chains. Of you jump towards them in a normal ways, they'll move you to the left or to the right. But if you press B before grabbing them, you'll use the hook blade. You'll perform then a long leap ahead.
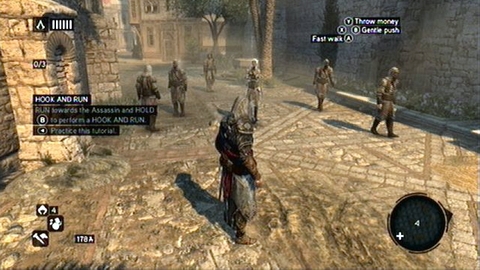
You should also remember that if you hold B while falling down, you'll hook the nearest edge, avoiding collision with the ground. In the same way you can lengthen your jumps between buildings.
The last two ways of using the hook blade concern direct contacts with opponents. If you see a guard while running (by holding RT), press or hold B when you get next to him. In the first case you'll knock him down and in the second case you'll jump over him without losing a balance.
As in the previous installment of the series, in Revelations you have also a possibility of running your own assassins guild. The biggest advantage of this organization is access to recruits who help you during fights with opponents (LB). Their availability is indicated by red lines in the left upper corner of the screen. In addition, a maximum number of lines (3) allows you to perform so called Arrow Storm, instantly killing all enemies in sight. In order to use it, hold LB. Keep in mind though, that every call for assassins empties one red line and Arrow Storm - all at once. They regenerate over time.
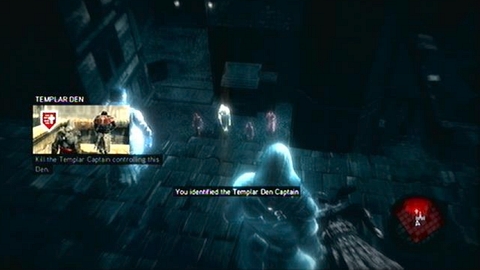
You should begin with getting rid of Templar Den, marked on the city map. In each of them you'll encounter a captain, which must be found and killed. You might use an Eagle Sense at this point (LS), so you will see a golden trace on the ground, indicating a patrolling path of your target. If he gets into you sight range, he will be marked with a red cross-hair. Captains are divided into two types: brave and cowardly. Former tend to confrontation, while others begin to flee immediately after detection. If you fail to catch them, you'll lose the ability to take over this area for some time.
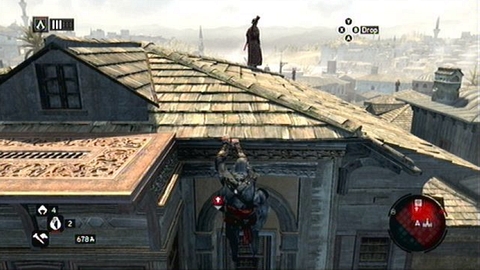
During the search remember that the area around the den is marked in red, so every encountered Templar will attack you without warning.

After killing the captain, there is only one more thing left. You have to climb up to the Templar tower and signal assassins to attack (B). Overtaking the den will not only unlock nearby shops but also increase the limit of guild members.
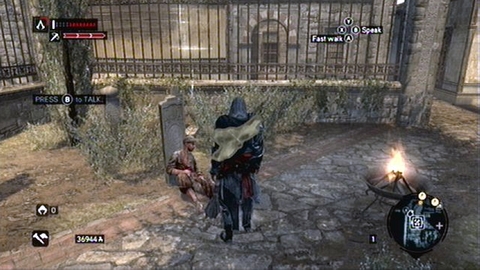
Once you overtake the den, you'll be able to recruit new assassins. Places where you can find recruits are marked on the map. Candidates are divided into two groups. Former can be recruits by saving them from aggressive Templar. Just kill all opponents and after a short conversation new recruit will join the guild. Other group of candidates requires completing short missions. Their location and description can be found in a previous guide to AC Revelations, which was focused on main and secondary missions.
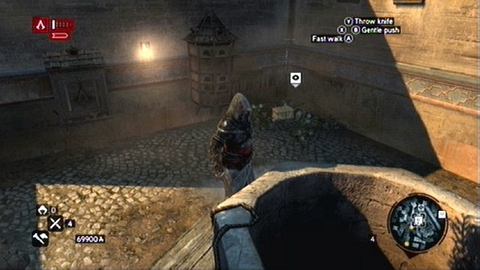
In order to increase strength of your people, you have to send them for different missions. You'll find them at pigeon lofts scattered around the city, standing near the bomb crafting chests.
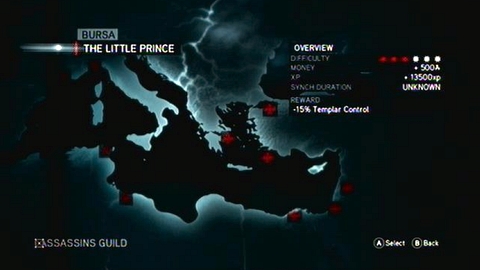
Missions are always on a certain difficulty level, indicated by red dots. The more difficult the mission is the stronger assassins have to be send there. Sometimes there are also additional conditions about the weapon possessed by the recruit.
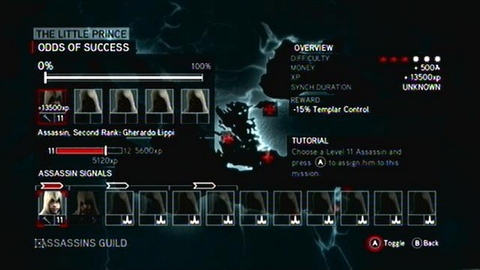
Chance of success is shown in percentage when you select assassins.
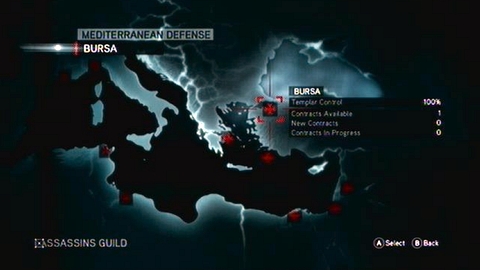
For completing the mission, your pupil receives experience points and Ezio gets gold and various objects. Besides, guild's area of influence increases. If it reaches a sufficiently high level, you'll have the opportunity to take over the city from Templar. Taken metropolis brings you a steady income, items and experience points. But you have to remember about keeping your influence there. Otherwise you'll lose control over the city.
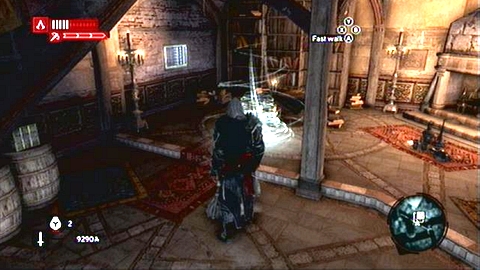
When the assassin gets to 10th experience level, he is ready to start master training. First you have to order him commanding one of the available dens. To do it, move to the white comb inside the building and choose so-called leader.
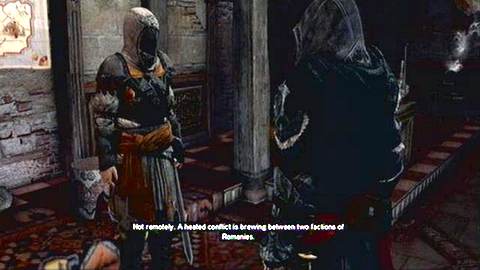
After that operation, recruit should appear in the den. Talk to him and the start the mission. Location and description of all missions can be found in a previous guide to AC Revelations, which was focused on main and secondary missions.

Once the mission is over send your assassin to complete other missions around Mediterranean until he gets on 15th experience level and completely fills the experience bar. You will then unlock a second part of master training. After completing that, assassin will become master and the den he leads, will be immune to Templar attacks.
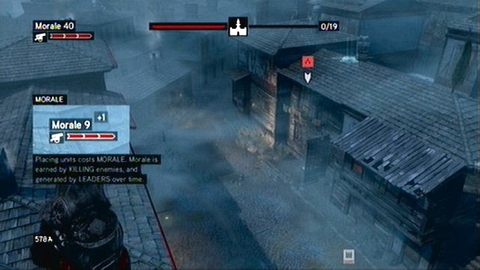
Until you train appropriate number of master, previously conquered dens can be attacked by Templar from time to time. To repel the attack, go to the indicated place and go inside the mansion. You'll begin a defensive mission then.
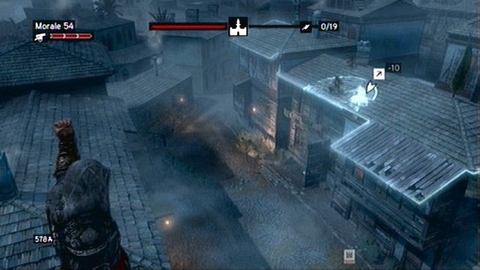
During it your task is to place defenders and barricades, so waves of attackers can be repelled. You'll learn about defense basics in the sixth memory of second sequence in main plot. In this chapter I'll try to give you some general tips that should help you win.
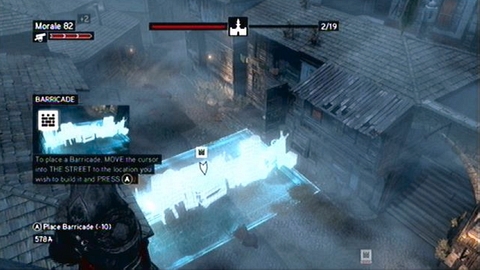
1. At the beginning always place a barricade in the front, while keeping in mind to save some space for Templar. If you do not do this, enemies will destroy the barricade, standing in place which is out of reach for your archers.
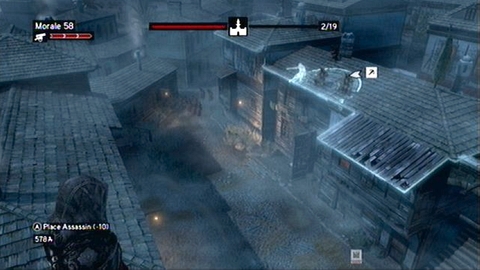
2. In the initial phase of the mission, the backbone of your army should be made from crossbowmen and air assassins. Place first of them behind the barricade and others should be placed in front of barricade. But do not exaggerate with their amount. Six of one and the other should definitely be enough. If any of defenders dies, replace him with the new one.
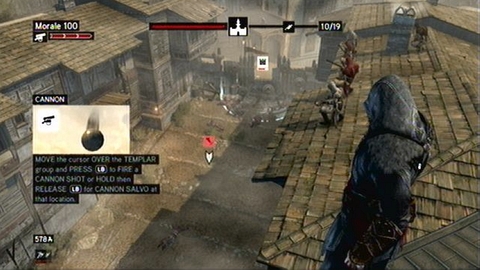
3. During the mission remember about using the artillery (LB). I suggest using it at the beginning of each wave, when enemies are close to each other. The main target for your cannons should be soldiers with grenades. They can rapidly destroy any barricade and often stand at the back, avoiding assassins defending the den.
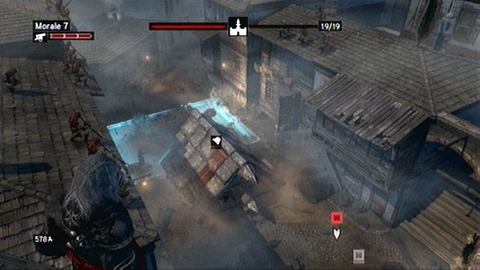
4. Second half of the siege depends on the last enemy unit, which you can check before starting the battle. If it is siege machine then after defeating half of Templar army, begin to invest in shooters with rifles. Place them behind front-line troops, so they are not exposed to fire. Frequent use of the artillery will allow you to save required amount of morale. Another tactics is required in a case of attack by Templar running over rooftops. These powerful opponents can not only kill standard defenders, but also their leaders, thus blocking rooftops. To defend against them, place in the first line assassin bruisers and often use the Ezio's gun (X).
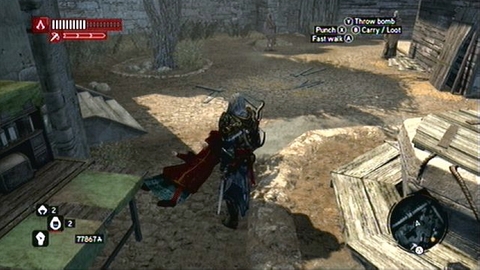
The best way to avoid Templar attack on your den, is of course training of master assassin. But such straining lasts long and every den requires a separate leader. By the time the guild is very well developed, the foundation of you defense should be prevention. In the upper left corner of the screen you can see Templar Awareness Metter. It indicates the suspicion level of Templar looking at you, and it gets filled with all spectacular actions of Ezio (like overtaking a new den). When the indicator fills up to the end and gets red, your estates could be attacked by enemies. To avoid this, you must as soon as possible reduce the danger level (to zero). There are two ways to do it.
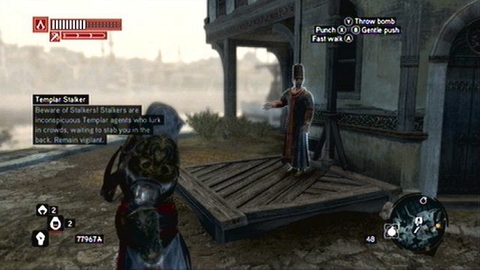
First one is to bribe heralds stranding on the streets and squares of Constantinople.
To bribe a herald, walk towards him and then press B. You'll lose some money, but will reduce the danger indicator by 25%.
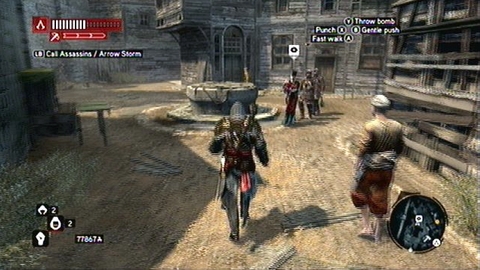
In the second method your task is to kill one of the Templar agents. They wander around the town, always accompanied by two bodyguards.
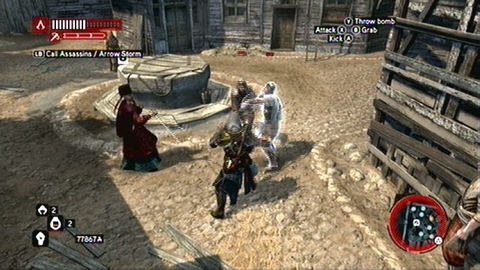
Performing an execution reduces danger indicator by 50%. Both heralds and agents are marked on the city map.
There are three more factions in Constantinople in addition to Templar and Assassins. There are Romanies, Thieves and Mercenaries. To have them on your side, you have to complete one mission for each of factions. Romanies mission is connected to the main plot and others are marked on the Istanbul map. Their location and description can be found in a previous guide to AC Revelations, which was focused on main and secondary missions. Once you convince the faction to cooperate, you can extend their influence by buying new building for them. Location of building can be found in chapter about reconstruction of the city.
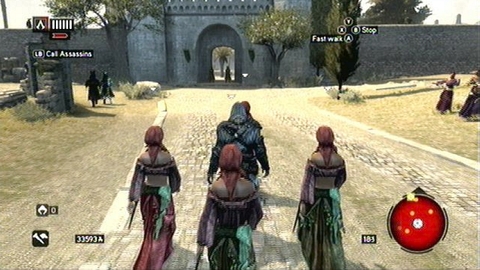
When you cooperate with faction, you'll meet groups of their representatives on city streets. Each of them offers different kind of assistance for a small fee. Gypsy dancers provide excellent camouflage and distract guards standing near the post.
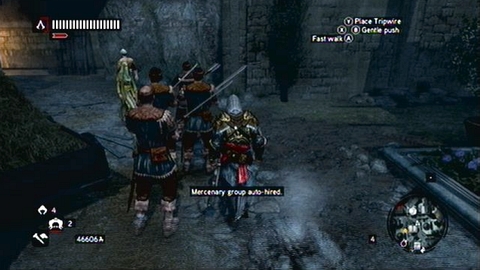
Mercenaries attack indicated enemies and can also successfully stop the chase.
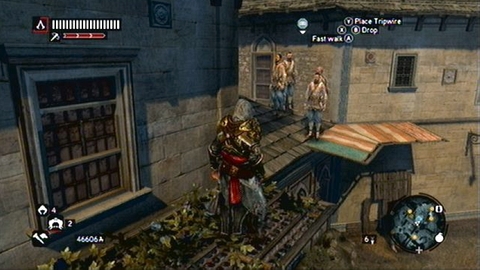
The only ability of thieves is to distract indicated targets. It is worth to cooperate with each faction, because in this way you'll unlock challenges associated with them.
Constantinople is beautiful city, but unfortunately full of abandoned and dilapidated buildings. While exploring the city, you'll often come across plates with the inscription "For sale". Although prices of some properties may seem very high at the beginning, do not be discouraged. Investing in real estates is the fastest and best way to make big money! The sooner and the more money you spend on renovating shops and buildings, the faster and more money you will earn. Below you'll find the map with all buildings on sale. But remember that in order to make them available, you have to overtake the Templar Den in the area first. More about this can be found in "Assassins Guild" chapter.
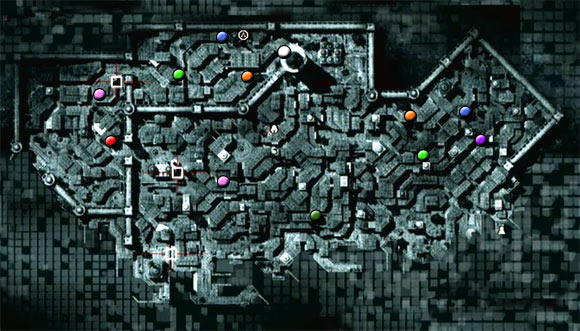
Legend:
Blue - Blacksmith
Light green - Bank
Pink - Bookstore
Red - Tailor
Orange - Doctor
White - Landscape/Monument
Purple - Templar/Assassin Den
Dark green - Free faction building
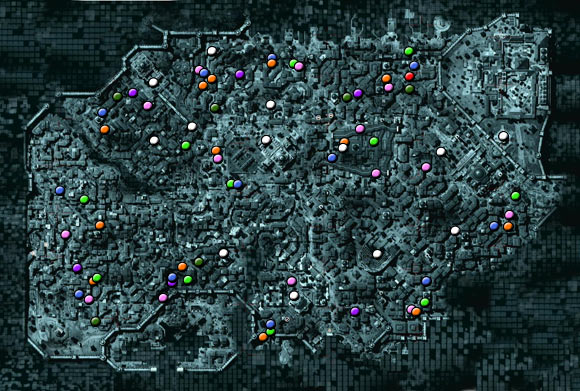
Legend:
Blue - Blacksmith
Light green - Bank
Pink - Bookstore
Red - Tailor
Orange - Doctor
White - Landscape/Monument
Purple - Templar/Assassin Den
Dark green - Free faction building
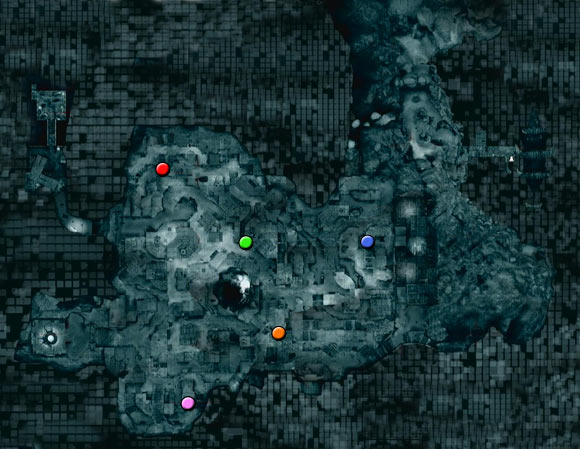
Legend:
Blue - Blacksmith
Light green - Bank
Pink - Bookstore
Red - Tailor
Orange - Doctor
White - Landscape/Monument
Purple - Templar/Assassin Den
Dark green - Free faction building
Challenge system in AC Revelations is divided into 5 groups. Three of them are unlocked during completing the main plot and two others require completing faction missions described in previous chapter. Each group consists of sets - for completing them you will obtain various rewards. A list and description of challenges are listed below.
Reward: Assassins will be more effective when sent on missions.
Call Assassins during a fight - x25
Comment: Once you have an access to recruits, attack nearby soldiers and then call your assassins (LB).
Call Assassins on a target - x20
Comment: Do the same as in previous challenge but this time start the fight with sending assassins on indicated target (LT and then LB).
Reward: Assassin signal recharges at an increased speed.
Use Arrow Storm - x15
Comment: to use Arrow Storm you have to have three red lines available (Assassin Signal). Hold LB and you'll kill all enemies in the line of sight.
Call your Assassins during a story mission - x5
Comment: If you have all your assassins available, repeat "The Fourth Part of The World" mission. It is quite short and allows you using of recruits.
Reward: Unlocks the Assassin Faction Weapon.
Recruit Assassins - x12
Comment: In order to recruit that number of assassins, you have to take a control over all Templar dens. More details about that can be found in "Assassins Guild" chapter.
Train recruits to the rank of Master Assassin - x7
Comment: Same as with previous challenge, information about recruits training can be found in "Assassins Guild" chapter.
Successfully perform a Den Defense - x3
Comment: Information and tips on defending dens can be found in "Assassins Guild" chapter. If you have problems at some stages, wait for the next Templar attack and defend these estates, which you can successfully defend.
Reward: Cost of hiring Mercenaries decrease.
Use Mercenaries on guard - x10
Comment: Hire some mercenaries in the city (B), aim at the enemy (LT) and then send your small army to fight (B). More information about factions and how to unlock them can be found in "City Factions" chapter.
Destroy a scaffold by throwing someone into it - x5
Comment: Sometimes on street of Constantinople you can find small wooden scaffolds. You can destroy them by throwing an enemy into it. During the fight grab your enemy (B), aim at the scaffold and push the enemy (B). Some guards avoid to be grabbed but you can help yourself with few kicks (A).
Kill an enemy using a thrown weapon - x5
Comment: At the beginning kill one Templar and then pick up his weapon (B). If it is an axe or a spear, you'll be able to throw it by holding and releasing X. Do this while aiming at enemy to complete the challenge.
Reward: Unlocks Mercenary Faction ability.
Disarm and kill a guard with his own weapon - x5
Comment: In order to disarm enemy, perform a counterattack while fighting with bare fists.
Kill a Byzantine Almogavar x 25
Comment: Almogavar is a Byzantine guard (not a Templar) fighting with powerful two-handed axe.
Perform a Hook and Throw x10
Comment: To perform hook and throw, run after the enemy (RT) and then right next to him quickly press B. You'll knock him down to the ground with your hook blade.
Reward: Unlocks Mercenary Faction Weapon.
Perform a Double Assassination - x10
Comment: Double assassinations can be only performed with hidden blades. Arm yourself properly and look for a pair of enemies, standing or walking close to each other. Walk to them from behind and attack them (X). Ezio will perform double assassinations if you get between enemies and won't mark any of them (do not press LT!).
Kill 5 Guards in under 10 seconds in melee - x1
Comment: A good place to complete this challenge is eight memory in third sequence. Remember about using kill streaks. During successful counterattack (or kill streak), you have to move your analog stick towards nearby enemy and quickly press X. You'll kill your next target in this way. Repeat above until all enemies are dead.
Perform a combo kill streak of at least 5 kills - x10
Comment: Complete this challenge, following the comment above.
Kill an Ottoman Janissary - x25
Comment: Janissaries are Turkish guards wearing metal masks. You'll encounter many of them on the streets of Constantinople.
Reward: Cost of hiring Romanies decreases.
Use Romanies on guards - x10
Comment: Hire gypsy dancers standing on the city streets (B), aim at the enemy (LT) and then send women on him (B). More information about factions and how to unlock them can be found in "City Factions" chapter.
Evade using stealth - x10
Comment: When you're chased by guards, disappear from their sight and then hide in a crowd, well, haystack or another available hideout.
Kill guards using a crossbow without being detected - x20
Comment: Crossbows and bolts can be bought at the blacksmith.
Reward: Unlocks Romani Faction ability.
Use Tactical Bombs to escape guards - x10
Comment: For example Smoke Bomb can be used to complete this challenge. During your escape throw such a grenade under guards' feet (Y) and you'll quickly lose the. More information on explosives can be found in proper chapter.
Kill a Stalker without getting stabbed - x5
Comment: During your walk in the city, you'll be sometimes attacked by Templar assassins. When they catch you, hold RT and then quickly press X. You'll avoid being hit then and kill the enemy.
Kill guards using poison - x15
Comment: It is best to use poison darts here. Poison supply can be replenished at the doctor.
Reward: Unlocks Romani Faction Weapon.
Kill guards using bombs without being spotted - x20
Comment: Use the Thunder Bomb here. It is enough to throw this grenade in a group of enemies from a distance and they all will die without noticing you.
Assassinate a guard from behind - x10
Comment: Use any weapon - go slowly to the enemy from behind and press X.
Assassinate a guard from a blend spot - x5
Comment: You have to kill a guard while in the blend spot (in haystack for example). This challenge can be completed with no problems during the fifth memory in the first sequence. Detailed description of this mission can be found in a previous guide to AC Revelations, which was focused on main and secondary missions.
Kill 3 enemies dazed by a single smoke before it dissipates - x1
Comment: Use the Smoke Screen grenade here. Throw it on the ground (Y) and then kill all enemies with the hidden blade.
Reward: Cost of hiring the Thief Faction decreases.
Use Thieves on guards - x10
Comment: Hire thieves standing on the city streets (B), aim at the enemy (LT) and then send men on him (B). More information about factions and how to unlock them can be found in "City Factions" chapter.
Sprint uninterrupted for 300 meters - x1
Comment: Go to the not very populated place (quay or cemetery) and then run around in circles (RT+A) avoiding people. Stop only when you see information about completing the challenge.
Perform a Hook and Run - x15
Comment: In order to perform hook and run onto an opponent (RT) and then right next to him hold B. You'll jump over him without losing balance.
Reward: Unlocks the Thief Faction ability.
Perform a Leap of Faith - x40
Comment: Leap of Faith can be performed wherever you see pigeons' traces and birds circling near. Go to such place and then jump down holding RT and A. You should safely land in a haystack or flowery bush and complete the mentioned jump.
Climb a total distance of 1 km - x1
Comment: You should complete this challenge during completing main missions, but if you didn't make it, climb up any of high minarets. Remember about using hook blade (hold RT and quickly press A).
Steal money with a Counter Steal - x1
Comment: Counter-steal can be performed during the fight, same way as counterattack. Just press RT+Y instead of RT+X. You'll steal few coins then.
Reward: Unlocks the Thief Faction Weapon.
Perform a dive of at least 30 meters - x1
Comment: Go to the pier and da climb to the top of the mast of one of the ships. Now jump to the water to complete the challenge.
Kill a guard using throwing knives - x25
Comment: You can buy ammo at blacksmith but you can obtain it quicker by looting corpses.
Perform an air assassination on guards from a beam - x5
Comment: Look for a patrol walking on streets of Constantinople, outrun them and then climb on the one of the wooden beams sticking out of buildings. When enemies come below you, aim at one of them (LT) and press X. remember to use the hidden blade.
Perform a zipline assassination - x10
Comment: You'll learn about this type of assassinations during the fifth memory of the second sequence. Repeat it several times to complete the challenge.
Reward: Extra bomb ingredients found within Dens.
Stick a bomb on a guard - x10
Comment: You have to use any grenade with Pouch shell. A good way to complete this challenge is repeating "Piri Reis: Sticky Situations" mission. During this mission you'll get this grenade for free. Location and description of this task can be found in previous guide to Assassins Creed Revelations, which was focused on main and secondary missions.
Kill a mission target with a bomb - x1
Comment: You can complete this challenge during any mission, aimed at killing someone. A good example is the above-mentioned mission "Piri Reis: Sticky Situations".
Distract a guard using bombs - x20
Comment: Cherry Bomb is the best solution in this situation. Description of grenades can be found in "Explosives" chapter.
Kill 5 guards with a single bomb - x1
Comment: The easiest way to complete this challenge is to do a mission "Piri Reis: Sticky Situations".
Kill guards with Tripwire bombs - x20
Comment: Trip Wire bomb is a kind of a mine. It is best to place them against the coming guards patrol and wait until they approach them. More information on grenades and how to craft them can be found in "Explosives" chapter.
Reward: Bomb capacity upgrade.
Craft a bomb with every shell type - x1
Comment: Available shells are: Impact Shell, Fuse Shell, Trip Wire and Sticky Pouch. More information on grenades and how to craft them can be found in "Explosives" chapter.
Use a bomb - x50
Comment: In "Explosives" chapter you'll find all methods of obtaining materials, which are needed to craft 50 bombs. You can also buy them at merchants marked on the map with the black bomb icon.
Kill a guard incapacitated by a bomb - x25
Comment: First use the Caltrop Bomb and then finish jumping enemies with the hidden blade.
Craft one bomb with each effect type - x1
Comment: Description of bombs and how to obtain materials - see "Explosives" chapter.
Use every bomb effect at least twice - x1
Comment: Description of bombs and how to obtain materials - see "Explosives" chapter. It may also help to complete Piri Reis' missions, which will allow you to use various types of grenades.
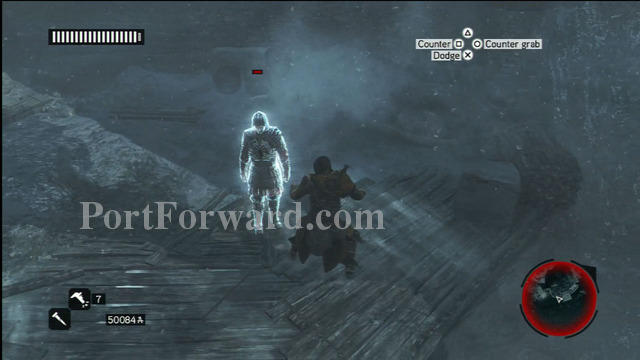
 Armikrog Game Guide & Walkthrough
 ArmA II: Operation Arrowhead Game Guide & Walkthrough
 Alone in the Dark Game Guide & Walkthrough
 Angry Birds Space Game Guide & Walkthrough
 Alan Wake Game Guide & Walkthrough