In this guide you will find detailed walkthrough which will help you to beat game and solve all puzzles. Below is legend to the guide's descriptions:
- blue color - is linked with all items that you can pick up and take to the inventory;
- orange color - is for all interactive elements in the world.
There are also descriptions of all three endings of the game (the main one is in the solution and details about two others can be will find in walkthrough and in "Endings" section).
Michal "Wolfen" Basta
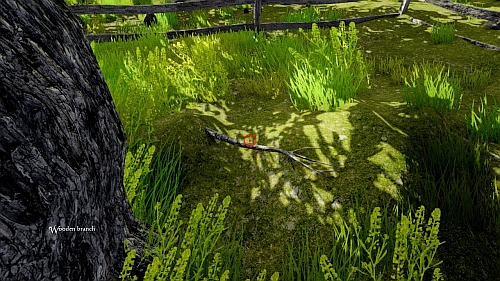
Move to the rivulet, press the middle mouse button, click on the empty canteen with left mouse button, once again press the middle mouse button and when you get back from the inventory use canteen on the rivulet. After that move toward the tree on the left side of the house and grab wooden branch (picture).
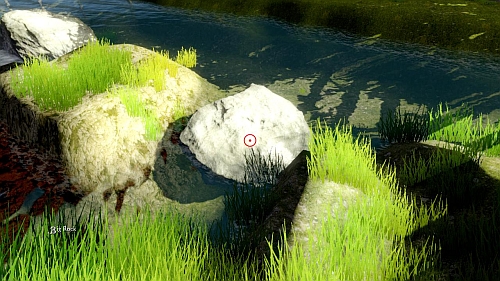
Back to the rivulet and go to the one of two big rocks (picture). Use wooden branch on it and repeat this action with second big rock. After a while the mood from little bay will disappear.

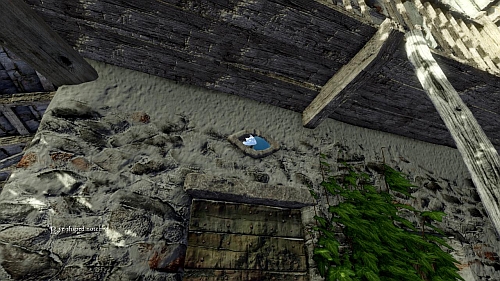
Look at the water and you will find a mirror shard (picture). Pick it up and move toward house.
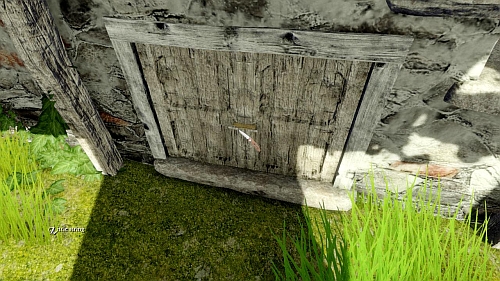
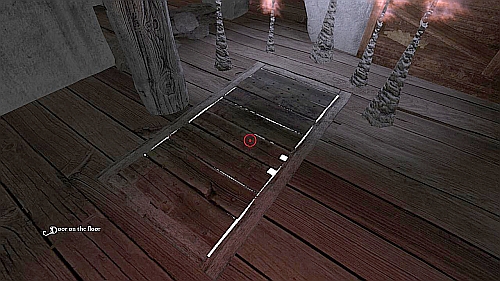
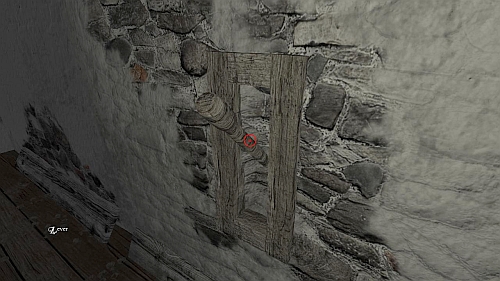
Crouch (press C) near the left wall just behind the stairs. Take out closable hunting knife and use it on the little string (picture). Move the cursor on the door and when the hand will show up press the right mouse button and pull door to your character.
Inside you will find a dry branch. Use cigarette lighter on it and when the light will show up in the room pick up a second mirror shard (picture).
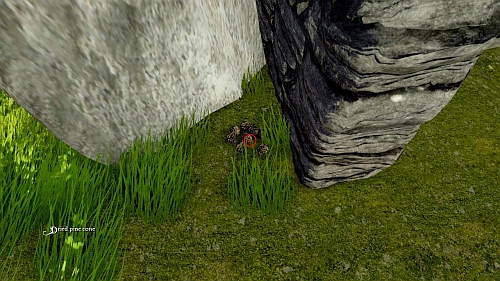
Stand up and move to the left. Pass through the wall and look at the ground on the right side. You will find dried pine cone here (picture). Pick up one of them and start heading at house's main door from the direction of the rivulet.
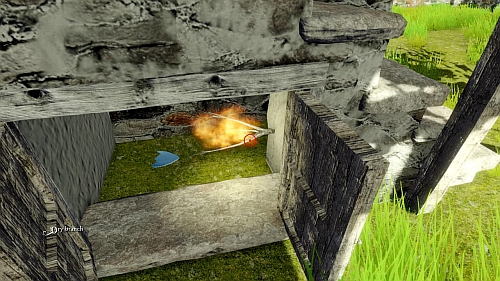
Look above the door and you will see eye shaped notch. Put there two pieces of the mirror shard (picture) and dried pine cone. Fire it with cigarette lighter and quench a fire with filled canteen. Click on the main door with right mouse button and choose "use". Before you get in you can also filled canteen with water.
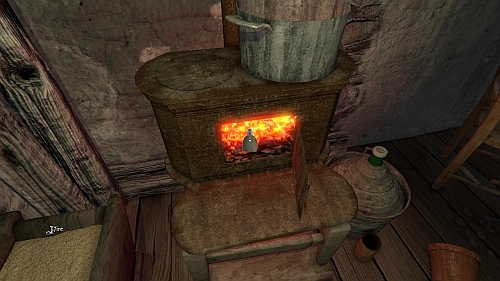
Once you get inside move forward, open the devastated door and fill canteen with water from the puddle. Back to the previous room and move to the stove standing on the left corner. Open stove's door and use filled canteen on the fire (picture). After a while pick up the key which will be in the stove. Also take some sawdust from the bin on the left side.
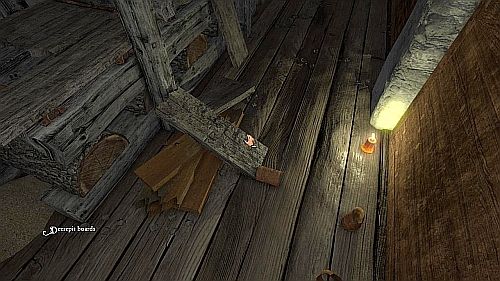
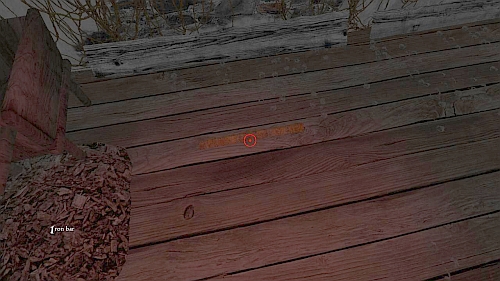
Turn back, move forward and strew decrepit boards (picture). Under them you will find sharp fragment. Pick it up and move to the adjoining room. Get to the table near destroyed doors.
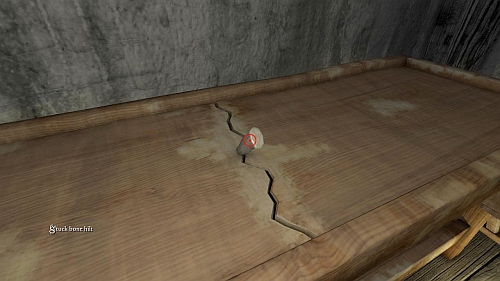
When you get near the table use wooden branch on the stuck bone hilt (picture). Pick it up and join it with sharp fragment. In this way you will create ritual knife.

Now look under the tabletop on the right where you will se the drawer (picture). Open it with the key and pick up heap of tied leaves and wooden box. Before you exit the room you can go the table near main door and read the text old handkerchief.
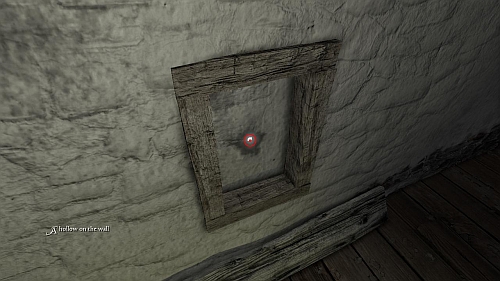
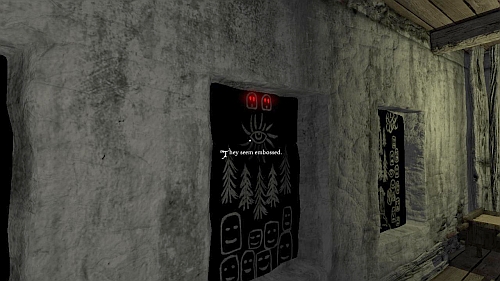
After that move through the devastated door and get to the hollow on the wall (picture) (it's opposite to the entrance. Put the wooden box inside and examine the illustration on the box.
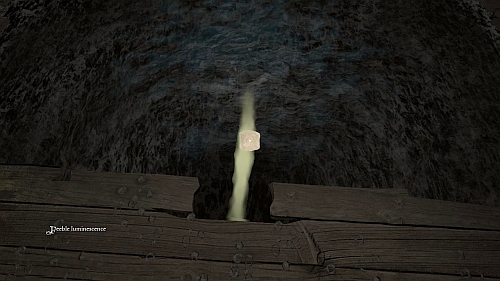
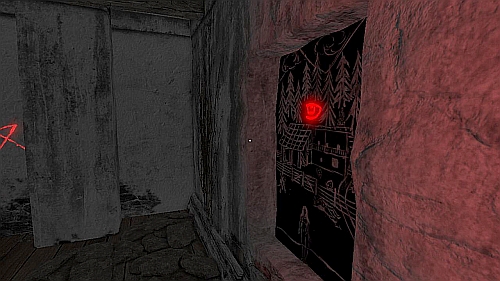
Turn back and look at the puddle where you will see feeble luminescence (picture). Use sawdust at it and walk at the end of the "bridge". Now use cigarette lighter on the ritual dagger and when you inflame it use it on the circle of limpid water.
ATTENTION (Alternative ending 1) - if you want to get access to the first end just leave the room and move left, DO NOT move toward black ghost which will show near the main door. Instead unravel puzzle with leaves and get inside the room behind door with lots of eyes. When you brighten the location move to the wall on the right, pull the lever and leave the house walking through main door.
After short animation return to the room with stove, move to the middle drawing, look at the twins on the top of it and use examine option (picture). Now move to the picture once again and now choose "use" option.
After animation look at the wall on the right side of the stove. You will see a text: the death was black, the hatred bronzed, the happiness golden, the solitude white, yet the sole lie was white. Open inventory choose closable hunting knife and use it on heap of tied leaves. As you will notice in your inventory will show up five leaves in difference colors. You have to set them on the five drawings (three of them are in the room where you are standing and last two are in the area with puddle). Put leaves in the following order (starting from the first drawing from the stove and moving along the right wall all the time): bronze, gold, white, silver (picture) and black.
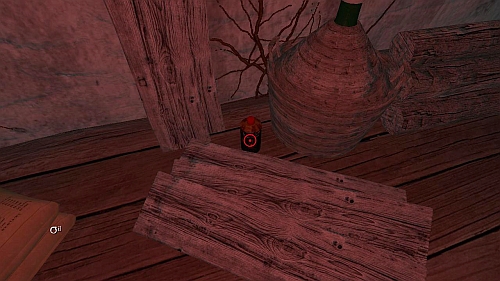
When you finish the puzzle with leaves return to the room with stove and pass through stockroom door. Move along the wall on the left and after a while you will see some items on the floor. One of them is oil (picture). Pick it up.
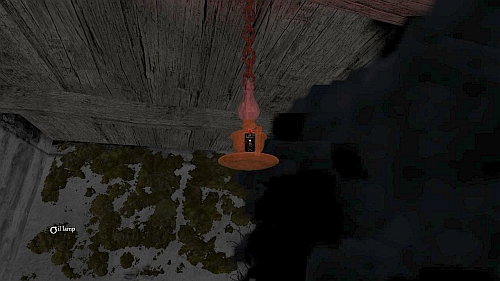
Get up and use oil on the oil lamp (picture) hanging under the ceiling. After that use cigarette lighter on it and move to the area which will show up.
Look at the floor near left wall and pick up plant food and iron bar (picture).
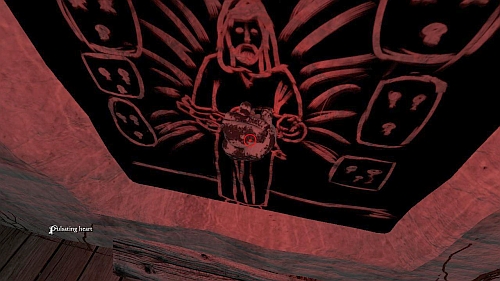
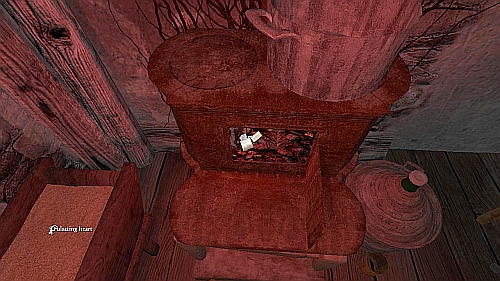
Go to the right wall and use cigarette lighter to warm up ritual dagger. When it gets hotter use it on the picture and pick up pulsating heart (picture).
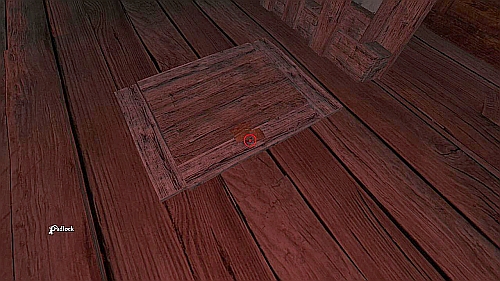
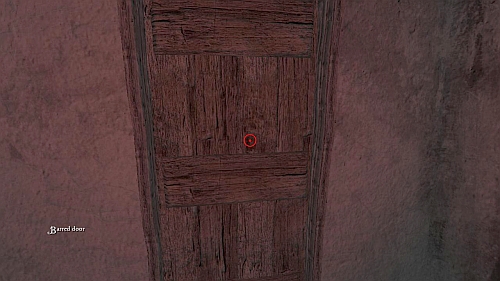
Return to the room with stove and go to the area near main door. Look at the floor and use iron bar on the padlock (picture).
Pick up larch needles (one is enough) and spare parts for stove. Use them to repair the stove and put inside larch needles and pulsating heart. Now use cigarette lighter on the repair stove (picture). After a while turn back and use stairs to the attic.
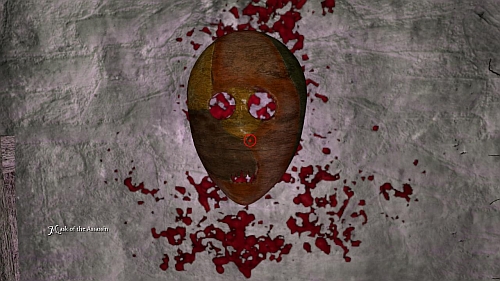
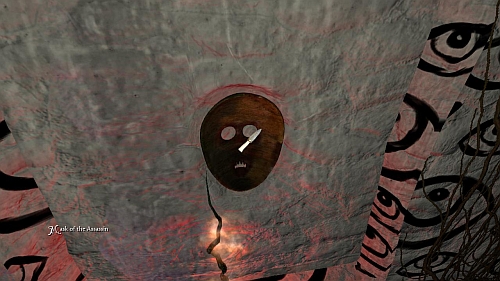
When you get to the attic explore it and pick up following items: three masks - of the assassin (picture) face of truth and mask of the divine - they are all hanging on the nearby wall.
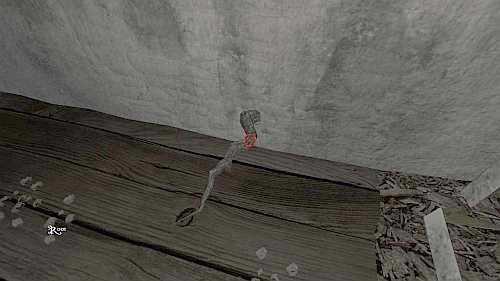
Start moving along the wall. From time to time you will encounter root (picture). Use plant food on them and when they get green pick them up (you have to pick up 6 of them).
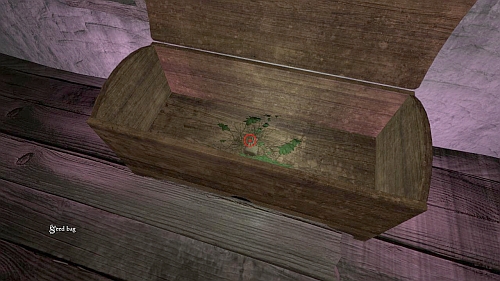
During your exploration tour you will also find trunk (picture). Open it using iron bar and pick up the seed bag.
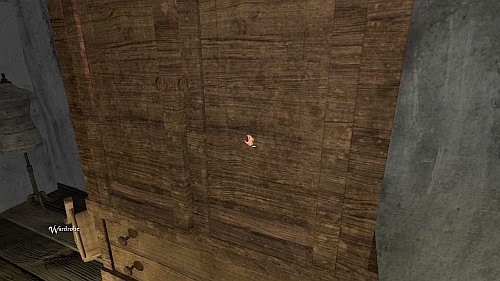
In another part of the attic you will find wardrobe (picture). Open it and pick up black dress and black veil. When you pick up all the items move to the center of the room and use trapdoor to return on the lower floor.
Move to the stove and pick up ashes of the heart from inside. Then open the inventory and click "use" on the mask of the assassin. When the image gets deformed start looking on the walls in order to find burning spots (they are 6 of them - all in the places of pictures). Move to that places, put root (picture) on them, smooth it with ashes of the heart and use cigarette lighter on it.
Once you have done pick up mask of the assassin, move to the place where picture with pulsating heart was and put mask of the assassin in the carved silhouette. After that put there also the black veil (picture).
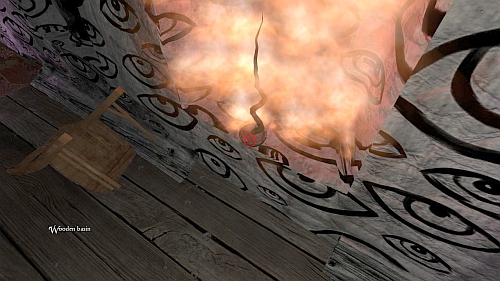
Return to the room with the stove and move toward burning root on the left side. Pick up wooden basin (picture) and head to the room with big puddle. Use seed bag on the water and wait until the tree rises.
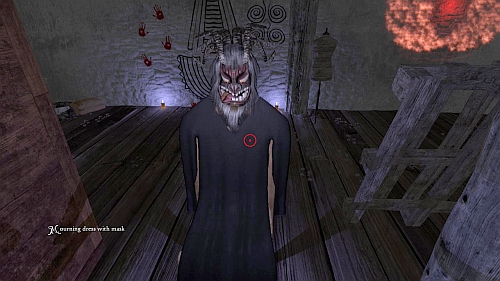
Get to the attic open the inventory and link mask of the divinity with black dress. Put the "effigy" on the chair (picture), click on it and choose "use". As you will see after a short while, the red symbol on the wall will start shining red.

Move to the area near the wardrobe and look left. You will see deformed sapling. Pick a leaf, open inventory and use cigarette lighter on the ritual dagger. After that use dagger to wound deformed sapling and use wooden basin on the blood (picture).
Move to the gleaming goddess on the wall and use blood filled bowl on it. After a while chose "use" on the red symbol and you will gain Anna's key. Move to the centre of the room and use it on the door on the floor (picture).
ATTENTION - if you want to choose the second ending move to the door on the right side, open them with Anna's key and move out.
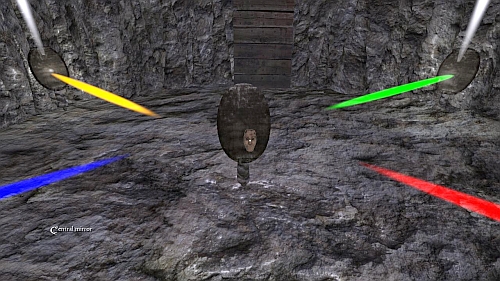
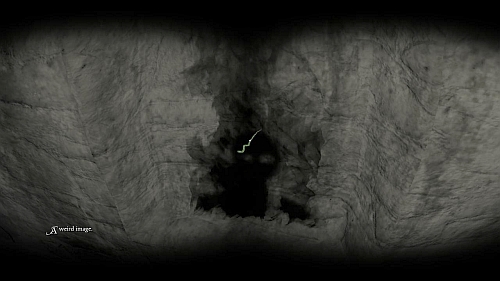
In the starting area you will some mirrors. Turn the corners ones until they all will be aiming at the central one. Now use mask of the divine on the mirrors near the chasm until they stop changing colors (in order to do it you have to put mask on the mirror, pick it up, put it again and repeat this actions until color stops changing). Do the same thing with two mirrors near the wall (you have use face of the truth on them). When you set up all colors (yellow, green, red and blue) move to the central mirror from the direction of the chasm and use face of the truth on it (picture).
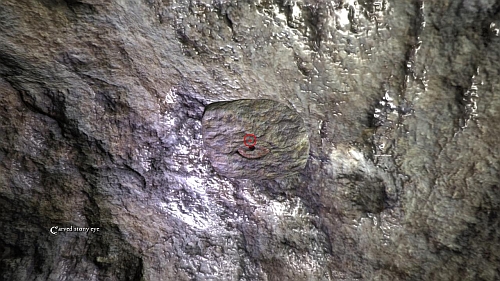
Move on the other edge of the chasm and enter the tunnel (some visions will start). When you reach the crossroad move to the left tunnel, after a while get to the next tunnel on the left and near a candle turn left once again. After a while you will reach eye of stone (picture). Use closable hunting knife on it.
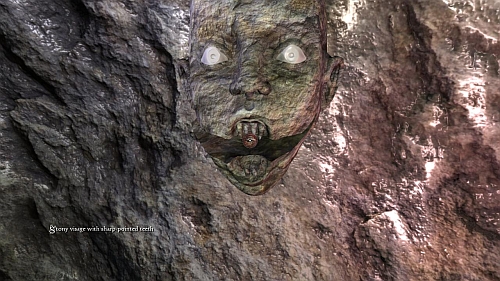
Return to the corridor, turn left and go to the end of the corridor. At the end you will reach stony visage with sharp pointed teeth (picture). Use eye of stone on it and pick up alive eye which will show up. Return to the corridor with eye sculpture and put alive eye into the form.
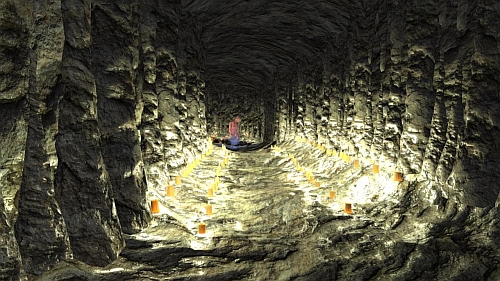
Return to the main corridor and on the crossroad turn right. Start heading straight along the left wall. After a while you will enter to the area with stone sculpture and lots of candles (picture). Move to carving and watch ending animation.
Anna has three endings - the main one (meet with Anna) is described in the walkthrough. Remaining ones are tagged in the solution with ATTENTION text. Below are more specific details about two other endings.
Ending 1 - To complete the game in this way you can NOT meet with black ghost who will show up in near main door after leave the room with a puddle (after puzzle with ritual dagger). So don't get close to the ghost but quickly move to the left side of the room and start solving puzzle with leaves and drawings. After that pass through the door with lots of eye, enkindle the lamp and move to the wall on the right side of the room. You will find a lever (picture), pull it and get out of the house through the main door.
Ending 2 - On the attic after the sequence with pouring the red symbol with blood move to the door on the right side (picture) open them with Anna's key and leave the house.


 Assassins Creed II Game Guide & Walkthrough
 APB Reloaded Walkthrough All Points Bulletin: ReloadedAlan Wake Walkthrough Alan Wake Game Guide
 Arcania: Gothic 4 Game Guide & Walkthrough
 Armikrog Game Guide & Walkthrough