
This game guide contains of a complete walkthrough of both campaigns (Marine and Na'vi), tips for beginners and the list of all available armors and guns. Orange color highlights more important characters for a particular level, green one locations and certain abilities. Blue color along with a number mark a picture which matches the description: [1] - top left, [2] - top right, [3] - bottom left, [4] - bottom right.
Adam "eJay" Kaczmarek
Translated by Lukasz "Crash" Kendryna
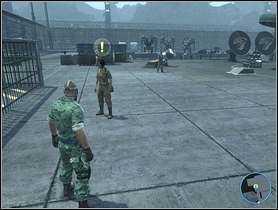
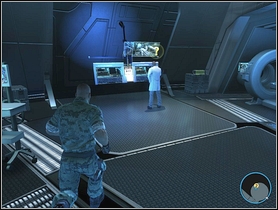
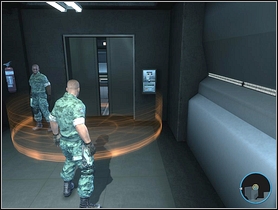
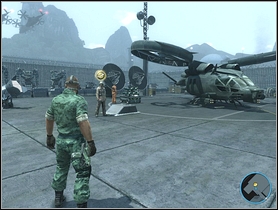
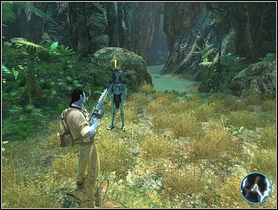
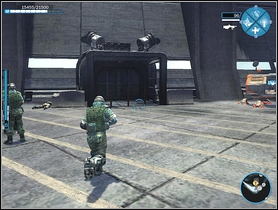
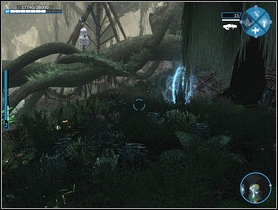
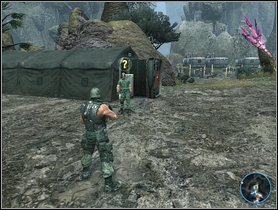
The adventure on Pandora begins. At the beginning talk with Kendra [1] - she will show you the way to doctor Monroe. Monroe is in the science section [2]. After another chat rest on the bed in order to check the readiness of the avatar for the action. After some tests go back to Kendra (she is nearby). She will order you to go to Falco - commander of the whole operation. You have to go down the elevator and reach lower level (east wing of the base) [3]. You will find Falco at the desk. The first task: find the Na'vi spy. Go back to the landing field [4] and set out on a journey to Blue Lagoon.
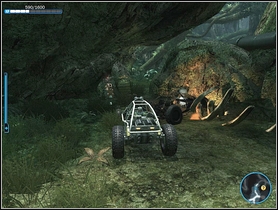
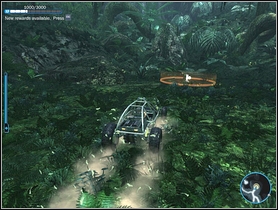
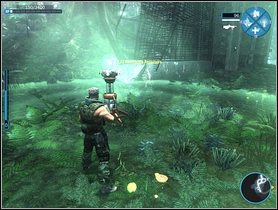
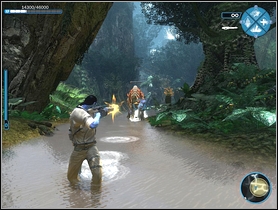
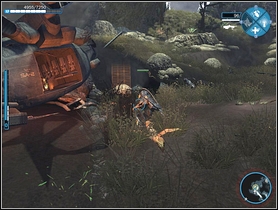
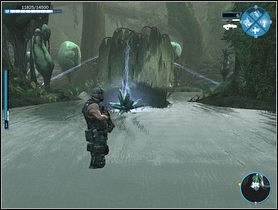
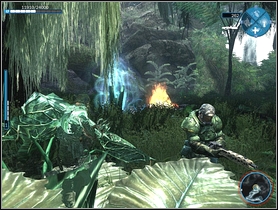
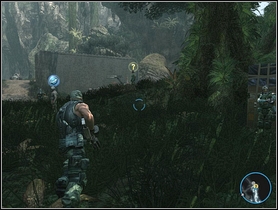
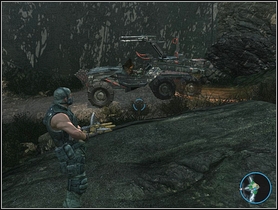
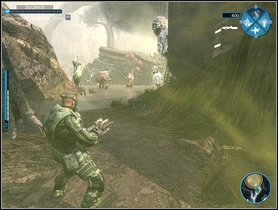
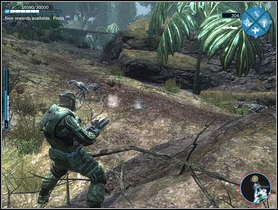
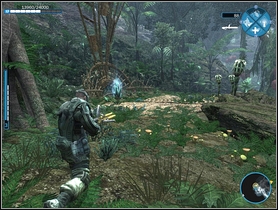
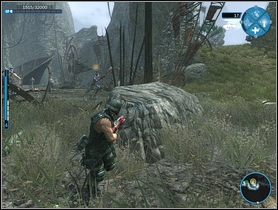
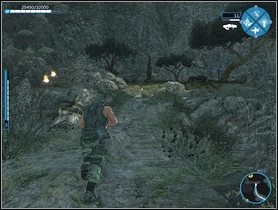
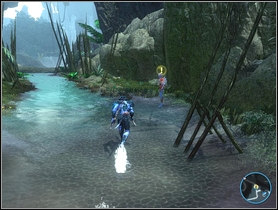
At the beginning Kendra will inform you about the wolf-attack on the base. Go to the main gate and take up the gunner-place [1]. Everything should go smoothly. As soon as all soldiers go inside you will get 500 XP. After that, you will have to take the car and drive into the jungle in order to rescue a lost soldier. He will be located under the waterfall, albeit, in the middle of the route you will have to abandon the vehicle and walk [2]. Then, the difficult bit of the game will start, which is a constant fight against ravenous wolves. Your current level of experience makes them very dangerous. Therefore, the best is to support yourself with a shotgun and certain skills (Chromatic Blend and Ultrasonic Repulsor). Do not let them to surround you, simply because they will kill you. Use dodge and shoot as much as you can. Try to find Dalton [3] - he will ask you to activate the signal from the machine. It is relatively close, but again, you will have to defend yourself from wolves. Run to the vehicle and head to the machine [4], then re-start signal and once again shot to the wolves. At the end, return to the database.
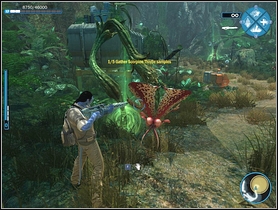
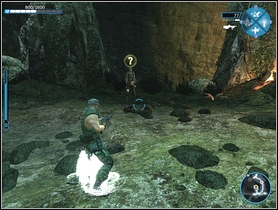
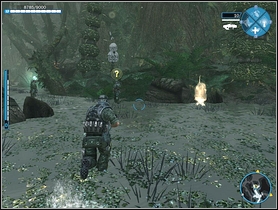
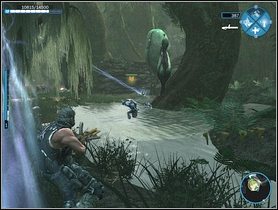
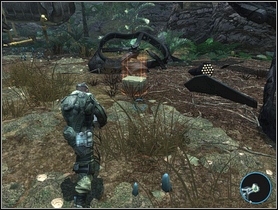
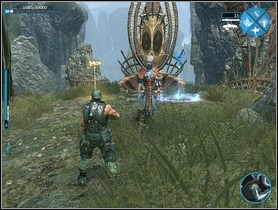
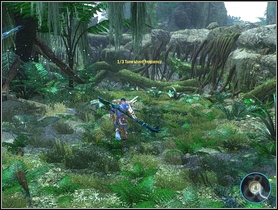
After reaching the base Dalton will asks you for help in repairing repulsor beams - devices which scare off wolves. Take the Gator boat and go toward both points. Those machines are going to be guarded by wolves, but being invisible will allow you to get to them without injury [1]. In the base, Dalton will thank you for help and Kendra will allow you to use an avatar. Enter the building and rest nicely in bed. Voila! From this moment you are 3 meters tall with better dexterity. In addition, Pandora will be less aggressive towards you. Talk to Kendra and then go to visit Harper, who is in the Avatar Station [2]. After a brief exchange of views a doctor assistant - Epstein - will order you to collect 5 pieces of Scorpion Thatles and 1 Chalie. Both plants grow in the marked location so it is impossible to miss them [3]. Collect them all and meet Harper at a fixed place. At the station Tan Jala will appear - representative of Na'vi [4].
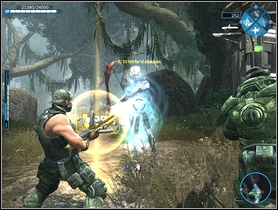
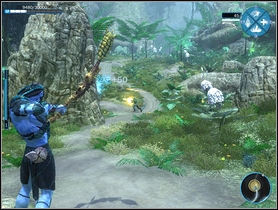
You will be ask for help in killing two large animals. Do what you have to. The tactic is simple - run around, use dodge and do not let the monster to hit you. The weapon, which will be holding by you has unlimited magazine so do not be shy and shot all the time [1]. After the fight go and meet with Falco. He will ask you to follow Tan Jala. Cover the marked path. From time to time wolves can attack you. Be prepare for the surprise at the end of the path - Harper is a traitor. Now, you can join Na'vi or remain faithful to the humans? It is up to you what direction you will follow in further game. Killing the representative of a certain fraction will determine your choice [2].
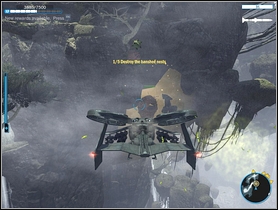
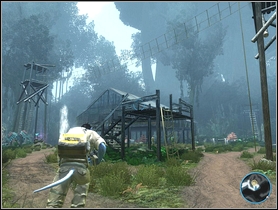
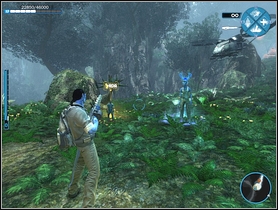
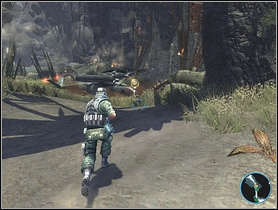
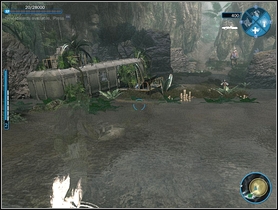
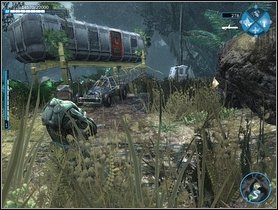
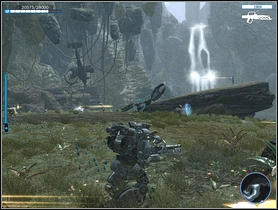
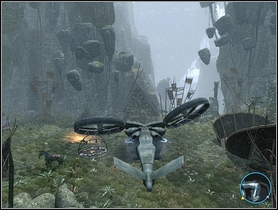
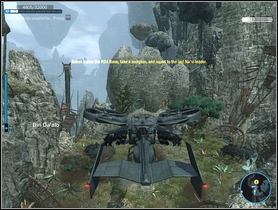
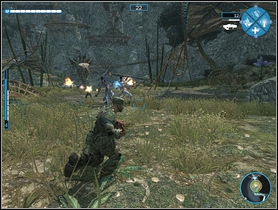
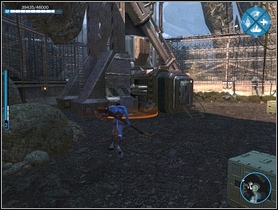
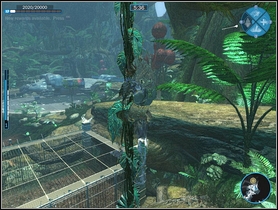
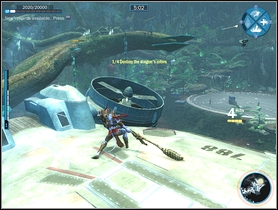
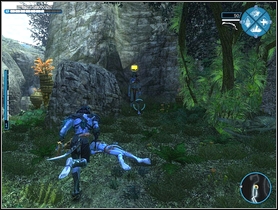
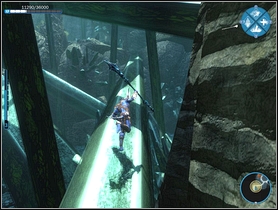
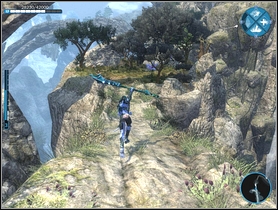
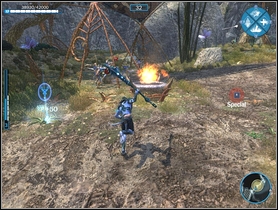
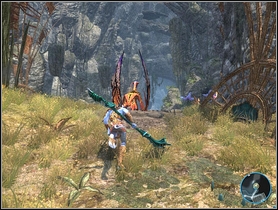
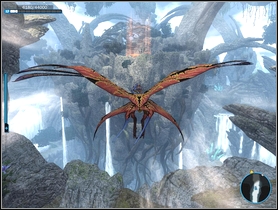
Be prepared for the disaster from the very beginning. Kendra will ask you to visit a nearby base. The path will lead through habitats of wolves and wild plants so be prepared for that [1]. After reaching the base talk with Winslow (inside) [2]. He will lend you Scorpion. Use that flying machine in order to get to the place of the accident. Kendra will tell you that you will be able to restore rockets from the shattered wreckage. Do it (Chromatic Blend and Ultrasonic Repulsor will appear to be useful) [3]. Destroy 5 nests of Banshee. There will be more but destroying 5 will be enough. Chose the closest and point the rocket at them [4]. After doing the trick go back to the base and talk to Kendra.
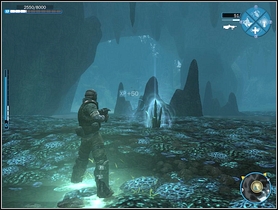
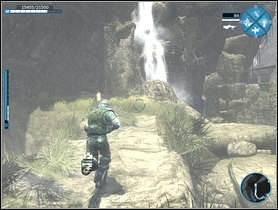
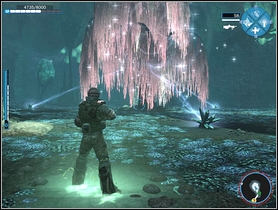
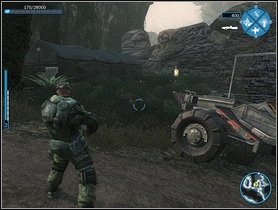
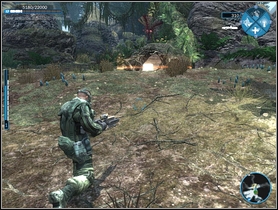
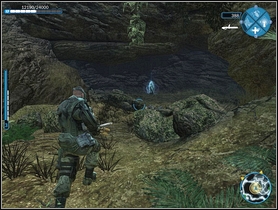
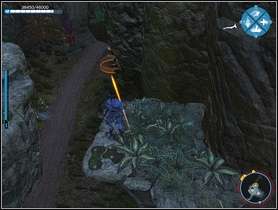
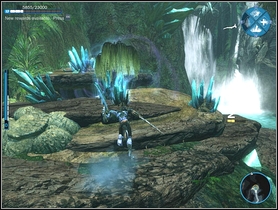
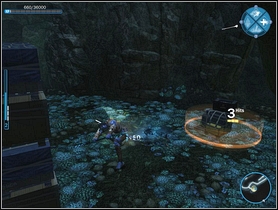
Now, Falco will explain you upcoming task connected with gaining 3 crystals. I recommend you to start with the one which is the nearest (you can use Scorpion). Enter the cave from the south, beat out all the guards and grab the crystal [1]. After that, the cave will start collapsing. Run along the only available path to the north. Activate Chromatic Blend in order to prevent being followed. At the exit a group of enemies will be waiting for you [2]. It will be a good time for Tactical Strike. Look for a vehicle and head to another location. The second crystal is also to be found in a cave. The cave won't be packed with enemies but be careful, some fruit-grenades are fixed to the vault [3]. Grab the crystal and go back to the vehicle. The last element is in the north, in a crystal cave [4]. As soon as you find the crystal - a numerous group of enemies will appear. Having charged Chromatic Blend and shotgun is advisable.
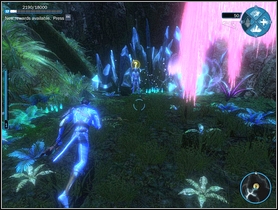
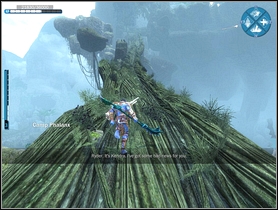
It's a high time to find a magical willow (one of the three). A path packed with enemies will take you to the tree, albeit, Falco will call for a small backup in order to savages off [1]. Enter the cave, beat out the entire guard [2] and set the crystals in places where you will hear a strange sound [3]. Then, go back to Kendra. You'll get your very own driver [4] - Trudy Chacon. It's time to report in Hell's Gate.
This location is your starting point and place of reporting. This is exactly what you need to do now - report to Dr. Monroe and then to Falco. After that, reach the lower level and talk to a scientist. He will explain to you that in order to conquer Pandora all you have to do is simply take over Trees of Souls. But first you have to localize another two willows. Falco will order you to fly to the FEBA. Go to Trudy Chacon and select the route.
Another 3 crystals are required in order to find the willows. To get them, you will have to accomplish a series of tasks connected with unites deployed in the region. First, talk with Kendra. From time to time you will be supported by backups, but it will be better to rely on yourself. The jungle is still very dangerous so from time to time use the Chromatic Blend. Tasks can be done in any order. After locating a willow head to the base in the north and talk to Kendra. Another report of Hell's Gate waiting.
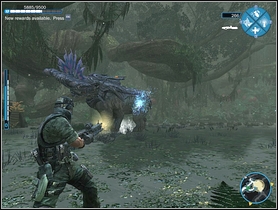
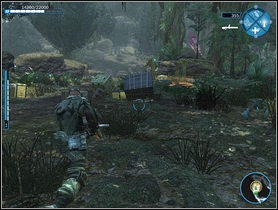
The first crystal is almost in the center. Meet the commander [1] who will tell you that Hammerhead is wandering around in the nearby bushes. Go to that area. Being there kill the animal with the help of other soldiers. It won't be difficult, although it will be better not to toy with the enemy. Try to maintain constant movement, use dodge ability and the grenade launcher [2]. After the battle at the place of felled Hammerhead the crystal will appear.
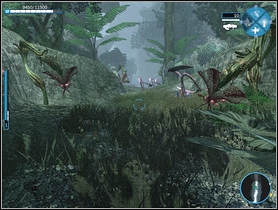
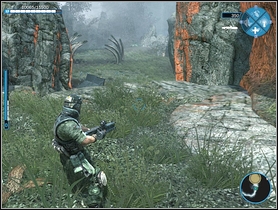
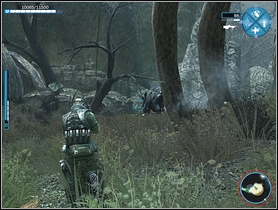
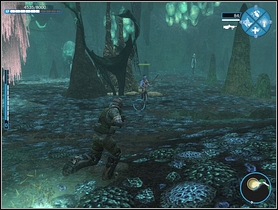
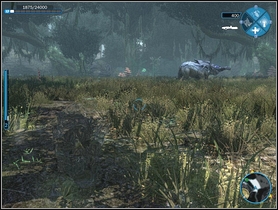
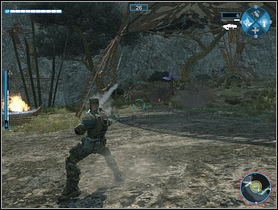
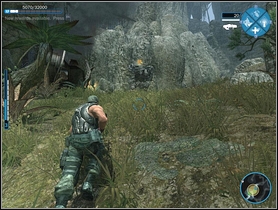
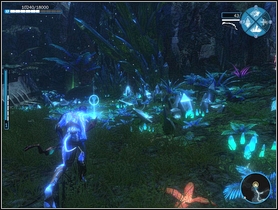
The next item is to the east. As soon as you get to the marked location you will receive a message about an accident of Scorpion. The crew is OK but the Stalker Valley will turn out to be a tough battleground. You will learn that at the end of the route is the habitat of the beast which is in a possession of the second crystal. Using Chromatic Blend [1] and other useful skills reach the far end of the map (it is better not to fight because you will encounter a large number of wolves and Navi) [2]. The beast can be finished in a very easy way - using Nail Gun, dodging strikes and hiding behind terrain obstacles [3]. There is a simple reason why using a grenade launcher is not worth the risk - you can easily hurt yourself. You will find nearby a ready-to-activate Ammo Pod. When you get serious injuries use invisibility. Heal yourself and take some ammo. Repeat this strategy until you succeed. When the beast die you will see the crystal [4].
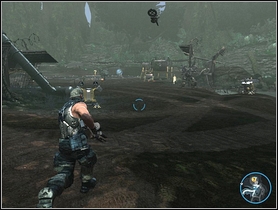
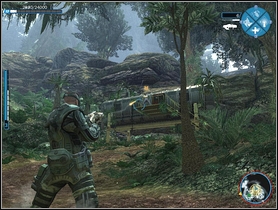
The last crystal is in the south. In order to get it you will have to help the other squad in defending nearby territory [1]. The invaders will be coming only from one direction so the use of the grenade launcher will help you to do the job. After the fight go and talk with the commander [2]. Crystal will be just around the corner.
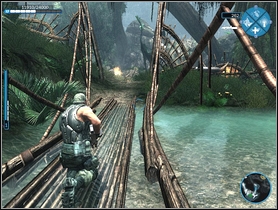
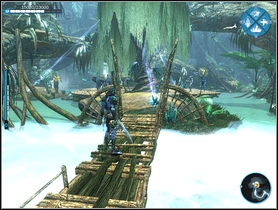
Now, crystals will help you in locating the willow. Go there. When you get to the bridge start the attack [1]. Try to kill as much Na'vi as you can (from the distance) in order to keep the center free of enemies. When you do that, once again set the crystals [2]. After that, Beyda will enter the arena - one of the Na'vi commanders. Tough guy but helpless against the grenade launcher [3].
After setting the crystal and slaying Beyda go to the main base in the north in order to meet with Kendra and fly to Hell's Gate.
Re-deliver bearings of the Willow to dr. Monroe. Talk with Falco. Now, the trip to Grave's Bog is ahead of you.
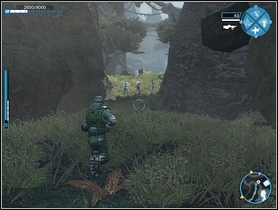
As in the previous mission, you will have to get 3 crystals and see a willow. New tasks will be preceded by a few tips. But let's get down to business. Kendra will ask you - at the beginning - to find the first crystal. Go to the village to the east. As soon as you reach the bridge you will receive support from the air [1]. Go further; reaching Na'vis' territory use Chromatic Blend. Run up to the crystal [2] and take it then go to the base marked on the map. The commander will ask you for help in defending the territory [3]. Na'vis will be attacking through three gates. Finish them with the Grenade Launcher or the Nail Gun [4]. If you will suffer lack of ammunition you can always build the A-Pods - near each gate you'll find two places designed specifically for them.

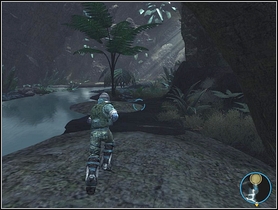
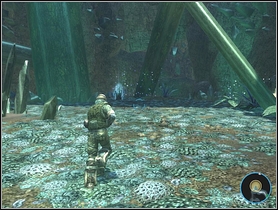
After slaughtering, the commander will ask you to ride through the jungle. Take the vehicle and sit behind the stand-gunner [1]. Along the way, an intense fire exchange will be awaiting you. Kill Na'vi people, plants and Hammerheads - that is going to be the main source of XP at that point. In the middle of the trip turn off the engine. Defend your vehicle and crush another waves of enemies [2]. After about a minute you will return on the route. At the end of the ride Kendra will be waiting for you. She will inform you about the location of the next crystal, which is in the nearby village. Force your way through to that location - being of course unnoticed - and pinch what you need [3]. Go back to the officer Minori, who will give you bearings of the last item, an abandoned base in the east. Take the vehicle and set off. Get off before entering the base [4], activate Chromatic Blend and go to an abandoned hut near the rock on the left side.

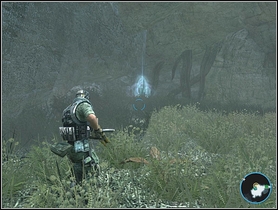
![Inside, youll find a body and a transmitter [1] - Walkthrough - RDA - Graves Bog - Walkthrough - RDA - Avatar: The Game - Game Guide and Walkthrough](https://game.lhg100.com/Article/UploadFiles/201512/2015121216174897.jpg)
Inside, you'll find a body and a transmitter [1]. Wait until the energy will be recharged and go back the same way you've come in. Visit marine who is next to the tent [2]. He will point out the place of the last crystal. It'll be easier to collect because it won't have any protectors [3]. After completing the sparklers go up the hill where the willow is. However, before setting the crystals you will face a fight with Tan Jala. Using the Grenade Launcher you will finished the clash and the commander of Na'vi will become a thing of the past [4]. Complete the harmony from the tree (put the crystals in places of a strange sound). Return to Kendra and fly to the Hell's Gate.
Monroe will ask you for one more harmony from the willow, and Falco will want Harper's death. Fly to the Hanging Gardens.
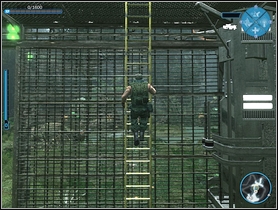
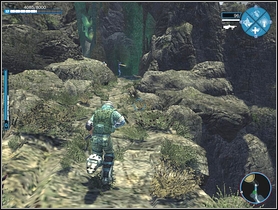
At the beginning you will have to defend the camp against the surge of Na'vi. Kill 10 of them - it is a good move to deploy yourself near the entrance. Winslow will ask you to check the post of Batist. Go there (left wing is the best way). Be aware of attacks of the dangerous dogs and walking here and there Na'vi [1]. Switch on repulsors from the center of the camp and talk with the warrior. He will show you the crash site. Go there using invisibility. Take a package [2] and go back to Winslow. You can use the vehicle and ride along the winding road [3] (but quite safe) or go on foot. Winslow will order you to set explosives below two rocks [4]. When you accomplish your task a herd of wolves will attack you.
Talk once again with Winslow and set another 4 charges at marked places. This should stop the beast from attacking. Next conversation with Winslow will direct you towards a transmitter. It is right next to the camp [1] but along the road deadly plants and wolves will be waiting for you. After collecting the transmitter head towards a radar station on the top of the steel construction [2]. Mount the missing part and inform Winslow about that. He will order you to kill all avatars in two suspicious locations. Do it. You should not have problems with locating your goals [3]. Along the way, you can also kill Hammerheads [4]. After returning to the base Kendra will show you the locations of 3 crystals.

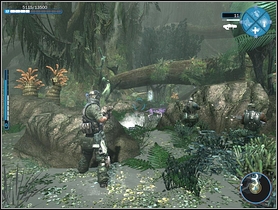
![Central one is located in the cave - in order to get it you will have to blow up the rock [1] - Walkthrough - RDA - The Hanging Gardens - Walkthrough - RDA - Avatar: The Game - Game Guide and Walkthrough](https://game.lhg100.com/Article/UploadFiles/201512/2015121216175078.jpg)
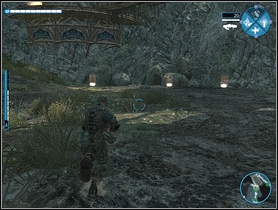
Central one is located in the cave - in order to get it you will have to blow up the rock [1]. The north one is on the altar [2] and the last on the rock [3] (you have to go up the stairs and mind the holes!). After getting the treasures talk with Kendra in the base. She will mark for you the location of the willow. Unfortunately, it is in the cave. For that reason contact Batista and ask him for assistance [4]. He will lend you his car.
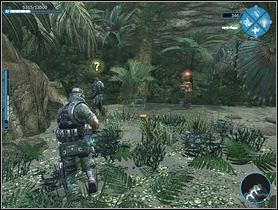
![Blow up the main entrance [1] - Walkthrough - RDA - The Hanging Gardens - Walkthrough - RDA - Avatar: The Game - Game Guide and Walkthrough](https://game.lhg100.com/Article/UploadFiles/201512/2015121216175116.jpg)
Blow up the main entrance [1]. The cave (Lost Cathedral) will be full of Na'vi. Kill Harper's avatar - if you get a chance shot the flowers fix to the ledges when he will be running next to them [2]. His death will be only partial because you have to beat Harper in his real body. Go through the big gate and kill him with a few shots from the grenade launcher [3]. If you haven't got enough ammunition, you can always use the A-Poda. As usual, complete the harmony from the willow [4] and escape through the nearby passage. First, talk with Winslow then with Kendra and go to Hell's Gate.
At the beginning talk to Kendra. Falco disappeared somewhere. Monroe also. Perform the upload of files. Tree of Souls is in the Plains of Goliath. Let's fly.
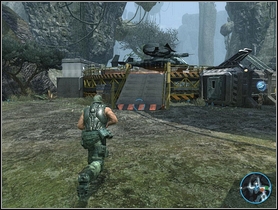
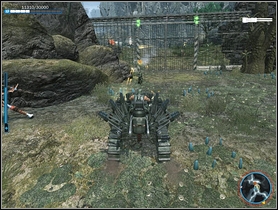
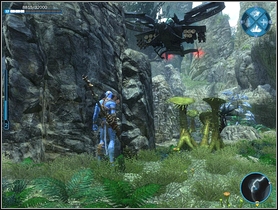
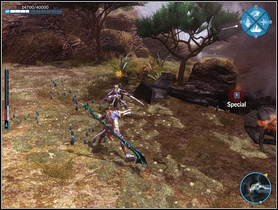
Talk with your superior then get on the mecha and head to the next base. Along the way, a small fight will go on but I advise you not to take part in (the opponents are reborn after death) [1]. Reaching the destination point Quarritch, who will order you to support 3 officers, will be waiting for you [2]. Start with Batista - you have to kill Swawta, the chief of Na'vi. It's quite an interesting quest because when you find an opponent he will give you a chance to unite with Na'vi [3]. The following description is for those who choose the RDA path.
Kill Swawta with the grenade launcher and go back to the Scorpion [4].

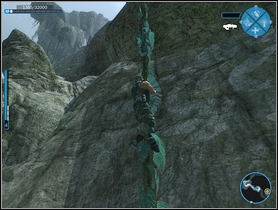
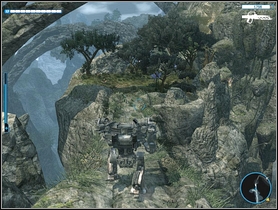
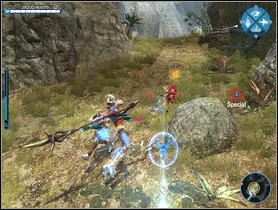
Another commander will order you to kill the next leader - Kuhato. Eliminating him will be a bit more difficult because he mounted a Thanator and he has a few guards [1]. A dozen or so shots - with the grenade launcher - should knock him of the monster and the elders without their weapons are easy targets. Make use of A-Pods and invisibility during the fight. If you get some serious wounds use Ultrasonic Repulsor and heal yourself. Go back to the base, take the Scorpion and fly to another RDA facility [2]. Savoy wants Raltaw's death. For safety, take a car or a mecha. A bit of climbing the rocks [3] and you will reach the arena. This is going to be the hardest boss as he can quickly shoot arrows. He is also very lively and he has a great support from other fellows [4]. Tactical Strike and the grenade launcher can turn out to be useful. Go back to Savoy and then talk to Quarritch. Go to Tantalus.
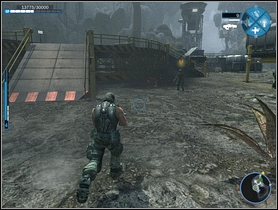
Speak with the captain and get into the Dragon. It's a quite big ship but also well armed. Shoot to the rocks in order to make your way through. Land at the marked spot and go to the post. Talk with a marine, take the explosives and get into the mecha [1]. Head to the village. The task will be to maintain the position for 3 minutes and 30 seconds. That won't be difficult because you can build up two A-Pods nearby [2]. Do not let them knock you down. After the time will come to an end mount charges on the rocks and run to the safe area [3]. Mission accomplished! It will be require to go back to the Dragon and then fly to the Tree of Souls. Get off the ship on the rock and go to the arena. Falco should not be a problem - 5 shots from the grenade launcher and that's all [4]. You saved Pandora from a war.
This is an interesting solution because you will get not only new allies but also enemies. Bear in mind that the plants will still be dangerous for us. Therefore, after the conversation with Swawt drive in vehicle equipped with rockets [1]. Our targets will be 3 RDA commanders - Batista, Winslow and Savoy. Batista is the easiest to kill because he is in the base waiting for the bullet [2]. Traditionally, we use a grenade launcher or - if we have the right vehicle - rockets. Return to Swawt. Another Na'vi will guide you to the next target. Winslow will be a slightly more difficult opponent because, apart from him, in the base will be several other guards [3]. The biggest challenge is the Savoy. First, you need to creep up to the base and take the Scorpion [4]. After that, fly to the chief of Na'vi.

Savoy is fighting in the valley. He is making use of a mecha [1]. A few shots from the grenade launcher knock him down. Use the Ultrasonic Repulsor in order to fell him and finish with a shot. Then, go to the base nearby. Na'vi have secured the only Dragon in the area so we can fly at Tantalus. After reaching the destination point we have to go to the village, meanwhile killing the RDA soldiers [2]. I also recommend Chromatic Blend - it will be needed to make your way through another unites. Entering the village talk with Amanti. Na'vi will order you to defend the territory [3]. Just as in the case of the RDA we will get 3 and a half minute. If you kill 18 enemies (which is a piece of cake) you will get more XP. After the fight talk to Amanti once again and go through the crack in the rock to the Dragon (watch out for Scorpions!). Get into the vehicle and fly to the Tree of Souls [4]. Land on a rock and go to the tree. Now enjoy the alternative ending.

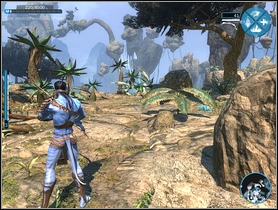
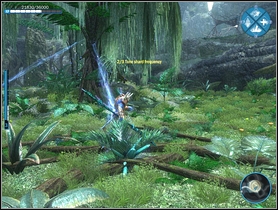
First, talk with Harper and then with Malari. You have to earn the trust of Beyda before attempting to fight. The first step is to capture a certain fruit. It is close to you, but first, you have to shoot with a bow into liana which holds up a rock [1]. After that, RDA soldiers will enter the area. Being in the possession of the fruit go to Beyda, who is next to the altar. He won't be very happy. Go back to Malari - She will give you another task. Now, you must collect 7 explosives which are placed on the main path so there shouldn't be problem with that. At some point you will have to jump down [2]. Then go further until you enter an open space. Make sure that you posses all the elements, shoot the rock and eliminate another RDA soldiers. Set the charges under the station [3]. Yet, Beyda will be still unimpressed. Well, maybe reaching Banshee nest will do the trick? Go up from one rocky shelf to another. Eventually, you will take part in a fire exchange. Watch out for Scorpion's fire! [4] The next few climbs will lead you into the nest.
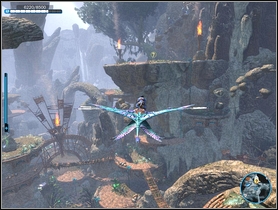
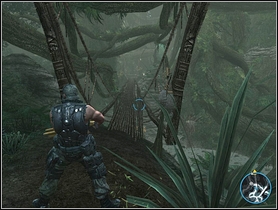
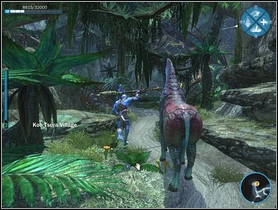
![Steering the creature is easy and pleasurable so going back to Beyda should not cause any problems (follow the lit torches) [1] - Walkthrough - Navi - Ikminaya - Walkthrough - Navi - Avatar: The Game - Game Guide and Walkthrough](https://game.lhg100.com/Article/UploadFiles/201512/2015121216175576.jpg)
Steering the creature is easy and pleasurable so going back to Beyda should not cause any problems (follow the lit torches) [1]. The point is that the leader will be still adamant. But there is the way how to solve the issue of trust - you must destroy the 3 communication towers. Take the Banshee and head towards your targets. Here you will learn the power of your bow as 100% of the task must be completed being in hiding. First, eliminate the turret guns [2], then individual soldiers. After that go to the main tower and set the charge. And remember to "park" the Banshee in a safe place because the guards can kill him. After destroying towers go back to Beyda. He won't be transported with joy but he will appreciate the effort. Next, Harper will ask you to solve the problem with Dragons. One of them will enter an air space above the village. Climb the two towers in the middle of the arena [3], then jump on the ship and damage the engine [4]. The action must be performed 3 times. Unfortunately, Ryder's avatar will die. But this is not the end of the game, it's just the beginning.
Hometree has the same role as the Hell's Gate for RDA. This is the starting point for further missions. The location consists of one large tree which protects people of Na'vi from humans. On the first floor are the elders of Na'vi - Thalsik who will order you to find Lungoray. Go down and talk with Tan Jala and then go to Swotulu.
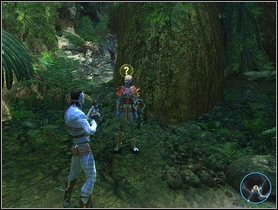
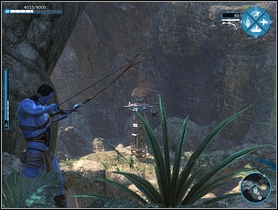
![In order to find Lungoraya you must investigate three locations - the first one is a destroyed post, the second is a battlefield and in the third one you will find a Na'vi [1] who will give you a clue that you should ask Unipey for help - Walkthrough - Navi - Swotulu - Walkthrough - Navi - Avatar: The Game - Game Guide and Walkthrough](https://game.lhg100.com/Article/UploadFiles/201512/2015121216175619.jpg)
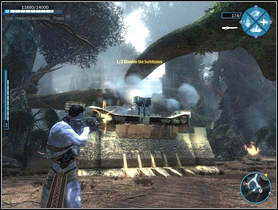
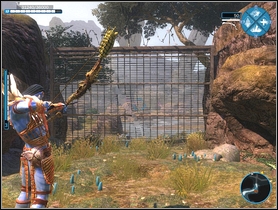
In order to find Lungoraya you must investigate three locations - the first one is a destroyed post, the second is a battlefield and in the third one you will find a Na'vi [1] who will give you a clue that you should ask Unipey for help. Unipey is right next to you (destroy the bars). In order to get him you have to shoot to the flowers [2] which block entrance. Unipey will be wounded but he will asks you for assistance in deactivating the bulldozers of the corporation. Shoot the transmitters in order to immobilize both vehicles [3]. Unfortunately, they won't stop working so look for the post with the radar station and shoot with the bow flowers [4]. Then go back to Unipeya.
The next task is connected with releasing prisoners. Watch out for gun turrets [1] (smash them with the bow) and enter the center through a side passage. Hide behind the barrels and eliminate the guards. After the fight liberate Na'vi and talk to Unipey. He will be satisfied with the results of your actions. There will be still one thing to do - destroying the RDA mine. Go there [2] and hide behind obstacles in order to kill the guards from the distance. Again, beware of the turrets. Switch on the device at the gate and walk in [3]. Do not enter a lit circle until you get enough plants. At that point you suppose to have at least 3 possibilities of a life regeneration. Change your weapon for the most powerful stick and enter the circle. Three mechas will appear. Hit them as many times as possible and make use of combos as well. In general, do everything you can to deal a lot of blows. When opponents will become the things of the past climb up to a higher level and jump down on another platform. Shoot a group of enemies and switch on what you need. Then go back to Unipey. He will thank you for what you've done (and you've done more than all Na'vi put together). As a reward you will get an information about the place at which Lungoray is sit in. Go along the glowing bushes [4].
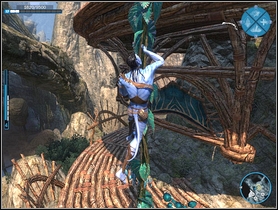
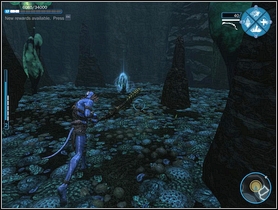
![When you reach a dead end shoot the flowers at the base of the rock [1] - Walkthrough - Navi - Swotulu - Walkthrough - Navi - Avatar: The Game - Game Guide and Walkthrough](https://game.lhg100.com/Article/UploadFiles/201512/2015121216175782.jpg)
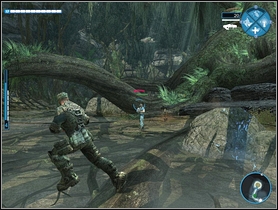
When you reach a dead end shoot the flowers at the base of the rock [1]. The jungle will change its face and you will be able to talk to the leader without any disturbance [2]. He will order you to find three crystals. Fortunately, they are quite close together so everything should go smoothly, even despite the RDA patrols [3]. Set the elements around the tree and complete the harmony [4]. Return to Hometree.
Show the harmony to the elders. Set it on the altar. The last thing you have to do is to talk to Tan Jala and fly to Toruka Na'ring.
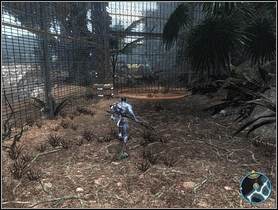
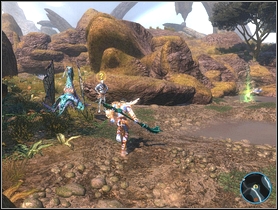
Go to see Amanti. She will ask you to kill a few RDA soldiers and release trapped animals. It's time to run on the trees for awhile [1]. You will get to a small camp with cages. Kill RDA soldiers and destroy the vehicle. Then, the second one will come in. The way how to wreck it is fairly simple. As soon as it approaches the large branches with flowers - shoot at those plants. If it will freeze in the middle of the area shoot the flower on the ground. Hide in safe places [2]. When the Scorpion will fall Amanti will enter the camp. Go to Beyda. He is right next to the RDA base. Talk to him and use invisibility. Climb the branch on the opposite side [3] and go along the right wing to the Dragon. Jump on the ship and smash all four engines [4].
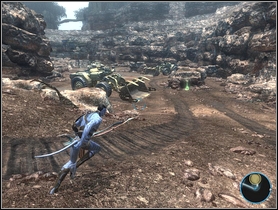
After the battle Beyda will ask you to collect five seeds from Banshee nests. Climb up to the next level and do what is necessary [1]. Return to the RDA facility and talk to Hakuto. He will arrange a next task for your - gaining a crystal [2]. After collecting the sparkler mount Thanator. It's a tough animal but it is not worth to overuse its advantage because this may end badly. Go to Tan Jala and eliminate 32 RDA units. Do not be afraid, because the number of units you have to kill consists of soldiers, 3 mechas and a dozen dogs [3]. After the fight go for the crystal [4] and talk with Amanti. She will send you to Beyda, who feel sorry about two Thanators taken by RDA.
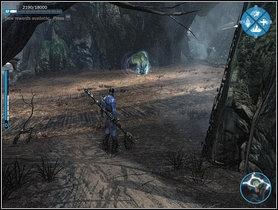
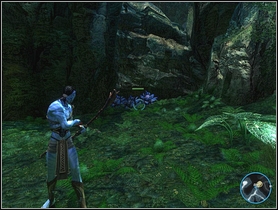
They must be killed, which won't be easy. The best method to do so is to use dual blade [1]. When the beast will attack you, dodge and cut it as much as you can. Perform this action twice and remember that the second Thanator will be in fog [2]. After killing the beasts meet Amanti and Beyda. They will show you the way to the crystal. A bit of invisibility will allow you to slip unnoticed [3]. Grab the item and run north. Next to the bridge you will meet all interested figures and willow. Set crystals in places with a strange sound [4] and fly to Hometree.
Hand over the next part of the song to the elders and talk to Tan Jala. Fly to Va'era Ramunong.
![Talk to the local chief [1] - Walkthrough - Navi - Vaera Ramunong - Walkthrough - Navi - Avatar: The Game - Game Guide and Walkthrough](https://game.lhg100.com/Article/UploadFiles/201512/2015121216180082.jpg)
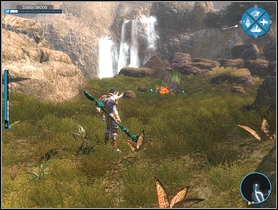
Talk to the local chief [1]. He will ask you for help with saving the three villages. Start with the nearest. A few RDA unites will wander around [2]. In another one as well. In the last village you will have to fight a mecha. After that, talk to Mendala. It turns out that his beloved Familiam has lost. She is located at the end of an alternative path - you have to go up. Talk to her [3] and leave until you finish clearing your way back. The first wave should be finished on the bridge. Summon up the girl and leave her just after the bridge. Kill another soldiers and go back for the beauty. As soon as see her off to the camp mechas and soldiers will enter the area. Cope with them. Now, you can talk about crystals. The first one will be behind the western village. In order to get it, first, you must chat with Tsao [4]. Only then he will allow you to climb.

The arena is filled up with RDA units so my advice is to enable a camouflage and quietly steal a valuable item, and then eliminate soldiers. You won't destroy Scorpion so hide behind a rock [1] and wait until the Pandora Union will be available again. Escape to the village, and then to another crystal in the east. First, you need to meet Naalot in the nearby location. He will send you to Obnilvin [2]. The head of the clan will order you to collect 5 grains of cillaphant in a small area. Cillaphants are those illuminating plants. Then, chief will ask you to assemble the lost hunters. You can find them on the southern path (watch out for the gun!) [3]. After saving the clan, you will meet the whole family going to the cave at the east path. Obnilvin will thank you for the rescue and show you the entrance. Go inside. Kill all RDA soldiers and the mecha and take the crystal [4]. Go out on the other side of the cave and meet with Beyda.
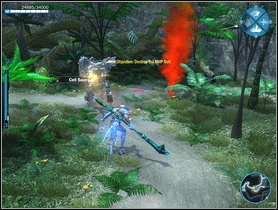
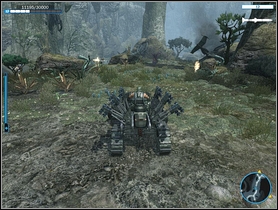
![He will ask you to kill a few people from RDA and the mecha (it will appear in the place of the red smoke [1]) - Walkthrough - Navi - Vaera Ramunong - Walkthrough - Navi - Avatar: The Game - Game Guide and Walkthrough](https://game.lhg100.com/Article/UploadFiles/201512/2015121216180139.jpg)
He will ask you to kill a few people from RDA and the mecha (it will appear in the place of the red smoke [1]). After the battle Beyda will order you to destroy boxes of ammunition. A large number of soldiers are watching for them so be prepared for a quick fight. Set the charges under those four boxes [2] and flee to a safe area. The last crystal is in the zone controlled by RDA. Go to the cave set with crystals and find the way to the top [3]. Grasp the ore and run [4].
![Bypass the map from the north and meet - in the center - Tan Jala (go across a huge bridge [1]) - Walkthrough - Navi - Vaera Ramunong - Walkthrough - Navi - Avatar: The Game - Game Guide and Walkthrough](https://game.lhg100.com/Article/UploadFiles/201512/2015121216180226.jpg)
Bypass the map from the north and meet - in the center - Tan Jala (go across a huge bridge [1]). Complete the harmony from the willow [2]. Do not worry about the RDA troops. When you set all the crystals [3] run towards collapsing walls [4]. The last talk with Tan Jala and go to Hometree.
Speak with Thalsik and give him the last but one piece of the song. Meet Tan Jala as well. It will turns out that you will set off to Kxania Taw.

Beyda will inform Nam that the first crystal is in a place where one of the Scorpions crashed. Run along the main path until you reach the place with the bars [1]. Destroy them and go to the Scorpion. Unfortunately, the crystal will be destroyed. The second part is in the south behind the base [2]. As soon as you get closer an come-out-of-the-woodwork Scorpion will fire to the crystal. Meet Beyda [3]. He will tell you that Na'vi are preparing another attack on the base. Force your way together with other Na'vi and kill ten RDA soldiers and Scorpion which will be flying over your heads. The third crystal is in one of the bunkers [4]. Take it and run along an open path. You will get to the place where Beyda will be lying. From behind his body a mecha will jump out. Destroy it and talk to the chief. Then, go to the willow. Seemingly nothing will happen because you do not have all the elements but ... it turns out that you have the power to read the harmony. You can get some points of XP or return to Hometree straightaway.
Play the elders the last part of the song. Kendra will visit the location. Falco is preparing yourself to attack the Tree of Souls. Talk to Tan Jala and go to the Plains of Goliath.
Tasks in this location are the same as in the RDA campaign. You must eliminate three high-ranking officers: Batist, Winslow, and Savoy. Move quickly across the map and do not take part in small clashes (only sometimes destroy automatic turrets). Remember to talk with your employer after the death of each target! Batista is at the front of his base [1]. Double blade can harm him. Make use of different skills as well (especially Titan Bash) to neutralize him. Winslow is patrolling another post [2], sneak up to him using camouflage and act as in the case of Batista. Such strategy doesn't work on Savoy because he will be inside a mecha. A dozen quick blows and combos should knock him to the ground [3]. That will be the last chance to do other things on other maps, so make sure you are prepared to fight. After accomplishing all the goals we are going to Beyda [4].
The only thing you have to do now is reaching the village. Along the way, make use of Camouflage and Kinetic Dash [1]. Avoid exchange of fire and talk with Amanti. She will ask you to defend the village. The task lasts 3.5 minutes. Maintain your position and kill one wave of RDA after another (including two mechas) [2]. Kinetic Dash once again might be useful. After the fight go onto the ledge where Leonopteryx will be waiting for you [3]. Fly to the Tree of Souls [4]. Go to the marked point and watch the ending of Na'vi campaign.
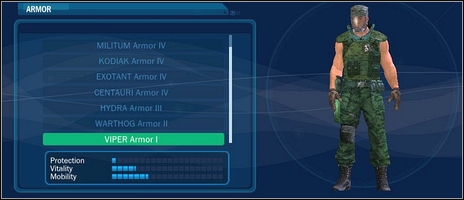
That is the first armor which you will get in the game. It has the lowest statistics, and because of that damage caused by animals of Pandora will be painful.
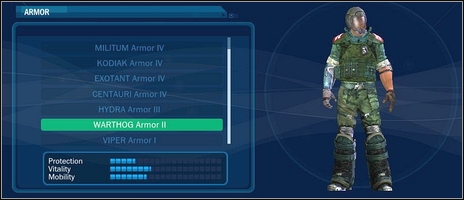
Warthog and Power Pack will be available after getting 17000 XP. In fact, it is not much stronger than Viper.
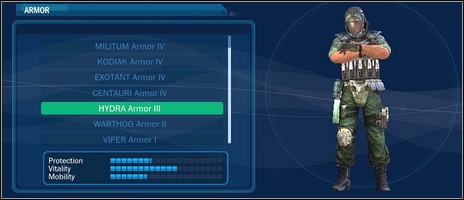
A first respectable armor for a RDA soldier. It has better statistics of protection and strength while maintaining a comparable mobility. Included in the Challenger Pack - 61,250 XP.
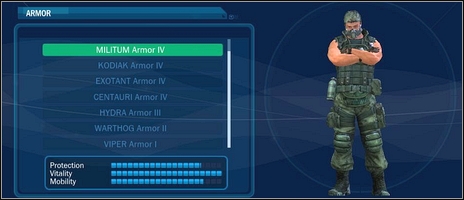
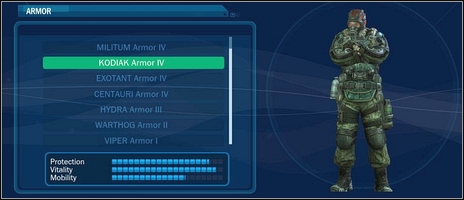
A huge jump in statistics over previous armor. You can use Militum to the end of the game, since it ensures a great protection, excellent durability and mobility. Master Pack will be available after obtaining 104,000 XP, which is relatively early. This is an excellent thing.
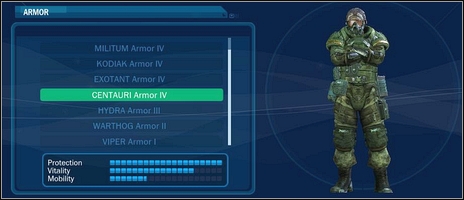
As interesting as Militum. Increased protection but lower speed and endurance. Part of the Commander Pack - 169250 XP.
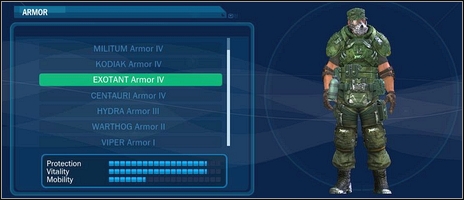
I think that this armor is useless. It does not improve main statistics but slows the main character down. We will get it in the Elite pack (249250 XP).
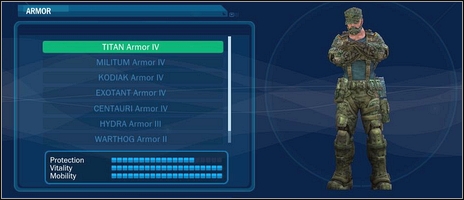
Its strongest point is certainly a protection against enemy missiles. It is a pity that this has been achieved along with the reduced strength and mobility. It is a part of Mercenary Pack -269,250 XP.
The very name indicates with what we are dealing with. Despite the reduced protection ensures high speed. Although we receive it in the final level with the Elite Pack, I recommend it during the tasks which were skipped before reaching the end of the game.
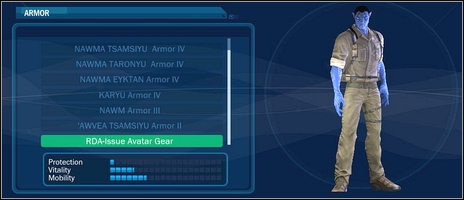
The basic armor from the start of the game. If someone is a fun of the film and wants to be like its main character then I recommend it. Although, it is the worst armor, if you can call it an armor at all.
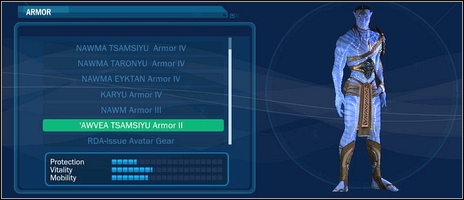
You will get it for free after uniting with Na'vi. Nothing special.
You will have to wait quite long for another armor. You will get it along with Reyala Pack - 121,000 XP. It has better statistics than the previous version, but it's still not enough to wear it during crucial battles. For sure, its design is a plus.
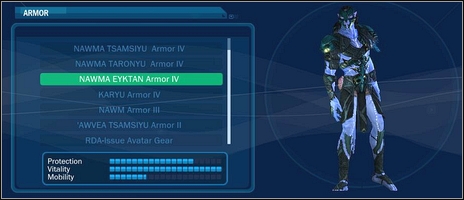
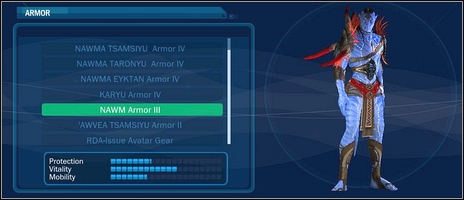
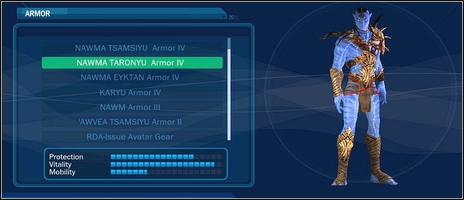
The first worth recommending armor comes with Kalfmam Pack at 181,000 XP. Its high stability and security statistics cannot be overestimate. Nawma Eyktan will stay on the main character's body for a long time.
It has the same statistics as Eyktan, so the question concerns only its design, which is a more traditional.
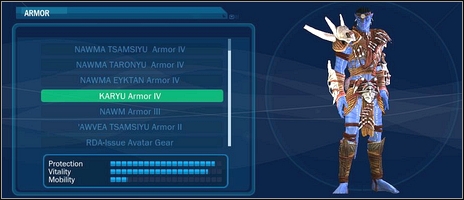
You will receive it with Tarkyun Pack (300000 XP). Very strong outfit, but strongly lowered the capacity of mobility. Moreover, it is not surprising as the armor looks very splendid.
The priestly armor is really useless because it strongly slows hero; statistics of strength and protection are comparable with two previous types.
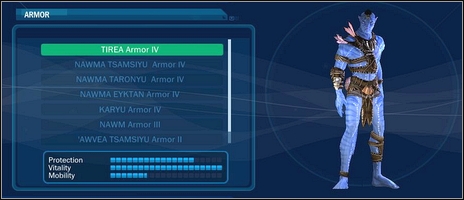
One of the better armor for Na'vi. For sure, it will be useful during the final levels. It is distinguished by a great strength while maintaining a standard rate of speed.
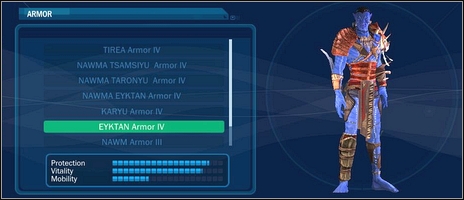
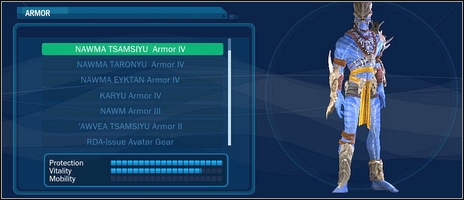
Probably the best armor for Na'vi. You will get it after gaining 500,000 XP, which suggests that in addition to the main tasks you will have to complete side quests. Very strong outfit, strongly recommend.
ATTENTION! Description of RDA weapons does not give details about basic equipment, which are handguns.
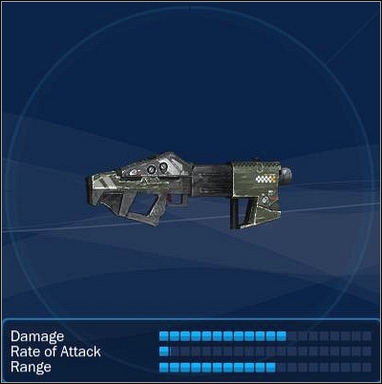
Capacity: 10 (standard version) to 20 (best version)
Range: high
Strength: very high
Designed for: large animals and groups of enemies, the best weapon against Bossom
Notes: do not shoot at close distance.
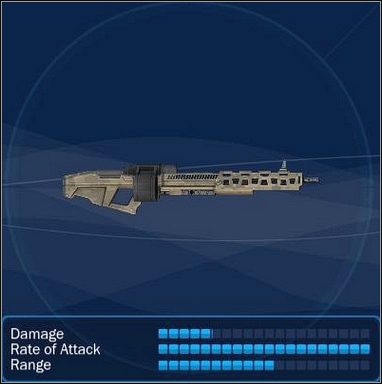
Capacity: 450
Range: medium
Strength: average
Designed for: everything
Notes: none
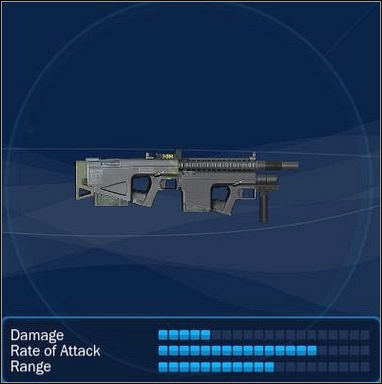
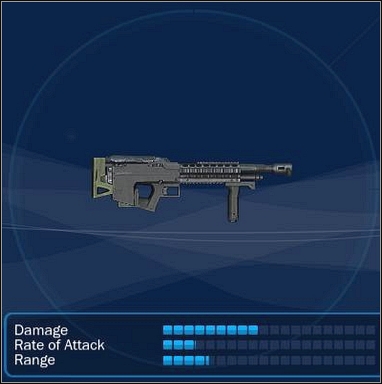
Capacity: from 50 to 150
Range: medium
Strength: medium
Designed for: everything
Notes: none
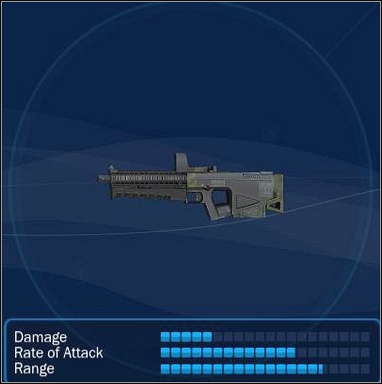
Capacity: from 16 to 48
Range: medium
Strength: low
Designed for: everything
Notes: shoots with four-shot series
Capacity: from 4 to 16
Range: low
Strength: high
Designed for: dogs and other animals
Notes: strictly defensive, it is not worth using for a distance
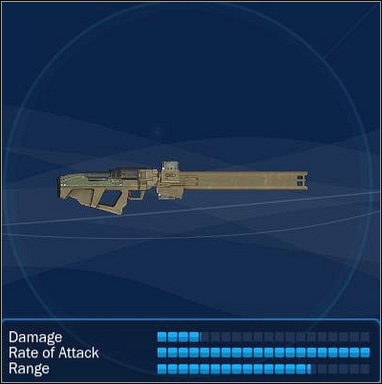
Capacity: 450
Range: high
Strength: medium
Designed for: large animals
Notes: large dispersion of shells
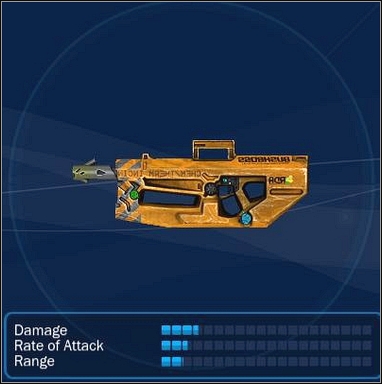
Capacity: 300
Range: very low
Strength: medium
Designed for: plants
Notes: very weak, useless during fast-pace fights
ATTENTION! The description of Na'vi weapons does not give details about basic equipment, which is a bow.
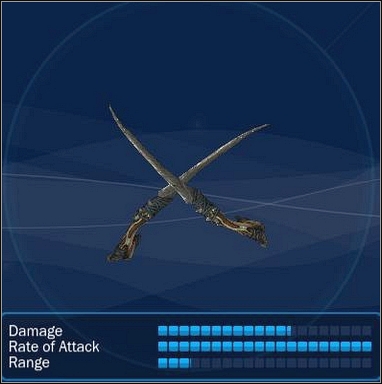
Capacity: not applicable
Range: very small
Strength: high
Designed for: soldiers and bosses
Notes: none
Capacity: 4
Range: high
Strength: medium
Designed for: soldiers
Notes: due to the capacity it is not useful for long-distance fights
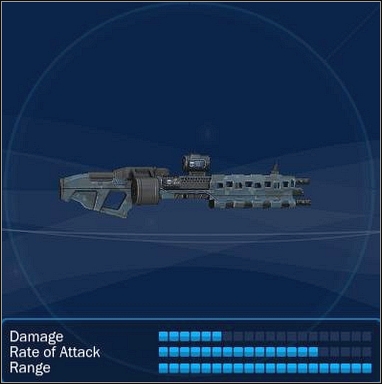
Capacity: 300
Range: very high
Strength: medium
Designed for: everything
Notes: a huge fault of this weapon is that that you cannot load it at A-Pods, ammunition is being taken from bodies
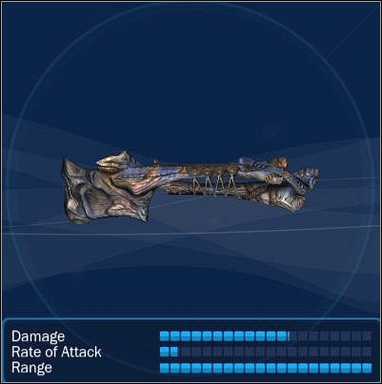
Capacity: not applicable
Range: very small
Strength: high
Designed for: wolves and isolated soldiers
Notes: a good melee weapon, upgraded versions are much stronger

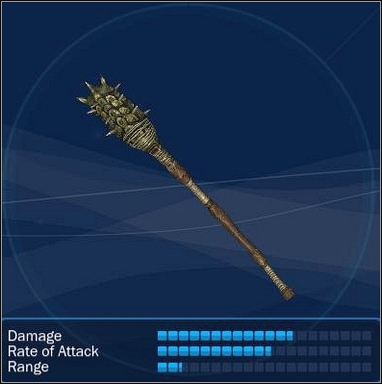
Capacity: not applicable
Range: small
Strength: very high
Designed for: mechas and groups of soldiers
Notes: an excellent weapon in chaotic battles and close contacts, great upgraded versions


 Assassins Creed Chronicles: China Game Guide & Walkthrough
 Arcania: Fall of Setarrif Game Guide & Walkthrough
 Alone in the Dark Walkthrough Alone in the Dark
 Assassins Creed: Liberation HD Game Guide & Walkthrough
 Assassins Creed IV: Black Flag Game Guide & Walkthrough