From Software has changed the in-game position of many items in Dark Souls II: Scholar of the First Sin, the new version of the game that is now available for PS4, Xbox One and PC. Among the most important items that changed their position we have Eestus shards and bone dust pieces, and with the following guide we want to unveil where you can find them through Drangleic. Are you ready?
Let's start with flask shards. You can find a total of 12 Estus shards in both Dark Souls II and Scholar of the First Sin edition and some of them have changed position in order to make the search more difficult, in theme with Miyazaki's vision for the game.
THINGS BETWIST

The first shard is located in the initial area, where you have your tutorial and find a statue. Using a Frangant Branch of Yore on it, after killing the enemy in the area and clearing the next room, you can obtain the shard.
MAJULA

The two shards located in Majula haven't changed their positions. You can find the first one in the well (just put a stone in there and check the dead body coming up), and the second in the Cale's mansion, deep in the basement. Be careful over there, as the game gets a bit harder from that point.
HEIDE'S TOWER OF FLAME

Things get more complicated here. You can find the next chard in the tunnel leading to No-man's Wharf from Heide's Tower of Flame, where you have to pick the elevator till the bottom and turn left in the main hallway. Use Fragrant Branch on the petrified statue you will find at that point and beat the Mastodon Knight: the shard is on the dead body he is guarding.
FOREST OF THE FALLEN GIANTS

Here you will find the shard on top of the optional Pursuer boss fight arena. If you decide to beat him, once he's down you will find the shard on his body. Otherwise, you will face three hollows and have the shards once they're all dead again.
HUNTSMAN'S CORPSE

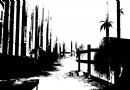
The shard is in the cave full of skeletons and necromancers you can see in the photo below. Anyway, you won't find any shard if entering from the main entrance of the cave; there's a secondary entrance that will lead you to Skeleton Lords for a new boss fight. The shard is on a dead body near the opened gate.
LOST BASTILLE

This one is easy. The shard is in the same location of Dark Souls II: from the “Exited Holding Sells” bonfire, go to the crushed wall or the ladder on your way to the lower floor. Once you're down, kill the soldiers with the crossbows and stray dogs, then enter the small passage nearby. At the end of this you will find the metal chest that has the shard in.
THE GUTTER
Brace yourself, this shard is pretty hard to find. From the “Upper Gutter” bonfire, proceed to a small wooden bridge. There are now three platform you have to carefully jump off after you've beaten several and dangerous enemies, at the end of them turn right and you will see a huge room with the hollows inside. There you'll find a small gap between the room and the cave wall (there's a Heide Knight sitting next to it, you can't miss him). Cross the gap jumping and turn right. A ladder will lead you upstairs, until the top of the building, and there you will obtain you deserved shard.
SHADED WOODS

The shard here is in the original position from Dark Souls II. Just open the door of the room in front of the first bonfire, and you will the find the chest that has it in.
BRIGHTSTONE COVE TSELDORA

This other shard hasn't changed position from Dark Souls II. From the “Chapel Threshold” bonfire, turn back to the cliff, jump to the other side and then turn right. Once you have jumped on the roof of the ruined house below, open the door and search for the shard in the pile of bones.
DRANGLEIC CASTLE

From the “Central Drangleic Castle” bonfire, proceed and unlock the lift to the top of the tower as you would do normally. Then, get back to the bonfire and you will find a big metal chest in the room guarded by Desert Sorceresses. This position wasn't changed from the original Dark Souls II, too.
SHRINE OF AMANA

This position hasn't changed too. From the “Crumbled Ruins” bonfire proceed carefully until you see and beat the ogre. After it, going through the waters, you have to beat two more Amana Sorceresses and only then you can search for the shard from a dead body.
Bone Dusts completely changed their position in comparison with the original Dark Souls II, so our guide will reveal particularly useful if you're encountering issues in finding those. An interesting twist is the fact that each bone dust is now sealed in metal chests guarded by Syan Knights: not a great challenge after you spent several hours in the game, but it could have been easier…
HEIDE'S TOWER OF FLAME

The first bone dust is in the main hallway leading from the Heide to Wharf. Going to the elevator, go left instead of right, where you would find the elevator itself, and here you have your first knight and bone dust. Good luck.
HUNTSMAN'S COPSE
From the “Undead Lockaway” bonfire, go back and cross the bridge. Once you've killed all the enemies around there, come close to the cliff on the left side: below you can see the round building with a hole in the roof. Jump through it and you will suddenly see the second knight guarding the second chest.
MAJULA

The third bone dust is in the bottom of Majula's pit near the entrance to the Gutter. Go through the pit until you see a wooden bridge, then you can see two ways ahead: one leads to the gutter, the other one to a dead end. The first is guarded by exploding hollows and the second one by a Syan Knight. Once you've killed them all, you will find the chest you need behind the knight.
SHADED WOODS

From the “Shaded Ruins” bonfire turn left and jump out of the second window. There you will see a building on the left side, where you previously could see the Black Knight: go inside, kill Syan Knight and get your deserved bone dust.
DRANGLEIC CASTLE

From the entrance of the castle turn left and you will find a Syan Knight statue that will come to life once you get nearer. Kill it and you will find the metal chest with the bone dust you were looking for. Strangely enough, this is the room that was empty at your first visit to the castle…
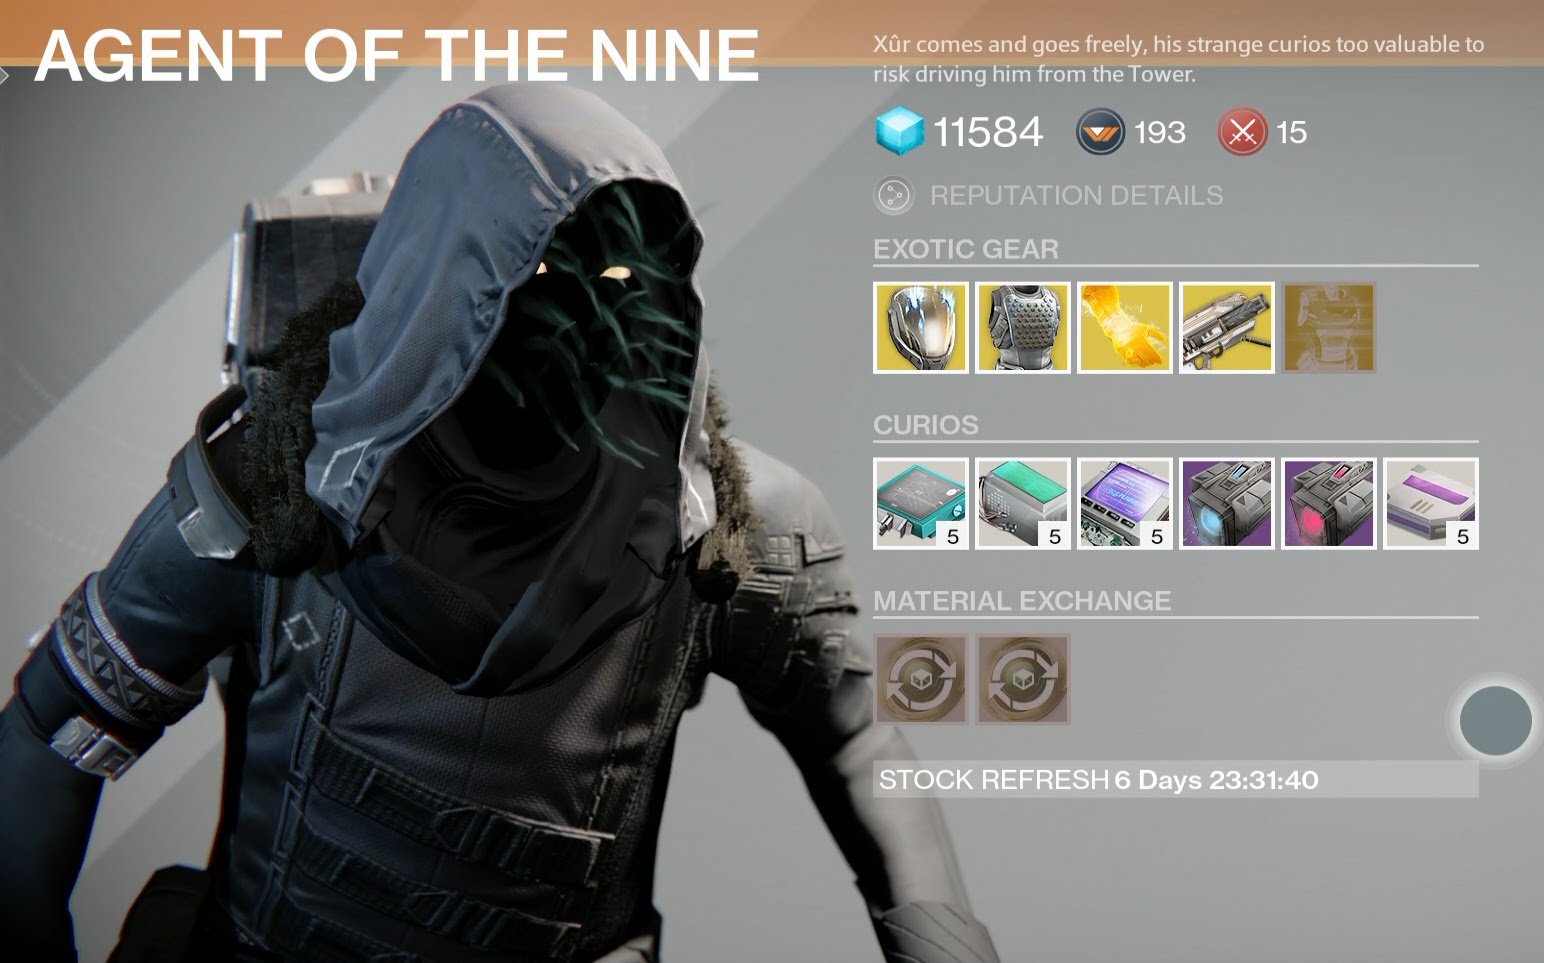 How To Increase Your Light Level In Destiny
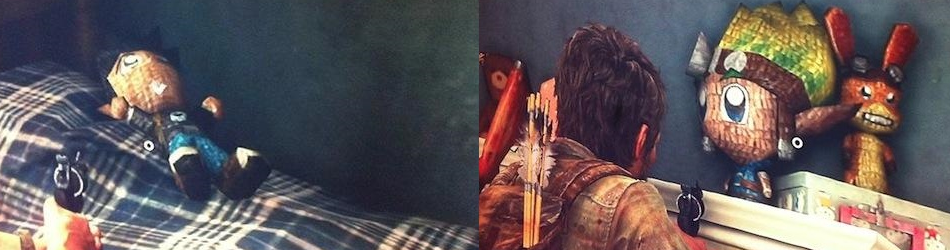 The Last of Us Remastered: Hidden Easter eggs
 Dragon Ball XenoVerse How to: Advanced Tips Guide
 How To Start Your Own Successful Podcast
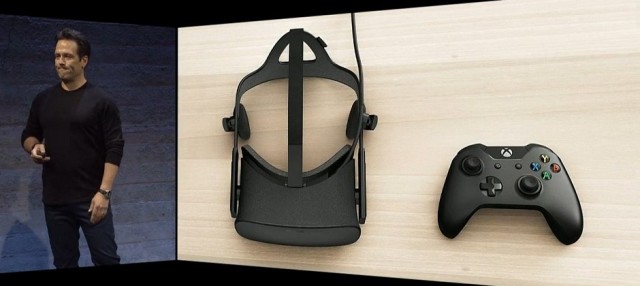 Oculus Reveals The Future of VR with the Consumer Oculus Rift