
Black Ops’ new Annihilation DLC is packed with goodies. The four new multiplayer maps take their cues from iconic Cold War-era locations like a movie drive-in, a Russian missile silo, and Hangar 18, a nod to the conspiracy theories that surround Area 51. In a nod to the current game-design obsession with all things Tibetan, the pack also includes a zombies mode that takes place in Shangri-la.
We’re working on a full guide to this DLC, outlining strategies, map hints, weapon locations, and more, so check back often for new insights. In the mean-time, check out the Annihilation DLC achievements or our Black Ops cheats page.
Shangri-La
How to Turn the Power On
Shangri-La Zombie Runs
Hazard
Based on the Call of Duty: World at War map Cliffside, Hazard is a brightly colored and fun-to-look-at deathtrap. The central portion is a golf fairway leading to a green that makes for a prime sniper hangout, and that makes that whole corridor a terrible place to hang out in. In fact, players who aren’t comfortable with a fairly long-range play style will struggle on Hazard; create a player class that packs decent ranged weapons with ACOG scopes or sniper rifles.
Hazard is a big circuit around the interior golf course, but much of the track around the outside is open, includes little cover, and gives long distances between opposing players, so having the capability of taking people out at longish distances is key. It also includes plenty of great flanking opportunities, mostly paths that branch up from the golf course and into the circuit areas. That means that if you can navigate it well, you can often get the jump on the opposing team; but this is always best accomplished with a fire team rather than a lone-warrior approach.
This isn’t really a map conducive to a single soldier wandering around on his own — too often you’ll either get knocked out by a sniper you didn’t know was there or stumble into a contingent of soldiers you can’t defeat. Rolling in small groups of three or four, however, makes you an agile unit that’s great for knocking out snipers and mopping up stragglers. Coordination goes a long way because of the rising and lowering terrain and the prevalence of hidden shooters on this map.
Hangar 18
Much like Stockpile, a map in Black Ops Escalation pack, Hangar 18 consists of a large central interior area flanked by outbuildings and paths surrounding it. Let’s establish this right now: stay out of the hangar unless you want to fight a battle of attrition that you could very well lose. It’s a terrible place to encounter enemy soldiers.
Here’s why: too many entrances. The hangar itself includes probably six or seven viable ways for soldiers to get in — on the top level at either end, on the bottom level and three or four points, and moving over the Blackbird itself, parked in the hangar. That results in a situation in which you can be winning a fight or even getting the drop on enemies, only to get outflanked and blasted by guys you didn’t even know were there. It’s a great place to get shot before you can be effective, and it’s nearly impossible to hold down the doorways or effectively scan all the options that enemies have to get the advantage on you. Just steer clear.
Meanwhile, there are great spots outside the hangar where you can get the best of enemies who aren’t as smart as you. The two-story outbuilding near the Blackbird is a favorite hangout for campers and snipers, but that whole area surrounding the hangar entrance and the stealth plane offer a lot of cover. Set up with three buddies at one end of the hangar doors and wait for enemies to wander toward the plane and into the open — where you can mow them down easily. Tool up the stairs just past the plane and around to the back of the hangar for another great place to catch enemies unawares. Setting ambushes is perfect on the outside of the map; just watch your back as you do so, and bring backup.
Silo
Unlike the two maps above, Silo contains lots of transitions between interior and exterior areas and lots of great places to lure enemies around corners, set up claymores, lose attackers and general have your way with your enemy. Learn the layout here quickly and you’ll open lots of new avenues of attack to yourself that will allow you to slip into a building, sprint through to the other side, sneak around back and flank enemies who thought they had you on the ropes.
The great thing about Silo is that you can define how you want an engagement to go. On the far right side of the map are some really tight quarters with lots of concrete debris and construction equipment, perfect for ambushing unsuspecting soldiers as they run by. There’s also a high concrete wall that creates a great area to wander back and forth through, bottlenecking enemy troops while keeping you safe from any onlookers (provided nobody gets behind you).
On the other side of the map are the only more open areas, with a few sniper posts that aren’t extremely effective, but are good places to get an eye on your enemies as they approach for a couple of quick shots before withdrawing to somewhere else. The pathing through the map keeps most of the encounters at close- to mid-range, which means that players who favor silenced assault rifles and similar weapons can really clean up. Staying on the move so your location can’t be pinned down, effective use of cover to stay sneaky, and having places to beat a hasty, strategic retreat to can make this a high-scoring map for players who like to go it alone.
Drive-in
Fire teams win the day in Drive-in, provided they are smart enough to cover each other’s backs. The map is roughly divided into five sections: the front toll booth area near the buildings, the back of the screen onto which the movie is being projected, and three corridors running between those areas — a rest stop on one side, a trailer park on the other, and a more open area in the center.
Lots of heavy fighting will happen sporadically at the rest stop area, which is a restaurant flanked by an interior at either end. This looks like a good place to pick up kills, but it actually is bad news for lone players, because it contains lots of blind corners and tough spots where ambushes are easily executed. If you set up shop here, expect to have enemies stumbling on you from the back nearly constantly.
The other end of the map, however, is just close-quarters enough to give sprinters with shotguns a bit of a heyday. Sprinting up along the trailer park area to plug soldiers setting up behind fences around the corners is way too easy, and at the other end, visibility issues give anybody approaching the movie screen from the rear a bit of a disadvantage to the elevated position — provided you see them coming.
If you can band together with a group of fighters in order to watch backs and corners, it can be easy to take on almost all threats on Drive-in, but it takes coordination and teamwork. A single shotgun-sprinter can lay waste to an entire team on a map like this, where it can be hard to track him and blind corners often open into close-range gun barrels. Sticking with teammates is a good counter to that and to the snipers that like to set up on the rooftops and in the movie screen. A decent team can also clear out and effectively hold the rest stop area, which is a battle that will recur over and over in any given team deathmatch game.


 Are Home Android Game Consoles Worth Buying?
 How to create The Evil Within: The Assignment Working SLI profile
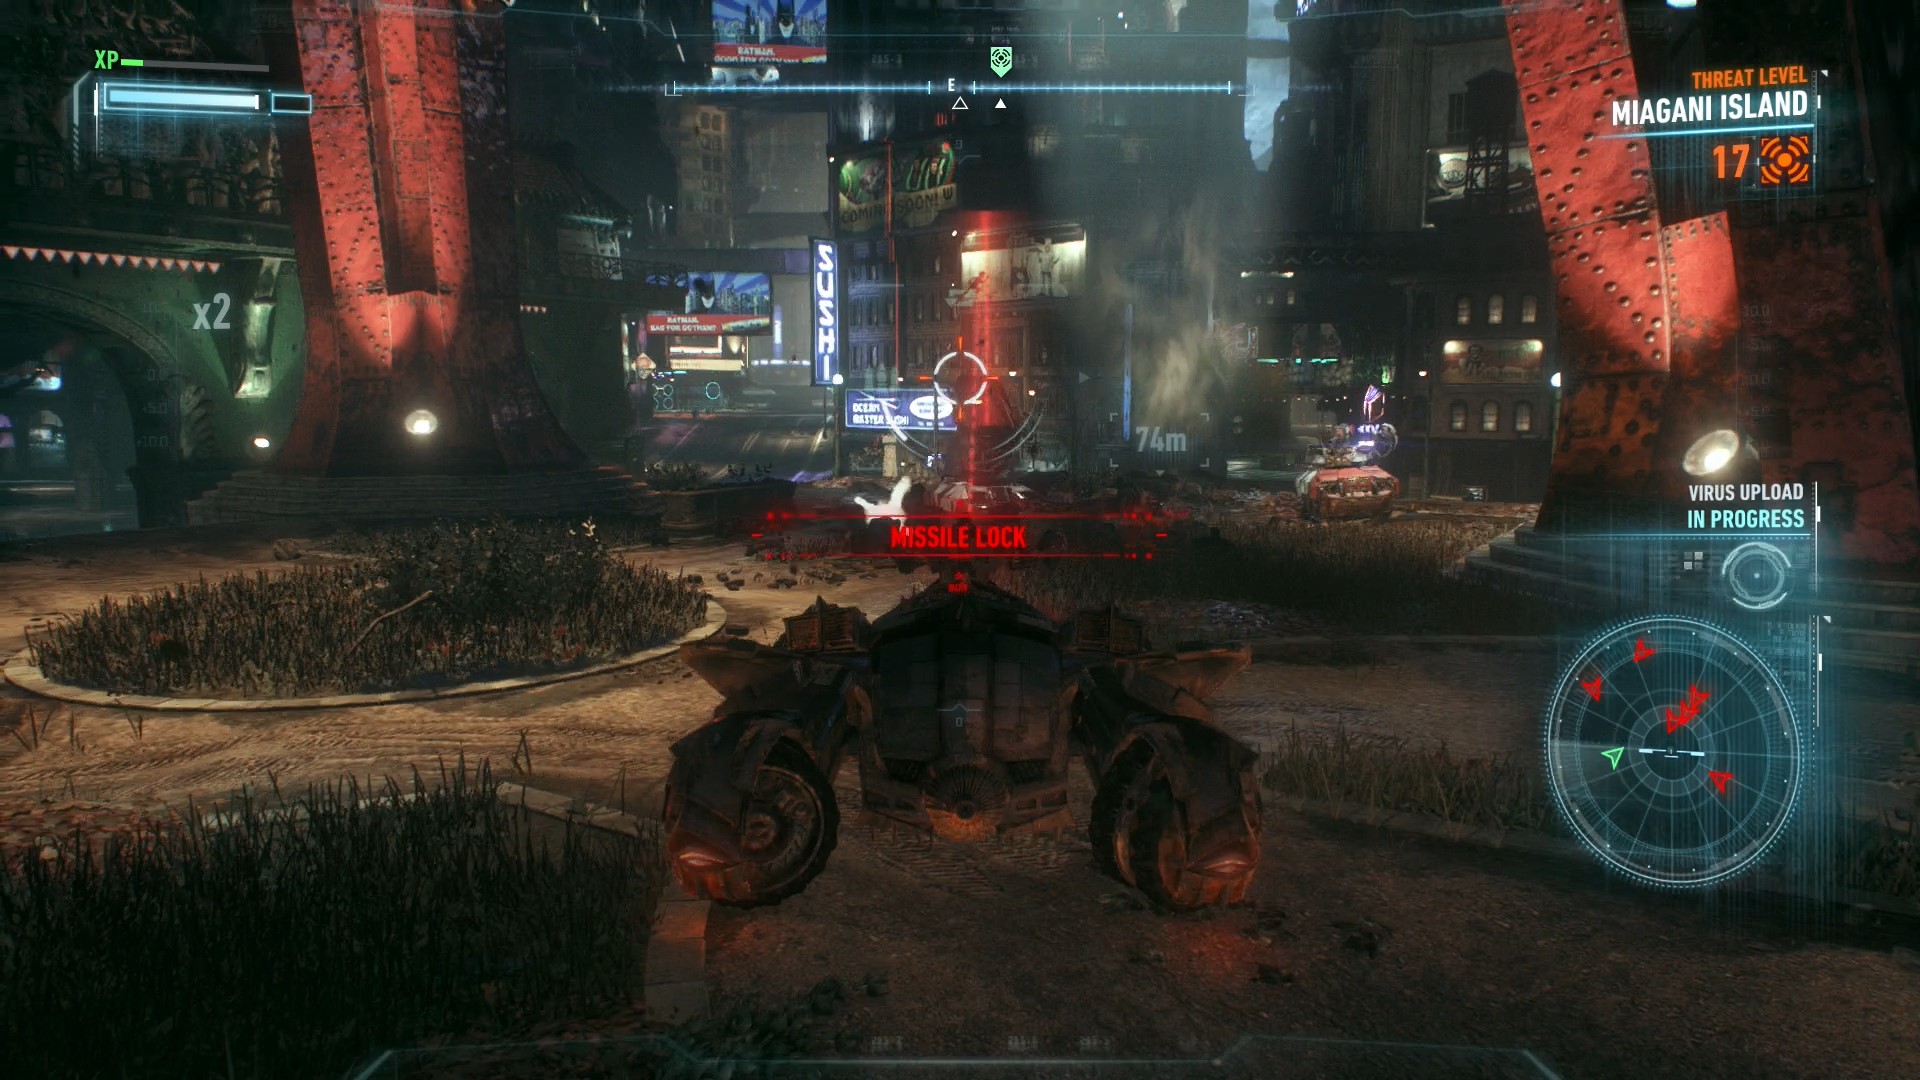
 Batman: Arkham Knigh Guide On How To Disable 30FPS Cap and Fix Motion Blur
 Fallout 4 Guide: Settings To Turn On Or Off For Best Performance
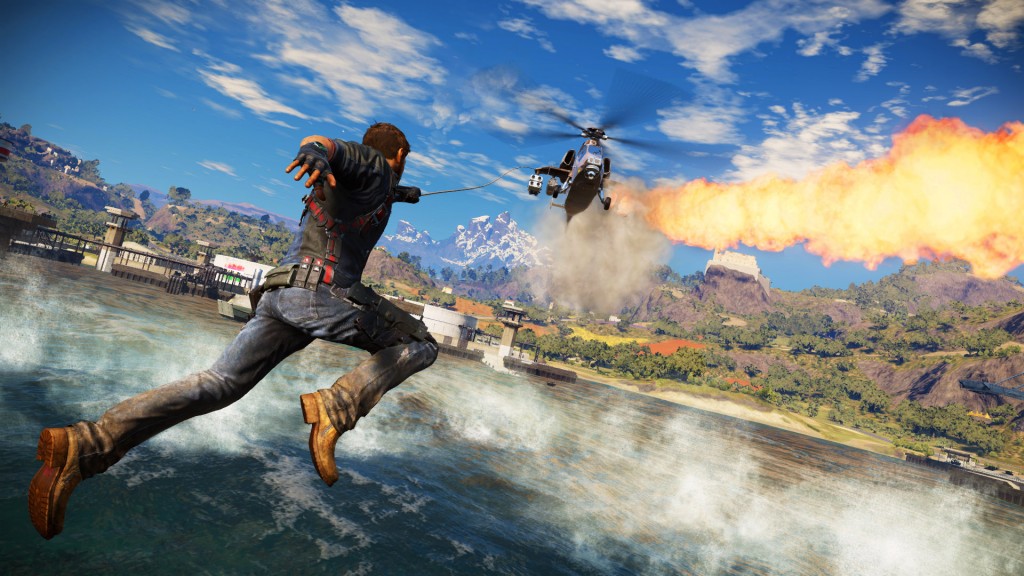 Just Cause 3: Here's how to get Fast Travel ability