On paper the tier 9 Tortoise tank destroyer looks fierce with its 228.6mm/152.4mm/101.6mm armor values that are listed in the World of Tanks client. The numbers do not always paint a perfect picture and the armor doesn’t always translate since the armor can vary greatly from the listed values. The Tortoise falls into the category of a tank that differs greatly from the listed values most players see. Frontally the armor actually maxes out at 406.4mm and hits rock bottom at 25.4mm in a few small sections. This drastic of a difference greatly changes the Tortoise’s capability to use its armor effectively if the player shooting at it knows that you can’t always judge a tank by its listed armor values.
This Tortoise weak spot guide will break apart the Tortoise into specific armor sections and show you the easiest locations to penetrate(green), the next best areas to focus on(yellow), and the areas to ignore that have a ton of armor(red). Purple sections no hot have any hull armor behind them, contain view ports, and/or are sections of track armor with no hull behind them.
Green Sections = 71mm-172mm Effective Armor
Yellow Sections = 227mm-242mm Effective Armor
Red Sections = 248mm-538mm+ Effective Armor
Frontally the Tortoise has a wide range of armor thicknesses and angles that make the tank different from most other tanks in World of Tanks. Most of the weak spots are found around the gun level and up aside from the lower glacis area on the Tortoise that can be damage by most tier 9 and 10 tanks. The weakest armor frontally is the roof above the loader’s cupola(large one on the left) and the main roof of the Tortoise. Both areas are covered by 25.4mm armor that can be overmatched by any guns 73mm and above. Unfortunately for players facing a Tortoise these areas are very small to hit and depending on the height of your tank impossible to actually see.
Moving onto other weak areas you will notice the loader’s cupola is very weak since it only has 172mm effective armor. Around the gun there is a location with no armor behind the mantlet and this area only has 102mm effective armor. Lastly the small strips over both tracks conclude the weakest areas on the front of the Tortoise. The left strip has 172mm effective armor and the right strip has only 152mm effective armor. Moving onto the yellow areas you have the lower glacis that ranges from 227mm on the upper part to 248mm effective armor below it in the yellow areas. Around the gun are two areas with 229mm effective armor and the small machine gun port in the upper right corner also has the same armor value. The other two yellow areas on the outer edges of the superstructure above the tracks have 231mm(left) and 237mm(right) effective armor.
Otherwise the remaining areas on the front of the Tortoise have at least 248mm effective armor and should be avoided. The remaining red areas around the gun is where the 406.4mm armor areas are located and can’t be penetrated unless you have some freak luck. The only remaining “weak spot” is the dark orange square on the upper glacis below the gun. This square is only 57.2mm thick but is angled at 74 degrees giving it an auto-bounce angle against AP/APCR rounds but not against HEAT rounds. If you are close to the Tortoise however or are shooting from above it you can negate enough of the angle to not bounce off of it with AP/APCR.

Green Sections = 102mm-127mm Effective Armor
Yellow Sections = 137mm-153mm Effective Armor
Red Sections = 198mm-329mm+ Effective Armor
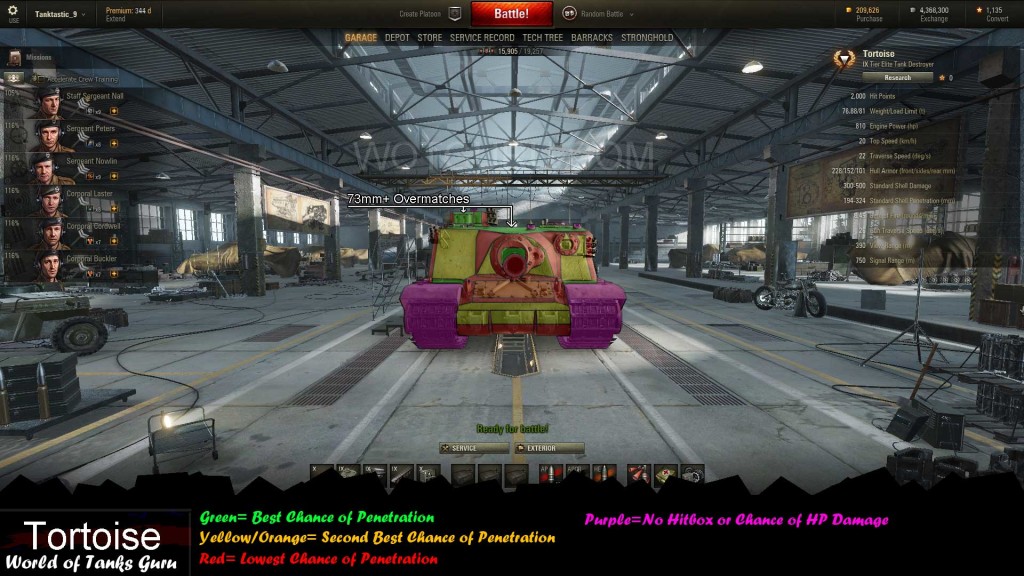
The Tortoise’s armor becomes more manageable once you get around to the side since the side armor is more flat than the frontal armor. The side armor still poses some trouble especially against players using HEAT shells since the tracks and spaced armor plate cover a lot of the side hull. The weakest armor can be found on the rear of the Tortoise where it is only 101.6mm thick and also the small green sections running along the side of the lower hull that are not covered by tracks and/or spaced armor. The small cupola on top can also be used since it only has 127mm effective armor.
If you happen to hit the track armor areas highlighted in yellow you will end up hitting 137mm effective armor areas where it is only track armor and 153mm effective armor on the spaced armor plate located in the center of the tracks. Otherwise the side superstructure of the Tortoise is still weak for almost all tanks the Tortoise regularly faces since it only has 153mm effective armor. The red areas should be avoided since they are either risky to hit due to thickness(near the gun) or angled very well across the other areas on the side profile.
Green Sections = 102mm-127mm Effective Armor
Yellow Sections = 126mm-158mm Effective Armor
Red Sections = 198mm-297mm+ Effective Armor
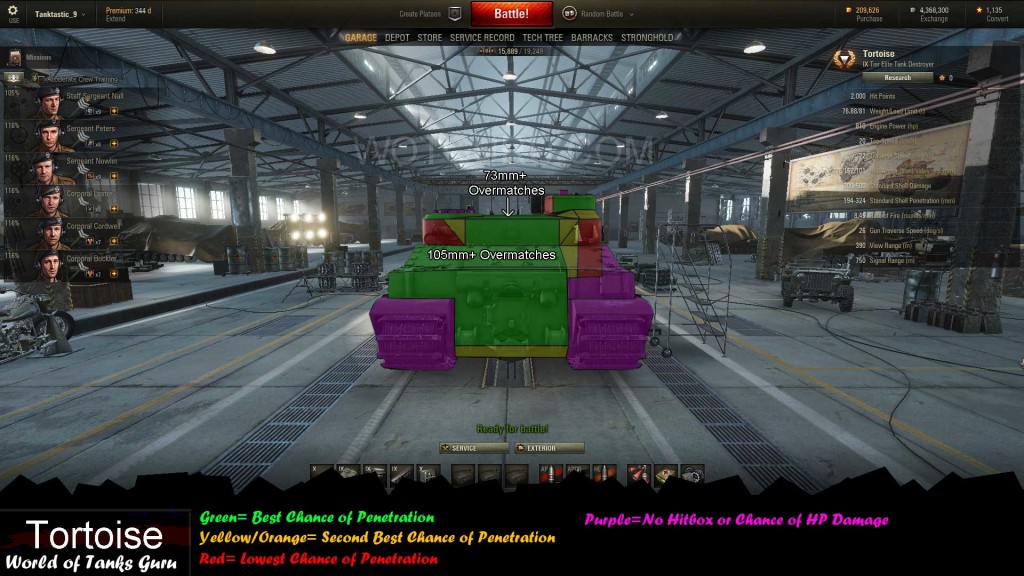
The rear armor of the Tortoise is weaker compared to other areas of the tank but the Tortoise still has a trick up its sleeve for unknowing players. You can notice the right hull from this view is different than the rest of the Tortoise’s rear armor. This is because the “overhang” on this side of the Tortoise does not count as hull armor since it apparently was not armored very well and/or was used simply for carrying things. This leaves a large section of this side unable to be damaged since your shell will not hit any hull armor except for where it hits the rear of the superstructure. Knowing this it is best to stick to hitting the main section of the Tortoise in the center and left side of the tank to avoid encountering this problem. If you have a gun over 73mm you can overmatch the roof armor like you could from the front and additionally if your gun is 105mm or larger you can overmatch the engine deck.
 Weak Spot Guide: Object 704 - World of Tanks Guru
 Weak Spot Guide: KV-1 - World of Tanks
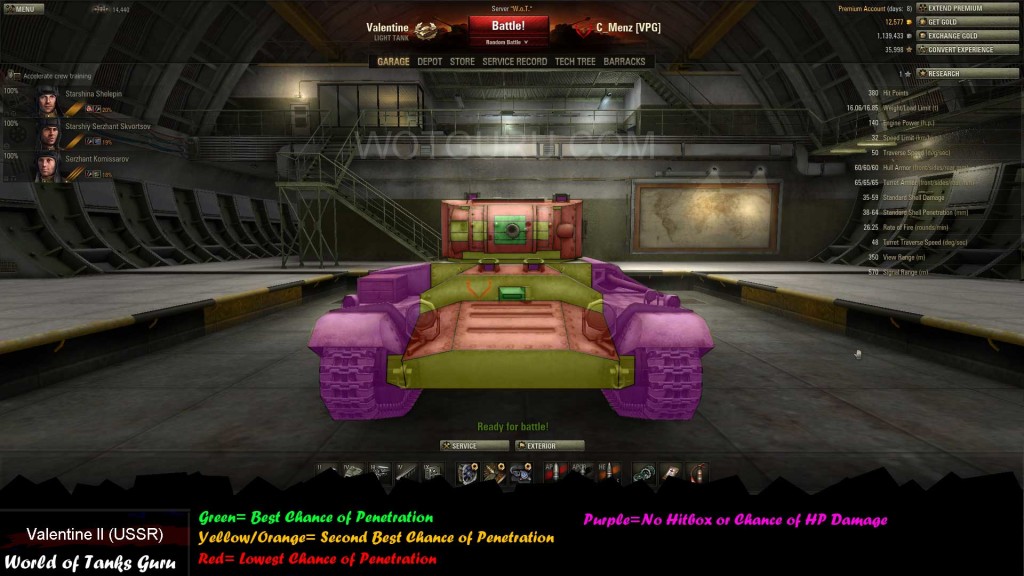 Weak Spot Guide: Valentine II - World of Tanks Guru
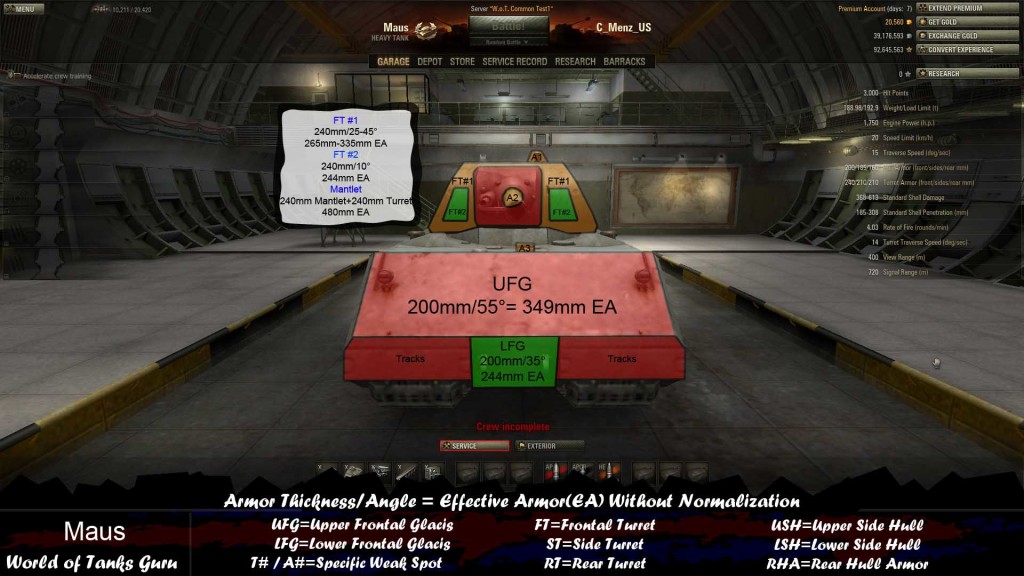 Weak Spots Guide: Maus - World of Tanks Guru
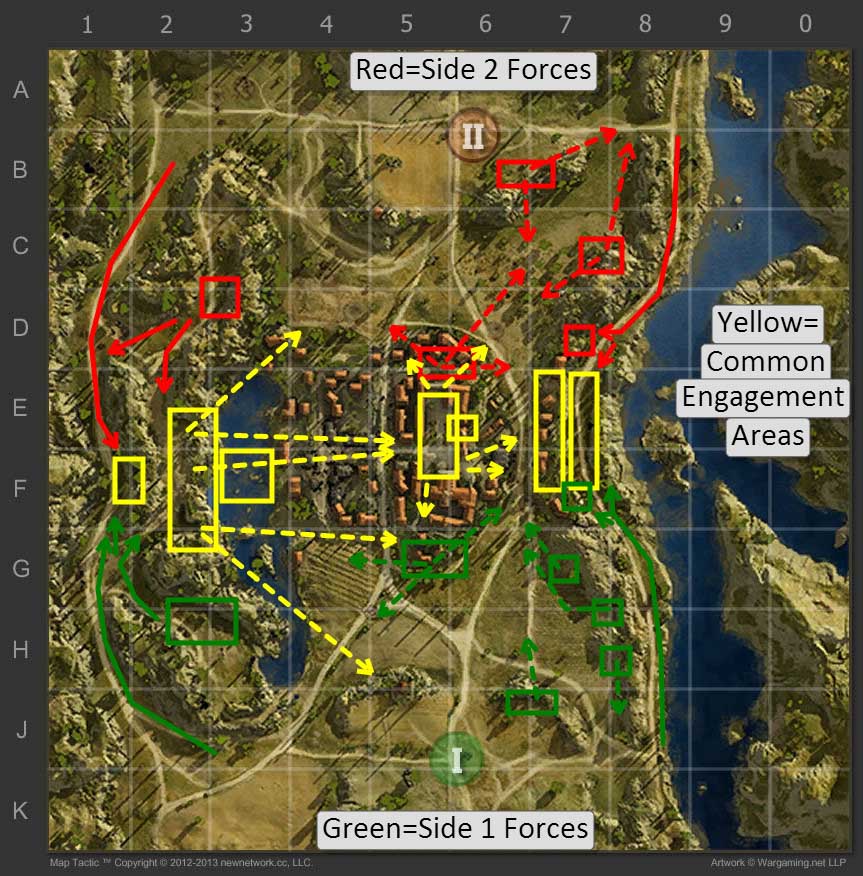 Map Strategy: Abbey - World of Tanks