The tier 10 American heavy tank T110E5 has a great frontal armor profile but sacrifices armor on the sides and rear of the tank. Frontally many will struggle at first since the “go to” commander’s cupola is actually pretty damn strong and the lower glacis is an eggshell shape which makes it strong in some places.
The index at the bottom of each picture describes a few abbreviations used and also the format in which the armor details are described in. Effective Armor (EA) refers to the overall effectiveness of the armor without normalization.
The armor values are presented in three different scenarios for the angled view of the tank.15° frontal(75° side), 25° frontal(65° side), 35° frontal(55° side), and 45° frontal(45° side).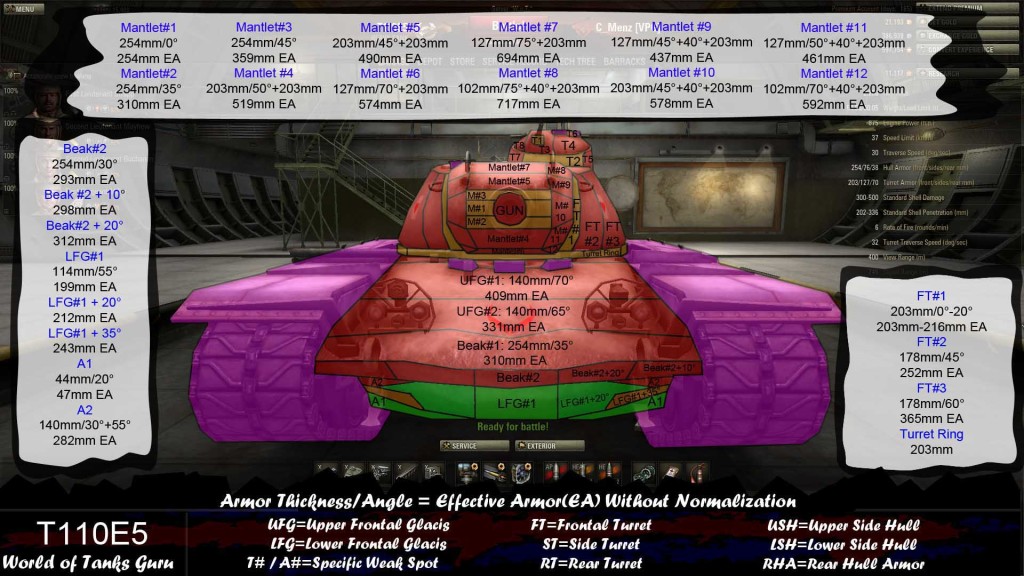
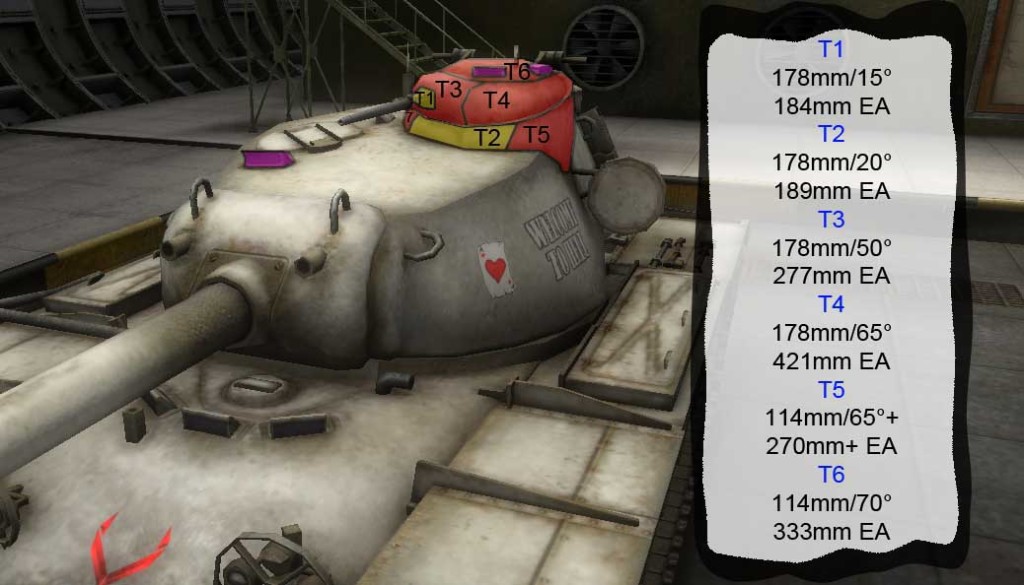
Frontally the T110E5 can be very difficult to deal with if you treat it like any other tank. The commander’s cupola is heavily armored and only the base and small machine gun sticking out of it can be penetrated regularly. If you hit it in the sloped sections your round will simply bounce off which makes this location difficult to hit reliably. Moving down the the turret you find yourself faced with a very strong mantlet and frontal turret armor. The main weak spots here are just around the gun and also to both sides of the mantlet if you have enough penetration.
The upper glacis should be avoided in almost any situation since it is thick and heavily angled. It is capable of bouncing most shells in the game unless you can negate the armor by shooting down into it from above. The lower glacis is an eggshell shape and below the “beak” area is very weak for most tanks facing the T110E5. Simple shoot at the armor that is facing you and you will be hitting the least angled part of the lower glacis. Towards the bottom of the lower glacis inside of the tracks are 44mm “flaps: in A1 which can be difficult to hit since they are very small but are there for use if you are stuck in a light tank. The ammo racks are located behind the “LFG #1 +20°” sections.
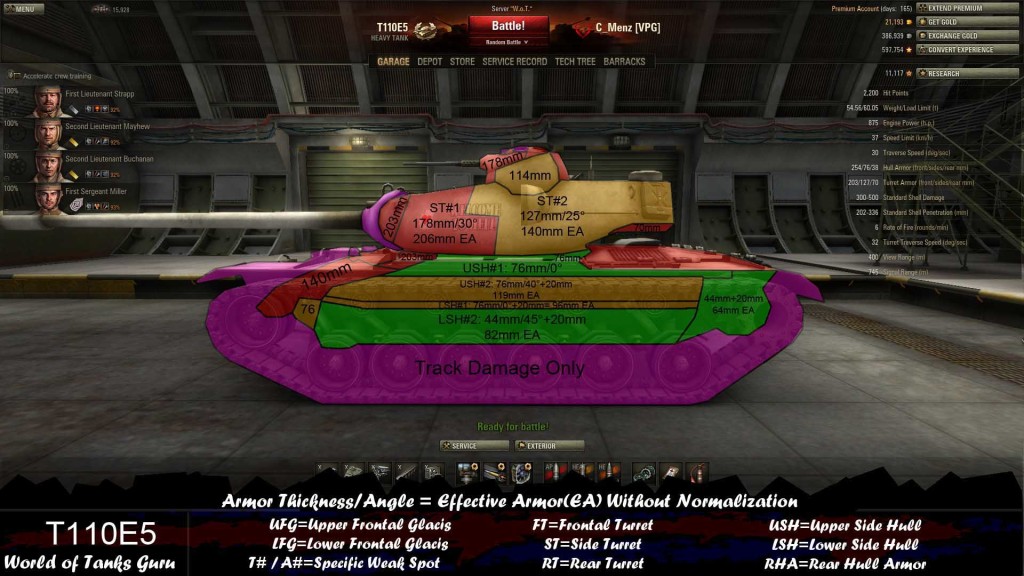
The side armor of the T110E5 drops considerably compared to the frontal armor. The turret still retains some protection especially in the front half of the side turret armor. The ammo rack in the turret is located in the rear portion of the turret on the right side(if you were driving the T110E5) while the radio shields the ammo rack in the back left section of the turret. Parts of the frontal armor do bend around to the side view of the T110E5 so avoid shooting towards the very front of the side.
The side hull armor is only 76mm thick below the turret and drops to 44mm towards the bottom of the tank. Simple avoid shooting to low so that you do not hit the track areas with no hull armor behind them and you will be fine with damaging the hull armor.

The rear of the T110E5 is straightforward as far as damaging it… Simply avoid shooting the sloped sections of the turret and commander’s cupola as they are the strongest sections of armor on the rear of the tank. The remaining hull armor and the flat section of the rear of the turret are very lightly armored.
I did not include a detailed angled view for the T110E5 since the weak spots stay the same from the frontal view in this guide. Simply stick to shooting the lower glacis sections that are closest to you(least angled) and also the turret weak spots if the lower glacis is not available. If the side armor ever falls below 70° then it is easy pickings and you can cut through the paper thin side armor of the T110E5. If a T110E5 ever “wiggles” back and forth simple aim at the lower glacis and do not move your aiming circle. If you keep it still you can simply wait a half second and shoot when the weakest point of the lower glacis is moving into your shot. If you try and follow where you want to hit on the lower glacis then you will only increase your chance of bouncing off.
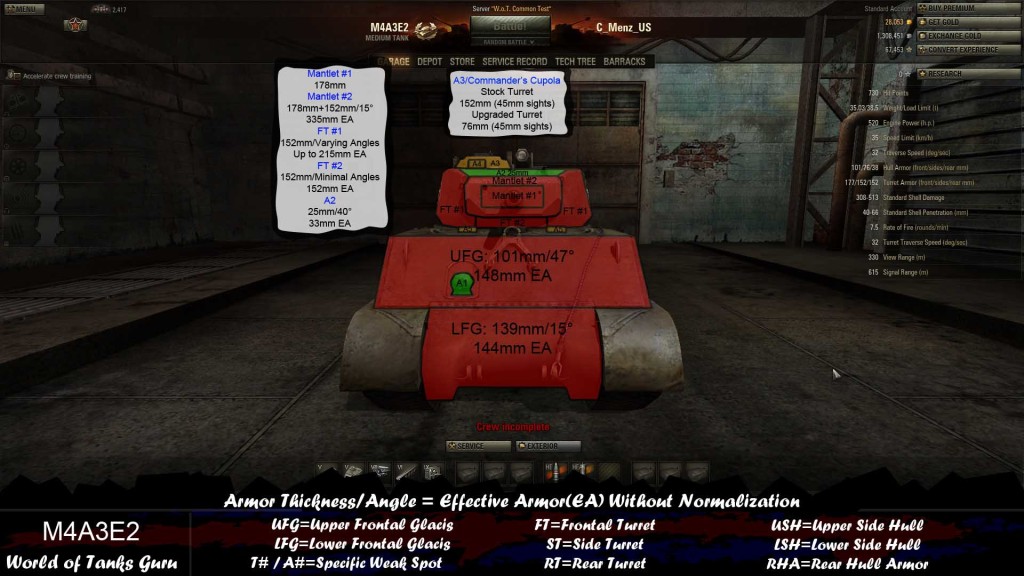 Weak Spots Guide: M4A3E2 - World of Tanks Guru
 World of Tanks Guide - Matilda
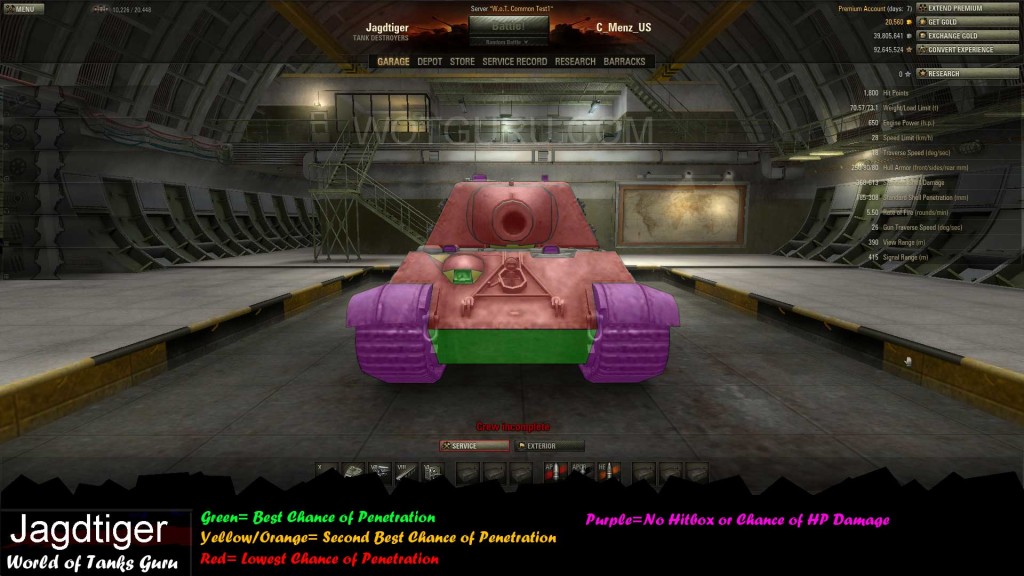 Weak Spot Guide: Jagdtiger - World of Tanks Guru
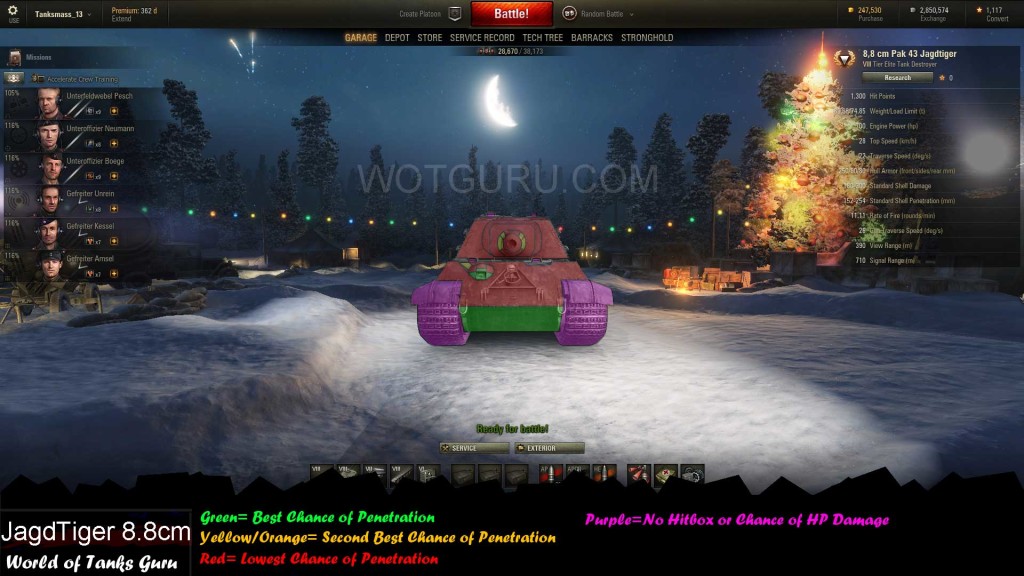 Weak Spot Guide: Jagdtiger 8.8 cm Pak 43 - World of Tanks Guru
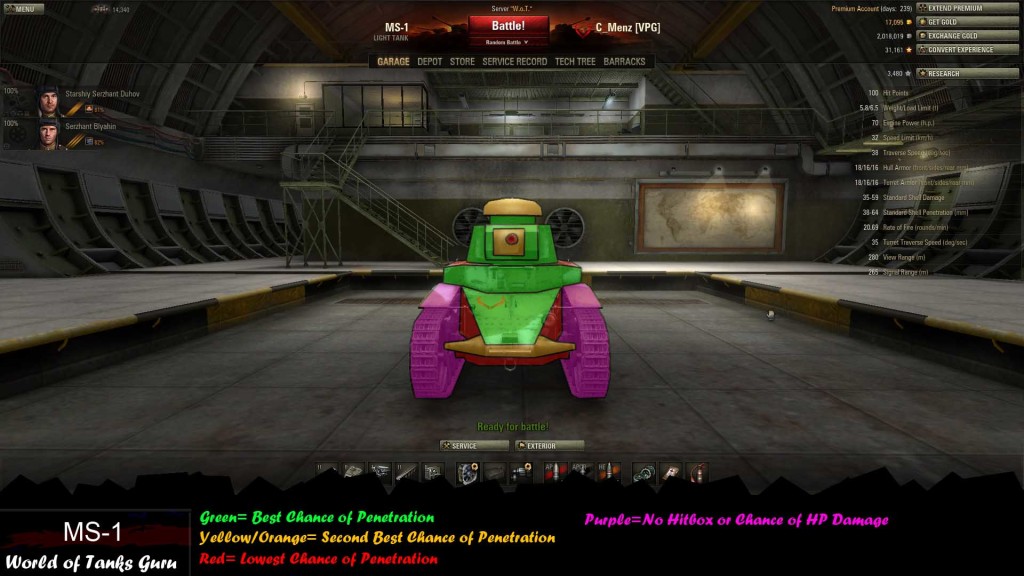 Weak Spot Guide: MS-1 - World of Tanks