

Welcome to the unofficial guide to "S.T.A.L.K.E.R.: Clear Sky" PC video game. This guide consists of two main chapters. The first chapter is a very detailed walkthrough of the game. It describes in detail all the main quests of the singleplayer campaign. I've also spent a lot of time pointing out the most important locations, as well as non-player characters with whom you'll be allowed to trade your items. NPC's will also grant you with a large number of simple subquests, ranging from delivering equipment to assassinating members of other fractions. The second chapter of the guide contains a lot of useful hints. I'd strongly recommend that you familiarize yourself with them before starting the game, mostly because it's very easy to die in the world you're about to enter. Some of these features may be familiar to those of you who played "S.T.A.L.K.E.R.: Shadow of Chernobyl", however there are some new features as well. Have fun playing the game!
Stranger
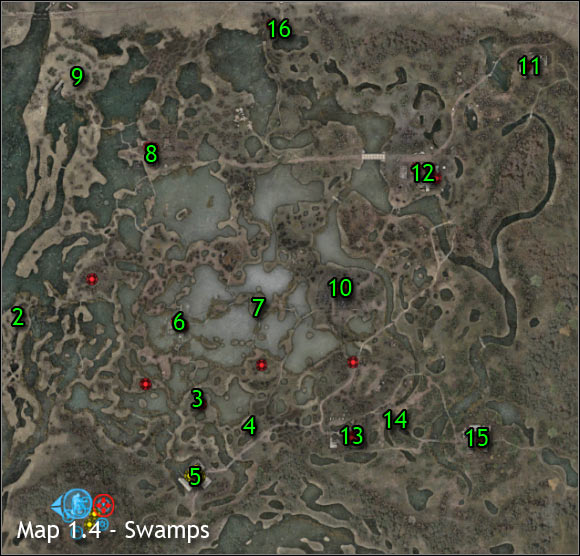
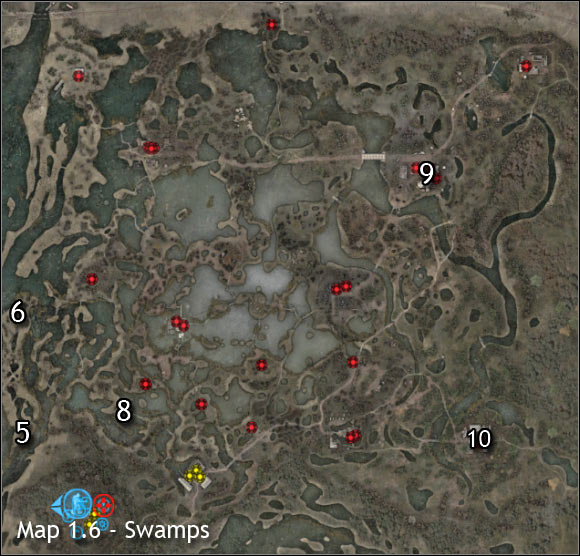
Swamps are one of new levels, added in "Clear Sky". The first thing you'll probably notice is that the area is very large and you'll be allowed to explore it without any major restrictions. The most important sections of the map are campsites and there's about 15-20 of them. Watch out near the water and don't try moving too fast, because you might end up near a dangerous anomaly or standing in a radiated zone.
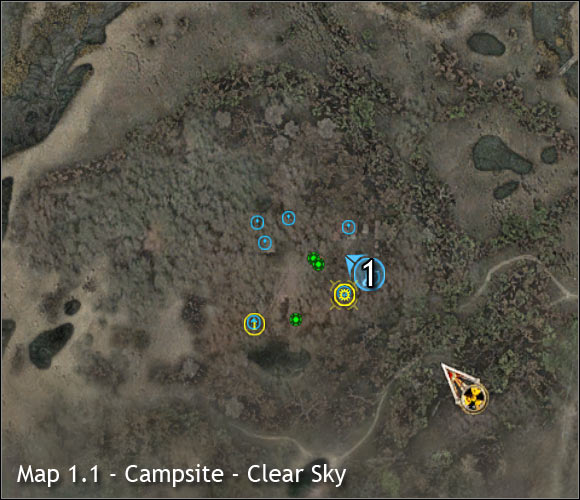
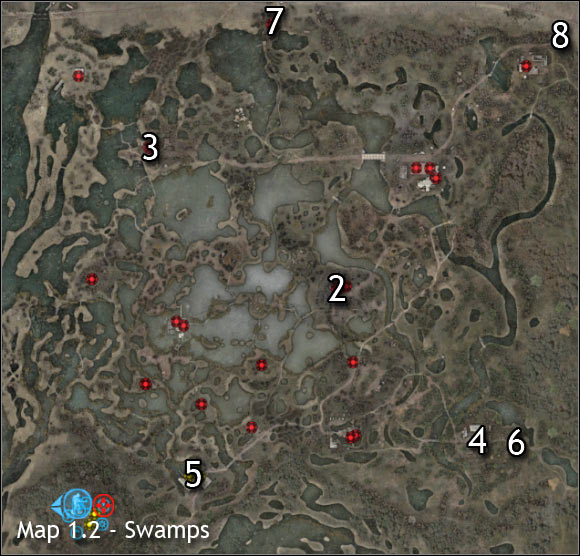
Main maps:
1) Guide - Campsite - Clear Sky (he can guide you to four areas of the swamps)
2) Guide - Swamps: Burnt farm
3) Guide - Swamps: Village ruins
4) Guide - Swamps: Southern farm (you can travel to Cordon)
5) Guide - Swamps: Fisherman's village
6) Exit to: Cordon
7) Exit to: Agroprom Institute
8) Exit to: Cordon
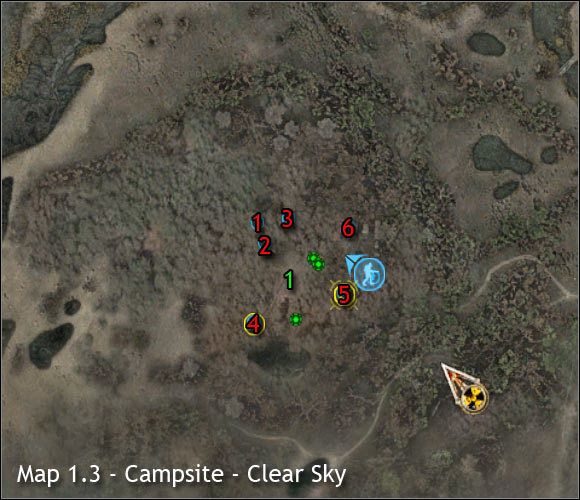
Important NPC's (red color):
1) Lebiediew - He's the leader of this camp, as well as of Clear Sky organization. This man will grant you with a decent number of main quests.
2) Nimble - You can ask him a few questions the first time you meet him, concerning your current situation or the swamps. He can also tell you about the new functions of your PDA (short tutorial video).
3) Professor Tyczkow - You can to talk to him to find out some very interesting facts about the Zone.
4) Assistant Professor Suslow - First of all, you can trade your items with him. Suslow will also give you rewards for completing tasks for Clear Sky organization (mostly subquests).
5) Grey - He's the bartender around here. You can ask him for gossip or you can trade with him.
6) Frigid - He's a mechanic, so you can ask him to repair or upgrade your equipment. You can also ask him to grant you with a few subquests. If you find plans for new equipment and deliver them to him, you will be given some money.
Important areas (green color):
1) Campsite - Clear Sky - This is where you'll start the game. You should know that you don't have to worry about encountering any anomalies or monsters while you're inside the base. Also, using guns is strictly forbidden here. You can't reach the campsite later on by walking towards it, because it's supposed to be hidden. As a result, you will have to talk to one of the guides in the swamp area and ask your new ally to go with you.
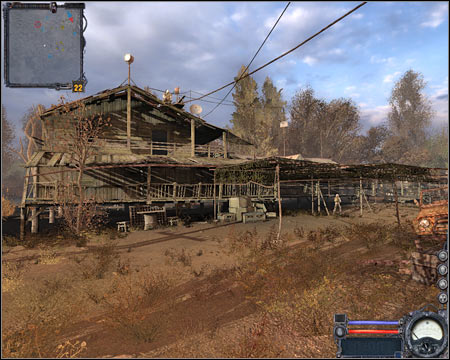
2) Guard post - You'll visit this area only once. This occurs when you try to complete one of early quests for Lebiediew. You won't have to spend some additional time trying to explore the area, especially since there are some boars here and they could injure you.
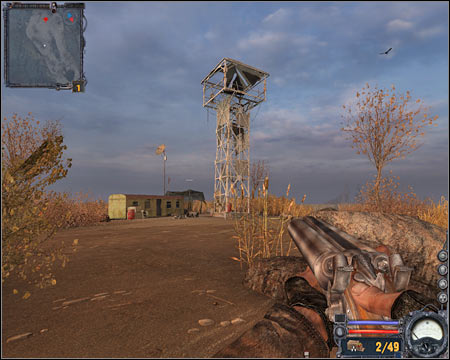
3) Small field - You can ignore this area if you want to. The only exception is when you'll be presented with a possibility of completing a subquest here. Be careful, though. The area is very dangerous. You can encounter boars or renegades here, so it's very easy to die as a result of their attacks. Thankfully, some of your allies from Clear Sky should provide much needed support.
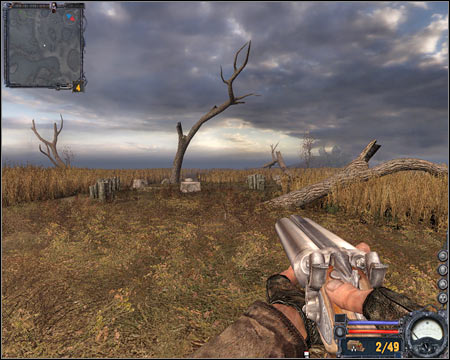
4) Observation tower - Just as before, you'll want to visit this location only to complete one of the subquests (maybe even more than once). It's even more dangerous here, because renegades tend to use staircases to shoot their targets from upper levels of the tower. You can follow them, however prevent them from surprising you.
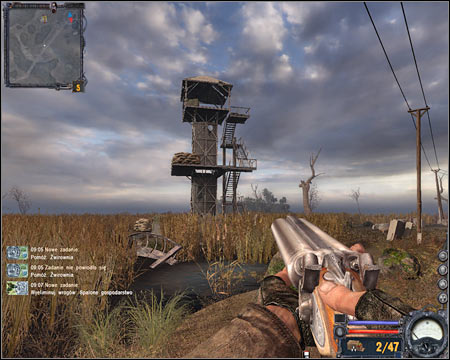
5) Fisherman's village - This area is being occupied by Clear Sky forces once you've started exploring this area. This doesn't mean that the situation can't change. The village will be a target for attacks made by wild animals, as well as renegade forces. It would be wise to assist your allies from time to time, because otherwise they may get overwhelmed by the enemies and they'll all die. You should know that you'll find a guide here, however he can die during one of the assaults.
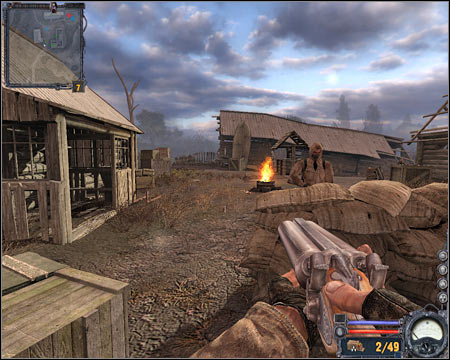
6) Pumping station - This area is being heavily defended by renegade forces. You can approach the pumping station from three directions. An attack from the south is too risky, especially since your enemies are facing that direction and there's nowhere to hide. I would recommend attacking the station from the east. Be careful while trying to secure this area, because some of the renegades may surprise you.
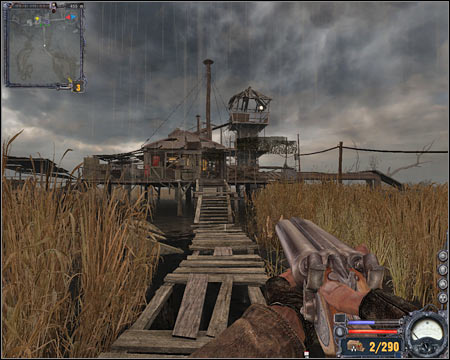
7) Bivouac - You won't have to explore this area as well, especially since it's very difficult to take down enemy units by surprise. A subquest may appear here, especially if you're somewhere nearby. Considering going there only if you see allies heading that way.
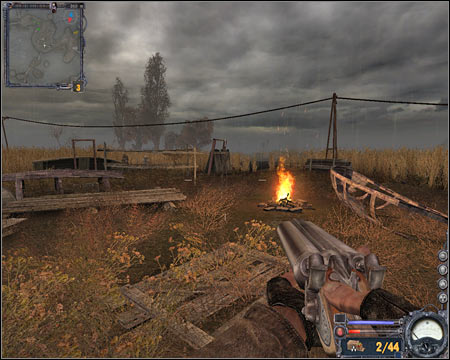
8) Village ruins - As you've probably suspected, a large group of renegade forces is stationed here. Once again, I would recommend waiting for Clear Sky units to show up, because you may have some serious problems securing this area on your own. Use the large building and metal fences for much needed cover. Most of the renegades are standing in the northern part of the village. Try attacking them from a flank. Once they're gone, a friendly guide will show up here.
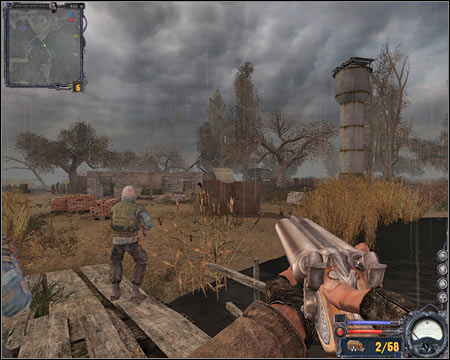
9) Northern farm - This area shouldn't appear on the list of your current subquests, so you may as well ignore it. A large group of renegade forces is defending this farm, however it's quite easy to get rid of them. The only thing you have to watch out for are the surrounding areas. There's a lot of radiation here, so avoid moving too fast.
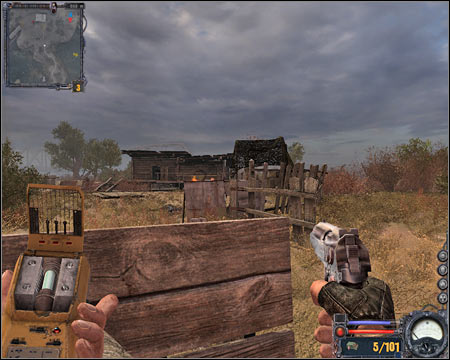
10) Burnt farm - I would recommend that you secure the burnt farm as soon as you've received a subquest linked to this location. The farm is located near the main outpost of the renegade forces. Taking over this area will allow you and your colleagues to prepare for the main assault on the base. Once you've secured this area, allied units will appear here and a guide will be among them.
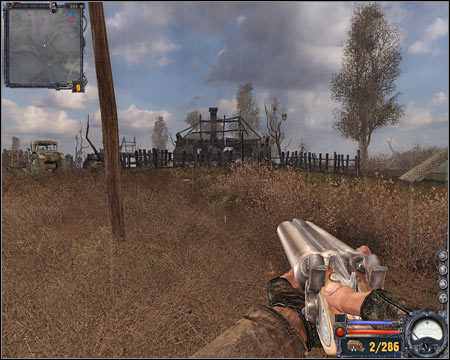
11) Northern base - You won't have to visit this area, even when you've been able to take over the main base. The main reason is that it's quite difficult to secure this farm. There's only one road leading to it and you'll encounter a large group along the way. You could try going through the swamps, however you would have to watch out for radiation. There's a passageway near the base and it leads to Cordon.
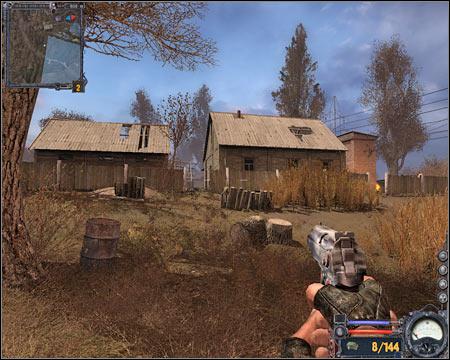
12) Main base - One of the main quests of the game will require you to secure this base. I wouldn't recommend trying to attack this farm on your own unless you're accompanied by your new allies from Clear Sky. There are two large buildings here, as well as a car park. Remember to use all available objects for cover and surprise enemy units if possible.
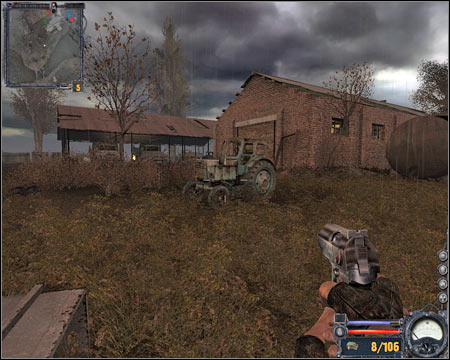
13) Old church - You won't have to go here right away, however you may receive a subquest which will tie you to this location. If you decide to ignore it, your allies will probably take over the church on their own. Otherwise, you'll have to kill the renegades yourself. Be careful - enemy units tend to hide inside the church, so it's difficult to neutralize them.
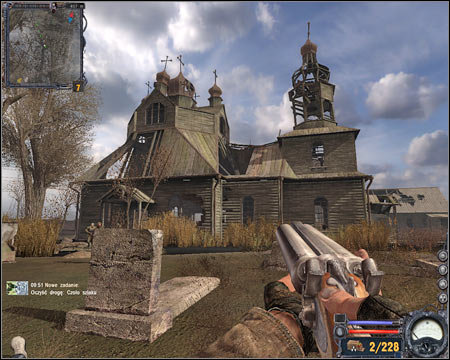
14) Fireplace - It would seem that it's a standard location, however securing the area around the fireplace is mandatory if you plan on finishing one of the final main quests for this location. Just as before, consider waiting for your allies to join you before trying to get rid of the renegade forces.
15) Southern farm - Obviously this farm is being heavily defended by renegade forces. You won't see them right away, so you'll have to get closer to main buildings of the farm. Use all nearby objects for cover while trying to secure this area. You will probably approach the farm from the west, so watch out for additional patrols along the way.
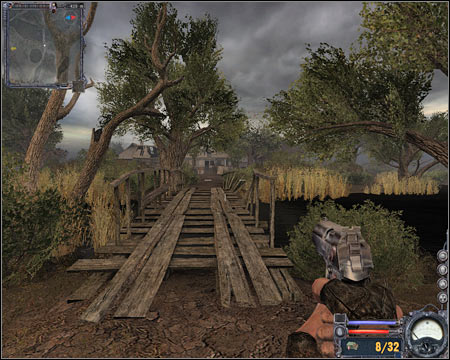
16) Train tracks - You probably won't visit this area early during the course of the game, because there are a lot of renegades here, as well as radiated zones. You will find a passageway here which leads directly to Agroprom Institute.
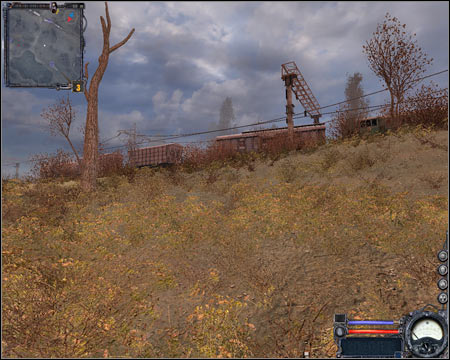
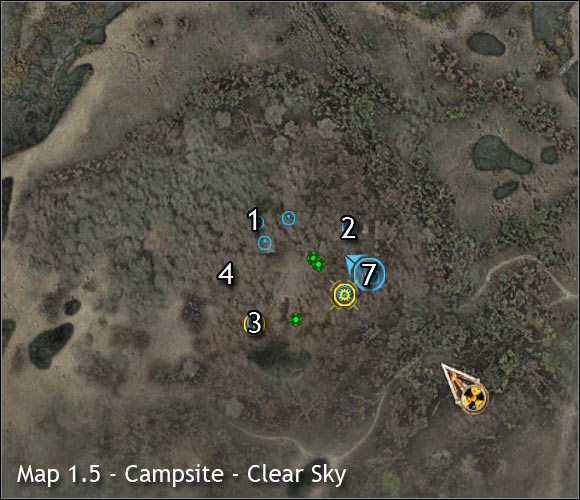

1. Talk to the bartender
Received from: Lebiediew (Campsite - Clear Sky)
Starting point: 1 on the map
Goal area: 2 on the map
Quest description:
Once you've regained consciousness, talk to Lebiediew. For the next few minutes you'll be dealing with very simple assignments, so you should treat them as a tutorial section of the game. Take your time to familiarize yourself with the controls and explore the campsite if you want to. Remember that you won't find any dangerous areas inside the base. Once you're ready, go talk to the bartender (screen) and choose all available topics during the conversation.
2. Talk to Lebiediew
Received from: Frigid (Campsite - Clear Sky)
Starting point: 2 on the map
Goal area: 1 on the map
Quest description:
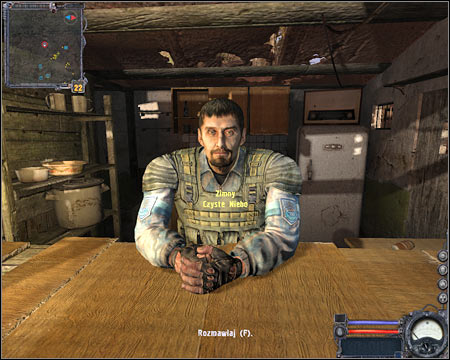
You are going to be summoned back to Lebiediew in a few minutes. Go back to the main building of the base and listen to what he has to say (screen).
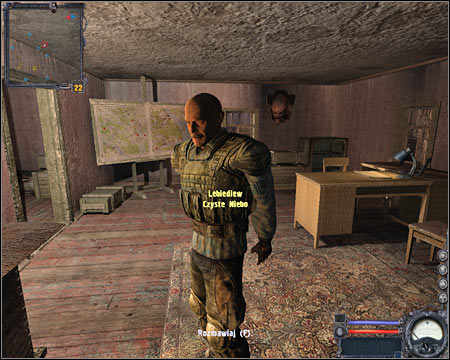
3. Get your gear from the shopkeeper
Received from: Lebiediew (Campsite - Clear Sky)
Starting point: 1 on the map
Goal area: 3 on the map
Quest description:
This is also going to be a very simple quest. All you have to do is to visit one of the shopkeepers, named Suslov. Once you've arrived at his warehouse, talk to him (screen) and ask him to grant you with a standard gear for the Clear Sky members. As you've noticed, a lot of items have been added to your inventory, among which you'll find a shotgun, a pistol, a detector and some medical supplies.
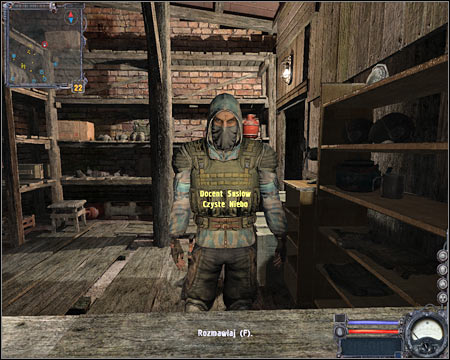
4. Ask the guide to show you the way to a guard post
Received from: automatically once you've finished third quest
Starting point: 3 on the map
Goal area: 4 on the map
Quest description:
The guide can be found to your left. It's the area in the north-western section of the camp. Talk to him (screen) and allow him to blind you for a few minutes. Wait for him to take you to a new area of the map.
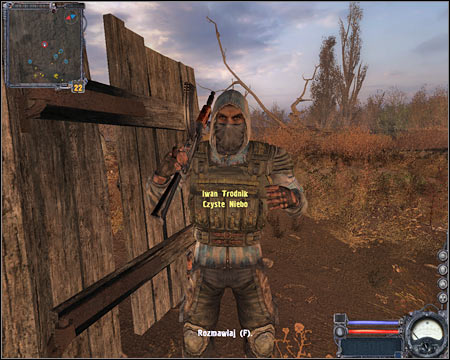
5. Go to the post and assist your allies in defending it
Received from: automatically once you've finished fourth quest
Starting point: 5 on the map
Goal area: 6 on the map
Quest description:
For the first time during the course of the game you'll have to act alone. You should also know that it's going to be very easy to die here, so you must move slowly and save your progress often. You won't encounter any enemies here, however you must watch out for the anomalies. Choose a pistol and a detector from your inventory and start moving north. You will receive additional voice hints along the way. Listen to them and you'll learn how to use your newly acquired detector to find artifacts (screen).
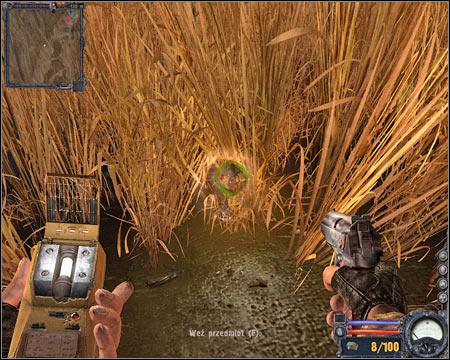
Keep heading towards your current destination. Remember that you don't have to be in a lot of hurry. Focus on avoiding the anomalies. Once you're close enough to your target, you're going to be attacked by at least one animal (screen). Kill the boar with your shotgun and get closer to the observation tower.
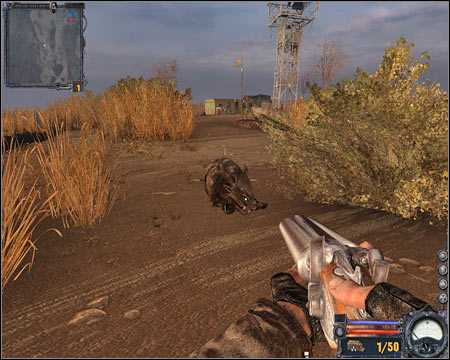
6. Climb on top of the tower; Kill boars
Received from: automatically once you've finished fifth quest
Starting point: 6 on the map
Goal area: 6 on the map
Quest description:
I'd strongly recommend that you listen to your colleague and that you climb on top of the tower. Make sure to use the ladder before other boars get here. Notice that you've been rewarded for your efforts. You won't have to waste your ammo on the boars. Instead, wait here for a few seconds.
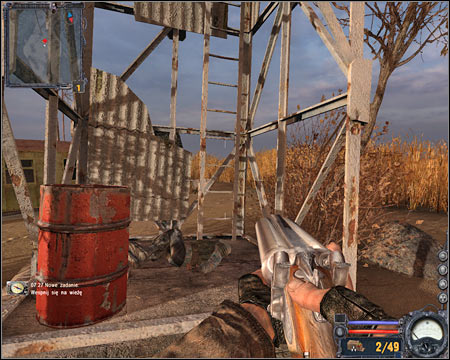
7. Go back to the campsite
Received from: automatically once you've finished sixth quest
Starting point: 6 on the map
Goal area: 6 on the map
Quest description:
You will receive a warning that a new emission will take place in the surrounding area. Sadly, you won't have enough time to hide, so all you have to do is to watch what happens next (screen). You'll lose consciousness again and once you're awake, you'll notice that you've returned to the campsite.
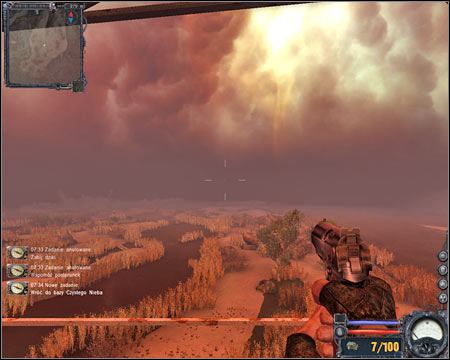
8. Ask Lebiediew what just happened
Received from: Lebiediew (Campsite - Clear Sky)
Starting point: 1 on the map
Goal area: 1 on the map
Quest description:
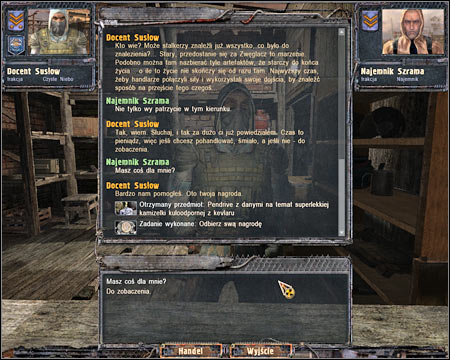
Use the stairs to get to the ground floor. Exit the building and go to Suslov. Talk to him and ask him for the reward (screen). You will receive a pendrive. I would recommend that you take this item to Gray (Mechanic). Once this is all taken care of, go back to Lebiediew and talk to him. Agree to help Clear Sky in the next assignment. Notice that you're treated as a member of this organization from now on.
9. Travel with a guide to the swamps
Received from: Lebiediew (Campsite - Clear Sky)
Starting point: 1 on the map
Goal area: 7 on the map
Quest description:
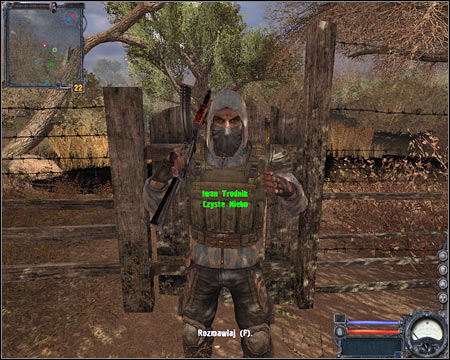
Try exiting the building. Nimble will talk to you. Ignore him or try learning a few things from him. You can also ask Nimble to describe some of the new functions of your PDA. Subquests will appear on your list from now on. Thankfully, you won't have to complete them, so you may as well ignore some of them. Head on to the guide (screen) and ask him to take you to the swamp area.
10. Increase Clear Sky's influence in the swamps
Received from: automatically once you've finished ninth quest
Starting point: 8 on the map
Goal area: n/a
Quest description:
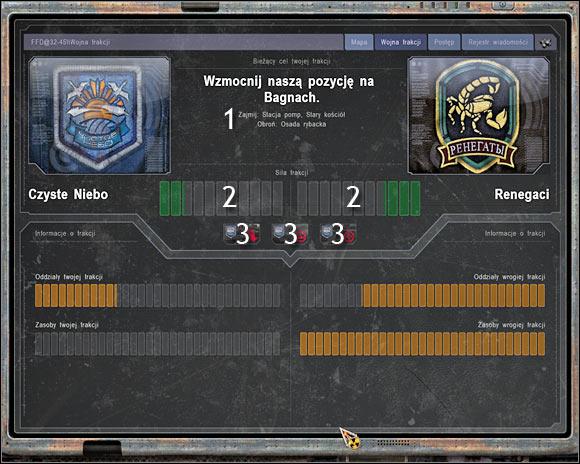
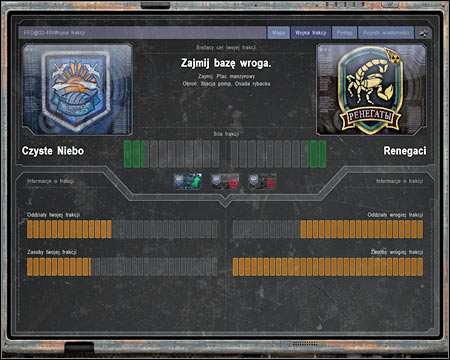
Finally we're starting off with something of bigger importance. This particular quest has a very opened structure. This means you can't finish it just by going somewhere and doing a few simple tasks. You will have to increase the overall strength of your new fraction (Clear Sky) and you can do that by attacking your enemies, called the Renegades. Start off by opening your personal map and choose the second option from the upper menu. Here you'll be presented with a detailed description of your quest. Take your time to familiarize yourself with the information you've been given.
The most important thing for you to notice are two green power bars (2 on the screen). They represent the overall strength of both fractions. For now Renegades are stronger and your goal will be to make them weaker, so they'll end up being less powerful than Clear Sky. Below the green bars you can find three small icons (3 on the screen). Hover over each icon and you'll be presented with a detailed description of what else has to be done to succeed. Also, notice that you'll receive goals from time to time (1 on the screen) which are similar to your subquests.
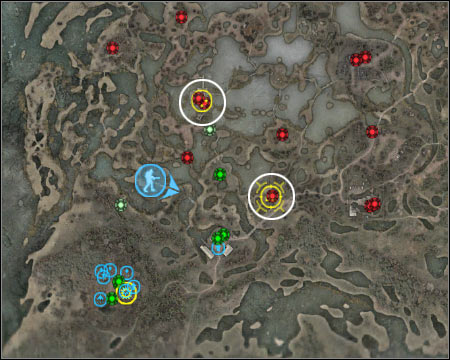
Now you may go back to the global view of the Swamps area. As you've probably noticed, green target icons have begun to appear near your location. Those are the areas where you can perform various subquests. The icons will disappear after a few minutes, so you'll have to be quick when planning to participate in certain challenges. Thankfully, avoiding a subquest doesn't mean it's gone forever, because a similar task may appear on your list later during the course of the game. Finishing subquests not only helps to end your main quest but it also provides you with rewards which can be collected in the main campsite.
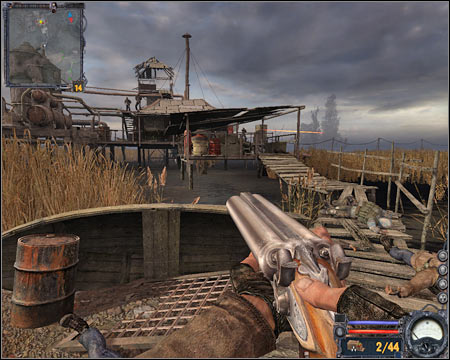
You will be presented with two types of challenges while trying to weaken your enemies. The easier group are the quests where you'll be forced to protect allied sectors against enemy attacks. The main reason is that you'll always have some allied units with you, so you don't have to rely only on your skills and equipment. The second group are the tasks where you'll have to take over a sector by eliminating all enemy troops (screen). Remember - it's all optional. You don't have to participate in any of the subquests if you don't want to. You can focus only on exploring the swamps, finding artifacts and opening stashes, however the only way to weaken the second organization is to kill as many renegades as possible.
You will have to keep attacking the renegades by performing subquests or eliminating their camps on your own until you've been able to weaken them sufficiently (screen). I wouldn't recommend participating in a new challenge right away. Focus on killing them for a few more minutes, so you won't have to worry about returning to this quest if your allies are going to get killed in the meantime.
11. Take over a farm in the north-east
Received from: automatically once you've finished tenth quest
Starting point: n/a
Goal area: 9 on the map
Quest description:
This is going to be a very similar challenge to some of the subquests. Your objective is to take over a hostile territory. I would strongly recommend that you wait for your allies to show up somewhere near the farm, so you won't have to attack it on your own. You'll probably approach the base from the south (screen). If you've taken over a burnt farm, you won't encounter any resistance along the way.
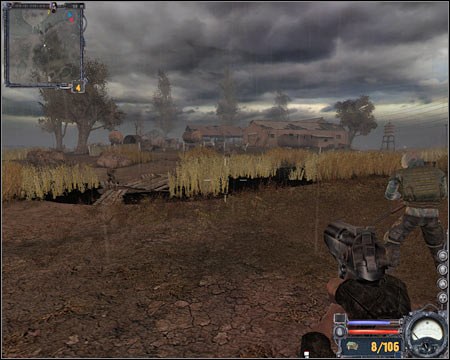
Enemy units will probably hide inside two main buildings of the compound, however some of the renegades may also be hiding near parked vehicles. You can attack them on your own or you can only assist your colleagues by attacking the same targets they do. Also, watch out for the northern road, because more enemy units may show up here (screen). If they do, use nearby objects for cover and prevent them from getting too close to your position. You shouldn't have any major problems taking over this base.
12. Take control over roads leading to the outside world
Received from: automatically once you've finished eleventh quest
Starting point: n/a
Goal area: 10 on the map
Quest description:
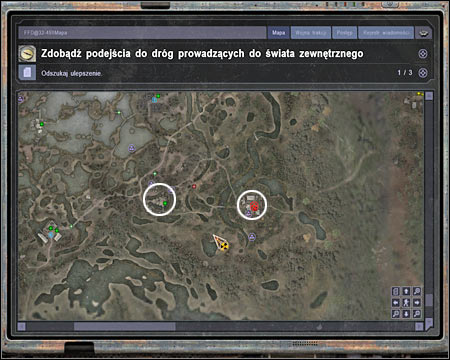
Remember that if you fail to hold the advantage over Renegades, you'll have to complete some of the previous quests again. If you're successful, head on to the southern area of the map. Start off by taking control over two zones (screen). You will have to seize the church, as well as the southern farm. The church may be in Clear Sky's hands by now. As for the farm, it's almost certain that you'll have to go there right now.
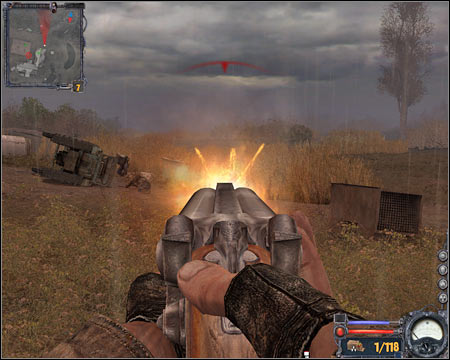
Taking control over a church and a farm won't solve the problem, because you'll have to secure a road which connects these two locations. Be careful while trying to do that, because enemy troops are patrolling this area. You'll probably encounter at least one large group (screen). Remember to use some of the carried grenades. You should also be on a look out for machine guns, because they may come in handy. I had to eliminate two large groups, but maybe you'll get lucky.
13. Travel with guide to Cordon
Received from: automatically once you've finished twelfth quest
Starting point: 10 on the map
Goal area: 10 on the map
Quest description:
Important! You can't use any exits at the moment, because you'll have to ask the guide for help to solve this quest. Thankfully, this won't be an issue once you've decided to return here later on during the course of the game.
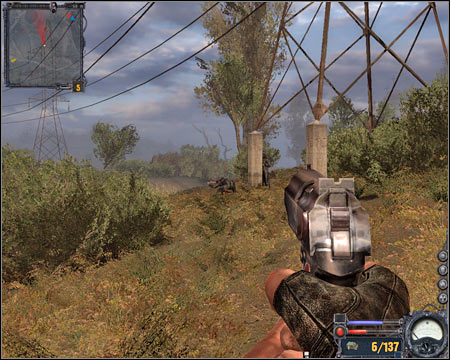
It doesn't really matter where you are at the moment, because you'll have to go back to the southern farm. Once you're there, locate the guide and try talking to him (screen). Before you decide to leave the Swamps and head to Cordon, you might want to consider going back to Clear Sky's campsite in order to collect all the rewards. You can also give the plans to the mechanic while you're at it. Start the conversation again and ask the guide to lead you to Cordon.
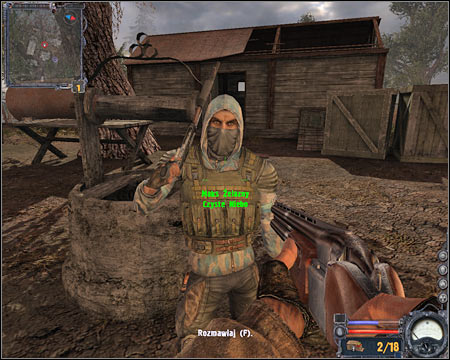
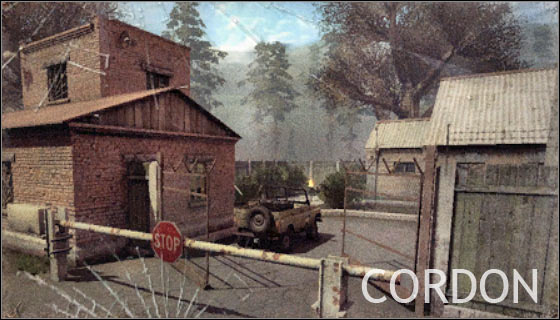
You've had an opportunity to explore Cordon area in "Shadow of Chernobyl". In fact, this is where you've begun your journey in the first game. Just as before, you will have to take special caution while being near the southern military base. Stay as far away as possible from the base, because you'll be shot on sight. As for other areas, you will have to be on a look out for radiated zones. Thankfully, there are less anomalies. Also, the good news is that most of Cordon is controlled by stalker forces, so you won't have to worry about avoiding them.
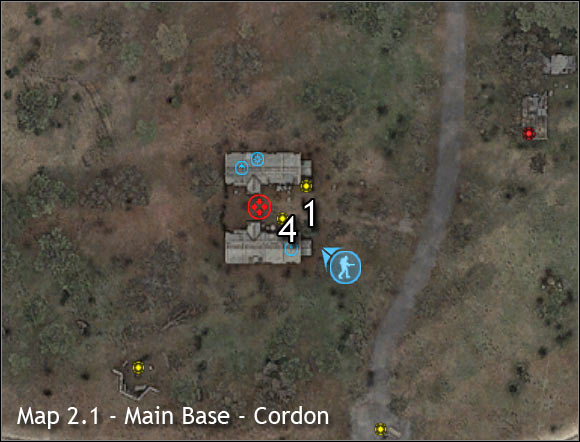
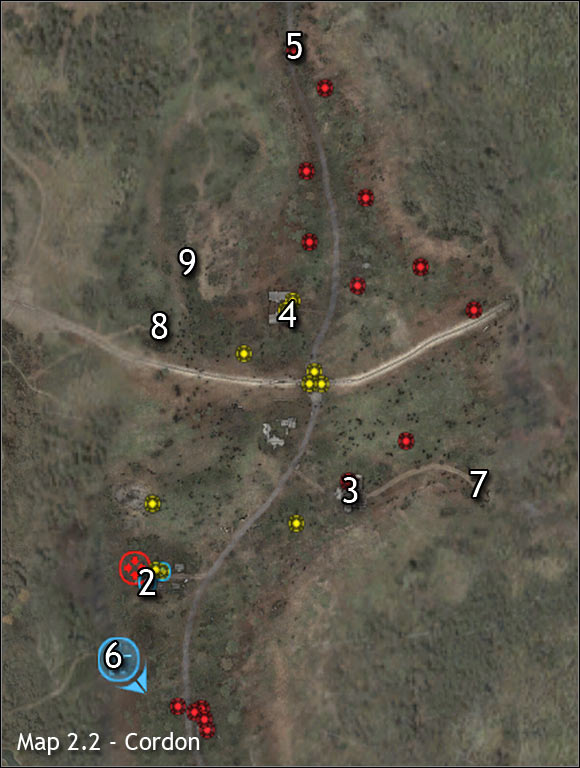
Main maps:
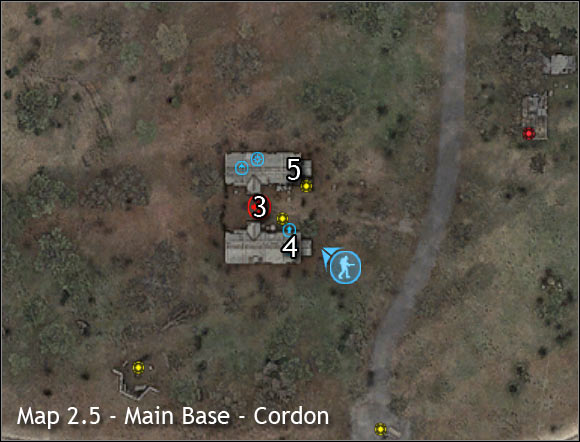
1) Exit to: Cordon (exit from the main base)
2) Guide - Cordon: Village
3) Guide - Cordon: Vehicle depot
4) Guide - Cordon: Main base
5) Exit to: Garbage
6) Exit to: Swamps
7) Exit to: The Dark Valley
8) Exit to: Swamps
9) Exit to: Garbage
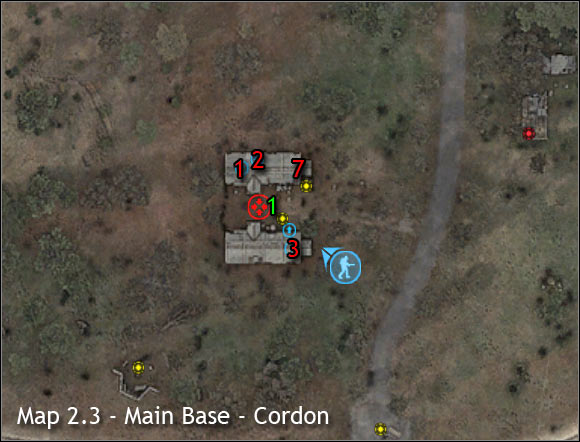
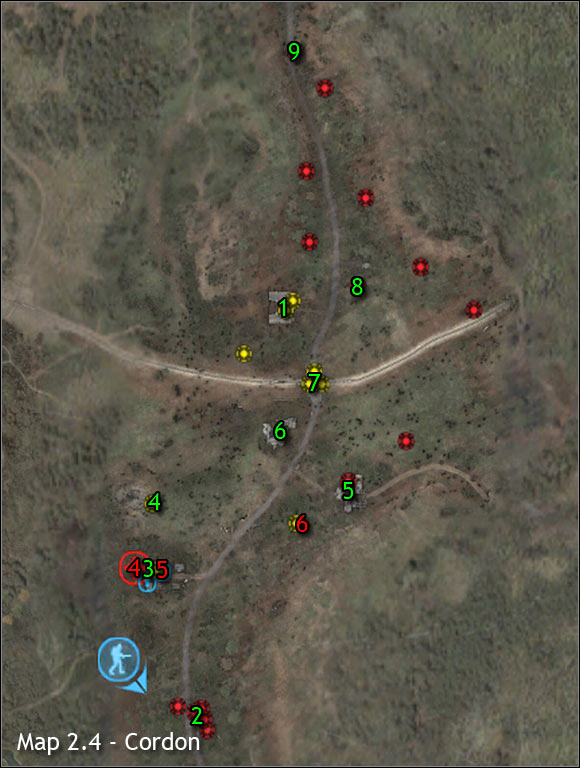
Important NPC's (red color):
1) Szilow - You will have an opportunity to trade items with this person. You can also talk to Szilow each time you've been rewarded for finishing a subquest.
2) Furgon - He's working as a mechanic, so you can ask him to repair or upgrade your equipment. He can also provide with subquests on finding blueprints.
3) Father Walerian - He's playing the role of a leader of the northern base. As a result, you will receive a large numbers of quests from him.
4) Sidorivich - You probably remember this person from the first game. Just like in "Shadow of Chernobyl", Sidorivich is a trader and he also grants you with a few assignments.
5) Wolf - This is also a friendly face. You may ask Wolf about the current situation. He will also provide you with a few simple tasks.
6) Lioszka the Armourer - You can consider trading with him and you can also allow him to help you during an assault on an enemy base (vehicle depot).
7) Major Chaleckij - He is being held inside a cell in the northern base. Chaleckij is working for the military, so he's an enemy. You will have to talk to him twice in order to fulfill one of the main quests. You can also ask him a few additional questions if you want to.
Important areas (green color):
1) Main base - This is by far the most important location in Cordon. The situation is similar to the campsite found in the Swamps, so you can't use weapons inside the compound and you won't encounter any monsters there. Instead, you will come across a few important NPC's, including Walerian, a trader, a mechanic and a guide.
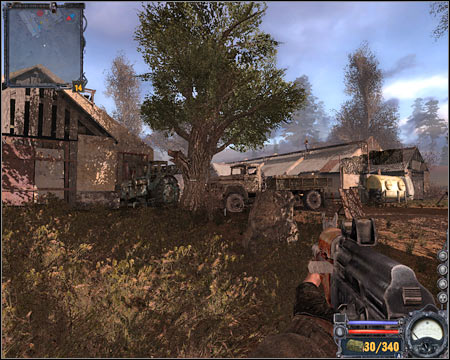
2) Military base - The situation here is similar to the first game of the series. Stay as far away from the military base as possible, unless you want to kill some enemy troops. Be careful, though. You will have to be prepared in order to succeed. Otherwise you'll end up being killed before entering the base.
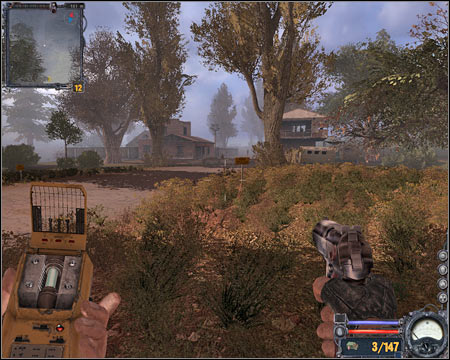
3) Village - I guess I don't have to remind you what can be found here, because this is where you've started in "Shadow of Chernobyl". Obviously you will find Sidorivich inside an underground bunker. As for the village itself, there are a lot of stalkers here. Make sure you've concealed your weapon, so you won't have to worry about them being hostile towards you. There's a guide here, among a few other interesting NPC's.
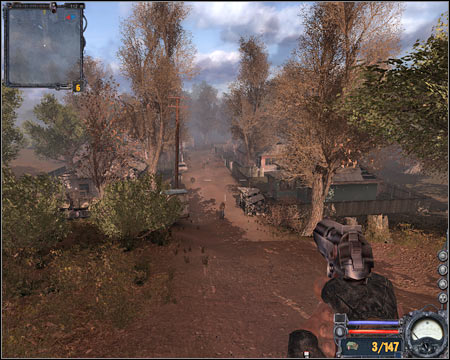
4) Secret campsite - You will come across a small group of friendly units here. You can consider talking to the stalkers or you can focus on exploring the surrounding area. Watch out for radiation and dangerous anomalies. This camp is being attacked by boars and dogs from time to time, so it would be a good idea to help the stalkers to defend themselves.
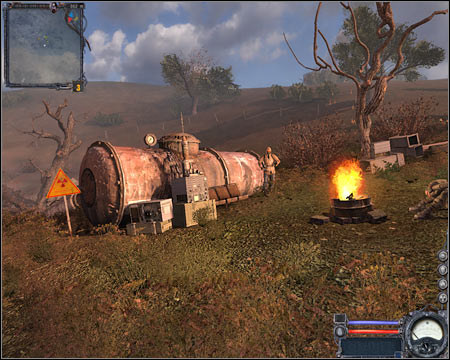
5) Vehicle depot - When you get here for the first time, you'll notice that the depot is being heavily defended by the military. You can try fighting those soldiers on your own or you can ask major Chaleckij for help. I would recommend ignoring the factory, because you will be allowed to secure it as a part of a main quest. You can find a lot of ammunition inside one of the buildings. Once this area has been secured by the friendly units, you'll find a guide here.
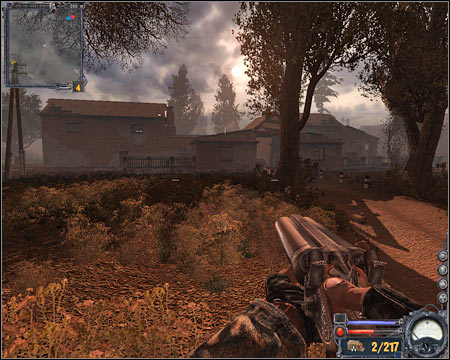
6) Factory - Once again, you can consider exploring this area on your own or you can wait for a certain quest to be added to your list. Don't forget to inspect the area to the west of the factory, including the tunnel which is now being protected by the stalkers.
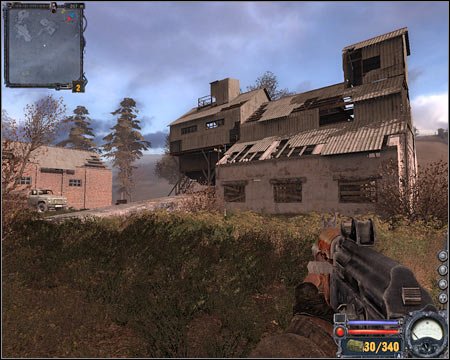
7) Checkpoint under the bridge - During your last visit here you've encountered a checkpoint set up by the military. Thankfully, it's not an issue here. The checkpoint is being guarded by the stalkers, so you won't have to look for an alternative route to the northern part of the map. The checkpoint is being attacked by wild dogs quite often, so make sure to finish at least one subquest here.
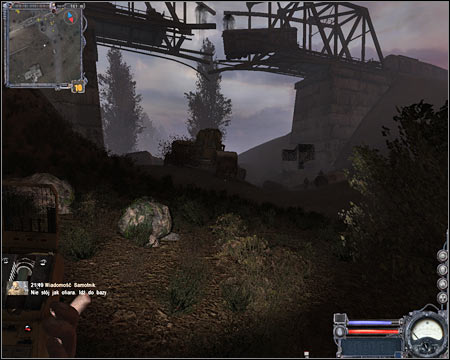
8) Hideout - You won't have to explore this area if you don't want to. You would come across a few bandits, however if you're patient enough, your enemies will get eaten by wild dogs.
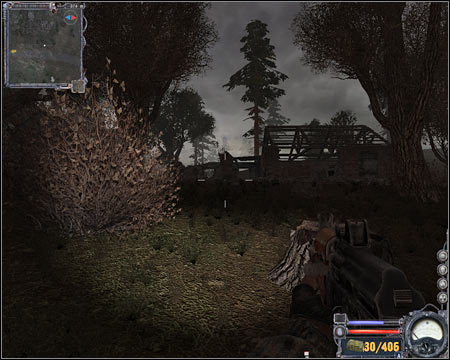
9) Northern base - You will have to get here if you plan on choosing an easier route to Garbage sector. The area is quite similar to the first game, so you'll have to watch out for radiation. This area is being defended by the stalkers, so you won't have to worry about anything.

1. Talk to Sidorivich
Received from: n/a
Starting point: 1 on the map
Goal area: 2 on the map
Quest description:
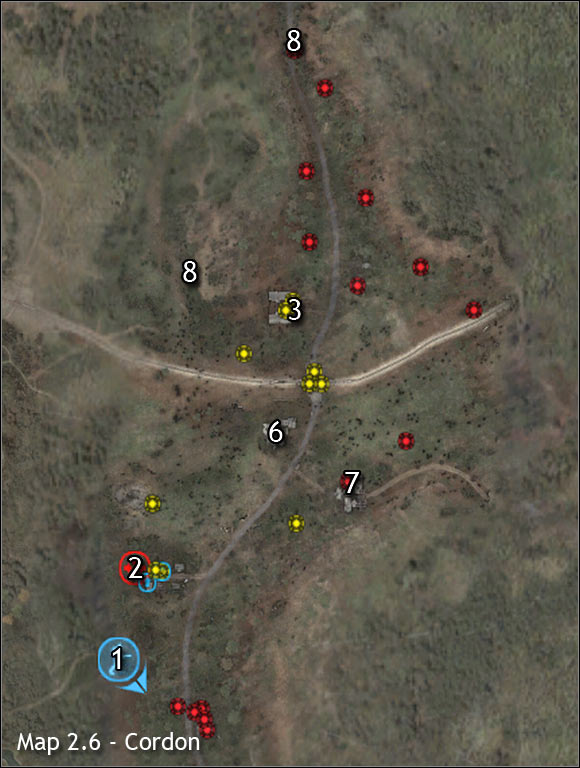
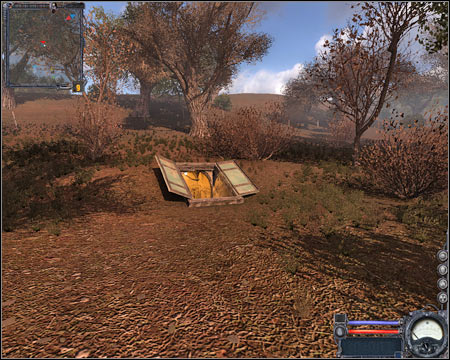
This is a very simple quest. All you have to do is to go north. Find a small village. To the west of the village there's a small underground bunker. Get to the entrance to the bunker (screen) and go downstairs. Talk to Sidorivich and he will grant you with a new assignment.
2. Meet with other stalkers
Received from: Sidorivich (Cordon)
Starting point: 2 on the map
Goal area: 3 on the map
Quest description:
Important! If the stalkers are hostile towards your character (as a result of you killing some of them), you will have to perform a different quest in the first place in order to regain their trust. The whole idea here is to visit Sidorivich and pay him some money.
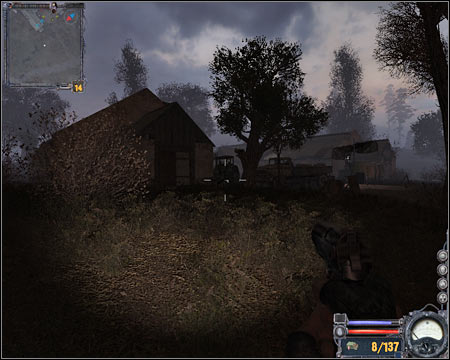
This is also a simple task. Your objective is to get to the main base which can be found in the northern part of the map. You can explore your surroundings along the way, however this is optional. Watch out for radiated zones, even if you've decided to choose the main road to the base. Once you've reached your destination (screen), enter the base and wait for a new quest to be added to your list.
3. Meet with Father Walerian
Received from: automatically once you've finished second quest
Starting point: 3 on the map
Goal area: 4 on the map
Quest description:
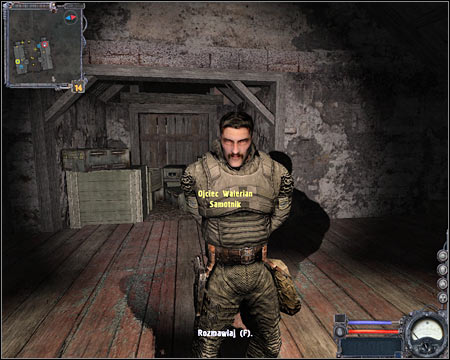
The leader of this base is Father Walerian and you can find him inside the southern building (screen). Approach Walerian and talk to him. You're going to find out some interesting things about the current situation in this zone. Walerian will also provide you with a new challenge.
4. Talk to Chaleckij
Received from: Father Walerian (Main Base - Cordon)
Starting point: 4 on the map
Goal area: 5 on the map
Quest description:
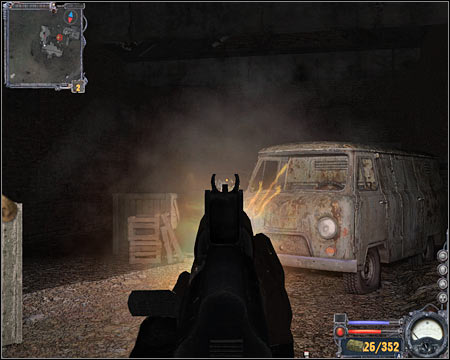
Now you will have to talk to the prisoner Father Walerian was talking you about. His name is Chaleckij and you can find him inside the cell in the northern building of the compound (screen). Make sure that you've chosen all available topics. Also, notice that you can talk to him again in order to ask him a few additional questions.
5. Talk to the leader
Received from: automatically once you've finished fourth quest
Starting point: 5 on the map
Goal area: 4 on the map
Quest description:
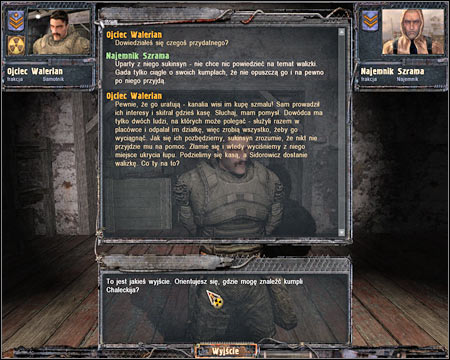
Now you'll have to go back to Father Walerian. Your hero will automatically tell him that he was unable to acquire any new information from the prisoner. Listen closely to what Walerian has to say, because he will come up with a new plan.
6. Eliminate hostiles near the elevator
Received from: Father Walerian (Main Base - Cordon)
Starting point: 4 on the map
Goal area: 6 on the map
Quest description:
You can exit the base now. Start heading south. Notice that you won't be alone. You should see some allied units near the factory. Approach them and this is when this battle will commence. Sadly, you can't rely solely on your allies. You'll have to kill a few soldiers yourself. Try attacking them from the flank if possible. I would also recommend using a machine gun here. Try killing at least three soldiers and your team should deal with the rest.

7. Eliminate hostiles in the depot
Received from: automatically once you've finished sixth quest
Starting point: 6 on the map
Goal area: 7 on the map
Quest description:
This is going to be a very similar challenge to the previous assignment. This time you'll have to go to a vehicle depot. Once you're there, wait for a large group of stalkers to show up and join them. You'll have to be very careful here, because enemy units are using powerful guns and they're heavily equipped. Thankfully, most of the soldiers will focus their attacks on your colleagues. This should give you enough time to plan a surprise attack. Once the battle has been won, make sure to check the surrounding area. You'll find a lot of ammunition, especially for the machine gun.
8. Interrogate the prisoner
Received from: automatically once you've finished seventh quest
Starting point: 7 on the map
Goal area: 5 on the map
Quest description:
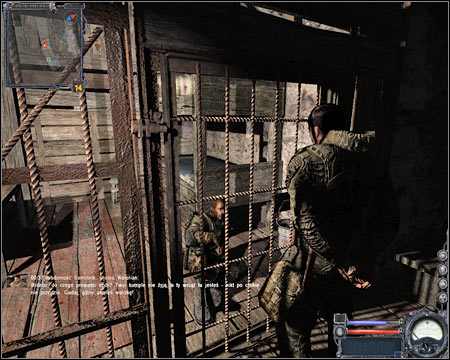
You may go back to the northern base. Ignore the southern building and proceed directly to the cell where Chaleckij is being held. Witness an interrogation taking place (screen). Once it's over, you'll receive new orders.
9. Collect loot
Received from: Father Walerian (Main Base - Cordon)
Starting point: 5 on the map
Goal area: n/a
Quest description:
Sadly, I can't help you here, because the object you have to acquire appears in a different location each time you to decide to complete this quest. Unoccupied buildings, factories and even small tunnels are among potential targets. Either way, you will have to find a small box, similar to the one presented on your screen. Taking the box will allow you to proceed with the next quest. Be careful, though. The area around the loot is often being occupied by enemy troops.
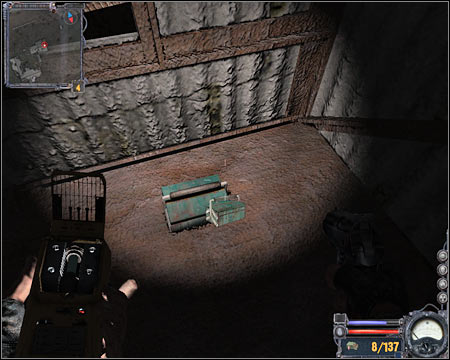
10. Return the box to Sidorivich
Received from: automatically once you've finished eighth quest
Starting point: n/a
Goal area: 2 on the map
Quest description:
Once you've acquired the box, you will have to return its content to Sidorivich. This means you'll have to travel south. Be careful. There are a lot of radiated zones near the village and you can also come across dangerous animals along the way. Give the box to the trader (screen) and wait for him to reward you with a new quest.
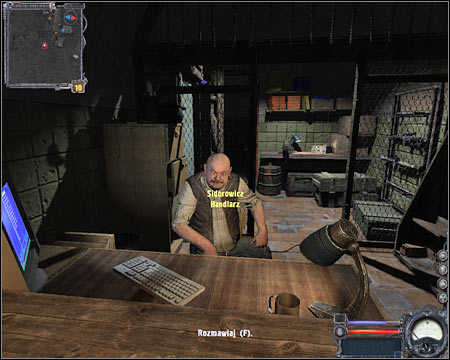
11. Find out more about the Fang
Received from: Sidorivich (Cordon)
Starting point: 2 on the map
Goal area: 8 on the map
Quest description:
Obviously you won't be able to find your target here, so you'll have to travel to another sector, called Garbage. There are two passageways leading to that area, however I would recommend choosing the passageway located near the northern outpost. This is important, because if you decide to go to the western exit, you'll have bigger problems once you've arrived in Garbage. Make sure to collect rewards from the main base along the way. It's also a good idea to fulfill some of the subquests, especially since most of them are very simple. Keep heading towards the northern outpost, however watch out for anomalies and radiated zones. Avoid these obstacles. Once you've arrived at your new destination (screen), enter the main building and proceed towards a small corridor. Confirm that you want to go to Garbage.
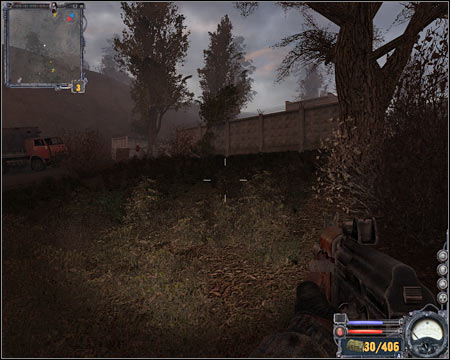

Garbage is one of the areas you should be familiar with. The important thing is that it's changed a little since your last time here. Almost the entire map is in control of the bandits and it's in your best interest to avoid them. There's also a small stalker outpost in the area, however it may be destroyed during the course of the game.
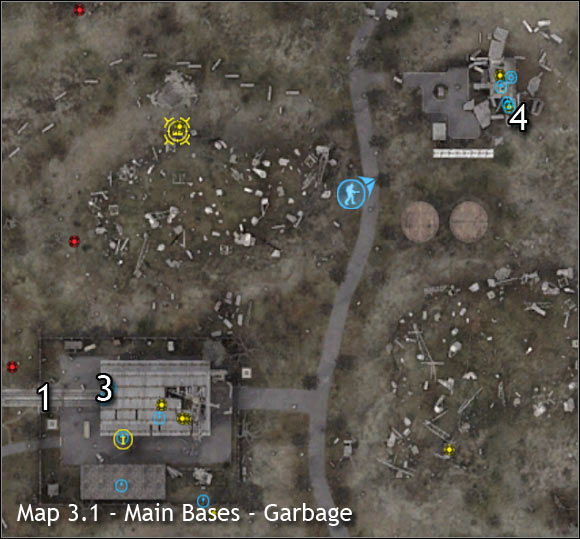
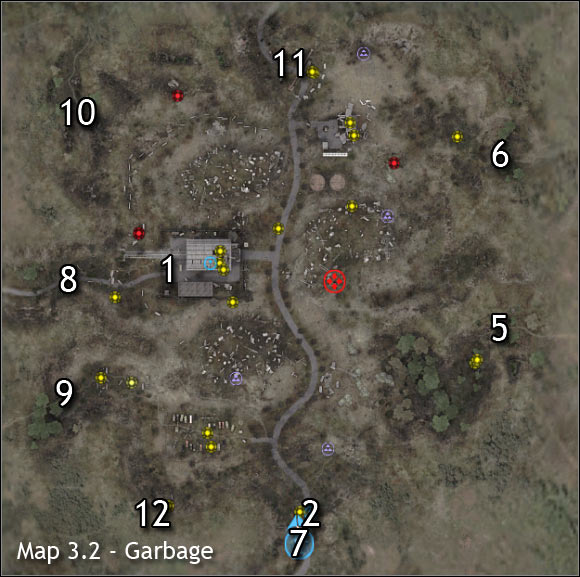
Main maps:
1) Exit to: Garbage (exit from the southern base)
2) Guide - Garbage: Southern checkpoint (available only when you've joined the bandits)
3) Guide - Garbage: Southern base
4) Guide - Garbage: Northern base
5) Exit to: The Dark Valley
6) Exit to: The Dark Valley
7) Exit to: Cordon
8) Exit to: Agroprom Institute
9) Exit to: Agroprom Institute
10) Exit to: Red Forest
11) Exit to: Military Warehouses
12) Exit to: Cordon
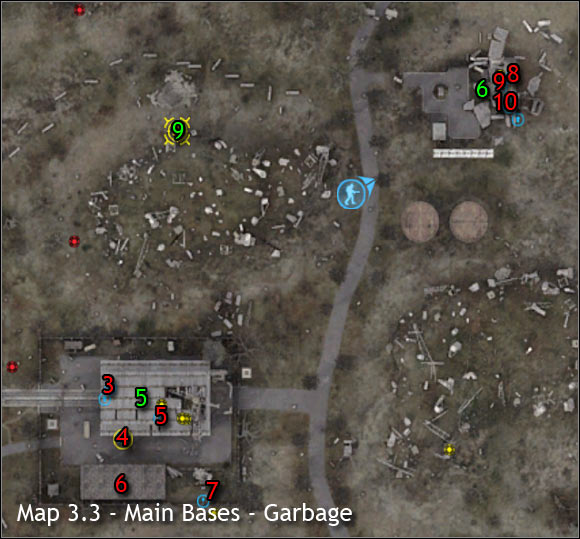
Important NPC's (red color):
1) Jurko the Owl - He's probably going to be the first bandit you'll encounter during your stay in Garbage. He will demand that you hand over your equipment. It's important to avoid him, because once you've started the conversation, there's no turning back.
2) Wasian - You will have to talk to this person in order to fulfill one of the main quests. Before that happens, you'll have to deal with a large group of wild dogs.
3) Limpid - He's a mechanic working in the southern base. The whole idea stays the same, so he can repair and upgrade your equipment. You can also ask him for subquests.
4) Tooth - He's a trader in the southern base. I would recommend that you visit him at least once, because he has some decent equipment. He'll also give you reward for bandit-related subquests.
5) Yoga - This man is the leader of the bandits. Talk to him if you want to join this organization. Obviously you'll have to prove him that you're worthy by performing a few subquests.
6) Borow - He's the bartender in the southern base. You can ask him for gossip or you can trade items with him.
7) Skinny - Skinny is a very unique person, because he's responsible for setting up tournaments. The objective is to shoot as many crows within a given time-limit as possible. You can play for real money or you can try beating a local record. I would recommend that you practice firing at crows, because it's not easy as it would seem.
8) Garin - This person works as a mechanic in the northern base. You can ask him for repairs or you can upgrade your equipment.
9) Timka - He works as a trader. You can find him in the northern base.
10) Wild Napr - It's the most important person in the northern base. Napr is the leader of the small stalker encampment. You can ask him to give you some subquests in order to improve your status with the stalkers. Most of these tasks require you to hunt down and kill bandits.
11) Sienia - This bandit protects one of the passageways leading to The Dark Valley. Similar to Jurko, he will ask that you hand over your equipment. You should know that he may be killed in the process, because a lot of dangerous animals wander around the area.
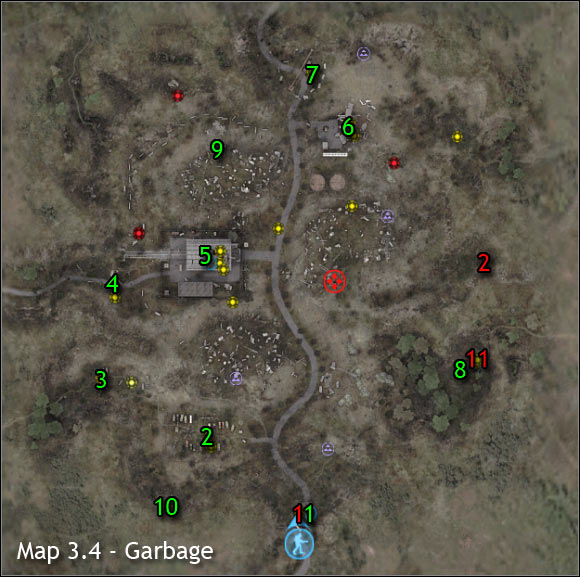
Important areas (green color):
1) Southern checkpoint - When you visit Garbage for the first time, you'll be surprised and not in a pleasant way. There's a bandit checkpoint here. One of the thugs will ask you to hand over your equipment before you can enter this area. You can solve this problem by not paying and killing the bandits. I wouldn't recommend that, because all other bandits would become hostile to you as well. Instead, don't approach the checkpoint and start running towards the left hill. The bandits from the checkpoint will probably attack you, however the rest of them will stay calm, so all you have to is to move away from this checkpoint as soon as possible. If you're lucky, you'll avoid any injuries. As for going back to Cordon, I would recommend travelling through some of the nearby sectors - The Dark Valley or Agroprom Institute. Thanks to that, you won't have to worry about the bandits anymore.
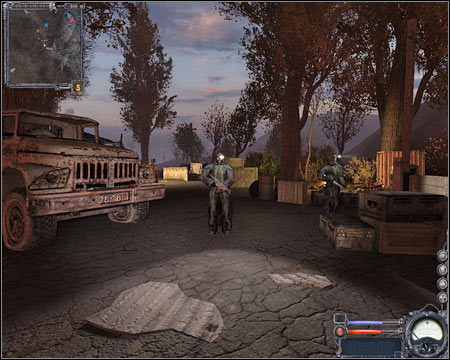
2) Concentration camp - You probably remember this place from the first game. This time it's a concentration camp and it's being controlled by the bandits. I wouldn't recommend trying to get too close to the camp, because after receiving one warning all bandits will start firing you. Taking over a camp is possible, especially if you've decided to perform subquests for the stalkers. One of the missions requires you to neutralize all bandits within the area of the camp and you'll have friendly units at your side.
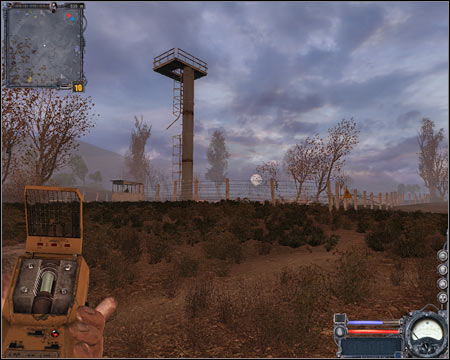
3) Checkpoint in the south-west - The approach is very similar here to the southern checkpoint. Trying to get too close to the bandits will result in them ordering you to stand down. After that, you'll have to give them your equipment. Ignore this checkpoint at first, however you should know that one of two available passageways to Agroprom Institute sector is located here.
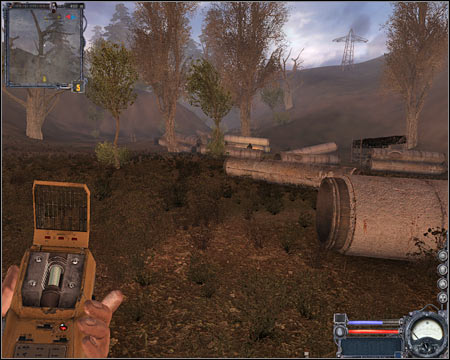
4) Western checkpoint - Once again, you will have to get ready to be stopped by the bandits. Giving them your equipment is not an option, so you'll have to decide whether to attack this checkpoint or the one in the south to get to Agroprom Institute.
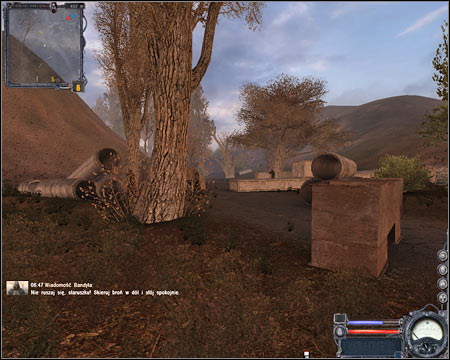
5) Southern base (Bandits) - You can enter this base only by approaching it from the west. Don't worry if you've avoided one of the checkpoints, because you'll be dealing with neutral grounds here. This means you can't use your weapons and you won't have to worry about encountering any monsters.
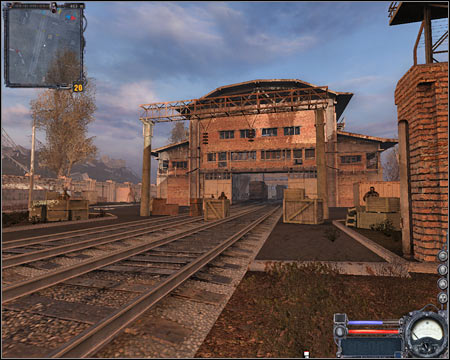
6) Northern base (Stalkers) - I wouldn't call it a base, rather a small campsite. You'll find a destroyed building and there are a few stalkers here. The easiest way to get to them is to approach the base from the north or from the west (stairs). You should know that the base may be destroyed later on during the course of the game, due to attacks made by wild animals or bandits. You won't have any restrictions on using your guns here, however I'd strongly recommend that you holster your weapon, so you won't have any problems talking to other stalkers.
Upon return from The Dark Valley: You'll notice a small door which leads to the cellar. You'll have to go down there to fulfill one of the main quests. You can ignore the cellar during your first visit to the Garbage area.
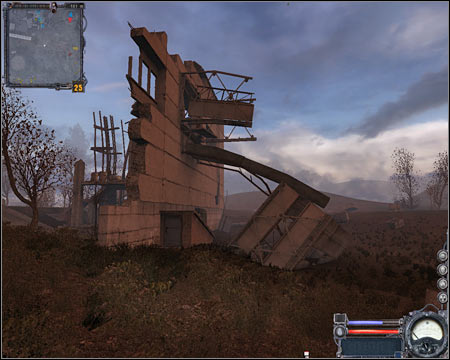
7) Northern checkpoint - Thankfully, you won't have to worry about getting mugged here. You can head over towards a nearby passageway (it leads to Army Warehouses, not to Bar) or you can talk to the bandits to receive additional tasks.
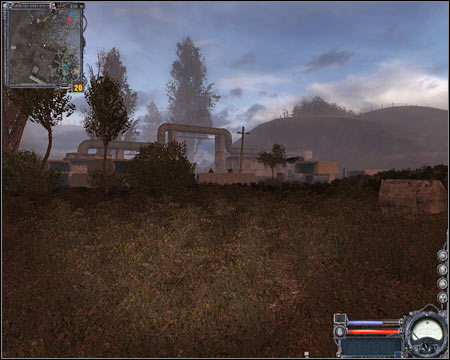
8) Eastern checkpoint - There's a small road leading to this checkpoint. I would recommend staying on it, so you'll avoid radiation. Just as before, you can access this route only if you've dealt with the bandits. If you don't want to give them your equipment, you can attack them yourself or you can wait for the mutants to deal with this threat. You should also know that there's a second passageway to The Dark Valley which is located to the north.
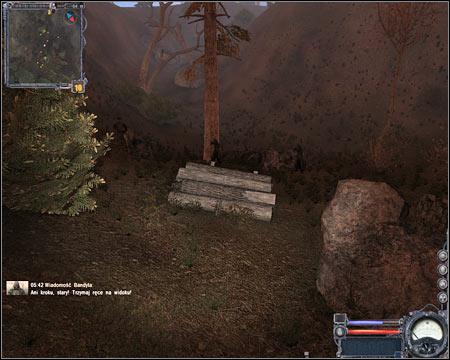
9) Meeting place - You must visit the area only if you've decided to perform subquests for bandits or stalkers. Obviously each time you'll be dealing with a different quest, depending on which fraction you've decided to join. You won't have any problems with the smuggler himself. Instead, watch out for the mutants in this area. They're very powerful and they can surprise you at any moment.
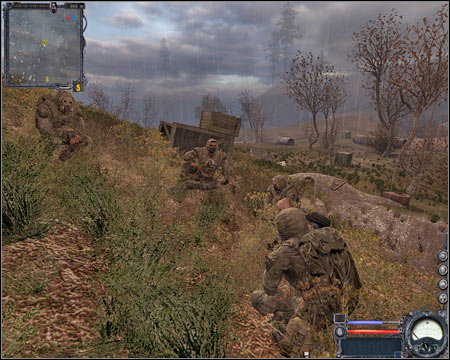
10) Tunnel exit - This is where you'll show up when you've decided to choose an alternative route to the Garbage area. Sadly, it's going to get more difficult here. You can't run away, because the checkpoint is located directly in front of the exit. The only solution is to pay the ransom. As a result, you should avoid this route until stalker forces have taken over Garbage sector (it may happen much later during the course of the game).
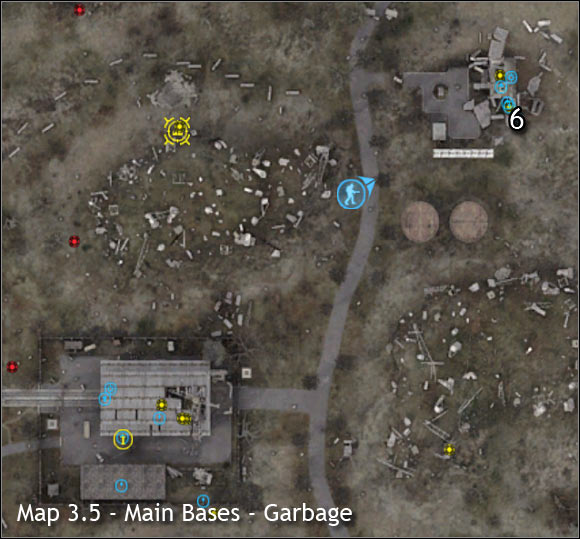
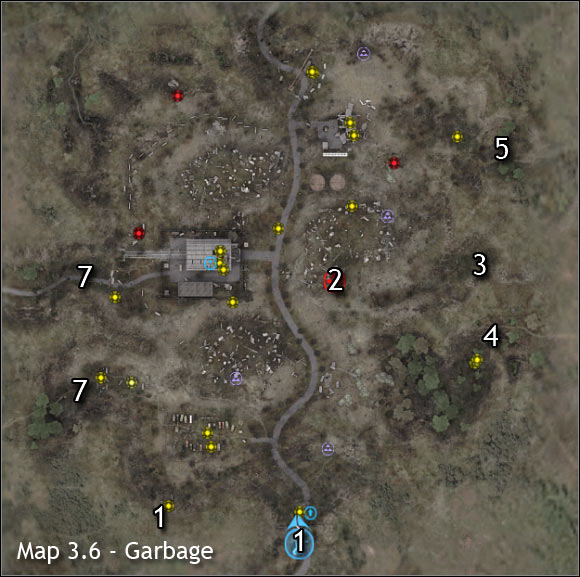
1. Find out more about the Fang #2
Received from: Sidorivich (Cordon)
Starting point: 1 on the map
Goal area: 2 on the map
Quest description:
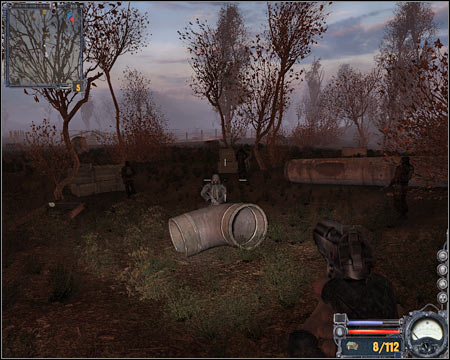
This is a continuation of a quest received in Cordon. Thankfully, you won't have to worry about taking part in complicated situations. All you have to do is to get close enough to the target area (screen). You won't be able to talk to the man you were looking for, however you'll receive a new challenge.
2. Search the body of an informant
Received from: automatically once you've finished first quest
Starting point: 2 on the map
Goal area: 2 on the map
Quest description:
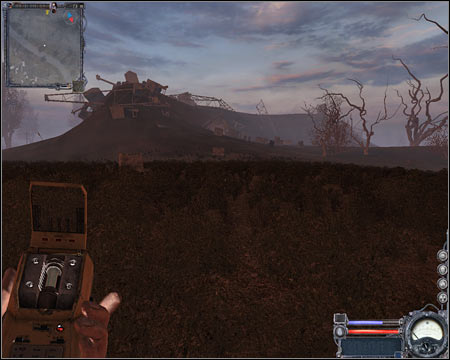
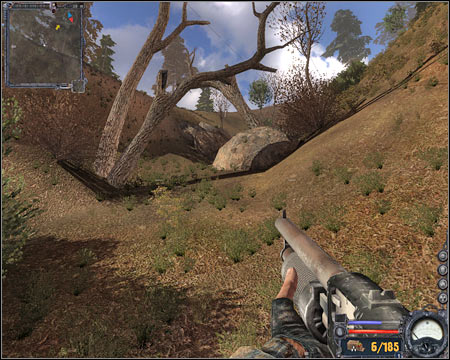
You won't have to leave this area, because the body can be found in the vicinity. Use your map to locate it. Approach the body and press the action key to search it (screen). You don't have to pick up any items, because you'll receive a new goal right away.
3. Gather new intel from the messenger
Received from: automatically once you've finished second quest
Starting point: 2 on the map
Goal area: 3 on the map
Quest description:
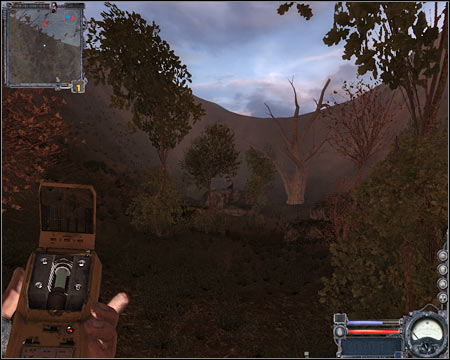
Start moving east, because that's where you'll find the messenger. You shouldn't encounter any enemies along the way, however make sure that you have a good weapon. Shotgun will do the trick. Approach the area with the messenger and you'll be given a new task.
4. Kill the dogs
Received from: Wasian (Garbage)
Starting point: 3 on the map
Goal area: 3 on the map
Quest description:
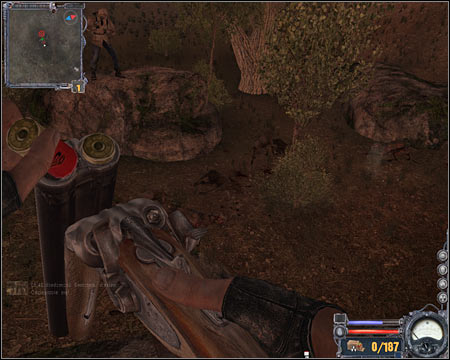
Listen to what the messenger and climb on top of a large rock. Wait for the dogs to get here. The animals will arrive from the west. The easiest way to get rid of them is to use shotgun. Don't waste ammunition for stronger weapon. Be careful, though. One of the dogs may find its way to your position, however it's doubtful. Focus on killing the animals one by one. It shouldn't be too hard, especially since Wasian will use his gun at the same time. Once you've won, wait for him to climb down and listen to what he has to say.
5. Follow the Fang to The Dark Valley
Received from: Wasian (Garbage)
Starting point: 3 on the map
Goal area: 4 and 5 on the map
Quest description:
You may proceed to the next sector right away or you can focus on completing some of the subquests for the stalkers or the bandits. There are two passageways leading to The Dark Valley. If you don't want any trouble, head over to the northern passageway (5). If you like being challenged, proceed to the southern one (4). Bear in mind that you'll meet a lot of bandits near the southern exit. You can kill them yourself or you can wait for wild animals to take care of that problem. Either way, you'll have to find a way to get to the next area (screen). Confirm that you want to want to travel to The Dark Valley.

Upon return from The Dark Valley:
6. Catch the Fang #2
Received from: Czechow (Main Base - The Dark Valley)
Starting point: 5 on the map
Goal area: 6 on the map
Quest description:
Notice that you've returned to the northern passageway. I would recommend that you start off by moving north-east. It's important, because a lot of bandits may be in the area and they're probably hostile towards you by now. You will have to get to the northern base (stalkers) or at least what's left of it. Find a small door which leads to the cellar (screen), however don't go down there just yet.
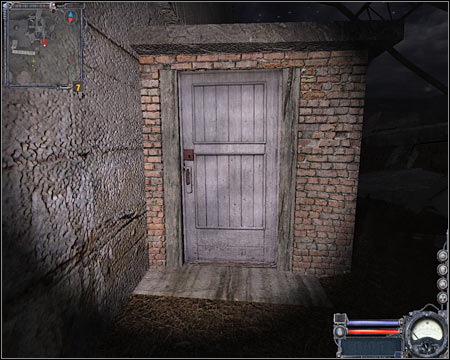
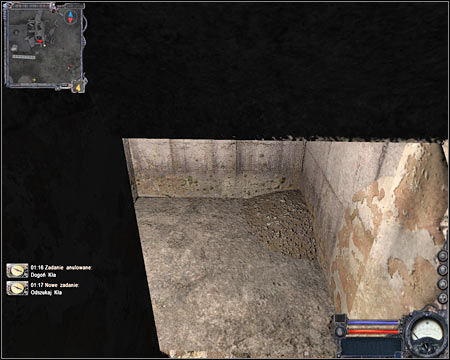
You'll how to take some time to plan your next moves. Sadly, you'll lose your entire equipment in the cellar, because you're going to get stunned by the bandits. I would recommend that you prevent it from happening by dropping your equipment near the cellar door. You can also consider looking for a stash, but it shouldn't be necessary. If you want to play fair, proceed directly to the cellar. Try using the stairs (screen) and you'll only see the white light. Listen to a short conversation between two bandits who robbed you.
7. Pick up Fang's PDA
Received from: automatically once you've finished sixth quest
Starting point: 6 on the map
Goal area: 6 on the map
Quest description:
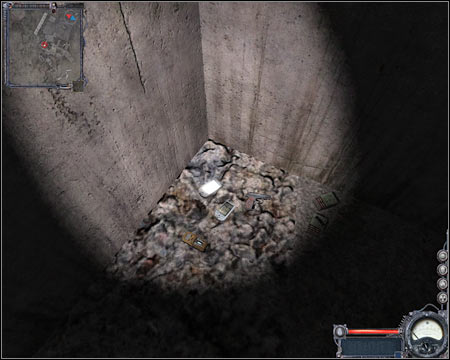
You'll wake up inside the cellar. Whether you were playing fair or not, start off by picking up some of the nearby items, including a pistol, a detector and some ammunition. Listen to a short radio transmission and find the PDA (screen). Take it in order to receive a new task.
8. Find the stash
Received from: automatically once you've finished seventh quest
Starting point: 6 on the map
Goal area: 7 on the map
Quest description:
You may exit the cellar using the stairs. If you've decided to drop your items, take your time to recollect all of them. If not, you will have to spend some time trying to gather new items, because you shouldn't consider going to Agroprom without making any preperations. You'll find some cool guns in The Dark Valley, especially if you've killed a lot of renegades the last time you were there. You can sell some of the guns to acquire a new armor. Once you're ready, start moving west. There are two passageways leading to Agroprom Institute. It doesn't really matter which one it's going to be, because they're both guarded by the bandits (screen). You won't be able to avoid them, so you'll probably have to kill them to get through. I would recommend choosing the northern passageway, because you'll find more obstacles there, so you won't have to worry about staying in the open.
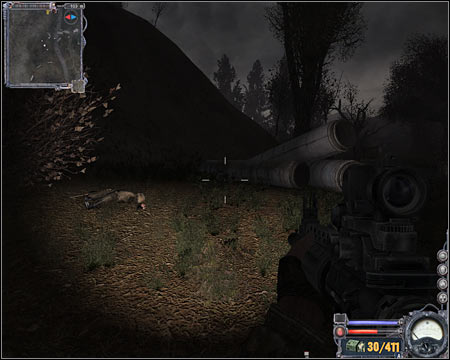
Once you've killed all bandits, make sure that you've taken valuable items from their bodies. Keep heading west until you're on a path which leads directly to Agroprom Institute (screen). Confirm that you want to go there.
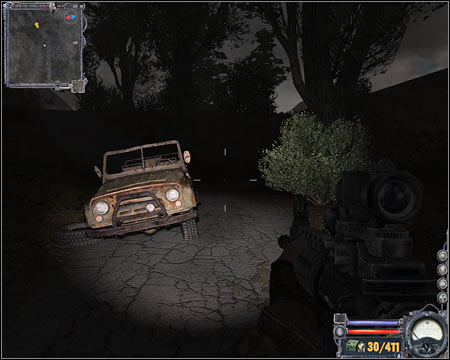
I'm sure that your familiar with this zone as well, because Dark Valley was also featured in "Shadow of Chernobyl". Thankfully, it's much easier to survive here right now than the last time you were here. The main reason is that most of the area is under Freedom's control. You must, however, watch out for radiated zones. There are plenty of them here.
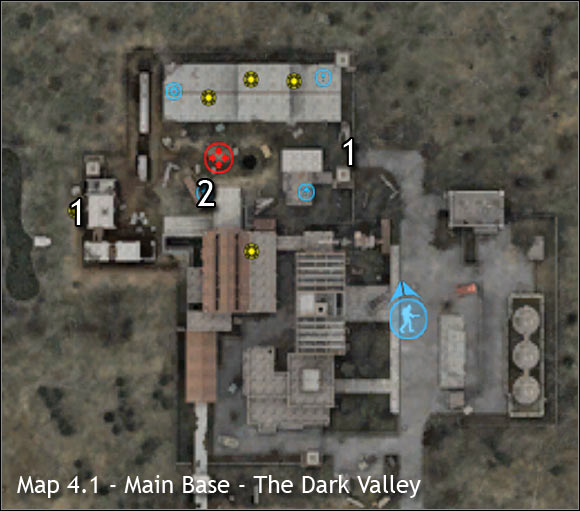
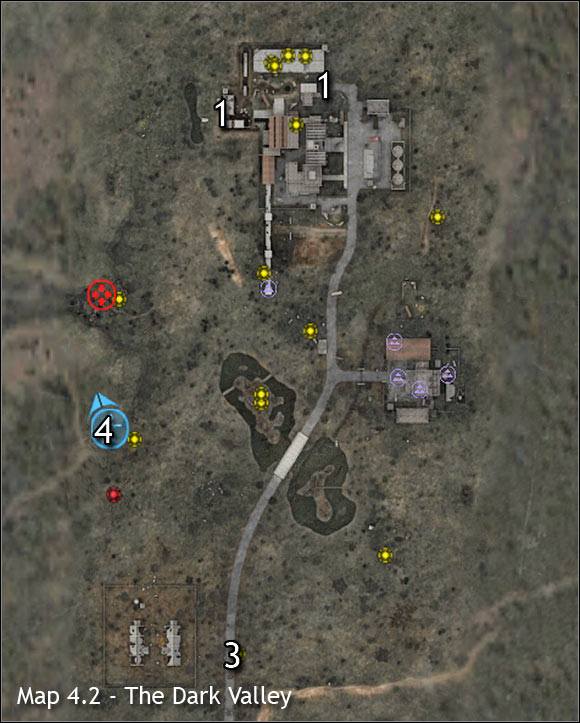
Main maps:
1) Exit to: The Dalley (exits from the main base)
2) Guide - The Dark Valley: Main base
3) Exit to: Cordon
4) Exit to: Garbage
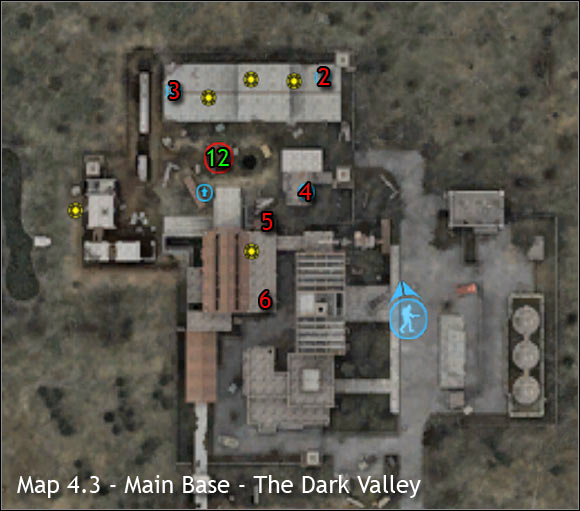
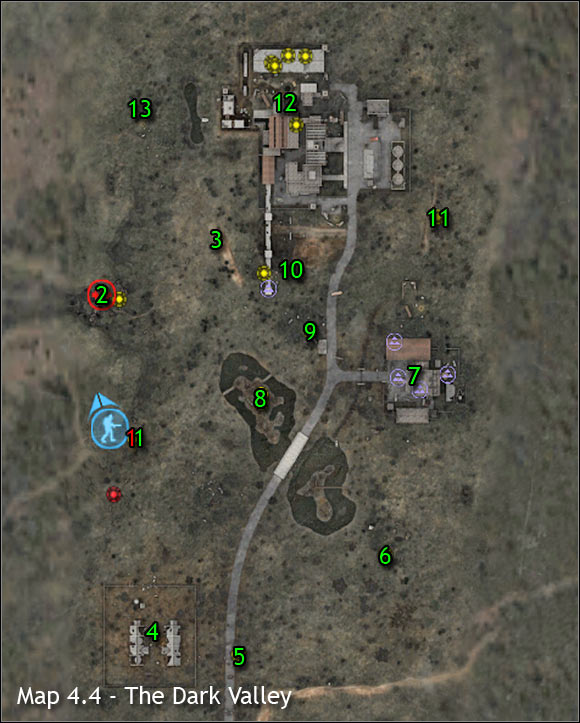
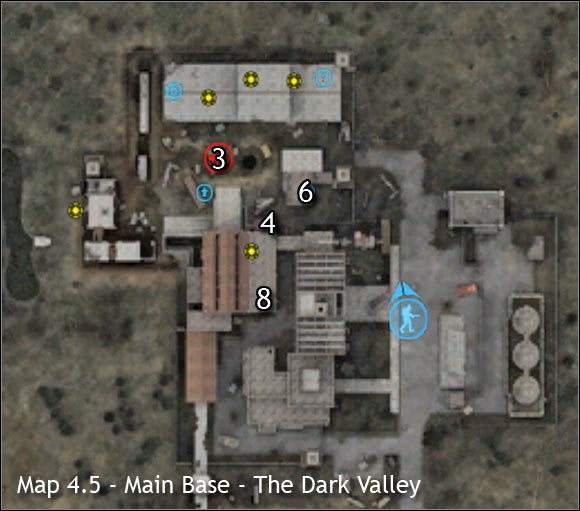
Important NPC's (red color):
1) Artiom Woland - He's one of Freedom's soldiers. You will have to answer to a few of his questions upon your arrival. Thankfully, you won't have to worry about getting mugged, so don't even think about attacking him or his colleagues. You can perform a simple task for Atriom - he needs to find out what happened to a group of his colleagues.
2) Gandzia - He works as a bartender in the main base. Obviously this means you can trade items with him. You can also talk to Gandzia whenever you've earned a reward.
3) Yar - He's a mechanic in the main base, so this means you can ask him to repair or upgrade your gear. Additionally, you can solve a simple subquest for Yar, but you can only do this at night, so you'll have to wait if it's middle of the day in The Dark Valley.
4) Aszot - Aszot works as a trader in Freedom's camp. You'll find him on the first floor of a small building.
5) Lingow - He's one of the leaders of the base, so it means you'll have to complete a few quests for him.
6) Czechow - Czechow is the leader of Freedom organization. You should know that you can't talk to him right away, because you have to fulfill a couple of quests for Lingow in the first place. Once you've done all main quests for Czechow, you can ask him to give you a few side missions. I'd strongly recommend that you finish them as well, because the rewards are generous and the tasks aren't too difficult. Most of these missions will require you to dispose of the mercenaries.
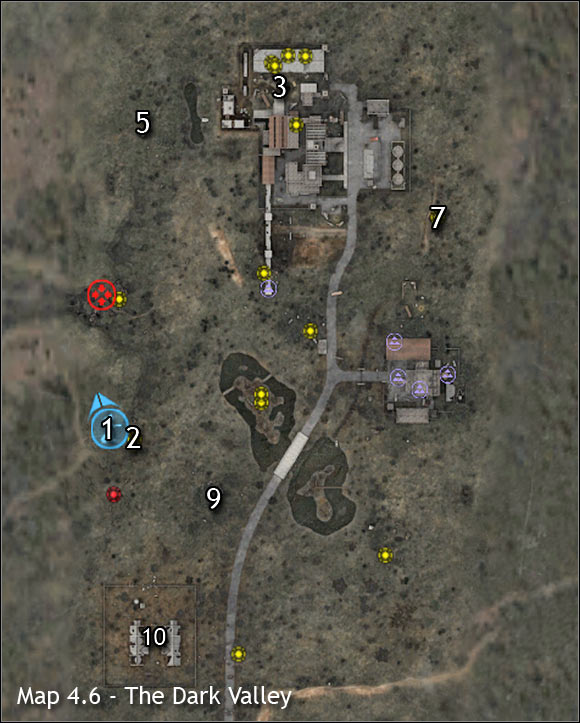
Important areas (green color):
1) Western camp - This is the first location you'll encounter upon your arrival in The Dark Valley. You can talk to Artiom if you want to. Like I've already said, he'll have a simple assignment for you.
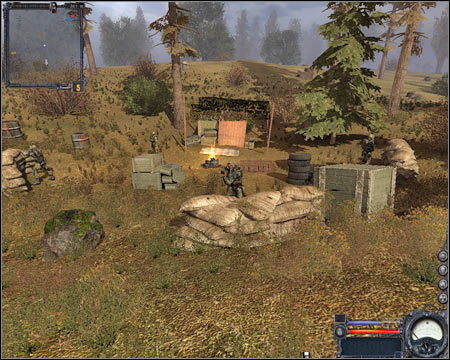
2) Camp in the north-west - You'll encounter a small group of Freedom soldiers here. They are gathered around the fireplace. Talk to them if you want to, however this is optional. Watch out for the surrounding area - there may be some wild dogs here.
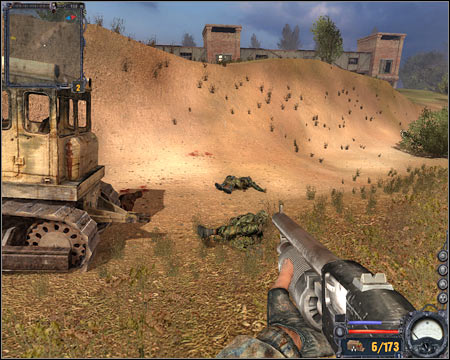
3) Killed soldiers - I would recommend travelling here only if you're planning on helping Artiom to find his colleagues. Once you've arrived, you'll find out that they're all dead. Get on top of the excavator as soon as possible, because wild dogs will get here soon. Deal with that threat and check the bodies for valuable items.

4) Southern farm - You won't find anyone here when you explore the farm for the first time. You'll return here later on while trying to hunt down a traitor for Czechow and that's when you'll come across a lot of mercenaries.
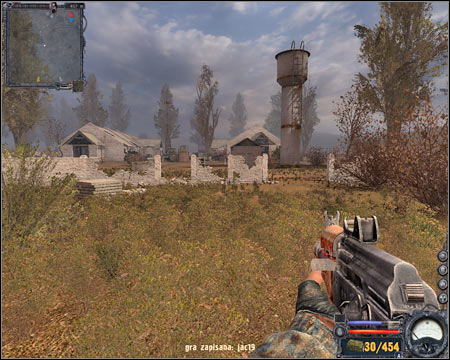
5) Southern checkpoint - I guess you won't be surprised to find some Freedom units here. Your allies are guarding the road which leads directly to Cordon. You may use it without any restrictions.
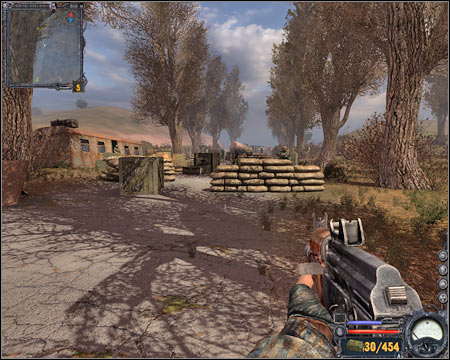
6) Camp in south-east - Obviously there are some Freedom soldiers here. You may talk to them, however you won't find anything of interest here.
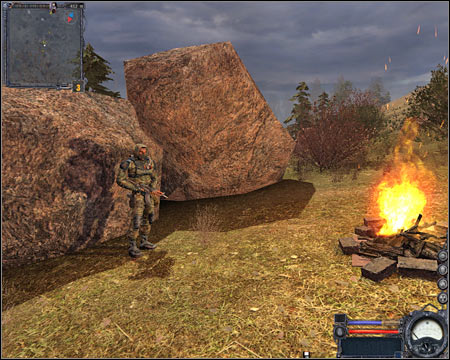
7) Factory - I'm sure that you remember this factory from the first game of the series. Sadly, you won't be allowed to explore an underground laboratory this time. The situation here is similar to the southern farm. You won't encounter anyone here during your first visit, but if you decide to finish a subquest for Czechow, you'll have to deal with a very large group of mercenaries.
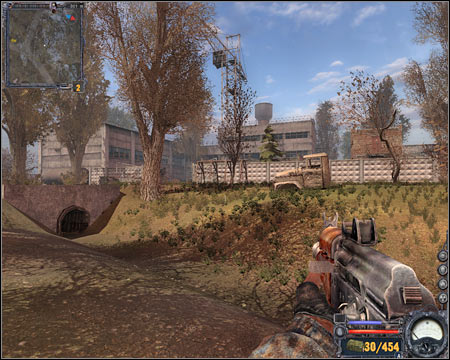
8) Small island - You should notice a small group of Freedom soldiers. You won't have to talk to them, especially since this is a very dangerous area. If you plan on working for Czechow, be prepared to finish off a larger group of mercenaries here.
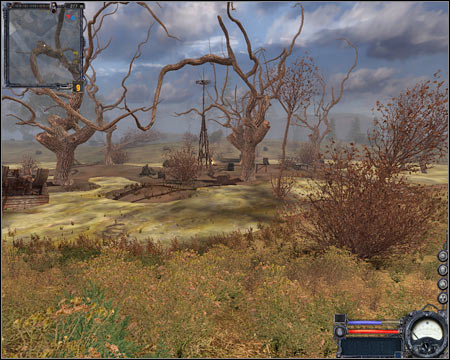
9) Bus stop - You won't encounter any hostiles here. Instead, you'll find a small outpost nearby. Explore it if you want to.
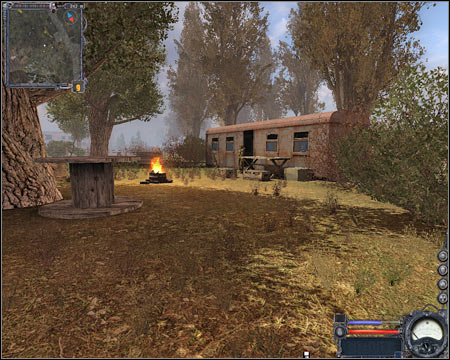
10) Campsite under the tunnel - Once again, you will come across a small group of Freedom Soldiers. Talk to them if you have some free time.
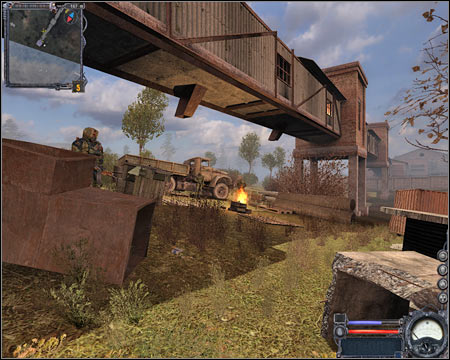
11) Camp in the north-east - When you visit the camp for the first time, you won't see any differences from some of the other camps. Sadly, as you'll soon find out, all the soldiers are going to be murdered. Solving that crime is tied to one of the main quests.
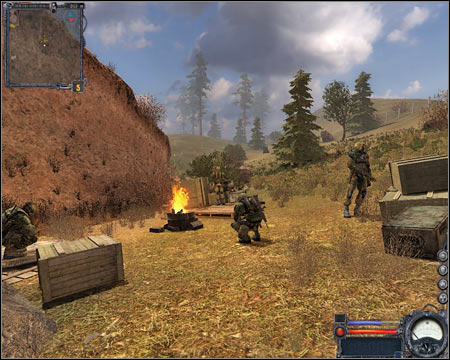
12) Main Base (Freedom) - This is by far the most important location in The Dark Valley. You can enter the base from the east or from the west. It doesn't really matter which entrance it's going to be, because they're both opened 24 hours a day. I guess you won't be surprised to hear that using guns is forbidden inside the camp. You'll come across several key NPC's here, as well as a trader, a mechanic and a guide.
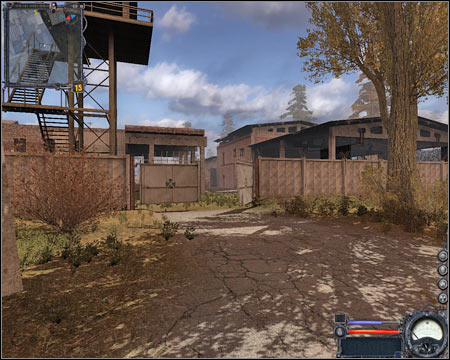
13) Monster's lair - Securing this area is mandatory in order to fulfill one of the main quest of The Dark Valley. Be careful. Not only you'll have to kill some wild animals, but you'll also have to watch out for radiation.
1. Talk to the outpost leader
Received from: n/a
Starting point: 1 on the map
Goal area: 2 on the map
Quest description:
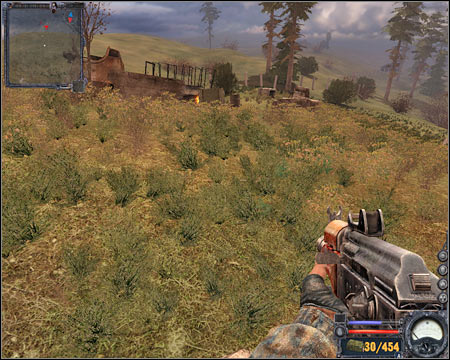
Completing this quest is only going to take you about 15-20 seconds. Ignore what your map is showing, because all you have to do is to get closer to the first checkpoint. Listen to the soldier and holster your weapon. Wait for one of the soldiers to approach you (screen). It should be Artiom, so to talk to him. You can agree to help him in finding his colleagues or you can proceed with the next objective without any additional delays.
2. Find Freedom's base
Received from: Atriom Woland (The Dark Valley)
Starting point: 2 on the map
Goal area: 3 on the map
Quest description:
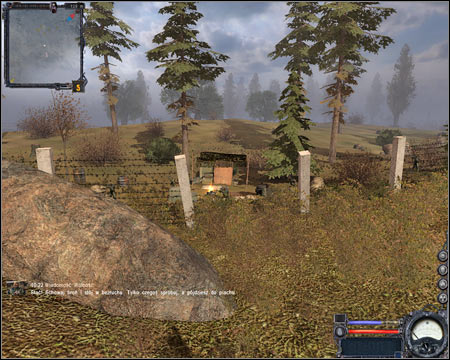
This is also a very simple quest. All you have to do is to enter the main base which is being occupied by Freedom forces. There are two passageways leading to the base. Once you're there (screen), you'll receive a more specific assignment.
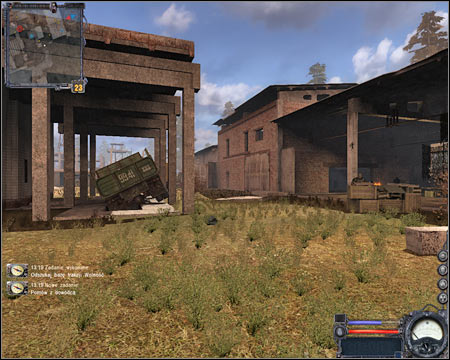
3. Talk to the leader
Received from: automatically once you've finished second quest
Starting point: 3 on the map
Goal area: 4 on the map
Quest description:
I would recommend that you take your time to explore your surroundings. You should also know that the person you're going to meet is not in fact the leader of the Freedom organization. You will have to perform a few tasks for Lingow (screen) in order to gain Freedom's trust and to meet with the real boss.
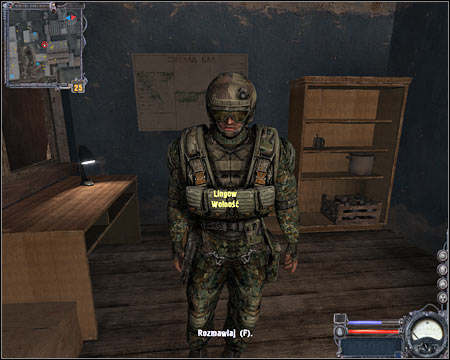
4. Destroy monster's lair
Received from: Lingow (Main Base - The Dark Valley)
Starting point: 4 on the map
Goal area: 5 on the map
Quest description:
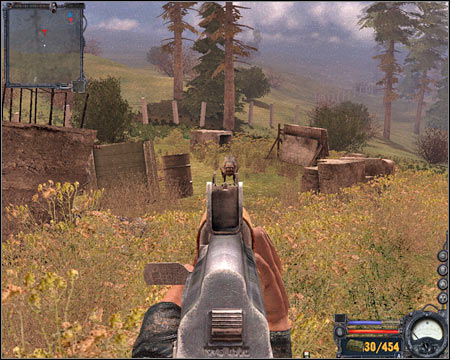
This is going to be a relatively simple task, however you should take some time to prepare yourself for what's coming up next. I assume that you have a machine gun at your disposal. Repair it. I wouldn't recommend using a shotgun during this mission, because it's too slow for the monster you'll have to defeat in a few minutes. The lair can be found to the west of the base. I only had to deal with one animal (screen), however you may be attacked by more of these creatures. WATCH OUT for radiation, especially while trying to find your way to the lair.
5. Receive new orders from the leader
Received from: automatically once you've finished second quest
Starting point: 5 on the map
Goal area: 4 on the map
Quest description:
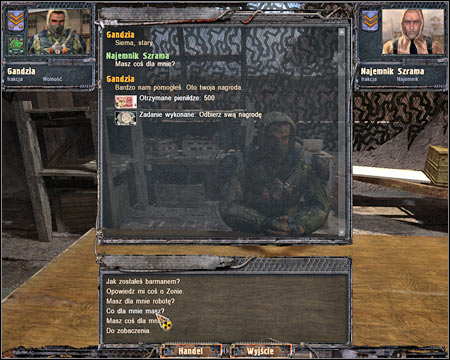
Don't forget to visit the bartender once you've successfully returned to the base (screen), because he'll have a reward for you. Now you must go back to Lingow. He will give you a new task.
6. Collect ammunition from Aszot
Received from: Lingow (Main Base - The Dark Valley)
Starting point: 4 on the map
Goal area: 6 on the map
Quest description:
Before you'll be allowed to proceed with the main task, you will have to collect the ammunition in the first place. This means you must visit a local trader who goes by the name of Aszot. Find a small building and use the stairs to get to him (screen).
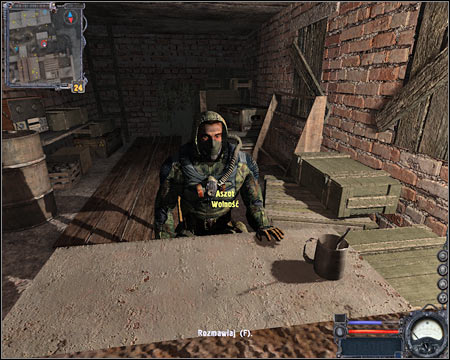
7. Deliver the ammunition to a friendly outpost
Received from: Aszot (Main Base - The Dark Valley)
Starting point: 6 on the map
Goal area: 7 on the map
Quest description:
Now you will have to travel to one of Freedom's checkpoints. Your objective is the outpost located in the north-east. Once you're close enough to your target (screen), you'll hear gunfire and your current quest is going to change.
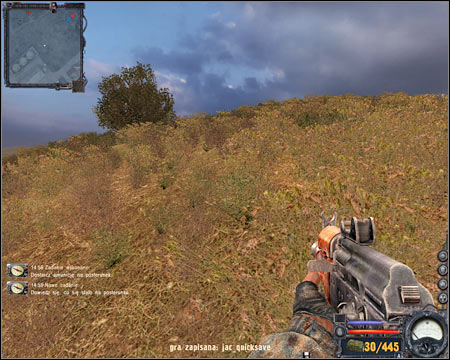
8. Find out what happened
Received from: automatically once you've finished seventh quest
Starting point: n/a
Goal area: 7 on the map
Quest description:
Keep moving towards the checkpoint you've had to go to in the first place. Once you've arrived at your destination, you'll find out that all soldiers have been killed. Wait for a new quest to be added to your list of assignments.
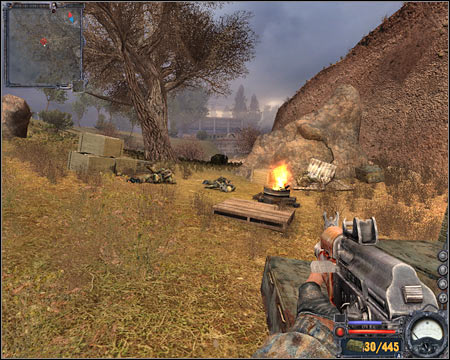
9. Find an active PDA
Received from: automatically once you've finished eighth quest
Starting point: 7 on the map
Goal area: 7 on the map
Quest description:
Before you decide to focus on finding the PDA, you should take some time to examine the equipment of the killed soldiers. Notice that they were all using IL 86 machine guns. I assume that you don't have such a weapon in your inventory, so you should consider taking one of the guns. Don't forget to check all bodies for ammunition. You can also take out clips from other IL 86 machine guns. The PDA can be found in the inventory of one of the soldiers (screen). Drag this object to your inventory and you'll automatically complete this quest.
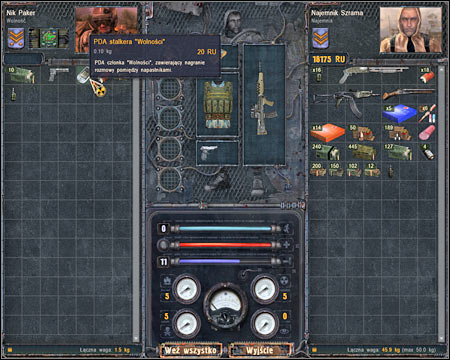
10. Take the PDA to Czechow
Received from: automatically once you've finished ninth quest
Starting point: 7 on the map
Goal area: 8 on the map
Quest description
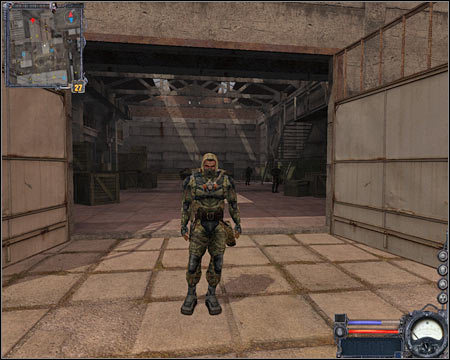
For the first time you will be given an opportunity to talk to the leader of the Freedom organization. It's Czechow and you can find him inside a large warehouse which is located to the south of the rest of the buildings. Use one of the staircases to get to him, because he's on an upper floor. Enter a small room and talk to Czechow in order to receive a new assignment. You'll also find out that Lingow was a traitor.
11. Find the traitor
Received from: Czechow (Main Base - The Dark Valley)
Starting point: 8 on the map
Goal area: 9 on the map
Quest description:
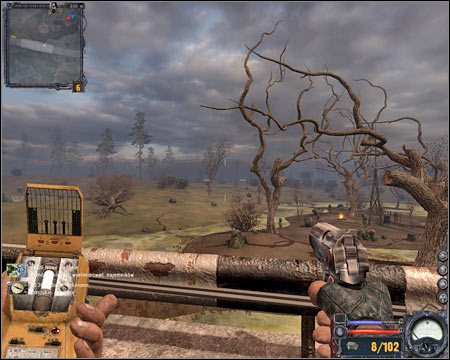
Czechow will give you a probable location of where Lingow is currently hiding. You'll also find out that you can take him dead or alive. Proceed to the south, however you will receive an updated task along the way (screen). Czechow will tell you that Lingow is defending himself in a nearby farm and that he's accompanied by a lot of mercenaries.
12. Help Freedom units in taking out the mercenaries
Received from: automatically once you've finished eleventh quest
Starting point: n/a
Goal area: 10 on the map
Quest description:
Proceed towards the southern farm. This area has been taken over by the mercenaries and it'll be up to you to secure it. The battle will begin right away, so you'll have to join it without making any preparations. I would recommend running towards the left building of the farm (screen). Avoid being seen by the mercenaries.
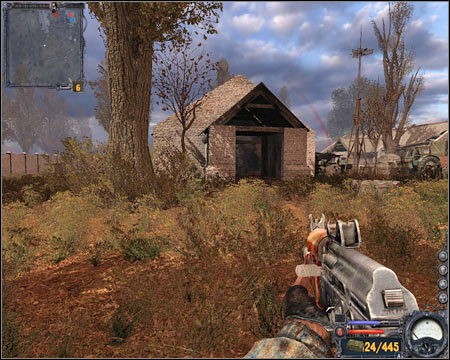
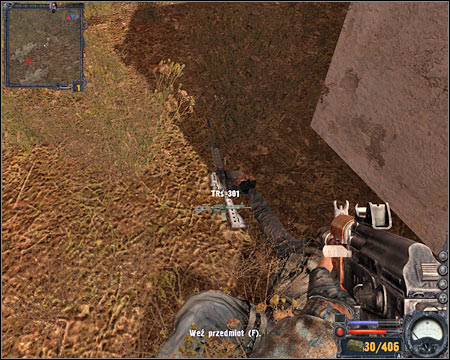
Use some of the nearby buildings to surprise and eliminate enemy units. Be careful - most of the mercenaries are heavily equipped. It would be a good idea to purchase a new armor or to upgrade your current one before proceeding with this quest. Once the battle has ended, make sure to inspect all the bodies. Collect medical supplies and ammunition. You should notice that some of the mercenaries were using excellent rifles - TRs 301 (screen). It would be wise to exchange your IL 86 for one of these guns.
13. Take leader's PDA
Received from: automatically once you've finished twelfth quest
Starting point: 10 on the map
Goal area: 10 on the map
Quest description:
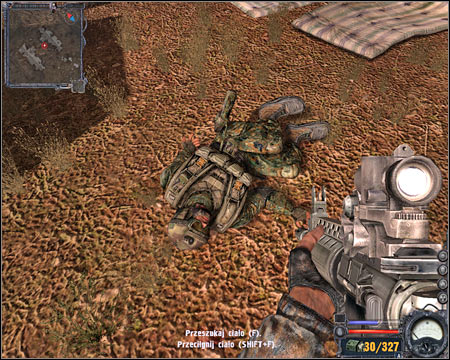
As you've probably noticed by now, Lingow was shot and killed during the battle. This makes your life a lot easier, because all you have to do is to inspect his body (screen). Click on the PDA and drag this item to your inventory. You will automatically be given a new task.
14. Deliver the PDA to Czechow
Received from: automatically once you've finished thirteenth quest
Starting point: 10 on the map
Goal area: 8 on the map
Quest description:
Once you've acquired the PDA, you will have to return this item to Czechow (screen). Obviously you'll find Czechow inside a large warehouse. You can finally ask a few questions about the Fang. You'll also be given an opportunity to perform a few additional tasks for the Freedom organization. The subquests are easy, so you shouldn't ignore them.
15. Catch the Fang
Received from: Czechow (Main Base - The Dark Valley)
Starting point: 8 on the map
Goal area: 1 on the map
Quest description:
The deal is simple here. You'll have to start off by returning to Garbage. This means you'll have to head on to a well-known passageway (screen). Before you'll decide to leave The Dark Valley, you should spend all of your money on upgrades and new equipment. I would also recommend purchasing a new armor.
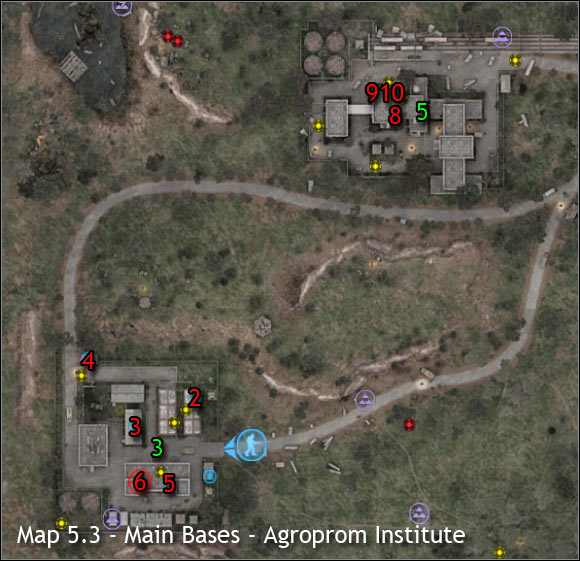
Agroprom Institute has changed a lot since your last visit in "Shadow of Chernobyl". One of the main differences is that the entire sector is under Duty's control. Sadly, this doesn't it's safe here. You'll have to watch out for some very dangerous anomalies, as well as powerful mutants (including invisible creatures). You should also know that the northern base is being constantly attacked by the bandits.
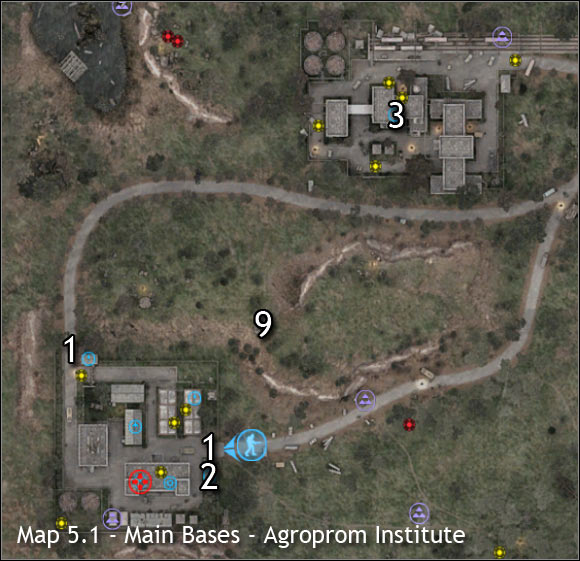
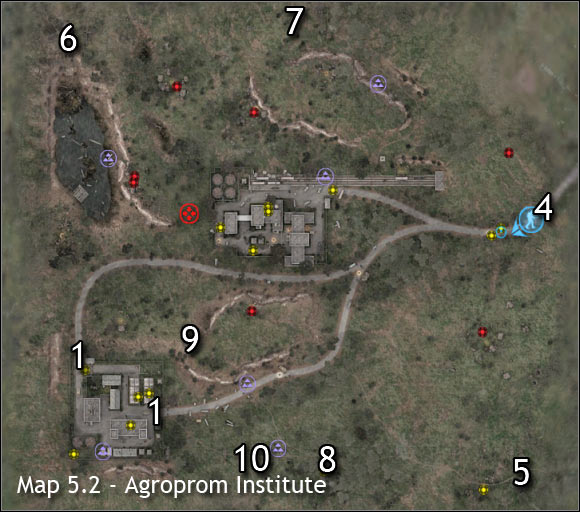
Main maps:
1) Exits to: Agroprom Institute (exits from the southern base)
2) Guide - Agroprom Institute: Southern base
3) Guide - Agroprom Institute: Northern base
4) Exit to: Garbage
5) Exit to: Garbage
6) Exit to: Yantar
7) Exit to: Yantar
8) Exit to: Agroprom Sewers (entrance)
9) Exit to: Agroprom Sewers (exit)
10) Exit to: Swamps

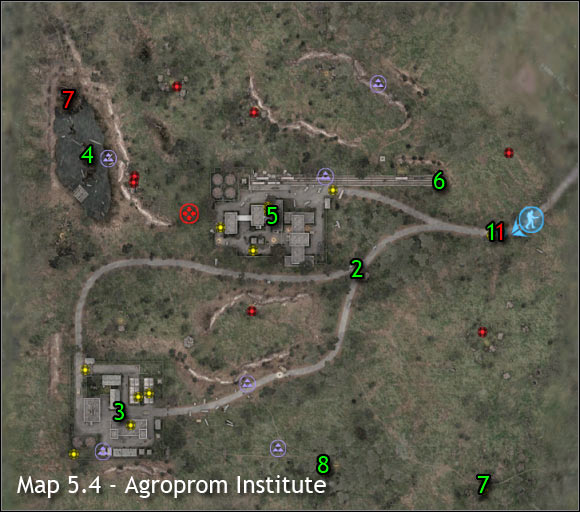
Important NPC's (red color):
1) Witalik the Crow - You are going to be greeted by this Duty soldier if you decide to choose the western passageway to Agroprom Institute. Witalik will offer his help in reaching the southern Duty base. I would recommend that you agree to his proposal, because it's very dangerous in the area and you'll have a lot of soldiers to protect you. Check the description of first main quest for more info on how to get to the base safely.
2) Kolobok - He works as a bartender in the southern Duty encampment. Notice a lot of food on the table. You may pick these items without any problems.
3) Mitaj - Mitaj is a trader in the southern Duty base. This means you can trade items with him and you ask him for a reward whenever you've unlocked one.
4) Major Zwiagincew - He is one of the soldiers in the southern encampment. You'll be given an opportunity to participate in a few shooting competitions. The idea here is similar to the base in Garbage. You can train your skill or you can play for money. Each time you'll have to score as many points as possible within a certain time limit.
5) Gromow - He works as a mechanic in the southern encampment. As a result, he can repair or upgrade your equipment. Gromow specializes in protection against bullets. Obviously you can also ask him to give you a few subquests.
6) General Krylow - Krylow is the leader of the Duty organization. You'll have to contact him to find Fang and stalker's stash.
7) Jaszka - He's a stalker and you'll find him while exploring the swamps. If you decide to help him and his colleagues to reach Yantar, you will be rewarded with a very good armor.
8) Ajdar - Ajdar is a mechanic in the northern Duty encampment. I guess you won't be surprised to hear that you may ask him to upgrade your gear.
9) Drozd - He works as a trader in the northern base.
10) Orest - Orest is the commanding officer in the northern Duty base. You can agree to help him in getting rid of the bandits.
Important areas (green color):
1) Eastern checkpoint - This is probably going to be the first area you'll have a chance to explore once you've arrived in Agroprom. You will come across several Duty soldiers here. Agree to join them, because they'll be heading towards the southern base.
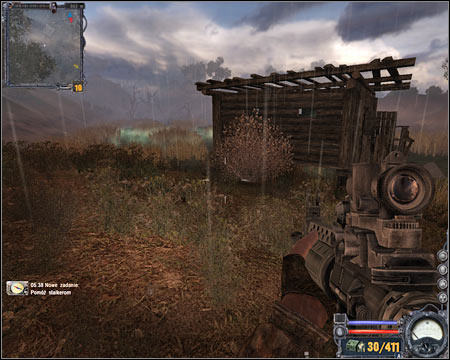
2) Crossroads - You will find a lot of vehicles here, however you don't have to inspect them. There are two roads here. Both of them lead to southern Duty encampment, however choosing the northern road will also allow you to get closer to the second base. Bear in mind that even if you're staying on the main road, you can still come across radiation or other problems. You'll have to be careful in order to avoid dangerous situations.
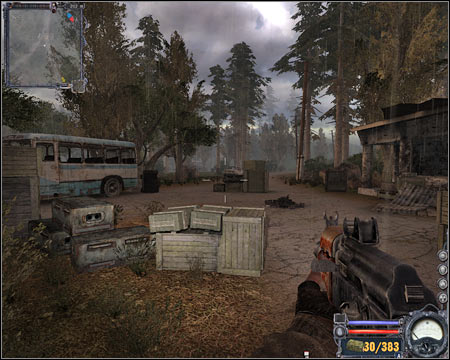
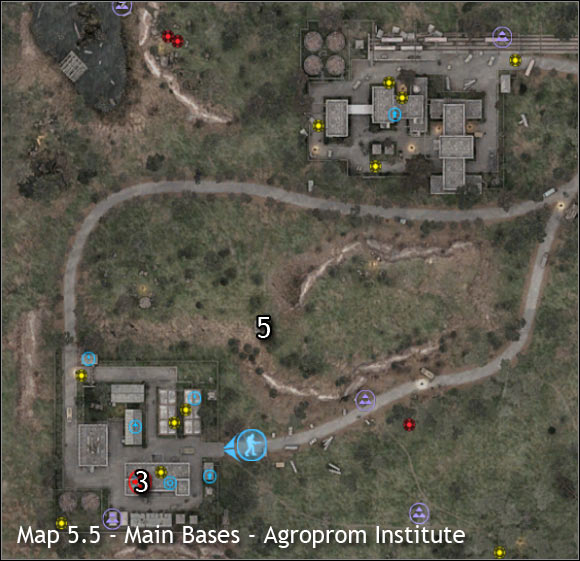
3) Southern base (Duty) - This is by far the most important area in Agroprom Institute. I would recommend that you get here as soon as possible, especially if you've decided to "give" your equipment to bandits while exploring Garbage sector. Obviously you will find a lot of friendly faces here. You can talk to a mechanic, a trader or a guide. You don't have to holster your weapon here, however you should still decide to hide it in your jacket. The only area where using guns is forbidden is the main building. You should know that there are a few anomalies inside the base, so you can't roam around freely like you've used to in the past. Thankfully, you won't have to worry about encountering enemy units.
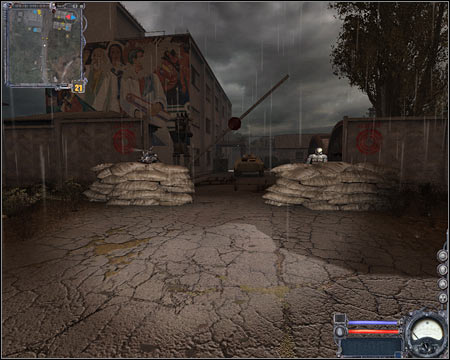
4) The lake - Once you're close enough to the lake, you will be rewarded with a new subquest. You'll find out that a small group of stalkers is hiding here and you'll have to help them to get to Yantar. This means you'll have to deal with a few zombies. I'm sure that you remember these creatures from the first game. Once you've killed them, make sure that you talk to one of the stalkers (Jaszka). He'll have a very powerful armor for you. It's important that you get it, especially if you've lost your equipment in Garbage. There's a passageway to Yantar to the north of the lake. Use it when you have to travel to that location.

5) Northern base (Duty) - Sadly, you won't be able to feel safe here. The main reason is that this base is being constantly attacked by the bandits and from almost all possible directions. You can agree to help Duty forces to get rid of this threat or you can only focus on defending small parts of the base. Either way, you should spend some time here, especially since you'll be rewarded for completing each of the subquests. You'll meet a lot of friendly characters here, however some of the soldiers may die during the course of the game.
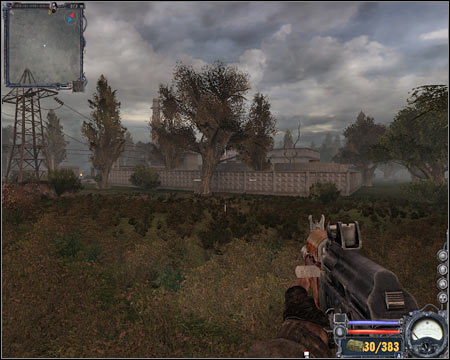
6) Bandit's hideout - I assume that you remember this area from "Shadow of Chernobyl". You're going to have watch out for the bandits. Some of them will be heading for the northern base and the rest of them are hiding in the tunnel. Killing them is required to complete one of the subquests for Orest.
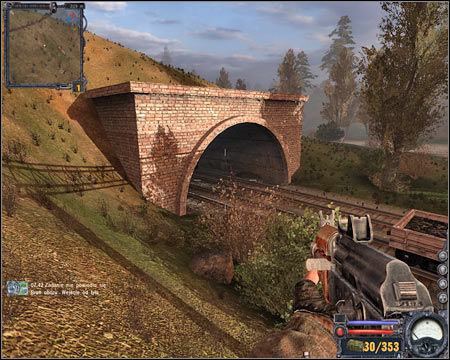
7) Checkpoint in the south-east - This is where you'll end up if you decide to choose an alternative route to Agroprom Institute. The checkpoint itself is being heavily guarded, however the surrounding area is very dangerous. You'll encounter a lot of mutants, anomalies and radiated zones.
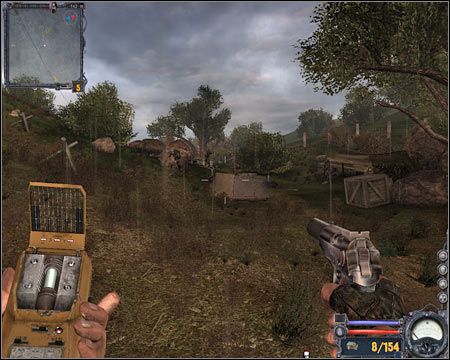
8) Tunnel entrance - Securing this area is required to complete one of the main quests in Agropom Institute. You must be extremely careful here, because it's almost certain that you'll encounter a large group of mutants. Allied soldiers will try to get rid of those, but it's most likely that they'll fail.
1. Talk to the outpost leader
Received from: n/a
Starting point: 1 on the map
Goal area: 2 on the map
Quest description:
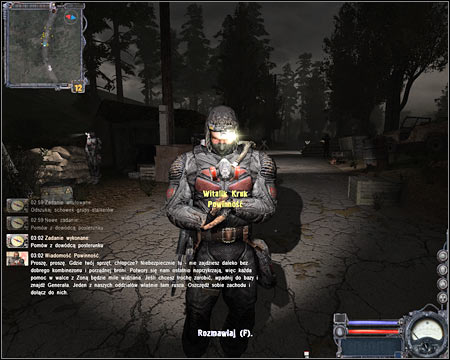
Listen to a short radio transmission. Once it's over, you'll be given this new challenge. Approach Duty's checkpoint. The situation here is similar to Freedom forces, so you don't have to worry about getting mugged. Instead, try talking to Witalik the Crow (screen). He will make a proposition. It turns out that his team is getting ready to move out and you're welcome to join them. Stay here for a while and wait for the soldiers to prepare themselves.
2. Talk to leader of Duty fraction.
Received from: Witalik the Crow (Agroprom Institute)
Starting point: 2 on the map
Goal area: 3 on the map (X icons on the map are the areas where your colleagues are going to be attacked by the mutants)
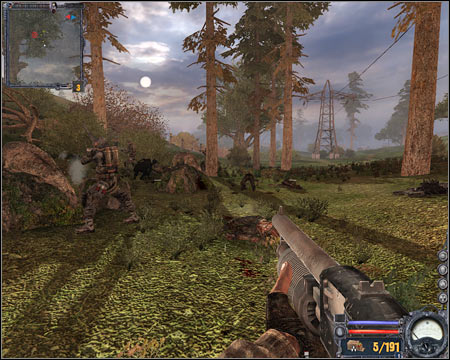
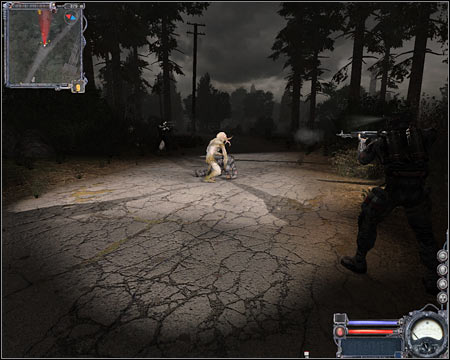
Notice a large group of Duty soldiers. It'll take them about 10-20 seconds to start moving. Obviously you will have to be there when they do. Follow them and try maintaining close distance to them, so you won't have to worry about getting lost. Your teammates will make a stop after a short while. After that, they're going to be attacked by an invisible creature (screen). You won't have to do anything out of the ordinary here. Just make sure that you don't get shot by mistake. Once the monster has fled, approach the body of a killed soldier and consider taking his weapon (AC96/2).
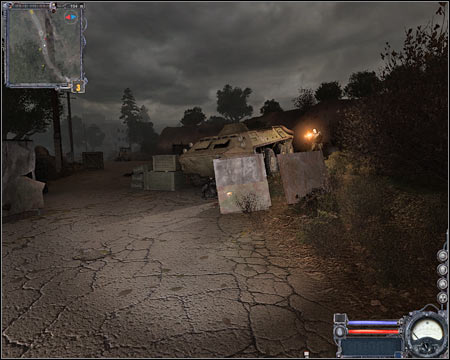
Most of the soldiers will turn left at some point of the journey, so don't be surprised by that. The purpose of that was to avoid some very dangerous anomalies. Stay close to your allies and you should be fine. The second group of monsters will attack the soldiers once you're near the base (screen). You'll be dealing with much more powerful creatures here, so it's possible that all your teammates may be killed. You can observe what happens here and pick up their weapons or you can play it safe and flee as soon as this battle has started. I would recommend running away, because it may be difficult for you to kill the monsters without anyone's help.
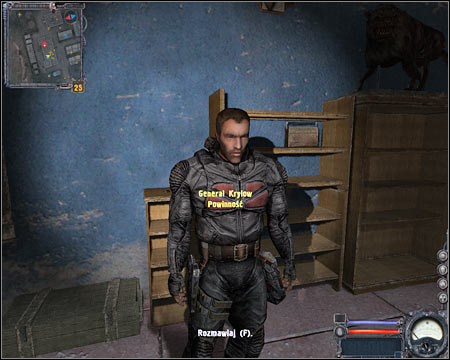
Thankfully, you can feel safe once you're inside the southern base. None of the mutants will show up here and other Duty soldiers won't be hostile towards you. The next objective is to talk to the leader. You can find him on the top floor of the southern building. Use the staircases to get to him. Approach General Krylow (screen) and allow him to grant you with a new challenge. You can also listen to a short radio transmission.

3. Reach the hole
Received from: General Krylow (Main Bases - Agroprom Institute)
Starting point: 3 on the map
Goal area: 4 on the map
BEFORE you decide to proceed with this quest, you should focus on acquiring good equipment and by that I mean finding new armor, powerful weapons and a lot of ammunition. You can do this by examining bodies of fallen allies, performing subquests, purchasing gear from the trader or exploring the map. Make sure that you've helped the stalkers near the lake, because they'll give you an excellent armor. Duty soldiers are using good guns, so you should take some time to collect them. Once you're ready, start moving towards a designated area of the map. You'll notice that Duty soldiers are fighting with mutants (screen).
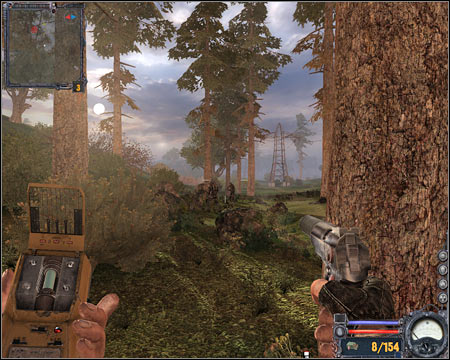
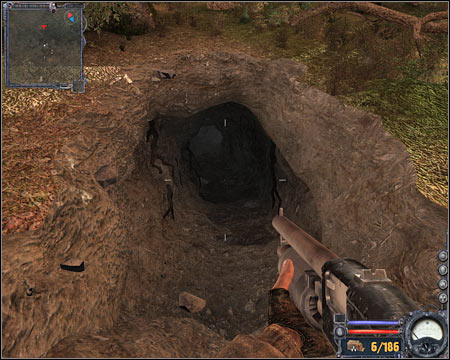
The situation here could go two ways. If you're quick enough, you may be lucky to save sergeant Czirsow and his men. If you do that, you can collect additional gear from Czirsow. Sadly, it's very difficult to arrive in time, so you'll probably have to take care of the mutants by yourself. I would recommend using a shotgun against the "jumpers", however you must also pay special attention to having to avoid their attacks. You can to that by dodging left or right. Make sure to check bodies of fallen allied units after the battle. After that, proceed towards a large hole (screen) and confirm that you want to explore the sewers.
Upon return from Agroprom Sewers:
4. Talk to Sacharow
Received from: n/a
Starting point: 5 on the map
Goal area: 6 on the map
Quest description:
Before you decide to travel to Yantar, you should make some preparations. The most important thing is that you'll need A LOT of ammunition for the next mission, especially for the machine guns. The main reason is that you'll have to deal with tons of zombies in Yantar and you won't be allowed to use a shotgun against them. Once you're ready, proceed towards one of two available passageways. I would recommend choosing a passageway near the lake (screen), because the other one is surrounded by hazardous areas.

This is a unique level, mostly because you don't have a map at your disposal. The reason for this is that you're operating underground. Thankfully, you don't have to worry about getting lost, because it's a small level with a linear structure. Make sure that you follow my instructions, because it's very easy to die in the sewers.
1. Enter the sewers
Received from: n/a
Quest description:
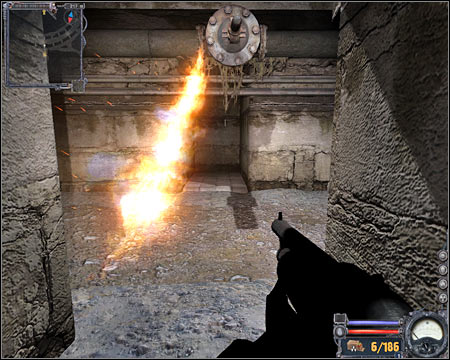
It would be a good idea to equip yourself with an armor received from a friendly stalker (or something even better), because you'll have to avoid fire for the next few minutes. Listen to a short statement made by the general and start moving forward. Eventually you'll reach a flaming tunnel (screen). As long as you stay away from the fire, you should be fine. Remember to move slowly, so you won't make any mistakes. You'll have to avoid the flames by going beneath them or close to the opposite wall (depending on your current location). You should notice a lot of side corridors. Use them to save your progress, because you'll be safe there.
You should start encountering mutants in a short while (jumpers - to be more precise). I would recommend that you ignore them if possible. As long as you maintain a safe distance, all the monsters should die in the fire. Otherwise you'd have to deal with them yourself. You can use a shotgun here, however it's risky. Machine gun is a safer choice.
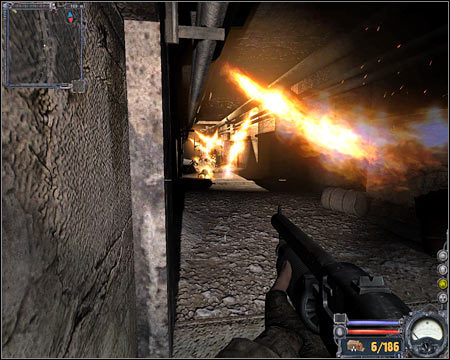
You shouldn't have any major problems getting to the opposite end of this corridor. As long as you stay away from the monsters and the flames, you shouldn't lose any health points here. Eventually you'll come across a ladder. Use it to get to an upper level. Once you're there, check some of the nearby shelves for much needed supplies (screen). Pick up ammunition and medical supplies. Now you must choose the most powerful weapon from your arsenal. Save your current progress and proceed to a new room.
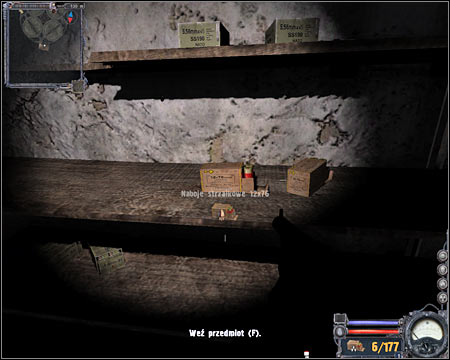
2. Kill the mutants
Received from: automatically once you've finished first quest
Quest description:
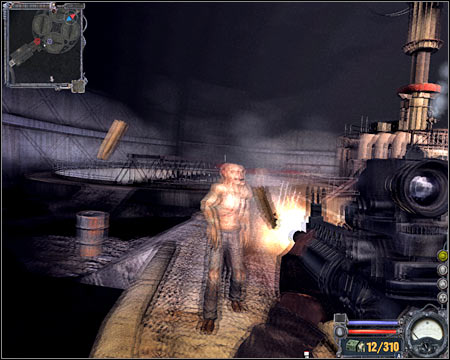
You will receive this quest once you're close enough to a large metal structure. Be careful - there's a powerful monster here and it uses psionic attacks to injure you. I'm sure that you remember this creature from "Shadow of Chernobyl". The key to success here is to hunt down and kill this monster before it can do some serious damage. Use your most powerful weapon against the creature (screen). Ignore the image distortions when you kill it, because in a few seconds all will go back to normal.
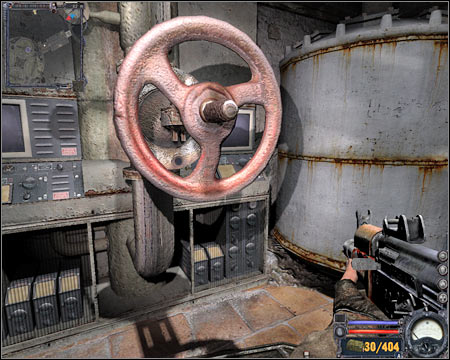
Before you'll receive your next assignment, you will have to perform one more action. Head on towards a small room which can be found near the area where the monster was standing. Save your progress and approach a large valve (screen). Press the action key.
3. Leave the flooded area
Received from: automatically once you've finished second quest
Quest description:
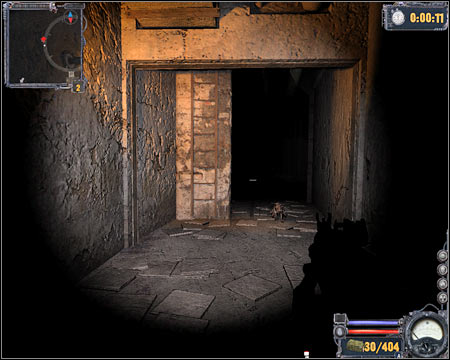
Now you'll have to deal with a rather challenging assignment. You will only have 50 seconds to escape from the flooded area. It means you'll have to be in a lot of hurry. Start off by proceeding towards a nearby gate and wait for it to be raised. Keep heading forward until you've reached the stairs (screen). Use the staircase to get down to a lower level.
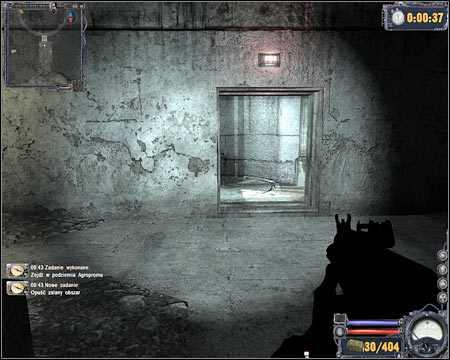
Make a left turn once you've reached a new corridor. You'll encounter a lot of small creatures along the way, however you won't have to attack them, because they'll ignore you. Instead, focus on finding a new ladder (screen). Use the ladder to get to a new area. You'll lose consciousness for a few seconds, however it's not a problem. Wait for a new goal to be added to your list.
4. Find the stash #2
Received from: automatically (Garbage)
Quest description:
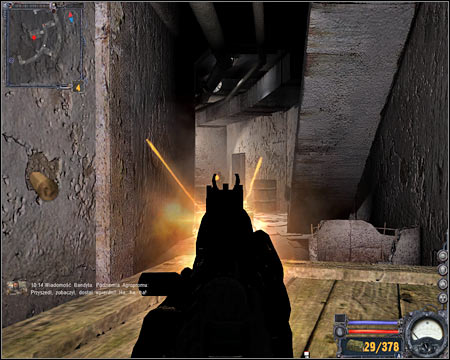
Listen to new comments made by the general and continue moving forward. Use the stairs and take a right turn after getting to a new floor. You will have to be careful, because this corridor is being patrolled by at least one bandit. Kill him and find a good cover behind the crates. More enemy units will show up in the area (screen). Start shooting at them from a safe distance. You can also consider using grenades, however you must be precise. Make sure you've killed all bandits before moving on to the next area.
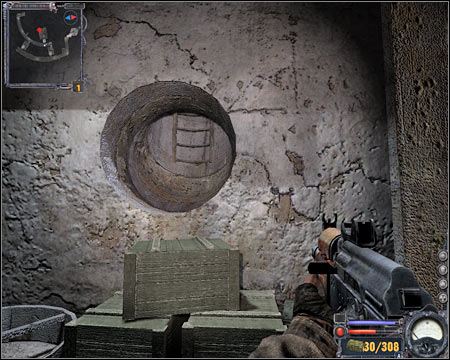
If you've played the first game then you shouldn't have any problems figuring out where the stash is located. You will have to find a small round hole in the left wall (screen). Climb on top of a small crate and enter the hole. Use the ladder to get to a small room. Once you're there, turn left and you'll find the PDA.
5. Leave the sewers
Received from: automatically once you've finished fourth quest
Quest description:
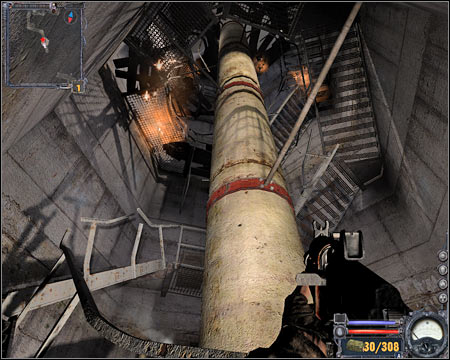
Go back to the corridor where you've defeated the bandits. Turn left and get to a new area of the map. Be careful - one of the bandits may be hiding in the vicinity. Prevent him from surprising you. Go left and eventually you'll get to a large staircase. I'm sure that you've noticed a lot of fire traps here (screen). Obviously you'll have to avoid them. The key to success is to keep moving, so you won't receive any fire-related injuries. There's a small corridor on the first floor. Use it to hide and to save your game. You will have to reach the top floor. There's a ladder there. Use it to go back to the surface (Agroprom Institute).
Yantar hasn't changed much since your last visit in "Shadow of Chernobyl". You should notice that it's safer here right now, because most of the area is controlled by friendly units (stalkers). You won't encounter any mutants, only a few wild dogs and zombies. Watch out for the main factory, because that area is swarming with the living dead. Thankfully, you won't have to go there alone. You'll visit the factory with a large squad of soldiers and you'll complete a few main quests there.
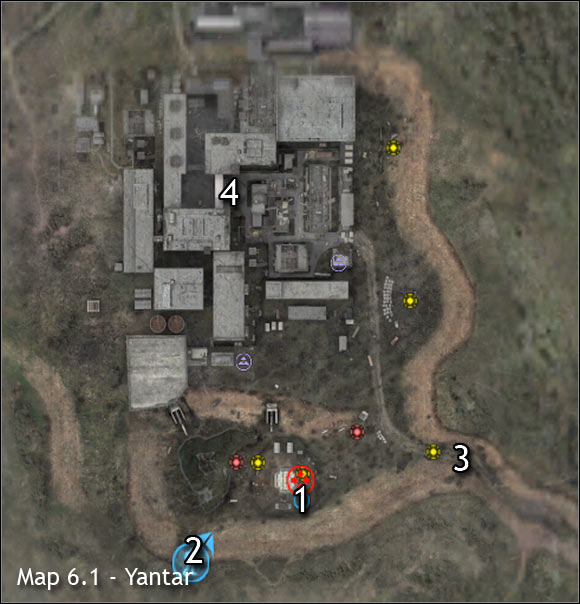
Main maps:
1) Guide - Jantar: Main camp
2) Exit to: Agroprom Institute
3) Exit to: Agroprom Institute
4) Exit to: Red Forest (available once you've completed all main quests)
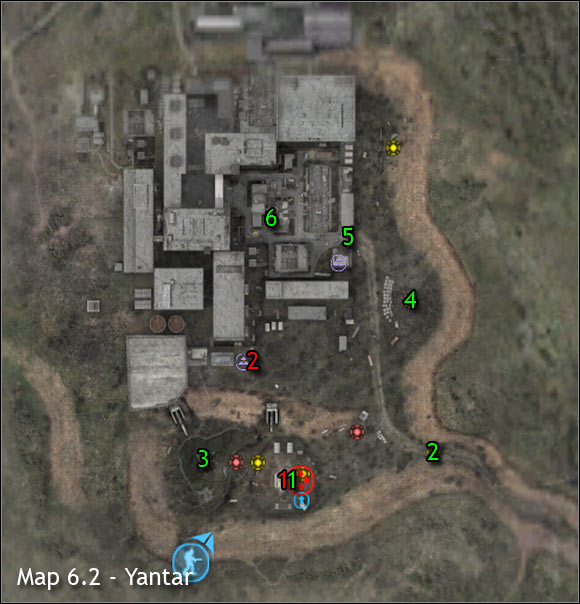
Important NPC's (red color):
1) Professor Sacharow - Sacharow is by far the most important NPC in Yantar. Just like in "Shadow of Chernobyl", you can find him inside a small bunker. He can give you a number of main quests. I would also recommend that you take a look at what he has in stock. Sacharow is selling some very cool armors and you should purchase one if you have enough money.
2) Lazy - He's the leader of a small group of Stalkers. You'll have to talk to him and follow his orders to fulfill some of the main quests in Yantar.
Important areas (green color):
1) Main camp - This is a very important area, because you'll have to visit Sacharow in order to receive new quests. Sadly, this camp is being constantly attacked by the zombies. Undead creatures will attack mostly from the west, however you can also find a few of them in the north-east. It's crucial that you assist your allies in getting rid of the zombies (subquests), because otherwise you won't be allowed to access the main bunker.
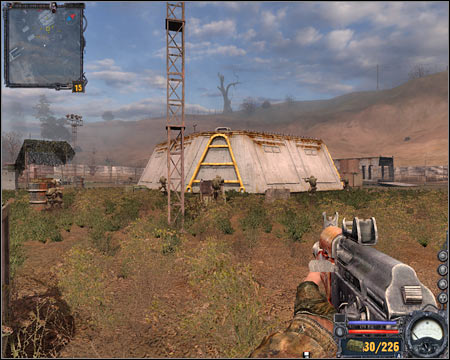
2) Eastern checkpoint - You will come across a small outpost here. Talk to the stalkers if you want to. You can also use a passageway which leads to Agroprom Institute.
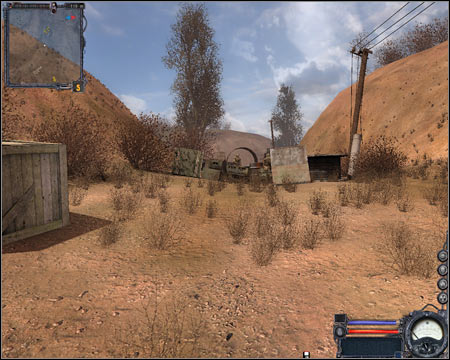
3) Swamps - Swamps were very dangerous in "Shadow of Chernobyl", but this has changed now. You won't have to worry about the radiation or being attacked by some powerful creatures. The only real danger are the zombies, but it's easy to avoid or kill them.
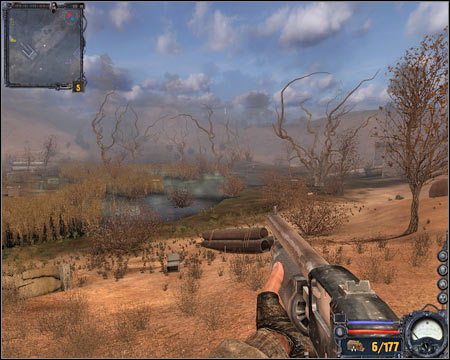
4) Checkpoint in the north-east - This outpost is also being guarded by the stalkers. You can find a well-known tunnel here, however you don't have to use it.
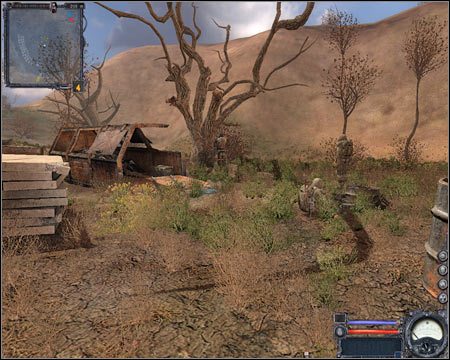
5) Main gate - You won't have to enter the factory through the main gate, because you're going to get there with a team of stalkers as a part of a main quest.
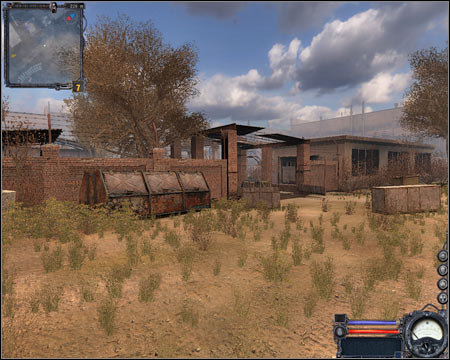
6) Factory - You will perform a few important tasks inside the factory. Sadly, this entire area is swarming with the undead and you'll have to kill most of them. Ignore psionic interference, because you won't receive any injuries as a result of what's happening here.
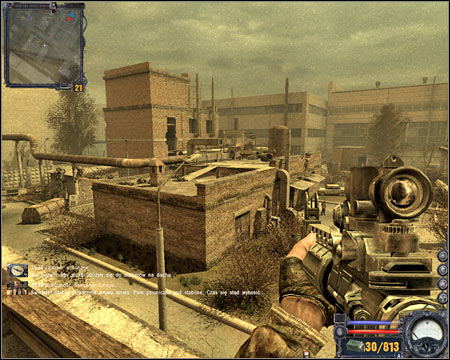
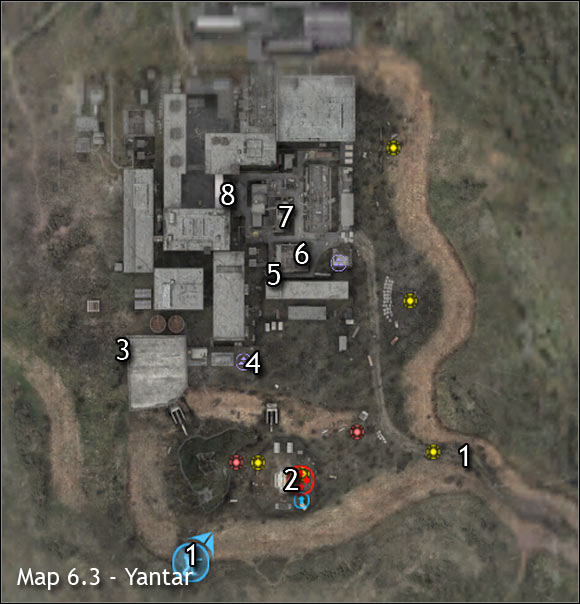
1. Talk to Sacharow #2
Received from: automatically (Agroprom Institute)
Starting point: 1 on the map
Goal area: 2 on the map
Quest description:
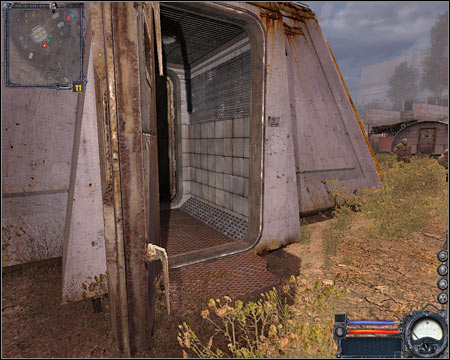
It doesn't really matter where you'll start the game, because you'll have to reach the main bunker. You will probably receive a new subquest along the way. It turns out that the camp is being attacked by the undead. You'll have to get rid of the zombies to be able to talk to Sacharow. This will also occur in the future. Once you've killed all zombies and looted their bodies, proceed to the main bunker. A large metal door should open automatically (screen). Enter the bunker, locate Sacharow and talk to him. He will give you a new assignment.
2. Find PDA with the documents
Received from: Professor Sacharow (Yantar)
Starting point: 2 on the map
Goal area: 3 on the map
Quest description:
Before you'll decide to proceed with this new challenge, you should take your time to improve your gear. I assume that you have a lot of money by now, so you should consider buying a better armor from Sacharow. Once you're ready, start moving north-west. You'll probably encounter a few zombies along the way (screen), but you may as well ignore them, especially since the monsters are focused on attacking the camp and not you. Choose a good weapon from your inventory. I would recommend using one of the available machine guns.
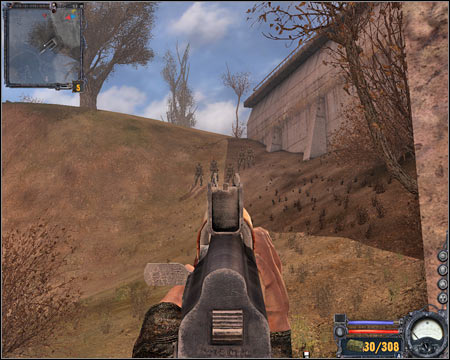
Keep heading north. You should also stay close to the wall of the nearest building. You are going to be attacked by two types of animals. Focus mostly on killing brown dogs, because you can suffer some major injuries here. It would also be a good idea to find a large rock and to climb on top of it, so you won't have to worry about losing health (screen).
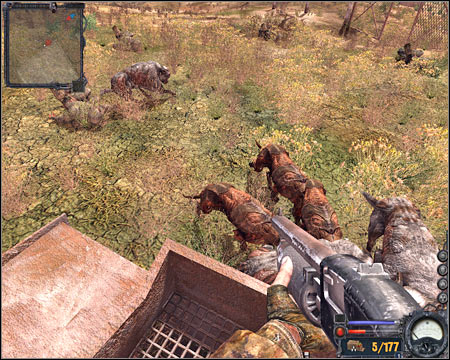
I would recommend that you deal with all animals before moving on to the target area. Look at my screen - you'll have to inspect the body of a dead stalker. Find the PDA and drag this item to your inventory. Wait for new instructions.
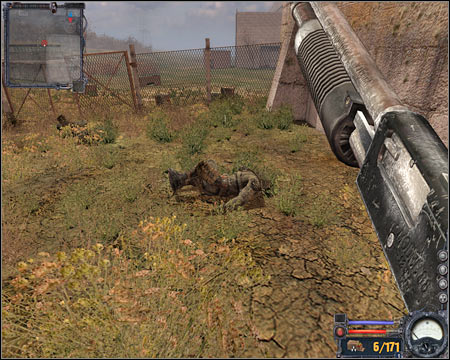
3. Deliver the documents to Sacharow
Received from: automatically once you've finished second quest
Starting point: 3 on the map
Goal area: 2 on the map
Quest description:
Now you'll have to go back to Sacharow which means you'll visit the same areas as before. Be careful near the bunker, because the undead have probably launched another attack on the base. Deal with all zombies, enter the bunker and talk to Sacharow (screen). You'll be given details of your next mission.
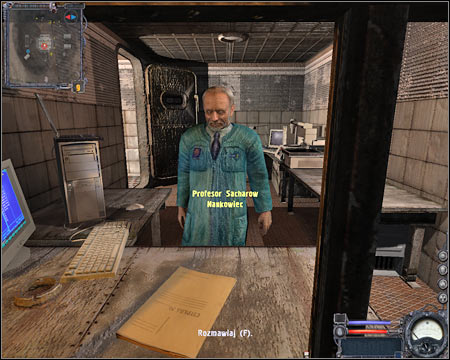
4. Meet Lazy and his men
Received from: Professor Sacharow (Yantar)
Starting point: 2 on the map
Goal area: 4 on the map
Quest description:
I have to warn you - this is your last chance to gather enough ammunition for the upcoming battle. You should have at least two assault rifles at your disposal. Having at least 300-400 rounds of ammunition for each gun is equally important. Once you're ready, go north and meet with Lazy's team. Talk to the leader and listen to his plan (screen). Be careful while trying to get to the stalkers, because there are some dangerous anomalies in this area.
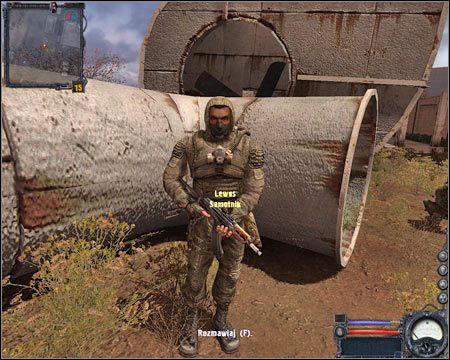
5. Fight your way to the factory
Received from: Lazy (Yantar)
Starting point: 4 on the map
Goal area: 5 on the map
Quest description:
Notice that the stalkers have begun moving north. You will have to copy their moves, so your first assignment will be to jump over a large brick wall (screen). Land on the ground and immediately move to your right. Don't engage the zombies. Instead, allow your team members to deal with the undead. The main reason is that you don't want to waste ammunition, because you're going to need a lot of it very soon.
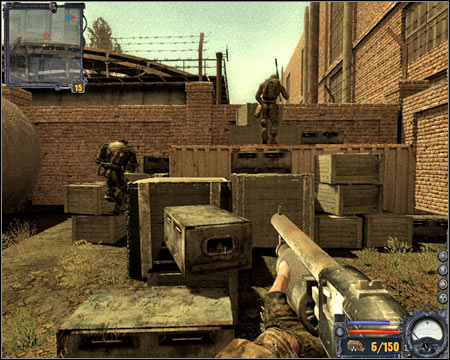
Keep heading north and make sure that you stay away from the zombies. It's not an effective way to complete this quest, but at least you won't have to risk your life or use your supplies. Eventually you'll come across a second brick wall (screen). Once again, you must climb on top of the crates. Land near a large warehouse and listen to what Lazy has to say.

6. Follow a stalker to the roof
Received from: Lazy (Yantar)
Starting point: 5 on the map
Goal area: 6 on the map
Quest description:
Your task here is quite obvious. Notice that one of the stalkers has started running towards the warehouse. Follow him and try maintaining small distance from him. You'll have to use the staircase (screen) to get to the roof. Keep heading straight until your new ally has stopped. Wait for new orders to be displayed on your screen.
7. Prevent the undead from getting too close to the stalkers on the roof
Received from: automatically once you've finished sixth quest
Starting point: 6 on the map
Goal area: 7 on the map
Quest description:
Obviously this is going to be a defensive type of mission. You'll have to defend the designated area for more than three minutes. To be more precise - you must protect a small group of stalkers near the valve. Notice that zombies will appear in two areas (screen), however you should focus your attention on the left staircase. Keep firing at the undead. Shooting in small bursts is important here, because otherwise won't be precise and you'll lose too much ammunition. I would also recommend using a machine gun with a scope attached to it, so you won't have to worry about hitting your targets from a larger distance. You'll receive new orders once enough time has passed.
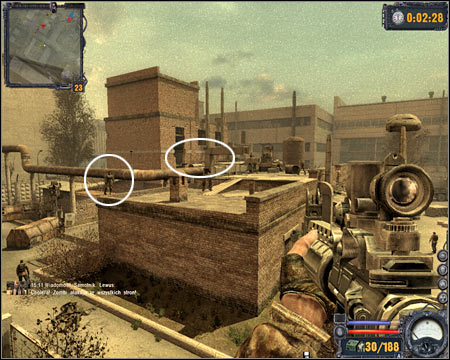
8. Go to Red Forest
Received from: automatically once you've finished seventh quest
Starting point: 7 on the map
Goal area: 8 on the map
Quest description:
I assume that you've dealt with most of the zombies in the meantime. Otherwise kill more of them from the roof area. Be careful, though. Zombies may fight back and they're using machine guns, so it won't be a problem for them to injure your character. Head on to the ground floor. I wouldn't recommend trying to loot bodies of your dead friends, because you may get surrounded by the undead in the meantime. Instead, start running towards the exit (screen) and confirm that you want to travel to Red Forest district.
You've been to Red Forest in "Shadow of Chernobyl", however this time you'll be given an opportunity to visit an entirely new version of this map. Sadly, it's very dangerous here, so you'll have to be careful. The area outside the forest contains a lot of anomalies and you'll also encounter a lot of bandits there. As for the forest itself, you'll have to deal with radiated zones and powerful mutants who tend to surprise you with their attacks.
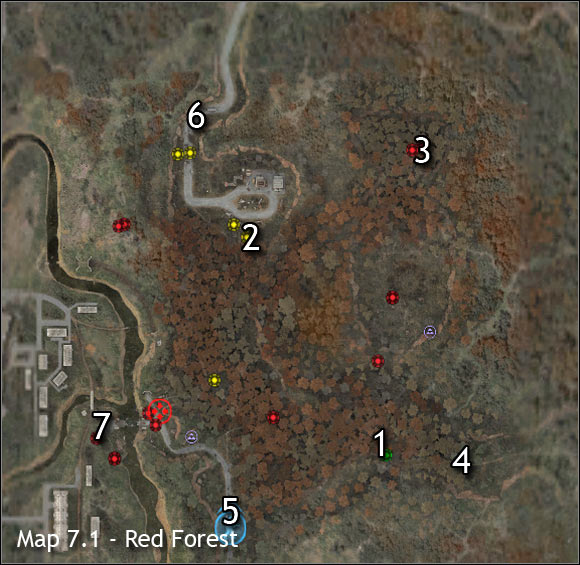
Main map:
1) Guide - Red Forest: Small encampment
2) Guide - Red Forest: Northern farm
3) Exit to northern farm (anomaly)
4) Exit to: Garbage
5) Exit to: Yantar
6) Exit to: Army Warehouses
7) Exit to: Limansk
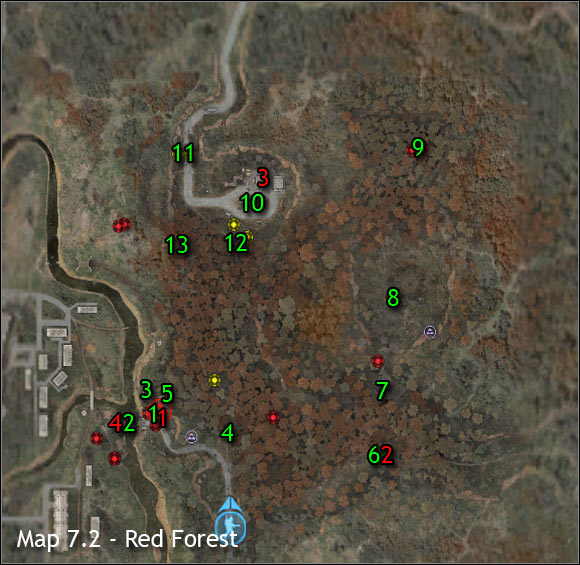
Important NPC's (red color):
1) Sienia - He is one of the bandits from the western checkpoint. Once you've defeated his colleagues, he'll automatically surrender. You don't have to kill him, because he won't attack you. Instead, you may ask him a few questions. Sienia will offer to take you to Woodsman, but it's a trick. Once you're inside the forest, you are going to be attacked by his colleagues. Ignore him and proceed directly to the southern campsite.
2) Fila - Fila is a leader of a small group of stalkers. You can agree to join his team and help him in his efforts of reaching the central area of the forest.
3) Woodsman - He's the most important person here. You'll have to ask Woodsman to help you in getting to Limansk. He will grant you with several main quests.
4) Lebiediew - You'll meet this person here for the second time. The previous encounter was inside Clear Sky's main base. Lebiediew will arrive here once you've returned from Army Warehouses and when you're ready to travel to Limansk.
Important areas (green color):
1) Checkpoint near the bridge - This is where Strelok will make his first stop. Sadly, this doesn't mean you can catch him. Instead, you will be surprised by enemy soldiers. You'll travel here often to fulfill some of the main quests for Red Forest district.
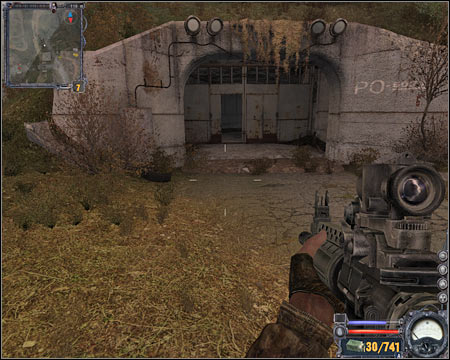
2) Draw bridge - This is the only road leading to Limansk. Sadly, you can't use the bridge right away. You'll have to fulfill a lot of quests in the first place. Ignore some of the bandits at the other bank of the river, because you'll deal with them once you've returned from Army Warehouses.
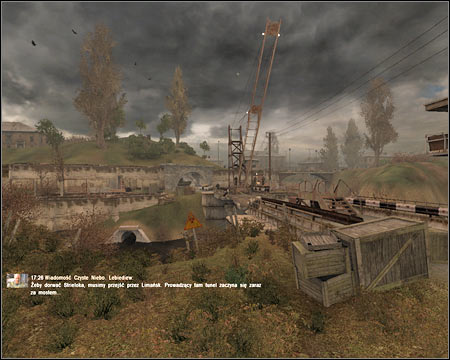
3) Tunnel - Strelok will use this tunnel to escape. You can't follow him, because he'll blow up one of the main corridors. You can explore the inside of the tunnel, but you won't find anything of interest and there's a possibility of receiving additional injuries due to high radiation.

4) Main gate to the forest - You won't be able to access the forest using this gate the first time you arrive here. You'll have to deal with the bandits near the bridge and then you'll have to return here. You'll come across a few dead stalkers near the gate.
5) Destroyed brick wall - This is an alternative route to Red Forest and to the northern encampment. You'll have to use this road later on. During your first visit you should proceed to the southern gate.
6) Southern encampment (Stalkers) - Your primary task here is to talk to Fila who is the leader of a small group of stalkers. You can agree to join him and his teammates. You'll be given an opportunity to travel with the stalkers to the northern part of the forest. There's a passageway nearby and it leads to Garbage. You'll also find a guide here.
7) Entrance to the tunnels - You'll explore this area automatically if you've decided to join Fila and his group of stalkers. There are some powerful mutants waiting you inside the mine, so be careful.
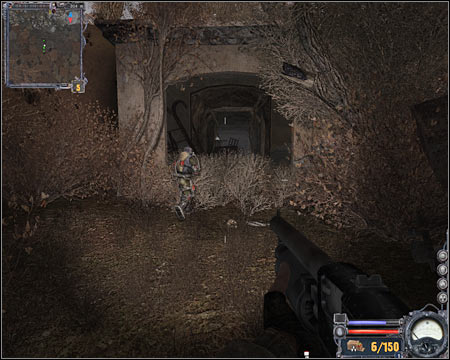
8) Campsite in the middle of the forest - This is the area where Fila was headed. Once you've arrived with your new friends, you are going to ba attacked by a very powerful mutant. You should also know that you'll be allowed to fullfill subquests here in the future (defending this newly established campsite).
9) Anomaly - You'll have to get here to complete one of the main quests. There's a strange anomaly here. It won't injure you. Instead, it works as a teleportation device. Make sure that you've secured the area before getting closer to the anomaly.
10) Northern farm (Duty) - You won't encounter any enemy units inside the farm, however you will have to watch out for radiation and dangerous anomalies. The most important area of the farm is the northern building, because you'll find the Woodsman inside it (first floor). You should also that you'll come across a guide here.
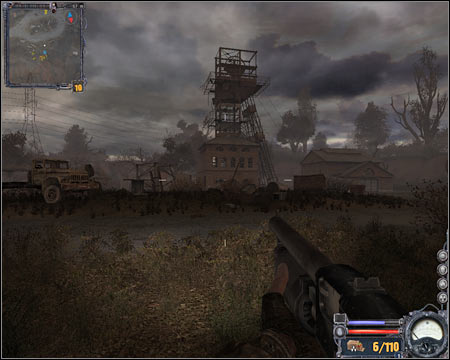
11) Northern checkpoint - You will come across a few Duty soldiers here. You can talk to them or you can proceed towards a nearby passageway right away.
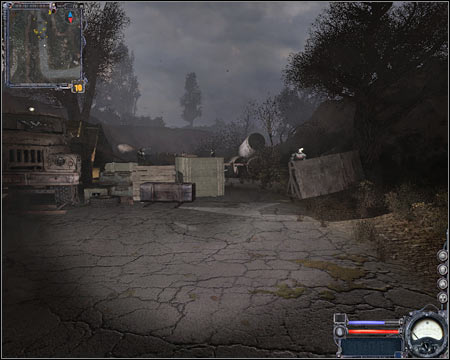
12) Northern entrance to the forest - You won't have to take special interest in this passageway during your first stay in Red Forest. You'll need it once you've returned from Army Warehouses for the first (hideout) and for the second time (going back to the draw bridge). The gate is located next to the northern Duty base.
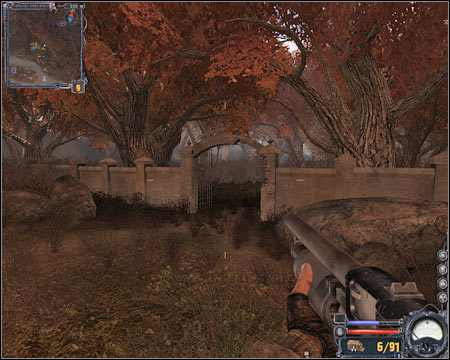
13) Entrance to the hideout - You'll have to find this entrance to solve one of the main quests given to you by the Woodsman. You'll probably encounter a few bandits here, however once you've secured the mines, you'll notice that Duty soldiers have arrived and they'll stay here for the rest of the game.
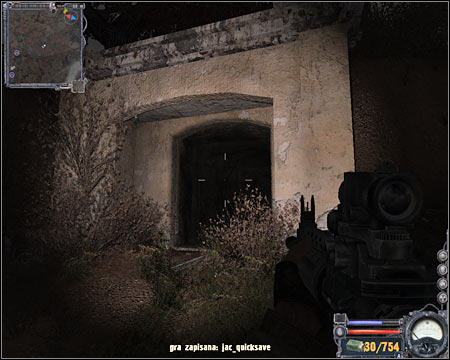
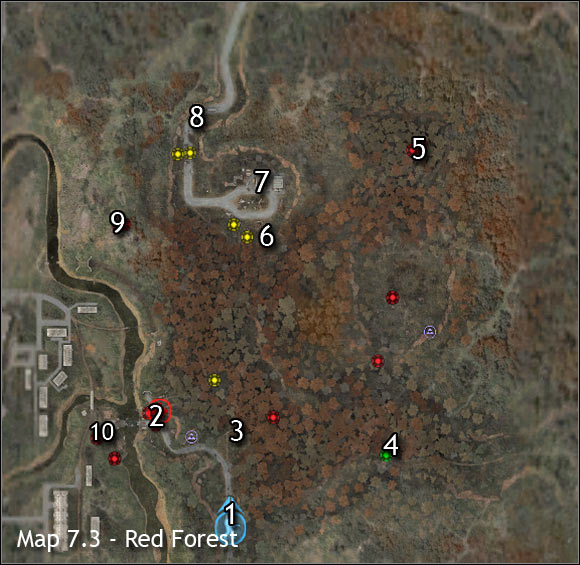
1. Capture Strelok
Received from: n/a
Starting point: 1 on the map
Goal area: 2 on the map (ignore what your PDA is showing)
Quest description:
This quest has a very linear structure, so you won't be able to affect how it ends. Let's start by saying that you won't catch Strelok, so you won't have to chase him once you've arrived in Red Forest. Instead, keep moving slowly and save your progress frequently, because it's dangerous here (radiation and anomalies). Get closer to a small checkpoint (screen) and make sure that you have a powerful weapon in your hands.
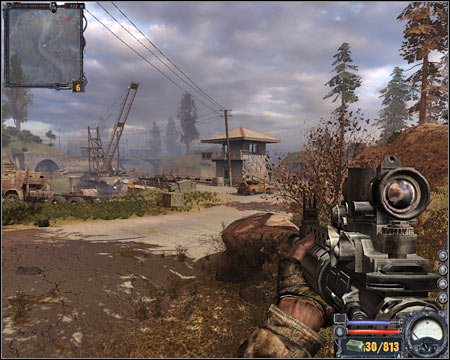
2. Survive the ambush
Received from: automatically once you've finished first quest
Starting point: 2 on the map
Goal area: 2 on the map
Quest description:
This new assignment will replace the first quest once you're close enough to the checkpoint. Head over to the left truck quickly, because you can't stay in the open. Kill a few bandits from here (screen), however watch out for grenades. Change your position often to avoid them. It's also important that you prevent enemy units from getting too close to your main character.
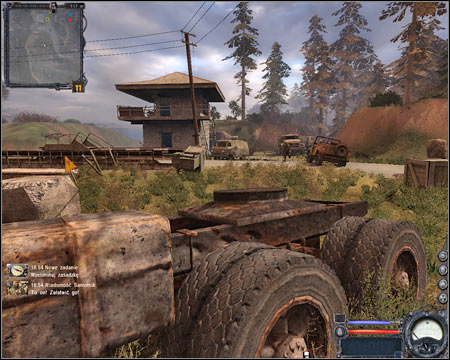
Obviously you will have to kill all the bandits before you'll be allowed to move on with the next challenge. Watch out for your right flank, because bandits tend to appear there often. Don't forget to secure the large tower as well. You'll notice that Strelok has blown up the tunnel, so you won't be able to pursue him anymore.
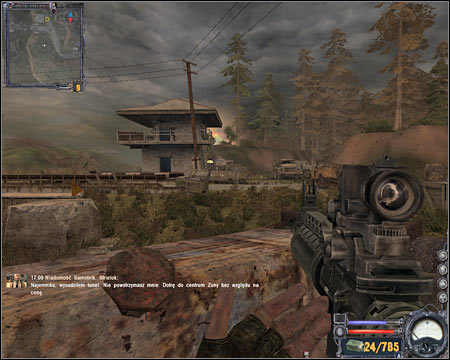
3. Answer to a distress call
Received from: automatically once you've finished second quest
Starting point: 2 on the map
Goal area: 3 on the map
Quest description:
You'll be rewarded with a short cut-scene. Once it's over, wait for this new quest to be added to your list. Ignore Sienia, because he won't help you in reaching the Woodsman. Instead, go back to the southern area of the map. Stay on the main road to avoid anomalies and radiation. Notice that a large gate is now opened (screen). Approach it and you'll come across a few dead bodies.
4. Locate and pick up the PDA
Received from: automatically once you've finished third quest
Starting point: 3 on the map
Goal area: 3 on the map
Quest description:
I think that you know by now how to act in these types of situations. Start off by finding the correct body. Click on it, locate the PDA (screen) and drag this item to your inventory. You should also notice a sniper rifle in the inventory of the dead stalker. Take it and await further instructions.
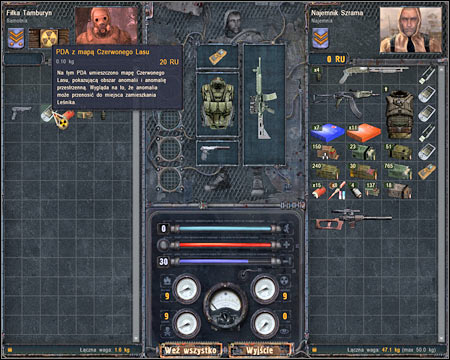
5. Reach the anomaly
Received from: automatically once you've finished fourth quest
Starting point: 3 on the map
Goal area: 4 on the map
Quest description:
As you've probably noticed, you will have to travel east. Your goal area is a small campsite where you'll meet with a few stalkers. You shouldn't encounter any monsters along the way, however you must be on a look out for anomalies and radiation. Remember that you don't have to be in a lot of hurry. Save your current progress frequently, so you won't have to repeat this quest if you die by mistake. Approach the camp and you'll receive a new task.
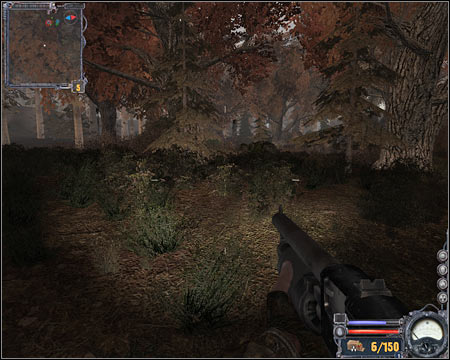
6. Find the anomaly and step through the teleporter
Received from: automatically once you've finished fifth quest
Starting point: 4 on the map
Goal area: 5 on the map
Quest description:
Completing this quest is going to take your at least a few minutes, because you'll have to travel to the northern part of the forest. I wouldn't recommend going alone. As a result, you should consider talking to Fila (screen). Agree to help him in his quest of finding a campsite in the middle of the forest. You'll activate a subquest at the same time. Wait for Fila's men to start moving north and follow them.
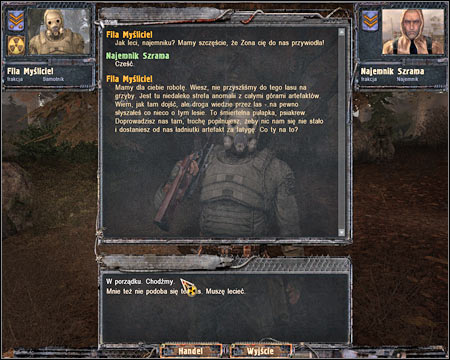
It's important that you stay close to the main group, so you won't have to worry about finding yourself too close to dangerous anomalies. You'll have to help your new allies in defeating a large group of jumpers once you've reached the first underground area. I would recommend using a shotgun here (screen), so you won't have to worry about losing too much ammunition. Just make sure that you stay in the back. Don't hit any of your new allies, because you would have been automatically killed by the other members of the group.
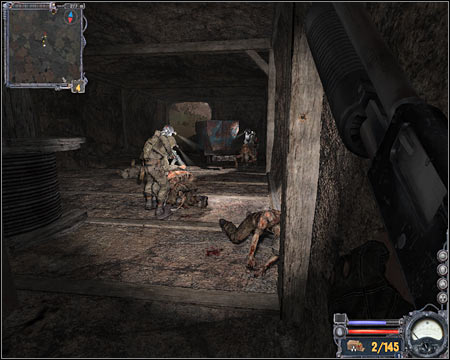
The second group of monsters will attack you near the exit (screen). Thankfully, it's much easier to win here. If you feel confident, you can even stay in the back, because the stalkers should be able to deal with this problem on their own. Eventually you'll end up near the target area. You'll have to make an important decision there. If you think you're skilled enough, choose a shotgun from your inventory. Otherwise consider using a powerful machine gun.
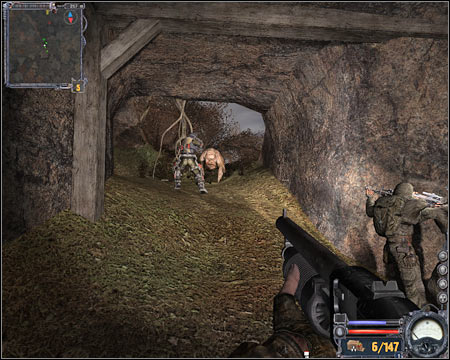
The main campsite is going to be attacked by a very large monster. I'm sure that you remember this creature from one of the underground levels of "Shadow of Chernobyl". I would recommend that you allow the monster to attack some of your colleagues, so you'll have more time to prepare for this battle. Keep firing at the creature until it's dead and prevent it from harming you. Once you've won, make sure to collect ammunition from bodies of killed soldiers. You can stay here a little while longer (possible subquest - wild boars will attack the campsite) or you can start moving towards your current destination right away.
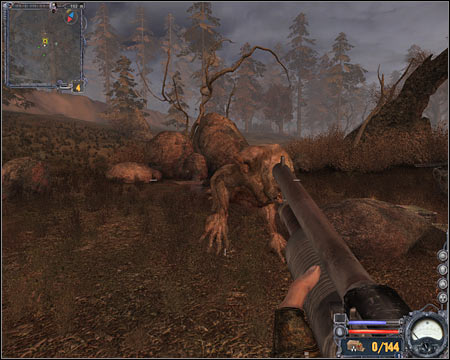
Notice that you're reasonably closer to your target area than you were a few minutes ago. Obviously you'll have to keep heading north. I urge you to move slowly, so you won't end up getting killed by mistake. Once you've arrived, you should notice that a lot of mutants have gathered near the anomaly. Use some of the carried grenades (screen) and then start killing your foes one by one. You'll be dealing with invisible creatures (they have glowing eyes), as well as "jumpers".
I'd strongly recommend that you eliminate all monsters before moving on. Notice a large tank near the anomaly. Proceed down, turn right and climb on top of the tank. Approach the anomaly (screen) and perform a single jump towards it. You're going to be automatically transported to the northern base. Wait for new orders.
7. Talk to the Woodsman
Received from: automatically once you've finished sixth quest
Starting point: 6 on the map
Goal area: 7 on the map
Quest description:
You won't have to spend a lot of time here trying to figure out what to do next. The Woodsman can be found on the first floor of the largest building (screen), so you'll have to use the stairs to get to him. Talk to the Woodsman and he'll give you a new assignment.
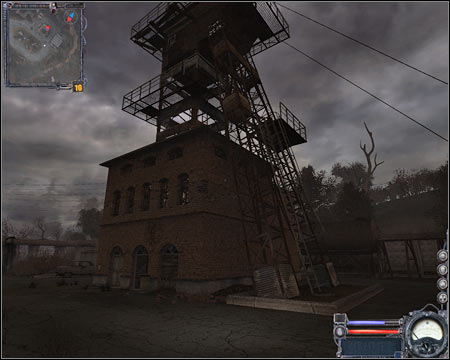
8. Talk to the outpost leader
Received from: Woodsman (Red Forest)
Starting point: 7 on the map
Goal area: 8 on the map
Quest description:
You may go back outside. Start moving towards the northern checkpoint. You'll come across a few Duty soldiers here, but you may as well ignore them. Proceed to a nearby passageway and confirm that you want to travel to Army Warehouses.
Upon return from Army Warehouses (second visit to the Red Forest):
9. Talk to the Woodsman #2
Received from: automatically (Army Warehouses)
Starting point: 8 on the map
Goal area: 7 on the map
Quest description:
This is a follow-up to a quest received in Army Warehouses sector. All you have to do is to go back to main Duty base. Enter the large building again, use the stairs and talk to the Woodsman (screen). You'll find a lot of interesting things from him. Woodsman will also ask you to retrieve a precious artifact.
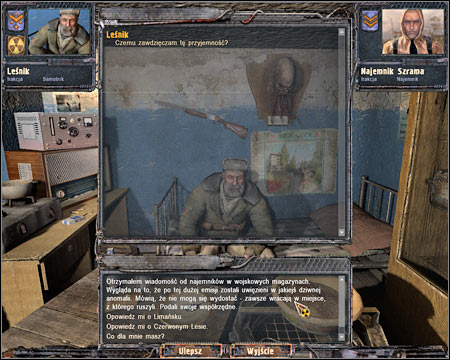
10. Find the Compass
Received from: Woodsman (Red Forest)
Starting point: 7 on the map
Goal area: 9 on the map
Quest description:
The object you'll have to retrieve can be found to the south-west of the base. This means you'll have to travel to an unexplored territory. I would recommend waiting for when it's dark, because it'll make your approach a lot easier. Start off by finding the southern gate (screen). Step through the gate to enter the forest.

Now you must turn west. Choose a sniper rifle (or an assault rifle with a scope) from your inventory. Your first objective will be to secure the entrance to the hideout (screen). If you have a silencer, it should be very simple. Otherwise you'll have to be ready to defend yourself against enemy attacks.
Make sure that you've killed all hostiles. Enter the mine shaft and start moving forward. You'll probably notice a few bandits in the distance. Use your gun to get rid of them. Now find a good cover and keep shooting at the remaining enemy units. Remember that you don't have to be in a lot of hurry. The most important thing here is that you kill all your opponents before moving on.
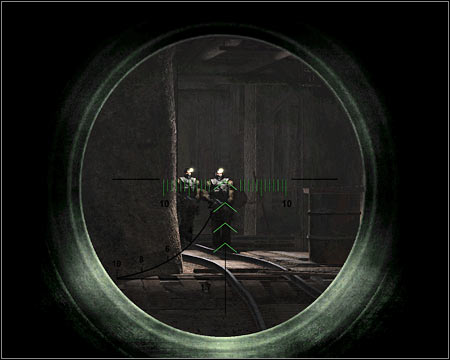
As for the last room, I had to deal with only one bandit, so you shouldn't expect heavy resistance here. The artifact can be found to your left, on a small table (screen). Pick it up and await further instructions.
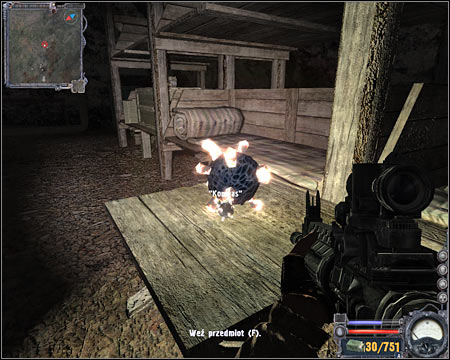
11. Return the artifact to the Woodsman
Received from: automatically once you've finished tenth quest
Starting point: 9 on the map
Goal area: 7 on the map
Quest description:
Notice that Duty soldiers have begun to appear near your position. Ignore them and go back to the Woodsman. Hand him over the artifact and he'll give an upgraded sniper rifle as a reward for helping him. This is an EXTREMELY useful weapon, so it should become one of your primary guns from now. As for the old sniper rifle, consider selling this weapon to one of the traders.
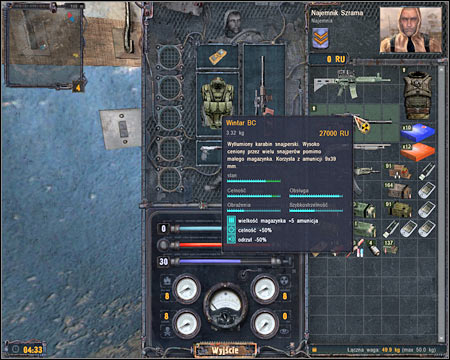
12. Go to the army base
Received from: Woodsman (Red Forest)
Starting point: 7 on the map
Goal area: 8 on the map
Quest description:
I guess you won't be surprised to hear that you'll have to go back to Army Warehouses. Don't forget to collect all the supplies from the recently secured hideout, especially since you'll find a lot of ammunition for your newly acquired sniper rifle.
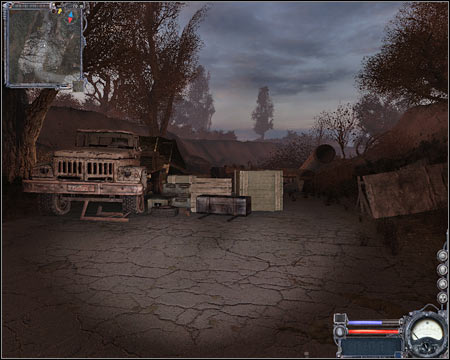
Upon return from Army Warehouses (third visit to the Red Forest):
13. Meet with Lebiediew #2
Received from: automatically (Army Warehouses)
Starting point: 8 on the map
Goal area: 2 on the map
Quest description:
As you've probably noticed by taking a closer look at your personal map, you will have to go back to the southern checkpoint. This is where you've been ambushed by a group of thugs. You can ask the guide for assistance or you can walk to your new destination on foot. If you decide to go there by yourself, you'll have to get to a well-known gate in the first place (screen).
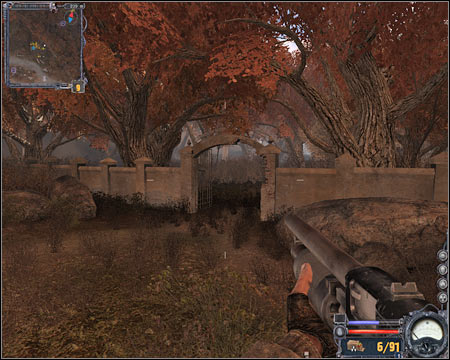
The most important thing for you to remember about while travelling through the woods is that you must avoid radiated zones and there are A LOT of those in the area. Also, if you're travelling by night, you must be ready to face off with invisible creatures. Prevent them from surprising you if possible. Eventually you'll return to a destroyed brick wall (screen). Listen to a short radio transmission and wait for new orders to be added to your list of assignments.
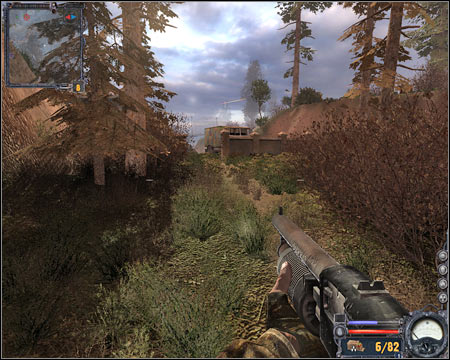
14. Assist Clear Sky in taking control over the bridge
Received from: automatically once you've finished thirteenth quest
Starting point: 2 on the map
Goal area: 10 on the map
Quest description:
Choose a sniper rifle from your inventory and get to an area where the battle has already started. Clear Sky units are fighting with renegades. I'd strongly recommend that you start using the sniper rifle which you've received from the Woodsman. Try maintaining larger distance from your foes, so they won't take interest in you attacking their colleagues. You should be able to receive more precise orders eventually, however this quest will remain active for a longer period of time.
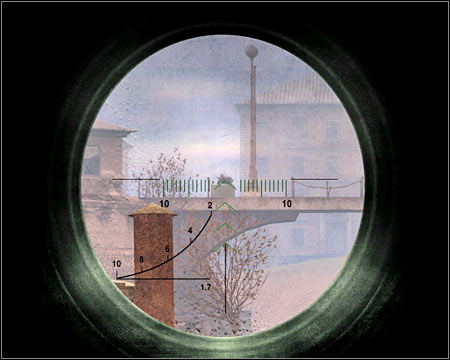
Once you've killed all visible units, try getting closer to the main building. Look at my screen - you should consider crouching behind the wall on the upper balcony. You should be safe here, as long as you don't expose yourself too much to enemy fire. Focus on eliminating renegades who are coming from the left. Fire single shots, instead of choosing longer bursts.
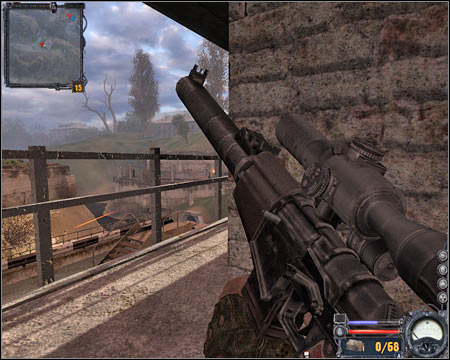
15. Wait for allied stalkers to arrive in the area
Received from: automatically once you've finished fourteenth quest
Starting point: 2 on the map
Goal area: 10 on the map
Quest description:
Nothing will change once you'll receive this goal. You won't have to protect members of this new group, but you can monitor their movement with your PDA (screen). Keep firing at enemy units, however remember to preserve your ammunition supplies.
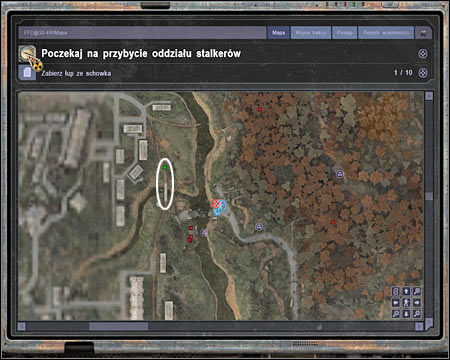
16. Provide covering fire for allied unites
Received from: automatically once you've finished fifteenth quest
Starting point: 2 on the map
Goal area: 10 on the map
Quest description:
Once again, you don't have to do anything out of the ordinary. Notice that even more renegades are showing up in the area, so you can consider moving closer to the bridge (screen) to find a better shooting spot. I have to warn you, though - it can be quite risky.
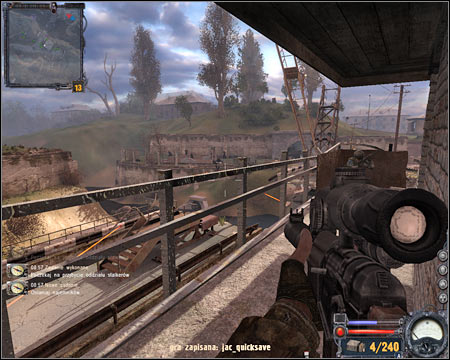
17. Protect one of your allies while he tries to lower the bridge
Received from: automatically once you've finished sixteenth quest
Starting point: 2 on the map
Goal area: 10 on the map
Quest description:
This is one of the final assignments you'll have to take on before being able to travel to Limansk. As you've probably noticed, one of friendly mercenaries is trying to lower the bridge (screen). You must protect him against enemy troops, because they're advancing towards his position.
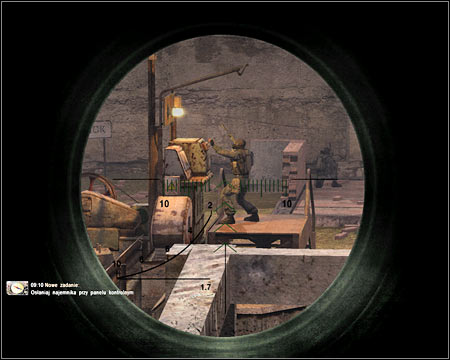
18. Eliminate enemy snipers
Received from: automatically once you've finished seventeenth quest
Starting point: 2 on the map
Goal area: 10 on the map
Quest description:
This assignment will be added to your list of active quests at least 4-5 times during the entire battle, depending on how good you are with finishing other mission goals. All the snipers will appear on top of a nearby hill and it'll be up to you to eliminate them as soon as possible (screen). Thankfully, it's very easy to spot them and they won't return fire.
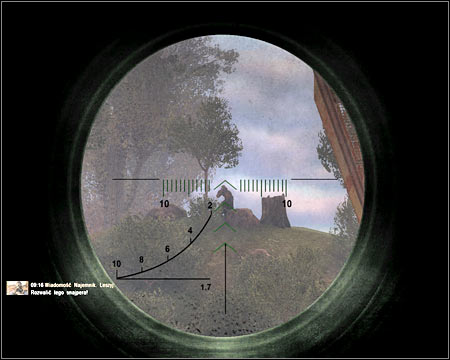
The bridge will be lowered in a short of while, so you'll have to be patient (screen). Wait for a proper confirmation and proceed to the opposite river bank. You'll have to talk to Lebiediew there. This is also a great opportunity to loot bodies of fallen enemies. Look for good weapons and for ammunition (especially for the sniper rifle).
19. Scout the area of Limansk
Received from: Lebiediew (Red Forest)
Starting point: 10 on the map
Goal area: 10 on the map
Quest description:
You don't have to perform any other actions in Red Forest, so you may proceed to a nearby tunnel right away (screen). Confirm that you want to travel to Limansk.
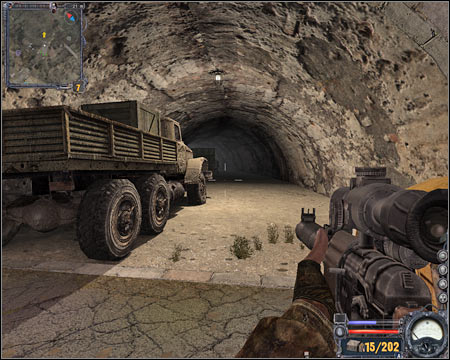

Army Warehouses appeared in the previous game, so you should be familiar with this sector. I guess you'll be thrilled to hear that it's different here than the last time you've been to this area of the Zone. The area is very dangerous, especially in the north-east where you can encounter powerful Monolith troops. There are a lot of mutants patrolling the middle of the sector and you'll also have to avoid dangerous anomalies. Army Warehouses are being controlled by Freedom units during your first visit to this location, however it changes later on during the course of the game.
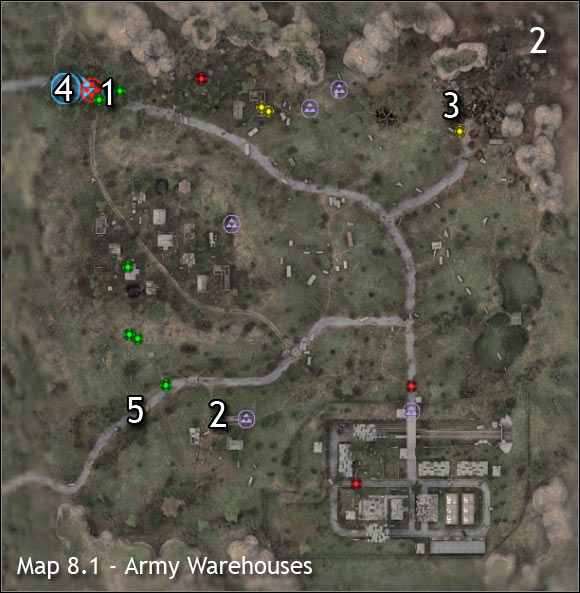
Main map:
1) Guide - Army Warehouses: Northern checkpoint
2) Guide - Army Warehouses: Southern Freedom base
3) Guide - Army Warehouses: The barrier
4) Exit to: Red Forest
5) Exit to: Garbage
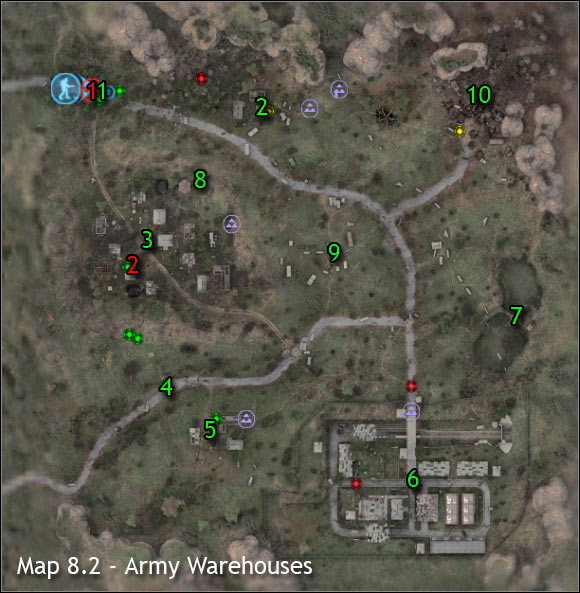
Important NPC's (red color):
1) Crow - He is one of the soldiers guarding the northern Freedom outpost. You are going to be greeted by him upon your first arrival in Army Warehouses. You'll also have an opportunity to finish a quest for him.
2) Swine - Swine is the leader of a small group of mercenaries. You'll have to talk to him several times during your time spent in Army Warehouses.
Important areas (green color):
1) Checkpoint in the north-west - This is where you'll end up when you arrive from Red Forest. You'll meet a few Freedom soldiers here during your first stay, however they may disappear when you'll return here later on during the course of the game. Notice that you'll come across a guide near the main checkpoint.
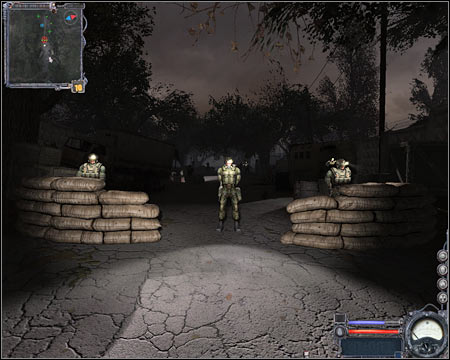
2) Northern farm - It's very difficult to get to the farm, because there are a lot of mutants in the area and you'll have to avoid deadly radiation. If you manage to arrive safely, you will meet a few friendly units. You may chat with the stalkers or you can perform several tasks for them.
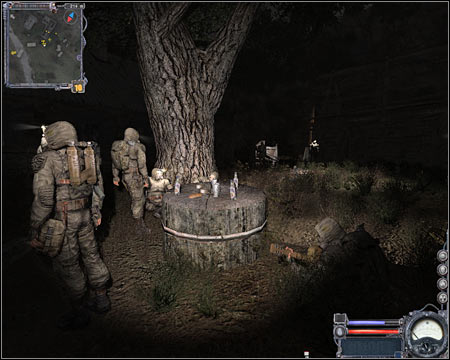
3) Small village - Exploring this area is required to complete several main quests. Sadly, you can't feel safe here, even though there are some mercenaries here. If you remember the first game, you shouldn't be surprised to come across several invisible creatures. Their attacks are very unpleasant, especially after dark when it's difficult to notice them.
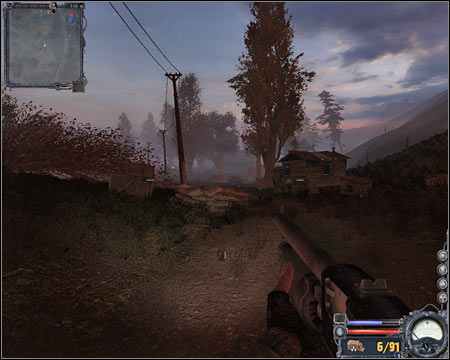
4) Checkpoint in the south-west - You will encounter a small group of allied units here as well. Notice that a nearby passageway leads to Garbage area.
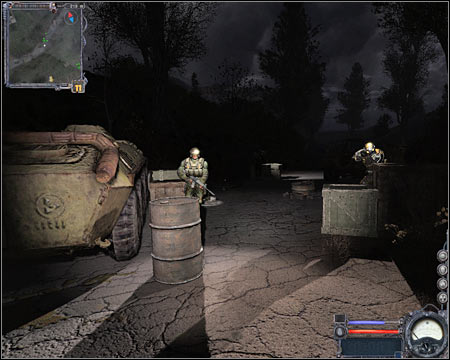
5) Southern Freedom base - This was an important area in the first game, however this time visiting it is optional. One thing is certain - you can feel quite safe inside the base. The only exception is the eastern building, because you'll come across a dangerous anomaly there. You'll meet a few people here and you can trade your items with them if you wish.
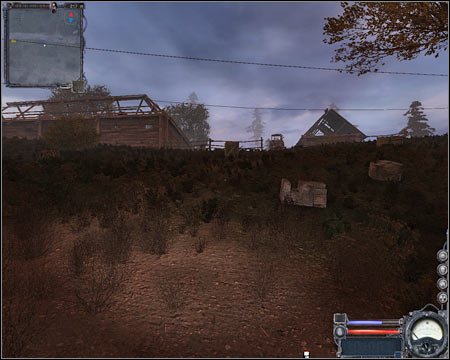
6) Military base - The situation here is going to change each time you've decided to explore the military base. At first you'll come across wild dogs near the entrance and the main base will be swarming with the undead. When you get here later on during the game you'll notice hostile military units in the area. You'll have to assist your allies in getting rid of them.
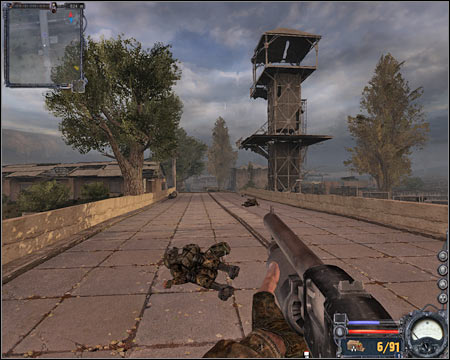
7) Swamps - Thankfully, you don't have to explore the swamps if you don't want to. Obviously it's very dangerous here. Poisoning your character is a possibility and if it keeps up, it can result in your main hero losing his life. The only exception is when you have a suit which protects in some way against those types of threats.
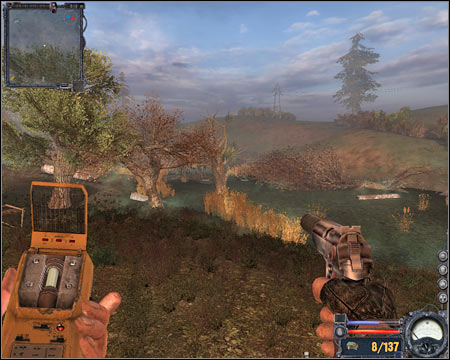
8) Pressure tower - You will have to get to the tower to complete one of main quests. Be careful - the entrance to the tower is being guarded by an invisible beast and wild dogs will show up in this area when you try to leave. You can use the ladder to get to the top of the tower. Sadly, you won't find anything of interest there.
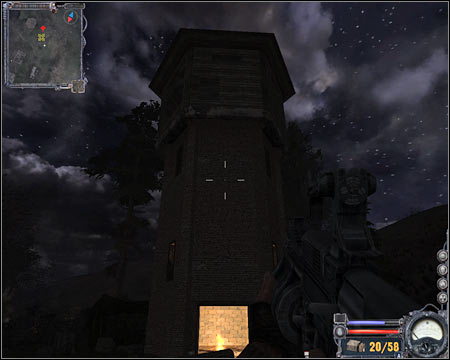
9) Small campsite (Duty) - You will come across a larger group of Duty soldiers here. Depending on your relations with them, they can attack you on sight or they can have some simple assignments for you.
10) The Barrier - Once again, you shouldn't explore this area unless you feel it's absolutely necessary. You'll come across a lot of Monolith soldiers here. Avoiding them is important, because they're heavily equipped. I guess you may be surprised a little to find out that there's a guide here, however you'll have to secure the area before asking him for help. Don't try crossing the barrier, because you'll die as a result of psionic injuries.
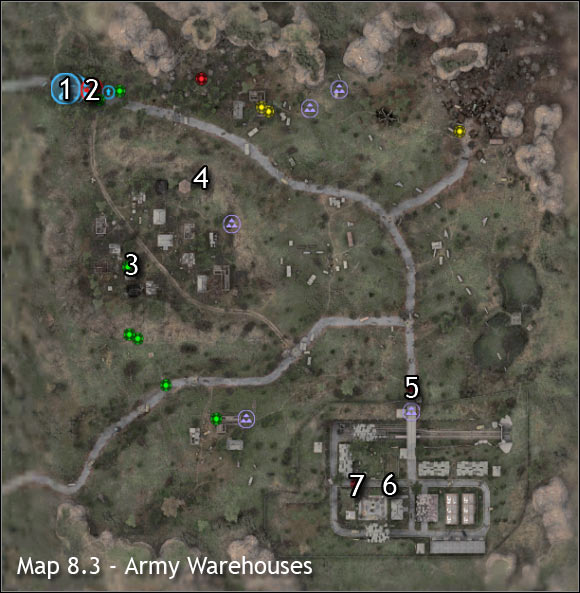
1. Talk to the outpost leader #2
Received from: Woodsman (Red Forest)
Starting point: 1 on the map
Goal area: 2 on the map
Quest description:
Your first assignment in Army Warehouses is a very simple one. Start off by moving forward and approach the leader of a small group of Freedom soldiers (screen). Listen to what he has to say and wait for him to grant you with a new challenge.
2. Meet the mercenaries in the village
Received from: Crow (Army Warehouses)
Starting point: 2 on the map
Goal area: 3 on the map
Quest description:
Make sure not to move too far to the east, because there's a large radiated zone near this checkpoint. Instead, keep moving south and eventually you'll get to the village. Like I've said before, you must be very careful here, because you may come across invisible creatures. I would recommend exploring this area during the day, so it'll be easier to fight them. Approach the leader of the mercenaries and talk to him (screen).
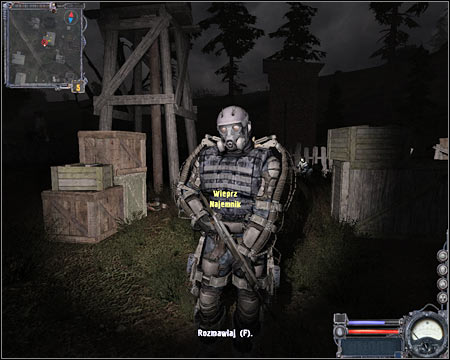
3. Pick up the transmission from the missing stalkers
Received from: Swine (Army Warehouses)
Starting point: 3 on the map
Goal area: 4 on the map
Quest description:
Your next objective is to reach the pressure tower and I would recommend that you approach it from the south. Watch out for dangerous radiation, as well as for anomalies. Notice that you've also received a subquest. Choose a good weapon from your inventory once you're close enough to the tower. You'll have to kill an invisible creature and you can spot it by its glowing eyes. Kill the monster (screen) before you'll decide to proceed with the main quest.
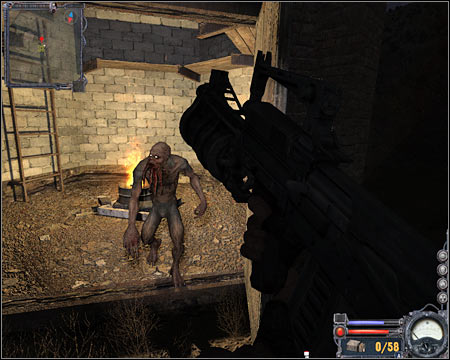
You may finally enter the tower. You can't do anything from here, so you'll have to use a nearby ladder to get to the top of this structure (screen). Listen to a short radio transmission. You won't have to stay there until the transmission has ended. Go back to the ground floor.
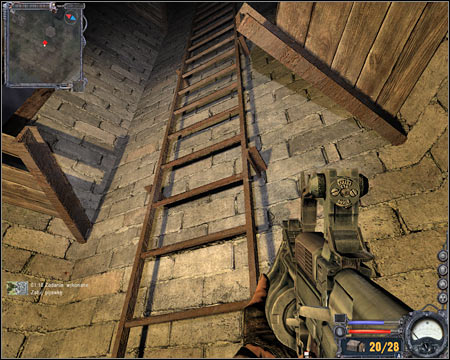
Get ready, because you'll have to kill a few other creatures here. There are a lot of wild dogs heading your way (screen). This can be a challenging battle, especially since you'll be surrounded by a lot of these animals. I would recommend that you use a good machine gun against them. Avoiding their attacks is equally important. Wait for new orders.
4. Talk to the Woodsman
Received from: automatically once you've finished third quest
Starting point: 4 on the map
Goal area: 1 on the map
Quest description:
I guess I don't have to explain in detail what has to be done here. Your task is to go back to the passageway leading to Red Forest district (screen). Make sure that you save your progress often along the way, because you may lose health from radiation.
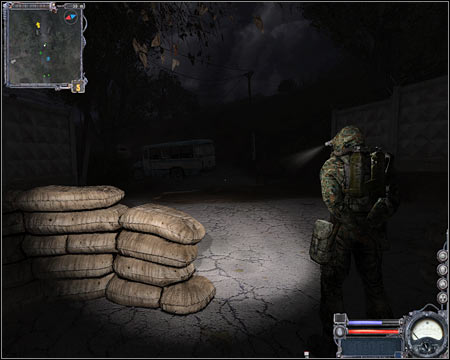
Upon return from Red Forest:
5. Talk to the mercenaries
Received from: n/a
Starting point: 1 on the map
Goal area: 3 on the map
Quest description:
The first quest after your return to this zone is going to be a simple one. Once again, you'll have to talk to Swine. Don't forget about the monsters in this area!
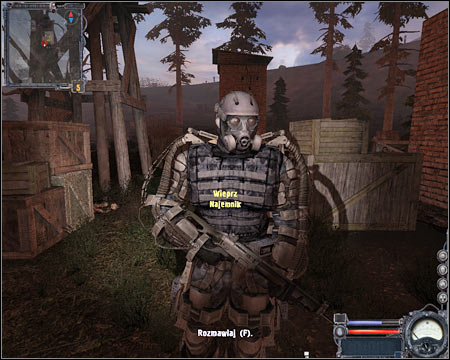
6. Meet with Freedom soldiers
Received from: Swine (Army Warehouses)
Starting point: 3 on the map
Goal area: 5 on the map
Quest description:
This is also a very simple quest. All you have to do is to get to the military base which can be found in the south-east (screen). Thankfully, your allies won't attack enemy units until you've joined them.
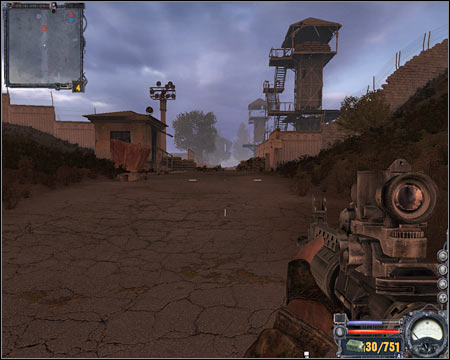
7. Eliminate the military
Received from: automatically once you've finished sixth quest
Starting point: 5 on the map
Goal area: 6 on the map
Quest description:
Notice that your colleagues have automatically begun moving towards enemy positions. I would recommend that you start running after them, because it'll allow you to perform a surprise attack. Reach the crossroads (screen) and take cover behind the tank. Get ready for a challenging battle!
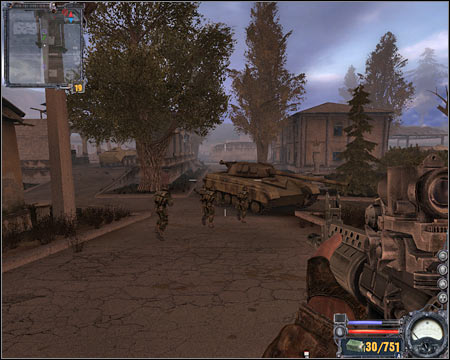
Enemy soldiers are defending themselves inside the large building to your right. That was the main Duty command center in the first game. I would recommend that you take position near one of the windows. Start leaning out and eliminate the soldiers one by one (screen). Obviously you will have to watch out for them fighting back, but you don't have to worry about avoiding any grenades. Monitor the area to the west of your position and prevent other soldiers from surprising you. Once you've killed all enemy units, make sure to collect ammunition, grenades and medical supplies.
8. Transmit the coordinates
Received from: automatically once you've finished seventh quest
Starting point: 6 on the map
Goal area: 7 on the map
Quest description:
Now you'll have to climb on top of a much larger tower (screen). It shouldn't be a problem, especially since you won't encounter any radiation. Once you've arrived at your destination, use the lever and listen to a short transmission.
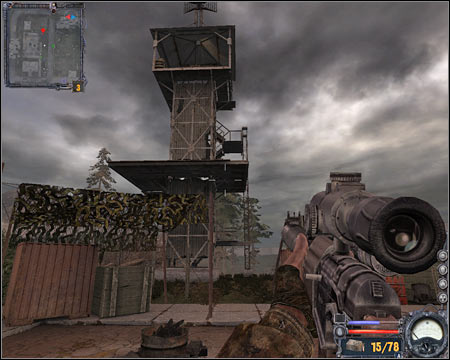
9. Meet with Lebiediew #2
Received from: automatically once you've finished eighth quest
Starting point: 7 on the map
Goal area: 1 on the map
Quest description:
Lebiediew is waiting for you in Red Forest. This means you'll have to go back to that sector using the passageway in the north-west. Watch out for wild animals beneath your position (screen). Leave the base without engaging them (if possible).
Limansk is by far the most interesting location you'll have a change to visit in "Clear Sky". Don't be afraid by the size of this zone, because this entire level has a linear structure. You'll start the game in the southern area of the map and you'll have to reach the northern exit. You will be dealing with Monolith soldiers, radiation and anomalies along the way. You should also know that you'll be given a chance to fulfill a few side missions.
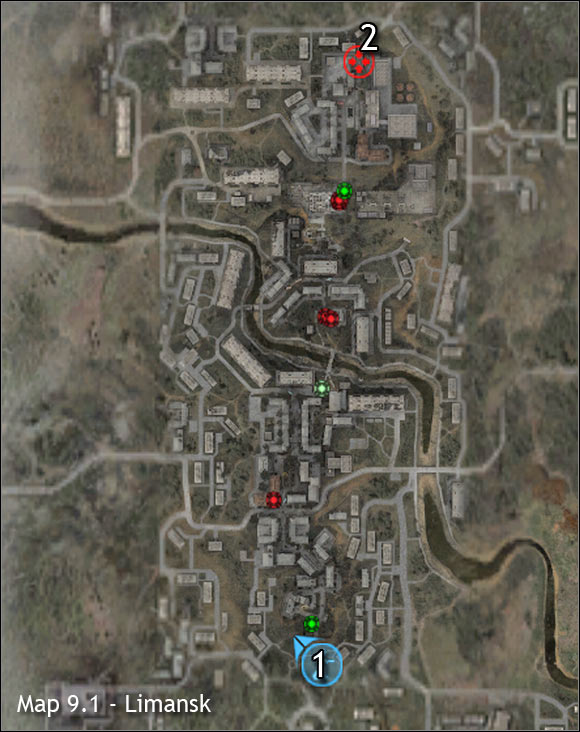
Main map:
1) Exit to: Red Forest
2) Exit to: Hospital
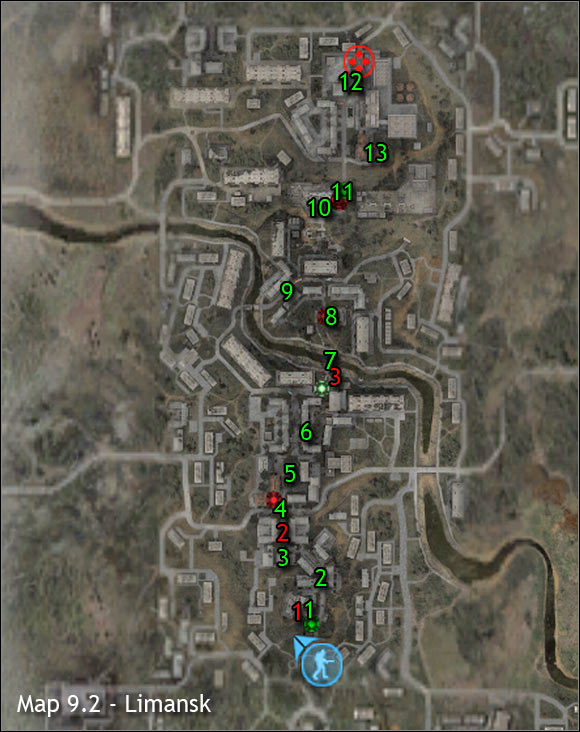
Important NPC's (red color):
1) Toszka - He's the leader of the first group of Clear Sky soldiers. You can ignore him completely, however Toszka can repair your gear.
2) Danko the Tambourine - Danko is the second leader you'll have a chance to talk to. He will offer that you go with him to the central area of the city. I would recommend that you agree to his proposal, especially since you won't receive any penalties for not helping him or his teammates.
3) Wowka Rokfor - He's the third leader. You'll have to provide assistance in reaching a small farm which is occupied by Monolith forces. Once you've succeeded, you'll find him inside the main building.
Important areas (green color):
1) Captured bandits - You will come across two bandits here. You can heal one of the bandits with a medical kit, so you'll find out more about the ambush. Alternatively you could shoot them or wait for your allies to do the same thing.
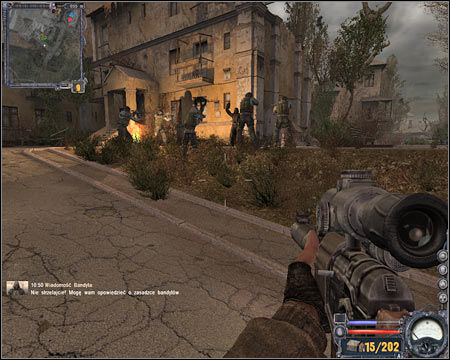
2) Ambush - Bandits are hiding in some of the nearby buildings. Thankfully, you won't have to kill them, because you can take a detour and avoid this area entirely. Don't worry about your allies from Clear Sky, because they'll survive here without your help.
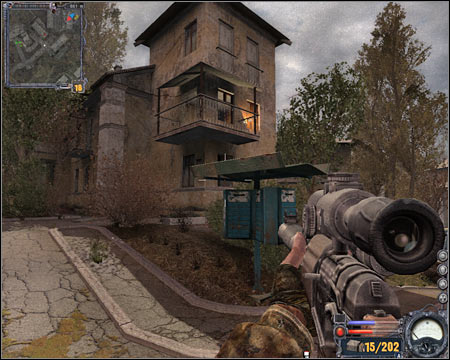
3) Bandits' hideout - You'll probably notice that bandits are fighting here with Monolith units. The most important thing is to take out the gunner. He is hiding on the first floor of the left building. You should secure the rest of the building as well, so you won't have to worry about encountering bandits in the near future.
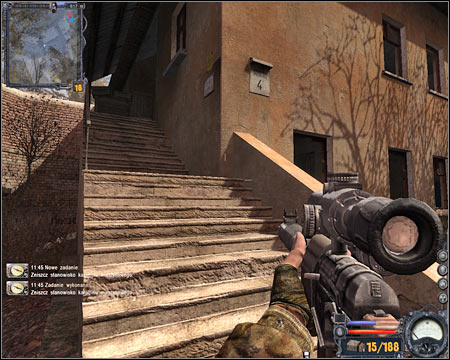
4) Crossroads - You should receive a warning that snipers are hiding in some of the nearby buildings. You can try and find them yourself, however I would recommend waiting for your colleagues from Clear Sky to take care of that problem. Ignore side alleys, because those are highly radioactive areas.
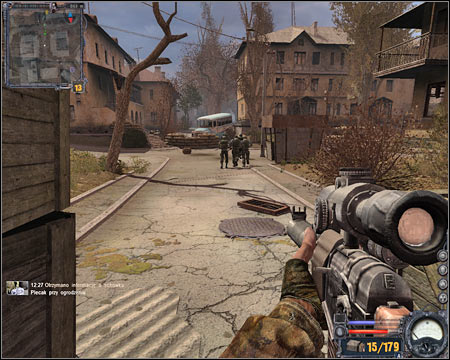
5) Town square - This is by far one of the most dangerous areas of Limansk. You will have to acknowledge the fact that there are a lot of enemy snipers here. As a result, you won't be allowed to stay in one place for a longer period of time. You should also know that Monolith units may arrive here and this will make the situation ever worse.
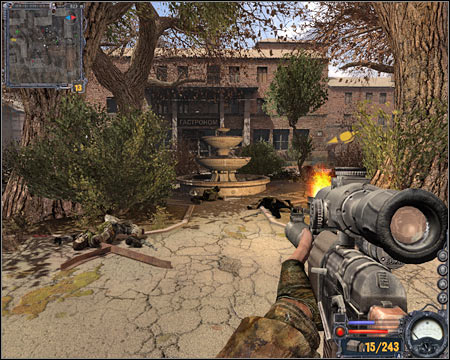
6) Destroyed gate - You will have to get to this gate to reach the central area of the city. You can't proceed directly to the north, because there are some dangerous anomalies out there and you would have died almost instantly.
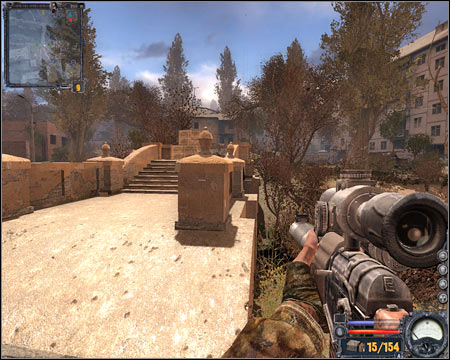
7) Small bridge - This bridge leads to the northern farm and that's where you'll come across a large group of Monolith units. You must use the bridge, because if you decide to go through the river, there's a possibility of being poisoned or receiving a large dose of radiation.

8) Monolith's outpost - Obviously you shouldn't be surprised to encounter a lot of Monolith units here. I would recommend surprising them. Securing this outpost is required to fulfill one of the subquests given to you by one of the squad leaders. Be careful near the outpost - there are a lot of anomalies there, so it's to die by mistake.
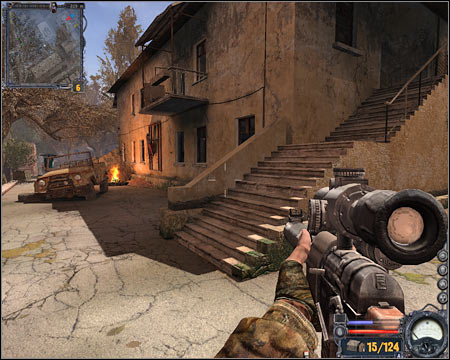
9) Anomalies - You will encounter a lot of anomalies here. You don't have to worry about receiving any injuries, but you'll have to avoid them to get to the construction site. They act as teleportation devices, so if you make a mistake, you'll return to the starting area.
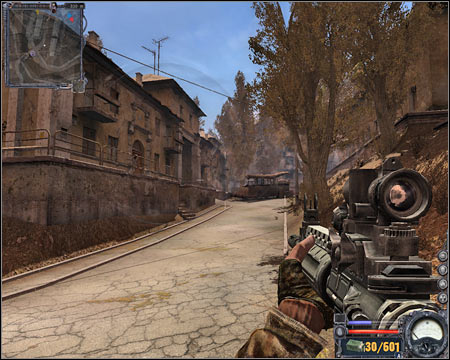
10) Construction site - Here's where some of the most challenging battles will take place. This entire area is being heavily defended by Monolith units and you'll have to eliminate them before moving on. There's also only one road leading to the construction site, so it's going to make your approach more difficult than it should be.
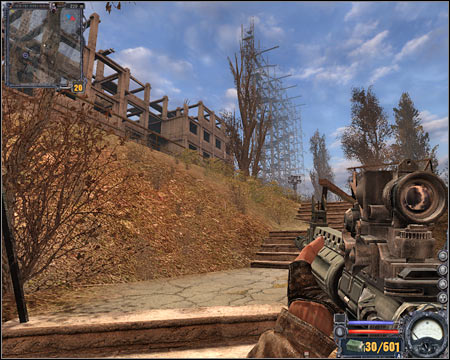
11) Exit from the construction site - You will have to get here by jumping down from one of the higher floors of the largest building. The exit is a large hole in the ground. Using it will allow you to rejoin with Clear Sky's forces.
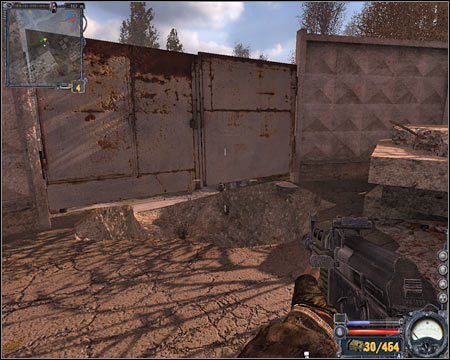
12) Tower - An enemy sniper is hiding inside the main tower, however you won't be allowed to kill him right away. Instead, you'll have to participate in a main quest, performing certain actions. There are also Monolith soldiers near the tower, however you won't have to worry about them too much.
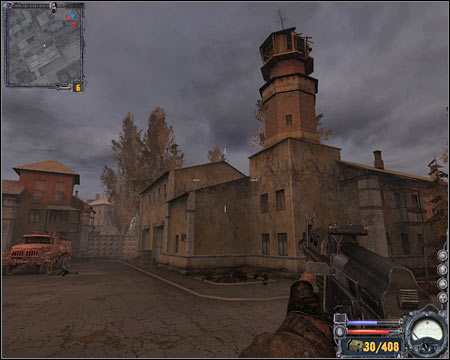
13) Eastern building - You'll have to get here with an intention of finding and disabling a power generator.
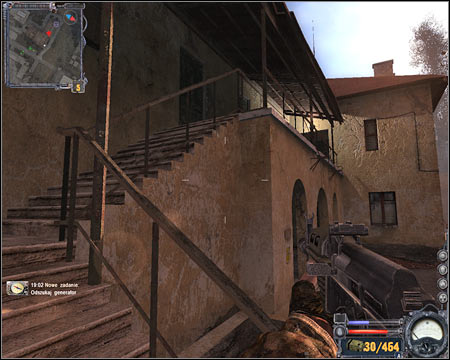
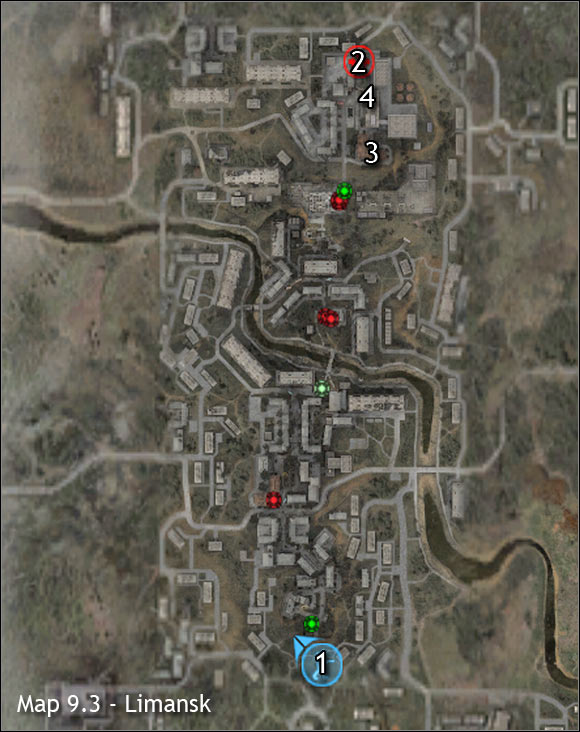
1. Scout the area of Limansk #2
Received from: Lebiediew (Red Forest)
Starting point: 1 on the map
Goal area: 2 on the map
Don't worry if the concept of this quest seems a little vague. All you have to do is to travel through the entire sector in hopes of reaching of the northern exit. Depending on your choice of a difficulty level, it can take from 30-60 minutes to a few hours of your time. Like I've already said, this level has a linear structure, so you don't have to worry about getting lost. You'll be given a chance to participate in optional challenges along the way and I've included those in this section of the guide. Start off by leaving the tunnel which you've used to travel to this location. The first group of allied soldiers is standing to your left. Approach them (screen) and see what's happening here.
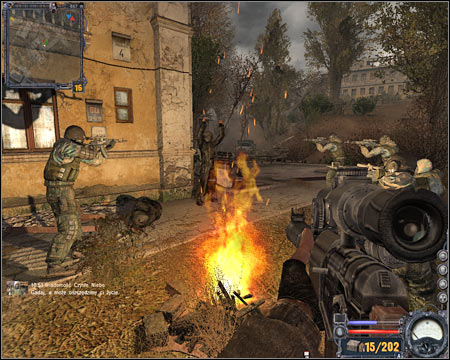
Two bandits are being held hostage here. You may help one of the bandits by giving him your medical kit or you can wait for them to be assassinated by Clear Sky troops. You won't have to talk to the first leader. Instead, move on to the next section of the map. I wouldn't recommend choosing the main road, because an ambush has been set up here. Instead, choose an alley to your right (screen). This will allow you to pass on to the next area safely, however you should avoid straying off the main paths later on. The main reason is that you may encounter anomalies.
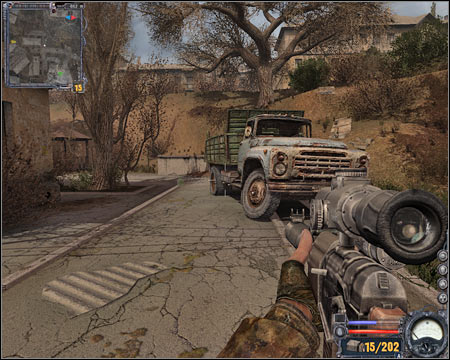
Keep heading north-west. You should be able to reach a new area in just a few seconds. Notice that two fractions are fighting here. The bandits are hidden inside the left building and Monolith units are just around the corner. Let's start with the bandits. Choose a sniper rifle from your inventory and disable a machine gun post on the first floor (screen). Eliminate a few bandits from here as well. They should appear near the windows on the ground floor.
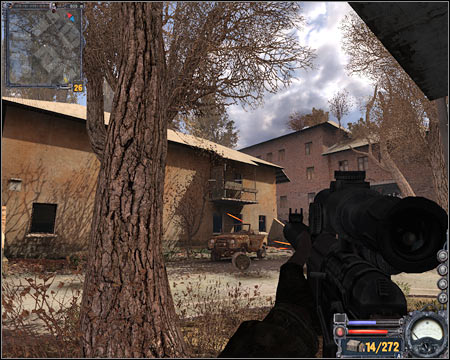
Once you've taken care of the bandits, it's time to switch your attention to Monolith units. Thankfully, Clear Sky soldiers should advance to this area in the meantime and they'll take care of most of the hostiles. Get closer to a nearby crossroads and you'll receive a warning about a sniper threat. You can take him out yourself (screen) or you can wait for your colleagues to do this for you. Either way, you must head north.
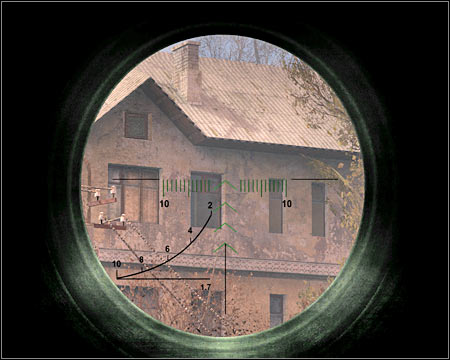
Eventually you'll get closer to a large square. I've already mentioned that you must be very careful here, because there are additional snipers in some of the nearby buildings. Try eliminating at least a few of them before moving on. Once you're ready, head north quickly (screen) and eliminate only those soldiers who stand in your way of leaving this area.
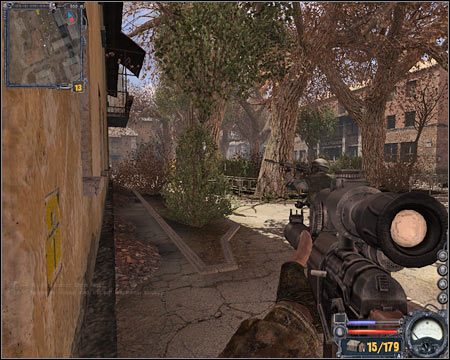
You should consider finding a good cover along the way, because you'll need to reload your weapon and you'll also have to heal your character. Sadly, you can't stay here for too long, because more Monolith will eventually show up in this area. Keep heading north until you've reached a large street (screen). Turn around and make sure that you're not being followed.
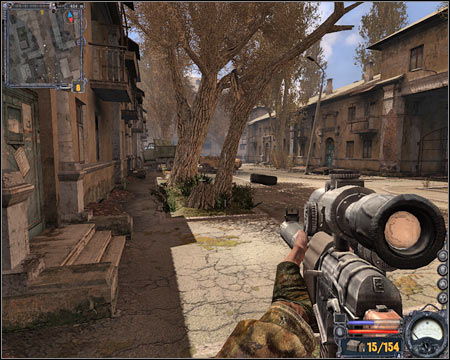
I've already said that you won't be allowed to travel north here, because you would have been killed by some very powerful anomalies. Instead, you'll have to turn right. Notice that there is a destroyed gate here (screen). Approach the gate and enter a new area of the map. The good news is that you may feel safe here. Keep heading towards the large building, located to the north-east. Use the stairs and enter the building.
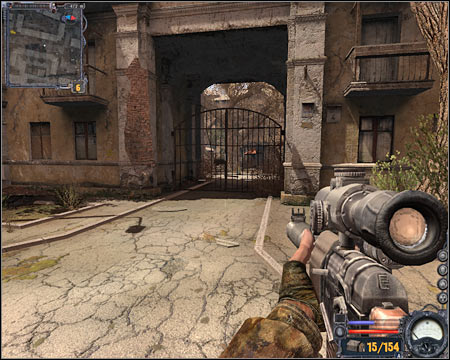
Now you'll have to explore a few smaller rooms in the efforts of finding an exit. You won't encounter any enemy units inside this building. Once you've left, you'll notice that a small squad of Clear Sky soldiers is fighting Monolith units here. Approach your allies quickly and try talking to the leader of the squad (screen). Listen to his plan and wait for your new allies to provide covering fire.
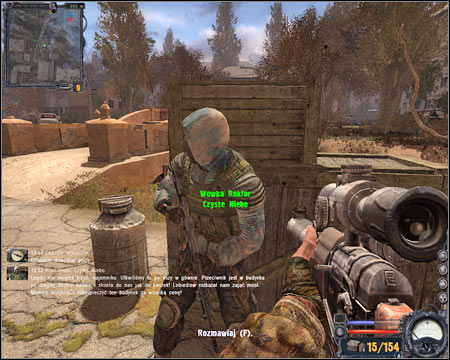
Once you've been given an order to move forward, turn left and use a nearby bridge. After that, turn right and keep moving near the large building (screen). Obviously you should be using trees and other large objects for cover. Get closer to your target area and choose a good weapon from your inventory. Shotgun will do the trick, however machine gun seems like a better choice here.
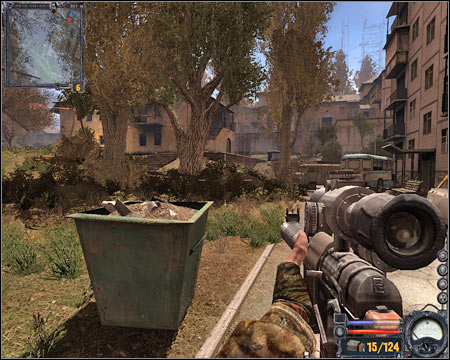
Your next objective is to secure both floors of the large building. I would recommend starting with the upper floor (screen) and then making your way to the lower one. As long as you're careful, you shouldn't sustain any major injuries here. Don't forget to talk to the leader once you've won. You should consider scouting the area for ammunition and medical supplies.
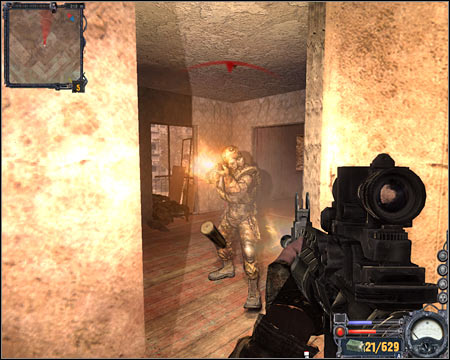
I guess you may have some problems figuring out where to go next. The exit is located on the ground floor, near the friendly leader (screen). Now you must keep heading north. There's only one main road here and you should stay on it all the time. Otherwise you may sustain major injuries or you may even die if you get too close to one of the anomalies.
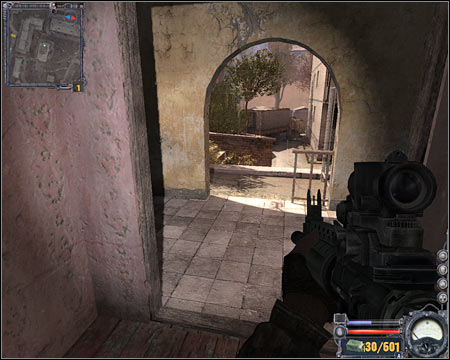
You should stop for a second or two once you've reached a road filled with anomalies (screen). Those are the same kind to an anomaly found in Red Forest, so they won't injure you, because they act as teleportation devices. As you've probably suspected, your objective will be to avoid them while trying to get to the next area. For now focus on reaching the bus. Thankfully, even if you touch an anomaly, you'll return to the area shown on the screen, so you won't have to travel a long way to retry.
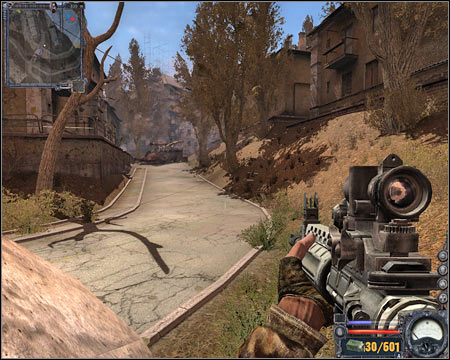
Approach the bus carefully and notice that it's blocking your way. Climb on top of the biggest crate, so you'll be standing next to the brokened window (screen). Entering the bus is tricky, because you'll have to press the second crouch key as well. After that, perform a single jump and you should be able to find yourself standing inside the bus. Exit through the nearest door and proceed to your current destination.
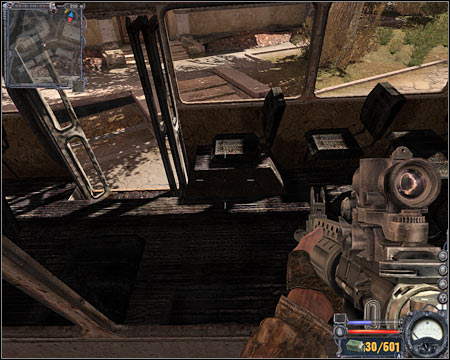
It shouldn't take too long for you to get to the next area of the map. Notice that there's only one passageway here. You must use the stairs to get to the construction site. Make sure to choose a good assault rifle from your inventory.
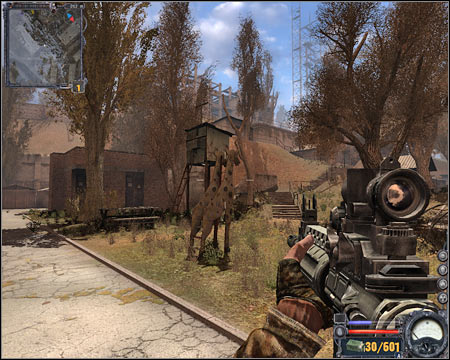
The construction site is being defended by about 20 Monolith units. Sadly, your job will be to get rid of ALL OF THEM. You can't proceed to the exit unnoticed. Start off by securing the area near the entrance to the construction site. You can consider throwing a couple of grenades at Monolith soldiers. Obviously you shouldn't be standing in the open (screen). Be careful, though. Enemy soldiers may decide to throw grenades at you. Avoid them at all costs.
This battle can go many ways, depending on how good you are and how your enemies will act. Remember that Monolith soldiers won't stay in one place. Instead, they'll keep changing their positions. You'll have to be patient and prevent them from surprising you, especially when it comes to using grenades. One of the most dangerous areas is located to the left of the entrance (screen). Use all your grenades here and also consider leaning out for better protection.
It's also going to get very difficult inside a large concrete building. Get ready to scout some of the upper floors for enemy troops. Use pillars and other large objects for much needed cover and focus on eliminating enemy troops from larger distances. Once you've won, make sure to check all floors and take your time to collect additional supplies.
The only exit from the construction site can be found in an isolated area to the north. You can't get there from the ground floor. Instead, you'll have to go to one of the upper floors of the big structure. Find an opening (screen) and climb down carefully. Approach the gate and you'll find a large hole beneath it. You will come across a small group of Clear Sky forces here.
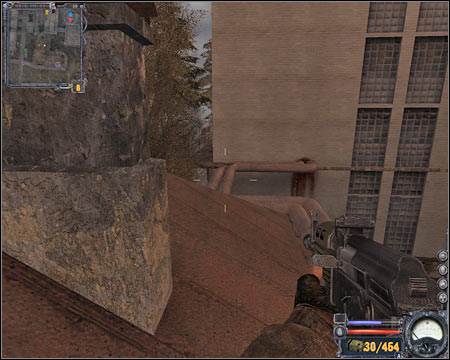
Wait for your new allies to start moving north and follow them. You should receive a warning that an enemy sniper is hiding inside the tower. Sadly, you won't be allowed to kill him from here. Instead, take cover near the leader of this small squad (screen). You'll find out that you'll have to disable the generator, because there's an electrified fence blocking your way.
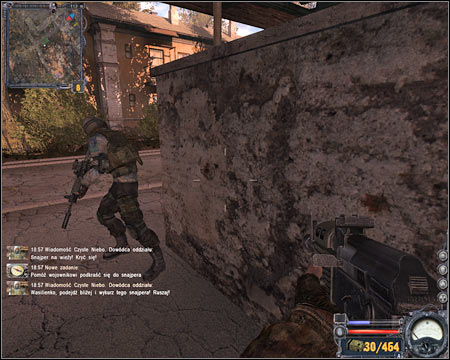
2. Find the generator
Received from: automatically once you've finished first quest
Starting point: 2 on the map
Goal area: 3 on the map
Quest description:
Choose a good assault rifle and proceed towards the eastern building. Obviously you'll have to avoid getting shot by the sniper. Enter the building (screen) and you'll receive new orders.
3. Turn off the generator
Received from: automatically once you've finished second quest
Starting point: 3 on the map
Goal area: 4 on the map
Quest description:
Don't exit this building just yet. Instead, wait for this new quest to be added to your list of assignments. You'll find a ladder inside one of the rooms (screen). Use it and you'll end up in the attic. Now you must find a small hole. Use it to get to the roof of this building. Start moving north-west. Obviously you will have to be careful when it comes to not falling and avoiding the sniper.
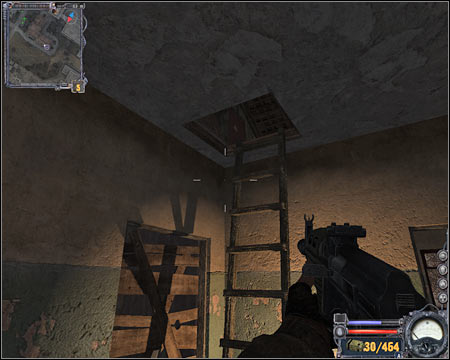
You must get to the second part of the roof. Take cover behind a chimney and save your current progress. Now you'll have to start running towards the pipes (screen) which will allow you to get to a nearby building. Take cover inside a small corridor. Lean out carefully and kill a Monolith soldier. Once he's gone, keep moving north until you've reached a ladder. Use it.

You should end up standing on an upper balcony. Destroy the crates and keep moving north. Take cover inside a small room with the second ladder. Disable the generator from here by using a switch (screen). Once this is done, lean out and kill the sniper with one of your main weapons.
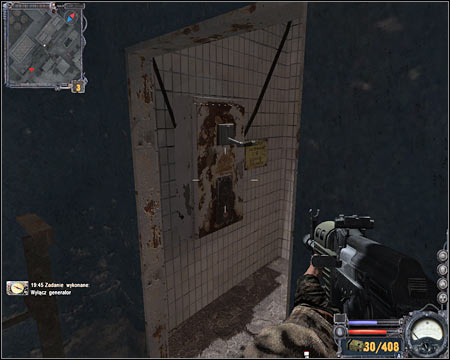
Your final assignment here is to return to the ground floor. Obviously you should consider using the nearest ladder. Make sure that there are no Monolith soldiers here before you decide to head down. Proceed to a small passageway (screen) and eventually you'll get to an exit.
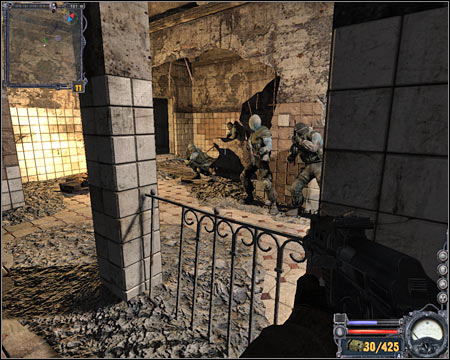
The situation here is similar to Agroprom Sewers which means you won't be allowed to use your personal map. Thankfully, there's nothing you should be worried about, because this level has a very linear structure and you'll be operating in small rooms. As for threats, you'll be dealing with a lot of Monolith units and you're going to have to take down an enemy helicopter as well.
1. Find a way to reach the nuclear plant
Received from: n/a
Quest description:
The first quest is similar to the one from Limansk, because all you have to do is to find a passageway leading to the nuclear plant. Obviously you will be given an opportunity to participate in a few side challenges along the way. You'll start the game in a small canyon, however there's only road leading to your current destination. Start moving forward and make sure that you've listened to a short transmission along the way. Enter the hospital area through a destroyed entrance (screen).
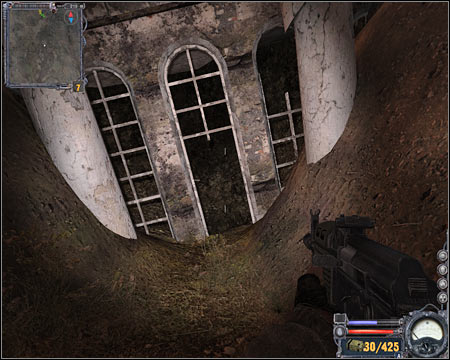
You shouldn't have any problems reaching the stairs. Proceed to the upper level and eventually you'll get to an area where a small group of Clear Sky soldiers is trying to get rid of enemy units. Watch a short cut-scene and you'll find out that you'll have to take down an enemy sniper. Approach your colleagues (screen) and wait for them to provide covering fire for your main character.

I wouldn't recommend trying to kill the sniper from here, because you'll fail. Instead, you will have to wait for a right moment to make a move. Proceed to the right corridor (screen) and find a good cover in order to avoid sustaining major injuries. Get to the closest staircase and proceed to a lower level of the structure.
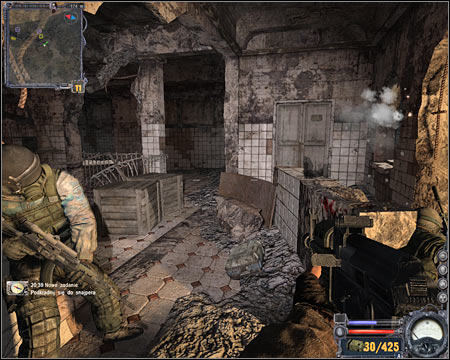
Once again, you'll have to wait for your colleagues to provide covering fire. During that time you must reach a new staircase which is located directly in front of you (screen). Obviously you should use a sprint button to speed up this process. Use the stairs to go back to the upper balcony.
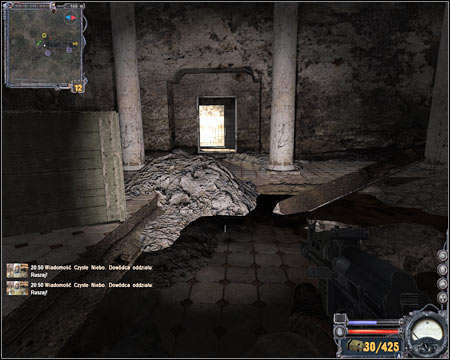
Be careful - Monolith soldiers are occupying the area near the stairs. You will have to deal with them quickly, so you won't receive any major injuries. Now you should consider switching to a sniper rifle. Start leaning out and use the sniper rifle to eliminate your targets from a larger distance (screen). Watch out for grenades! They may land near your position and it's extremely important to avoid the explosions.
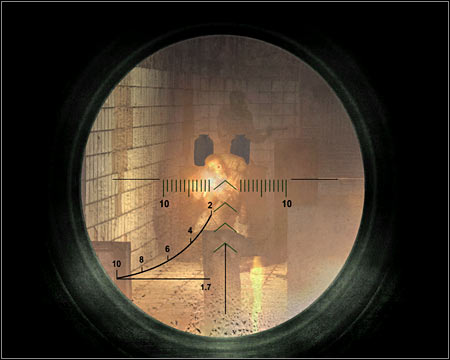
You should be able to get to a wooden bridge eventually. Watch out for enemy units here. Enemy soldiers will arrive in the area in a few seconds and you'll have to kill all of them in the first place. Proceed to the opposite balcony once it's safe to use the bridge.
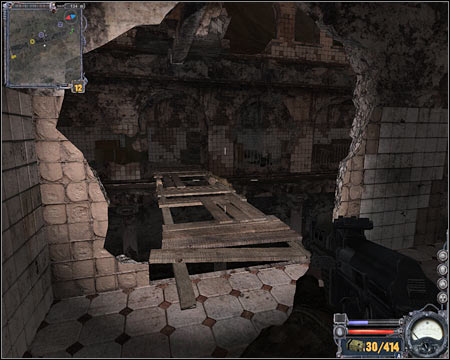
Now you'll finally have a chance to focus on getting rid of an enemy sniper. Turn left once you've reached a new balcony and proceed forward. After that, turn around a choose a sniper rifle from your inventory. You shouldn't have any problems eliminating your target from here (screen). Notice that your allies have begun moving. Also, a new group of Monolith soldiers have appeared in front of you. Use the fact that Monolith units are focused primarily on hunting down your colleagues and kill as many of them as possible from here.
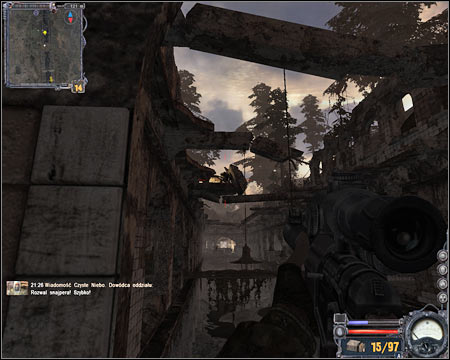
Go back to the wooden bridge the same way you came before. Notice that one of your allies is placing an explosive charge on the metal door (screen). Move back and wait for an explosion to occur. That's not all. A second person is going to drop a grenade to the machine gun nest, so you won't have to worry about disabling it yourself.
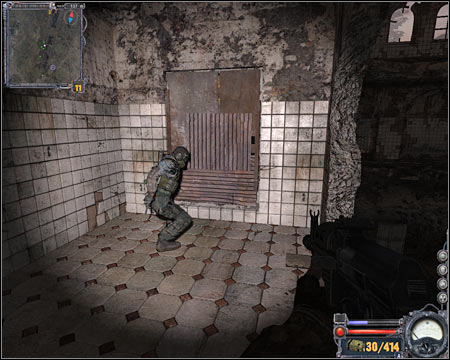
There's a tunnel to your left and obviously that's where you'll have to go. Once you've arrived to the next area, focus on securing some of the nearby balconies (screen). You should also pay special attention to staircases, because they're going to be guarded by enemy troops. Try eliminating as many enemy units as possible before a helicopter arrives here.
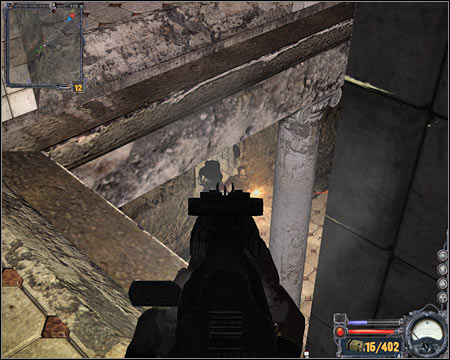
This is going to be a rather typical boss battle. Obviously your objective is to take down the helicopter and you can monitor its state with a health bar located in the upper right corner of the screen. Thankfully, it's a rather easy segment, mostly because the gunship won't use any rockets to hunt you down and it has a weak armor. Make sure that you're using the pillars for cover, keep leaning out for a short period of time and use on your assault rifles to damage the helicopter (screen).
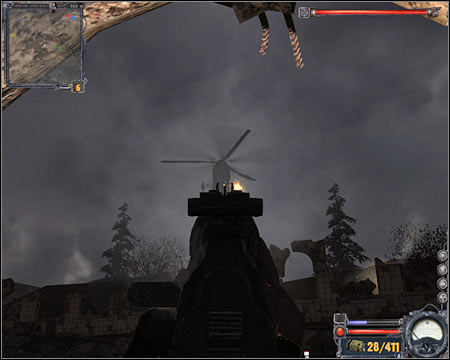
Sadly, a helicopter won't be the only threat you'll have to deal with, because more Monolith units will show up in the area. There's going to be only a few of them. Keep shooting at the helicopter until it catches on fire and explodes (screen). Choose a sniper rifle from your inventory and deal with the remaining Monolith forces before moving on.
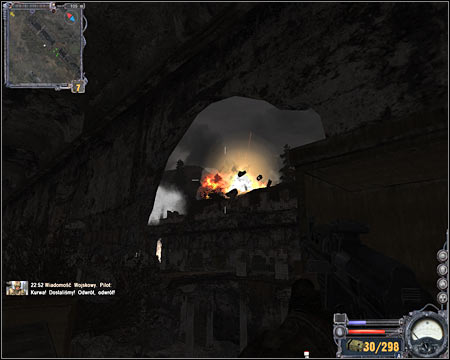
Now you'll have to get to an area where the helicopter has crashed. Notice that a new corridor is accessible from here (screen). Head down to a lower level and keep moving forward until you've reached a new staircase. You must proceed to the lower floor. Approach the new room carefully and save your current progress.
Lean out carefully and use a sniper rifle to take down a few of your opponents. Try getting closer to your current destination, but you'll notice a machine gun post in front of you. Move back to the previous corridor quickly. You will have to defend yourself against Monolith soldiers for about one minute. Focus only on those soldiers who are brave (and stupid) enough to approach your position.
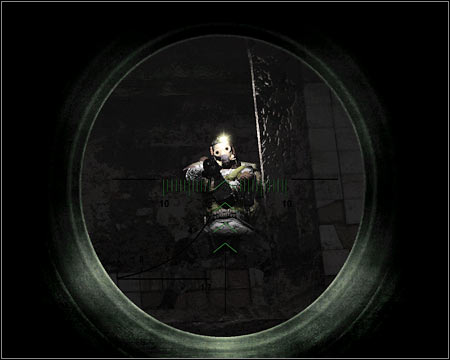
Once the time limit has passed, you should notice that Clear Sky forces have begun showing up in the area. Your allies are going to be successful in destroying both machine gun posts. I wouldn't recommend waiting for them to secure this entire area, because it'll take too long and more Monolith units will arrive here in the meantime. Instead, start running forward. You'll have to reach a new corridor (screen). Approach the exit and confirm that you want to travel to the nuclear plant.
Sadly, this time you're going to spend less time near the main plant. Depending on your skill and luck, it'll take you about 10-30 minutes to end the game. Obviously the main difficulty are going to be Monolith soldiers. There's a lot of them in this zone and you'll have to be ready to encounter even more, because they'll keep teleporting themselves to your location. You should also know that you'll be visiting smaller balconies and platforms, so killing them is not going to be easy.
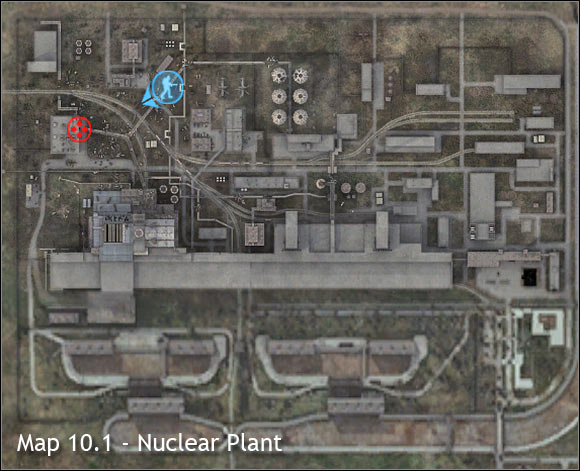
Important! I didn't add any annotations to the map, because the entire level can be played out differently each time you've been here. Instead, I've focused on adding a lot of tips on how to hunt down Strelok and how to successfully eliminate Monolith troops.
1. Deactivate Streloks' psionic armor
Received from: Lebiediew (Nuclear Plant)
Quest description:
Once you've reached the plant, you're going to be rewarded with a cut-scene. Listen to what Lebiediew has to say and notice that there are other Clear Sky soldiers nearby. You'll receive your task shortly and you'll be transported to a new area. Once you've arrived at your first destination (screen), make sure that your main character is able to carry some of the new items, because you've been given two new guns - FT200M and EM1 Cannon. If not, drop some of the less powerful weapons quickly, because you won't need them anymore.
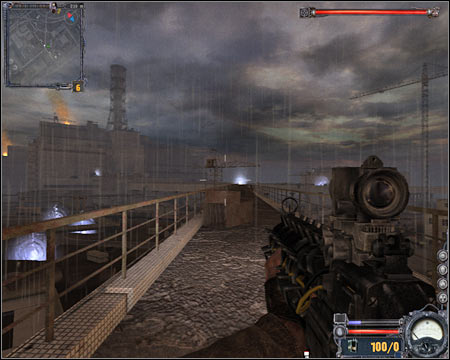
A small emission is going to take place here shortly. You won't have to worry about anything, because you'll find yourself standing in a similar area. Watch a new cut-scene during which you'll notice Strelok. Crouch once you've regained control over the main character, because there may be an enemy sniper in the area. Notice that you can head down to the ground floor if you turn around (screen), however it won't be necessary.
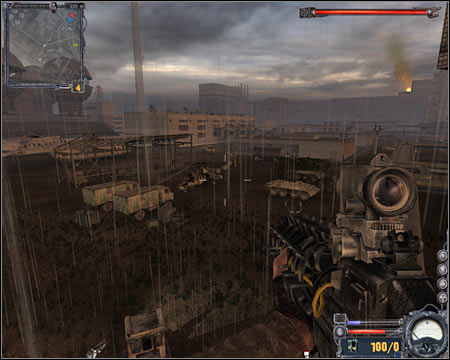
Make sure that EM1 Cannon is your primary weapon at the moment, because this is the only gun capable of injuring Strelok (you can see his health bar in the upper right corner of the screen). Use your personal map to pinpoint his location. Remain where you are and try to hit him a few times from the cannon (screen).
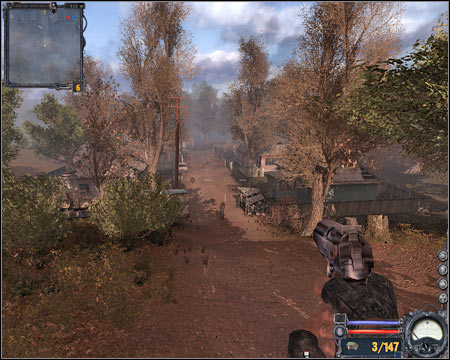
Ignore the fact that Strelok is losing small chunks of energy, because you won't have to worry about him fighting back. Bear in mind, though, that he's moving all the time. Wait for him to expose himself and shoot him at least 2-3 times (screen). This is when you'll be given a chance to inflict more damage to his unique armor.
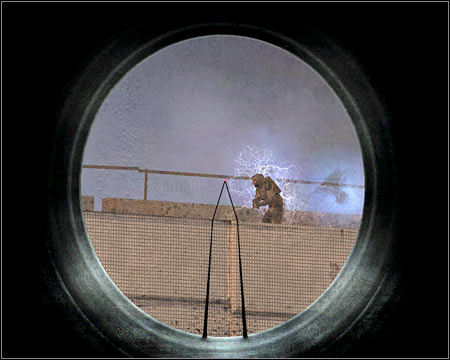
If you're lucky, Strelok's armor is going to be completely destroyed even before he succeeds in escaping. Otherwise you'll have to chase him. This means you'll have to start using teleportation devices, similar to the one presented on the screen (screen). I'm sure that you remember these anomalies from the previous game of the series.
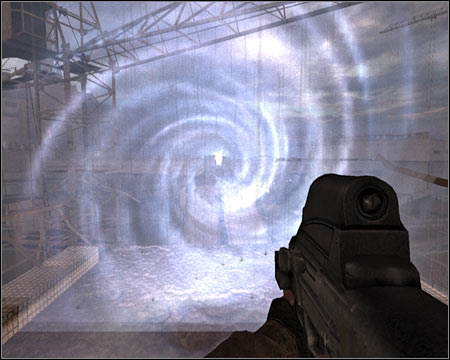
Unfortunately, it's very difficult to stay alive when you're moving from one place to another, because you're going to be attacked by a lot of Monolith units. The saddest thing is that they're going to teleport themselves each time to surprise you, so you'll have to be ready to engage them (screen). Use a sniper rifle or your newly acquired assault rifle to get rid of them.
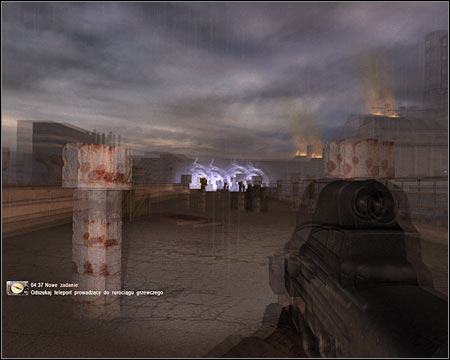
If you're able to succeed and to disable Strelok's armor, you will be presented with a short cut-scene. Now you must only wait for the final FMV to be displayed on your screen. Congratulations for surviving and finishing the game!
Important! Most of the hints included in this second chapter of the guide are addressed to less experienced players. If you've spent a lot of time with "Shadow of Chernobyl", you will find most of these clues familiar or even obvious.
First of all, you will have to remember that "S.T.A.L.K.E.R.: Clear Sky" is not as easy or straightforward as other FPS games. It also has a lot of RPG elements which makes it more like an "Oblivion" or "Gothic" type of game. The most important thing you should remember about is that you're free to explore all the maps, without having to stick to main roads or narrow corridors. The world is divided to several sectors and you can visit them in any order, however travelling to some areas too soon may result in a quick death, especially if you don't have proper armor and guns at your disposal. The easiest way to find out the correct order is to focus on completing main quests, so you won't have to worry about the difficulty level rising rapidly.

You are free to go where you like, however you must be careful each time you've entered a new territory.
I guess I won't surprise you by saying that it's very difficult to survive in the zone, especially if you're not playing on the lowest difficulty level. You may have a different opinion at first, but I'm sure you'll agree with me once you've spent enough time exploring this postapocalyptic world. Your character may lose his life in a blink of eye and even by mistake, so you'll have to plan your each move and think about the consequences. Some of the most important reasons to stay cautious are the anomalies. If you ignore them, you might end up getting burned, electrified or poisoned. You should also remember about the radiation. There are some medical supplies to assist you with that, but in critical situations even they can't help... and obviously you must have them in your possession in order to use them. As a conclusion, you must stay away from all hazardous areas while travelling through the sectors. The only exception is when you're looking for stashes or artifacts (you can read more about those in the final section of the chapter).
Another important issue is to save your progress as often as possible. Your first "line of defense" are quicksaves, however you'll have to be careful when using them. You only have one slot for quicksaves, so if you save your progress in a dangerous situation, you won't be allowed to revert that. As a result, you should also create standard saves from time to time. I would recommend having at least 15-20 of them, especially since you may encounter various glitches and bugs and it can force you to go back a little to try again. Each time you plan on saving the game, make sure that you're not surrounded by any enemies, especially if you're travelling at night.
Anomalies are very dangerous and getting too close to most of them will result in a quick death.
"S.T.A.L.K.E.R.: Clear Sky" offers complete day and night cycle. This has its perks and disadvantages. As for what you can gain, it's much easier to surprise enemy units at night, especially if you turn off your flashlight and decide to use a silenced sniper rifle. The main disadvantage of moving at night is that you have to deal with a limited field of view. This means you won't be able to notice the anomalies or some of the monsters as fast as you'd wish.
Another crucial matter when it comes to survival is to identify enemy units and assess the threats. Check the next section of the guide if you want to find out more about the fractions. For now let's focus on something else. First of all, you'll have to remember that it's very unwise to attack someone who is much stronger than you or to come in contact with larger groups of enemy units. If you're surprised by these types of encounters, I would recommend that you run away. If it's not possible, find a good cover and eliminate your foes one by one. It's always a good thing to wait for allied units to show up, because you'll be much stronger as a team and you won't have to worry about your enemies focusing their attacks only on your main character. Watch out for heavily equipped soldiers and powerful mutants, especially since they can't get to you in a matter of seconds.
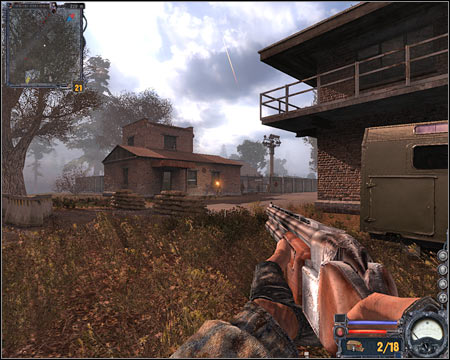
It's not wise to attack larger groups of enemy units. One of many examples is the military base in Cordon. Stay away from this area if you don't want any trouble.
You will be dealing with very similar enemy units to the first game, so if you've played "Shadow of Chernobyl", you shouldn't be surprised by these encounters. Obviously you'll come across members of different fractions, but for now let's focus on the mutants. You'll encounter a lot of boars and wild dogs early during the course of the game. The boars are easy to kill, but the dogs are much tougher opponents. The main problem is that they're fast, so you'll have to be a skilled player to eliminate them before they're able to bite you and inflict massive injuries. Later on during the game "jumpers" will begin to appear more often. Make sure to perform dodge maneuvers to avoid their primary attacks. You'll also be dealing with invisible creatures, so you'll have to be careful in order to prevent them from surprising you. To be honest, the only enemies you don't have to be afraid of are the zombies. They're very slow and they won't attack you unless you provoke them in some way.
Human enemies in "Clear Sky" are much smarter than they were in "Shadow of Chernobyl". The main reason for that is that they're capable of using grenades against you. Furthermore, it's very difficult to avoid the grenades, because you'll receive a warning at the last second and it's often too late to avoid the explosion by running away or finding a good cover. As a result, you'll have to observe how they react and attack them from larger distances whenever possible.
Watch out for invisible creatures, especially when you're travelling by night.
I've already mentioned that the Zone is divided into several smaller sectors. Each sector works independently from other areas of the map, however you're allowed to travel between the sectors whenever you want to. Check my walkthrough for detailed maps of each location.
The easiest way to travel between the zones is to use passageways. These areas can be found on the outskirts of each sector. You should know that in some cases you won't be allowed to use a passageway, due to quest restrictions or powerful enemy units defending such an area. A new feature in "Clear Sky" is the presence of guides. Usually you can find several guides on each map. By talking to them you can ask them to guide to a place of your choice. Obviously the main advantage of using their skills is to shorten the amount of time needed to get your destination. Sadly, there are far more disadvantages. Guides can't take you anywhere you want to and they won't help you for free. Travelling to another part of the same sector is cheap, however if you want to go somewhere else, you'll have to pay a lot more and it's just not worth it. You won't have a lot of money during the game and you're going to want to spend what you've earned on something more useful, like upgrades for your guns and armor. You should also remember that by travelling alone you can always focus on exploring the area or you can use a detector to find precious artifacts.
If you decide to follow the main plot, you probably won't return to some of the previously explored zones. To be honest, the only two exceptions are Garbage and Red Forest districts. It may seem like a good idea, however don't forget that can often score rewards for completing subquests and it would be unwise to ignore collecting them. Sure, it means that you have to go back to Cordon or Swamps, but the rewards are worth your time and they may help you in your main quest.
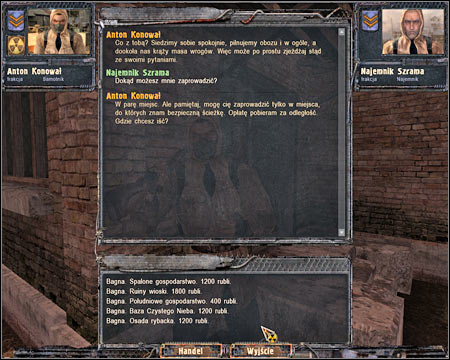
I wouldn't recommend spending your money on guides, especially since by going alone you can focus on exploring area and maybe even complete a few additional miniquests.
The world of "Clear Sky" is a home to six main fractions - Duty, Freedom, Stalkers, Military, Bandits and Renegades. If you want to find out more on how to win battles for each fraction, check the description for the Swamps area. You should know that the power of each fraction changes in realtime. It can depend on a lot of elements and obviously you'll be allowed to play a major role in leading your fraction to victory or destroying a hostile organization. The key to success is to attack the members of a fraction you're fighting with and to prevent your allies from dying too often at the same time.
As for the differences between the fractions, two of them are going to be hostile towards you when you start the game. I'm talking about the Renegades and the Military. This means you're going to be shot without receiving any warnings, so you have to be careful on how you'll decide to play things out. It's a little better with the Bandits, however you must remember that soldiers of this organization will decide to mug you whenever they have an opportunity to do so. Nevertheless, if you're skilled (and stubborn) enough, you may be able to join them (their main outpost is located in Garbage). I wouldn't recommend doing it if this is your first time with the game, because Stalkers will automatically become your foes and it can make your progress more difficult.
As for three remaining fractions, they should be friendly towards you by default, however you'll still have to perform a large number of tasks for them to prove that you're useful. You should also know that many of the main quests are tied to these three fractions, so you should be careful while going to war with one of them. If you've played the first game then you should know that Duty and Freedom are hostile towards each other. If you decide to become a member of one of these fractions, you'll probably become an enemy of the other one. Freedom in my opinion is stronger here, because it controls a larger number of territories.
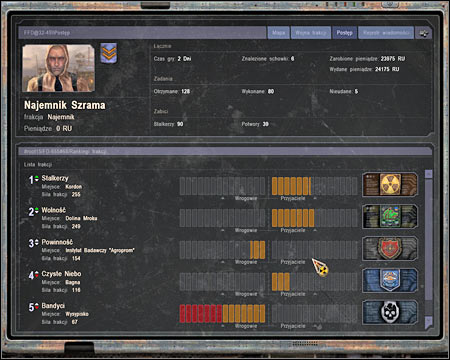
Your PDA can display a lot of information about the fractions, including their actual strength.
Managing your equipment is a very important issue, especially since you won't collect experience points nor advance to higher levels. The first thing you should know about is that you can't carry an unlimited number of items. Instead, you'll have to notice that your main character can carry up to 50 kilogrammes of equipment. You can add a little more than that, however it's risky. If you exceed the limit by only a few kilogrammes, you'll result in your main character getting tired more often and you won't be allowed to sprint. If it's a bigger difference, your character won't be able to move, let alone explore the environment.
I would like to recommend you two possible behavior styles when it comes to choosing the equipment. The first idea is that you carry two light armors with you and fewer guns. The first armor should be used during the battles and the second one would increase your resistance to radiation or poison while exploring the Zone. If you're not feeling too comfortable with having only 1-2 guns in your inventory, you can consider choosing a second pattern. In this case you should have 2-4 guns with a sufficient amount of ammo for each weapon. The downside is that you can only have one good armor and you'll have to repair it as often as possible. This is a better choice is you prefer engaging your enemies in firefights, instead of spending free time roaming the environment or searching for artifacts.
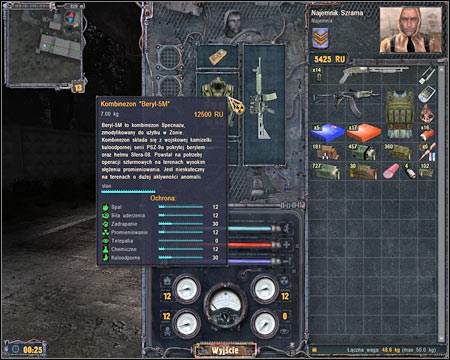
Having two light armors is a good idea, especially if they have a different use.
You should know that the state of your equipment deteroriates when you use it. It's easier to notice when it comes to wearing armors, because you'll damage them with each time you take a hit. Oddly enough, you should be more worried about keeping your guns in good shape. The reason is simple - damaged weapon can stop firing from time to time and you'll have to reload it before you'll be allowed to continue shooting at enemy troops. I guess I don't have to tell you how important this is during a massive firefight. Thankfully, you can repair your weapons and this can only be done when you find a friendly character with proper skills. The most obvious choice here are the mechanics. There's at least one mechanic in each base. Sadly, it's going to cost you quite a lot of money to repair your equipment, but it's still cheaper than buying new weapon and easier than finding a replacement.
Mechanics not only can repair your equipment, but they can also upgrade it. You can ask a mechanic about his specialization or you can find out yourself by telling him to show you what types of upgrades are available for each element of your gear. Upgrades can be divided into two categories. The first category are weapon upgrades. You can decide to improve the precision of a gun, reduce the recoil (especially important when you're dealing with an assault rifle) or increase the size of a clip. The second group are armor upgrades. In this case you should invest in new bulletproof vests and increase the resistance to radiation. You can also consider adding at least one new slot for artifacts, but only if you have a lot of good ones in your possession.
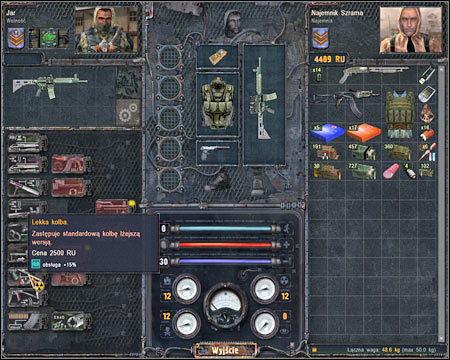
You can always ask a mechanic to repair or upgrade your equipment. Most of the mechanics can be found inside large camps and bases.
Collecting artifacts was kind of easy in "Shadow of Chernobyl". I guess you won't be thrilled to hear that it's far more complicated this time to acquire them. First of all, you'll have to choose a detector from your inventory, because otherwise you won't see any artifacts, even if you're standing next to them. As you've probably noticed, this item is held in the left hand of your character which means you aren't allowed to use any heavier weapons at the same time. The only exception are pistol and revolvers.
Once you've chosen a detector, you can start exploring the surrounding area. Stop once you see that the white lamp has started blinking. The faster it blinks, the closer you are to the artifact. You should know that you can't focus only on getting to the artifact, because you'll have to avoid the radiation and dangerous anomalies at the same time. Furthermore, some of the more precious artifacts tend to move from one place to another, so you'll have to acknowledge that while trying to locate them. Once you're close enough to the artifact, it should reveal itself to you. This is your chance to collect it. Good luck!
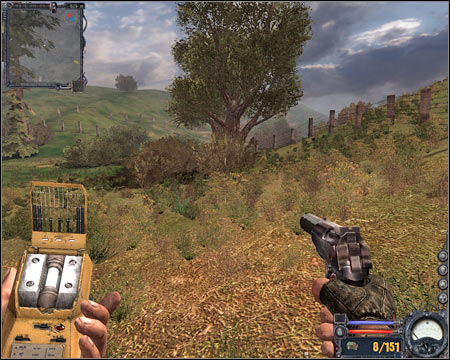
You must use a detector if you want to find artifacts.




 Sword Coast Legends Game Guide & Walkthrough
 Saints Row: Gat out of Hell Game Guide & Walkthrough
 Scarface: The World is Yours Game Guide & Walkthrough
 Soul Calibur IV Game Guide & Walkthrough
 StarCraft II: Heart of the Swarm Game Guide & Walkthrough