

Farming Simulator 2013 is another installment in the very popular - amongst many players - series of games. The guide features complex information regarding all aspects of the game:
Maciej "Psycho Mantis" Stepnikowski and Asmodeusz ()
Translated to English by Jakub "cilgan" Lasota and Aeth

Move

Look around

Sprint

Jump

Enter vehicle

PDA / next page

Next PDA page

Shop

Game menu, maps

Slow time

Speed time

Information window

Steer vehicle

Move camera

(mouse wheel up/down)
Zoom in / zoom out

Switch between vehicles

Cruise control - level 1

Cruise control - level 2

Cruise control - level 3

Cruise control - harvest level

Attach / detach implement or trailer

Switch between attached tools

Hire / dismiss worker

Lift / lower tool

Refuel vehicle or machine

Move

Look around

Jump

Enter the nearest vehicle

Turn on/off the flashlight

Turn on/off the shop screen

Sprint (hold)

Activating a point on the map (e.g. egg, land purchase)

Move to the last/next vehicle

PDA (switch screen)

PDA (further options of a given screen)

Menu

Control (left/right: turn; up/down: set cruise control)

Look around

Change camera (behind the vehicle/inside the cabin)

PDA (switch screen)

PDA (further options of a given screen)

Gas pedal

Brake / reverse gear

Attach/detach an implement from behind or at front

Switch between attached implements

Exit the vehicle

Turn on/off the shop screen

Move to the last/next vehicle

Zoom in/out the camera

Turn on/off the lights

Honk

Turn on/off waning lights

Tank (press beside a gas tank)

Menu

A function key for implements; most often used for spreading and folding a device, e.g. the cultivator, the sowing machine, sprayers, harvester etc.

A function key for implements; most often used for lowering and raising the sowing machine, harvester etc.

A function key for implements; most often used for starting them up, for example turning on the harvester, sprayers or balers.

A function key for implements; used only with some of the equipment, for example to issue the pipe in a combine harvester or in the plows to begin creating a field.

Filling up devices: the sprayer, sowing machine, manure spreader etc. (each one in at a proper place).

Unloading the contents of a trailer, baler etc.

Hiring a worker; available only with some devices, like the cultivator, combines and some sowing machines.
This section is devoted to the most important locations in the game and the equipment we can find by moving around the map. We start the game near our machinery fleet around which the most crucial structures are built. The first and most important are the grain silos. It's there that we can store the collected crops while waiting for the prices to go up. Keep in mind that if you store the grains for too long, they will slowly start decaying, so make sure to sell all of them from time to time. As mentioned before, each silo stores different kind of crops, and we can determine their contents by the drawing on the side.
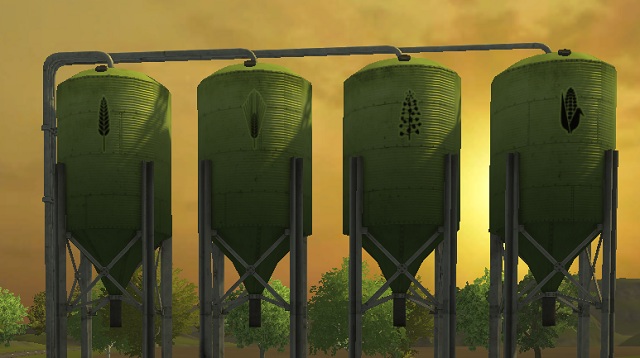 Grain silos. From left: wheat, barley, rapeseed and corn.
Right next to the silos are storage buildings where you can store sugar beets and potatoes. Unloading is done directly onto the heap (under the roof), whereas loading can be done on the other side of the building - place the vehicle underneath the conveyor belt and wait until it fills up.
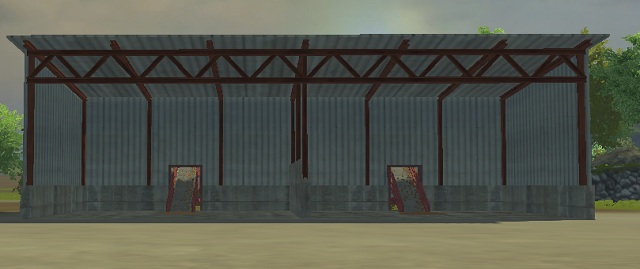 Storage buildings for sugar beets and potatoes. You can collect them from under a conveyor belt on the other side.
The next crucial element at the site is the seed station. Here's where you refill your sowing machines before setting out into the fields.
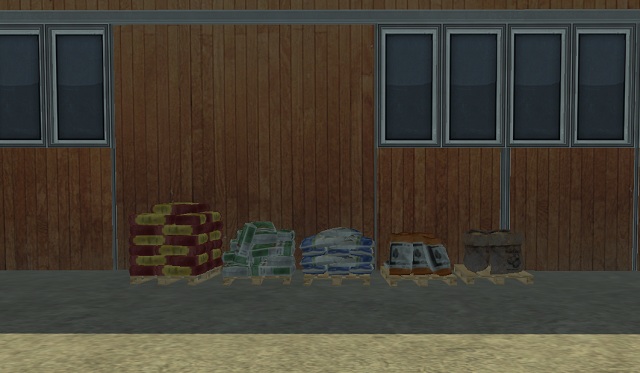 Seed station.
The next equally important structure is the fuel station. There are several of them on the map, each one for the same purpose - to tank our vehicles. Simply drive the vehicle next to the station and press the button responsible for tanking.
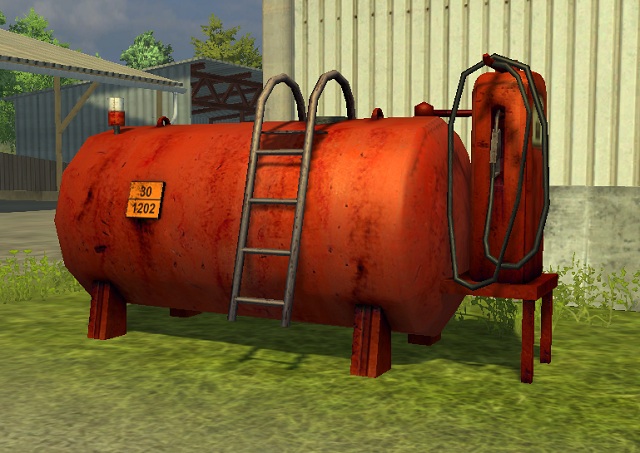 Fuel station.
On the other side of the main site there is also a manure tank. Here's where you refill sprayers before driving out to the field. In the later stages of the game we will be able to produce our own organic manure (dung) as a by-product of animal husbandry.
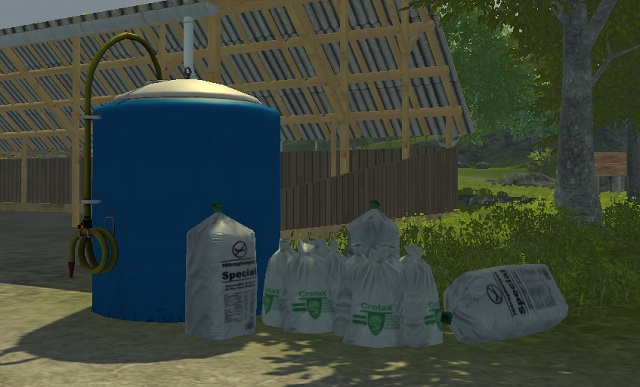 Manure tank.
The next building we have in our starting location is the selling station for straw and hay. If we have a surplus, we can leave it there to repair our account. Simply unload the trailer inside the building and you will receive an automatic payment.
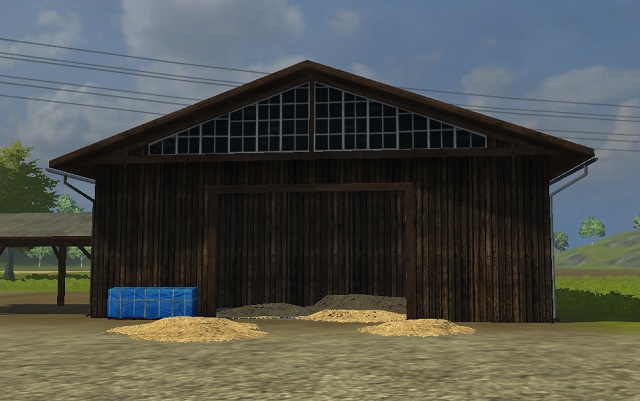 Selling station for straw and hay. Unload the trailer inside and you'll receive money.
The last structure worth mentioning is the chicken farm - all chickens we buy in the shop are put there. Our job is to pick up the eggs they lay one by one and bring them to the selling station. If you haven't reset the location of the machines, you go there by pressing TAB and jumping to one of the tractors.
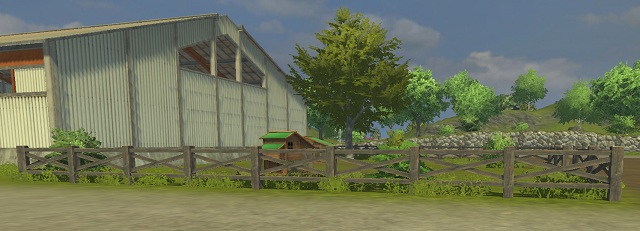 Chicken farm near the starting location.
To make the work easier, we have been given two devices to our disposal: the map of the whole area and a personal digital assistant (PDA), which help us gain information on the surroundings, our fields, their state and utilization, vehicles in our possession, weather, prices of agricultural produces and finances. Below is a short description of the available options.
By pressing ESC we gain access to four windows: Description, Settings, Map View, Select Equipment. The first one repeats the info we were given while loading the game. The second one allows us to change the settings of the game, i.e. speed up or slow down time (we can also do it by pressing 7 or 8) - further details as to how it affects the game can be found in the Cultivation - Grains section. Other options are used rarely and serve to adjust the game to our needs.
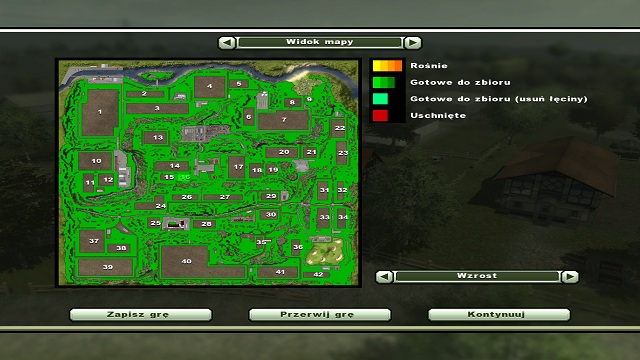
The next window - Map View - is one of the most important in the game. It not only allows us to view the whole map of Hagenstedt, but also displays our fields (green), what plants we grow on them and their current status. Thanks to this we can easily determine which crops have ripened and require cutting, or which areas are ready for another sowing. At the bottom there is a button we can use to toggle between the plants and their growth status, allowing us complete control over the field.
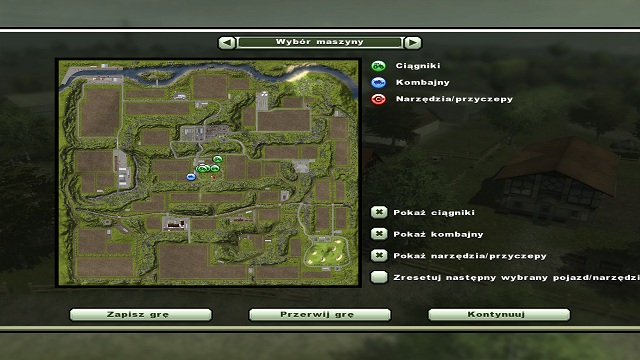
The last window is used to locate all vehicles in our possession. We can easily see that the few starting tractors are placed in remote locations - the cow and sheep pastures and eggs selling station mentioned earlier. Three filters allow us to display particular machines. The most interesting, however, is the last option: it allows us to transport any machine to the starting location. Select Reset the next chosen vehicle/implement and then click the icon of the vehicle on the map - it will be transported to our machinery fleet in an instant.
The personal digital assistant (PDA) is displayed by pressing the I button; the same button is used for browsing between the categories. Press 9 to flip pages within a selected tab.
The first page displays our closest surroundings; press 9 to zoom out a little.
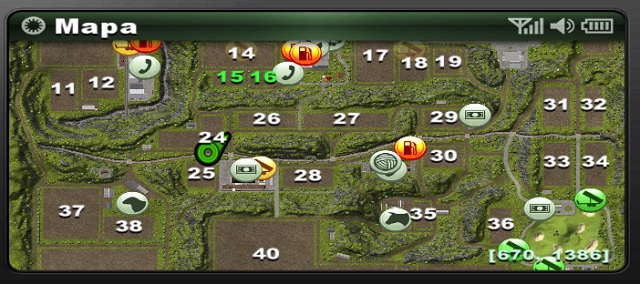
The next page shows the weather for the following days. It's particularly important for collecting potatoes - you won't be able to use certain machines during heavy rains, so make sure to check the weather beforehand and wait with the sowing if needed.
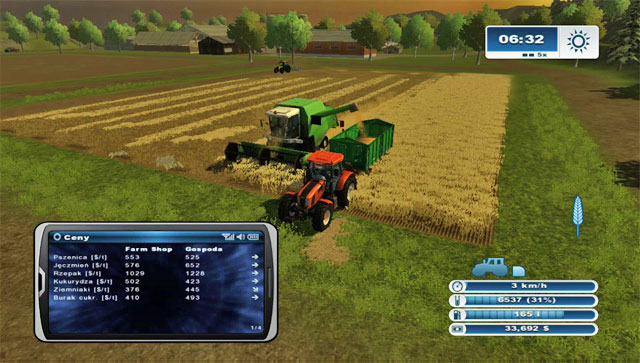
The third page is a list of prices in several stations on the map. It displays names of the products, price per unit, trend, and a presumptive increase in the demand for certain crops (indicated in green; the details are on the last page).
The fourth page refers to our finances and displays the profit and loss balance up to two days back.
The last page contains various statistics concerning the silos, our animals or the current playthrough. These data are particularly important for farmers dealing in animal husbandry.
In this section you will find short descriptions of machines that haven't been mentioned in the previous chapters or haven't been used in the tutorial at the beginning of the game.
Some sowing machines, such as HORSCH Express 3 TD, AMAZONE Cayena 6001 or Amazone Cenius 15001 don't require plowing the field before sowing. It's enough to just pick the seeds and perform the sowing process.
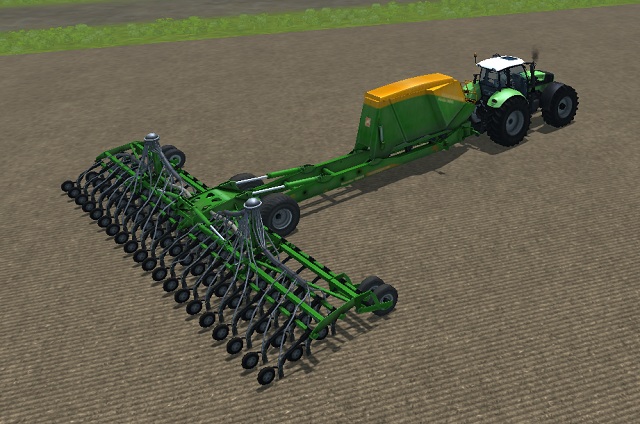 Amazone Cenius 15001 is highly effective because it doesn't require plowing.
.
Manure spreaders, such as AMAZONE ZA-X 1402, require the same fertilizer as sprayers. Sadly, they cover much less area and are therefore much slower than sprayers. Recommended only for connoisseurs.
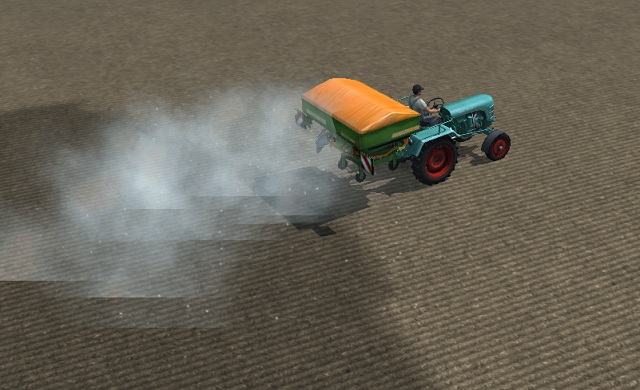 AMAZONE ZA-X 1402 manure spreader in work.
AMAZONE FT 1001 sprayer, and more specifically: additional manure container. You can mount it on a tractor in the front instead of an extender. It prolongs the time a sprayer can work in the field.
 Thanks to an additional manure container, a sprayer can work longer without refilling.
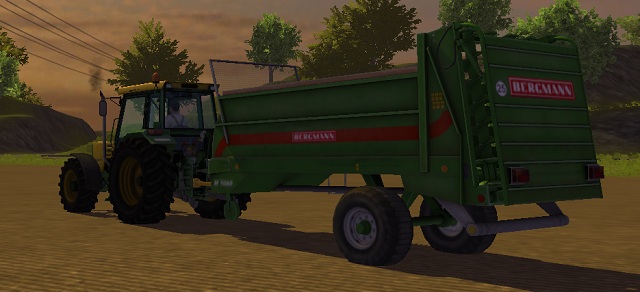
Manure spreaders, such as Bergmann M 1080 are used to transport manure produced by cows and to fertilize the fields.
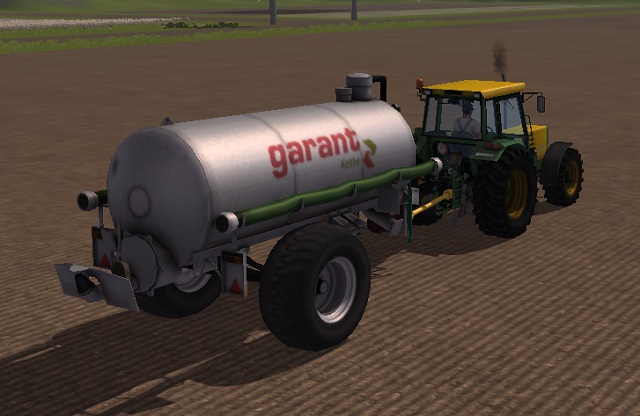
Slurry tankers, such as Kotte GARANT VE 8000, are used to transport and fertilize the fields with liquid manure.
Portable fuel tanker - fill it at the gas station and use it to tank your vehicles.
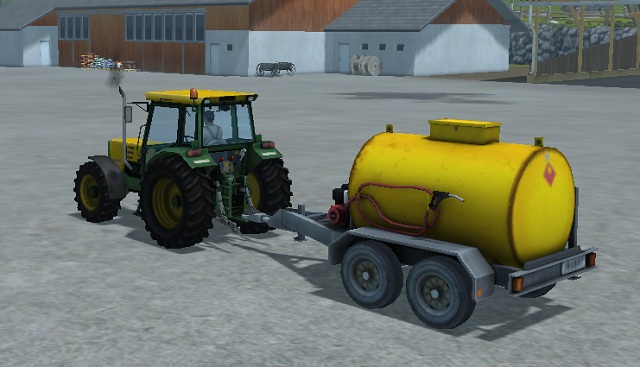
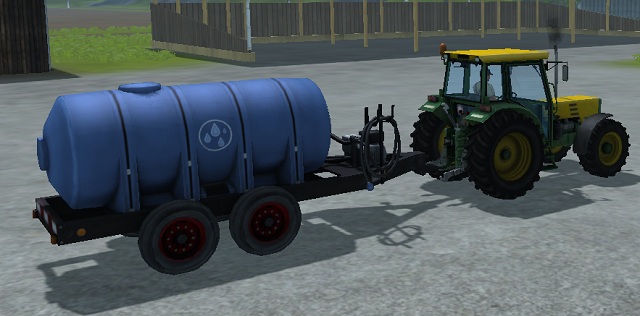
Portable water tank - used to water the plants in greenhouses. Fill it with water at the river - simply submerge it and press the proper button.
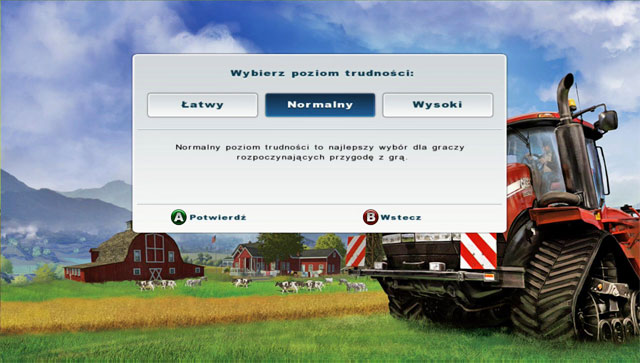 Difficulty choice screen will display after you begin your career.
The first serious choice that you will have to make is deciding on a difficulty level. There are three difficulties available in the game: easy, normal and high. Below you will find the main differences which are visible right after you begin the game on a given setting.
Difficulty level / Starting elements
Easy
Normal
High
Funds
12 000 $
6 000 $
4000 $
Level of each crop in the warehouse
around 17 000 of each
around 8 000 of each
0
Price of crops
800 - 2 400 $
400 - 1 200 $
200 - 600 $
Debt amount
50 000 $
100 000 $
150000 $
The table above doesn't cover all differences. For example, the higher the difficulty, the more expansive hiring workers becomes. In general, the higher the difficulty, the higher the expenditures and lower the incomes.
The easy level is recommended for impatient players who want to quickly develop their farm by buying new machines and fields. The normal setting should be alright for most players: you won't gain money so easily, but at the same time you won't waste your nerves and patience on slowly collecting funds. The high setting is for real connoisseurs - gaining anything requires lots of work and patience becomes the most important skill.
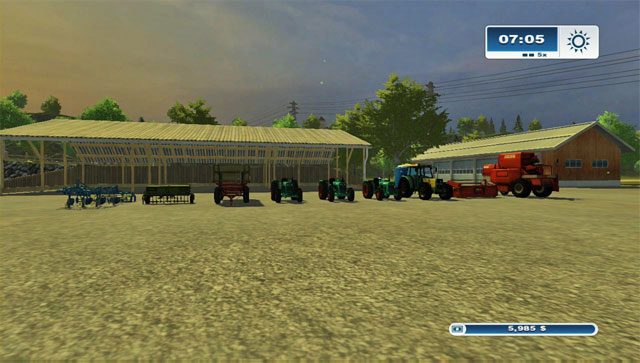 What you begin the game with.
In the beginning, on the Hagenstedt map, each of the three difficulties offers you the same vehicles and machines:
If you choose to begin in Westbridge, the machine list will differ only a bit. It's worth mentioning that Hagenstedt includes hidden vehicles which cannot be use for farming, but you can still move around using them (information about them can be found in another chapter of the guide).
The equipment at your disposal is as basic as it gets. Only the Buhrer 6135 A tractor is a rather decent equipment.
The guide was prepared on the normal difficulty setting, but it can be used also for others. Only some of the hints won't be useful, for example the silos are empty at first on hard, while on easy they're overflowing with crops. All profitability calculations must also consider that the prices for which you sell are much higher on easy that on hard.
Below you will find a list of beginner hints which will help you learn the rules of the game and get into the world.
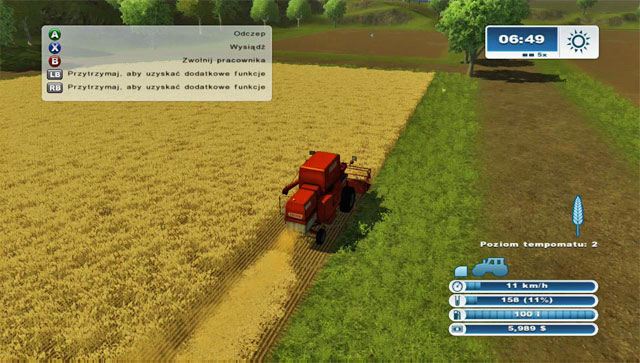 The harvester which you start with has a very limited tank for harvested crops.
You will begin the game with one of the fields ready to be harvested. It's field number 16 found to the west of the farm. Switch to the harvester (controls can be found in a different chapter) and attach the cutters. You can turn on the harvester, which will automatically lower the cutters, and start driving with the cruise control at 2.
Be sure to drive steadily and not to miss any corn. Those two hints can be applied to any machine in the game: the plows, sower, harvester, spreader, mower and sprayer.
However instead of driving yourself, it's more profitable to hire a worker and take care of something else yourself. The worker is automatically paid, but it's still cost-effective. You will find time to have fun with the harvester later on, when you buy some better equipment.
Also be sure to check the weather prognosis in your PDA. It's impossible to harvest during rain.
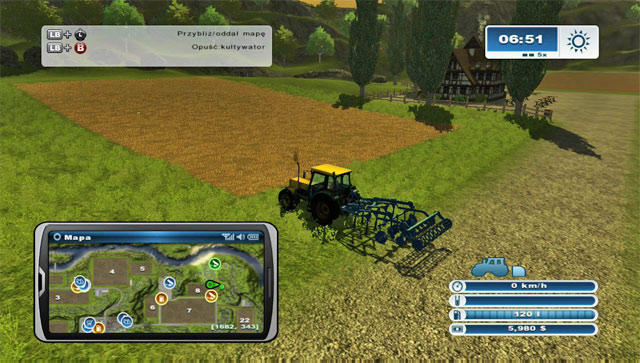 It's worth taking this cultivator together with the tractor to the farm.
You have four tractors, out of which three are very basic. The only better one, together with a cultivator, can be found far in the north-east beside field number 9 owned by you. The field at the moment requires cultivation, though I wouldn't recommend focusing on this little bit of field. It's worth taking the tractor and cultivator to the farm. You can also head to the vehicle menu, choose the tractor and reset it (and do the same with the cultivator).
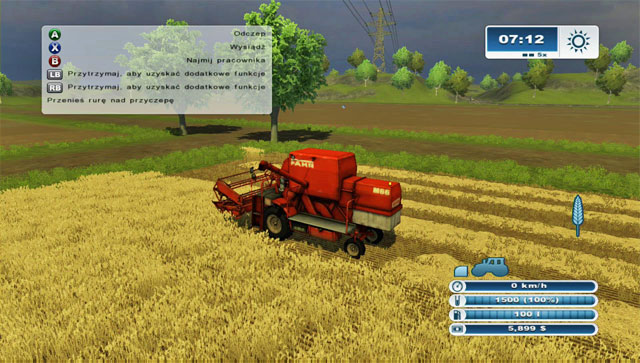 Control the harvester's tank while harvesting.
When the harvester's tank fill up (its capacity is only 1500 liters), you will see a 100% capacity note below the speed meter. If you have been harvesting yourself, stop and move out the pipe. If the harvester was operated by a hired worker, he will do it himself (for which he doesn't have to be paid).
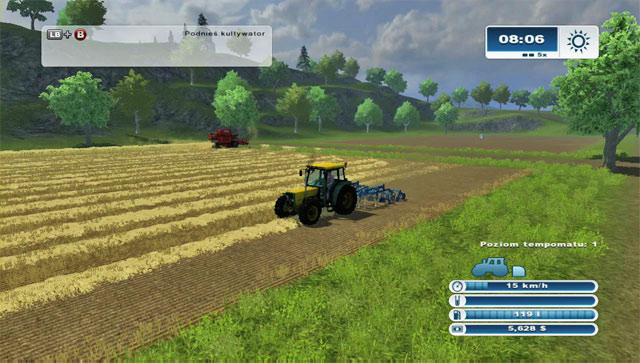 Drop the harvested crops in the trailer.
Right beside the field you will find a tractor and a trailer. Attach the trailer to the tractor and head towards the harvester. You don't have to worry about destroying the remaining crops. Drive the trailer just below the pipe and the harvest will be automatically unloaded. If you want to harvest further, drive the tractor away so that it doesn't stand in the way (e.g. into another harvested field). If you're hiring a worker, he will automatically begin harvesting again, so just drive away so you don't disturb him.
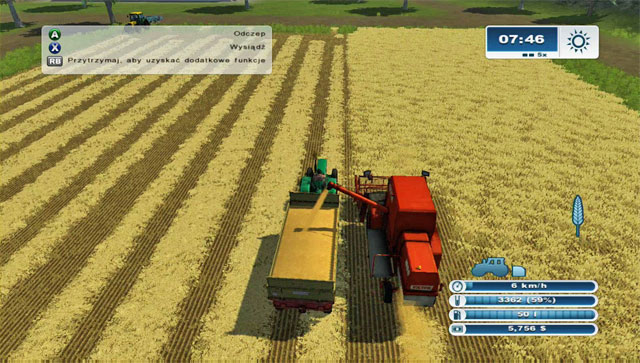 If you're hiring a worker to operate the harvester, you can simultaneously drive the tractor with a trailer beside it to collect the crops as it goes.
Notice! Remember that you can drive along a harvester operated by a worker. Thanks to what the harvester doesn't have to stop to unload crops, as they're being dropped onto the trailer as it goes. It does however require some skills to keep the speed similar to the harvester.
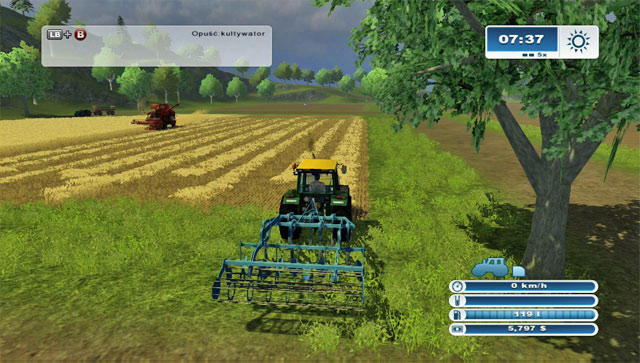 After harvesting the crops, it's necessary to clean up the field from remaining the remaining hay.
While the harvester is still collecting crops, you should start cultivating the field. For that, you need to tractor and cultivator which have been described above.
 The cultivator clears the field and prepares it for sowing.
Once again you can do the job yourself, or hire a worker. I'd recommend the latter option. Without cultivating the field, you won't be able to seed again. What's important is that the field doesn't need to be plowed again afterwards (you don't have plows either way). The game doesn't include a crop rotation system, so you can sow anything without having to fear that the crops will be worse.
While one of the workers is harvesting and the other cultivating, you can focus on collecting the crops from the harvester and at the same time take care of field number 29.
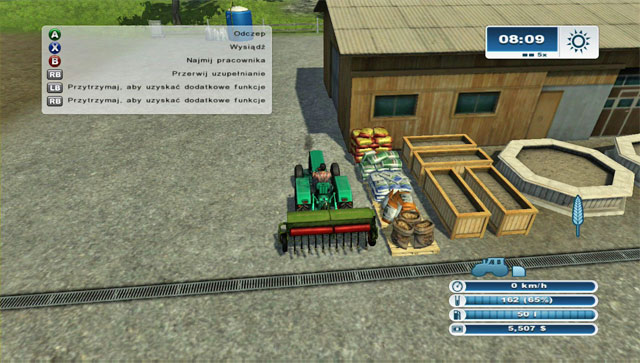 Before sowing, you have to upload the sowing machine with grains.
In other to sow, you need a prepared field (plowed or cultivated). It so happens that field number 29 to the north-east of the farm is ready. At this time field 16 should also be ready for sowing, but first things first. Switch to the tractor beside field 29. Drive to the grains storage and fill up the tank. You can check the capacity just where the harvester's tank is displayer - right below the speedometer.
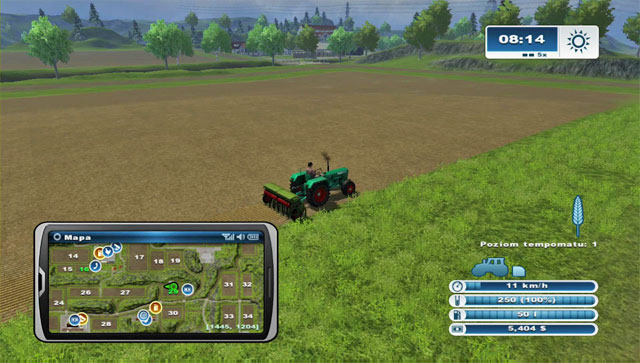 Sowing is a rather boring activity, so it's worth to hire someone to do it for you to save yourself the boredom.
Afterwards head left, to the edge of the field. One again you have two choices: sow yourself or hire a worker. If you want to do it yourself, first lower the sowing machine and proceed driving on cruise control 1 speed. Once again - especially considering the size of the field - I'd recommend hiring someone to do it for you. Just remember to choose a proper seed beforehand. Each icon symbolizes a different one, in order: wheat, barley, rape and grass.
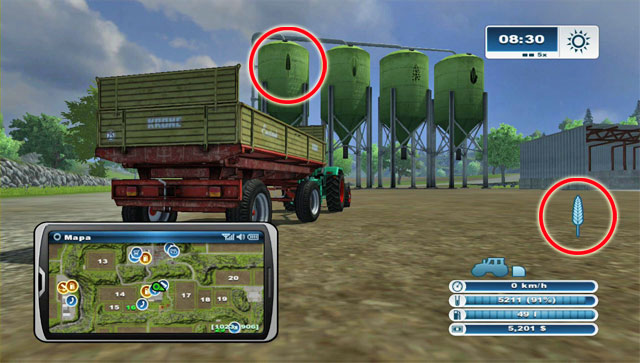 Each silos contains a different type of seeds.
Field number 16 should be already harvested. Always remember to take the machine which has finished its work (in this case the harvester) away from the field so that it doesn't stand in the way of other works (cultivation). The trailer is surely not full. Head to the silos fill it up with wheat. Be careful to drive to the right one - the icons show what's inside each of them (from the left: wheat, barley, rape, corn).
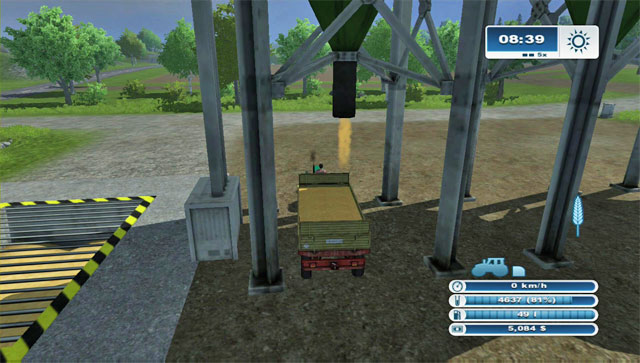 Unloading a silo onto the trailer.
Drive below the silos and it will begin unloading automatically - the trailer will instantly fill up, but never overfill. You can see the capacity of the trailer in the lower right corner, just like with the sower or the harvester.
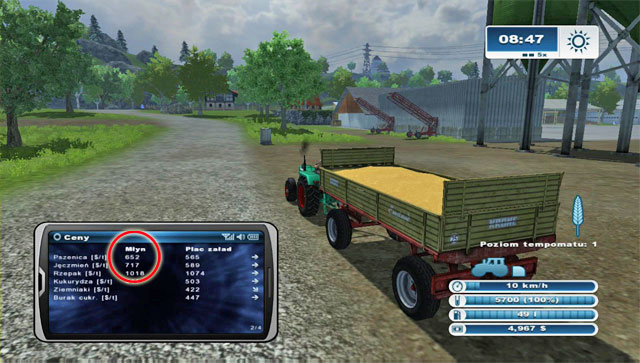
Now check the prices in your PDA. Turn it on and switch between screens until you reach the prices (behind the map and weather prognosis). You can check prices at five points: Farm Shop, Inn, Grain mill, Freight yard and Port. Prices change each day, every hour.
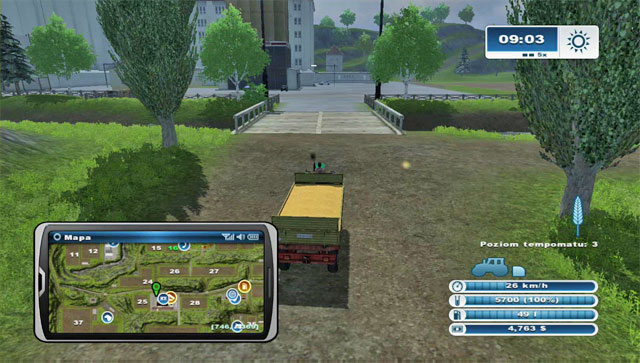 At first, because of the slow tractors and little trailers, you will need quite some time to sell your crops.
Wheat is usually priced well at the Grain mill. It's also quite nearby, to the south. Head there with you trailer full of wheat.
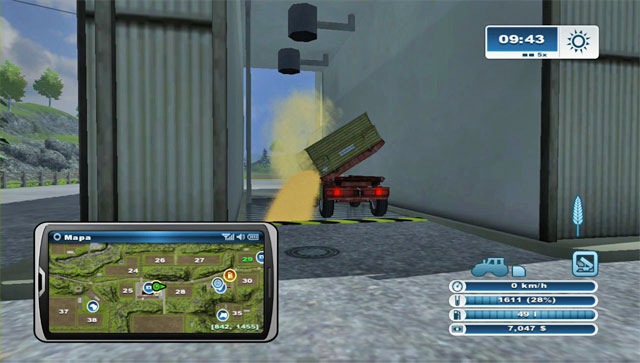 Selling wheat at the mill.
Drive to the drop point and unload the trailer. Drive the tractor back to the farm.
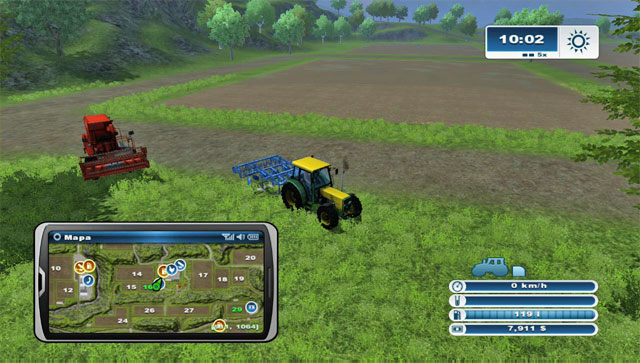 Field 16 ready to be sowed after being cultivated.
The cultivation of field 16 should have ended by now. At the same time, the sower on field 29 probably still has a lot to do. In order to increase your harvest, you should buy a sprayer which will double you crops. You should buy the one for 28900 $. You can collect the missing funds in two ways: by selling one of the tractors or selling some crops from one of the silos.
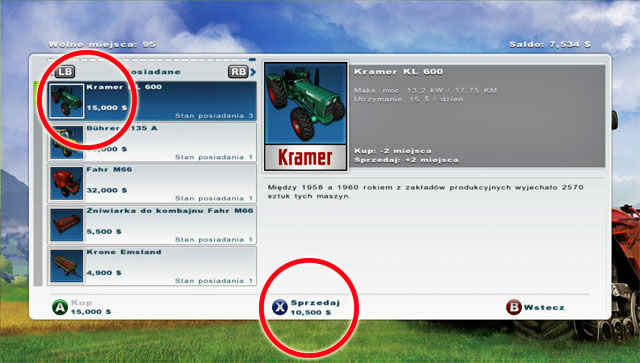
Start off by selling one of the green tractors. In fact, in order not to interrupt the workflow by changing the type of machine attached to the tractor, you will need: one tractor for the cultivator, one for the sower and one for the trailer or sprayer. Spraying doesn't take long because of the range and speed of the process, so there's no need to keep an additional tractor just for it. You can sell your tractor using the shop screen. Choose the type of the machine and confirm the sale. One of the tractors will disappear and you will earn 10500 $. That's however not an effective method.
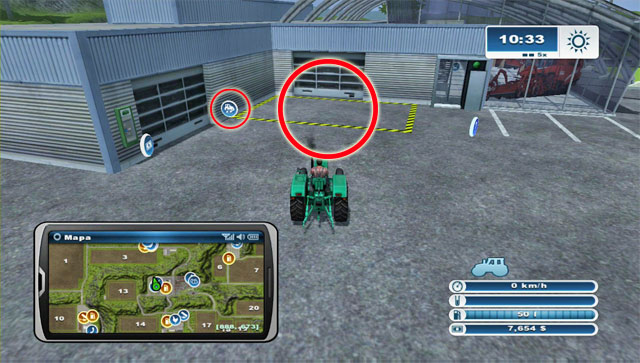
It's better to head there personally and bring the vehicle with you. That way you will get 20% more money. It this case you will obtain 12600 $ instead of the previous 10500 $, making 2100 $ more (just as a side note, you obtained around 3500 - 3700 $ for the previous trailer). It's definitely worth the time, especially considering that one of your tractors is in front of the shop.
Switch between your machines so that you find yourself in the one by the shop to the north of the farm. Drive it to the rectangle marked with yellow lines, head out, step on to the sale icon, press the corresponding button and confirm the will to sell it for 12600 $. You will be left without a machine in front of the store, but you can always just move to another one.
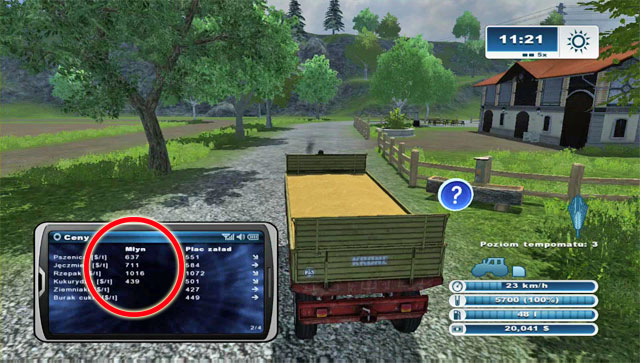
Time to use the second way of earning money. If you haven't returned to the farm with the tractor and trailer, do it now. Head to the silos and fill up the trailer with, e.g. barley (the Mill is usually the best for selling barley and wheat - check the prices). Head to the Mill, unload the trailer and head back for another one, this time let it be wheat once again. Take it back to the same point. That way you will be left with around 2 tons of wheat and barley.
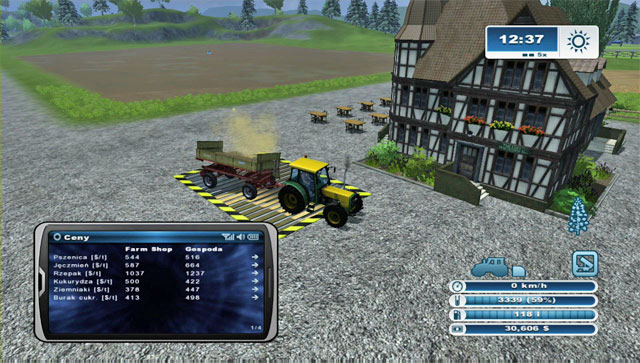 In order to gain even more money, sell the rape in the Inn.
If you still lack some money, you can either wait for the wheat to grow, harvest and sell it or use the remaining rape of corn. In order to reach other places beside the Mill, you will have to travel a longer distance, so change the tractor to the Buhrer 6135 A and attach the trailer to it. It's a good idea to collect rape from the silos and sell it at the Inn.
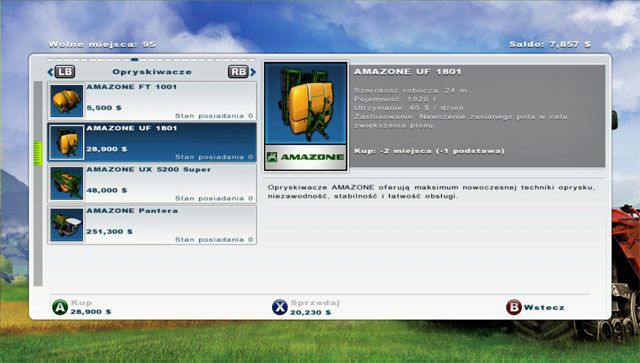 Buy the sprayer to double your crops.
When you have enough resources, head to the shop and buy the sprayer. You can also head into the tractor and drive it to the shop - you will have to do it anyway eventually to collect the sprayer - no one will deliver it to your farm. The next time you buy a vehicle, you don't have to head to the shop yourself - just switch to it like you do with the ones you owe.
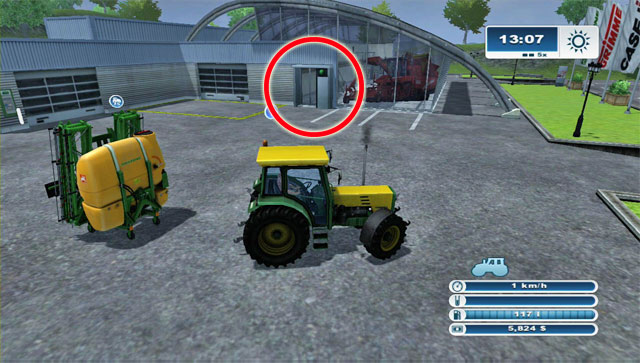
Meanwhile, you should see your brand new sprayer ready at the shop. If you haven't bought it beforehand, head to the shop, stand on the icon and confirm with the proper button. Attach the sprayer to your tractor.
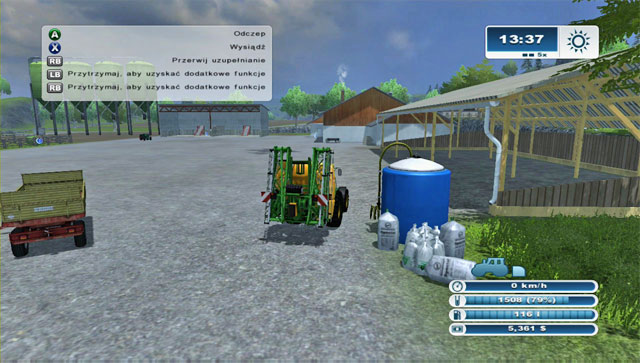 After buying the sprayer, you have to fill it up on the farm.
Before starting to spray your field, you have to fill up the sprayer. Head to the field, stand by the container and fill up. It's best to fill it up completely, though keep in mind that it will cost you 1000 $, which might be a big expenditure for now.
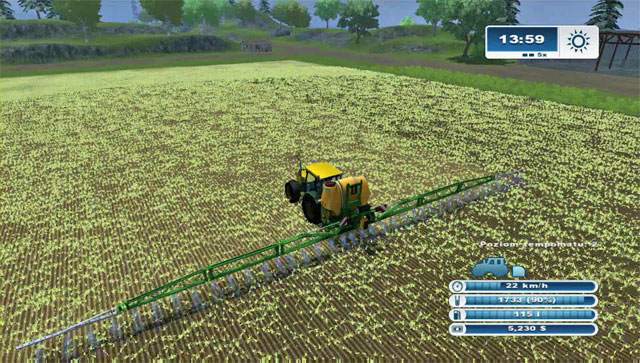 Spraying goes very fast.
With a filled sprayer, head to the previously sowed and rising field 29. Spread the sprayer and stand in a place which gives you the best range. Lower the sprayer, turn it on and start spraying while driving at cruise control speed 2. You can't hire a worker for the sprayer, you always have to do it yourself! After reaching the end, turn off the sprayer, turn around along a wide arc (if possible) to get in a good place for another spraying - don't change the speed. Covering even the largest field will only take a short while.
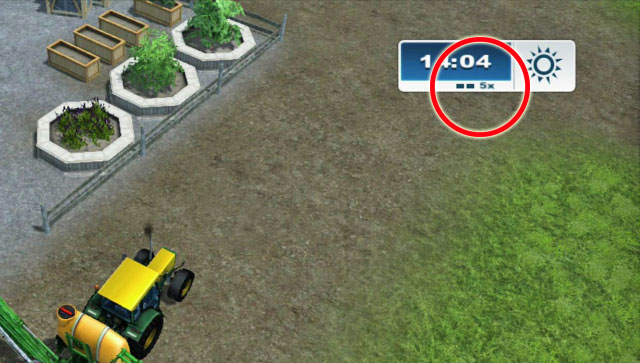
Field 29 is ready for growing crops. The time needed by the crops to fully grow depends on the time speed set in the game - you can see it in the upper-right corner below the clock. IT can be changed in the game settings. 5x means that time will flow 5 times faster, therefore 1 minute in real life will mean 5 minutes in the game world. You can set the scale as high as 60x or even 120x. However scales larger that 30x are only recommended for more experience players, as beginners might have problems with making it in time with harvesting crops. Crops which aren't harvested in time will wither. After getting familiar with the game, I'd recommend playing on 15x - 30x.
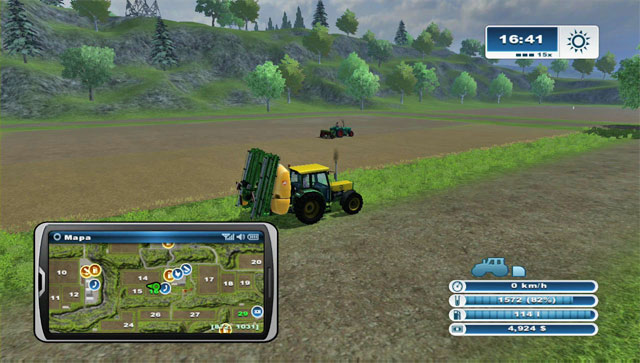 Have the sprayer always ready so that you can start spraying after the sowing is complete.
Beforehand you prepared field 16 for sowing. Head there with a tractor and a sowing machine and start sowing. In the meantime you can head there with a tractor and sprayer - you will need in just a moment, so you can pretty well bring it here already.
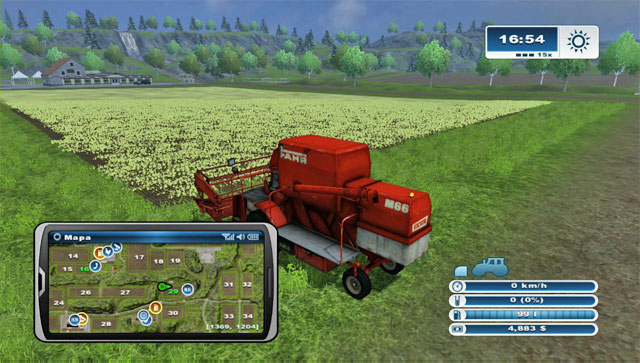 Driving the harvester to field 29 takes a lot of time - don't do it at the last moment, plan it earlier.
If the sowing is being done by a hired worker, the next step will be taking the harvester towards field 29. The harvester is very slow and it will take a lot of time, but you will be ready for the harvest. As you see, everything is based on managing the vehicles.
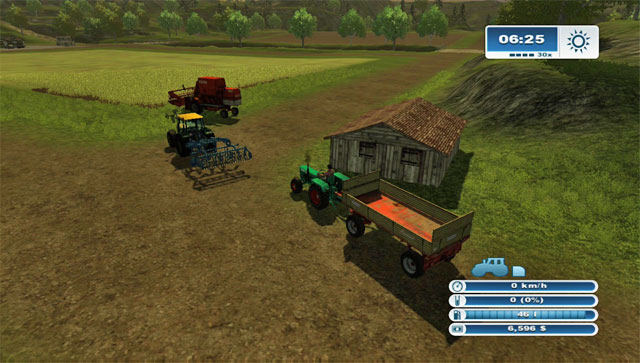 Get ready for the harvest. Once the cultivator is "free", take it to the field with the tractor and trailer - you will have to clean up the field after the harvest.
After sowing and spraying field 16 you have to move to field 29. Wheat should be almost ripe and the harvester can wait for its turn. Once the tractor and trailer are free as well, drive them here to collect the harvested crops. Do the same with the cultivator (which can begin preparing the field for another sew right after the harvest is done). If you can, bring the sowing machine here as well. That way you will be completely ready.
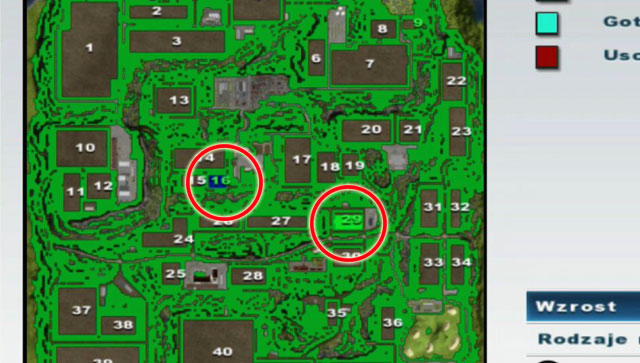 Green marks fields where crops are ready to be harvested, blue where something is growing and red a withered field.
If you don't have anything else to do, you can switch the game speed to a higher setting for a while so that the crops grow faster. Fields ready to be harvested are marked with green on the map.
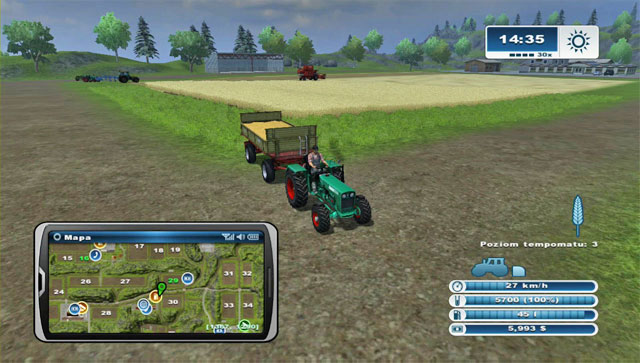 Always have a tractor with a trailer ready to collect the crops from the harvester.
Remember that small tractors cannot be used with the cultivator or sprayer. That's why you have to attach them to the only bigger one you have. With a hired worker operating the harvester, keep beside with a trailer to collect the crops as it goes. When the trailer fills up, you have two options: either take it to the farm and drop into the silos, or sell it at once. If prices are good, i.e. they haven't dropped too much, you can sell it. Check out where prices are the best and head there. Unfortunately if the worker fills up the trailer, the harvester will just stop and wait. For now however you don't have a choice, as you can't afford a better trailer. After returning, collect another batch and stay nearby.
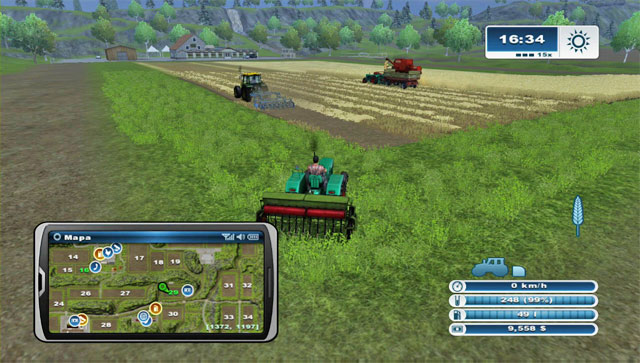 When the cultivator heads into the field, bring the sower so that it waits in line.
Don't wait for the harvester to send his job. If only it's possible, do a few things at the same time. Keep waiting with the trailer, but if the harvester already completed a few windrows, hire a worker for the cultivator. At the same time wait with the sower for your turn. If one of the machines moves dangerously close to the other (cultivating is faster than harvesting), just stop it for a while.
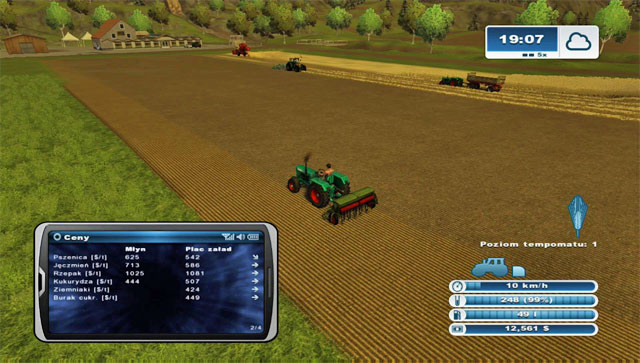 Harvesting, cultivating and sowing - one after another.
When the cultivator makes a few rounds around the field, hire a worker for the sewing. That way harvesting will continue on one side of the field, the middle will be cultivated and the other end sowed. You have to coordinate the operation well. When you harvest the next fragment and fill up the trailer, take it to the farm or sale it. When the harvest on this field finishes completely, check out whether she second one - number 16 - isn't ready to be harvested as well. Drive the harvester there and let the cultivation, sowing and then spraying continue on 29.
It's a rather hard and arduous fragment of the game, but it is worth to fight your way through it. Before you begin to develop your farm further by buying more fields you still have some investments waiting for you. In order to fix you budget a bit, you should complete some grass cutting missions - it's an easy and fast income (which you can read in the Missions chapter). As you have already familiarized yourself with the rules of the farm, you should consider an investment credit. All of that has been described in the Developing your farm chapter.
What you should always keep in mind:
If you choose to play on normal or hard, you will begin with a debt and will have to pay interest. 100000 $ of debt will require you to pay 280 $ of interest per day (where you do not pay off the capital - in this case the example 100000 $ - but only the interest). You can of course try to gather the required money yourself, but it's worth to use the loan option to finance your investments, as the interest isn't really hard.
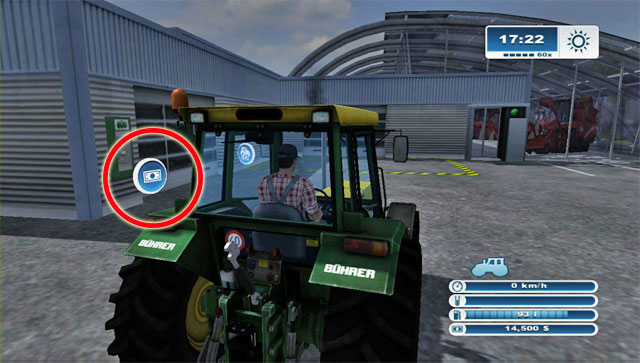
Head to one of the ATMs, stand in its icon and press the suitable button.
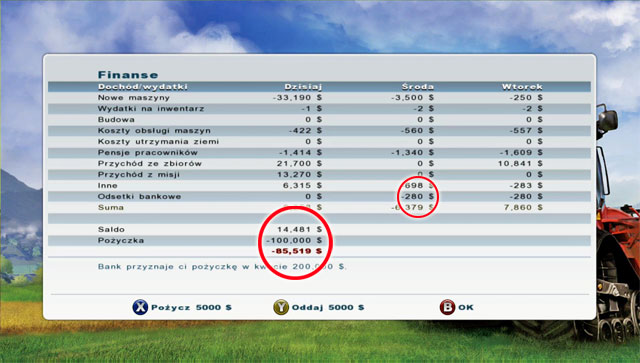
Here you can see the daily interest you have to pay and how much in debt you are. As you can see, 100000 $ of debt results in only 280 $ of daily interest, so it's really not that much. You can pay off the loan capital here (in installments of 5000 $) or borrow more money (the limit depends on the difficulty level). It's worth to use the loan!
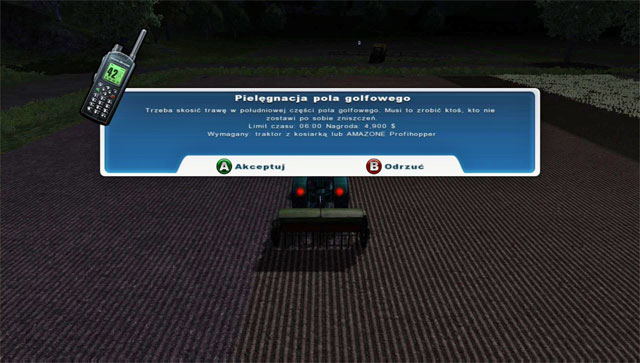 Mission invitation screen.
From time to time you will receive a mission prompt. Despite what it might seem, you shouldn't ignore them as they can significantly patch up your budget. There are two kinds of missions available in the game: mowing grass and transport. The mission can be either accepted or rejected. The prompt will include the offered wage and requirements which you have to meet to complete the mission - for example owning a certain type of machine.
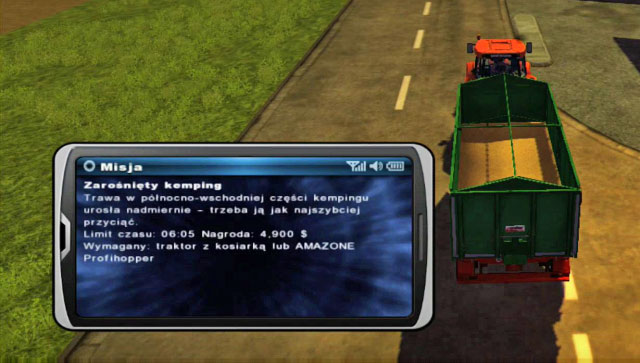 Details of the missions can be also viewed in one of the PDA screens.
Accept the mission and you will learn what you have to do and in what time. The location of the mission will be marked on the map with a glowing green circle. At the top you will also see how much time you have to complete the mission. Keep in mind that it's not the time in which you have to undertake the mission, but the real life time in which you have to finish it, counting from the moment of your acceptance.
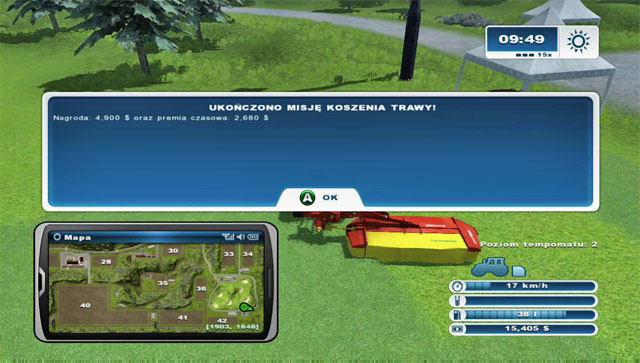 Mission complete screen with information on the basic reward and earned time bonus.
When you accept the mission and the clock start ticking, you should really hurry - if you finish fast, you will earn a bonus of even 50% of the basic reward!
Notice! If you take on a given mission, you won't receive any others until you finish the current one. If you don't want to complete the current one, you in fact have to wait until the time runs out, as it cannot be cancelled. If you want to speed up the process, you can save your game and load it to make the mission automatically cancel and receive a new one.
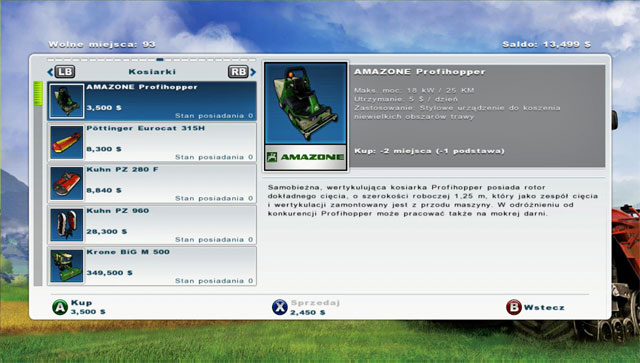 This mower is considerably cheap, but it takes a long time to finish the job.
It's a very profitable business. A few minutes of mowing can earn you as much as around 4000 $ - 5 000 $. You will however need a mower. You can buy a AMAZONE Profihopper for 3 500 $.
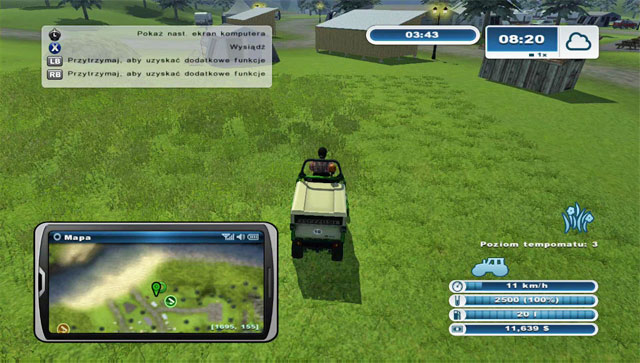 This mower is unfortunately very slow, which can be problematic when moving from one mission location to another.
While the mowing width can be ignored (you have rather small fields to mow and they don't take more than 5 minutes), the real problem is the maximum speed of this vehicle - 11 km/h.
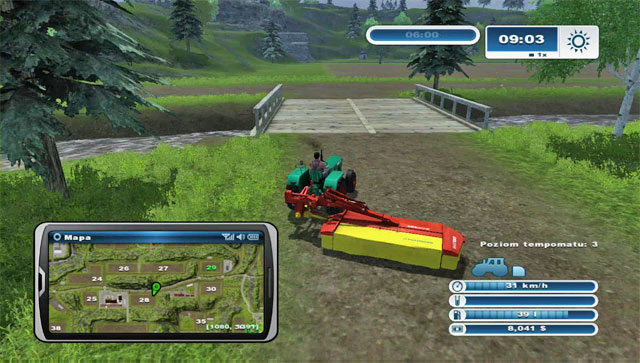 This mower will let you complete the mission in more or less a minute!
That's why you should consider a higher model attachable to a tractor - Pottinger Eurocat 315H. Despite a 2.5x higher price, it will let you move between missions considerably fast. The most important thing is that it can be used with the basic tractor model. Just don't lift it up to transport mode - drive slowly in the lower position.
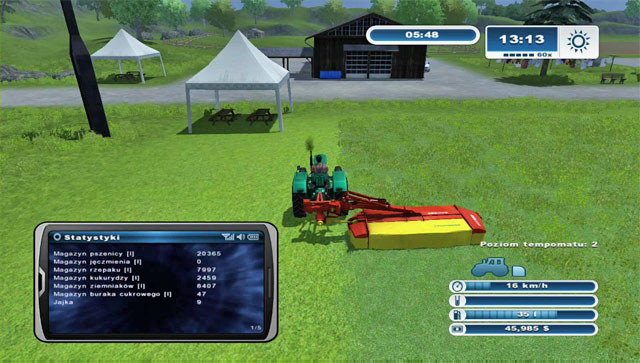 It's best to mow while driving in a clockwise manner.
On the field which you have to mow, keep driving in a clockwise manner. Thanks to this mower, a field which gives you 6-7 minutes can be finished in just above 1 minute! This way you can earn a significant amount of money in very little time. You should also remember about the bonuses for completing the mission fast! Thanks to it one minute of work can earn you even over 7000 $. It's worth to mention that the mission apply to two places:
1. the camping site in the north-east corner of the map;
2. the golf course in the south-east corner of the map.
The profitability is as follows:
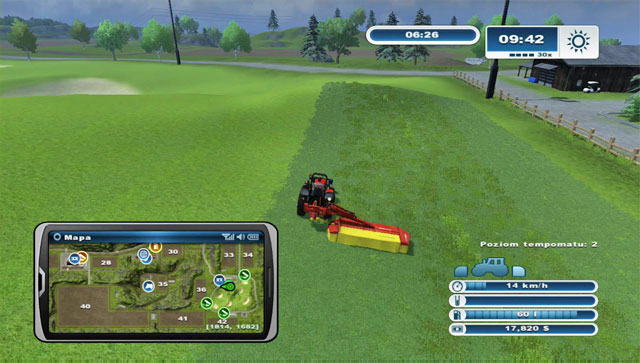 Later on it's worth changing the tractor to a better one.
Later on in the game, despite developing your farm, you can still use these missions to earn money. It's worth buying the SAME Argon3 75 tractor for 57000 $ and a weight for 250 $ to operate the mower. Further on, in order to avoid driving between the camping site and golf course, you can have two mowing sets: the SAME Argon3 75 tractor + a weight + the Pottinger Eurocat 315H mower. Have one ready set stationed by the camping site and one by the gold course.
Such an investment, despite what it might seem, will return very soon as long as you set new missions to appear every 2 minutes and will reject any transport mission, focusing only on mowing.
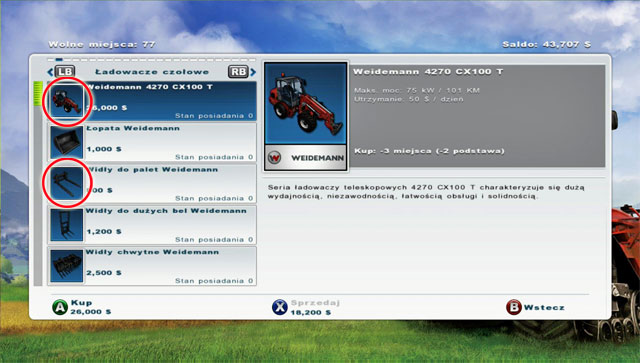
The game also features a second type of missions, for which you need a forklift. The cheapest and sufficient option would be buying Weidemann 4270 CX100 T and a Waidemann pallet fork. You will need to have some practice, but generally operating it is rather easy.
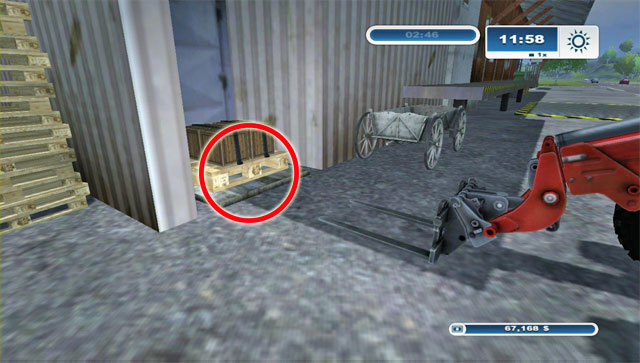
Compared to the mowing missions, these are much more diverse and appear in a few places. In each one of them, you have to take a pallet to a location marked on the map. Aim the fork at the holes in the pallet, lift it up and consult the map to see where you have to take it.
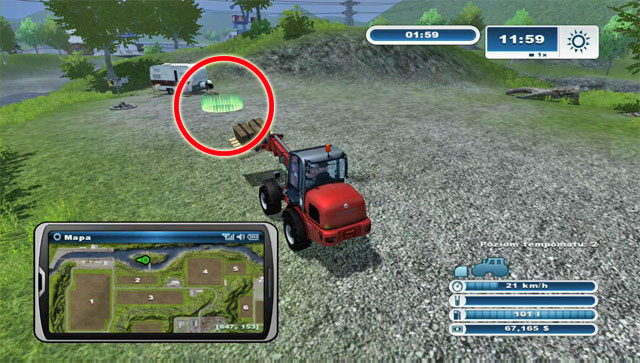
You don't need to place the pallet precisely at the destination point - you just need to reach the goal in the given time to complete the mission.
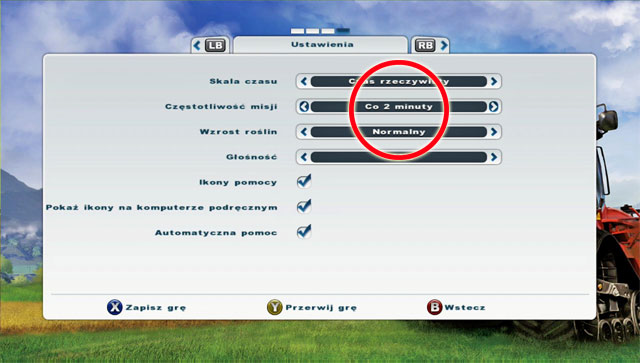
Luckily you can set the frequency with which new missions appear. Enter the menu and change the second from the top parameter. I'd suggest setting is as low as possible (2 minutes - of course real life time, not in-game).
The basic thing to start with is upgrading your equipment. Don't consider buying a new field for now, as you won't have the necessary equipment to manage it.
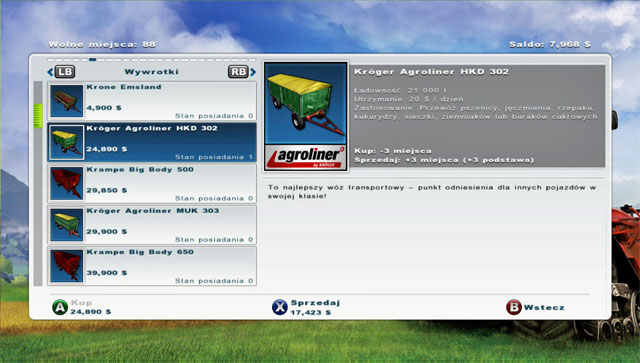 You need to buy a bigger trailer.
What's really necessary to stop making constant courses between the harvested field and shops or silos on the farm is a new trailer. Kroger Agroliner HKD 302 costs 24890 $, but can take 4 times more load than the basic one.
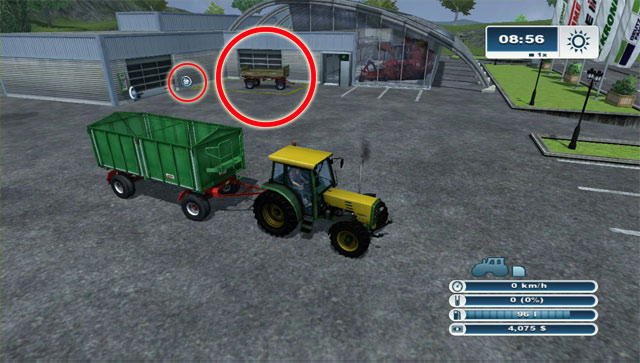
Buy it and take the old one to the shop and park it in the designated area. Sell it using the icon beside - that way you will earn 20% more than by selling it using the shop menu. Afterwards attach the new trailer to the tractor and return to your duties.
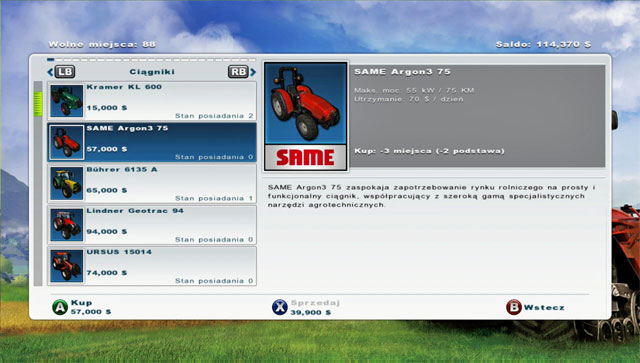 Changing the tractor is another financial challenge.
The second irritating thing refers to the tractor. You only have one that can operate the cultivator and sprayer - Buhrer 6135 A. Therefore you should consider buying a new one as fast as possible. And really, if you were trying to avoid taking on loans until now and don't have the required amount of cash - loan then. I'd recommend buying the SAME Argon3 75 which costs 57000 $.
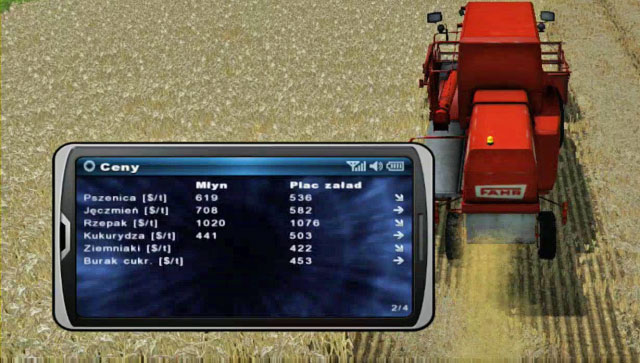 Checking on prices regularly and selling at the suitable moment is a key matter.
You can really do a hard work on the field, coordinate actions and logistics on the vehicles, but the road to a financial success will be much longer if you won't sell your crops at the best possible moment. The aim is earning money without too much effort.
The first thing is keeping an eye on the prices of crops. They change daily, every hour. If you sold a large quantity of crops recently, you can expect the prices to fall (however keep in mind that it doesn't always have to happen). When they do fall, you should refrain from selling anymore for the time being. You can still grow that type of grain, but sell different crops. Sometimes it's also worth to wait by shop itself, for example when the price of barley in the mill falls below 700 $, wait for an hour or two and check the prices until a better one appears. With a full trailer of 21000 l each 10 $ change in the price increases the overall value by around 200 $, so don't wait for too long and block the tractor and trailer.
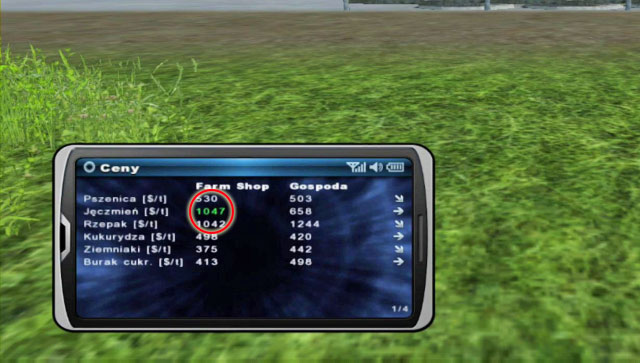
The second issue refers to the increased demand of certain goods at given points of sale. From time to time, one of the five points will announce an increased demand for one of your crops, together with the price and the how long it will last. Such a price is marked in red on the price list.
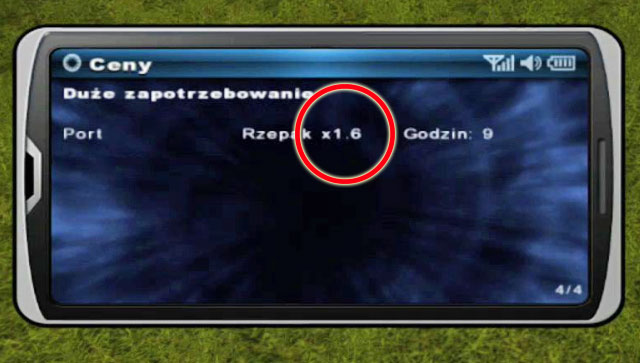
It's a great moment to empty your silo. The price can even double when compared to the original one. The exact price can be checked in the PDA.
Therefore you shouldn't sell everything you have at once for the standard price. It's better to wait for a better offer and hope for some luck regarding the increased remand, as it's completely random.
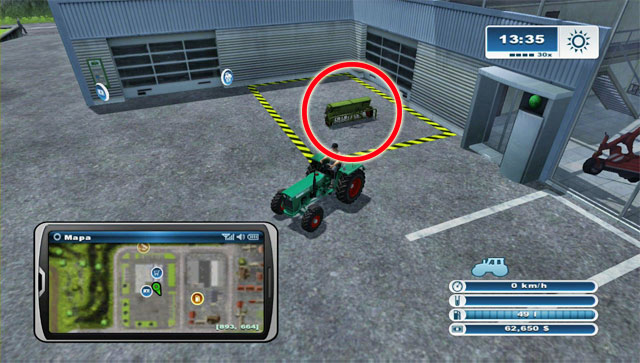
Out of all the machines that you have, the least efficient is the AMAZONE D1 sower, by which I mean that it's the slowest at its job when compared to the cultivator or harvester (both of which have a wider working area), not to mention the sprayer. Therefore it should be the next one in line to update. First however, you can take the old sower to the shop to sell it for 3780 $ (instead of 3159 $ from the menu level).
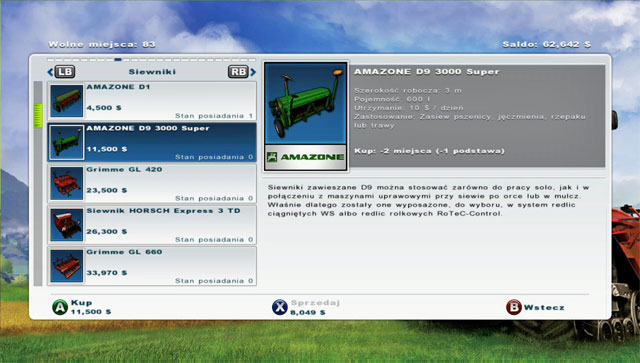 Time to buy a new, better sower.
Your current sower has a sowing width of 2,1 m. I'd recommend buying the AMAZONE D9 3000 Super for 11500 $ - considering that you sold your old one, the real cost of the investment will be around 8000 $. Unfortunately the new sower cannot be used with your old tractor. There are two options here: you can alternate between using the newer tractor with the sower and cultivator (though you won't be able to do those two activities simultaneously on a big field, i.e. drive the sower right behind the cultivator).
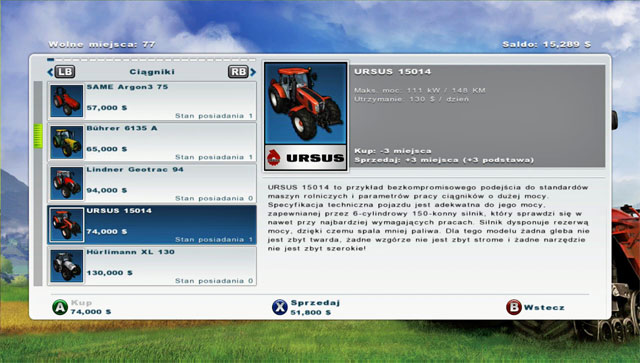 Better implements require more powerful tractors to pull them.
You can also sell the awful tractor (12600 $ if you take it to the shop personally) and buy a new, better one. Basically your choices here limit to three models: SAME Argon3 75 for 57000 $, Buhrer 6135 A for 65000 $ and URSUS 15014 for 74000 $. As you should already have the first two - considering you followed this guide - the third one should be your tractor of choice.
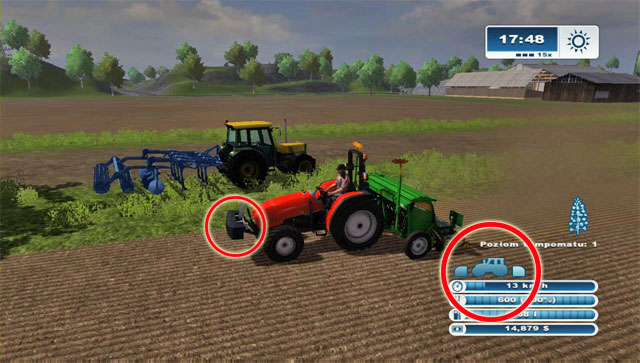
If you already have or just bought the SAME Argon3 75, buy an additional weight and mount in the front. Attach the new sower at the back. Note that when you have two implements attached at the front and in the back, you can switch between them (which is visible in the lower right corner by the tractor icon) and control them separately.
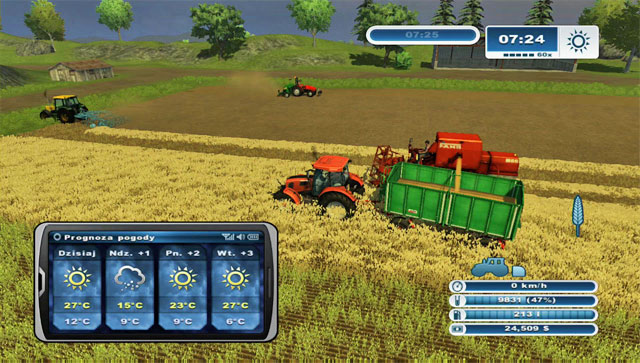 It's time to change the harvester, as your current one has a very limited tank for crops.
Now your weakest link is the tractor. After changing the trailer to a bigger one, you probably feel the 1 5000 l limitation of the harvester's tank and you have to constantly unload it into a trailer. However you will have to work quite hard at this point to change it, so coordinate work well.
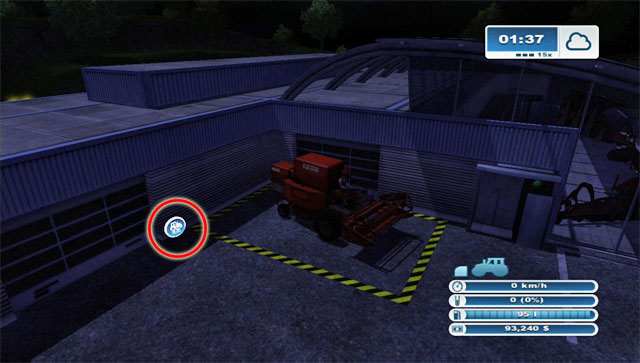
If you haven''t used the loan to the maximum yet, now is the time to do it (!). Remember about missions and selling your current combine and harvester for 26249 $ (22400 $ for the combine itself and 3 849 $ for the harvester). However if you take it to the shop personally and sell it there to gain as much as 31498 $ for the complete set (26880 $ for the combine and 4618 $ for the harvester), which is 5249 $ more.
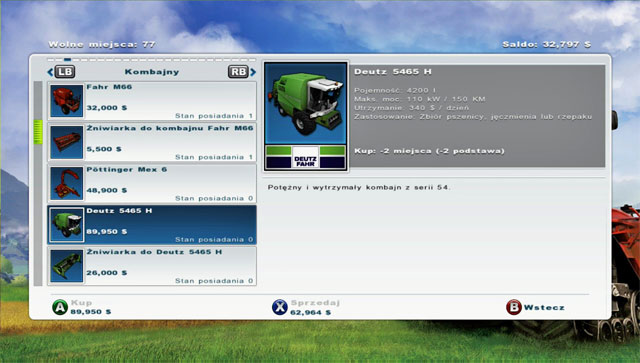 You need to earn as much as 115 950 $ to buy the new combine.
The only possible choice is the Deutz 5465 H combine. Its price is tremendous for the moment, but it''s WORTH IT. Besides, higher models cost at least 300000 $, so you don''t really have a choice.
 Together with the new combine, you effectiveness and comfort of harvesting will increase.
The combine itself costs 89950 $ and the harvester 26000 $, making it a total of 115950 $. The investment is however well worth the costs: you will have a faster vehicle with a larger crops tank (4200 l) and a wider harvester (5,4 m compared to 3,5 m in the old one).
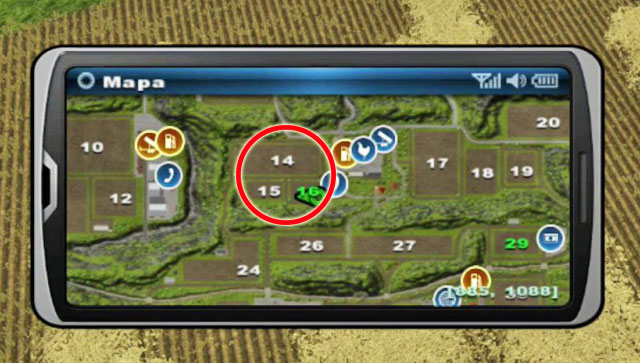
After replacing all of the basic machines, it's time to buy new fields thanks to which you will be able to earn even more money. Remember that if you want to sell your crops, you should be interested in fields possibly close to the farm (unlike when you want to use the field to produce animal forage). Therefore it's best to buy field 15 with an area of 0,54 ha for 24500 $.
Notice! At the beginning you can completely skip on not only field 9, but also field 29 which requires you to constantly drive away from your farm and back. Using resources from a loan or earned from field 16 you can buy field 15 much earlier. That way you will save time on trips to field 29.
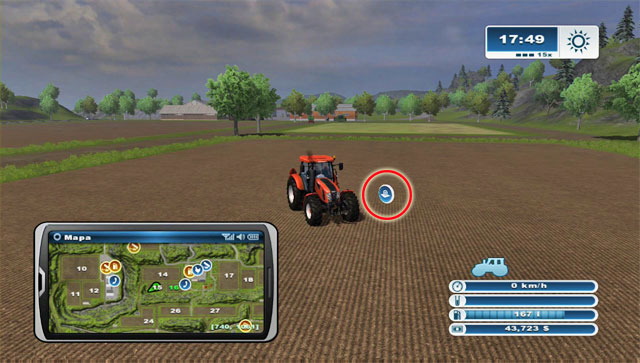
Drive to the central point of the field, step on the icon, press the proper button and confirm the will to buy it. You can begin working on the field at once.
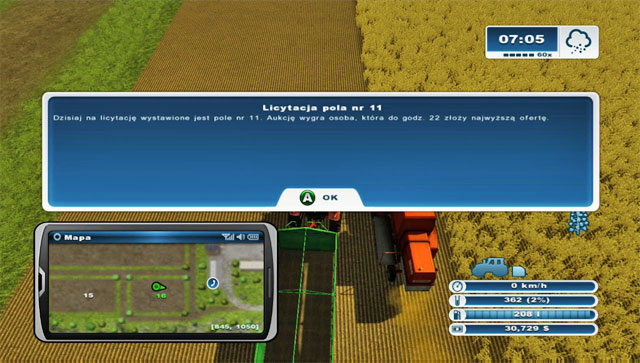 Prompt screen informing of a new field auction.
Another way of obtaining a new field is participating in an auction. From time to time you will be informed that an auction of one of the fields has begun and how long will it last (at what time does it end). On the map, a field put up for auction has a red number.
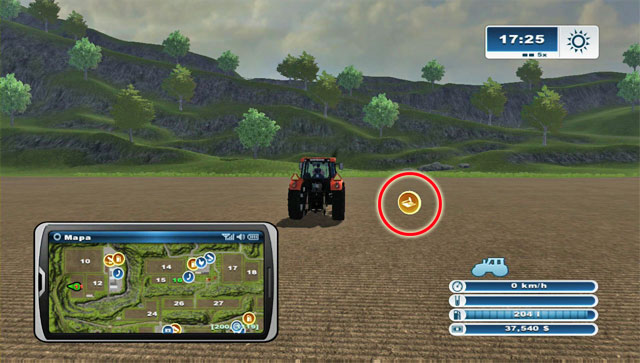
To participate in an auction, you have to drive to the field. Note that the sale icon changed to an auction icon. Step into it and pres the corresponding button to activate the auction menu.
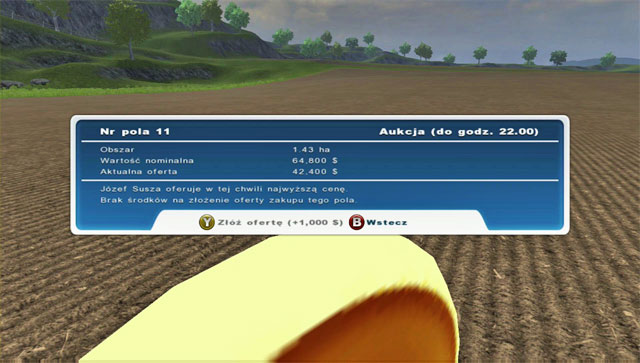
Here you can see information on the area of the field, the nominal price (without an auction) and the current highest bid. You can always beat it. If someone offers more, you will be informed of it and will be able to bid further. Remember that the objective of an auction is buying the field for less than its nominal value, so don't overbid. It's best to avoid participating in the auction at first, leaving a vehicle of choice by the icon and returning to your other businesses. When the auction is about to end (keep an eye on the time!), switch to the tractor and bid - that way you are sure to buy the field for considerably less. After the auction ends, you will be informed who was the winner.
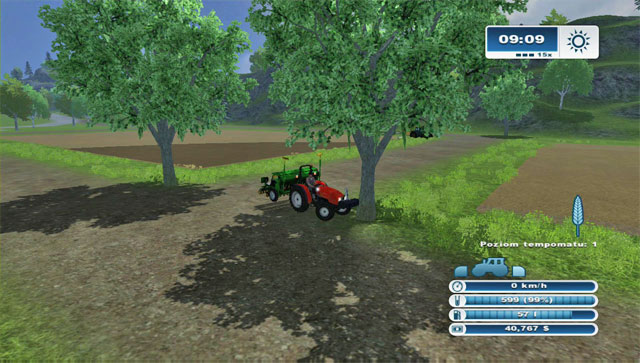 Hired workers aren''t too bright and can get stuck on e.g. a tree.
While working on field 15, look out for the tree on which hired workers can get stuck. Keep in mind that each object that can block their path is a problem (he will get stuck and withhold from further work). That''s why you should try to work on the field in the other direction (have him drive vertically instead of horizontally or vice versa).
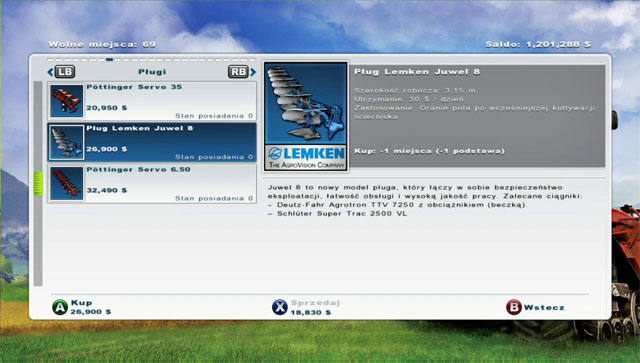 In order to connect fields, you have to buy a plow.
You can however connect certain fields. You just need to buy a plow.
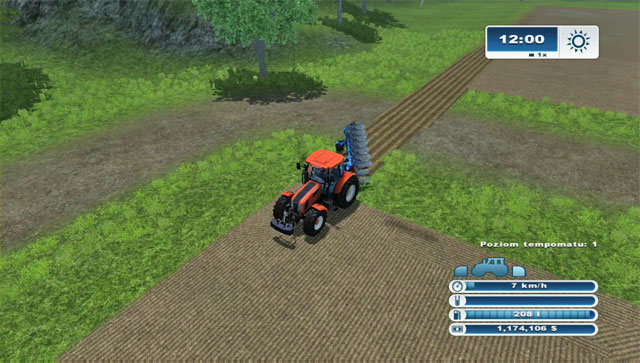 Connecting two fields is very easy.
Attach the plow to the tractor (you need to put a weight at the front) and head to one of the fields that you want to connect. Change the plow setting to "create field". You can of course plow both fields, though you should focus on the area where grass divides them. Plough the area which is required to connect the two fields (cruise control speed 1).
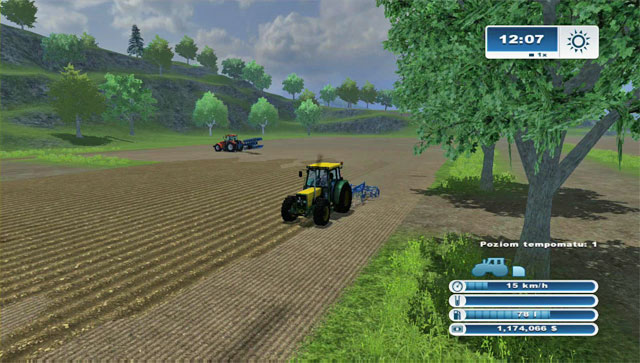 After connecting the fields, drive the cultivator over the area where you plowed the ground.
Afterwards use the cultivator on the plowed area and the fields will be connected. Remember to change the plow setting to restricted by the field.
Is it worth it? If you already bought field 14 and want to purchase more land, it's definitely worth connecting smaller fields, just like 15 and 16. Hiring a worker onto a bigger field will let him work on a bigger area without requiring your attention. You will also have move your equipment between the fields less.
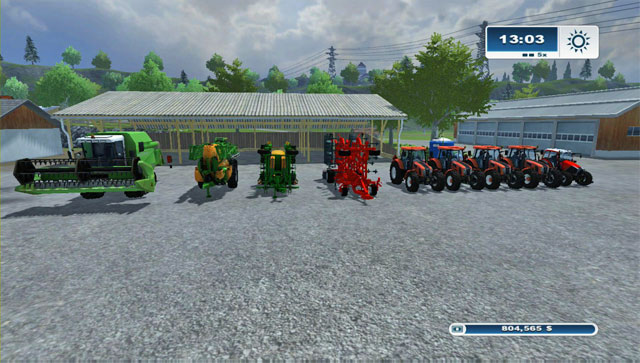 Improve your implements and buy new, better vehicles.
You are now an experienced farmer with some cash on your account. It's up to you to decide what you want to focus on: on simply growing wheat, barley or rape or rather make investments and begin a new form of activity (corn, potatoes, sugar beets). Remember to buy new fields as you need them. With grains, it's best to buy fields close to the field: field 14, 17 and 18. Next in order are fields 36, 37, 24 etc. Keep buying better equipment: change your tractor fleet to a stronger one, buy a wider sower or cultivator.
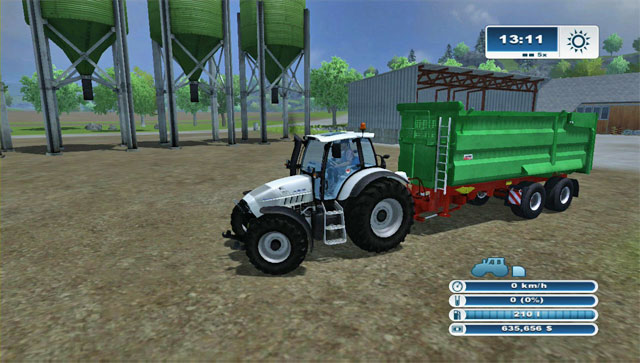 Bigger implements require more powerful tractors to use
Change everything gradually. The most important thing is to have matching equipment - so that the speed of given vehicles is similar (so that there is no idle time). Also remember about changing the trailer so that the frequency with which you go to the purchase points lowers (keep in mind that a bigger trailer will also require a more powerful tractor). When you have a few fields, you will also need two sowers, cultivators and combines so that you can manage two "production lines". Keep one such set of vehicles for each 2-3 fields placed beside each other and another one for each 2-3 more. Hire workers, collect the crops and sale them at purchase points.
When we begin the game, we have a fleet that allows us to cultivate only grains: wheat, barley and rapeseed. This is why we first need to learn the proper order in which to prepare the field for sowing so that we can maximize our harvest and save time performing unnecessary actions.
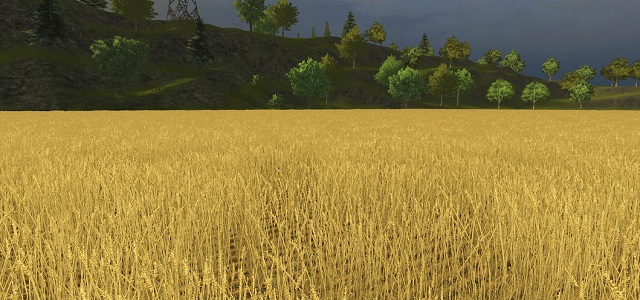 "To those fields, which by various grain painted, there lie, Shimmering, with wheat gilded, and silvered with rye"
The first thing to do on a newly purchased field is to plow it. To that end, you need to use a tractor with an extender and a plow attached to it. Select one of the available vehicles, mount the proper implement and then set it up, lower it and drive through the field a couple of times. If you want to use cruise control (to automatically maintain a set speed), use the one under the 1 button.
The plow has another function worth mentioning: we can use it to combine several small fields in a larger one. To do it, chose the option to create a new field (O) - once it's selected and the tool is lowered, we can plow the area between our fields (as well as any terrain around them), thus securing ourselves a bigger acreage. This option will come in handy in the future, when we decide to automate as many processes on the farm as we can using workers to operate our machineries.
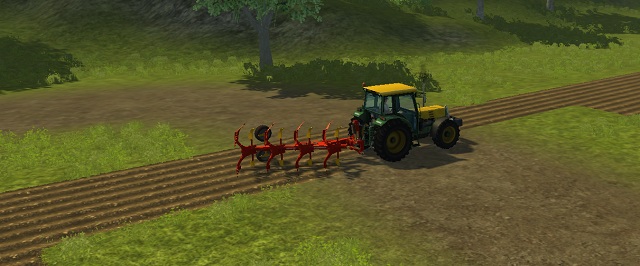 The plow can be used both to combine and create new fields.
In case the field has been used before to grow crops, we don't need to plow it again. Mount the tractor, attach an extender and a cultivator to it, and drive through the field a couple of times (cruise control - 1). The cultivator will prepare the soil for new crops by removing the leftovers from the last growth, including the straw that had been left over.
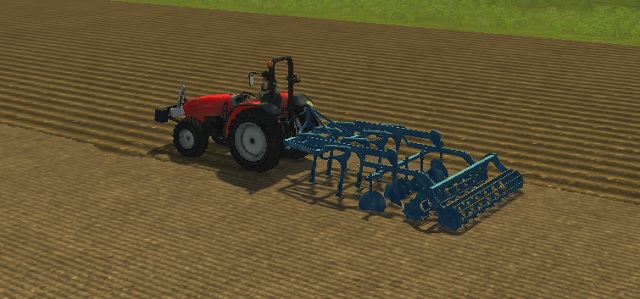 The cultivator prepares the soil for sowing.
The next step is the sowing. To sow the field, attach the sowing machine to the tractor, use O to determine the type of grain (the icon will be displayed in the bottom right corner), and collect the seeds from the seed pallets - simply approach one and press R. When you're ready, set out into the field and begin the sowing process. This part of the game isn't too much different from the other processes on the farm: turn the sowing machine on and drive through the field a couple of times as usual. In case you want to hire a worker, keep in mind that he won't be using the seeds you bought - he has an unlimited supply of them, and their price is included in his services. We can stop preparing the field at this point, but the harvest won't be too big. We can improve it by performing an additional activity - fertilizing.
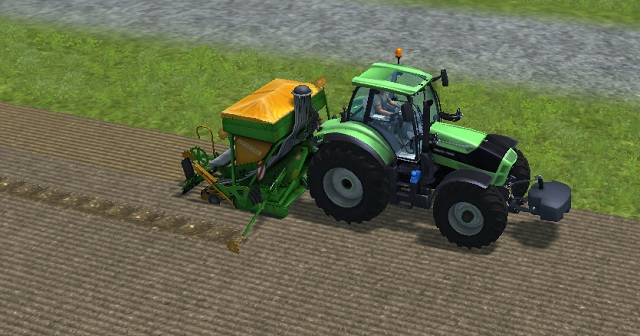 The sowing machine in work. The sowed area is yellowish, and the marker helps maintain the course.
Fertilizing the field is the easiest way to increase (in this case practically double!) our harvest. The equipment we have at the beginning doesn't include the sprayer, and the cheapest one costs 30000$, so we may have to go through the first few harvests without it. As soon as you buy a sprayer (preferably an AMAZONE UF 1801) and add it to your machinery fleet, attach it to a tractor (with an extender in the front), and fill it with the fertilizer at the tank. Filling it at 100% costs around 500$, but it's enough to fertilize several growths and the investment returns in an instant. When you're ready, drive into the field, extend the arms (X) and spray the crops (cruise control - 2). Given the large area that the sprayer covers, the process doesn't take long, so as long as you have the proper equipment try not to skip this step. Further in the game, when we have animals, we can use their manure to fertilize the fields. This will make us self-sufficient, but in the long run using the sprayer is the quickest and easiest way to increase harvests, since the effectiveness of the fertilizer and both types of manure is the same.
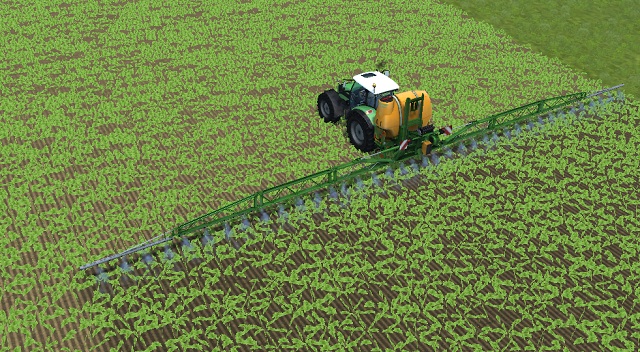 Fertilizing the field is the easiest way to double the harvest.
At this point, the only thing left to do is wait about one day until the grains grow and ripe. We can speed this process up by regulating time flow using the buttons 7 and 8 - the current acceleration can be seen in the top right corner. The time change affects only the growth of the crops; all vehicles will be still moving at their set speed. NOTE! It's not recommended to change time flow while sowing - the crops will be growing at different speeds and it may affect the harvest considerably. We can check the current status of the grains by examining the fields or by using the map under the ESC button. When the crops are ready to be harvested, we should slow the time back. Keep it in mind at all times, because if you leave the crops uncut for about 18 hours of the game, they will start to dry out, so always be quick with the harvest.
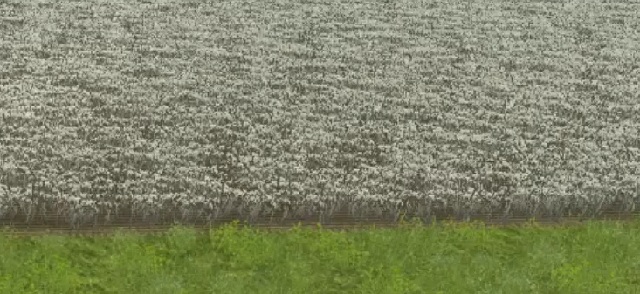 Fully-gown grains with dry out if left unattended for too long.
The last step is the harvest. To cut the crops use a combine harvester with a mechanical reaper attached to it (cruise control 1 or 4) - the crops are automatically stored inside the vehicle, and when it fills up, we'll need to unload it using the pipe on its side. If you want to speed this lengthy process up, you can hire a worker. To that end, place the combine in the starting position and press H - an AI will control the vehicle, and we'll have the time to attach a trailer to a tractor and go into the field ourselves. The reaper can be unloaded manually (extend the pipe and steer it over the trailer) or automatically, while the machine is working - to do it, catch up with the vehicle controlled by the worker, and he'll do the rest. If you want to make things easier, use cruise control - by pressing 4 you can set it for "cutting speed" and have your vehicle move right next to the combine.
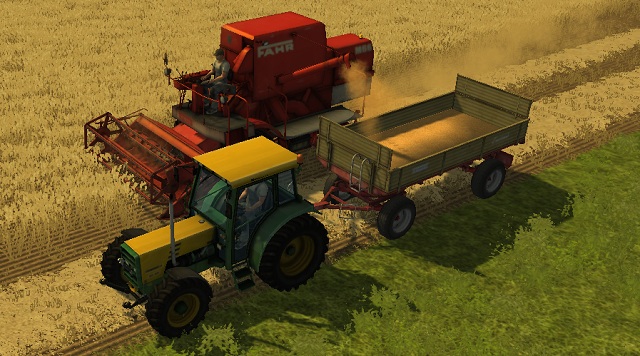 The worker is cutting the crops, while we are unloading the wheat.
Here's where our field work ends. The only thing left to do is to store the grains in the silos, utilize the leftovers from the harvest and begin the cultivation process anew.
Straw is a by-product of harvest, while grass has to be grown on our own (the process in the same as with the grains), and then cut with one of the many available mowers. Both materials can be sold at a selling station or converted into animal fodder. Depending on how we want to use it, we can collect it loosely or in the form of bales, using a bale loader.
The description of the harvest process and acquiring straw can be found in the Cultivation - Grains section. To get grass for further processing we first we need to mow it with a proper machine. Although we can easily buy a very cheap AMAZONE Profihopper mower, I would recommend saving some cash and choosing equipment that can be attached to a tractor, such as Kuhn PZ 280 or a double Kuhn 980. They're much more productive and much better equipped to cut large surfaces of grass than the little AMAZONE. Using the mower is identical to the other agricultural machineries: attach it to a tractor, place it in front of the field, turn it on and drive over the grass (cruise control - 2). It's worth mentioning that you don't need to cultivate and seed the soil again - fresh grass will cover the field in a while all on its own.
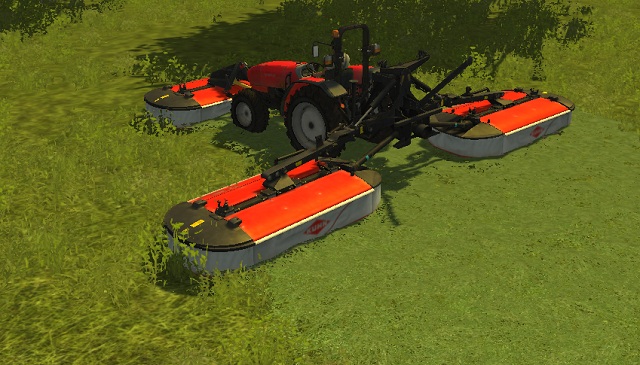 Mowing grass with the Kuhn mower.
At this point we will have two choices. We can store the straw and the grass loosely in order to feed it to animals or sell at a selling station, or use a special machine to press it into bales, which can be easily stored and then sold or converted into animal fodder.
If we don't have either the proper equipment or enough cash, the best solution would be to buy an automatic bale loader (NOTE! The first bale loader can't fill the cow manger on the cow pasture, so save up and buy the next one). Next, attach it to a tractor (this time you don't need to use an extender), turn the mechanism on and drive through the field. The collected straw or grass can be sold at a selling station or used to feed the animals on the pastures.
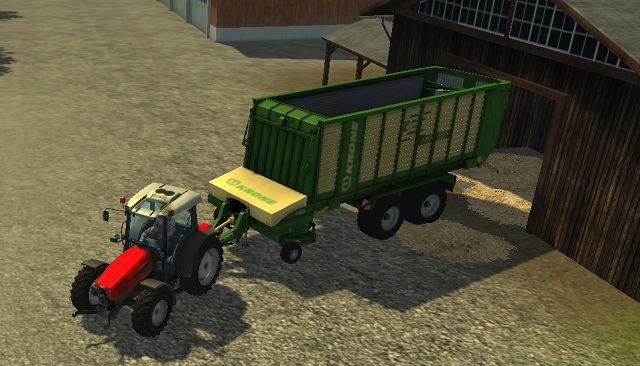 Unloading the collected straw at a selling station is a way to repair the state of our account.
If, however, we decide to make bales, we will have to go through two additional processes: drying the grass with a tedder and raking it into windrows (equal rows) with a windraker. To use both machines you'll need to attach an extender to a tractor - then just simply drive over the mowed (and the dried) grass using cruise control at 2. Grass processed this way can be then formed into bales.
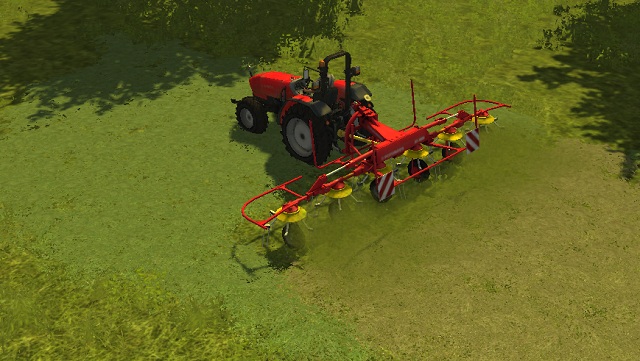 One use of a tedder is enough to dry the grass.
Forming mowed and dried grass or straw into bales requires the use of specialized equipment. There are two machines that can do it: a round baler Krone Comprima V 180 and a square baler Krone Big Pack 1290. The main difference between the bales is the way in which they are loaded: the round ones have to be transported with a front loader, while the squares can be easily picked up with a Arcusin Autostack FS 63-72 trailer. No matter the method, attach the machine to a tractor and, following a lesson from the tutorial, drive it over the straw or grass rows. The square baler drops bales automatically, whereas the round baler requires manual unload. The collected straw/grass can be sold at a selling station or transported to pastures where we can later use it to prepare animal fodder.
Potatoes are the last type of plants that we can grow in Farming Simulator 2013. Similarly to sugar beet, they also require a specialized equipment; but what's more, harvesting them is the most time consuming process in the whole game. As with all other crops, begin by cultivating the field and planting the potatoes. To that end, use a potato planter Grimme GL 420 or Grimme GL 660. Since the only difference between them is the work surface, it pays off to save up an additional 10000$ and buy the more expensive one - cutting the work time in half will be a sufficient reward. One the field is fertilized, we can speed up time.
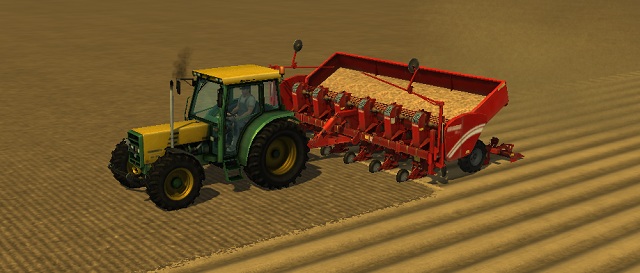 Planting potatoes using Grimme GL 660.
Begin the harvest when the crops turn green. The first step is to remove the leaves using a Grimme KS 75-4 machine. Attach it to a tractor, then lower the implement and drive over the mature potatoes - speed is not a factor, so the whole process shouldn't take too long.
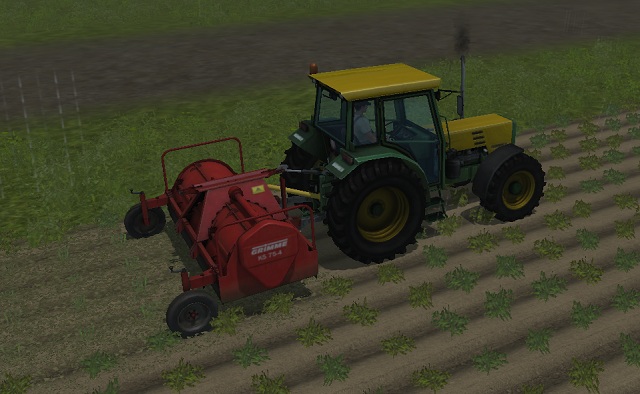 Removing leaves during rain. One of two stages of harvesting mature potatoes.
When the potatoes are ready, it's time for the proper harvest. For that purpose, use Grimme KS 75-55 which costs almost 120000$. Attach it to a tractor, set out into the field, extend the combine, turn it on, and... slowly drive through the field (cruise control 1). The pulps will be stored inside the machine; when it fills up, drive over to a trailer, extend the pipe and unload. The collected potatoes can be stored in a storage building or sold at once.
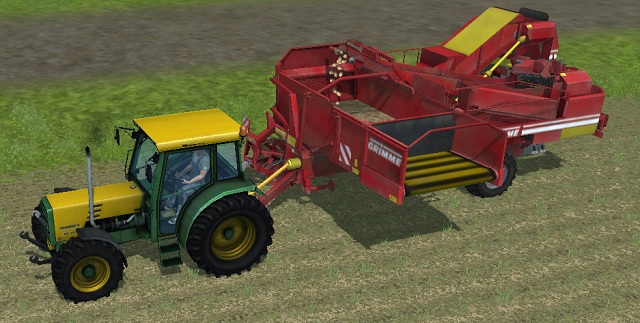 Harvesting potatoes. Without the best machine available in the game, the process is very time consuming.
The biggest flaw of growing potatoes is the time it requires. Not only do we have to perform an additional process of removing the leaves, but the Grimme KS 75-55 machine is very slow and covers little area. Consequently, I would recommend buying the Grimme Tectron 415 harvester. It not only implements the two functions together, but also covers a much larger surface and therefore allows you to process the same ground as Grimme KS 75-55 twice as fast.
 Grimme Tectron 415 - every farmer's dream.
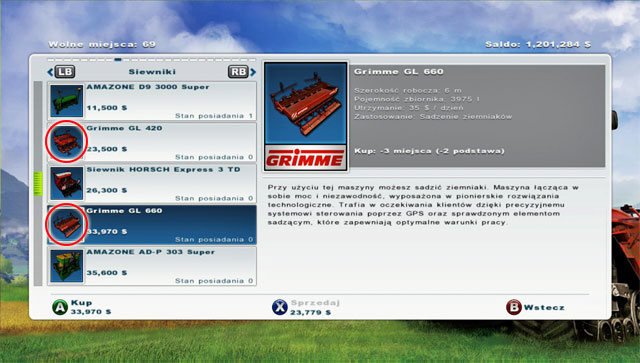
When planning the expansion of your farm, you can consider investing in potatoes. It's a rather expensive and time-consuming activity. The first thing you need is a proper planter. As you shouldn't take on potatoes without having a considerable amount of money, you should start off by buying the Grimme GL 660 for 33970 $ - the working width is 6 meters. You can buy the 10000 $ cheaper Grimme GL 420, but it has 50% less width, so it's not worth it.
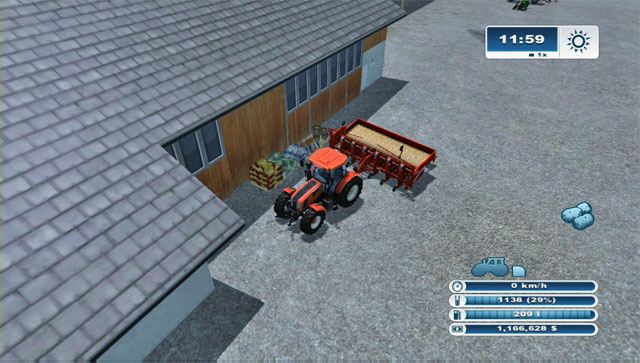 The planter, just like the sower, has to be filled.
Remember that the planter - just like the sower - has to be filled with seeds which is quite expensive (around 3000 $).
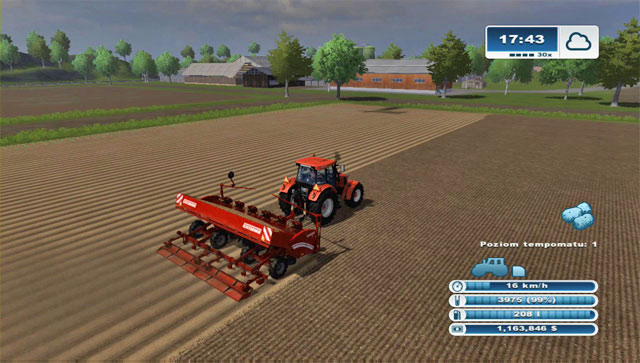
 Planting potatoes with the 6 meter wide planter goes rather fast.
You can plant potatoes (cruise control 1) on any field prepared with the cultivator. Remember to use the sprayer or fertilize the field afterwards.
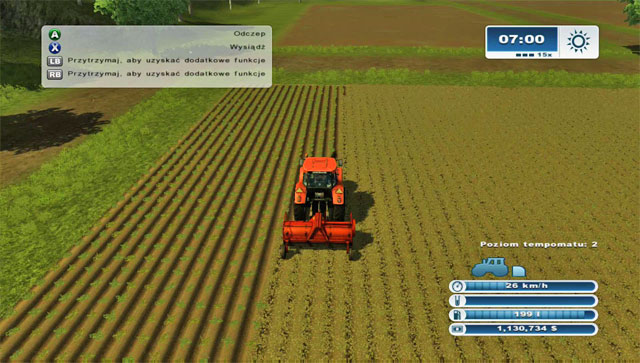 When using the topper the tractor can move rather fast, but the width is very limited.
Now you have two options. Option 1 is the minimum version. Before the harvest, you have to buy the Grimme KS 75-4 for 7990 $ to remove the leaves (cruise control 2). Unfortunately, you cannot hire a worker to do it and the width is just above 3 meters, which makes it a very long and tiresome activity.
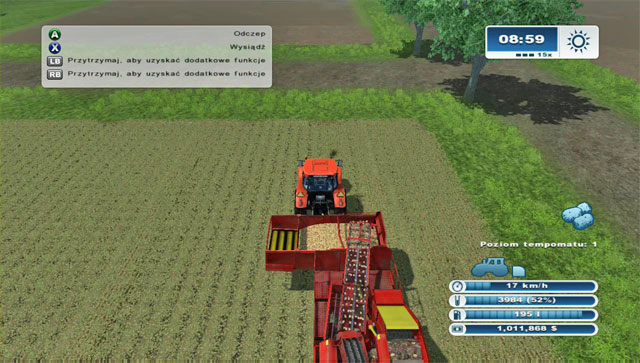 Working with this harvester is very slow, as it can gather only one row of potatoes at a time.
The second step involves purchasing the Grimme SE 75-55 harvester for 118760 $. Unfortunately it's an awful machine: it gathers only one (!) row of potatoes at a time. It makes the harvest an incredibly long process for which you cannot hire a worker (!). Here's a profitability study for the whole investment 1:
Investment (minimum option): 160 720 $ (33970 $ for the planter, 7990 $ for the topper and 118760 $ for the combine harvester; the price doesn't include a sprayer);
Return on investment: a dozen or so days (despite the low price of potatoes, a single harvest will be 3,5x bigger than that of wheat or barley);
Conclusion: growing potatoes is very profitable, but with basic equipment it's too time consuming, absorbing and just boring - I don't recommend it!
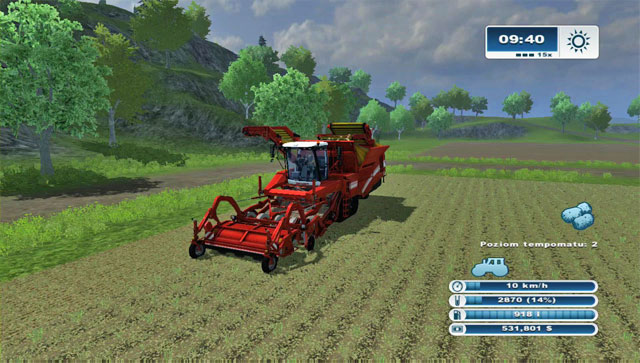 This combine makes growing potatoes really profitable.
Option 2 is also the optimum one. You need to buy the Grimme Tectron 415 combine for as much as 479990 $. However high is the price, it's a very good investment if you want to plant potatoes on large fields and earn serious money out of it: with this vehicle, you won't have to remove the leaves (the combine will do it on its own), you will gather four rows at the same time and the whole process can be done by a hired worker!
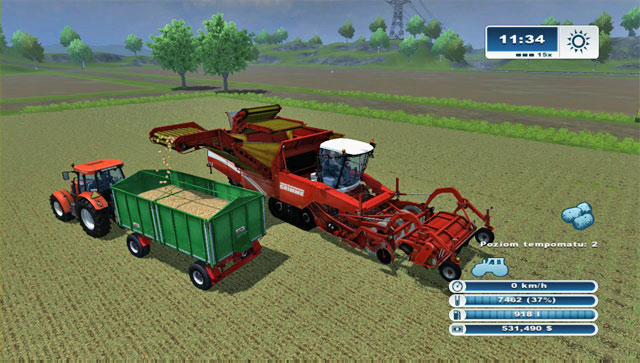 Unloading potatoes from a combine works just like with grains.
You only have to make sure to collect the harvested potatoes. A single combine tank can hold as much as 20000 l of potatoes, however you have to keep in mind that the amount of potatoes will grow much faster than with grains, so both the combine tank and the trailer will fill up quick. Here are the calculations:
Investment (optimum version): around 513 960 $ (33970 $ for the planter and 479990 $ for the combine; sprayer not included);
Return on investment: a dozen or so days;
Conclusion: planting potatoes is very profitable, but only with the right tools which make the whole process much less absorbing.
Sugar beet is the first of two types of plants that require performing an additional process during the harvest. Before we begin collecting them, though, we first need to plant them. Preparing the field is identical to corn - simply use the cultivator. Since we're using the AMAZONE EDX 6000 sowing machine again, planting the sugar beet seeds is easy. Once we've chosen the correct type of seeds (you can switch between them using O), seed the field, fertilize it and speed up time while waiting for the crops to ripe.
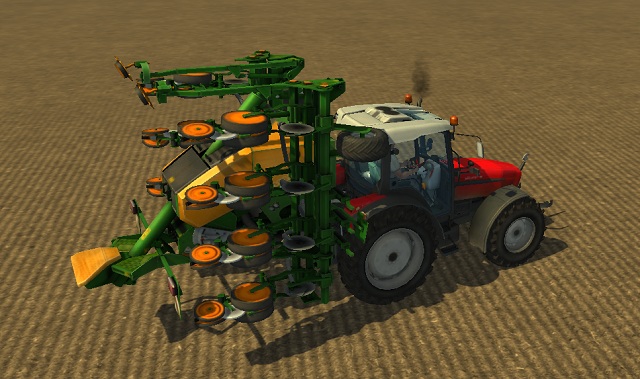 AMAZONE EDX 6000 in the starting position.
When the plants are ripe, the whole field will turn green. The first thing to do while harvesting sugar beet is the so-called defoliation, which is the separation of the leaves from the pulps. To do it, use the Grimme BM 300 machine (costs 17650$). Attach it to a tractor and drive over the plants. In this case, we can move at maximum speed - the process will only take a while. As a result we will get a field with ready to be harvested pulps.
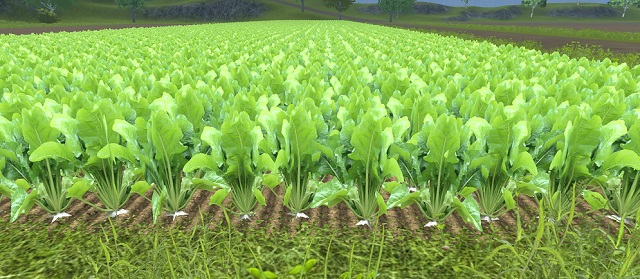 Ripe sugar beets. Now we need to separate the leaves and harvest the pulps.
The next step involves collecting proper biomass. We can do it by using another machine - Grimme Rootster 604, which costs 98980$. Attach it to a tractor, turn it on and set out into the field. Harvest at cruise control at 2. When the vehicle is full, unload the sugar beets into a trailer; now you can either store them in a storage building or sell them. NOTE! The current version of the game won't always allow the harvester to unload automatically. When that happens, simply switch to it and lower it (V), and the sugar beets will be unloaded into the trailer.
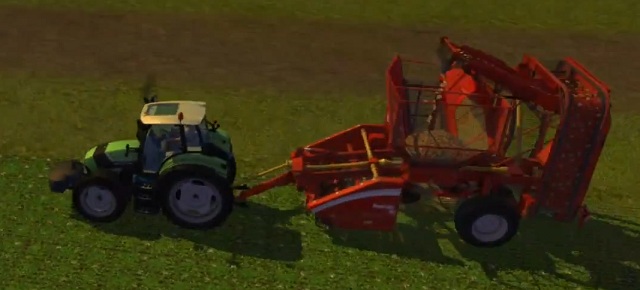 Harvesting sugar beet with Grimme Rootster 604.
If you want to grow sugar beet on a larger scale, it pays off to invest in Grimme Maxtron 620. It will allow you to perform defoliation and harvest pulps at the same time, which speeds the whole process up significantly, thus increasing the productivity of our work. The only problem is the price - it costs almost half a million dollars.
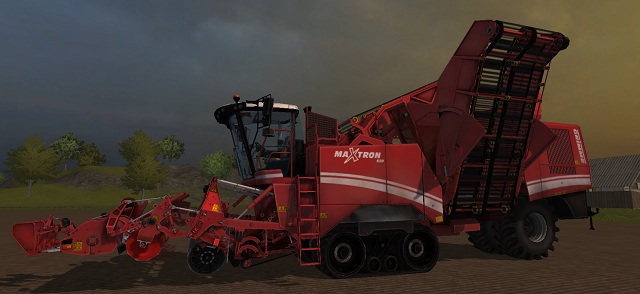 If you want to harvest sugar beet, then only with Grimme Maxtron 620.
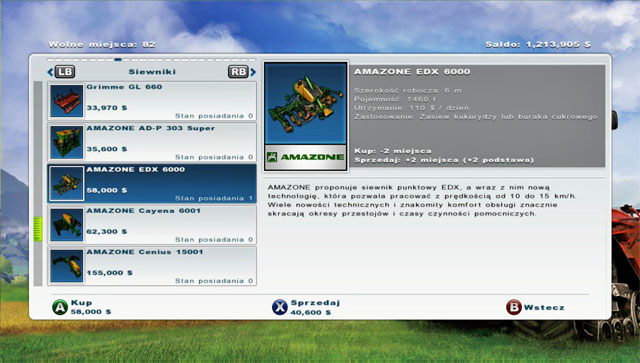 Buying a sugar beets planter.
Growing sugar beets - just like potatoes and corn - is rather expensive at first. You have to start by buying the necessary equipment. Buy the AMAZONE EDX 6000 for 58000 $.
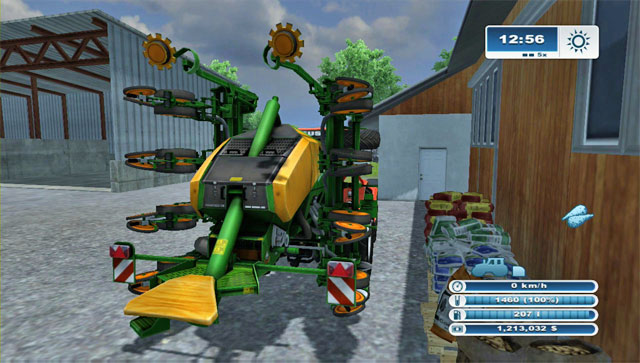 You have to fill it up, just like every other sower or planter.
Don't forget to fill it up - the cost of filling it up to 100% is around 800 $, at the same place as the other types.
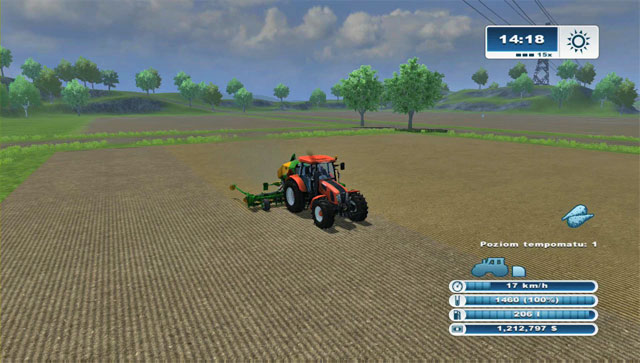 The big width speeds makes for a rather fast process.
Time for planting. The field needs to be cultivated beforehand. The width of the machine is big (6 meters) and you can also hire a worker, so the whole process will be fast and pleasant. The sugar beet grows as fast as the potato - just remember about spraying the field (!). At this point, just like with the potato, you have two options.
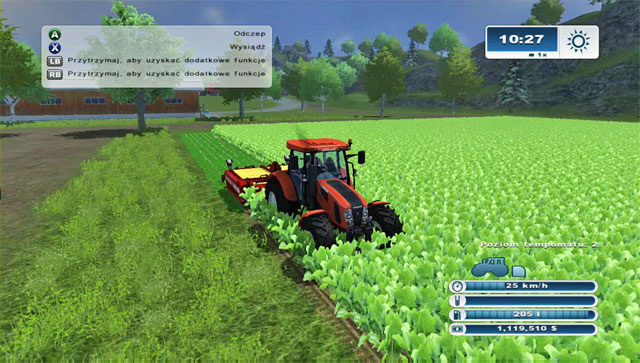 Defoliating with this machine is long because of the small width.
Option 1: minimalistic. Buy the Grimme BM 300 for 17650 $ to perform the defoliating (getting rid of the leaves). The width of this implement is relatively small (3,3 m) and the speed limited to cruise control 2. Unfortunately, you cannot hire a worker to do it for you.
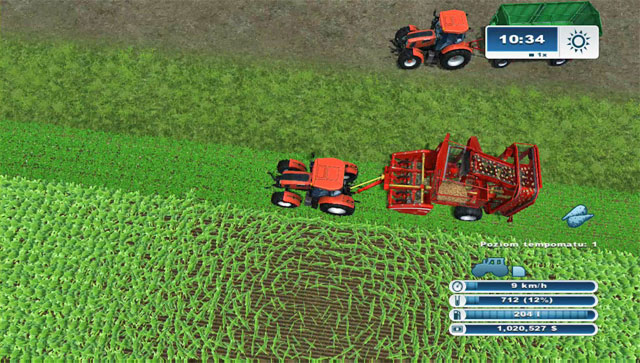 Working with this simple harvester isn't very comfortable, as you cannot hire a worker to do it.
The second step is buying the Grimme Rootster 604 for 98980 $. It collects 6 rows of sugar beets at once. Unfortunately, it also doesn't let you hire a worker do to your job. The tank's capacity is 6000 l, but it fills up very fast. The profitability of the investment is as follows:
Investment (minimum version): 174 630 $ (58 000 $ for the planter, 17650 $ for the defoliation implement and 98980 $ for the combine; the price doesn't include the sprayer);
Return on investment: a dozen or so days;
Conclusion: growing the sugar beet is very profitable, but in order to gain money faster, you shouldn't invest in the cheaper machines.
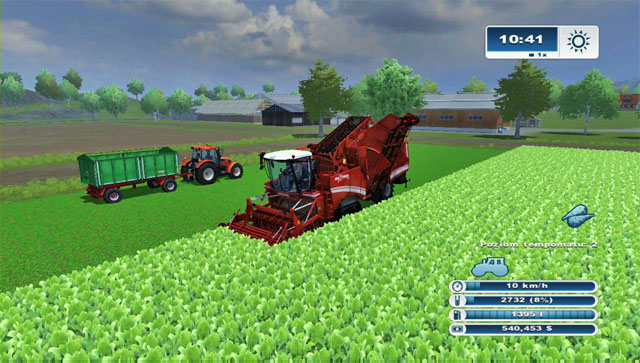 This combine makes growing sugar beets really worth your time.
Option 2: optimum. If you want to earn a considerable amount of money and plant sugar beets on a bigger scale, you should consider investing in the Grimme Maxtron 620 combine which costs 479990 $. It doesn't require prior defoliation, it works at speed 2, you can hire a worker to control it and the tank capacity is around 30000 l.
Investment (optimum): around 513 960 $ (58000 $ for the planter and 479990 $ for the combine; sprayer not included);
Return on investment: a dozen or so days (it's a profitable investment in a longer run);
Conclusion: growing sugar beets is very profitable and at the same time very convenient with the proper machines.
Corn is another type of grain we can grow in Farming Simulator 2013, but given that it requires a specialized type of equipment, it demands much more attention.
Preparing soil for the cultivation of corn is identical to any other type of grain - which is detailed in the Cultivation - Grains section. The first difference comes to light while sowing: it's only possible with the AMAZONE EDX 6000 sowing machine, which costs as much as 58000$. Given its large size, attach it to one of your most powerful tractors. Next, chose proper seeds (AMAZONE EDX 6000 is used for seeding both corn and sugar beet), fill the container and seed the field. If the presence of the marker irritates you, you can lift it by tapping Z two times.
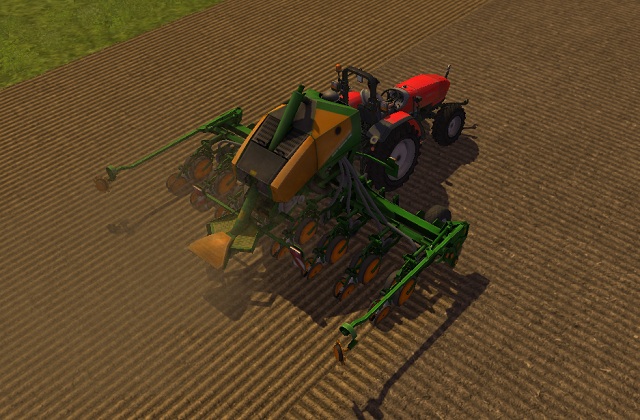 Seeding corn with AMAZONE EDX 6000.
The next step is to fertilize the field. Same as with wheat or barley, it's enough to do one cruise with the sprayer or manure spreader or use the manure from your animals. Regardless of the choice, after the fertilization we can speed up time and wait for our corn to ripe.
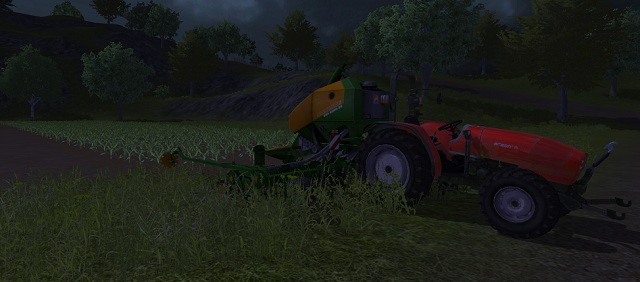 Corn fields at night. The plants are still small.
When the corn is ripe, we can use it in two ways: collect corncobs and sell them at a selling station or process them into animal fodder. To harvest it, use the Deutz 7545 RTS combine harvester (315000$ worth) with a special corn header (46000$). Again, we can hire a worker to control the combine so that we could drive a tractor side by side and unload the cargo into a trailer. NOTE! The current version of the game has a bug which makes the worker automatically fold the corn header. To prevent it, after selecting the combine press H (hire a worker) and then immediately after X (extend the header). The collected corn can be stored in a silo and sold when the price is high enough.
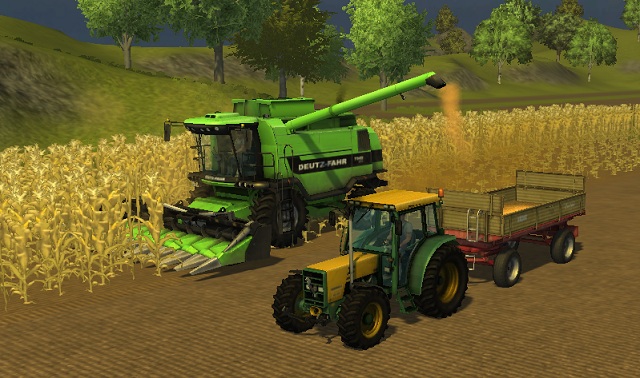 Same as with grains, we can unload the crops directly into a trailer.
The second way in which we can make use of corn is to process it into animal fodder. To that end, use either a chaff cutter Pottinger Mex 6 or the huge field forage harvester Krone Big X 1000 with a corn header Krone Easy Collect 1053. With the former, attach it to a tractor and then steer the trailer in such a way so that you could attach a second trailer - a tipper which will collect the corn silage. If you want to use Krone Big X 1000, though, simply follow the instructions outlined in the tutorial. When the machine is ready, drive it over the field and begin the harvest. Store the collected materials in the open silos located at the biogas plant or near the cow pasture. You can find more information on this topic in the further parts of the guide, in the Animals - Cows, Manure section.
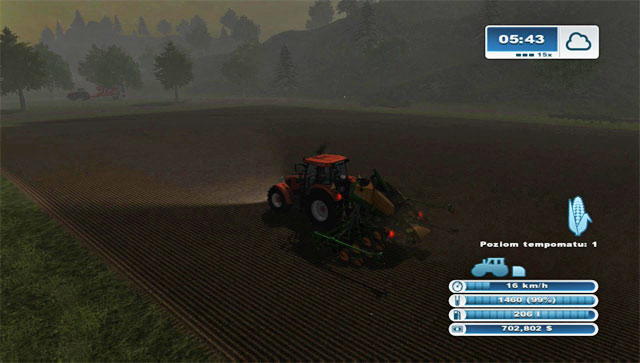 Planting corn can be done with the same planter as sugar beets.
In order to begin growing corn you need a planter - buy the same one as for the sugar beet, i.e. the AMAZONE EDX 6000 for 58000 $. Remember to fill it up - at the same place as the sower. Afterwards plant the seeds - you can hire a worker to do that for you. Don't forget about spraying.
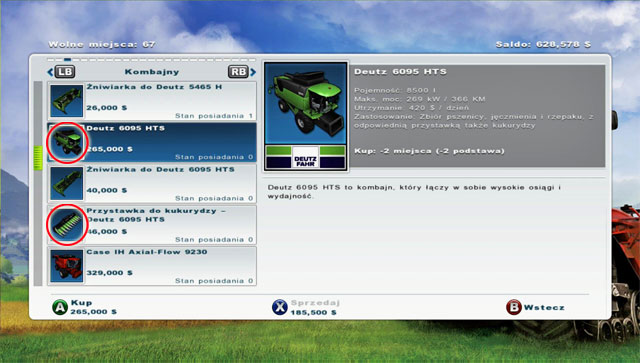 You need special headers to harvest corn.
The next step is buying a combine. Unfortunately here you're in for an enormous expense. The cheapest corn set costs 311000 $ - the Deutz 6095 HTS combine is 265000 $ and the corn header and additional 46000 $.
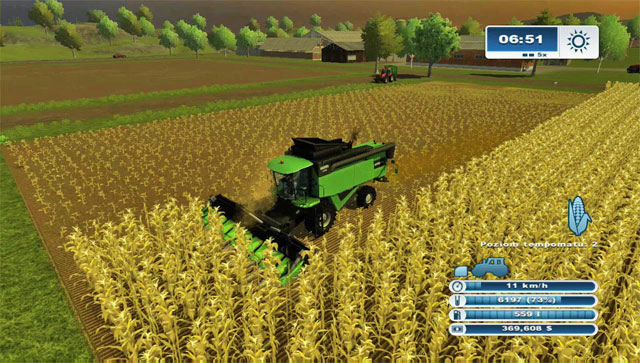 Harvesting using them (7,2 m wide) is a pleasure.
The header (just like the normal harvester for this combine) is 7,2 m wide, so harvesting won't take too much time (remember that this combine can also be used for other grains after buying a suitable harvester).
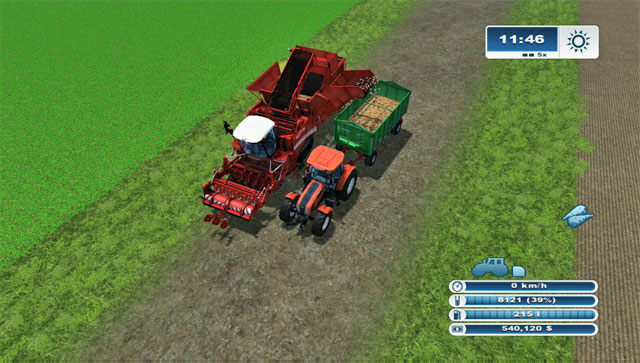 The amount of crops you obtain from a field varies depending on what you seed/plant.
Each type of grain or plant seeded/planted on the same field will give you various amounts of crops under the same conditions (with spraying). That's why you shouldn't only consider the price at purchase points, but also be aware of how much crops you will gain from each type. The comparison was prepared based on crops from field 16. It was completely seeded/planted with a given type of grain/plant. Example crops from field 16 are as follows:
Gaining different amount of crops from the same field is only one aspect that has to be considered when calculating profitability. The second one is the price for the crops. I remind you, that the point of reference here is field 16. Below you will find the profit gained from each type of crop from field 16 (with spraying):
It's clearly visible what is the most profitable to grow. Despite the low price of potatoes and sugar beets, they grow in large numbers and the profit is twice as big as with grains.
Therefore, in the first part of the game it's best to focus on grains - wheat and barley. Afterwards try switching to root vegetables, with the sugar beet a seemingly better choice than the potato. Corn shouldn't be sold - either turn it into forage or don't grow it at all.
Remember however that apart from those dry numbers, there are also other factors:
Chickens will probably be the first animals you will buy in the game, and they are the least time consuming when it comes to return on investment. To buy hens, open the shop menu (P), switch to animals in the upper tab, and buy as many as you like.
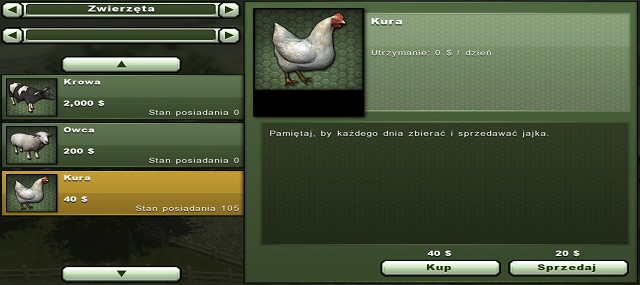 Chickens don't cost much and don't require tending or feeding.
The purchased hens will be automatically transported to the farm. With time, they will lay eggs; the only thing for us to do is to jump over the fence and collect them (simply walk over them). You can speed this process up by holding SHIFT, which corresponds to running. The current amount of laid eggs can be checked on the PDA under the statistics tab on the fifth page. The number in red means you have reached the maximum and have to collect them as soon as possible. The number of stored eggs is displayed on the first page of the statistics tab.
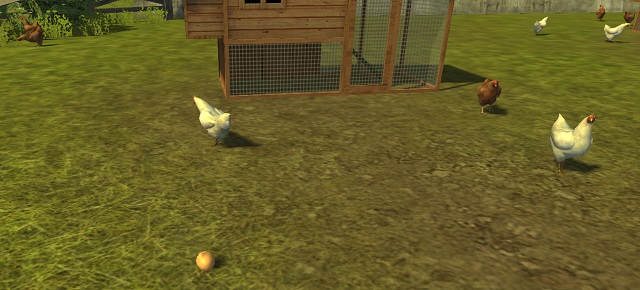 From time to time you're going to have to collect the eggs.
Sell the eggs in the nearby village - to get there, head north from the starting location head north (it's indicated by a special icon on your PDA). You can also jump to the tractor stationed there (TAB). Since hens doesn't have to be fed, laying eggs is their only function in the game. Selling eggs can serve as an additional source of income at the begging of the game, but later, as it progresses, most players tend to ignore it completely.
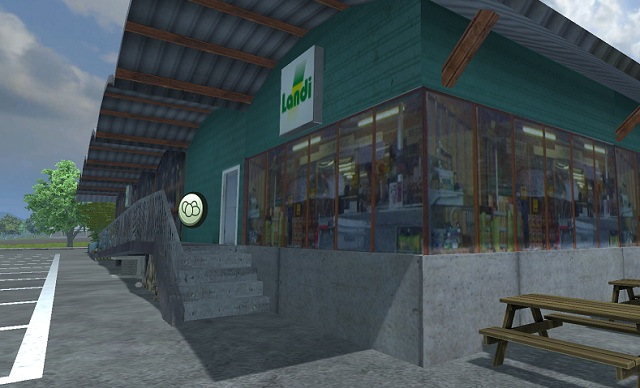 Eggs selling station.
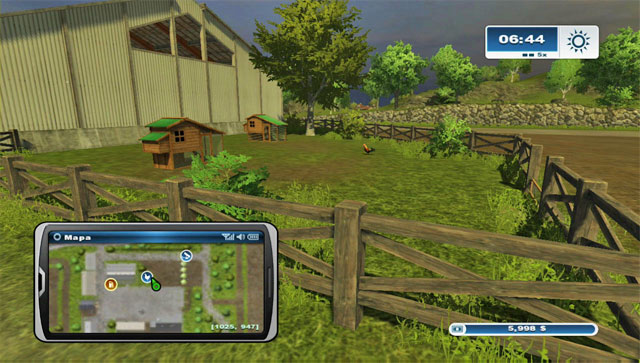 The chicken pen at your farm.
You have chicken pen at your farm. At the beginning of the game you will only have a single cock inside (who obviously doesn't lay eggs). Keeping chickens should be considered an additional activity rather than one which can bring you real wealth. However investing some money at the beginning of the game can bring you small but noticeable profits.
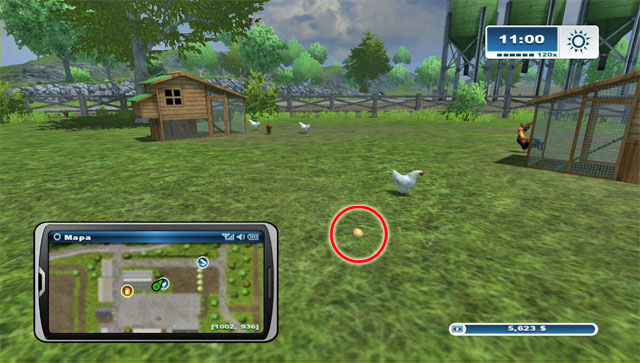
In the shop you can purchase chickens which will walk around the pen. The price is 40 $ each. You can buy several at the same time - for example 7 - and they will automatically appear at your farm. Chickens don't require any care. They just keep walking and pecking the ground. From time to time they will lay an egg in the pen. You have to collect them - just walk into them.
You can see the number of collected eggs on the PDA in the statistics screen. In order to sell them (10 $ per egg) you have to go to the purchase point - one can be found in the town in the north and the second even further to the north at the back of the Farm Shop. Example profit calculations:
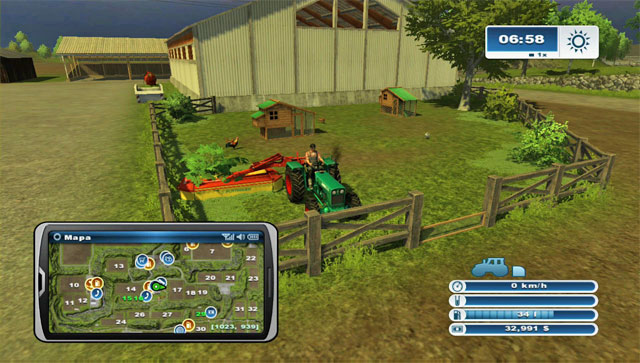
To have a better view of the eggs, you can enter the pen with a mower (you should have it rather soon) and mow all the grass. However keep in mind that it will grow back eventually.
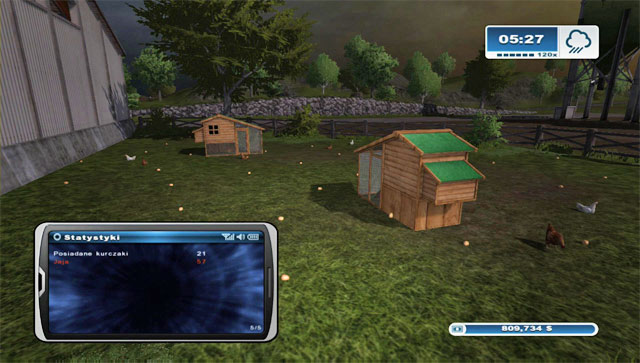 The more chickens, the more eggs you will get. When the number of available eggs in the statistics turns red, it's a signal that you have to go to the pen and collect them.
If you want, you can buy more chickens, even 20. You will have proportionally more eggs (around 20 per day). The return on investment won't change - you will still need 4 days to regain the invested cash. You can check the number of eggs to collect in the PDA statistics screen.
The sheep pasture is located in the north-west corner of the map, near fields 37 and 38. Same as with chickens, sheep are also bought from the shop (P) and automatically transported to their pasture.
Before the sheep can start supplying wool, they need to be fed with grass. You can learn how to get grass from reading the Cultivation - Straw and Grass section; in this instance, you don't have to form it into bales - it's enough to transport it in a loader or use the AMAZONE Profihopper mower that's been mentioned before. It's not expensive, so you can easily buy one, put it near the pasture and from time to time use to fill the manger with freshly-cut grass. A full manger lasts for six days of game time.
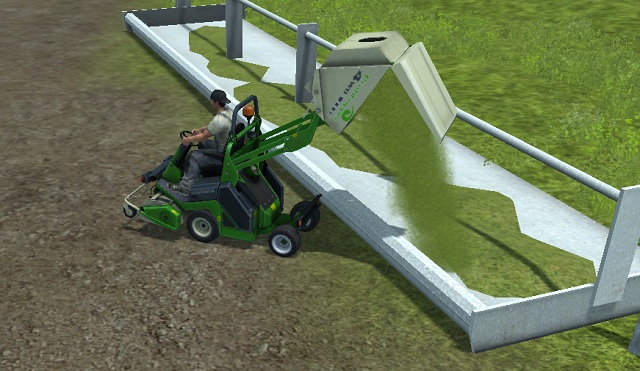 The small AMAZONE Profihopper mower is perfect for feeding sheep.
When the sheep are fed, they will automatically "produce" wool. The wool is accumulated in pallets right next to the pasture. In order to get it to a selling station, use a front loader with a compatible pallet fork attached to it. The cheapest model - Weidemann 4270 CX100 T costs 26000$, whereas the compatible pallet fork is an additional 800$. Once you have them, you can pick up the pallet - though maneuvering the front loader may be quite difficult at the beginning. To do it, use the left and right mouse buttons, then move the mouse up and down and left to right to set the right angle and slowly slip the fork underneath the pallet. When you do it, raise the arm and take the wool to a selling station in the town near field 30 - it's indicated with a ball of thread on the map.
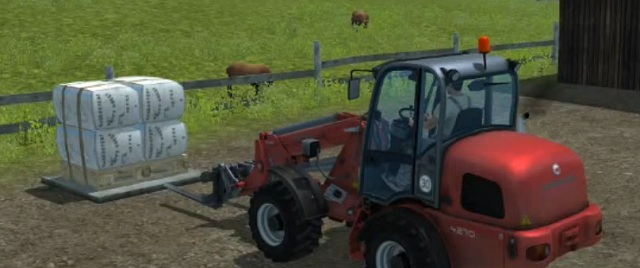 To move the pallets, use the front loader.
Moving the pallets one by one may prove both tiring and time consuming, therefore we have an option to transport them in larger quantities. To that end, purchase a bale loader (baling technologies tab, cost 3600$), and park it near the pasture. When a pallet has been filled up (PDA, statistics, fourth page - wool will be indicated in red), load it on the loader. Once you determine the perfect time to sell the wool, take the loader to a selling station and driver over an indicated field. All pallets within that field will be automatically sold and we will receive our due payment.
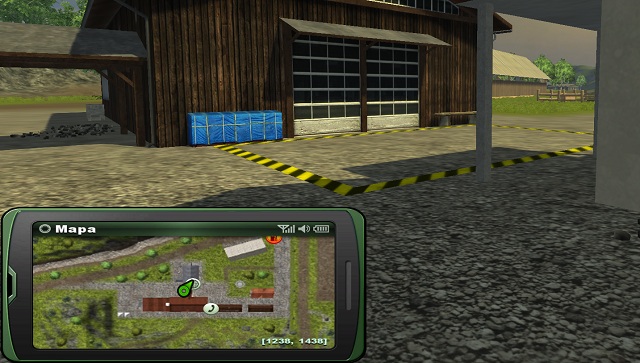 Wool selling station. All pallets within the indicated field will be sold.
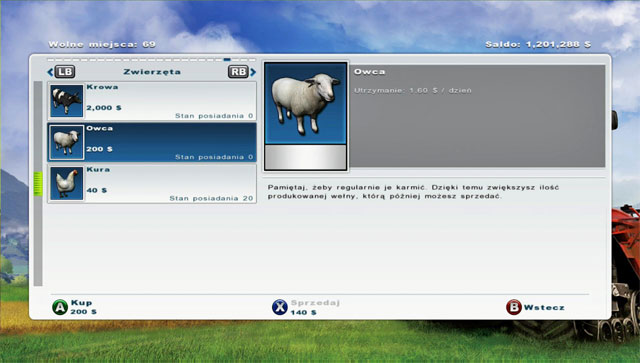 Animals, just like vehicles and implements, can be bought at the shop.
In order to buy your first sheep, you need to enter the shop. They will be automatically moved to your farm into the lower-left corner of the map. In order to gain profit from selling wool, you will have to provide them with food - in this case grass.
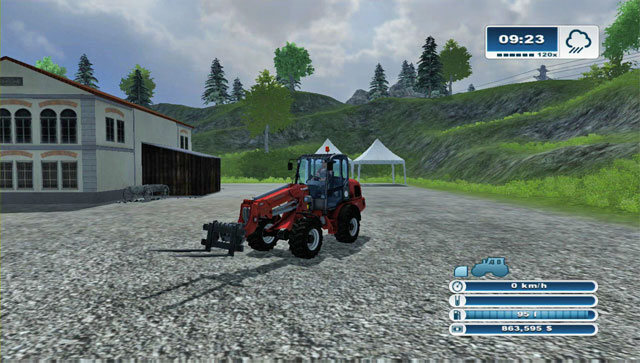 In order to move wool pallets, you will need a loader with a pallet fork.
Additionally you will need a front loader and a fork pallet. The cheapest such vehicle is the Weidemann 4270 CX100 T with the Waidemann pallet fork - the whole set costs 26800 $.
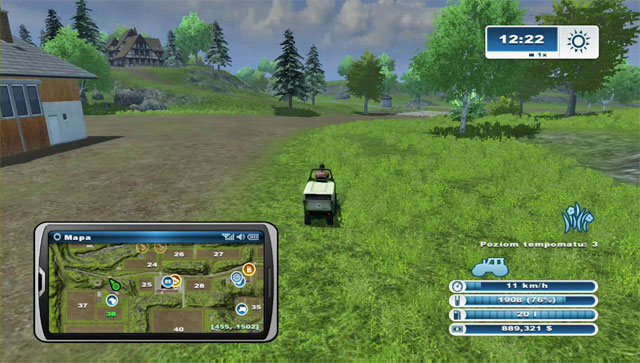 In the minimum option, you can use the cheapest mower.
In order to begin, you will need a few sheep. In order for the whole investment to have any sense, you should start with 25 sheep - they will cost you 5000 $ (25x 200 $). The easiest and cheapest way of delivering them grass is buying a small AMAZONE Profihopper mower for 3500 $. After buying it, drive it towards the sheep pasture. You should have plenty of grass around you. Turn on the mower and fill up the tank with grass - it has a capacity of 2500 l.
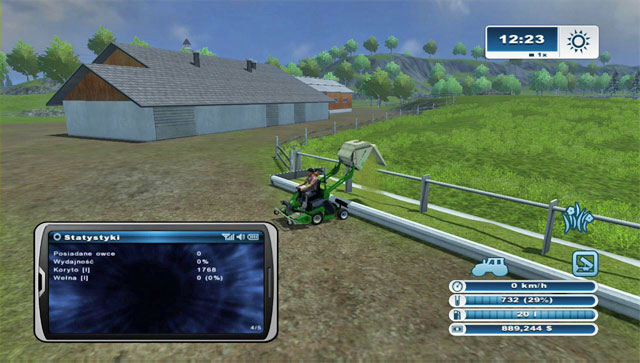 Unload the mower grass into the manger.
Drive backwards to the manger and unload the grass. The manger can hold enough grass for 6 days, so the more sheep you have, the more grass you will have to unload.
It's a minimum option in which you will have to wait for a long time for your investment to start bringing profit. It's not very remunerative.
Investment: 35 300 $ (5000 $ for the sheep, 26800 $ for the loader, 3500 $ for the mower); of course the cost will be lower should you already have some of those machines;
Return on investment: > 20 days (producing a single pallet will take a couple days and selling it will bring you 4 500 $);
Conclusion: breeding sheep in such a small scale isn't profitable because of the high initial costs and long return on investment; a larger number of sheep gives a better distribution of the investment costs.
 Buy a field beside the sheep pasture and plant grass on it.
In the optimum version you will most of all have to buy more sheep - 100 for 20000 $ is a minimum (100x 200 $). The second investment is buying a field beside the pasture - field 38 for 66 500 $. You will grow grass for them here.
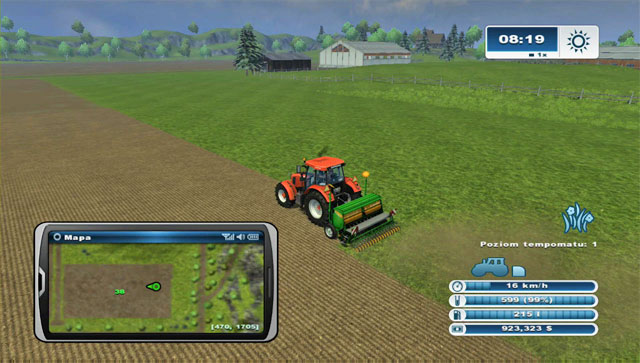 You have to plant grass only once. After mowing, it will grow back.
Third step: bring a tractor with a sower there - any will do, you must have one. Plant grass on the whole of field 38. Remember that grass has to be planted only once - it grows back after being mowed, so you can take the sower back.
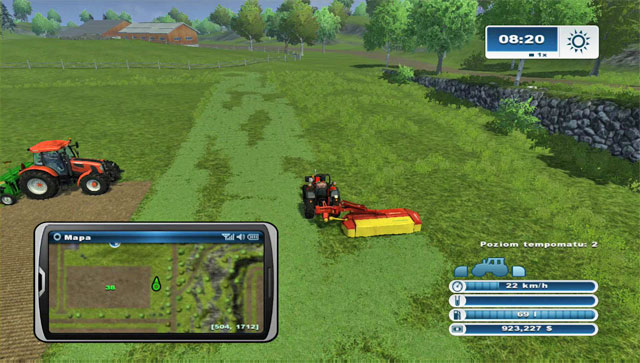 Before grass grows on the field, use that growing around.
The fourth thing is bringing a mower. Perhaps you already have one (bought to complete mission). You need a tractor with the basic Pottinger Eurocat 315H for 8300 $ - it will do just fine for starters. It will take some time before grass grows on the field, so you can start by mowing the area around the farm and eventually move to the field.
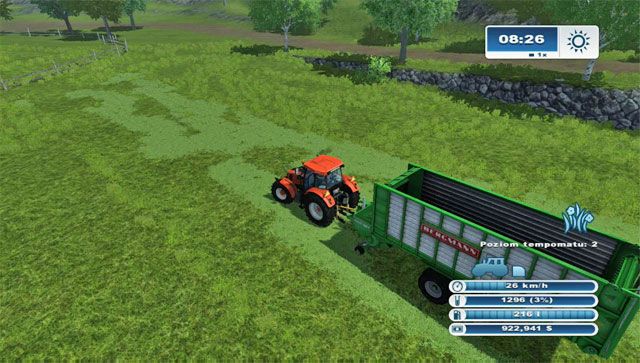 Buy and bring here a multi-purpose trailer.
The fifth thins is buying a multi-purpose trailer. The cheapest option is the Bergmann Shuttle 900 K and it will do just fine. It costs a lot - 90000 $. Drive it to the mowed grass around the sheep pasture and start collecting it (speed 2). The trailer has vast capacity (44000 l), but for starters you need a lot less - around 2000 l.
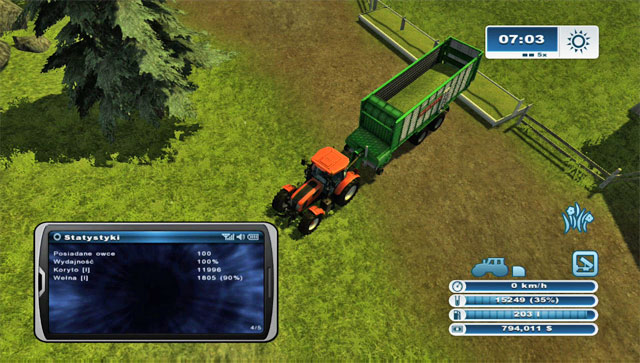 Unload the mower grass into the manger.
Drive to the manger and unload whatever you have so that the sheep have something to eat. 100 sheep will need around 12000 l of grass for 6 days.
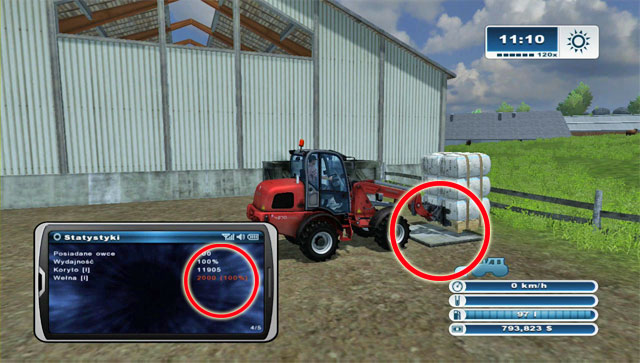
On the other side a pallet with wool will be created. When it's finished, further production will be stopped until you collect the prepared pallet from the field. That's why you should keep an eye on the PDA.
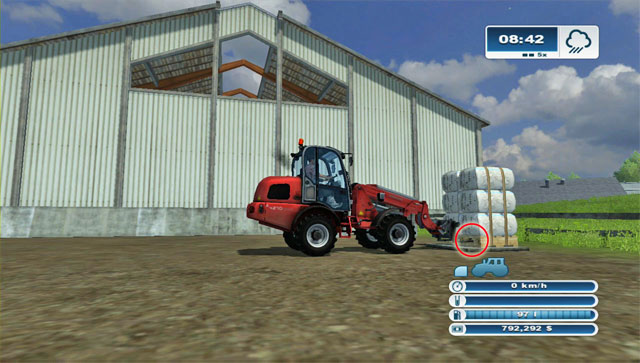
You will need some practice with handling pallets. You have to be very delicate and careful. Aim the fork into the holes in the pallet and slowly move towards it. Afterwards pick up the pallet and drive away from the field. Do everything at minimum speed so that you have time to correct any possible mistakes.
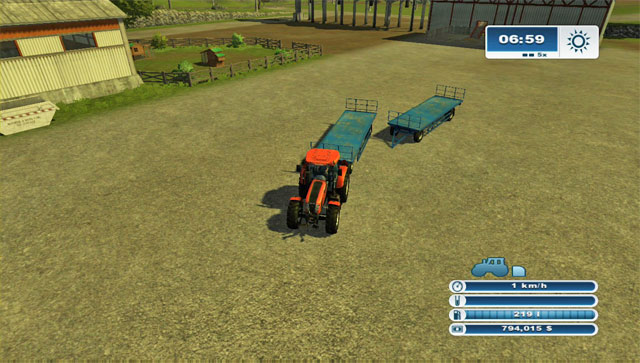 Connecting two trailers requires a lot of time.
The best way of transporting pallets is buying two cheapest trailers and connecting them both to a single tractor. It's VERY difficult and requires slow and steady maneuvers while driving backwards.
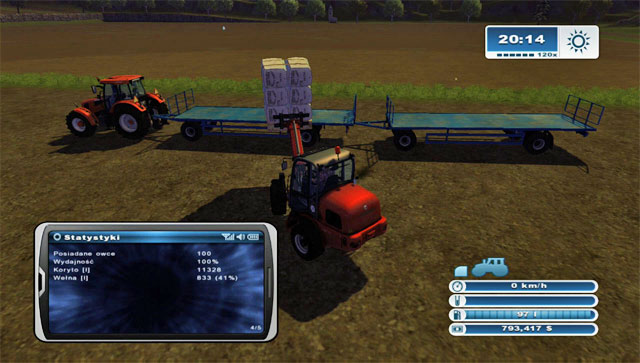 Load the pallets onto the trailers.
Drive the tractor with two trailers onto the farm. Put the pallets onto the trailers once after another. Two trailers can hold 8 pallets.
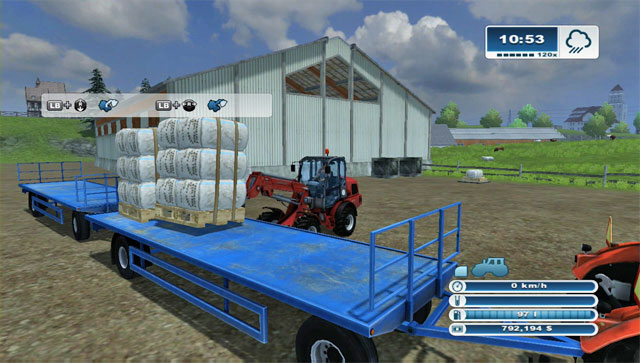 Be very careful so you don't knock everything down from the trailers.
Be equally careful when loading pallets onto the trailer. Don't make any sudden moves or you will knock down the loaded pallets or even the whole trailer. After lowering the pallet onto the trailer, slowly pull back the forklift. One wool pallet can be sold for around 4500 $.
Investment: 128 800 $ (66500 $ for the field, 20000 $ for the sheep, 26800 $ for the forklift, 8 300 $ for the mower, 2x 3600 $ for two trailers); the sower wasn't included, as you're sure to have one on your farm and it's only needed once here;
Return on investment: around 25 days (producing one pallet takes around 21 hours and it can be sold for around 4 500 $);
Conclusion: breeding at such a scale in profitable; it's a bit absorbing at first (when you have to plant, mow and deliver grass to the manger) and requires some initial investment (though incomparable with sugar beets or corn); later on it's a lot less time consuming - you only need to mow the grass every now and then, the pallet has to be taken onto the trailer every 21 hours and once a week the two loaded trailers have to be taken to the purchase point.
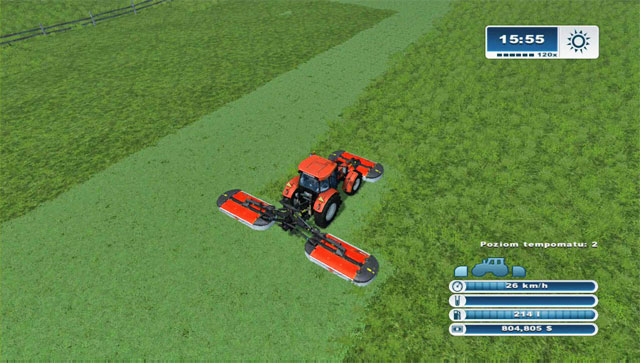 The best possible way of mowing large fields of grass.
Later on in the game, you can make the whole process much more effective by buying the Kuhn PZ 960 mower for 28300 $ and attaching it at the back and Kuhn PZ 280 F for 8840 $ for the front. In total you will spend 37140 $, but mowing grass will become much easier.
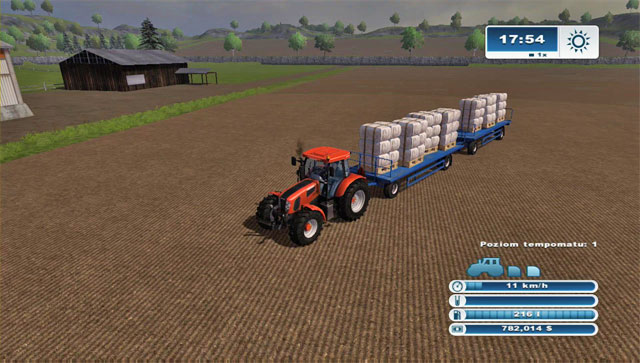 Drive such a set VERY carefully so that nothing falls off.
You can take each pallet to the purchase point, but that doesn't have much economic sense. A single trailer costs only 3600 $, but you should buy two and attach them both. After loading 8 pallets, head to the purchase point by the spinnery - it's in the east, north of the cow pasture. There is only one problems - you have to drive VERY carefully, so that none of the pallets falls down. It's rather problematic.
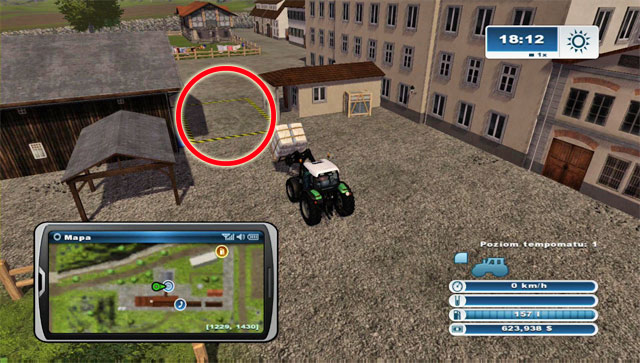
In order to sell the pallets, you just have to drive into the marked point - the pallets will disappear and your money for it will be transferred onto your account. The price of one pallet is around 4500 $.
The last, the most expensive and the most demanding type of animals you can have on your farm are cows. After purchasing them, they're automatically transported to the pasture near field 35.
 A view on the whole cow pasture complex.
Cows produce three types of products: milk, manure and slurry. The first is sold automatically and you receive the money at the end of each day. The second and third are stored near the pasture and, similarly to a fertilizer, used to increase your harvest. Same as with sheep, if we want the cows to start producing milk and give manure, we first need to feed them. Unfortunately, they're quite picky, so if you keep feeding them the same type of fodder all the time, you won't be able to maximize their productivity, and as a result their milk will go for a much lower price. To prevent it, you're going to have to make a special mixed fodder yourself.
If you've only just begun breeding cows, you can easily feed them only one type of fodder. You can choose between hay, grass or silage. If you want to know how to get the two former ones, read the Cultivation - Straw and Grass section. Producing silage is a little bit more complicated. To do it, collect previously mowed grass with a forage wagon and transport it to a proper silo (they're located next to the biogas plant and the cow pasture).
 Here is where you store chaff or mowed grass to ferment it into silage.
The silos can be also used to store chaff (corn, wheat, or even grass) made by using the Krone Big X 1000 combine - the result will be the same, though grass grows everywhere and is free, which makes it a much better material. You're going to have to do a couple of cruises, since you'll need to fill the silo on at least 10%. The next step is to compress the collected chaff to 100% (simply drive a tractor inside the silo) - as a result, you will get an option to ferment the whole material. Once you select it, the silo will be covered with a plastic sheet and you will only have to wait until the silage is ready.
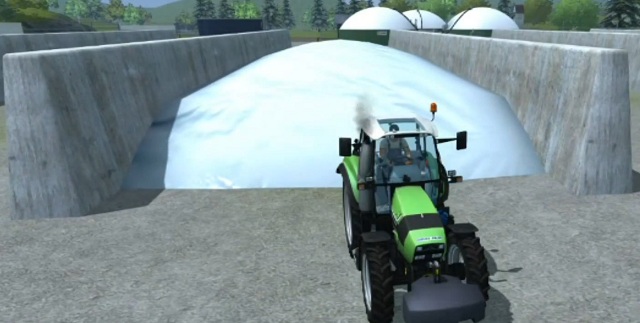 Silage fermentation at the biogas plant. The silo at the pasture works in an identical way.
When you have the silage, you can transport it with a front loader equipped with special silo grips or silage forks (depending on the brand of the vehicle). If you had stored it near the cow pasture, just feed it to the cows by filling the manger. Given that silage production takes time and requires purchasing appropriate machinery, a beginning farmer who wishes to breed animals should stick to feeding them hay or grass only.
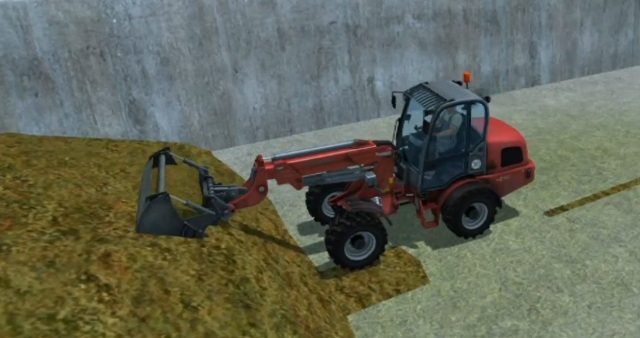 Transporting ready silage with a front loader.
Once we have more money, we can start thinking about making our own fodder. To that end, buy one of the mixer wagons (Nutrition Engineering tab in the shop). The least expensive one is the Kuhn Profile 1880 - available for around 40000$. After buying it and attaching it to a tractor, a window displaying a percentage composition of the fodder inside will appear. Our job would be to adjust the proportions of each of component (hay, grass or silage) so that they're leveled between the two markers.
We can do it on a trial-and-error basis, or use a method already worked out by other players. Using a front loader, throw the following into the mixer wagon:
1x hay square
1x grass square
fill up with silage
Next, mount a tractor and turn the mixing on. Once you have homogeneous feed, put it in the manger. Add other feed types (grass, hay, silage) and after a few minutes wait the productivity of your cows should raise to 100% - and from now on you will be earning money from selling milk.
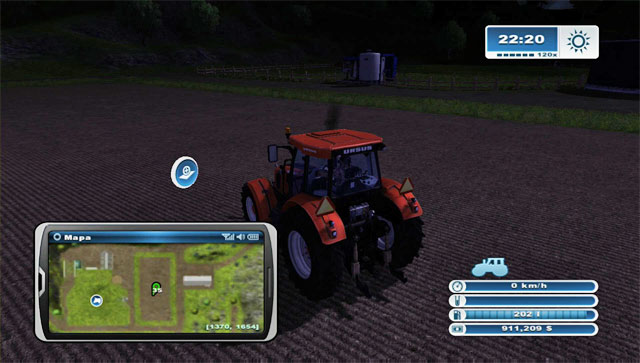 An advanced mixer wagon Kuhn SPV Confort 12 filling a manger with forage.
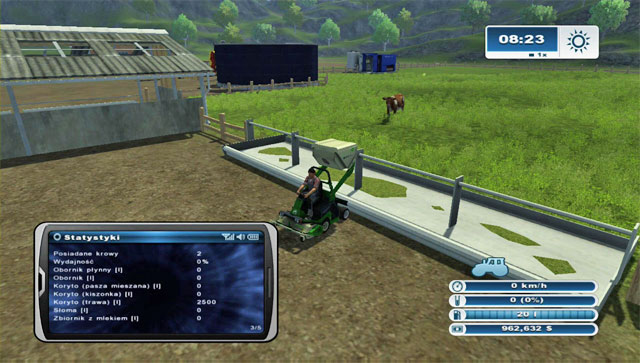 Unload the mowed grass into the manger.
If you want to approach this harshly, you of course can. This option of breeding cows is however not very remunerative. Buy the basic AMAZONE Profihopper mower for 3500 $ and drive towards the cow pasture. Mow the grass on your way and collect it into the small tank of the mower (2500 l capacity). Afterwards unload it into the manger and buy 10 cows.
Each day, 10 cows will need around 1500 l of grass. At the same time those cows will give you milk (with 35% efficiency) worth around 1300 $.
Investment: 35 500 $ (20000 $ for 10 cows, 3500 $ for the mower);
Return on investment: around 25-27 days (the daily profit might not be staggering, but the important fact is that cows don't require that much attention; when fed with grass only, the effectiveness is 35%);
Conclusion: husbandry at such a low scale isn't' very profitable, which doesn't mean that you shouldn't use it to diversify your farm and earn some money; the return on investment is rather long and profits aren't great either (remember about the daily cost of keeping a cow), but it might be a good activity for beginners, where brining mowed grass every 1-2 days and not having to worry about anything else is a quite good idea for a low, but constant income.
 Buy field 35 for forage.
You however shouldn't stop there: buy field 35 for 22000 $. Introducing a second type of food requires some more investments and work.
 Plant grass on field 35.
Bring a tractor and a sower to field 35 and plant grass. Keep in mind that you can take the sower away afterwards - mowed grass grows back after a while. In the future, if you will need more grass, you can consider buying the nearby field 30 or 41.
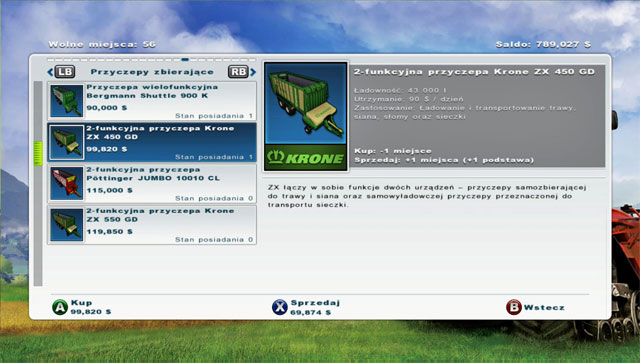 Buy a better multi-purpose trailer - the first model cannot unload forage into a roofed manger.
You will need grass, a lot of it in fact. In this option you will feed your cows with grass and silage. The ideal set for mowing grass is a medium tractor with a Kuhn PZ 280 F mower for 8 840 $ at the front and the Krone ZX 450 GD multi-purpose trailer for 99820 $ at the back (don't buy the 10000 $ cheaper Bergmann Shuttle 900 K as it cannot unload grass into a roofed manger).
 A perfect set for obtaining grass to feed cows.
Head to the meadow: onto field 38 where you planted grass or to the nearby empty areas. Firstly turn on the trailer, switch to the mower, lower it and turn it on. Mow grass that way and you will simultaneously collect it onto the trailer (speed 2). Remember to buy more cows - considering the scale of the investment, 20 cows should be sufficient.
 In order to create silage, unload around 30000 l of grass into a special silo.
Mow around 30000 l of grass and unload it into a special silo (west of the cow pasture). As field 35 won't supply you with enough grass, drive around the area to mow enough of it. You could buy field 30 for 49 100 $ and plant grass there, but it's another big expenditure. You can also wait for the grass to grow back on field 35.
Unload the grass and drive the tractor over it to smash it - it will only take a moment. Afterwards, standing by the silo, press the corresponding button to close the silo and start creating silage. You will have to wait a bit for the fermentation process to proceed. In the mean time you can mow some more grass and unload it into the manger.
 You need a proper implement for the loader to move silage - buy it.
With the fermentation process complete, you will get exactly the same amount of silage as you put in grass. You need to use the lifter equipped with a silage fork. The cheapest one is the Weidemann 4270 CX100 T for 26000 $ together with a fork for 2500 $. Steering it might be problematic and rather unresponsive at first, but try to get a hang of it and load the first fork - it has a 3000 l capacity.
 Unload the silage into the manger.
Drive a bit further to the manger and unload the whole fork. Once again it might be rather problematic, you have to first lift the fork, open it and only afterwards lower it. Ten courses and 30000 l of silage will be available for your cows. Each day, 20 cows will need around 3 000 l of grass and over 2200 l of silage. The profitability goes up with each cow that you buy:
Investment: 199 160 $ (40000 $ for twenty cows, 22000 $ for the field, 8840 $ for the mower, 99820 $ for the multi-purpose trailer, 28500 $ for the loader; the sower isn't included as you're sure to have one);
Return on investment: around 27-28 days (daily income from milk from 20 cows fed with grass and silage is around 7 000 $; when fed with grass and silage 70%; assuming, that you bought the loader and mower previously for other activities, the initial cost falls to around 160000 $ and the return on investment shortens to 23 days;
Conclusion: husbandry at such a scale in profitable, but it's still worth to expand it; at first you will have to devote much time to mow grass and produce silage, but afterwards you just have to refill the manger with those two and ferment new silage less often; the profitability increases with the number of cows and the return on investment shortens: if you buy 40 cows instead of 20, the initial investment will cost you around 240000 $, the cows will eat around 6 000 l of grass around 4 500 l of silage per day, the daily profit from milk will be over 14000 $ and the return on investment will be around 17 days.
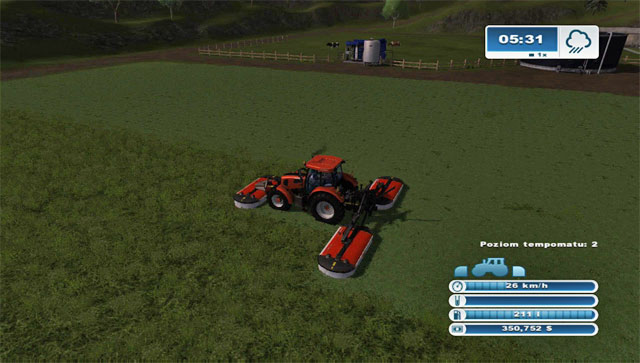 A perfect set for mowing even the largest meadows.
It's the most demanding activity in the game, thanks to which you can make some serious money. You don't use grass and silage to feed cows here, but you still need to produce them to mix into forage, so all previously mentioned expenditures still stand. At this stage you will change the way you feed your cows. In order to increase profitability, you should also buy more of them - a total of 50 cows for 100000 $. Start off by mowing the grass. You can do it like until now, using the Kuhn PZ 280 F for 8840 $ mounted at the front (in the future, when your cow husbandry develops further, you can also buy an additional Kuhn PZ 960 mower for 28300 $ and mount it at the back to shorten the time considerably.
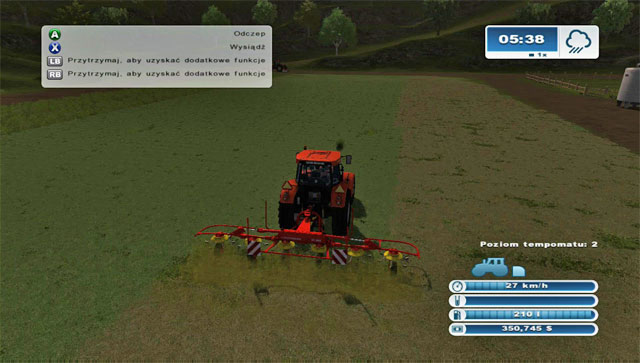 Mowed grass needs to be turned over so that it can dry into hay.
Afterwards use the tedder to turn over the grass so that it dries into hay (the cheapest Pottinger Eurohit 690 N will cost you 15990 $).
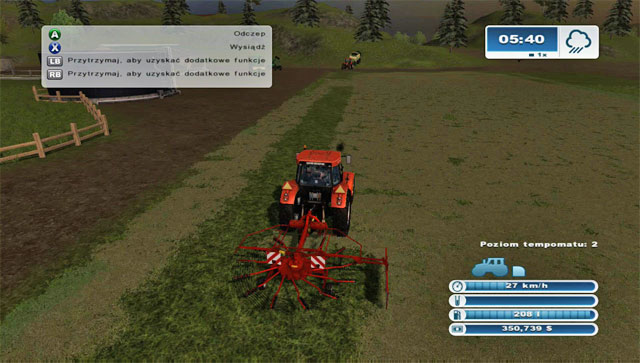 You can use the windrower to make further work easier.
In order to make collecting hay easier, buy yourself a windrower - the cheapest Kuhn GA 4521 GM costs 8200 $. In the future you should consider buying a wider one.
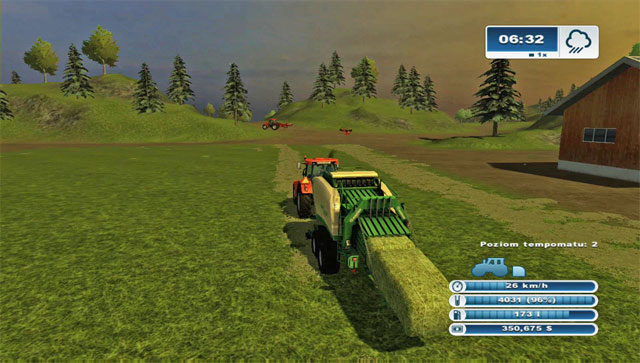 Hay can be square haystacks using the baler.
Afterwards buy the Krone Big Pack 1290 baler for 120000 $ and take it to the field. The previously mowed grass is now hay which can be turned into square haystacks (speed 2, you cannot hire a worker).
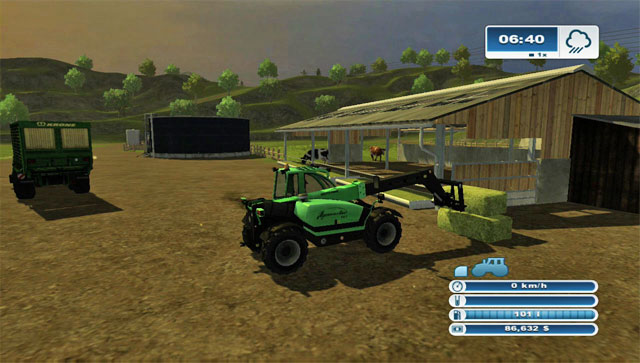 If you haven't yet bought a Weidemann loader, buy this model.
You need a lifter using which you will be able to transport the squared hay. For 103000 $ you can buy the Deutz Agrovector 35.7 with a bale fork for 1000 $ (if you decide to maximally develop your husbandry and didn't yet buy a loader, you should go ahead and purchase the Weidemann 4270 CX100 T). Move all bales to the cow manger.
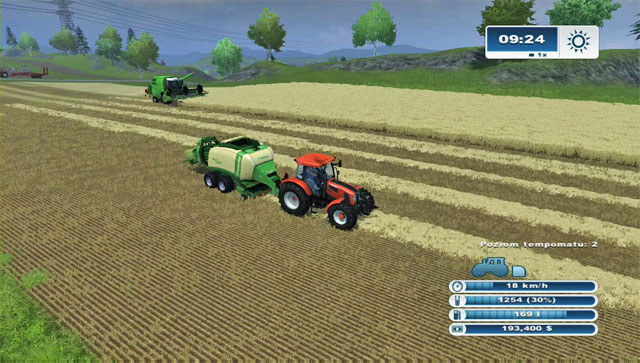 Baling hay goes faster thanks to creating windrows.
The second thing you need is straw (which is a by-product of harvesting grains, e.g. wheat or barley). The combine will arrange the straw is windrows, so it's easier to gather it. You do it with the same implement used for collecting hay. One of the ways of obtaining straw is heading to a freshly harvested field. Before using the cultivator, drive the baler across it and you will create straw bales.
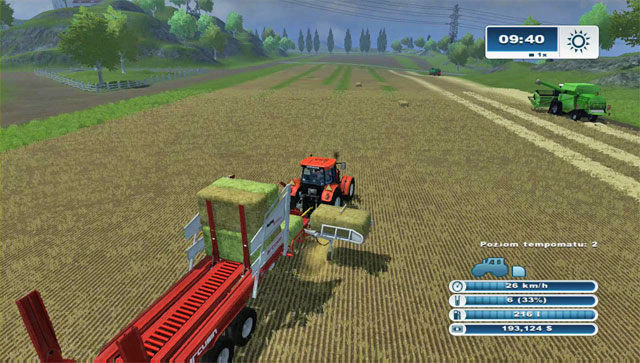 A trailer which gathers, arranges and unloads bales - very useful, but also very expensive.
Unfortunately there's the problem of transporting those bales to the cow pasture. The most convenient way is using the Arcusin Autostack FS 63-72 trailer, however it will cost you a whooping 95980 $. It's a good choice if you really need a lot of hay and straw bales. At this stage you can buy a small field by the cow pasture (e.g. number 30 or use 29 for that purpose) and bring the sower and tractor there. Plant seeds, harvest the grains and bale the leftover hay. Afterwards you can transport it to the farm by less expensive means like the Deutz Agrovector 35.7. You can also buy a common trailer for 3600 $ put the bales onto it and transport it to the cow pasture.
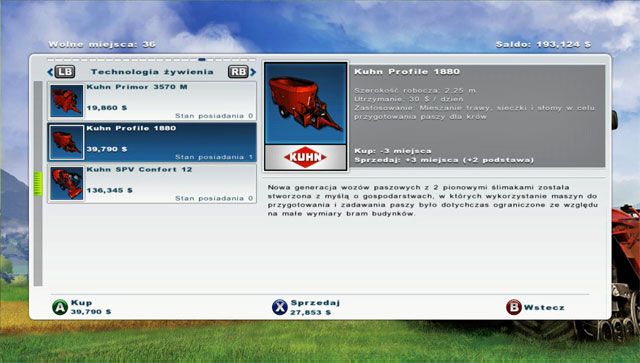 Buy a mixer wagon which will let you create mixed forage.
It's time to spend 39700 $ on the Kuhn Profile 18880 mixer wagon, in fact the most important machine. Bring it to the cow pasture, to the area of the manger.
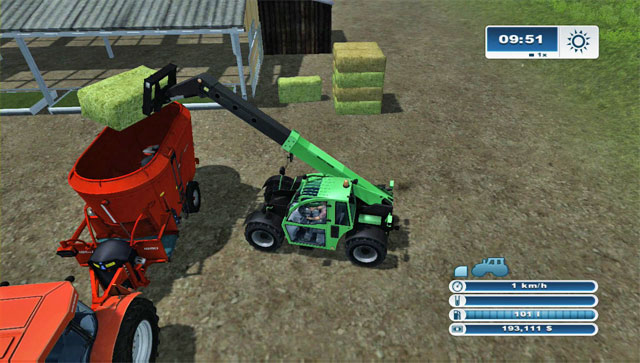 Put the proper ingredients into the mixer wagon to create perfect forage.
You need to throw the proper amount of hay, straw and silage so that you forage is perfect. The recipe is: one hay bale, followed by one straw bale (hay bales are green and straw bales are yellow). Afterwards add 2-4 forks of silage (check the status of the mixer after each silage load).
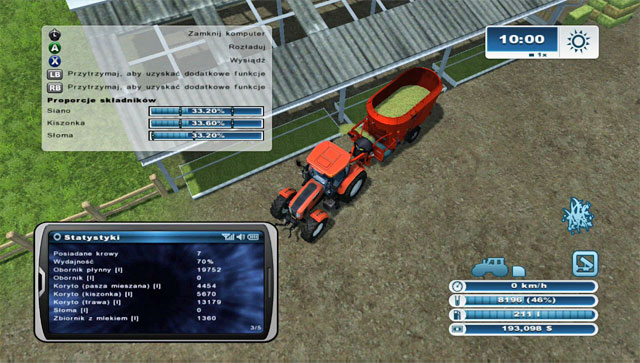 Unload the created mix into the manger.
Your aim is to keep the hay and silage at 20% - 50% and the straw around 40%. When you hit the mark, unload the mix into the manger. That way the effectiveness will soar to 90% (if your cows didn't have anything to eat, it will change from 0% to 90%!)
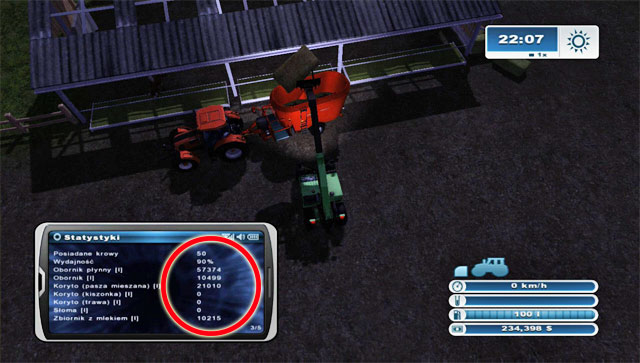 Put only straw into the mixer to create a litter for them and increase the effectiveness by 10%.
In order to obtain the last 10% and reach 100%, you should throw 1-2 hay bales into the mixer and unload it into the manger. Congratulations! That way the effectiveness has reached 100%. At the same time, because of the straw addition, manure will become available.
NOTICE! 50 cows needs around 12500 l of forage and around 4000 l of straw daily. At the same time the cows will produce 26000 $ worth of milk every day and nearly 10000 l of manure. Now you just have to make sure that the cows are supplied with forage and straw. Don't refill grass or silage - they won't eat it as long as there's forage available.
Investment: around 421 230 $ (100 000 $ for fifty cows, 22 000 $ for the field, 8 840 $ for the mower, 15990 $ for the tedder, 8 200 $ for the windrower, 120 000 $ for the baler, 106 500 $ for the Deutz Agrovector 35.7 loader with two heads, 39 700 $ for the mixer; the sower and combine weren't included; if you add the bale-collecting trailer and a wider windrower, the total sum will almost hit 550000 $);
Return on investment: around 16-20 days (the daily profit from selling milk from 50 cows is around 26 000 $; when fed with forage and straw, the effectiveness is 100%);
Conclusion: husbandry at such a scale is very profitable, what's more, you should still consider expanding it by buying more cows; truth is it's rather absorbing, as you have to create new forage every couple days and remember to bale straw during harvest, but the enormous profits are worth it; remember that the more cows you buy, the higher the profitability and the lower the return on investment.
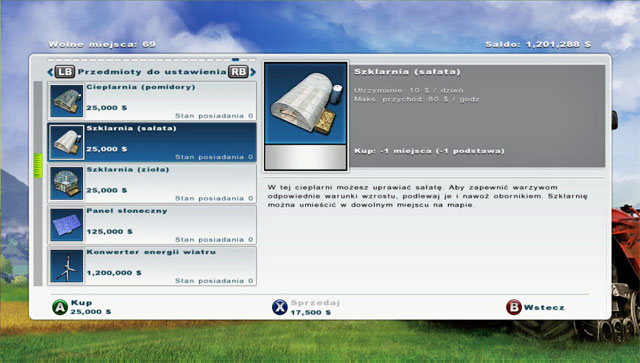 The shop offers additional buildings and objects.
Apart from growing plants and husbandry, you can also profit from certain buildings and objects. There are a few to choose from. After deciding on one, confirm the choice.
 Choose the location of the object.
Afterwards choose the location of the object - it can be placed anywhere on the map. Confirming it will create a complete and functional object without any wait.
 Water can be delivered with tankers filled by wells.
Three of them (beehouse, solar collector and wind energy converted) don't require any attention from the player. The greenhouses require two things. The first is water which you can deliver in a mobile water tank (it costs 8000 $). Water can be refilled by wells, one of them is - for example - to the south of the silos, by the house.
 Each of the buildings has a manure container - it can hold 3000 l of manure.
The second thing you need is manure. You need a cow husbandry in order to obtain in. Manure can be loaded onto a trailer using the loader and brought to the farm. You can also consider placing the buildings beside the manure container and save yourself some work.
 Deliver manure and water to these buildings for the plants to start growing.
Containers of each of these three buildings can hold 2000 l of water and 3 000 l of manure. It's enough for a couple days. You don't have to worry about harvesting crops and selling them - everything is done automatically. Just be sure to refill water and manure every now and then.
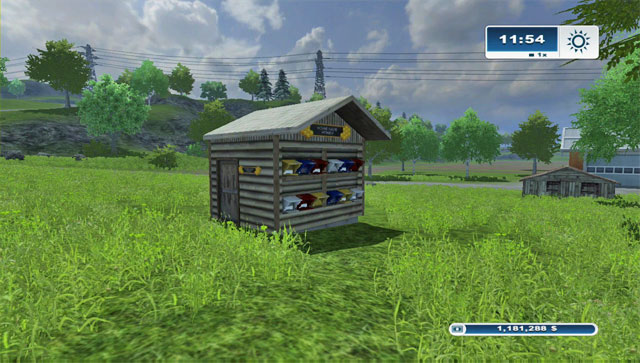
The beehouse is the first available building. It requires quite a sum at the beginning, but can provide you with some financial backup. It brings you 30 $ per hour, i.e. 720 $ daily.
Investment:20 000 $ for a single beehouse;
Return on investment: around 28 days;
Conclusion: an unprofitable investment because of the incorrectly calculated (over valuated) maintenance costs.
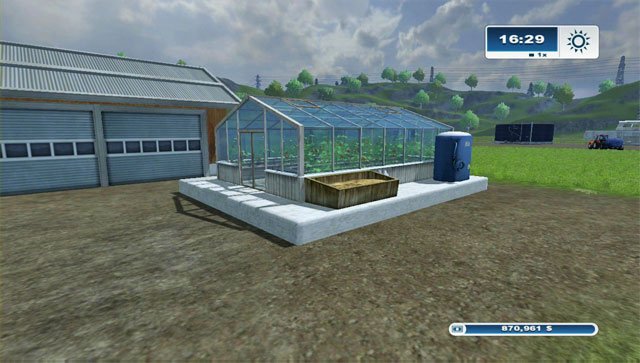
The greenhouse requires a water tank for 8000 $ which is quite an expenditure. It brings 80 $ of income per hour, summing up to 1920 $ daily.
Investment:25 000 $ for a single greenhouse;
Return on investment: around 13 days (however if you include the costs of the water tank, the time stretches to around 17 days);
Conclusion: a very profitable investment, as long as you remember about refilling water and manure every few days (and you first need to have it).
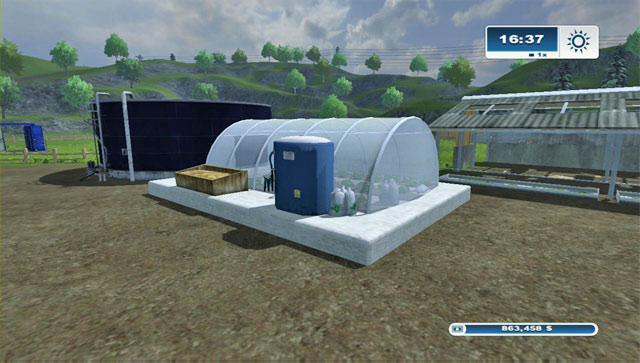
The greenhouse requires a water tank for 8000 $ which is a considerable cost. Just like the tomato greenhouse, it gives you 80 $ per hour -1920 $ daily.
Investment:25 000 $ for a single greenhouse;
Return on investment: around 13 days (however if you include the costs of the water tank, the time stretches to around 17 days);
Conclusion: a very profitable investment, as long as you remember about refilling water and manure every few days.
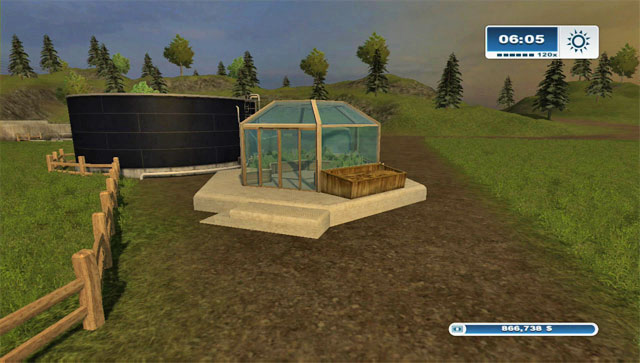
The greenhouse requires a water tank for 8000 $ which is a considerable cost. Just like the two previous buildings, it gives you 80 $ per hour -1920 $ daily.
Investment:25 000 $ for a single greenhouse;
Return on investment: around 13 days (however if you include the costs of the water tank, the time stretches to around 17 days);
Conclusion: a very profitable investment, as long as you remember about refilling water and manure every few days.
One of the most profitable investments. It brings 190 $ per hour, summing up to 4 560 $ daily.
Investment:125 000 $ for one panel;
Return on investment: around 27-28 days;
Conclusion: despite the wrongly calculated costs (over estimated) of the beehouse, the investment is very profitable if you play at speed of 30x or more; the amount of 125000 $ isn't such a barrier as the wind converter's price; creating a field of 4-5 panels brings enormous profits.
It's a really expensive investment, but if you have a well developed farm with multiple tractors and other machines, you can buy yourself such a fan. In return for building it, every hour 2000 $ will be transferred onto your account (48 000 $ every day). Such a fan also generates costs of 44 $ per hour (1056 % daily).
Investment: 1200 000 $ for building one fan;
Return on investment: 25 days (despite the considerable profits, the cost of the investment is very big and some time has to pass before you get a return);
Conclusion: if you're running a well developed farm and have the required amount, you should consider building a fan, especially if you play on one of the higher speeds (30x or more).
As the three buildings (the beehouse, the solar panel and the wind energy converter) don't require any interference, they give you a great opportunity, though not a completely fair one, to earn a big amount of money:
suspend any farming activities, do not sow anything after harvesting crops, suspend all works on the field;
place a building which doesn't require your interference, at best a solar panel (one or a few of them if you can afford them) or a wind energy converter;
in the menu, turn off missions and set speed to 120x;
finally... leave the game alone for a few or even a dozen or so hours.
This way, despite some controversies surrounding it, is in accordance with the game rules.
This page offers a detailed map of Hagenstedt, containing info on all important locations.
The below table contains crucial information needed when you plan to develop your farm. It contains all fields which you can purchase at Hagenstedt with their areas and prices. The last column tells you how much does one hectare of the field cost.
Field number
Area
Field price
Price of 1 ha
1
10,47 ha
472 000 $
45 081 $ / ha
2
1,60 ha
72 100 $
45 063 $ / ha
3
4,32 ha
193500 $
44792 $ / ha
4
4,67 ha
209 000 $
44 754 $ / ha
5
1,07 ha
48 600 $
45 421 $ / ha
6
1,27 ha
57 200 $
45 039 $ / ha
7
6,02 ha
282000 $
46844 $ / ha
8
1,09 ha
49 500 $
45 413 $ / ha
10
4,05 ha
182 000 $
44 938 $ / ha
11
1,43 ha
64 800 $
45 315 $ / ha
12
1,37 ha
61 800 $
45 109 $ / ha
13
1,96 ha
88 000 $
44 898 $ / ha
14
2,26 ha
102000 $
45 133 $ / ha
15
0,54 ha
24 500 $
45 370 $ / ha
17
2,46 ha
111 000 $
45 122 $ / ha
18
1,26 ha
57 000 $
45 238 $ / ha
19
0,75 ha
33 700 $
44 933 $ / ha
20
2,31 ha
104 500 $
45 238 $ / ha
21
1,04 ha
47 200 $
45 385 $ / ha
22
1,69 ha
76 800 $
45 444 $ / ha
23
1,81 ha
81 500 $
45 028 $ / ha
24
1,84 ha
82 800 $
45000 $ / ha
25
0,92 ha
42 000 $
45 652 $ / ha
26
1,11 ha
50 500 $
45 495 $ / ha
27
1,64 ha
74 200 $
45 244 $ / ha
28
1,28 ha
58 000 $
45 313 $ / ha
30
1,09 ha
49 100 $
45 046 $ / ha
31
1,46 ha
65 900 $
45 137 $ / ha
32
0,92 ha
41 500 $
45 109 $ / ha
33
1,55 ha
70 200 $
45 290 $ / ha
34
1,18 ha
53 300 $
45 169 $ / ha
35
0,48 ha
22 000 $
45833 $ / ha
36
1,02 ha
46 000 $
45 098 $ / ha
37
2,93 ha
185 000 $
47 074 $ / ha
38
1,47 ha
66 500 $
45 238 $ / ha
39
5,91 ha
270 000 $
45 685 $ / ha
40
12,22 ha
551 500 $
45 131 $ / ha
41
2,97 ha
134 000 $
45 118 $ / ha
42
1,06 ha
47 900 $
45 189 $ / ha
TOTAL:
95,49 ha
4329 100 $
Average: 45 292 $ / ha
This page offers a detailed map of Westbridge, containing info on all important locations.
Westbridge Hills has an identical price for 1 ha on each field: 30000 $. That gives you a price lower by 1/3 when compared to Hagenstedt. Developing your farm by buying new fields is cheaper her.
Field number
Area
Field price
Price of 1 ha
1
6,53 ha
195900 $
30 000 $ / ha
2
5,62 ha
168 600 $
30 000 $ / ha
3
4,49 ha
134 700 $
30 000 $ / ha
4
5,46 ha
163 800 $
30 000 $ / ha
5
1,15 ha
34 500 $
30 000 $ / ha
6
0,97 ha
29 100 $
30 000 $ / ha
7
7,30 ha
219 000 $
30 000 $ / ha
8
8,95 ha
268 500 $
30 000 $ / ha
9
20,13 ha
603 900 $
30 000 $ / ha
10
3,90 ha
117 000 $
30 000 $ / ha
11
11,53 ha
345 900 $
30 000 $ / ha
12
6,77 ha
203 100 $
30 000 $ / ha
13
16,00 ha
480 000 $
30 000 $ / ha
14
10,12 ha
303 600 $
30 000 $ / ha
15
9,55 ha
286 500 $
30 000 $ / ha
17
6,60 ha
198 000 $
30 000 $ / ha
18
18,31 ha
549 300 $
30 000 $ / ha
19
2,93 ha
87 900 $
30 000 $ / ha
20
1,68 ha
50 400 $
30 000 $ / ha
21
8,04 ha
241 200 $
30 000 $ / ha
TOTAL:
156,03 ha
4680900 $
If you plan in Hagenstedt, you will be able to find horseshoes in various places on the map. There's a total of 100 of them. Sometimes they can be very well hidden, in flowers, on roofs or inside a building. TO make finding them a bit easier, they shine every now and then. After obtaining 100, you will get a substantial financial bonus.
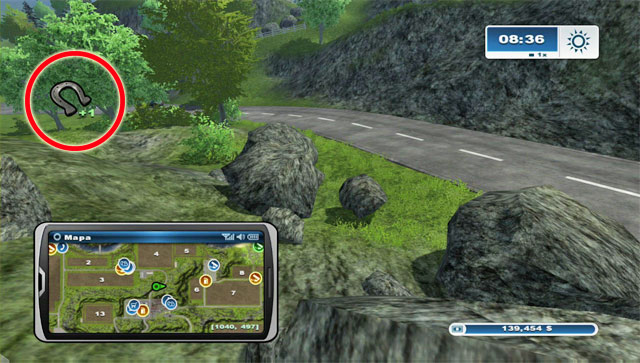
In order to collect a horseshoe, you just need to approach it and you will automatically pick it up. On the left side of the screen you will see a proper message.
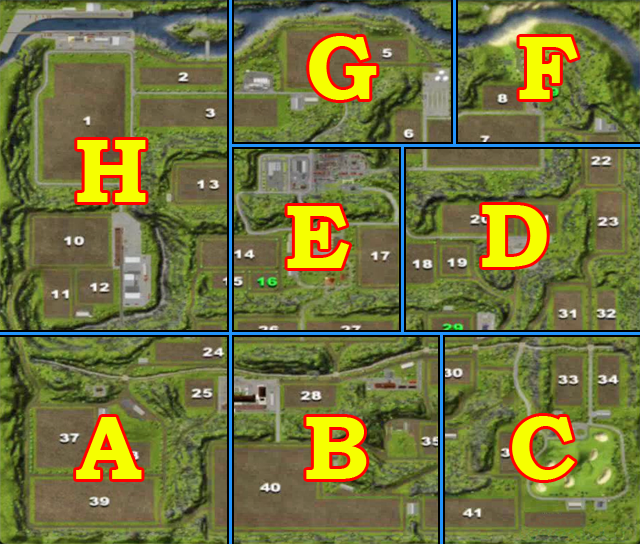
In order to make the search for horseshoes easier, the map was divided into several areas. Nowhere in the game will you find any list of which horseshoes you have already collected, so it's best to move one area after another.
Each horseshoe has its GPS coordinates ([x,y]). Point [0,0] corresponds to the upper left corner of the map. The first value (x) goes up as you head to the right and the second one (y) as you go down the map. Therefore the largest coordinates are in the lower-right corner of the map, behind the golf course.
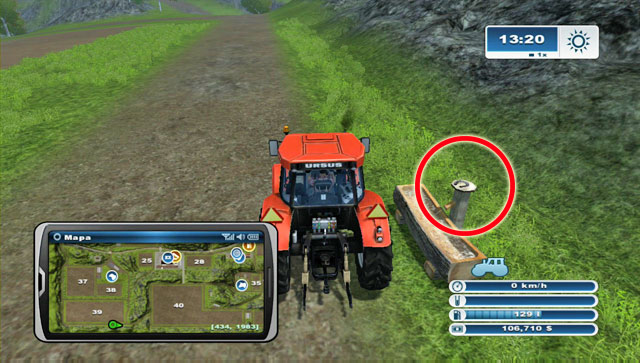
On a well by the road south of field 39.
GPS coordinates: [434, 1986].
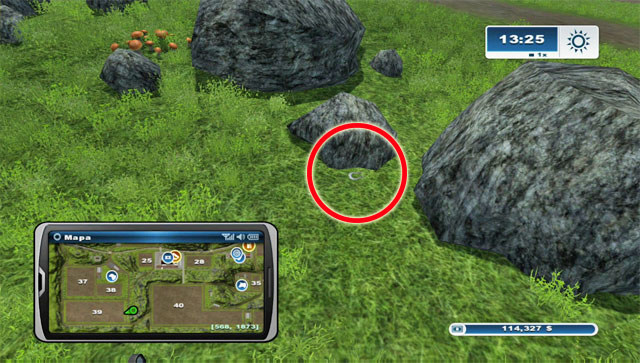
Look east of 39, right behind some boulders.
GPS coordinates: [561, 1875].
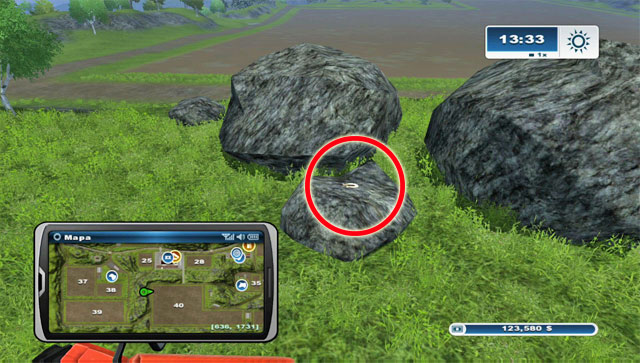
On a boulder behind the hills between fields 38, 39 and 40.
GPS coordinates: [642, 1731].
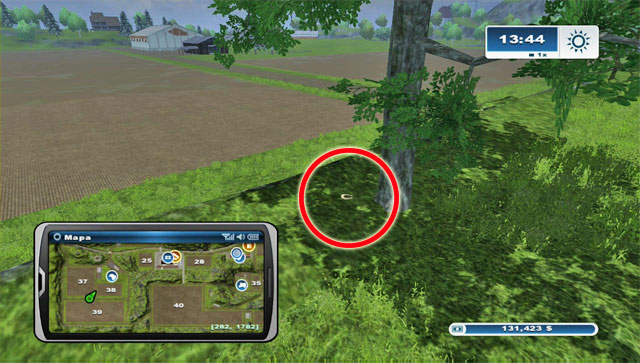
By a tree standing beside the road north of field 39.
GPS coordinates: [288, 1776].
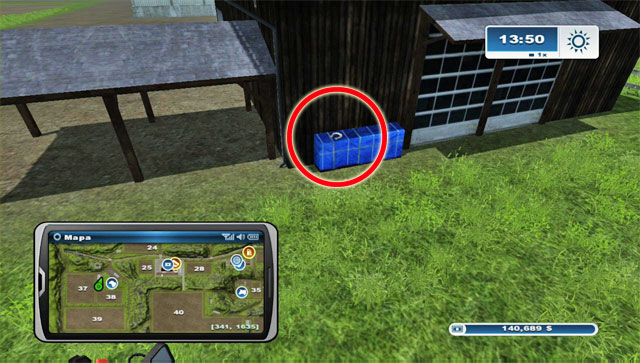
By the sheep pasture buildings. It can be found on a blue package from the side of field 38.
GPS coordinates: [344, 1628].
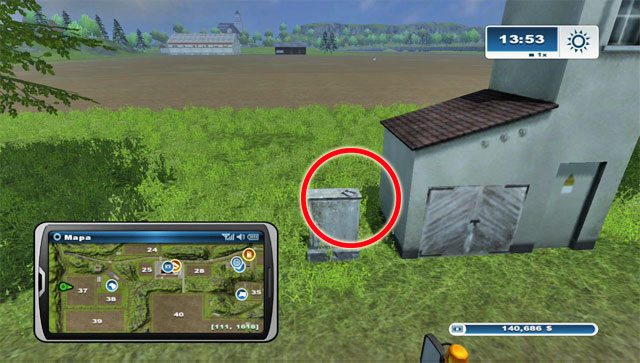
It's lying on a box west of field 37.
GPS coordinates: [117, 1619].
Between some mushrooms by the stairs leading onto a tower. The tower can be found beside the road north of field 37.
GPS coordinates: [141, 1390].
To the north of field 37, on a hill, there's a tent. The horseshoe is beside the entrance, nearby a chair.
GPS coordinates: [232, 1432].
To the north of the sheep pasture you will find a house. It the gardens, between some benches, there's a flower-bed with the horseshoe inside. You need to jump onto it to collect it.
GPS coordinates: [301, 1471].
The horseshoe can be found in the bushes by the east wall of the buildings found by the sheep pasture.
GPS coordinates: [474, 1560].
Climb the hill north-east of where the sheep pasture is. The horseshoe can be found on a boulder in the high grass.
GPS coordinates: [541, 1498].
To the north of horseshoes #9, #10 and #11 there's a bridge. Cross it to the west and you should see two towers. The horseshoe is leaning against the one further to the west.
GPS coordinates: [337, 1396].
The horseshoe is on a table right beside field 24.
GPS coordinates: [621, 1251].
South of field 27, you will her in a very characteristic place because of the fence - the horseshoe is in the grass.
GPS coordinates: [1086, 1302].
The horseshoe lies between rocks to the north of the river beside the Mill.
GPS coordinates: [1008, 1399].
The horseshoe lies on the east side of the bridge across the river by field 28.
GPS coordinates: [1087, 1406].
Nearby the place where you can sell wool there's a house with a fountain in the yard. The horseshoe is lying inside of it - you need to jump inside to obtain it.
GPS coordinates: [1295, 1428].
The horseshoe lies by the entrance to the train tunnel, east of the Mill.
GPS coordinates: [1085, 1549].
Between the cow pasture and field 28 there's a hill. You need to get to the very top (help yourself by jumping). There, beside a fallen trunk, you will find the horseshoe.
GPS coordinates: [1150, 1588].
South of the Mill, the horseshoe is leaning against a support pillar of the flyover, on its west side.
GPS coordinates: [890, 1562].
To the east of the Mill, the horseshoe is lying between the flyover leading to field 40 and the building.
GPS coordinates: [889, 1520].
To the north-east of field 40 there are two buildings. Between them, beside some crates, there's the horseshoe (on the west side).
GPS coordinates: [1081, 1733].
The horseshoe lies north-east of field 40, right by the high-voltage pole.
GPS coordinates: [1088, 1808].
The horseshoe can be found in the building where you unload forage for cows.
GPS coordinates: [1292, 1596].
In the very south-east corner of the map there's a small building, the horseshoe lies beside it.
GPS coordinates: [1933, 1998].
The horseshoe lies on the golf course, in the most south-east so-called bunker.
GPS coordinates: [1914, 1804].
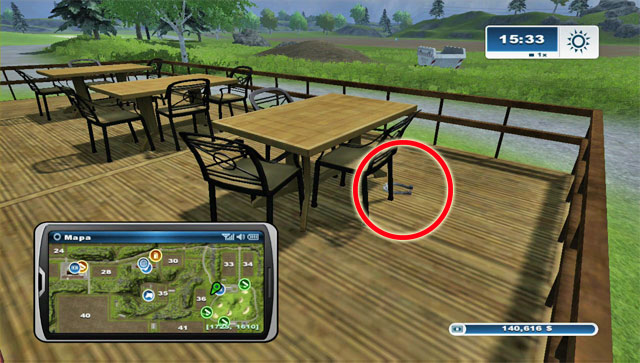
There's a road leading east of the golf course. Beside it there's a small rock and right next to it the next horseshoe.
GPS coordinates: [1963, 1736].
In the garage north-east of the golf course, the horseshoe is leaning against a wall.
GPS coordinates: [1932, 1576].
The horseshoe lies on the parking right beside the golf course.
GPS coordinates: [1850, 1639].
The horseshoe is on the roof of the buildings north of the golf course. Drive to them with a tractor and stop right beside the ATM machine. Jump onto the tractor (wheel arch, bonnet, roof) to reach the roof. The horseshoe is just a bit further.
GPS coordinates: [1746, 1614].

By the building to the north of the gold course there's a terrace and some tables with the horseshoe between them.
GPS coordinates: [1723, 1612].
By the road leading to the golf course there are two small buildings with the horseshoe between them.
GPS coordinates: [1606, 1524].
To the east of field 30, by the road, there's a pile of wood and a small shed - right behind it you will find the horseshoe.
GPS coordinates: [1657, 1359].
Look for the horseshoe north-east of field 34. It's right beside a small, brick building.
GPS coordinates: [1962, 1331].
Between fields 31 and 33 there's a bridge above a river. On its handrail you will find the horseshoe.
GPS coordinates: [1865, 1313].
To the east of the bridge where you found horseshoe #35 there's a tower. Climb the stairs to find the horseshoe right beside the door.
GPS coordinates: [1967, 1294].
This is a rather hard horseshoe to find. From field 31, head to the hills in the north-west. There, jump down behind the highest edge - the horseshoe is hidden below the peak.
GPS coordinates: [1723, 1059].
This horseshoe can be found west of #37, much lower. Dairies can be seen from here.
GPS coordinates: [1680, 1056].
To the north-west, on a hill you will find another horseshoe - it's beside a tree with mushrooms growing underneath it.
GPS coordinates: [1344, 739].
The horseshoe can be found high in the rocks south-east of field 19.
GPS coordinates: [1583, 1070].
The horseshoe can be found on a small hill north-east of field 29.
GPS coordinates: [1523, 1131].
East of field 29 there' a gardening centre. Drive to it backwards so that you can jump onto the wheel arch, bonnet, roof and afterwards onto the building itself. The horseshoe lies on a windowsill.
GPS coordinates: [1536, 1230].

The horseshoe lies below a roof at the back of the gardening centre to the east of field 29.
GPS coordinates: [1573, 1219].
North-west of field 29 there's a shed. Right beside it there's the horseshoe.
GPS coordinates: [1345, 1198].
On the boulders behind field 27 and 17 you will find the horseshoe below a tree.
GPS coordinates: [1169, 1140].
Another horseshoe is a bit to the north of horseshoe #45, just get onto the boulder and jump down.
GPS coordinates: [1162, 1124].
The horseshoe lies on a boulder nearby the entrance to the house.
GPS coordinates: [1064, 1096].
The horseshoe is above door to your house. You have to jump to reach it.
GPS coordinates: [1066, 1072].
A bit to the east of the house there's a grill with another horseshoe on it.
GPS coordinates: [1110, 1070].
The horseshoe lies on a farm on the south side of the shelter, nearby a wall.
GPS coordinates: [1001, 1023].
The horseshoe lies below a bush on the chicken pen.
GPS coordinates: [1003, 940].
The horseshoe lies on a wall north of the silos.
GPS coordinates: [1038, 881].
The horseshoe lies beside boulders east of the silos.
GPS coordinates: [1121, 924].
North of field 14 there's a hill and on it a bonfire and wooden benches. The horseshoe is inside the bonfire.
GPS coordinates: [838, 817].
Drive to the shop and jump along the arches onto the roof. There, on the other side of the roof you will find a lying horseshoe.
GPS coordinates: [876, 629].
The horseshoe lies between two buildings to the east of the shop.
GPS coordinates: [967, 629].
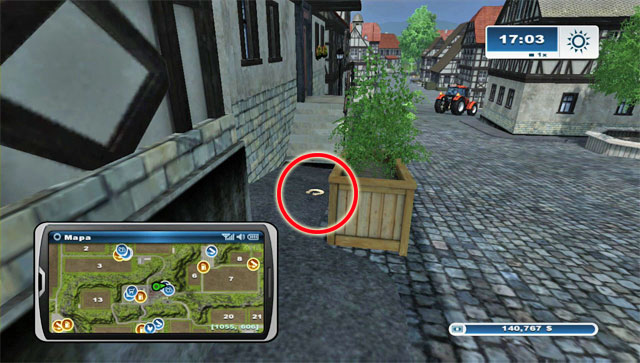
The horseshoe is in the town, hidden behind a wooden flower-pot in the northern row of buildings.
GPS coordinates: [1060, 605].
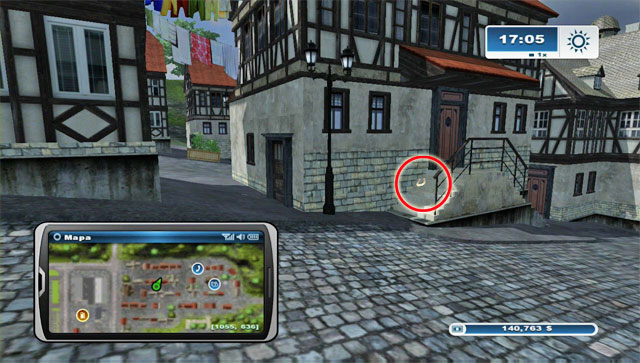
The horseshoe is on the building south of where #57 was. Go round the house and you will find in on the stairs leading inside.
GPS coordinates: [1063, 629].
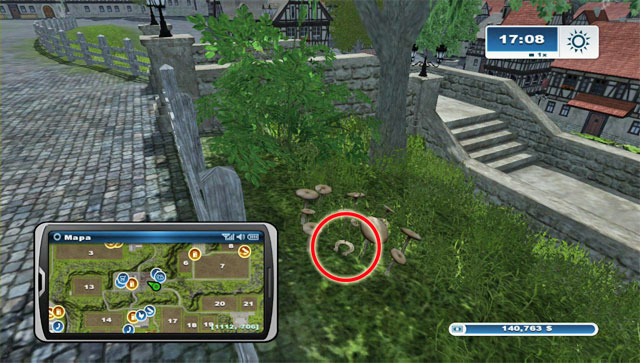
South of the town, a bit on the side, there's a large house. The horseshoe can be found between mushrooms south of it, behind the fence.
GPS coordinates: [1109, 704].
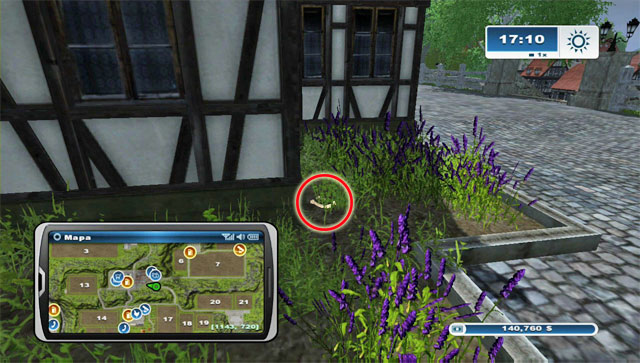
The horseshoe lies beside a house mentioned with #59, exactly in the flowers in its north-east corner.
GPS coordinates: [1140, 719].
The horseshoe lies between rocks to the north of the town.
GPS coordinates: [1068, 749].
Between fields 7 and 22 there's a road with a rope bridge above. In its centre there's the next horseshoe.
GPS coordinates: [1815, 520].
East of field 7, by the road to field 22, there's a large boulder. The horseshoe lies on it.
GPS coordinates: [1745, 523].
The horseshoe lies in the flowers growing by the southern wall of the Inn.
GPS coordinates: [1700, 423].
The horseshoe lies below one of the trees on the hill east of the Inn.
GPS coordinates: [1825, 381].
The horseshoe lies in the flowers, on a hill south-east of the camping site, north-east of field 9.
GPS coordinates: [1820, 274].
The horseshoe lies on a boulder south-east of the camping site (a bit closer to the site itself compared to #66), right by the bonfire.
GPS coordinates: [1756, 305].
The horseshoe can be found on the camping site. By one of the distinctive, wooden buildings there's a manger. Jump inside it to obtain the horseshoe.
GPS coordinates: [1669, 251].
The horseshoe is north of the camping site, at the very edge of the beach.
GPS coordinates: [1628, 140].
The horseshoe is leaning against a pile of wood to the west of the camping site.
GPS coordinates: [1597, 251].
The horseshoe lies below a tree, on a hill north-west of field 8.
GPS coordinates: [1524, 300].
The horseshoe is a bit further north-west than horseshoe #71. Jump onto the stump to collect it.
GPS coordinates: [1492, 281].
The horseshoe can be found north of horseshoe #72, by the river. You need to swim to the box and jump onto it.
GPS coordinates: [1436, 180].
The horseshoe lies between rocks, trees and stumps east of field 5.
GPS coordinates: [1346, 216].
The horseshoe lies by a bonfire north-east of field 5.
GPS coordinates: [1317, 133].
North of field 5, by the riverside there's an old cart. Jump onto it to collect the horseshoe.
GPS coordinates: [1249, 84].
North of field 4, by the river, there's an old mill. The horseshoe lies on its stairs.
GPS coordinates: [1021, 85].
After collecting horseshoe #77, climb the stairs to the mill and follow the platform. Look down behind the corner and you should see a horseshoe at the riverside.
GPS coordinates: [1003, 79].
Firstly locate a staircase leading to the top of the building with three domes at the top. The horseshoe is beside a flower-bed in the centre.
GPS coordinates: [1409, 307].
The horseshoe is on the area of the biogas plant as #79. Approach the building in the western part of the complex with a tractor so that you can jump along the wheel arch, bonnet and roof onto the building. The horseshoe lies between the folding chairs.
GPS coordinates: [1351, 337].
The horseshoe lies on a hill north-west of field 6.
GPS coordinates: [1244, 402].
Slightly to the west of horseshoe #81, right by the fence you will find another horseshoe.
GPS coordinates: [1188, 436].
Driving from the town along the road leading north, you should see a fence on the right. Right beside it, on a boulder, you will find the horseshoe.
GPS coordinates: [1131, 473].
North of the town, on a hill, by the wooden benches you will find another horseshoe.
GPS coordinates: [1075, 543].
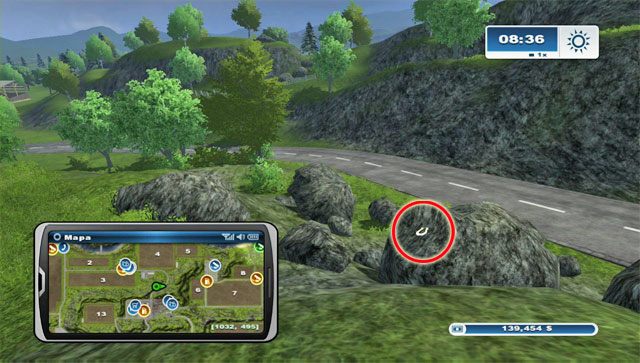
By the road leading north of the town, on the left there are some boulders. On one of them you will find the horseshoe.
GPS coordinates: [1040, 497].
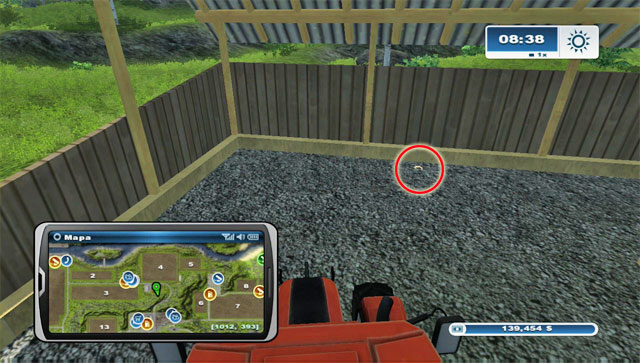
The horseshoe lies below a shelter south of field 4.
GPS coordinates: [1010, 404].
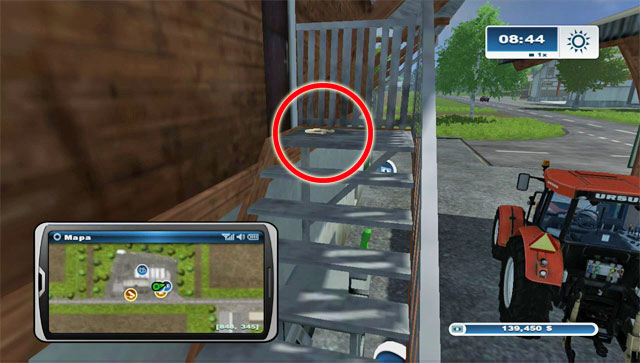
The horseshoe can be found at the Farm Shop. Go up the stairs at the front.
GPS coordinates: [852, 345].
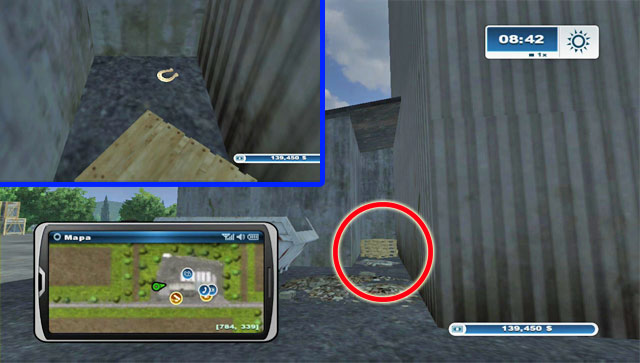
At the back of the Farm shop there's a nook with pallets. The horseshoe is behind them.
GPS coordinates: [802, 339].
At the back of the Farm Shop there's a shelter. The horseshoe is behind it.
GPS coordinates: [795, 283].
Drive below the bridge to reach the island from the north. The horseshoe lies on one of the rocks in the east.
GPS coordinates: [706, 139].
The horseshoe can be found in the Port. It's lying on a pile of rocks by the crane.
GPS coordinates: [283, 161].
North of field 13 there's a hill. On the boulders there you will find another horseshoe.
GPS coordinates: [688, 578].
West of field 13 there's a garage shelter. Behind it you will find the horseshoe.
GPS coordinates: [547, 742].
South-west of field 13 there's a hill with some boulders. Between them you will find another horseshoe.
GPS coordinates: [490, 760].
From the place where you found #94, head further south-west while jumping over rocks. Once you reach the edge, you should find the horseshoe on the rocks there.
GPS coordinates: [481, 813].
The horseshoe can be found at the Freight yard. It lies below a ramp from the east side.
GPS coordinates: [429, 934].
The horseshoe lies on a ramp on the west side of the train tracks, at the Freight yard.
GPS coordinates: [402, 969].
The horseshoe lies at the south-east part of the complex of buildings by the Freight yard. It's hidden between a container and a fence.
GPS coordinates: [497, 1120].

South of the Freight yard there's a dried out river-bed. The horseshoe lies by the box west of the train viaduct above the river-bed.
GPS coordinates: [339, 1228].
The horseshoe can be found above the tunnel entrance.
GPS coordinates: [408, 1223].
 Right after obtaining all the horseshoes, you might feel a bit disappointed. But let that discourage you - the prize is waiting for you.
The horseshoes were supposed to bring you luck, but the game apparently thinks otherwise. That's however not entirely true.
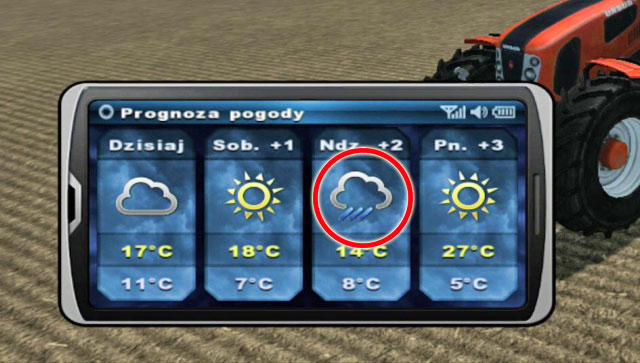
The thing you need to keep an eye on is the weather. Wait for rain to fall down to get your prize.
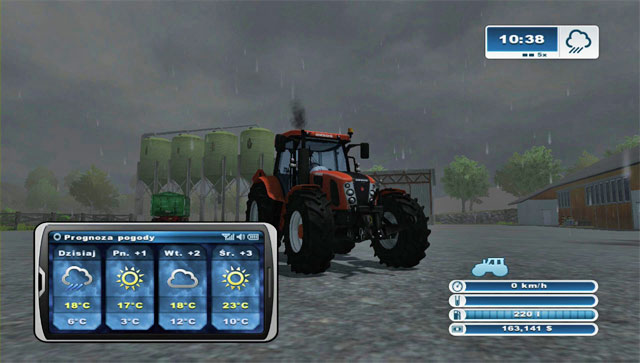 Wait for the rain to stop and the weather to get better.
Wait for the rain to end and the sun to come out.
 When the sun comes up, look around the sky for a rainbow.
Take a look around the sky after the rain - you are sure to notice a rainbow.
Quickly drive towards one of its ends - the closer one.
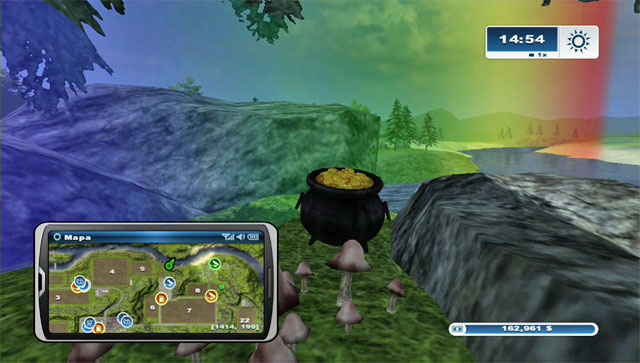
Reach the place where the rainbow hits the ground and you should see your prize.

Move in closer to note that it's a kettle filled with gold. Pick it up and a round 1000000 $ will be delivered onto your account! It's the prize for collecting all the horseshoes.
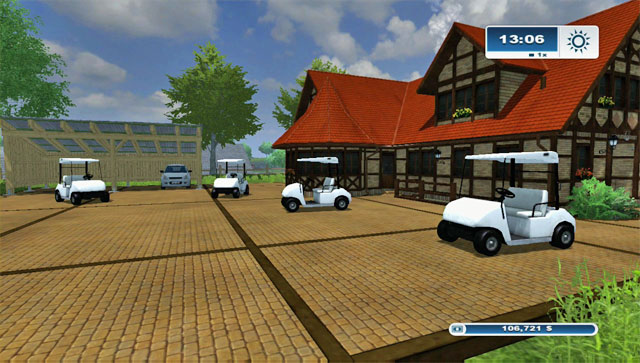
There are four golf carts available in the game. Three of them can be found in the lower right corner of the map around the golf course. The fourth one is in the upper left corner on an island which can be accessed through a bridge.
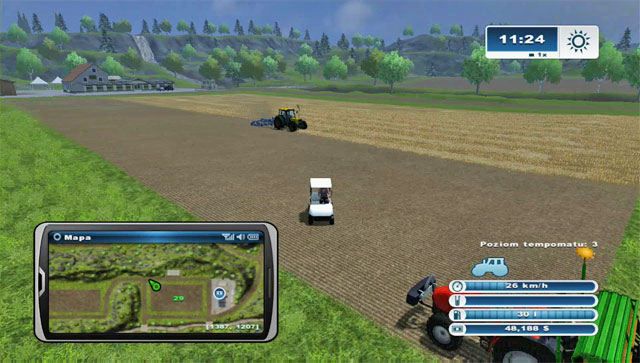
The golf cart, even once you obtain it, isn't accessible through the menu (jumping between vehicles). You can use it to move through various location when you don't want to drive the tractor. Its maximum speed is 26 km/h.
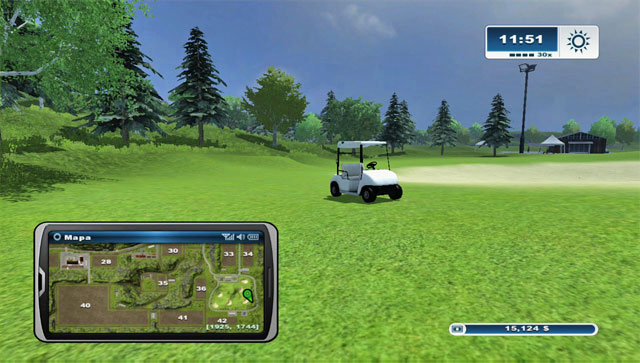
Once of the carts can be found in the middle of the golf course. It's quite hard to miss - rather distinguishable on the open space.
GPS coordinates: [1927, 1753].
The second cart is nearby the first one, on a parking by the golf course.
GPS coordinates: [1826, 1638].
The third one is a bit to the west of the previous one on the parking. It's at the back of a building with an ATM machine.
GPS coordinates: [1764, 1637].
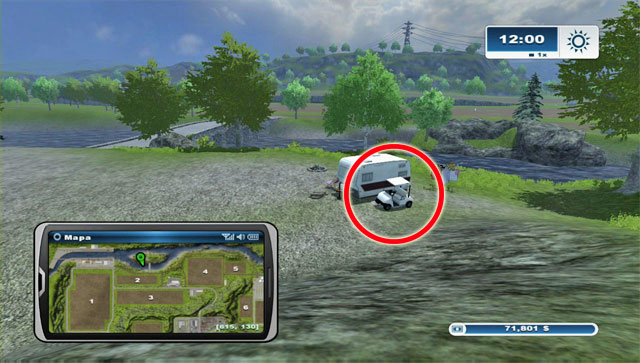
The last golf cart is in the north, on an island. Access it through a bridge and you will find it behind a caravan.
GPS coordinates: [617, 149].


 First Encounter Assault Recon Game Guide & Walkthrough
 FIFA 16 Game Guide & Walkthrough
 FarmVille Game Guide & Walkthrough
 Fable II: See the Future Game Guide & Walkthrough
 Fallout 3: The Pitt Game Guide & Walkthrough