


Unofficial guide to Dead Island Riptide offers mainly very detailed walkthrough of all main quests enriched with pictures and maps. An overview of particular stages contain, among others, hints about fulfilling the obtained orders, eliminating dangers and exploration.
In this guide you can find also description of all available additional missions to unlock and detailed information about localization of all secrets. In the final part of this guide, we added individual chapters concerning fight, equipment, character's development, types of zombies and gaining trophies/achievements.
Guide to Dead Island Riptide - still under construction - offers:
In hereby guide you can find colors as following:
What is more, all names of missions in this guide are bolded.
()
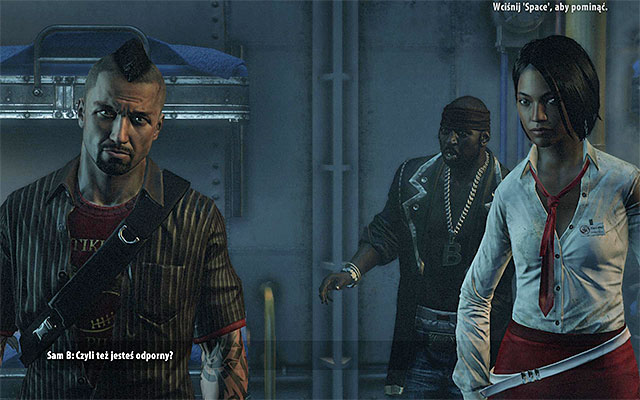
As in the first part of Dead Island you have to make a choice of a character before beginning the game. This time, you choose between five different heroes and you should decide basing on their specializations. For example, if you want to use blades mostly (knives, katanas, swords), Xian is an ideal choice for you. Specialization of particular characters can be found in the table below.
CHARACTER
SPECIALIZATION
UNIQUE SKILLS
Logan
throwing weapons
Automatically regain throwing weapons.
Aiming at several enemies at once in Fury mode.
Fire resistance.
Bigger damage and faster regeneration while drunk.
Purna
firearms
Enhancement aura during fights.
Personal weapon during Fury Mode.
More ammo.
Penetrating shoots, hitting few enemies at once.
Xian
bladed weapons
Attacks from behind deal more damage.
Fury is regenerated quicker - it can be used more often.
Additional effects of critical hits with bladed weapons.
More efficient healing.
Sam B
blunt weapons
Can ram and knock down enemies.
Powerful, knocking back blows in Fury.
High damage resistance.
Knocks down quicker and for a longer time.
John
personal weapons
Learns new weapons quicker.
Area attacks more often while in Fury.
Very dangerous special attacks.
An opportunity to avoid death and heal.
If you decide to create a complete new character, it starts with a 15 level. What is more, game will allow you to choose if the set of beginning skills has to be decided by the game, or you want to do it on your own. If you played in the first part of this series, the second choice is better, as you should already know which skills will be the most useful for your character.
Creating a new character isn't the only available option, as Dead Island Riptide offers also a possibility of import the one from the previous part of series. An advantage of this solution is a fact, that you transmit your level and unlocked skills - so you should more easily reach a new level cap which is set at 70. But you can't import weapons which you had in your inventory at the end of the game. It's annoying especially in the first hours of the game, because you'll meet high-levels zombies (their level adjust to yours) and, as in result, you'll be forced to seek best possible items quickly.
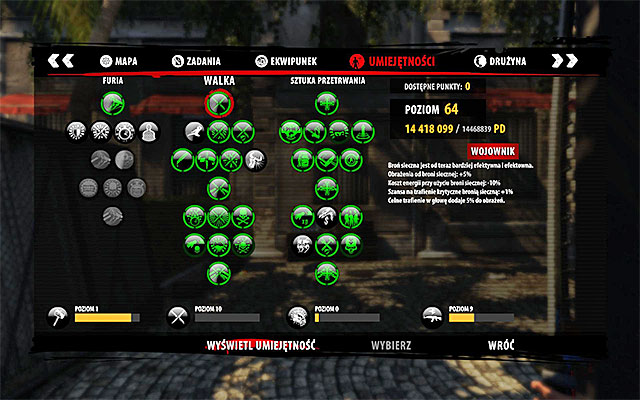
As in the previous game, to develop your character you unlock skills divided onto three branches. Every time you level up (new level cap is 70) you obtain a skill point and you can spent it to buy a new skill or augment the one you already have. You get skill points mostly for killing zombies, but you should also consider sidequests (also events and team missions) and challenges (like killing given number of enemies by headshot - more about it in the further part of this chapter). You should also know that when you return to the particular area, zombies will respawn, so you can gain additional experience.
While choosing skills, you should consider previously chosen specialization and purchase skills which improve it and make your character even more efficient on the battlefield. Don't forget about some defense skills, like those improving healing or decreasing a number of obtained damage.
Independently of your character choice, you can use a Fury mode, but investing in skills related with that depends strongly on your personal preferences. Optional skills in which you can invest for every of the playable character, are the ones which decrease a financial penalty for dying - what is especially important in the late phase of the game, when you operate on hundreds thousands of dollars. Another useful ones are the ones focusing on opening chests as the containers with second and third level of locks have inside very precious treasures, which you can add to your inventory or simply sell.
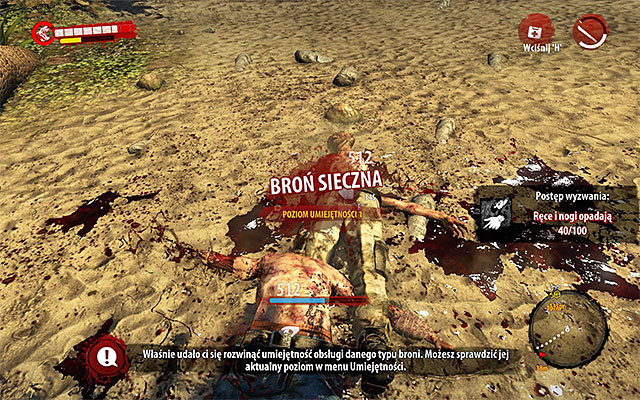
A new feature in Dead Island Riptide is a fact, that you can improve your ability in using particular weapons. It works very similar like in the The Elder Scrolls series. Using a weapon of given type regularly (blunt, firearm) will fill a bar of progress at the bottom of the screen.
When you max it, a skill for particular type of weapon is increased (max level is 10), thanks to which you improve its efficiency (strength and speed of damage, chances for critical hit etc) and usefulness (endurance, slower usage of stamina, quicker reloading). So, generally, you should use weapons connected with your specialization, making exceptions only when defeating a particular monster requires other type of weapon (for example firearm instead of blade) or if you've found a rare weapon which surbeltses the rest of your inventory.
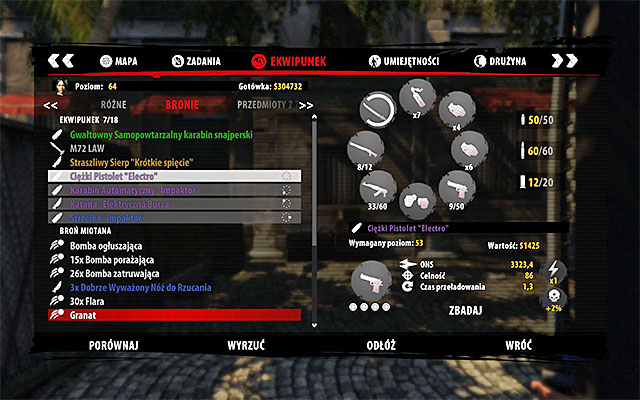
In Dead Island Riptide you have also a known color division of items (weapons, modifications, resources) according to their quality: grey and white are the weakest ones, then you have green, blue, violet and orange. Of course, you should try to get the rarest item you can find. To increase your chances for that, search all locked chests, visit Dead Zones and talk with all possible merchants. Important information is a fact, that statistics of your weapon behaves according to your current experience level. So you shouldn't use the same weapon all the game, but swap it when you find one better adjusted to your current level.
Another well known and very important thing is a limited number of active slots and capacity of your inventory. You unlock more active slots as the game moves on. The inventory can get bigger due to purchasing proper skill points from the tree.
Another important information is a fact, that game limits a maximum number of firearms and blades that you can carry around, but the rest of items (med-kits, explosives, resources, throwing weapons) can be stacked without limitation. You should sell out useless weapons at once, going to your favourite merchant after every longer trip. You can also use Henry's services (he is always in the main survivors camp) and leave him items you for example can use for now on because of your low level.
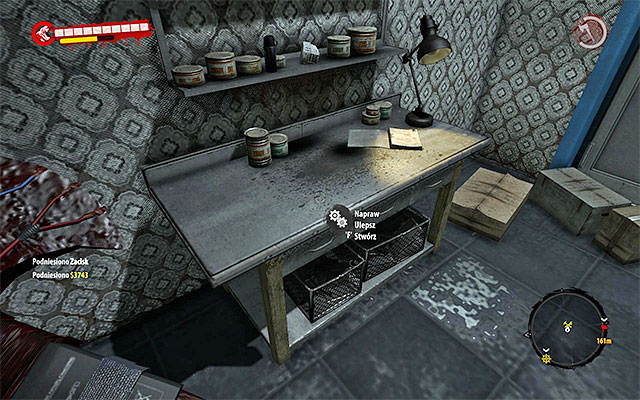
As in the previous part of series, the melee weapon you use is getting worn out and you can't underestimate this fact due to decreasing your combat usefulness. I recommend to use workshops very often, so it won't hurt you that much. As repairing the rare weapons is expensive, try to use different ways to eliminate zombies, for example to have also a firearm and some explosives in your active slots.
Workshops, which I mentioned earlier, are also used to upgrade your weapons (up to the fourth level) and modify them basing on modification you've found (a full list of them can be found in the chapter dedicated for the collectibles). I strongly recommend both of those action for any rare weapon which you're going to use for a longer time.

Moving

Jump/Handbrake

Crouch

Sprint/Ram

Action

Med-kit

Attack/Throw

Aim

Reload

Kick/Smash

Rage Mode

Flashlight

Turn off the car

Drop item/weapon

Handy equipment

Display equipment

Display skills

Journal

Map

Team Menu

Chat

Boat acceleration

Spotting in Co-op

Quick travel to the group

Join the game
About quest:
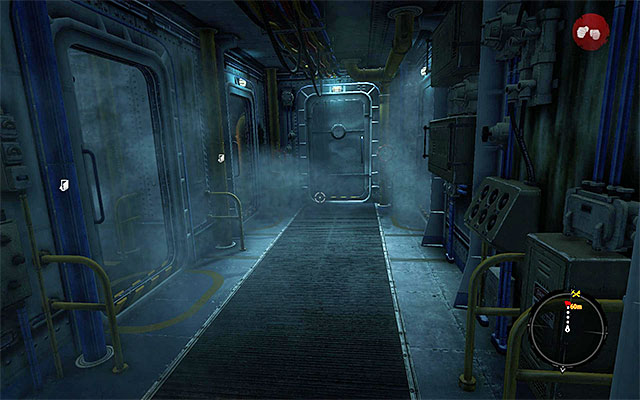
Prologue takes place in the location called The Ship. Escape the cabin and turn right. Check two rooms on your way. You find resources. As in the previous game from this series, small items are resources, which can be used to modify your weapon. I recommend to explore the vicinity very carefully and search bodies of defeated zombies to get richer. After collecting mentioned resources, open a hatch at the end of corridor.
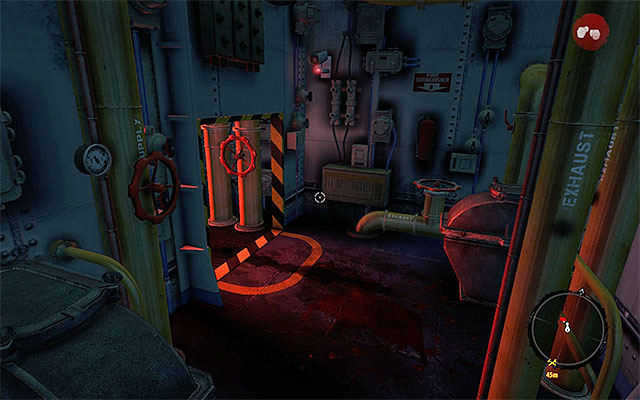
Continue walking, open the second hatch and get to the place where you have to crouch. Don't bother about the steam, just go left. A moment later you'll be forced to jump over a small obstacle.
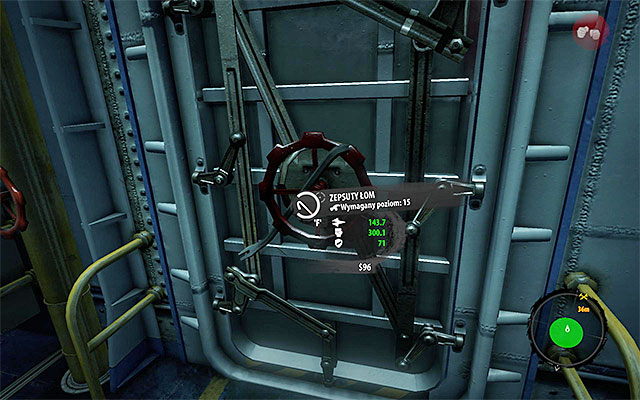
Go to the right hatch and pick up the first weapon - crowbar. Now hold an action key to open door to which it was sticked. It unlocks the further way.
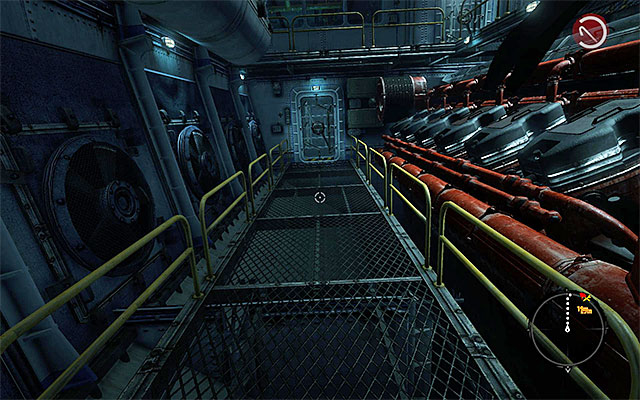
According to the game hint, turn on the flashlight and turn right to explore dark corridors. Turn it off when you get to a new place and go forward to open a new hatch. In this room you find among others interactive containers and a nightstick. From now on I recommend to look for new weapons but remember that you have a limited space in your inventory.
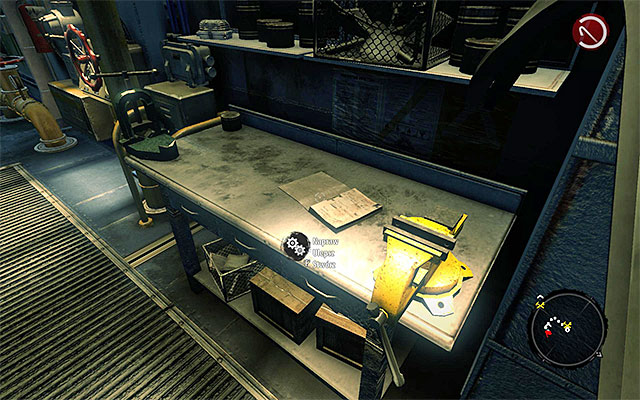
To the next room you can go through two door. Get inside and look at the workshop there. As in the previous game of this series, workshops can be used to repair, upgrade or create weapons. Do not use it during Prologue, because after it you lose all found weapons.
Go upstairs. When you enter one of rooms, you'll see an explosion and get a new quest.
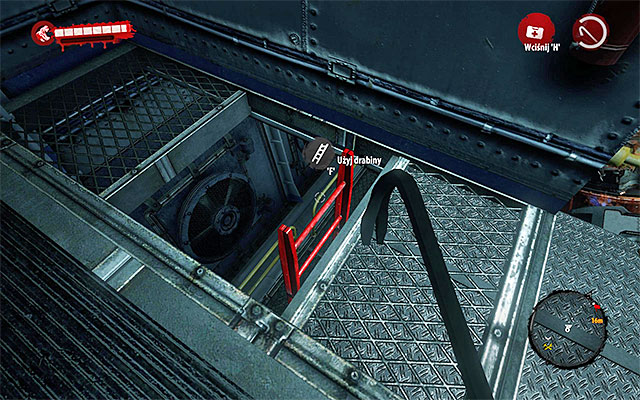
Before you leave this place, search the left wall and take a big med-kit. Remember to look for more med-kits in future, because you never know when you'll need them. Go to the room with fire, turn left and go to a ladder. Go down and move forward.
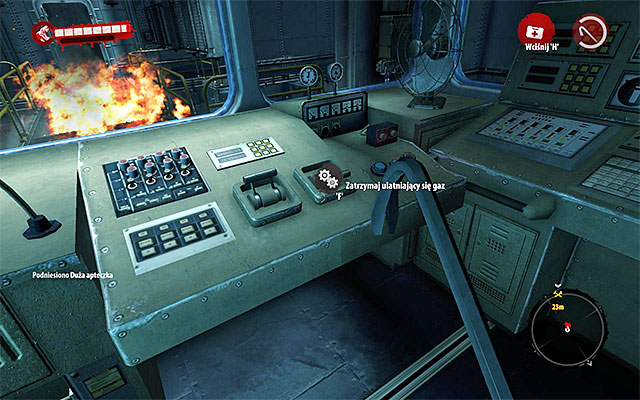
Enter the right cabin and use a red ladder to get into a control room. Pick up a new big med-kit and interact with the panel to stop leaking gas.
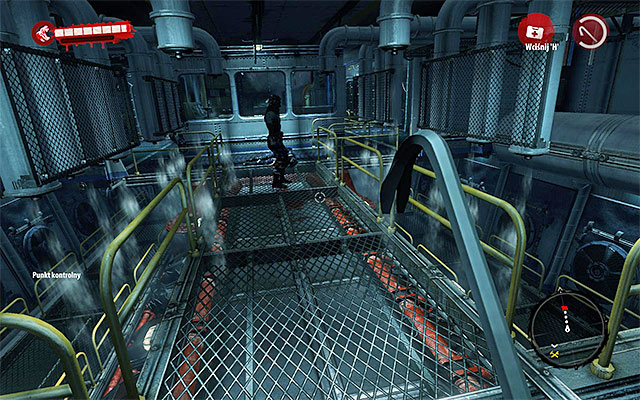
Firstly, you have to return to where you've seen an explosion. So you need to use two ladders again. When you get there, turn left to a bridge, to which access was previously blocked by the flames.
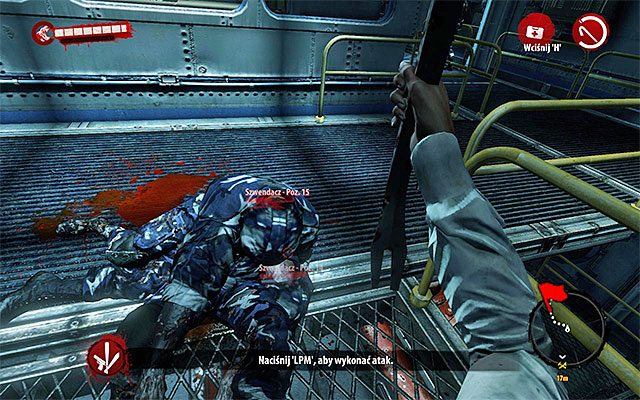
You run into Walkers, the weakest type of zombies. Try to attack them in sequence, using weapons you have and kicks to push them off or finish the knocked down ones. If you are grabbed by any of them, you have to play a minigame (like in previous game): click mouse buttons (left and then right) or use pad, if you're using a console. Remark: remember to search defeated enemies, but only when it's safe.
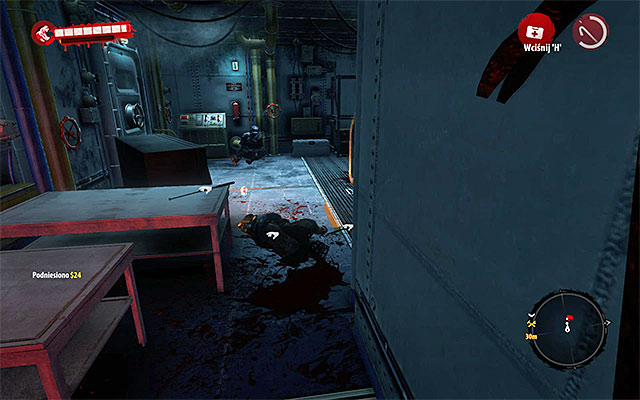
When you eliminate the first group of monster, choose right or left passage and unlock another area of the ship. Beware of new zombies, especially the ones which will stay still firstly. After cleaning up, look for weapons, med-kits, energy drinks (quick regeneration of health) and resources.
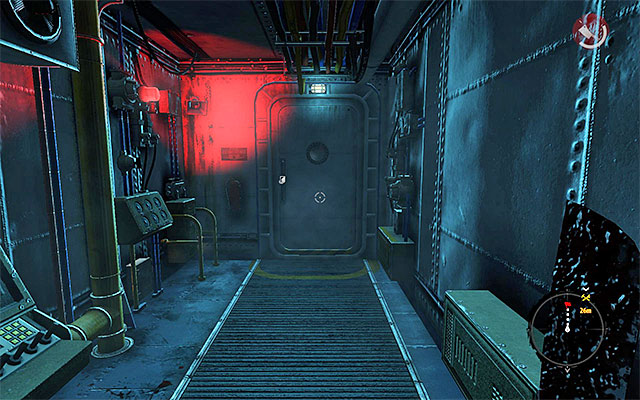
Now you ca go upstairs onto higher deck. Kill new zombie and turn right. Move forward, eliminating enemies. On your way, you can look into a canteen on right to find new weapons, resources and a lot of energy drinks. But it isn't necessary. To resume your current mission, open door at the end of corridor.
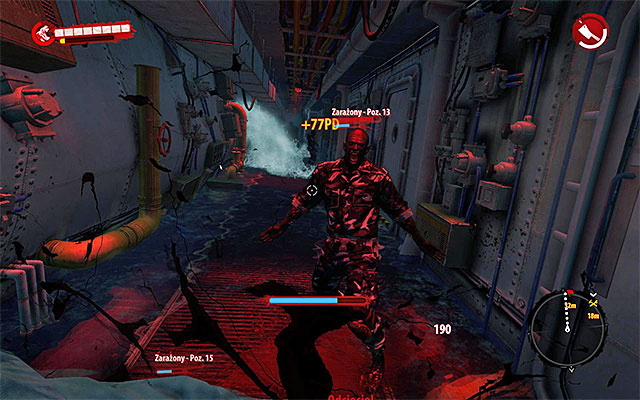
In partially flooded corridor, you'll be attacked for the first time by infested, a more agile type of zombies. During fight use kicks to push them off and look for an occasion to strong blows with melee weapon. Don't get surrounded.
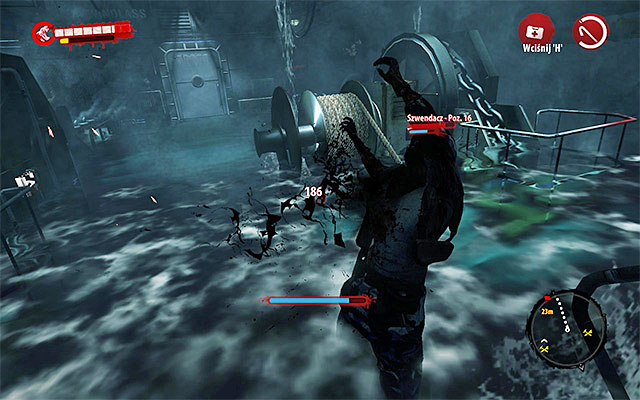
Move forward. Look into small cabins on your way, as every has two containers inside. Soon you'll get to a crossroads: right turn leads to a new workshop, left one to a flooded room. Beware of new zombies here, which can hide in the water. Pick up new med-kit and head for the door.
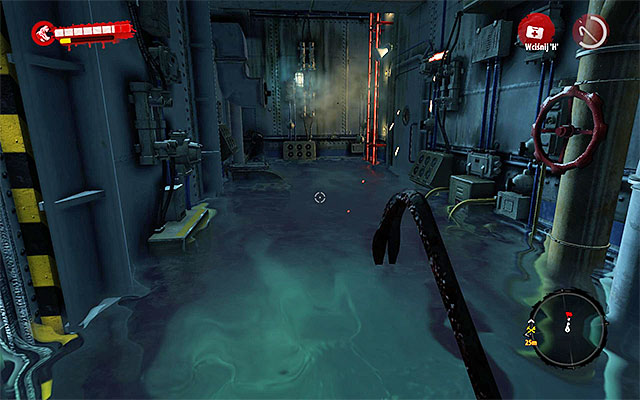
Kill few more walkers and approach the big gate. Press an Action button to open it. Eliminate more monsters and then use a red ladder.
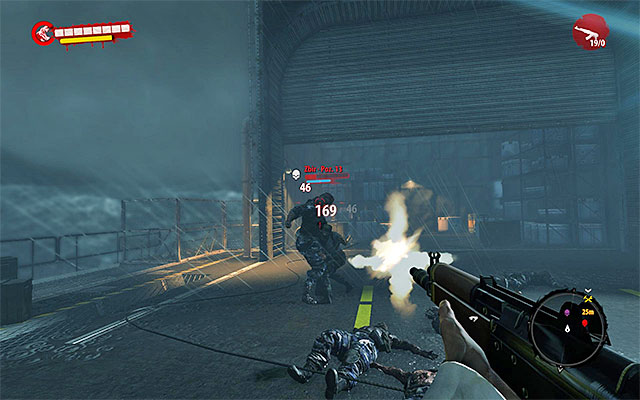
Get out onto a main deck of the ship and prepare for a high wave which knocks you down. Place yourself properly, so you won't be washed down. When this one passes, you can start looking for new weapons: pistol and sawed-off shotgun. Collect also med-kit and take ammo from chests.
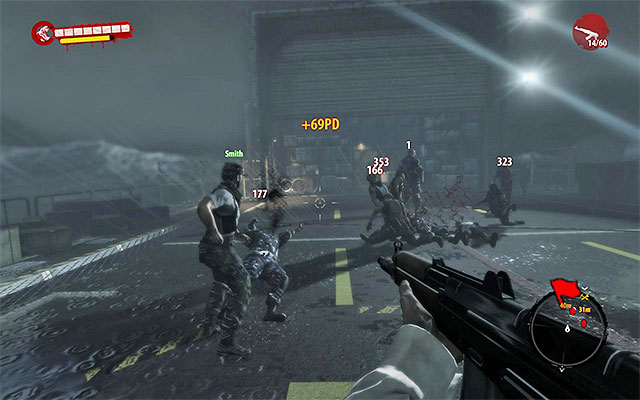
Head for the prow and turn right after a moment. Soon, you'll run into more zombies. Use your firearm for eliminating them (aim at heads). Don't worry about ammo, you'll find a lot of it.
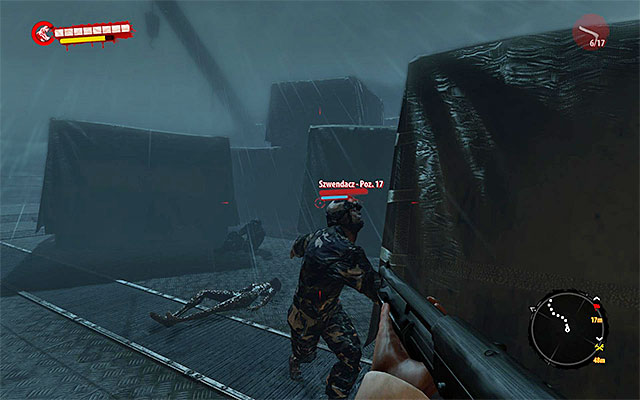
Follow the linear path, eliminating more infested who'll run at you (sawed-off shotgun works pretty well). More undeads you meet on your way to the area with many chests. Look around carefully, so no one surprises you. After battle search bodies and chests.
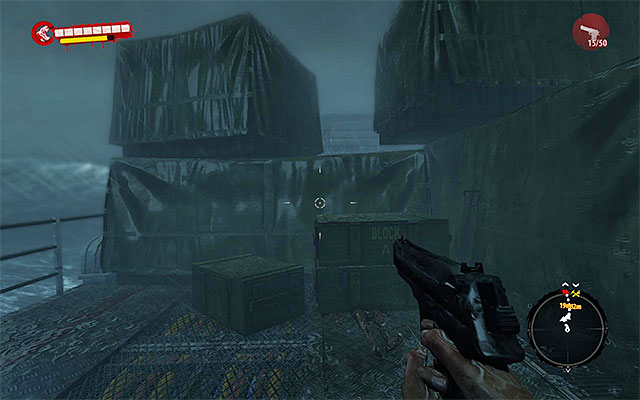
To continue a journey, you have to jump onto chests (screen above). Stay over new walkers. You can fire them from the safe place or act according to the game suggestion and try a smashing blow from the air. At the end use ladder leading onto an upper deck.

After a cut scene join the battle, in which you'll be supported by Sam Hardy and few more soldiers. Notice, that you obtain a new weapon - automatic rifle. Firstly, focus on Suicider, a new type of zombies. Don't go too close to him, because he may explode. After that exterminate Walkers and Infested.

At the very end finish off a Thug. It's a small but very tough type of zombies. Fire constantly until it falls.
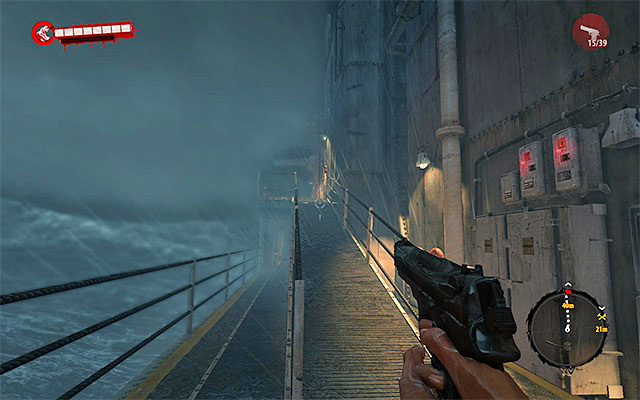
Go to the left gate and onto a higher deck. Move forward and omit a red ladder (but remember it). Approach the closed door and listen to conversation with Sam.
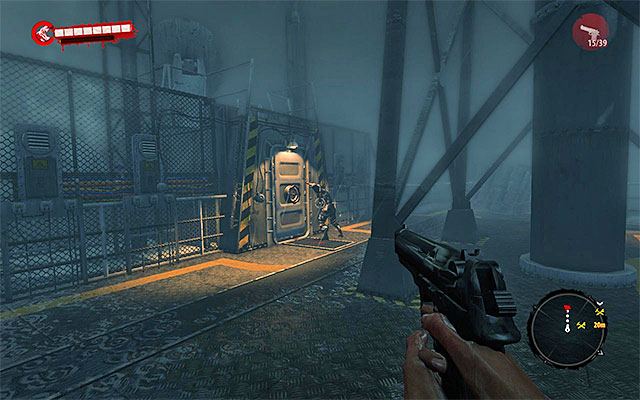
Now return to the mentioned red ladder. Use it, to get onto a higher deck. Defeat single Walker and open door. Defeat one more zombie and use a hatch.
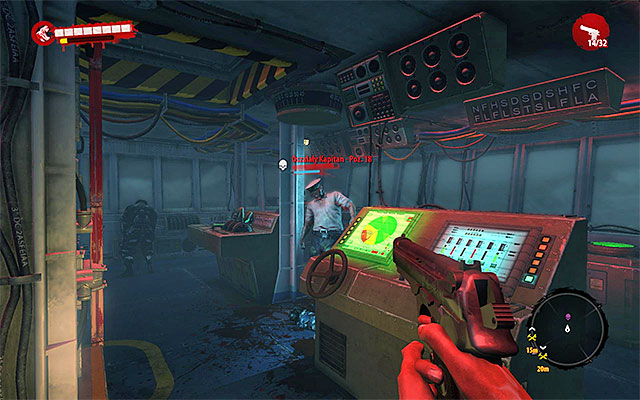
Go down via ladder to get to a captain's bridge. Firstly eliminate the weakest zombies and then attack the furious and stronger captain. For your luck, it moves slowly so you shouldn't have problems with that.
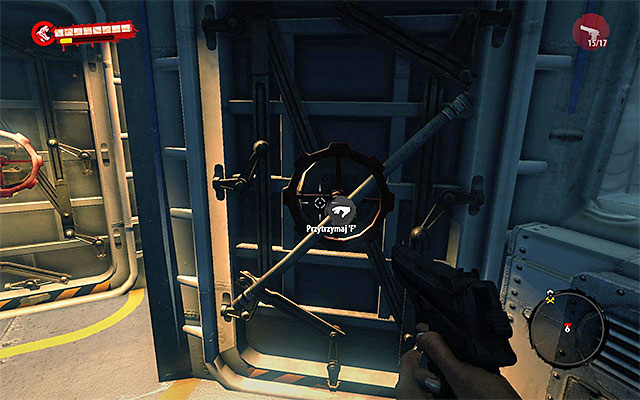
Now you have to do one thing. Approach the door on left and use Action to open it. Cut scene ends this mission.
Main quest unlocked: Castaway (unlocks automatically when the Prologue ends).
About the mission:
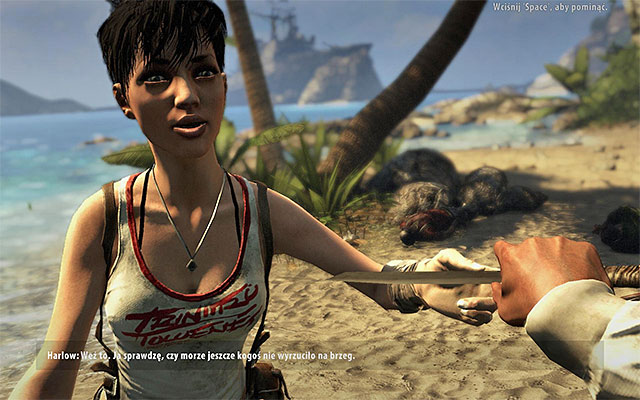
This mission begins on Palanai Island in Pearl Sands. Listen to Harlow and notice that you've lost all weapons from the ship (med-kits and resources stayed). Harlow gives you a knife.
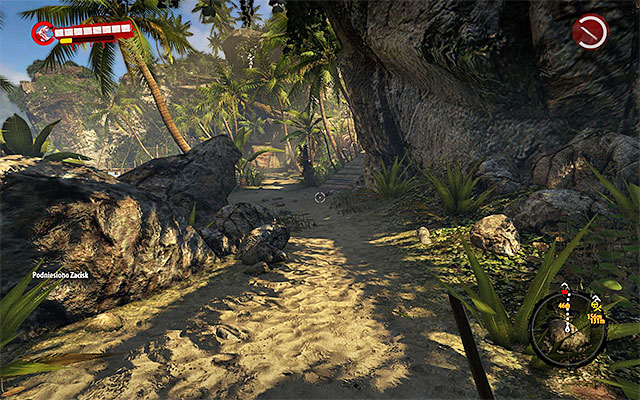
Survivors' camp is on the north. During your travel stay on the main path, but don't hesitate to explore. Look for items which can be used as weapons, resources, med-kits and first secrets.
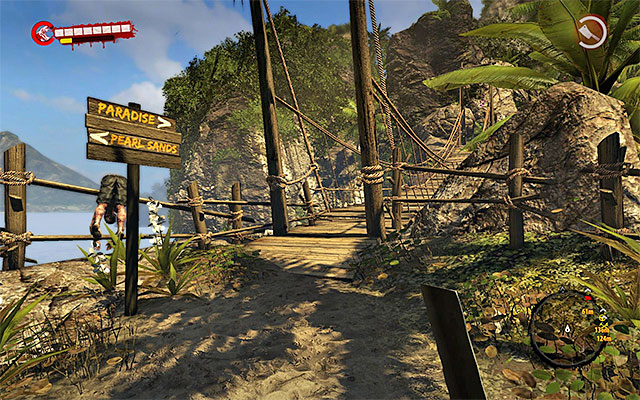
When you get to a crossroads, go right, staying close to rocks. For the time being - no zombies. Way will be navigated by boards like on the screen above. Follow the ones pointing Paradise Survival Camp.
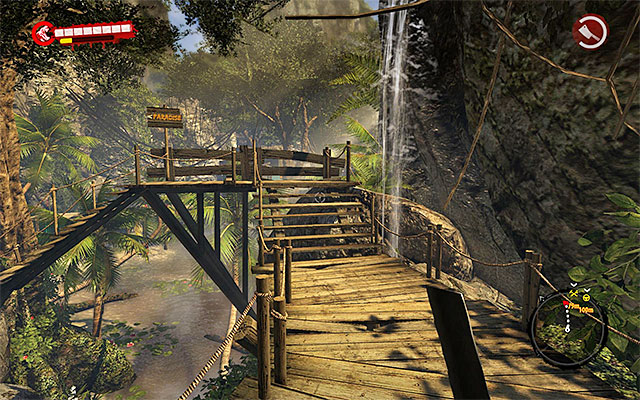
Soon after using a bascule bridge, you'll get onto a mountain path, which leads to the camp. When you get closer, you'll hear battle and obtain new objectives.
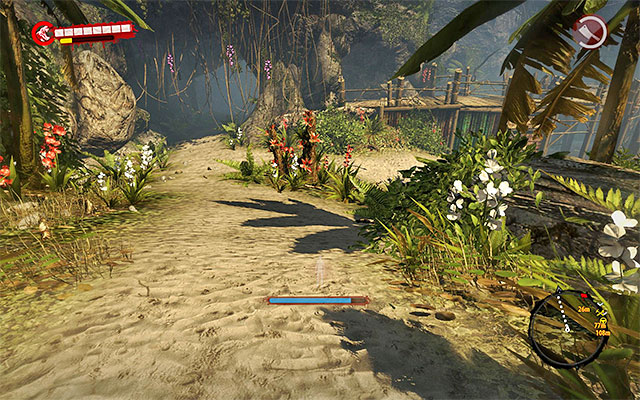
Turn northern-west and then north. You should see zombies attacking defenders in Paradise Survival Camp and you'll have to help them.
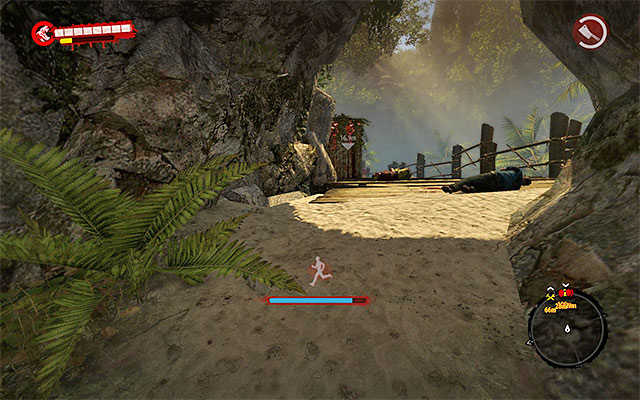
Run north (use sprint) and turn east when you only can. It takes you to a path (screen above) leading to Paradise Survival Camp.
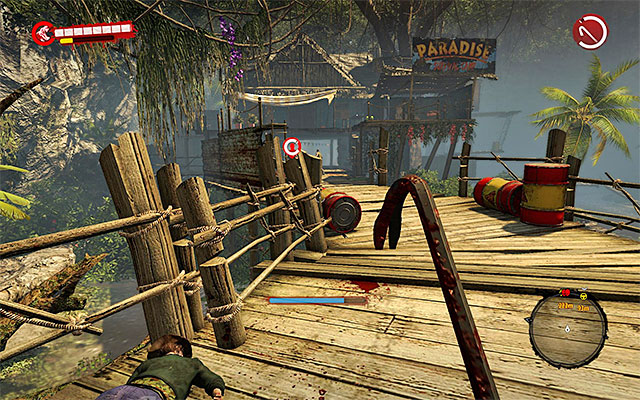
Attack from behind zombies heading to the main part of the camp. Use weapons and kicks, don't let them surround you. Ignore red explosive barrels, as you don't have a firearm: you'll destroy them later.
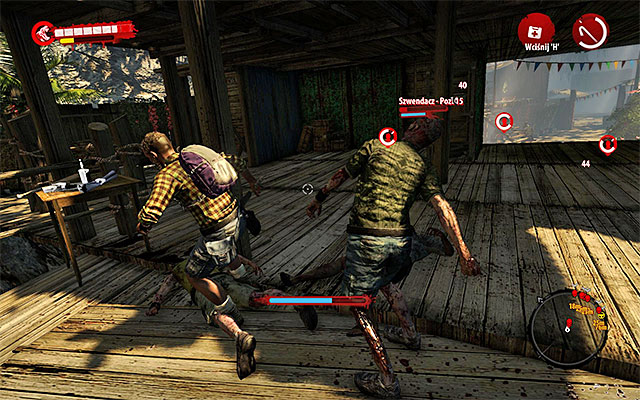
After eliminating closest zombies, start saving the survivors caught by them and still fighting. You don't always have to kill an undead, it's enough to push it off and the saved one will deal with it. Eliminating all attackers ends this mission.
Main quest unlocked: Back to Reality (quest is automatically unlocked after finishing the described mission).
About the mission:
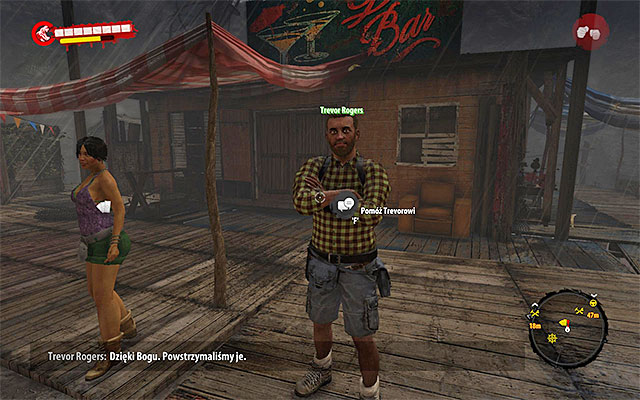
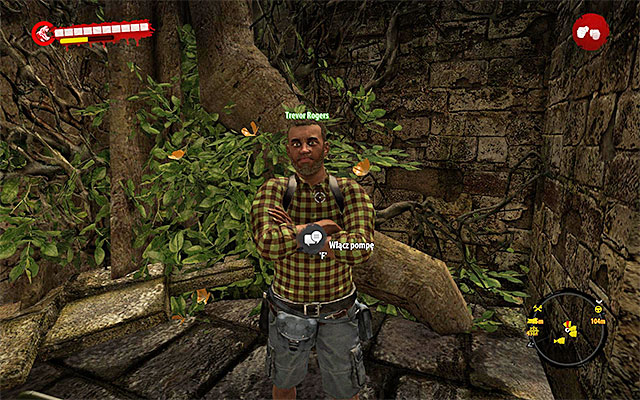
I recommend to spare some time for careful inspection of Paradise Survival Camp . Heal yourself using fruits, snacks and energy drinks. Then, look for new weapons, resources and secrets. Notice two workshops (you can repair your weapons) and merchants. At the very end approach Trevor Rogers and confirm the quest.
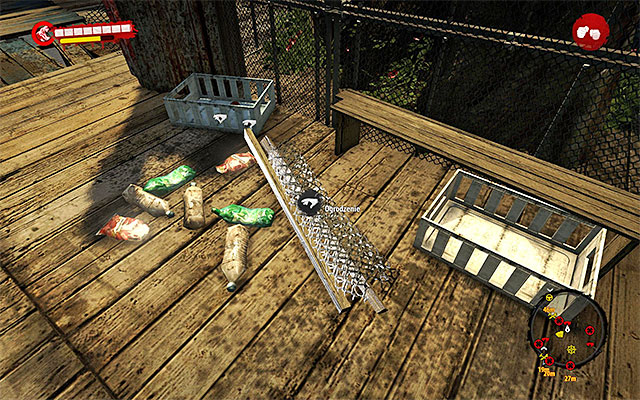
This mission is more like a tutorial about fortification, especially that there is no time limit. Begin from picking up one of five fences marked with hand on the map.
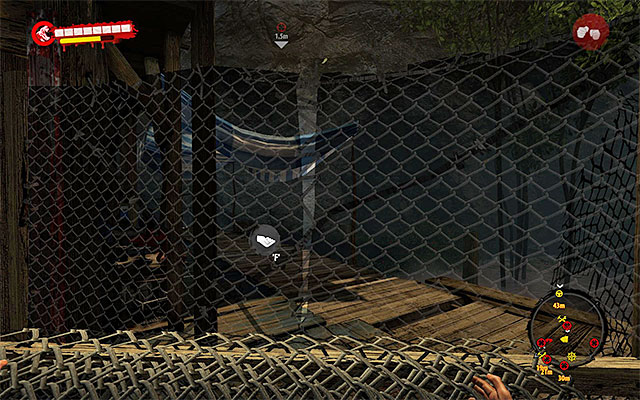
After picking it up, get to place for put it up (sights on map) and press Action button. Repeat with four remaining fences.
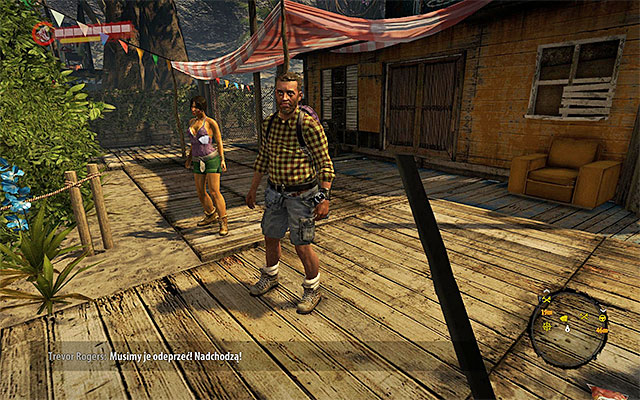
You don't have to do anything special, just get close to the middle part of camp, what begins the battle with zombies. Heal and repair/upgrade weapons if you want to earlier.
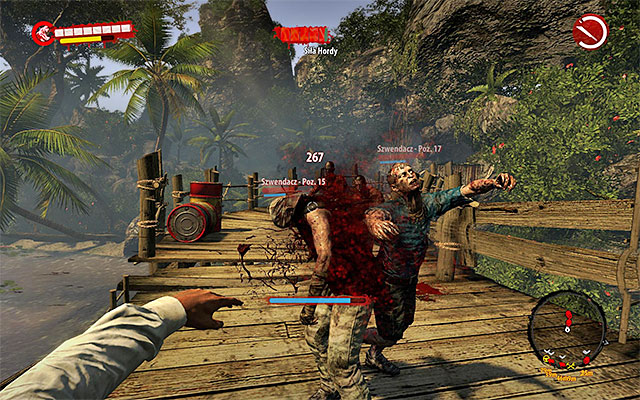
When the Horde attacks, return to the bridge on the west, because it's the only one uncovered path leading to the camp. Eliminate zombies here, beware of the more agile ones and don't get surrounded.
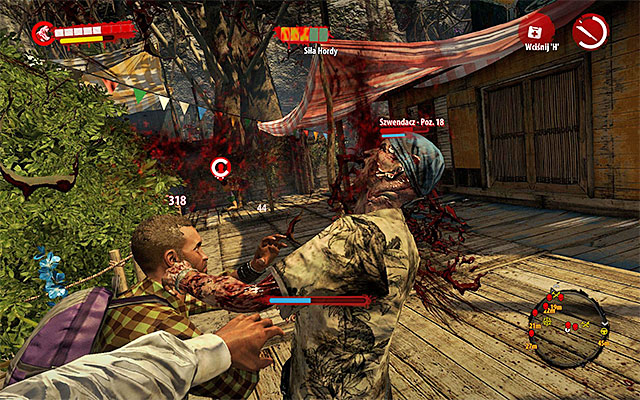
In the further part of battle, head for the central part of camp, because remaining zombies for sure got into. As previously, focus on saving allies. In the meantime, you can repair fences, especially as some zombies will join the battle later. Fight until the bar of Horde goes down.
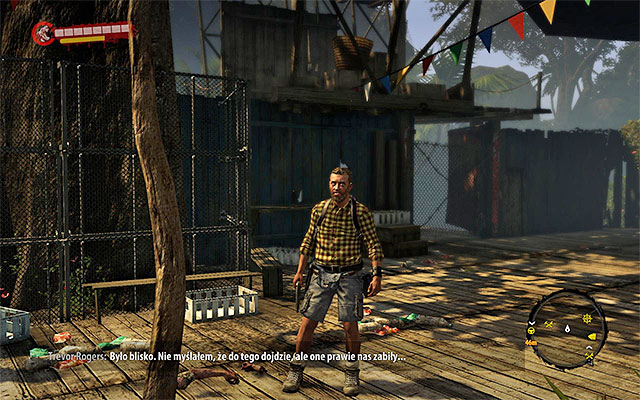
Repair weapons and heal. Then find Trevor Rogers and initiate a conversation. You get a flare gun and new objectives concerning the main bridge leading to camp.
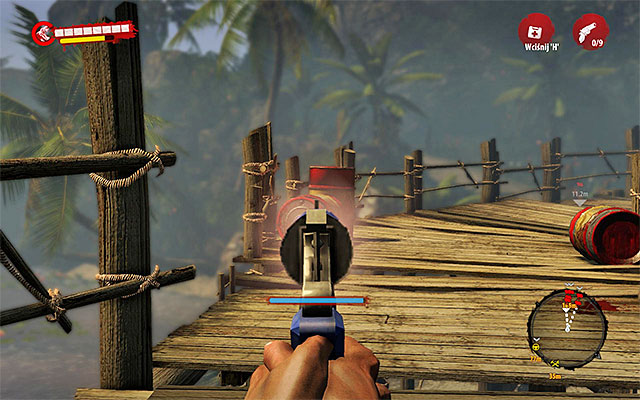
You have to act quick, as there is a new, big group of zombies heading to the camp. Rump west, to the main bridge. Aim flare gun at barrels (screen above). Move away and wait for explosion which will destroy the bridge. Attention: if any Infested get to you in the meantime, defeat them with. Destroying the bridge ends this chapter and displays a new cut scene. Don't forget to return to Trevor Rogers for a reward (Nail Gun).
Main quest unlocked: New Beginnings (to unlock this, talk with Harlow in Paradise Survival Camp).
About the mission:
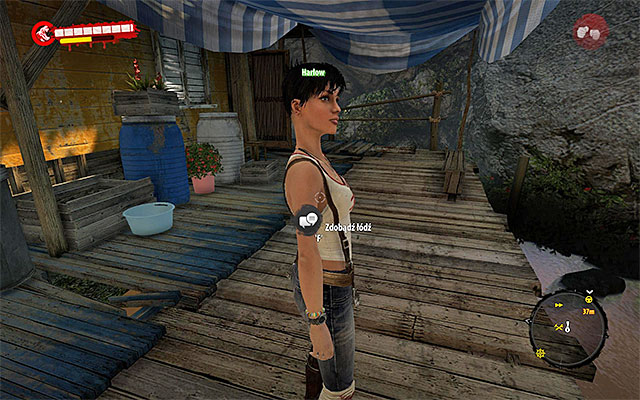
Refill resources and care about weapons. Then look for Harlow in Paradise Survival Camp talk to her, listening about plan to get a boat. She'll send you to a nearby fishing village, Halai.
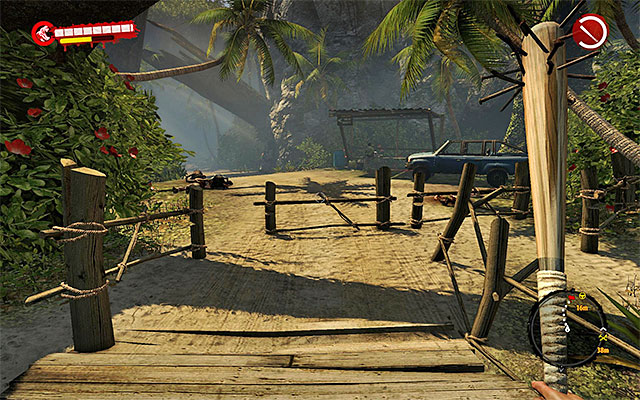
You can get there in many ways, but the best one is to choose an eastern exit from Paradise Survival Camp what takes you to a bigger path where the car is parked. You can defeat nearby zombies or ignore them and focus on getting to the car ASAP.
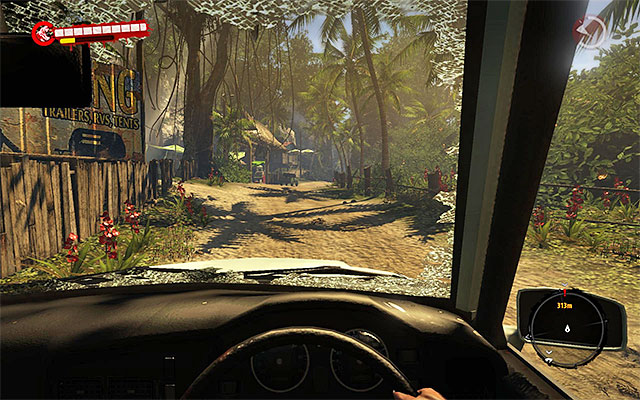
As you get inside the vehicle, ride to southern-east, staying at the main road and trying to ram zombies (easy XP). On your way you pass among others Kiwi Camp which is connected with one of side quests.
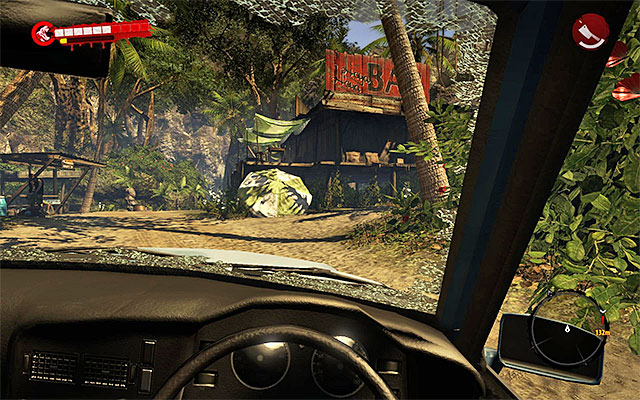
Road will turn northern-east. I recommend to stay on the main path and stop only when you get to a Hoyahoya Bar, shown on the screen above.
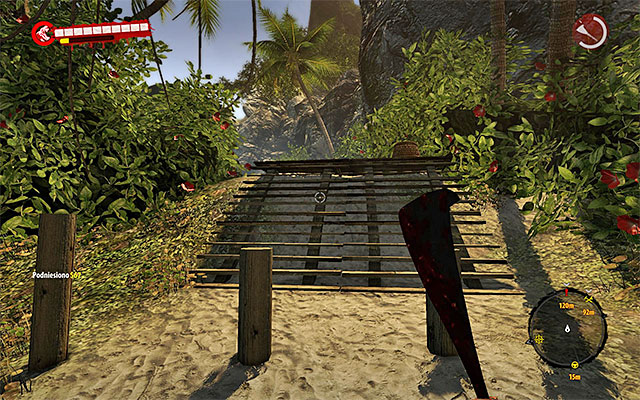
Get out of the car and choose path on east, leading to Halai Village. You should meet only Walkers and Infested. If you run at some Thug, Suicider or Drowner, keep him at bay and avoid confrontation.
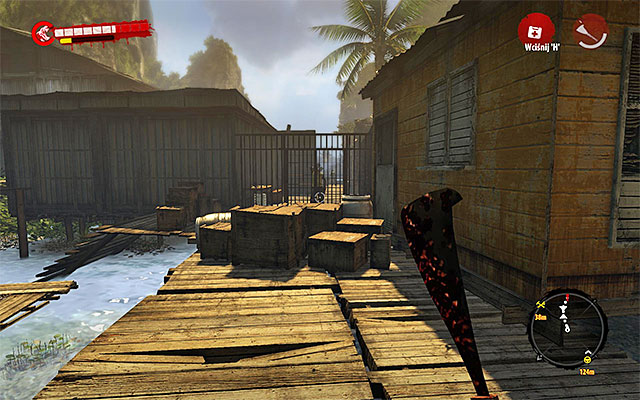
When you enter the village, move southern-east and remember to look around carefully, so the zombies won't surprise you. You goal is marked on the screen - it's a fenced camp. Approach the gate and talk with Jackson. He won't let you in but tell about a nearby harbor where maybe you'll find some boats.
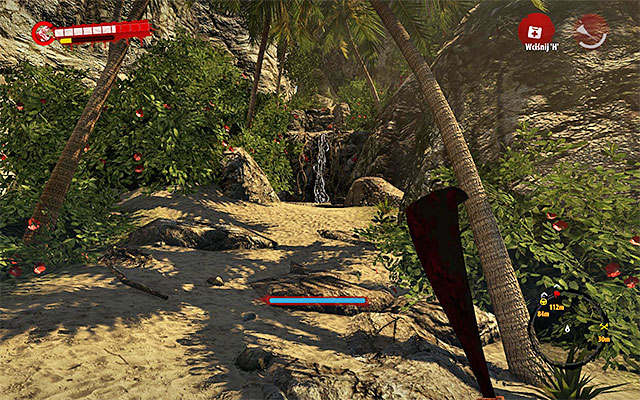
The harbor is on the northern-east from the fishing village. If you want to get there on your feet, go there, avoiding stronger zombies. You should get onto a path leading to lianas.
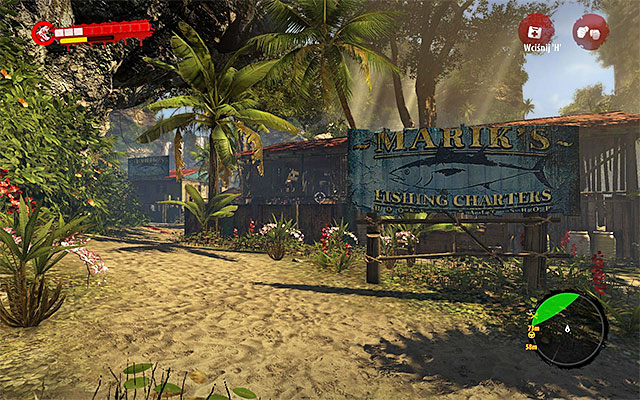
Continue walking to a harbor, choose eastern path on crossroads what takes you to a lower enter of Marik's Marina.
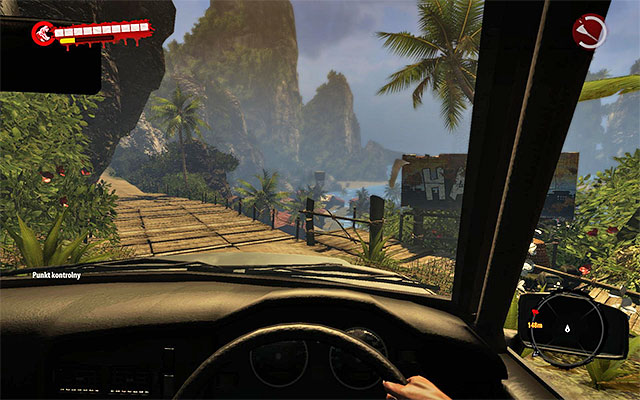
If you don't want to risk with going on feet, return to your car. Enter it ad head north, after few moments turn east, you'll pass Zimakani Rest Camping.
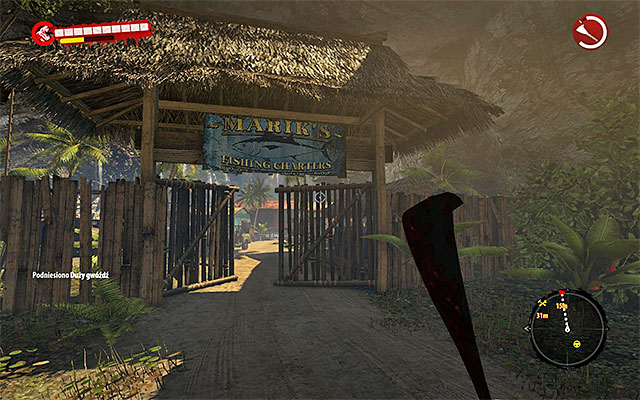
Head east, staying on the main road. Soon you'll arrive at main gate to Marika's Marine. Listen to what Harlow has to said and get new objectives.
Enter Marika's Marine and start exploring. Beware of many zombies, especially that here will be not only Walkers but also Infested and some Suiciders (eliminate from distance or avoid).
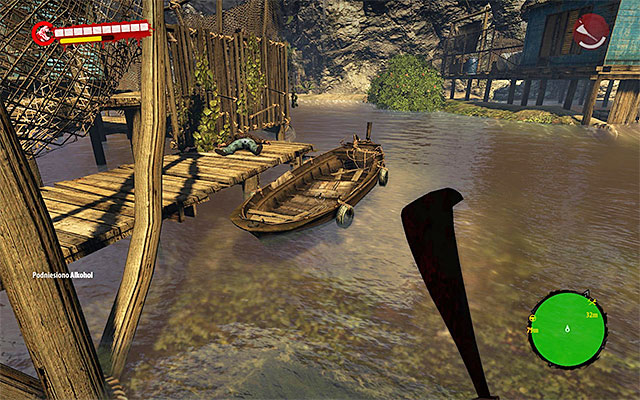
Game won't give you an exact localization of boat, but finding it isn't difficult. Head for water and search a northern-east part of Marine. The boat is shown on screen above.
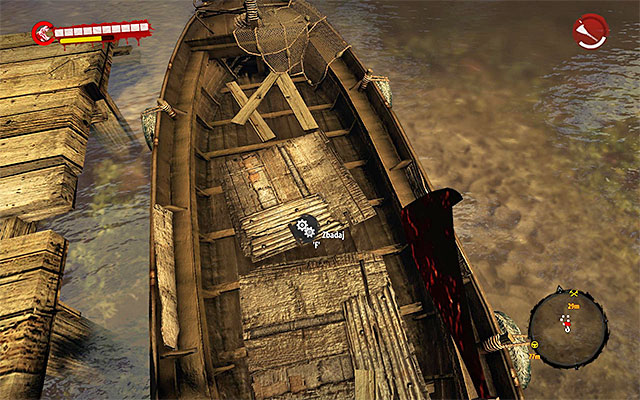
Enter the boat and press Action button so you'll see that there is no engine. Finding it is your next task.
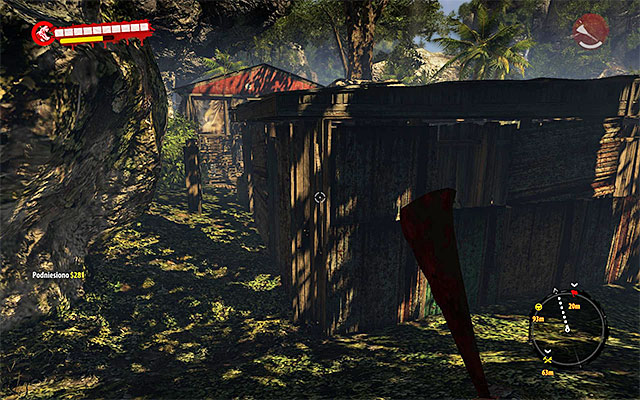
Now go to the southern part of Marika's Marine. To the workshop with engine you're looking for you can get in many ways. If you want to follow game suggestions, turn slightly southern-west and then choose passage leading east (screen above).
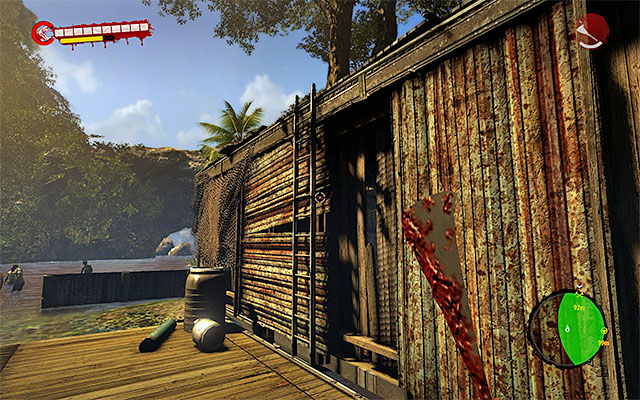
Walk the workshop around and search its eastern wall - you'll see a ladder.
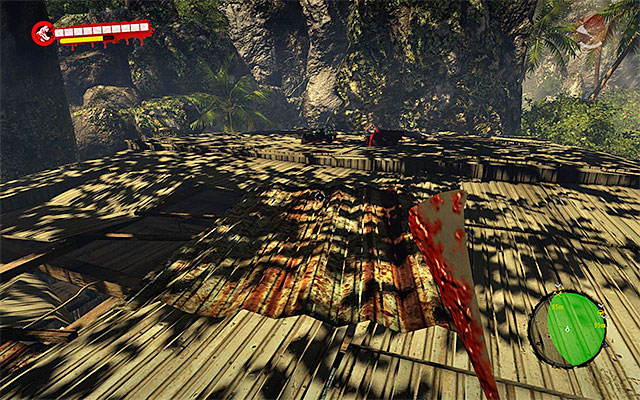
Now explore the workshop's roof. You have to find a hole in the ceiling, through which you jump inside. Before you do that, choose some good weapon.
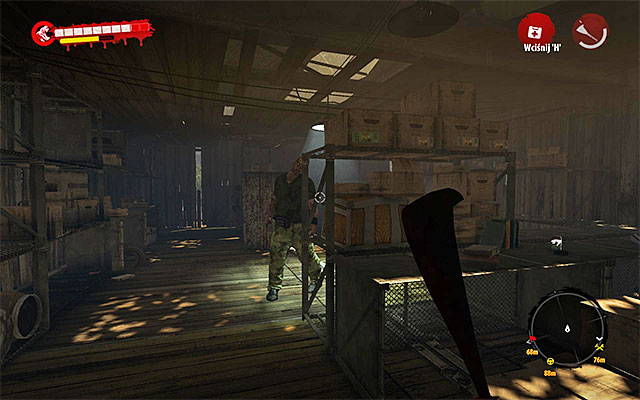
Inside you find few Walkers and one Thug. If you have some good gun you can kill the latter one - otherwise avoid him. Best is to drag him from the exit door and then unlock it. After that you can take him out and buy some time for exploration the workshop.
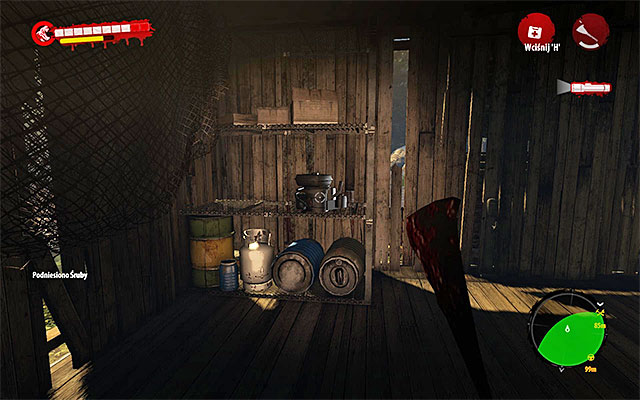
When it comes to the boat engine, it lies on a shelf in one of corners (screen above). Before taking it out, unlock exit, because it won't go to your inventory - your character will carry it.
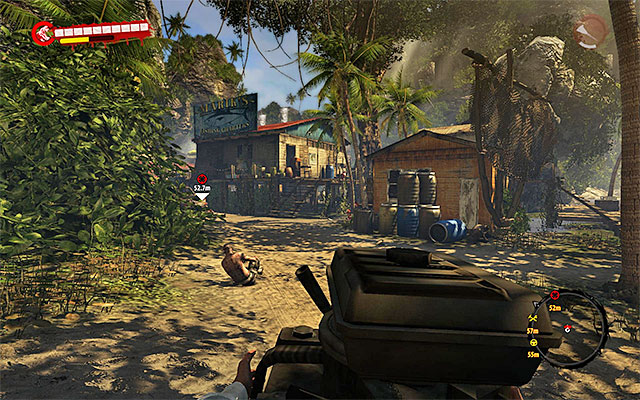
Pick up boat engine exit workshop and head for the boat. You'll surely run into new zombies. You can throw engine at them (it won't be damaged) and then finish them off.
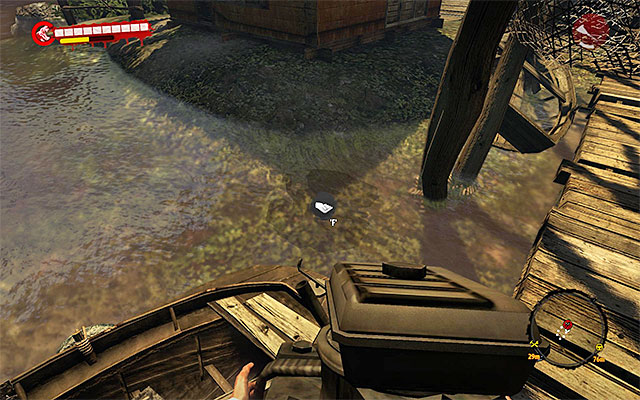
When you get to the boat, stand where the engine should be and press Action key. Mission ends right now. Listen to radio talk with Harlow, what unlocks new main quest.
Attention - Remember that for completing the main quest, you get a Reward. So don't forget pick up Shillelagh from Harlow when you see her next time.
Main quest unlocked: Pathfinders (quest is automatically unlocked after finishing the described mission).
About the mission:
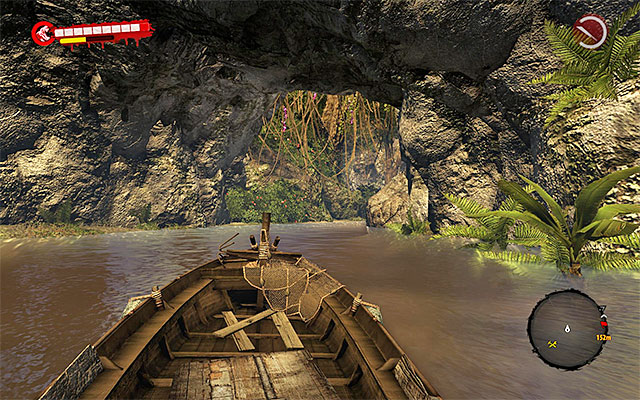
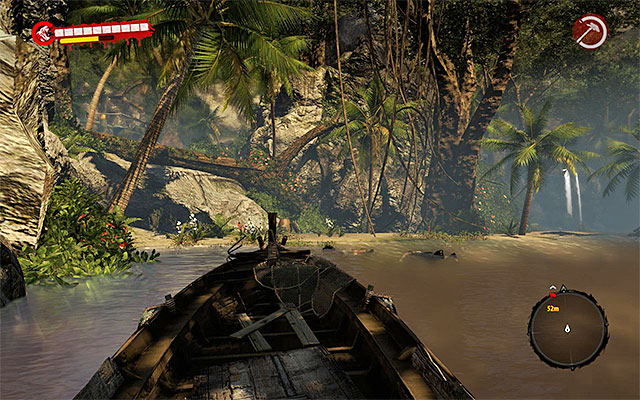
Your next goal is exactly on north from Marika's Marine where you've finished the previous main quest. Use newly repaired boat to get into jungle. Press Action key and head north, keeping close to the right bank.
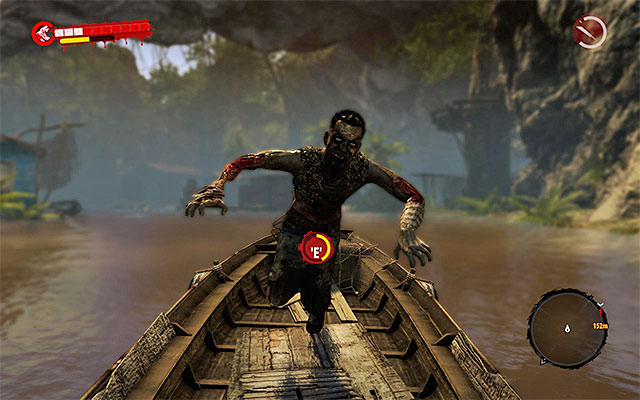
During your journey, don't try to ram zombies in the water. Try also to avoid Floaters, undeads who move quickly in the water. If one of those get into the boat, get ready for a minigame in which you have to press E in the good moment. If you don't make it, you get dragged into the water.
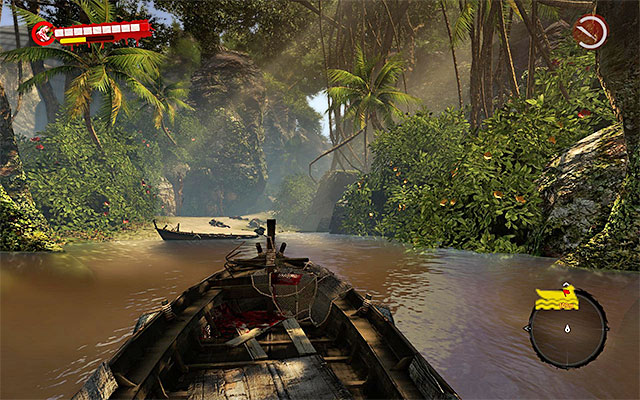
Move north all the time. After a few moments you can turn east. Get to the bank shown on the screen above.
Usage of boat isn't the only possibility, you can also use a car. Leave Marika's Marine, enter the car and head west, BUT go north at the first possible turn; you'll pass a trailer connected with a side quest.
Head north all the time. Your car will handle even undermined parts of the road.
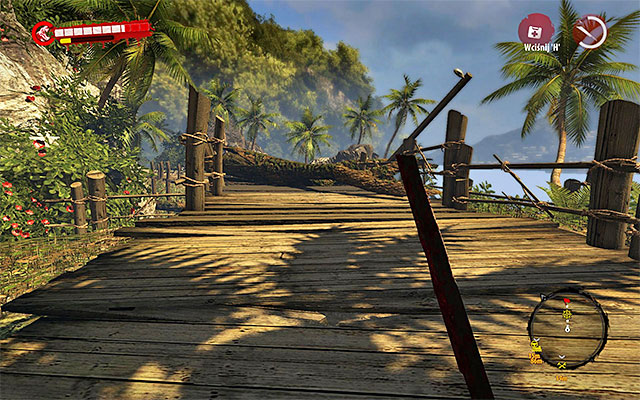
Whatever transport you've chosen, you get next to the path to the jungle, which is marked by the game. Head there, eliminating Walkers and Infested on your way. Your target is shown on the screen - it's a Destroyed Road. Approach it and listen that Harlow suggest returning to Halai Village for small investigation.
Now you have to return to the fenced part in the middle of Halai Village. Use a vehicle parked on west from the destroyed road and head south, staying on the main road leading to the Malika's Marine.
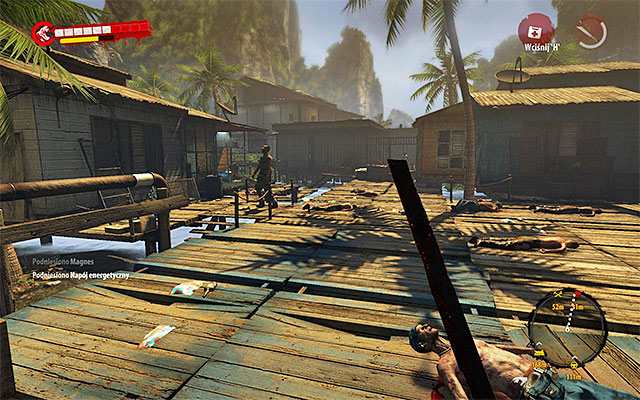
Of course, you can get inside in many ways. I recommend to return to Hoyahoya Bar and then head east. You have to be careful, because you'll meet few Thugs and Suiciders. But as the area is big, you don't have to kill all of them. The ones you can't eliminate, you can simply avoid or run away from. Get to the closed gate to the survivors' camp what ends the mission and second chapter.
Main quest unlocked: Saving Holy Man (to unlock it, you have to talk with Jackson in Halai Village).
About the mission:
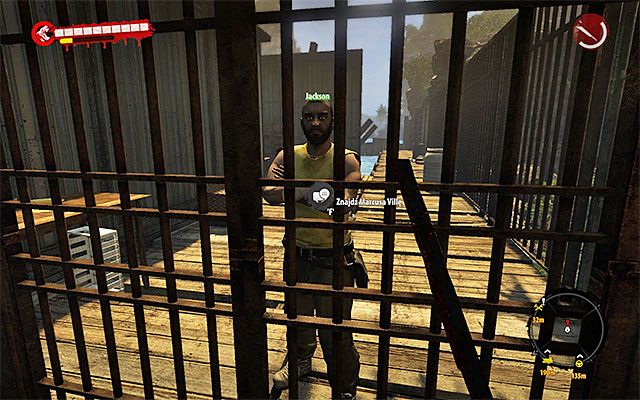
Remember to refill supplies and repair/upgrade weapons. Then approach Jackson standing behind a closed gate to the survivors' camp in the middle of Halai Island and talk to him. He'll ask about finding the Marcus Villa, a missionary. It's your next task.
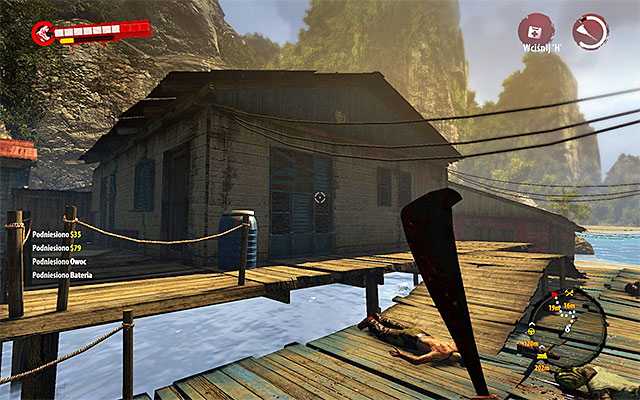
Sought for is in Halai Village, on east from the survivors' camp. Head there, looking around for Walkers, Infested and some stronger zombies. The area around your goal is fenced, so you have to go through a building shown on the screen above.
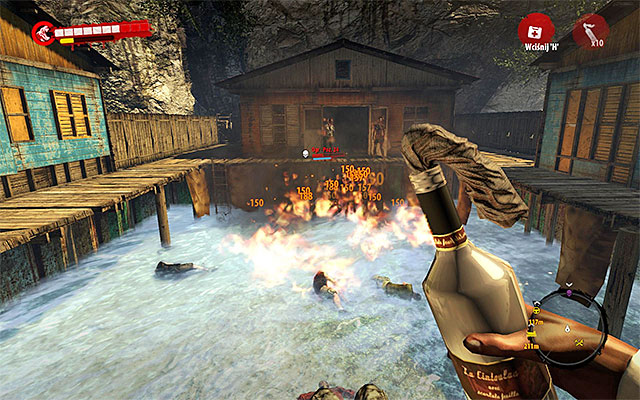
When you get to the missionary, he turns out to be surrounded by zombies. Don't jump down, because there is also a powerful Ogre among normal zombies. This unique monster is quick as Infested and tough like Thug. What is more, he can regenerate after successful attacks. So attack from distance, using firearm or molotovs which are easy to find here and there.
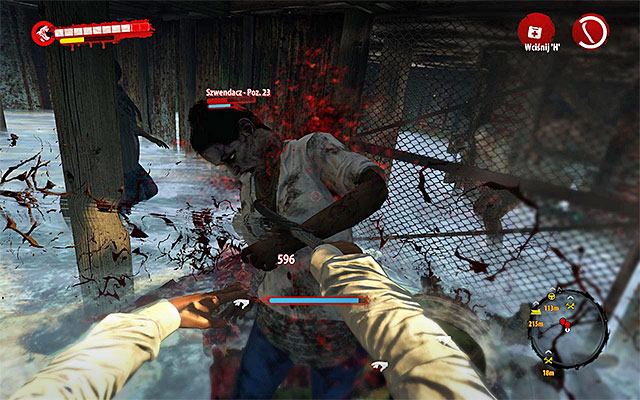
When you eliminate an Ogre, focus on the remaining enemies. They aren't challenging, so you can jump down and fight them. When the area is clear, approach Marcus Villa to finish this mission.
Attention - Remember that for every main quest you get Reward. Don't forget to talk to Jackson when you see him again, to obtain Claws. He'll also grant you a full access to the survivors' camp.
Main quest unlocked: Where the Dead Live (to unlock this you have to talk with Marcus Villa in Halai Village).
About the mission:
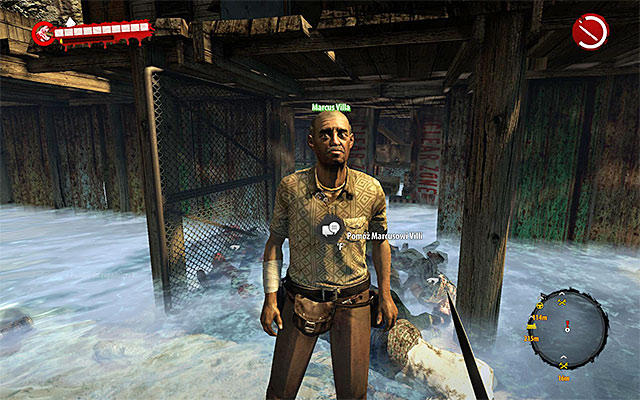
Go to the Marcus Villa and talk to him. He'll ask you to go to the Dead Zone for a toolbox. In return, he'll tell you how to get to the Henderson.
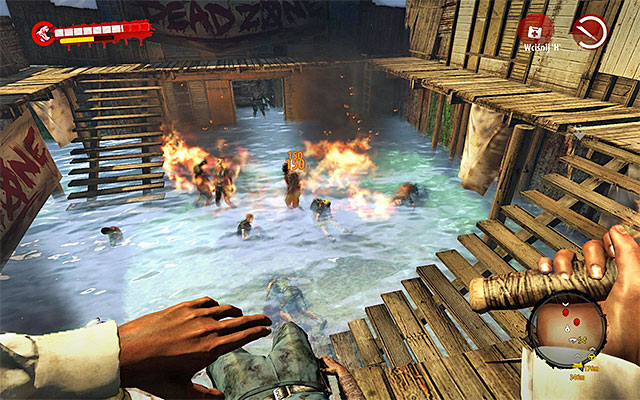
Dead Zone is in the southern part of Halai Village. Go there. On your way avoid mainly Thugs, Suiciders and Drowners if you don't have sufficient weapons for them.
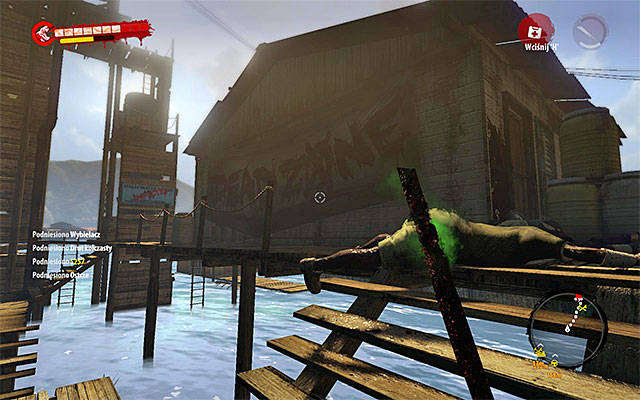
The other thing you should know, are places in the village, where new Infested jump down from the roofs. Try to get out from such locations very fast, because sooner or later a new group emerge. Building to which you have to get is shown on the screen above.

Enter the Dead Zone and go through the first building, carefully approaching the place where zombies are. Do like in previous main quest - attack from distance with molotovs or grenades.
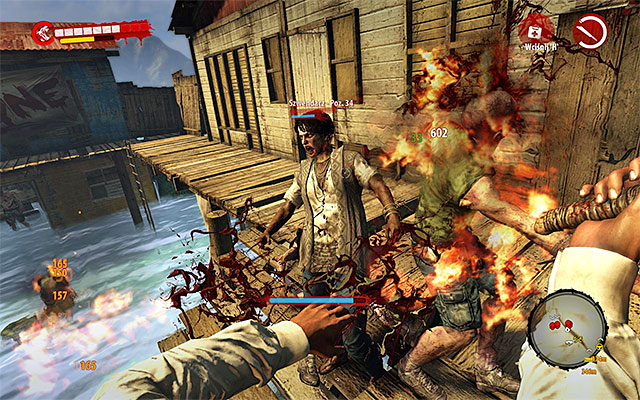
But some of zombies will surely use stairs and reach you - but it should be only Walkers. At the end, eliminate a single Thug.
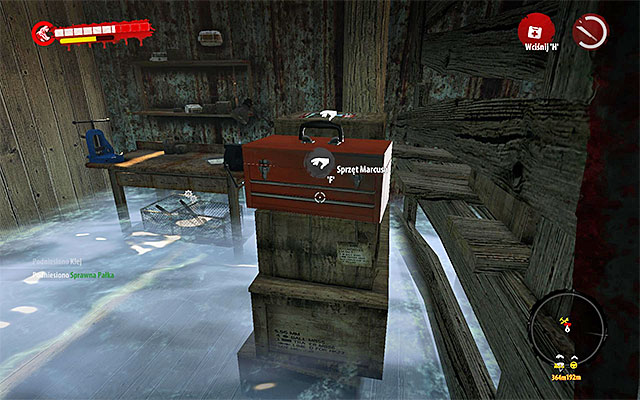
Enter the building which was guarded by the Thug. Marcus' toolbox is on chests on left.
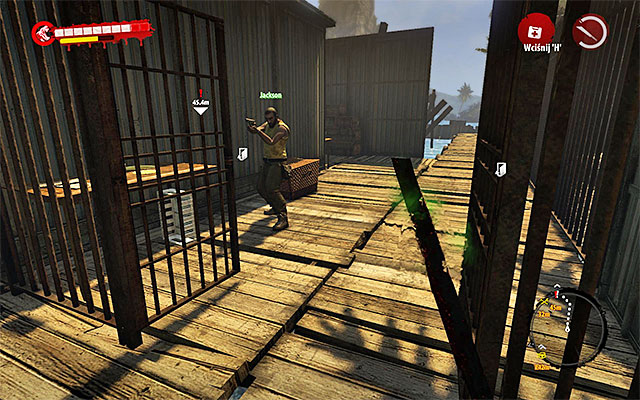
Leave the Dead Zone and head north. In the meantime Marcus Villa got to survivors' camp in Halai Village so go there.
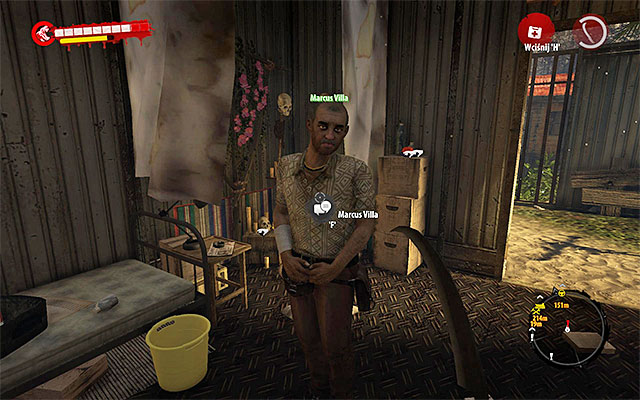
When you enter the camp, head for the main building. Missionary sits at the altar on the ground floor. Give him collected equipment to end mission. He gives you a Spade.
Main quest unlocked: Meeting Locals (to unlock this talk with Marcus Villa in survivors' camp in Halai Village).
About the mission:
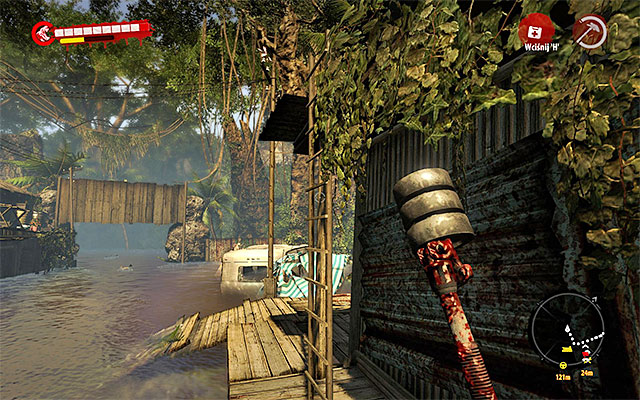
Don't forget to replenish supplies and upgrade/repair weapons. Then return to Marcus Villa who is standing at altar in survivors' camp in Halai Village. Talk to him and he send you to his house for a map of Japanese tunnels. Getting there is your new main quest.
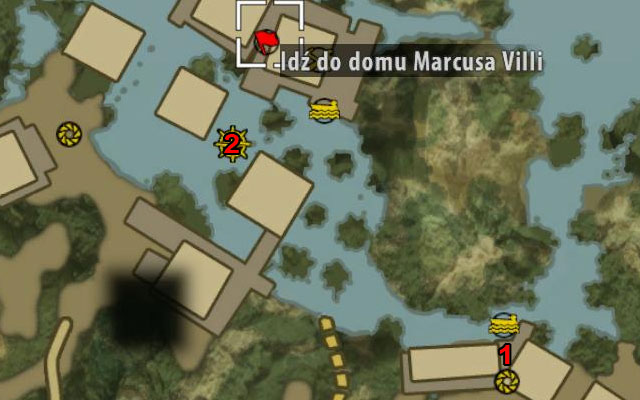
House of Marcus Villa is far on north-west in Mataka Village (point 2 on the map). If you've never been to it before, begin from Zimakani Rest Camping (point 1 on map). Whatever you do, use a boat, because Mataka Village is nearby swamps.

Approach the Marcus' house from the south, beware of Floaters and single Infested and Drowners. Exit the boat and use a ladder to get onto a roof.
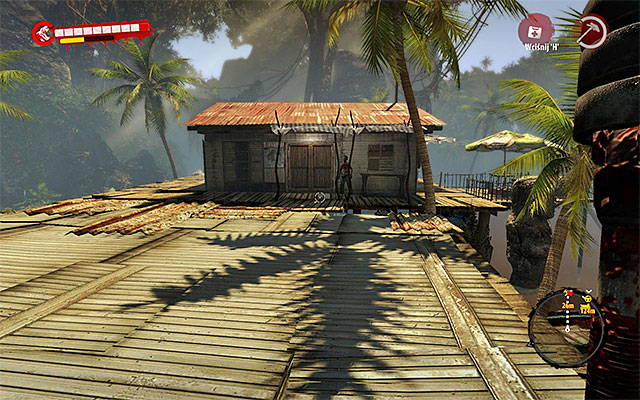
Then turn right and go to Hadisi standing next to the closed cottage what ends your mission.
Main quest unlocked: Natural Resources (to unlock, talk with Hadisi standing at Marcus' house in Mataka Village).
About the mission:
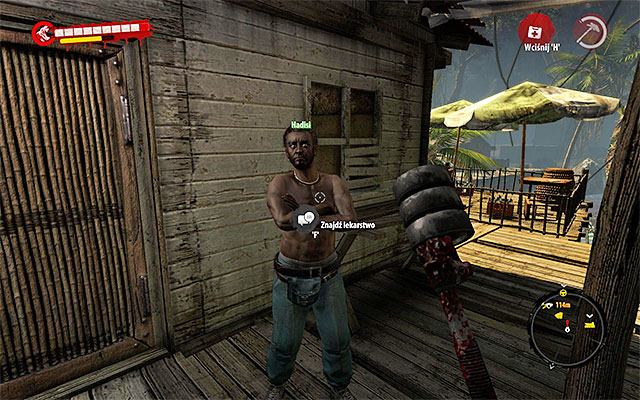
Approach Hadisi and talk to him. You'll get to know that you have to help his brother before he let you in. Listen to radio talk of Harlow and Jane Hanson MD, from which you'll know that you need a bark of cinchona tree.
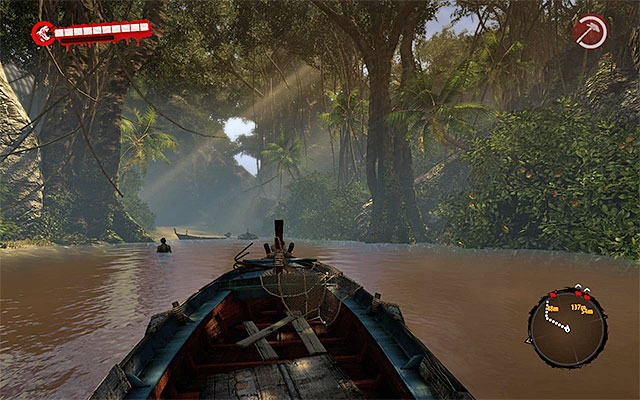
Game will marked three points on your map, east from swamps - nearby Destroyed Road which you've visited already. You can visit those places in random sequence, but I recommend to search the location on the far north. This point is next to the beach, so you can easily get there in boat (from west).
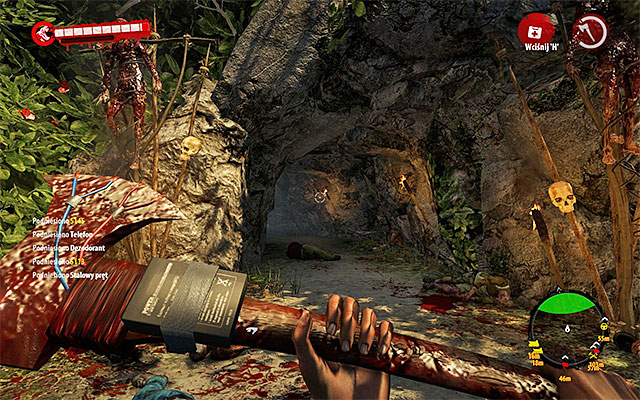
After getting closer, game will marked a northern cave to explore. Defeat nearby Walkers and Infested and enter the cave heading north.
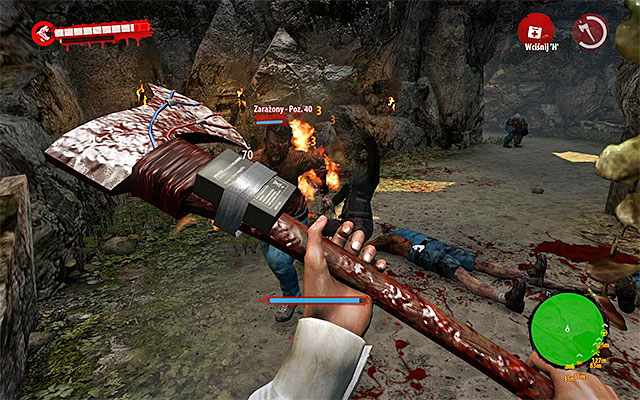
New zombies are in the main cavern, and you find here also untypical one: burning Infested. Luckily, he isn't a real threat. Kill him before he get near you. If you won't, treat him like a regular zombie..
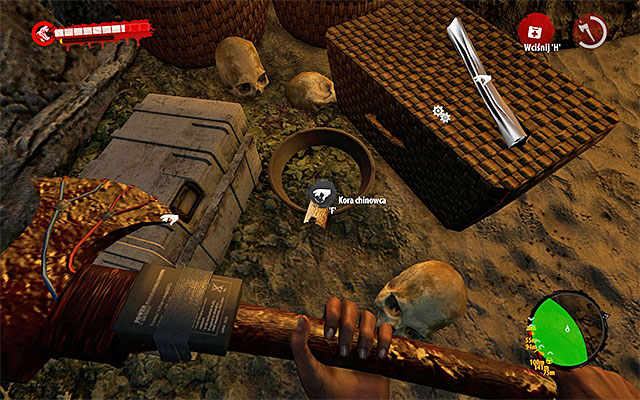
After eliminating a main group of zombies, resume exploration of the cave. Bark of cinchona tree can be found at the small camp at the very end of cave.
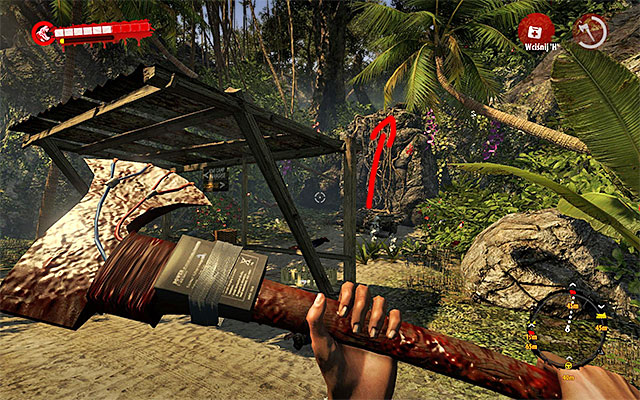
Exit the cave. Now head for a point straight on the south. You can get there from two sides, but I recommend getting to the main road and then heading south. Eliminate nearby zombies and reach lianas via which you can climb up.
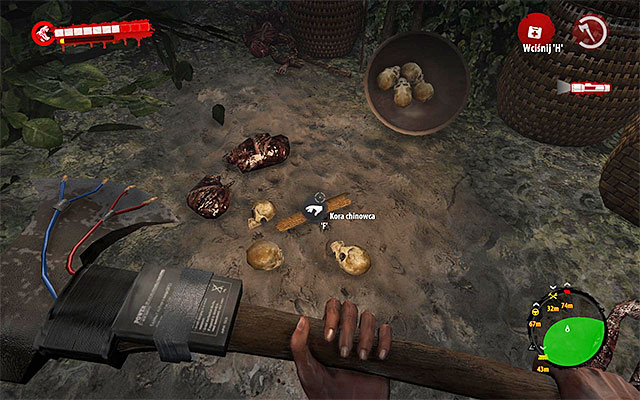
Search this area. Bark of cinchona tree lies nearby skulls.
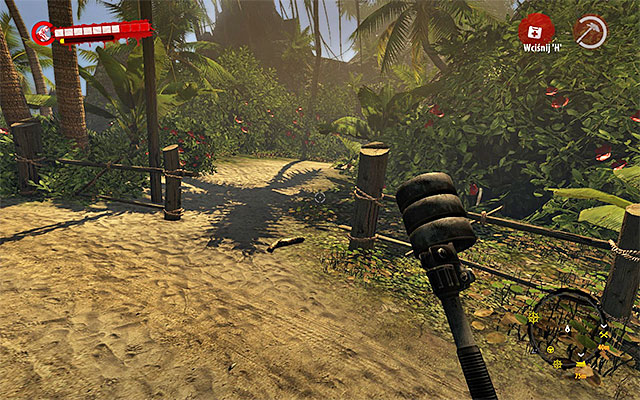
Now you need to find the last one bark, which is in the southern-east point: Moazik Temple. Get there from the northern side, begin from the crossroads nearby Destroyed Road. You'll probably meet few zombies on your way, but they'll be weak.
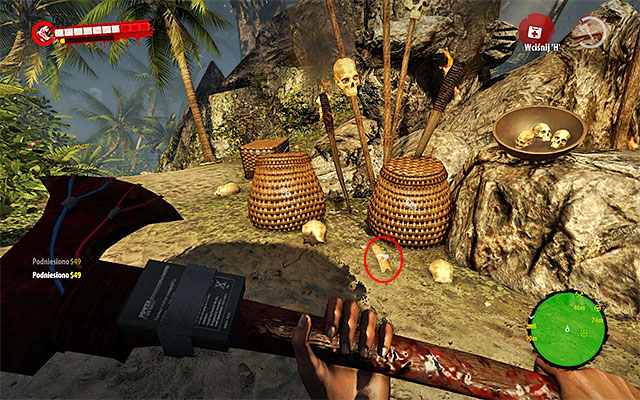
When you get to the temple, search an area around the altar, eliminating Walkers and Infested. Bark of cinchona tree lies on the ground, next to the baskets.
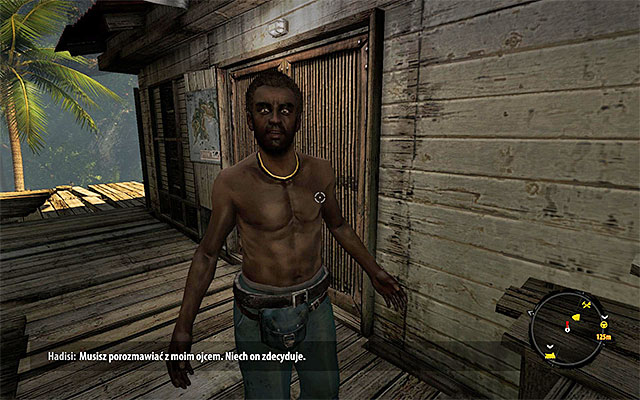
Now you can return to Hadisi in Mataka Village. As previously, you need to row from southern side and use ladder. Talk with Hadisi. He'll send you back to his father.
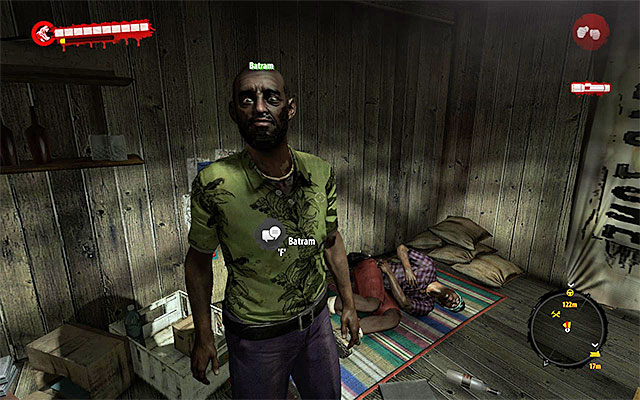
Enter the missionary cottage and talk with Batram. He'll let you take Marcus' things from the cottage, but you'll do this in the next main quest. Attention: don't forget to take a Reward from Batram, which is 5 Throwing Knives. You can trade with him also.
Main quest unlocked: The Ritual (quest is automatically unlocked after finishing the described mission).
About the mission:
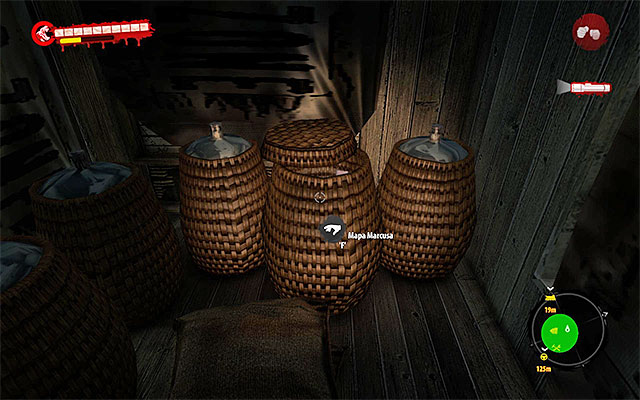
Start exploring Marcus' cottage (in Mataka Village). Search a place on left from Batram. Map of Marcus is hid in the big basket (screen above).
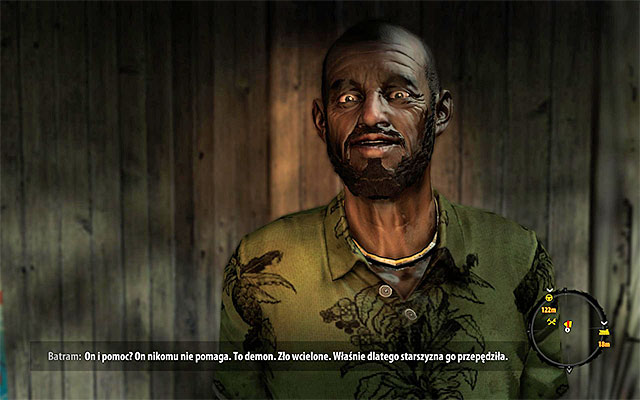
Go to Batram and ask about map, he'll tell you few interesting things about Marcus Villa. Now you have to return to the camp where you've been seeing the missionary for the last time.
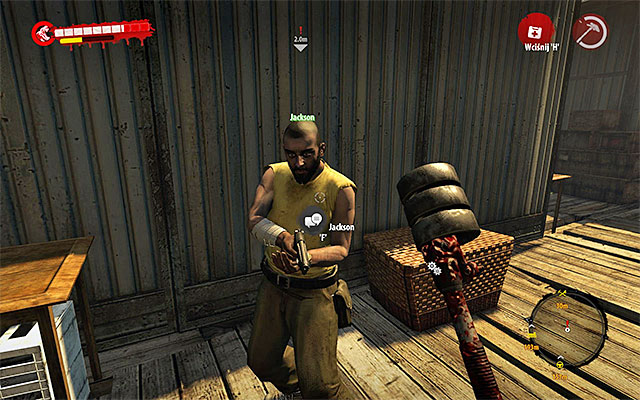
Exit the cottage, return to boat and head for survivors' camp in Halai Village. When you get there, talk with Jackson who'll tell you that Marcus Villa went to a Paradise Survival Camp.
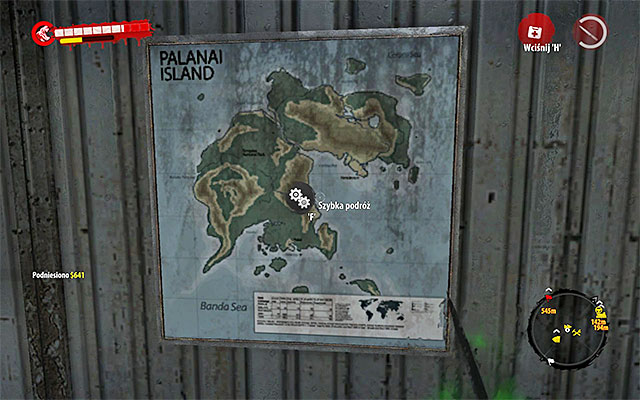
Attention - Before you make a decision of going to Paradise Survival Camp, prepare REALLY WELL, because you'll begin the biggest battle so far. Repair weapons, buy med-kits and other supplies. You can get there using Fast Travel (poster on the ground floor of the main building). When you get to Paradise Survival Camp, go to the main square what launches a cut scene with Marcus Villa and begins a huge battle caused by an attack of Horde.
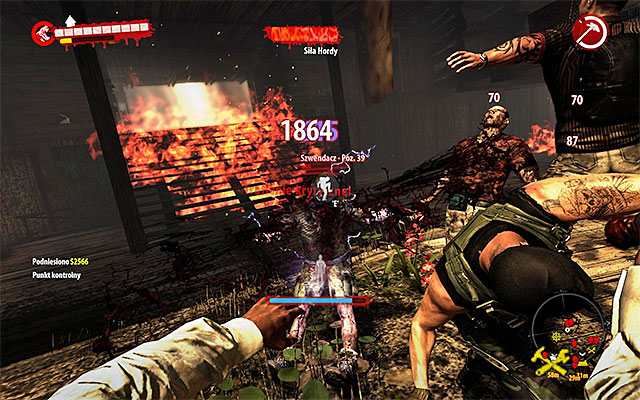
The battle divides on three main parts. At the beginning start eliminating Walkers and Infested. If you can, stay in the middle of camp, to not get close to flames and get hurt. But you can push zombies into the fire.
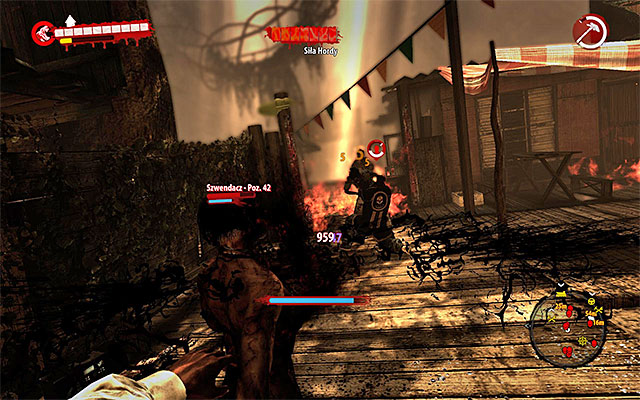
As in the previous big battle with Horde, help your allies grabbed by zombies. Try also not to use all of your med-kits, because you'll need them later. First part of battle ends when two bars of Horde Strength run down.
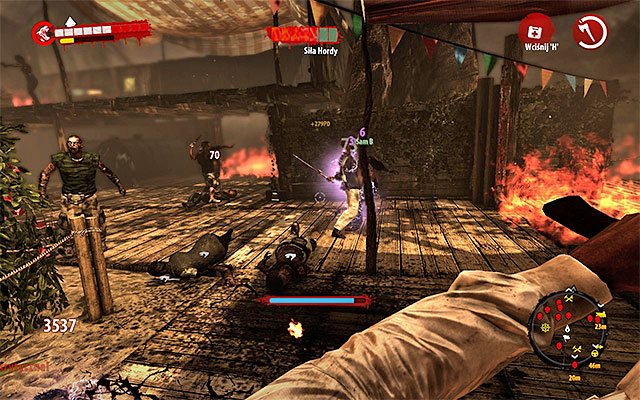
Second phase differs from the first one, that you'll have to eliminate also a Drowner and two Thugs. But firstly focus on eliminating Walkers and Infested.
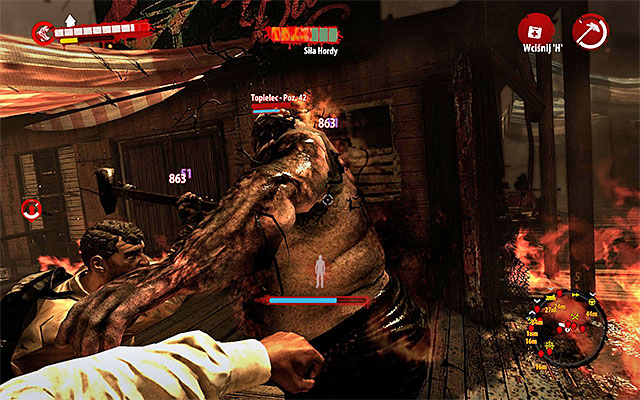
"Elite" zombies should be left for the end. Attack those already involved in fighting with your allies. It's also worth to attack them from behind, what causes bigger damage. Second phase ends when two next bars of Horde Strength run down.
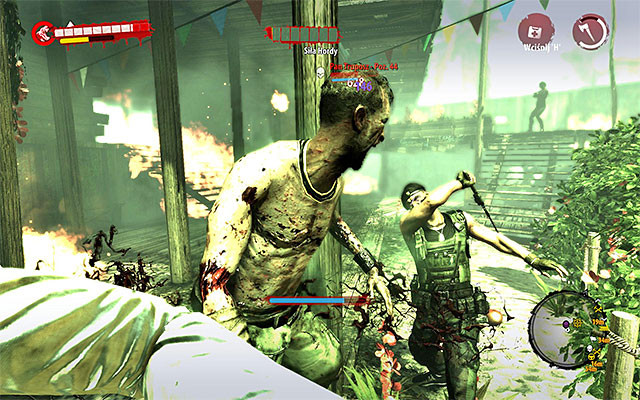
Third phase of battle contains additional two Drowners and boss zombie - the one you've already maybe met during a sidequest White Line. Reminder: he is fast like Infested and tough like Thug and can also poison you. Attack him at the beginning with your best weapons.
Main battle ends when the Horde Strength bar goes down - when all zombies are dead (again). Now you have to wait for Harlow to arrive. Don't bother about more incoming Infested, because their attack will be stopped by a cut scene. After that the mission ends.
Main quest unlocked: Way of Science (quest is automatically unlocked after finishing the described mission).
Sidequest unlocked: Stop the Madness (quest is automatically unlocked after finishing the described mission).
About the mission:
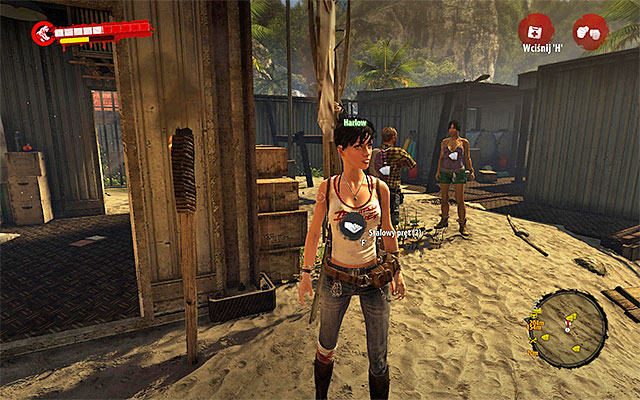
You have to spare some time for healing and replenishing supplies. After that find Harlow inHalai Village and talk to her. You'll be send to BioSphere Laboratory to talk with Dr Kessler.
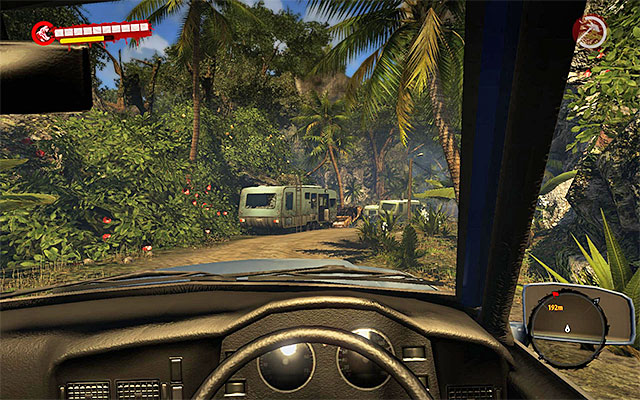
BioSphere Laboratory is on north from the Halai Village, nearby the Destroyed Road. When you get there, find some vehicle and then use a road going north, straight to the laboratory.
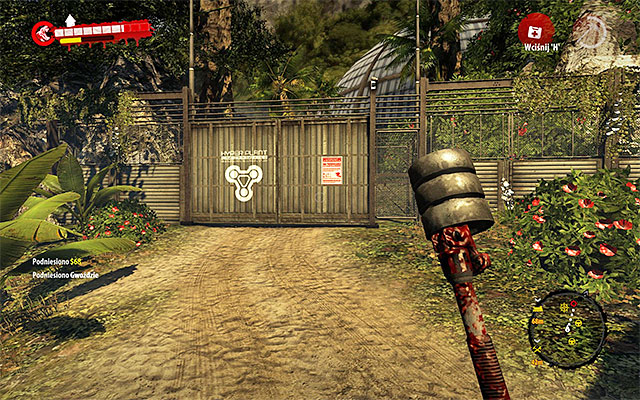
When you get there (and jump into fourth chapter in the meantime) get out of the car and approach the big gate of BioSphere Laboratory. Interact with the gate and wait until you're moved to the next location.
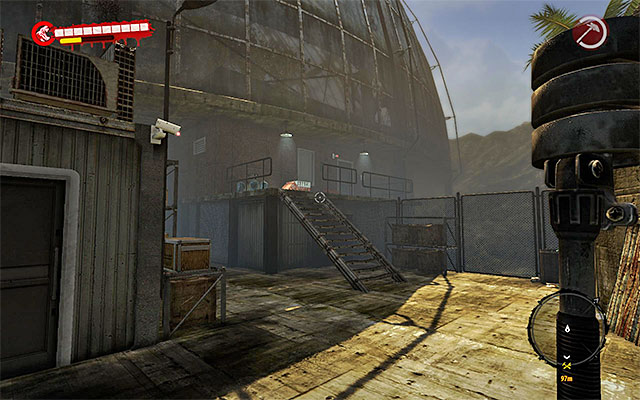
Go straight and turn right heading for the laboratory. Go upstairs and use an intercom. Wait until Dr Kessler let you in what ends this mission.
Main quest unlocked: Dr Kessler (quest is automatically unlocked after finishing the described mission).
About the mission:
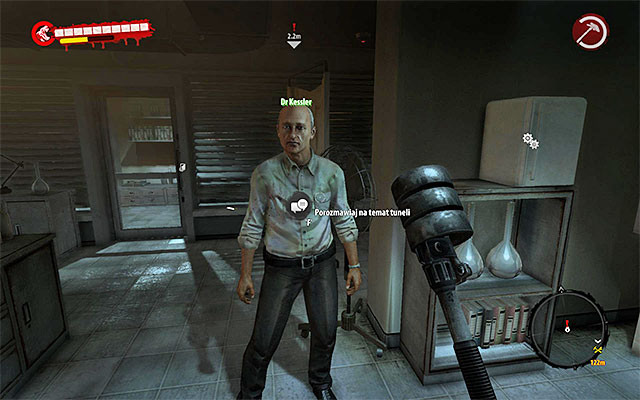
Enter the BioSphere Laboratory and begin exploration. In a while you'll see a preludium to what will happen later. When you get to the main room talk with dr Kessler. He'll promise you a map of tunnels for bringing vials from his infested assistants.
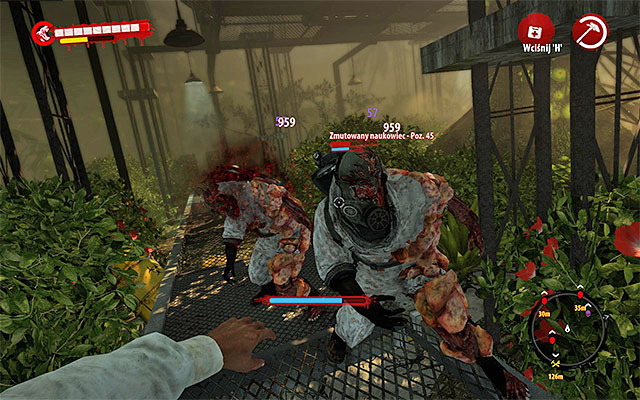
Open the nearest door and head for the glasshouse, getting through a quarantine zone. When you get there, ignore Kessler assistants on the upper balconies - you can't hurt them for now on. Instead, begin exploration of the lower level: beware of mutated scientists.
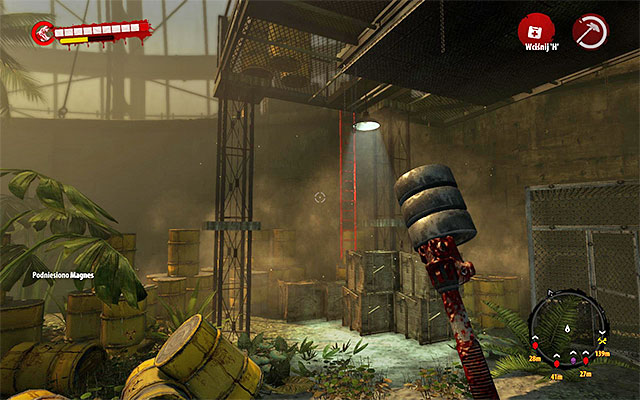
Your actual target is a red ladder shown on the screen above, which is behind the stairs you've used to get to the greenhouse. Grab it and climb.
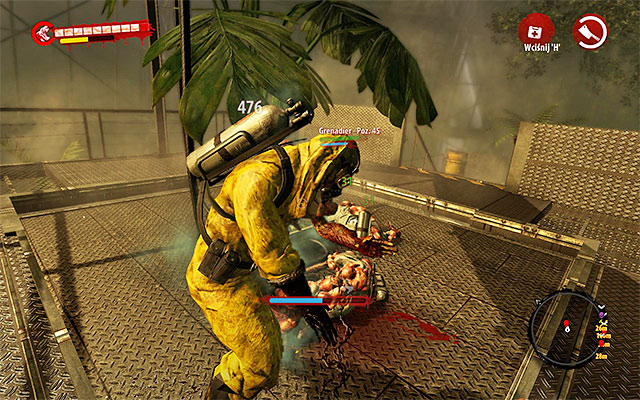
Eliminate the closest zombies and head right. Soon, you'll run into a first Grenadier, which is one of Kessler assistants. They are distant fighters, throw part of their bodies at you. So try to shorten a distance ASAP and use a melee weapon to kill him.
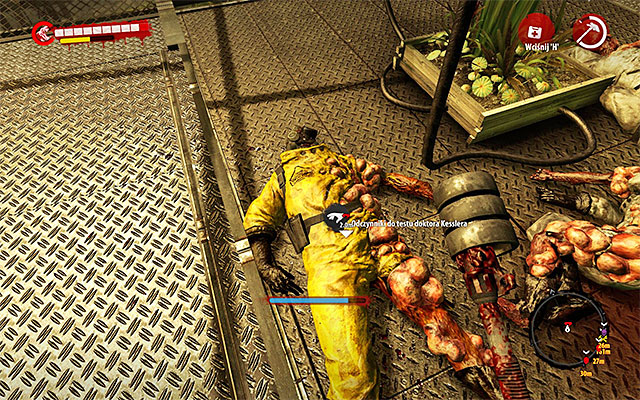
When you get him, search his body and pick up a vial. Attention: if body of any of assistants fall down, localize it at the end, because you'll go back there after all.
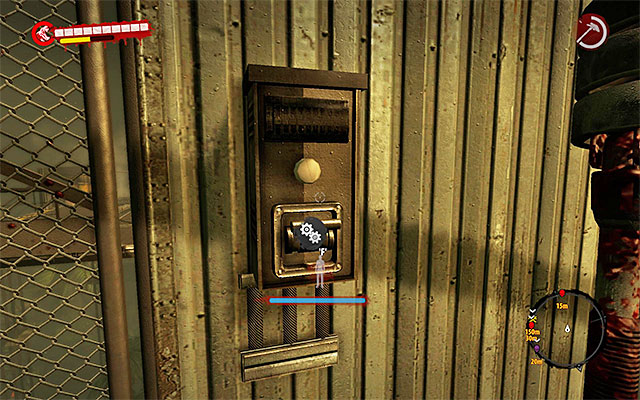
Heal up (there are energy drinks and med-kit nearby) and resume wandering. Defeat more mutated scientists and use a panel (screen above) what pulls out a bridge. Run through it and get to the second Grenadier. After killing him, pick up another vial.
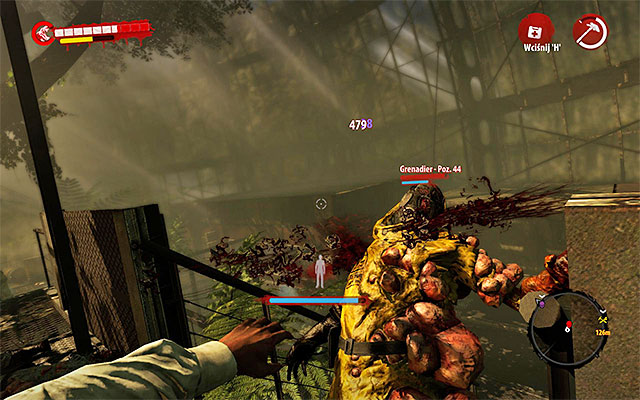
Now go left. In this area you find two last Assistants, so be careful. Run forward and kill the third one.
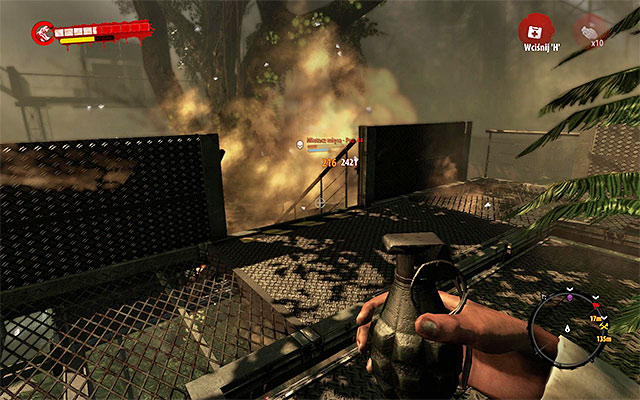
Return to the previous balcony and go left. The last one Assistant is stronger. If you can't eliminate him in melee fight, move back and use grenades or molotovs. Pick up vials.
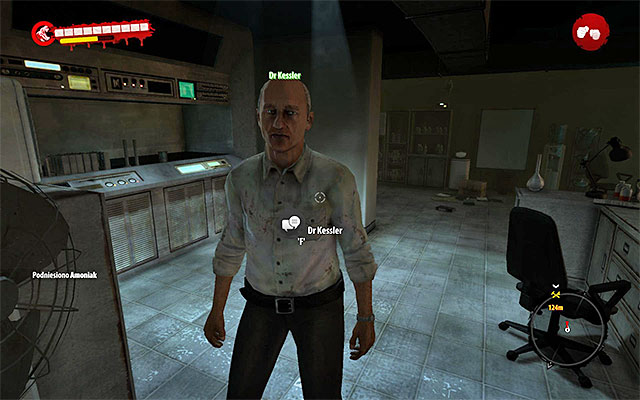
Jump down in random place and return to exit door from greenhouse. When you get to dr Kessler , talk to him. He wants to sample your blood.
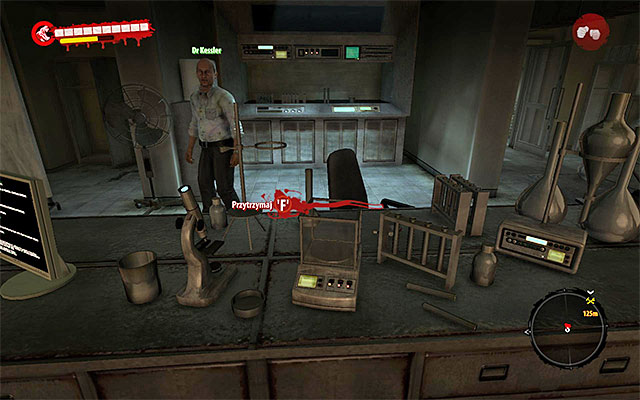
Go to the machine on the right and press Action key. At the end talk with dr Kessler and he'll give you a tunnel map and few hints. Listen to radio talk with Harlow what ends this mission and takes you to the fifth chapter. Attention: before leaving BioSphere Laboratory take a reward from Kessler, which is a Taser.
Main quest unlocked: House of God (quest is automatically unlocked after finishing the described mission).
Sidequest unlocked: History Lesson (to unlock, talk with dr Kessler in BioSphere Laboratory).
About the mission:
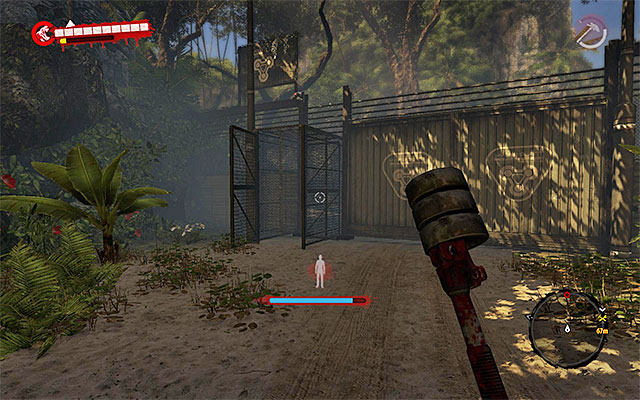
You can leave BioSphere Laboratory where the previous main quest ended. Exit the building and head for a passage to the jungle.
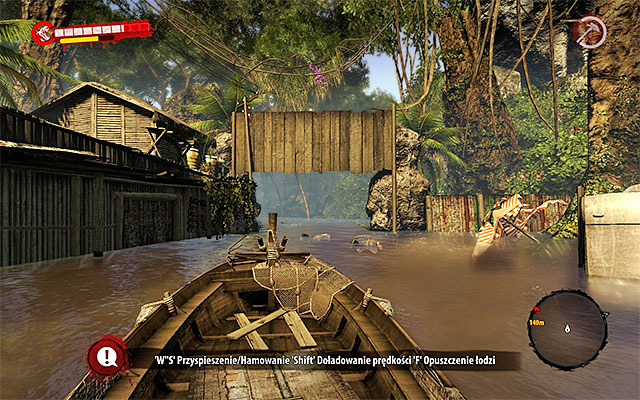
Your new target is Santa Maria Mission. This location is on the southern side of swamps. You can get there on foot, but I recommend using boat, as you'll have to transport supplies there. Begin on east from Mataka Village, where you've already been to search missionary's house. Find boat and head west.
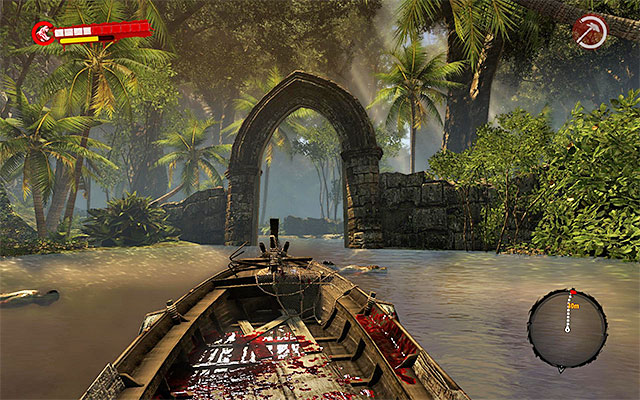
Turn south when you can. After a few moments you should touch walls of the mission. Get out of the boat and quickly eliminate Floaters.
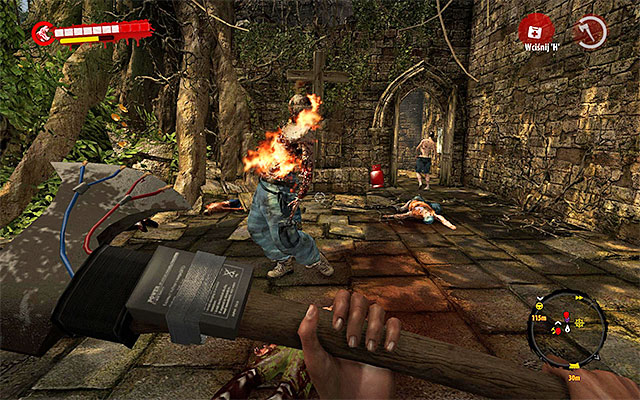
Head for the main part of ruins and start zombie extermination. Look for supplies in this area (like med-kits and mines) because they'll reappear.
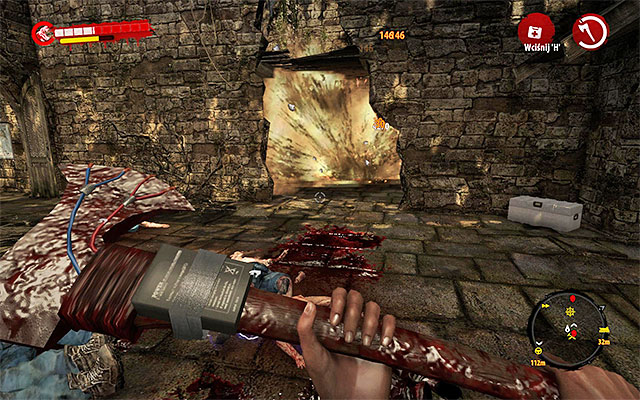
Besides Walkers, you'll probably meet a Drowner and a Thug. To eliminate them, use firearm or explosives. Eventually, you can use molotovs.
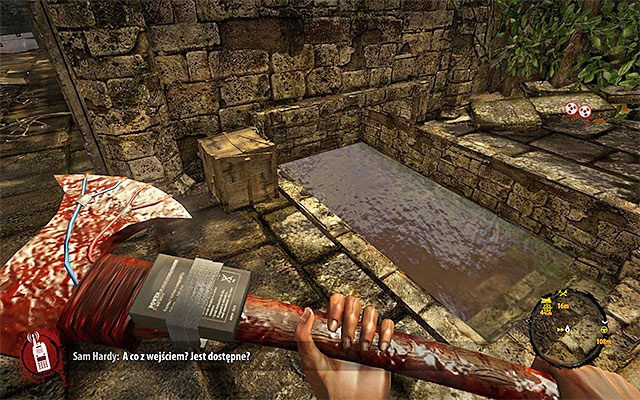
Your objective is to eliminate all zombies marked with skull. Localize now entrance to the underground (screen above). Listen to talk with Sam Hardy and wait until rest of survivors get there. The mission ends.
Main quest unlocked: Pump action (quest is automatically unlocked after finishing the described mission).
About the mission:
Trevor Rogers got to you with remaining survivors. You can find him at the drowned stairs leading to the tunnels and talk with. He says that the water need to be pumped out from this place. So you start looking for a pump.
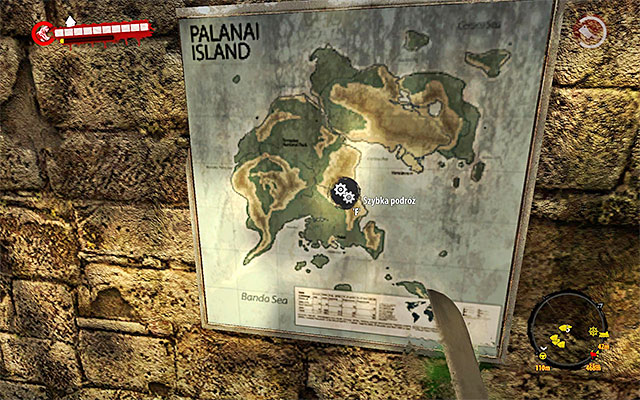
Jimmy's Workshop, about which he mentioned is in already visited Marika's Marine. You can get there on your own, but it's better to use Fast Travel (map in the ruins).
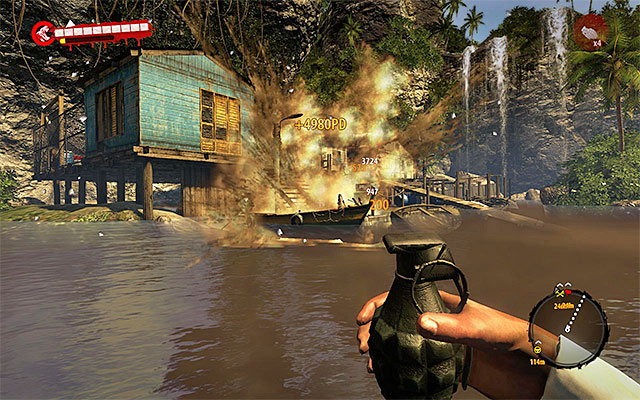
When you get nearby the workshop, go through the river, but beware of Floaters. What is more, this area should be guarded by a Drowner and Suicider. Defeat them from a safe distance.
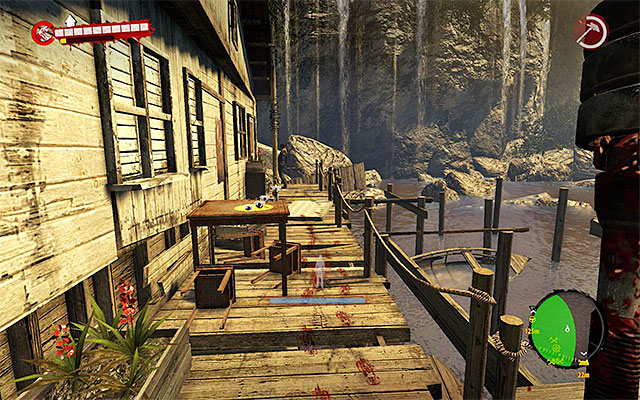
Main door to Jimmy's Workshop is closed, so you have to look another way in. Pick up lying here and there molotovs and turn right, heading for northern east (you'll run into another Drowner, which can be avoided easily). When you get to the corner balcony, turn left and jump to the water.
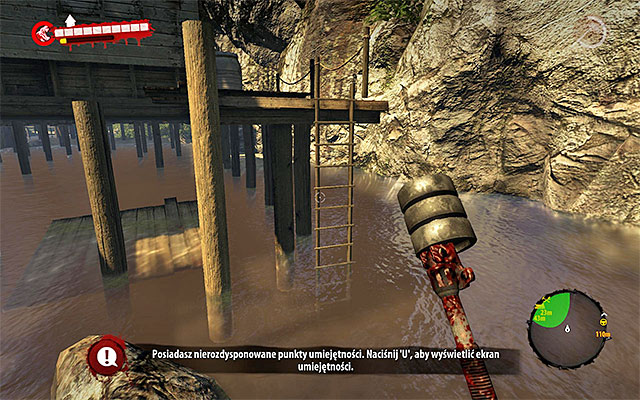
Find a ladder (screen above) which allows you to omit destroyed balcony. Now head for southern west.
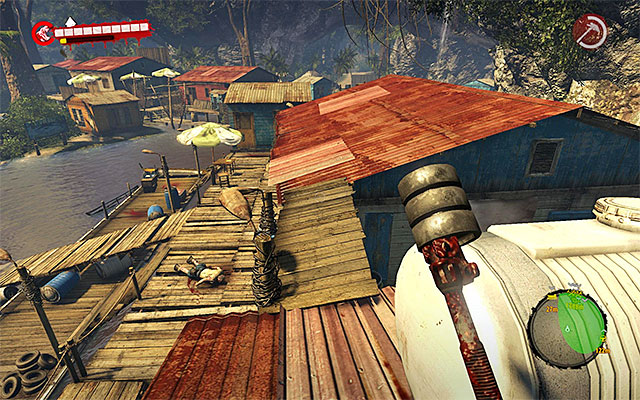
Approach the new ladder, which takes you on a roof of building next to the workshop. Localize a narrow passage between roofs, heading southern west.
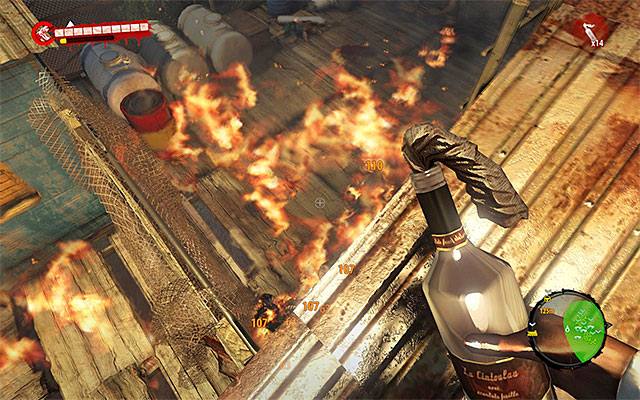
Stop where the screen above shows - the area is strong with Walkers. Use freshly found molotovs (or explosives) to eliminate them.
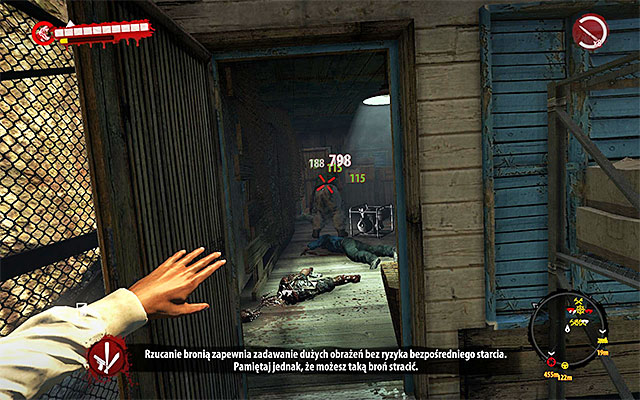
Jump to the fenced area and open side door of workshop. Inside, you find Walkers, a Thug and a Suicider. Defeat them, because when you pick up pump, you won't be moving fast.
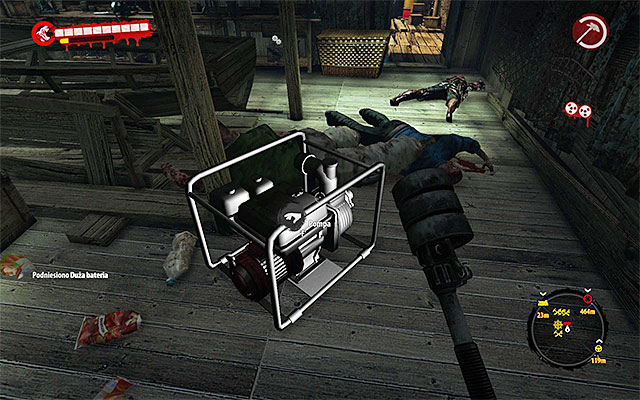
Open main exit door in Jimmy's Workshop (hold Action key) and search area for some additional zombies, which may appear here. Approach and pick up the pump.
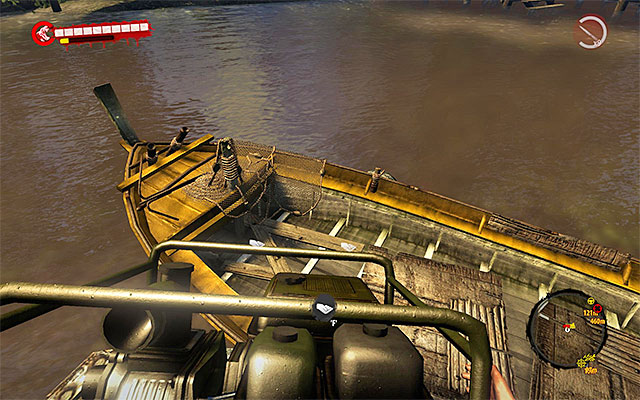
You can't use Fast Travel this time, so you have to take pump to Santa Maria Mission in a regular way. Look for a boat and load a pump (screen above).
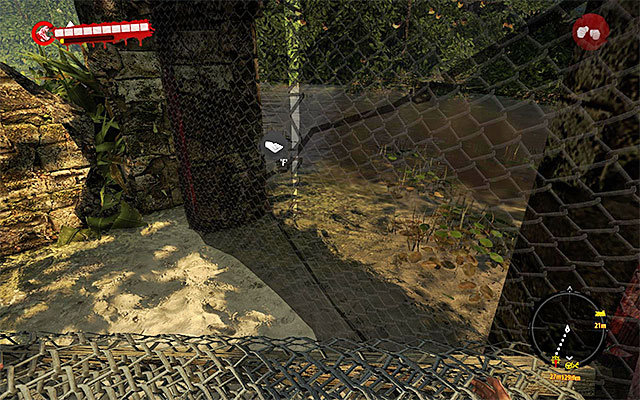
Head for ruins, which is west. Then the best is to swim through the Mataka Village and then turn south. When you get nearby the mission, get out of the boat and eliminate Floaters. You can also do some additional thing: set up fences in the ruins, what blocks entrances to the camp.
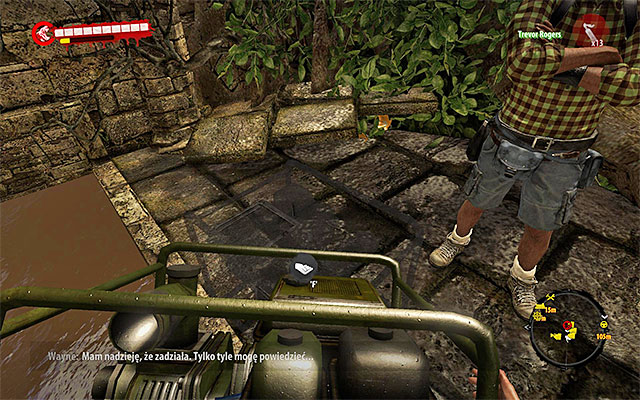
When you set up all fences, return to boat. Pick up pump and take it to the drown tunnel, what ends the mission. Attention: don't forget to talk with Trevor and get a Scottish Dagger.
Main quest unlocked: Change of plans (quest is automatically unlocked after finishing the described mission).
About the mission:
Take care and replenish supplies, repair/upgrade weapons. When you ready, talk with Trevor Rogers. Launching a pump get all nearby zombies interested in your camp, so a new battle begins.
A good news is a fact, that you won't fight a full-strong Horde, but a medium sized group of zombies of Walkers and Infested. Attack will begin from northern east, so if you set up fences, it'll slow the zombies down. What is more, if they are electrified (completed sidequest Electrifying) monster will be damaged during their attempts to run through.
But the fences won't stop them in 100 percent. During the battle remember to look for your allies and save the ones struggling with zombies. Quest ends when all zombies are dead.
Main quest unlocked: Heavy Equipment (quest is automatically unlocked after finishing the described mission).
About the mission:
Again: replenish supplies, care about weapons. You find Sam Hardy in the lower part of Santa Maria Mission. He suggests to search a military helicopter which has crushed in the jungle.

You have to get to Chopper Wreck which is on north from Santa Maria Mission. I strongly recommend use a boat. So take a northern exit and get on one of boats. Head north and exit the boat only when you get to the shore.
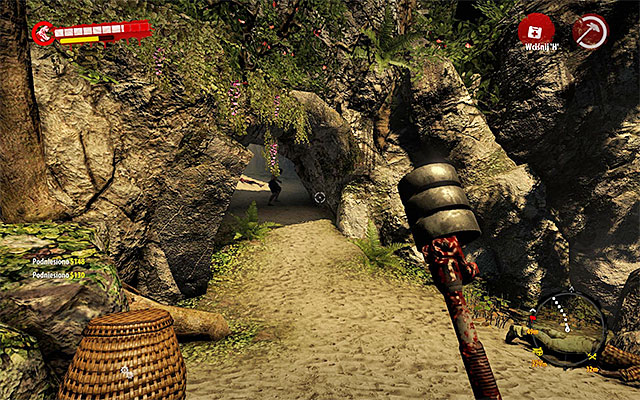
Don't bother that you can't make a straight walk to a chopper. Go east instead. Choose a path shown on the screen above, which leads northern-west.
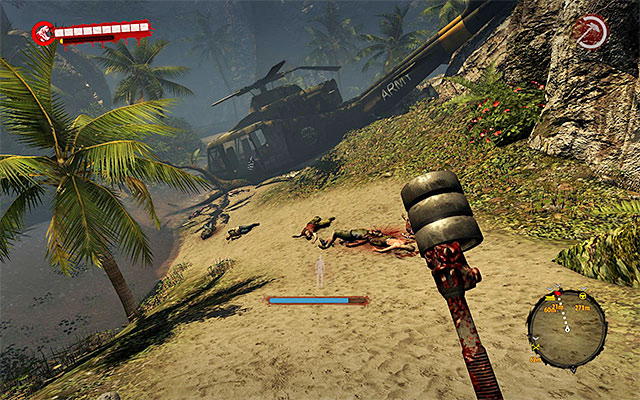
Stay on the main path, heading northern west and then west. Soon you should see a chopper (screen). Approach him very carefully, because there are zombies nearby, which awakens when you get close. There are, among others, two Drowners which you should defeat first.
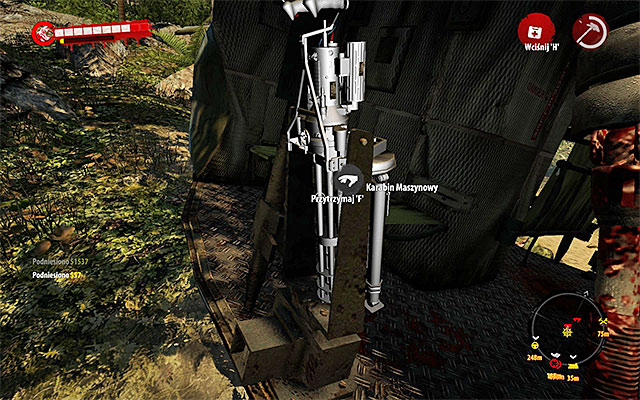
Search an inside of the chopper where you find for example med-kit. Then approach one of miniguns and press an Action key to take it.
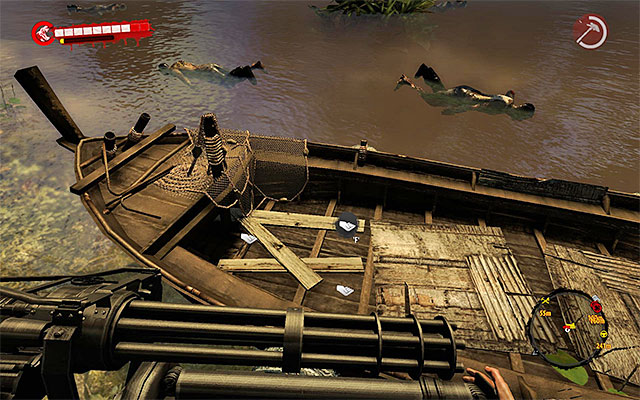
Then head south, returning to the beach from where you've begun. Approach the boat and put a minigun on it. Return to the chopper and repeat it for the second minigun.
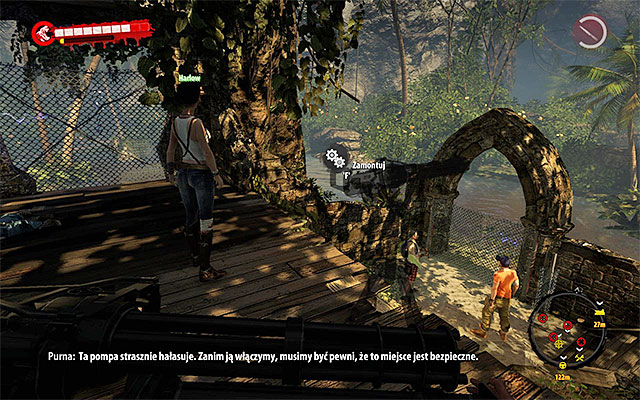
Enter the boat and head south. When you get nearby Santa Maria Mission, eliminate the Floaters. Now start placing the miniguns. I recommend first one at a floor in the northern part of ruins (screen above) from where you can see two main entrances.
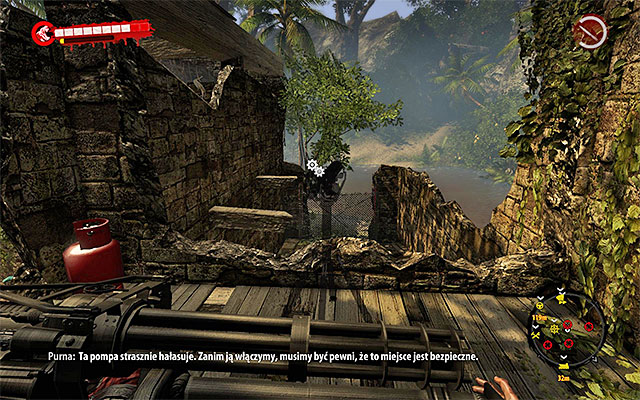
Now return for the second minigun. Leave it on the higher level of ruins, so it opens at area on south from mission (screen above). Setting up miniguns ends this quest. Attention: don't forget to talk with Sam Hardy for a reward, which is a Maul.
Main quest unlocked: Stalwart Defence (quest is automatically unlocked after finishing the described mission).
About the mission:
DON'T HURRY WITH THIS QUEST, because it contains a new attack of the Horde to which you have to be prepared the best you can. Mae sure that the fences are properly set up. Remember also, that fulfilling the sidequest Electrifying makes going through the fences more difficult for zombies.
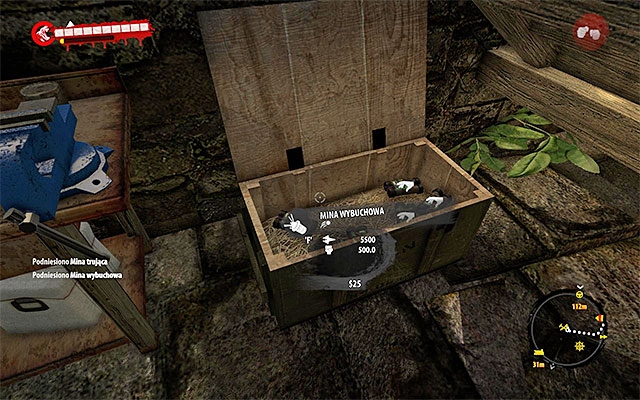
The second thing to do, is to set up mines around all Santa Maria Mission. Boxes with mines can be found in few places in this camp, but are available only if you've completed the secondary mission Mines Go Boom.
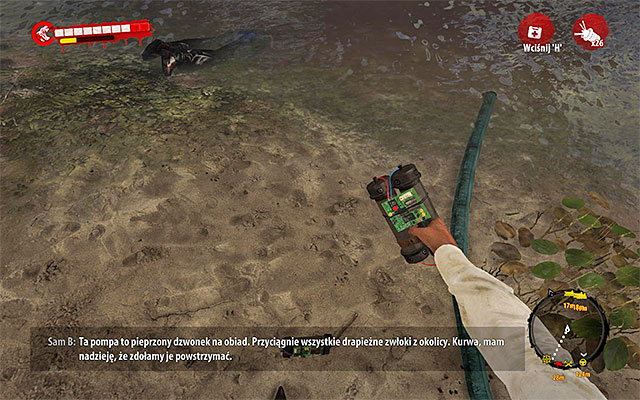
When you pick up all mines, start setting them up. I recommend to set at least two-three mines at every possible entrance. Try not to place them to close to each other, so they don't blow up at once. Use all available mines.
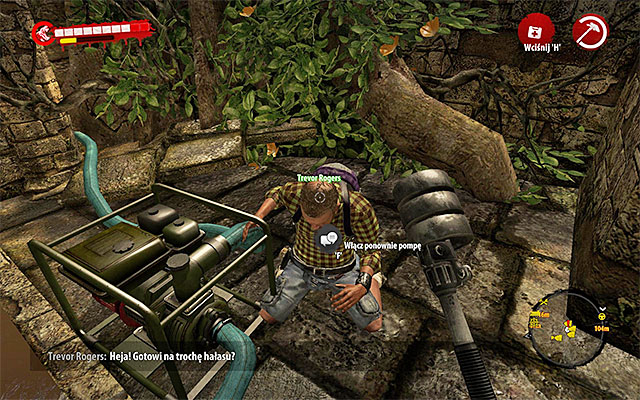
At the very end, make all traditional actions: upgrade/repair weapons and collect supplies. Now you can approach Trevor Rogers and let him launch the pump again. The Horde arrives!
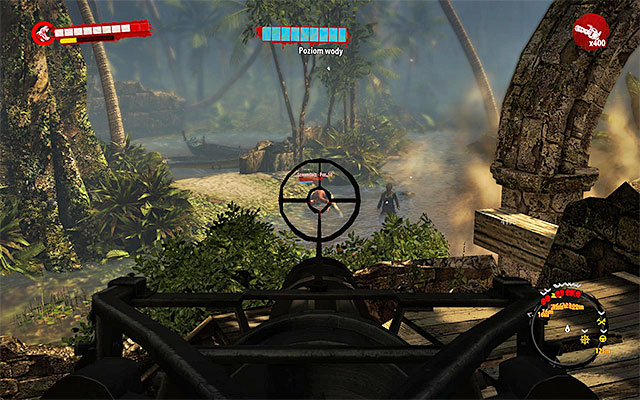
This battle has three phases. At the beginning, attack will come from northern east. Approach the minigun you've settled up and fire at zombies. Use short series - you have only 400 bullets.
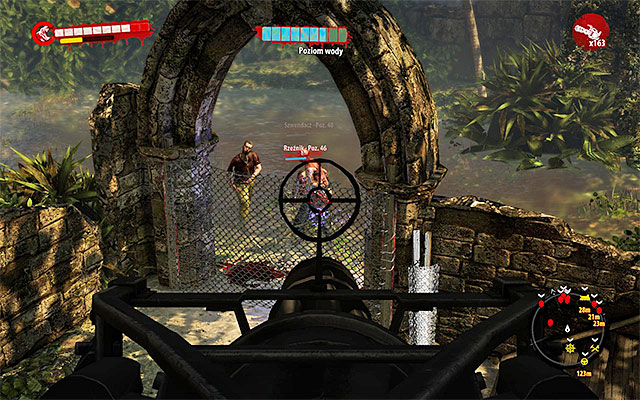
There are many elite zombies in this attack, like Thugs and Drowners. It's good to focus them if you have some spare bullets. Begin more direct battle when you run out of minigun ammo and remember to help your allies and setting up fences again if it isn't too dangerous.
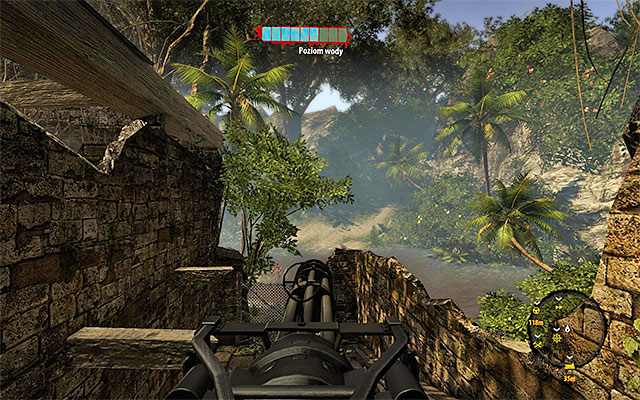
First part of battle ends when three parts of water level bar goes down. According to your allies have said, Horde will attack next from southern west. Approach the second minigun station.
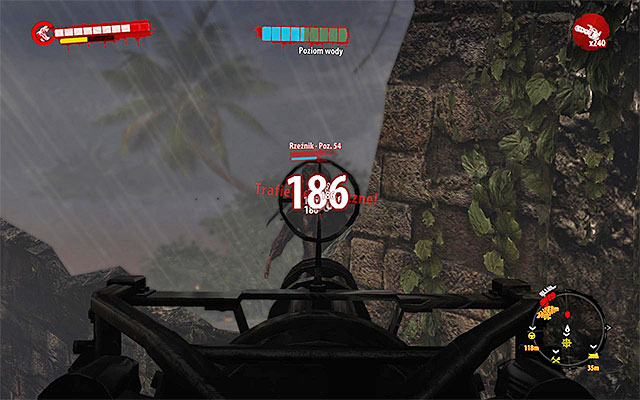
The scheme of actions is very similar: use minigun to eliminate zombies. Beware of those who'll try get onto the nearest platform and don't let that happen.
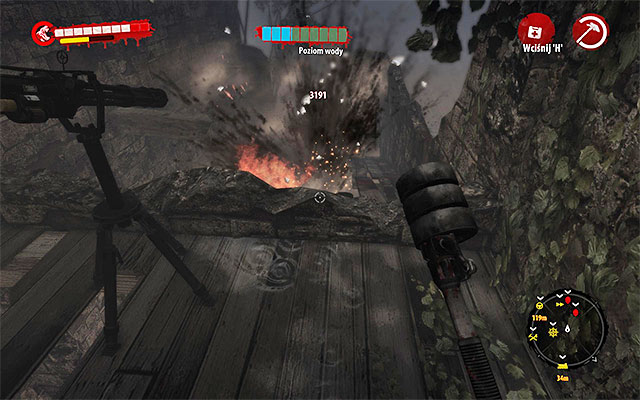
Use minigun until you run out of ammo. Then begin standard fight. Beware of elite zombies again. You have to fight until three next bars of water level disappear.
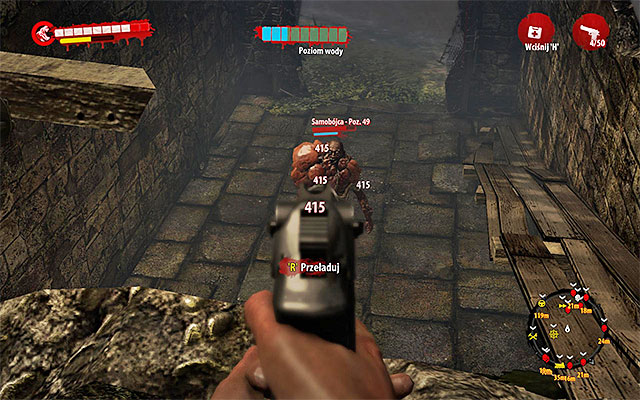
Third phase is the most difficult one, because you have no more miniguns. What is more, undeads will attack simultaneously from the north and south. Focus on localizing and quickly eliminating elite zombies. Also, be careful, because at least few Suiciders get into the ruins - defeat them from distance.
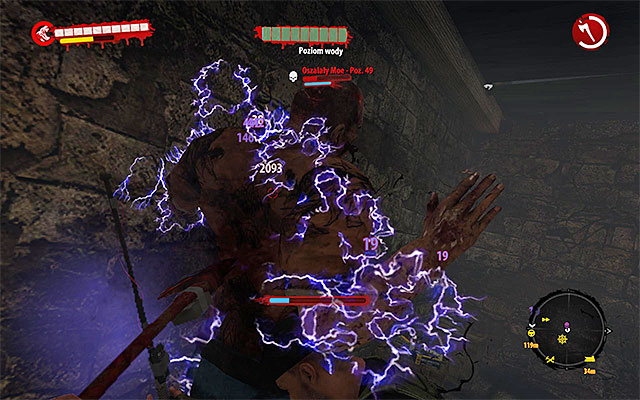
In the third phase you'll run into a boss-zombie, Moe. Leave him for the very end, so your allies help you with him. When he focuses on others, use melee weapon, which normally would've been dangerous. When the last zombie dies, the battle ends. It means the fifth chapter is finished and you get to the sixth one.
Attention- Don't forget to talk with Trevor and get a Reward, which is a Pistol.
Main quest unlocked: The Tunnels (quest is automatically unlocked after finishing the described mission).
About the mission:
Spare some time for healing, supplies and repairing/upgrading weapons. If you are ready, find Trevor Rogers and talk to him.
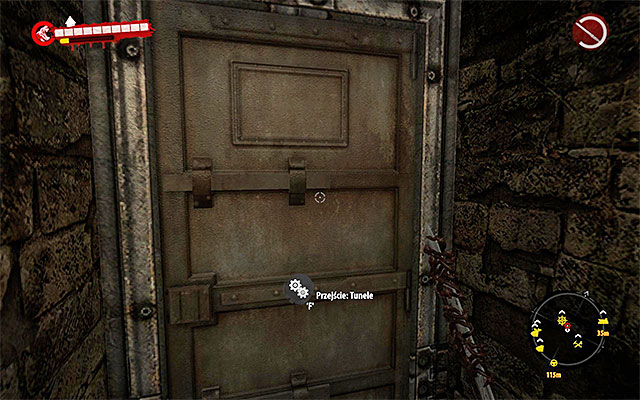
Go downstairs at pump until you get to door which leads to The Tunnels.
Attention - The Tunnels is the first location, where you can't use a map. So description below contains also hints how to fulfill some optional activities like finding secrets and finding items required for the sidequest History Lesson.
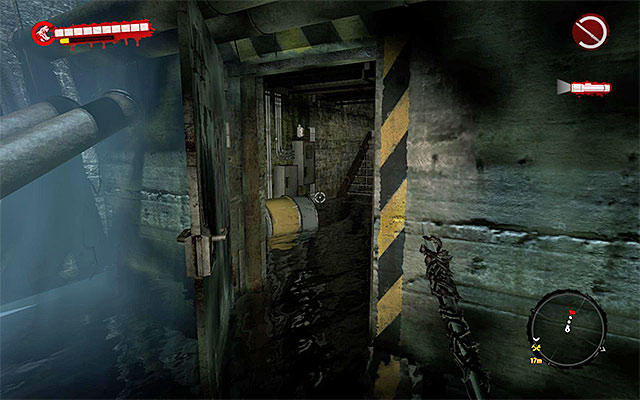
Listen to Harlow via radio and move on. Flares will be very useful in tunnels - you'll find a lot of them on your way. What is more, using them makes your flashlight batteries last longer. When you get to the final part of tunnel go to the right room, which is a control room.
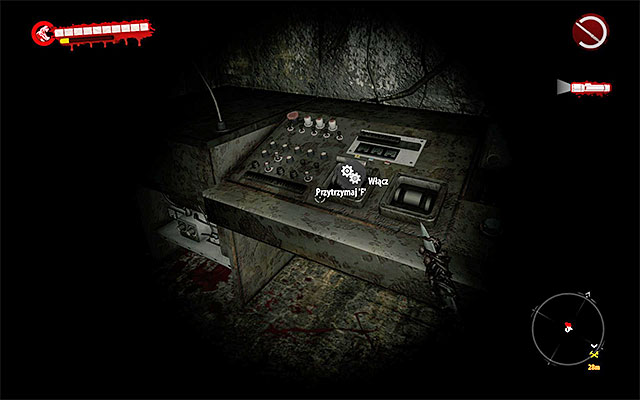
Go upstairs and use console (hold Action key). You can only launch emergency power. Listen to new talk with Harlow.
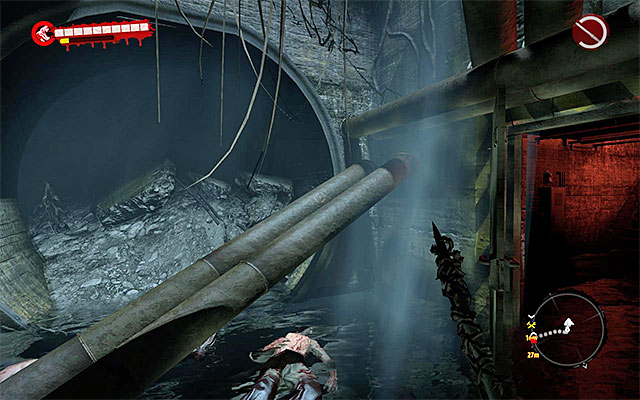
Return to the previous tunnel and turn right. Jump onto pipes (screen above). Continue climbing until you get to door. Move forward and stop at the camp, where you find, among others, first pack of flares.
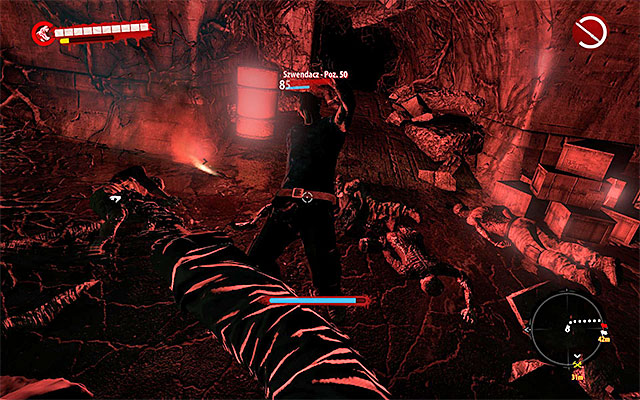
Beware especially of Walkers, which are hardly noticeable in the darkness. When you defeat all group of undeads, look for the Modification
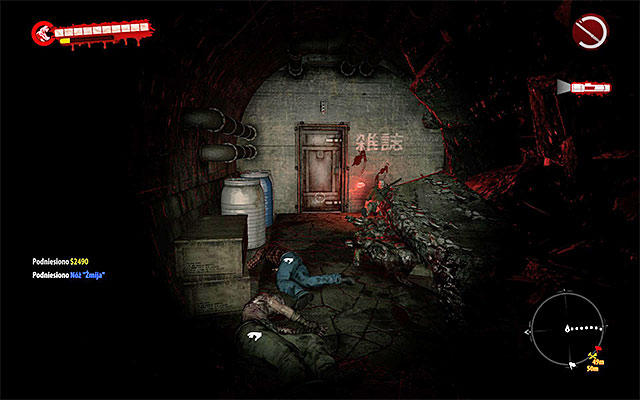
Opposing to the minimap, you should check the left corridor, what takes you to the single Thug. Use firearm or explosives to take him down and then search a side corridor (screen above). Ram the door and check two more rooms, where you find another Modification.
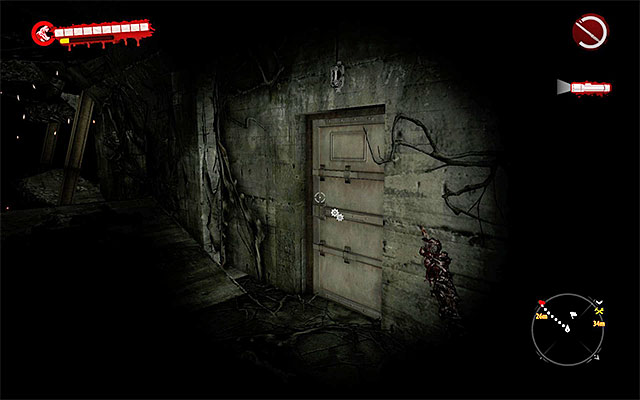
Now return to the crossroads where you've met first Walkers. Choose the main corridor, previously ignored. Check the side door (screen above) and listen to new objectives.
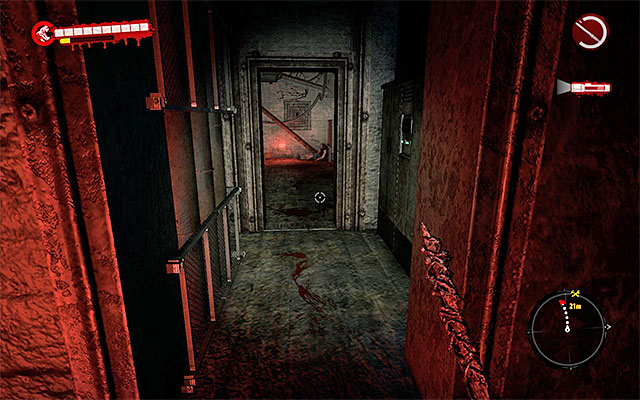
Continue walking the main tunnel and avoid charges. Keep away from the cables. Enter the right room, finding new box with flares.
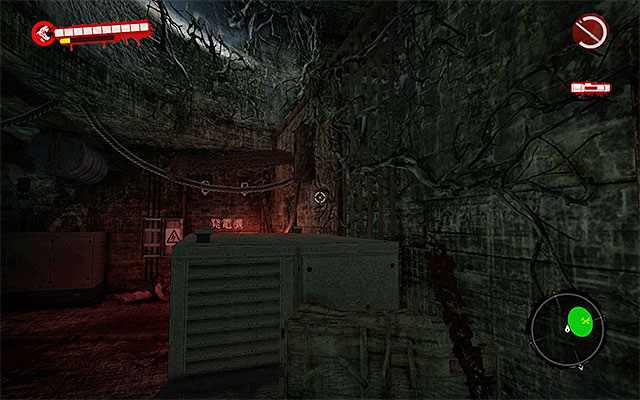
Approach the gate - it turns out to be closed. Turn left and jump onto boxes (screen above). Then jump to the nearby platform, what takes you onto a roof of room into which you want to get . Find a hole in the roof and jump into.
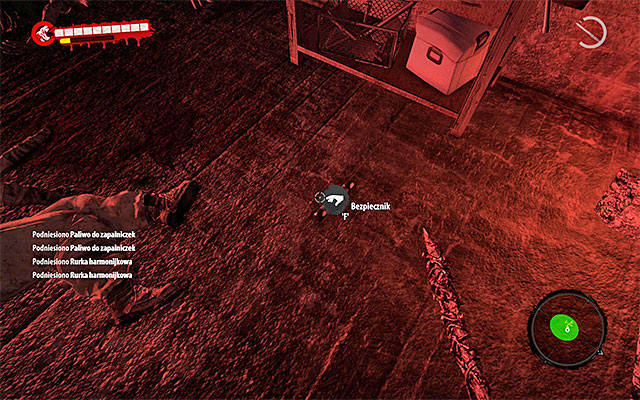
When you land, eliminate all Walkers in this room. Then search it (notice a workshop) and a smaller area with a destroyed part of wall. At the very end, find a fuse lying on the ground (screen above).
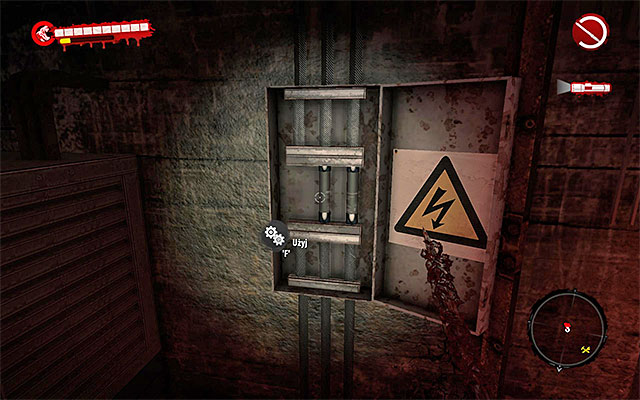
Approach the gate and hold Action key to open it. Eliminate next Walkers and approach the box to put in a fuse you've found.
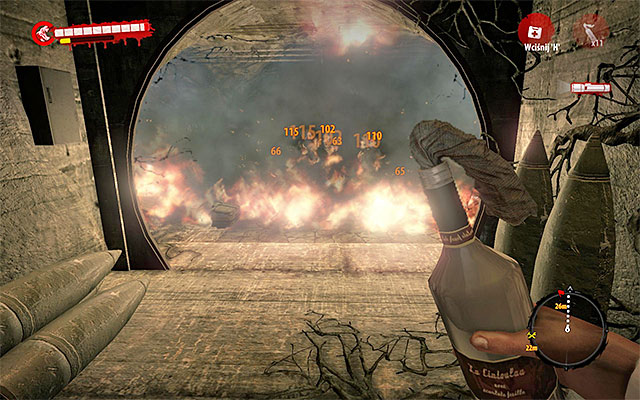
Return to the main tunnel, turn right and go forward. Beware of new zombies. As they won't notice you at first, use molotovs.
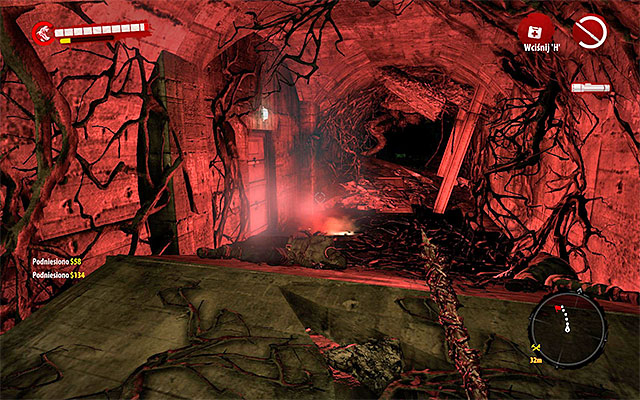
You have to get to the door, you'd passed before (screen above). As the power is on, you can open it. Open door and use ladder.
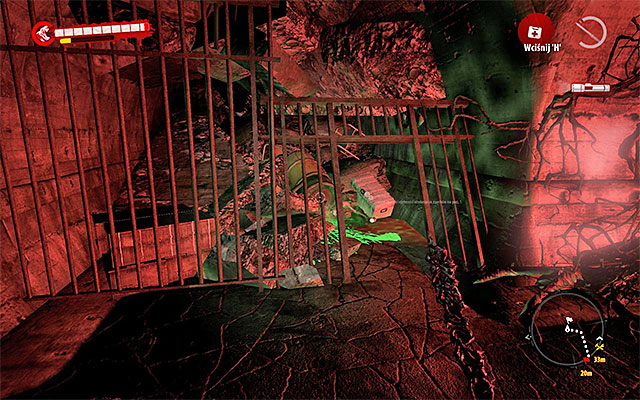
Defeat a new group of Walkers. Then examine an area where the toxic substance spilled (screen above). You find here among others a chemical sample required for the sidequest History Lesson.
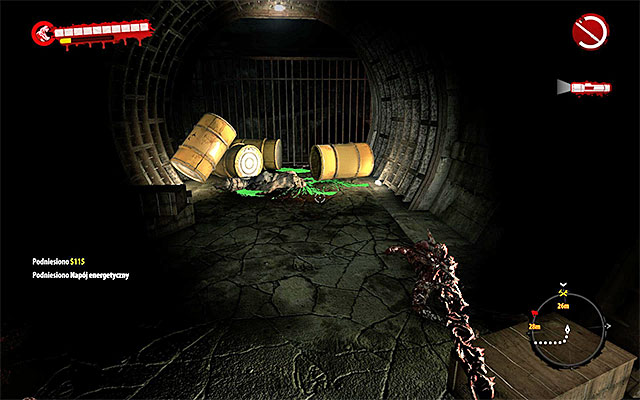
Now go left, so in the opposite direction than the minimap suggests. Eliminate zombies on your way and get to the new area with spilled substance. Here (screen above) you can collect Tissue Sample (History Lesson) and Modification lying nearby the bars.
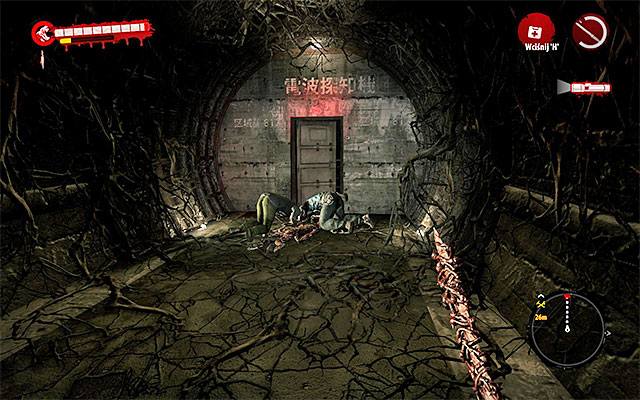
Now you can return to where you've eliminated a bigger group of zombies and choose a corridor suggested by the game. Beware of electric charges on your way. Eliminate two more Walkers and open door to the biggest and very non-linear area of this location.
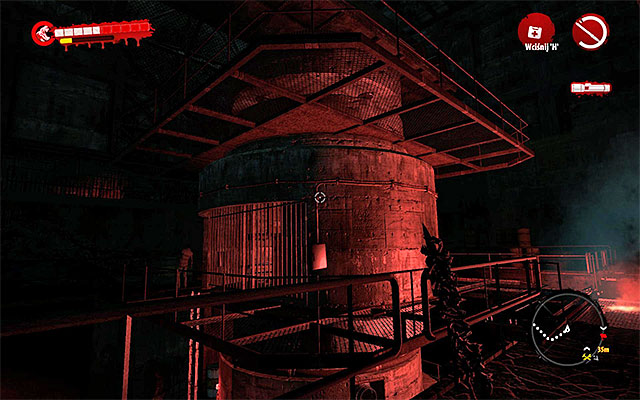
At the beginning. search the biggest level. Beware of Infested and single Suicider. Use flares often, so you won't get surprised. There is also a workshop on right from the start.
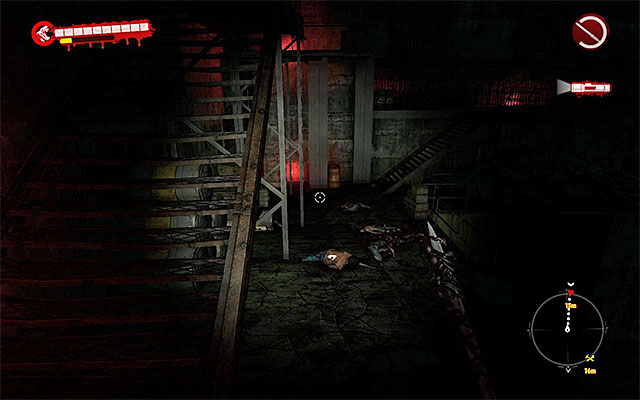
You can get to the lower level using few ways, but I recommend a platform at door where you've begin searching this part of tunnels (screen above).

When you get at the lower level, get interested mainly in the central construction (screen above). It has three levels and you can travel through them with a ladder. Beware of zombies and won't let them push you out. In the fenced area at the middle level you find another Modification.
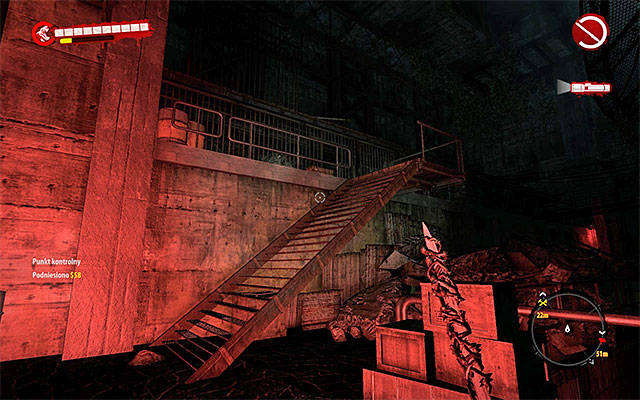
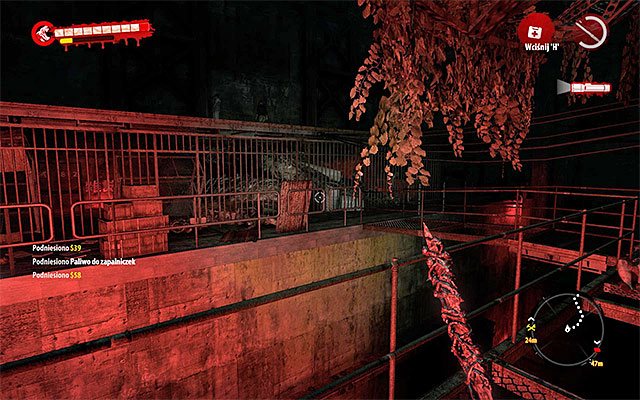
Your current target is on left from where you've begun searching this area and you can get there in two ways. First one is to use a mentioned above platform, go down and use left stairs (1st screen above). The other variant is to get on the highest level of the central construction and then use a narrow passage shown on the 2nd screen above.
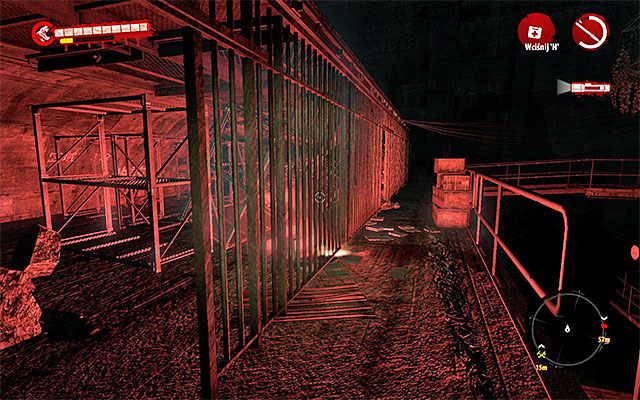
Whatever you choose, search the new balcony carefully, because you find here John Morgan's Journal (one of collectibles) and australian officer notes (for History Lesson).
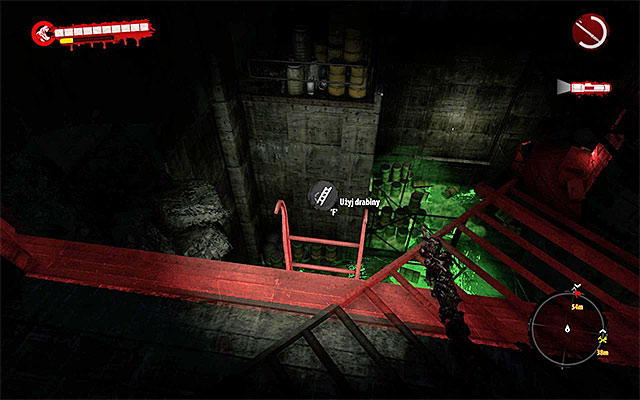
When it's done, get to the edge and find a ladder (screen above). You have to go down and then approach the next ladder to get onto the lowest level with the many barrels with toxic substance.
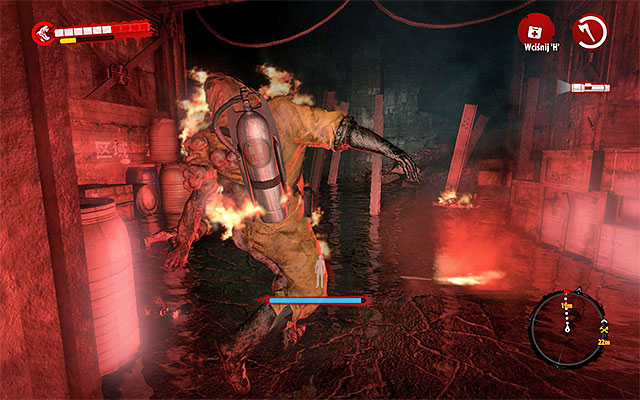
Move on and eliminate Walkers and a Suicider on your way. A moment later you meet Grenadier, who is similar to Dr Kessler's Assistants. You can attack from distance or run quickly at him so he stop throwing things at you.
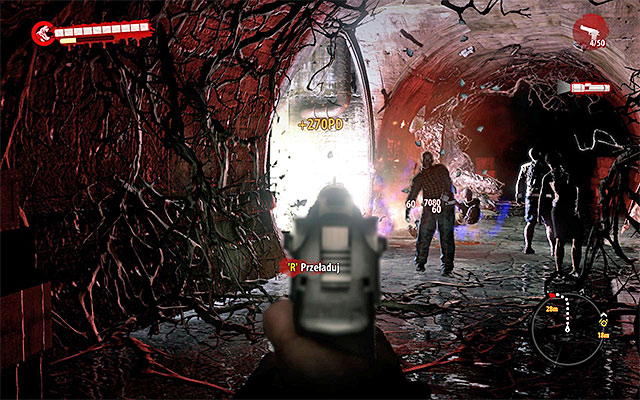
Listen to Harlow and move on, eliminating zombies on your way. When you get at the crossroads, you can turn left. Pick up flares and enter the new room.
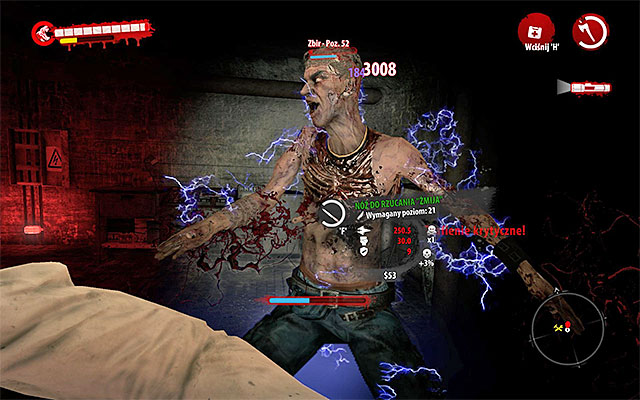
The item you're looking for is in hands of Thug. Eliminate him in your favorite way. When the encounter ends, search his body what gives you sought fuse.
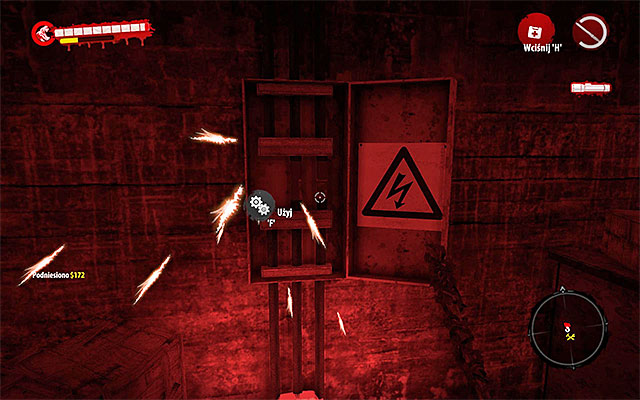
Search a room in the Thug was and you find another workshop. Carefully approach the next box and eliminate Walkers. Interact with box and replace a fuse.
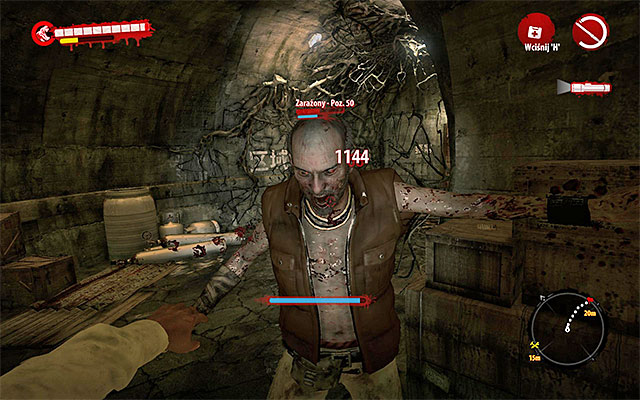
Now you have to return to the crossroads. Turn left, what takes you to door guarded by Infested and one Thug. Firstly focus on weaker zombies and then on the Thug. Open door and eliminate another group of undeads.
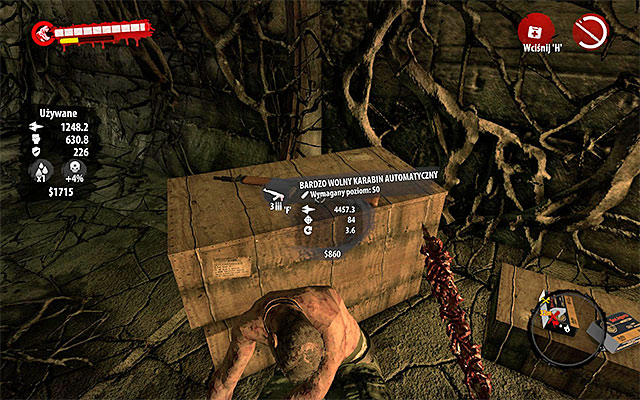
Walk and listen to smugglers into which you will run. Find a ladder and get to the upper part of tunnel. When you get there, examine the chests and automatic rifle (screen above).
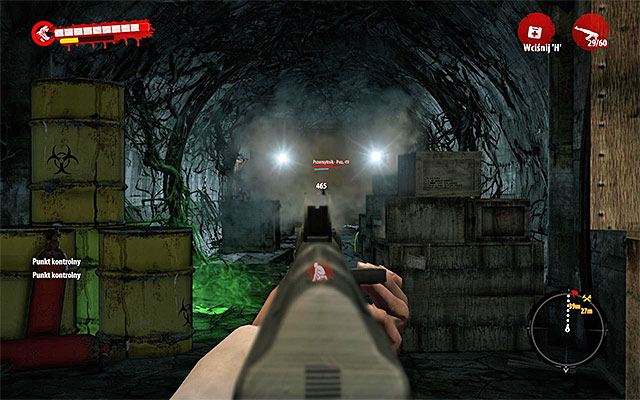
Move forward and when you hear shouts, hide behind something. During firing at smugglers, you can do two things. First option is to attack them from long distance with recently found automatic rifle.
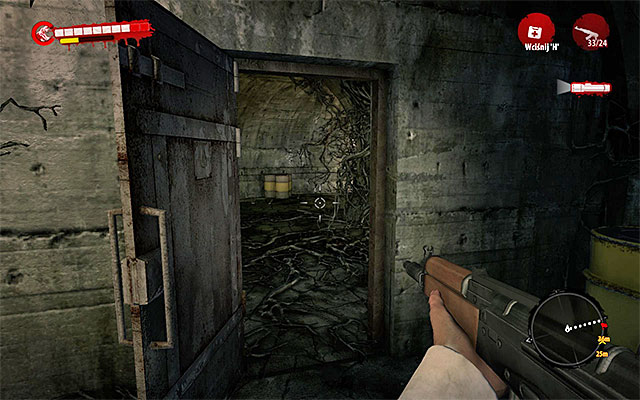
But if you don't want to do this, run to an entrance to left side corridor (screen above). Walk this corridor what takes you closer to enemies and short distance fight.
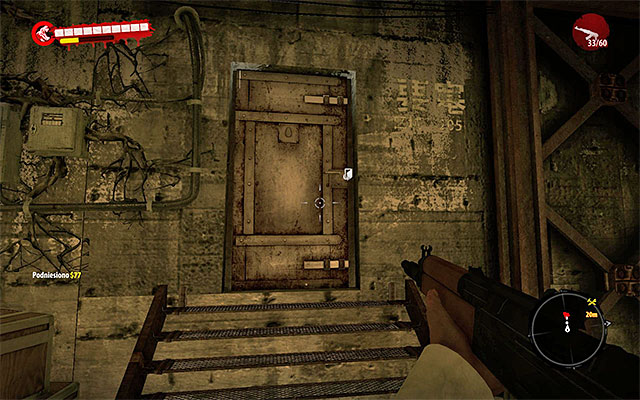
When the fight ends, search the area. Heal, collect ammo and search bodies. After that look for new door.
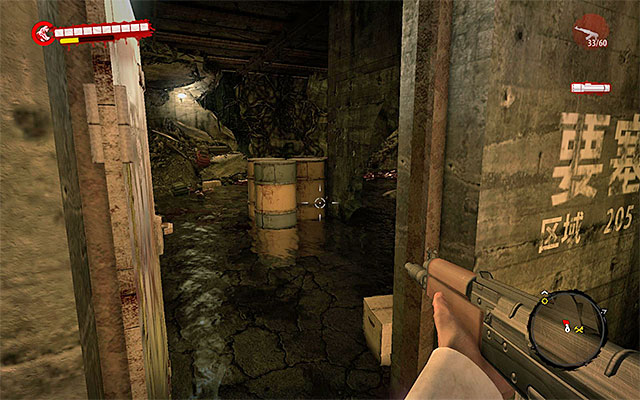
Spare some time for search of the new area, where you find among others a workshop and more weapons. At the very end open door leading to the main base of smugglers.
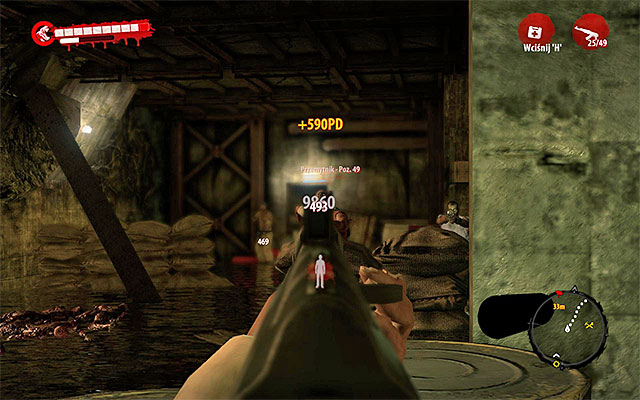
Also in this part of tunnels you find many smugglers. Use all possible covers, aim at their heads and try to detonate explosive barrels. Move forward but don't hurry so they won't flank you.
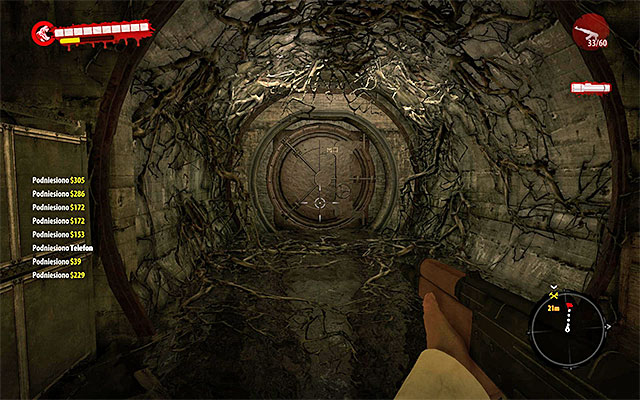
When the fight ends look for supplies and Island Guide. Search also bodies for better weapons. Now approach an exit from tunnels (screen above) - it turns out to be closed.
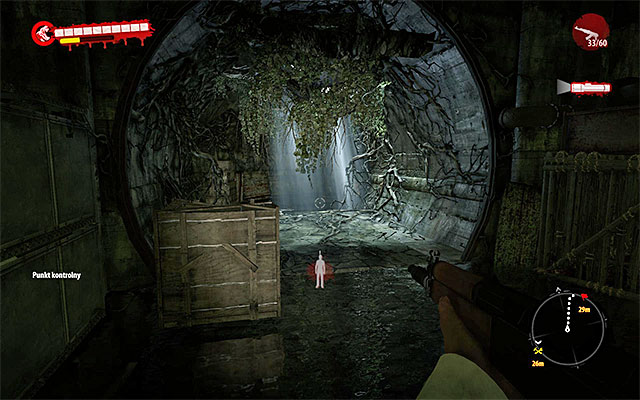
Turn around and return to the main area of battle and then choose a left passage (screen above). It takes you to the new door which can be opened now (before examining an exit it was closed).
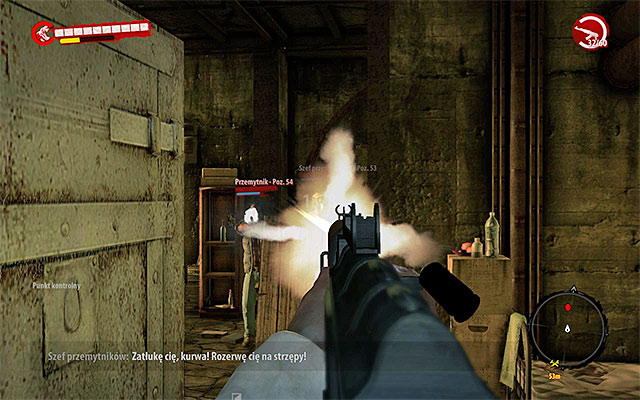
Open the door and attack bandits inside. There is also a chef of smugglers, but he isn't much stronger than the regular enemies.
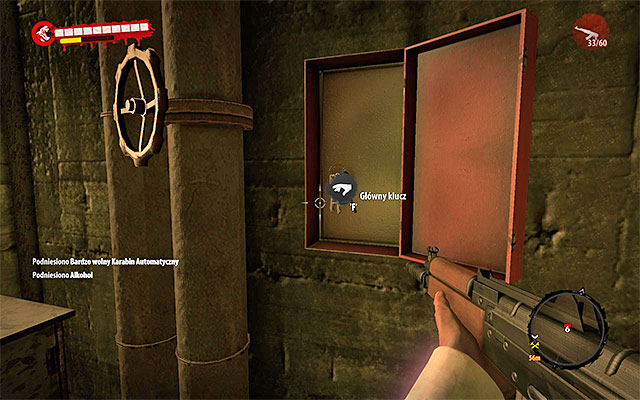
After eliminating all bandits search the room. Besides key you'll find new weapons, chests with random rare items, Modifications and Modification.
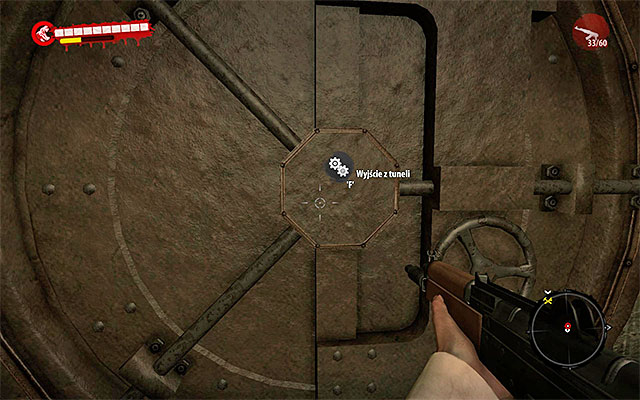
Once again go to the main room. Approach the previously examined exit and use a key. Opening it ends this quest and transfers you to the seventh chapter, which begins in the whole new location: Panai Ferry.
Attention - remember that there is a Reward for this main mission. During exploration the Ferry Station find Trevor Rogers and get a shotgun.
Main quest unlocked: The Crossing (quest is automatically unlocked after finishing the described mission).
About the mission:
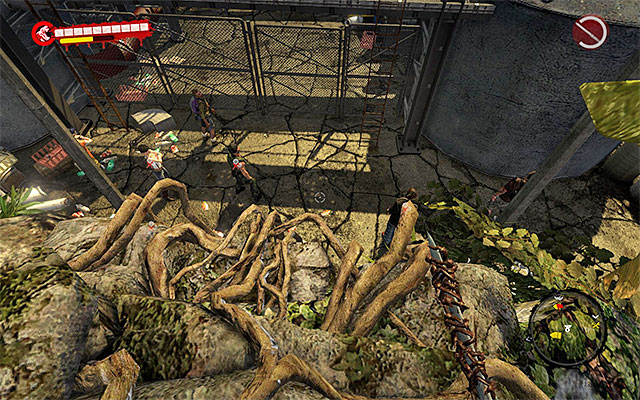
Head southern east. When you get to edge, use lianas to reach the bottom, where a group of survivors stand. Listen to what they can say about mutated Wayne, who you'll have to eliminate now.
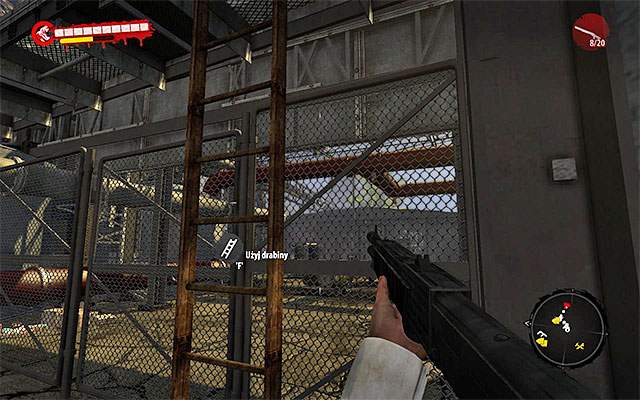
NECESSARILY spend some time for upgrading/repairing weapons, regenerating health bar and buy supplies. When it's done, use nearby ladder and jump to the fenced area where the Wayne is.
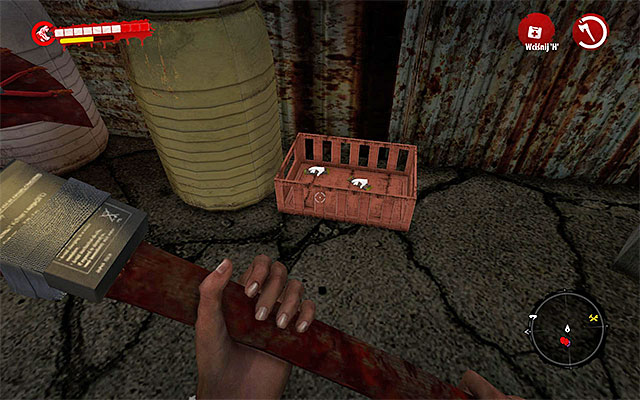
Encounter with the mutant is similar to boss fight, because his health bar is long and he is tougher than normal zombies. At the beginning, get to know the area of fight. Remember also where you can find boxes with fruits and snacks which let you regenerate quickly.
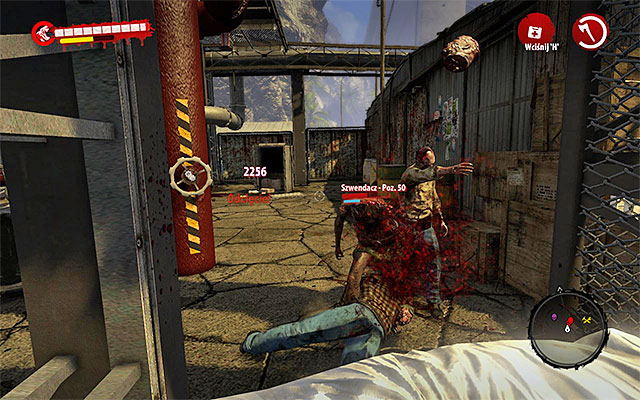
Notice also, that regular zombies will join the battle also. You should focus them firstly. Attack the Walkers until they stop coming. Only that attack the main mutant.
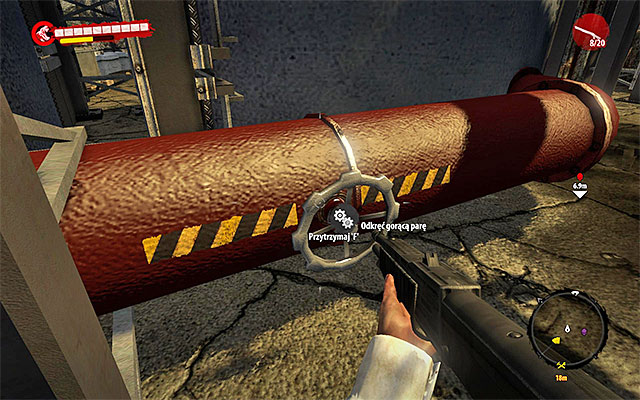
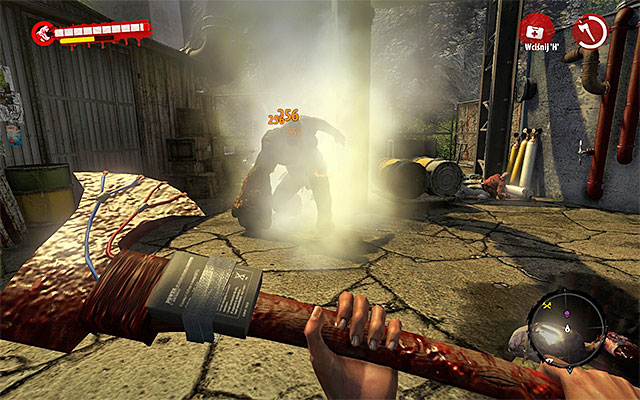
It's best to weaken Wayne with nearby valves. Start from pressing an Action key to unscrew the valve (1st screen above) what let the steam goes out. Then lure the mutant in, so it hurts him (2nd screen above). Steam goes out only for few seconds, so you have to run around the battlefield and unscrew more valves and don't get near Wayne.
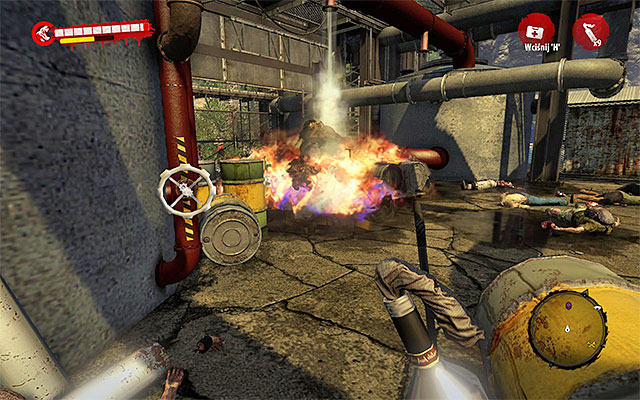
You can also beat him with molotovs (screen above) and various explosives. It depends, of course, from what you've got in your inventory.
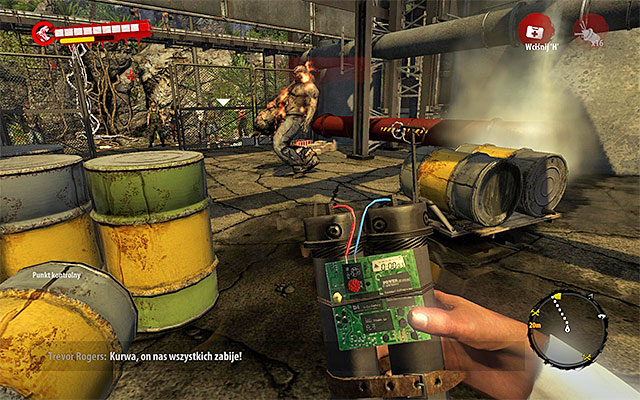
Continue attacking Wayne, until his health bar drops to zero. Search his body, you should find some rare weapon.
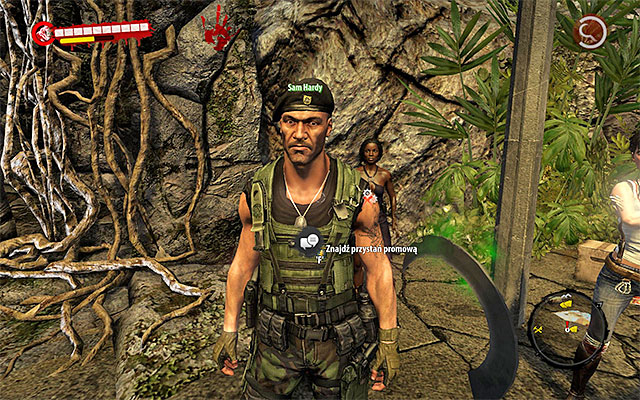
Return to where the rest of survivors is and spare some time for weapons and supplies. If you think you're ready, go talk with Sam Hardy. He'll send you to nearby Ferry Station to use a ferry to reach Henderson.
You again enter the area where you've fought the mutant recently, In the meanwhile listen to long talk with Kessler. Notice that you can get into the nearby warehouse and loot it, what lead you to door leading to a new location (press the Action button to open it).
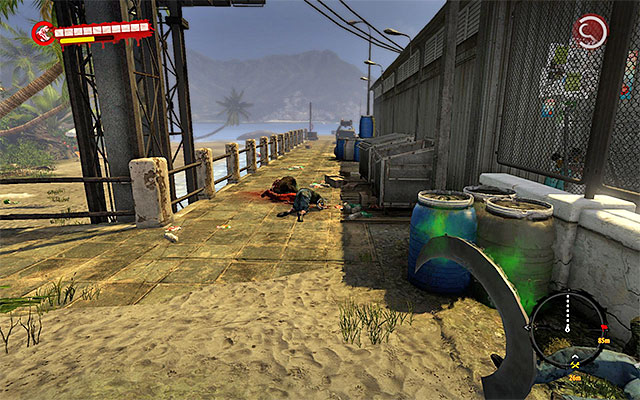
When you exit the warehouse go forward and then turn right, passing a bus on your way. Soon, you'll reach a bigger area, which you should search. When it's done, choose the eastern path.
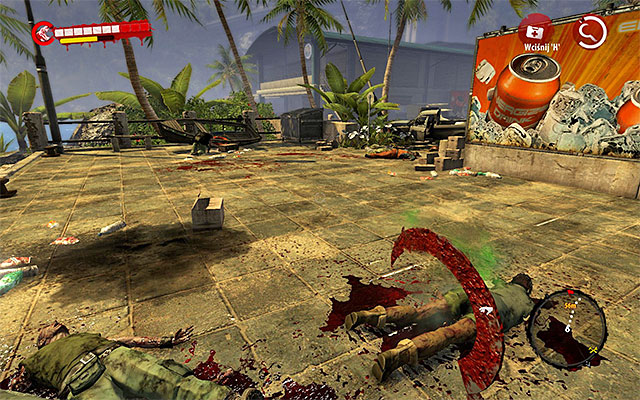
Follow east, beware of Walkers and Infested. After a few moments, you'll forced to turn south. During exploration look for a Thug, who'll attack you suddenly. In a moment you should get to the Ferry Station, which was taken over by the prisoners.
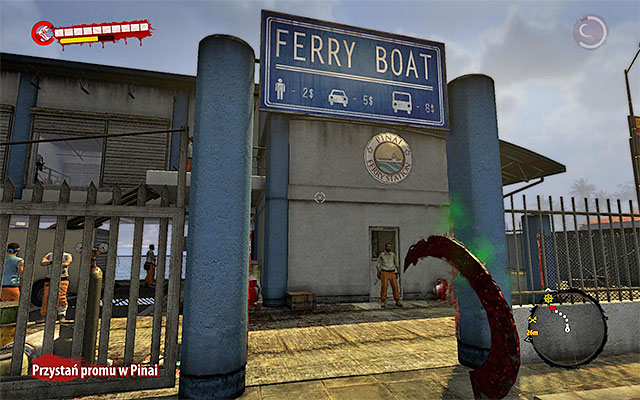
Unfortunately, you can't use one of northern entrances to the station, because they are blocked. Head at southern west and then south. Find the only available entrance (screen above).
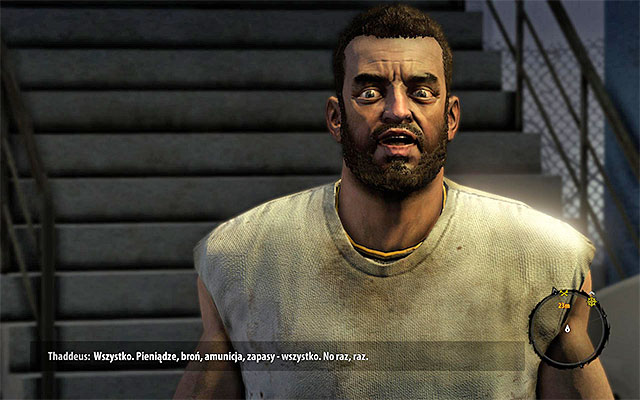
Turn left and approach Thaddeus, who is a prisoners leader. As you can figure out, they are not friendly and the untypical battle bursts out.
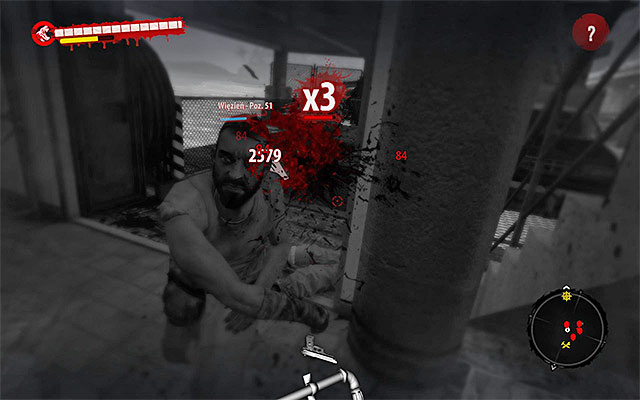
Don't run away from the Ferry Station, because when the talk ends, your hero get into Fury Mode, what makes him invincible. Approach the red marked prisoners and tear them apart.
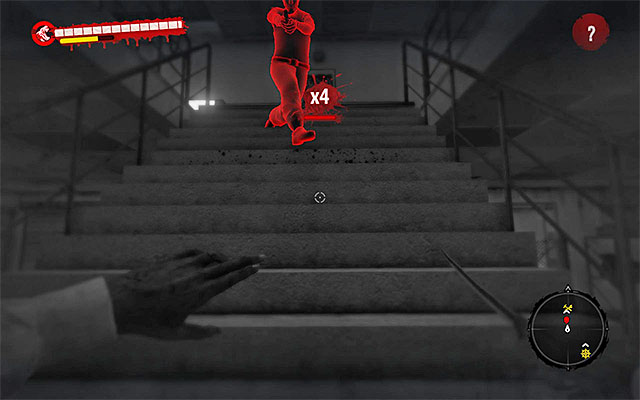
Besides persons on the ground floor, you have to defeat also few more prisoners on the first floor. When it's done, listen to another conversation with Kessler.
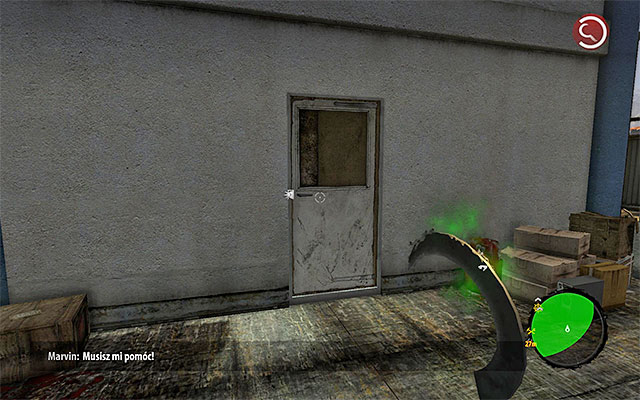
It's very easy task, because an entrance to the steering room is just next to the place where you met a prisoners leader (screen above). Ram the door.
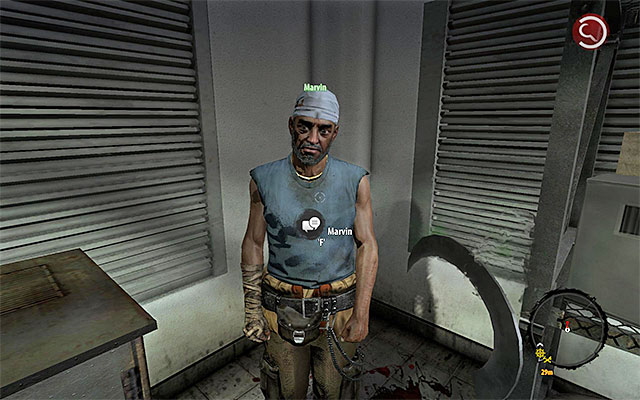
Before you enter steering room, search the whole Ferry Station. Especially, interest in green crates which contain ammo, explosives and various useful things. After that head to the steering room and talk with Marvin. Now you have to wait until the rest of survivors comes, what ends the mission.
Attention - Remember that there is a Reward for this mission. So find Sam Hardy and take a Chinese War Sword.
Main quest unlocked: Terminal Siege (quest is automatically unlocked after finishing the described mission).
About the mission:
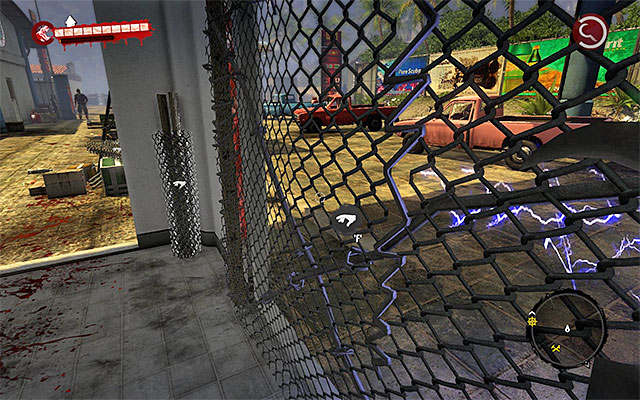
Beginning of this mission is confusing. You just need to prepare to defend against attack of the first group of zombies, which is an introduction to another battle with Horde. I recommend setting up at least few fences next to the steering room, where the previous mission ended.
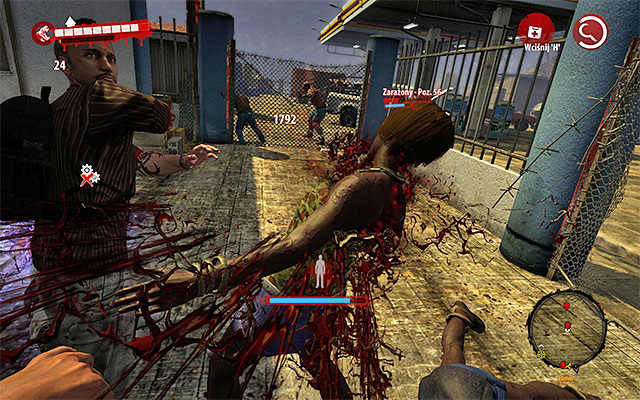
When the battle begins (monsters will run from west), start eliminating zombies. There'll be only Infested, but be careful. You have to defeat all undeads who attacked the Station.
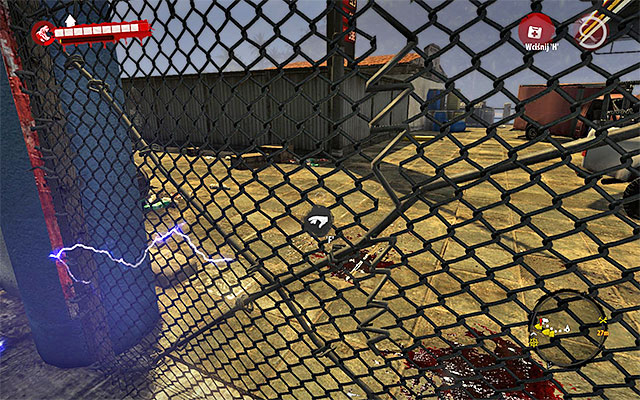
BEFORE you talk with Marvin, do all regular activities concerning this type of missions. Your number one priority is setting up fences.
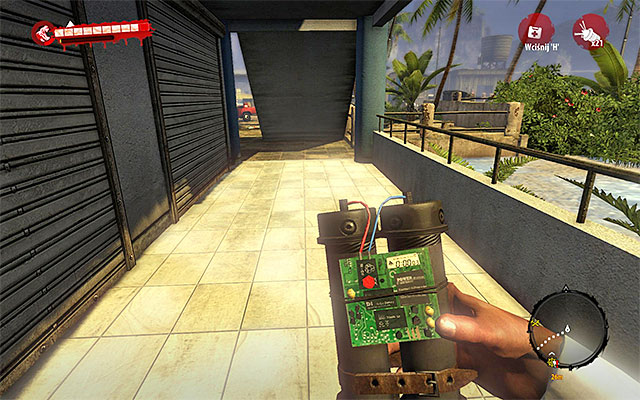
The second important thing is to plant every mine you can around the Ferry Station. As during the quest in Jesuit Mission, set them next to the entrances to the camp.
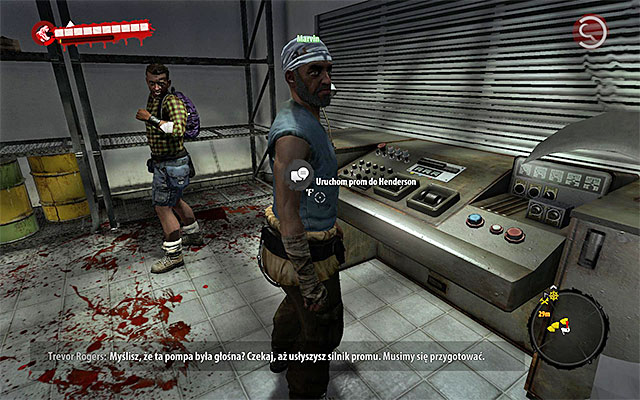
At the very end care about your weapons and buy ammo. After that go and talk with Marvin. HE launches engines, what attracts a new Horde.
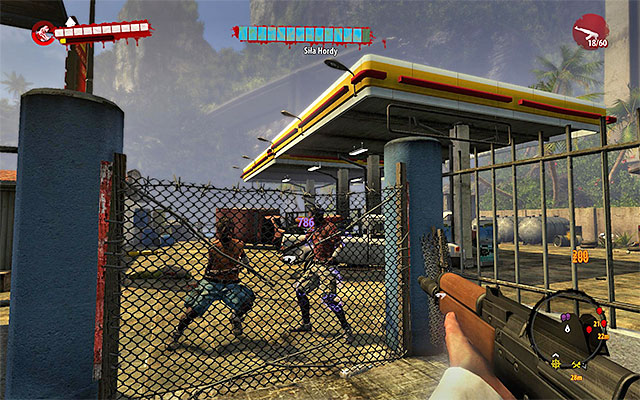
This battle as the previous ones with Horde contains of few parts, divided by small intervals. First wave of zombies come from southern west. You have no machine gun, so use your regular firearm to attack zombies which trespassed fences.
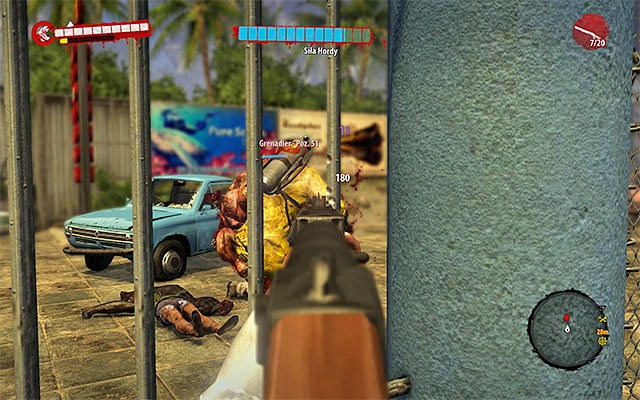
You should fight mostly with Infested and Crazy Infested, but look also for a single Grenadier. When you spot him, run to him and eliminate him in melee fight. First part of battle ends when the three parts of Horde Strength bar drop out.
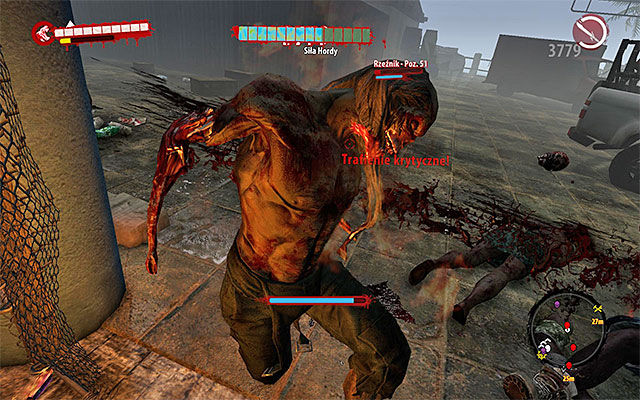
Effective defense against zombies will become more difficult, because they'll attack also from northern east. Beware of the next Grenadier and at least one Butcher. Remember also to save your allies and repair fences. Second part of battle ends when another three parts of Horde Strength bar go down.
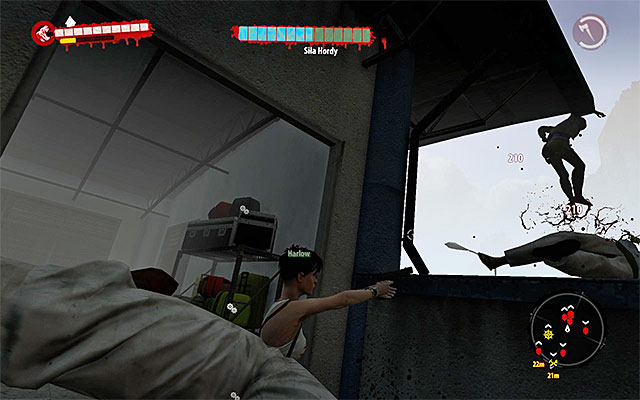
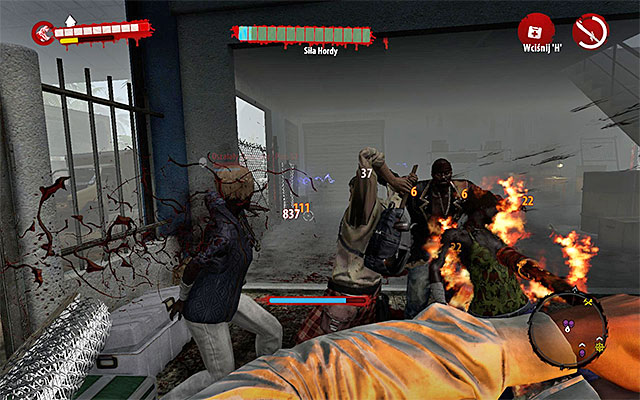
In the next part you'll be unpleasantly surprised, as the zombies start getting into the camp by a roof (screen above). You can't protect against this attack in any way, so just eliminate those bastards. Besides that, beware of more elite zombies, with one Butcher among others. Fight until the Horde bar drops down to four parts.
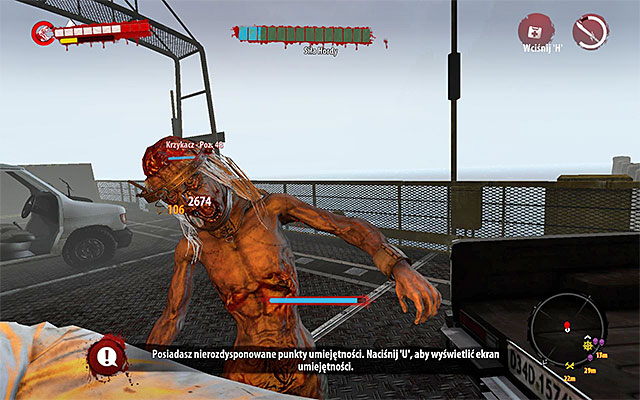
The last part of battle happens when the ferry arrives and bring a new type of zombie - the Screamer. He can stun you for a while using a loud cry, what decreases your fight-efficiency. As he is not very tough and is weak in melee fighting, I recommend to run quickly at him and use some blade.
After that eliminate remaining zombies. It shouldn't be difficult, but you still have to care about your allies and don't get surrounded.
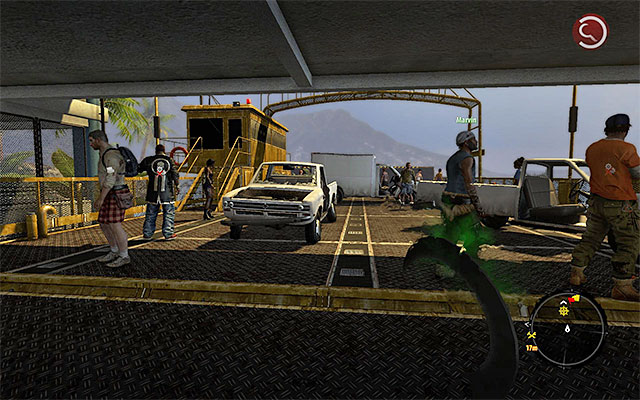
Collect all supplies from the green chests (they should "regenerate) and don't forget to repair weapons and heal yourself. Enter the ferry to finish mission and get to the eight chapter, which begins when you get to the Henderson Ferry Station.
Attention: remember that you can obtain a reward for the main quest. So when you get to the Henderson, find Marvin and obtain Magnum.
Main quest unlocked: The Ferry (quest is automatically unlocked after finishing the described mission).
About the mission:
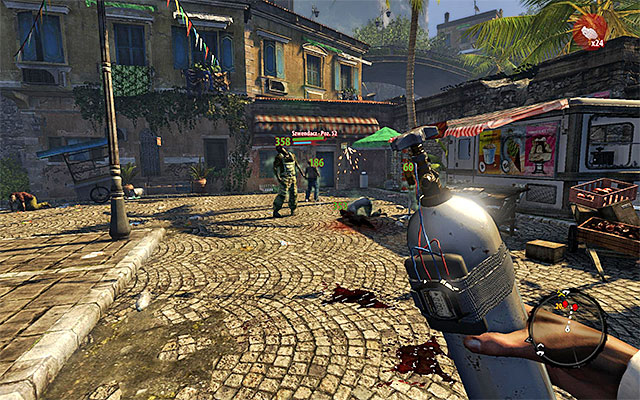
Your first quest in the new locations is to secure Henderson Ferry Station. Go east, pass the rest of survivors. Jump over barricades and attack first group of zombies with a Thug with them. To defeat the latter one use firearm, explosives or whatever suit you.
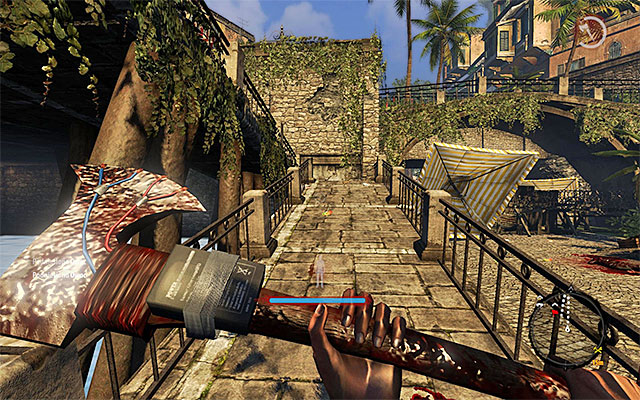
Turn north and defeat zombies seen in far away and then use the left platform which leads onto upper courtyard.
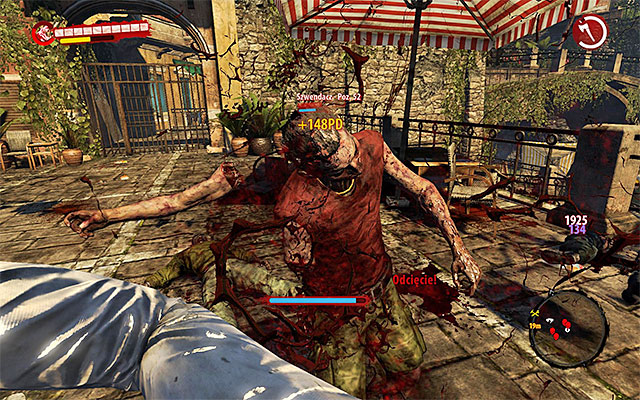
Next to it you find more zombies to exterminate. These are only Walkers marked on the map as skulls.
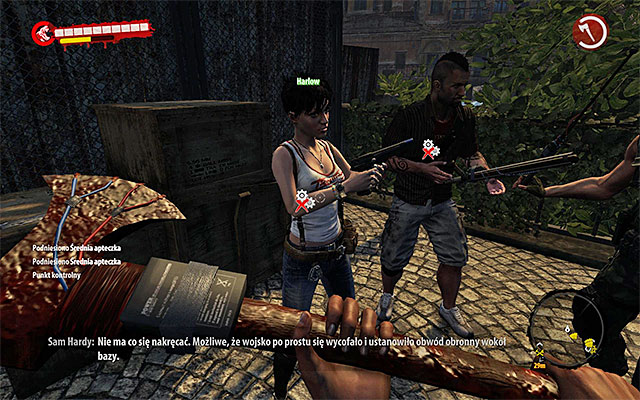
The end of this mission is very easy. You just need to return to from where you've begun the exploration of Henderson and talk with Harlow. Wait until the rest of survivors set up in the nearby workshop.
Main quest unlocked: City Newcomer (quest is automatically unlocked after finishing the described mission).
About the mission:
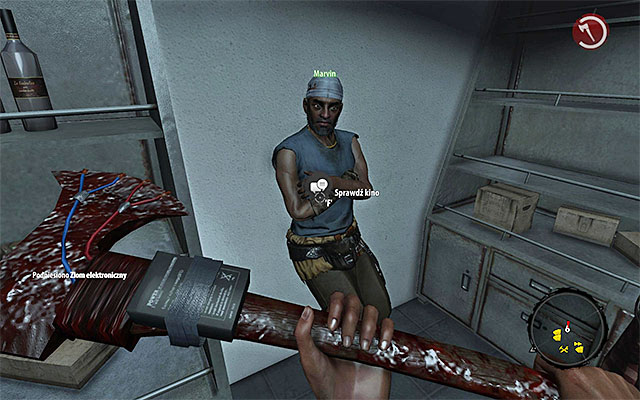
Marvin can be found in the workshop, on the east from the Ferry Station. You find here also a map to Travel Fast and supplies. Talk with Marvin, who'll send you to the nearby cinema to examine this place.
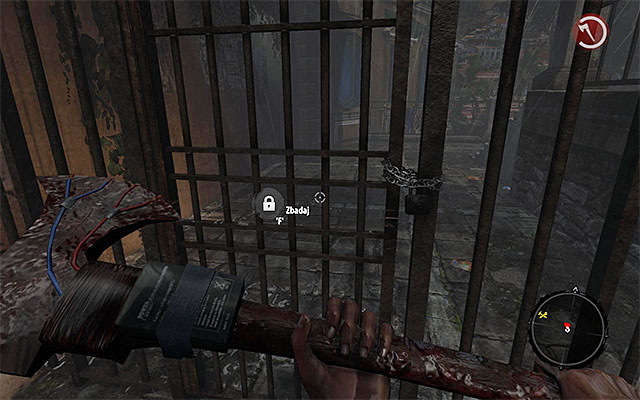
Return to the square, where you've killed zombies and check a gate (screen above). It's locked.
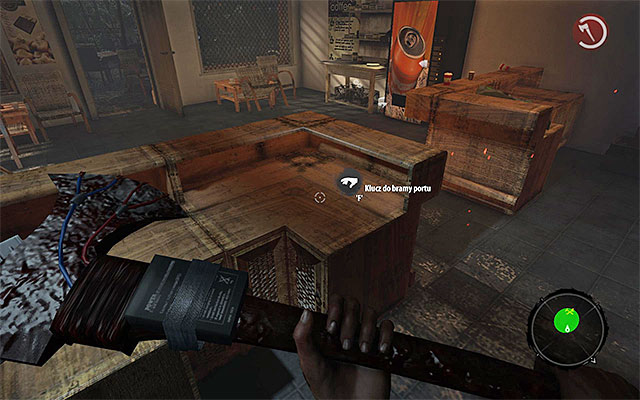
Turn left and break door to the pizzeria. Search the inside, where you should find med-kit, ammo and vendor machine with energy drinks (use it, every costs only 5 dollars). The key to the main gate lies on the main counter (screen above). Pick it up and open the gate.
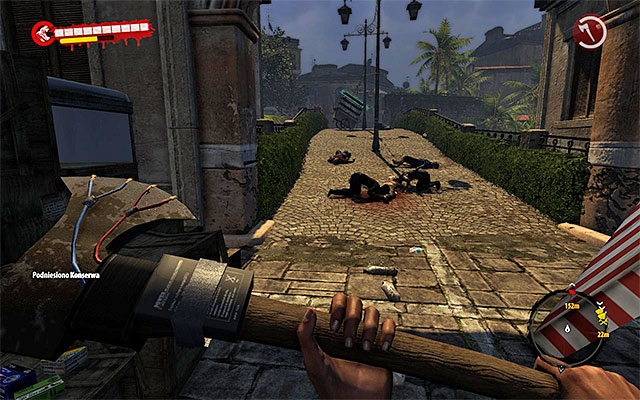
Head north and eliminate single zombies on your way (Walkers and Infested). Soon you get to the bigger square. To reach the cinema, turn south (to Old Town Cinema). Search all optional paths, rooms and shops on your way.
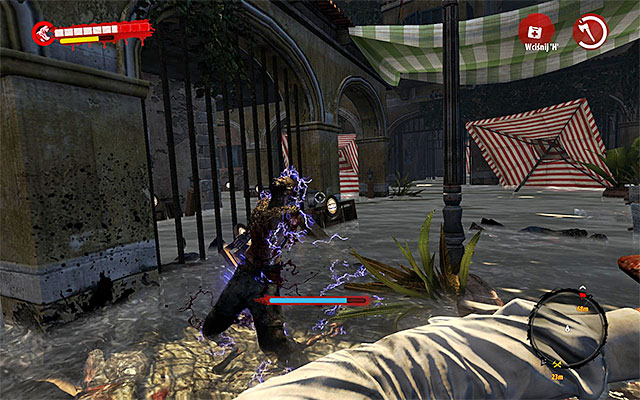
Go through the bridge and eliminate few new groups of enemies. Soon you get to the flooded part of the district. From now on you must beware also of Floaters, especially as most of them is inactive until you get close to them.
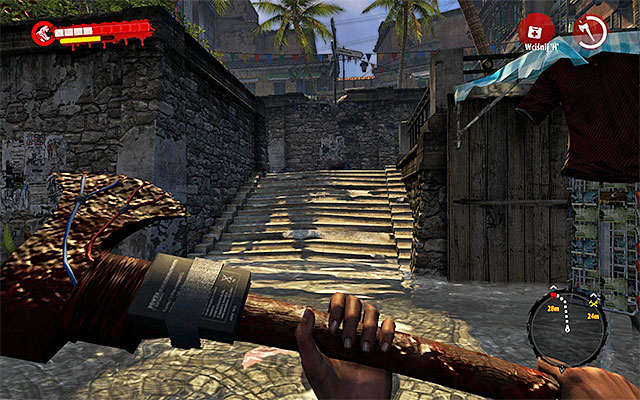
Head south, to reach the stairs leading to Old Town Cinema. Carefully approach an entrance to the cinema and listen to conversation with Marvin about an alternative entrance to the building.
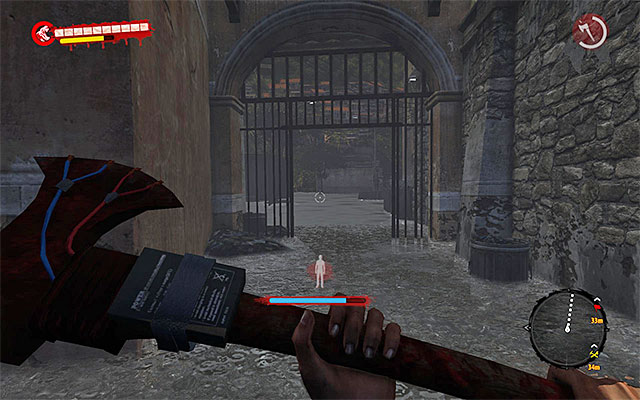
Return to the flooded area (avoid the Ram if he follows you) and search a passage shown on the screen above. Then turn southern east to get at the backs of cinema (beware of Floaters!).
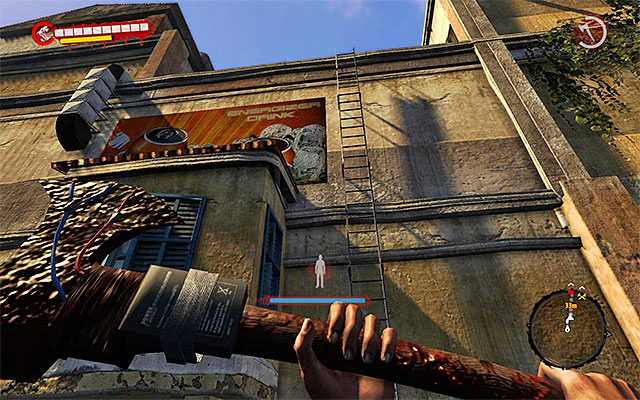
Head south, eliminating new zombies. Nearby you find also a single Thug, which you should defeat (maybe with explosives?). After killing all monsters, look for a ladder shown on the screen above, thanks to which you get onto the roof of Old Town Cinema.
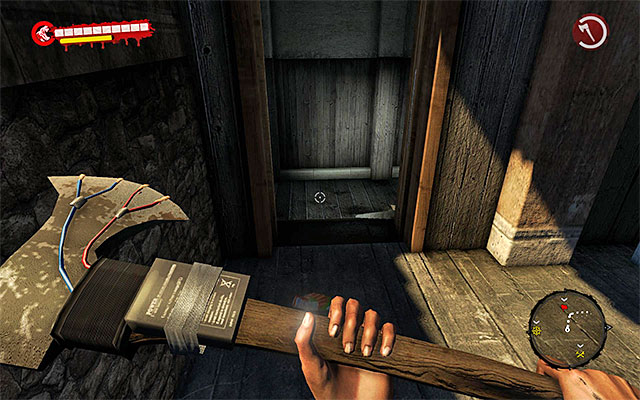
Of course, search the roof where you find many precious items. When you examine the whole vicinity, move west from the ladder what takes you to an entrance to the building what ends the mission.
Main quest unlocked: Front Row (quest is automatically unlocked after finishing the described mission).
About the mission:
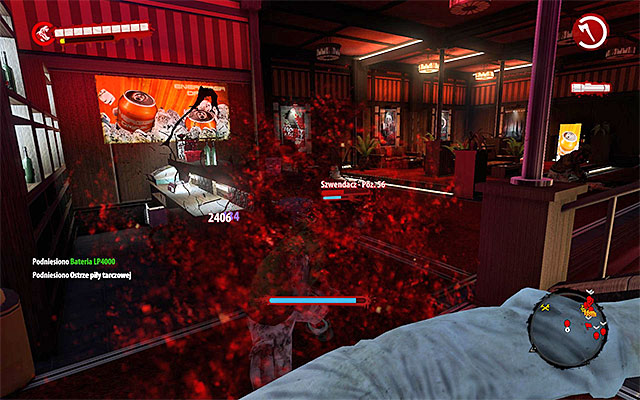
Go downstairs. Stand in the narrow passage leading to the entrance hall of cinema and start eliminating zombies. As it'll be only Walkers and Infested, you shouldn't have any problems.
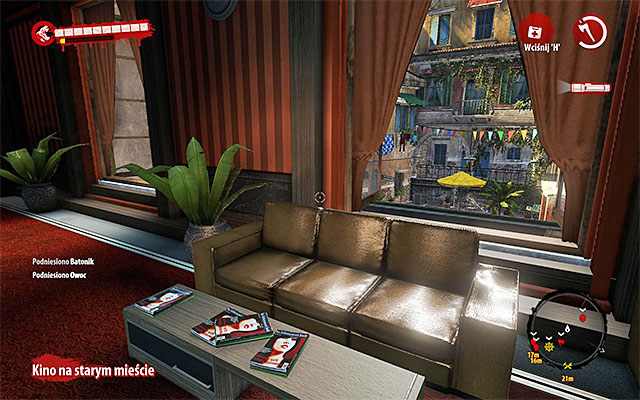
And go upstairs and look for a window (screen above) through which you can get onto a small roof over the main entrance. Turn right and use the ladder to pull it down.
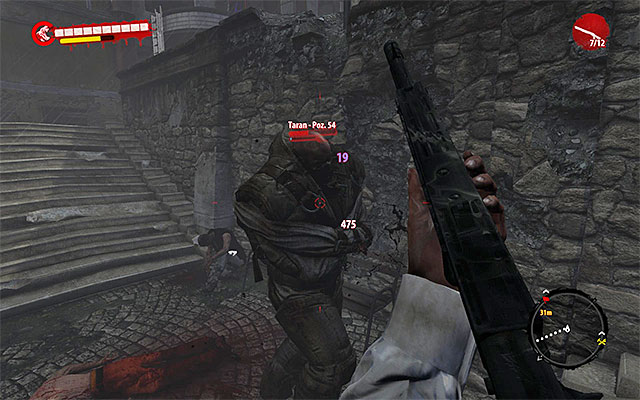
Jump down and start eliminating the Walkers assaulting this building. Simultaneously, observe the actions of Ram and leave him for the very end. This is a very tough monster, who mostly charges dealing lot of damage and knocks you down. Avoid those attacks with sprint and try to attack him from the behind with some good firearm.
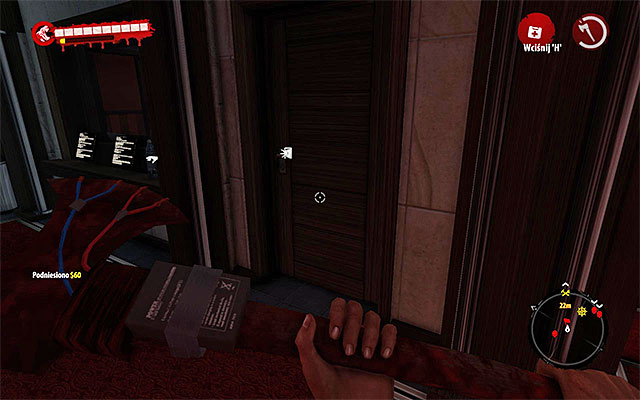
When that area is cleared, return to the ladder and get inside the building again. Go downstairs and secure vicinity of the main entrance from the inside. You have to break door leading to the right box-office (screen above), where you find additional Walker.
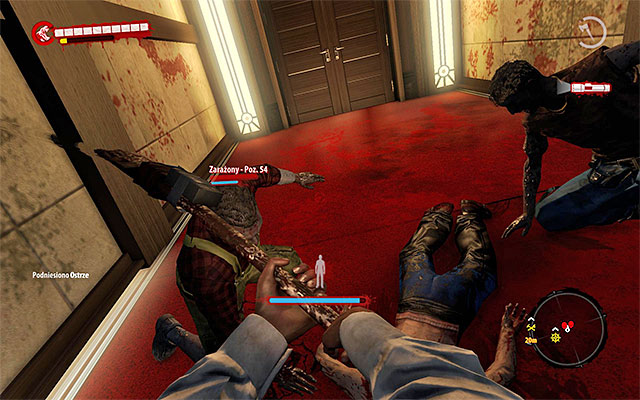
Another group of zombies awaits in the corridor leading to the cinema. When they are killed, approach the nearby door and break it.
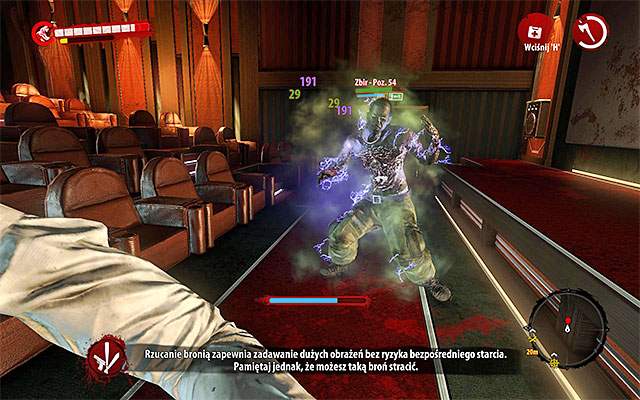
Inside, you run into another group of zombies. Firstly, defeat Infested who'll charge at you (lure them to the previous corridor, so they won't round you). At the end take care of single Thug.
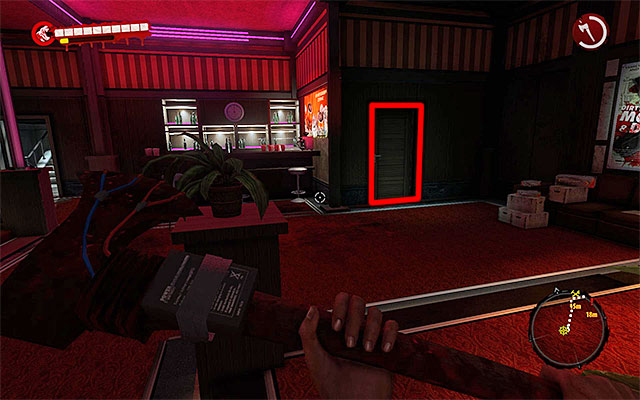
Now return to the bar at the main entrance. Notice that you can open door (screen above) on right from bar door.
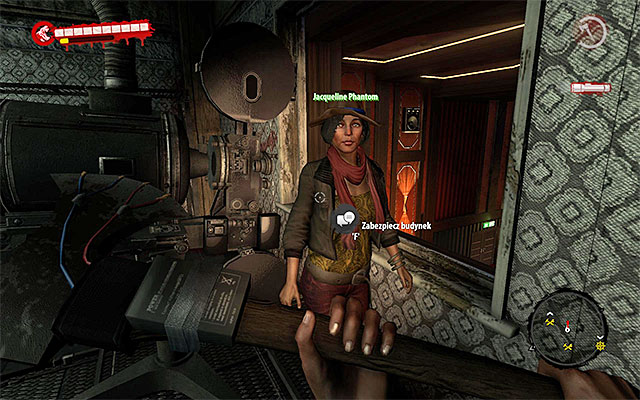
Go inside and get to the room where Jacqueline Phantom hid. Use a workshop and then talk with woman, who suggests how to secure the building.
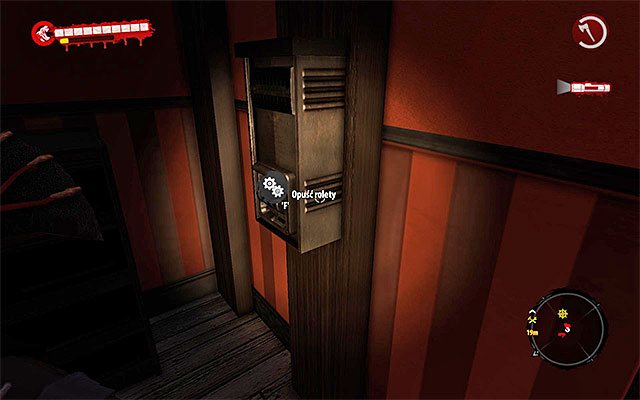
Return to the main entrance, which you've secured few minutes ago. Use a mechanism which will roll down shades.
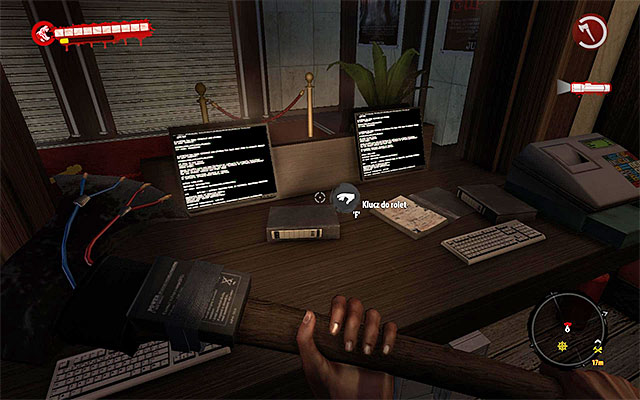
Turn around and enter the ticket office. Besides money you find here also key to the shades.
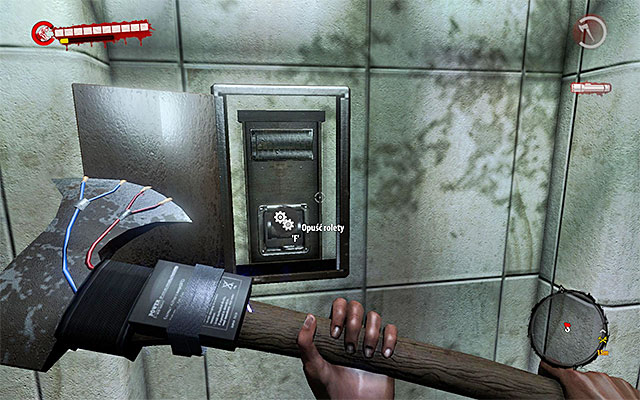
Now return to the staircase, through which you get to the cinema from the roof side (on left from bar). Go at the very bottom and use a mechanism on right from the backdoor.
Now you can return to Jacqueline. Wait until rest of survivors get to the cinema, what triggers a cut scene.
Find Marvin and talk to him. It ends the mission and takes you to the ninth chapter. By the way, don't forget to take a Reward from Marvin, which is a Hatchet.
Main quest unlocked: Militarized Zone (quest is automatically unlocked after finishing the described mission).
About the mission:
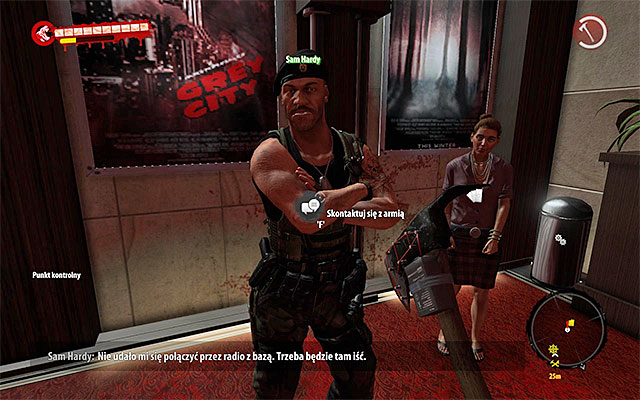
You should definitely spare some time for healing, equipment and supplies. Then look for Sam Hardy and talk with him about getting to the base occupied by other soldiers.
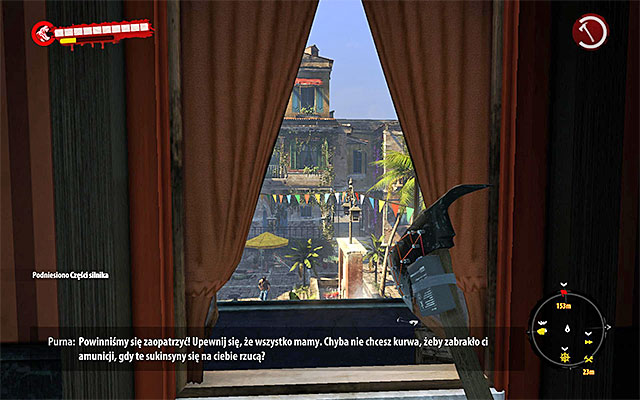
Firstly, leave the cinema. I recommend to go upstairs and get out through a window to reach a roof. Jump down or use the ladder and eliminate a zombies which might show up here.
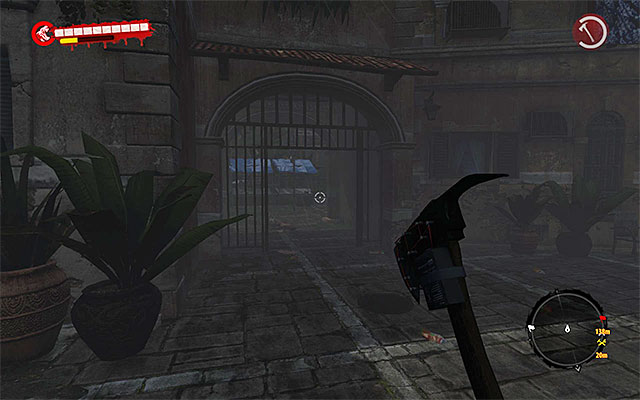
Military Base is on the west from cinema, and you can get there in a few ways. I recommend going south (screen above).
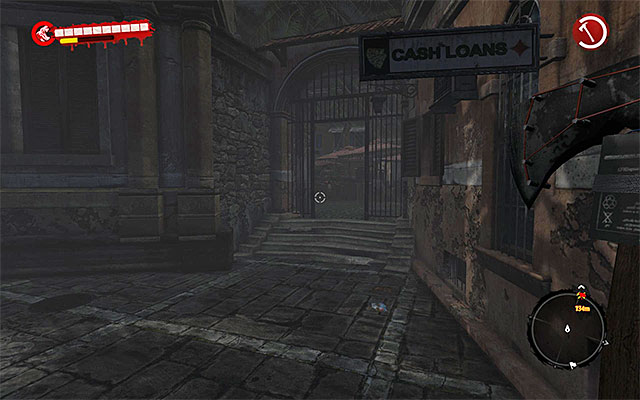
Turn west when you can (screen above). After a while you reach w bigger square full of monsters. First of all, find a new Screamer and eliminate him in melee fight ASAP.
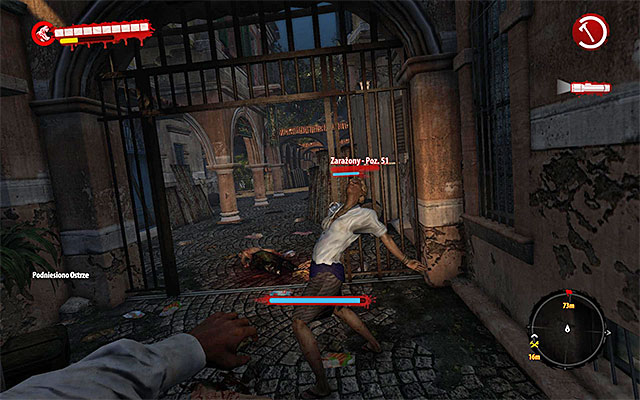
Head west and then turn northern-west to get to the passage shown on the screen above. From now on look around carefully, because there is plenty of zombies here.
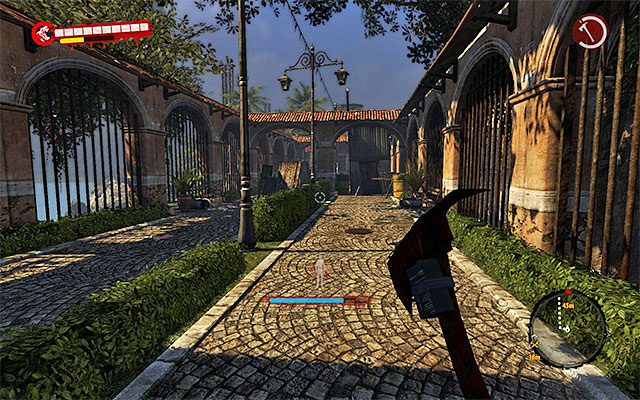
Now head for the bridge which divides the main part of the city from the base on the west. When you get close enough, you'll hear an alarm. A further part of your actions is connected with this device.
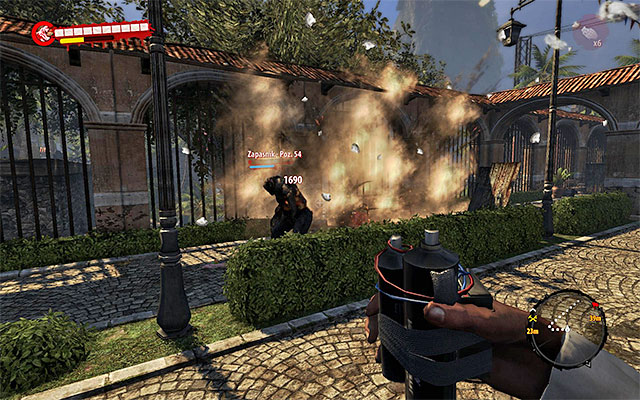
Approach the Military Base and notice a new type of zombie - Wrestler. He is tough and deal tons of damage in melee fighting, but he can't run. The best way to eliminate those is to use explosives, like mines and grenades. You can also run around him and fire at his back.
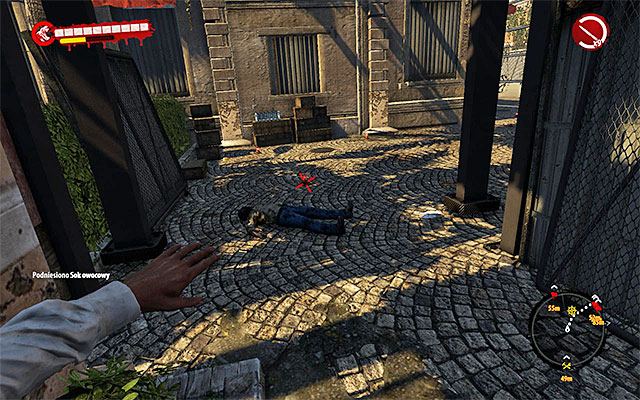
Enter the Military Base and localizations of four sirens will appear on your minimap. First one is close to the entrance, on the north. Don't hurry to get there, because there is a mine field next to it. Use throw weapons to destroy mines. Alternately, you can use firearm.
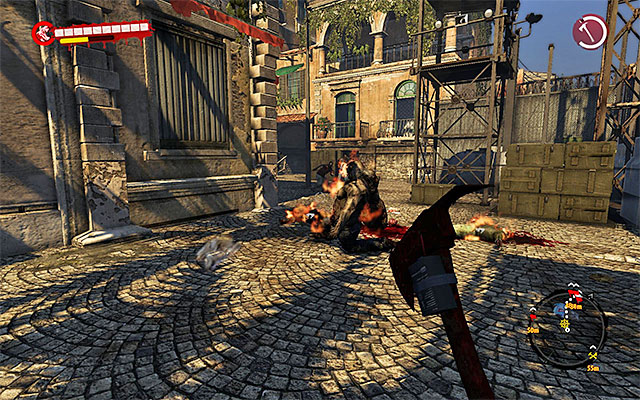
I don't recommend destroying all mines, because soon new zombies will show up here. Especially, that there'll be a second Wrestler among them. Wait until it walks onto mines or eliminate it at once, using explosives.
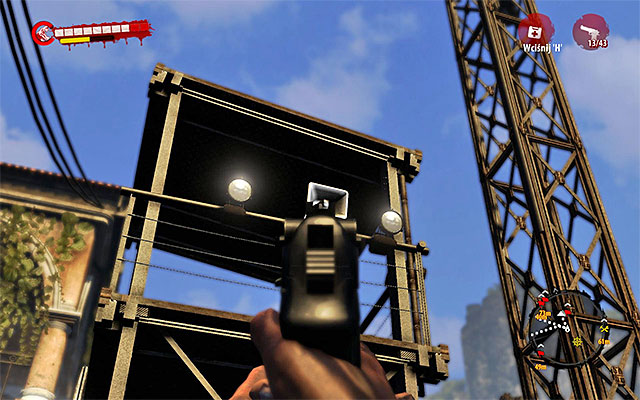
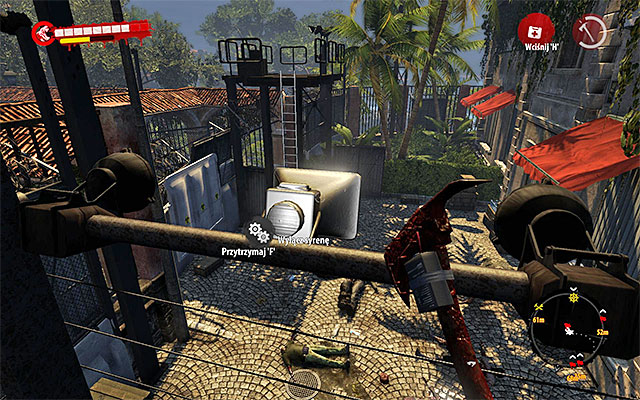
When you get to the first siren you can play it in two ways: destroy it from the distance (1st screen above) or turn it off (2nd screen above, hold Action key). The first option is better, because otherwise new zombies will keep showing up.
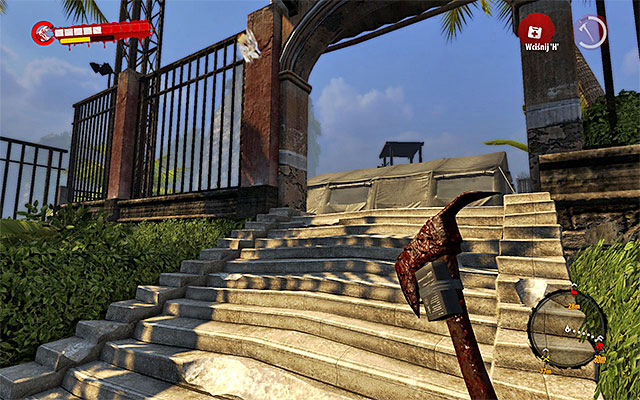
When it's done, head west, beware of Infested and new mines. After a while turn southern-west to get to the area with set up tents.
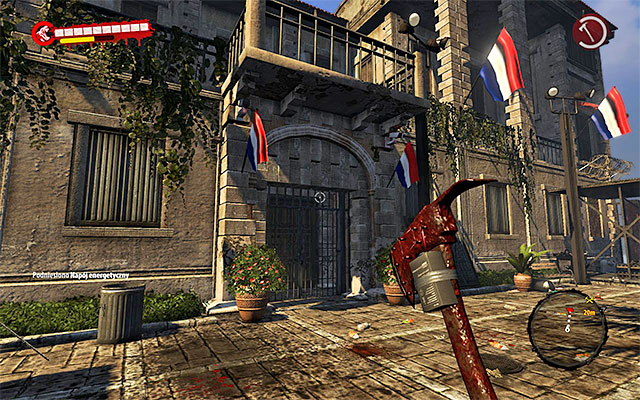
Defeat nearby Infested and look out for few new mines. Find a second siren quickly. Here you can also choose between destroying and turning it off.
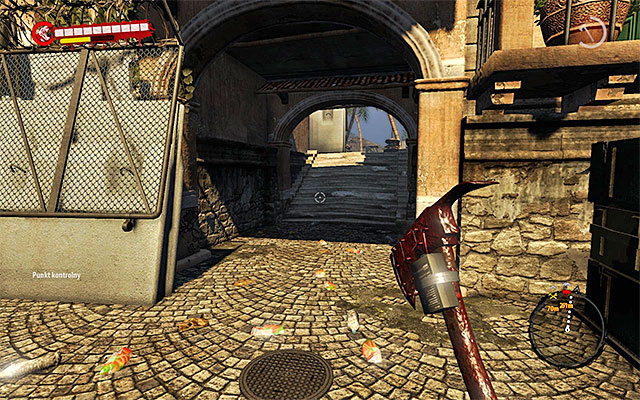
Search carefully this part of Military Base and then return next to the first tower with siren and find a narrow passage leading north (screen above).
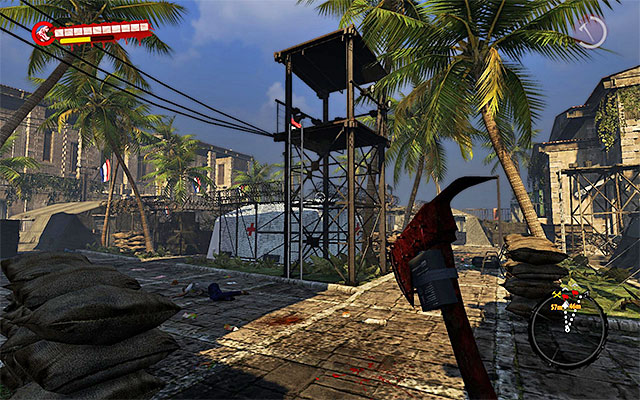
Third tower is in the northern side of Military Base. But don't rush it, as there are few mine fields nearby. Wait until Infested run into them. Destroy or turn off the third siren.
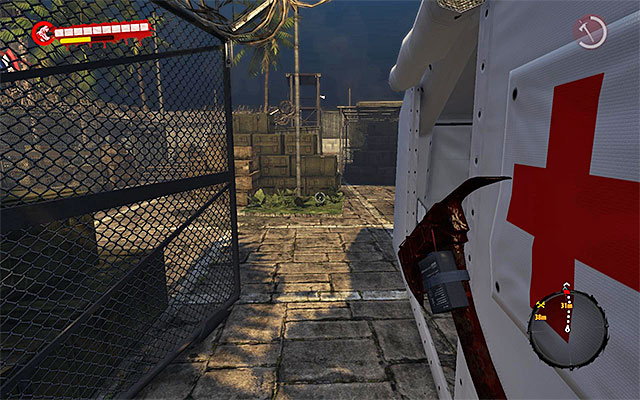
The last siren is on north from this place. You can get there easily by going through the fenced area with few tents (screen above) as there are no mines. Instead, be ready to defeat the last one Wrestler using your own explosives.
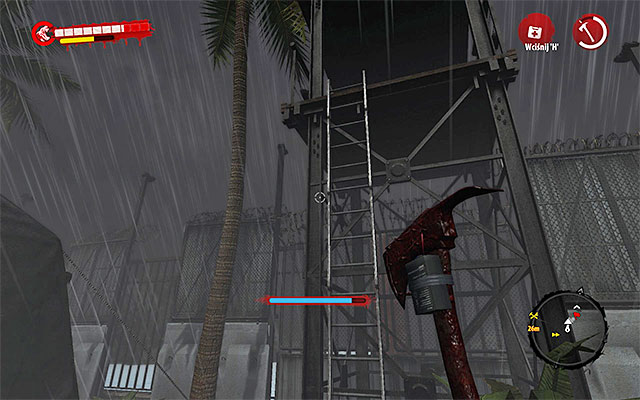
Find the tower with last one siren and destroy it or turn it off. Wait for new objectives while eliminating running Infested.

Entrance to the main building in Military Base is on the west from this place. Approach the barred entrance - you'll find out that you need to use explosive.
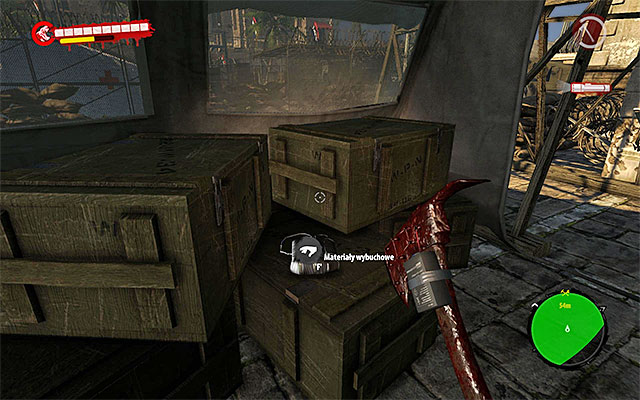
You can't use your own explosives, but the ones from the base. The object you're looking for is hid in one of tents in the northern east part of the base.
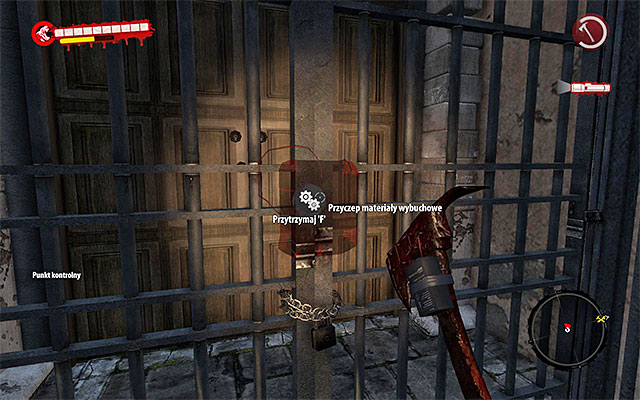
Return to an entrance to the main building in Military Base. Plant the explosives where game suggests (hold Action key) and move away. After an explosion, approach door and open it.
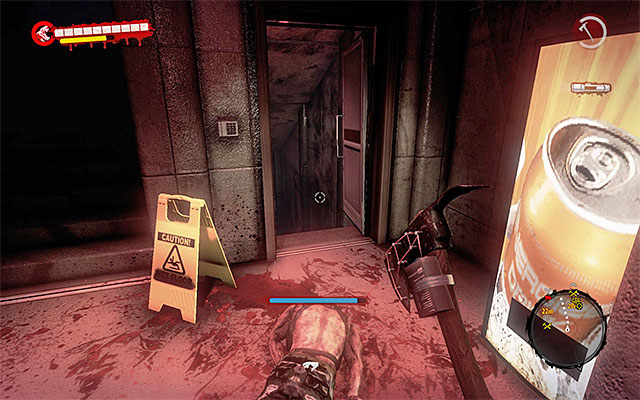
Listen to Hardy and then start searching the insides. I recommend to loot carefully all rooms because you'll find plenty of med-kits and containers with cash and resources. Until the power returns, you have to use your flashlight. When you get to the staircase, go to the cellar.
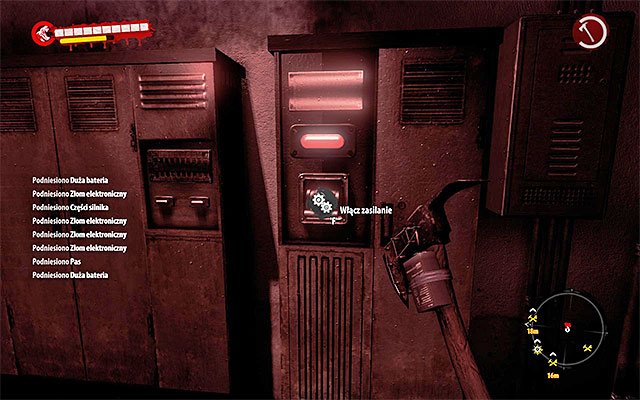
In the cellar you find among others a workshop. Your objective is to get to a switch (screen above), eliminating a Walker on your way. Use the switch.
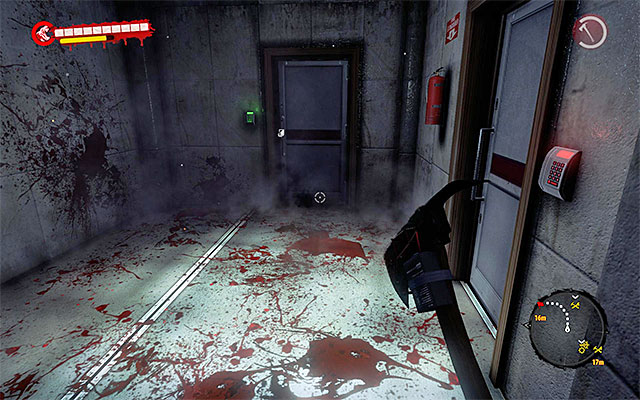
Return to the stairs. Head for the first floor and get to previously unreachable door. Ignore the central one, because they are barred. Approach the right one.
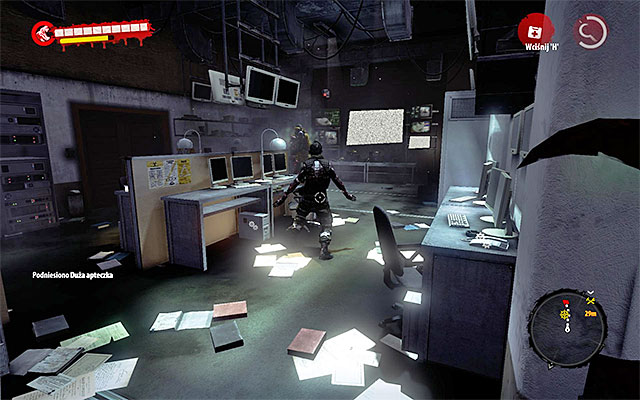
Defeat nearby Walkers. After that approach the right door leading to the room from which you see smoke is coming. Your objectives change.
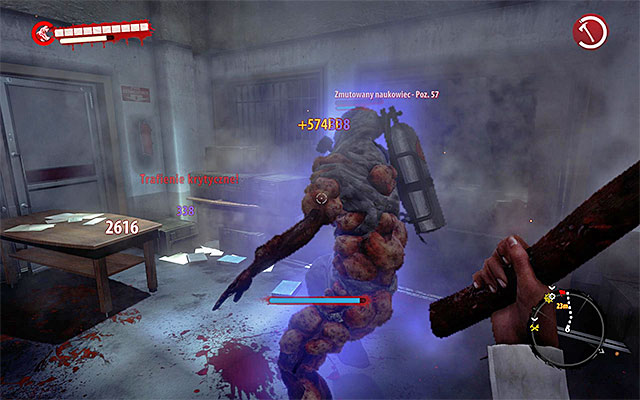
Look for supplies and open door. In the next room you find a single mutated scientist; eliminating him shouldn't be problematic.
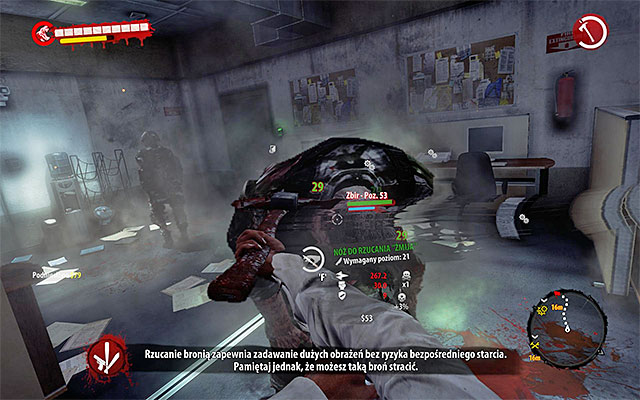
Beware of Infested which will run at you. There is also a one new Thug there. You can pass him or kill - for the latter one, use a firearm. Don't spare bullets, you'll find plenty of ammo boxes in this building.
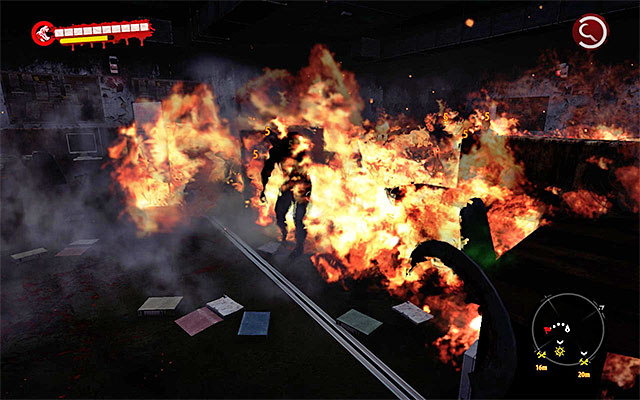
Resume walking and get to the new door leading to flaming room. Beware of zombies from this area, as they can rush at you and cause additional fire damage.
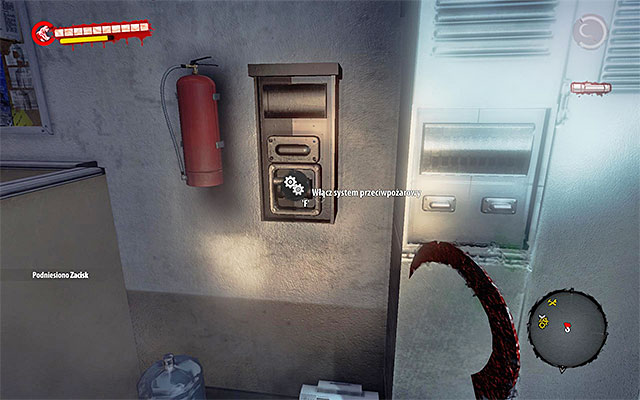
Finish exploration of this area, and watch out for the single Walker on the ground. The firesystem console is on the screen above.
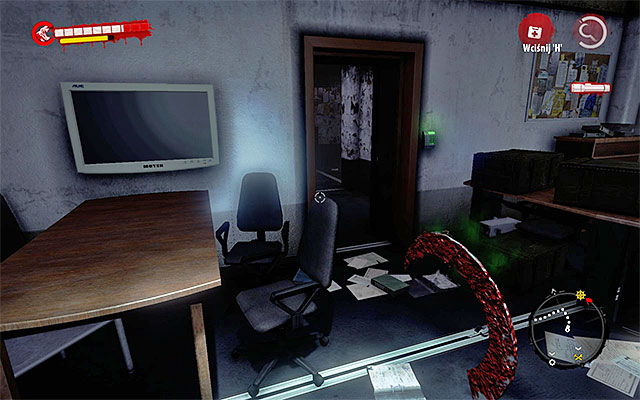
Now you have to move back, but be careful as you can meet few new undeads. Your objective is a room where the flames were and where you've received previous objective.

Continue your walking, passing by rooms occupied by single zombies and many interactive items. You need to get to a radio room (screen above). Firstly, eliminate regular zombies and then a single Meat Thrower. He is similar to Grenadiers, so fight at close distance.
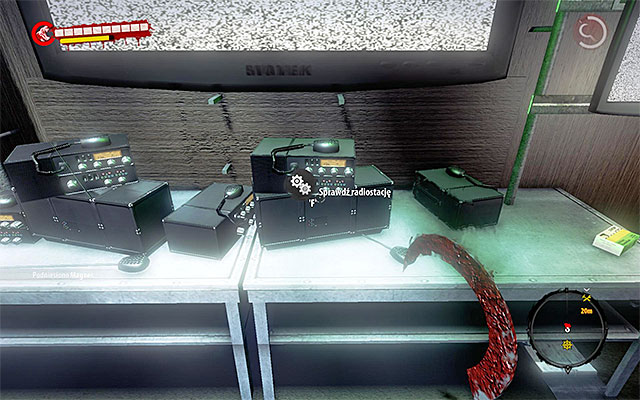
Search this room carefully, because you find med-kits, ammo, modification and secret files. At the very end approach the console (screen above) and use it. It finished this mission and chapter.
Main quest unlocked: Rescue (quest is automatically unlocked after finishing the described mission).
About the mission:
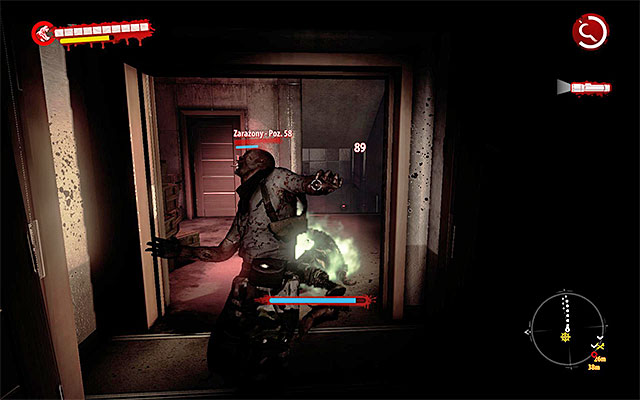
At the beginning listen to Hardy again an then use a freshly unlocked side passage, eliminating Infested there.
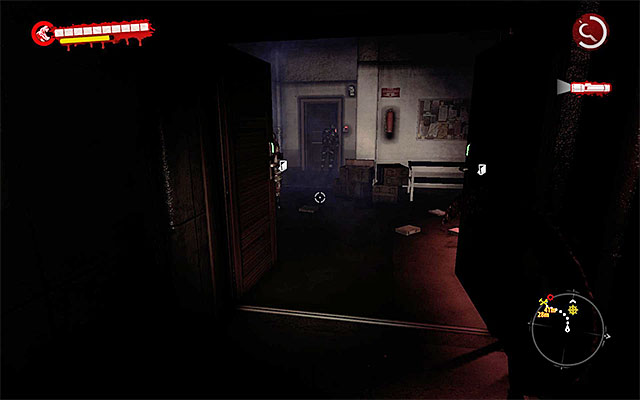
Go downstairs and open nearby door, ready to eliminate new zombies in the next room. On right you should see another Thug, but you don't have to approach him if you don't want to fight him.
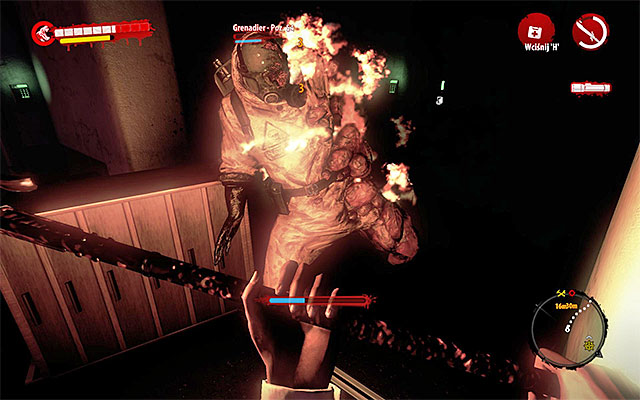
Begin walking through the hardly lit rooms, using flashlight or flares. Be careful, as you'll meet a Grenadier in one of rooms. As previously - shorten the distance and eliminate him.
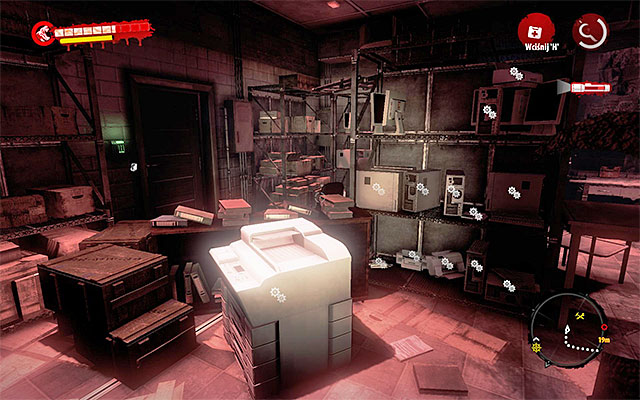
A moment after that you can choose your way. I recommend the left room, because it takes you to the side storehouse faster - in there you can find many useful things. In the meantime beware of new Walkers.
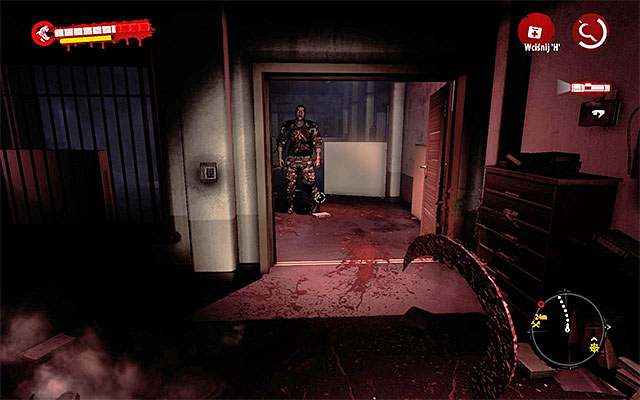
A bit further, you find another Thug - avoiding him this time may be troublesome. But as you have lot of ammo, you should be able to eliminate him easily.
Soon, you should return to beginning rooms of Military Base, which you've already searched during the previous main quest. Head for exit, eliminating zombies on your way. Go out.
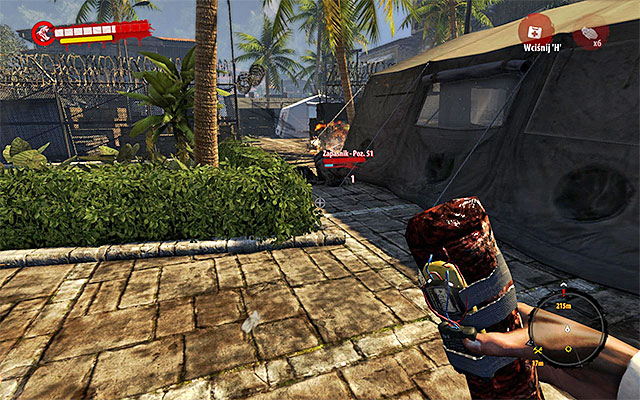
After getting out from main building of Military Base, you should prepare you meet a new group of zombies with Wrestler. You can fight him if you have good explosives: money and experience are always good.
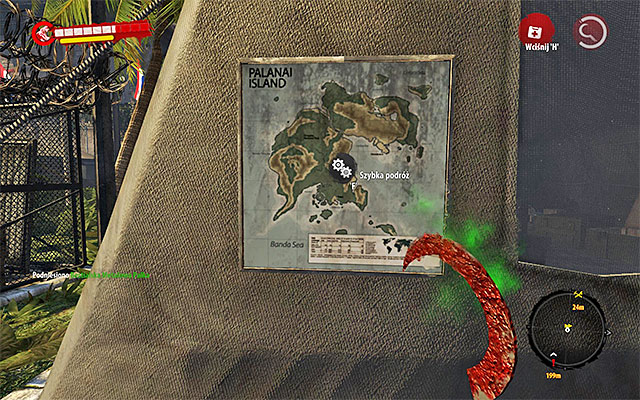
Now you have to return to Old City Cinema. Use Fast Travel point, shown on the screen above.
Find Sam Hardy in the cinema and take a Reward for the previous mission, which is a Heavy Pistol. Listen to what he has to say to you, which is about preparing a landing site on the cinema roof.
Jacqueline Phantom can be found at the bar. You have to talk to her about burning a fire at the cinema roof. She will eventually agree.
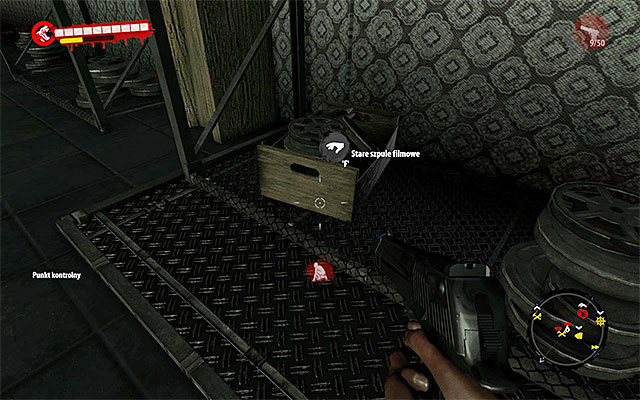
Enter the room on right from the bar, where you've met Jacqueline for the first time. Approach one of the crates with old film stocks and pick it up.
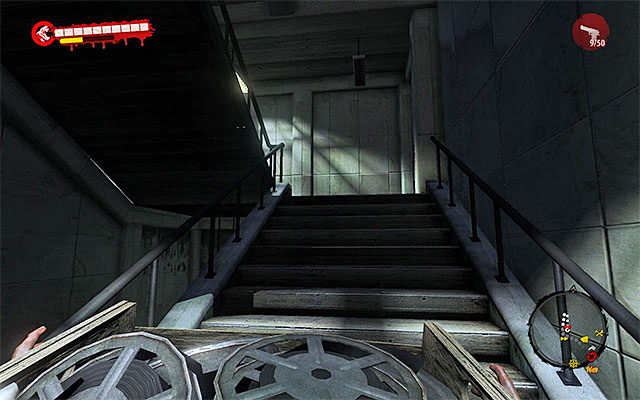
Take the crate nearby the bar and then head left, reaching a staircase. Go upstairs to the roof.
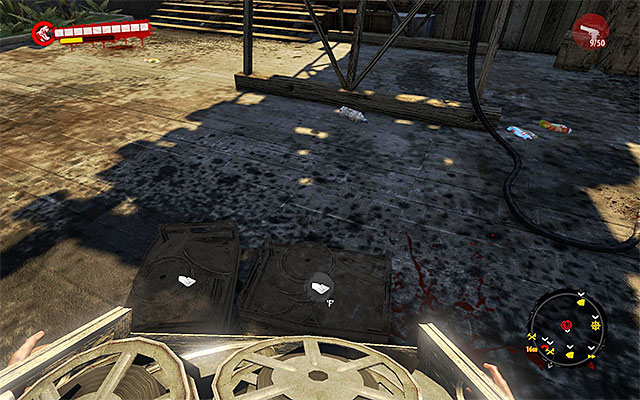
Approach the place where you have to set up a fire (screen above) and leave a crate here. Repeat all actions with the second crate with old film stocks.
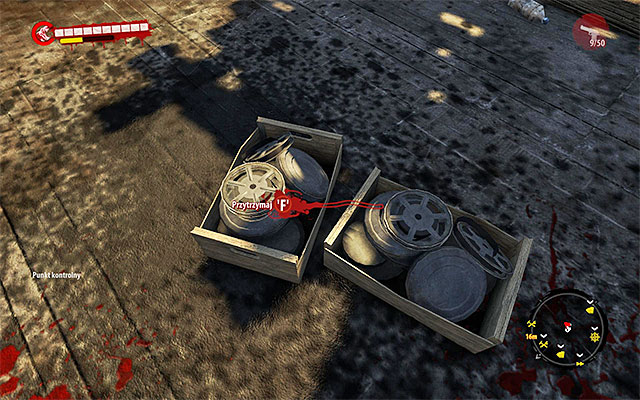
This task is easy, as you have to only hold Action key to fire old film stocks. Wait for the flames and listen to Trevor Rogers who says about dragging zombies away from the landing site.
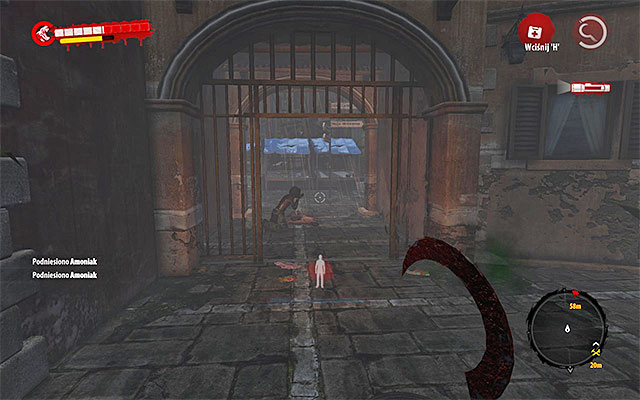
Your new target is a stage in Town Hall on southern west from Old City Cinema. Begin from regenerating supplies and caring about weapons. Then, leave the cinema through the window on the floor.
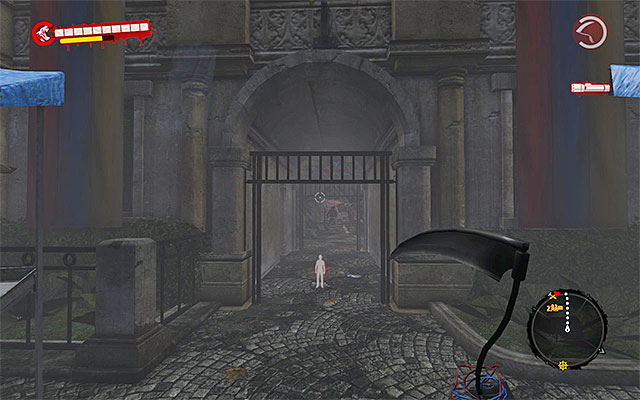
Jump down and head south. When you get onto a bigger square, find a southern west passage (screen above) which leads to nearby the stage.
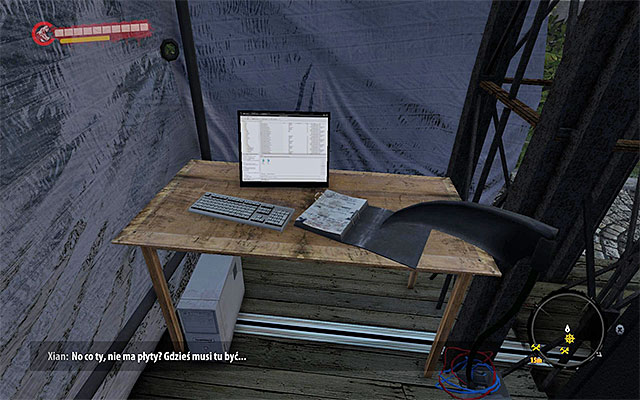
Head for the stage and eliminate all incoming Infested. When the area is clear, enter the stage and notice a music equipment. But there is no CD.
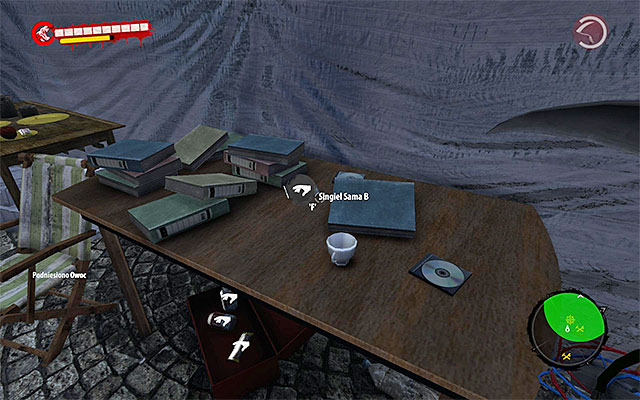
CD with Sam B's jingle can be found very quickly. It lies on one of tables behind the main stage (look at the screen above). When you get the CD, return to the computer and launch it, what ends this mission. Listen to conversation with Trevor who orders you to return to the cinema ASAP.
Main quest unlocked: Evacuation (quest is automatically unlocked after finishing the described mission).
About the mission:
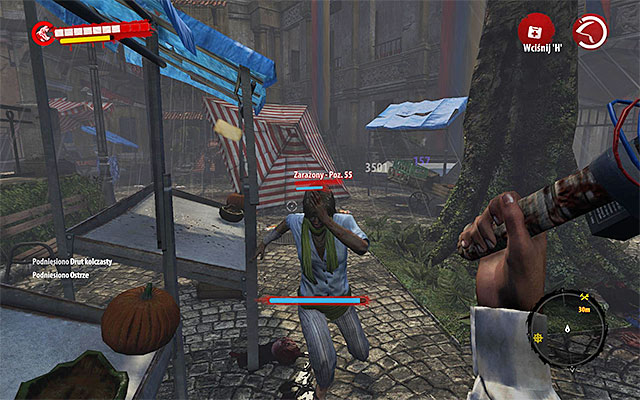
I recommend to head quickly for Old Cinema City because the new Infested will be coming from the moment when you turned the music on. The sooner you leave this place, the less number of monsters you'll have to fight.
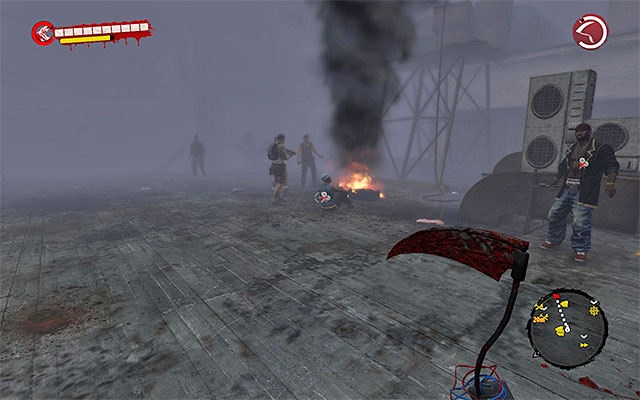
When you get near the cinema, use a ladder at the main door. Head for bar and turn to the staircase, to get onto a roof. Approach the rest of survivors what triggers an important cut scene.
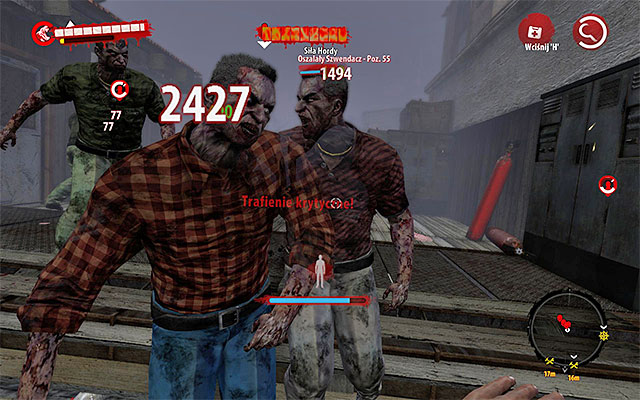
When the cut scene ends, a new attack of Horde begins. The main difficulty is a fact that you couldn't have prepared to it. Attack the first group at once, eliminating Walkers and Crazy Infested.
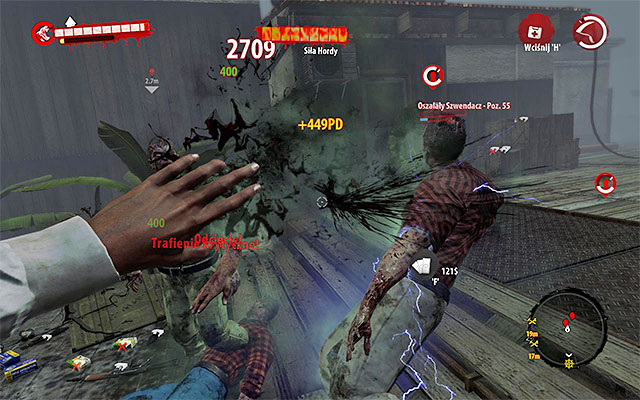
During the fight remember to save your mates. Don't delay it, as survivors disperse throughout the whole roof and reaching them may take some time.
Fight until the Horde loses first part of Strength bar. Now you have a few moments for preparations. Set up few fences and, if you still have time, plant some mines.
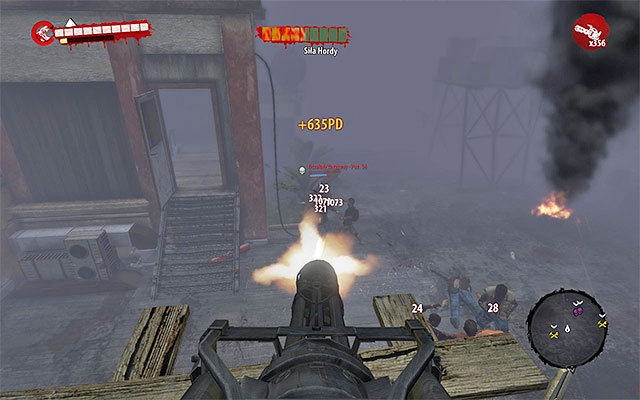
What is more you can also:
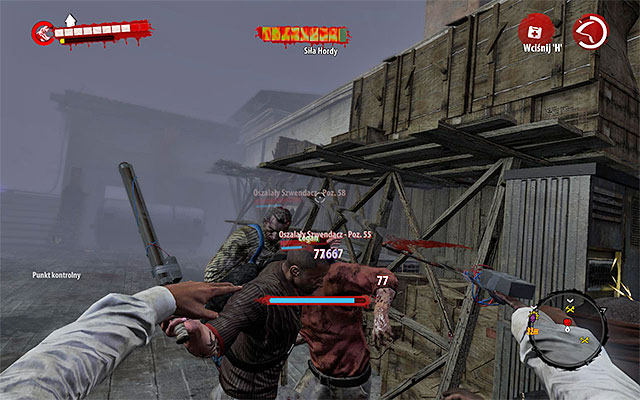
In the second part of the battle, you'll also encounter Walkers and Infested. Focus on getting rid of monsters jumping from the highest parts of the roof (screen above), as you can't protect against such type of attack.
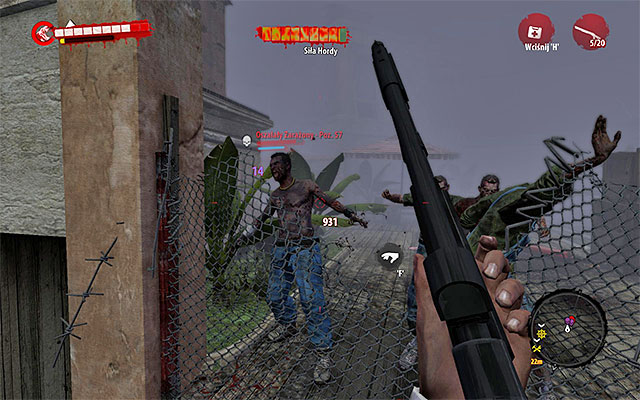
The rest of zombies will approach from south and southern west. If you set up fences before, you should control the situation. Use firearms, as you have plenty of ammo. Battle ends when three more parts of Strength bar disappear.
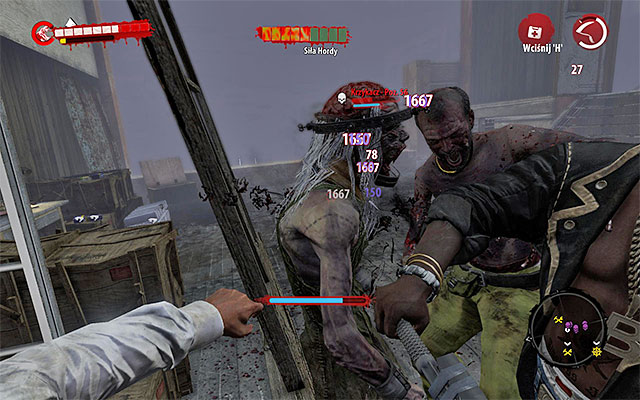
When you get to the third stage, focus on eliminating a single Screamer, who should emerge in the northern part of roof, where you can't set up fences. Use a machine gun station now, because most of undeads will gang up nearby it. Don't stop fighting when the first group is down, as the next ones will show up soon.
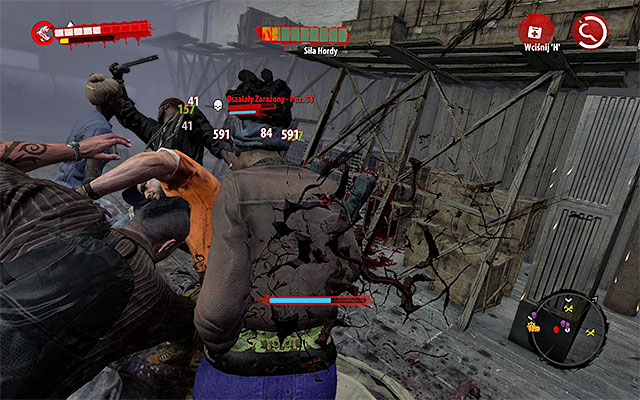
The last part of battle begins, when there are only two bars of Horde Strength left. Expect attacks from all directions so try to be where you are the most needed and remember to use environment elements. Defeating Horde finishes this mission and begins eleventh chapter.
Attention - It's a good moment to get a reward for Rescue, one of the previous missions. As the Sam Hardy is dead, take Katana from Trevor Rogers.
Main quest unlocked: The Crash (quest is automatically unlocked after finishing the described mission).
About the mission:
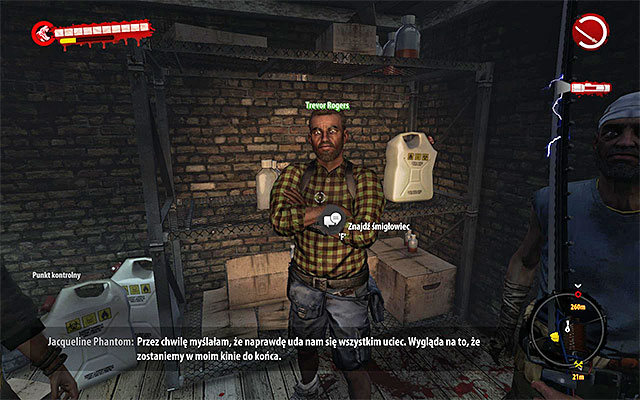
Trevor Rogers is inside a small shed on the roof of Old City Cinema and you have to talk with him. Man will suggest to search a helicopter, which has crashed in the southern part of the city.
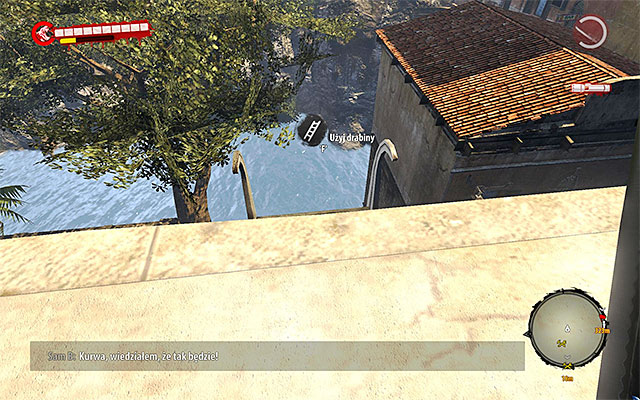
Catastrophe site is in the Henderson Fort, on the southern east from Old City Cinema. As the stairs leading on the cinema roof are barricaded, you have to return to ladder and get to the bottom. Walk around the building from the northern side (beware of Floaters!) and then choose one of paths leading south.
During walking through the main part of the city, be careful, because you'll find not only regular Walkers and Infested, but also Screamers, Wrestlers, Rams, Floaters and other elite undeads. Don't forget also to explore the vicinity for new workshops, supplies and secrets.
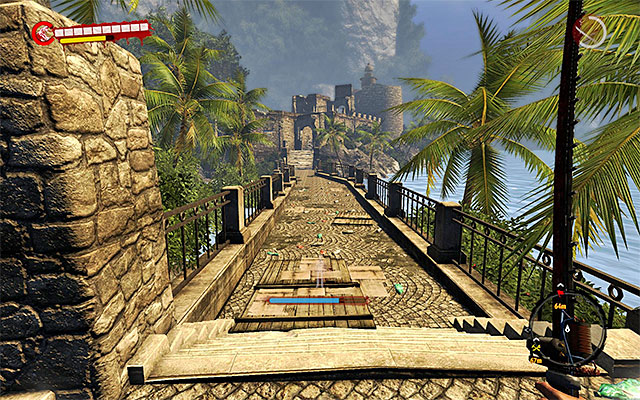
In the final part, choose the most eastern path, on south from Ogio Moke's Laundry what allows you to pass biggest groups of zombies. At the very end, choose a way leading straight east, at Henderson Fort. Go upstairs and reach the crushed helicopter.
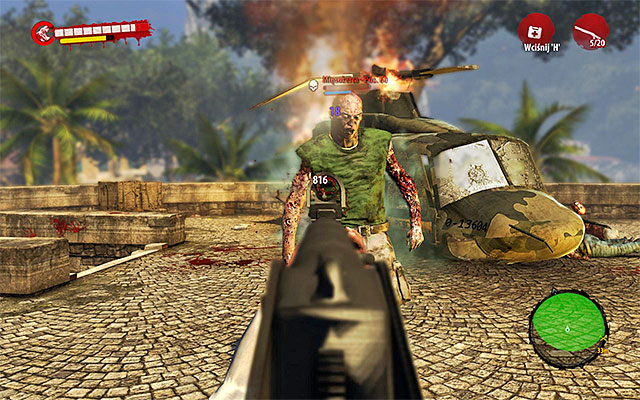
Be careful, because there is a group of zombies placed around the wreck with a Meateater among them. This is an upgraded Thug, what means even stronger blows and regeneration. You have to eliminate him on the distance, using firearm or explosives. But if you can't, simple pass him.
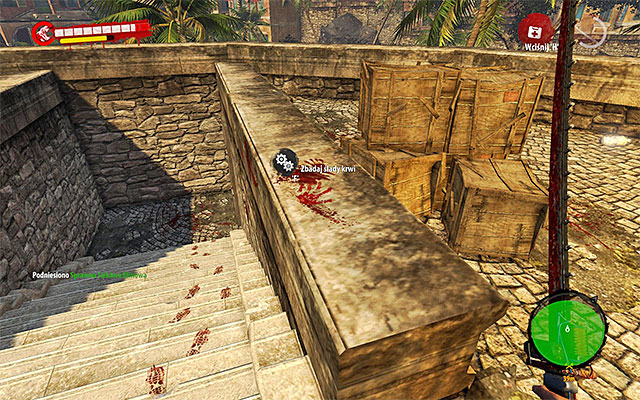
Whatever you did, search an area on northern west from the wreck and find traces of blood (screen above).
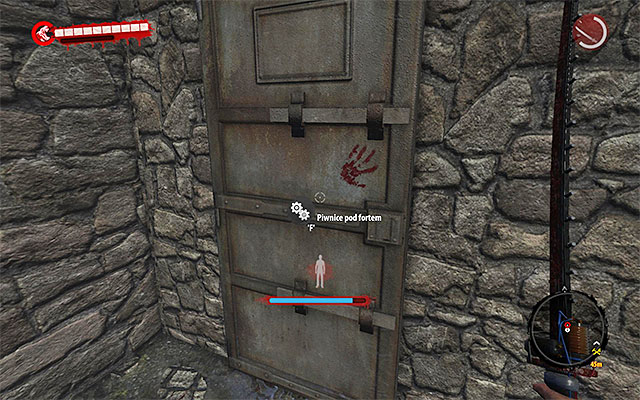
Go downstairs reaching Fort Basements. Open door and get into a new location.
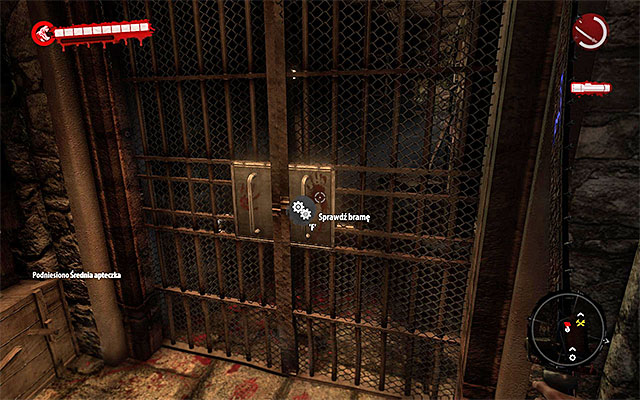
Begin walking through the underground location, using new stairs on your way. Soon, you should reach the gate - notice, it's locked.
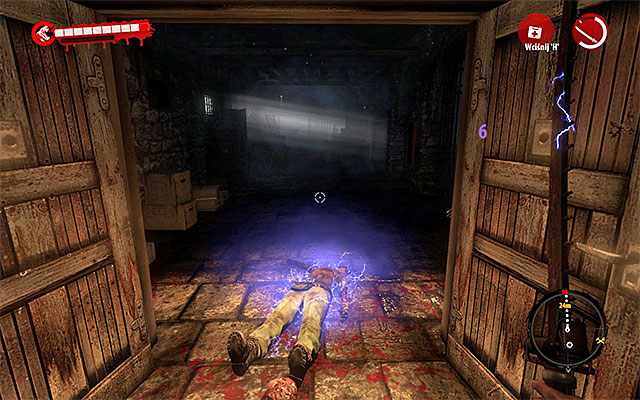
Return upstairs and approach the door, through which zombies were trying to get through. This time, zombies will succeed. Defeat Infested who will run at you and then use this door.
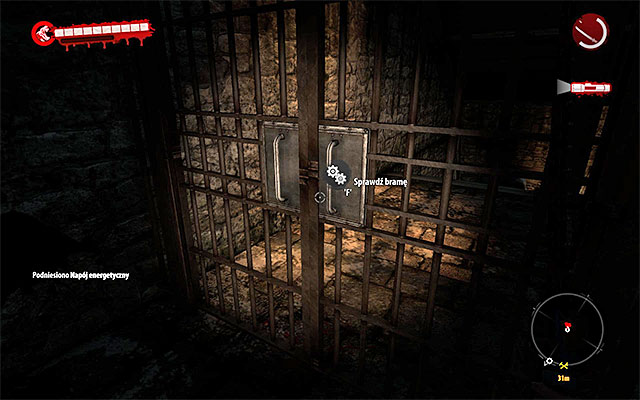
Move forward. Behind bars on right, you'll see new zombies - kill them, as you'll visit the area with them later on. Approach a new closed gate and examine it.
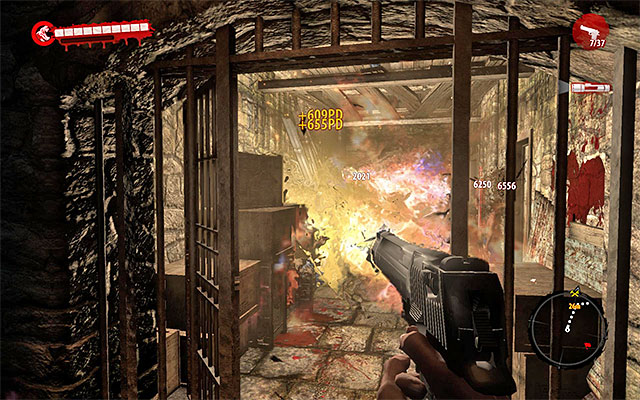
Turn right and resume exploration of basements. Eliminate all zombies on your way, using explosive barrels. Soon, you'll get to the door with Walker on its handle. Kill him and open door.
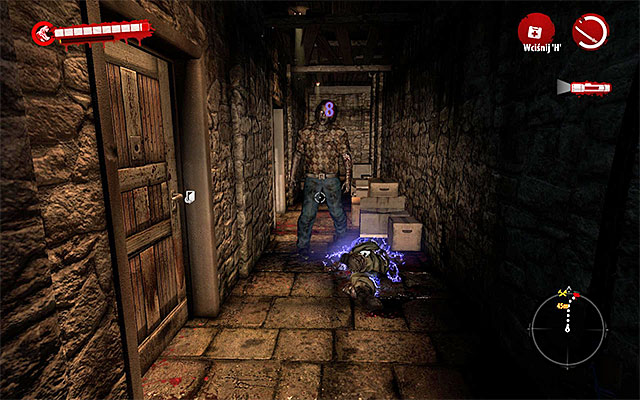
Defeat more undeads and use a workshop if you have to. Open door and attack more zombies, moving forward. Soon, you get to a corridor with few side rooms. Search them, because they contain more or less useful items.

Be careful, because as you get to the corridor, you'll meet Walkers, Infested and a single Thug. As this place is very narrow, you have to eliminate him - I recommend to throw a gas bottle at him and finish him with firearm. After a while you get to a area on the other side of previously met closed gate.
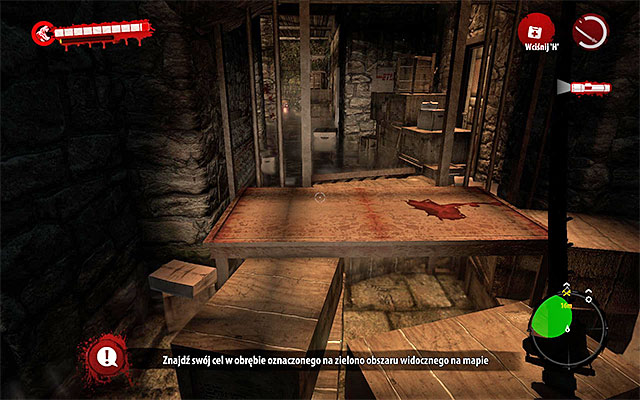
Go downstairs and resume walking. After a while you get to a green area. You have to jump over the blooded table (screen above). Then find another closed door - break it.
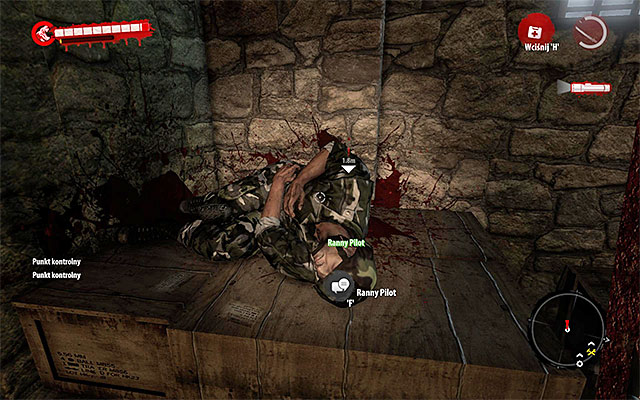
Approach the wounded pilot and talk with him. He says that Frank Serpo escaped the catastrophe site, but he doesn't know where to look for him.
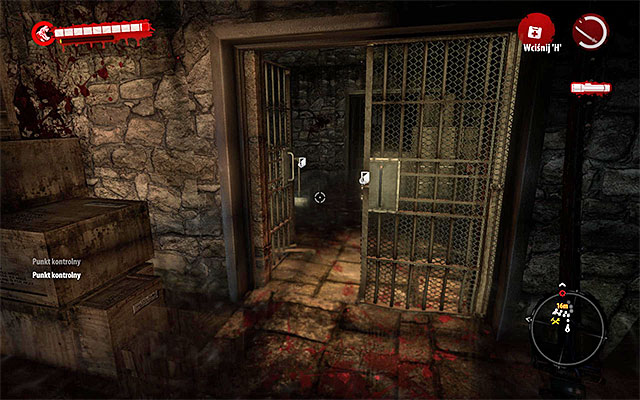
Return to previous area and unlock the gate. Go upstairs and head for exit.
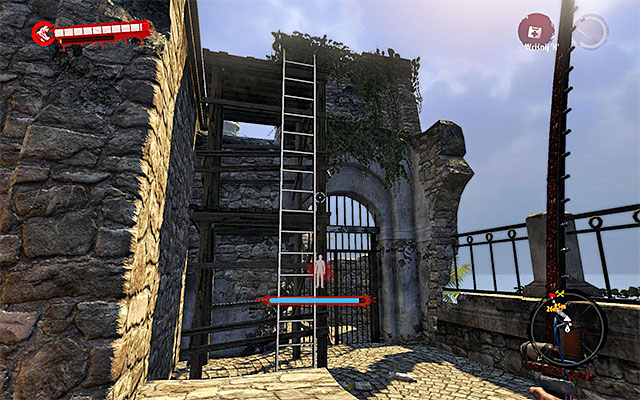
When you return to the surface, head for the eastern part of Henderson Fort. When you pass stairs thanks to which you get to the Fort, turn slightly right what takes you to a ladder (screen above). Use it to get to one of smaller Fort's towers.
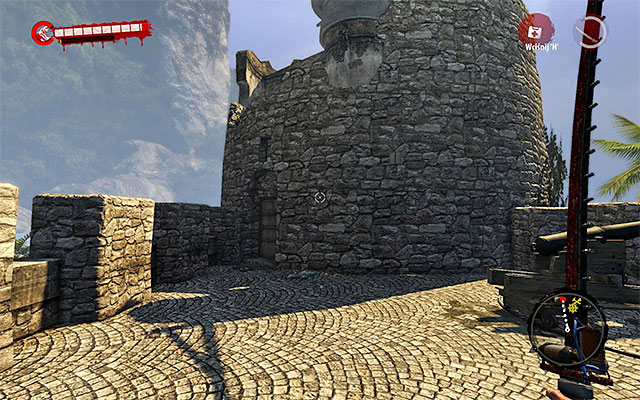
Approach the second ladder and go downstairs. Now you can head for the main tower.
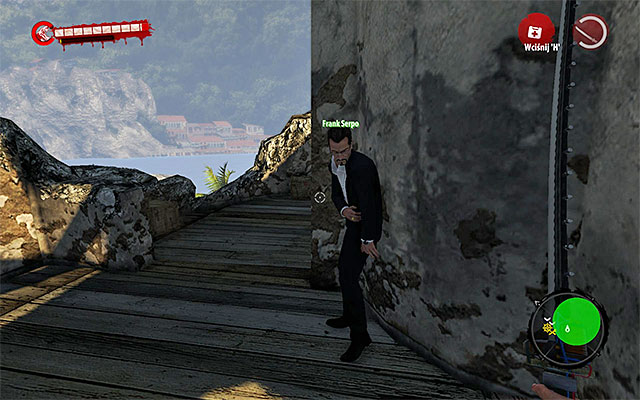
Open door leading to the main tower and look for stairs leading onto higher levels. Finding wounded Frank Serpo shouldn't be a problem. Talking to him finished this mission, takes you to the 12th chapter and transfers rest of survivors to the Fort.
Attention - Don't forget take a reward from Trevor Rogers. This time it's very useful Auto Rifle.
Main quest unlocked: Quarantine Zone (quest is automatically unlocked after finishing the described mission).
About the mission:
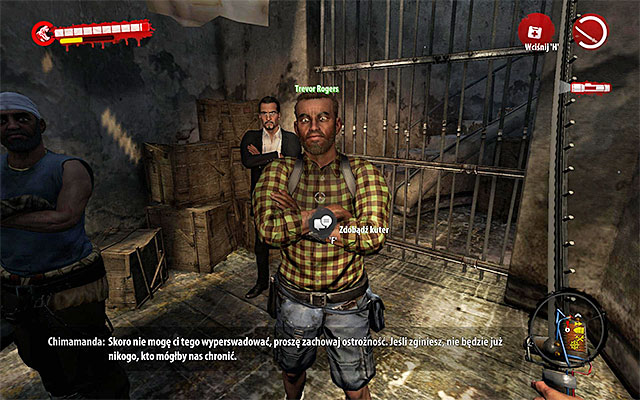
I recommend to spend some time to replenish supplies and upgrade/repair weapons. Then, look for Trevor Rogers in Henderson Fort and talk with him. It'll be about going to the Quarantine Zone to find boat and Harlow with stolen vaccine.
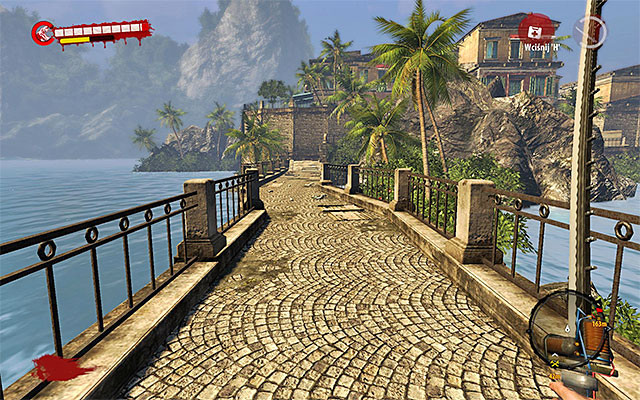
Quarantine Zone is far on north from the Fort, in the central part of Henderson. Begin from exiting the Tower and then head northern west, jumping over the destroyed wall or using two ladders again. Choose path leading west, to the center of the city.
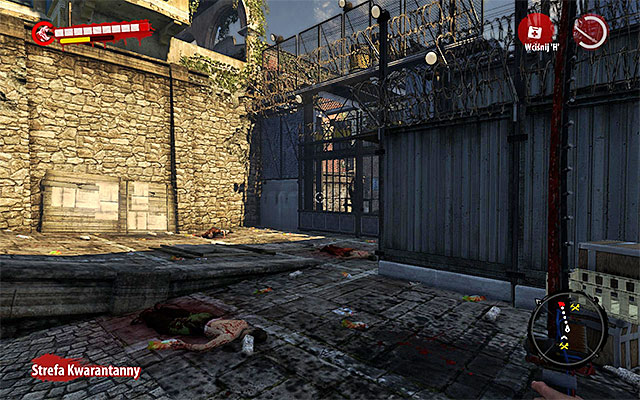
When you get to the city, turn north. Move forward. Your target is a big gate, dividing the city from the Quarantine Zone. But it turns out to be locked.
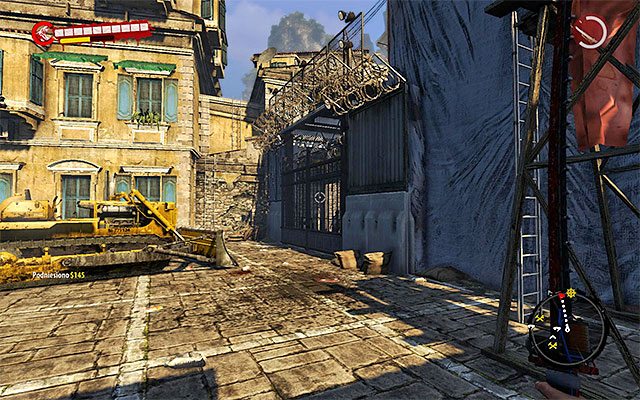
Head north, stay close to the wall of Quarantine Zone and eliminate zombies on your way. Second entrance is on the east from Infested Storehouse and it's shown on the screen above. Listen to the new conversation about using bulldozer to break the closed gate.
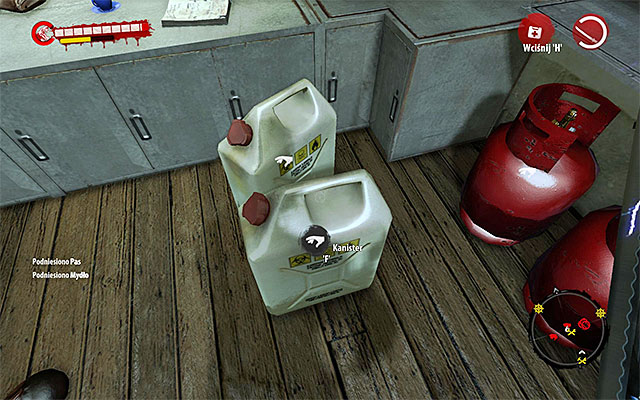
Canisters you can take from the workshop on the west from here, looking out for Walkers and Infested. Pick up any of canisters.
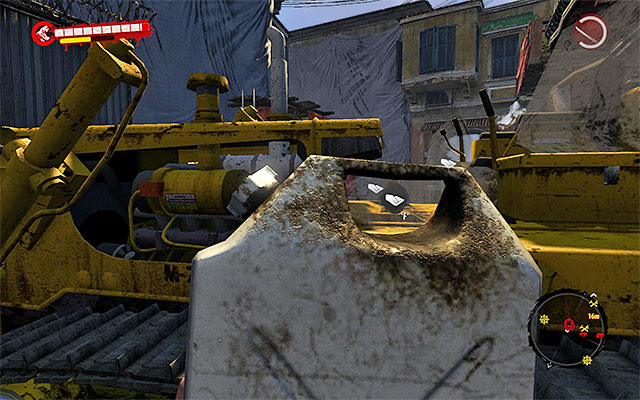
Return to the bulldozer and attach it in one of highlighted places. Repeat those actions with three more canisters.
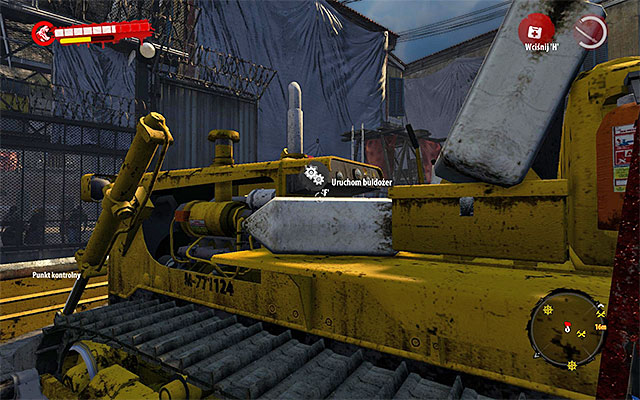
Approach the left side of bulldozer and press the button. Destroying the gate of Quarantine Zone will be shown in the cut-scene. It finishes this mission.
Main quest unlocked: With the Tide (quest is automatically unlocked after finishing the described mission).
About the mission:
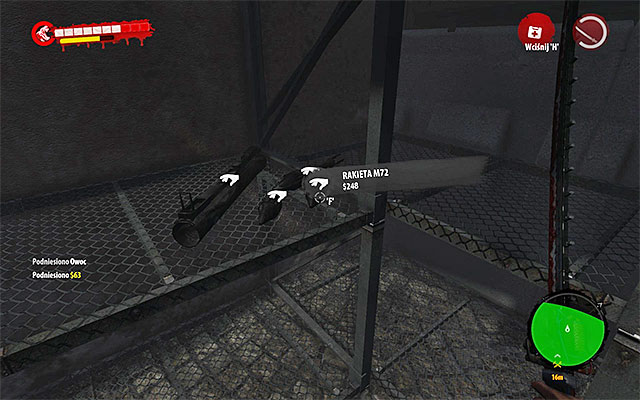
Head east, don't bothering the green area suggested by the game, because there is only one path to the docks. Remember to avoid burning corpses of zombies. When you get to the crossroads, head north, pick up ammo (for example M72 rockets for LAW). You can also use ladder to get to the room on the floor, where you find a workshop.
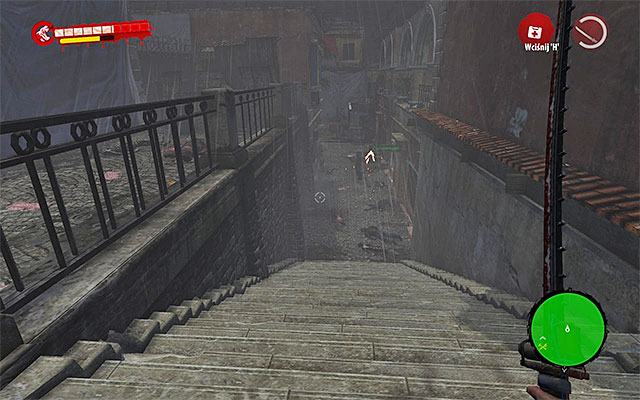
Head south, to the big stairs. Go downstairs and eliminate zombies.
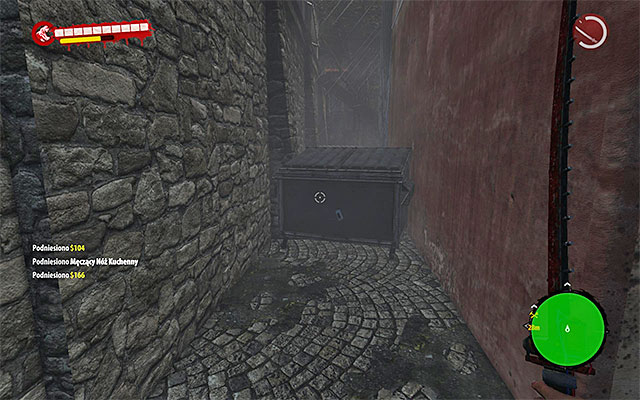
Now you can search an area on south and west from here (for example workshop, pharmacy and normal building) but it's dangerous - there is a Ram nearby. If you want just get to the docks, turn left after using the stairs and choose a narrow alley (screen above) leading east.
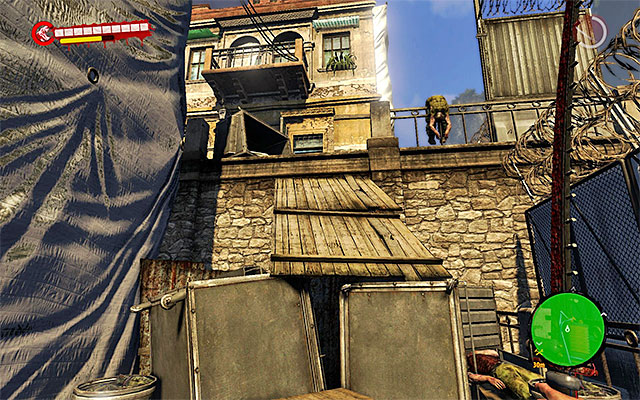
Jump over the containers and reach a ramp (screen above), which you have to use to continue you travel. Head north and turn east after a while.
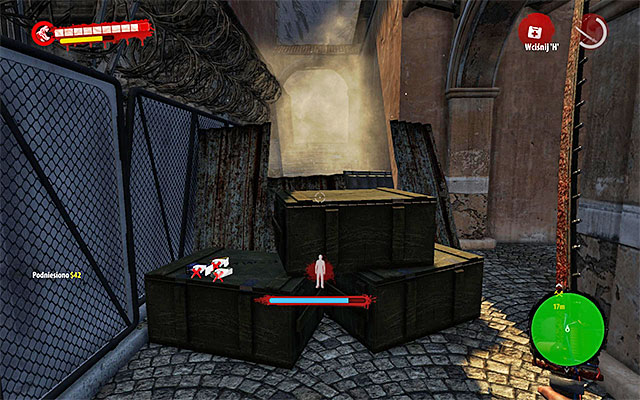
When you get to the second part of Quarantine Zone, you run into a crossroads. Ignore the northern passage, because it's blocked at the end. Search the southern one, shown on the screen above.
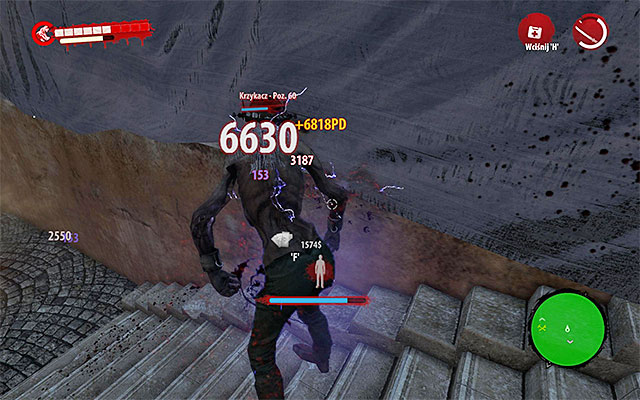
From now on be careful, as you'll run into elite zombies more frequently. So don't push too hard forward, to not fight many zombies at once. Firstly, you'll fight a Screamer - shorten the distance and eliminate him.
Move on, eliminating some Toxic Walkers on your way. They aren't a threat, but keep them at bay due to the toxin. You have to reach a bigger square, which central part is burning.
Here, you'll fight a Thug and upgraded version of Wrestler. The latter one is able to regenerate after successful attacks, so avoid direct combat. You can fight him like normal Wrestlers and plant some mines or use LAW launcher (remember to keep the safe distance!).
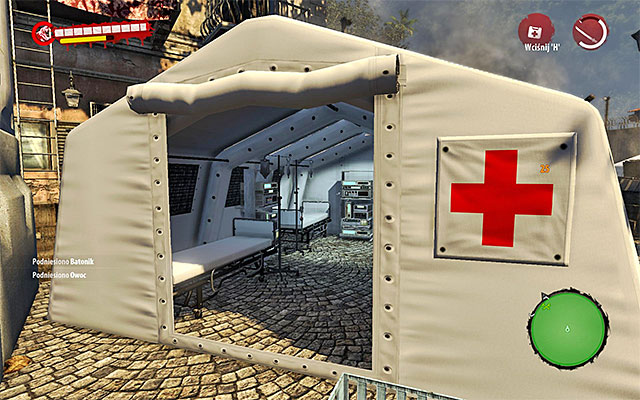
You can avoid the burning area from the south. Examine med tents on your way, where you find at least one med-kit (in each). Besides, look for ammo crates.
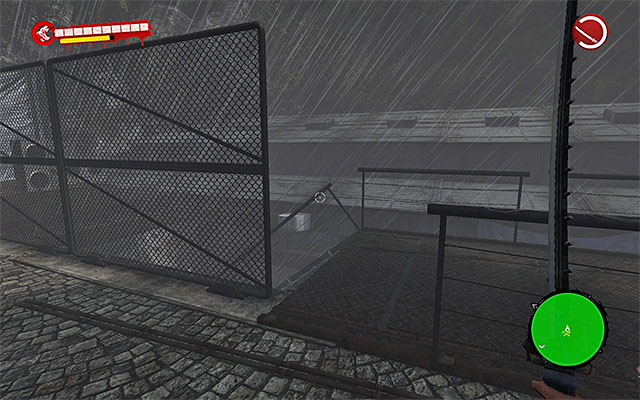
If you want to get through this area ASAP, get to the eastern balconies (screen above). Otherwise, be prepare for another Thug, another upgraded Wrestler and a Ram (avoid his charges and fire at his backs).
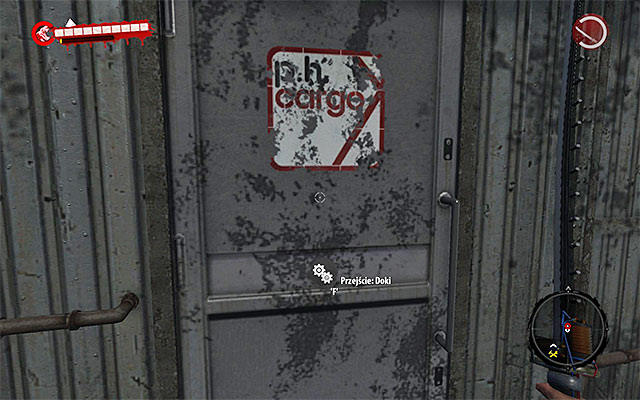
Go downstairs and reach door leading to the Docks. Notice that you obtain a new objective and get to the thirteenth chapter. Open door and move into a new location.
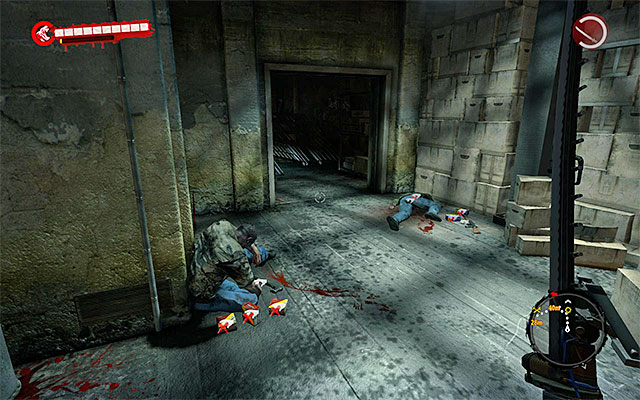
Go downstairs and start exploring Docks. Your travel will be rather linear, as you have only few side rooms to check. But be sure to examine them, because you'll find med-kits, ammo and precious items.
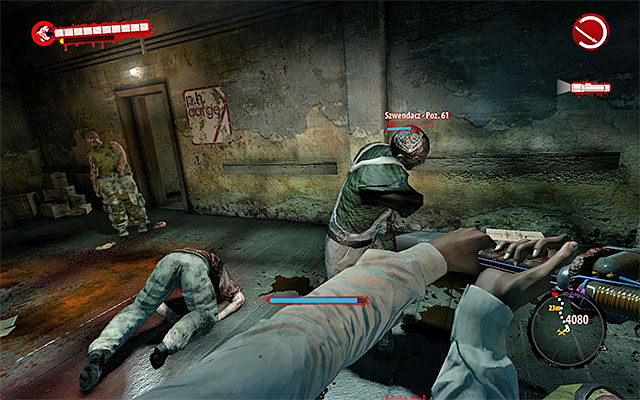
Go through a metal construction and then crouch to slide to next corridor. Be careful, because when you pass a shed, you get to a room with a plenty of "sleeping" Walkers. Eliminate them and move on.
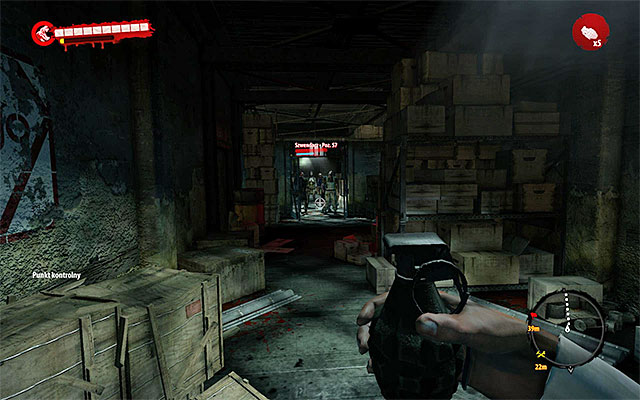
Approach carefully closed door, to which new zombies are banging. When you get close enough, the barricade falls. Eliminate undeads with grenades or molotovs - especially, that there is a Screamer among them.
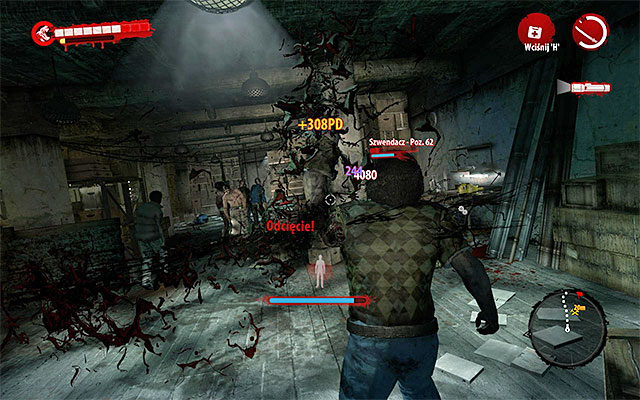
Use a newly unblocked passage and move on. Soon, you'll have to choose a path. If you don't mind eliminating new zombies, enter the left storehouse (workshop here!). Otherwise choose the right path, which leads through few smaller and empty rooms.
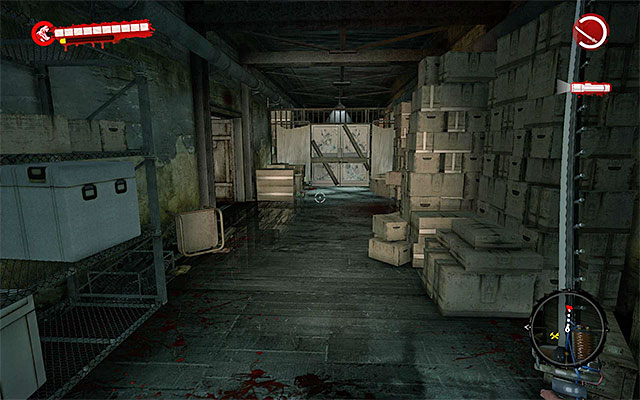
Whatever you did, you should reach a new barricade (screen above), which also will be broken by zombies.
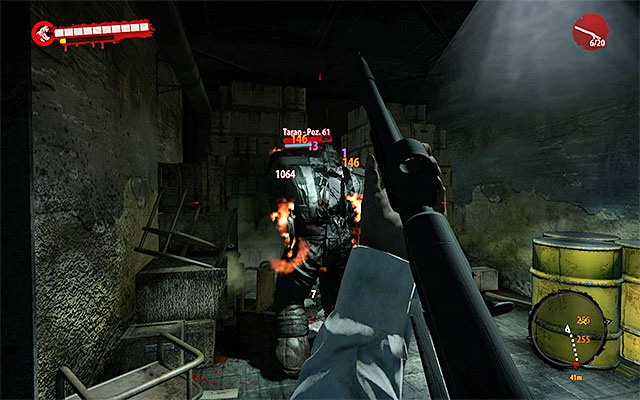
Now you have to be careful, because not only Walkers will rush at you - there will be a single Ram also. If you cleaned up the left storehouse, you can avoid his attacks easily. As in the previous encounters with this enemy, try to attack his backs with shotgun or a rifle.
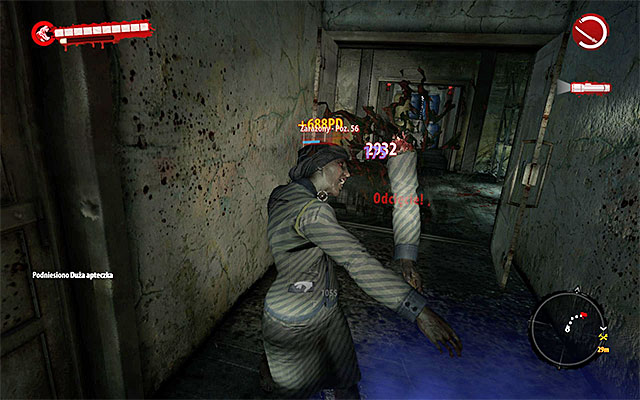
When you eliminate all zombies, return to the barricade and choose the new passage. In the further part of walking here be careful, because Infested will be hiding in the side corridors, ready to attack you from surprise. What is more, beware of another barricade, which will be destroyed by zombies. Luckily, this time only a group of Walkers will rush at you (throw a molotov or some explosive, they'll be in a narrow corridor at first).
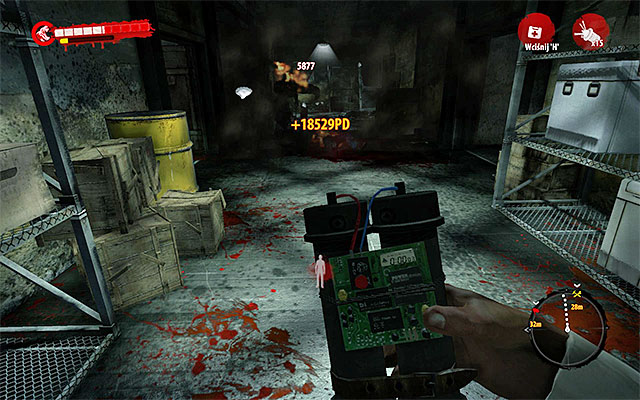
Turn left and notice another elite monster - a Wrestler. I recommend to set up mines. In this narrow corridors leading him into mines is much easier. If you run out of mines, you can use LAW launcher.
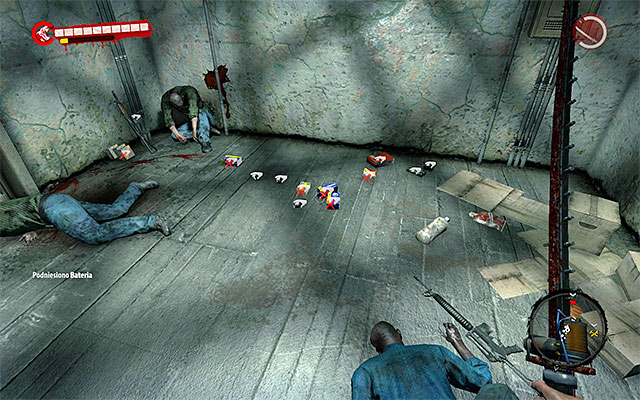
Continue walking, you run at a stairway. Go downstairs, but stop at a landing shown on the screen above and pick up supplies: ammo, med-kits, grenades and mines.
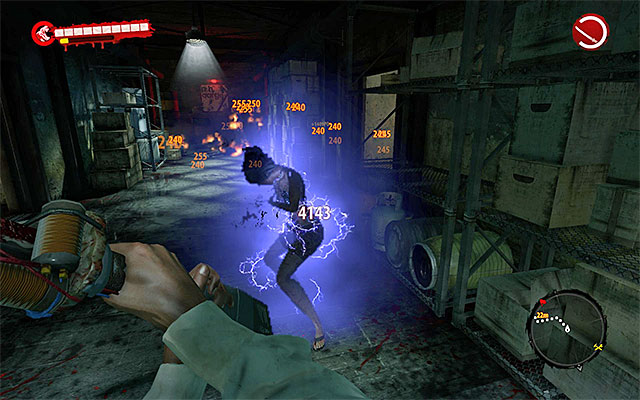
Finish journey to the lower level and consider using a workshop. For next few dozens of seconds, you'll fight only Walkers and Infested (the latter ones hiding in the side corridors). After a while, you'll obtain new objectives.
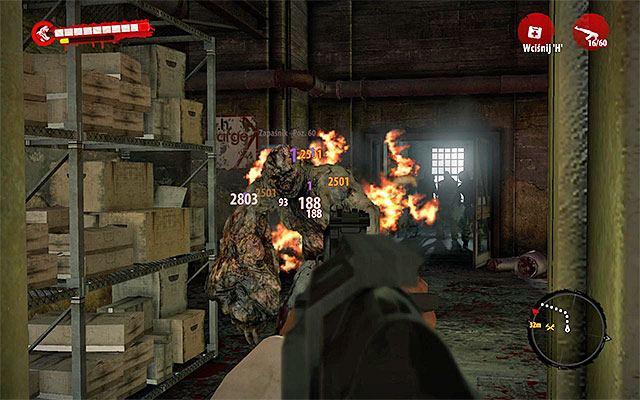
Enter the right room and attack a group of zombies. Be ready to defeat another Wrestler, who'll emerge from the left.
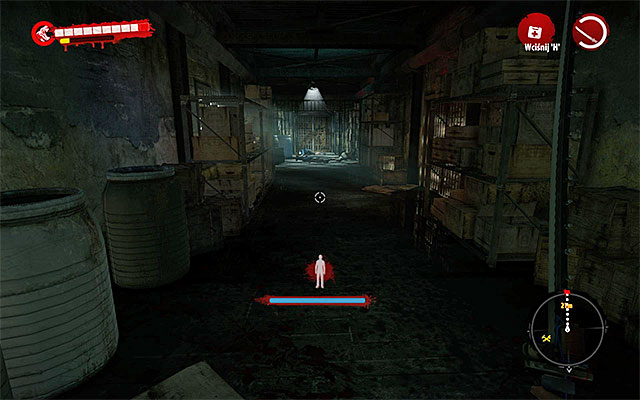
When the area is clear, choose a corridor from which Wrestler appeared. Look into one of side rooms - you find a workshop there. You have to reach an end of the corridor, as the elevator is there.
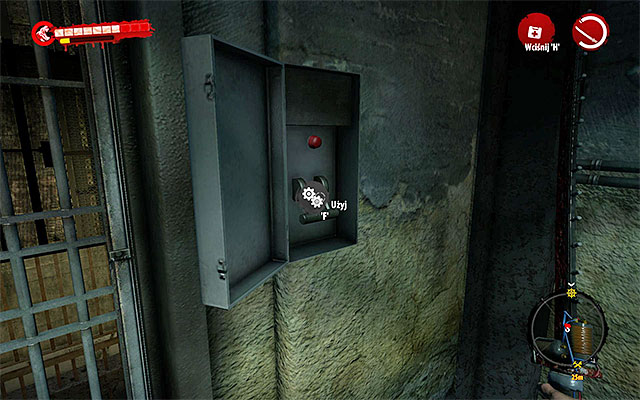
Use a switch on right from the elevator. Unfortunately, it will stop at one of lower floors,. You have to think about some new plan.
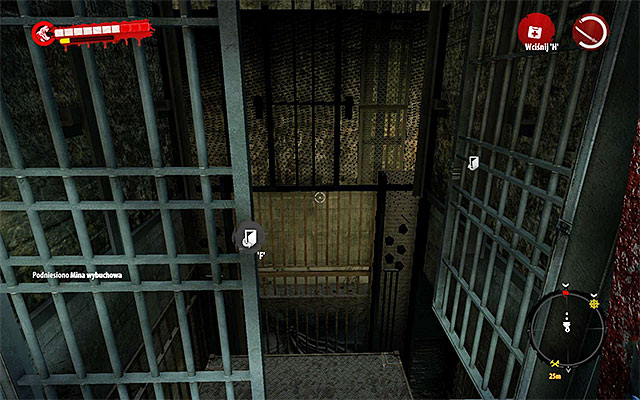
Begin from moving aside a gate separating a corridor from the shaft. After that, jump into the shaft landing on the elevator roof.
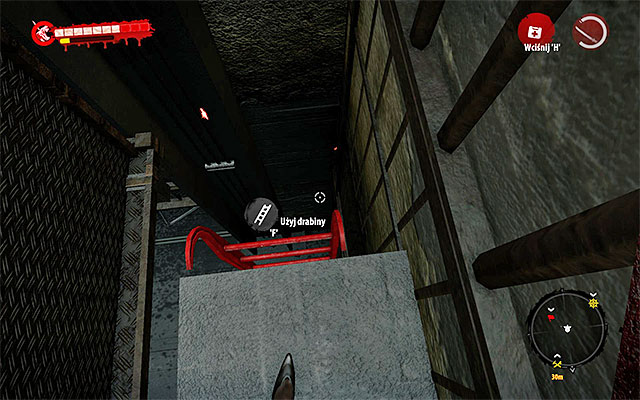
Go right and find a place where you can use a ladder. Go to the very bottom, reaching a huge laboratory.
Before you head for the place marked by the game, you should get to know this place - here the final battle of the game takes place. I recommend to pick up all med-kits and remember where all ammo crates lies and interactive valves are (using the last ones make flames appear).
After checking the laboratory, head for stairs in the far end of this room. You find a corpse nearby, at which you have to look closer.
Turn around and go to the next green area. Here you have to find a terminal (screen above).
At the very end, approach mutated bodies lying on the tables and examine one of them.
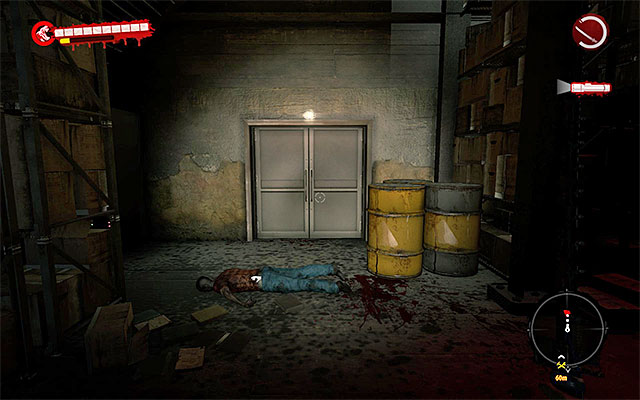
Make sure one more time that you're prepared for the battle and approach the door at the end of laboratory. You'll see a long and interesting cut scene about meeting with Harlow.
Immediately after finishing the cut scene, exit the room where you've talked with Harlow, as she'll start firing at you. During this encounter, you have two ways of behavior. The most obvious one is to use firearm (rifle or sniper rifle) and attack her from a distance.
Alternative option is to throw grenades and explosives to room with Harlow inside. Whatever you choose, remember to hide behind covers and picking up ammo and supplies regularly. First part of battle ends with a cut scene showing another speech of Harlow.
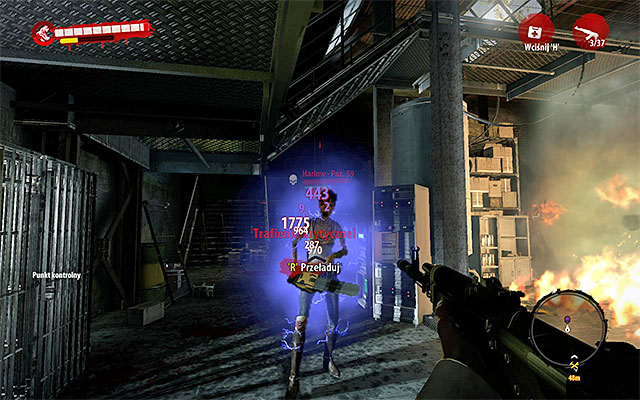
Second part will be even more difficult, because Harlow will use a mutagen. Notice also, that she picked up a chainsaw. So you have run around the laboratory, avoid direct contact and use good firearm. You can also throw mines here and there, but be careful not to explode.
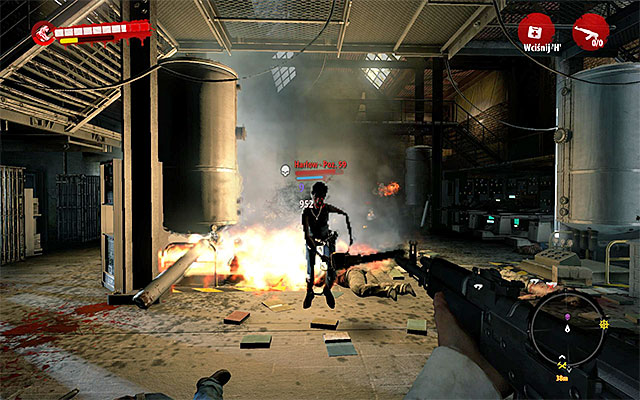
Avoid also Harlow's molotovs. You can also unscrew valves, but it may be difficult as Harlow moves very quickly. Fight until another cut scene appears (when Harlow loses about 2/3 health).
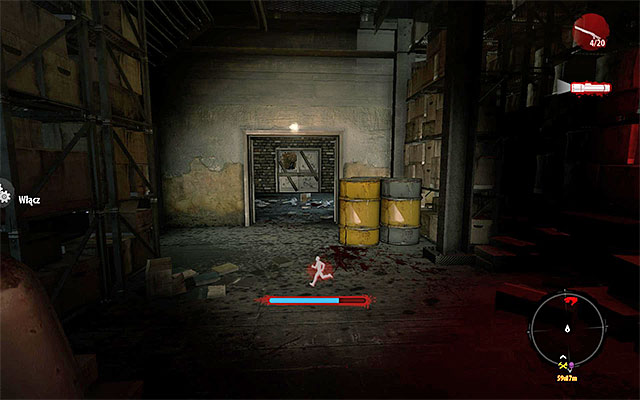
Don't fight with Harlow any more but head for the room where you have met her for the first time here (screen above).
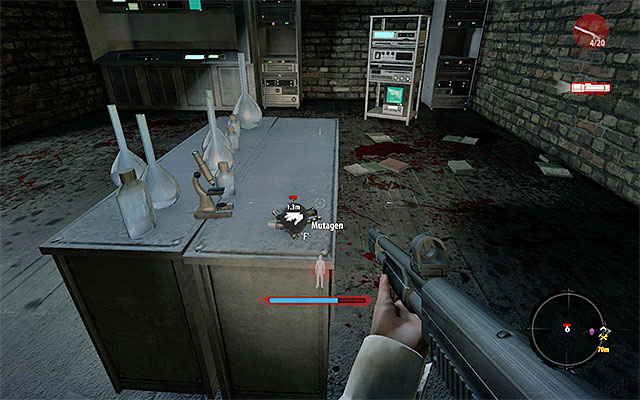
When you get there, run to the central room and pick up mutagen.
From now on the battle becomes much easier. Wait until the Fury turns on and attack Harlow directly, without letting her to retaliate. Attack until her health drops to zero.
It isn't end, because various mutants and undeads start appearing in the laboratory. Attack them one after another. Luckily, mutagen and Fury allow you to eliminate even the biggest ones without any problems. When the fight ends, listen to dying Harlow and consider taking her Chainsaw.
Use one of new side passages to exit main area of laboratory, look for supplies and go upstairs.
Start exploring this area and eliminate zombies on your way. You'll meet another Wrestler - but he shouldn't be a challenge. Follow the path, reaching a small stairs. Use them and jump to the dock where you find a boat.
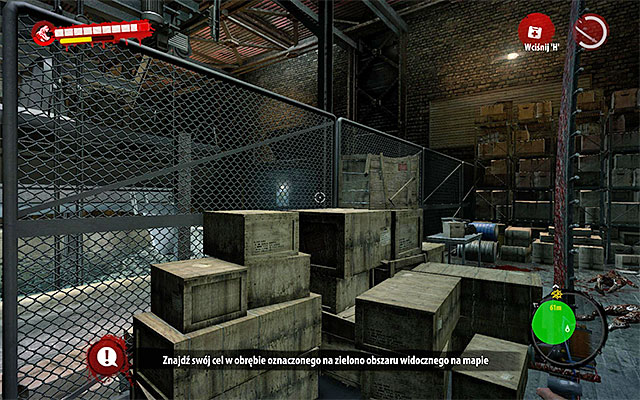
A net separates you from the boat, so you have to climb using crates shown on the screen above.
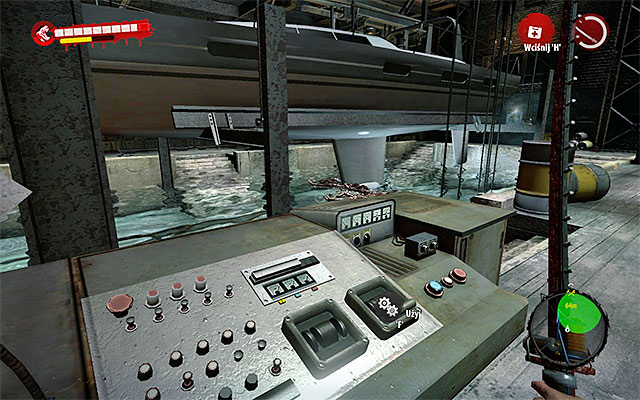
Look around and turn left to reach a console which descends the boat (screen above). Use it and watch a new cut scene with Frank Serpo.
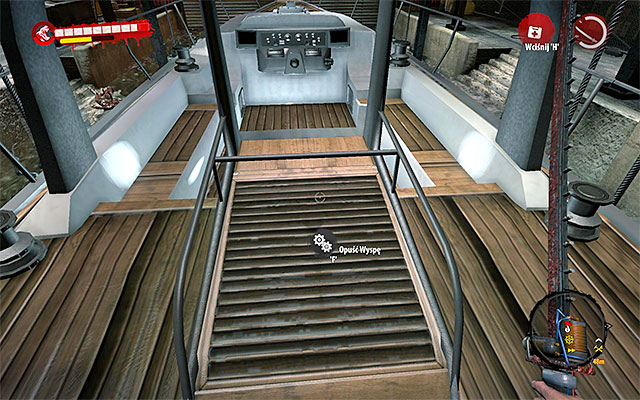
Get onto the board. Using the manhole means ultimate ending of your journey. You should make it only when you've finished all your business here. Luckily, you can use nearby Fast Travel point.
And... that's all, folks. You can now enjoy the ending film and credits. Congratulations!
About the mission:
This sidequest appears when you get to the second chapter. Find Zoey in the western part of Paradise Survival Camp and talk to her, what begins a mission - find all required part to electrify camp fences.
Attention - If you begin this mission in the later part of the game, Zoey may be in the other camp.
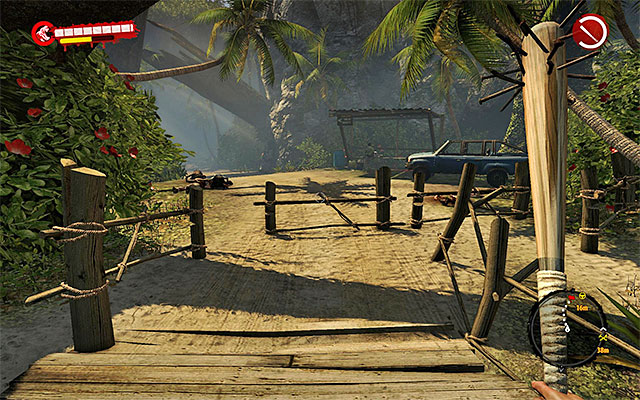
Firstly, you have to find five batteries. As the journey will be demanding, make sure you have good weapons and lot of medicaments. Choose an eastern exit from the camp and get to the road where car is parked. Enter it and head southern east.
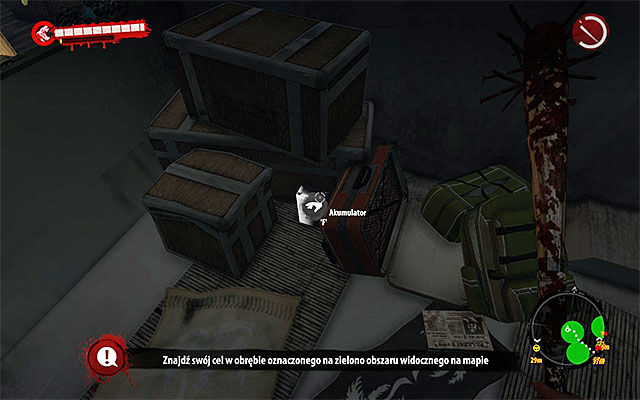
Stay on the main road until you get to the Kiwi Camping. Exit the car. Be careful, because you may run into Infested and Walkers.
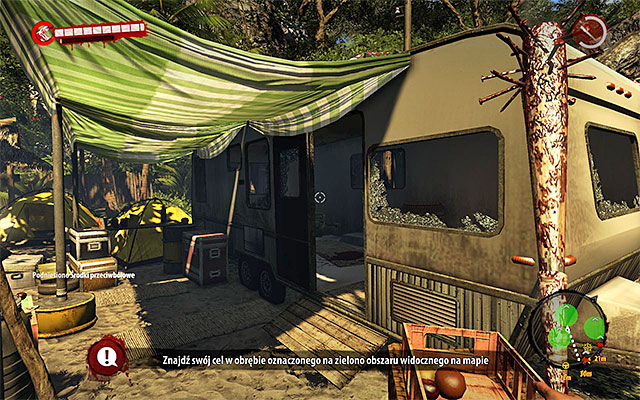
You have to find five batteries. Game will mark areas which you should search, you can do it in random sequence. Every time, you will have to examine a trailer.

Be careful, because inside some of them you may find new Walkers. Search all trailers and collect five batteries.
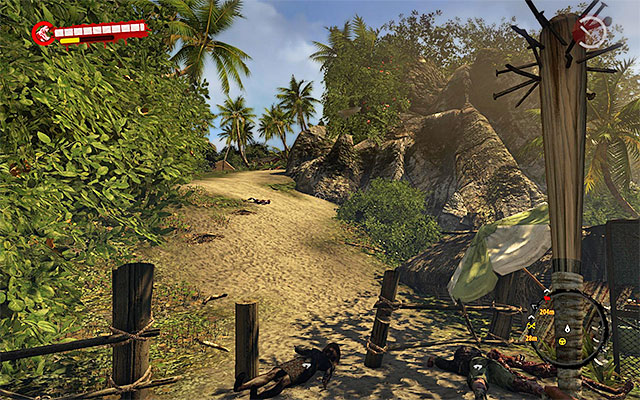
Cables you are looking for are in Mataka Village. You can get there moving in a straight line, choosing a path on northern-east, on east from Kiwi Camping. If you prefer to use a car, choose a longer path staying on the main road.
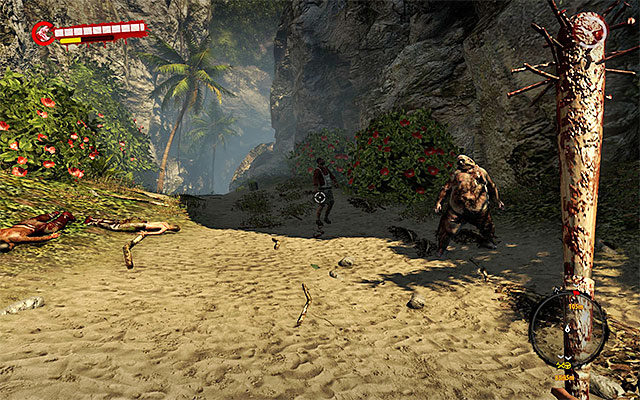
If you chose walking, beware of many undeads on your way, especially Drowners (avoid if you can) and Suiciders (eliminate from distance).
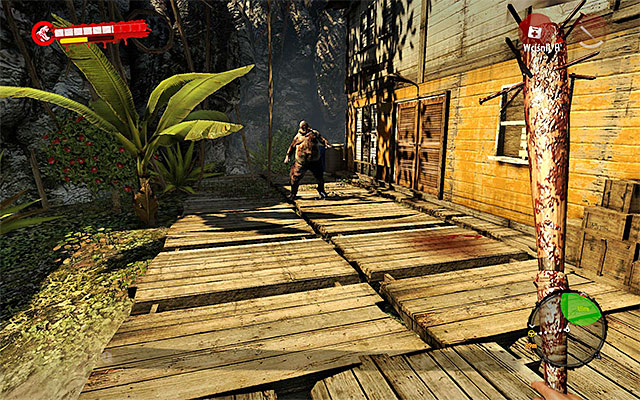
When you get to Mataka Village, game will mark area with cables you're looking for. It's a big building which you have to approach from the east. Beware of nearby Drowner. You can lure him out and pass if you don't want to fight him.
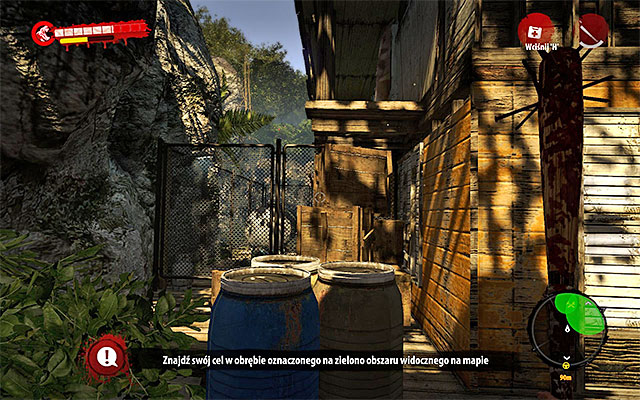
Search the eastern wall of the mentioned above building and climb up onto wooden balcony.
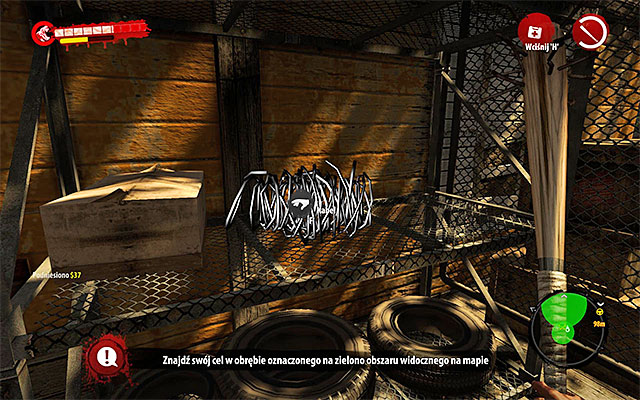
Jump down and eliminate a single zombie. You can pick up first cable.
Now ram out door leading inside, turning on the flashlight. You have be careful, because there is also a Suicider inside. Try to eliminate him from the distance. When the building is clear, find the second cable.
Now you need to return to Zoey in the Paradise Survival Camp (choose the same way). When you get there, find and talk to Zoey and get a Reward which is a Lightning Mod.
Sidequest unlocked: Mines Go Boom (to unlock this quest you have to talk with Zoey in Paradise Survival Camp)
About the mission:
This mission appears when you finish the sidequest Electrifying. Talk with Zoey in western part of Paradise Survival Camp again. She'll ask you to find components of explosive mines.
Attention - If you begin this mission in the later part of the game, Zoey may be in the other camp.
Here you have to find all components on your own, without any given localization. You shouldn't have problems with finding Suiciders, because when this mission is unlocked, you'll meet them far more often. Eliminate them from the distance, best with firearm.
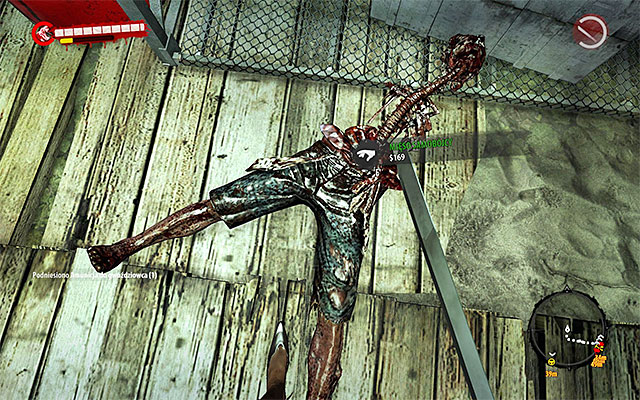
When Suicider explodes, search his body and maybe you'll find Suicider Meat. Continue fighting them, until you get four parts of it.
When it comes to the Electronic Scrap it's one of the most common resources required for weapon modifications, so search the vicinity and open various containers and you'll find it for sure.
Now return to Zoey in Paradise Survival Camp and give her all components.
Talk once again with Zoey, who tells you that she need some time for making mines. Wait until the objective gets activated and talk to her once again. You'll obtain 10 Explosive Mines.
About the mission:
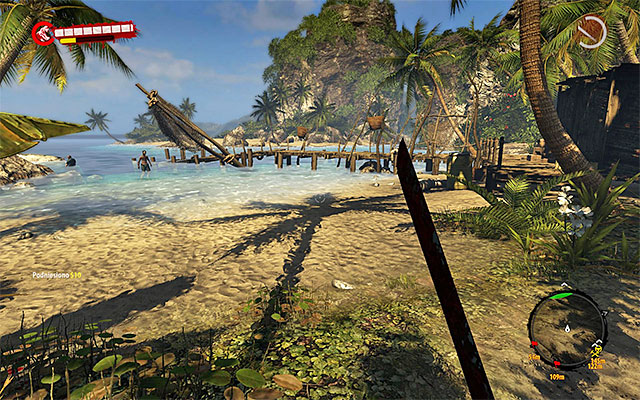
This mission unlocks when you get to the second chapter. Find Chimamanda in one of buildings of eastern part of Paradise Survival Camp talk to her and you obtain a mission concerning searching Pearl Sands for a supplies from shipwreck.
Attention - Attention - If you begin this mission in the later part of the game, Chimamanda may be in the other camp.
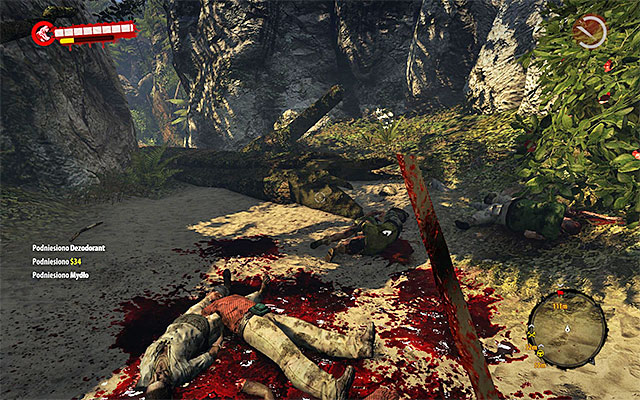
You have to return to Pearl Sands, which is a beach where you've landed in the first chapter. You can choose whichever path you like, but remember that you can run into zombies.

When you get nearby the beach, game will mark three areas which you should examine more carefully. You can search them in random sequence, but I recommend to start from the one on the north. Beware of new zombies, especially the Floaters.
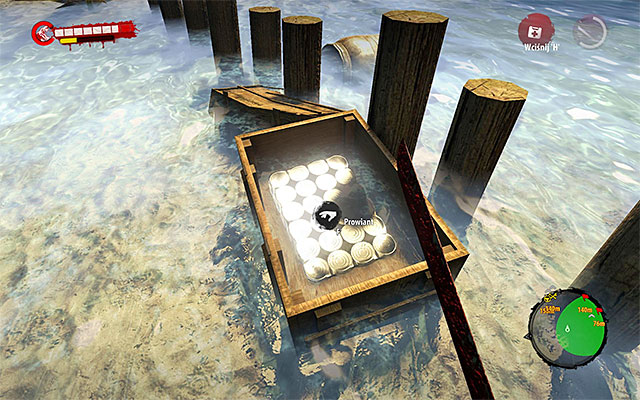
Supplies can be found in the chest submerged in water.
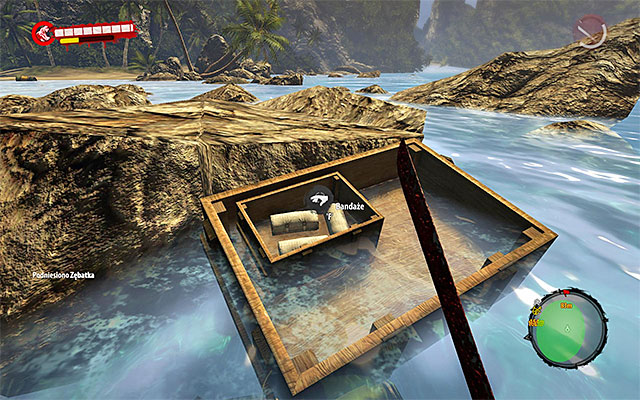
Now go south. Also here beware of Walkers. Find a chest with supplies lying nearby rocks.
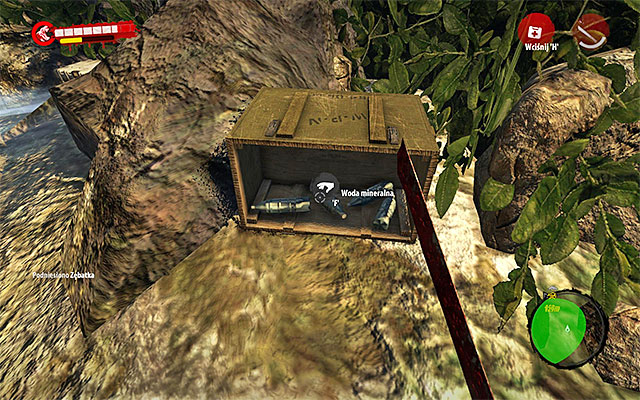
At the very end, go east. Don't hurry too much, because you will run into Walkers, Infested and single Floaters. Get onto rocks and localize an open chest with supplies.
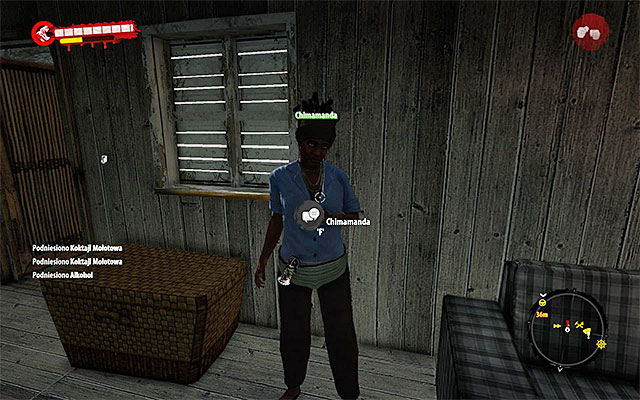
Now return to Chimamanda in Paradise Survival Camp. Enter the building when Chimamanda is talk to her and get a Reward which is a Meat Mallet.
Unlocked event: Field Kitchen (to unlock this you have to talk with Chimamanda in Paradise Survival Camp again).
About the mission:
This mission unlocks when you get nearby the Oil Storage, on south from Paradise Survival Camp. Get closer to it, so a mission of rescuing Brian appears in your journal.
Assumptions are very simple: you have to eliminate all zombies in Oil Storage. You don't have to worry about Brian, because he is on the other side of net. The best is to use some vehicle to smash zombies, especially, that there'll be a Thug.
When all zombies are dead, approach the net and talk with Brian. He'll thank you and give a lot of cash (use an occasion to search whole area).
About the mission:
This mission appears when you get to Pierre's Magasin on east from the Paradise Survival Camp. Approach it so a new quest shows up in your journal.
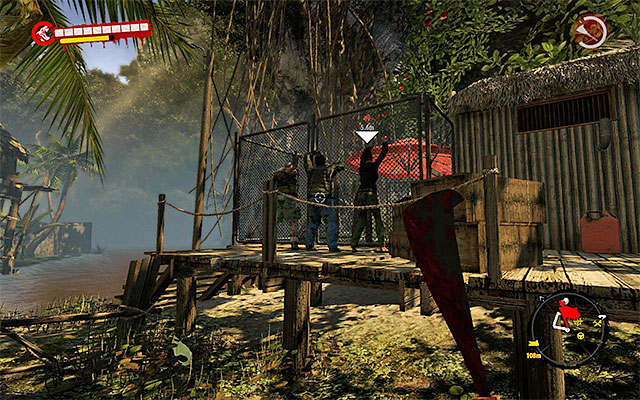
Assumptions are very simple - you have to defeat all zombies around the Pierre's Magasin which are Walkers and Infested. Luckily Pierre is safe behind the net. You can't use your car this time to smash them, so get out and kill them in your favorite way.
When the battle ends, approach Pierre who'll ask you to find him some fuel. You have a new quest!
Pick up nearby petrol can and get it on the car. Attention - if you got here on feet, find some vehicle, or you'll have to carry the petrol can all over the map.
Enter the car and head for Oil Storage on the west from Pierre's Magasin. If it is your first visit, complete the other quest first - Saving Brian. Otherwise, park nearby the petrol pump. Exit the car, place petrol can at the pump. Use the pump - there is no petrol in it.
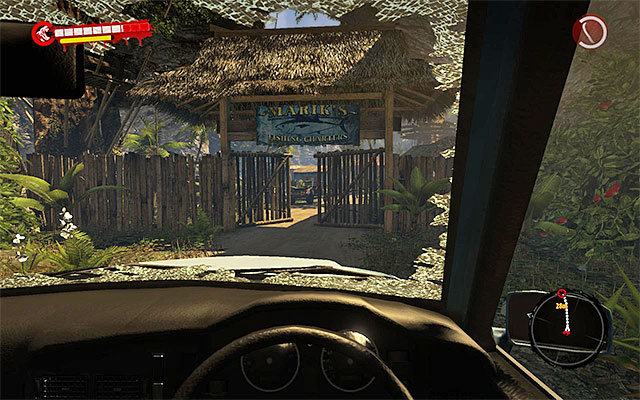
Load the can on the car again. Now you have to head for Marika Marine which is far east. If you've visited it already, you should now how to get there. Otherwise, return to the main road and stay on it to the very end. Stop when you pass an entrance to the marine.
Don't take the petrol can yet, just enter the area. Notice many zombies nearby the petrol pump - with one Thug. You can lure him out or kill, do whichever you prefer.
Return for petrol can when you clean the whole area out of zombies. As previously, use the petrol pump. This time it fills with petrol.
Get to the car and return to Pierre's Magasin. When you get there, move the petrol can at the marked place. After a short conversation, it turns out that Pierre doesn't want to open his shop, so you have to smoke him out.
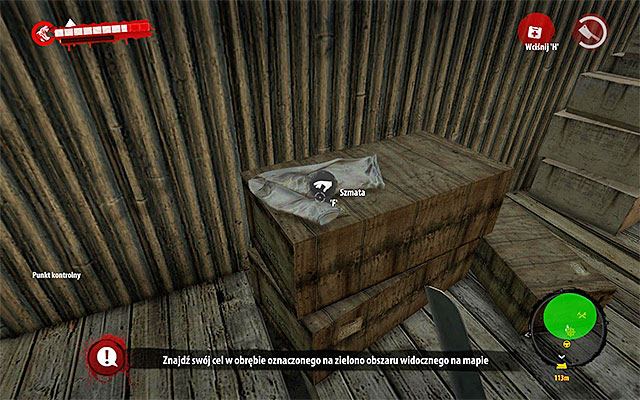
Turn around and search area around the Magasin. You have to find three rags - first one lies on chests, second one on the ground and the third one at the workshop.
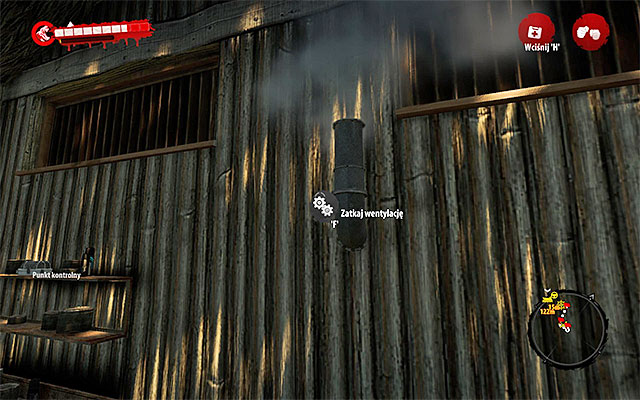
Now approach the ventilation chimneys. Interact with each of them to clog them.
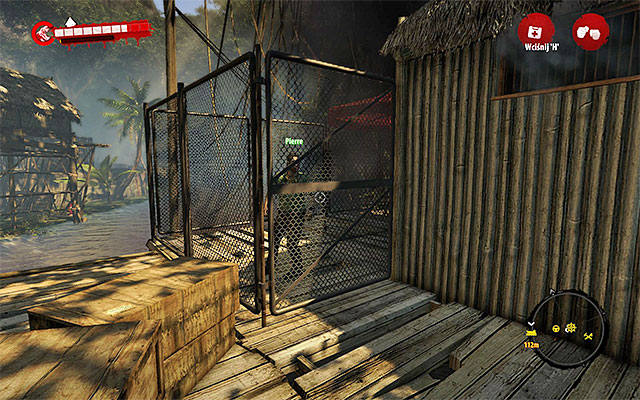
Wait few moments: Pierre should run out from the magasin. You can talk with him for the last time. He gives you a Reward (Morningstar). What is more, from now on, you can trade with Pierre (with a 50% discount).
About the mission:
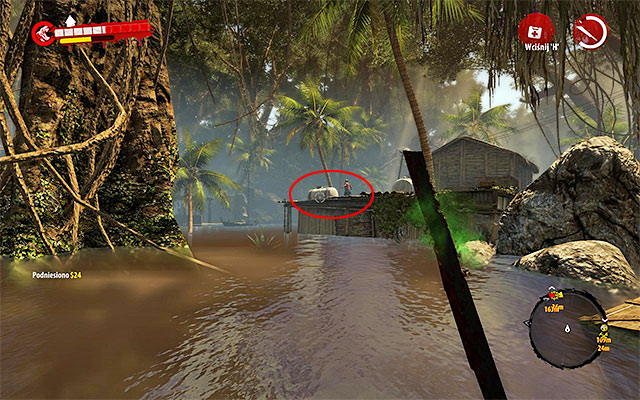
This mission appears when you get to the Mataka Village on the east from Paradise Survival Camp and northern east from Kiwi Camping. Search the flooded part of the village. You should notice Stanley on one of roofs, surrounded by zombies.
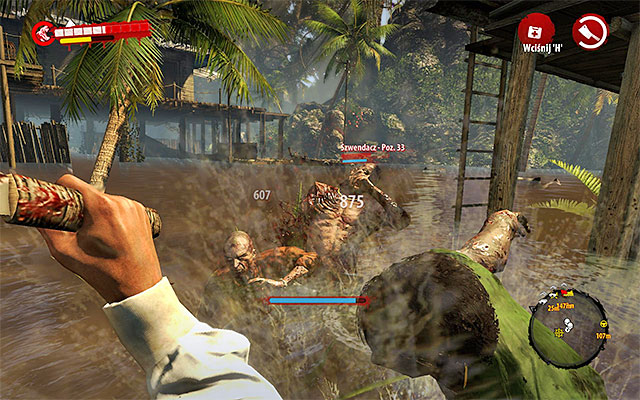
Eliminate all Walkers and Infested around the building with Stanley. They are next to the ladder. You can attack them one by one or throw some explosive surprise. Try not to get too far away from the building to not attract Floaters and Drowners.
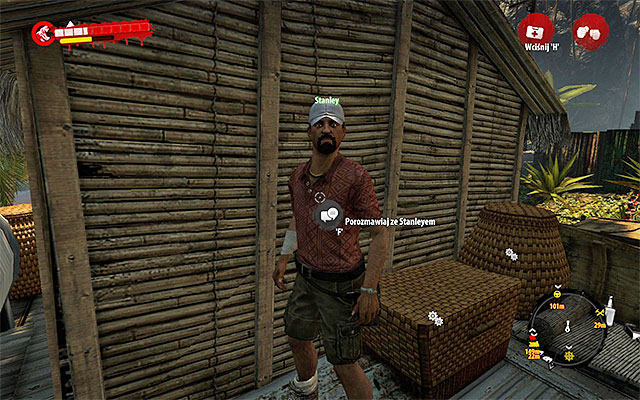
When you eliminate all zombies, use the ladder and get onto a roof. Talk with Stanley who gives you a lot of cash.
About the mission:
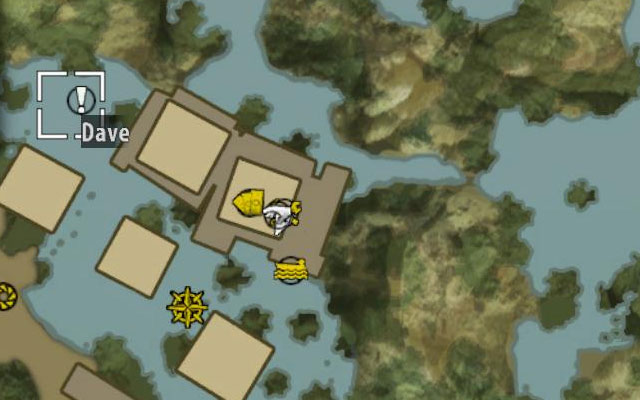
This mission appears when you get to the Mataka Village on the east from Paradise Survival Camp and northern east from Kiwi Camping. Search the northern part of village and find Dave.
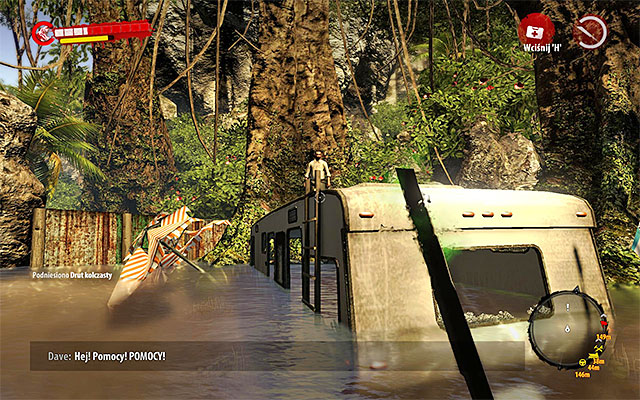
The man stays on the roof of drowned trailer. Get onto the roof and talk with him. You'll be asked to regain equipment from the film site.
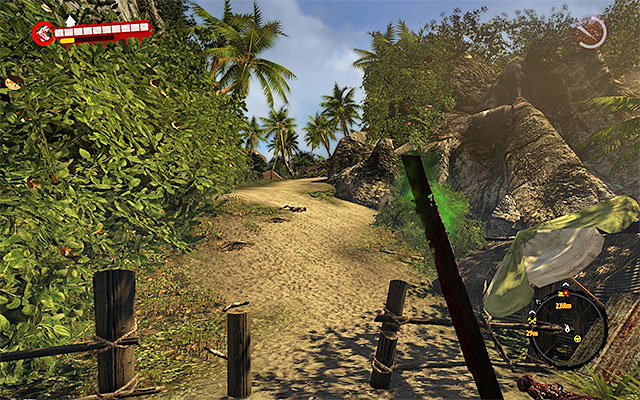
You head for Abandoned Film Site. This location is on south from Mataka Village. You can get there in straight line, but it's dangerous because you'll run into not only standard zombies, but also Drowners, Floaters and Suiciders. The more safer way is to return to the main road and walk the way on east from Kiwi Camping.
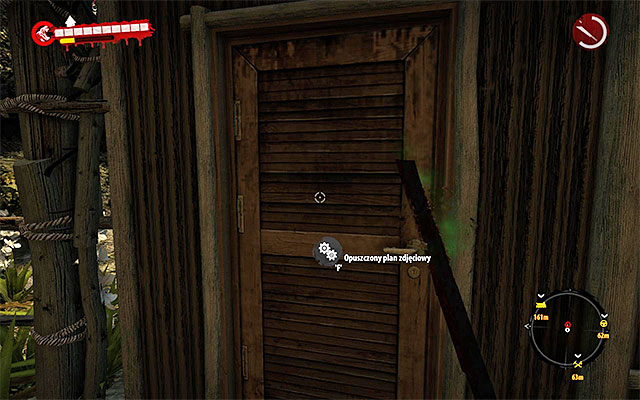
If you chose the recommended path, head north and you'll meet only weaker zombies. When you get to the site, open door and wait until you get to the new location.
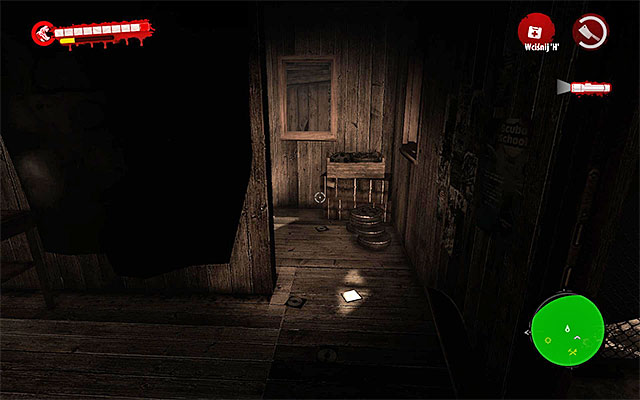
Star searching the area. Don't approached the main door, because it is electrified. Look for the left narrow passage instead.
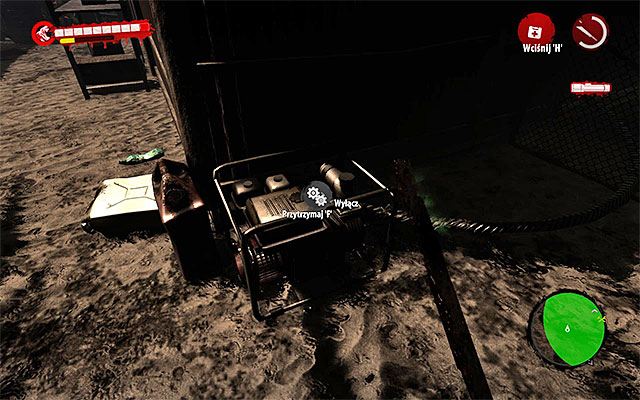
It should take you to the place, where the generator is. Use it to turn it off.
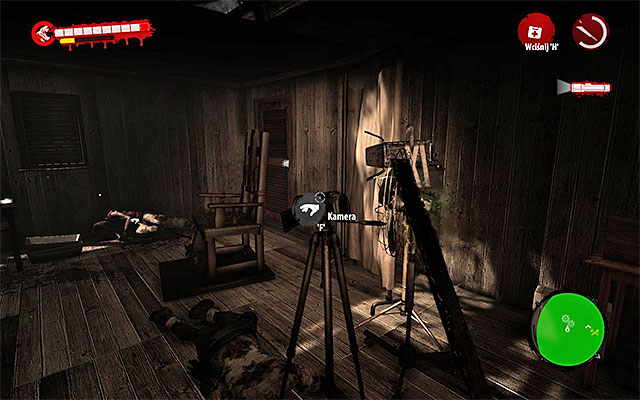
Now you can return to double door and open it. Inside, take the camera. After that head for right door, which also has to be rammed.
Turn right and start attacking film crew, who turned in zombies. As they are only Walkers, the fight should be easy.
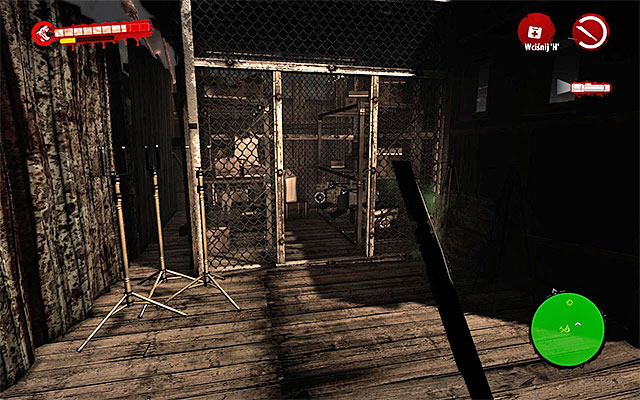
When the battle ends, find a small storage room on right from workshop where you can pick up camera battery.
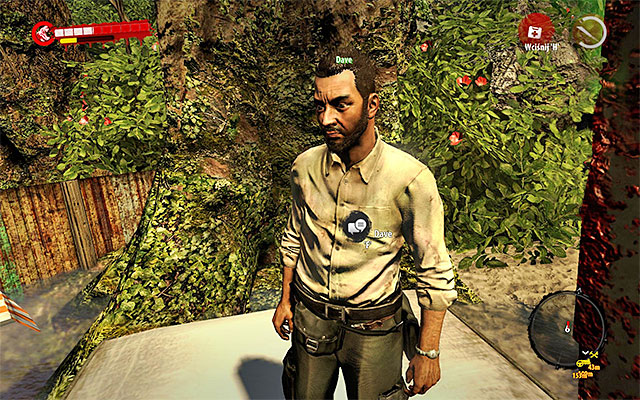
Return to the exit door and get to the jungle. Now head for Dave location in Mataka Village. Get onto the trailer and give him items you've found to obtain a Reward (Bronze Knuckles).
About the mission:
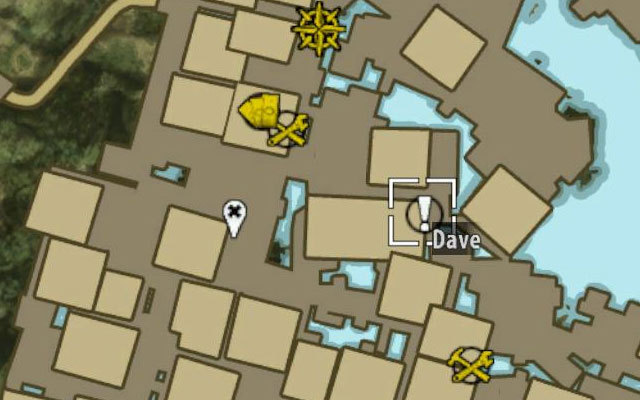
This mission appears when you complete Genre Horror Slasher. Dave can be found in the central part of Halai Village.
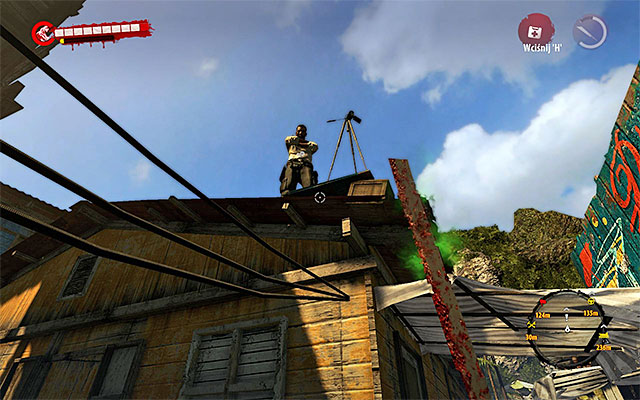
Dave is standing on the roof and to get there, use a ladder. Don't hurry to much, focus firstly on eliminating nearby zombies. After that get to the Dave and agree to take part in a move he is making.
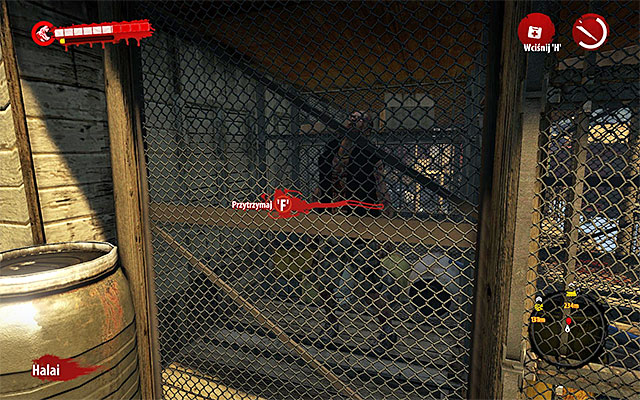
Jump down and clean the area. After that approach the cage inside which the Thug is. Press Action key to release him.
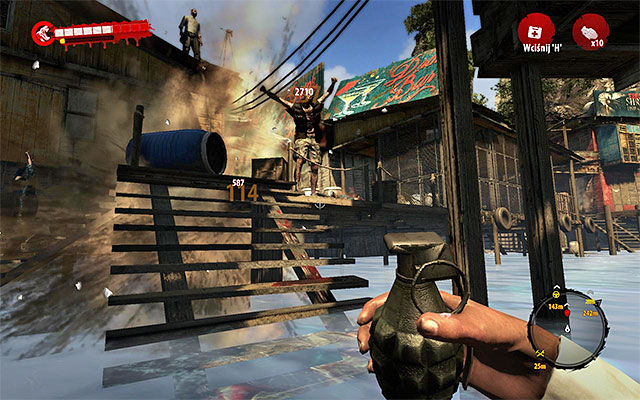
You can eliminate him in many various ways, the most obvious are using firearm or explosives.
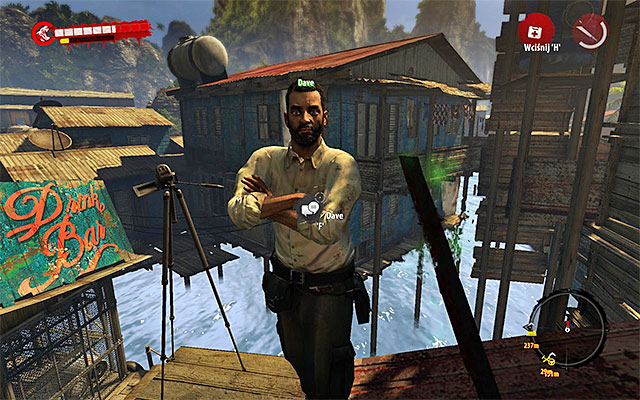
Now you can return on roof and talk with Dave (beware of new Infested!). This time he has only cash.
About the mission:
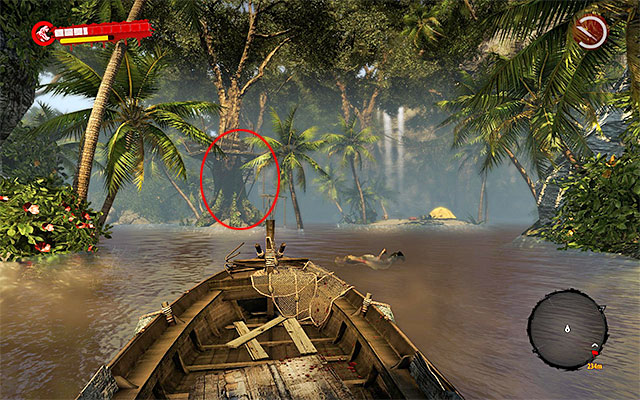
This mission appears when you start exploring swamps on west from Mataka Village. You should reach Megan who is hiding in treehouse surrounded by zombies.
You have to eliminate all Walkers and Infested under the treehouse. Monsters should be gathered at the ladder - you can eliminate them one by one or use some explosive surprise. Try not to get far from the treehouse to not lure any Drowners and Floaters.
When you eliminate zombies, get to the treehouse. Talk with Megan who gives you cash.
About the mission:
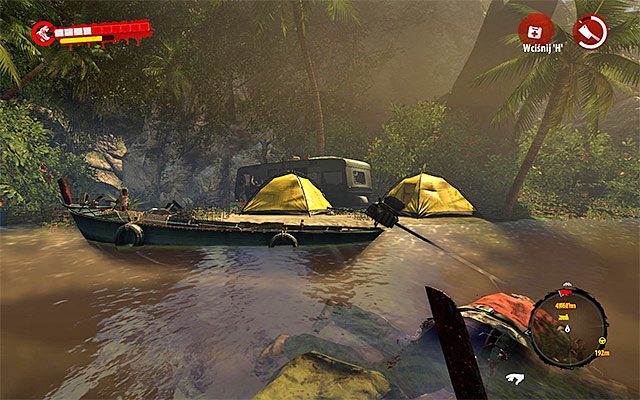
This mission appears when you start exploring swamps. When you get to its northern west part, you should notice Alfred on trailer's roof, surrounded by zombies.
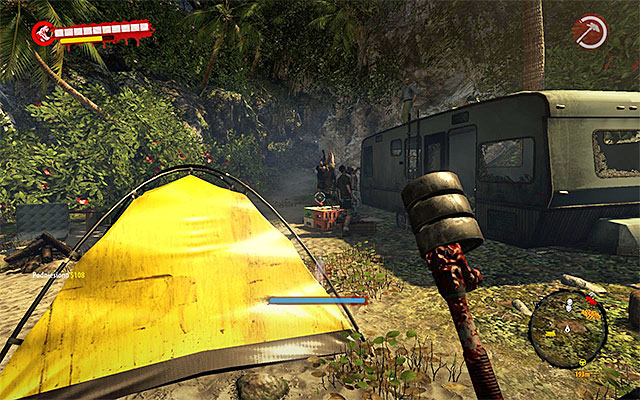
Eliminate all Walkers and Floaters nearby, using explosives or attacking them one by one. Try not to get to far from the trailer to not attract more Drowners and Floaters.
When you eliminate all zombies, talk with Alfred, who gives you cash.
About the mission:
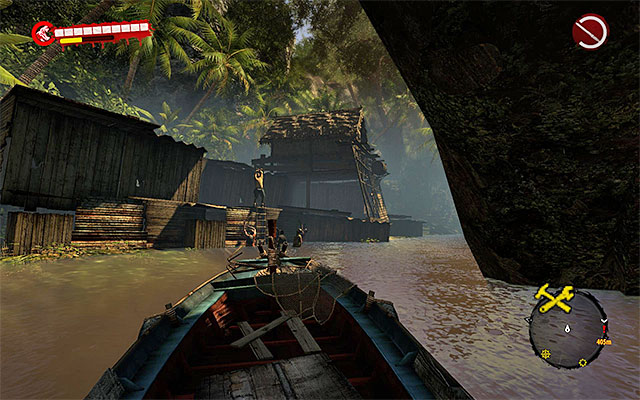
This mission appears when you start exploring swamps. When you get to its central part, move to Kingston's Shack on northern east from Breri. You should notice Tyler on the roof of a building, surrounded by zombies.
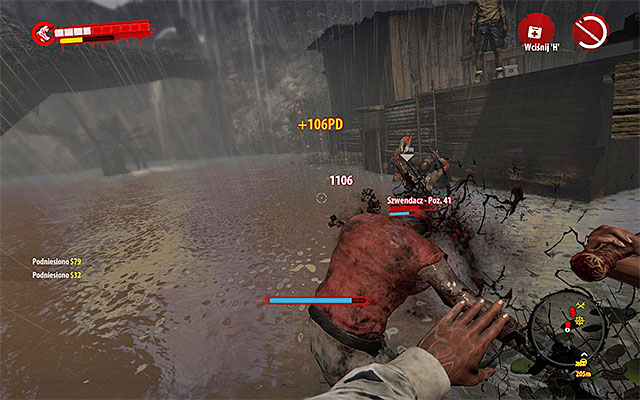
Eliminate all Walkers and Floaters nearby the flooded building. Use explosives or attack them one by one. Try not to move away from this place to not attract more Drowners and Floaters.
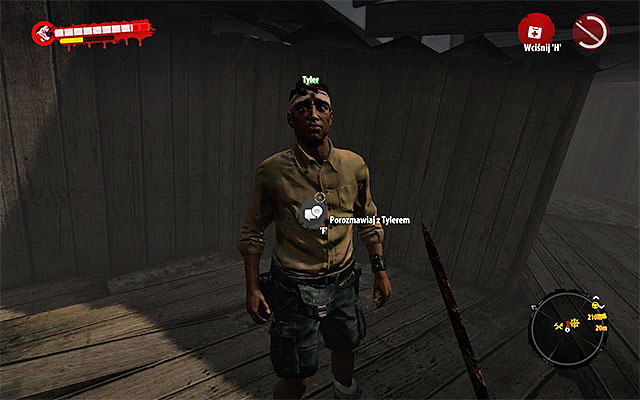
When you eliminate all zombies, get onto the higher level of building and talk with Tyler who thanks you and give lot of cash.
About the mission:
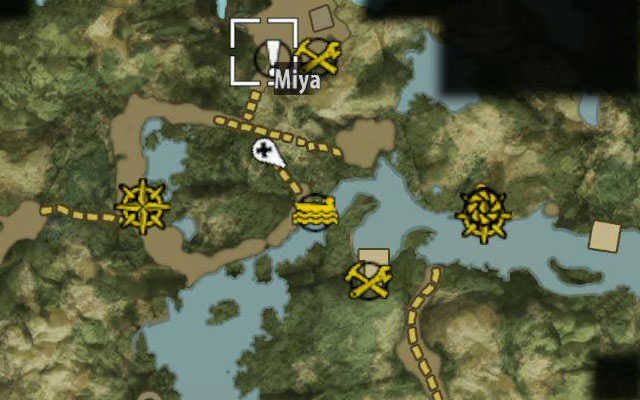
This mission appears when you start exploring swamps. Head for northern part of swamps. On the northern east from Helicopter Wreck and northern west from Tuluga Cave you should find small camp with Miya. Talk to her. Miya gives you a GPS and asks to find lost crates with supplies.
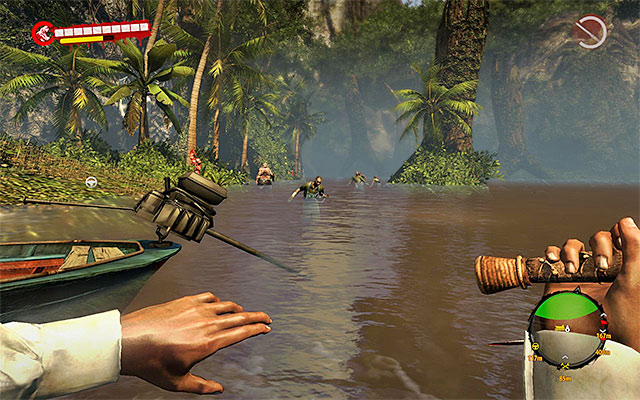
You have to search three places. All crates landed on swamps, and you begin from the western one. Get there by boat. When you get closer to the green area, get out of the boat and start eliminating Walkers, Infested and Floaters. At the very end finish off a single Drowner.
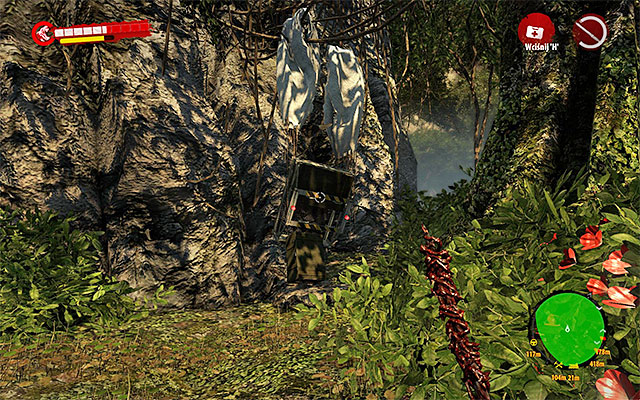
Now enter the marked area. Parachute with crate can be found next to the rocks. Open the chest and take out molotovs, med-kit and above all supplies.
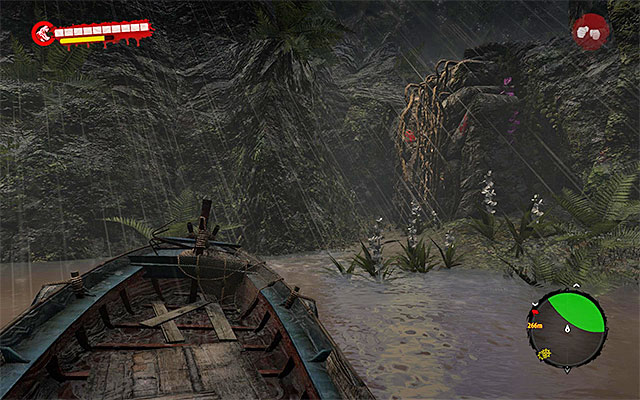
Return to the boat and head east, to the biggest green area. To the next crate you can travel from north or south. I recommend the former. Get to the shore and use lianas.
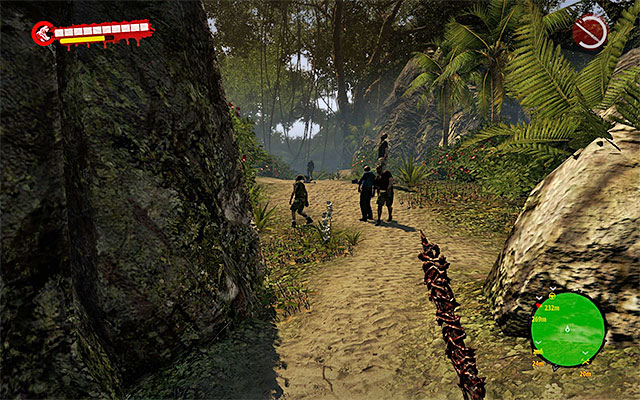
Head south. Beware, because when you get to the green area you'll meet regular zombies and one Thug. You can pass him or eliminate.
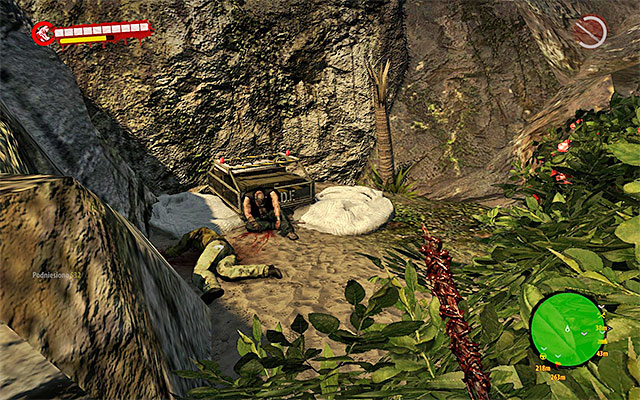
Approach the place where the Thug was standing and turn west. You find a narrow passage in bush. The crate is hid next to the rocks. Open it and take two explosive mines and supplies.
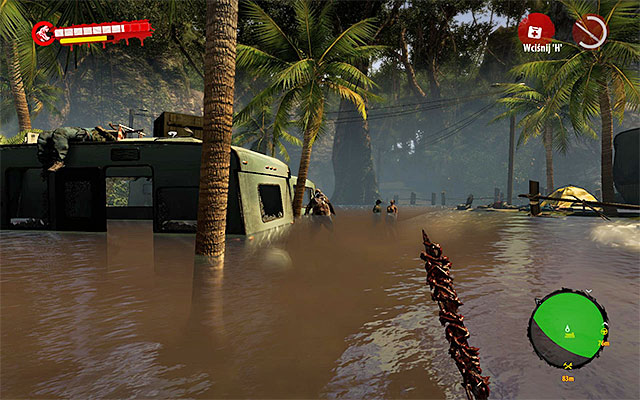
Return to the boat and head for the third crate, which is the eastern one. When you get to the green area get out of the boat. Eliminate regular enemies (running Floaters!) and at the end focus the Drowner.
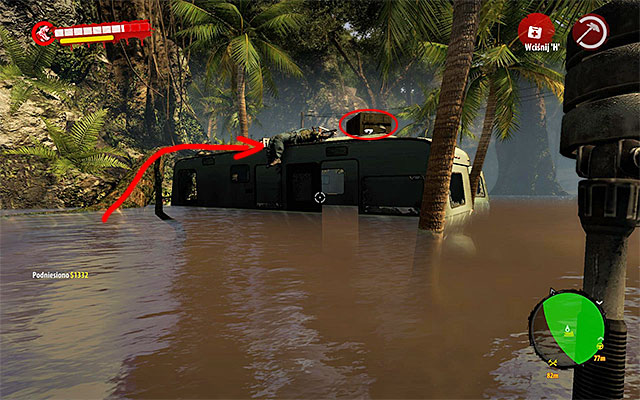
Crate is on the one of trailers' roofs. As there are no ladders, you have to climb through a fallen tree and jump onto a trailer. Open the crate and pick up two grenades and supplies.
Now you just need to return with supplies to Miya. Give her supplies for what you get a Big Splitting Axe as a Reward.
Sidequest unlocked: Surplus (to unlock this, talk with Miya in camp in Jungle).
About the mission:
This mission appears when you complete the Proximity sidequest. Talk with Miya again. This time, she'll encourage you to loot bunker nearby BioSphere Laboratory.
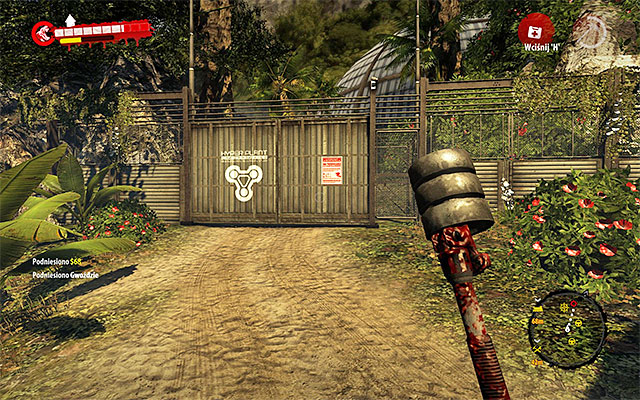
You can complete this mission only when you are in the fourth chapter of the game (main quest Science Way), when the access to BioSphere Laboratory is unlocked. It's on the east from swamps, at Destroyed Road. I recommend to use boat to get there, and when you reach a shore, use your own feet. Approach the gate and enter the new location.
Move forward but turn left at the crossroads. Approach the first mine field very carefully. You can act in two ways. If you decide to destroy mines, use a throwing weapons - you can pick it up after every explosion. REMEMBER to stay at a safe distance, because mines are devastating.
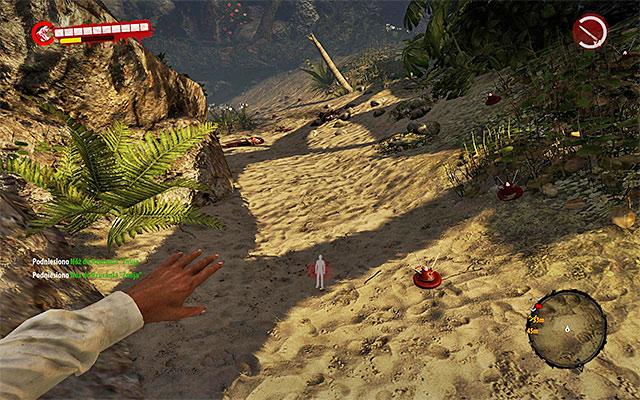
You can also try to get through the mine field. It's however very dangerous, because mine explodes when you stomp on it or get to close. And explosion kills you.
A bit further you find a bigger mine field. In this case, walk through the fallen tree what allows you to omit the traps completely. Now you can head for the bunker.
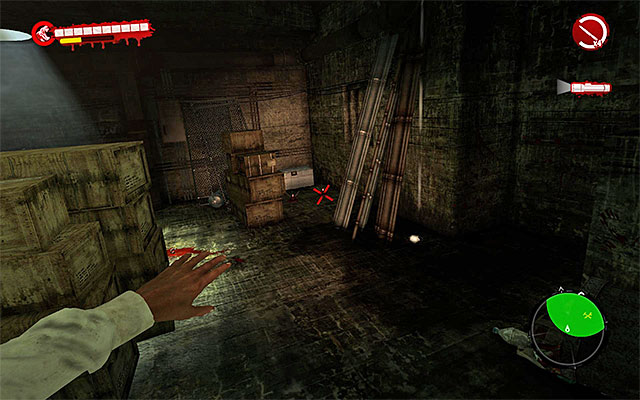
At the beginning search the rooms at the ground floor (where you find for example explosive mines, molotovs and grenades). Beware of at least one Walker who will try to surprise you. Find also a chest with random treasure, which is defended by two mines.
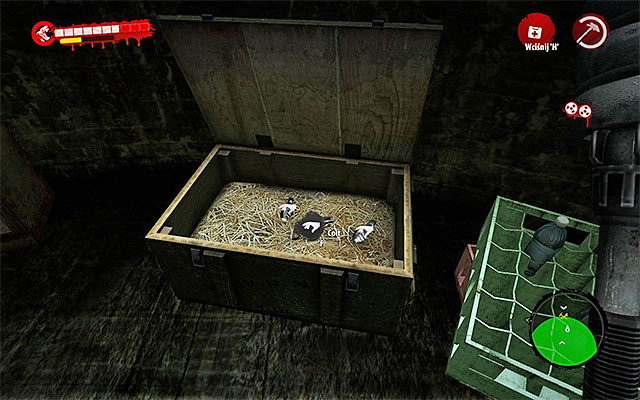
When you finish with the ground floor, find a ladder in the first room to get onto a higher level. Here look for a new crate in which you find grenades and Colt. This pistol is a quest item so you won't be able to use it.
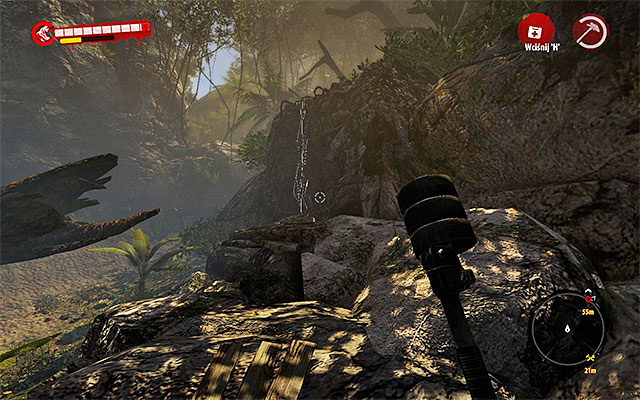
Return to the lower level and exit the bunker. Remember that you still have to avoid mines, so turn right and use lianas. Keep up the right side of path, so you won't get to close to any mine.
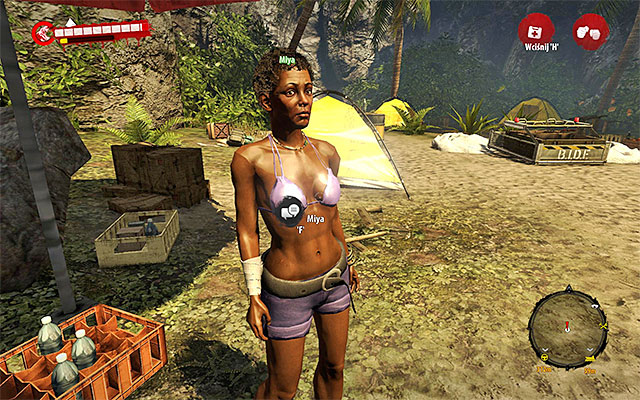
Go to the passage linking this area with jungle. After that head for where the Miya is. Give her a pistol you've found in the bunker and get a Hot Rod Mod in return.
Unlocked event: Femme fatale (to unlock this, you have to talk once again with Miya in camp in the Jungle).
About the mission:
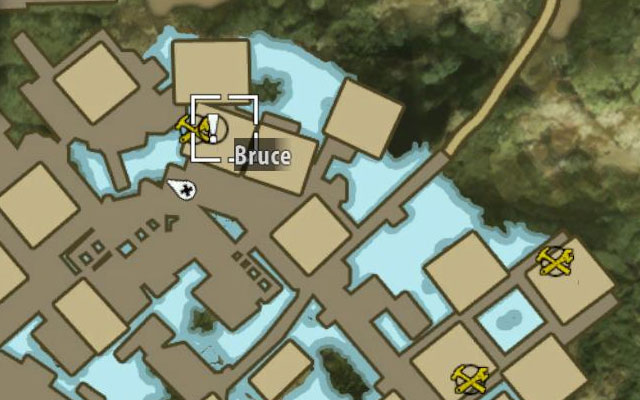
This mission appears when you get to the Halai Village. Search the northern part of village, beware of zombies and find Bruce in one of buildings.
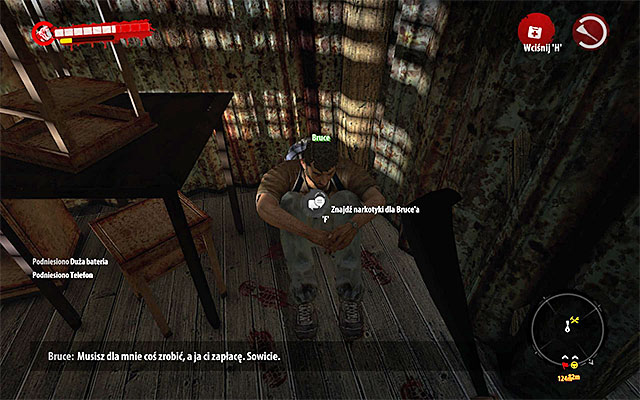
Localize a blocked entrance and get inside the cottage. Bruce is sitting on the floor. Talk to him and he asks you to deliver him some drugs.
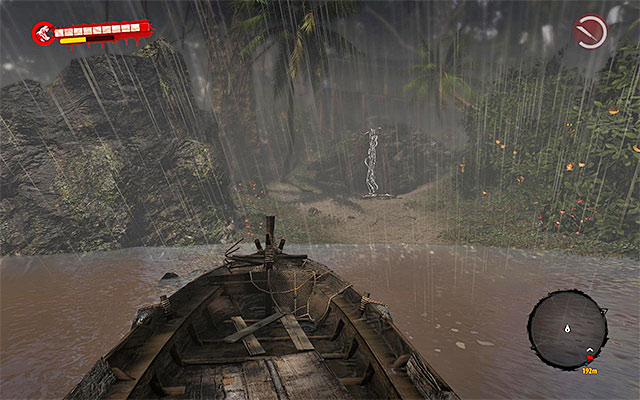
Dealer's house is far north from Halai Village next to the Hanging Joe and Breri. Wait with getting there until you get some boat. After that equip a good firearm or explosives. I recommend to get there from southern east side.
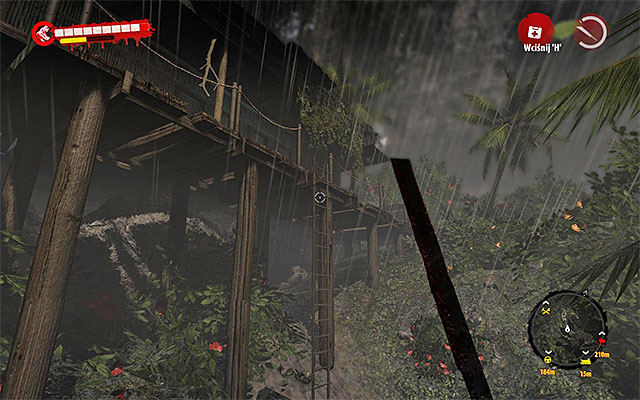
Be careful, because you may run not only into regular zombies but also into Floaters and single Drowners. Head for lianas, through which you get onto upper rocks. Find a ladder and get onto balconies around the dealer's house.
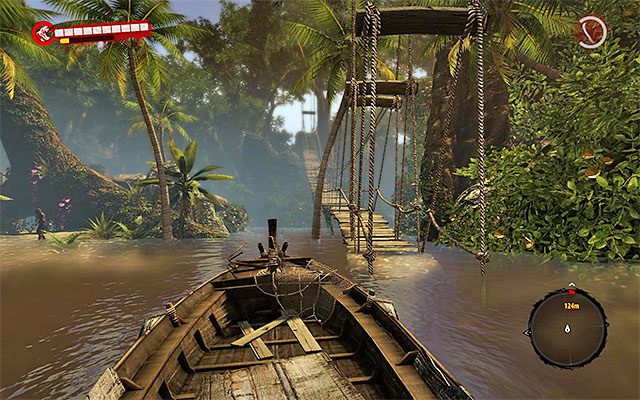
You can approach the house also from west. In this case, get to the big bascule bridge in Hanging Joe. Get through it - it takes you to the balconies around the dealer's house.
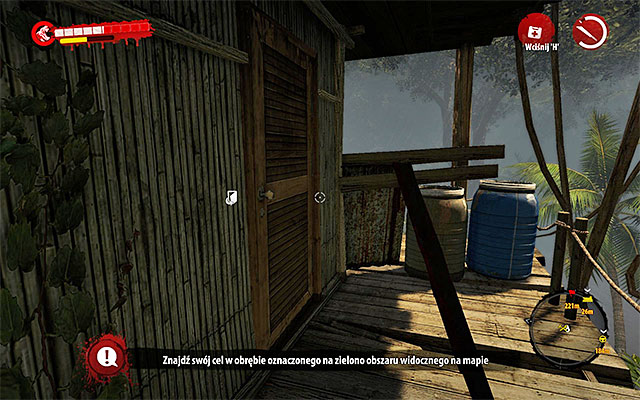
Whatever path you chose, explore those balconies and eliminate few Walkers there. You have to find door leading inside the house. Open them and prepare a good weapon.
You have to defeat a boss. This zombies is mix of Infested (speed and agility) and Thug (toughness) and can poison you. Don't fight at close distance, because he'll kill you sooner or later. Much better is to use strong firearm (like shotgun).
If you don't have any firearm, use explosives. A good idea is to set a mine at the entrance and wait until boss rushes at you.
Enter the cottage and search it. Drugs aren't in the main room, but you find a ladder leading to the cellar.
When you get there, eliminate few Walkers lying on the ground. You have to find two things: drugs and lying next to them false drugs.
Now you have to return to Bruce, so head for Halai Village. When you get there, head to the cottage where Bruce is and give him false drugs. He gives you cash and, what is more, a bonus weapon. And from now on you can trade with Bruce.
About the mission:
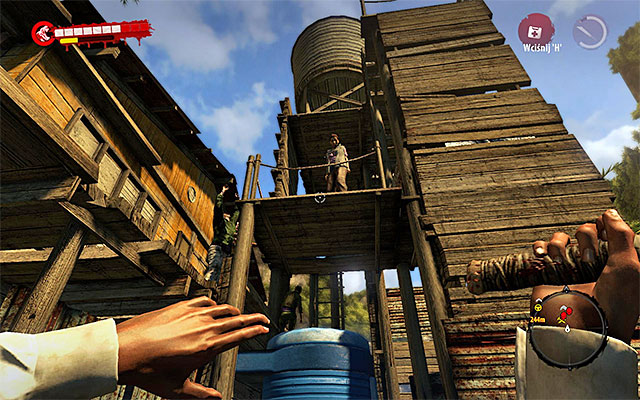
This mission appears when you get to the Halai Village. Search the southern east side of the village, You should hear screams of Kitty who is surrounded by zombies.
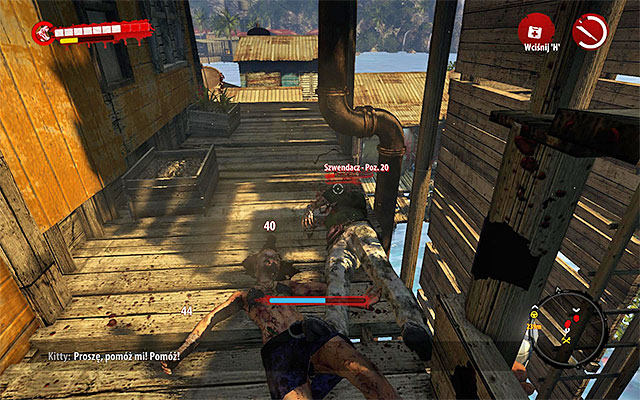
Mission is very simple. Eliminate all zombies nearby Kitty (marked with skulls on your map). Try to attack them one after another. To get to some zombies, you'll need to use ladder, but it shouldn't be a problem. Be careful, because one of zombies will be a Suicider - eliminate him from the distance.
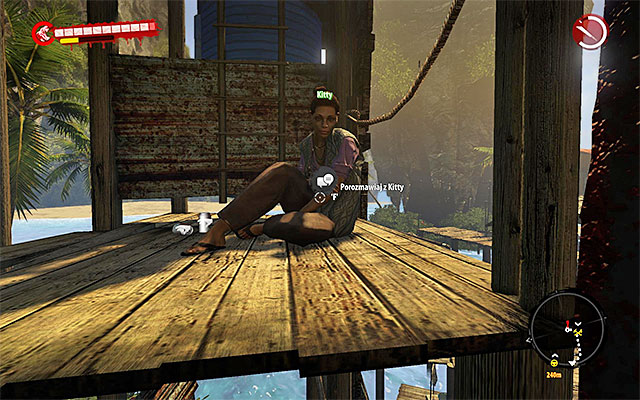
When you eliminate all zombies, use a ladder to get onto upper balconies and get to the Kitty. Talk with her. You'll obtain a lot of cash.
About the mission:
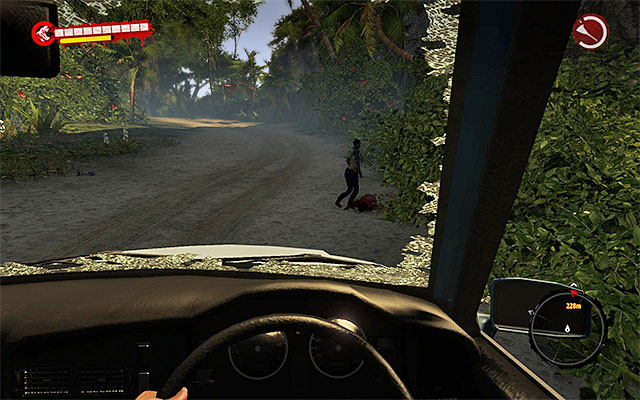
This mission appears when you get nearby the Zimakani Resting Site. It's on the north from Halai Village and west from Marika's Marine. Approach the trailer, so a new mission pops up in your journal..
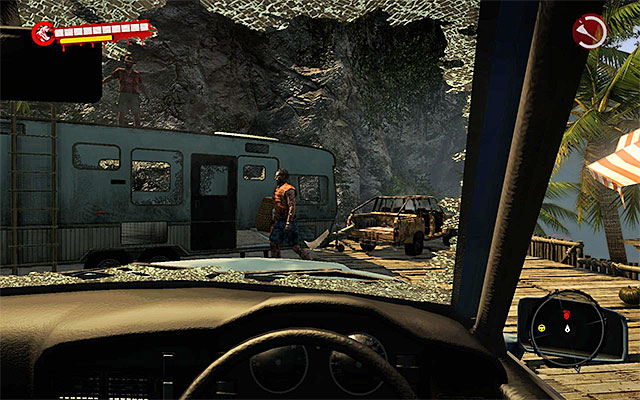
You have to eliminate all zombies nearby the trailer. You don't have to care about Mugambe, who is standing on trailer's roof. It's best to use some vehicle and smash zombies.
When all zombies are dead, return to the trailer and get on its roof. Talk with Mugambe who gives you a lot of cash.
About the mission:
This mission appears during exploration main roads on west from Marika's Marine. Approach the trailer around which zombies gathered. A new mission pops up in your journal.
Assumptions are easy: eliminate all zombies around the trailer. You don't have to care about Luke, who is safe on the roof. It's best to use vehicle to smash zombies, because there is a single Thug among them. Avoid charges to not get hurt.
When you eliminate all zombies, approach the trailer, get on its roof and talk with Luke. You'll get a lot of cash.
About the mission:
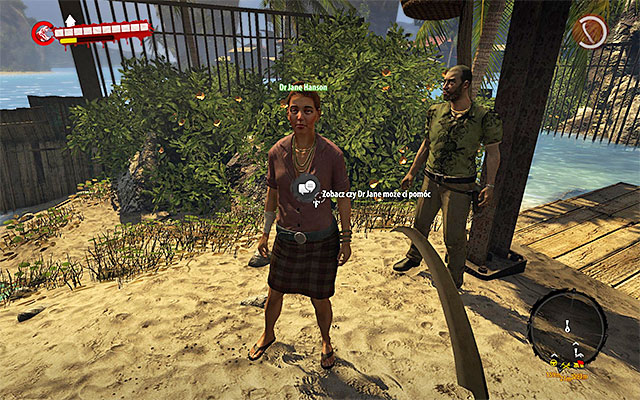
This mission appears, when you complete the main quest Where the Dead Live. Go to the survivors' camp in Halai Village and find Dr Jane Hanson. Talk to her - she'll ask you to find a notebook from the nearest clinic. In return she'll give you a lot of med-kits.
Attention - If you begin this mission in the further part of the game, Dr Jane Hanson may be in the other camp.
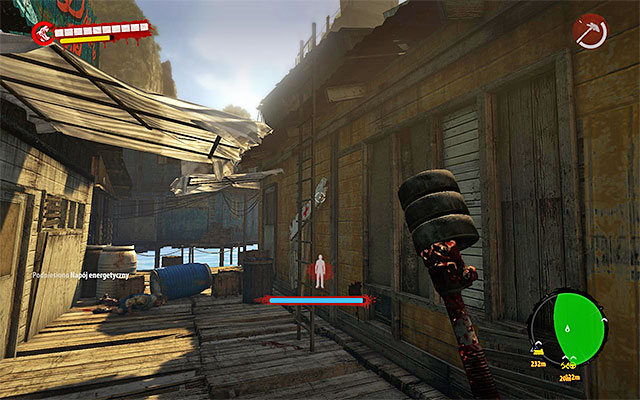
Consulting room is in the central part of Halai Village, on the southern west from the survivors' camp, but game won't show you the exact position. The most important information is that the entrance there is on the upper balconies. So you have to get onto roofs. To do so, look for a ladder in northern east part of the green marked area.
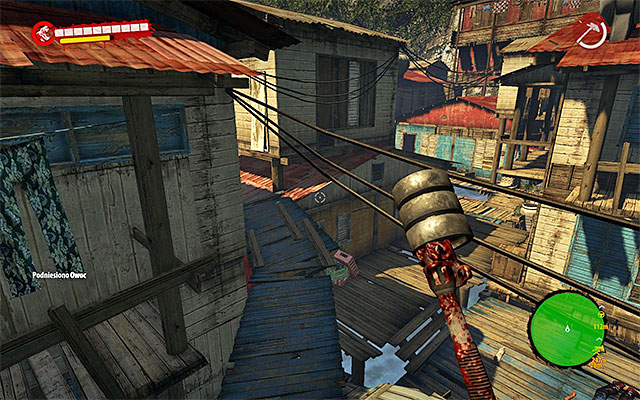
When you get onto roof, move southern west. Don't jump down and use narrow footbridges to pass between roofs.
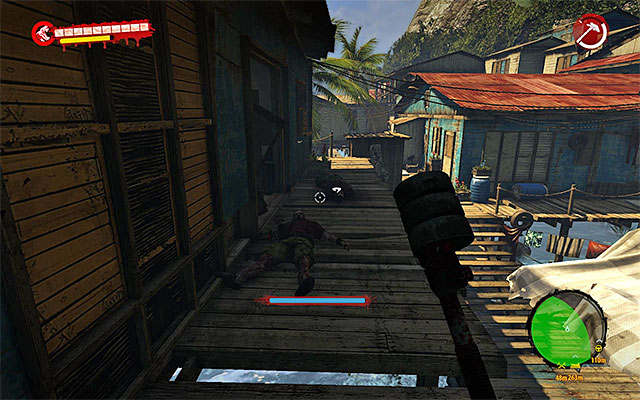
The consulting room is in the southern west part of the green arena. Defeat Walkers on nearby balconies and then look for an entrance there.
Ram out the door and don't rush inside because of Walkers and a Suicider. Try to eliminate the latter from distance and then enter the room. Kill remaining zombies.
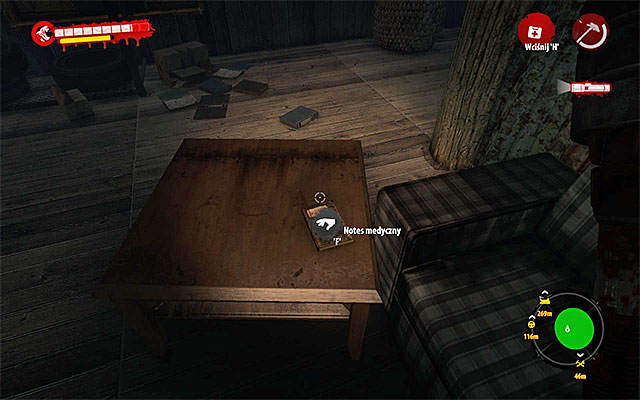
Notebook lies on the table at the main entrance to the consulting room.
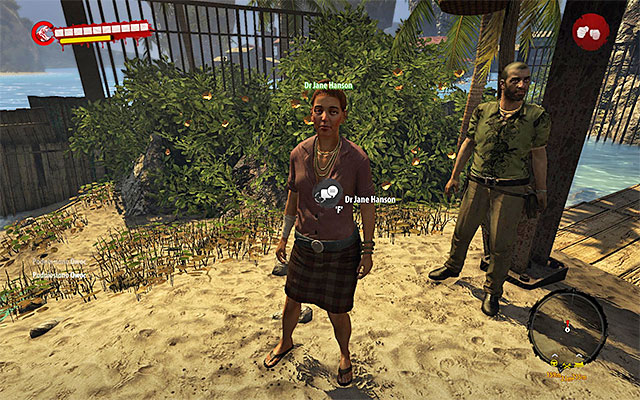
Exit the room, jump down and return to Dr Jane Hanson and give her a notebook. It isn't the end of this mission - she'll ask you to find some specific fungus.
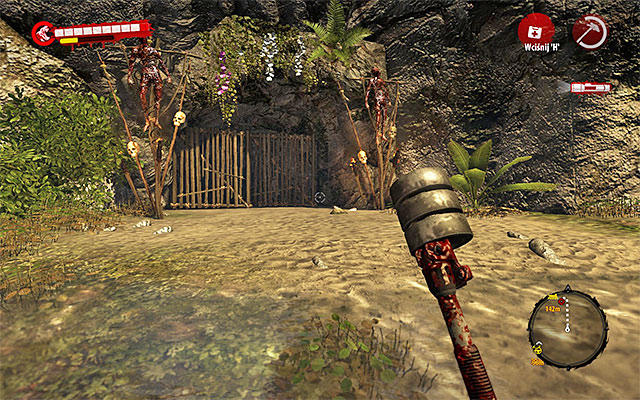
Your new target is a Lonely Cave on north from Marika's Marine. When you get to the marine, get through the river. Approach the cave and wait until you're moved to the next location.
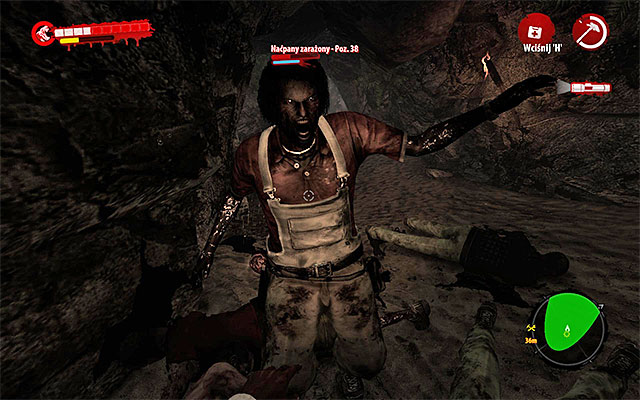
Move forward. Be careful, because when you get close to the main cave, a group of elite Infested will attack you. They can regenerate so use strong arguments.
In the main cave you meet a single Thug. As the cave is big, you can avoid him - if you decide to kill him, use firearm or explosives. Go to the further part of the cave and be ready to get rid of more elite Infested. At the very end eliminate regular Walkers.
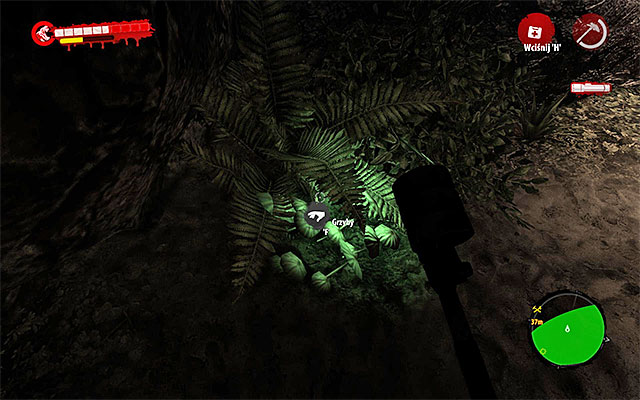
Search the cave when all undeads are dead again. You have to find three green glowing packs of fungus
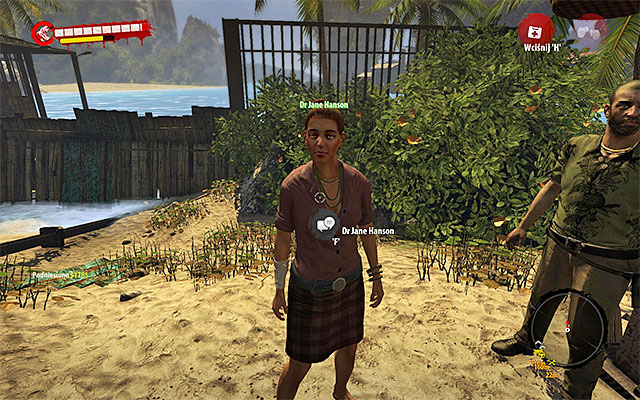
Search the cave carefully and then head for Halai Village. Give the fungus to Dr Jane Hanson and wait a moment to get a Reward: 6 Large Med-kits. From now on you can trade with Dr Jane Hanson.
About the mission:
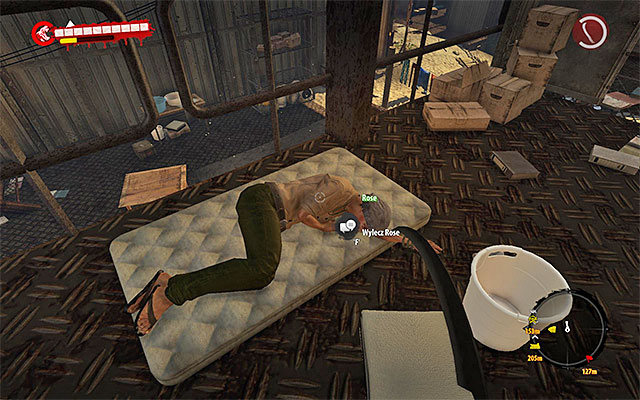
This mission appears when you finish main quest Where the Dead Live. Head to the survivors' camp in Halai Village. Enter the main building and find very sick Rose. She asks you to find necessary medicaments.
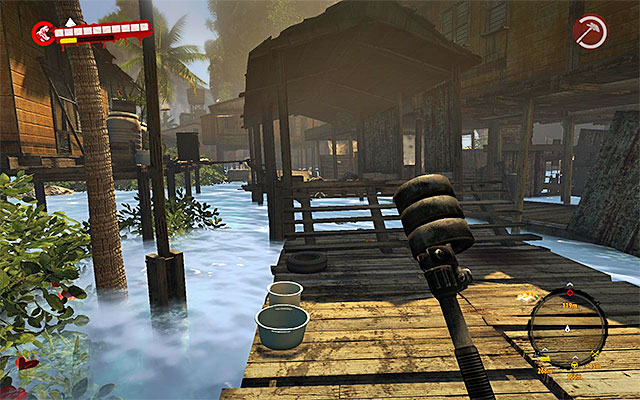
You have to head for Dead Zone in Ocean View Bungalow in the southern east part of Halai Village. Don't try to swim there, because you can't get too far from the shore. Go south instead and after a moment turn southern east, choosing a narrow path between cottages.
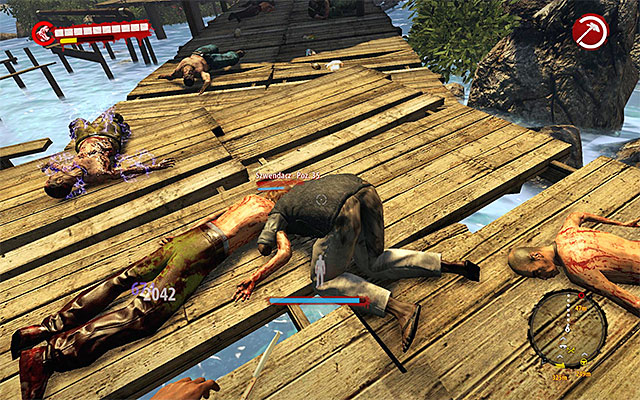
Stay on this path and eliminate single zombies on your way. Be careful, because you may run into at least one Suicider. Try also not to jump into the water because of Drowners.
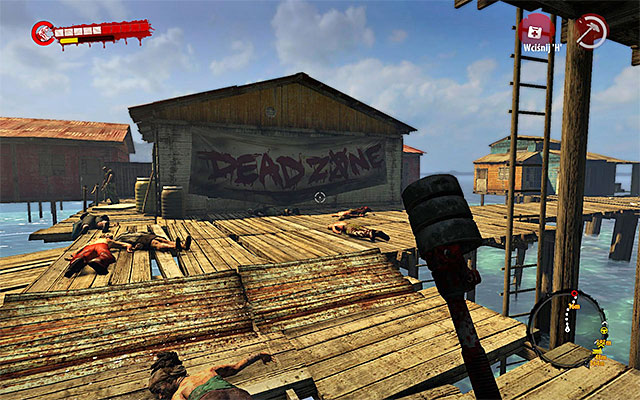
Soon, you should get to the Dead Zone. Find door leading to Ocean View Bungalow.
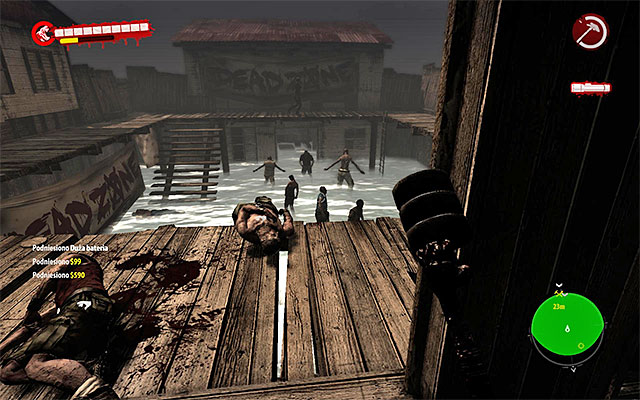
VERY CAREFULLY approach an exit from the building. Here you have to defeat a boss-zombie, Eduardo "Quickdeath" Petoia. He is a mix of Infested (quickness) and Thug (toughness) and can also regenerate. A good idea is to plant mines at the exit, so he run through them. If it isn't possible, use firearm. Melee fighting is rather unpleasant option.
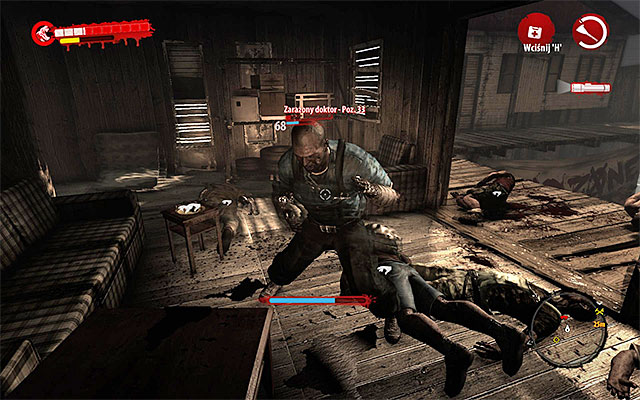
Besides a boss, you have to also eliminate a group of weaker zombies: especially beware of Infested Doctors and Crazy Infested. Eliminating remaining zombies isn't obligatory, but allows you to search the Dead Zone freely.
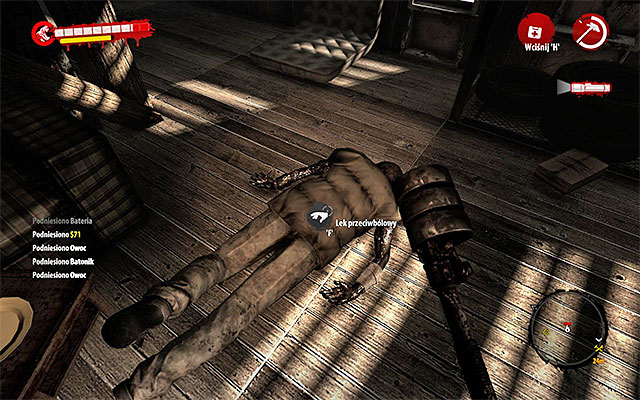
When the zombies are dead, search all bodies. At one of them you find antibiotics.
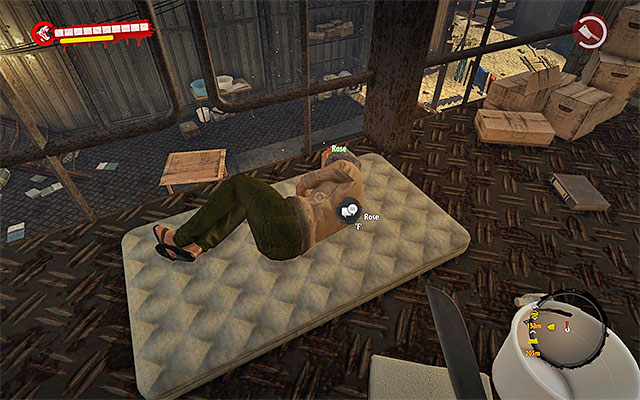
Exit the Dead Zone and head northern west, to Halai Village. Get to the main building and give antibiotics to Rose The mission ends and you get a Reward: Heavy Wrench.
About the mission:
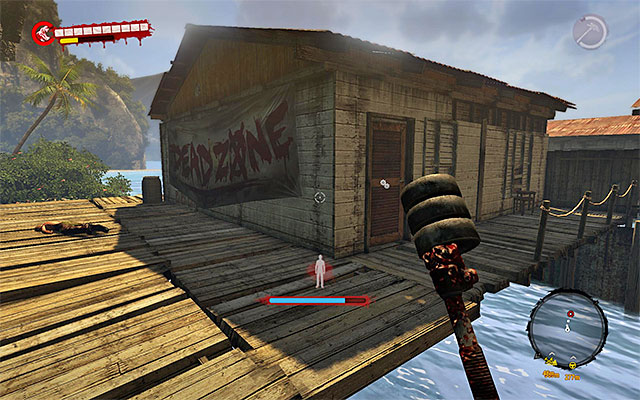
This mission is connected with cleaning up the Dead Zone in Ocean View Bungalow in southern east part of Halai Village. It's best to visit this place during fulfilling the sidequest Antidote.
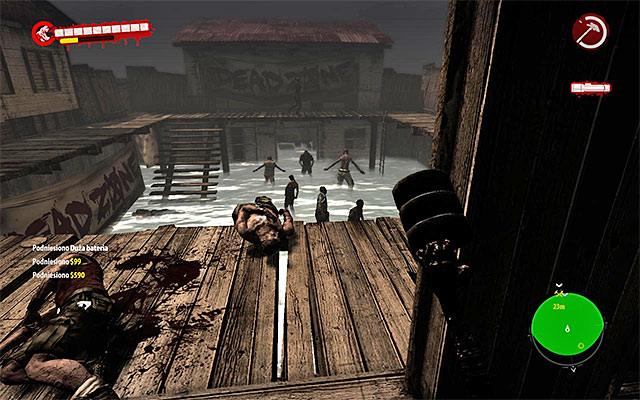
The greatest threat there is Eduardo "Quickdeath" Petoia. He is a mix of Infested (quickness) and Thug (toughness) and can also regenerate. A good idea is to plant mines at the exit, so he run through them. If it isn't possible, use firearm. Melee fighting is rather unpleasant option and finality.
Besides a boss, you have to also eliminate a group of weaker zombies: especially beware of Infested Doctors and Crazy Infested. Leave Walkers for the very end. Eliminating remaining zombies isn't obligatory, but allows you to search the Dead Zone freely for additional cash and treasures.
About the mission:
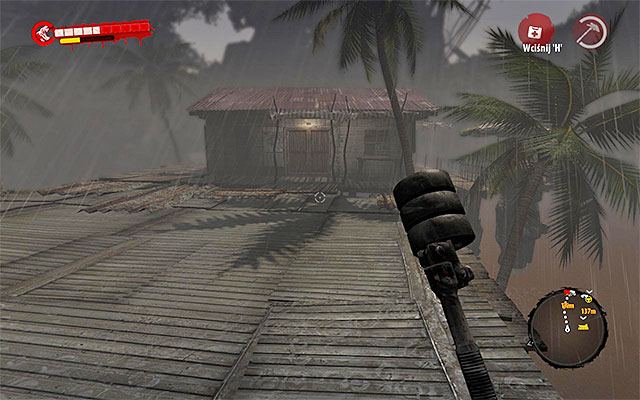
This mission appears when you finish the main quest Ritual. Here you have to stop Marcus Villa and to do so, you have to visit his cottage in Mataka Village once again (use Fast Travel).
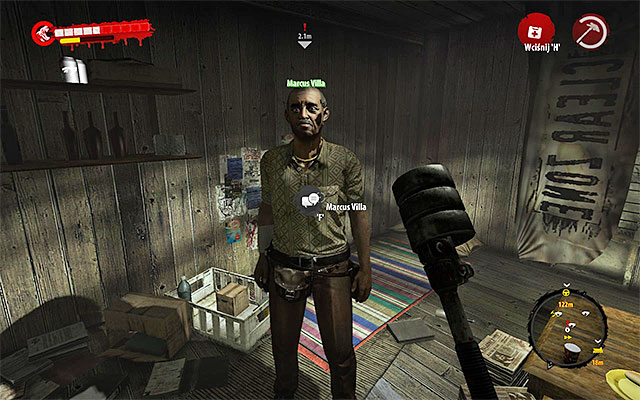
When you get to the cottage, enter it. Prepare a good weapon and talk with Marcus Villa.
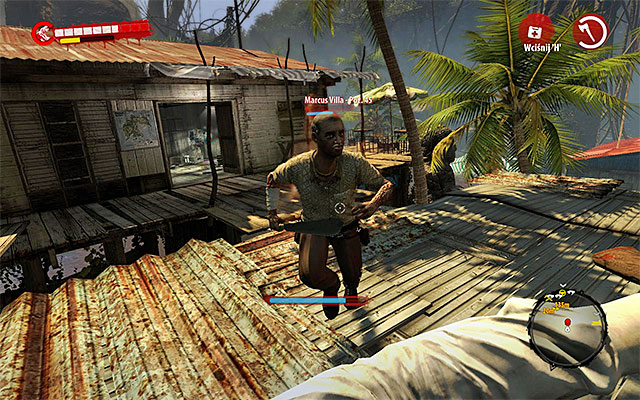
Just when the talk ends, Marcus takes out a blade and attacks you. Move back to avoid quick death and retaliate. It's best to attack the missionary from the distance but if you have upgraded melee weapon, you can risk direct encounter. Mission ends when the Marcus is dead.
About the mission:
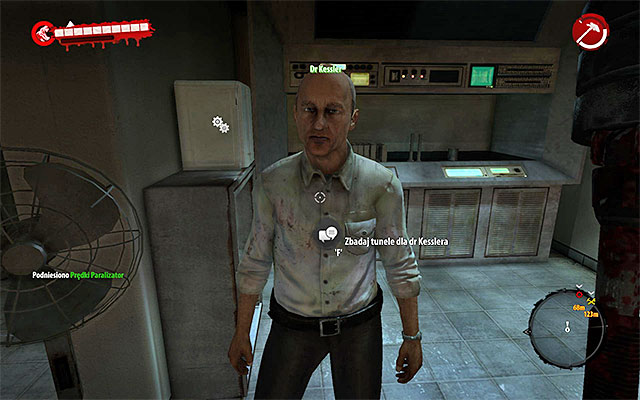
This mission appears when you complete the main quest Dr Kessler. Talk again with the scientist, who'll ask you to look for any useful items in the tunnels.
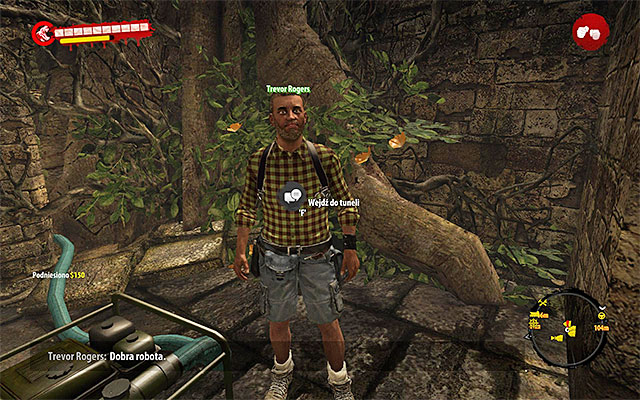
You can start this mission when you get to the sixth chapter, when an access to The Tunnels is unlocked. Head for Santa Maria Mission and use an entrance next to the pump.
In The Tunnels you have to find three items. You find first trace just after using a ladder leading to the lower level of tunnels. Approach the green goop.
Carefully take chemical sample without touching the substance.
Second trace is just after the one above. Turn left, opposite to where the game shows you to go. Eliminate zombies and your way and get to the new spot of goop.
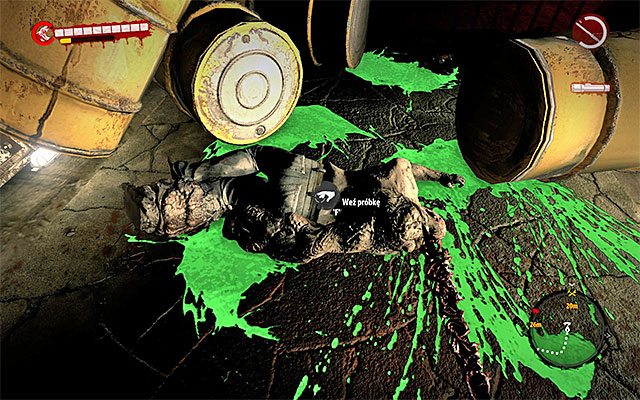
This time examine a body of mutant and take Tissue Sample.
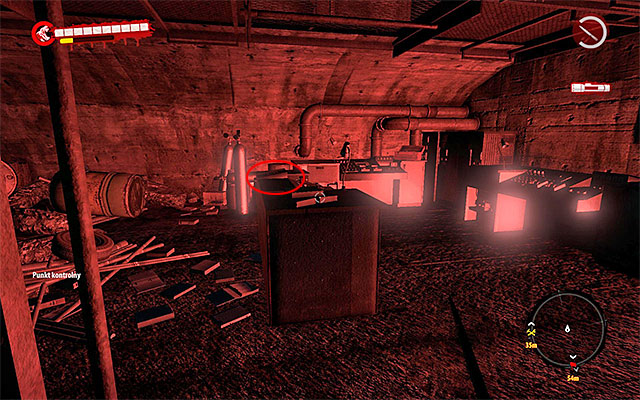
The last trace is in the biggest location of The Tunnels.
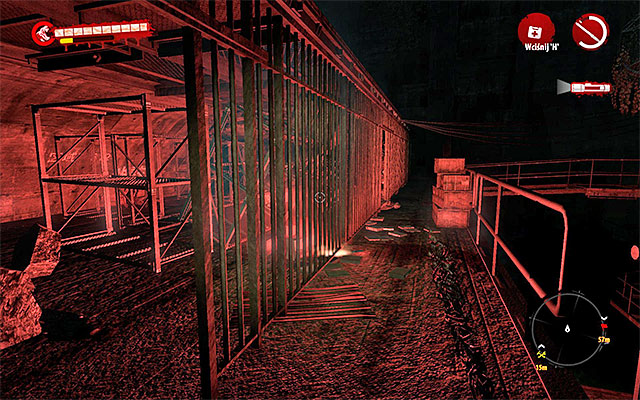
Get onto the lower level and go left to get on the balcony with few fenced rooms.

Search the last room with few Walkers. The item you're looking for is notes lying on one of tables.
Return to the BioSphere Laboratory when you can (use Fast Travel). Give all items from tunnels to dr Kessler to get a Golf Club.
Unlocked event: A New Machine (to unlock this you have to talk with Dr Kessler in BioSphere Laboratory).
About the mission:
This mission appears when you completed the main quest Saving the Holy Man, when you got a full access to survivors camp in Halai Village. Go there, find Maggie and talk with her. During conversation, say that you want to find her missing friends.
Attention - if you begin this mission in the further part of the game, Maggie can be in the other survivors camp
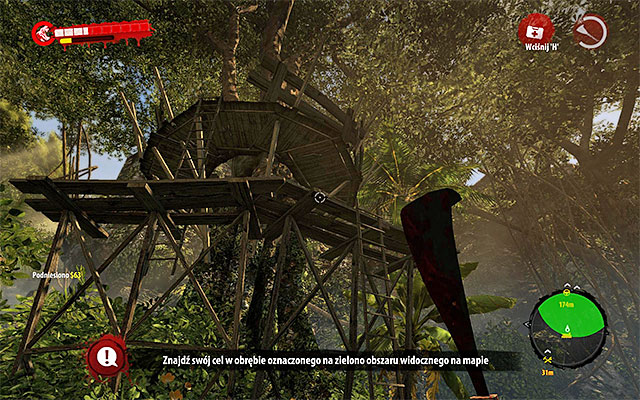
Housetree you're looking for is on north from Halai Village, on east from Hanging Joe and Breri. As it's on the swamps, use boat. You have to also be careful, because you may run into Floaters, not only at Walkers and Infested. When you get to the place marked on the map, get out of the boat and use a ladder.
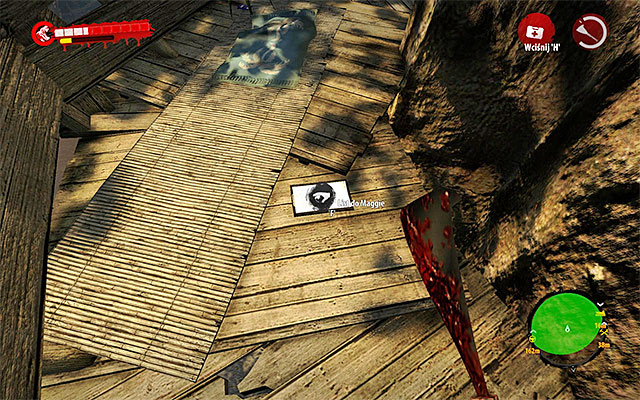
Explore the treehouse. Besides supplies and other valuable items, you find also a letter to Maggie. It suggests looking in other camps on the west from here.
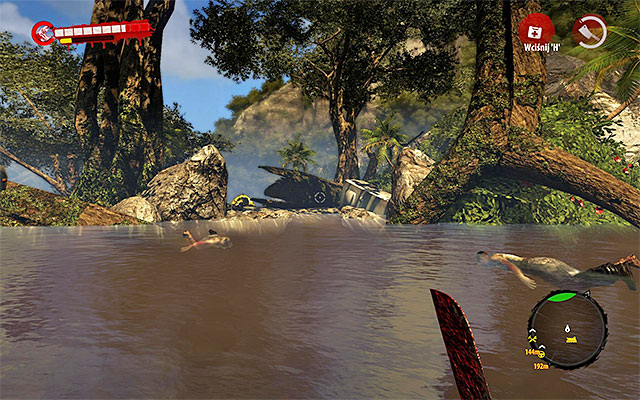
Get on the very bottom and head west. Sought camp is in the northern west part of swamps, on north from Survival Camp Paradise.
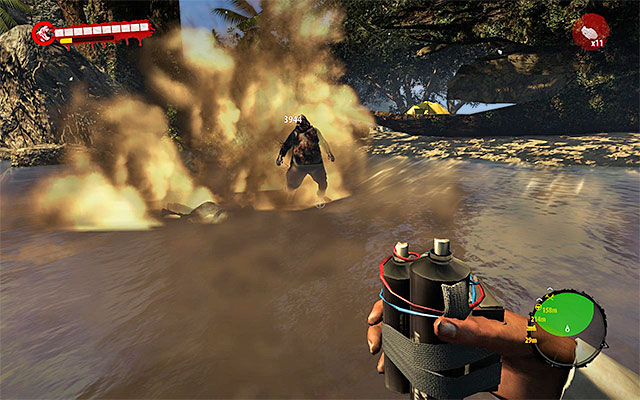
Get out of boat before reaching this place and eliminate all nearby Floaters, so they won't bother you later on. Only now approach the camp, which is "guarded" by the Drowner. I strongly recommend to defeat him from the distance (firearm, explosives), because he is tough. Luckily, he is also very slow.
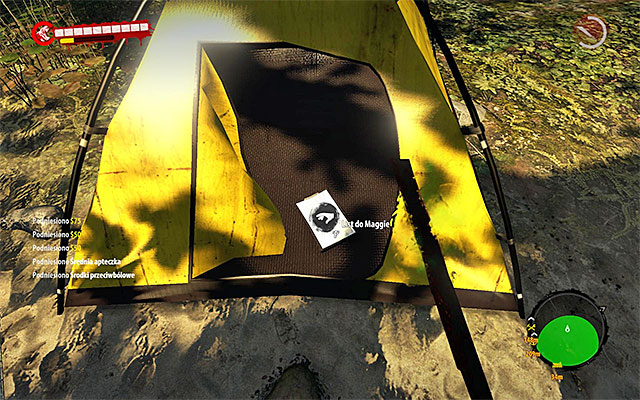
When all zombies are dead again, approach the camp and search it. You'll find another letter to Maggie in one of tents. It directs you to another camp.
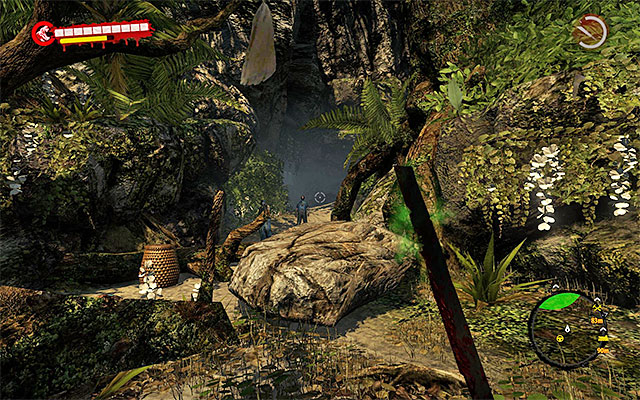
A new area which you have to search is in the middle of island, just at the main road from Survival Camp Paradise to Marika's Marine. You can get there from few different places, but I recommend to start from Hoyahoya Bar. Move a bit north from bar and look for path going west, to the entrance to the cave.
When you get to the cave, stick to the left side. Soon, you'll run into a Butcher. he combines features of Infested (speed) and Thugs (toughness), but he can be easily knockbacked so you can use some blade. But a better idea is to eliminate him from distance.
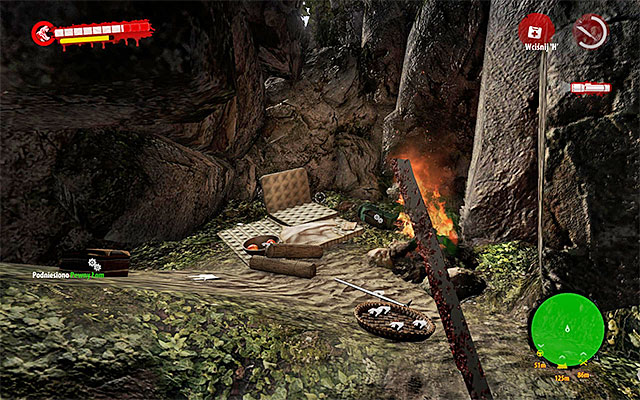
The camp is nearby the place where you meet a Butcher. Search it and find a letter to Maggie on the ground. It tells that friends of her went to Henderson.
You can complete this stage of mission only when you get to the eighth chapter of the game (main quest Ferry), because only then you can enter Henderson.
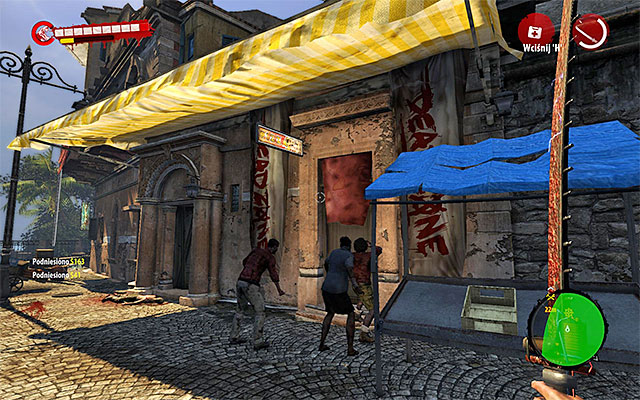
The hideout is in the southern end of the city, called "Safe Haven" which is one of Dead Zones. It lies next to Sylvia's Apartment and Sea Market. When you get there, eliminate zombies trying get into the motel and enter it.
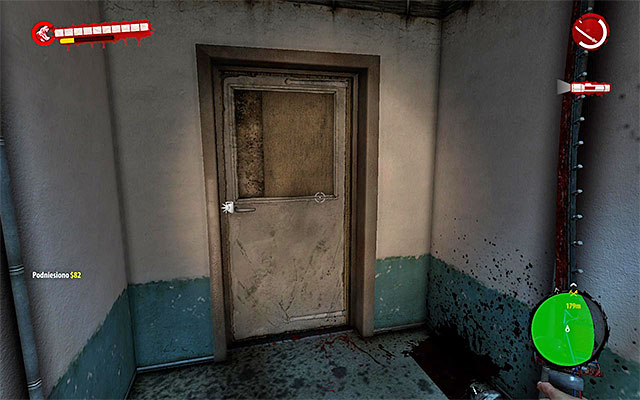
Start exploring the motel, moving forward and eliminating zombies on your way. After a while, you reach door leading to the main hall of this place. Break it.
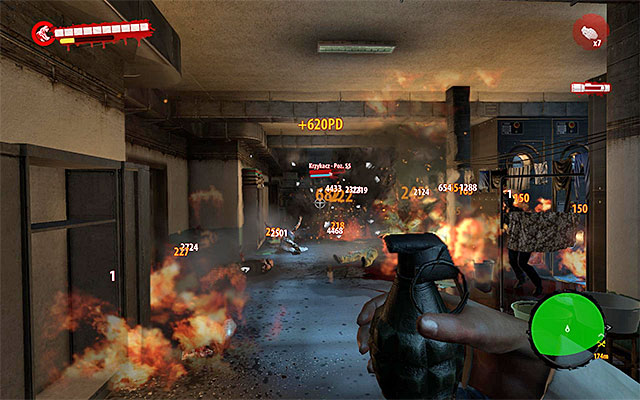
In this room you find a group of zombies led by Screamer. Monsters won't notice you at once, so use explosives or molotovs. Secure all vicinity.
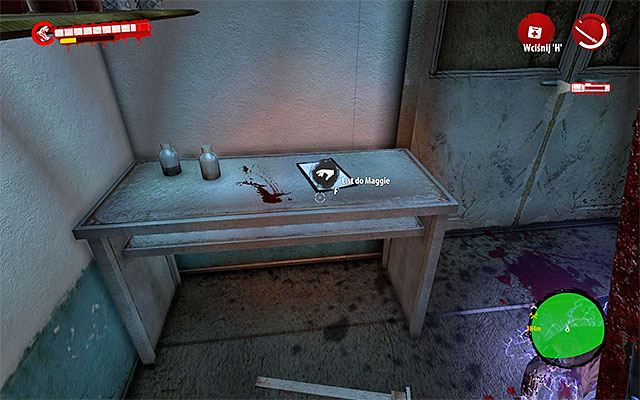
Find an entrance to the side room and kill the last zombie. Then pick up a letter to Maggie from the table. It says that all her friends died.
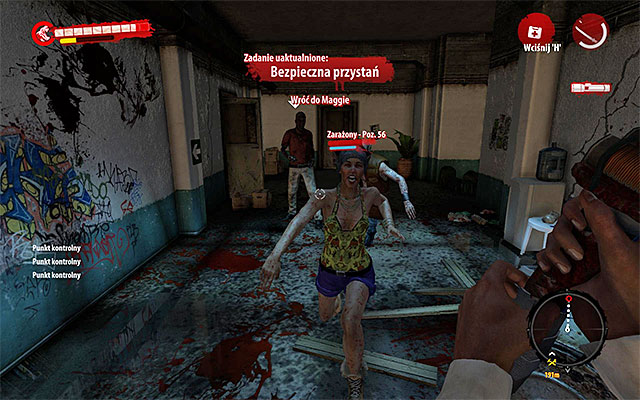
Finish exploration of the motel and then head for the exit. Don't hurry with that as in the main corridor new zombies will probably appear.
When you exit motel, return to Old City Cinema and use Fast Travel to get to Halai Village (main part of Palanai) to one of survivors camp. Find Maggie and tell her what happened to her friends. In return to receive a Tanto.
About mission:
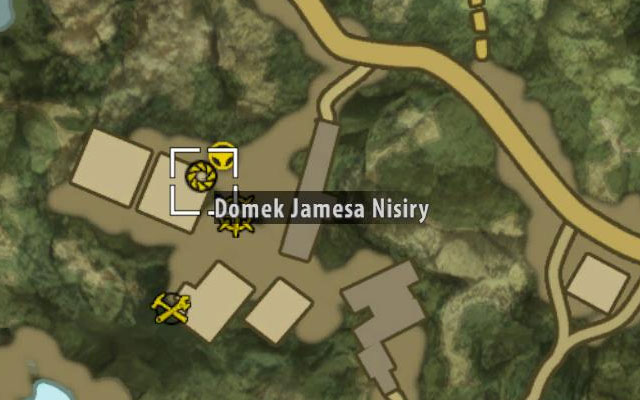
This mission is connected with cleaning up zombies from Dead Zone in James Nisira's Bungalow. Entrance to this bungalow is on the area of Oil Storage on south from Paradise Survival Camp. When you get there, look for door to Dead Zone.
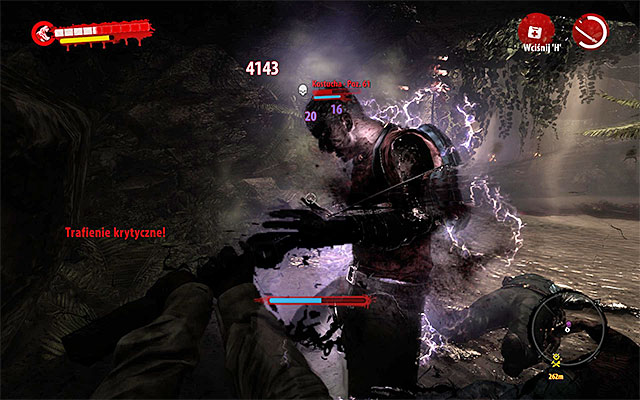
The biggest threat there is, of course, James "Killer" Nisira, who is a special boss and you can find him in the main building. He is a special zombie, who is similar to Thug, but not only is he tough, but he can also regenerate after every successful strike. So try to keep him at bay, using mines, grenades and firearms.
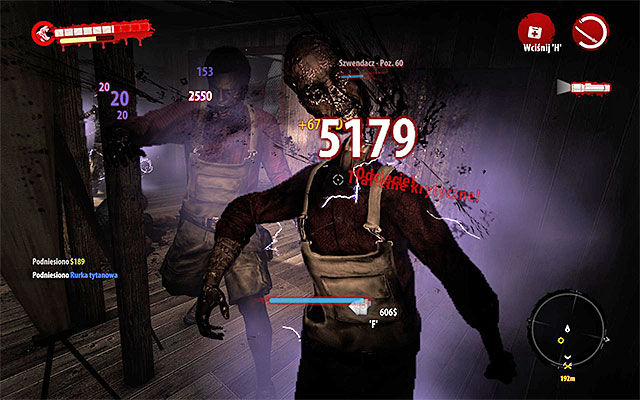
You have to also eliminate here groups of Infested and Walkers. Don't get surrounded and attack them one after one. You can use a firearm to defeat easily all living dead behind fences joining two main buildings of Dead Zone. After that, search all the Dead Zone for cash and precious items stored in containers and rare resources.
About mission:
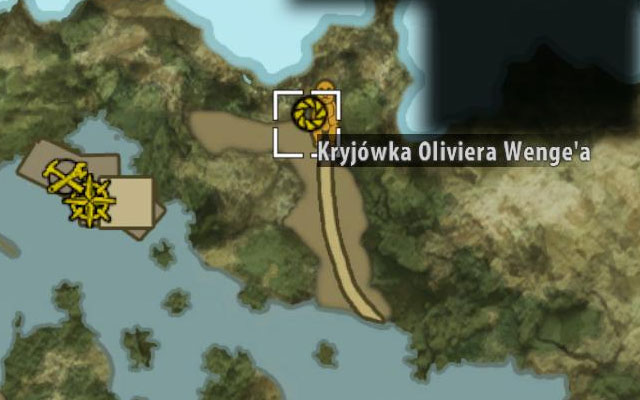
This mission is connected with cleaning up Dead Zone in Olivier Wenge's Hideout. You can enter this place in the northern part of swamps, on east from Kingston's Shed.

The biggest threat in this Dead Zone is Olivier "Death Bone" Wenge, who is a boss-zombie and can be found in the biggest cave. This unique type of zombie has best features of Infested (speed) and Thugs (toughness) and also regenerates after successful strikes. I recommend to attack him from the distance (with rifle or some launcher). When he notices you, start using good short distance firearm (like shotgun), because the cave is small and you can't run away all the time. Eventually, you can use upgraded blade.
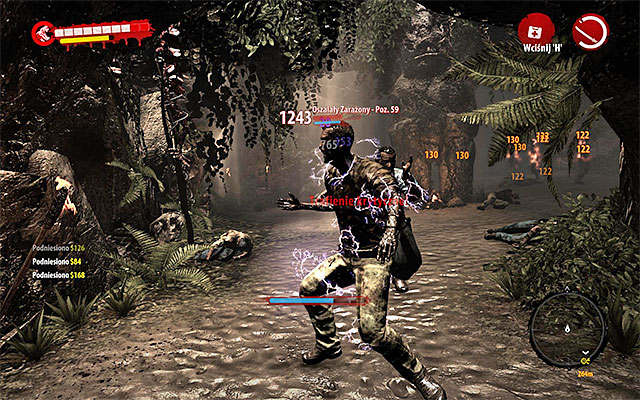
You have to also eliminate groups of Infested and Walkers. Don't get surrounded and attack them one after another. When the fight is over, search up the Dead Zone carefully for cash, precious items and rare resources.
About mission:
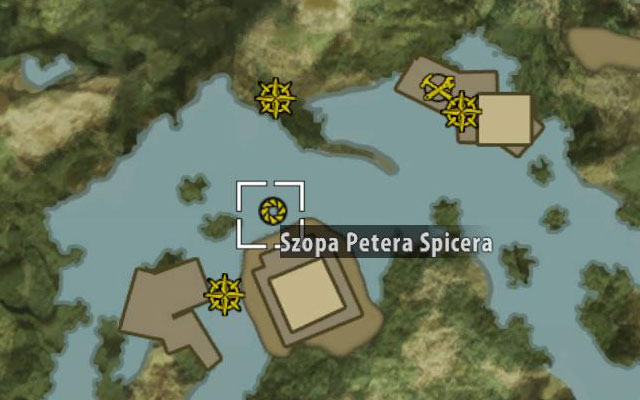
This mission bases on cleaning up the Dead Zone in Petera Spicer's Shed. You can enter this shed in Breri, in the northern part of swamps.
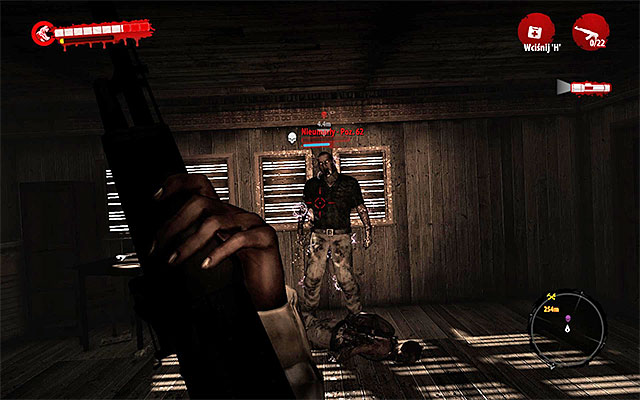
The biggest threat there is, of course, Peter "Undead" Spicer, who is a special boss and you can find him in the main building of Dead Zone. He is a special zombie, who is similar to Thug, but not only is he tough, but he can also regenerate after every successful strike. So try to keep him at bay, using mines, grenades and firearms.
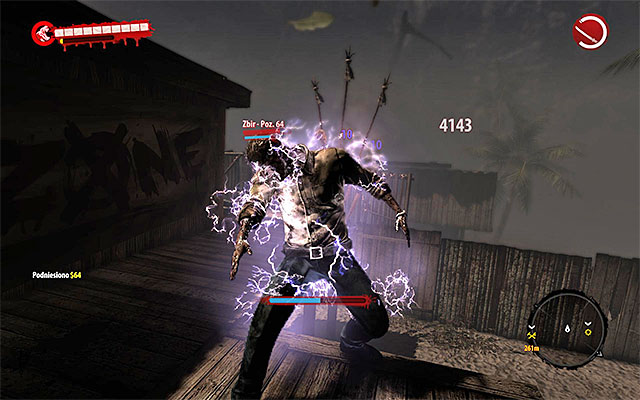
Besides boss, you'll also have to eliminate Walkers, a Drowner (on the floor of the main room) and another Thug, who should secure stairs leading up. Don't get surrounded and kill them one after another. After that search all the Dead Zone for cash, precious items and rare resources.
About mission:
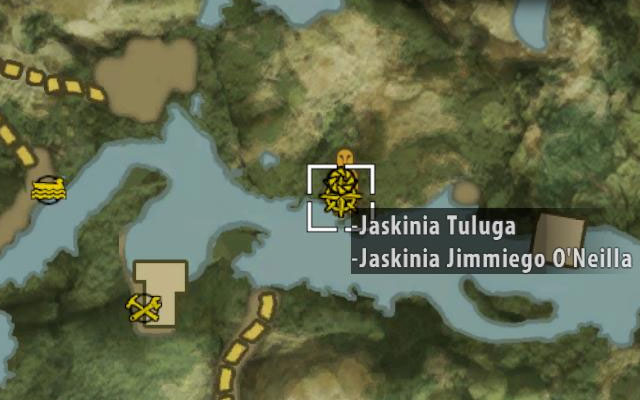
This mission requires eliminating zombies in Dead Zone in Tuluga Cave. You can enter this location in the northern west part of swamps, on west from Hanging Joe and east from Helicopter Wreck.
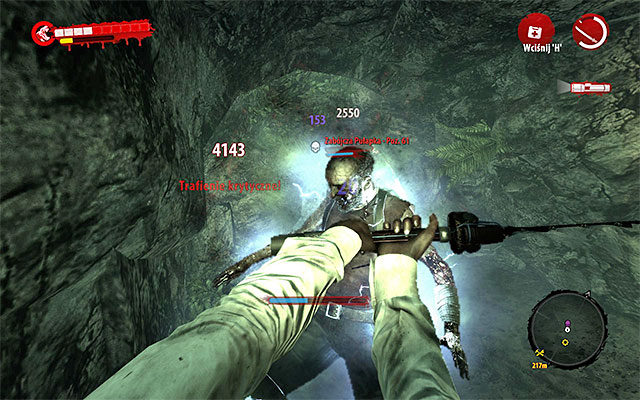
The biggest threat in this Dead Zone is Jimmy "Deathtrap" O'Neill, who is a boss-zombie and can be found in the biggest cave. This unique type of zombie has best features of Infested (speed) and Thugs (toughness) and also regenerates after successful strikes. I recommend to attack him from the distance (with rifle or some launcher). When he notices you, start using good short distance firearm (like shotgun), because the cave is small and you can't run away all the time. Eventually, you can use upgraded blade.
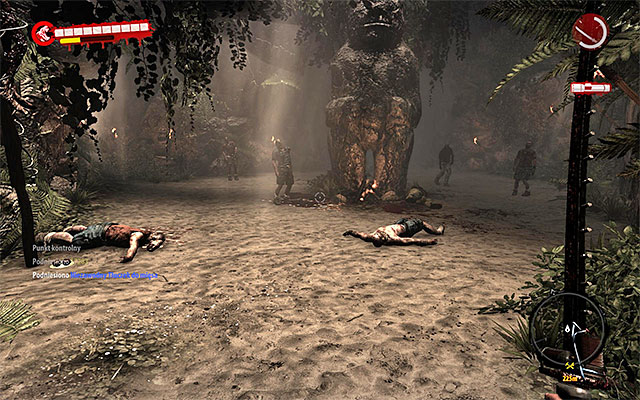
You have to also eliminate groups of Infested and Walkers. Don't get surrounded and attack them one after another. When the fight is over, search up the Dead Zone carefully for cash, precious items and rare resources.
About the mission:
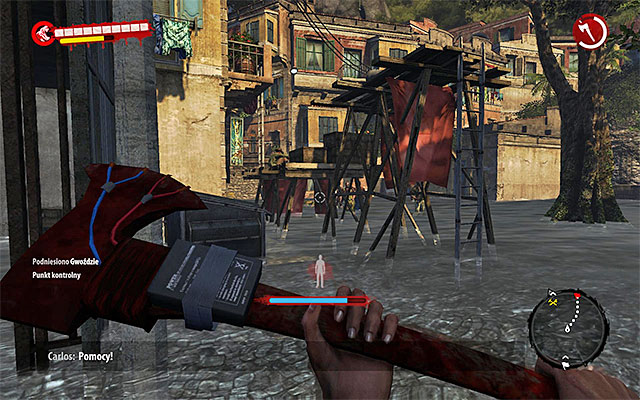
This mission appears when you get nearby Frankie O'Hara's Loft in the northern part of Henderson, on north from Old City Cinema. You should notice Carlos hiding before zombies.
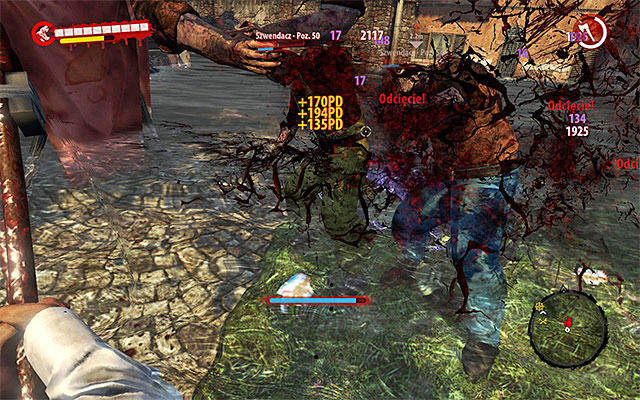
Your task is very simple. Eliminate all zombies nearby Carlos. You don't have to worry about him, as he is unreachable for zombies. There are only weak types of zombies here.
When you eliminate all zombies, approach Carlos, who will thank you and grant you with money.
About the mission:
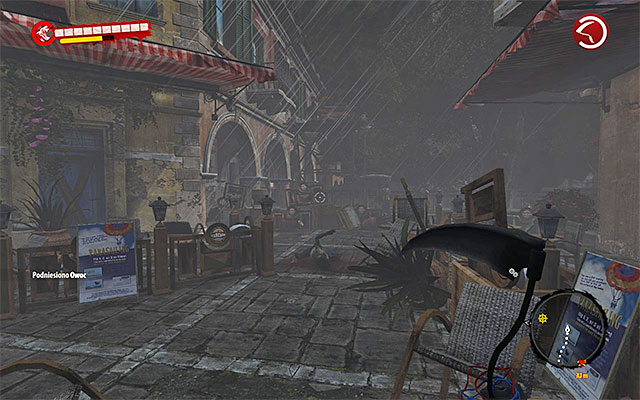
This mission appears when you get nearby Geoffreya Nape's Storehouse, on southern east from Military Base. You should notice Alexa hiding on the roof.
You have to just eliminate all zombies around Alex. You don't have to worry about him, as he is unreachable for zombies. You'll fight here only weak zombies.
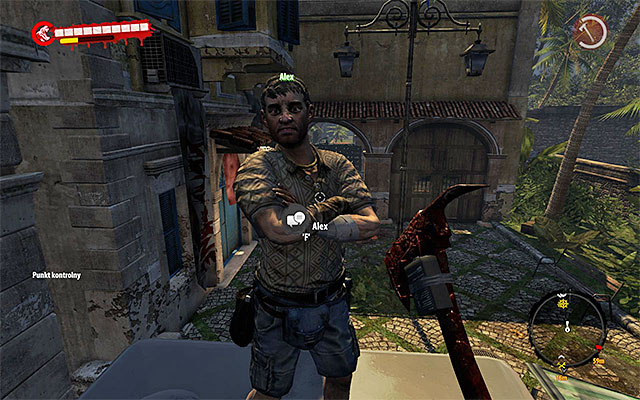
When all zombies are dead, climb up to Alex and talk with him. He thanks you and give you a lot of money. From now on, you can trade with Alex, who specializes in modifications and resources.
About the mission:

This mission appears when you start exploring area on south from Old City Cinema. Nearby entrances to Infested Storehouse and Metzger Sloat's Hideout you should notice hiding Kyle.
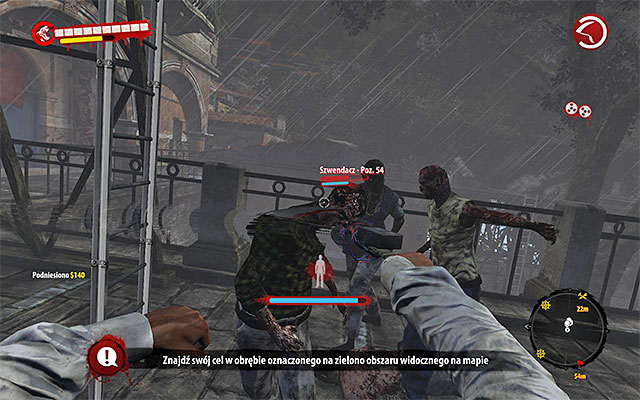
You just have to eliminate all zombies nearby Kyle. You don't have to worry about him, as he is unreachable for the zombies. You fight here only weak types of zombies.
When all zombies are down, use a ladder and talk with Kyle. He thanks you and gives money.
About the mission:
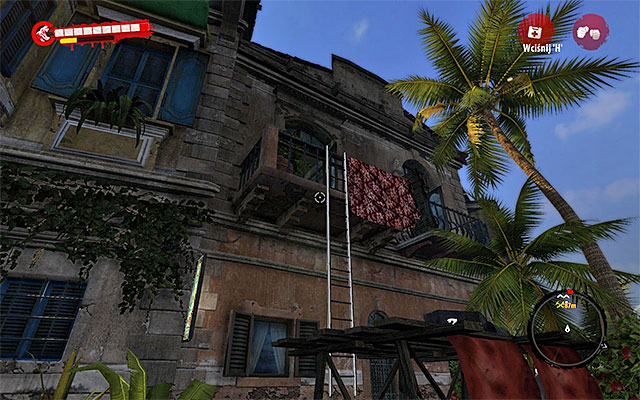
This mission appears when you explore the northwest part of Henderson. On west from Old City Cinema and Infested Cellars you should notice a remark informing about a new sidequest. Use a ladder to get onto a balcony and enter a small room with Damien inside. He'll ask you to bring few items needed to finish a modification. Capacitor is the first one.
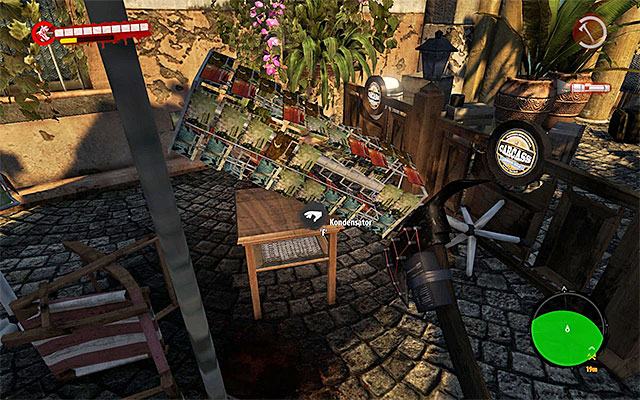
Return to the bottom and start exploring a building on east from Damien. Capacitor lies on the table.
Move west, return to Damien and give him a condenser. Now, he sends you for two spark gaps.
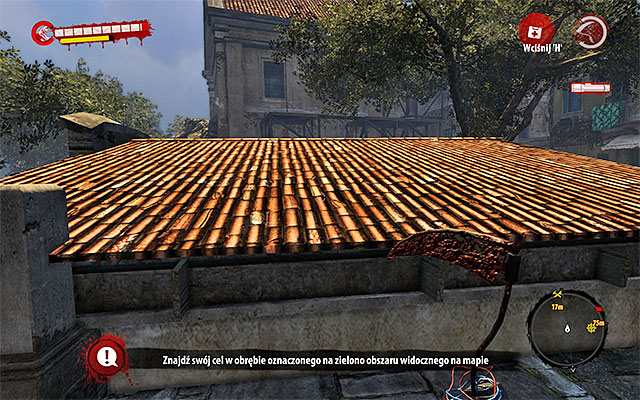
It's much easier to get one spark gap nearby the Old City Cinema, on south from it. Exit the cinema and head southern east. When you get to a green area, look for a place where you can jump on roof of one of buildings (next to the Metzger Sloat's Hideout and scaffold where Kyle was hiding).
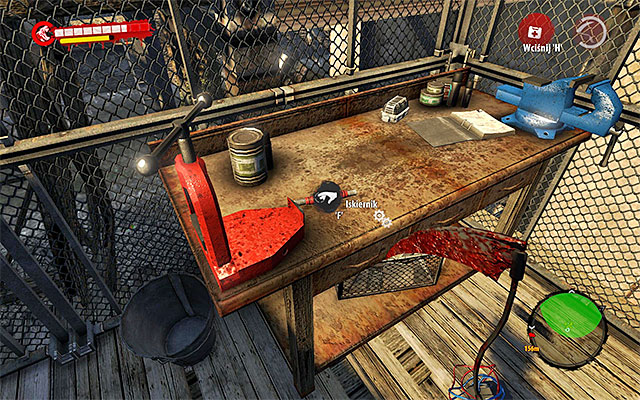
Head south and reach a big net. Defeat a single zombie and jump inside this area. A sought spark gap is next to the workshop.
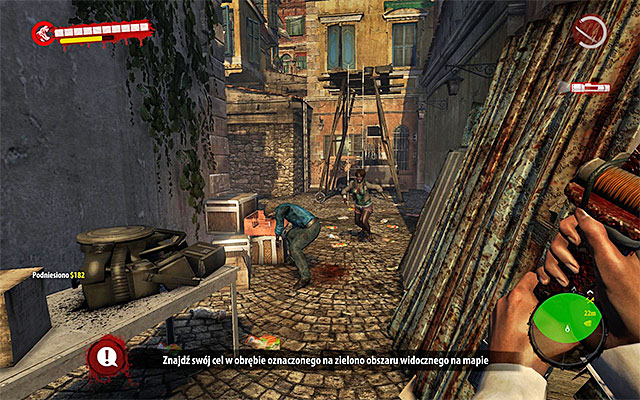
Second area is in the center of city, on south from Quarantine Zone. Use narrow passages between buildings to get into the green zone. Beware of Infested and Walkers on your way.
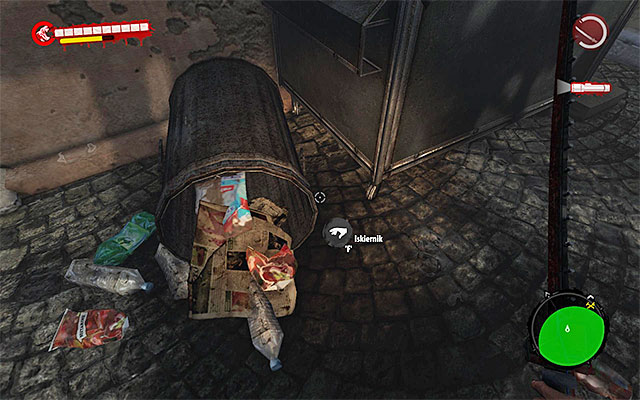
Spark gap lies on the ground, at one of the bins.
Head north again, and find Damien once more. Talk to him and give him spark gaps. Damien will send you for one more item - for an electrical coil.
Your new target is a Military Base. It's on west from where the Damien is located, and it's best to visit it during the main quest Militarized Zone (description of this mission contains all important information about getting there and searching this location).
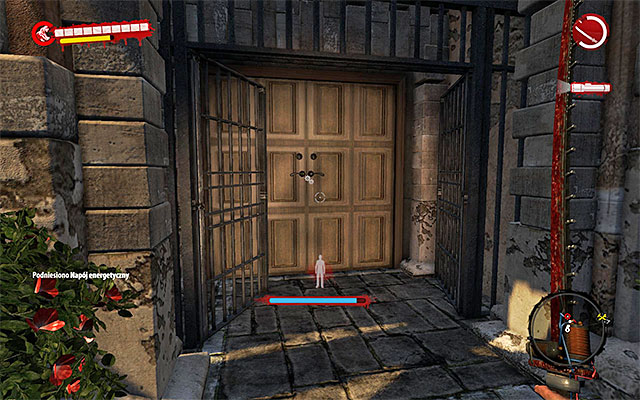
You have to get to the main building in Military Base, in the northern west corner (where you blew up a gate). Wait for the new location to load.
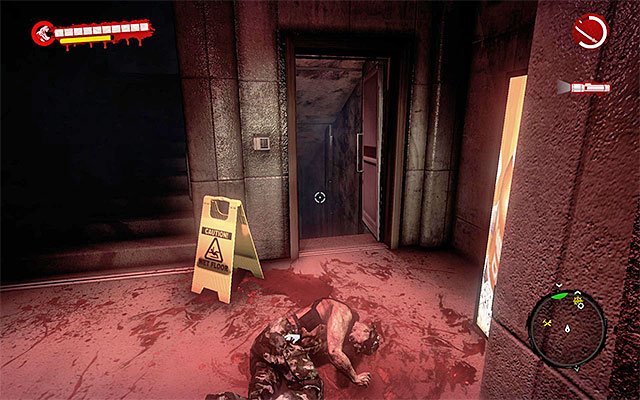
When you are moved to the base, explore nearby rooms. You have to consider meeting Walkers, Infested and at least one Thug, even if you re-visit this location. Get to the staircase and choose one going to the cellar.
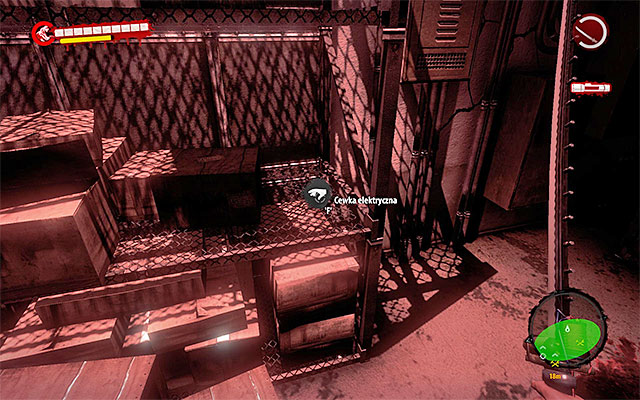
Also in the cellar you may meet a Thug, so don't hurry and use your flashlight. Look around and find a electrical coil on one of shelves.

Leave Military Base and go meet Damien for the last time. As a reward, you obtain not only a modification Electrotherapy but also all unique resources you've collected, which are capacitor, 2 spark gaps and electrical coil.
About the mission:
This mission appears, when you completed the main quest Evacuation, which is winning in a battle with Horde on roof of Old City Cinema. Go on this roof and find Marvin. He'll ask you to find his wife and check if she is still alive.
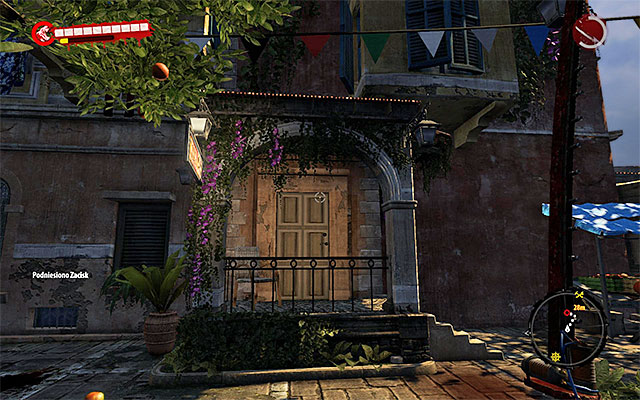
Your target is a Sylvia's apartment. It's in the southern west part of Henderson, on east from Joel Chubalby's Motel. When you get nearby, eliminate or avoid all zombies in the vicinity. Find door and enter the building.
Move forward, eliminating Infested and Walkers which will rush at you. When you get to the final part of the corridor, ignore the left staircase - there is nothing interesting up there. Go right and reach door which you have to break.
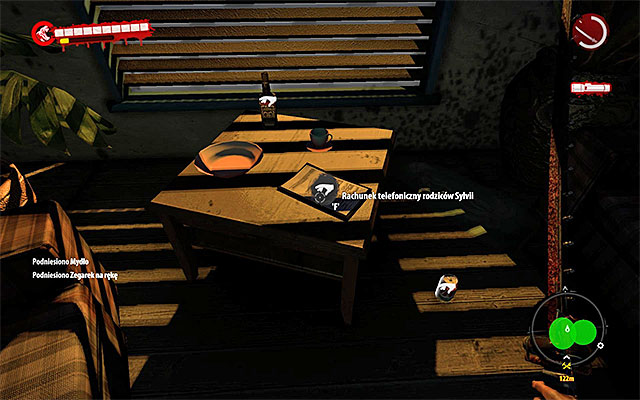
When you ram through the door, attack a Screamer before he attacks you. Search a room after the fight and find a Sylvia's parents phone bill.
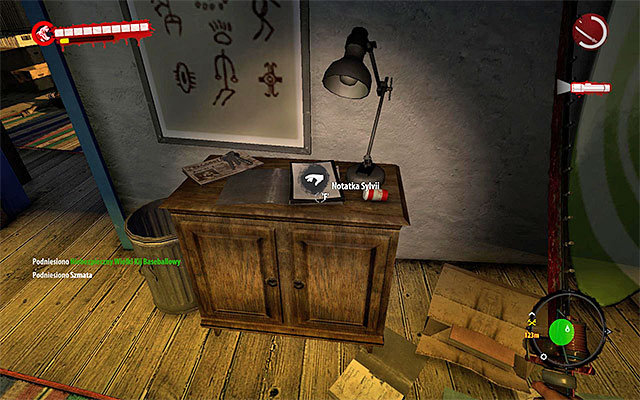
Now move to the next room. Here you have to search Sylvia's bag and pick up a Sylvia's note thanks to which you deduce that she went to her parents' apartment.
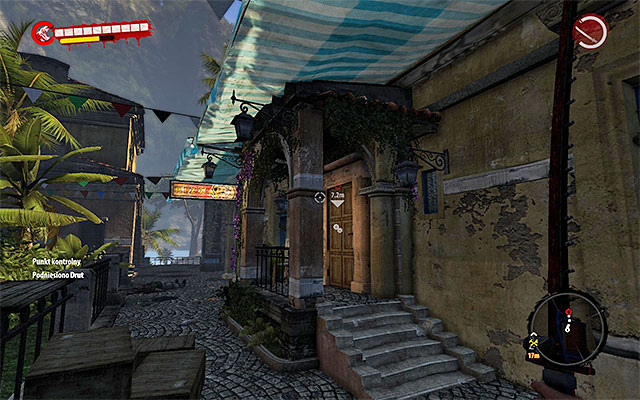
Head to the exit. When you leave the building, start looking for an apartment of Sylvia's parents. It's in the southern east part of Henderson, on south from Infested apartment. Find an entrance there, defeat all nearby zombies and go inside.
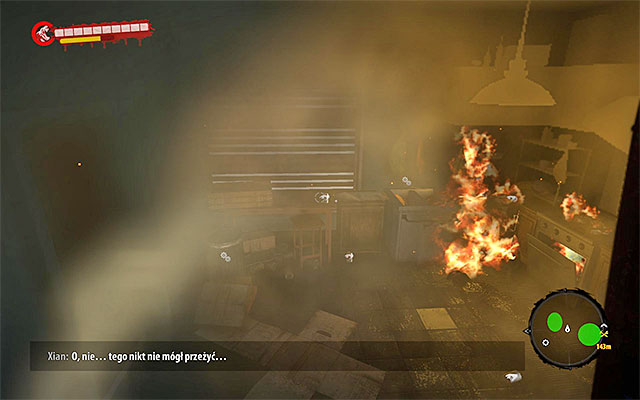
Enter the main room and notice smoke and traces of fire. You have to search all apartment, so green circles disappear from your minimap. At the beginning go left and jump over a fallen closet. Search new room and left bathroom.
Return to the main room and ram door in front of the place of beginning, what takes you to the Sylvia's bedroom.
As you won't find Marvin's wife here, you just need to make one small thing. Pick up a Sylvia's photo from the ground.
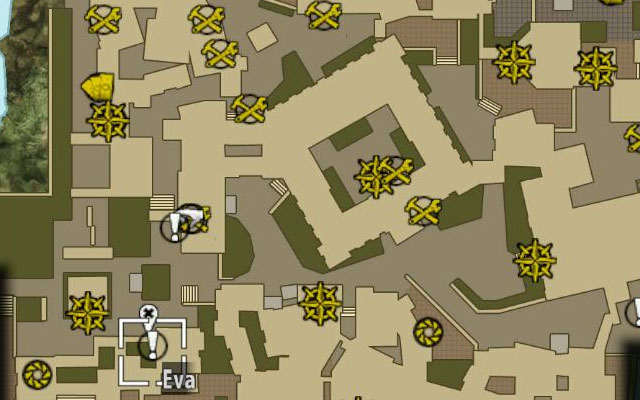
Exit the apartment and return to Old City Cinema. As you probably remember, an entrance to the roof from the staircase is barred, so you have to use a ladder attached to the eastern wall of the building. Tell Marvin what you have found. Although you didn't find Sylvia, her husband will hand you a reward: Wakizashi.
About the mission:

This mission occurs when you get nearby Villa Henderson in the western part of the city.
On east from it, you should hear a music and notice Eve hiding on one of upper balconies. Defeat nearby zombies and look for a ladder leading to this balcony, to talk with woman. She gives you a key to the cafe: you need to go there and turn off the music.
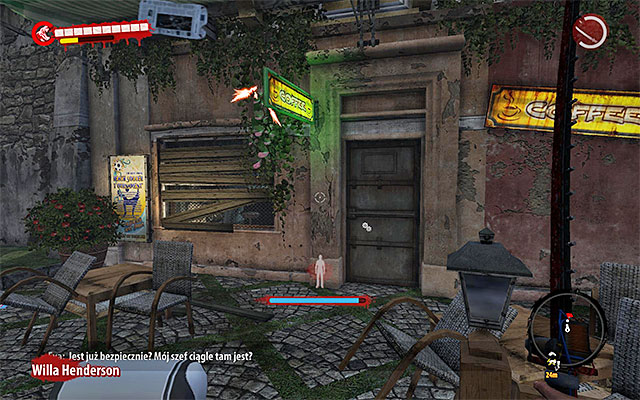
Descend from the balcony and find an entrance to the cafe, on northern east from Eve. use a key and open door, what triggers an alarm.
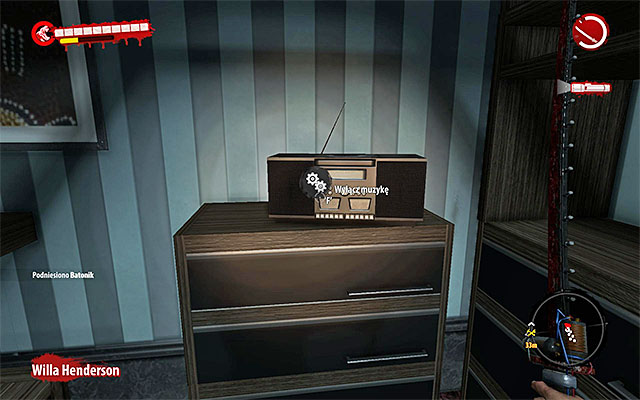
Begin from closing door behind you, so no zombie will rush into the cafe. Search all main room, killing a Walker on the ground. Find the radio and turn it off.
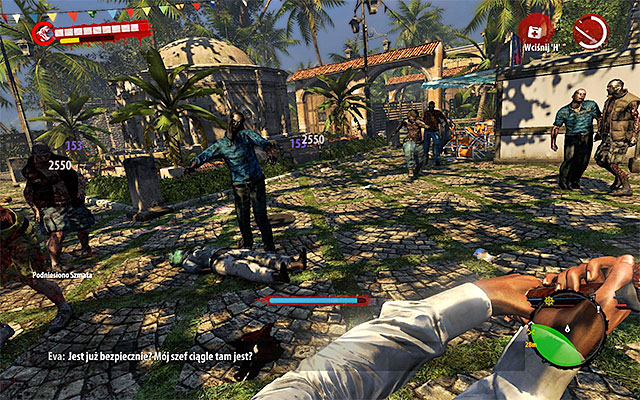
Exit the care and eliminate all Walkers, who have gathered there in the meantime. Make it quick, as more zombies will arrive regularly until you turn off the alarm at the backs of the caf.
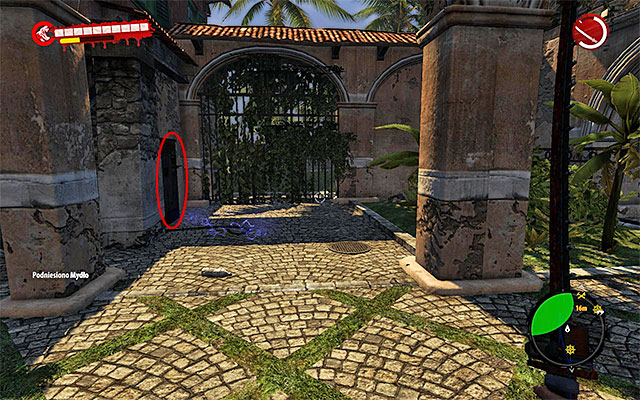
Go left and search an area next to the ladder by which you got to the Eve earlier. Avoid electric current and approach the generator to turn it off.
Eliminate all nearby zombies again and after that use a ladder to reach Eve. She gives you 4 incendiary grenades.
About the mission:
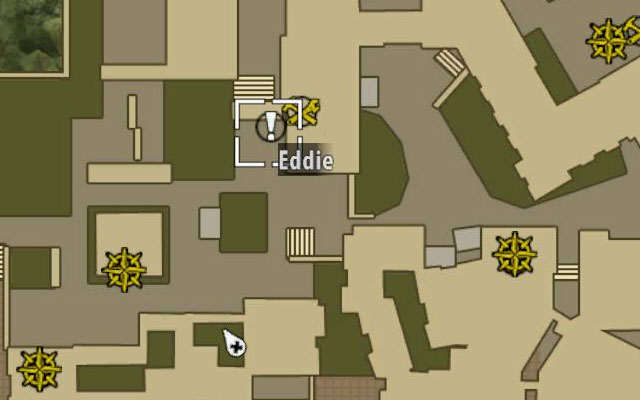
This mission occurs when you get nearby Villa Henderson in the western part of the city.
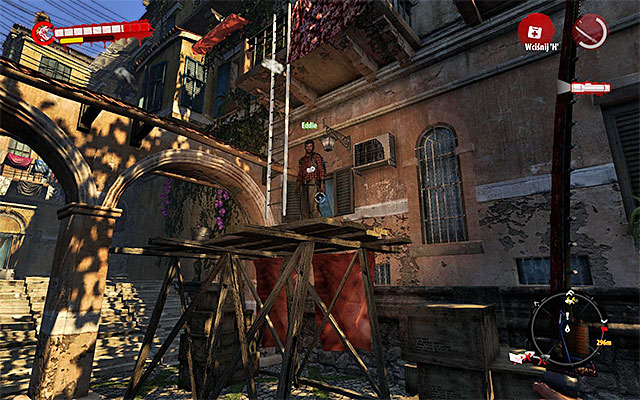
On the northern east from the villa, you should see a Eddie the Zombinator on one of scaffolds. He'll ask you to bring him few items which he needs.
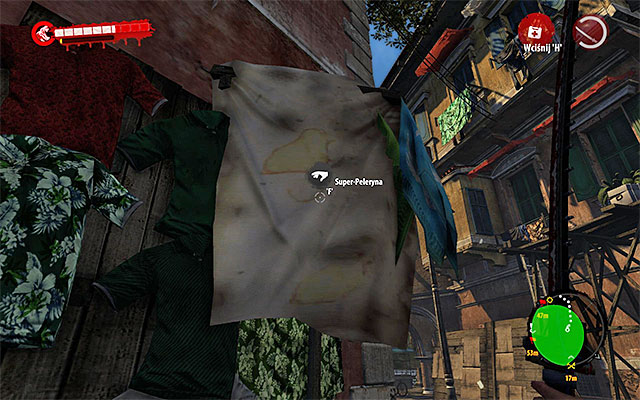
You have to find three items, and you have to collect them in random order. I recommend to begin with Supercape, which is the closest to the place where Eddie is. Head south, to the southern west part of the city. You have search an area nearby Sylvia's apartment and Joel Chubalba's Motel. A sought Supercape hangs on the rope with the rest of laundry.
Second artifact for Eddie are the Supershoes. Begin where you have found the cape and head south, reaching a small market occupied by zombies. Eliminate all of them and then search this place carefully (beware of new Screamer!). At one of standings you find Left Supershoes and Right Supershoes (you have to pick up both to finish this part of mission).
You just need to find Superfish. To do so, head to northern east part of the city to Sea Market. When you get there, go inside the main building and search its northern east part. Superfish lies among the "normal" fishes.
Head north to meet again Eddie the Zombinator. He takes items you've collected and orders you to follow him.
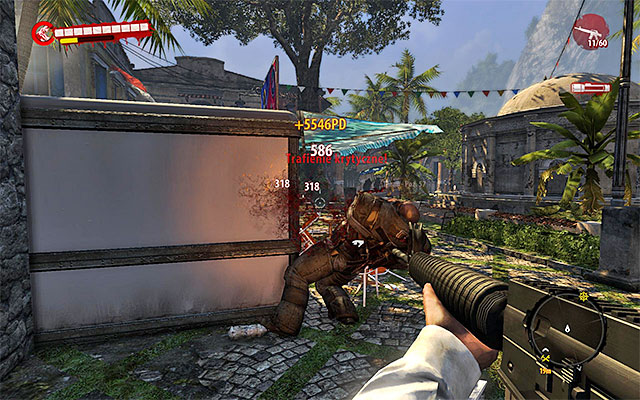
Jump down and start attacking zombies which will soon emerge. The biggest threat is a Ram. As a remainder: you have to avoid his charges and attack his backs, using some good firearm (shotgun, rifle, launcher). Eddie won't help you, but you should win this without his support.
Eddie the Zombinator should in the meantime return to where you've talked with him for the last time. As a Reward you obtain three well balanced throwing knives.
About the mission:
This sidequest appears when you explore the southern west part of Henderson, on south from the Infested Store. You should notice Gianna hiding on the scaffold.
You have to eliminate all zombies around the scaffold. Gianna is safe in the place unreachable for the zombies. Another good news is a fact that you have to eliminate only weak types of zombies.
When you kill all zombies, use ladder and talk with Gianna, who thanks you and gives you a lot of money.
About the mission:
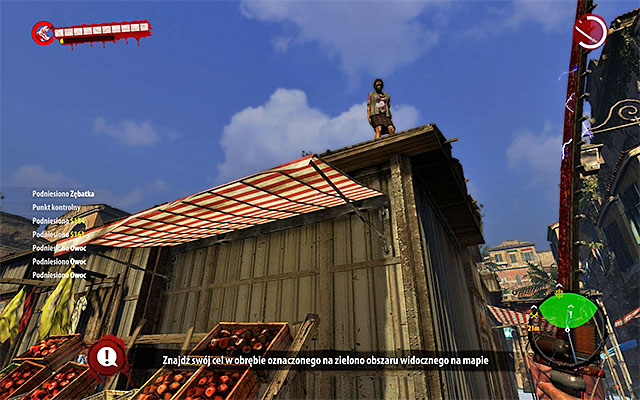
This mission appears when you get to the Sea Market in the southern part of Henderson. You should notice a main building on which Lydia is standing and hiding against nearby zombies.
You have to eliminate all zombies around the main building of the Sea Market. Lydia is safe in the place unreachable for the zombies. Another good news is a fact that you have to eliminate only weak types of zombies.
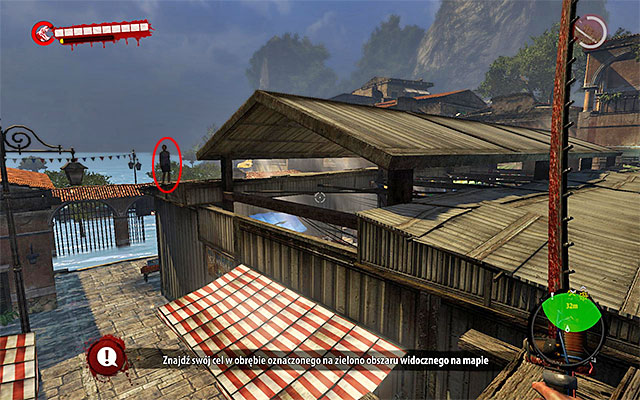
When all zombies are dead, search an eastern wall of main building of Sea Market, and find ladder via which you can get onto roof. Head south and talk with Lydia. She thanks you and gives a lot of money.
About the mission:
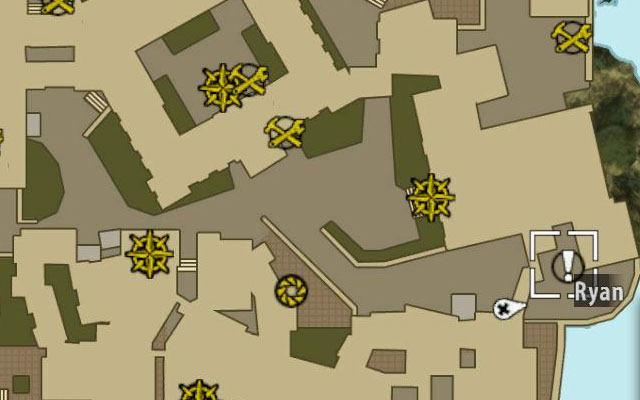
This mission appears when you get to the eastern part of city, on south from Old City Cinema and Church.
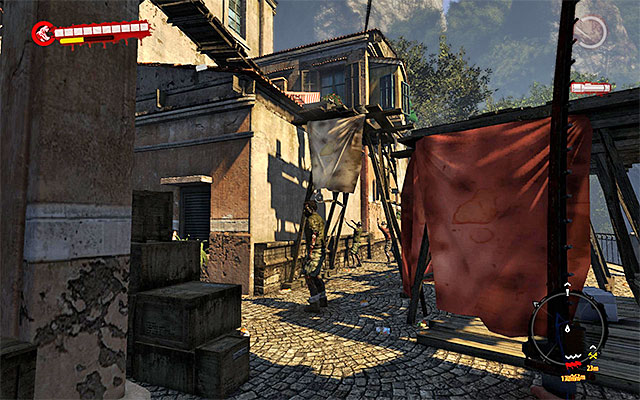
Find a scaffold nearby the church. You run into a group of zombies and you have to play it cautiously as there is a Thug among them. Kill or avoid this one and then find a ladder which takes you onto a scaffold.
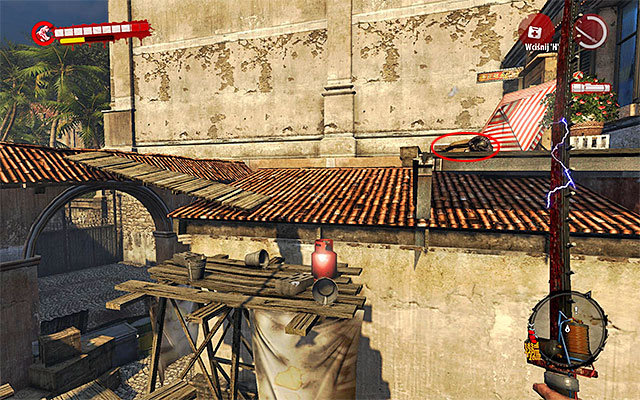
When you get there, jump onto a wooden construction and then onto a northern roof. You find a sick Ryana, who asks you to bring him medicines from his house.
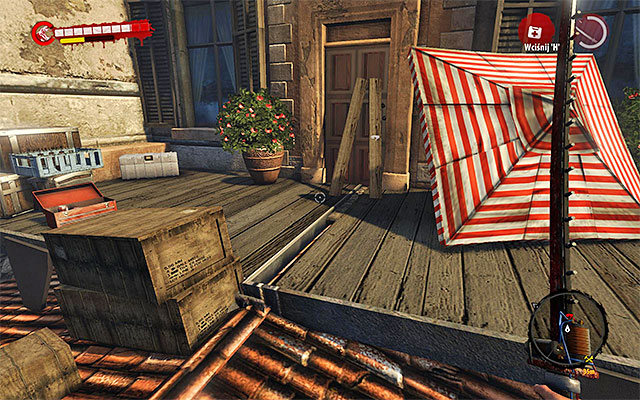
Turn left and approach boards blocking an entrance. Pick up every of them to get an access to Ryan's House. Wait until you're moved to a new location.
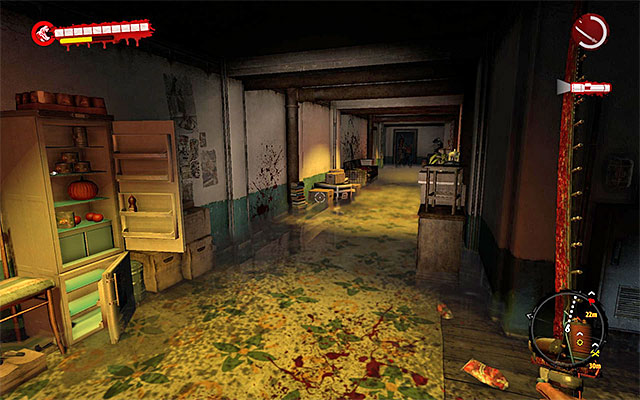
Go downstairs. If you want, you can search rooms on the left. In every of those rooms you find a group of zombies and supplies. You can also focus on finding medicine - choose a long corridor on right.
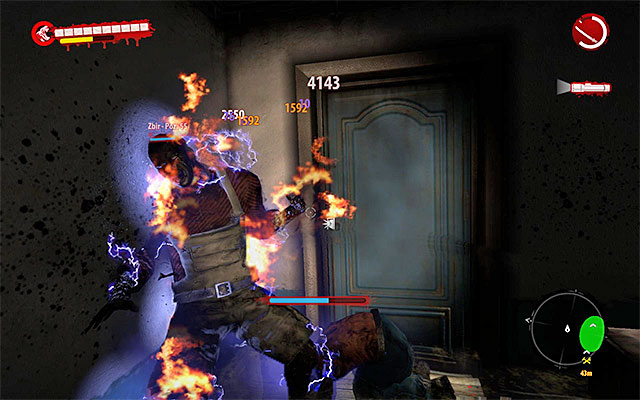
Beware of Infested and a Thug who defended an access to the most important part of the building. It's very hard to pass him, so kill the zombies with firearm or some explosives.
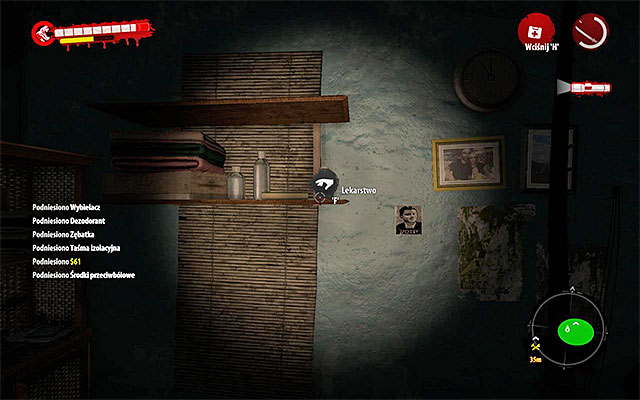
Ram the door at which Thug was standing and resume exploration of the apartment. You have to get to the last one room, where another group of zombies is. Eliminate all of them and find a medicine on one of shelves.
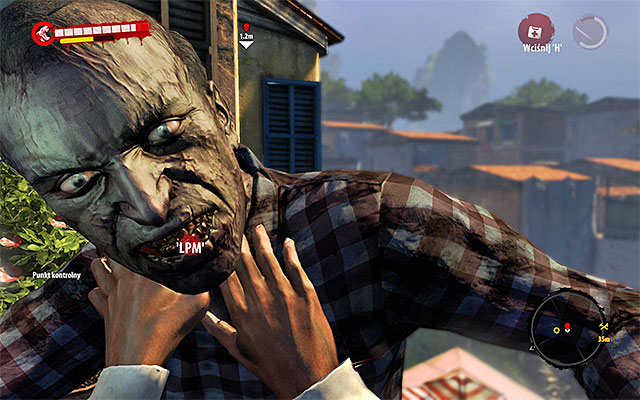
Head for the exit. When you reach the surface, it turns out that Ryan died and has changed into a zombies. Kill him and finish this mission.
About the mission:
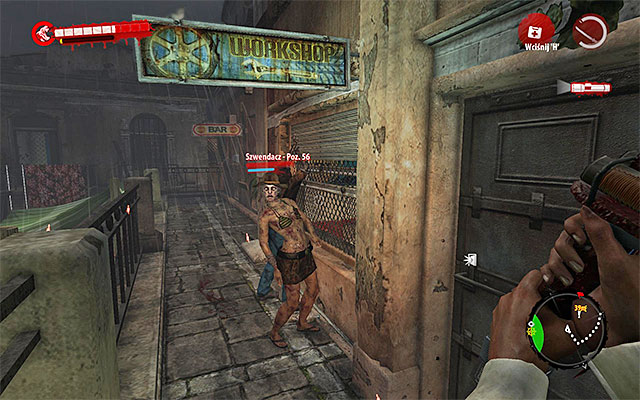
This mission appears when you explore the southern west part of Henderson. On east from Sylvia's Apartment and Joel Chubalba's Motel you find a workshop with Jorge Tesoro inside of it.
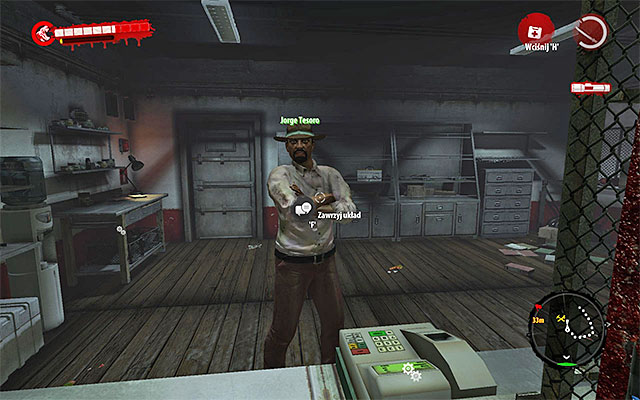
Eliminate zombies in front of the workshop and then break the door. Talk with Jorge, who tells you about persons who had betrayed him after robbing a bank. He'll offer you half of money in return for finding his partners and getting the loot back. For the beginning, you'll be search to the bank with an access card.
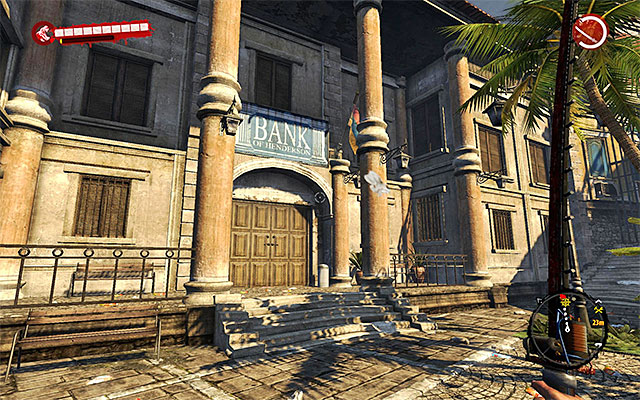
Bank is in the northern part of the city, and you should localize it easily because you were passing it during one of previous main quests. The quickest way to get there is to use Fast Travel to Henderson Ferry Station and then repeat a beginning part of walking towards cinema. Approach the main entrance of bank and get into a new location.
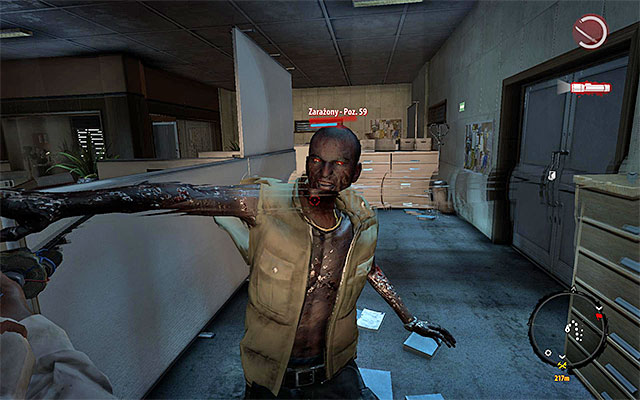
Begin an exploration of the bank, eliminating single Walkers and Infested. Ignore a minimap for now and get to the manager office in the far corner.
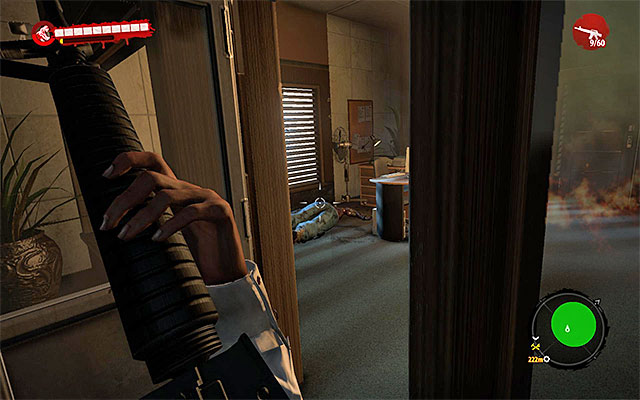
A sought key is at a bank manager who, unfortunately, has turned into a Thug. Defeat him in a way you like, using some firearm or some explosive surprise. When he is dead again, search his body to pick up keys to the vault.
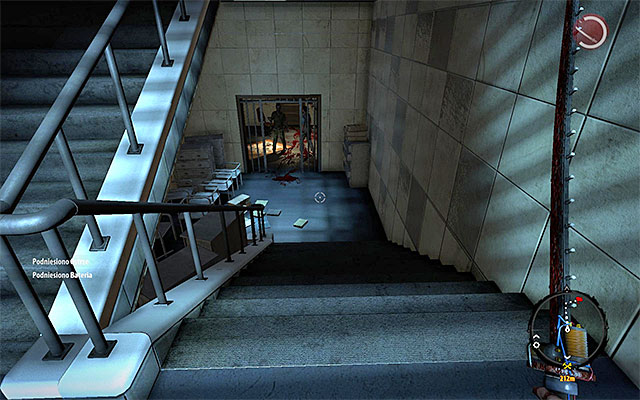
Return to the main hall and now follow the minimap, using a side passage which takes you to the staircase. Go downstairs, eliminate new zombies and use keys to get into a vault.
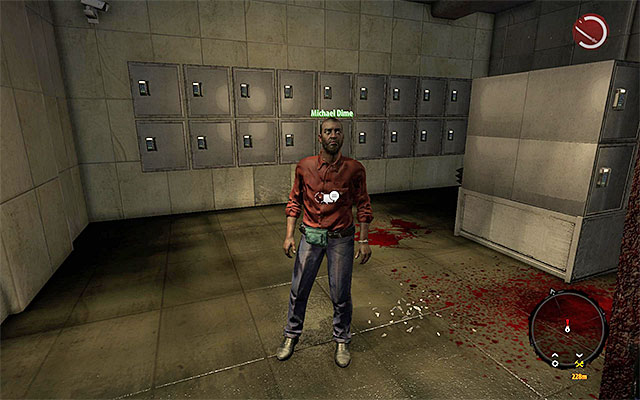
Open door. Inside, you find Michael Dime with who you have to talked. He tells you that bandits flew using a bank van and you can aim it using built-in GPS.
Exit the vault and return to the main hall. Once again you have to head for the office of bank manager. Approach the computer and wait until information from GPS downloads. After that exit the bank.
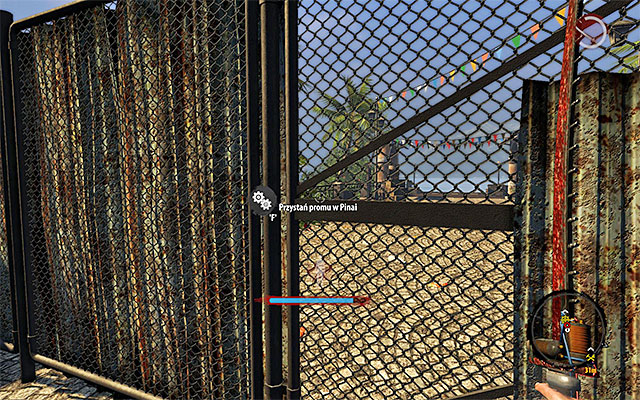
Bandits can be found in Ferry Station in Pinai. You can get there returning to Henderson Ferry Station and using the ferry. Wait until you're moved to the location you've already visited.
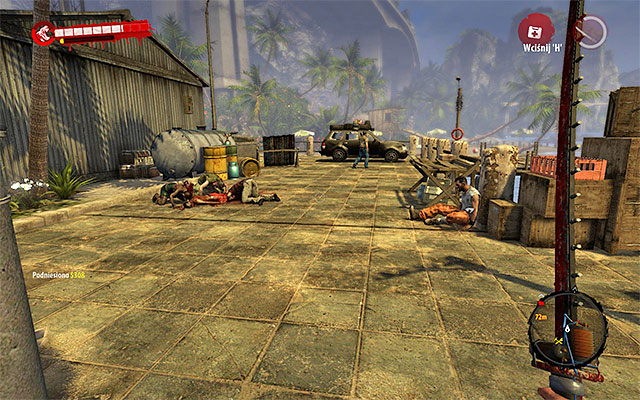
Bandits hideout is in the northern west part of Pinai Ferry Station next to the exit from Tunnel. It means that you have to traverse all this location once again, eliminating Walkers and Infested on your way. At the beginning head north and then turn west, and later northern-west.
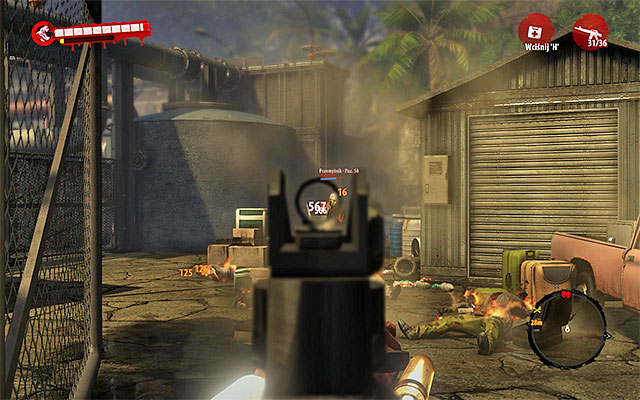
When you get close enough to where bandits are, you can listen to their short conversation. Sneak into their hideout and attack them from surprise. Use pistol or rifle and aim at their heads, don't forget to hide behind covers. You can also consider throwing few grenades at them (you can throw them over a fence without leaning out). Defeat all bandits marked by the game.
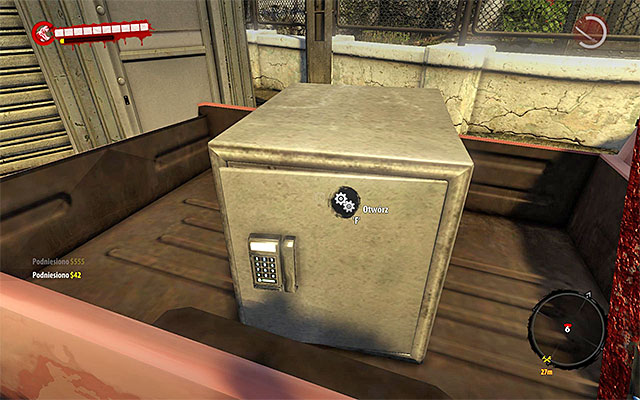
Search bandits bodies and then approach the red pickup. Notice a safe on its back. Open it and take a bank treasury.
Return to Henderson and head to the southern west part of the city again. You'll have to eliminate few zombies once again and break door leading to the workshop. After that approach Jorge and give him a bank treasury found at dead bandits bodies.
Unlocked event: A Collector (to unlock this mission you have to talk again with Jorge Tesoro in Henderson).
About the mission:
This mission appears when you're exploring the central part of Henderson. On south from George Serero's Apartment you should hear somebody calling for help. Find a small group of zombies and defeat them. After that, approach one of cellar windows and talk with Nina hiding inside. She asks you to find a console and taking off a fuse, so the current stop flowing to the cellar.
Head north, choose a narrow western passage between stairs and wall of the right building.
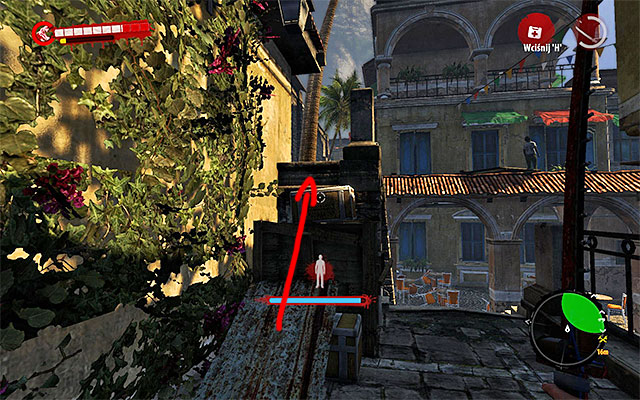
When you get to the square behind the building with Nina inside, turn around and go upstairs. Turn around again and approach crates on left. Here, you start climbing.
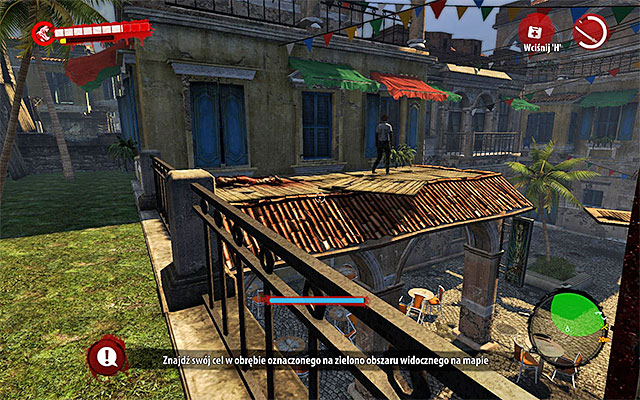
Now you have to jump over a small balustrade, to land on the right roof where a single zombie should be located also.
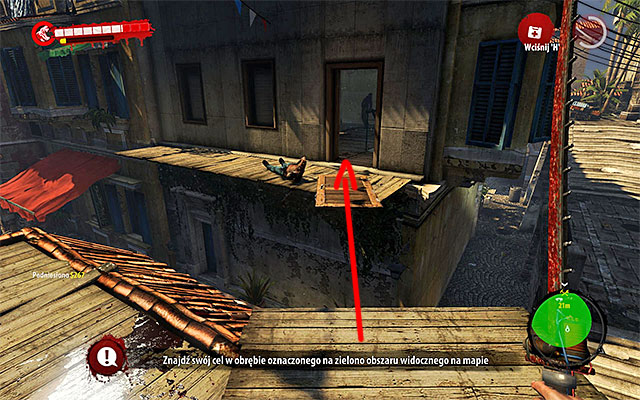
At the end turn right, to the building with Nina inside. Run and jump to the entrance to the building.
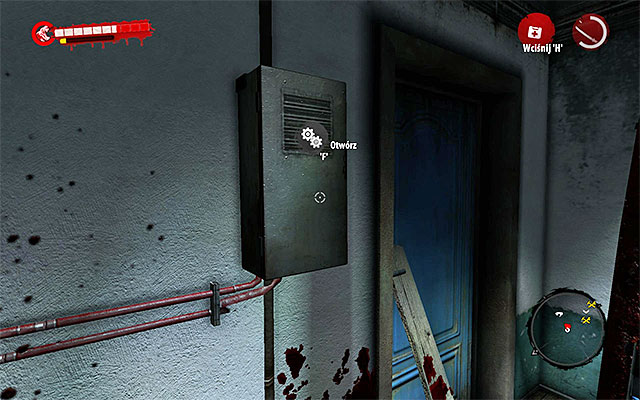
Enter the building and defeat all zombies on the floor. Look at fuse box and see that it's, unfortunately, sealed.
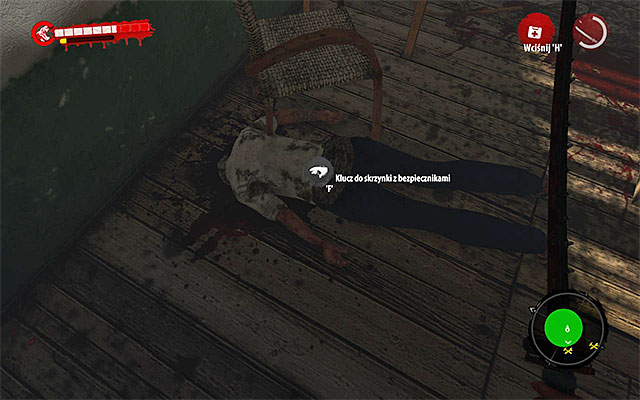
Approach the door on right from fuse box and remove a wooden blockade to get an access to a small room. Kill Nina's sister inside and then search her body to pick up a key to fuse box. Return to box, open it with a key and pick out fuses to turn the power off.
Find stairs leading to the ground floor and begin elimination of zombies there. After securing the stairs, notice a corridor leading to the cellar. Kill zombies on your way and get to the room where Nina is hiding.
Now you just have to talk with Nina, who, in the meantime, should get out of the cellar. As she promised, she gives you a reward - a Crowbar.
About the mission:
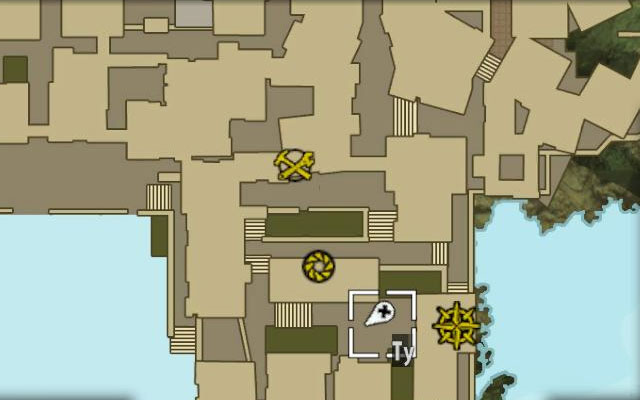
This mission appears when you get nearby Ogio Moke's Laundry in the southern east part of Henderson. On west from it you should notice a Xavier standing on the pile of crates and surrounded by zombies.
Assumptions are very easy: eliminate all zombies around the crates. Xavier is safe so you don't have to bother about him. Another good news is a fact that there are only weak types of zombies.
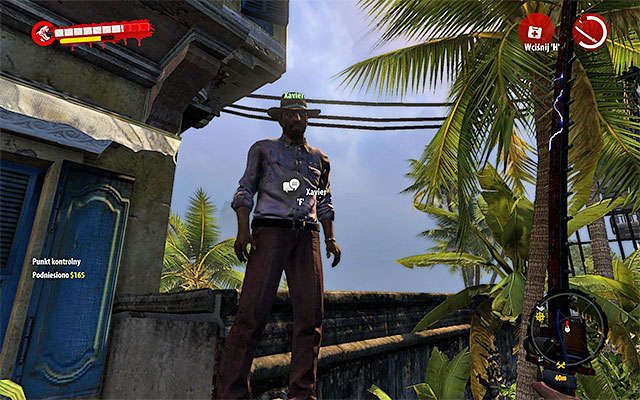
When you eliminate all zombies, approach the pile of crates and talk with Xavier who thanks you and gives you a lot of money.
About mission:
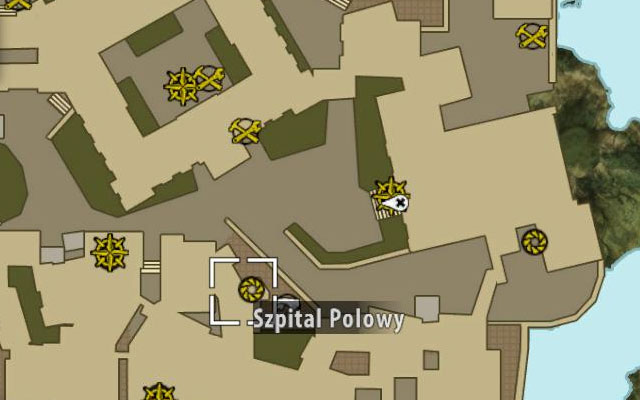
This mission appears during an exploration of the central part of Henderson. On southern west from Old City Cinema and Church you find an entrance to Makeshift Hospital.
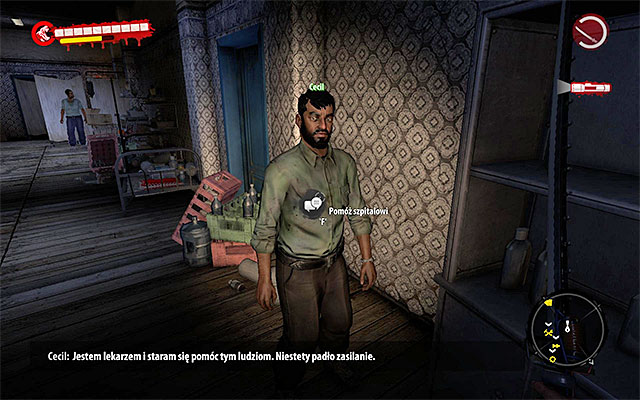
When you enter the building, approach the intercom to talk with Cecil. Go upstairs and find him. He'll ask you to search a switch to restore electricity.
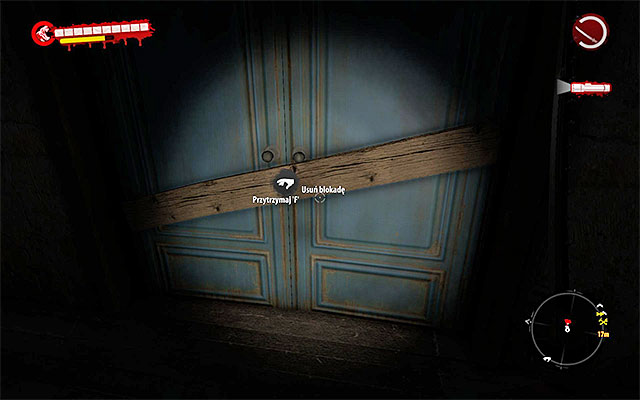
Return to the staircase and go to the cellar. Approach barred door and hold an Action but to remove a blockage.
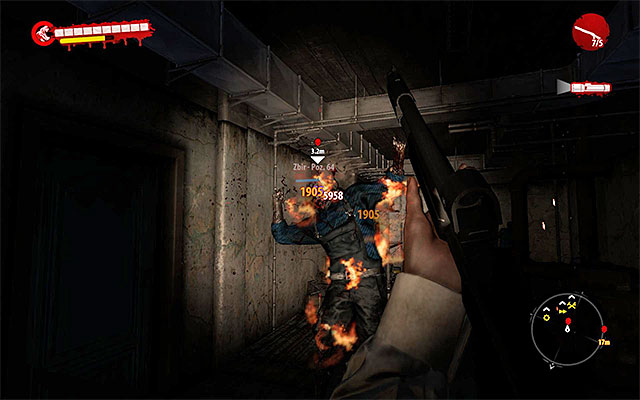
In the cellar you find mostly Walkers but also a single Thug. As in the previous cases of those monsters, you can use explosives or firearm to defeat a Thug. Use a flashlight or flares, as the cellar is very dark.
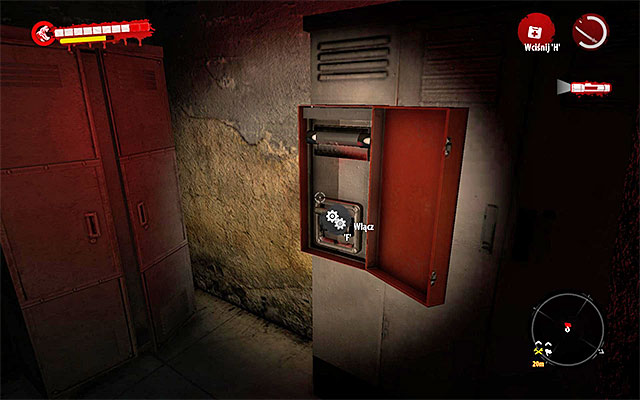
When the fight is over, search all the cellar and find, among others, a modification. At the end use a switch. Unfortunately, an attempt to restore power fails.
Return to the first floor of Makeshift Hospital and talk with Cecil again. He'll send you for a new fuse to Greg's shop, nearby the Military Base.
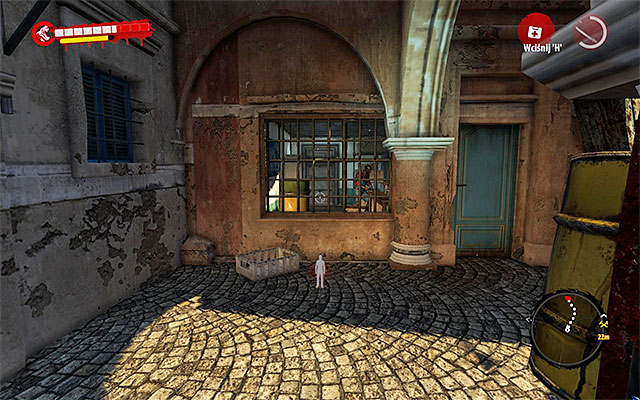
Greg's Shop is on the northern west from Makeshift Hospital and on east from path leading to the Military Base. When you get there, break the door and walk inside.
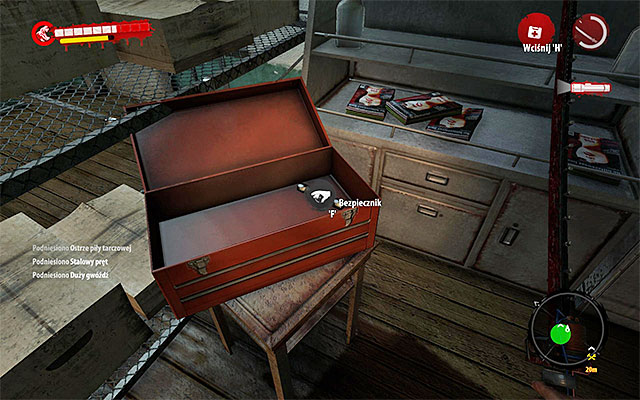
Be ready to kill infested Greg, who, luckily, is a standard Infested. Look for a fuse in the shop.
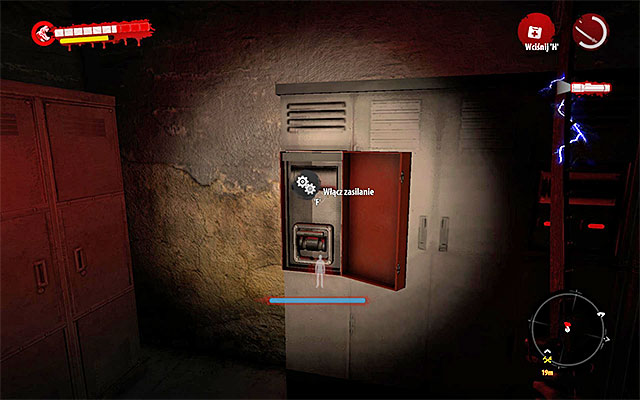
Return to Makeshift Hospital. When you get inside, head for the cellar. Replace the broken fuse with the new one and then use a switch.
Return upstairs and talk with Cecil. He'll thank you and give you a Hatchet.
Sidequest unlocked: Healthcare (to unlock this mission, you have to talk again with Cecil in Makeshift Hospital).
About mission:
This mission appears, when you complete a sidequest The Darkness. Talk with Cecil again, who is inside the hospital. This time, he'll send you to look for morphine for his patients.
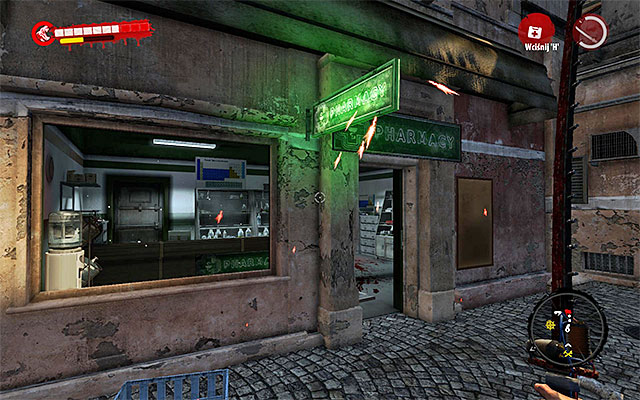
Your current objective is a drug store, on the southern west from the hospital, between Infested Storehouse and George Serero's Apartment. Be careful, because you may meet many Infested and even elite types of undeads (Ram or Wrestler).
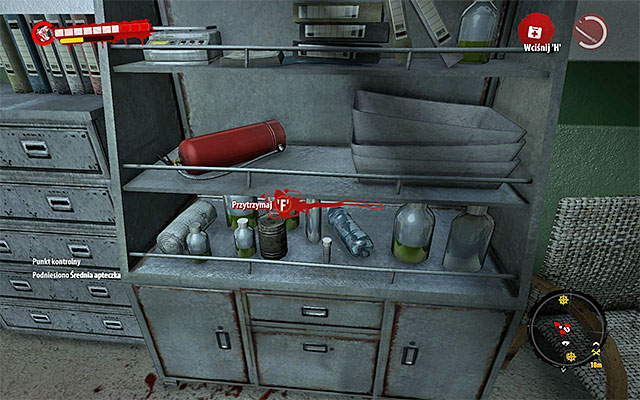
Enter the drug store and search three places pointed out by the game. Unfortunately, you find nothing. Listen to conversation with Jacqueline Phantom.
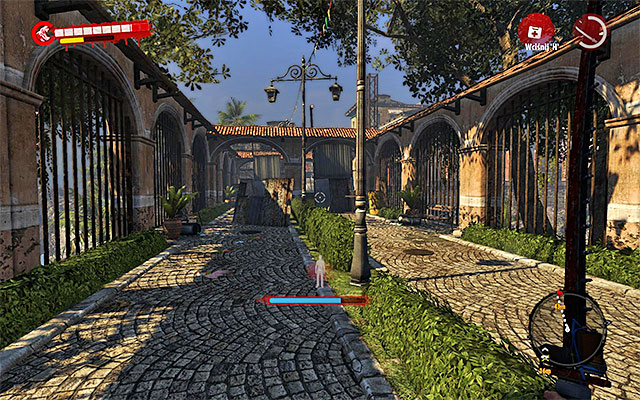
Your another travelling goal is Military Base. This location is on the northern west from the drug store you've visited and it's best to visit to during the main quest Militarized Zone (this mission description includes all important information about how to get to the base and what awaits inside).
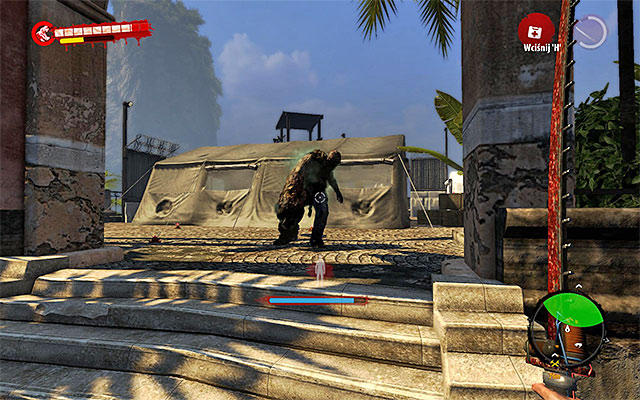
Head for the southern west part of Military Base. If it's your first visit here, remember to avoid mine fields and Infested. If you were here earlier, you'll probably run into an upgraded Wrestler. The best way to defeat him is to set up mines on his way. You can also try to belts him, what shouldn't be difficult as he moves rather slowly.
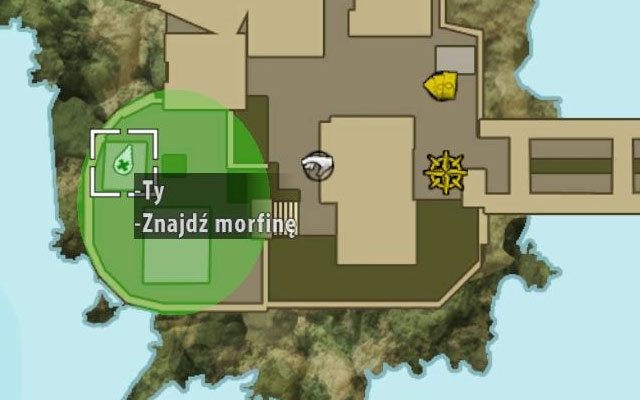
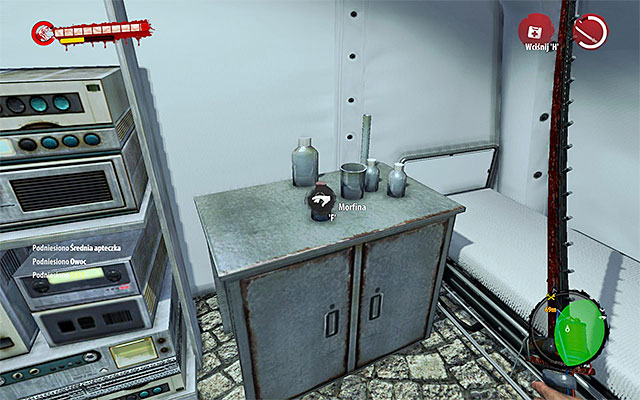
When you get to the green area (beware of mines!) find a med tent (white with red cross) and search it to find morphine.
Return to Makeshift Hospital. Go upstairs and talk with Cecil for the last time, to get a reward, which is a promised Construction Hammer.
About mission:
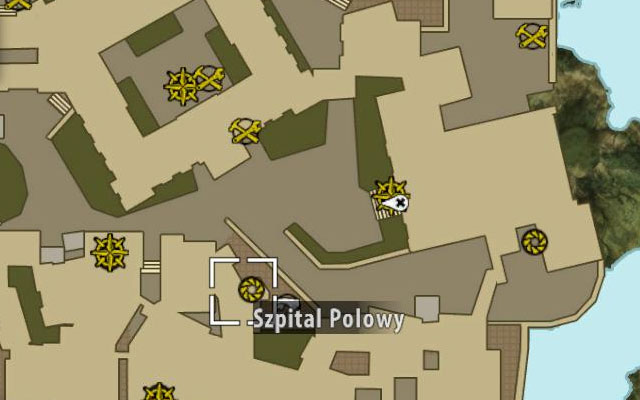
This mission appears when you finished a sidequest Family Ties. Head to Makeshift Hospital in the central part of Henderson, on southern west from Old City Cinema and Church.
Enter the hospital and use an intercom to get upstairs. Find a sick Sylvia what unlocks this quest.
Exit the hospital (or use a Fast Travel point on the ground floor) and go to current position of Marvina, which is Old City Cinema or Fort Henderson. Find him and tell him about finding his wife to finish this short mission.
About mission:
This mission appears when you finish a sidequest The Darkness. In the hospital, go upstairs and find Sean, who is a one of doctors. He'll ask you to find and bring chirurgical tools required for performing the operation.
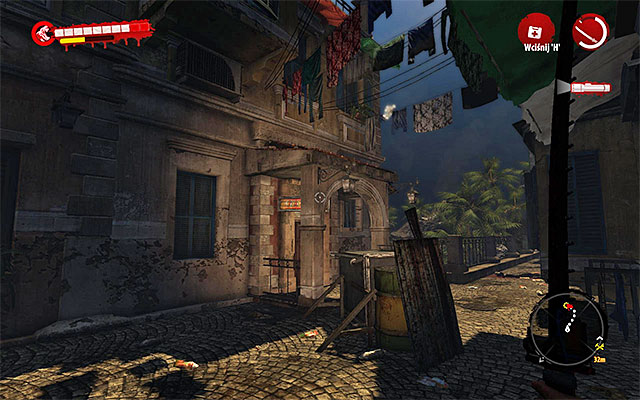
Exit the hospital and head for Stan's Home. Surgeon's apartment is in the southern east part of Henderson, next to Ogio Moke's Laundry. When you get there, go inside the building.
Start an exploration of this building and be very careful, as you meet a Suicider and a Thug in the very first corridor. Eliminate a Suicider with some firearm. When it comes to Thug - you can take him down in every possible way, without direct short distance confrontation.
You have to get to the green marked area. Ignore the left door which leads to an empty bathroom. Open door in front of the start point and defeat an Infested Doctor.
Search a room where the Infested Doctor was. Chirurgical tools lie on the floor, next to the table. Search also the rest of the room, to find a new modification and a collection of katanas.
Exit the apartment and return to Makeshift Hospital. Get on the first floor and give tools to Sean, getting in return a Meat Mallet.
About mission:
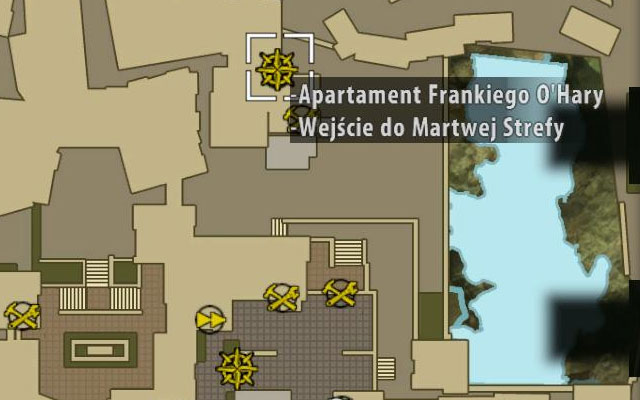
This mission is connected with cleaning up a Dead Zone in Frankie O'Hara's Apartment. You can get there in the northern east part of Henderson, on north from Old City Cinema.
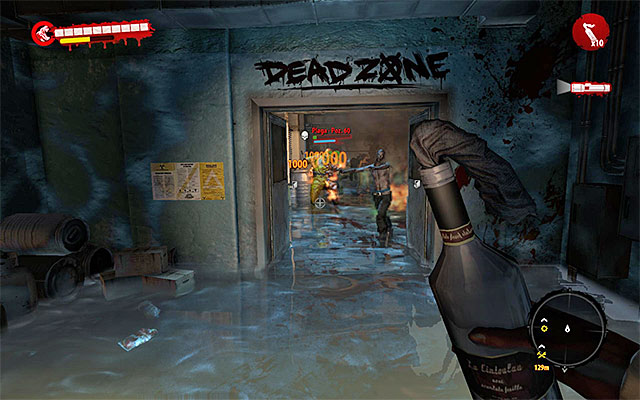
The greatest threat in the Dead Zone is of course Frankie "The Scourge" O'Hara, who is a boss-zombie and can be found in the biggest room next to the stairs. It's an unique type of zombie, which is an upgraded version of Grenadier. It means that he prefers fighting on distance, throwing parts of his body at you. Depending on what you like, you can kill him from a distance (good rifle or LAW launcher), throw explosives at him or wait until he moves close to you to finish him off with some blade (any upgrades are good in this case).
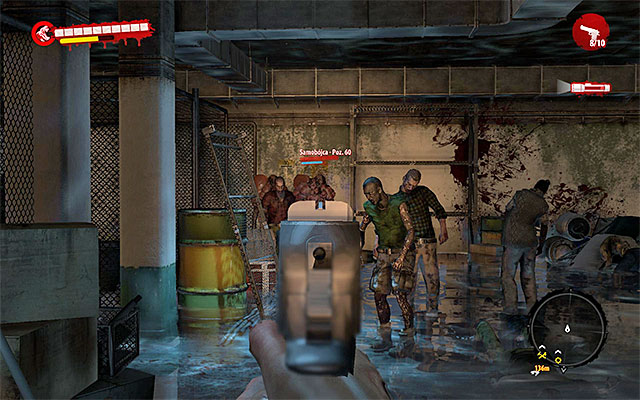
You have to also eliminate a plenty of other monsters: Walkers, Infested, Suiciders and a Screamer. Use molotovs and grenades to eliminate bigger groups quickly and try to fight near to an entrance to Dead Zone, so you won't get surrounded. When all fights are over, search carefully the Dead Zone for cash, precious items and rare resources.
About mission:
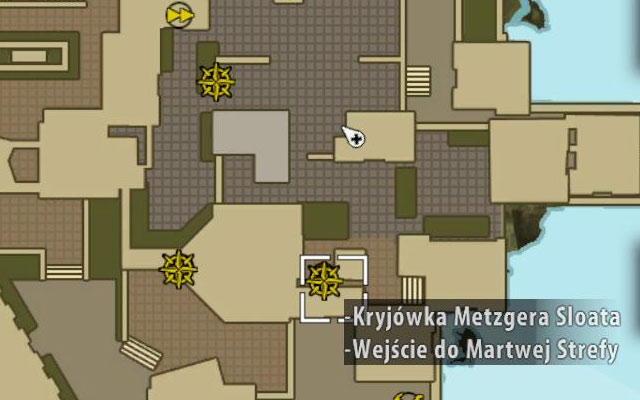
This mission requires defeating all undeads in Dead Zone and Metzger Sloat's Hideout. Entrance to it can be found in central part of Henderson, on south from Old City Cinema.
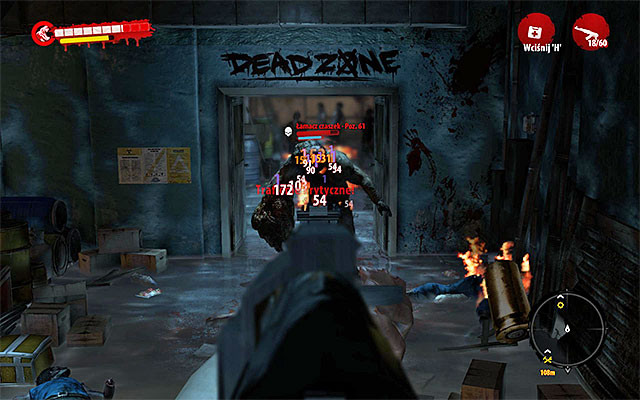
The biggest threat there plays of course Metzger "Skullcrusher" Sloat who is a boss-zombie and can be found in the biggest room next to the stairs. This unique zombie, is an upgraded Wrestler. So I recommend to set up as many mines as you can next to the stairs, so you won't be forced to try avoid boss in panic when he rushes at you at first. You can also use explosives or good firearms (I especially recommend rifles and LAW launcher).
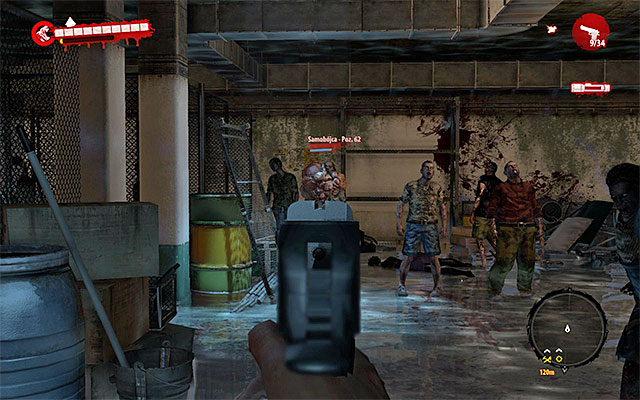
You have to also eliminate a plenty of other monsters: Walkers, Infested, Suiciders and a Screamer. Use molotovs and grenades to eliminate bigger groups quickly and try to fight near to an entrance to Dead Zone, so you won't get surrounded. When all fights are over, search carefully the Dead Zone for cash, modification, precious items and rare resources.
About mission:
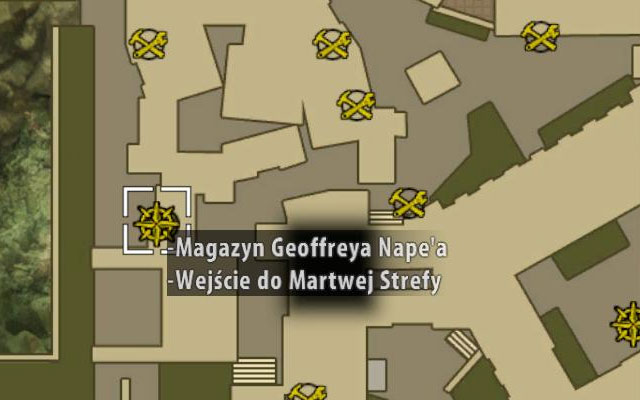
This mission requires eliminating all zombies in Dead Zone in Geoffrey Nape's Warehouse. Entrance to this location can be found in the western part of Henderson, on west from Town Hall and Old City Cinema.
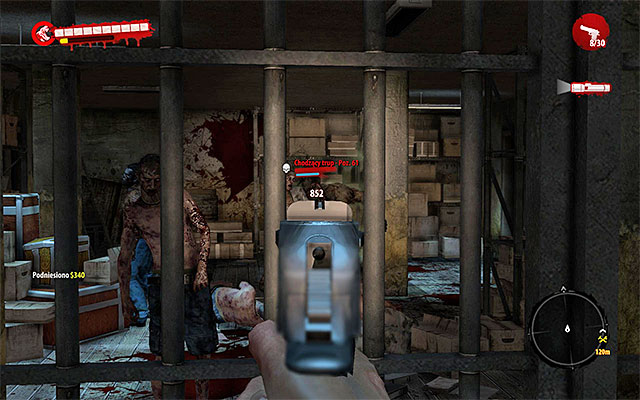
The biggest threat there plays of course Geoffrey "Walking Carcass" Nape who is a boss-zombie and can be found in the lower room next to the stairs. This unique zombie, is an upgraded Wrestler. Notice that there is a gate leading to room with him inside. So you can fire at him without risking anything. If you don't have good firearm, you can (when the gate is open) throw few grenades inside or set up mines at the beginning stairs.
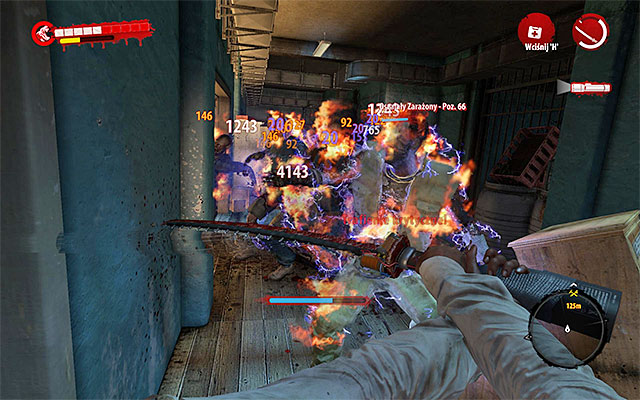
You have to also eliminate a plenty of other monsters: Walkers, Infested, Suiciders and a Wrestler. Don't forget to search all rooms. When all fights are over, search carefully the Dead Zone for cash, modification, precious items and rare resources.
About mission:
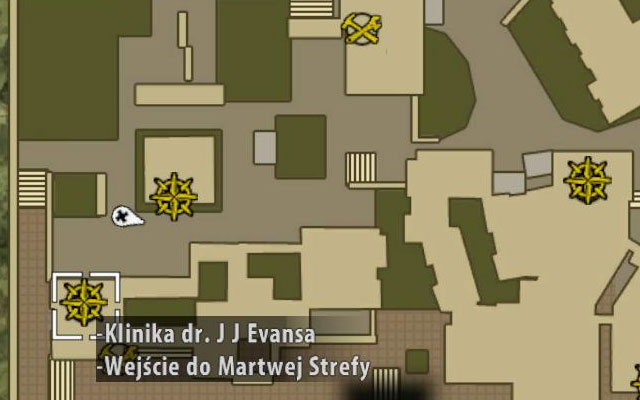
This mission require eliminating all zombies of Dead Zone in Dr J J Evans' Clinic. You can find entrance to this clinic in the western part of the city, on south from Villa Henderson.
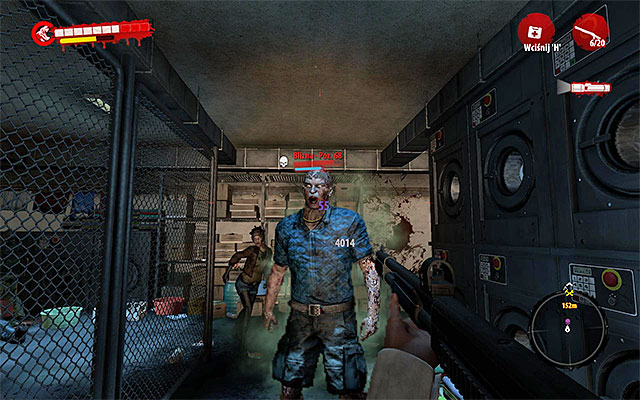
The greatest threat of Dead Zone is, of course, the Dr "Scar" J J Evans. He is a boss-zombie who can be found in the central room of clinic. You can get there by breaking the door. He is a special zombie, who is similar to Thug, but not only is he tough, but he can also regenerate after every successful strike. So try to keep him at bay, using mines, grenades and firearms.
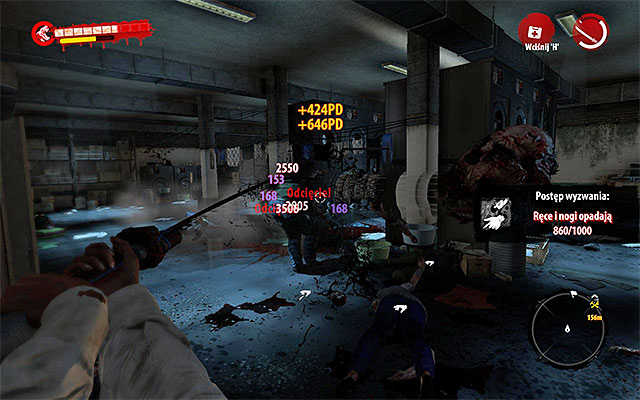
You have to also eliminate a plenty of Walkers and Infested. Use molotovs and grenades to eliminate bigger groups quickly and try to fight near to an entrance to Dead Zone, so you won't get surrounded. When all fights are over, search carefully the Dead Zone for cash, precious items and rare resources.
About mission:
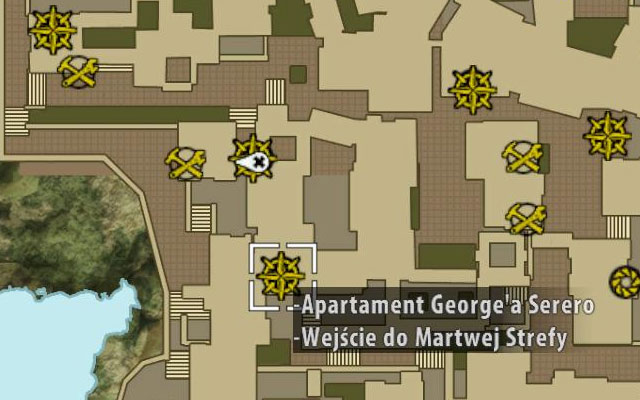
This mission requires eliminating all zombies in George Serero's Apartment. Entrance to this location can be found in the central part of Henderson, on south from Infested Warehouse.
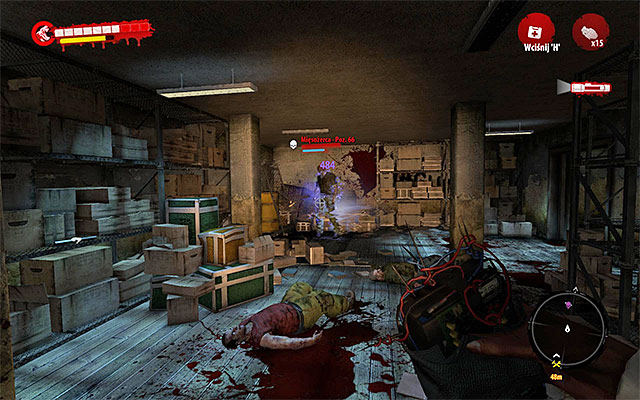
The greatest threat in Dead Zone is, of course, a George "Flesh Eater" Serero. He is a boss-zombie who can be found in the room next to stairs. You can get there by breaking the door. He is a special zombie, who is similar to Thug, but not only is he tough, but he can also regenerate after every successful strike. So try to keep him at bay, using mines, grenades and firearms. Notice that there is a gate leading to room with him inside. So you can fire at him without risking anything. If you don't have good firearm, you can (when the gate is open) throw few grenades inside or set up mines at the beginning stairs.
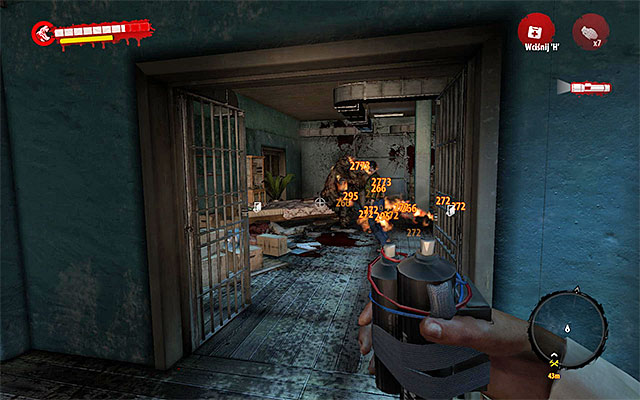
You have to also eliminate a plenty of other monsters: Walkers, Infested, Suiciders and a Wrestler. Don't forget to search all rooms. When all fights are over, search carefully the Dead Zone for cash, modification, precious items and rare resources.
About mission:
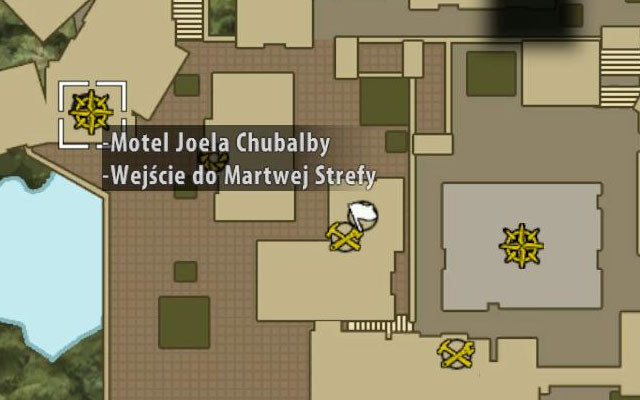
This mission requires eliminating all zombies in Dead Zone in Joel Chubalba's Motel. Entrance to this motel is in the southern west part of city, next to the Sylvia's Apartment on west from Sea Market.
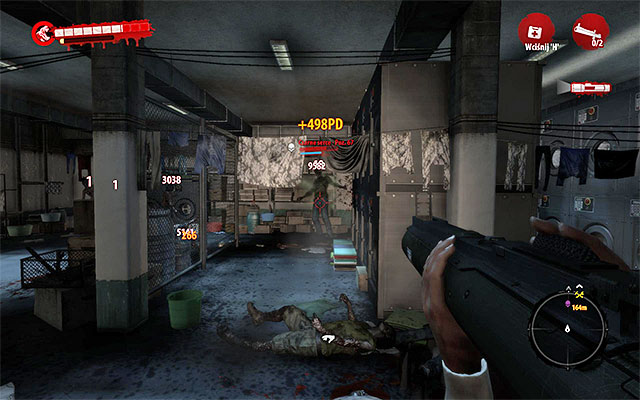
The biggest threat in this Dead Zone is, of course Joel "Blackheart" Chubalba. He is a zombie-boss and can be found in the central room of motel, to which you get into by breaking door. This unique type of zombie has best features of Infested (speed) and Thugs (toughness) and also regenerates after successful strikes. I recommend to attack him from the distance (with rifle or some launcher). Good idea is to set up mines at an entrance to the main room. Eventually, you can use upgraded blade.
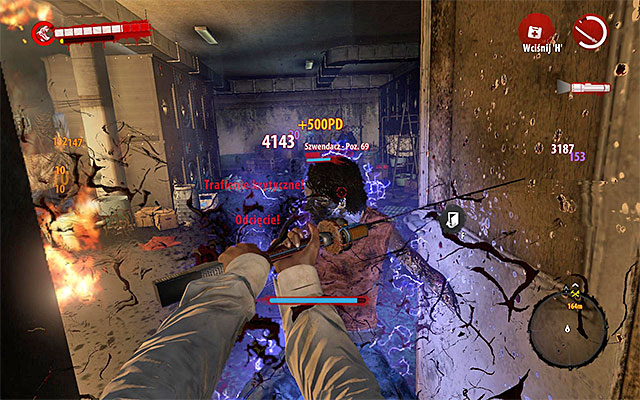
You have to also eliminate a plenty of Walkers and Infested. Use molotovs and grenades to eliminate bigger groups quickly and try to fight near to an entrance to Dead Zone, so you won't get surrounded. When all fights are over, search carefully the Dead Zone for cash, precious items, modification and rare resources.
About mission:
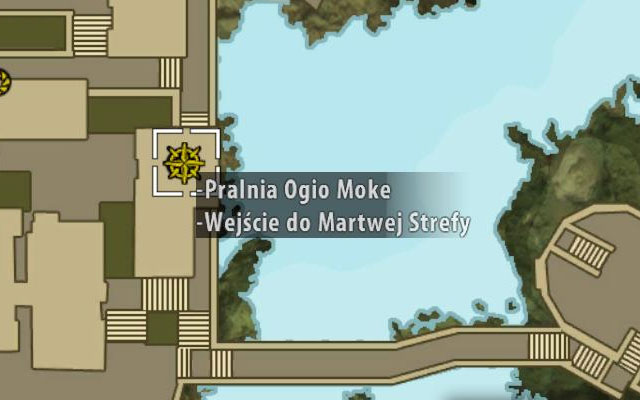
This mission requires eliminating zombies in Dead Zone in Ogio Moke's Laundry. You can enter this location in the southern west part of city, next to the path leading to Fort Henderson.
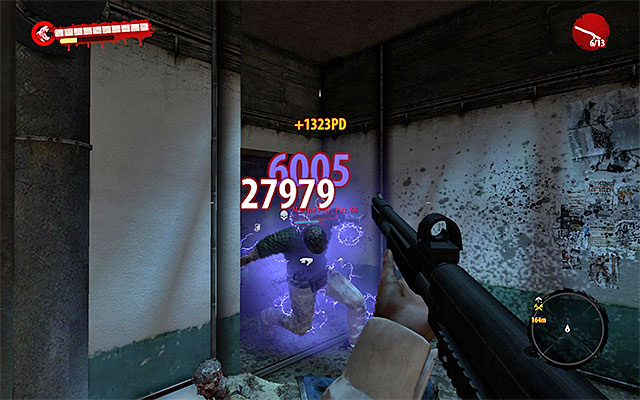
The biggest threat in this Dead Zone is, of course Ogio "Blindspot" Moke. He is a zombie-boss and can be found in the central room of laundry, to which you get into by breaking door. This unique type of zombie has best features of Infested (speed) and Thugs (toughness) and also regenerates after successful strikes. I recommend to attack him from the distance (with rifle or some launcher). Good idea is to set up mines at an entrance to the main room. Eventually, you can use upgraded blade.
You have to also eliminate a plenty of Walkers and Infested. Use molotovs and grenades to eliminate bigger groups quickly and try to fight near to an entrance to Dead Zone, so you won't get surrounded. When all fights are over, search carefully the Dead Zone for cash, precious items, and rare resources.
About the mission:
This mission appears when you finish the sidequest Heavenly Gift. Talk with Chimamand inside one of buildings in the eastern part of Paradise Survival Camp.
Attention - If you begin this mission in the further part of the game, Chimamanda may be in the other camp.
This event requires bringing Canned Food to this woman. Game will inform you when you get close to any can, displaying its position on the map. For every can you get cash and XP.
About the mission:
This mission appears when you complete the main quest Saving Holy Man. Enter the survivors camp and talk to Houston.
Attention - If you begin this mission in the further part of the game, Houston may be in the other camp.
This event requires brining Painkillers to this man. Game will inform you when you get close to any Painkiller, displaying its position on the map. For every Painkiller you get cash and XP.
About the mission:
This mission appears when you complete sidequest Surplus. Talk to Miya in the northern part of swamps.
This event requires brining Blades to this woman. Game will inform you when you get close to any of them, displaying its position on the map. For every Blade you get cash and XP.
About the mission:
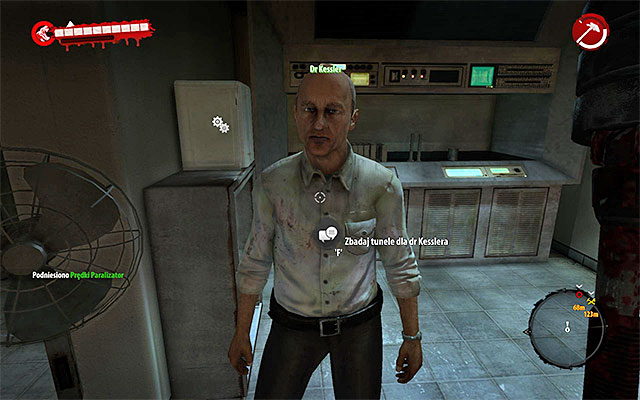
This mission appears when you complete the sidequest History Lesson. Talk with Dr Kessler again.
This event requires brining Electronic Scrap to this man. Game will inform you when you get close to any of them, displaying its position on the map. For every Scrap you get Taser Ammo and XP.
About the mission:
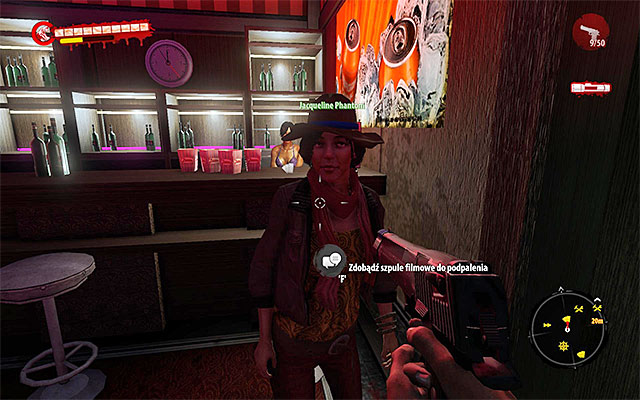
This mission appears during the main quest, Rescue, connected with preparing the cinema roof for the chopper. Find Jacqueline Phantom inside Old City Cinema.
This events is connected with bringing photos of Henderson citizens to this woman. You can find them mainly inside shops and houses, on all floors. Game displays a location of the photo as you approach it. For every photo you get money and experience.
About the mission:
This mission appears when you finish a sidequest called Perfect Plan, in which you were looking for bank robbers. Go meet Jorge Tesoro again, who is inside a workshop in the southern west part of the city (on east from Sylvia's Apartment and Joel Chubalba's Motel).
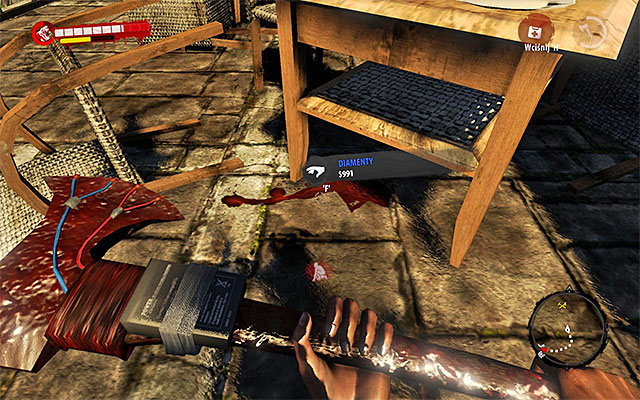
This mission is connected with bringing diamonds to Jorge. Game will inform you about their location, if you get nearby any of them. Every bag of diamonds gives you money and experience.
About mission:
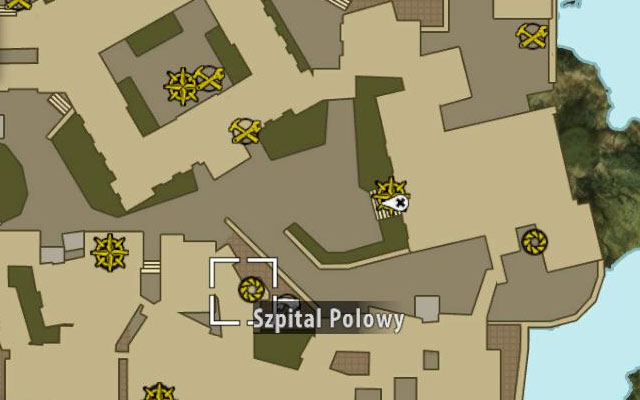
This mission appears when you get to the Makeshift Hospital in the central part of Henderson, on southern west from Old City Cinema and Church. Use and intercom and go upstairs. Find Nina and talk to her.
This event concentrates on collecting and bringing her bleaches. A simplification is a fact that game will inform you when you get closer to any bleach, marking its position on the map. For every bleach you obtain cash and experience.
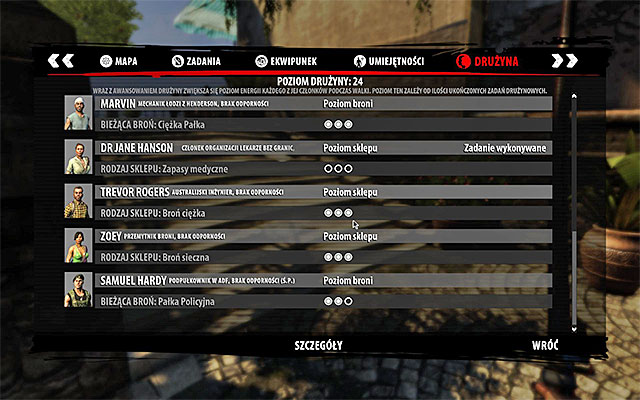
Team quests are one of many additional things than you can make in this game and in those you have to find different resources for other survivors. Completing this missions gives you not only cash and experience but also increases health of your allies, equips them in new weapons or even wider offer of local traders.
It's worth to begin team quests as soon as possible, to be informed about finding resources you need in time. You begin and supervise team quests from a tab of your character. Choose the last bookmark, Team, and then person for who you want to begin the quest.
Every ally offers three team quests and every next is more difficult than the previous one. You can begin a new quest only after finishing the old one. For obvious reasons you can't complete quests of the person you're actually playing (so if you play as Purna, her quests will be locked).
Attention: some of team quests will be unlocked only in the further part of the game, for example in the moment of meeting new group of survivors or completing some important mission. Remember also to fulfill quests for Harlow Jordan, Wayne and Sam Hardy before they'll be detached from your team for good.
About mission:
Difficulty - 1/5
Employer: none
Reward: 5x Deo-Bombs
You have to find and bring three sets of bolts to Samowi B. Bolts are very common resources used to modify weapons, so you have to check the vicinity carefully and open all possible containers and finally you'll find them.
About mission:
Difficulty - 3/5
Employer: none
Reward: 7x Deo-Bombs
In this mission you have to find and deliver seven large batteries to Sam B. Large batteries are very common resources used to modify weapons, so you have to check the vicinity carefully and open all possible containers and finally you'll find them.
About mission:
Difficulty - 4/5
Employer: none
Reward: 9x Deo-Bombs
In this mission you have to find three propane cutters and bring them to Sam B. Propane cutters are rare resources for which you should look mostly in Dead Zones.
About mission:
Difficulty - 1/5
Employer: none
Reward: 5x Poison Bombs
In this mission you have to find three engine parts and bring them to Purna. Engine parts are very common resources used to modify weapons, so you have to check the vicinity carefully and open all possible containers and finally you'll find them.
About mission:
Difficulty - 3/5
Employer: none
Reward: 7x Poison Bombs
In this mission you have to find eight lighters and bring them to Purna. Lighters are very common resources used to modify weapons, so you have to check the vicinity carefully and open all possible containers and finally you'll find them.
About mission:
Difficulty - 4/5
Employer: none
Reward: 9x Poison Bombs
In this mission you have to find three titan pipes and bring them to Purna. Titan pipes are rare resources for which you should look mostly in Dead Zones.
About mission:
Difficulty - 1/5
Employer: none
Reward: 5x Shock Bombs
In this mission you have to find three belts and bring them to Logan. Belts are very common resources used to modify weapons, so you have to check the vicinity carefully and open all possible containers and finally you'll find them.
About mission:
Difficulty - 3/5
Employer: none
Reward: 7x Shock Bombs
In this mission you have to find seven clamps and bring them to Logan. Clamps are very common resources used to modify weapons, so you have to check the vicinity carefully and open all possible containers and finally you'll find them.
About mission:
Difficulty - 4/5
Employer: none
Reward: 9x Shock Bombs
In this mission you have to find three heavy duty tapes and bring them to Logan. Heavy duty tapes are rare resources for which you should look mostly in Dead Zones.
About mission:
Difficulty - 1/5
Employer: none
Reward: 5x Sonic Grenades
In this mission you have to find three gas for lighters and bring them to John. Gas to lighters are very common resources used to modify weapons, so you have to check the vicinity carefully and open all possible containers and finally you'll find them.
About mission:
Difficulty - 3/5
Employer: none
Reward: 7x Sonic Grenades
In this mission you have to find seven deodorants and bring them to John. Deodorants are very common resources used to modify weapons, so you have to check the vicinity carefully and open all possible containers and finally you'll find them.
About mission:
Difficulty - 4/5
Employer: none
Reward: 9x Sonic Grenades
In this mission you have to find three AC Power Boxes and bring them to John. AC Power Boxes are rare resources for which you should look mostly in Dead Zones.
About mission:
Difficulty - 1/5
Employer: none
Reward: 5x Stun Bombs
In this mission you have to find three blades and bring them to Xian Mei. Blades are very common resources used to modify weapons, so you have to check the vicinity carefully and open all possible containers and finally you'll find them.
About mission:
Difficulty - 3/5
Employer: none
Reward: 7x Stun Bombs
In this mission you have to find eight tubes of glue and bring them to Xian Mei. Tubes of glue are very common resources used to modify weapons, so you have to check the vicinity carefully and open all possible containers and finally you'll find them.
About mission:
Difficulty - 4/5
Employer: none
Reward: 9x Stun Bombs
In this mission you have to find three semiconductors and bring them to Xian Mei. Semiconductors are rare resources for which you should look mostly in Dead Zones.
About mission:
Difficulty - 1/5
Employer: none
Reward: Impact Mod
In this mission you have to find piece of Metal Scrap and bring them to Harlow Jordan. Metal Scraps are very common resources used to modify weapons, so you have to check the vicinity carefully and open all possible containers and finally you'll find them.
Attention: this mission must be completed before finishing the main quest Front Row, because later it won't be possible.
About mission:
Difficulty - 3/5
Employer: none
Reward: Tesla Mod
In this mission you have to find seven steel rods and bring them to Harlow Jordan. Steel rods are very common resources used to modify weapons, so you have to check the vicinity carefully and open all possible containers and finally you'll find them.
Attention: this mission must be completed before finishing the main quest Front Row, because later it won't be possible.
About mission:
Difficulty - 4/5
Employer: none
Reward: Pick and OHM Mod
In this mission you have to find three conduct tapes and bring them to Harlow Jordan. Conduct tapes are rare resources for which you should look mostly in Dead Zones.
Attention: this mission must be completed before finishing the main quest Front Row, because later it won't be possible.
About mission:
Difficulty - 1/5
Employer: none
Reward: Torch
In this mission you have to find three Electronic Scraps and bring them to Henry Boyle. Electronic Scraps are very common resources used to modify weapons, so you have to check the vicinity carefully and open all possible containers and finally you'll find them.
About mission:
Difficulty - 3/5
Employer: none
Reward: Magic Wand
In this mission you have to find four pieces of Suicider meat and bring them to Henry Boyle. Suicider Mear is a one of a bit rare resources, which you can obtain from dead Suiciders or find in containers. Sooner or later you'll find all you need.
About mission:
Difficulty - 4/5
Employer: none
Reward: Heavy Duty
In this mission you have to find three mylar blankets and bring them to Henry Boyle. Mylar blankets are rare resources for which you should look mostly in Dead Zones.
About mission:
Difficulty - 3/5
Employer: none
Reward: 7x Exploding Meat
In this mission you have to find eight packs of nails and bring them to Marvin. Nails are very common resources used to modify weapons, so you have to check the vicinity carefully and open all possible containers and finally you'll find them.
About mission:
Difficulty - 4/5
Employer: none
Reward: 9x Exploding Meat
In this mission you have to find three sets of lightweight frames and bring them Marvinowi. Lightweight frames are rare resources for which you should look mostly in Dead Zones.
About mission:
Difficulty - 1/5
Employer: none
Reward: 5x Grenade
In this mission you have to find three weight plates and bring them Sam Hardy. Weight plates are very common resources used to modify weapons, so you have to check the vicinity carefully and open all possible containers and finally you'll find them.
Attention - This mission must be completed before finishing the main quest Evacuation, because later it won't be possible
About mission:
Difficulty - 3/5
Employer: none
Reward: 7x Grenade
In this mission you have to find seven batteries and bring them to Sam Hardy. Batteries are very common resources used to modify weapons, so you have to check the vicinity carefully and open all possible containers and finally you'll find them.
Attention - This mission must be completed before finishing the main quest Evacuation, because later it won't be possible
About mission:
Difficulty - 4/5
Employer: none
Reward: 9x Grenade
In this mission you have to find three aluminum tubes and bring them to Sam Hardy. Aluminum tubes are rare resources for which you should look mostly in Dead Zones.
Attention - This mission must be completed before finishing the main quest Evacuation, because later it won't be possible
About mission:
Difficulty - 1/5
Employer: none
In this mission you have to find algae samples and bring them to Doctor Jane Hanson. Alages are, surprisingly, one of the most difficult resource to find, for which you should look in water around Halai Village. Sooner or later you should find them. As a reward you can, from now on, get better items for lower prices in Jane's shop.
About mission:
Difficulty - 3/5
Employer: none
In this mission you have to find four insulin syringes and bring them to Doctor Jane Hanson. Insulin syringes are very common resources used to modify weapons, so you have to check the vicinity carefully and open all possible containers and finally you'll find them. As a reward you can, from now on, get better items for lower prices in Jane's shop.
About mission:
Difficulty - 4/5
Employer: none
In this mission you have to three water purification tablets and bring them to Doctor Jane Hanson. Water purification tablets are rare resources for which you should look mostly in Dead Zones. As a reward you can, from now on, get better items for lower prices in Jane's shop.
About mission:
Difficulty - 1/5
Employer: none
In this mission you have to find three pieces of wire and bring them to Trevor Rogers. Wires are very common resources used to modify weapons, so you have to check the vicinity carefully and open all possible containers and finally you'll find them. As a reward you can, from now on, get better items for lower prices in Trevors' shop.
About mission:
Difficulty - 3/5
Employer: none
In this mission you have to find four parts of Floater meat and bring them to Trevor Rogers. Floater meat is a bit rarer resource which you can obtain from dead Floater or while exploring the world freely, so you have to be patient. As a reward you can, from now on, get better items for lower prices in Trevors' shop.
About mission:
Difficulty - 4/5
Employer: none
In this mission you have to find three circuit boards and bring them to Trevor Rogers. Circuit boards are rare resources for which you should look mostly in Dead Zones. As a reward you can, from now on, get better items for lower prices in Trevors' shop.
About mission:
Difficulty - 1/5
Employer: none
In this mission you have to find three watcher and bring them to Wayne. Watches are very common resources used to modify weapons, so you have to check the vicinity carefully and open all possible containers and finally you'll find them. As a reward you can, from now on, get better items for lower prices in Wayne's shop.
Attention - This mission must be completed before finishing the main quest The Tunnels, because later it won't be possible
About mission:
Difficulty - 3/5
Employer: none
In this mission you have to find four sting ray tails and bring them Wayne. Sting ray tails are very common resources used to modify weapons, so you have to check the vicinity carefully and open all possible containers and finally you'll find them. As a reward you can, from now on, get better items for lower prices in Wayne's shop.
Attention - This mission must be completed before finishing the main quest The Tunnels, because later it won't be possible
About mission:
Difficulty - 4/5
Employer: none
In this mission you have to find three cyanoacrylate glue and bring them Wayne. Cyanoacrylate glues are rare resources for which you should look mostly in Dead Zones. As a reward you can, from now on, get better items for lower prices in Wayne's shop.
About mission:
Difficulty - 1/5
Employer: none
In this mission you have to find three bleaches and bring them Zoey. Bleaches are very common resources used to modify weapons, so you have to check the vicinity carefully and open all possible containers and finally you'll find them. As a reward you can, from now on, get better items for lower prices in Zoey's shop.
About mission:
Difficulty - 3/5
Employer: none
In this mission you have to find four LP 4000 batteries and bring them Zoey. LP 4000 batteries are a bit rarer resource, so remember to search your vicinity very carefully and be patient. As a reward you can, from now on, get better items for lower prices in Zoey's shop.
About mission:
Difficulty - 4/5
Employer: none
In this mission you have to find three rolls of highly conductive wire and bring them Zoey. Highly conductive wires are rare resources for which you should look mostly in Dead Zones. As a reward you can, from now on, get better items for lower prices in Zoey's shop.
During the game you can find ten recordings of Angela Guerra. After finding each of them, game will play them automatically (you can repeat this by displaying inventory window and choosing a proper bookmark). Locations of all recordings are shown on the maps below. In the further part of this chapter you'll find information about how to find every particular recording.
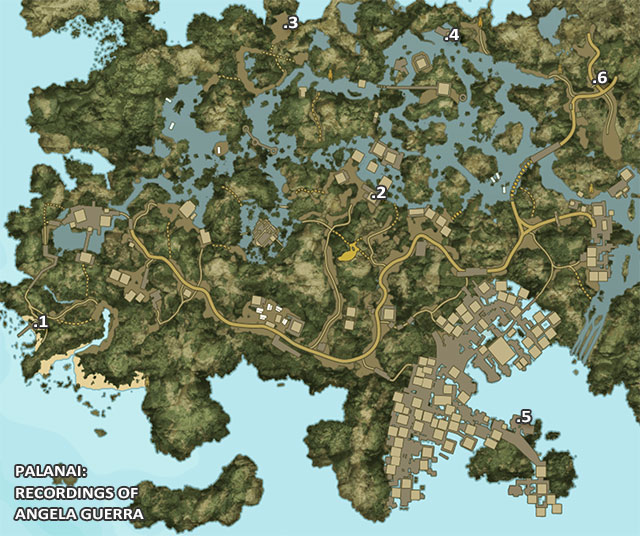
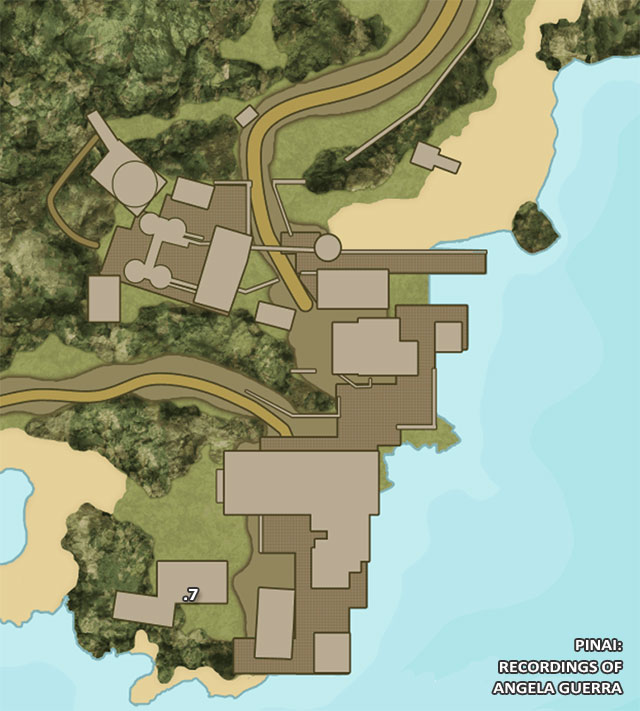
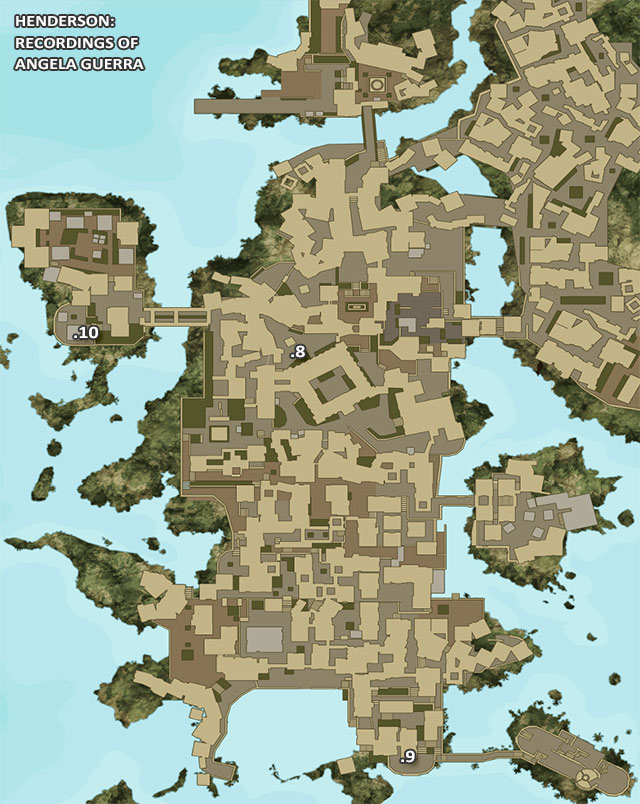
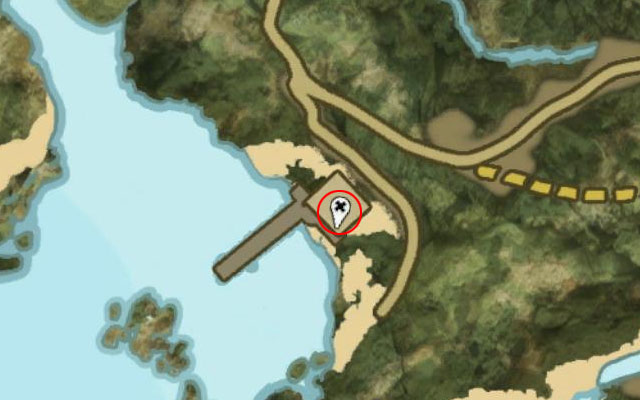
Recording is inside a small cottage north from Pearl Sands where you've begun the first chapter.
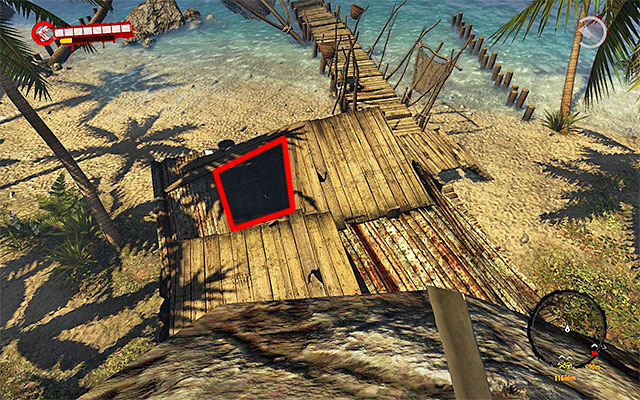
To get inside the cottage, go to the rocks on east of it and use a hole in the roof. Search the insides to pick up Recording.
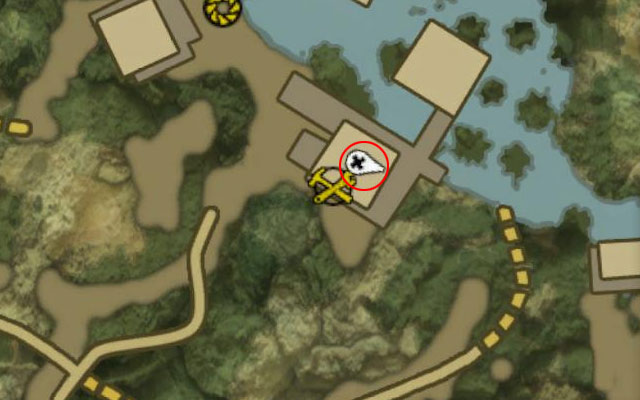
Recording is inside a big building in Mataka Village.
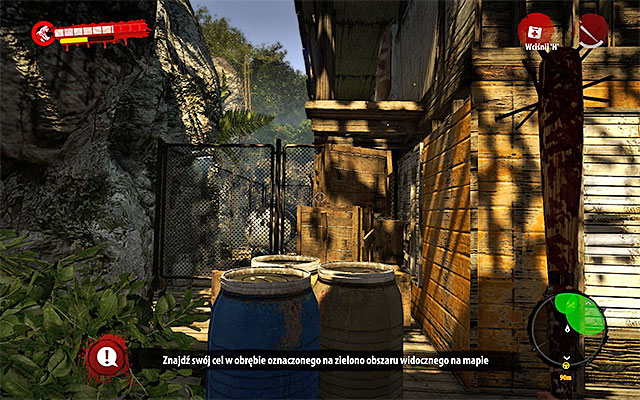
The access there is difficult. You have to approach the building from east, beware of nearby Drowner. Find a place from where you can climb to the upper balcony.
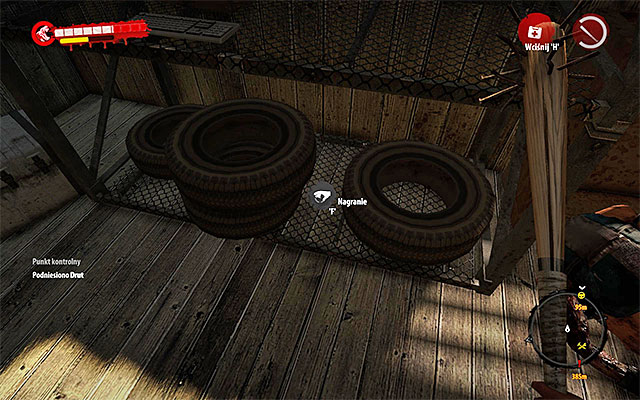
Jump in the fenced area and break the door. Kill zombies inside (a Suicider!) and pick up Recording.
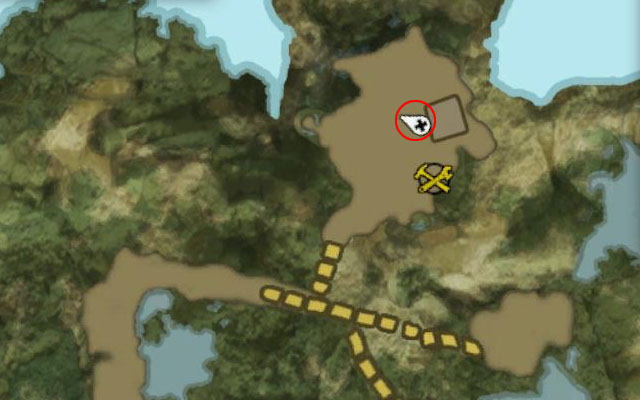
Recording is in the northern part of swamps in Miya's camp. It's on northern east from Helicopter Wreck and northern west from Tuluga Cave.
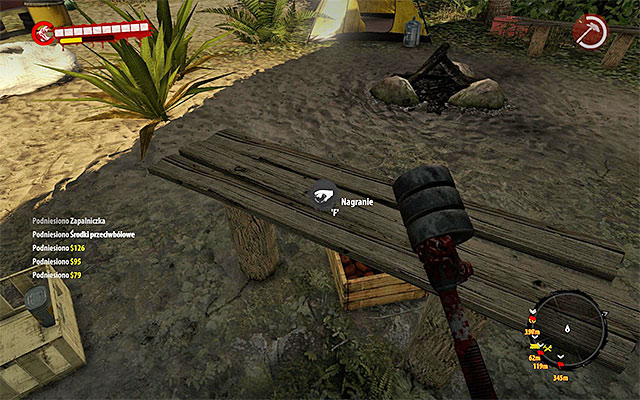
There is a beltsage under the rocks. Recording lies on the table.
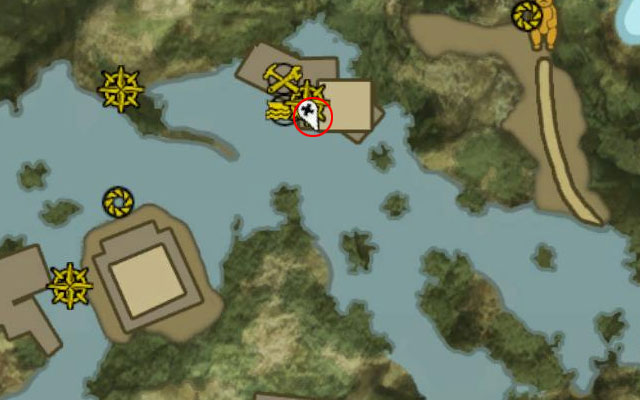
Recording can be found in Kingston's Shed in the northern part of swamps, on east from Yagaria Waterfall.
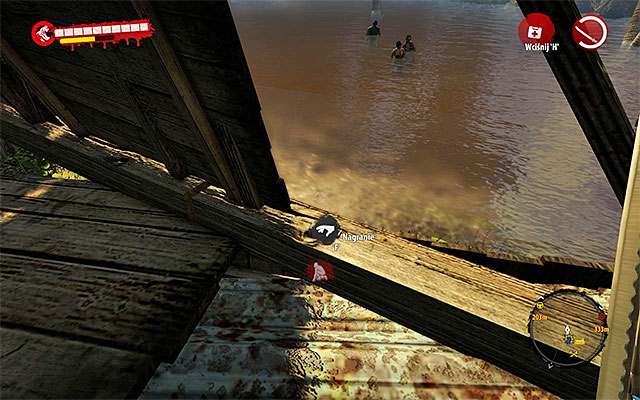
When you get nearby the shed, use a ladder and look for a recording lying on the floor.
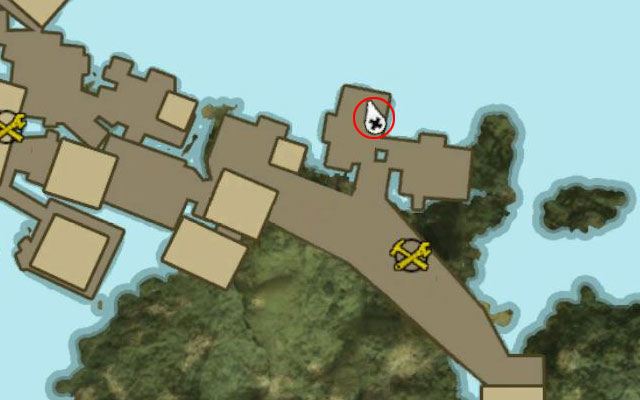
Recording can be found in the southern east part of Halai Village.
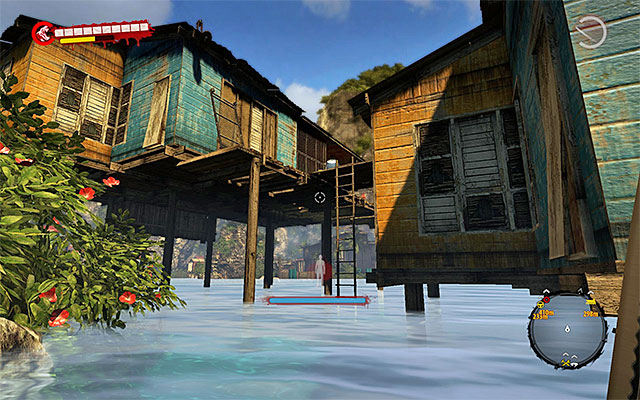
Choose a narrow path leading east. In some moment you'll be forced to turn north, jump into water and use a ladder leading to a cottage, which seems to be unreachable.
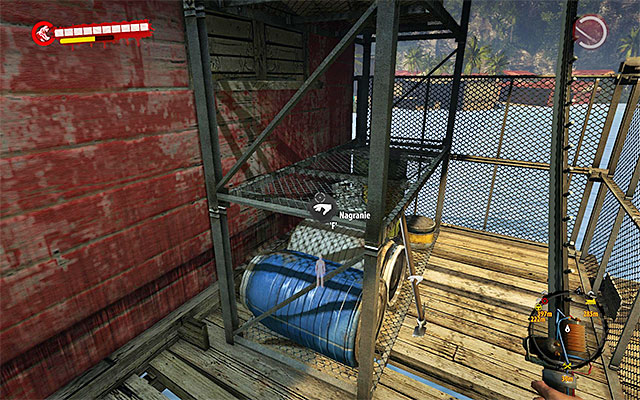
Search an area nearby this cottage. Recording lies on the shelf on right.
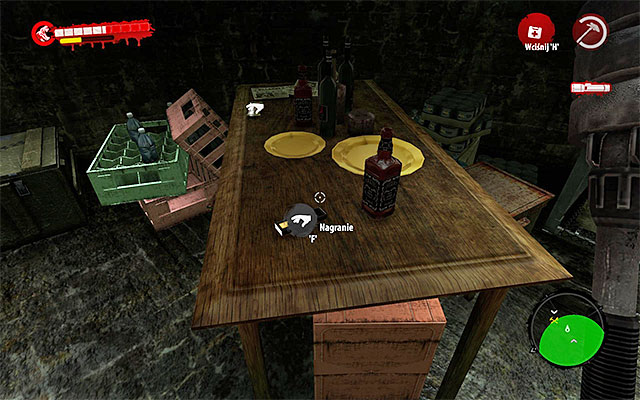
Recording is on the first floor of bunker next to the BioSphere Laboratory. This place can be visited for the first time in the fourth chapter.
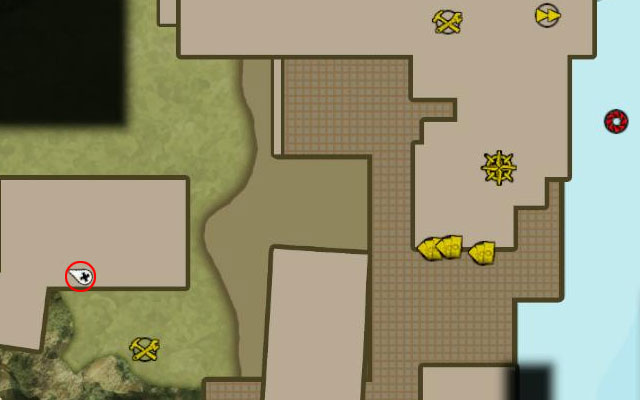
Recording can be found on west from the main building of Pinai Ferry Station.
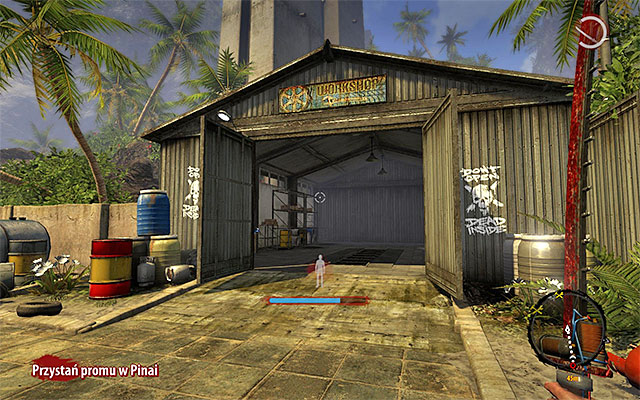
Entrance to this building is unlocked after defending against Horde attack, what takes place in the main quest Terminal Siege.
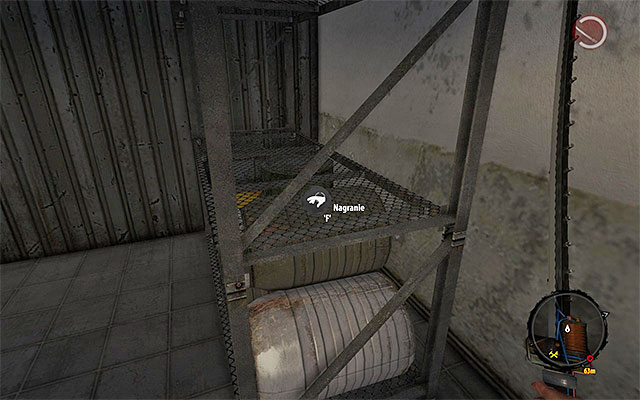
Explore the storehouse. Recording lies on one of shelves.
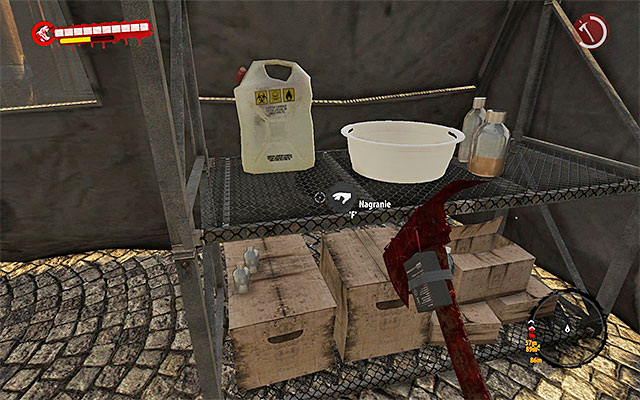
Recording is in the square on southern west from Old City Cinema and Infested Cellars.
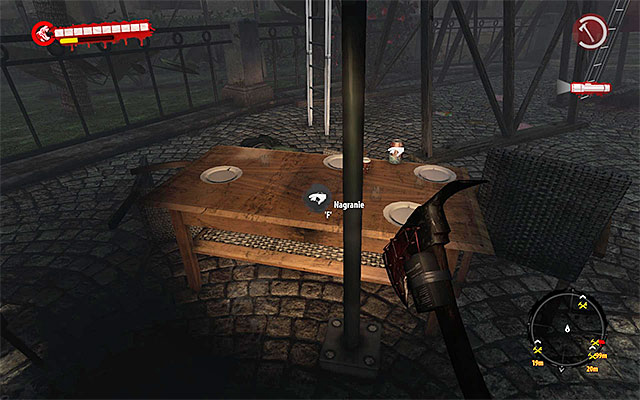
Recording lies on one of tables.
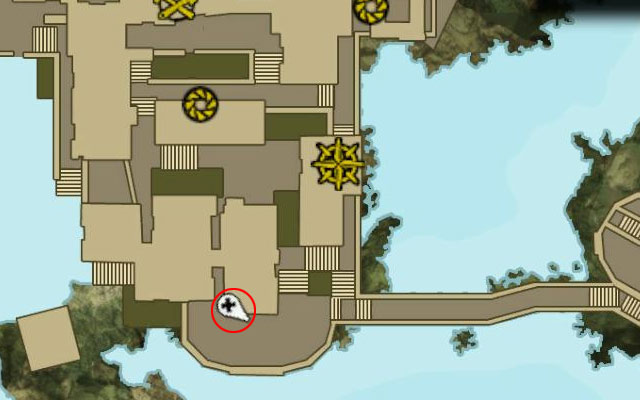
Recording is on the square in the southern east part of the city, on west from the path leading to Fort Henderson.
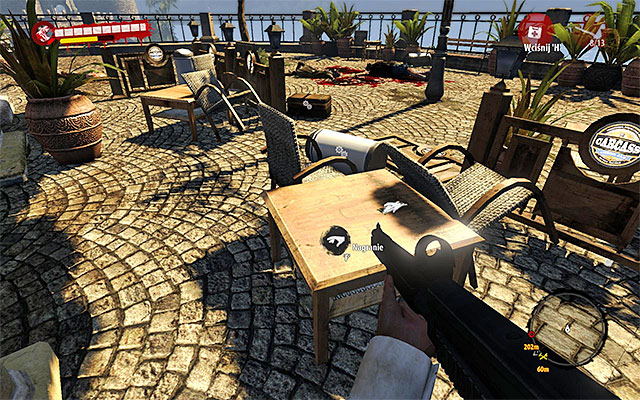
Be careful, as the square should be guarded by at least one Screamer. Sought recording lies on one of tables.
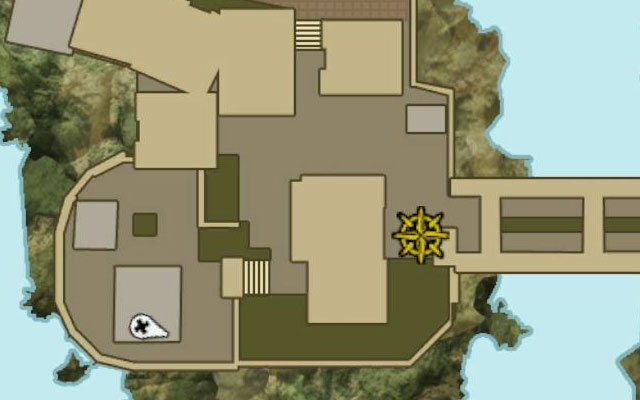
Recording is in the southern west part of Military Base.

Search all tents in this part of base. Recording lies on the shelf in one of them.
Modification is a reward for the sidequest Electrifying from Zoey in Paradise Survival Camp . (or Halai Village). Attention - you have to complete this quest before Harlow detached from the survivors for good.
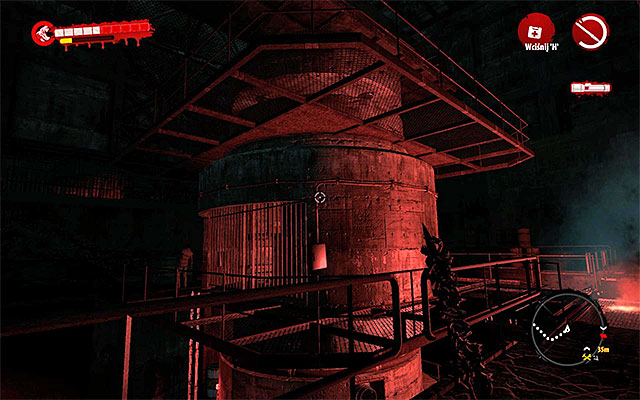
Modification is in The Tunnels where you get during the main quest The Tunnels. You have to get to the biggest location of this area and then head for the central construction.
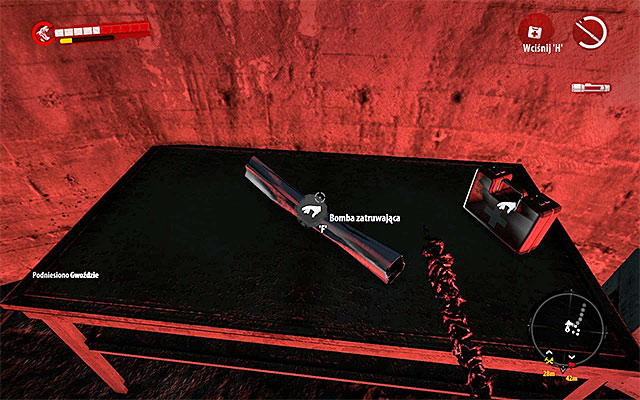
Search the middle level of this construction, you find a closed gate. Open it and search a small shed to pick up a Modification.
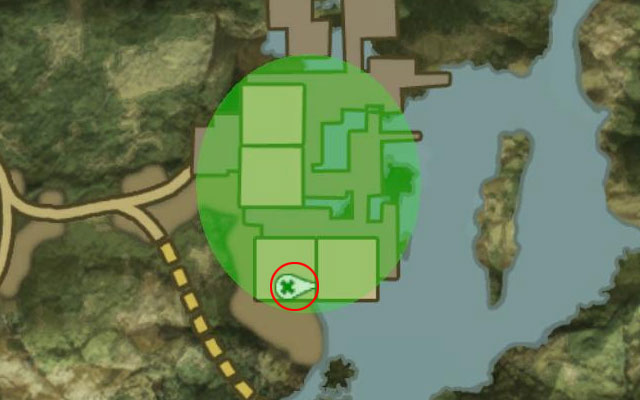
Modification can be found inside a workshop in Marika's Marine. You visit it during the main quest New Beginnings.
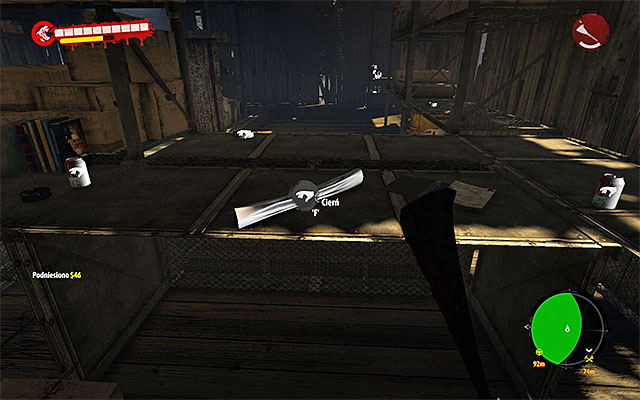
Search all the workshop, beware of Thug inside. Modification lies on chests.
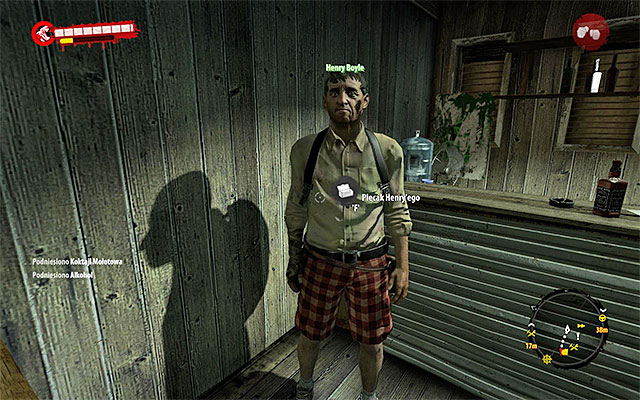
Modification is a reward for the team quest Jury Rigging Contest For Henry III, which you obtain from Henry who is in the current main camp of survivors.
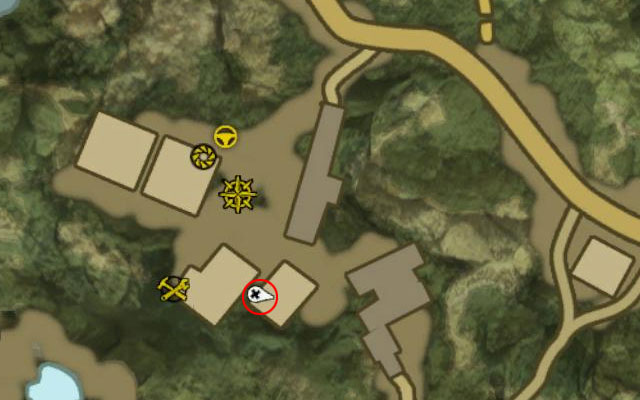
Modification can be found in one of Oil Storage's building on south from Paradise Survival Camp.
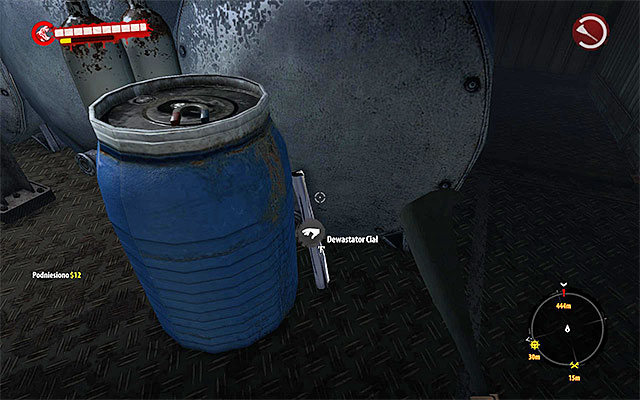
Search for this Modification when you eliminate all zombies. It's leaned over a blue barrel.
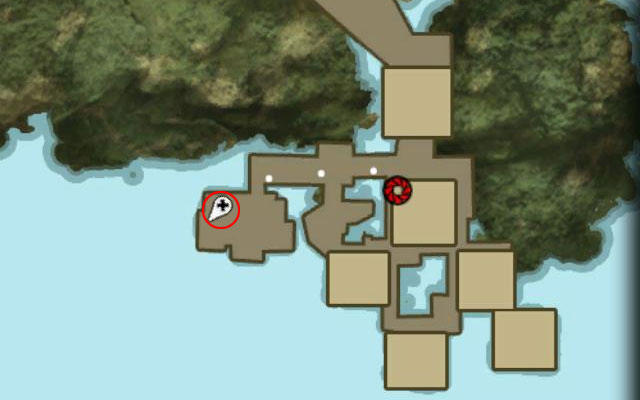
Modification is next to the entrance to Dead Zone Ocean View Bungalow in southern east part of Halai Village.
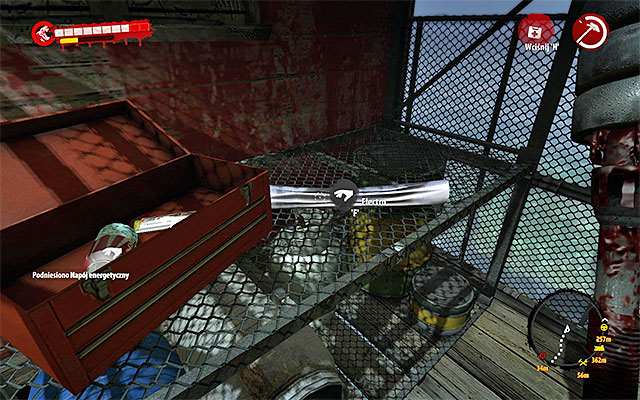
Search a small fenced area on right from door to Dead Zone. Modification lies on the shelf.
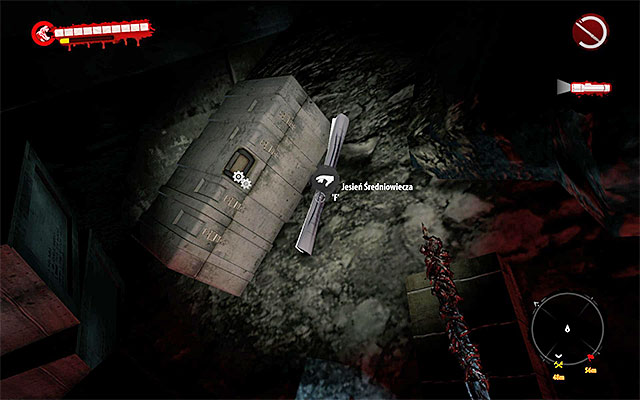
Modification is in The Tunnels where you get during the main quest The Tunnels. You have to look for Modification nearby the crossroads where you meet a first group of zombies.
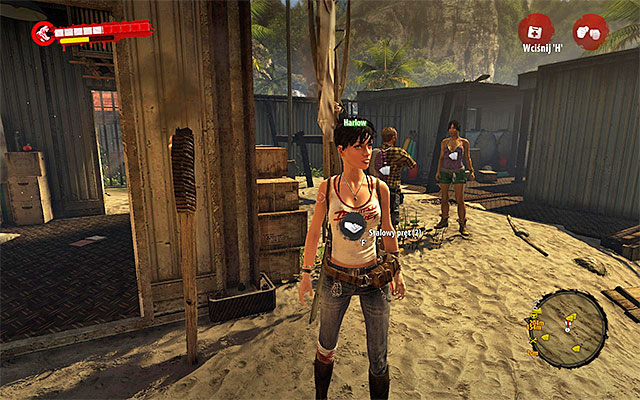
Modification is a reward for the team quest Upping The Odds for Harlow Jordan I from Harlow, in Paradise Survival Camp (or in Halai Village). Attention: you have to finish this quest before Harlow detach from survivors for good.
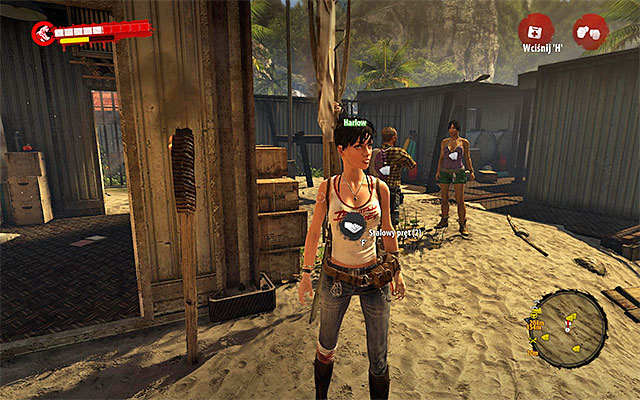
Modification is a reward for team quest Upping The Odds for Harlow III, which you obtain from Harlow, who is in the current main survivors camp. Attention: you have to finish this quest before Harlow detach from survivors for good.
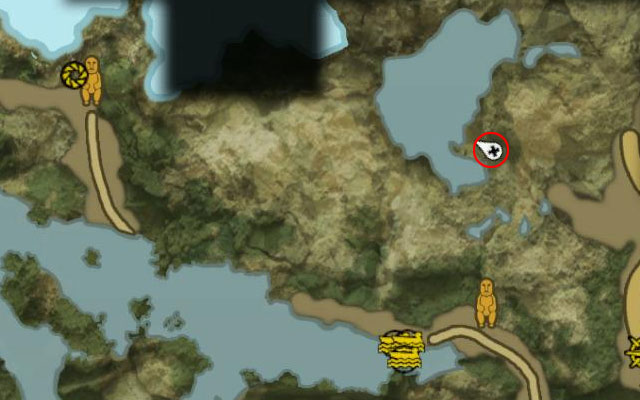
Modification is in the cave on west from BioSphere Laboratory. You visit this cave during main mission Natural Resources.
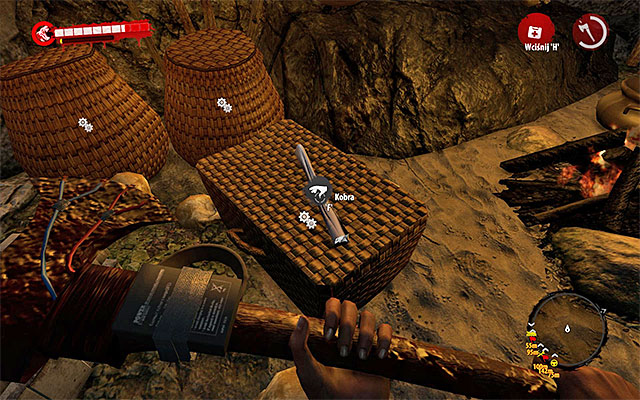
You have to get to the end of the cave, eliminate zombies on your way. Modification lies on the basket.
Modification is a reward for the team quest Jury Rigging Contest For Henry II, which you obtain from Henry, who is in the current main survivors camp.
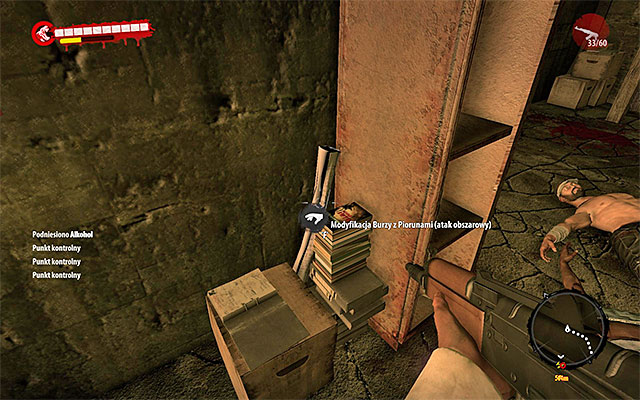
Modification is in The Tunnels where you get during the main quest The Tunnels. You have to get to smuggler chief's room next to the exit from tunnels. Secret lies leaned out on the wall.
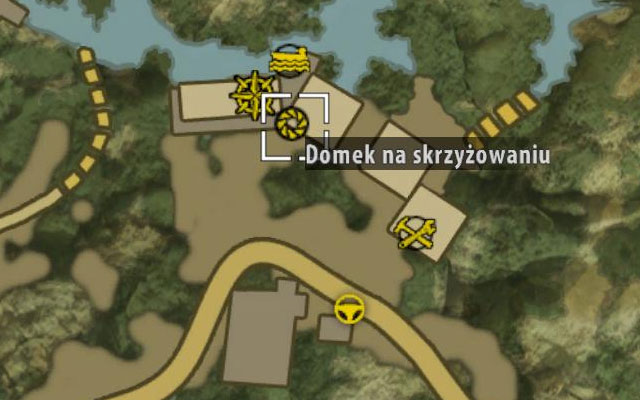
This modification can be found in the Dead Zone in Crossroads Bungalow in the Zimakani Rest, on north from Halai Village.
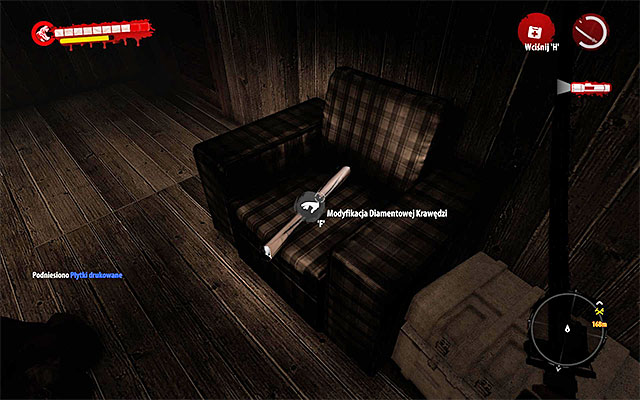
Be very cautious, because you have to defeat a big group of Walkers in this Dead Zone. Modification is hid in the main building.
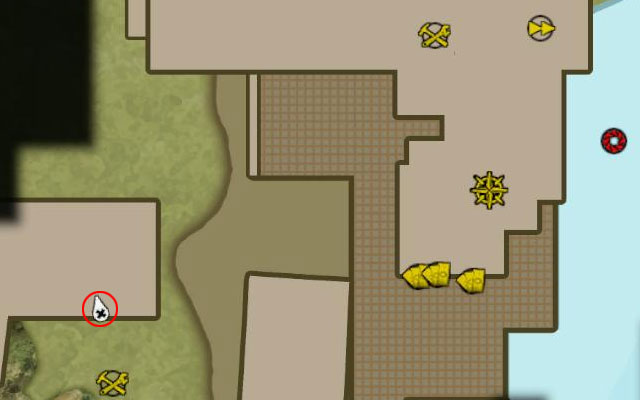
This modification can be found in the storehouse on west from the main building of Pinai Ferry Station.
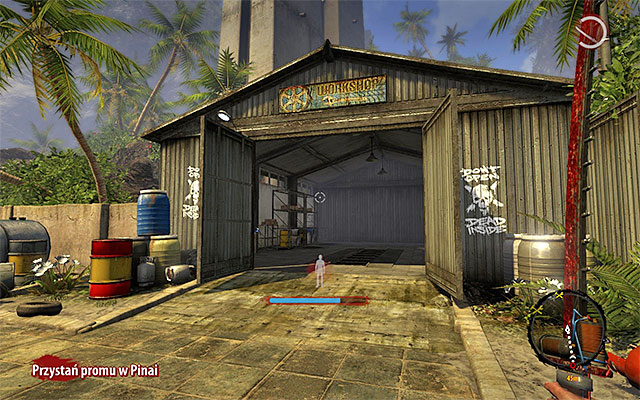
Entrance to this building is locked until you defend against an attack of Horde what takes place in the main quest Terminal Siege.
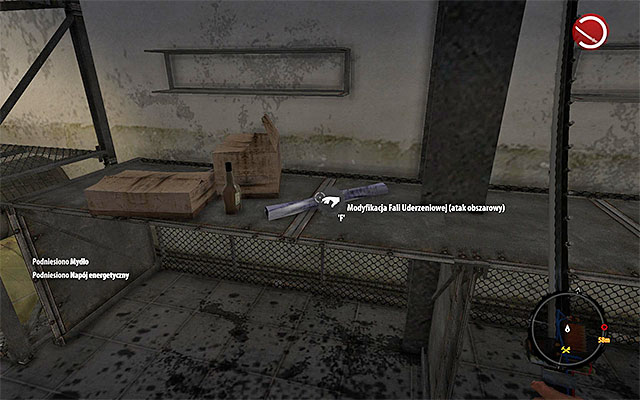
Explore the storehouse. Modification lies on one of the shelves.
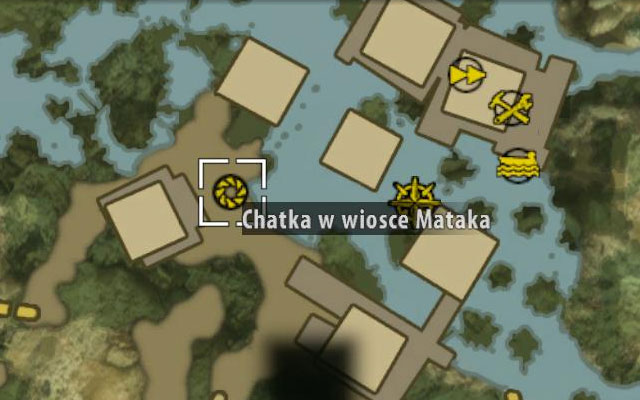
The modification can be found inside of the Dead Zone in Mataka Village Bungalow in the Mataka Village.
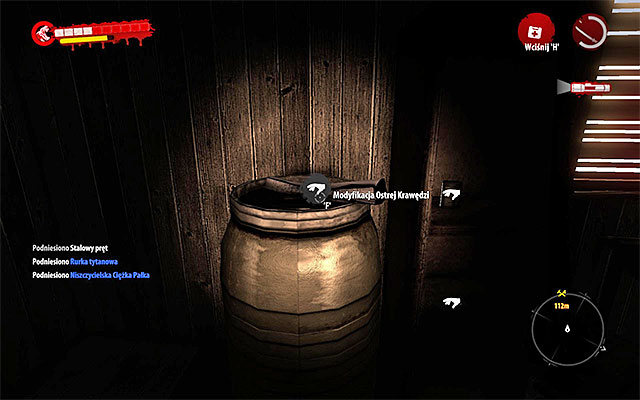
Be very cautious, because in this Dead Zone you have to eliminate, among others, two strong Butchers and a group of Infested. The modification you're looking for is on the ground floor of the main building.
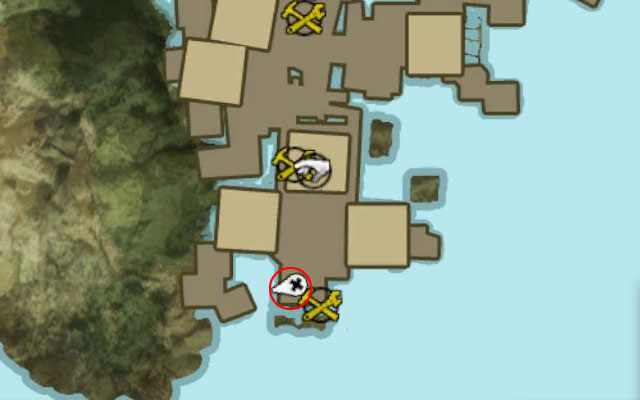
Modification is in the shed of Dead Zone in southern part of Halai Village. You visit this place during the main quest Where the Dead Live.
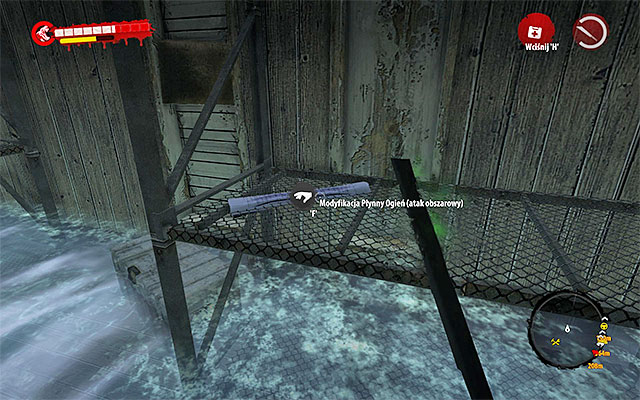
Eliminate zombies and search the shed. Modification lies on one of shelves.
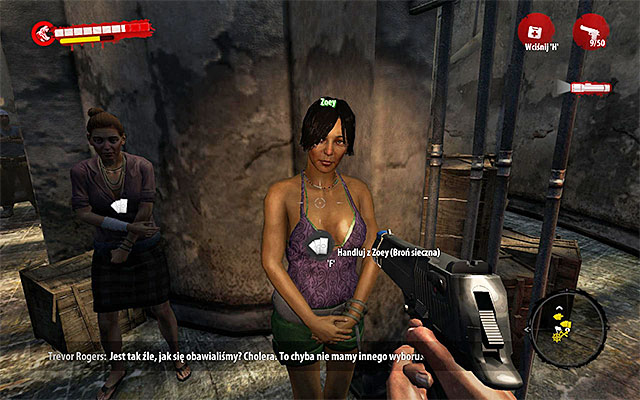
This Modification is sold by Zoey and you can find her always in the current main survivors camp.
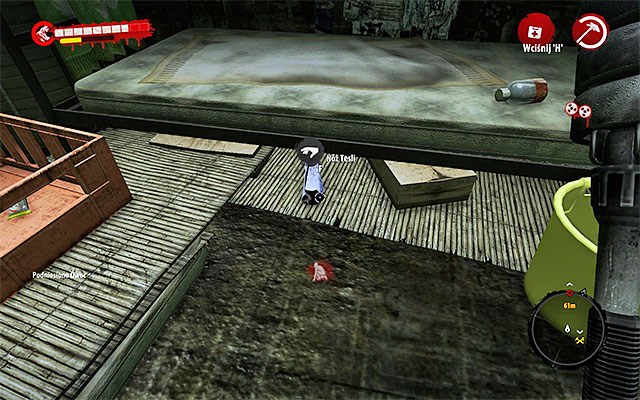
Modification is on the floor of bunker next to the BioSphere Laboratory. You can visit this place in the fourth chapter. The collectible lies under the bed.
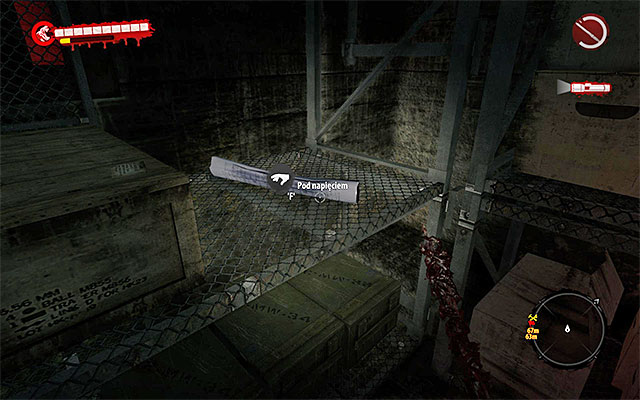
Modification is a reward for team quest Jury Rigging Contest For Henry I from Henry in Paradise Survival Camp (or in Halai Village).
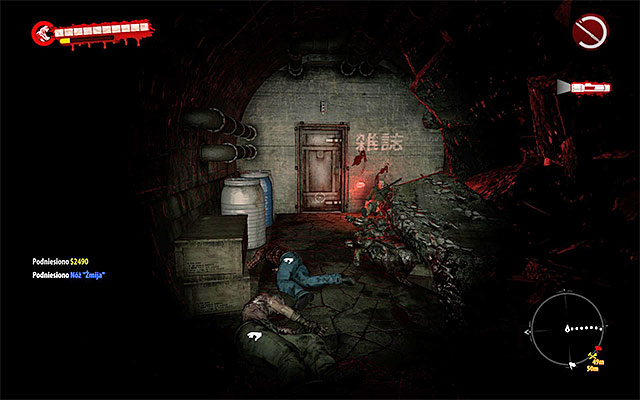
This modification is in The Tunnels which you visit for the first time during the main quest The Tunnels. When you get at crossroads with the first group of zombies, go left and reach a Thug. Kill him and head for left door which you have to ram.

Explore two side rooms. Modification lies on one of shelves in the second room.
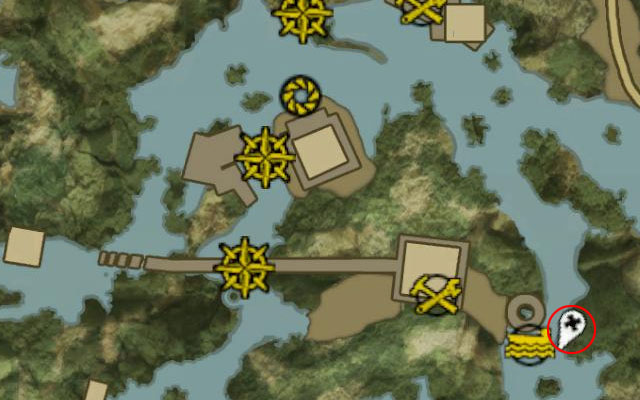
Modification is hid in a treehouse on the swamps, east from Hanging Joe and Breri.
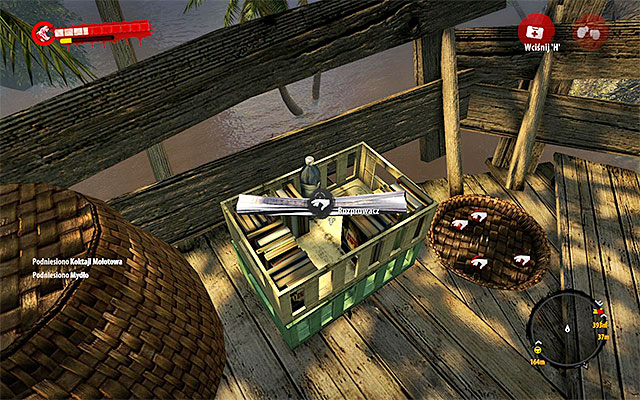
When you get on the very top if treehouse, find Modification on one of chests.
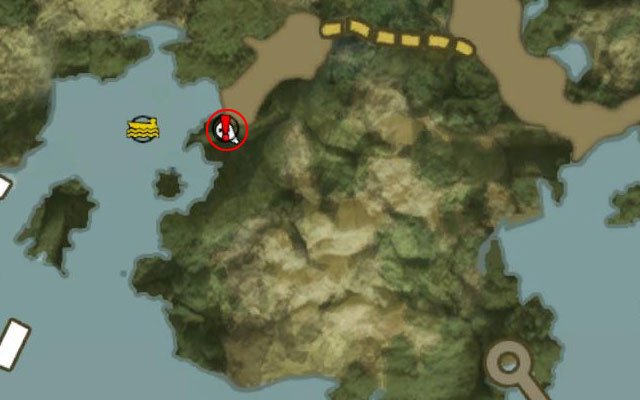
Modification is located in a trailer in the northern west part of swamps. Here you complete the sidequest Rescue Alfred.
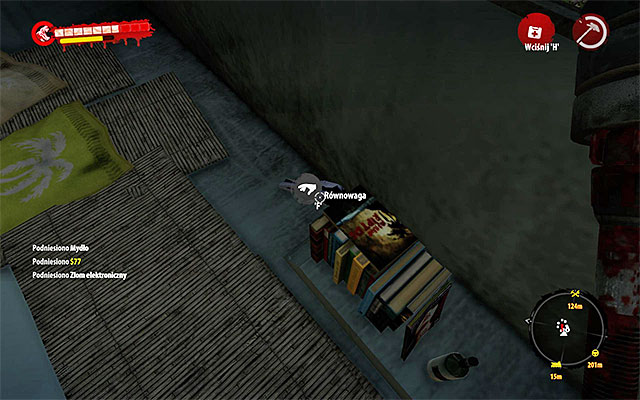
Enter the trailer. Modification lies on the ground leaned over books.
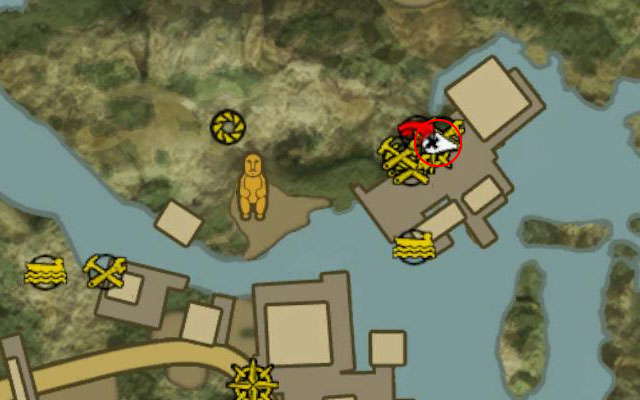
Modification is inside Jimmy's Workshop. You visit this place during the main quest Pump Action.
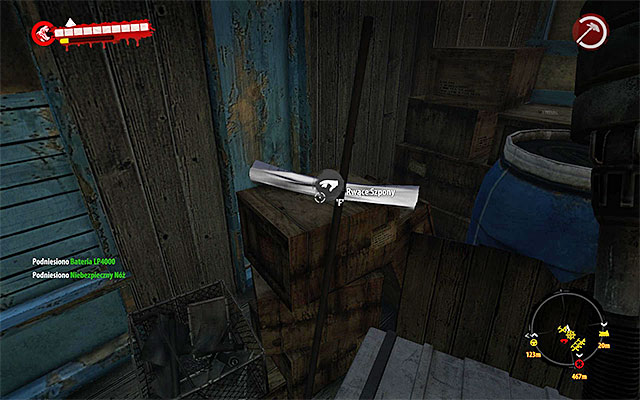
Begin from eliminating elite monsters inside the workshop, which are Thug and Suicider. Modification lies on chests.
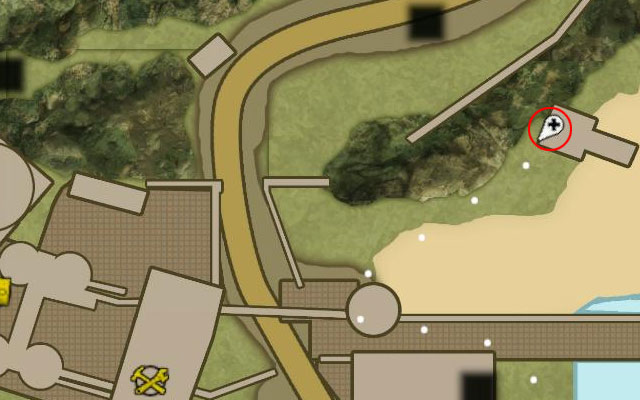
This modification is on a beach, next to the Pinai Ferry Station.
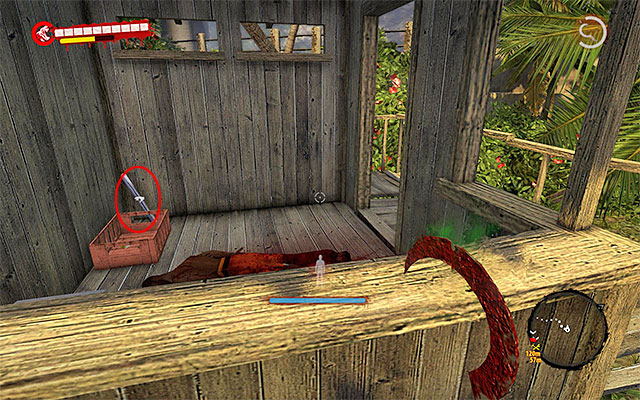
You have to search a guard's shed. Modification leans on one of walls in its corner.
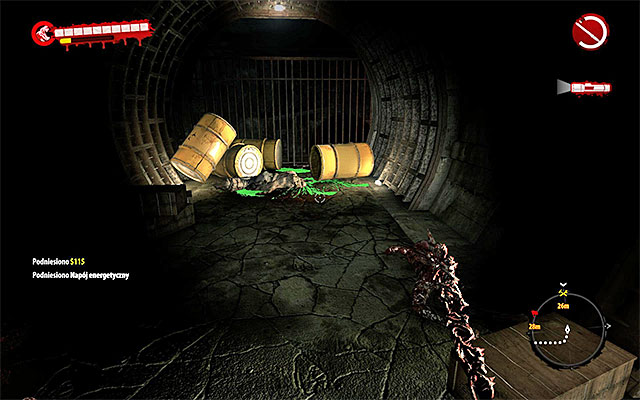
Modification is in The Tunnels where you get during the main quest The Tunnels. After using a ladder leading to the lower level, turn left, you get to location with spilled goop.
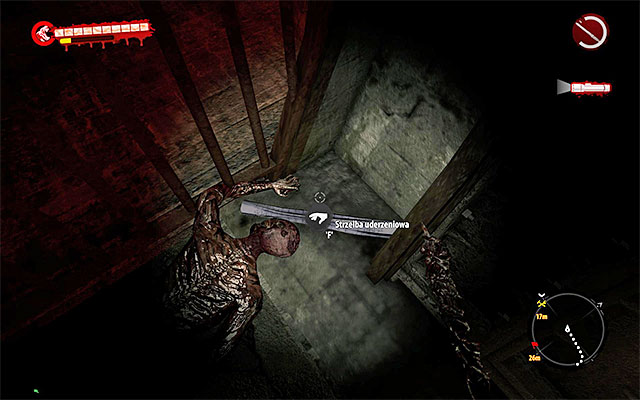
Avoid the toxic substance and search nearby the big grills to find Modification on the ground.
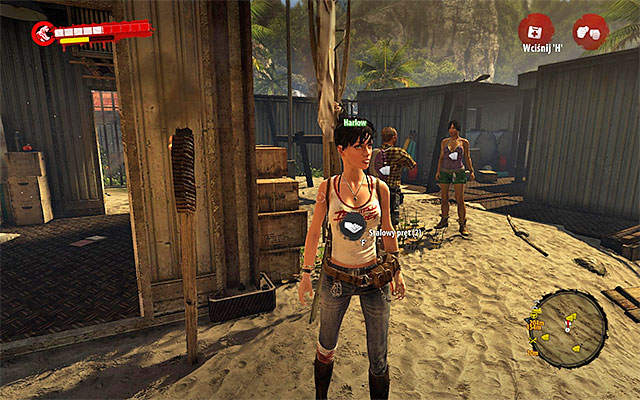
Modification is a reward for team quest Upping The Odds for Harlow Jordan II, from Harlow, in Paradise Survival Camp (or in Halai Village). Attention - you have to complete this mission before Harlow detach from the survivors for good.
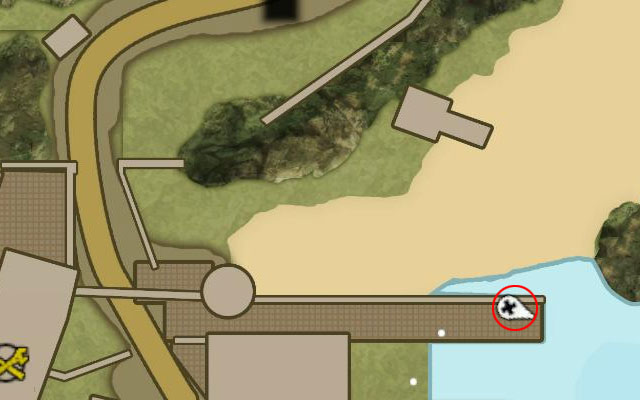
Modification lies on north from Pinai Ferry Station building.
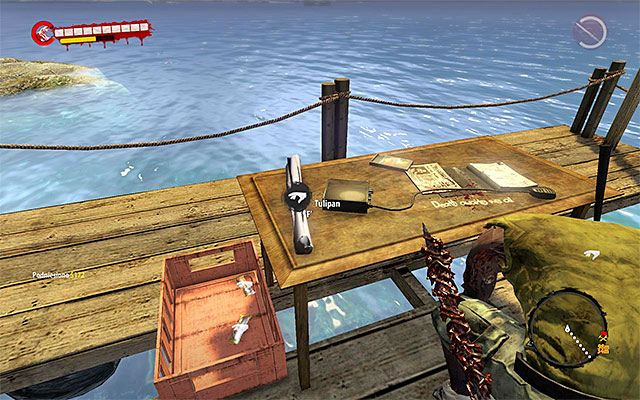
When you get at the end of pier, pick up a Modification from the desk.
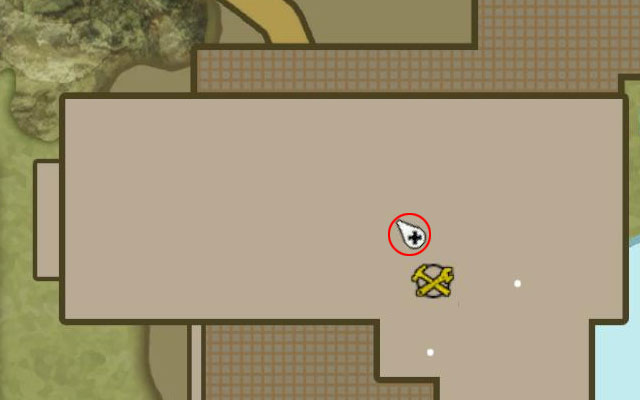
Modification is on the floor of Pinai Ferry Station main building.
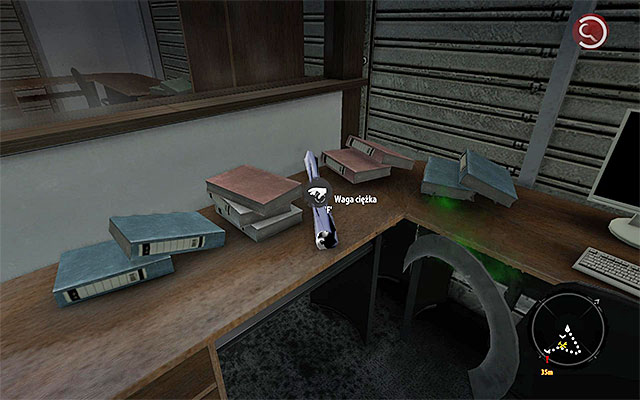
Go upstairs and search the stuff rooms. Modification lies on one of desks.
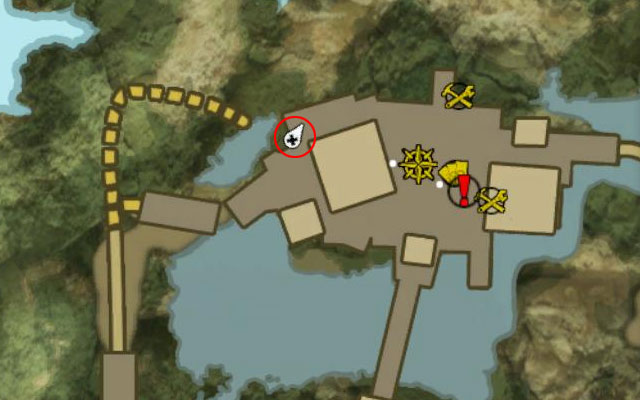
A Modification is in Paradise Survival Camp .
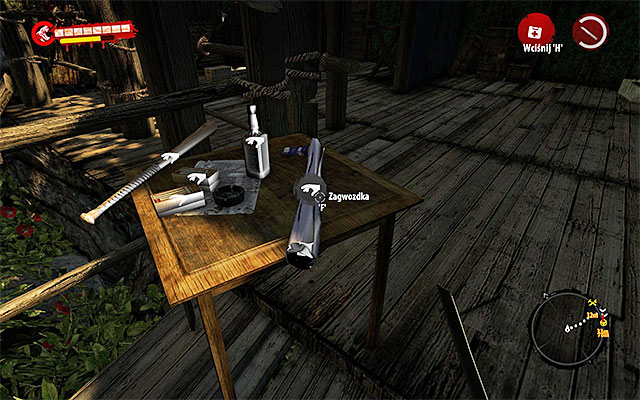
When you get there, pick up Modification from one of tables.
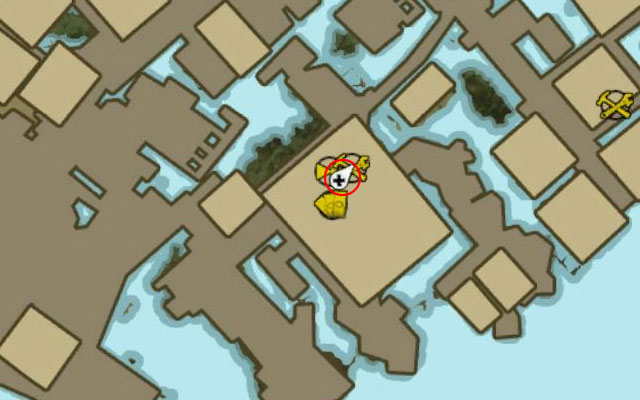
Modification is in the survivors' camp in Halai Village. You can get there when you complete the main quest Saving Holy Man.
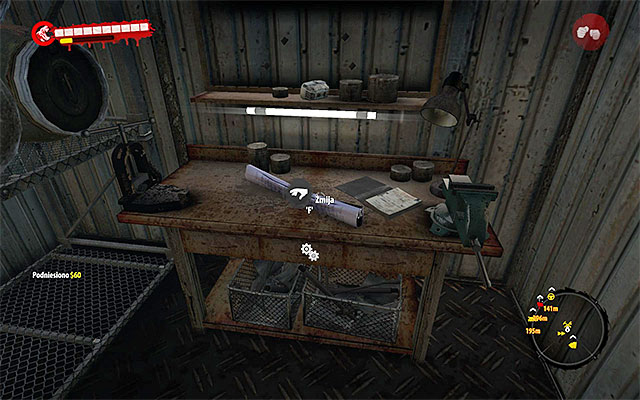
Search the main building of the camp. Modification is exactly where the workshop is.
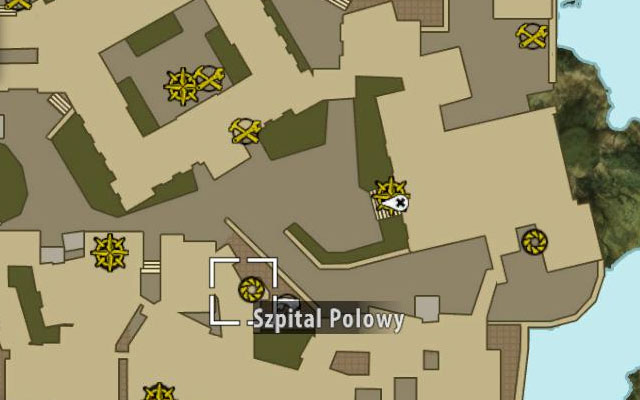
Modification is inside Makeshift Hospital in the central part of Henderson, on southern west from Old City Cinema and Church.
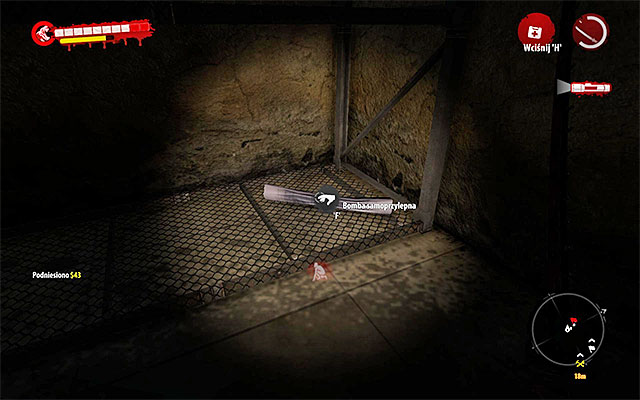
You have to unlock an access to building's cellar, what happens during the main mission The Darkness. Search the cellar carefully and pick up a Modification.
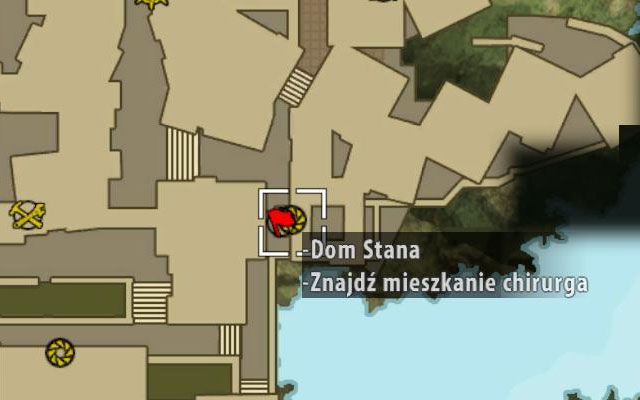
Modification can be found in Stan's Bungalow in the southern east part of Henderson, on north from Ogio Moke's Laundry. You visit this place during a sidequest ER.
Get through the whole apartment and enter the last room, where you find an Infested doctor. Kill him and look for a modification.
Modification can be found in Fort Basements to which you can enter, when you get to a Fort Henderson in the southern east part of the city. You search this place during the main quest The Crash. You run into modification soon after using stairs and reaching a lower level of basements (the one with locked room and injured pilot).
Modification is a reward for the sidequest Memories, which you obtain from Damien who is in the western part of the city.
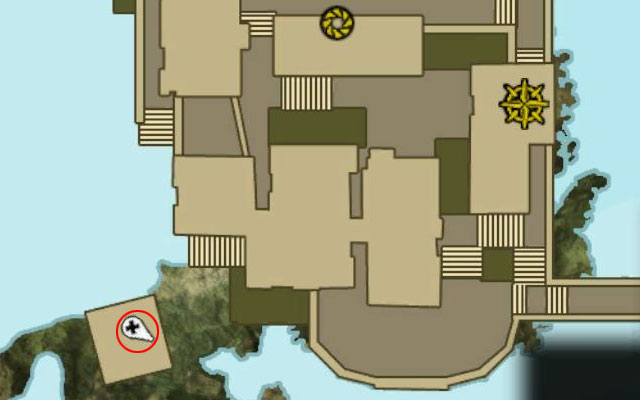
This modification is inside the workshop in the southern west part of the city, on west from the path to Fort Henderson.
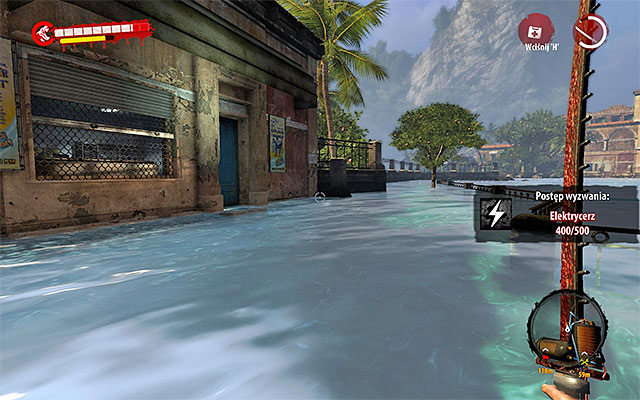
Jump into water and get to barred workshop door. Beware of Floaters. Break door to workshop.
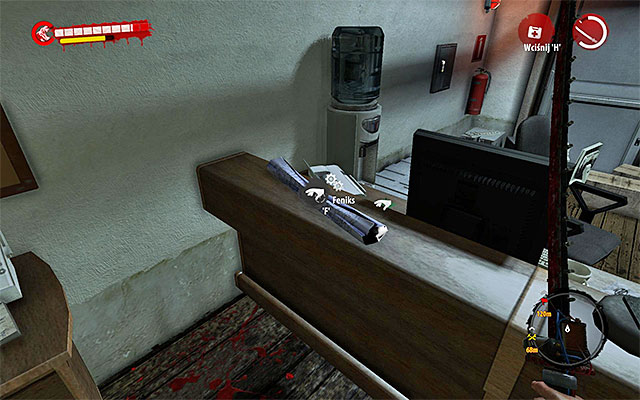
Modification lies on the counter.
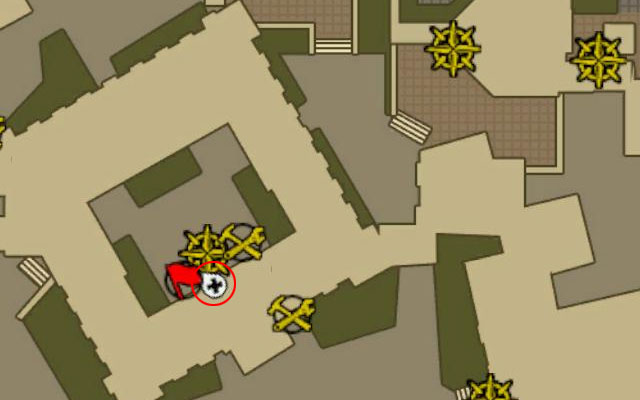
This modification lies nearby a stage next to the Town Hall (you visit this place during the main quest Rescue).
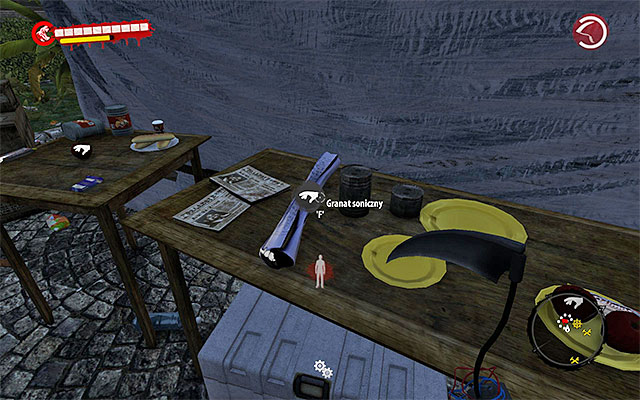
Search an area behind the stage. Modification lies on one of tables.
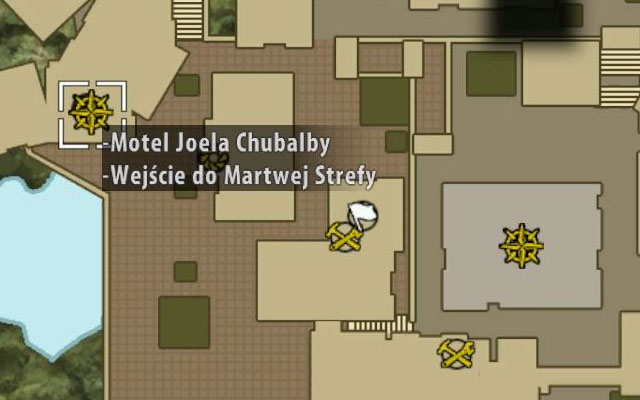
This modification is inside Joel Chubalba's Motel in the southern west part of Henderson, next to Sylvia's Apartment and on west from Sea Market.
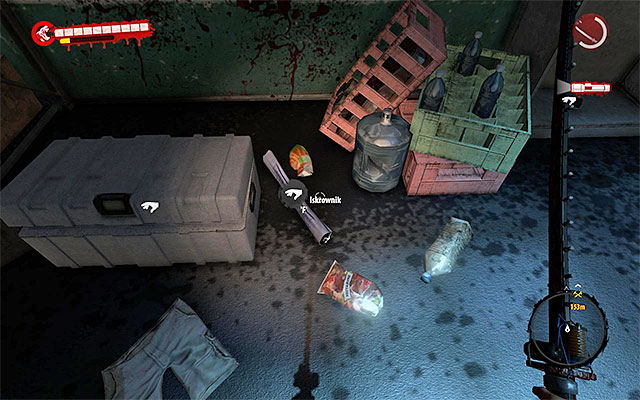
You have to unlock a way to the main room, where the boss is (Joel "Blackheart" Chubalba). Eliminate all monsters and find a modification lying on the ground.
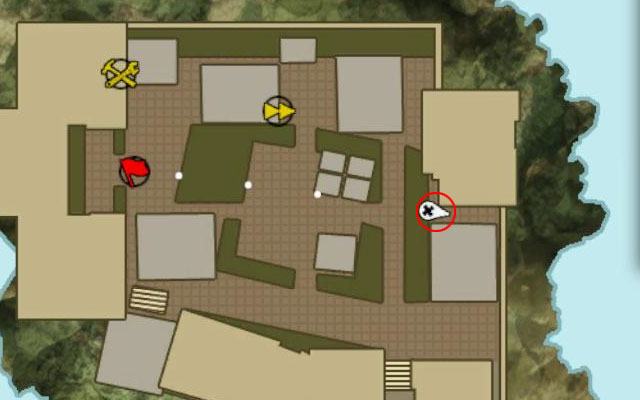
This modification is in the northern east part of Military Base.
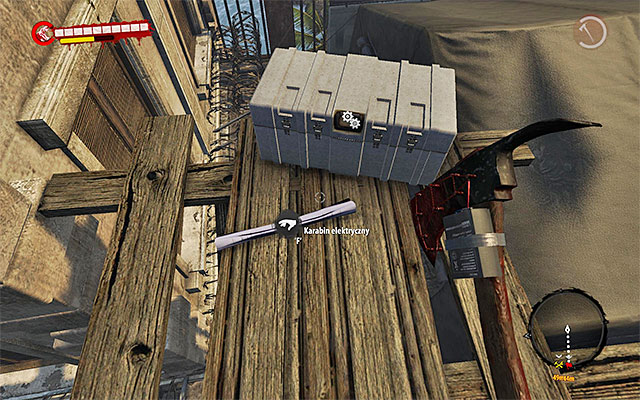
Find a scaffold at one of tents and use a ladder to get onto it. You have just found a modification.
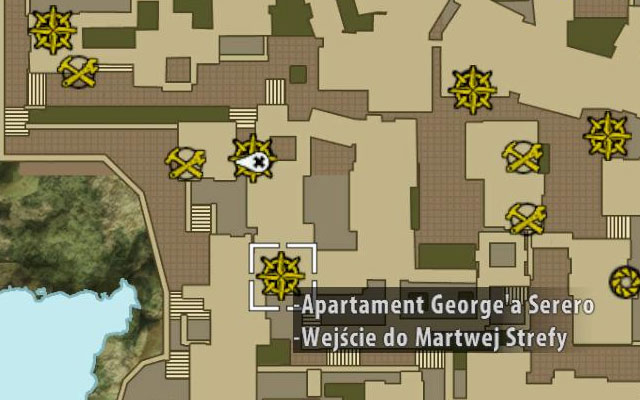
This modification lies inside the Dead Zone in George Serero's Apartment in the central part of Henderson, on south from Infested Warehouse.
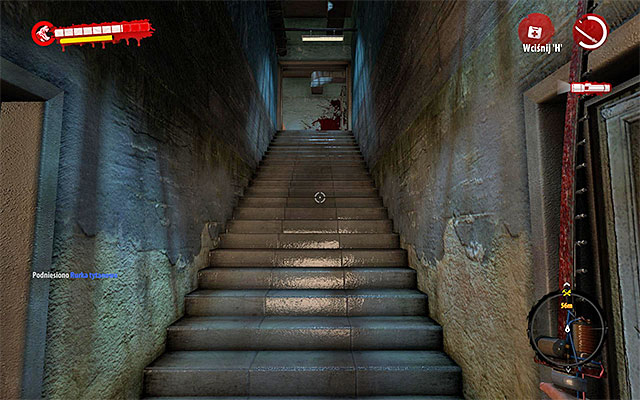
Be careful, because you have to defeat here a strong boss (George "Bodyeater" Serero) in the bottom room. When you kill him, use any stairs leading up.
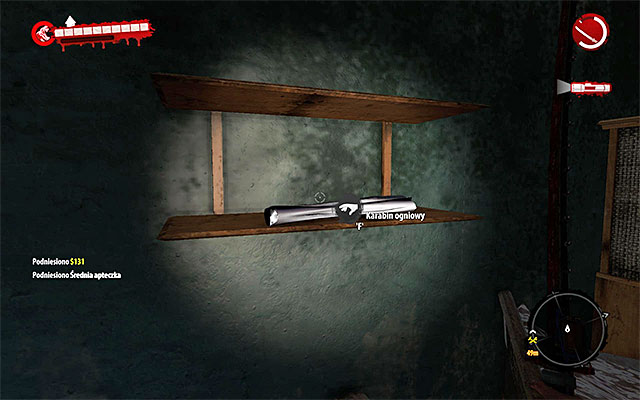
On the floor you run into new undeads with a Wrestler among them. Modification lies on one of shelves of the main room.
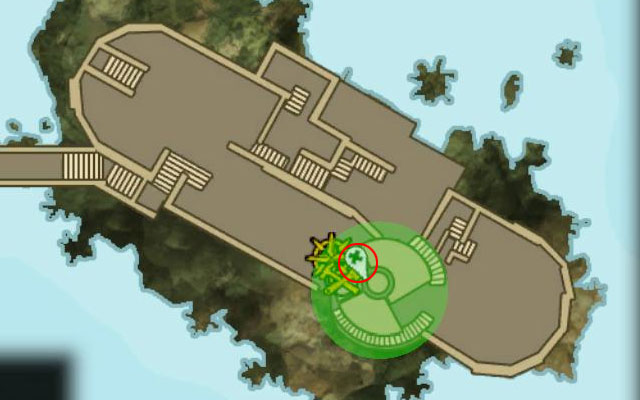
Modification can be found in the main tower of Fort Henderson, in the southern east part of the city. You visit this place for the first time during the mission The Crash.
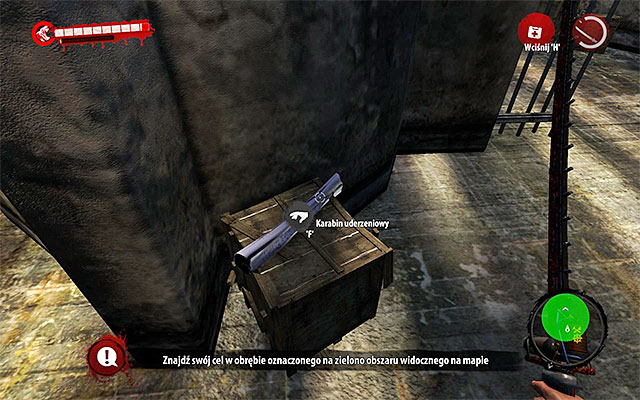
Search a ground floor of the main tower and pick up a modification from one of the crates.
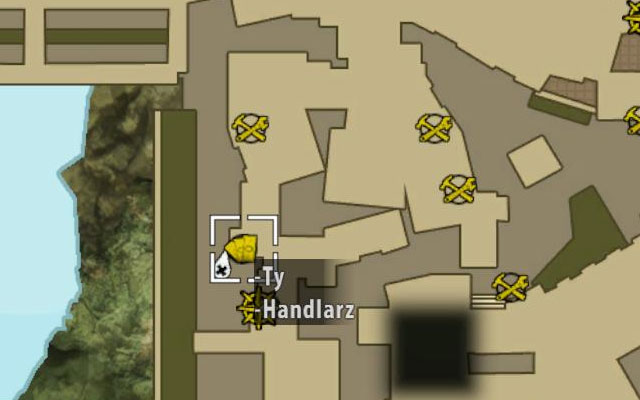
Modification is sold by Alex in the western part of Henderson, next to the Geoffrey Nape's Warehouse. You can talk with him only after saving him in the sidequest Rescue Alex.
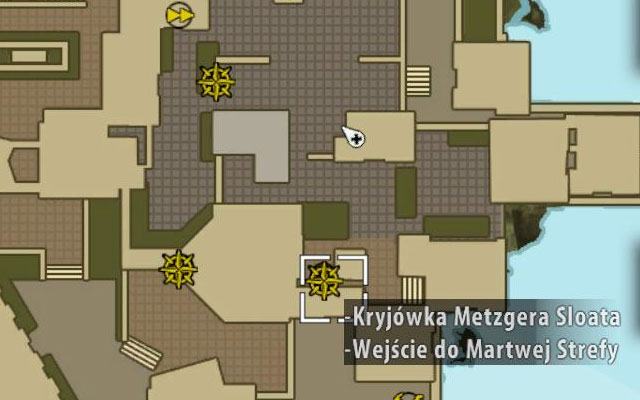
The project can be found inside the Dead Zone in Metzger Sloat's Hideout in the central part of Henderson, on south from Old City Cinema.
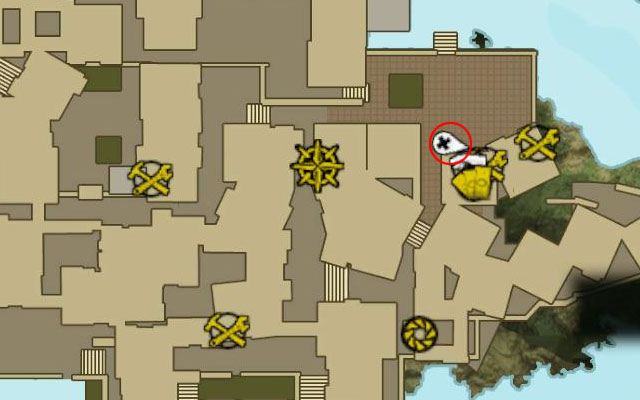
Be careful, because in this Dead Zone you have to defeat a boss (Metzger "Skullcrusher" Sloat) and many other monsters (Walkers, Infested, Suiciders, a Screamer). Modification lies on the chests in the main room.
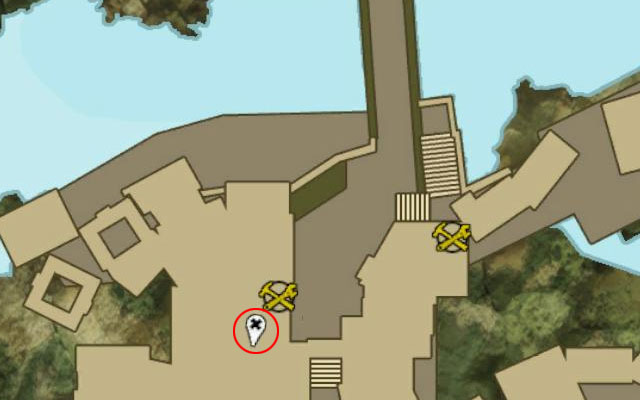
Modification is in the workshop on south from Bank and north from Old City Cinema.
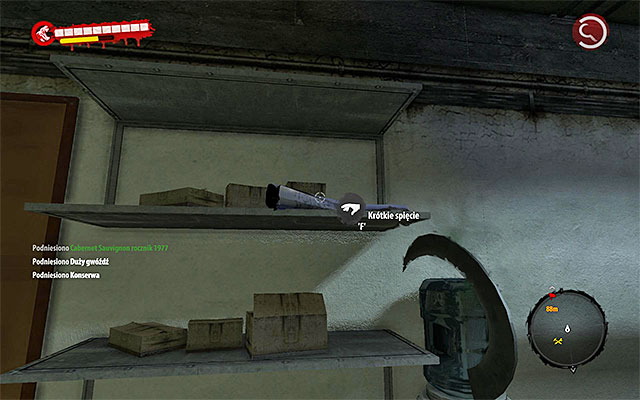
Search the path between building listed above and enter the workshop. Modification lies inside on one of the shelves.

This modification is in the southern east part of Henderson, on north from Stan's Bungalow and Ogio Moke's Laundry.
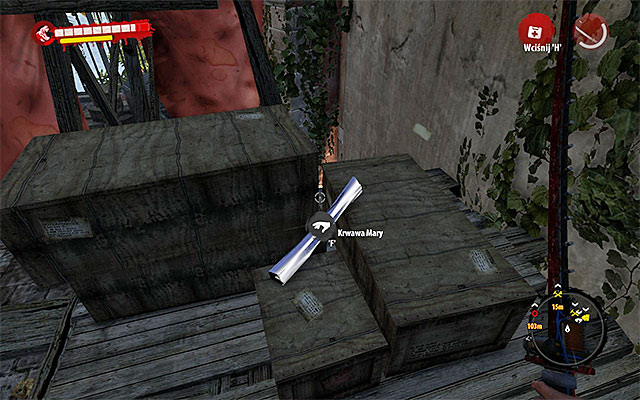
You have to get to a small square, next to the shop and find a ladder leading to a scaffold. Search it carefully and find a modification.
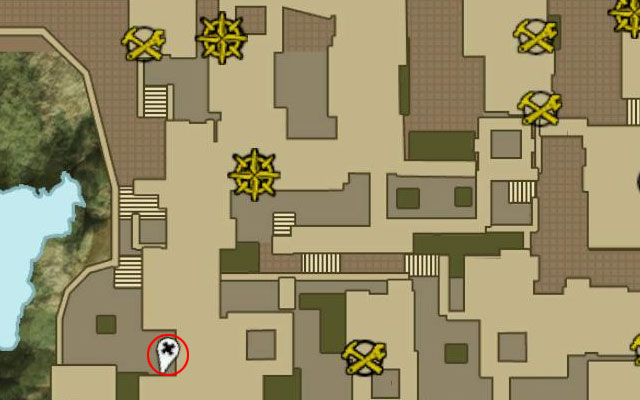
This modification can be found in the southern west part of city, on south from Infested Warehouse and George Serero's Apartment.
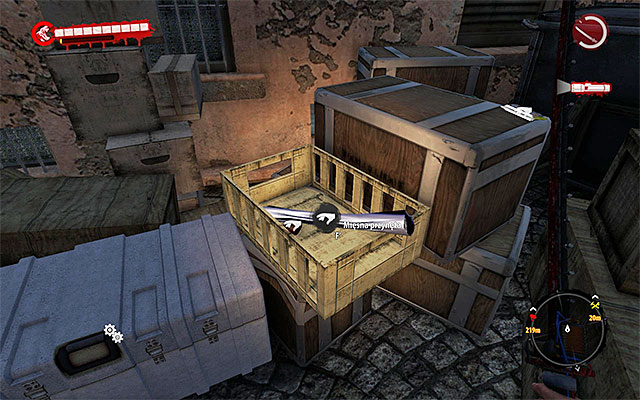
You have to search a small area behind a barrier. Jump over it and look for a modification lying in one of chests.
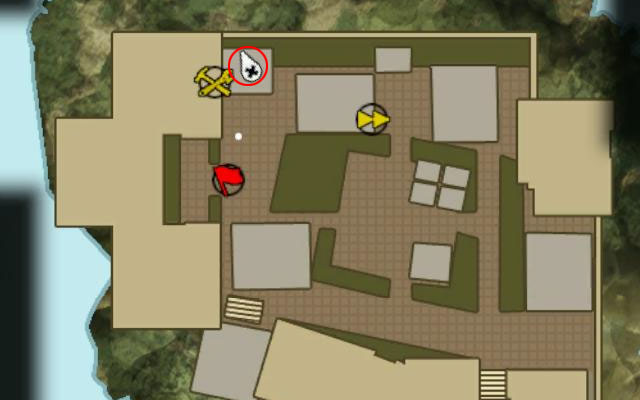
Modification is in the northern west part of Military Base.
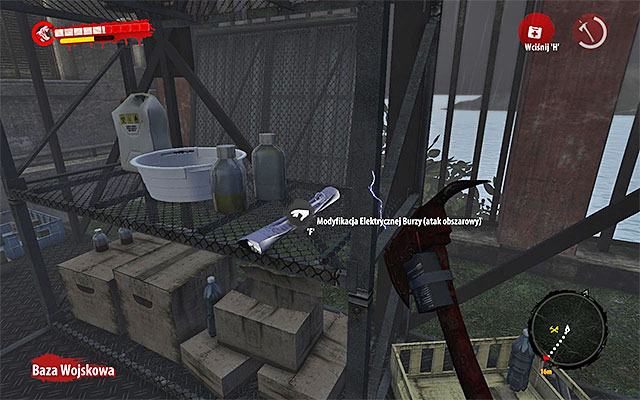
Search an area on north from entrance to the main building of the base. Modification lies on the shelf.
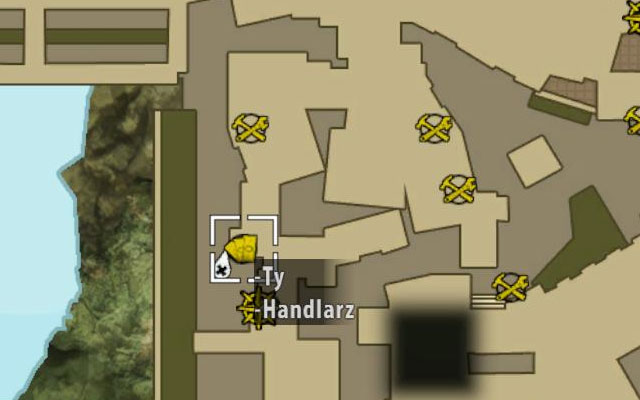
Modification is sold by Alex in the western part of Henderson, next to the Geoffrey Nape's Warehouse. You can talk with him only after saving him in the sidequest Rescue Alex.
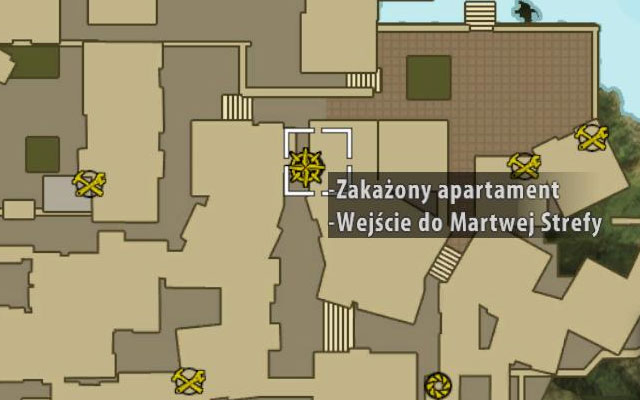
This modification can be found in the Dead Zone in Infested Apartment in the southern east part of Henderson, on north from Ogio Moke's Laundry.
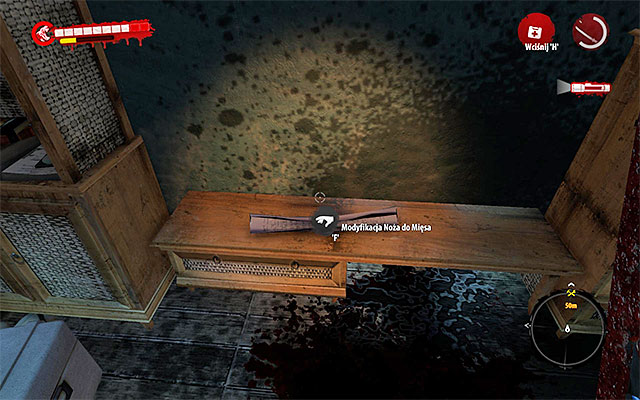
Begin from cleaning up the ground floor (beware of a single Wrestler!) and then go upstairs. Here you also have to fight undeads. Modification lies on one of shelves.
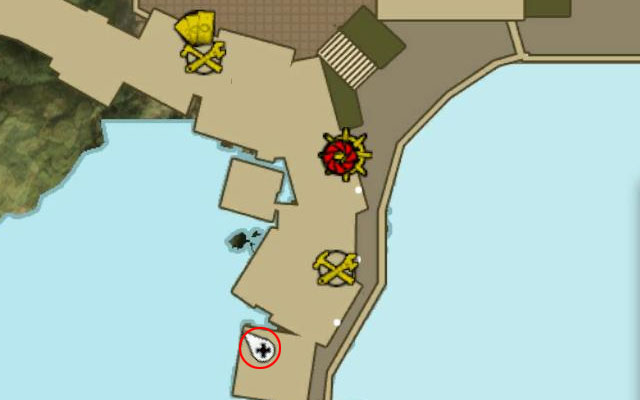
Project is on the southern edge of Henderson.
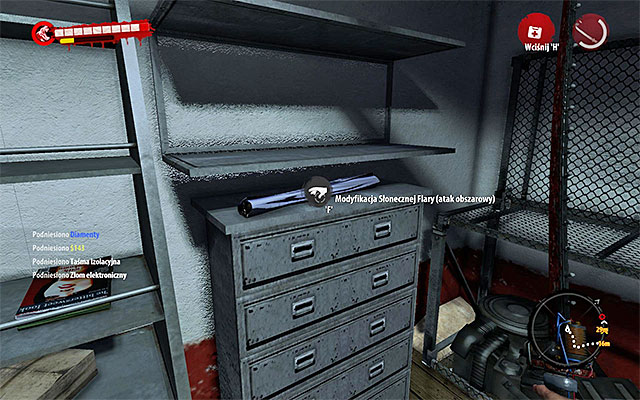
Head south from an entrance and reach a workshop. Search it and find a modification on the shelf.
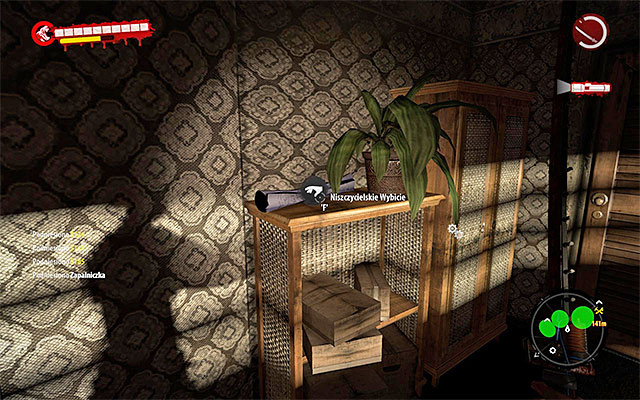
Modification is inside Sylvia's Parents Apartment in the southern east part of the city, on south from the Infested Apartment. You visit this location during the sidequest Family Ties. The item you're looking for is in the main room.
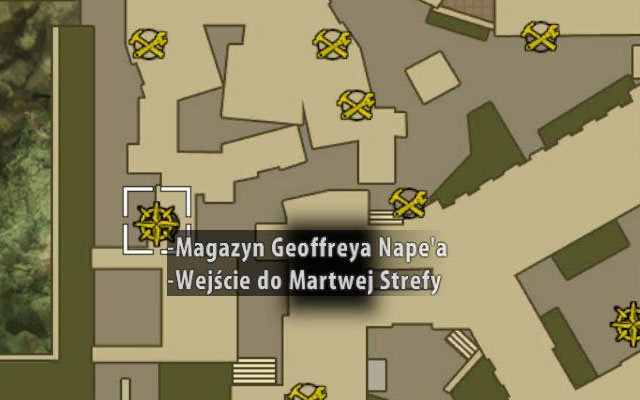
This modification lies inside the Dead Zone in Geoffrey Nape's Warehouse in the western part of Henderson, on west from Town Halla and Old City Cinema.
Be cautious, because in the bottom room of this Dead Zone you have to defeat a strong boss (Geoffrey "Walking Carcass" Nape). When you eliminate him, go upstairs.
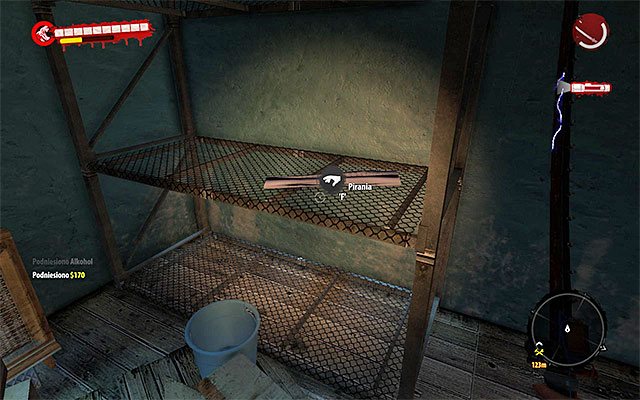
There you'll also find undeads and a new Wrestler. Modification lies on one of the shelves in the main room.
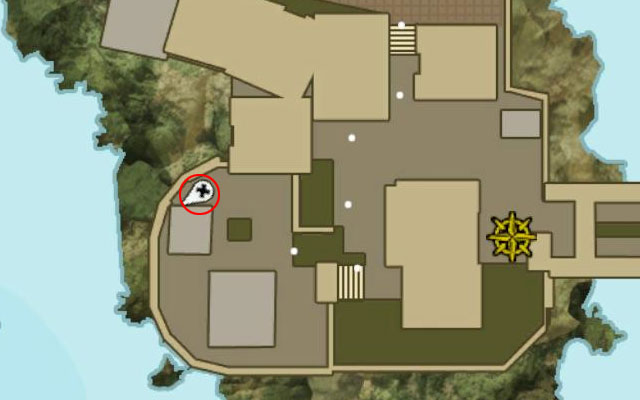
Modification is in the southern west part of Military Base.
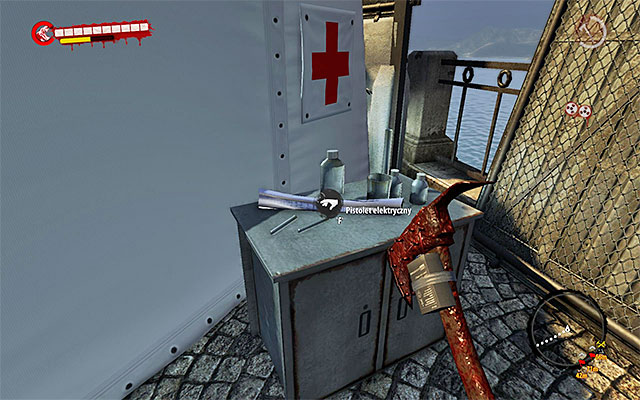
Approach the med-tent. Modification lies nearby.
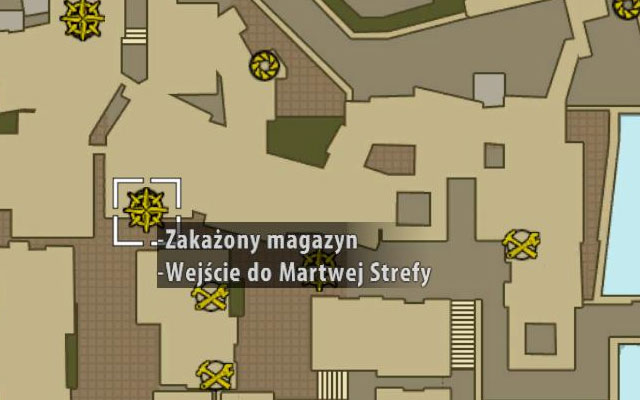
This modification is inside the Dead Zone in Infested Warehouse in the central part of Henderson, on west from Quarantine Zone.
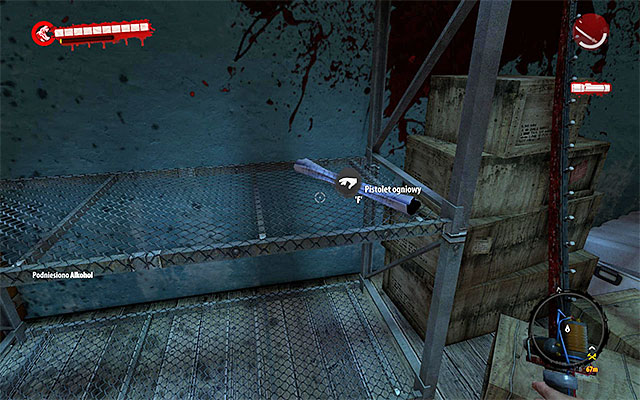
Begin from cleaning up the ground floor and then go upstairs. Here you find more zombies. Modification lies on one of the shelves.
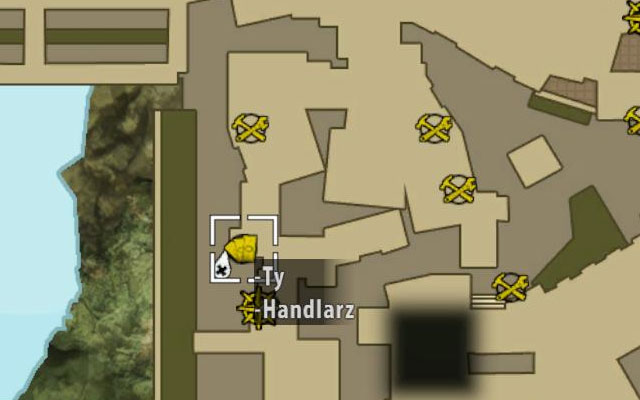
Modification is sold by Alex in the western part of Henderson, next to the Geoffrey Nape's Warehouse. You can talk with him only after saving him in the sidequest Rescue Alex.
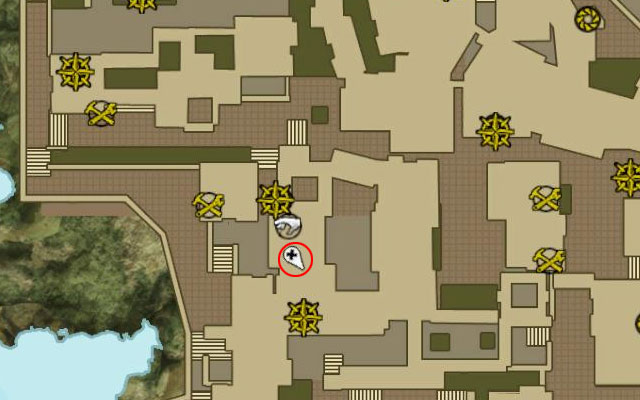
This modification can be found in the western part of Henderson, between Infested Storehouse and George Serero's Apartment.
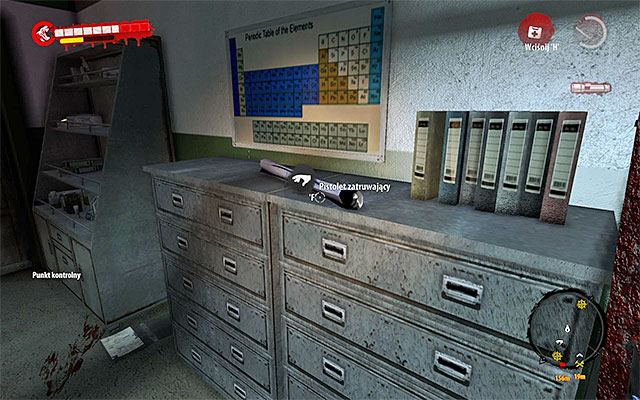
Enter the drug store. Modification lies on one of the shelves.
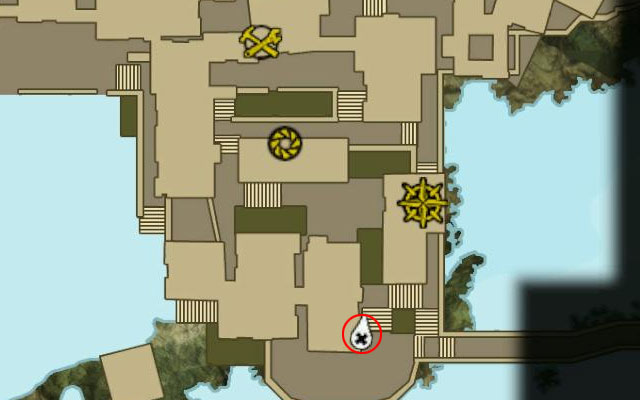
Modification can be found in the southern east part of the city, on west from the path to Fort Henderson and on south from Ogio Moke's Laundry.
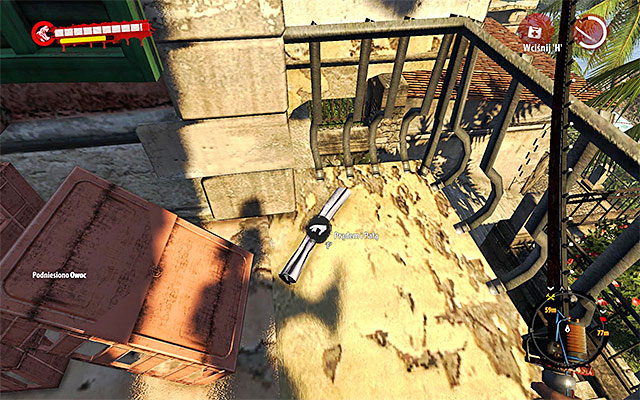
Approach the area with Screamer and find a ladder leading to an upper balcony of one of nearby buildings. Search it and find a modification.
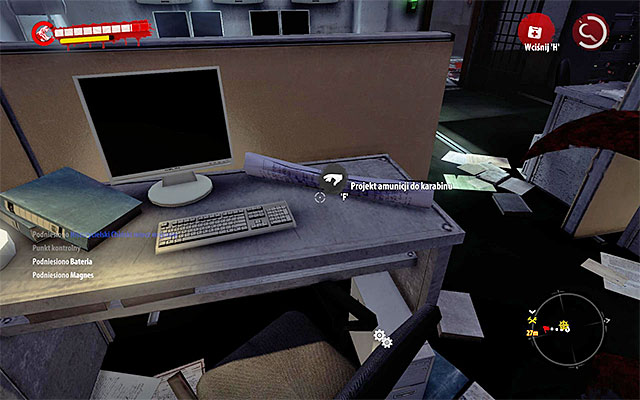
Modification is inside the main building of Military Base in the radio communication room, where the Militarized Zone ends.
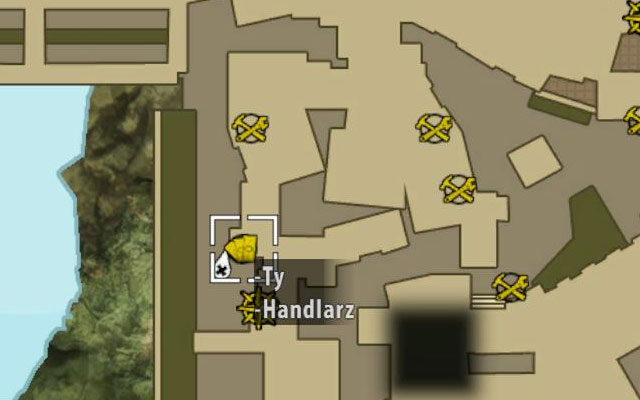
Modification is sold by Alex in the western part of Henderson, next to the Geoffrey Nape's Warehouse. You can talk with him only after saving him in the sidequest Rescue Alex.
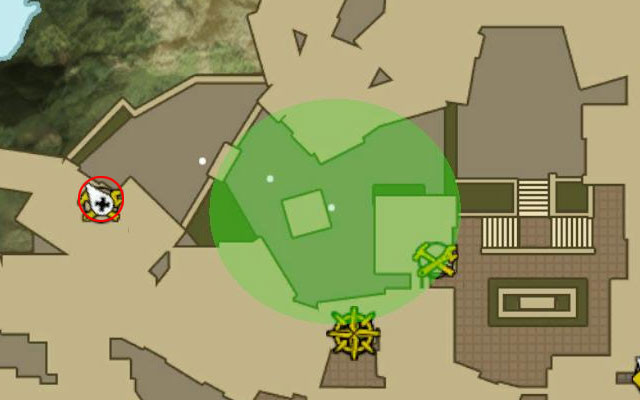
Modification is in the northern west part of the city, next to the Damien connected with the Memories sidequest.
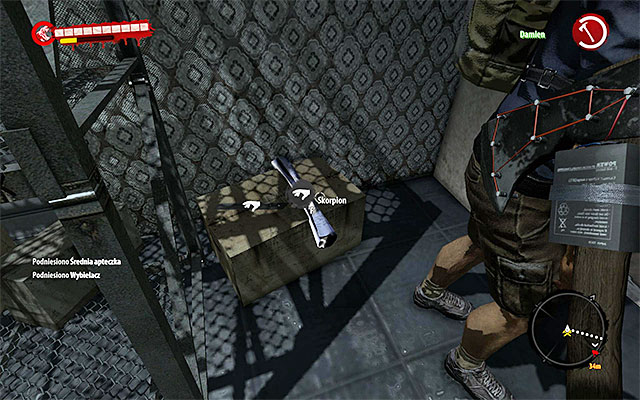
Use ladder to get inside the building and search the area behind Damien to find a Modification.
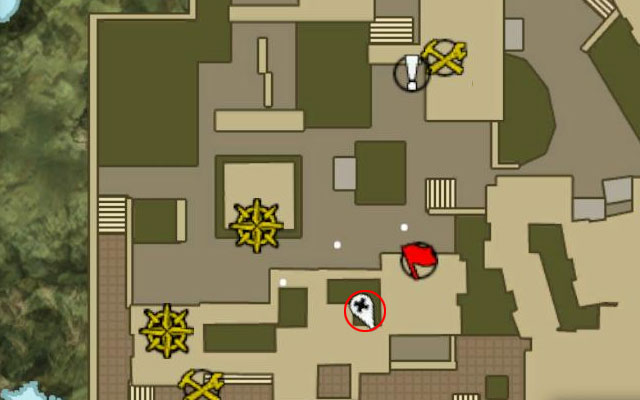
This modification is nearby Villa Henderson in the eastern part of the city.
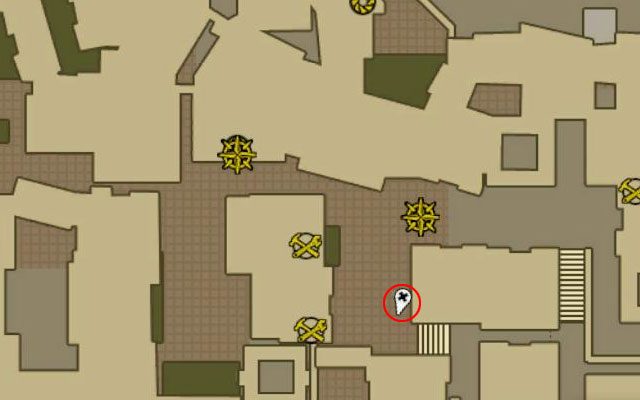
Find an upper balcony, where you see Eve connected with a sidequest The Dead Can't Dance. Get onto this balcony using ladder and look for a modification lying on the chest.
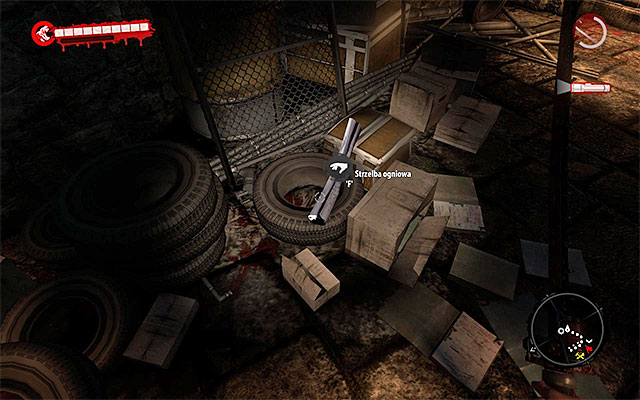
This modification can be found in Fort's Cellars, which you can enter after getting to the southern east part of Fort Henderson. You search this place during the main quest The Crash, and you run into modification at the very beginning.
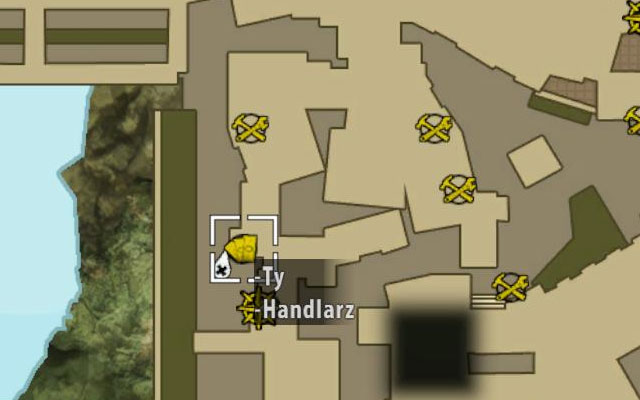
Modification is sold by Alex in the western part of Henderson, next to the Geoffrey Nape's Warehouse. You can talk with him only after saving him in the sidequest Rescue Alex.

Modification is on south from Quarantine Zone in the central part of the city.
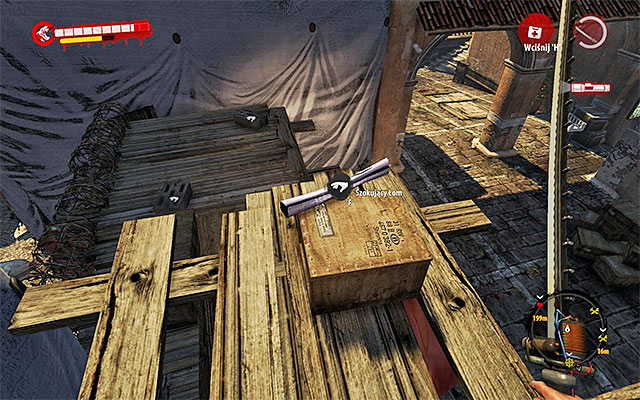
Find a scaffold on south from the Quarantine Zone and use a ladder to get there. Up there, you find a lying modification.
This modification can be found in Safe Haven at the southern end of Henderson (it's one of Dead Zones). Enter it and find a modification on the couch in the one of first corridors.
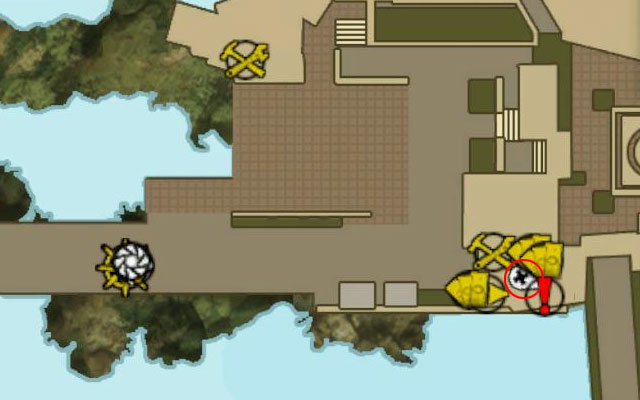
Modification lies in the workshop in Henderson Ferry Station.
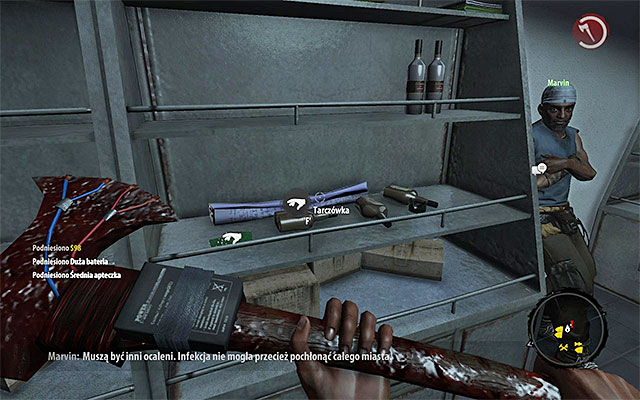
Enter the workshop and search all shelves. Modification in on one of them.
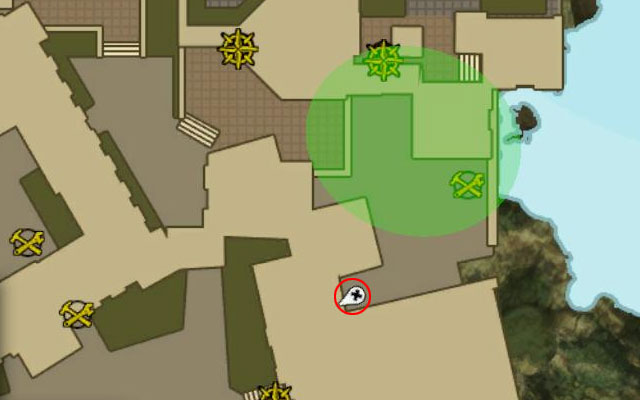
Modification is on south from Old City Cinema and Metzger Sloat's Hideout.
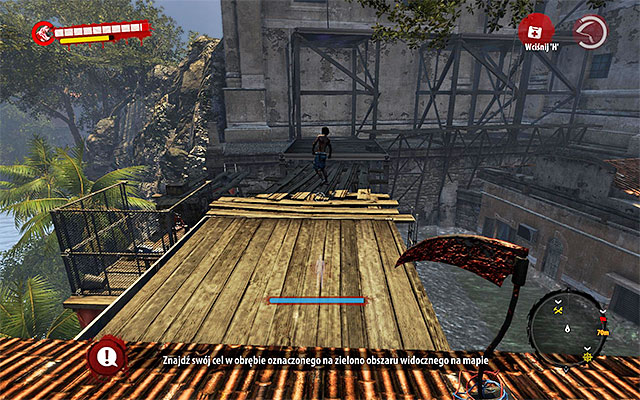
Find a place where you can get onto a roof and head south, reaching scaffolds.
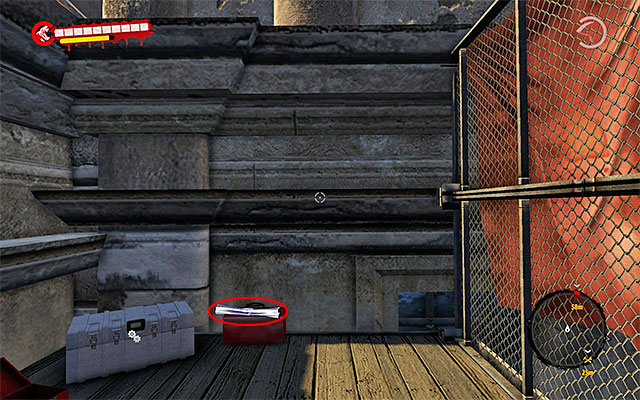
Stay at scaffolds and use ladders to get at a highest point on backs of the Church. Here you find another Modification.
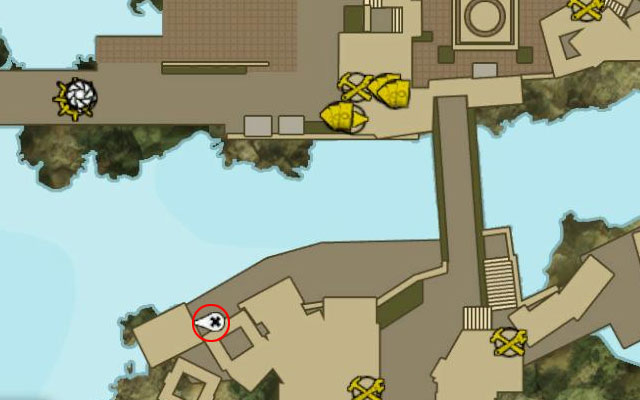
Modification is on south from Henderson Ferry Station.
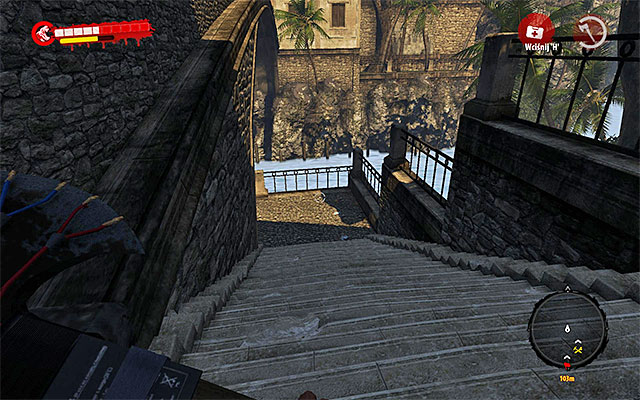
Use a bridge on east from Ferry Station and head south. When you get through it, search for stairs going down and search the new area, staying close to the water.
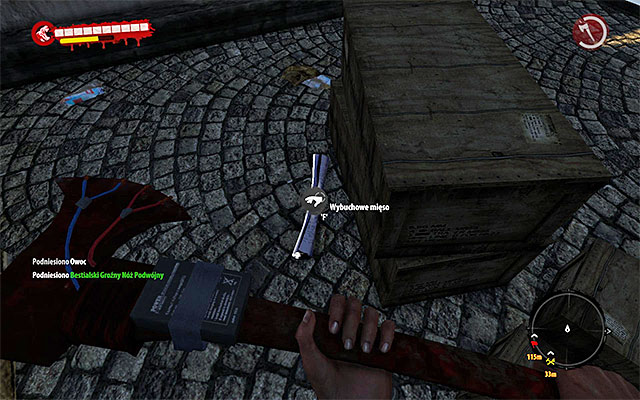
Modification lies behind one of bigger crates.
A table below shows all available modifications and information about to what weapons they can be used and which resources are required to perform such a operation.
Attention - the rarest modifications (blue, violet and orange), which can be used to make best weapons, are bolded.
MODIFICATION NAME
BASE ITEM
REQUIRED RESOURCES
Sticky Bomb
Homemade Knife
Knife
Kitchen Knife
Wicked Knife
Diving Knife
Military Knife
Assassin's Greed
bleach x1
ammonia x1
soap x1
wrist watch x1
Deo-Bomb
none (modification used for making explosives)
deodorant x2
glue x1
Poison-Bomb
none (modification used for making explosives)
duct tape x1
wire x1
soap x1
deodorant x2
wrist watch x2
Razor
blade (many various types)
blade x2
bolts x3
engine parts x2
saw disc bladex2
Lightning
blade (many various types)
duct tape x2
wire x2
battery x3
metal scrap x2
Thorn
blade (many various types)
barbed wire x2
Body Devastator
tonfa
duct tape x3
metal scrap x3
large battery x2
cell phone x2
electronic scrapx2
nails x2
clamp x2
Electro
blade (many various types)
duct tape x2
wire x2
battery x2
Electrotherapy
blade (many various types)
electronic recoil x1
capacitor x1
spark gap x1
Phoenix
shillelagh
barbed wire x1
wire x2
large battery x2
steel rod x2
belt x1
duct tape x3
lighter gasoline x1
Hot Blade
machete
bushmaster
steel rod x2
wire x2
large battery x2
belt x1
large battery x1
battery LP4000 x1
Sonic Pulse Grenade
none (modification used for making explosives)
duct tape x2
wire x1
electronic scrapx2
cell phone x1
large battery x2
Spark Gap
hatchet
golf club
club
morgenstern
heavy morgenstern
mace
exotic mace
bludgeon
duct tape x3
engine parts x3
battery LP4000 x1
magnet x2
belt x2
blade x2
Medieval
kanabo
duct tape x3
deodorant x3
large battery x2
cell phone x2
electronic scrapx2
barbed wire x2
nails x2
Pile Driver
blade (many various types)
metal scrap x2
barbed wire x2
battery x2
Shock Rifle
automatic rifle
singleshot rifle
semi-automatic rifle
defender of the motherland
harpoon
battery x2
metal scrap x2
magnet x2
Fire rifle
automatic rifle
singleshot rifle
semi-automatic rifle
defender of the motherland
nail gun
lighter gasoline x2
metal scrap x2
glue x2
bleach x2
Pride rifle
automatic rifle
singleshot rifle
semi-automatic rifle
defender of the motherland
deodorant x2
metal scrap x2
wire x2
lighter gasoline x2
Detox rifle
automatic rifle
singleshot rifle
semi-automatic rifle
defender of the motherland
oleander x2
metal scrap x2
bleach x2
flexible hose x1
Cobra
blade (many various types)
oleander x2
bleach x2
nails x2
soap x2
Scythe
blade (many various types)
blade x3
bolts x2
gears x2
Bloody Mary
police baton
metal baton
heavy baton
duct tape x3
wire x3
large battery x2
cell phone x2
electronic scrapx2
glue x2
cloth x3
Short Circuit
blade (many various types)
duct tape x3
wire x3
large battery x2
magnet x2
electronic scrapx2
Meat Bait
none (modification used for making a bait)
meat x2
duct tape x1
Lightning Storm (area attack)
blade (many various types)
duct tape x2
glue x2
battery x2
Diamond Edge
blade (many various types)
glue x2
wire x2
big nail x3
metal scrap x2
Electric Storm (area attack)
blade (many various types)
duct tape x4
wire x4
battery x4
Shock Wave (area attack)
blade (many various types)
duct tape x3
wire x3
battery x3
Inferno (area attack)
blade (many various types)
duct tape x3
wire x3
soap x3
belt x3
large battery x3
metal scrap x3
Carving Knife
blade (many various types)
belt x3
wire x3
blade x2
saw disc bladex2
Sharp Edge
blade (many various types)
bolts x2
big nail x2
saw disc bladex2
Liquid Fire (area attack)
blade (many various types)
lighter x2
steel rod x2
clamp x1
belt x1
large battery x1
metal scrap x1
Solar Flare (area attack)
shillelagh
duct tape x3
wire x3
deodorant x1
belt x2
large battery x2
metal scrap x2
Molotov
none (modification used for making explosives)
alcohol x2
cloth x1
Devastating Homerun
metal baseball bat
blade x2
bolts x3
metal scrap x2
barbed wire x2
Tesla Knife
knife
Assassins' Greed
duct tape x1
wire x1
large battery x2
big nail x1
Piranha
maul
construction mallet
sledgehammer
pickaxe
Gabriel's Sledgehammer
Pick of Destiny
weight plate x1
gears x1
blade x1
clamp x2
Electric pistol
pistol
heavy pistol
mccall 9mm pistol
nail gun
harpoon
battery x2
metal scrap x2
magnet x2
Hooligan Pistol
pistol
heavy pistol
mccall 9mm pistol
nail gun
lighter gasoline x2
lighter x2
glue x2
bleach x2
Pride Pistol
pistol
heavy pistol
mccall 9mm pistol
deodorant x1
lighter x2
wire x2
lighter gasoline x2
Poison Pistol
pistol
heavy pistol
mccall 9mm pistol
oleander x2
metal scrap x2
bleach x2
flexible hose x1
Torch
blade (many various types)
lighter x2
glue x2
lighter gasoline x2
High Voltage
blade (many various types)
duct tape x2
wire x2
battery x3
cell phone x2
Rifle Ammo
none (modification used for making ammo)
metal scrap x2
bleach x1
Blunt Shock
heavy morgenstern
weight plate x3
bleach x3
large battery x2
magnet x2
electronic scrapx2
barbed wire x2
battery LP4000 x1
Shark
sledgehammer
Gabriel's Sledgehammer
maul
construction mallet
weight plate x1
gears x1
saw disc bladex2
clamp x2
blade x3
Ripper
baseball bat
Home Run
Bouncer's Pal
Blunt Speaker
duct tape x2
wire x2
belt x1
large battery x1
saw disc bladex1
big nail x2
Rending Claws
badass brass knuckles
brutal brass knuckles
spike brass knuckles
blade x4
bolts x4
metal scrap x2
Balance
blade (many various types)
weight plate x1
clamp x2
Scorpion
blade (many various types)
oleander x3
bleach x3
Drowner meat x2
soap x2
flexible hose x2
ray tail x1
Shock shotgun
shotgun
short shotgun
Crowd Pleaser
battery x2
electronic scrapx2
magnet x2
Hooligan Shotgun
shotgun
short shotgun
Crowd Pleaser
lighter gasoline x2
metal scrap x2
glue x2
bleach x2
Pride Shotgun
shotgun
short shotgun
Crowd Pleaser
deodorant x2
bleach x2
wire x2
lighter gasoline x2
Poison Shotgun
shotgun
short shotgun
Crowd Pleaser
oleander x2
metal scrap x2
bleach x2
flexible hose x1
Shocking Sledge
maul
duct tape x2
wire x2
battery x3
metal scrap x2
weight plate x1
gears x1
clamp x2
Shocking Crowbar
crowbar
duct tape x2
wire x3
large battery x3
nails x2
belt x2
weight plate x2
bolts x2
Justice
heavy hammer
duct tape x2
metal scrap x2
battery x3
metal scrap x2
weight plate x1
gears x1
clamp x2
Saw Disc Axe
blade (many various types)
saw disc bladex2
bolts x2
steel rod x2
clamp x2
Tesla
shovel
staff
Gabriel's Sledgehammer
steel rod x3
wire x3
large battery x3
cell phone x2
belt x2
engine parts x1
Assassin Poison
badass brass knuckles
brutal brass knuckles
spike brass knuckles
oleander x3
bleach x2
Suicider meat x2
juice fruit x2
flexible hose x1
blade x4
bolts x4
metal scrap x2
Tulip
blade (many various types)
glue x2
cloth x3
Heavy Weight
blade (many various types)
weight plate x1
gears x1
clamp x2
Exploding meat
none (modification used for making explosives)
meat bait x1
duct tape x1
wire x1
battery x1
wrist watch x1
bleach x1
Question
blade (many various types)
nails x2
Viper
blade (many various types)
oleander x2
bleach x2
During the game you can find fifteen postcards. When you get one, open your inventory, choose a proper bookmark and look at it. Localization of all of them is shown on the maps below. In the further part of this chapter you can find also information about how to find them.
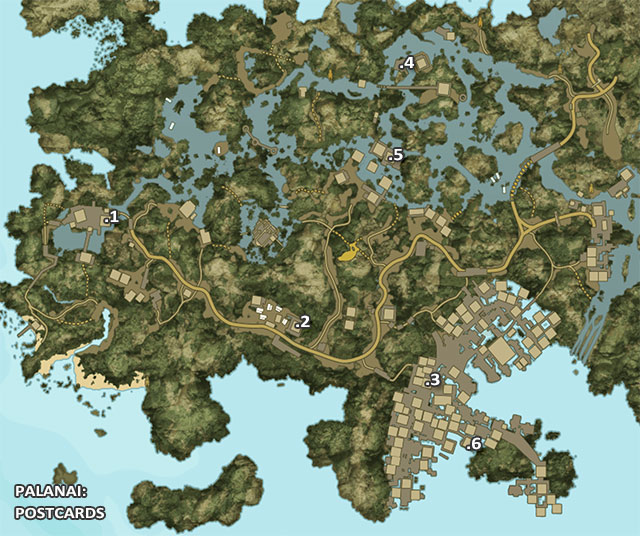
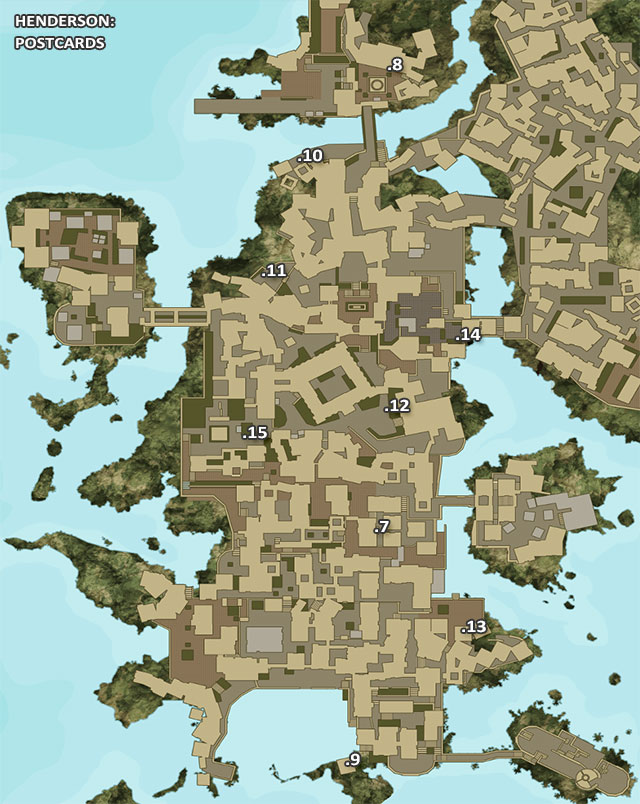
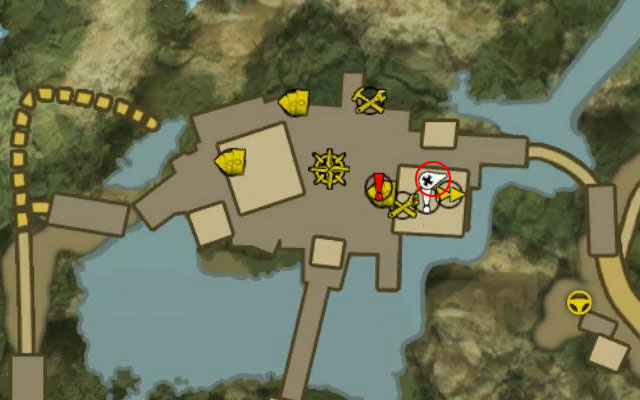
The Postcard is inside one of buildings of Paradise Survival Camp.
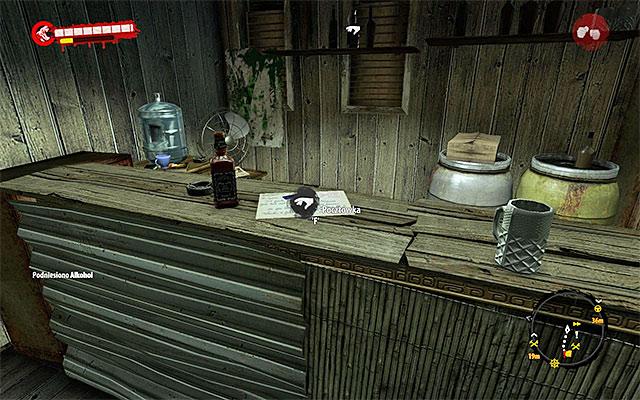
It lies on the shelf in this particular building.
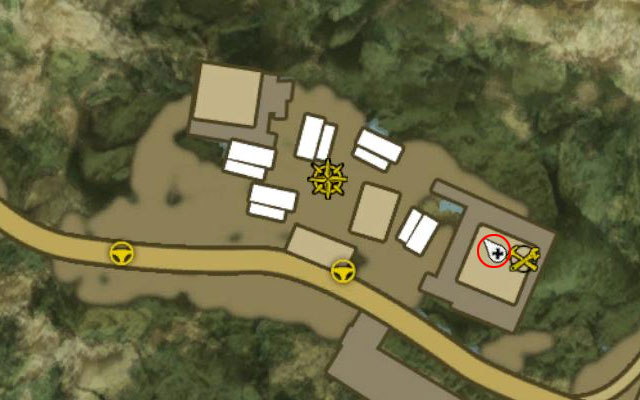
Postcard is inside the building in Kiwi Camping.
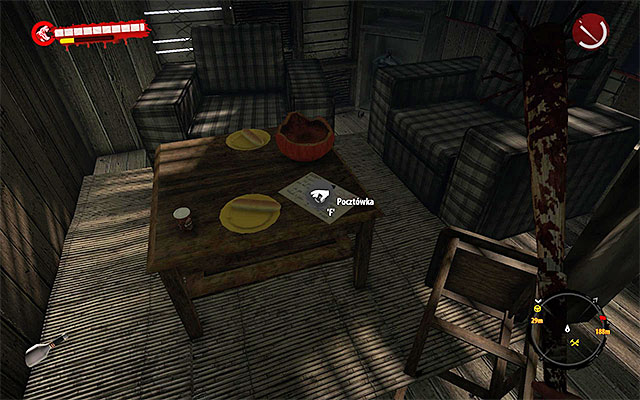
Getting inside the building isn't easy. You have to get through one of barred entrances. When you get inside, pick up Postcard from the table.
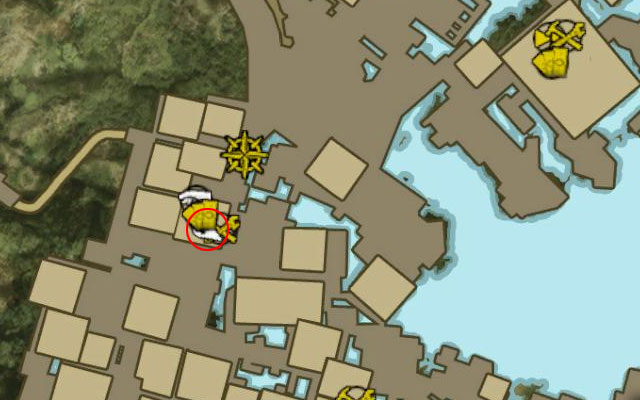
This postcard can be found in one of buildings in the central part of Halai Village, in the one where Makayla is hiding.
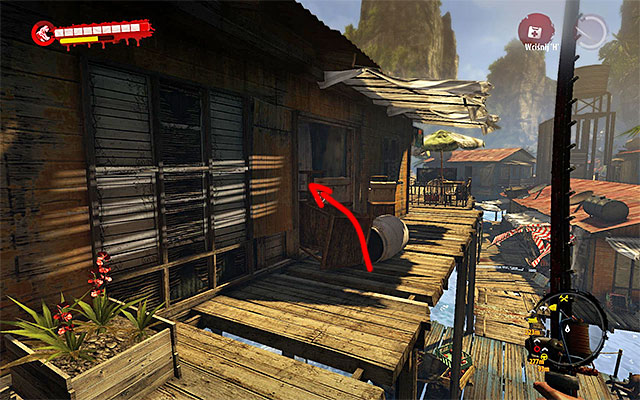
Getting inside this building is difficult, because you have to jump over one of barricades at one entrance.
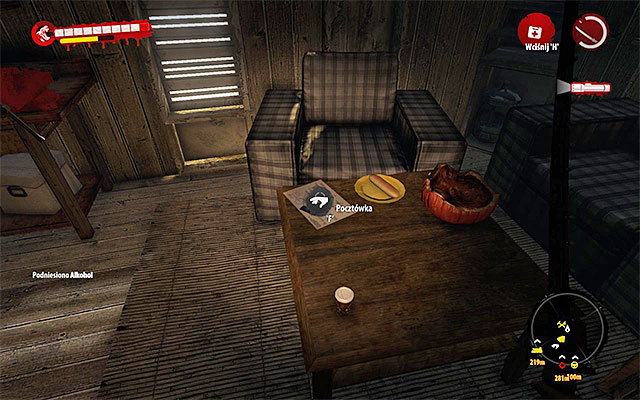
When you get inside, look for postcard on one of tables there.
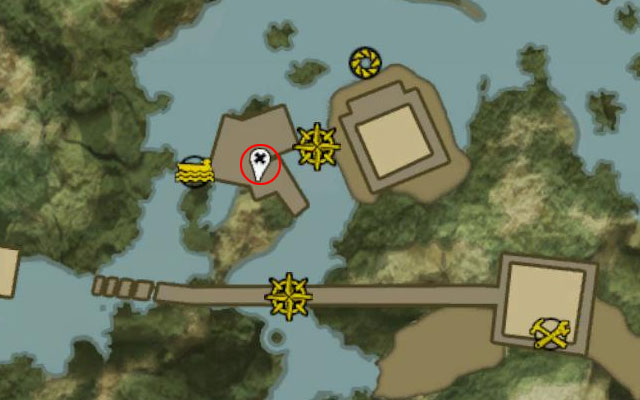
Postcard is in Breri on the swamps.
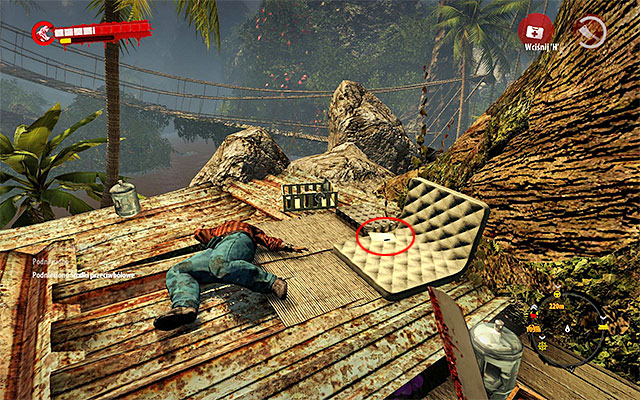
When you get there, search all roofs. On one of them you find a Postcard.
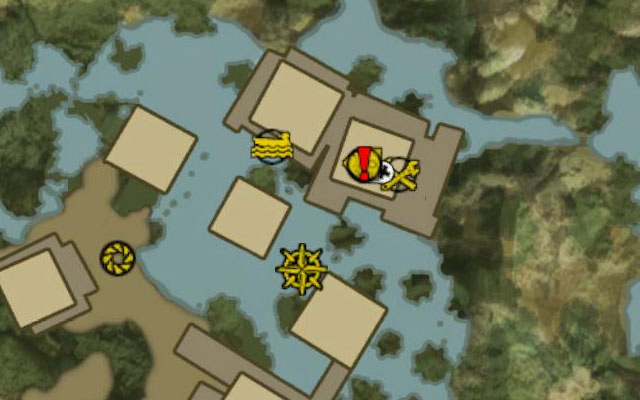
Postcard is in cottage of Marcus Villa in Mataka Village. You get an access to this place during a main quest Natural Resources.
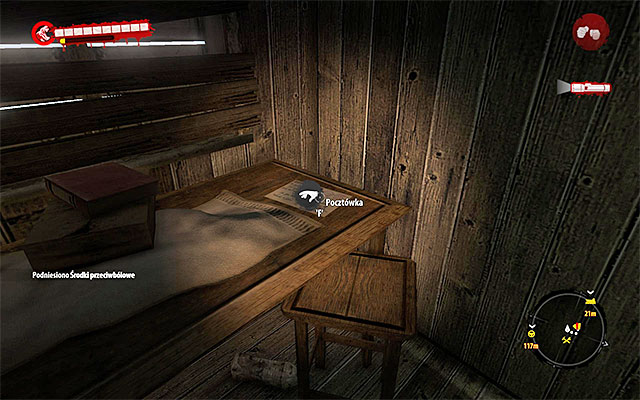
Postcard lies on one of tables.
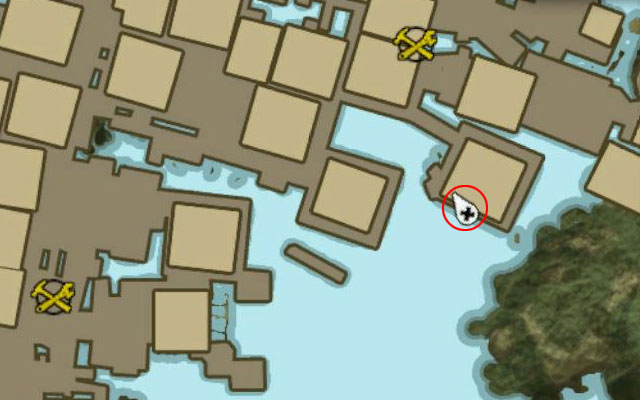
Postcard is in the central part of Halai Village.
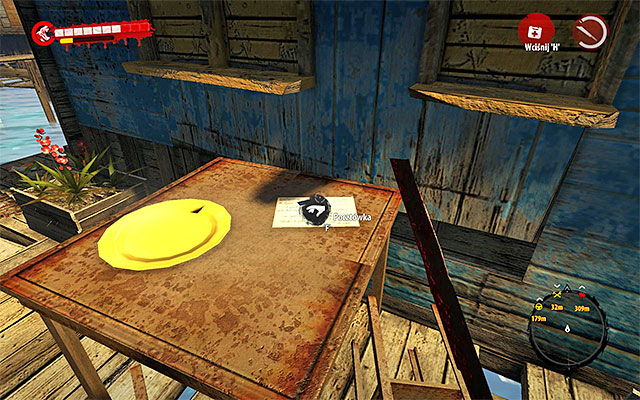
Localize the proper cottage and pick up a Postcard from the table in front of it.
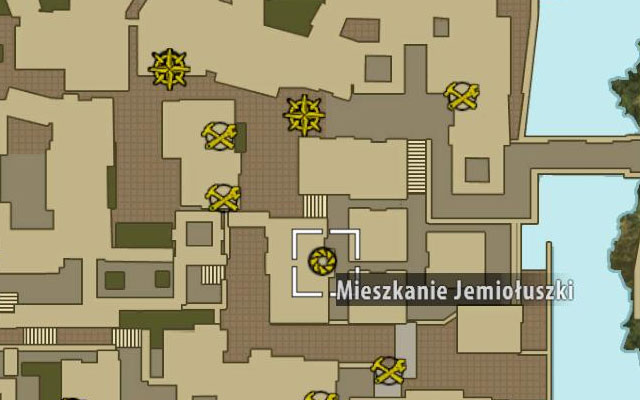
This Postcard can be found in Nick's House in the northern part of the Henderson. It's inside the Quarantine Zone and it means that you can search it only after unlocking access there what happens when you begin the main quest With the Tide.
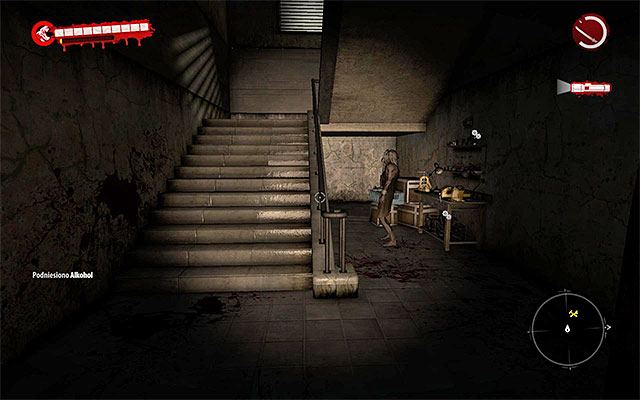
When you get there, start exploring the house, eliminating all Walkers, Infested and a single Screamer. You have to reach stairs leading up.
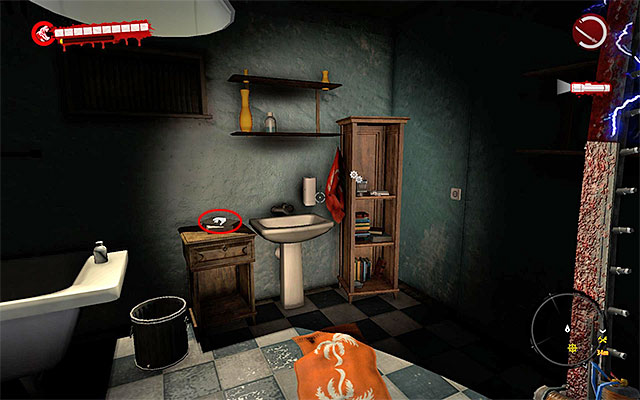
Continue your searches and eliminate new zombies. Postcard is inside one of bathrooms on the second floor.
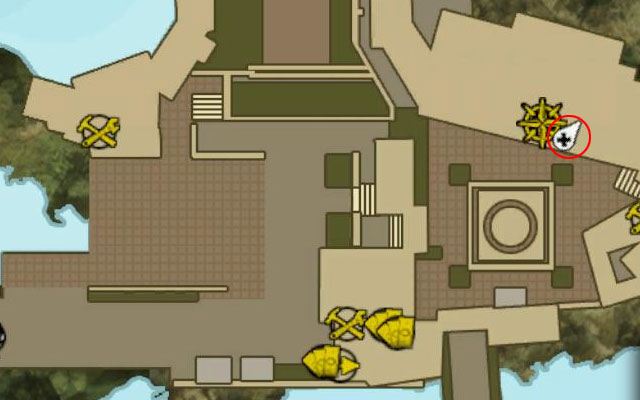
Postcard is in front of the Bank in northern part of the city.
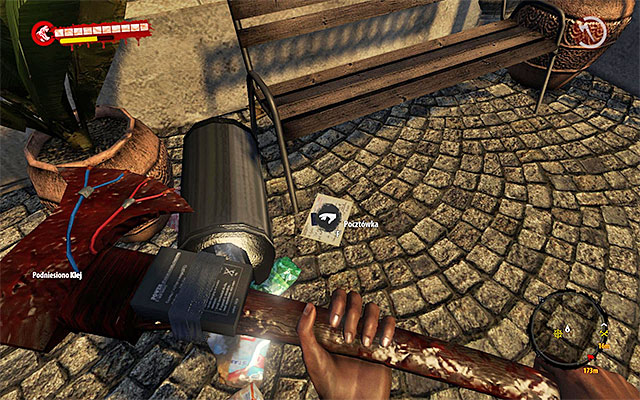
When you get nearby the bank, look for it - it lies at one of benches.
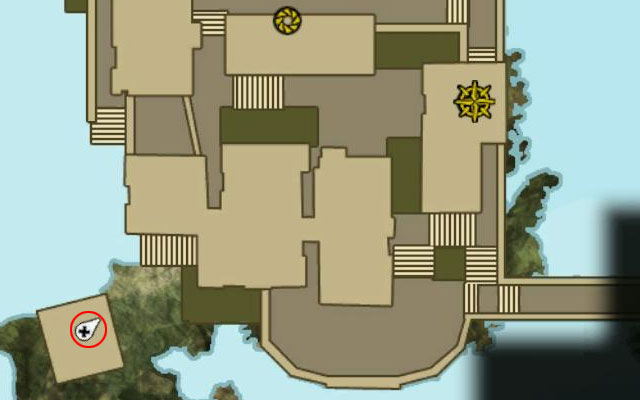
This Postcard is inside the workshop in the southern east part of the city, on west from the path leading to Fort Henderson.
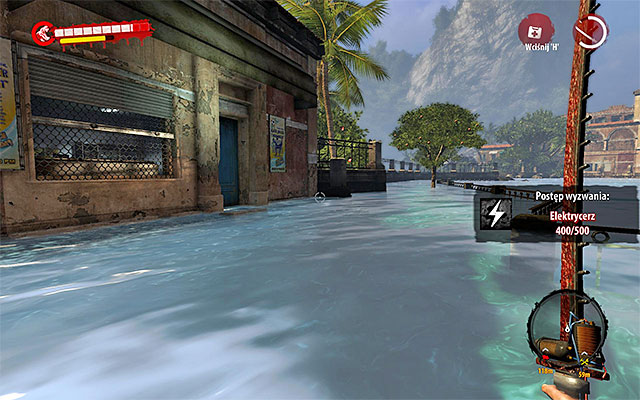
Enter the flooded area and get to the barred entrance to the workshop, beware of Floaters on your way there. Break the door to workshop.
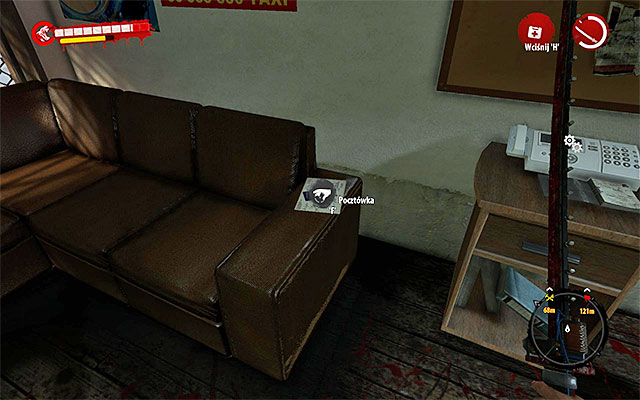
Postcard lies on the couch.
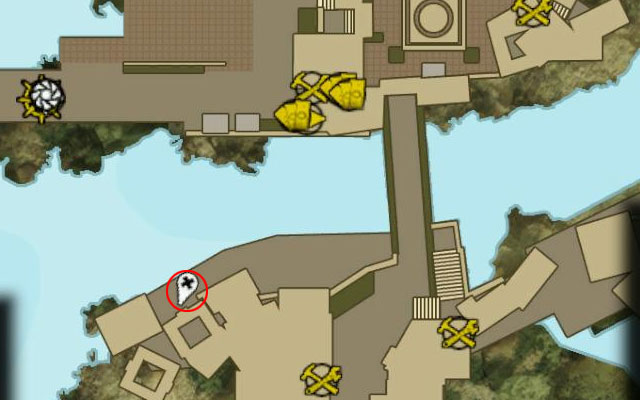
Postcard is on south from Henderson Ferry Station.
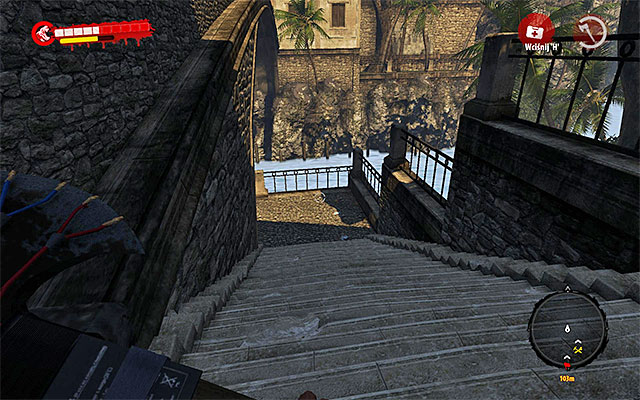
Use a bridge on east from Ferry Station and head south. When you get through it, search for stairs going down and search the new area, staying close to the water.
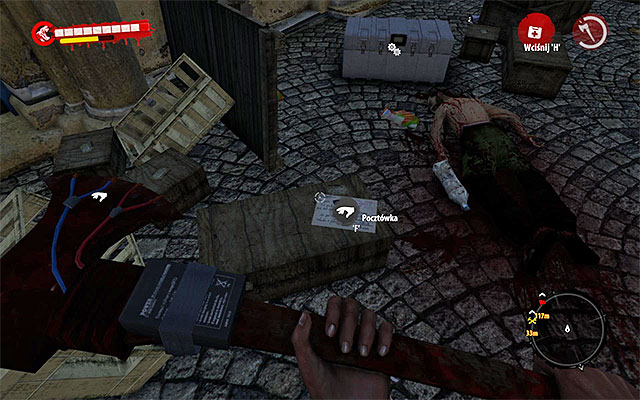
Postcard you're looking for is on one of crates.
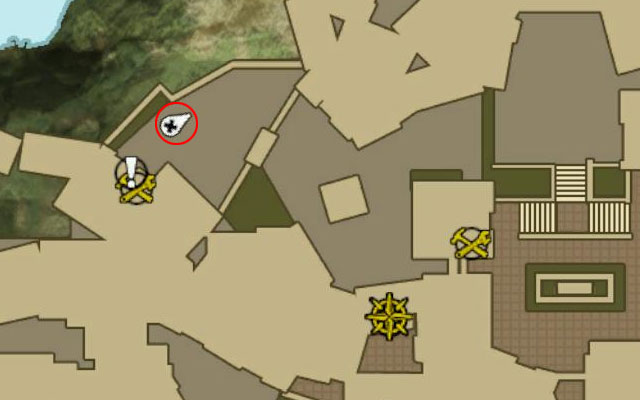
Postcard is in the northern west part of the city, nearby the building with Damien (sidequest Memories).
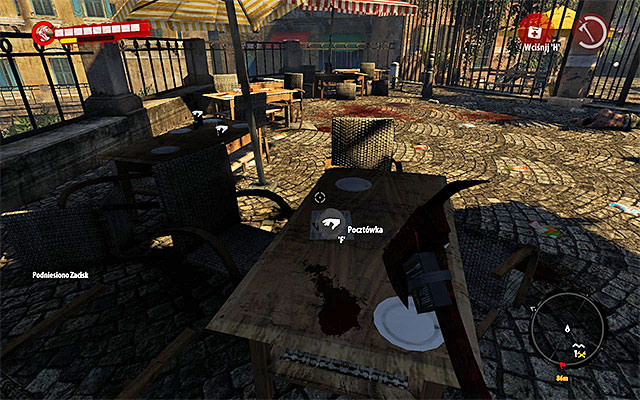
You find a Postcard on one of tables.
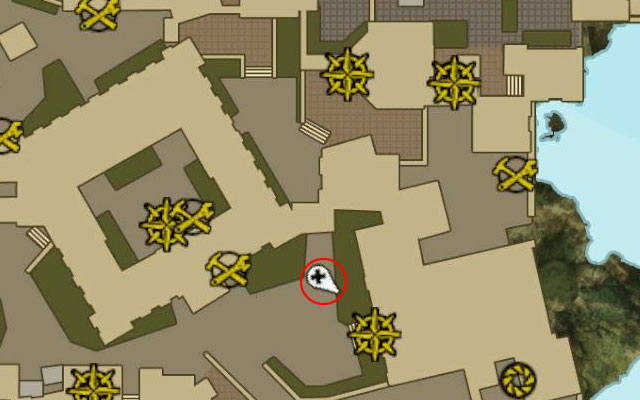
Postcard is in front of Church on south from Old City Cinema.
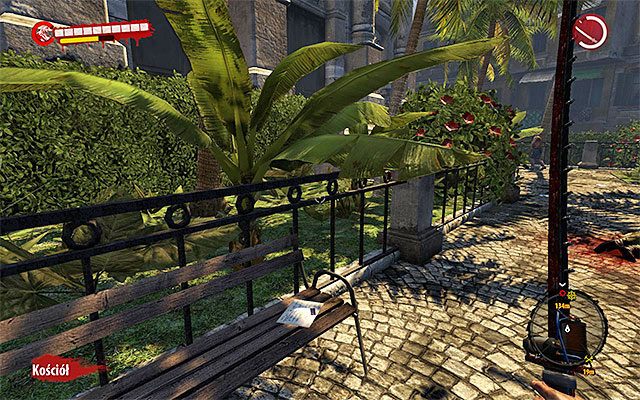
When you get to the Church, look for a bench on which you can find a Postcard.
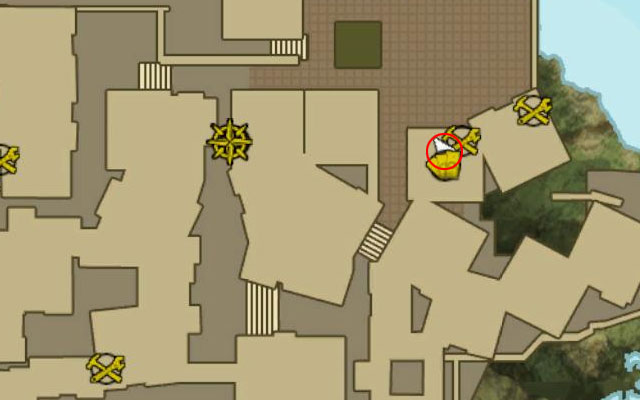
Postcard can be found in Rodrigo's workshop in the southern east part of Henderson, on east from Infested Apartment.
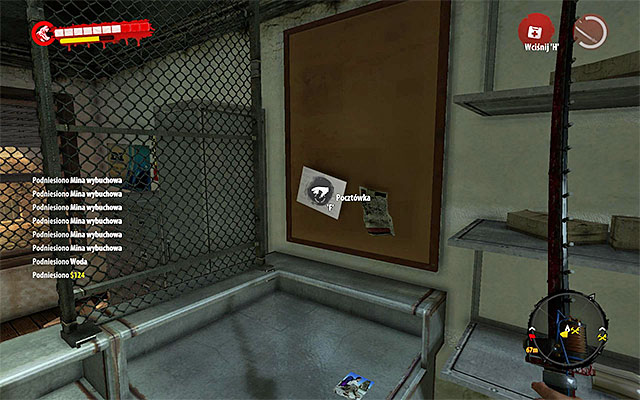
Enter the workshop. Postcard hangs on the wall.
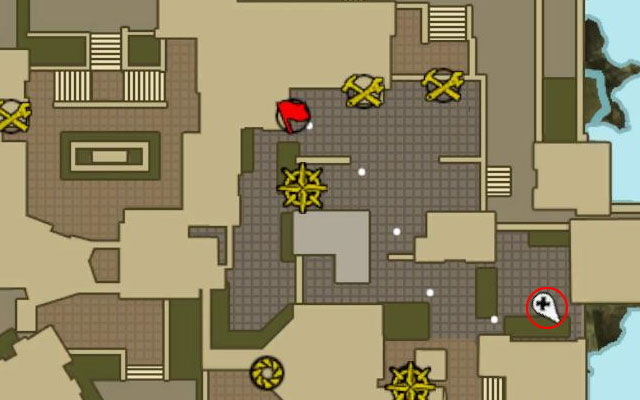
Postcard is on the roof of Old City Cinema.
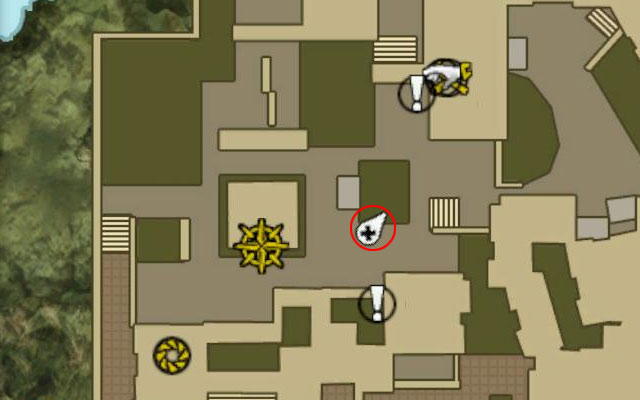
Search a southern east part of the roof. Postcard lies on the table.

Postcard is nearby the Villa Henderson in the western part of the city.
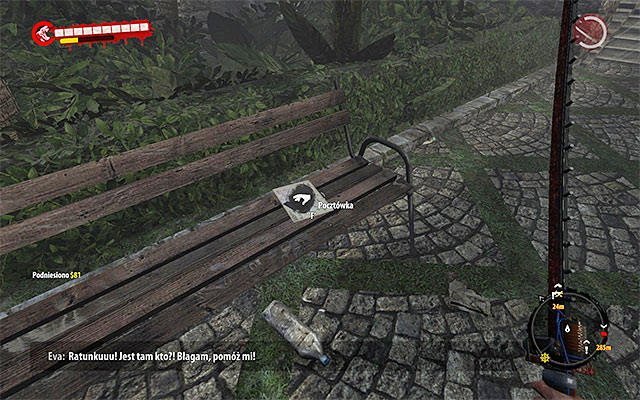
Find a bench on east from the villa and pick up a Postcard.
During the game you can find seventeen Island Guidebooks. After getting each one, open an inventory, get to the proper bookmark and look at it. Localization of every guidebook is shown on the maps below. In the further part of the chapter you find information about how to find every one of them.
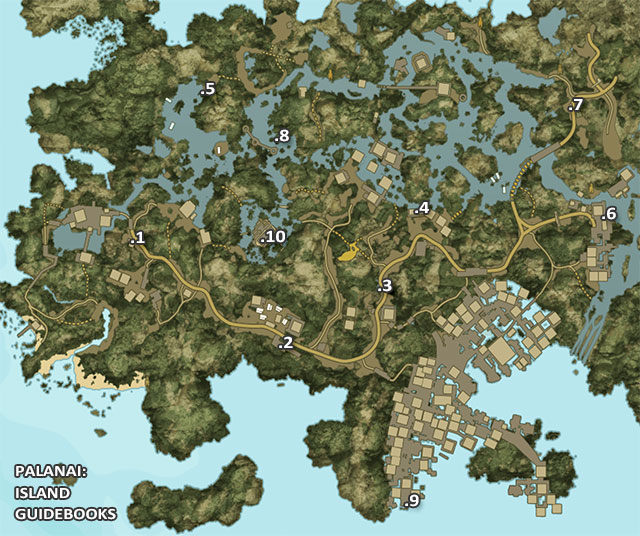
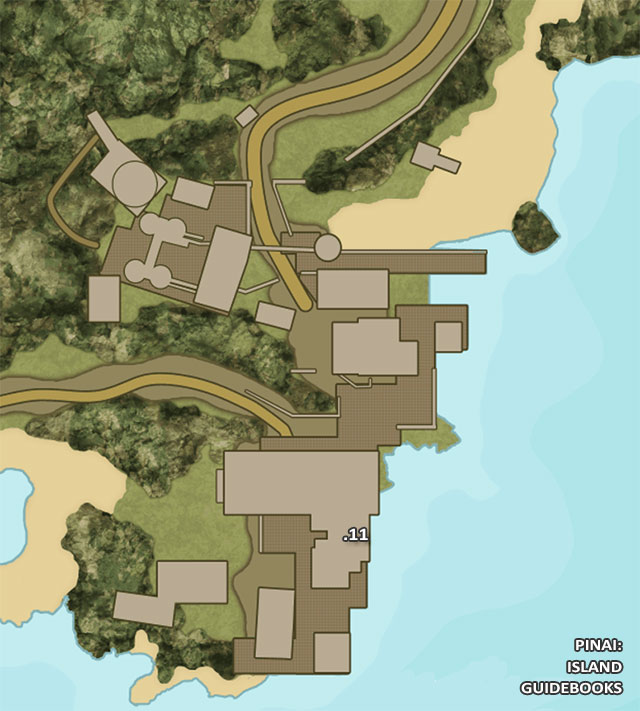
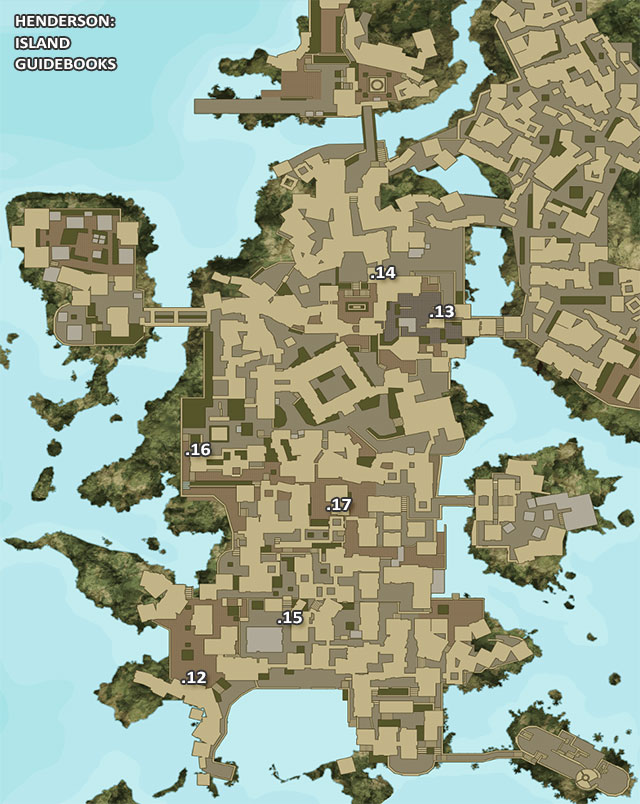
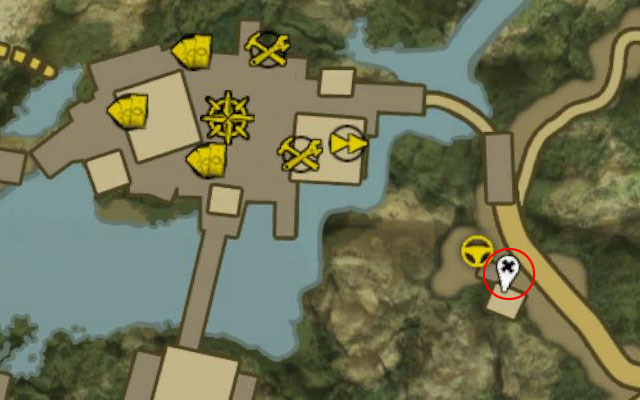
Guidebook is at the main road to southern east from Paradise Survival Camp.
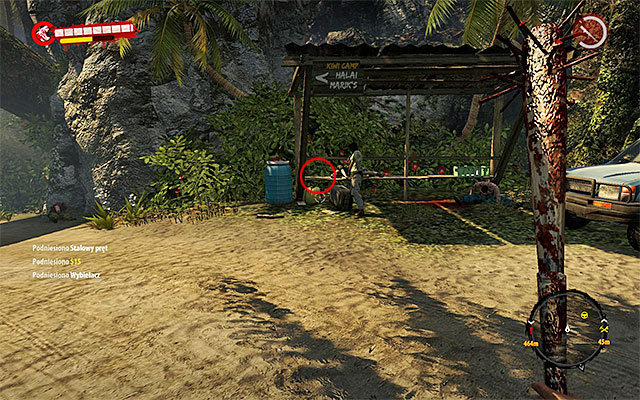
Defeat zombies and search a stop bus next to parked vehicle, where you find a Guidebook.
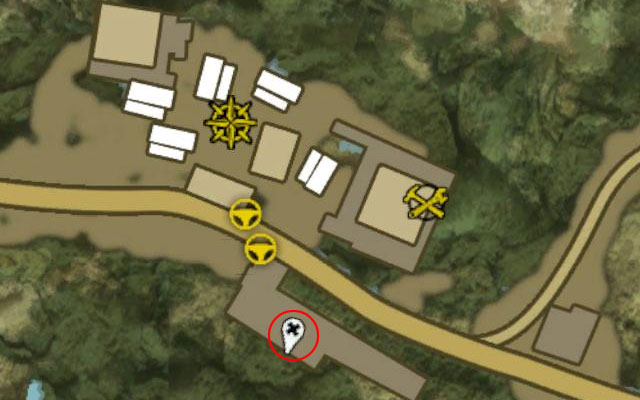
Guidebook is at the main road on southern east from Paradise Survival Camp, on south from Kiwi Camping.
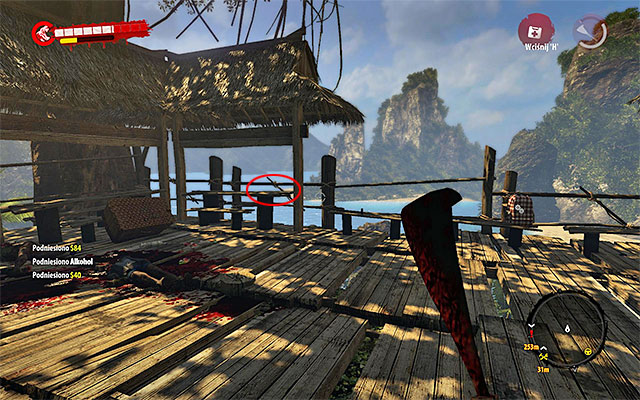
Stop when you get at the camping site and clear a landscape point on south from the main road. After that pick up a Guidebook from one of benches.
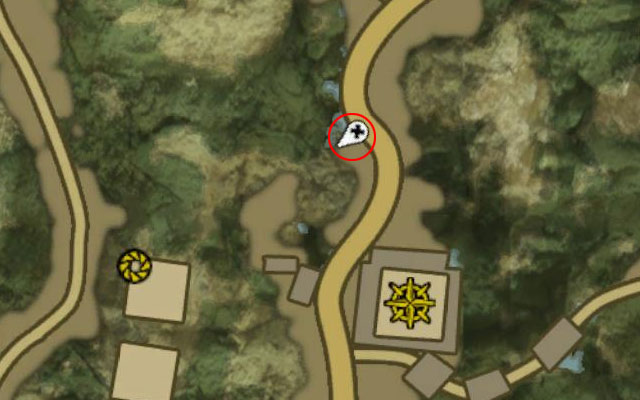
Guidebook is at the main road to north from Hoyahoya Bar.
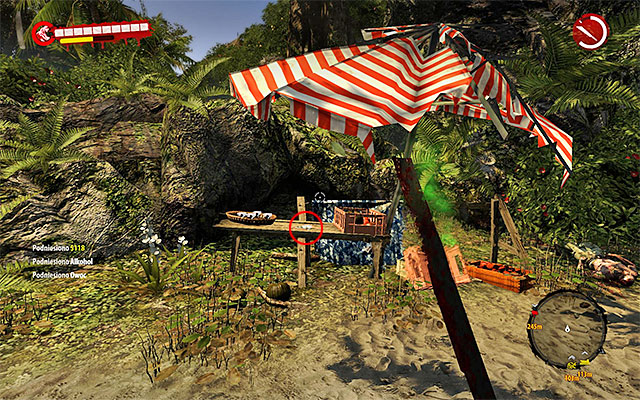
Search a small table at the big parasol and pick up Guidebook.
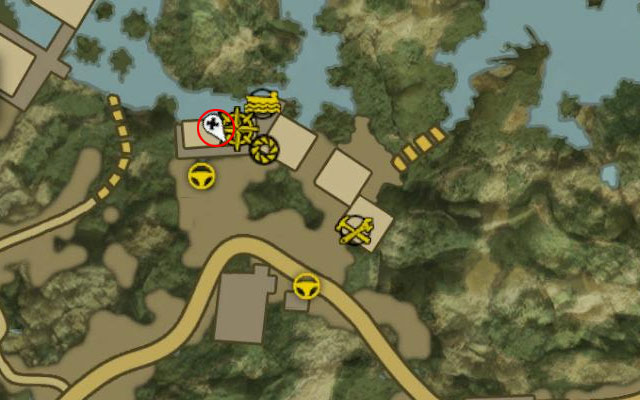
Guidebook is at the main road, in the Zimakani Rest Camp.
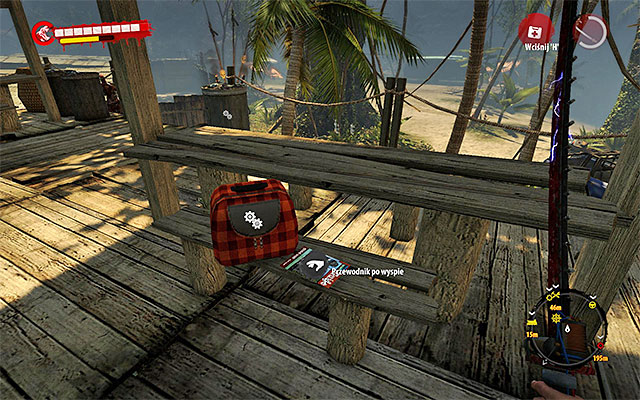
When you get there, use stairs lading to a view point. Guidebook lies on the bench.
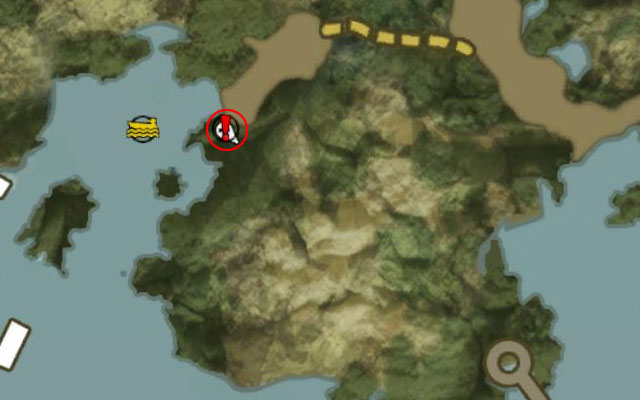
Guidebook is in the trailer in the northern west part of swamps (on north from Pierre's Magasin). Here you complete the Rescue Alfred sidequest.
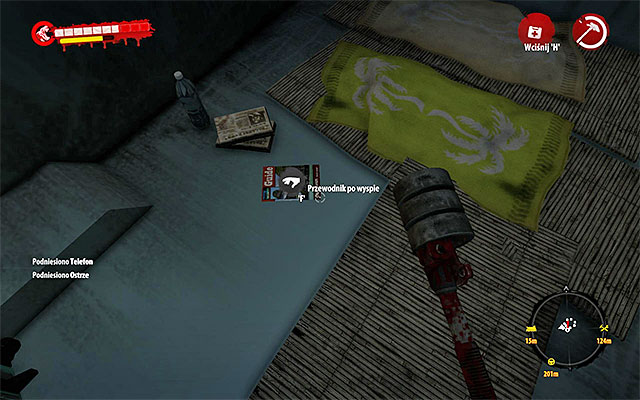
Enter the trailer. Guidebook lies on the ground.
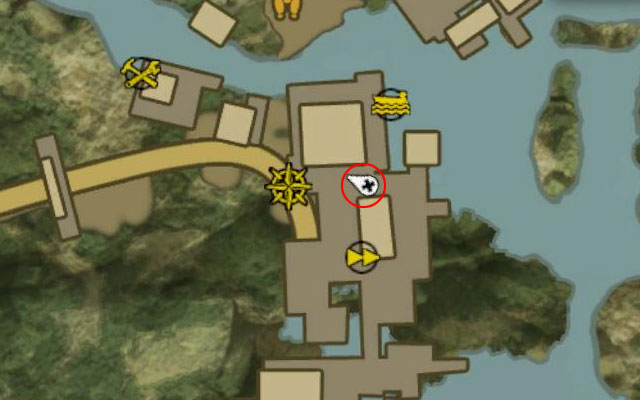
Guidebook is in the Marika's Marine.
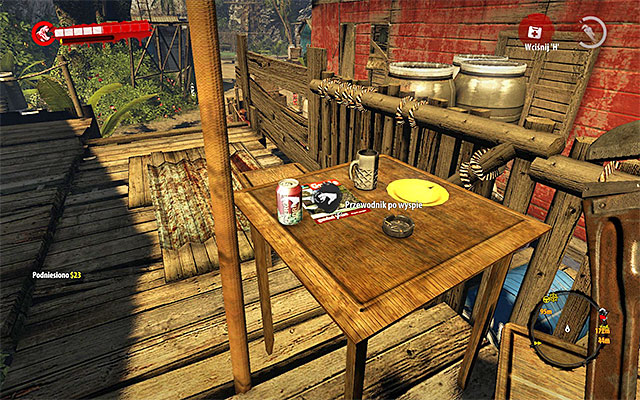
Explore the main part of marine. Guidebook lies on the table between cottages.
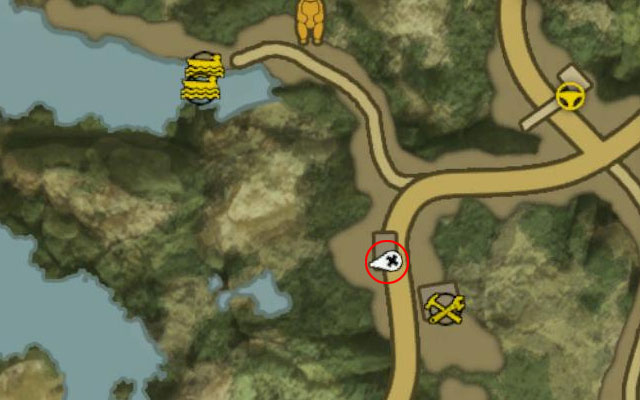
Guidebook is at the main road on southern west from BioSphere Laboratory.
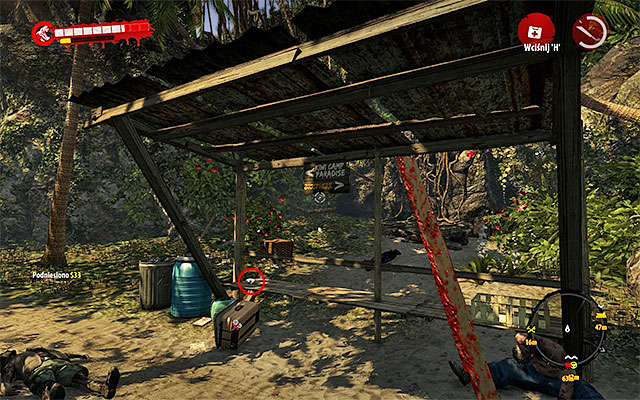
Eliminate zombies and search the bus stop to find another Guidebook.
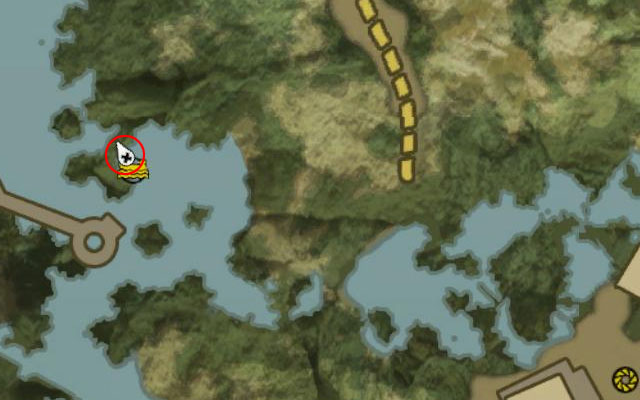
Guidebook is on the small island on swamps, on the west from Mataka Village.
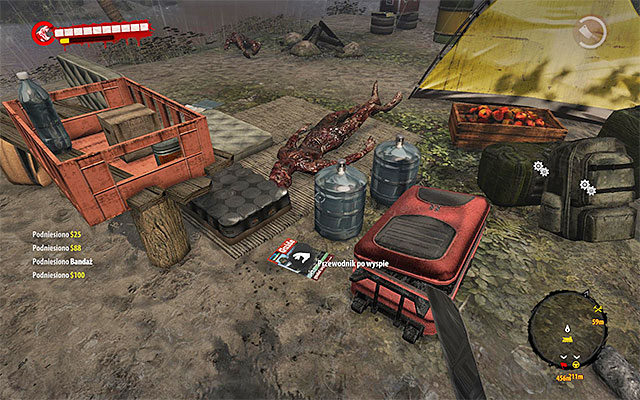
Get to the island and search the main camp to take yet another Guidebook.
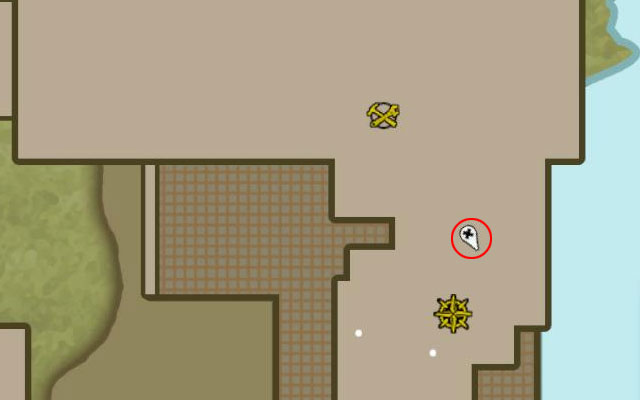
Guidebook is in the shed in Dead Zones, in the southern part of Halai Village. You visit and clean this place during the main quest Where the Dead Live.
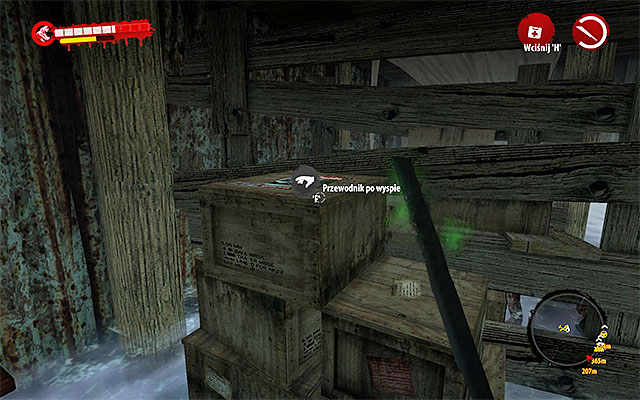
Defeat zombies and search the mentioned shed. Guidebook lies on the chests.
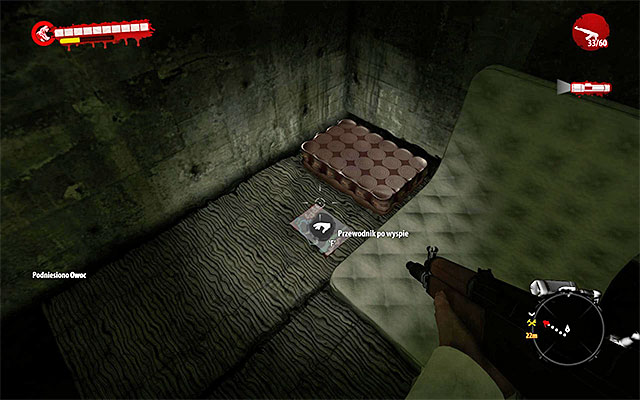
Guidebook is in The Tunnels which you visit for the first time in the main quest The Tunnels. You have to reach the area with exit from tunnels, where the big battle with smugglers take place. When it's done, search the area carefully and you find a secret lying on the ground.

Guidebook is on the floor of main building in Pinai Ferry Station.
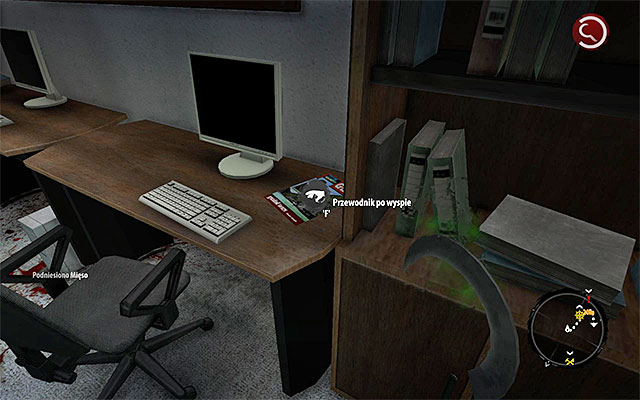
Go upstairs and explore the offices. Guidebook lies on the desk.
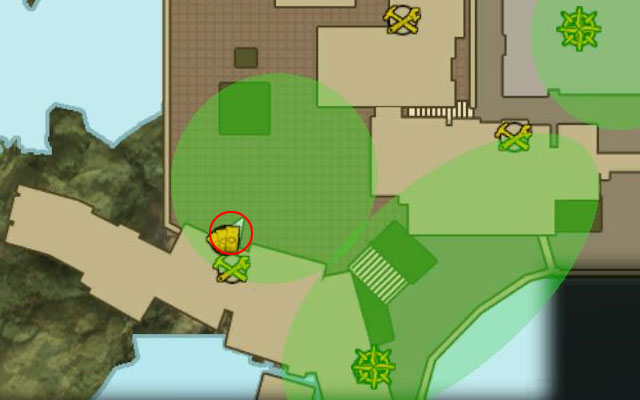
Guidebook can be found in the southern west part of Henderson, on south from Sylvia's Apartment.
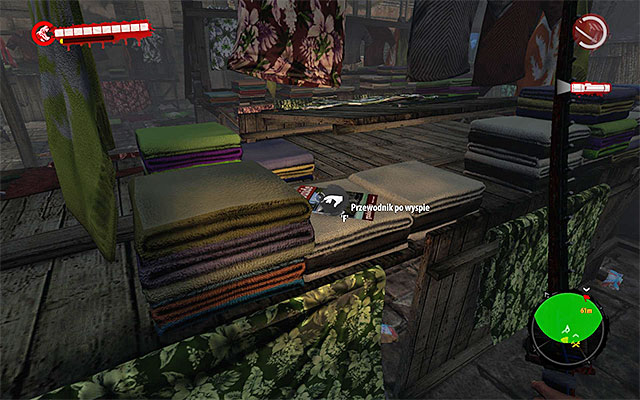
You have to get to a market. Start searching stands and on one of them you find a Guidebook.
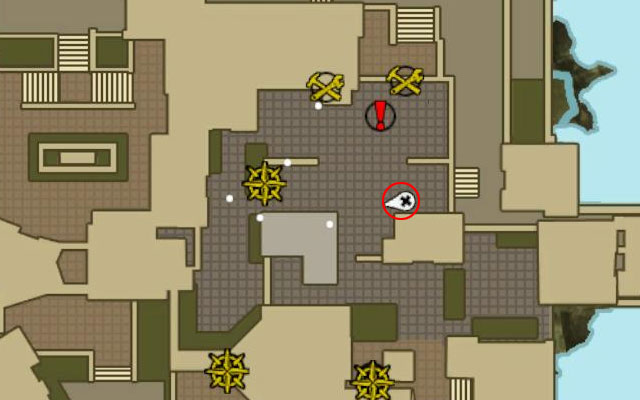
Guidebook is inside the Old City Cinema.
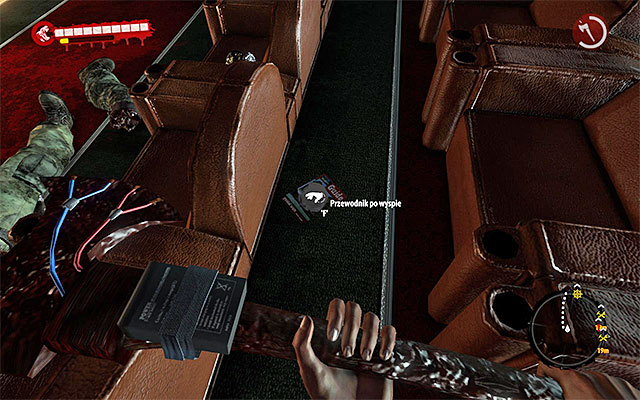
Go to the main room. Guidebook lies on the ground between lower rows of seats.
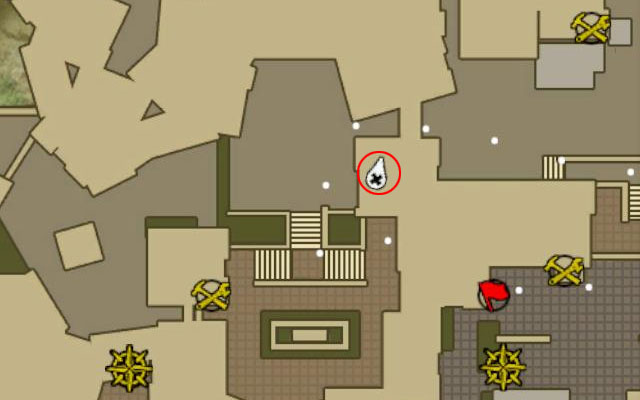
Guidebook lies nearby a main entrance to Old City Cinema.
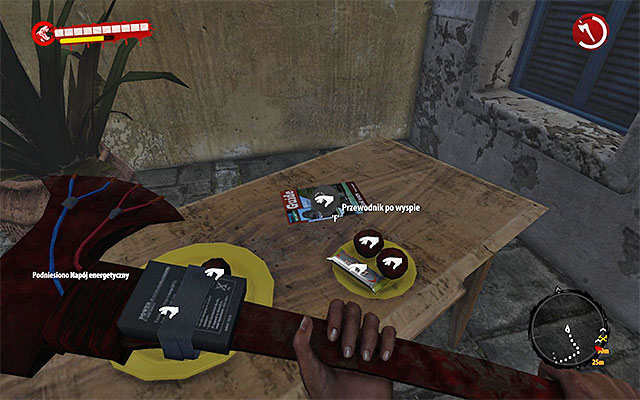
Search an area on north from the main entrance. Guidebook lies on the small table.
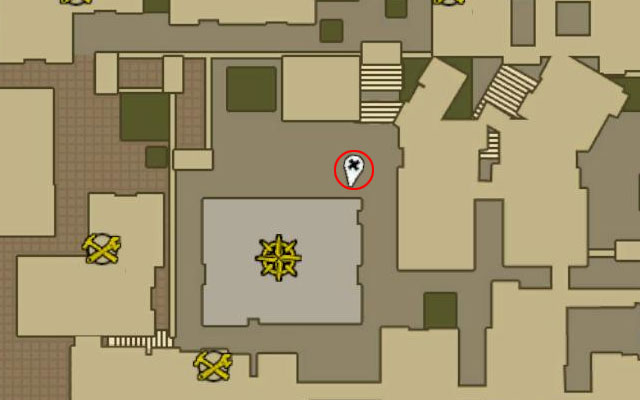
This Guidebook is on the Sea Market in the southern part of Henderson.
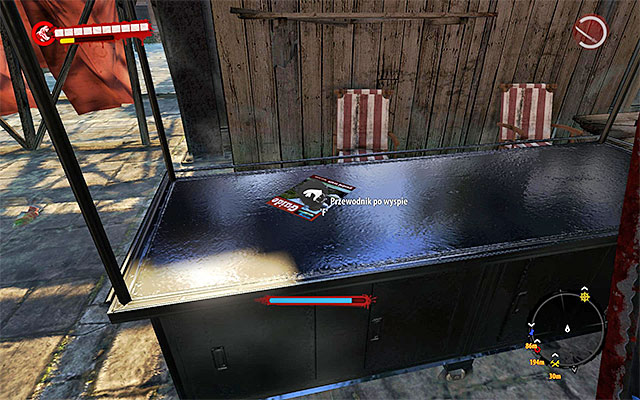
When you get to the Sea Market, start searching all stands and you'll find a desirable Guidebook at one of them.
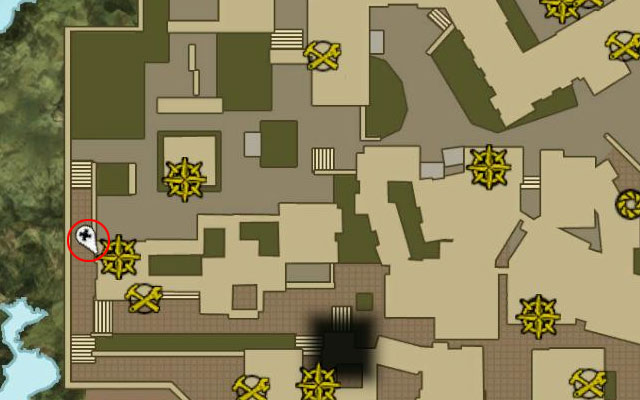
This Guidebook can be found in western part of the city, on the southern west from Villa Henderson.
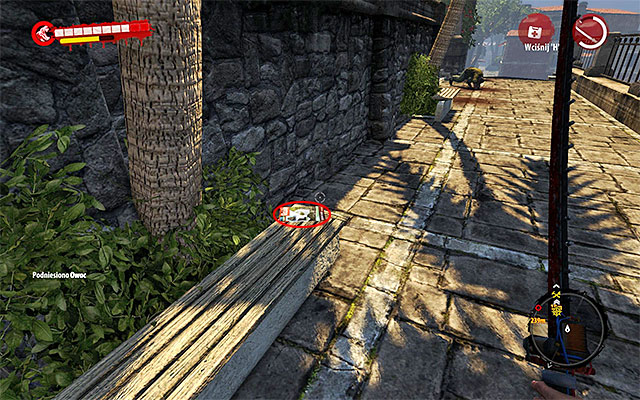
Find a narrow path, next to the cliff. Guidebook is left on one of benches.
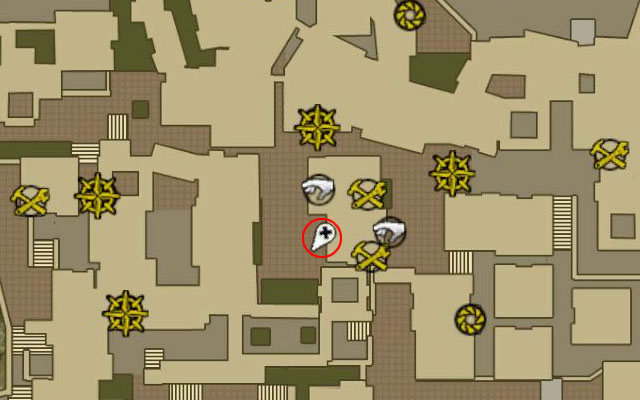
This guide in on a small square in the central part of Henderson, on south from Infested Warehouse and on west from Villa Henderson.
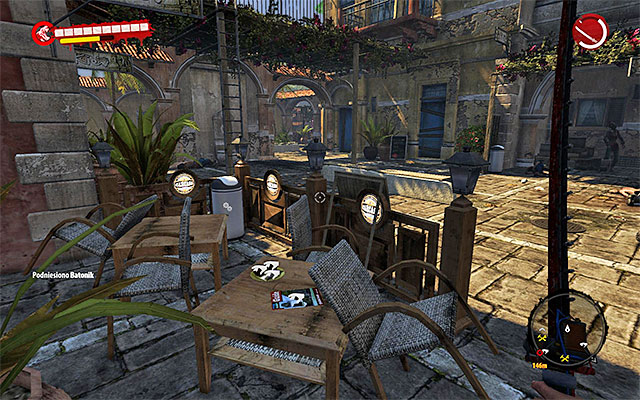
When you get there, eliminate all zombies, which is a lot here, really. Guidebook lies on one of coffee tables.
In this game you can find all ten diaries of John Morgan. When you get one, the game automatically plays it (you can repeat it by summoning an inventory window and choosing a proper bookmark). Localization of all diaries is shown on maps below. In the further part of the chapter you can find also information about how to find every of them.
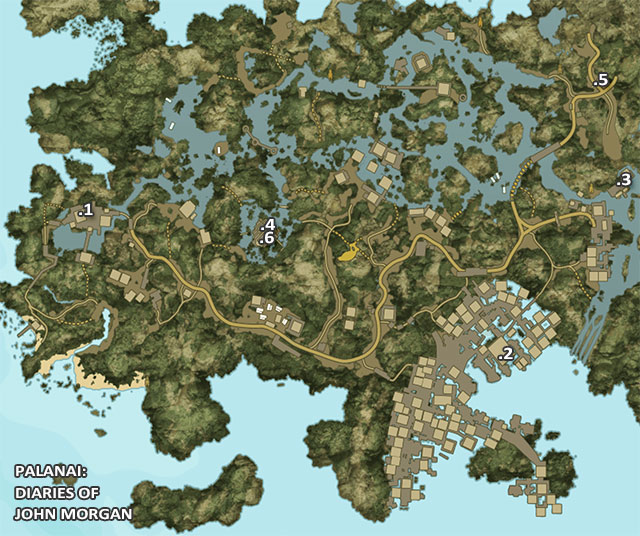
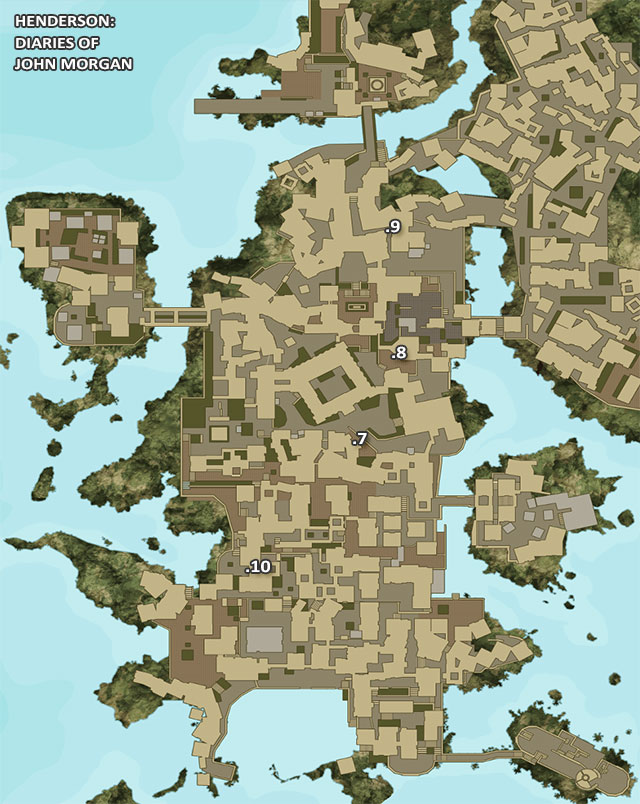
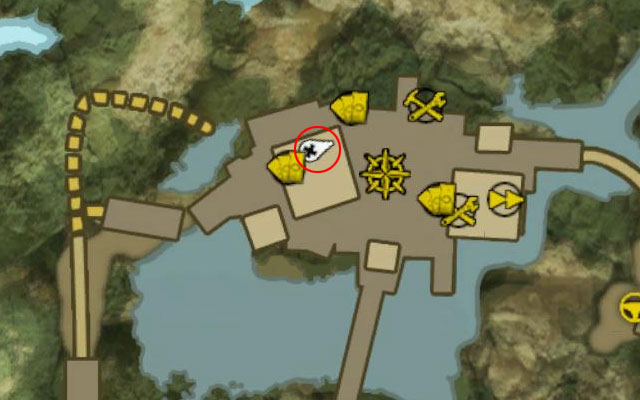
Diary is in Paradise Survival Camp.
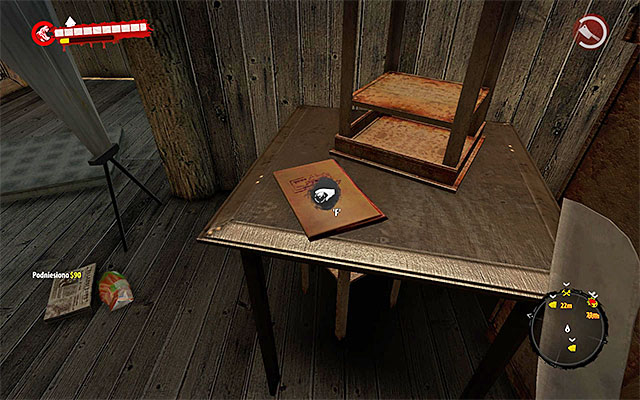
Use ladders to get on the highest level of survivors' camp. Enter one of western buildings and pick up a diary from the table.
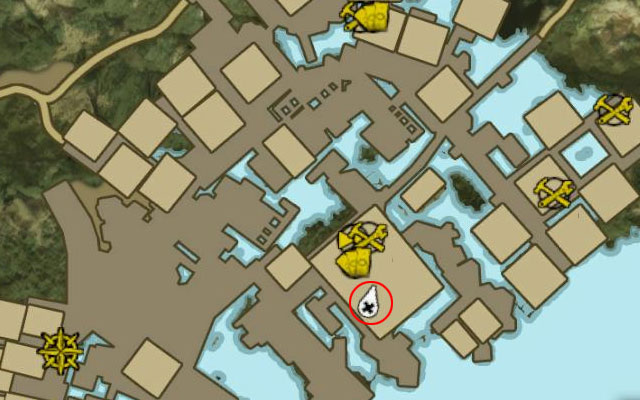
Diary is in survivors' camp in Halai Village. You obtain access there after a main quest Saving the Holy Man.
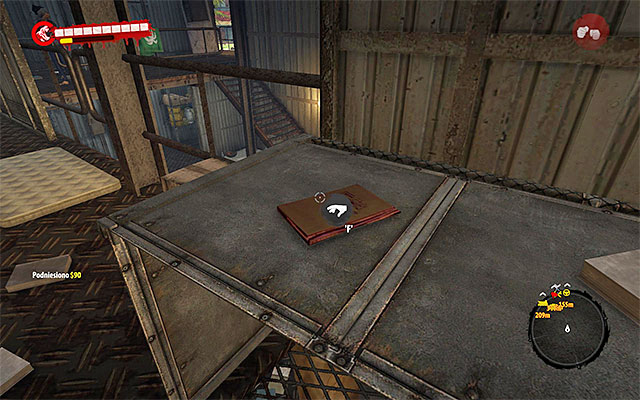
Search the first floor of the main building in this camp. Diary lies on the table.
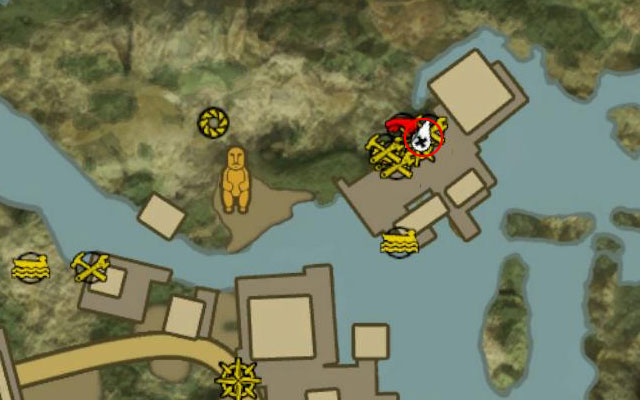
Diary is inside the Jimmy's Workshop. You visit this place during the main quest Pump Action.
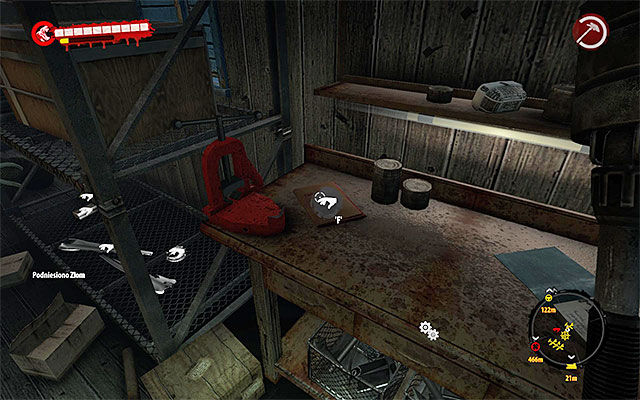
Begin from eliminating elite zombies inside the workshop (Thug and Suicider). Diary lies on the table.
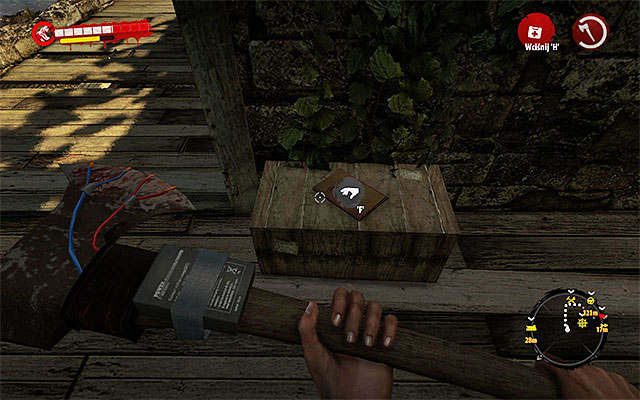
Diary is in ruins of Santa Maria Mission.

Search the ruins carefully. Diary lies on one of chests.
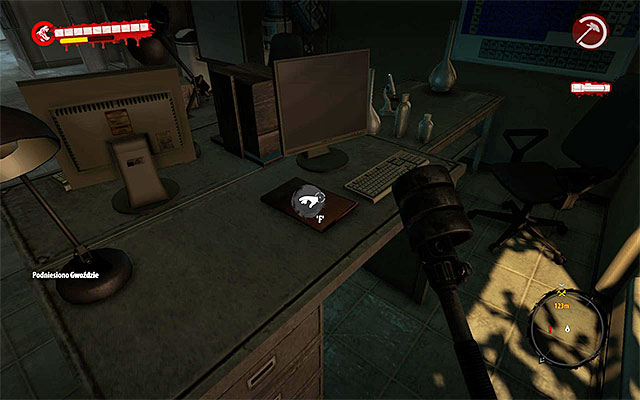
Diary lies on the desk in main room of BioSphere Laboratory, where you find Dr Kessler. You can visit this place for the first time in the fourth chapter (during the main quest Dr Kessler).
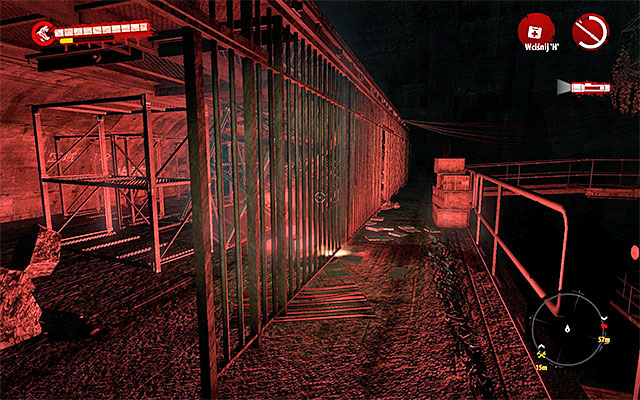
Diary is in The Tunnels, which you visit for the first during the main quest The Tunnels. You have to reach the biggest location of this area and then turn left, to balconies with few grilled rooms.
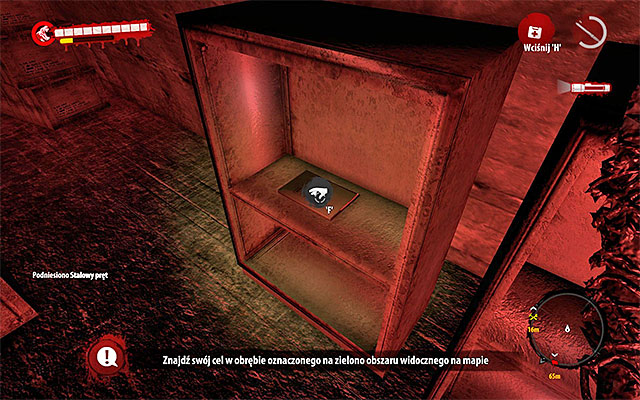
Search the area carefully. Diary lies on one of shelves.
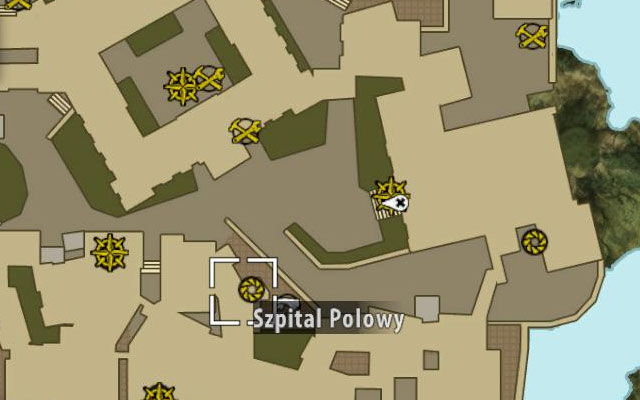
Diary is inside the Makeshift Hospital in the central part of Henderson, on southern west from Old City Cinema and Church.
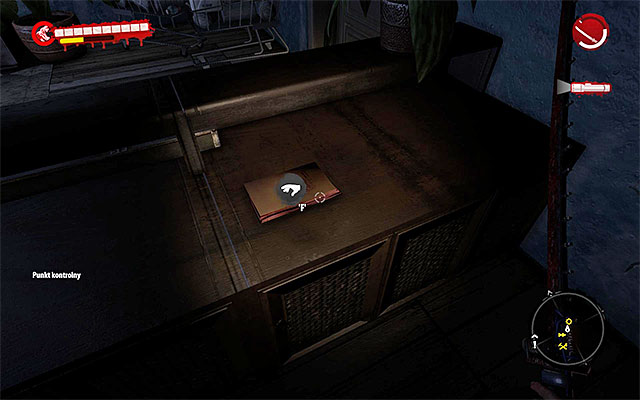
Search a ground floor of this building and pick up a diary.
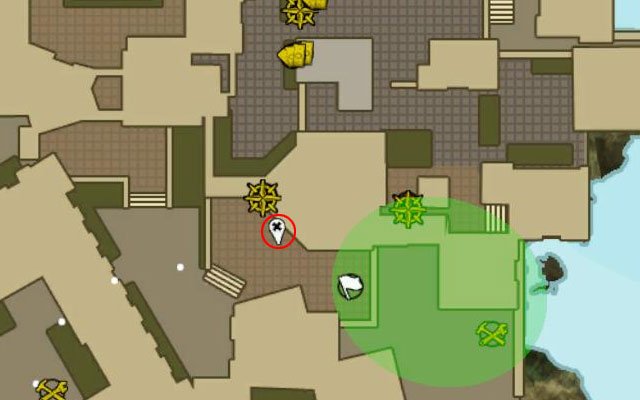
Diary is on south from Old City Cinema, next to the Infested Storehouse.
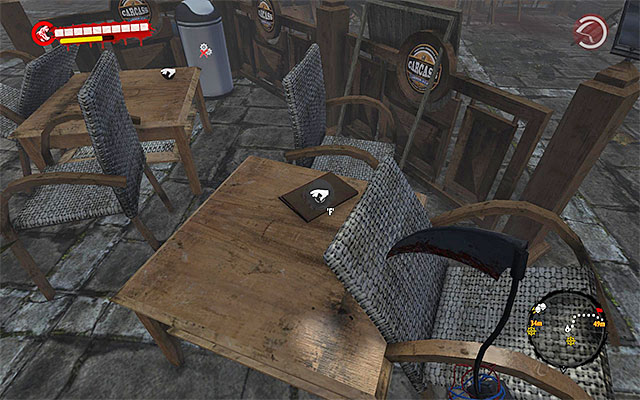
Explore a small square. Diary lies on a table.
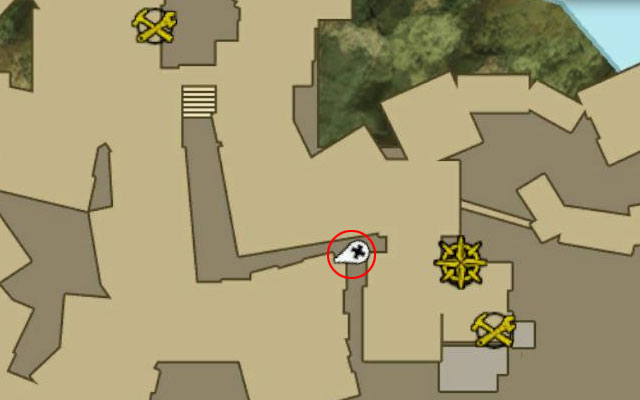
Diary is in the northern part of Henderson, next to the Frankie O'Hara's Apartment.
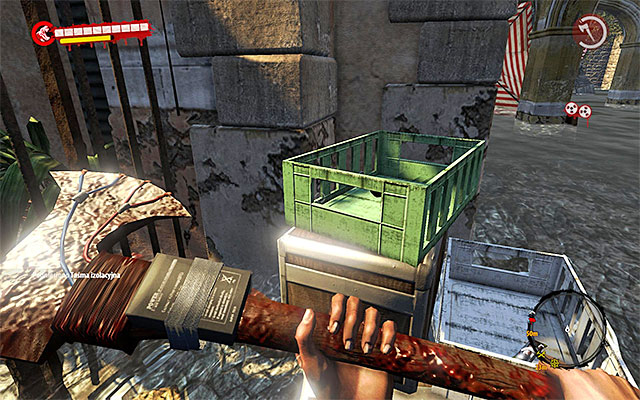
Search a narrow passage on west from the mentioned apartment. Diary is in the green crate.
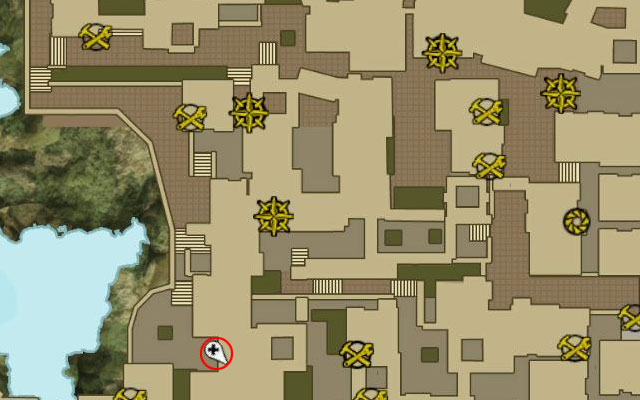
Diary is in the southern west part of the city, on south from Infested Warehouse and George Serero's Apartment.
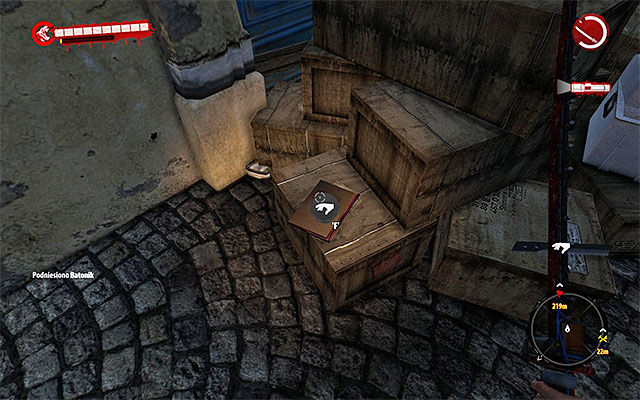
You have to find a small area behind a barricade. Jump over it and look for a diary lying on one of crates.
During the game you can find nine secret files. After finding every of them, open inventory and choose a proper bookmark to look at it. Localization of all secret files is shown on the maps below. In the further part of this chapter you can find also information about how to find every of them.
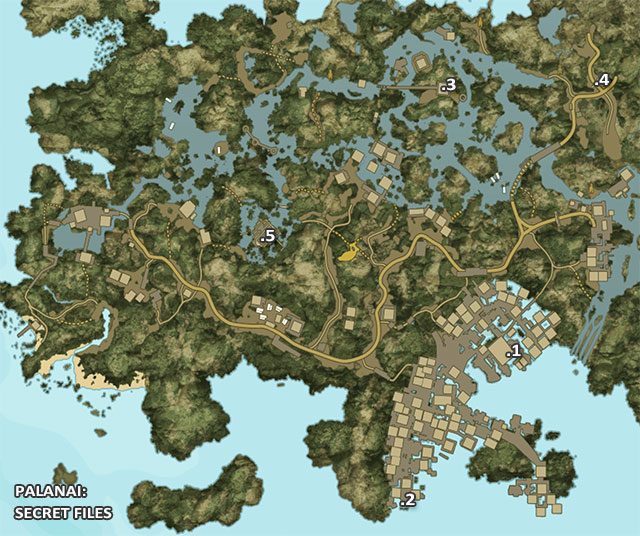
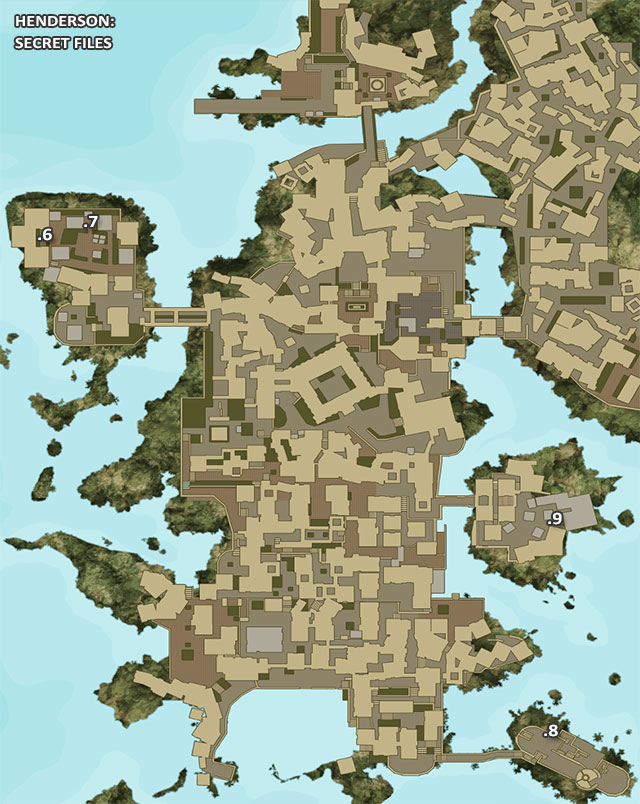
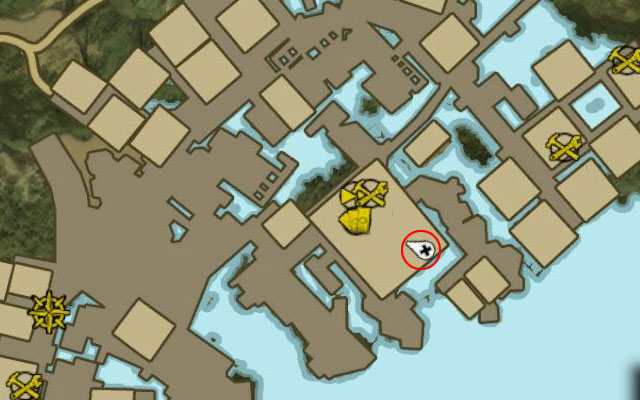
Secret Files are in survivors' camp in Halai Village. You can get there after the main quest Saving the Holy Man.
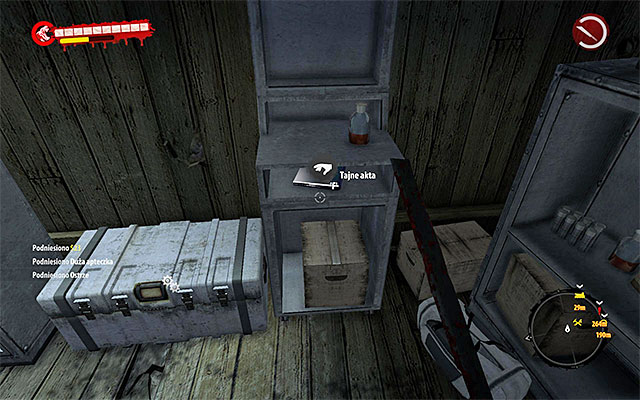
Search the main building of camp. Secret Files are under one of beds.
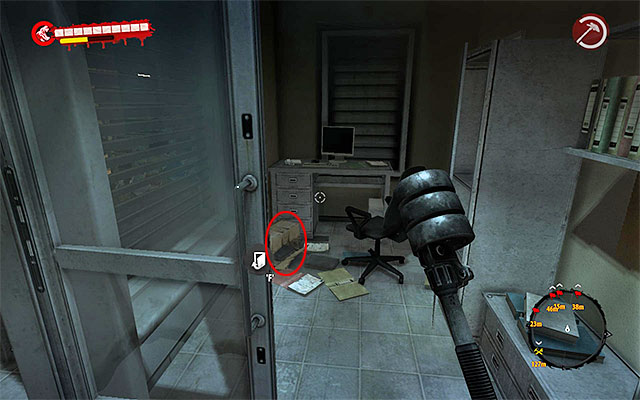
Secret Files are in the shed of Dead Zone in Halai Village. You visit and clean this place during the main quest Where the Dead Live.
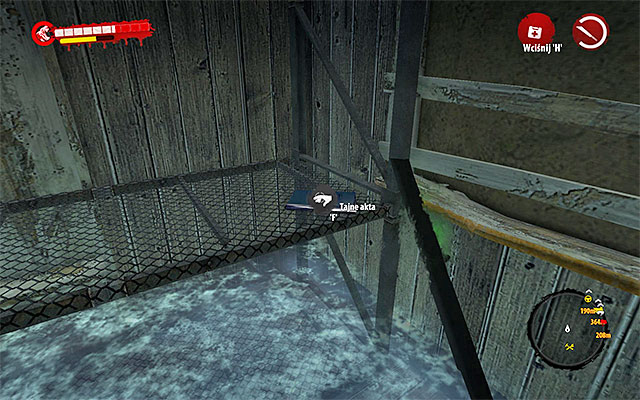
Defeat zombies and search the mentioned shed. Secret Files lie on the shelf.
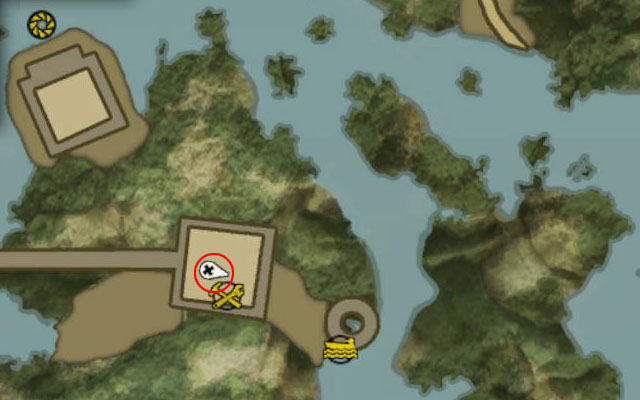
Secret Files are in the cellar of dealer's house, on east from Hanging Joe and Breri. You visit this place during a sidequest White Line. Look for the description of this mission to see how to get there.

When you get to the cellar, defeat Walkers on the ground and look for Secret Files.

Secret Files are in small room on BioSphere Laboratory next to the one with Dr Kessler. You can visit this place for the first time in the fourth chapter.
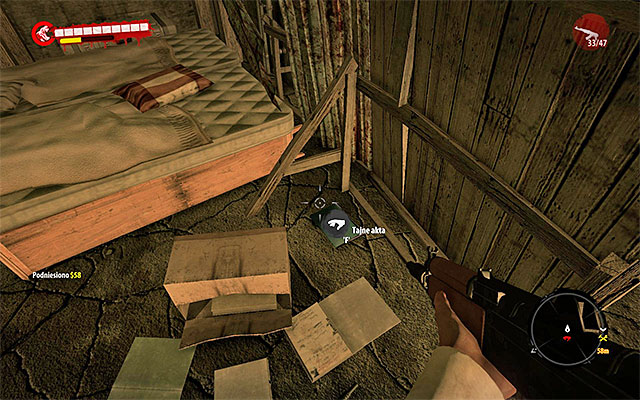
Secret Files are in The Tunnels which you visit for the first time during the main quest The Tunnels. You have to reach the room of smuggler chef, next to the exit from tunnels. Secret lies on the ground, at the bed.
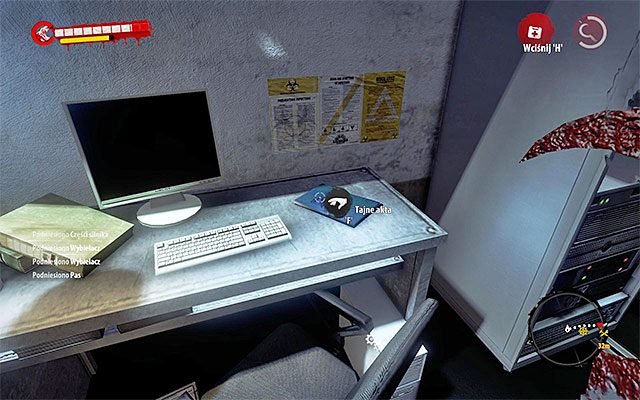
Secret Files are inside the main building of Military Base in the radio communication room, where the Militarized Zone ends.
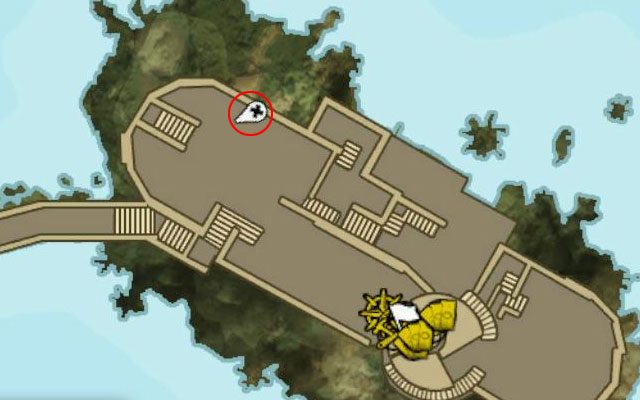
Files are in the northern part of Military Base.
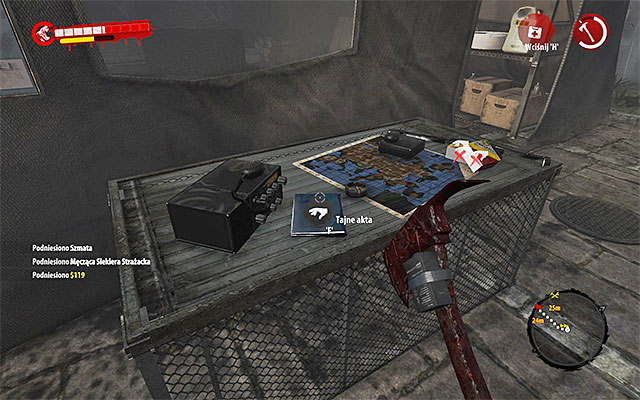
Enter the fenced area with few tents. Secret Files is inside one of them.

Secret Files are in Fort Henderson in the southern east part of the city. You visit this place for the first time during the main quest The Crash.
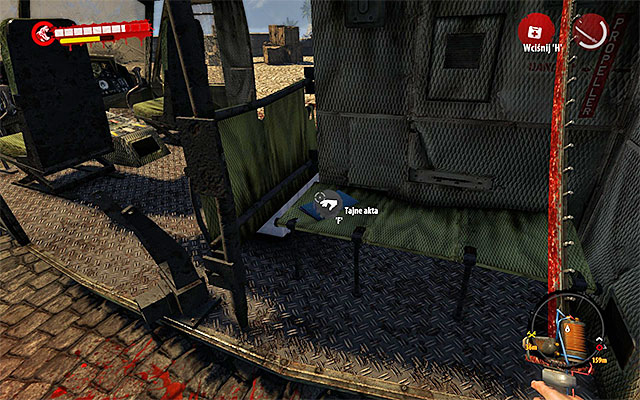
Search a helicopter wreck on the central square, thanks to which you find secret files.
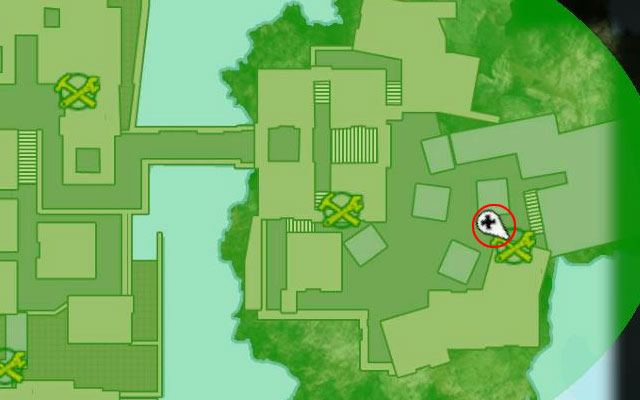
Files are in the eastern part of Quarantine Zone, nearby an entrance to Docks. You visit this place for the first time during the main quest With the Tide.
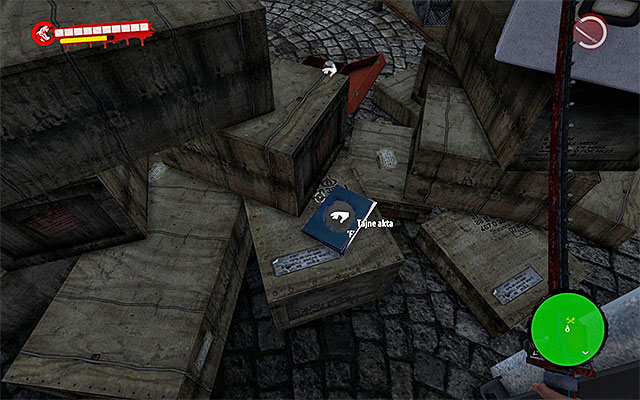
You have to reach a square with med tents and many elite zombies. Look around nearby crates next to the stairs to find secret files.
On the contrary to the fact, that you fight mostly zombies in Dead Island Riptide, you can find many types of those monsters. Most of them have already appeared in the first Dead Island, but few more species are the new ones. It's worth mentioning that a level of monsters always equals to your current experience. It's especially important, if you've chosen a game with an imported character, because you have to find a good weapon ASAP to have any chances during encounters.
As in the previous part, Walkers are the weakest zombies. They move slowly and try to attack you directly and involve in melee fight (what is connected with a well known minigame). Beware of Walkers with blades because they are nice throwers. In the further part of game, you meet also flaming and toxic Walkers who cause additional fire and poison damage and a bit stronger mutated scientists. Whatever the type of Walker is, don't let them surround you and kick them out of you.
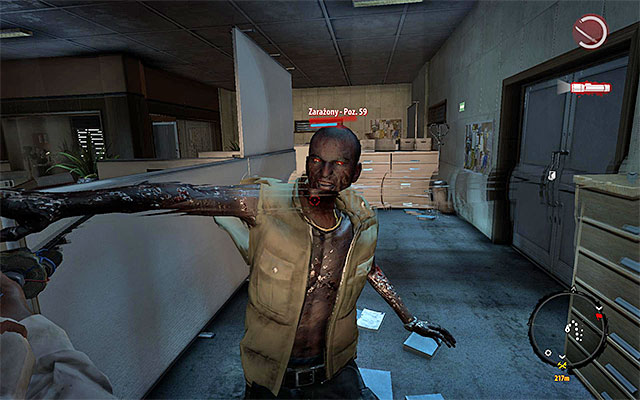
This is another type of zombies which is well known from the previous part. They differ from Walkers mostly in a fact, that they are very agile and can run. Avoid their quick melee attacks and try to eliminate them until they get too close, the best with well aimed blows of blade or firearm. In the further part of the game you meet burning ones, causing additional fire damage and a bit stronger, crazy ones. Whatever type of Infested you meet, don't get surrounded and kick them out.
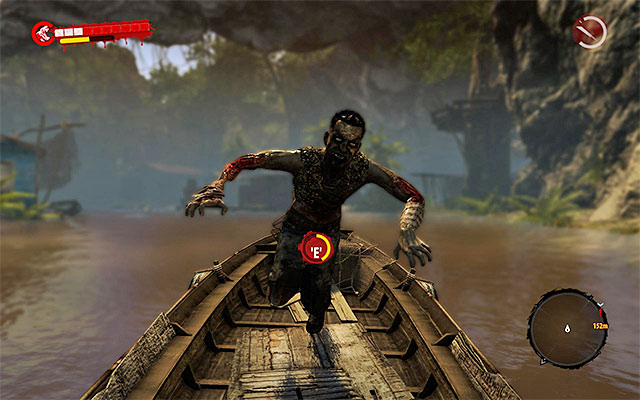
It's the first appearance of Floaters in the Dead Island franchise, and you can meet them mostly on swamps and in every flooded area of island. They are treacherous, because they stay calm until you get close enough and when they "wake up" they sprint at you and perform quick blows. Try to eliminate them before they wake up or when they are still in the water. They can also get you when you're in the boat. If he get inside your boat you'll play a simple minigame. Try not to lose it, to not be thrown out of the boat and consider eliminating few Floaters before you get to the shore. As in the previous types of zombies: don't get surrounded and kick them out.
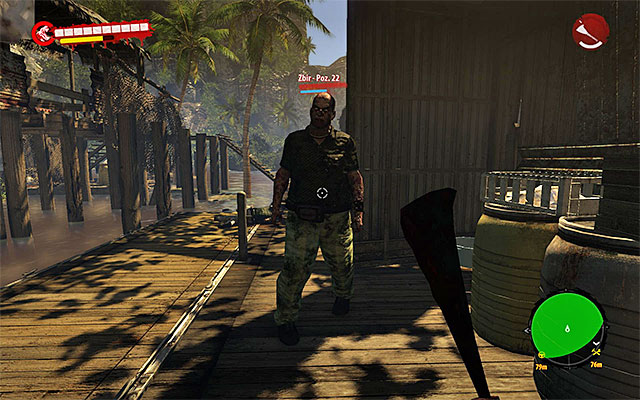
Those big zombies appeared in the previous part of Dead Island. Thugs are slow, but they cause serious melee damage and they can knock you down. The best idea to eliminate them is to attack them from the distance, using firearm or some explosives. If after all you decide to begin a direct encounter try to use a blade to cut off his upper limbs. They are also defenseless against attacks from behind, so if you have an opportunity for an attack from surprise, just do it.
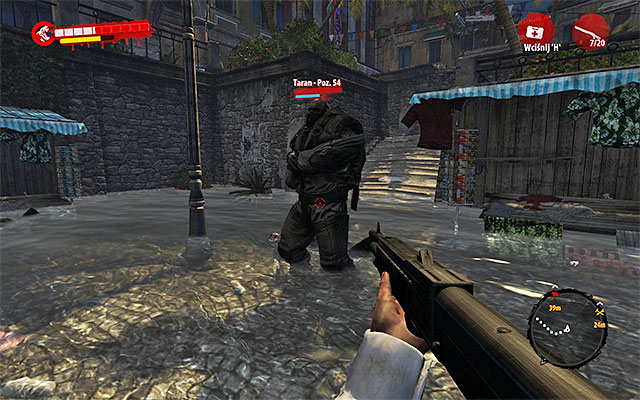
This is another well known type of zombies. Rams are rare, but you can't underestimate them because a bad approach may cost you a lot of health or even lost of life. The most important thing is to avoid their charges, because they deal massive damage and knocks you down. After every evasion turn around and attack backs of Ram. The best is to use a good firearm (shotguns, rifles), so you won't have to run to the monster and risk a retaliation.
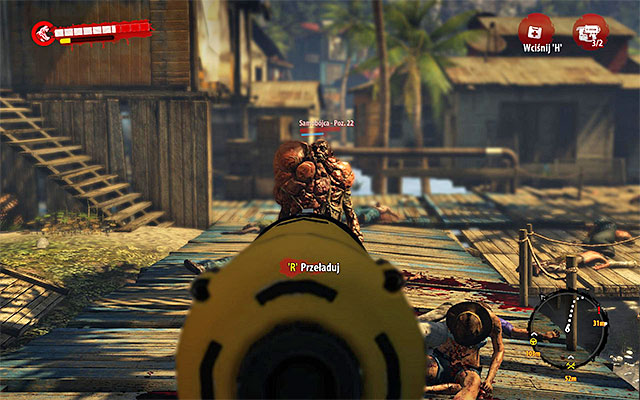
Also this group of zombies have appeared in the first Dead Island. Their only attack is to selfdestruct when they get close to you, what you should extremely avoid. You can, of course, try to get close to a Suicider and then quickly run away, but it's a risky business. Much better is to use a firearm or some throwing weapons (what interesting - it does not get destroyed during an explosion). You can wait for kill a Suicider until he gets nearby other zombies.
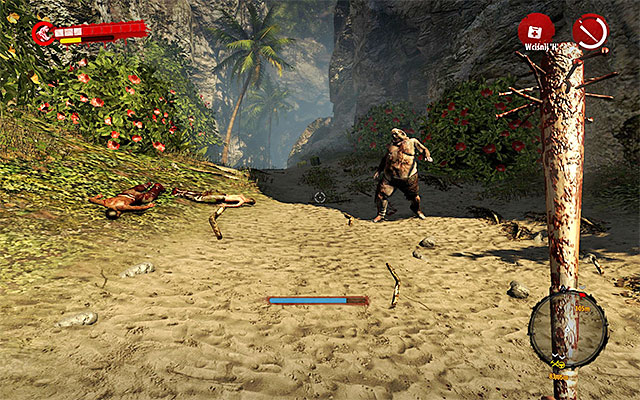
Drowners also have appeared in the previous part and nothing has changed since that. They are still very slow and use a toxic vomit as their main weapon to cause huge damage. You can defeat them in two main ways. First one is to attack them from distance, using some good firearm or explosives. The other one, more risky, requires running to the Drowner and performing quick blows without giving him a chance to reply. You can also pass them easily without bothering that they can catch up with you.
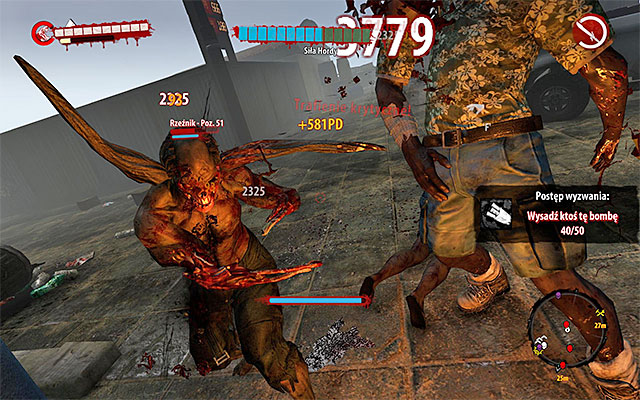
Butchers also have appeared in the previous part and also here they are a big threat, joining features of Infested (quickness) and Thugs (big health). Instead of arms, they fight with bones dealing huge damage in direct fight. Try to avoid melee contact with them unless you have really good and upgraded two handed weapon. Remember also, that you can push them out by simply kicking them. But the better idea to eliminate them is to use firearms and throwing weapons.
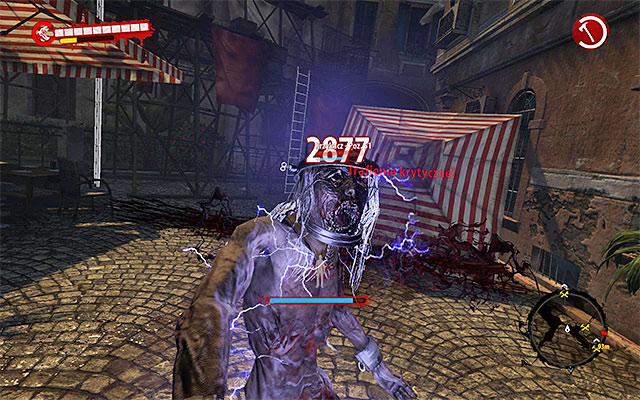
Screamers are one of new type of zombies in Riptide. They are very specific, because their main attack is a scream which not only hurts you, but also stuns for a few seconds. A key to the success is to prevent getting under the charm of scream too often, what you can make by attacking a Screamer from the big distance or (better idea) by charging at them and make some fast blows. In the second case don't let them retaliate. It's always a good idea to use some upgraded weapon to this task.
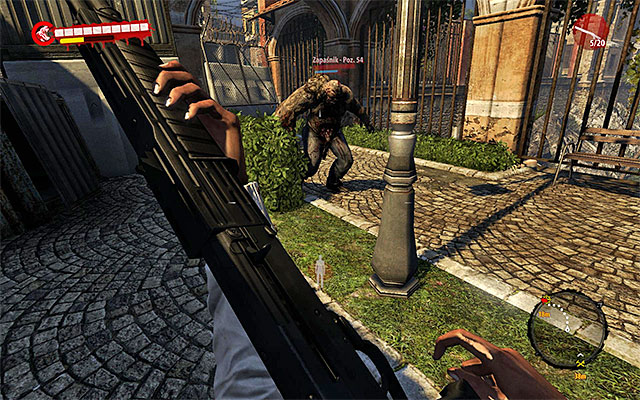
Wrestlers are brand new in the Dead Island. They are similar to Thugs - slow and deal huge damage in direct combat. They are also extremely tough. I recommend to stay at the safe distance from the Wrestler, especially that his range is a bit longer that the one of a Thug. When it comes to an elimination, the best way is to set up explosives on his path (like mines) but you can also use firearms. Similarly to case of Thugs, try to attack them from behind.
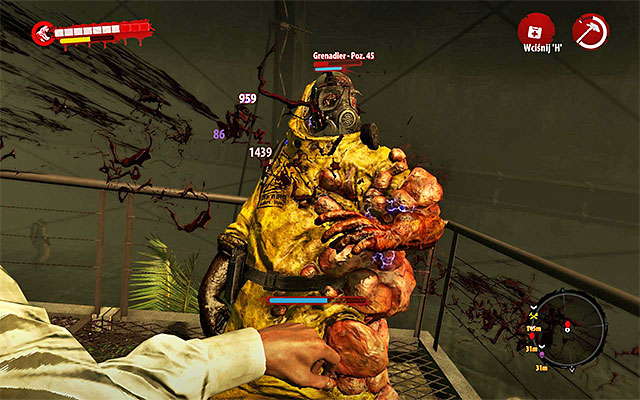
Grenadiers are the new ones in this franchise. They can throw at you the toxic parts of their bodies. It means that fighting them from the distance is not the best idea in the world, except when you have a very good rifle and proper covers. The better idea is to behave like in the case of Screamers: get to the monster very quickly and kill him in a direct fight before he can reply.
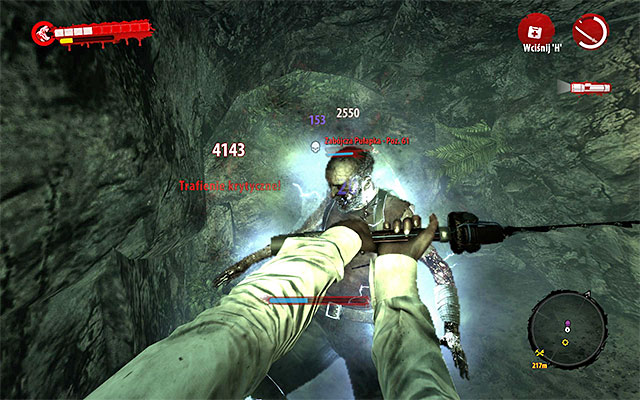
Bosses are unique enemies which you can distinguish by the fact that every one of them has a name, second name and a nick. Those are mostly monsters from the Dead Zones and encounter with every one of them is quite challenging. Details concerning defeating them you should find in the game walkthrough. In this place I mention only that you have wear your best equipment for such fight, upgraded weapons etc and, if you can, set up mines in the vicinity before you get closer to the boss.
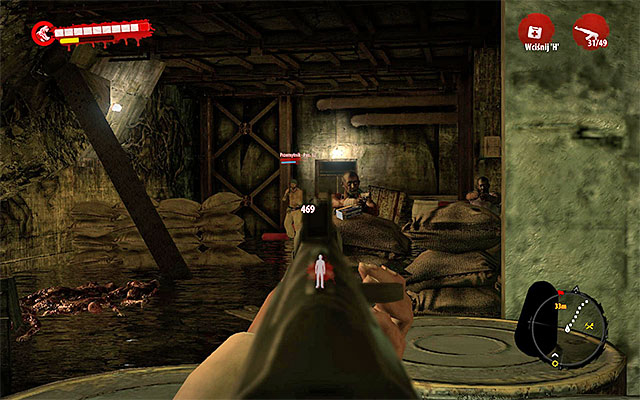
Encounters with humans who haven't turned yet into zombies are very rare in this game. What is more, you don't have to be worry about fighting well trained soldiers, because you'll run only into weakly equipped and trained mercenaries. In such cases, try to use firearms and aim at enemies' heads. Don't forget also to hide behind covers and secure your flanks.
Challenges are very similar to achievements. The basic different is a fact that for every level of the challenge (every has four of them) you obtain experience. Most of them is completed automatically during the game (like killing zombies) but some of them may be more problematic. A full list of challenges is presented in the chart below. Your current progress can be checked in the menu, at Challenges.
CHALLENGE NAME
REQUIREMENTS
You throwing at me?
Kill grenadiers.
Anger Management
Kill Rams.
Puff!
Knock out enemies playing as Sam B.
I can swing it
Swing melee weapons.
Socialite
Spend time playing online co-op with other players.
Firepower
Shoot and kill enemies.
Shocker
Kill enemies using a weapon with shock damage modification.
You missed me!
Kill enemies thanks to covering against Grenadiers. When you meet a Grenadier, hide behind weaker zombies and wait until he throws a part of his body at you.
Military-Industral Complex
Shoot guns.
Digging a dig
Kill zombies with mines.
Heal yourself
Use med-kits.
Drowner Hunter
Kill Drowners.
Decapital Punishment
Decapitate zombies.
Traffic Jam
Kill enemies with vehicles
Party Crasher
Breach doors.
YA RLY
You have to kill zombies.
Even kings die
Kill bosses. Remember that some of them will respawn if you revisit the location.
Shut up!
Kill Screamers.
Can't have enough ram
Ram enemies.
Treasure Hunter
Open lootable containers.
Splat! Headshot!
Crush zombie heads.
He never liked it
Cut off limbs. It's best to use blades.
Who butchers the Butchers?
Kill Butchers.
Alpha Male
Kill Wrestlers.
What a way to go
Kill Suiciders.
Smells like apocalypse
Kill enemies using a weapon with fire damage modification..
It's WAY over 9000
Kill enemies in Fury mode.
Black Friday the 13th
Buy items from vendors. The easiest way is to buy cheap resources.
Dead Man Walking
Kill Walkers.
Somebody set up us the bomb
You have to kill zombies with explosives.
Trust me, I'm a doctor
Revive your teammates.
Undead Presidents
Loot money.
Finding Keepers
Loot Corpses.
A table below presents list of Steam achievements for the PC version of this game. They are exactly the same as Achievements for Xbox 360 and trophies for PlayStation 3.
NAME OF THE ACHIEVEMENT
HOW TO GET IT AND COMMENTS
Bully
Kill 100 enemies with a kick.
Military Base
Seize the military base. You complete this achievement automatically.
Brainless
Kill 50 enemies by destroying or severing their heads.
Twins
Defeat the two Infected Thugs at the Panai Ferry Station map. First one is one the beach, the other one onside the warehouse next to the Ferry Station. To open the door to this building you have to reach a small balcony behind a big billboard.
Hurler
Kill 100 enemies with thrown weapons.
Achiever
Complete all quests in the game (without events and team quests).
At Your Service
Save 20 NPCs who are grabbed by zombies during horde rush.
Docks
You complete this achievement automatically.
Dream Team
Complete all main quests in co-op.
News Junkie
Find all recordings (one of secrets type).
Henderson Town
You complete this achievement automatically.
The Collector
Find 50% of the collectibles.
Mystery Solved
Find all 9 secret files (one of secrets type).
Heart of Darkness
You complete this achievement automatically.
The Cinema
You complete this achievement automatically.
The Hoarder
Find 100% of the collectibles.
Juggernaut
Kill 100 enemies with a character's charging attack.
King Among Kings
Kill one of each special zombie: Infected, Thug, Suicider, Floater, Butcher, Grenadier, Wrestler, Ram, and Screamer.
Hunter Seeker
Kill all boss zombies from Dead Zones. How to do that you can find in the walkthrough.
Jetboat
Kill 500 zombies with the boat's turbo boost.
Better Than The Arm
Kill 25 enemies with a chainsaw..
Siege Hammer
Install 5 barricades during a single horde encounter.
Obtain 50 level
Reach level 50.
Obtain 70 level
Reach level 70.
First Do No Harm
Finish all quests from Cecil.
Defeat Harlow
You complete this achievement automatically.
Breaching the Tunnels
You complete this achievement automatically.
You've Tricked Me Once
You have to finish the game.
Meeting Serpo
You complete this achievement automatically.
Combat on the Roof
You complete this achievement automatically.
The Storm
You complete this achievement automatically.
The Hurt Mine Locker
Kill 10 zombies with 1 explosive mine.
It's An Order
Mark 100 opponents in co-op mode, but let your partners kill them.
Serving Science
Finish all quests from Dr. Kessler.
Professional Tourist
Find all pages of the Island Guide Book. (one of secrets type).



 Dungeon Siege III Game Guide & Walkthrough
 Drakensang: Phileassons Secret Game Guide & Walkthrough
 Dungeons & Dragons: Dragonshard Game Guide & Walkthrough
 Dragon Age: Inquisition Game Guide & Walkthrough
 Darksiders II Game Guide & Walkthrough