

Unofficial guide to Daylight is a set of hints and information which helps finish this game without a stress. It contains list of remnants, lot of hints and description of levels. You find here also a list of available achievements/trophies. Daylight is a horror game with a Unreal Engine 4. It's not long nor complicated, but made to frighten players. Nevertheless, it has its story. To discover it, you have to collect remnants like envelopes with notes and cursed photos. This game has one important feature. Each play creates new randomly generated levels.
Guide to Daylight contains:
Patrick "YxU" Homa ()

Movement

Climb

Sprint

Use

Drop

Move closer/away map

Glowstick

Flare

Throw out

Pause/Menu

Map
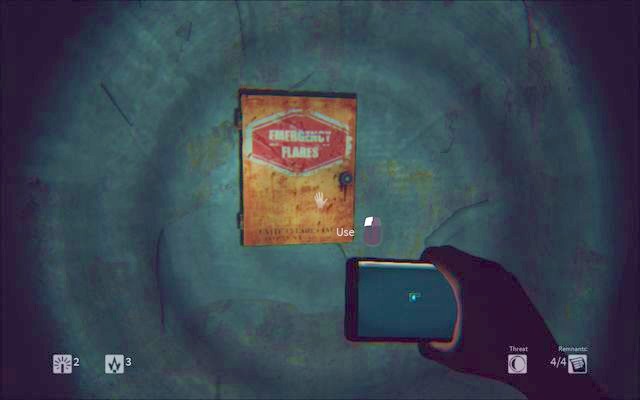 Flare container
In this game, you have only flares as a weapon. They shine shortly with a red light and protects you against witches. You find them hanging on the walls, chests and sometimes in drawers, closets etc.
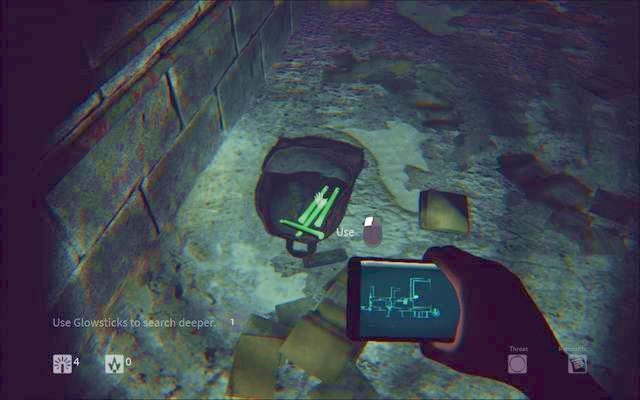 Backpack with a Glowstick
Glowstick can be found at the beginning of each level. It let you notice things which aren't visible for the bare eye: furniture with precious insides and your footprints what makes navigation easier.
You can have max four pieces of each plus one in your hand. You can't use them with other thing in your hand.
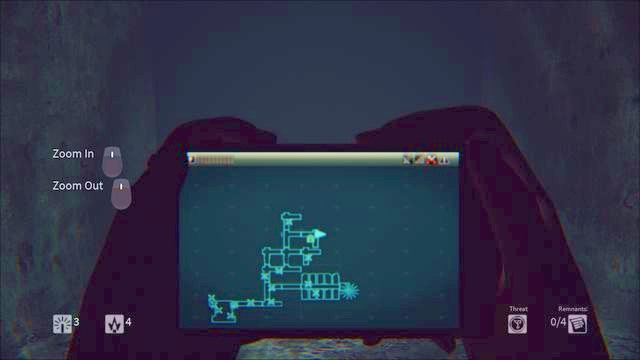 Map
MapIn this game, a cellphone will be your additional navigator, where map and progress of discovering it is registered. But you should choose a strategy to make your play easier. First, try to remember path you're using, some distinct points. When you'll be haunted by the witches more frequently, you won't have time to look at the phone.
Second, there is a key on each level to be found. It opens always the same passage marked by characteristics white inscriptions. Find it before you begin collecting pages; they make Shadows haunt you more often.
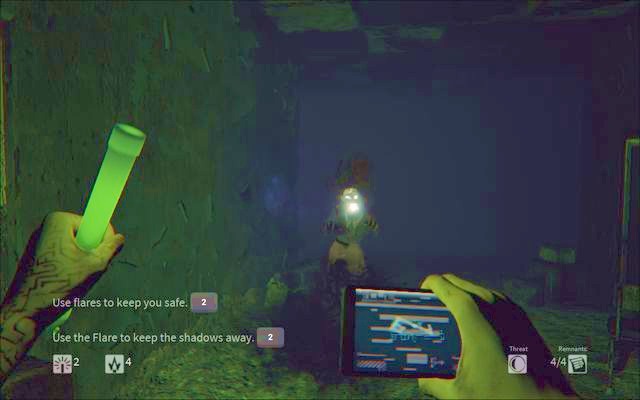 A Witch
When you notice interferences on your phones, it means that enemies are near. The best is to run forward or fire the flare. But sometimes if witch appears in front of you, it's enough to close the door. When you retreat, try not to look back. Try to remember the road to not get into dead-end.
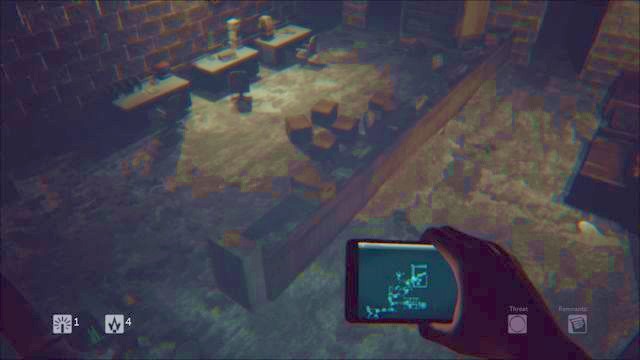 Warehouse in the passage between levels
In the passages between levels, you're always safe. Before you start the next level, you can stay there as long you want to. Autosave happens when you get there and get out of there.
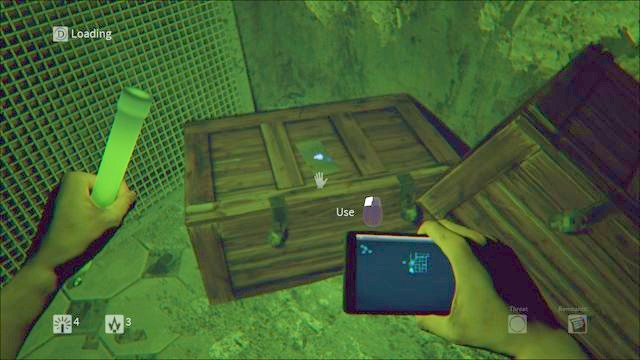 Remnants
If you want to finish this game in 100%, you rather won't make it in your first try. Amount and randomness of secrets will force you to play the game again to find all remnants. Those you find in constant locations (after the level ends/after going through the magical door) are enough to be found once, they are always the same.
Remnants are collectibles like notes and photos. But there is almost no distinction between them. Both types can be found in envelopes and there is 104 in total to find.
Due to the fact that levels are generated in a random way for each play, it's not possible to show all locations of hidden objects. But there is several rooms, which remain the same for each play. Finding all hidden secrets require completing this game at least two times.
Number of secrets for each level:
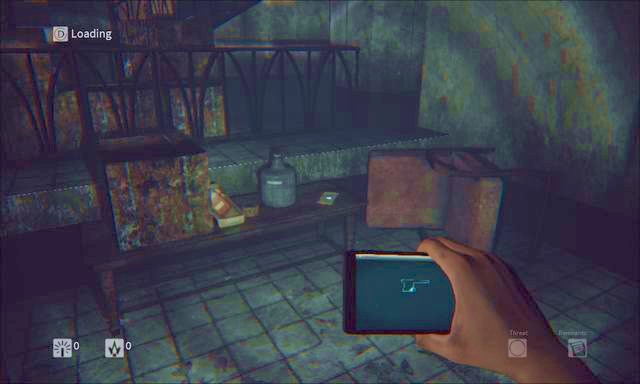 First envelope on right
You begin in the hospital. Phone gives you light and serves as a map. On the desk on right you find an envelope. Collecting them isn't obligatory.
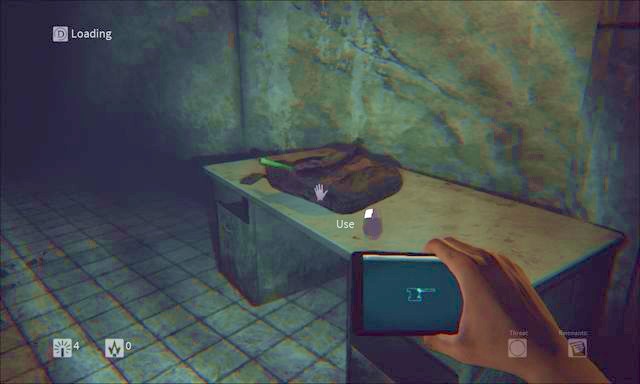 Glowstick backpack
Second envelope is in the left corner of the room.
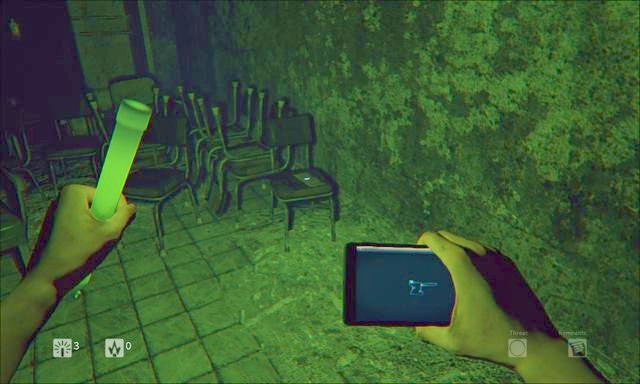 Letter on the chair
Head upstairs. In the left corner there you find another envelope.
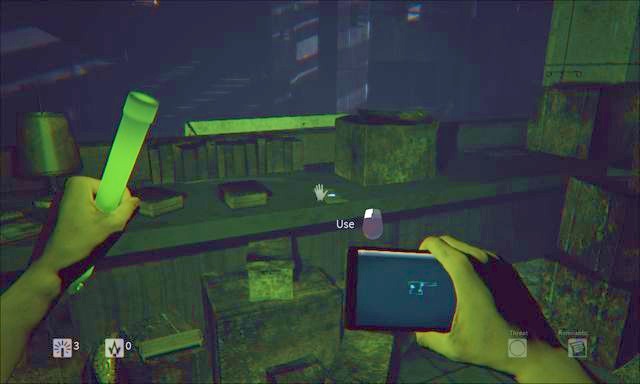 Secret on the shelf
The last note is on the cupboard at the end of the corridor.
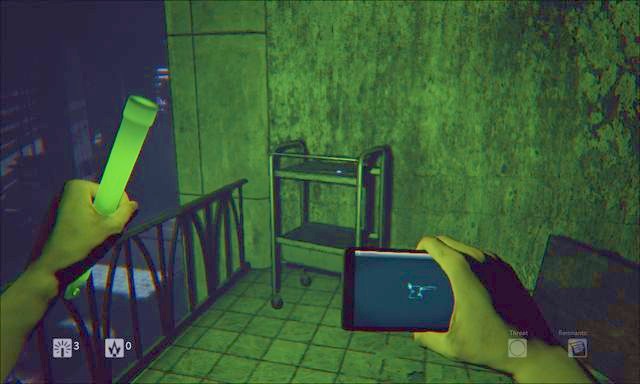 Envelope at the end of the corridor
Return to the ground floor and head to the corridor on right. At the desk, you find Glowstick. It helps you find hidden items.
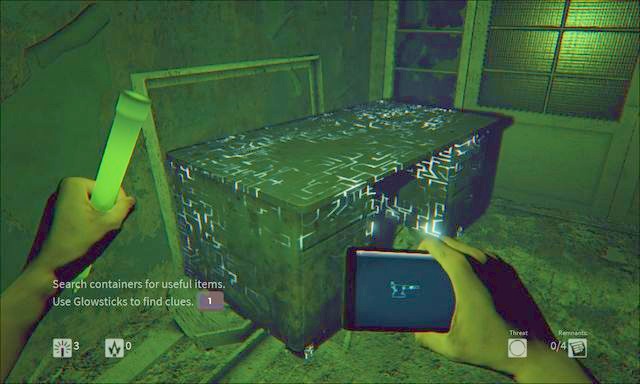 Desk with something inside
Go through the door and open highlighted desk. Then go through another door.
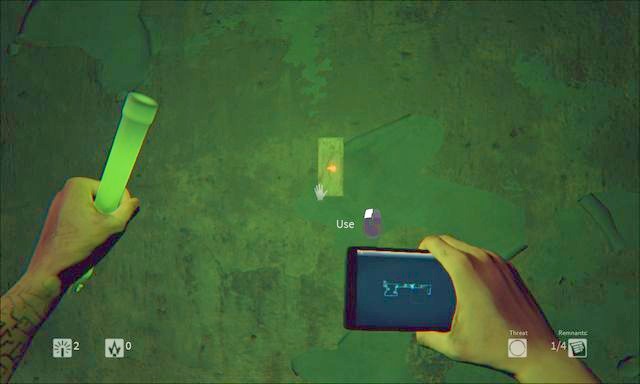 Note is attached to the wall
From now on, you're all by yourself. Corridors are randomly generated with every start of the game. Your first task is to find a room with white drawings on the walls and floor and then exit with a similar white symbol. In the room with inscriptions you should notice a flying item, which is a key to the closed passage. On the first level, it's a teddybear. It appears in the room only after collecting at least four remnants (envelopes), which you can find in this level. Some of them are also attached to the walls, highlighted with a red dot.
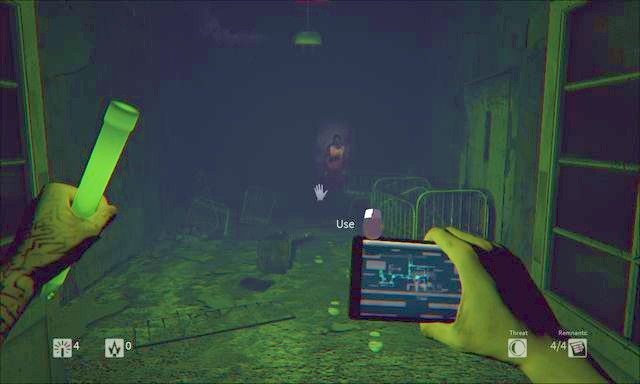 A Shadow
Marker "Threat" which is in the right bottom corner, will appear when a witch shows up. At the first level, most of them won't hurt you and you can even approach them and they disappear. Bar fills with each collected secret. So the best is to find a passage and place opened by key firstly, when the danger is low.
 Flares kill Shadows
When phone starts to flicker, it means that there is a Witch nearby. You can now run away or defeat it with lit flare in your hand.
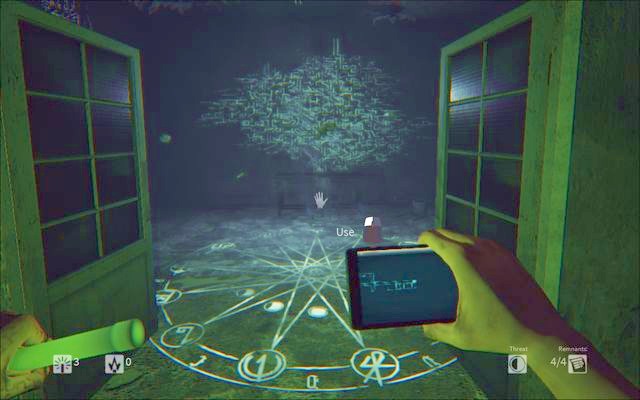 Inscription room
When you collect four remnants, you can pick up a teddy bear. From now on, Shadows will appear very often. When you hold an object, you can't use a flare, so it's best to memorize the exit path and run the quickest you can. If you find a Witch on your way, you can only doge her. Try run next to her or move back and wait for her to disappear.
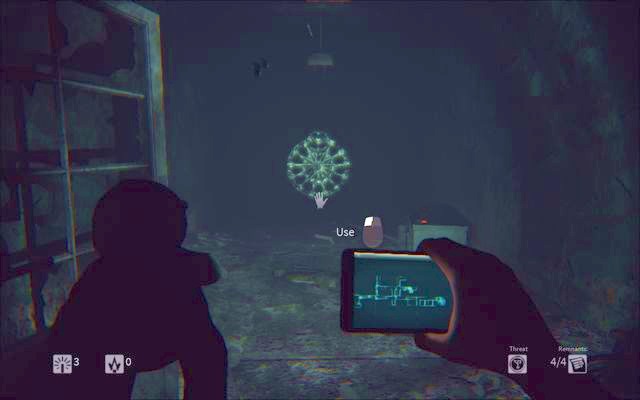 Passage
When you get to the passage, it's enough to put your hand with a key on it. Passage always lead to the safehouse, where you can catch a breath. You find there also a lot of remnants. There is also always something to do before you move on. In this case, you're in the warehouse.
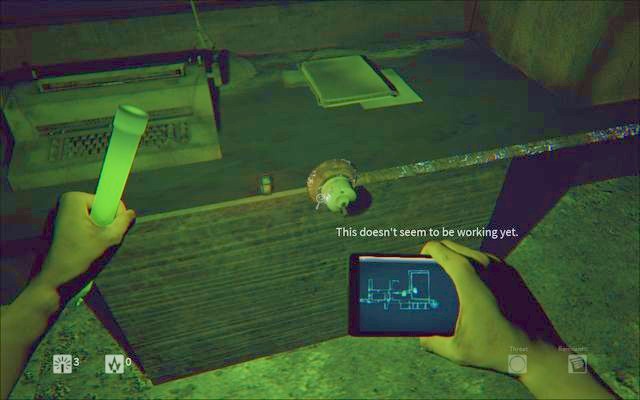
 Deactivated switch at the desk
In the passage you always have to do something. In this warehouse, you need to find a current switch and open the door. On the next desks you find two envelopes.
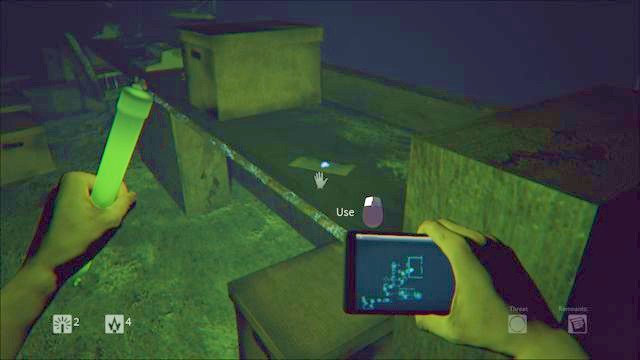 Remnant on the shelf
When you get through the door, you're against a big shelf in front of the wall. Then next one after turning left.
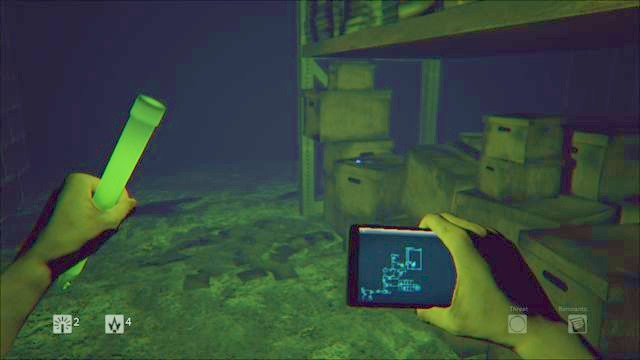 Envelope on the cardboard
There are three envelopes left here. One on the cardboard, after turning left again. After next turn, you see a witch on fire. When she disappears, you notice another envelope. The last one is in the corner behind another shelf.
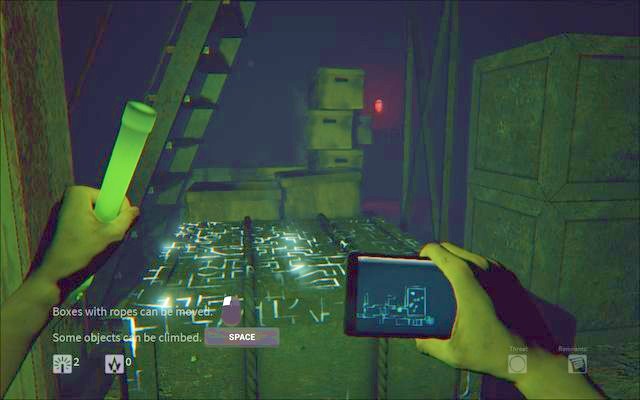 Chest with ropes
Now locate the red light on the wall. Head for it. You find a chest with ropes. Move it towards remaining chests and climb up to get onto the other side.
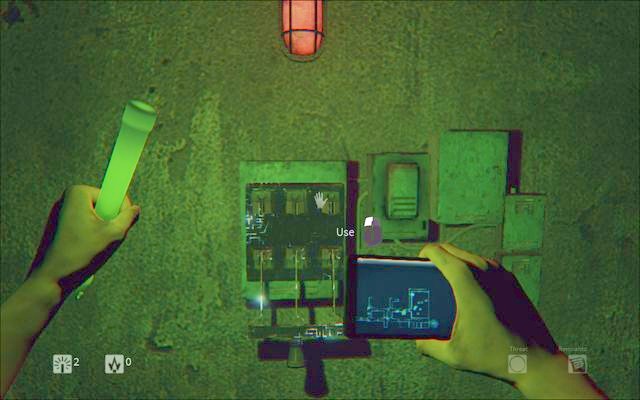 A switch
Now activate the switch under the red lamp.
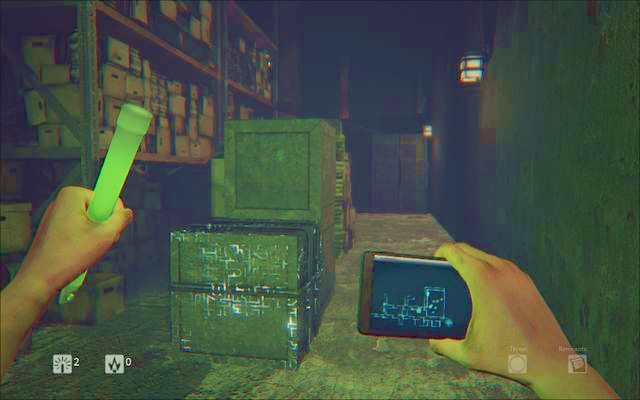 Push the chest and climb up
Push another chest, climb up. You get to the first room with a button at the desk. Press it and the door open. Go through it and to the end of the corridor. On your way you find two more envelopes.
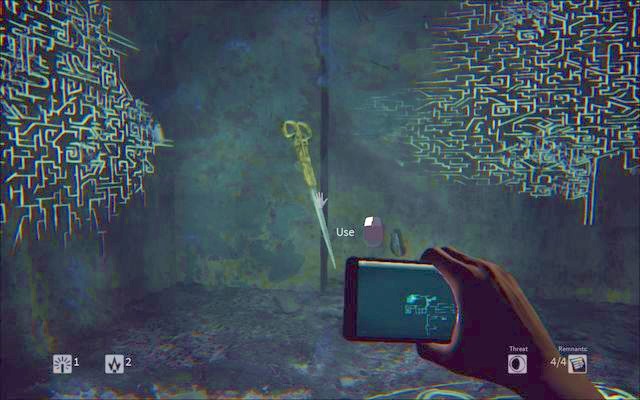 Scissors - key to the passage
Hospital has also the second level. This time, you have to find scissors. But this part of the building is divided onto two parts, between which you can move only through the upper floor.
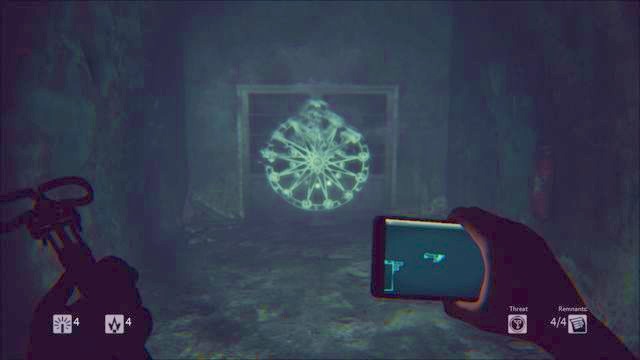 Charmed passage
When you find scissors, head for stairs and to the bottom level. There you find a passage.
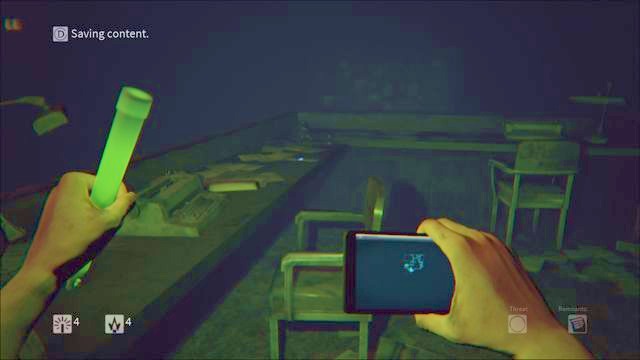 Letter on the desk
Behind a passage you find a small flat. Behind a desk, on left, you find two envelopes.
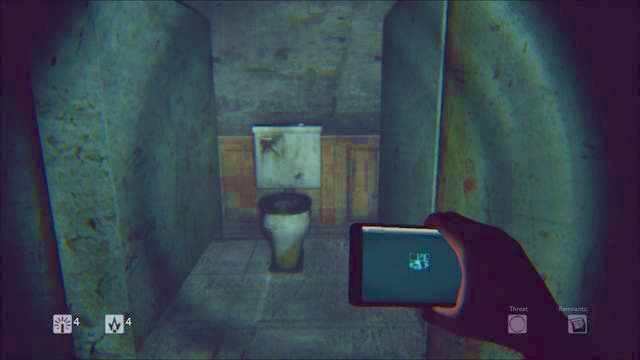 Envelope in the toilette
The next secret is on the heater in the corridor. The other one lies on the toilet behind a door on the left side of the corridor.
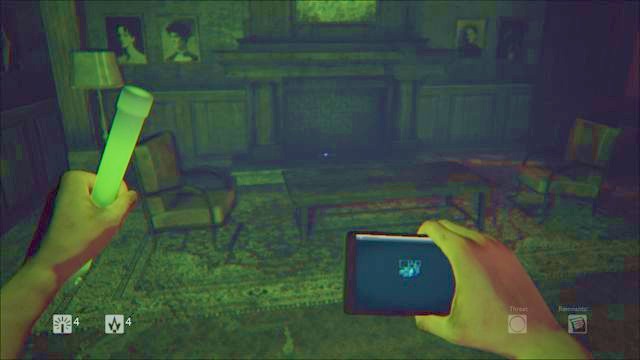 Note in the fireplace
The last one is in the fireplace in the room against the toilet.
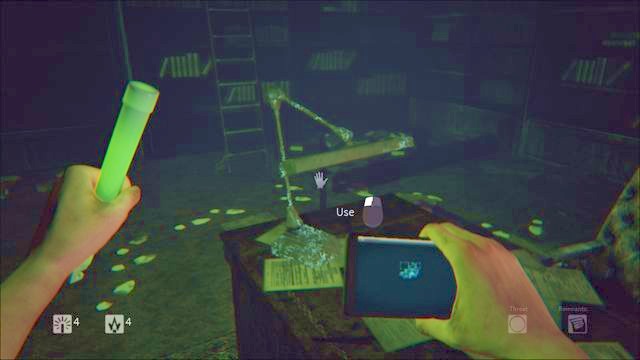 Move the lamp on the desk
When you collect all envelopes, approach the desk and use the lamp.
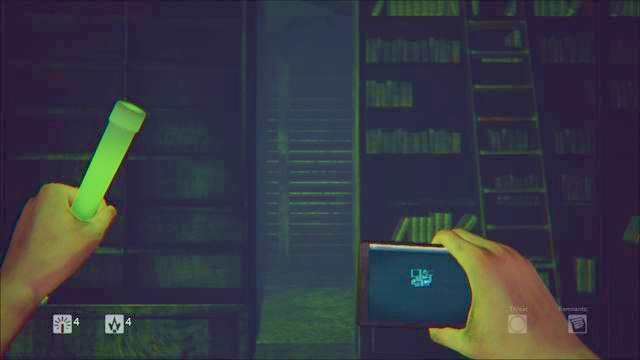 Go through the hidden passage
Moving it discovers a hidden passage behind a library.
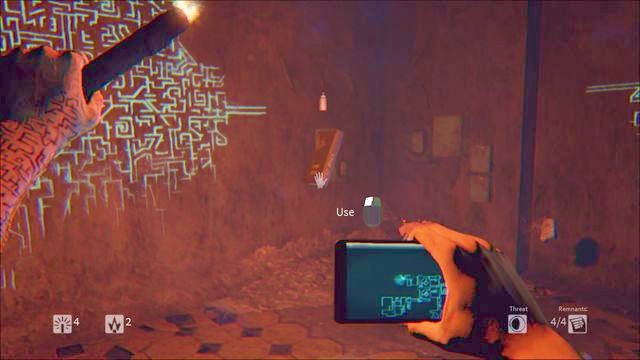 The Bible in the room with inscriptions
In the next part of the game, you get to the prison. Here also you have to find four remnants, room with inscriptions and a magic passage. This time you need to find The Bible first.
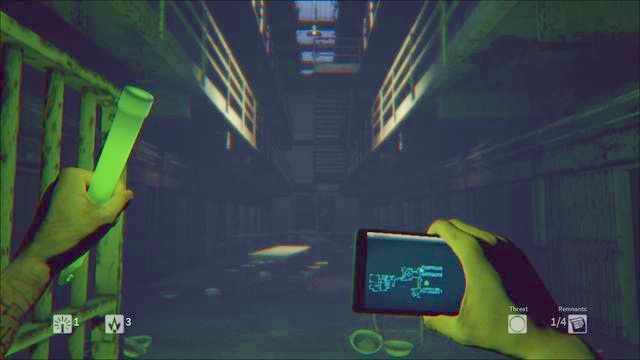 Prison cells
You should focus on the prison cells. In many of them there is something to be found. There is a little place to run away and a lot space to search through, so it's best if you get here at the beginning. On the other side, if you're not interested in detailed search, you can skip this room.
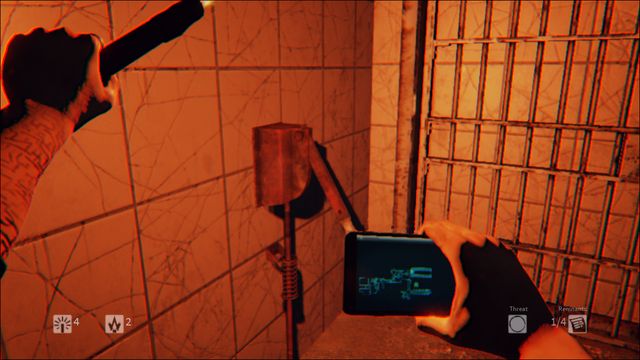 Lever opening the prison cells
On each of three levels, you need to push a lever to open cells.
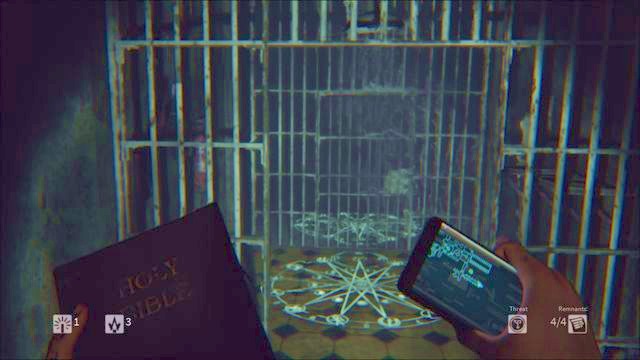 Crates to the next level
When you pick up The Bible, run to the passage. You should easily find it, as before it you have to run through a long corridor with locked cells on both sides.
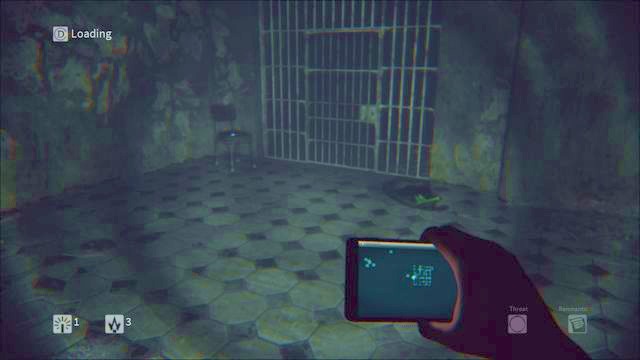 Envelope on the chair, at the grates
Behind a passage you're in the safehouse again. At the grates on left you find an envelope.
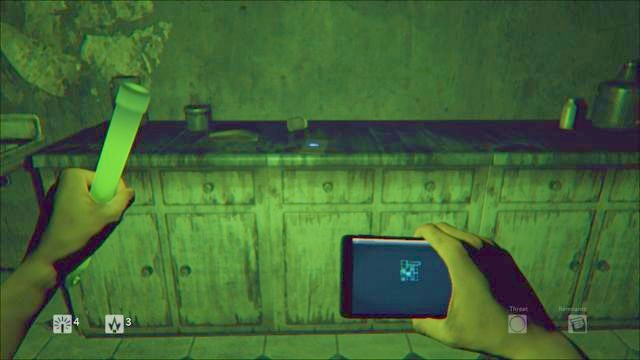 Another envelope on the chest
And the other one in the other end of the corridor.
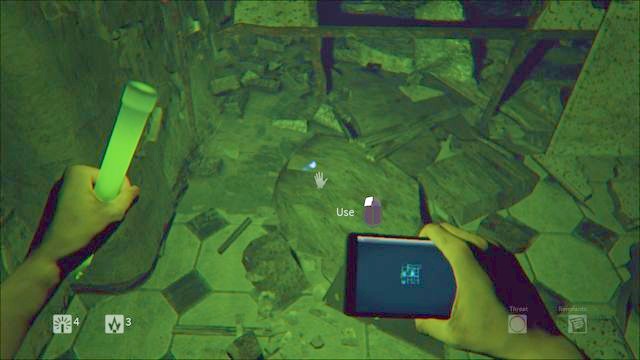 Secret on the debris
Another envelope lies on the debris on left.
 Envelope on the table-top
In the depth of the corridor, one remnant can be found behind a door on right.
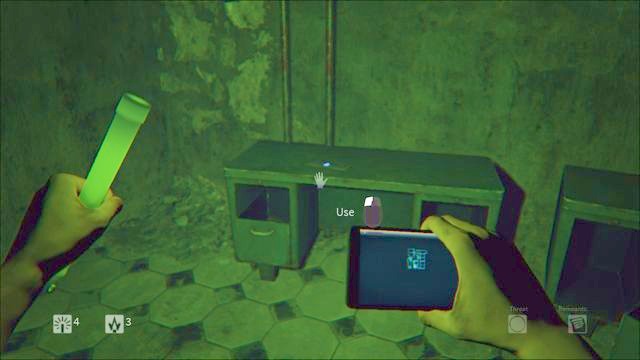 Another envelope on the desk
Then head through the left door at the end of the corridor. You find there two secrets. First one on the desk.
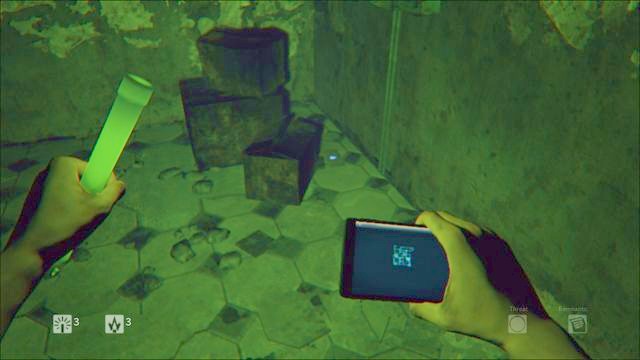 Remnant behind cardboards
The other one behind a broken glass in the room with cardboards.
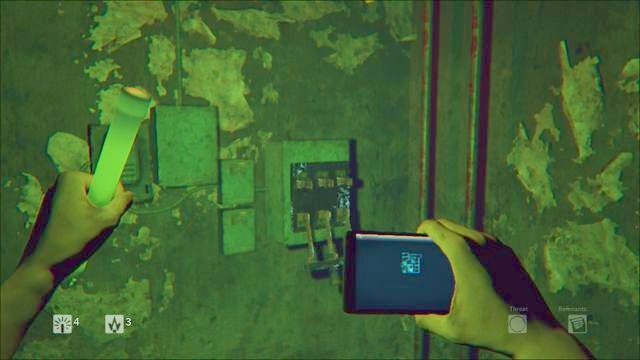 Switch
Exit this room and go to the one on the other side of the corridor. You find here an envelope on the cupboard and a switch.
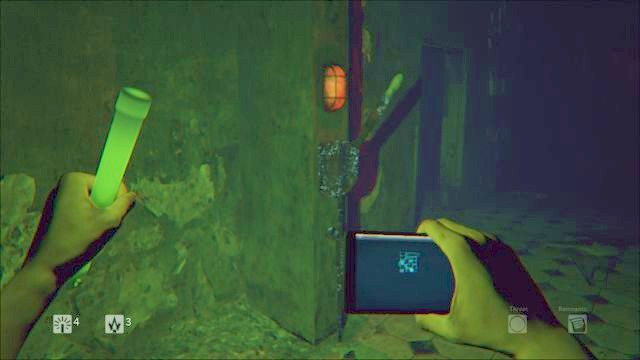 Lever on the corridor
When you turn on the power, you can switch the lever on the corridor. Then head to the room on right, where door has opened.
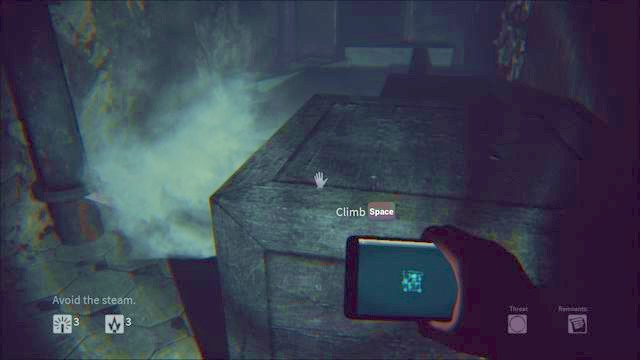 Passage circled by steam
In the next room, you see a lot of steam going out of pipes. Approach the pipe on right and turn off the tap. Now you can go through window.
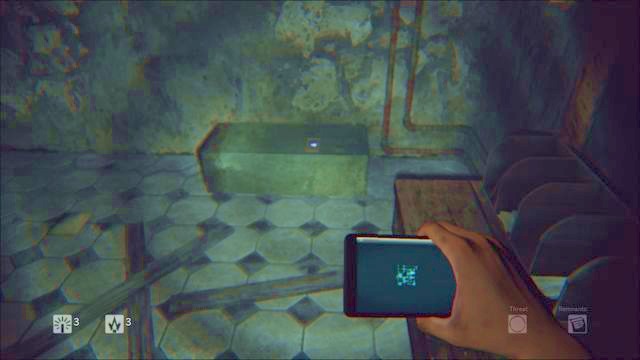 Envelope behind a passage
Behind a passage on left you can notice another envelope.
 Chest
ChestPush another chest and walk over the stream of steam.
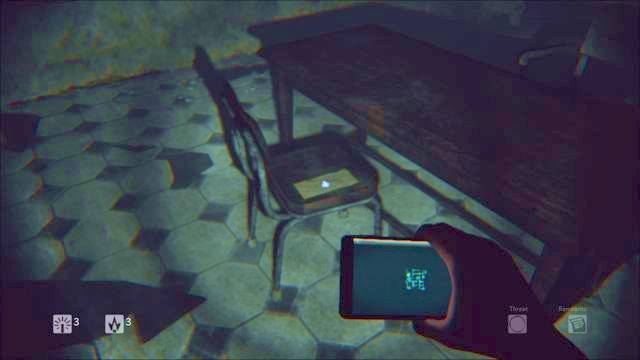 Letter on the chair
Another envelope is in the middle of the corridor on the right side. The next one is at another turn right.
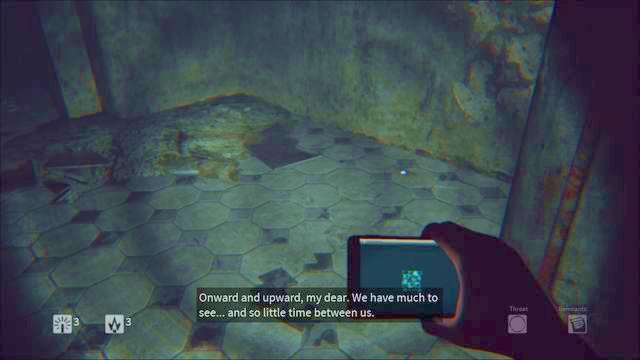 Envelope on the ground
When you see a whole in the ground, don't go into it. First, walk it around and pick up envelopes. One is on the right side.
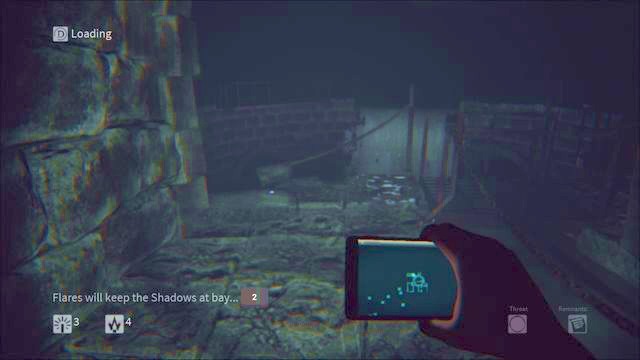 Remnant at the end of the corridor
The other envelope is at the end of the corridor.
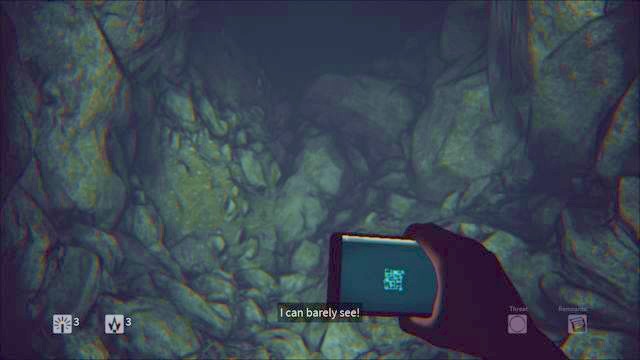 Hole in the floor
When you collect all secrets, you can go to the hole. It takes you to another level.
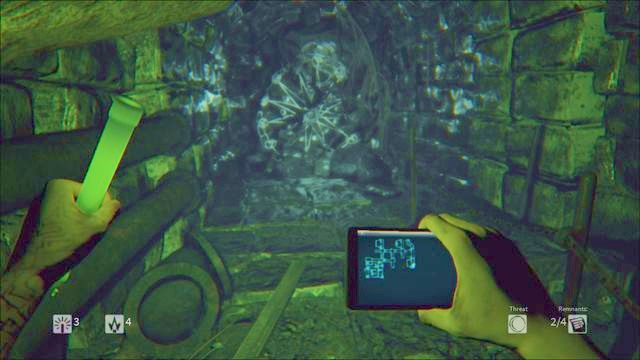 Inscriptions in the dead-end.
Sewers is the shortest level of the game. There is a lot of dead-ends and several rooms with envelopes on the cupboards and in drawers. In this stage, Witches more often appear directly in front of you. Key to the magic door is at the end of one of the corridors. This time, root is a key.
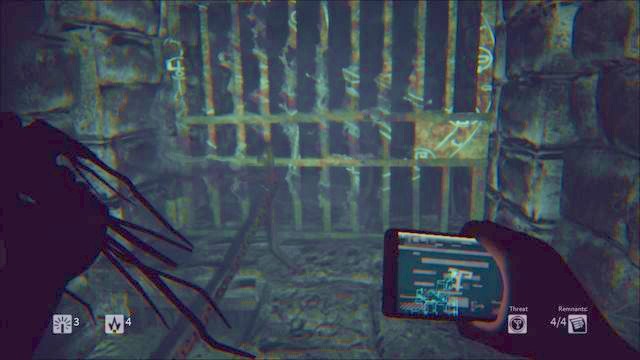 Passage in the Sewers
When you find a root, run to the passage. Behind a passage you are in a safezone. Here, you have to lower the bridge.
 Envelope in the safehouse
First envelope is on the left side, next to the passage.
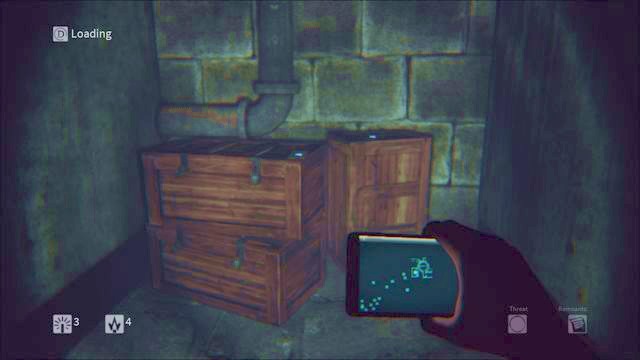 Envelopes on chests in the first room
Three more envelopes are on the chests in room in front of the bridge.
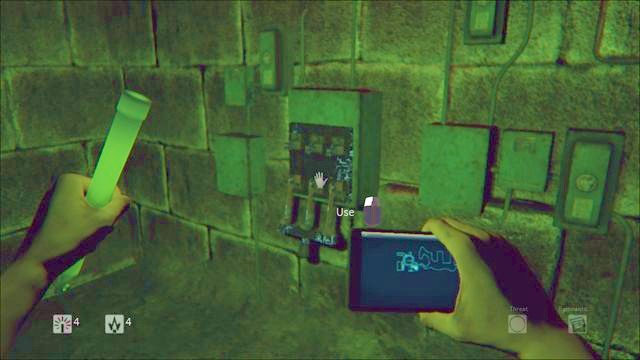 Switch in the second room
Second room is at the end of the corridor. There you find a switch.
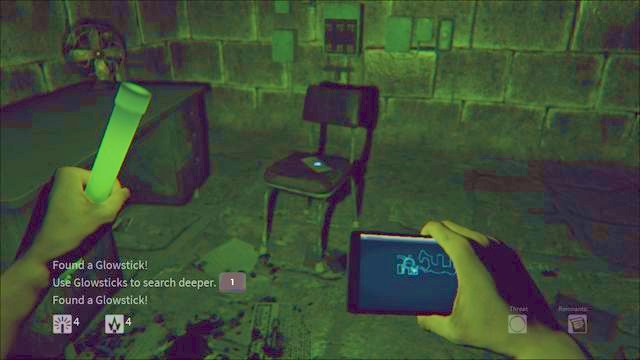 Letter in the second room.
In this room you can notice three more remnants: on the chest behind a door, on a chair and on the books lying on the ground.
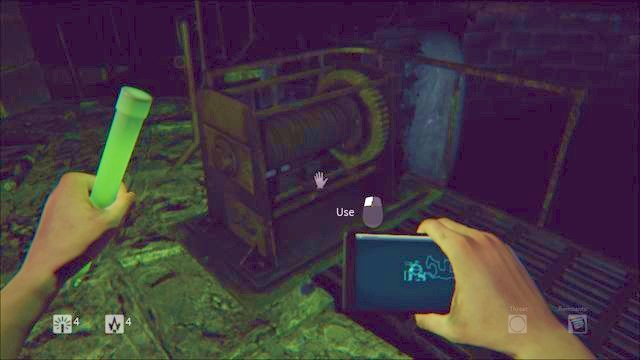 Lowering bridge maybe?
Now return to the mechanism of the bridge and activate it. Move to the other side.
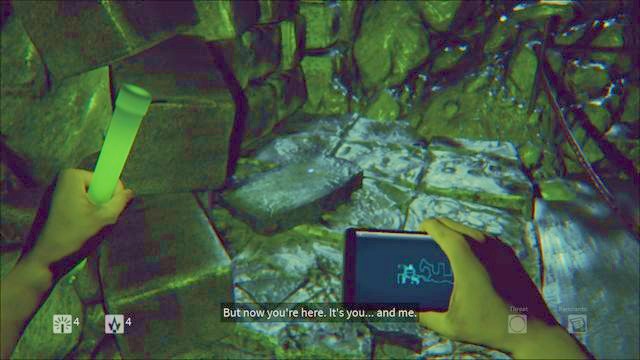 The last Envelope at the end of the corridor
At the end of the corridor you spot another envelope.
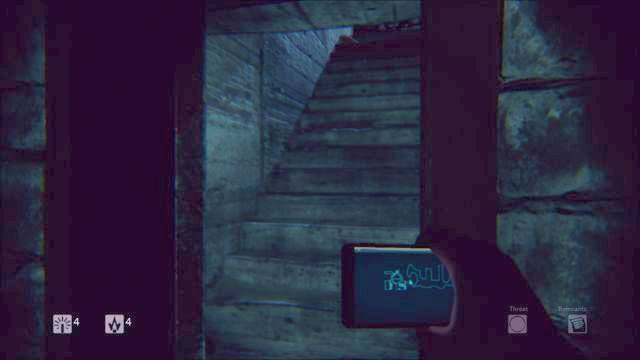 Exit from Sewers
Now you can exit Sewers. Head to the small port on your right. Now you're again in the safezone, so you don't have to hurry.
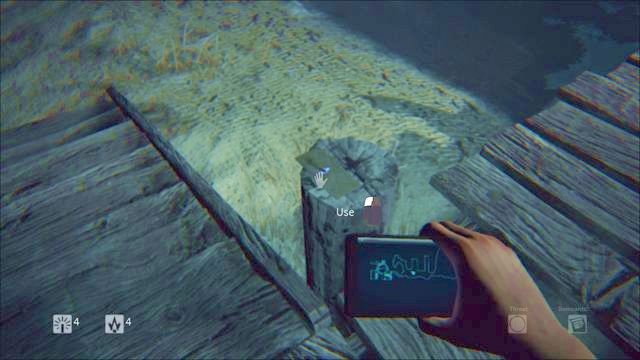 Letter on the beam
When you get onto wooden stairs, you notice an envelope on the beam
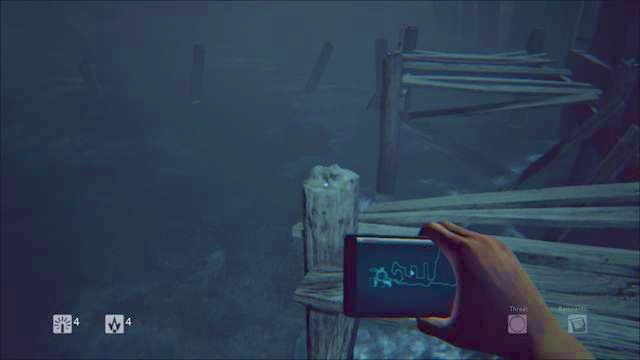 Second envelope on the beam
On the next beam you find another secret. Turn around and approach the gasoline bottle.
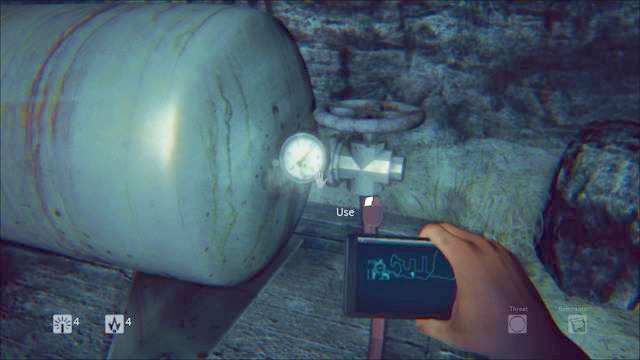 Gasoline bottle
Move closer to the knob and use it. Now go to the end of the hose from where gasoline runs.
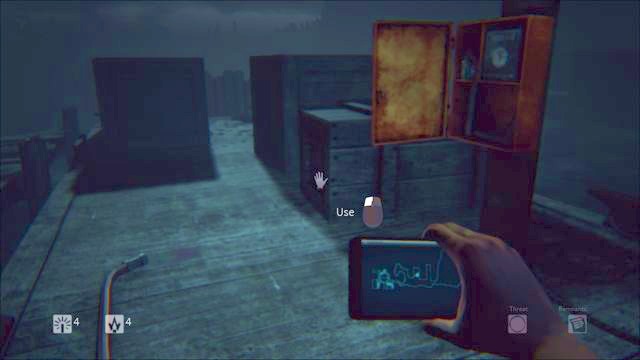 Gasoline hose
Fire the flare and use it on the gasoline. If you don't have any flare, pick some from the chest attached to the pillar.
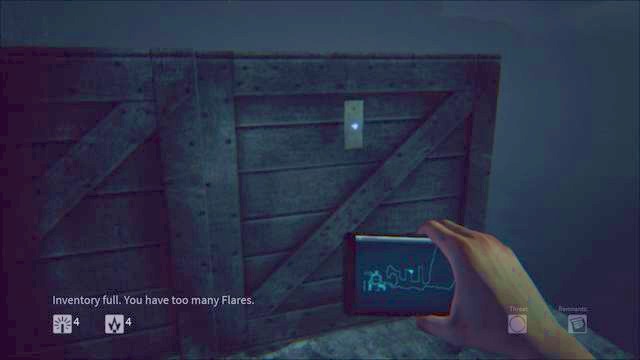 Note on the chest
Go farther on the pier. On one of chests you find an attached note.
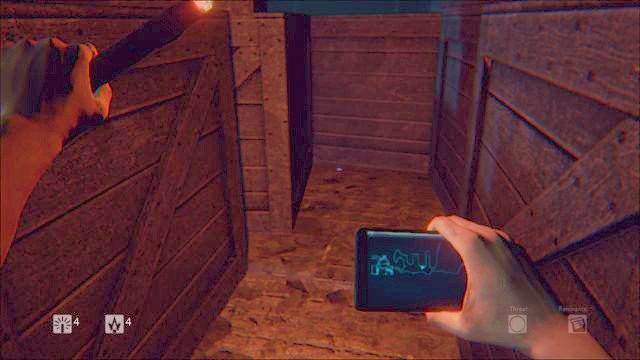 Secret between chests
Approach the house. Between chests you notice another remnant.
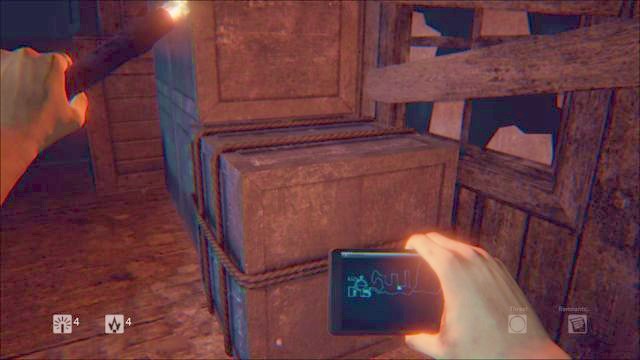 Move closer the chest and go onto the roof
Behind a window you see a chest with ropes. Move it closer to the remaining chests and climb onto the roof.
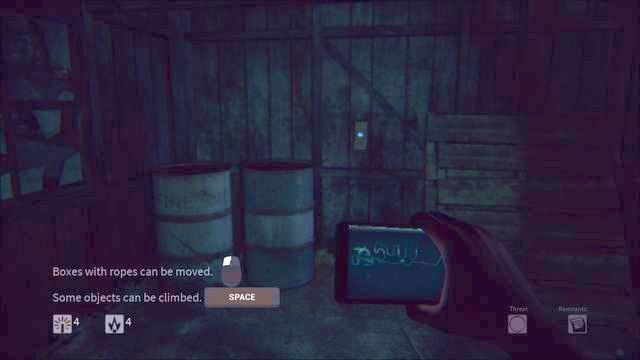 First envelope on the wall
Inside the building you find a note attached to the wall
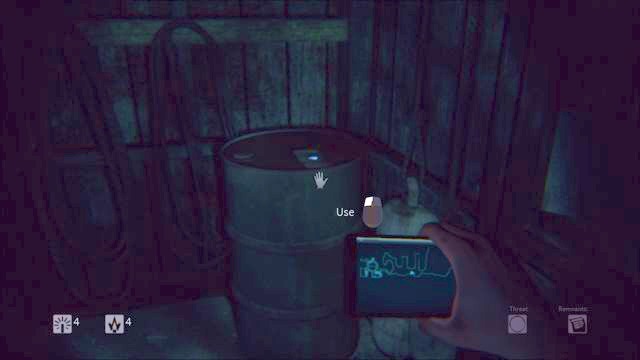 Second on the barrel
Another envelope is on the barrel, next to the door. After collecting them, exit the building.
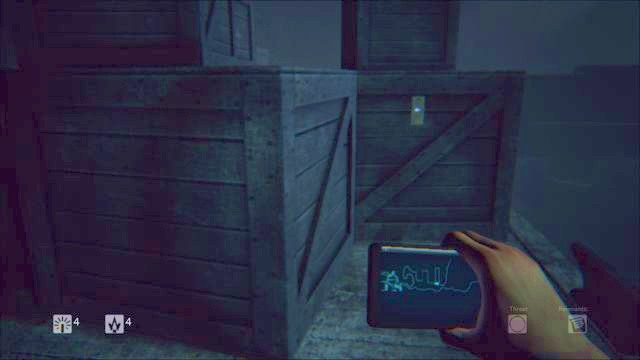 Note attached to the chest on the outside
Before you head for stairs, turn left and take a note from the chest.
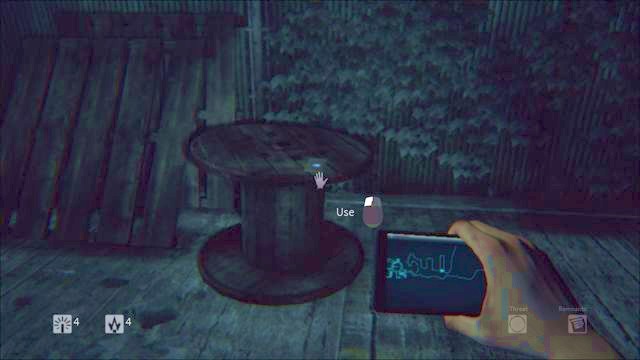 Secret next to the fence
Another one lies next to the fence. There are two left to be found.
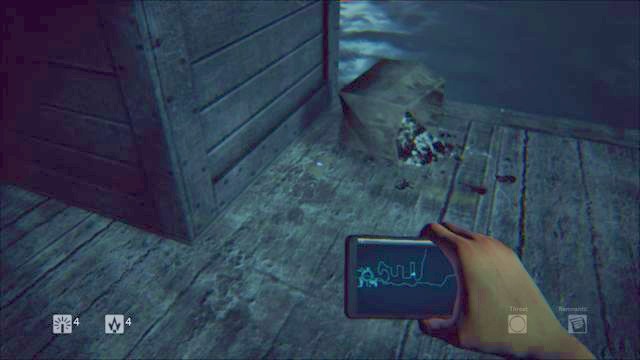 Letter at the trashes
Last but one envelope lies behind a chest next to the trash.
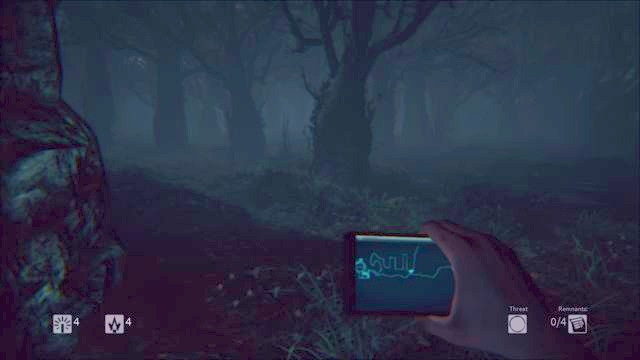 Note at the end of pier
The last one envelope is at the end of the last pier. Then return and use stairs to go to the forest.
 Entrance to the forest
Forest is the last level. You have to find a building - it's also on the map - where inside you can see inscriptions and a doll, which is a key.
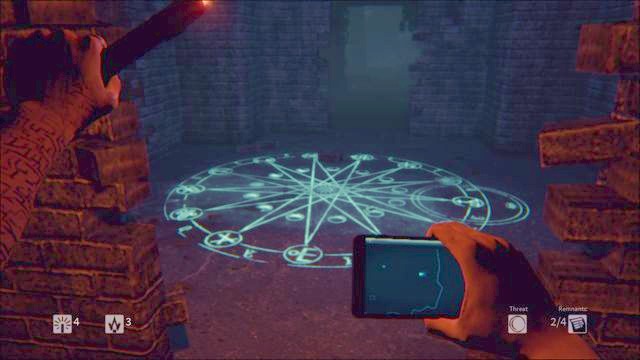 Building with a key and notes
In the room around the inscription you can find all four remnants, so it's enough to find this place to finish this level.
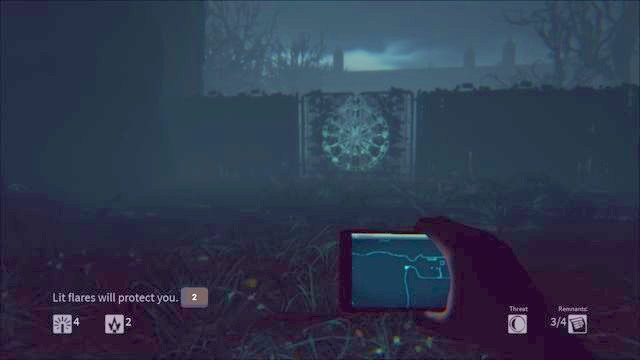 Exit
ExitExit gate is easy to find. It's a narrowing of the map.
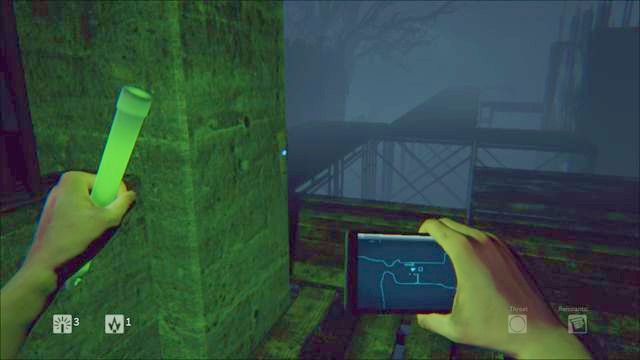 Note is attached to the wall
Behind a gate, you see scaffold. Beware, as the water will kill you if you fall into it. On the first wall on left you see a note.
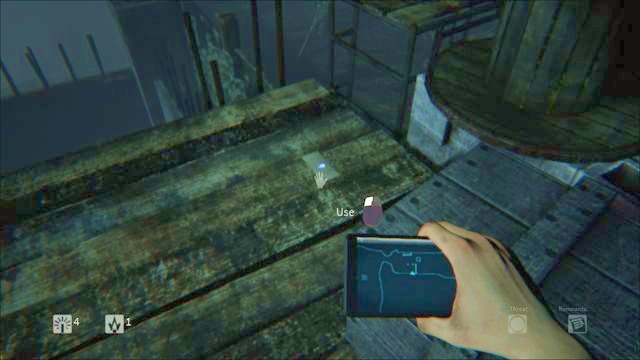 Remnant on the higher level of the scaffold
Another secret can be found on the other side, on the higher level of the scaffold on which you get using chests.
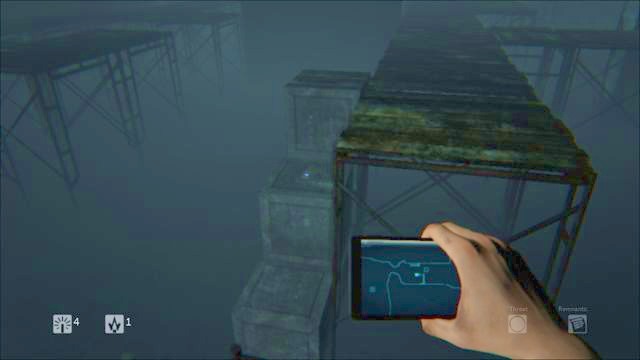 Envelope on the chests
In the middle, you see a letter on one of chests. You have to jump to the water and quickly onto the chests to not die.
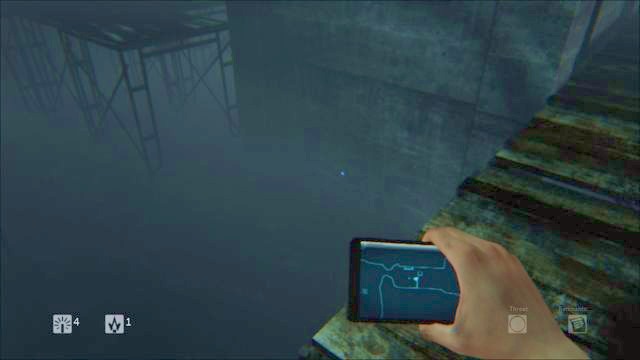 Note attached to the wall
One more envelope is at the bottom, attached to the construction.
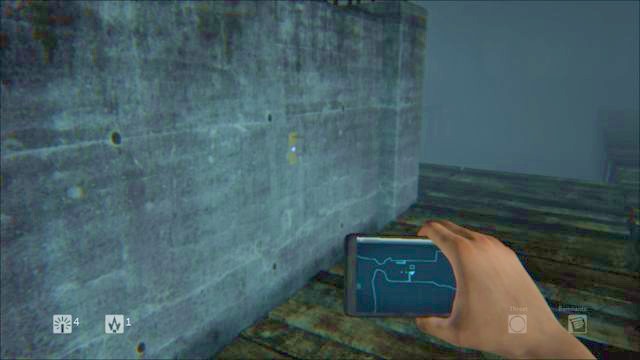 Note attached to the building wall in the middle
Move forward on scaffold. You'll see a coffin - behind it, on left, there is a note attached to the wall.
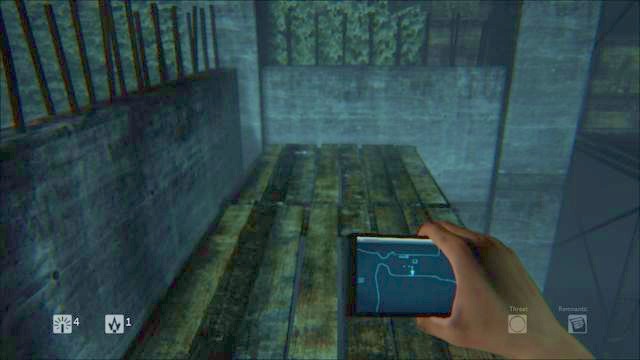 The last remnant
The last but one remnant is in the right corner of the scaffold.
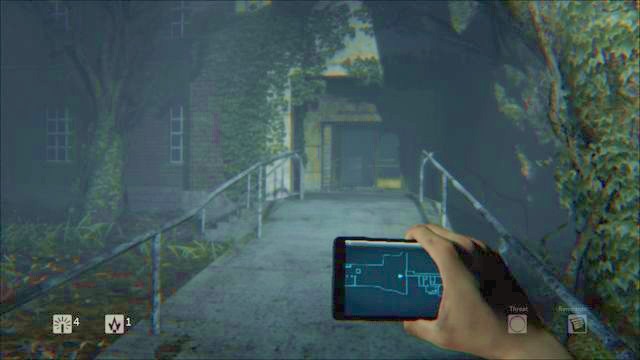 Entrance to the mansion
When you get down from the scaffold, head for the mansion in front of you. There is an open passage.
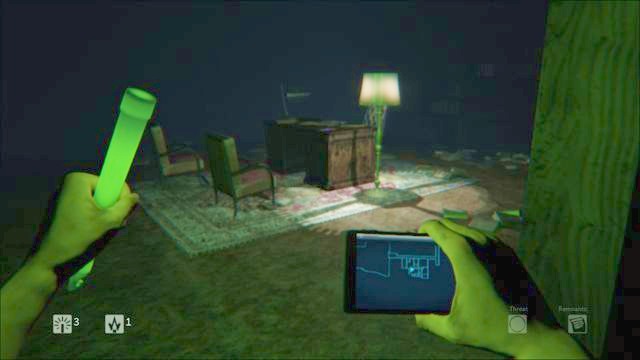 The last room before runaway
You're in the safehouse. Find a room with a desk in the middle of it. After listening to the recording, you have to run until you notice stairs. Then you'll be almost surrounded by Shadows. You have to get to the highlighted exit ASAP.
Game has 16 unique achievements, both as trophies for PS4 players and classic achievements for those playing via Steam.
Find all remnants from the particular level.
Find 13 cursed photos.
Collect minimal number of remnants required to complete a level (four).
Finish the game using only a single flare.
Collect all remnants (not necessarily in a single play).
Survive 50 Witch attacks.
Use a flare to destroy Witch.
Finish the game on Hard.
Use a Glowstick to find a secret.
Confront with Dr Mercer and find the truth.
Run away from the Hospital.
Run away from the Prison.
Run away from the Sewers.
Run away from the Forest.
Finish the game on random difficulty.
Finish the game without dying even once.
Daylight is one of the first games using the Unreal Engine 4 and thus it has high requirements, especially when it comes to the graphics. It's also prepared for playing with Oculus Rift. Daylight is available for PC and PS4. The game isn't too complex, but it presents possibilities of the new engine. That's why there is only singleplayer mode.
Singleplayer: Yes
Offline co-op (split screen/hot seat) No
Internet co-op No
Multiplayer: No
This guide is created basing on the PC version. I was using Lenovo Y500 laptop configured as following:
There were no technical problems with the game.


 Dishonored Game Guide & Walkthrough
 Darkest Dungeon Game Guide & Walkthrough
 Destiny Game Guide & Walkthrough
 Dead Space 3 Game Guide & Walkthrough
 Dont Starve Game Guide & Walkthrough