

Unofficial Call of Duty 4: Modern Warfare game guide contains thorough walkthrough for single player mode and it is backed up with screenshots. Besides this, there's a list of all locations, in which you can find intel data needed to unlock the cheats.
In Call of Duty 4: Modern Warfare you can find 30 different intelligence data locations. You have to collect data from all laptops to unlock the cheats in the game menu. For your convenience, we have prepared the list of all locations mentioned above.
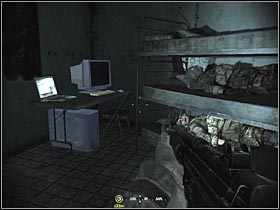
The first laptop is in a cabin from which drunken sailor comes out. After walking into the cabin where soldiers are sleeping, look to the left on the table standing there.
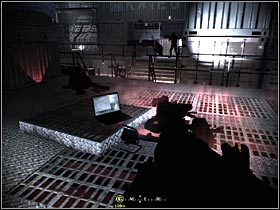
The next laptop is in the first ship bunker. You will find it easily after walking down from the platform.
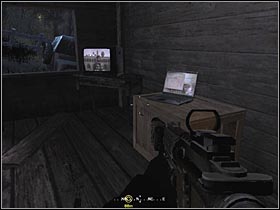
The first laptop is on the very beginning of this level. It's on a table in a first hut you will find.
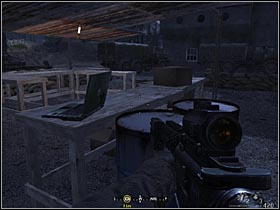
The other one is hidden on the first floor of a building in which Nikolai is being held. It's in a bathroom next to a pan.
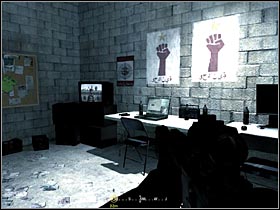
After rushing into the first bulding, locate a small room, next to the room where weapons of destruction are kept. A laptop is next to the Tv.
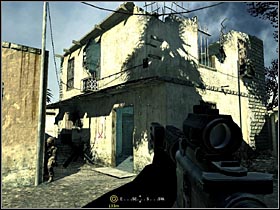
Going through the city, struggling with enemies, locate a building show in the picture. Walk inside and go up the stairs. You will find next laptop there.
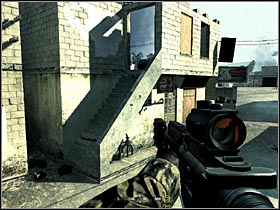
After eliminating a car with terrorist, get to the other side of the road and find a building shown in the picture. Walk up the stairs. A laptop is on the table to the left.
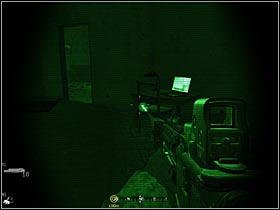
After you get rid of all the enemies by using the sub-machine gun, go into the room that was opened by the Americans seconds before. You will find a laptop on a table.
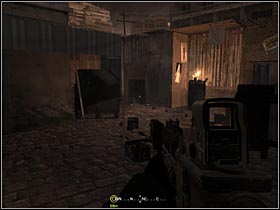
After walking through a hole in a fence you will get on a bazaar. Behind a pile of carton boxes (shown in the pic to the left), there's a laptop.
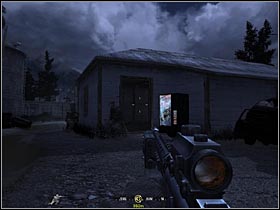
The first laptop is in one of the houses in a small village. The house is shown in the pic.

The other one is on a table standing next to a barn, in which there are Stinger missiles.
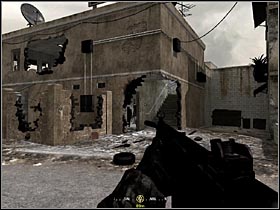
When a tank starts shooting at the enemies in a narrow alley, go to the right and find a building with a hole in the wall (see the picture). Go up the stairs. The laptop is in a corner of a room where the terrorists are hiding.
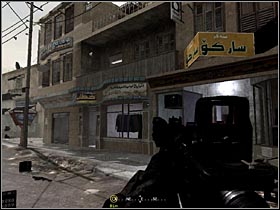
When the tank keeps on shooting, locate a shop with some clothes in the window (see the picture) and walk up the stairs. The laptop is on a bed in the room full of terrorists.
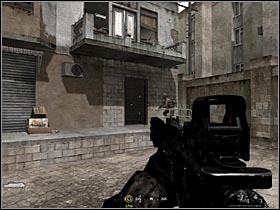
After some shooting in the alley (where your team was attacked by sub-machine guns), wait for your mates to open the door to the building (that's the one in the pic) and go upstairs. The last laptop is in a room from which the terrorists were shooting at you.
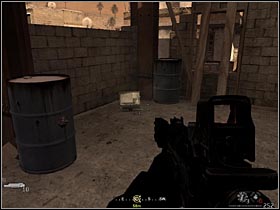
The laptop is on the second floor of a building, where American Marines are trapped.
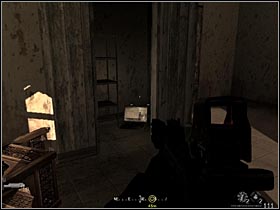
After setting them free, get into a nearby building. Go up the stairs and search the storey. Laptop is hidden in a small room next to a stairway.
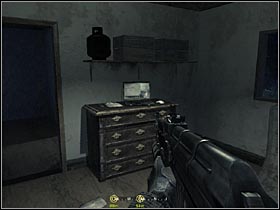
Laptop is in the first house on the hill. To get it, search all the rooms.
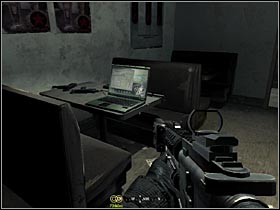
There's a two-storey house, where the armoured vehicle showed up. Laptop is on a table, ground floor level.
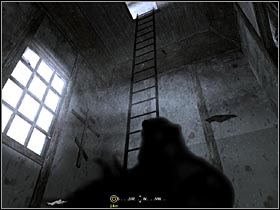
Laptop is in an orthodox church, and to be specific, in a tower occupied before by an enemy soldier. Climb up the ladder to get there (see the pic).
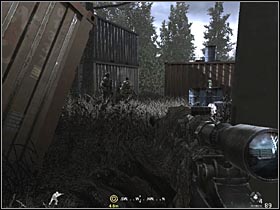
The other laptop is on the barrels. There's a group of soldiers guarding it. To get it, it is inevitable to kill them.
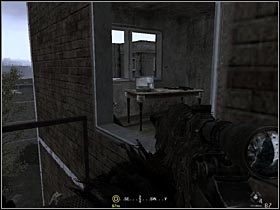
After killing a guard standing on the top of the stairs, walk up and get through the window to a small room. Laptop is on a table.
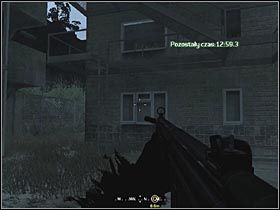
After escaping with MacMillian, you will get to a building full of soldiers and dogs. When you walk out, lay the captain on the ground and use the stairs to get to the next laptop.
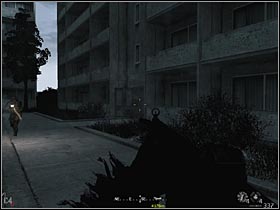
When, during the final battle, enemy choppers show up, get to a building located on the south-east (see the picture). Wait until the door opens and enemy soldiers come out. Kill them and get the laptop. This is the only chance for you to take it. When an allied chopper comes, the door shuts .
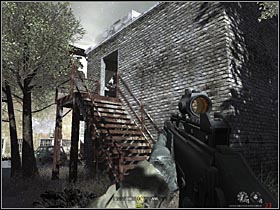
The first laptop is on a table in a restaurant which you will take over at the very beginning. You can get it only at night, so get there before captain Price gives new orders.

When going after Zakhaev, you will wander through the village. Find the building shown in the picture. The laptop is on a table in a small room.
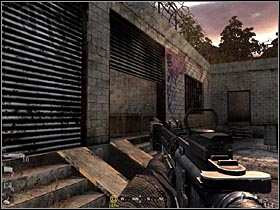
After some shooting, head to the building shown in the picture. Search all the rooms and you'll find the laptop.
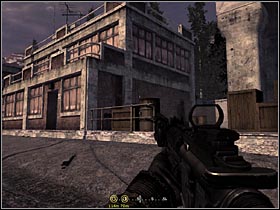
Behind the building shown in the picture, there's an alleyway. Get to the end of it to find the laptop.
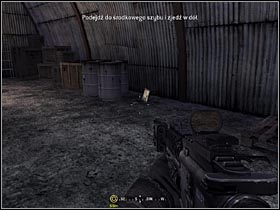
After destroying 2 armoured vehicles, head towards a hangar which is on the south-east part of the square. The laptop is next to the barrels.
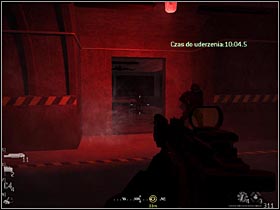
When you walk out of the bath house, turn left and kill the enemies. Nearby, there's a small dark room (see the pic). The laptop is in the middle room - too see it you just have to walk around the table.
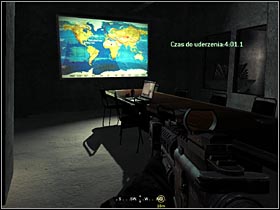
In the rocket control centre, there's a small conference room. The last laptop is on a table.
You begin the game with a mission on an Estonian cargo ship. Your primary objective is to secure the precious cargo.
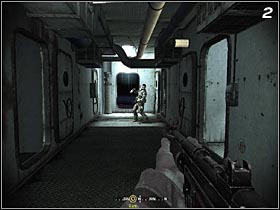
After you land on the ship, help your team to eliminate the sailors that are on the bridge (#1). When your team mates open the door, you will be able to get inside. Go straight and kill the drunken soldier (#2), and his sleeping pals.
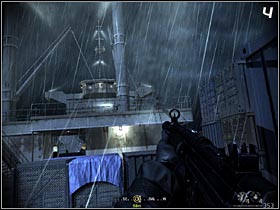
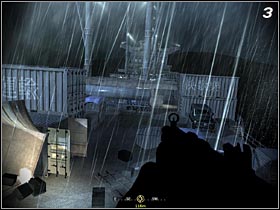
Then you will get on a deck (#3). Go straight and kill two soldiers patrolling the area (#4). When you manage to get to the other side of the ship, soldiers will start shooting at you through the windows. One of your team mates will call in the chopper that will deal with them(#5).

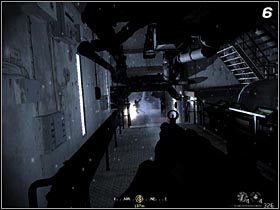
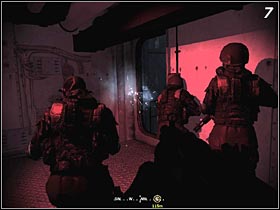
Follow your team and wait for Gaz to open the door. Follow the path - down in the corridor there will be the first serious shooting (#6). After you deal with the enemies, keep going further. After a while you will see a door (#7).
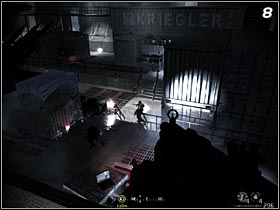
It's time to penetrate 3 ship bunkers. Every each of them is full of soldiers (#8), however the last one is the hardest to deal with (#9). Not only should you use your gun but also frag grenades. Flashbang grenades will blind enemies, frag grenades will kill whole groups of enemies. When all of them are killed you will hear from your team.
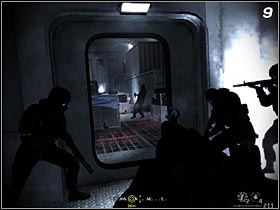

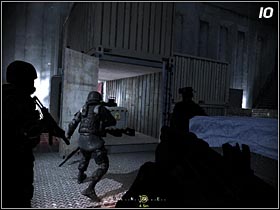
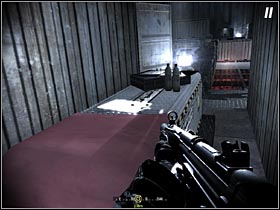
After dealing with the enemies you will find the container you were looking for (#10). Unfortunately, fighters are coming, so there's no time to secure the cargo. Take the documentation (#11) and evacuate.
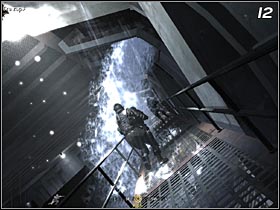
When you get to the second bunker, the ship will get hit and start to sink. After you come round, follow your team. You have to stick close to them no matter the falling platforms (#12) and cracking pipes. If you got stuck, even for a second, you will die.
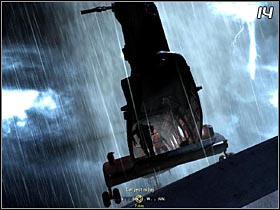
The evacuation is a piece of cake, you just have to listen to your team mates and watch them at all times. After getting on a deck (#13) you will see a helicopter coming (#14). When you're near the ship's side, jump into the helicopter. Captain Price will help you then.
You will find yourself in Russia, where Nikolai, agent working for the British, is being held prisoner by ultranationalists. Your primary objective is to rescue Nikolai and evacuate in a helicopter.
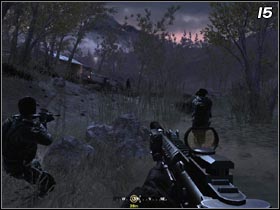
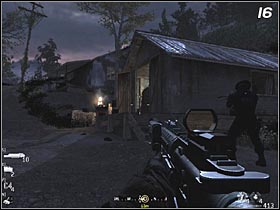
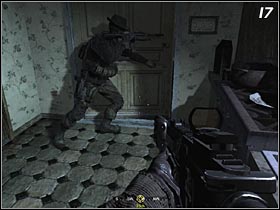
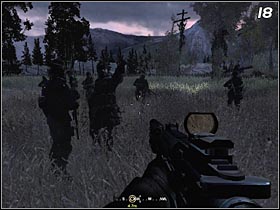
Wait for Gaz and Price to finish their conversation, then follow them to the first hut(#15), occupied by the enemy soldiers. Kill them and head towards the next building (#16). Here - following your commandor's advice - you can plant some mines by the door, and then rouse the enemies outside by shooting. Or, you can just shoot them. No matter what option you will choose, follow your team afterwards. Captain will open the door (#17) and in no time you will meet sergeant Kamarov (#18).

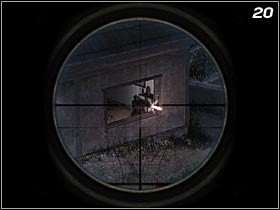
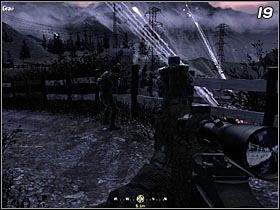
The Russian will ask for help in rescuing the village. Follow Gaz, Price and Kamarov until you get on a cliff (#19) Draw your sniper rifle. You can kill the enemy soldiers running down the cliff, but your objective is to kill the soldiers who operate the machine guns to the left(#20). Kill them (to kill the other one, you will have to shoot through the wall) and wait for the loyalists to take over the control.
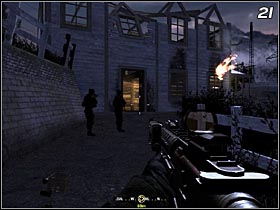
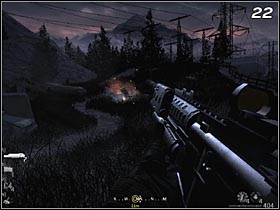
Follow your teammates into a ruined house(#21) and get on a glade near the power plant (#22). Here, you will have to deal with the soldiers that will come in helicopters. Use the howitzer to kill them - it'll eliminate enemies in groups.
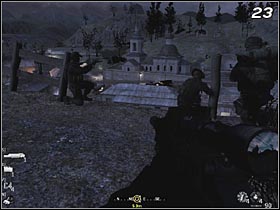
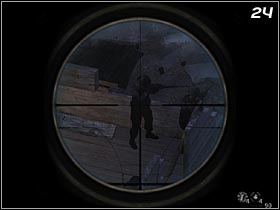
When it's done, Kamarov will ask you for some sniper support from the cliff(#23). Start killing the opponents and reinforcements that are coming. Eventually, you will have to eliminate 3 soldiers occupying one of the buildings (#24). A whole in a roof will be helpful.
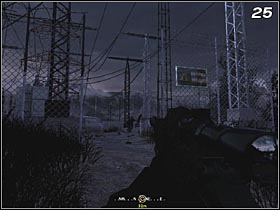
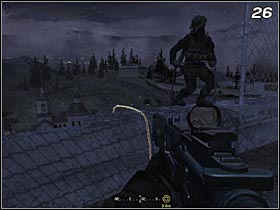
Go up the hill towards the power plant (#25). There will be some misunderstanding between Price and Kamarov. Then British soldiers will decide to attack the village. Grab the line (#26) and go down, then go to the left and start eliminating the enemies.
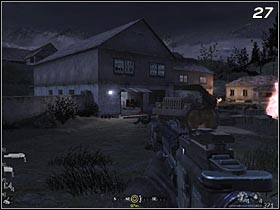
Most of them are hidden in the biggest building (#27) so you will have to get inside. When walking through the yard, mind the grenades and exploding cars - both can kill you.
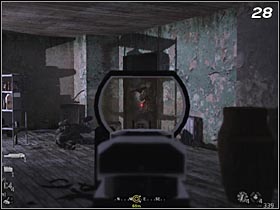
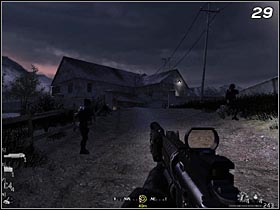
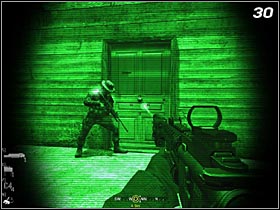
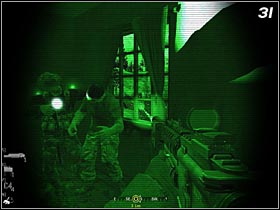
After killing the soldiers in the house (#28), wait for your teammates to join you. Get rid of the rest of the enemies, and follow your team into the next building, on the hill (#29). When Gaz cuts off the power, you and Price will get inside (#30). Use your nightvision and eliminate all the enemies. In on of the rooms, there's Nikolai (#31) - he will be freed when all ultranationalists are dead.
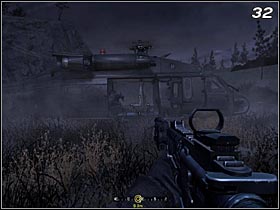
After a little chat, go outside. Head towards the helicopter and get inside (#32), to finish the mission.
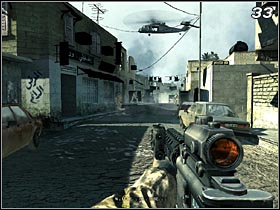
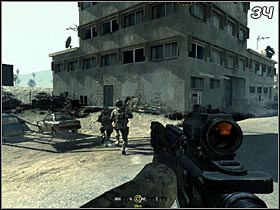
In last two missions, you were playing as a SAS soldier, now it's time to become an American Marine. After landing (#33), follow lieutenant Vasquez. You will get to a building (#34), where, the leader of the terrorists, Al-Asad is supposedly staying.
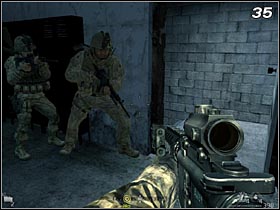
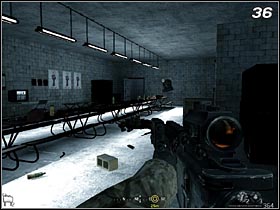
After the door is blown up, get inside and down the stairs (#35). Then kill all the terrorists but mind the enemies hiding behind the boxes. Before you keep going, take another weapon, for example Kalashnikov (you can find it on the tables in the main room #36). There's a high probability, that you will run out of ammo if you don't change your weapon.
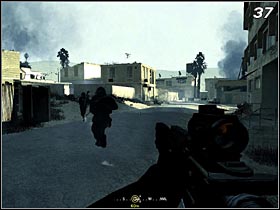
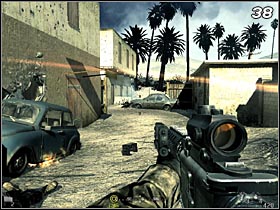
Use the stairs to get outside (#37). You have to get to a Tv station, and that won't be easy - you will have to get through the city, controlled by terrorists (#38). Follow your team, and you will get in the middle of a combat. Eliminate the enemies and watch out for the reinforcements that will keep coming.
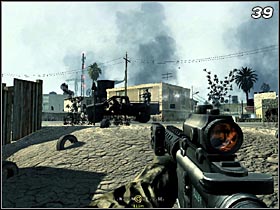
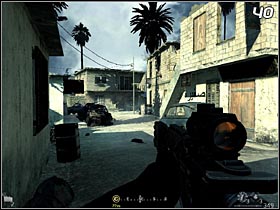
There are two ways leading to the Tv station. No matter which one you choose to follow, you will get to a crossroads. A car with a terrorist operating a machine gun will show up there (#39). Kill him and keep going (#40).
There you will encounter more terrorists. This time they'll come in greater numbers so you will have to be extra careful in order not to be killed. Make use of the frag grenades, that will help you to deal with larger groups. Try to stick close to your team -your teammates aren't as efficient in killing as you but they can be helpful for instance by throwing away the enemy's grenade.
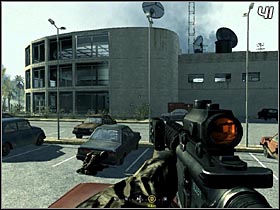
After the continuous struggle, you will get to the Tv station (#41). When the door is blown up, get inside.
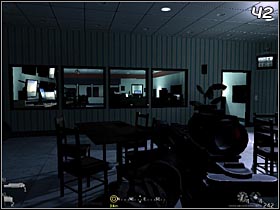
Go straight, killing the enemies (#42). You will get to a big room (#43), full of terrorists. To take over this room it's good to get to the other side of it, by sticking to the left wall. Hide behind the cubicles and eliminate the enemies, mind the terrorists on a balcony too. It's good to use grenades here - they can make your enemy confused and that is why it'll be easier for you.
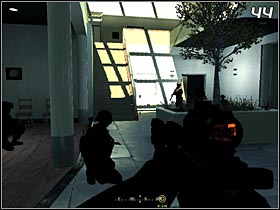
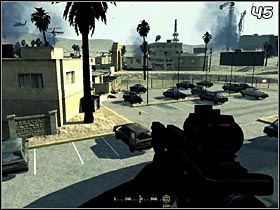
After dealing with the enemies in the main room, clear the little ones next to it. Then your commander will give an order to advance to the second floor. Get to the door and wait for Vasquez to open it. In a hall (#44) you will meet the other Marine squad. Go up the stairs and head straight. From the roof (#45) you can shoot at terrorist that are on the parking lot, but it's not necessary.
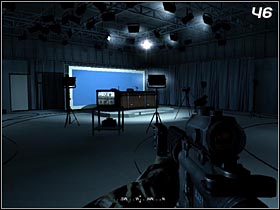
Go straight ahead. You will get to a studio where Al-Asad was supposed to be. Unfortunately there won't be anyone inside.. (#46)
M1A2 Abrams tank got stuck in a bog and your team needs to help it. You start the mission on a highway. You're under heavy attack...
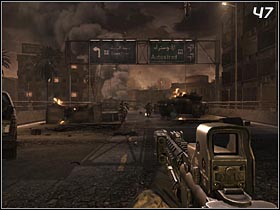
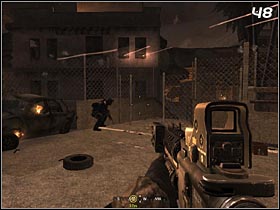
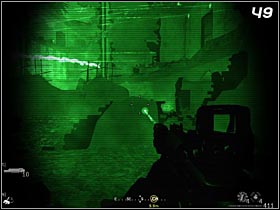
Go straight (#47), watch out for the bullets flying over your head. You will see a passage going through a fence. (#48) Use it. You'll get into a building full of enemies. Activate your night vision (#49).

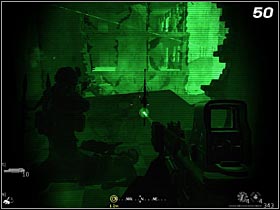
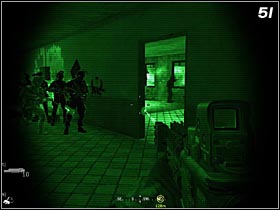
Go upstairs with Roycewicz and eliminate the terrorists that are taken aback. Clear all the rooms, and get to a machine gun (#50) Use it to kill the terrorists on the other side of the building. Then get downstairs and wait for marines to open the door (#51) leading to the other part of the city. Deactivate your night vision.
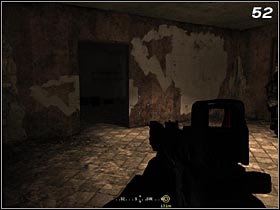
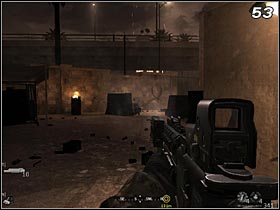
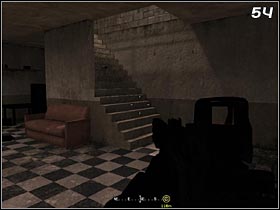
The yard is taken over by the Arabs. Head left (#52), eliminating all the enemies and trying not to get hit. Use the concrete barricades as your shield , and walk the yard around (#53). Then kill the terrorists. Get inside the building and kill the rest of them. Don't forget about enemies on the first floor. (#54).
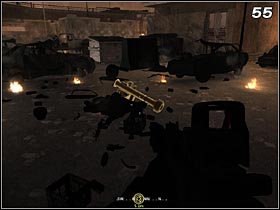
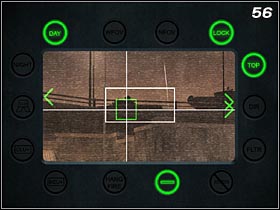
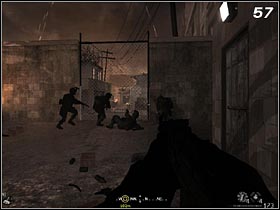
Two enemy tanks will show up on the overpass. Of course, you will be responsible for destroying them. Go downstairs and outside the building. Then pick up the Javelin (#55). Aim for the target (hold down RMB when aiming and destroy both vehicles (#56). When it's done, your teammates will cut through a fence (#57). Follow them.
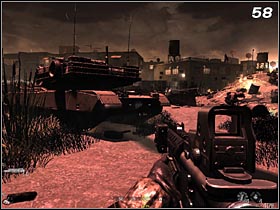
Not bothered by anyone, you will get to the tank stuck in the middle of some kind of field (#58). Terrorists are trying to destroy it. Get behind the tank (you won't get hit there) and start the annihilation of the enemies. Don't try to be a hero on your own, just focus on defending the tank. Listen to your teammates as they will inform you about the directions of the attack. Primary targets are soldiers with RPGs, cause only they can destroy the tank.
After you accomplish this objective, you will get another one. You will have to blow up AAA gun, that is efficiently keeping American air forces out of the zone.
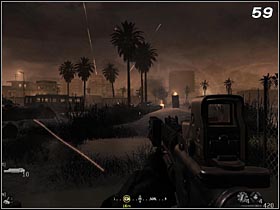
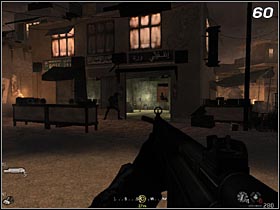
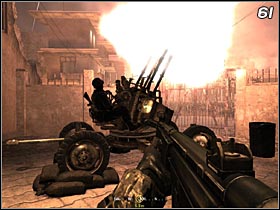
Head towards south-eastern part of the field (#59), eliminating any resistance. To get to the target you will have to walk through a little building (#60). Kill the soldier operating the AAA gun and plant the explosives (#61). Then get to some safe place and blow it up.
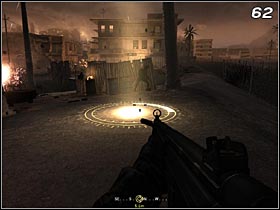
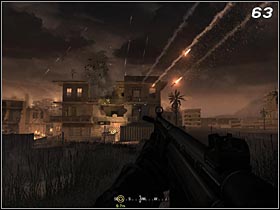
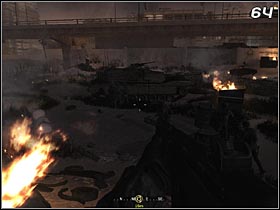
When AAA gun is no longer a problem you can call in air force. Head north to the other side of the bog. You should notice a spot (#62), at which you will have to use the beacon marker. When you do this, helicopters will do the rest (#63). After it's over get back to the tank (#64), that luckily survived the siege...
The helicopter in which you escaped after the last mission in brought down by the enemy's missile. You and your teammates survived. However, that's the end of good news. When you crashed, a hunt begun and you are the game.
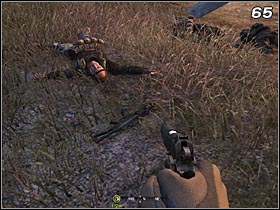
At the beginning you only have a pistol, pick up a weapon (#65) that is lying next to the dead pilot - he won't need it anymore. Captain Price will give an order to move out of there. And that's a good decision as soon there will be hordes of enemy soldiers looking for survivors.
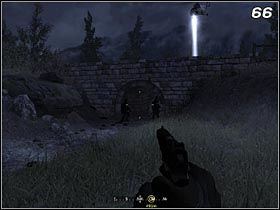
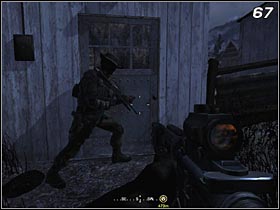
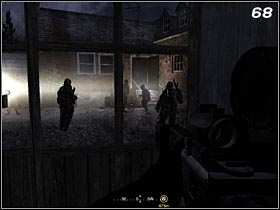
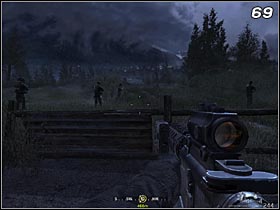
Follow the only path. According to your commander's order, hide under the bridge (#66), so that the helicopter can't spot you. You will get to some buildings. Wait for Price to open the door (#67), and get rid of the enemies patrolling the yard (#68). When it's safe, jump over the fence (#69) and keep going.
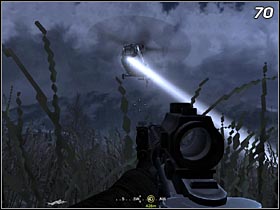
Hostile helicopter will show up again. Prone and wait (#70), until the helicopter passes you. Then run to the nearest building. Hide behind the wheel of hay (#71) and get ready to fight.
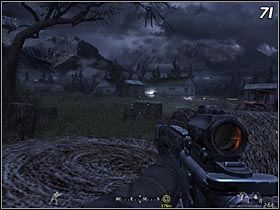
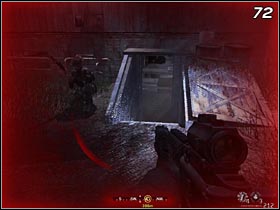
When enemy soldiers show up, they will try to smoke you out of the hide-out. Kill the soldiers running towards you and wait until one of your mates opens the hatch leading into a cellar (#72). As soon as you hear an order head into the building.
Despite what you may think, it's not safe there , so find the stairs (#73) and head up. Get to the front door. Kill the enemies that'll show up and go outside (#74).
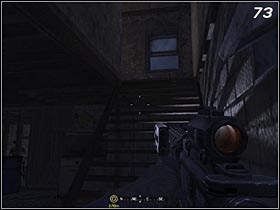
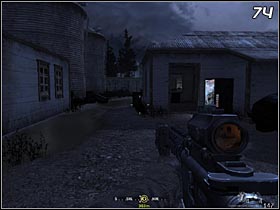
You will have to deal with the dogs here for the first time. They're very irritating opponents - they're quick and can kill you in a split second. As soon as you hear barking, be ready for a quick reaction. It's good to keep them as far away as possible.
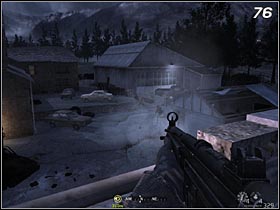
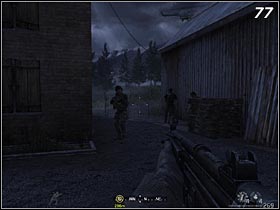
Besides dogs, there are ultranationalists as well. Kill them and quickly find the stairs (#75), leading to the roof. That spot will make killing the hostile soldiers nice and easy(#76). When you see allies coming towards you (#77), get down and follow them.
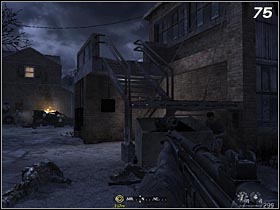
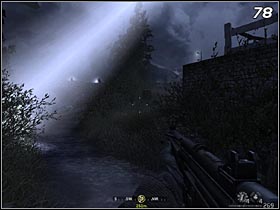
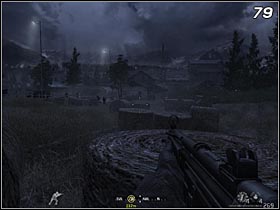
When you get into a small brook, you will see the trucks coming - that means there are more enemies to come. Wait until the helicopter flies away (#78) and head towards the nearby field. You will have to get to the buildings that can be seen on a horizon (#79). There you will be able to hide. If you're careful enough, you can get there unnoticed. However, if anyone spots you, you will have to fight.
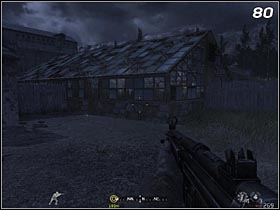
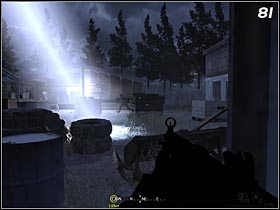
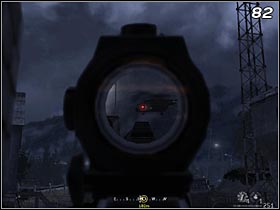
The greenhouses (#80) and the other buildings are full of enemies. Make your way there (#81), killing anyone trying to stop you. If the helicopter is too much of a trouble, kill its shooter . If you've got a weapon with a scope (#82), it shouldn't be too hard.
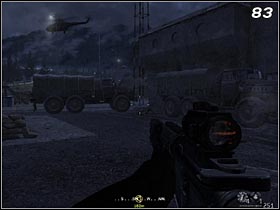
Hiding behind the trucks (#83), get to a barn and kill the soldiers there. Then get inside and kill the rest of them. The building will protect you from the helicopter.
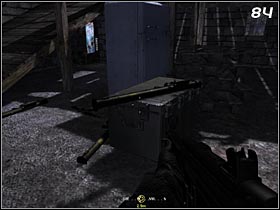
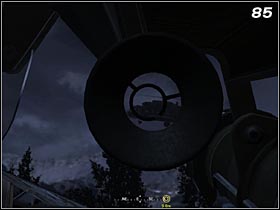
Finally it's time to get rid of that helicopter. Get a Stinger launcher (#84) and go outside. Aim for the helicopter (#85), and when you hear the sound, shoot. First one will miss it, so grab another one and try again. This time it's bull's eye, and the helicopter is finished.
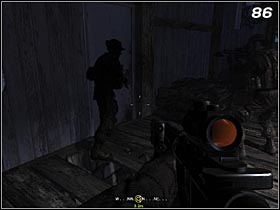
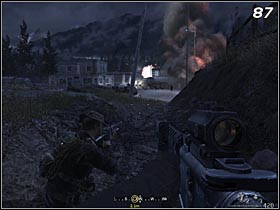
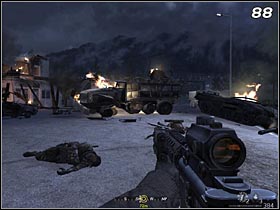
Get back to the barn and go upstairs. When Price opens the door (#86) follow your team. When you see enemy troops wait for the airstrike to come (#87). When it's over get to the destroyed vehicles (#88), to finish this mission.
In this mission you will find yourself on AC-130 plane, which shot at hostile forces in previous mission. It's equipped with 3 different guns (25, 40 and 105 mm), that can really make some mess.
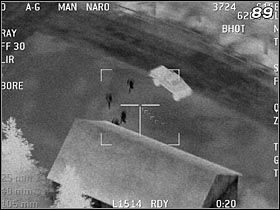
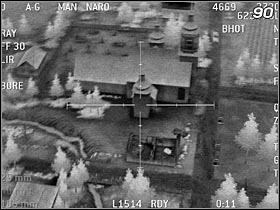
Wait until you are instructed and then destroy a vehicle (#89), that will park next to a church (#90). When attacking the enemy, remember not to damage this building or else you'll fail. However you shouldn't hesitate when it comes to the infantry - it's really dangerous for Price and his team. Remember not to shoot at British soldiers. To make it easier use the IR. It will help you in distinguishing friends from foes.
Attack enemies coming out of the building (#91) and listen to your crew's helpful clues. During the attack, Price's team will be heading towards the main road and will finally reach it.
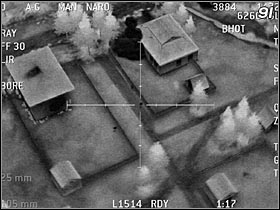
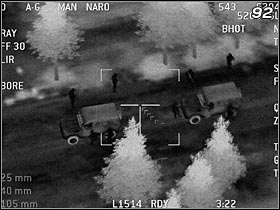
Two vehicles will show up on the road (#92). They'll be taken over by the British soldiers. Then there'll be another village with enemy's ambush. As soon as the buildings are in your range, attack (#93). Destroy all the vehicles (including a tank), and kill the infantry. Then destroy U-shape building to eliminate soldiers with RPGs. If you're quick and accurate enough, ally vehicles will get through this part.
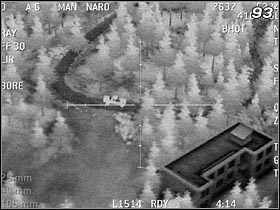
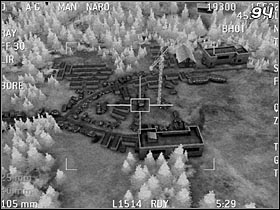
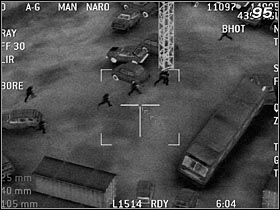
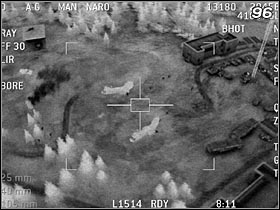
The last point of this great escape is a scrap yard (#94). Soldiers will get out of the vehicles to wait for an air transport - and you'll have to protect them. Focus on the 2 biggest buildings (#95) as enemy soldiers will be coming out of them. Eliminate any reinforcements that will come and watch out for your allies. After a while helicopters will come (#96). Kill the rest of hostile soldiers and wait until Price and his team flies away.
The last American mission was successful, however the war in the Middle East continues. The tank that got stuck in the bog is now fully operative - and its team is willing to help you .
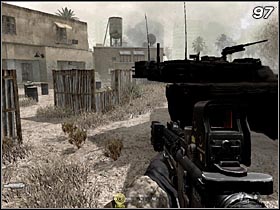
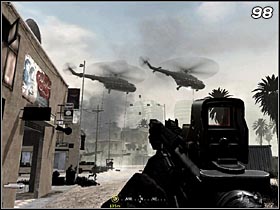
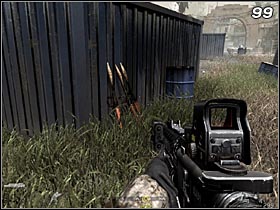
The mission starts where the tank got stuck earlier. Using the vehicle as a shield get to the left side (#97). When you're there it'll be easier to kill the enemy soldiers. After a while enemy reinforcements will come, including helicopters (#98) full of terrorists. Bring them down using RPG (#99), that is located in a container standing next to a bus. If you can't get there fast enough just focus on enemies going down the lines.
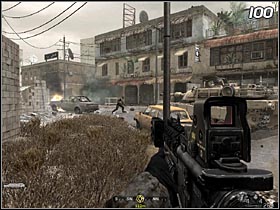
When it's safe, the tank will drive into the next alley (#100). This is the place where Abrams team can make something useful by shooting at the buildings. You should focus on the rest of the terrorists running around, including roofs.
When the tank moves, follow it. Stick to the buildings on the right as it's the easier way. Still, you have to be very careful.
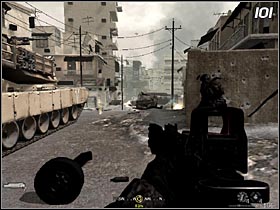
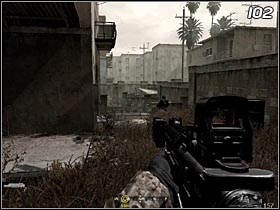
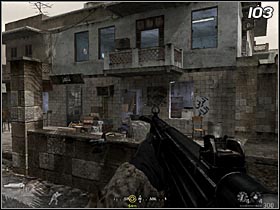
When the streets are cleared, the tank will head to the nearest corner (#101) and the Americans will start taking over the next part of the city. As there are many enemies you shouldn't just attack them. Turn into the alley (#102) on the right and walk around the two-storey building. Wait for your teammates to join you and kill as many enemies hiding in the next building as you can (#103). Then get inside the building fast. Now it'll be very easy to kill the rest of them.
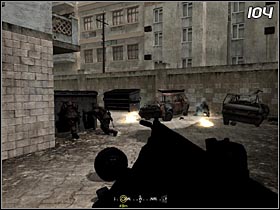
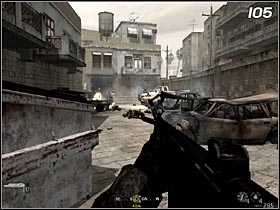
Get outside and head towards the next alley. Soldiers will move a skip creating a shield (#104). First of all kill the opponents in the windows (#105) and then eliminate the rest of them that are hiding behind cars. Watch out for the cars as they go off.
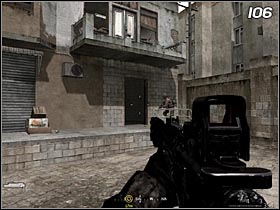
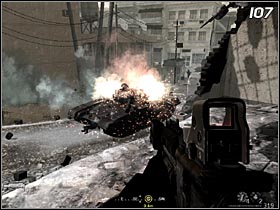
When the whole area is clear, one of the soldiers will open the door (#106). Run upstairs and wait. The War Pig will come and destroy the hostile tank (#107). Kill the rest of the enemies and follow your team.
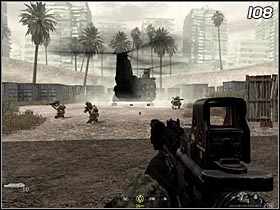
Go straight ahead. You will see a helicopter landing (#108). Get in it to finish the mission.
You begin on a helicopter. Using the Mark 19 mortars you can attack infantry and vehicles. Wait until your in good position and start the shooting.
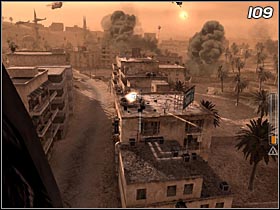
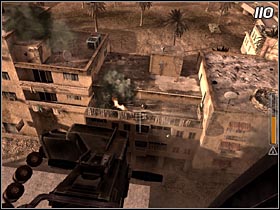
First you should deal with anti aircraft positions (#109), that are on the roofs and soldiers equipped with RPGs (#110). If they aren't in the vicinity, concentrate on eliminating the infantry and armoured vehicles. You have to be very careful at all times - it's easy to miss soldiers with RPGs, and they are most dangerous.
After some time the helicopter will land in the middle of the city and will leave few soldiers there. Then you will get some info about another team trapped in the other part of the city. Before you get there, eliminate as many enemies as you can.
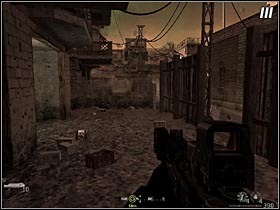
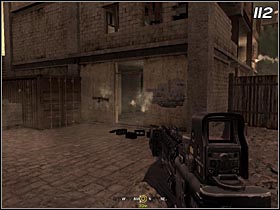
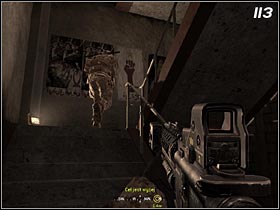
Go straight sticking to the building to your left (#111) and killing enemies. You will get to a building (#112), in which your allies are trapped. Go inside and get rid of the terrorists occupying the ground floor. When it's done get upstairs (#113). This is the place where American team is hiding.
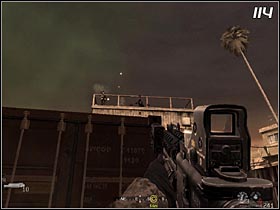
The first stage of this rescue mission is finished, now you have to get to the helicopter. Get down and hide behind a container - it will be very hot there, so watch out. Eliminate the soldiers standing on the roof of a high building (#114), and then get rid of the window shooters. After that get inside fast and kill the rest of the opponents.
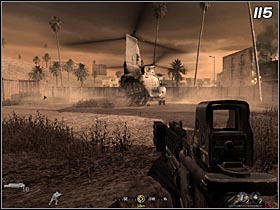
Leaning out of the window, you can help the rescued team in killing enemies . When the area is clear, get outside and follow the only possible way. When the helicopter lands, get in it (#115). Then put your hands on Mark19.
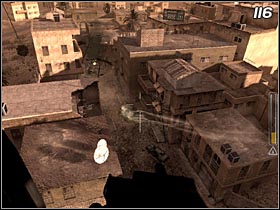
Just a seconds after you get into the air, the terrorist will bring down the other helicopter. You will have to rescue the pilot that survived. Before you land again (#116), kill every enemy that is in the vicinity.
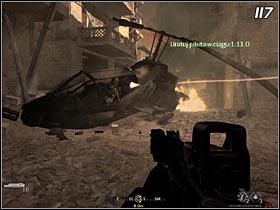
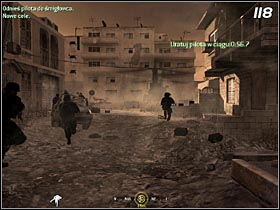
You have 1m:30secs to rescue the pilot. Don't waste the time on shooting for too long. Just kill the units that stand on your way to the helicopter. Leave the rest of the enemies to your teammates. Go to the crashed helicopter (#117) and get the pilot out of there. Get to your helicopter as quick as possible (#118). The helicopter will take off and you will experience a nuclear explosion.
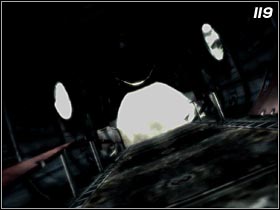
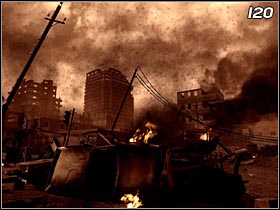
It's hard to believe, but you survived the explosion and the crash landing. Well, your condition is bad but you're alive. Get out of the helicopter (#119). You can stand up and see for yourself what the world looks like after a-bomb explosion (#120). Unfortunately you won't get to see anything else. You will just see an atom mushroom and you'll be gone...
Going after Al-Asad, SAS soldiers found themselves in Azerbaijan. Kamarov's man claims that the terrorist is hiding in a small village, unfortunately he doesn't know in which building.
Before you begin, be aware that in this mission you are free to search the buildings in the order you choose. The following guide is not the only way of dealing with it but, in my opinion, the most optimal.
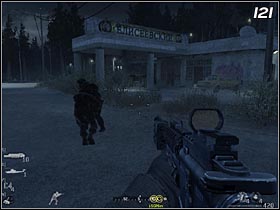
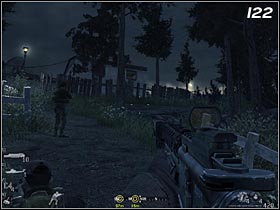
Wait for Price to see with Kamarov's man (#121) and then follow your team up the hill. To the left there will be a church - enemy will attack you from there. Don't go there, however, but get to the building at the end of the path instead (#122). After killing the terrorist that you will meet there, get inside.
To secure the building you will have to clear it out completely - so check all the storeys and the cellar. Only when your teammates say so is the building cleared - keep that in mind.
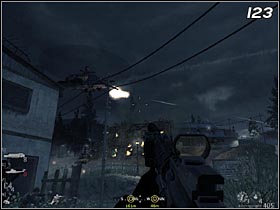
When it's done you can call in a helicopter. The helicopter shoots at the targets you point (#123), soldiers and vehicles. It's good to make use of it and attack terrorists hiding inside the buildings. When you point a target, don't get too close to it as you will get killed as well.
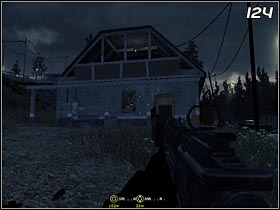
When you deal with the first building you can carry on with the next one - located on the North-west (#124). When this building is cleared, get outside. Go down the stairs and follow the path leading to the road (#125).
There will be an armoured vehicle so watch out. You can destroy it by planting the explosives on it, but it's safer to call in the helicopter. It will get rid of that annoying piece of junk.
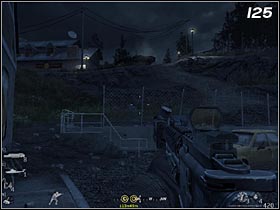
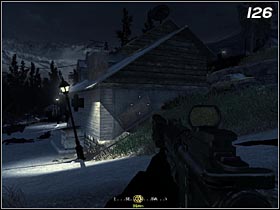
When it's good to go, you should take care of the nearest building (#126). It's good to get inside through the window and eliminate all the enemies one storey after another. When you get the info that it's clear, keep going.
Get to the destroyed armoured vehicle and then on the road. It will lead to another building (#127), in which Al-Asad may be hiding. Use the helicopter to kill the enemies, then get inside and finish the rest of them.
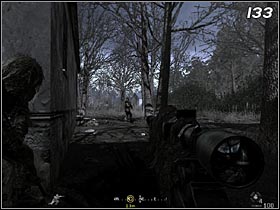
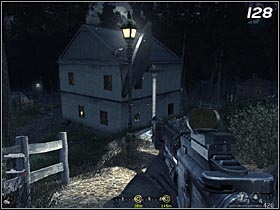
The last building to be checked in this part of village, is a white house (#128) with a satellite dish next to it. There are hordes of enemies inside, so make use of your all grenades before you go there. Be extra careful when getting on a second floor as terrorist can easily kill you on the stairs.
When the white building is taken care of, get to the last place that may be Al-Asad's hide-out - a farm(#129). It seems to be abandoned, but well, not really. As soon as you get closer you will be attacked.
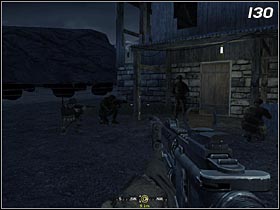
Kill all the terrorists and go towards the biggest barn (#130). Price will open the door and look who's there - Al-Asad himself. The captain will start rather painful interrogation...
Al-Asad's phone will compromise the man that delivered the a-bomb. It's Imran Zakhaev, who used to be captain Price's enemy. The British shot off his arm when on a mission in Ukraine. You will have a chance to see it for yourself.
You will start this mission as Price not too far from the nuclear power plant in Chernobyl. You will be guided by captain MacMillian - listen to him very carefully as it will help you not to get in trouble . Remember that in this mission you should stay undercover.
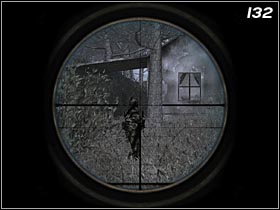
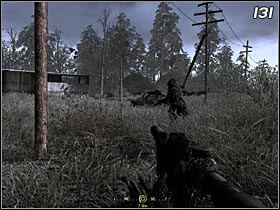
Go straight ahead as MacMillian says (#131). Soon you will see two soldiers patrolling the area. Wait for the moment the two of them don't see each other. Then aim for the head of the one to the left (#132). MacMillian will take car of the other one.

Keep going. You will find a house with dogs inside. MacMillian will decide to pass this building. The yard is patrolled by one soldier (#133). Wait until he goes away from the house and kill him by shooting in his head. It's time to get going - stick close to MacMillian and no one will spot you .

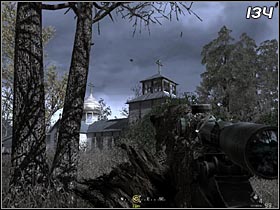
When you get close to an orthodox church, MacMillian will tell you to stop. The guardian on the tower will spot you if you move any further (#134). According to MacMillian's suggestion, aim for his head and kill him, and then kill another enemy near a blue plane.
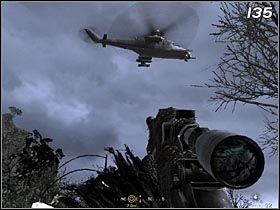
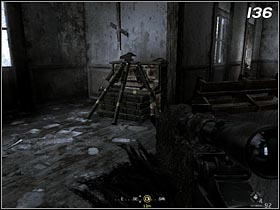
Wait for MacMillian to open the door and then keep going. A helicopter will show up so hide in the shadow (#135). If by any chance helicopter spots you, you can bring him down using Stinger launcher that is inside the church (#136).
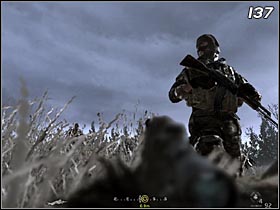
Follow MacMillian. You will encounter enemies going towards you. As MacMillian says, get down and move aside so that they can't see you (#137). If any of them gets close to you, just lie still. Wait for them to move along and then start crawling ahead. When MacMillian says so, get up and start running - you will be safe for some time.
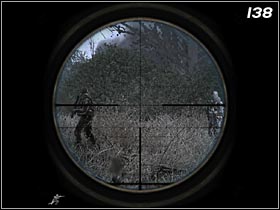
You will get to some kind of a junk yard. There are four opponents here. Two of them aren't dangerous temporarily - as they are throwing bodies into the water. The rest of them are patrolling the area (#138). Get rid of them just like you did it before - kill them when they don't see each other.
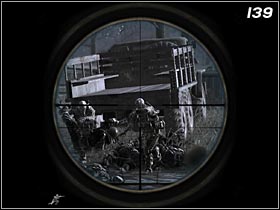
Then it's time to kill the rest of them. Wait for MacMillian to get into position. When he gives you the signal kill one of them by shooting in the head(#139). Captain will eliminate the other one.
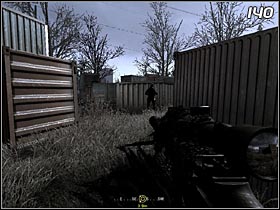
You will get to some containers (#140). MacMillian will take over the control - he will give you some orders. Whatever he orders you, do it. He tells you to stay in the shadow, you do it. He tells you to run, you do it. By doing so, you will avoid the alarm and you won't have to fight.
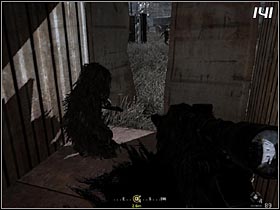
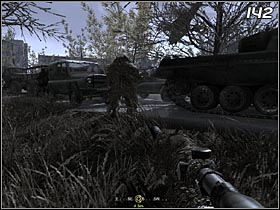
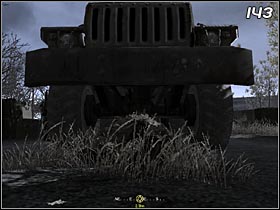
After some time you will get to the place where enemy has gathered (#141). Wait until MacMillian gives you a signal and then do what he does - first run towards the vehicles (#142), and then crawl under them (#143). If you stick close to the captain you will remain unnoticed.
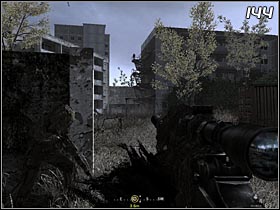
The next opponent will be standing at the top of the stairs by the building (#144) Use your sniper rifle to eliminate him.
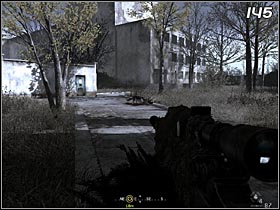
Follow MacMillian. On your way you will encounter a wild dog (#145). It's better if you just stay away from it. If you shoot at him, other beasts will come.
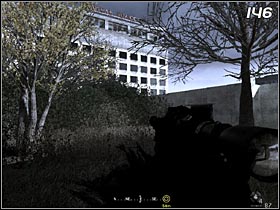
After some time you will get to the building (#146) from which you will be able to shoot Zakhaev. However, you will learn some time later if the attempt was successful.
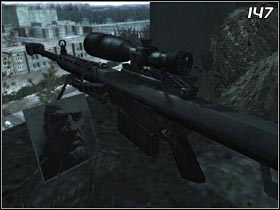
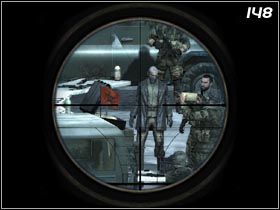
Use the sniper rifle (#147) and wait until Zakhaev gets there (#148). When MacMillian tells you, shoot him, but do take the wind into consideration. Just watch the flag on the car. If its flickering too much, move the crosshair to the left or to the right (depending on the direction of the wind ).
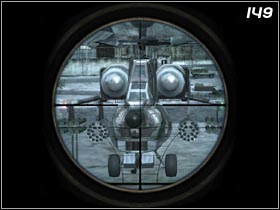
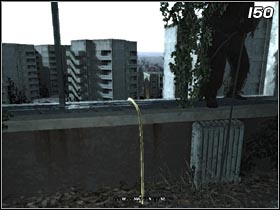
When you shoot at Zakhaev, he will lost his arm but according to MacMillian that's enough. Then shoot once more, this time at the pilot sitting in the helicopter (#149). It will get pretty hot then, and you will have to run. Follow the captain (#150), grab the line and go down.
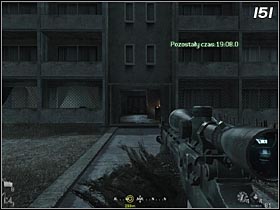
Enemies will show up. Kill some of them and when MacMillian says so, start running. You will get to a building (#151), in which you will be able to hide for a while.
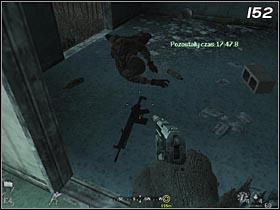
Wait for MacMillian to open the door and then go straight ahead. After a couple of seconds, wild dog will attack you. Kill it and keep moving. Soon more enemies will show up. To make it easier for yourself, plant some mines by the front door. Before you leave the building (#152) pick up the enemy's weapon - it will be useful soon.
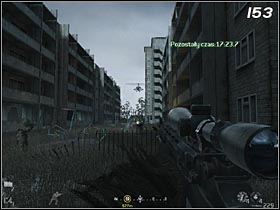
Kill the next soldiers that will attack you and then shoot at the helicopter (#153). It will crash and pin down the captain(#154). That means trouble.
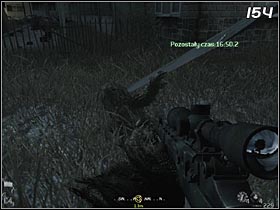
Form this point you have to carry your commander, and that means you will be completely defenceless. MacMillian will help you with killing enemies but first you will have to lay him on the ground. Soon you will have a chance to try that method out as enemies will show up. The second time will be in a small park (#155), enemies will attack there again. But this time there will be more enemies and they will attack from many different directions.
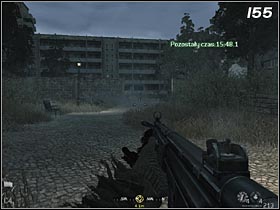
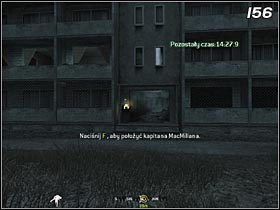
When you deal with them get the captain and walk into the building (#156). Get on the first floor. When you see a dog, kill it and then keep moving.
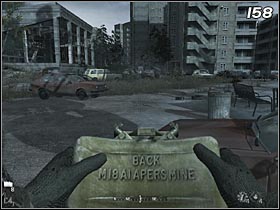
After some time you will get to the ferris wheel (#157). This is the place of the final battle. Kill the soldiers patrolling the area and put MacMillian where he tells you. He will shoot at the enemies that will show up soon. Use the time you have to plant some mines. It's good to place them next to the cars as soldiers will hide behind them (#158). Plant some C4 as well, you will be able to detonate them later.
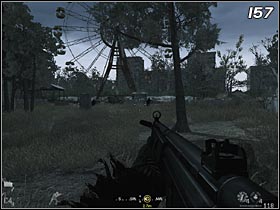
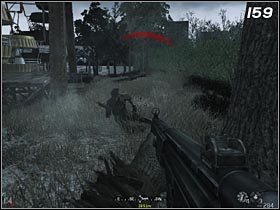
To finish this mission you will have to supress all the attacks until a helicopter comes to pick you up. This task won't be easy as terrorists will be coming in great numbers. I suggest staying close to MacMillian and eliminating coming enemies with the sniper rifle. If anyone tries to get to you from the other side of the ferris wheel (#159), use the weapon you got before.
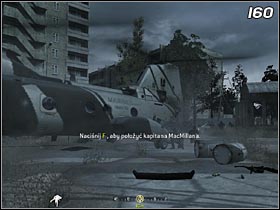
When the helicopter is finally there, pick up MacMillian and get him in it. (#160). This mission is over.
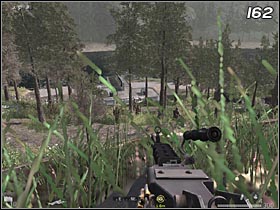
Follow your team (#161) and prone next to a fence on a hill (#162). It's just right next to a church. When your teammates detonate the explosives, start eliminating enemies. Don't save your ammo here, as you will have to kill many enemies at this stage of the mission.
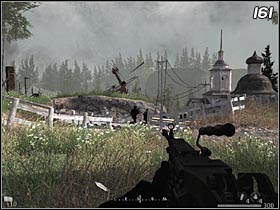
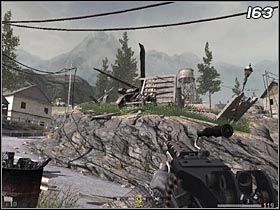
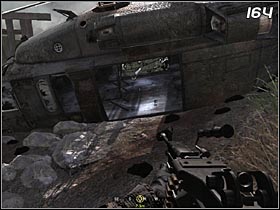
Ultranationalists will throw smoke grenades so that you can't see them coming. Wait for Price to give next order and retreat North towards a crashed helicopter (#163). Get inside (#164) and grab a machine gun. Controlling the temperature of the gun, start exterminating the enemies. Destroy all the helicopters that will come, as they will bring more hostile troops.
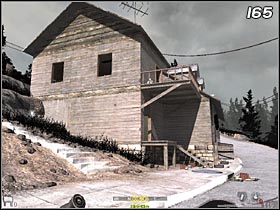
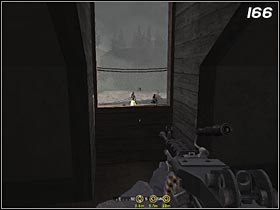
When you hear another order, head towards the nearby tavern (#165) in the middle of the village. There are 4 detonators inside (#166). Use them to blow the explosives. Now it's time to get back on the farm where Al-Asad was hiding.
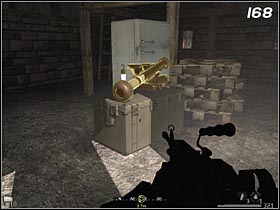
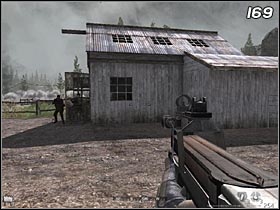
Get to the barn (#167) and pick up Javelin (#168). You will have to use it to destroy 4 tanks that have just started shooting. When aiming, try to find some cover or else you'll get killed immediately. Use a small house standing right next to the barn as a cover (#169). You can aim from inside but to shoot you will have to get outside (#170).
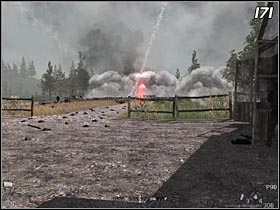
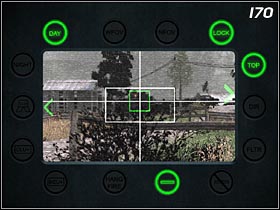
After destroying the tanks you will get good news and bad news. From now on you have an option of calling in airstrikes - you just have to show a target and it will get bombed (#171). The other piece of news is about the transport that is supposed to get you out of Azerbeijan. It turns out that the helicopter can't land on the farm, so you and your team have to get to the river. To make it more interesting - you have to get there in 4 minutes.

It won't be easy as there are many enemies around. Fortunately there is an easier way to get there. Walk inside the small building that you used as a cover and use the back door.
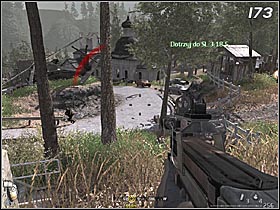
Just run towards a red building located on the south-west, and don't look back (#172). Walk around it and you see a water tower (#173). Get on the road and just run towards the landing spot looking at your compass. When running hide behind cars and buildings so that you don't get hit. Don't involve in fighting under no circumstances. Running is all it takes to leave the opponents behind.
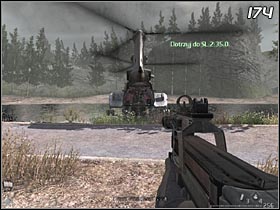
When you get there just hide behind a building and wait for the helicopter (#174). When it comes, get inside and finish the mission.
The British want to use Zakhaev' son who is staying in Russia to get Zakhaev himself. A plan prepared by Price and his team will allow to catch him easily. Well, that's the plan...
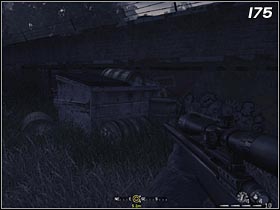
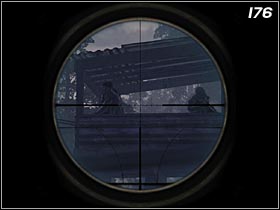
Following Price get to a hostile outpost. Jump on a skip (#175) and be prepared to eliminate the guards on a tower. When you're told to do so, shoot them (#176). After that a battle will begin. Help your teammates to kill all the ultranationalists.

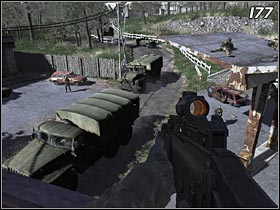
Wait until a convoy with Zakhaev shows up (#177). When you're instructed to do so, kill all the soldiers but do not shoot at the man wearing blue clothes . Then your outpost tower will get rammed.
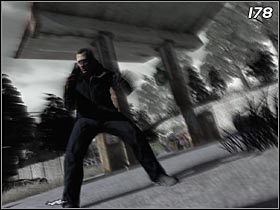
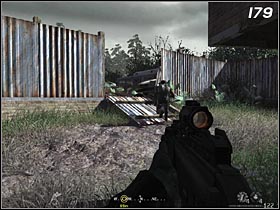
Zakhaev will start running away (#178), You and Griggs have to catch him by any means. Follow your teammate (#179). And try not to lose visual contact with Zakhaev, because if you do the mission will be failed
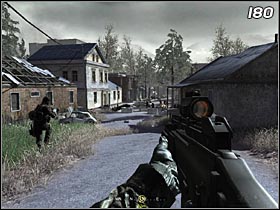
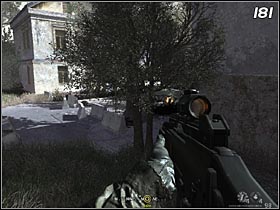
You will get to a street that is full of enemies (#180). Go to the building on the right and get outside on the other side of it. Kill the enemies you'll meet there(#181). When Zakhaev starts running again, follow Griggs to the alleyway(#182).
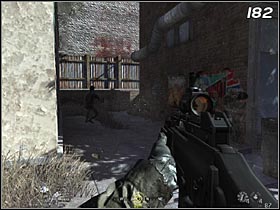
Go straight ahead and kill everyone that stands on your way. After some time you'll get to the white stairs (#183), leading to the five-storey building (#184).
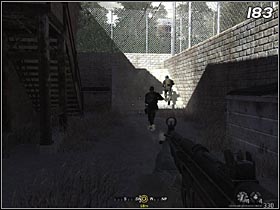
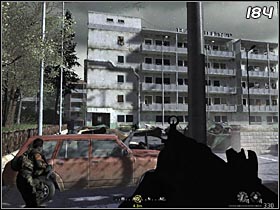
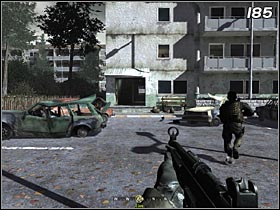
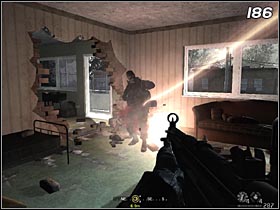
Before you get on a parking, wait until an allied helicopter kills the enemies on the fifth floor. Then get inside (#185) and follow the only possible path. On your way, you will have to kill some terrorists hiding in the rooms (#186). Be careful as you may be easily taken aback in the narrow corridors.
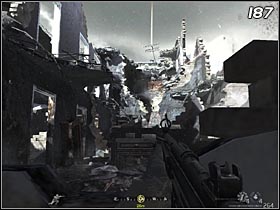
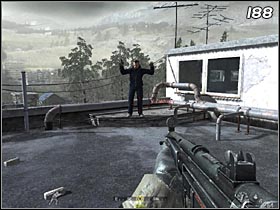
When you get to the ruined part of the building hide behind the wall and wait for the helicopter to kill the enemies shooting at you (#187). Then follow the path and you will get on the roof where Zakhaev is hiding (#188). The captain will give you an order to disarm the terrorist but as soon as you move towards whim he will commit suicide...
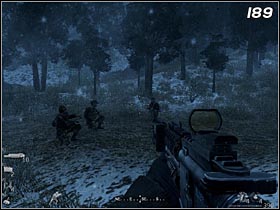
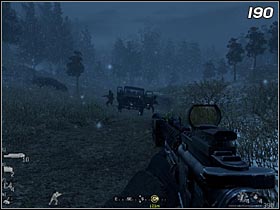
The British and American soldiers came into the Russian mountains (#189). Your team is lacking Briggs as he landed in completely different spot and got caught by the ultranationalists. Follow you compass, and kill the soldiers patrolling the area (#190). After short while you and your team will get to the first buildings.
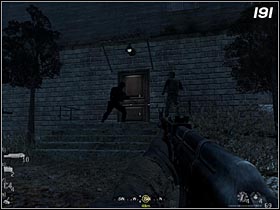
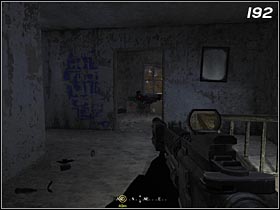
Price will open the door (#191), and you'll get inside. Kill every opponent (the ones upstairs too - #192) and wait for your teammates to say that the building is cleared. Get downstairs and walk outside.
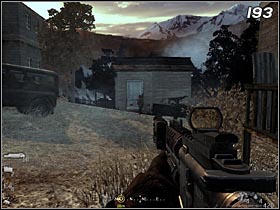
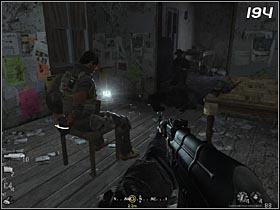
Kill the patrolling soldiers (#193) and get into the building from which Grigg's signal is coming. Your teammates will blow the door and kill the enemies. You will have to help Griggs. Release him (#194) and go outside.
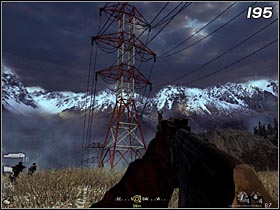
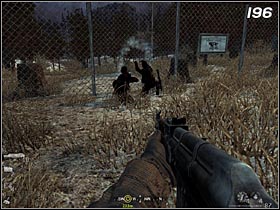
Head towards the pylon (#195), and watch out for the helicopters patrolling the area. Plan the explosives on the pylon, and move away from it. Use the detonator. The enemy's camp has no power now so the fence can be cut (#196). Keep going.
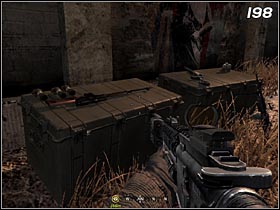
You will get to a hole in the wall, walk through it (#197) and pick up the sniper rifle (#198). You will use it to eliminate the enemies coming towards you. Get on the position (#199) and start shooting.
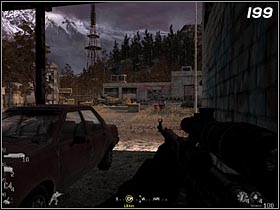
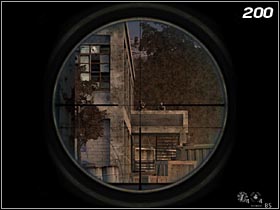
Opponents will be coming out of the bug building that is right in front of you, and some of them will come in a helicopter. Listen to your teammates as they will inform you about soldiers equipped with RPGs. They'll show up on the roof to the left (#200) - you have to eliminate them.
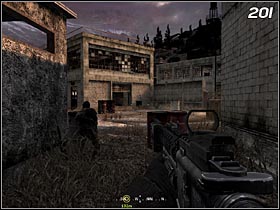
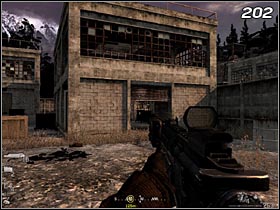
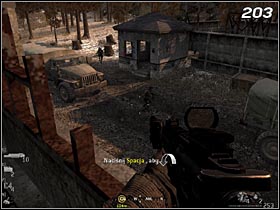
When this part of the camp is dealt with, keep going. Soon you will meet another group of ultranationalists (#201). Eliminate every opponent and watch out for the red barrels that can kill you. After that you will have to face the reinforcements, that will get there in trucks. The best spot to deal with them is the first floor of a nearby building (#202). This place will be great to eliminate the opponents and because it's higher, you will be able to see more (#203).

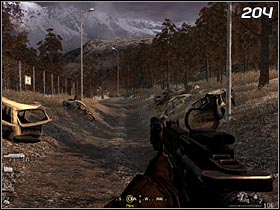
When you finally kill all of them, keep following the path (#204). After a while you will meet the american squad of snipers. Then nuclear missiles will get launched and you will witness it.
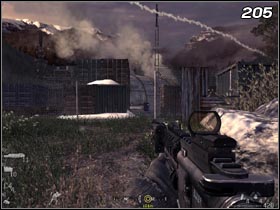
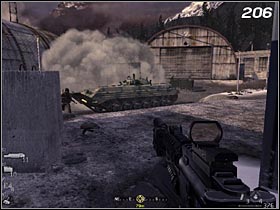
Run straight ahead to the hostile camp (#205). Hide behind one of the containers and start eliminating the opponents. An armoured vehicle will show up (#206) - if it's not destroyed, you won't get any further.
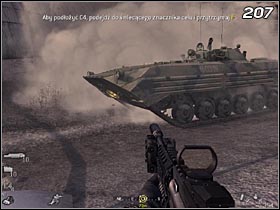
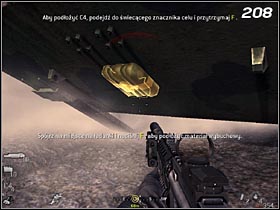
To get to the vehicle unnoticed you will have to use smoke grenades (#207). Then you will be able to plant the C4 on it (#208). When you get to a safe place, detonate the explosives.
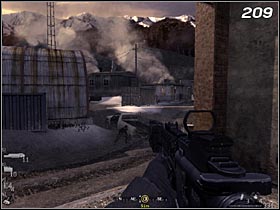
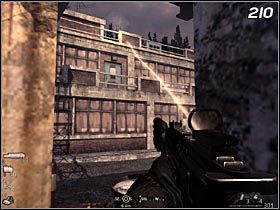
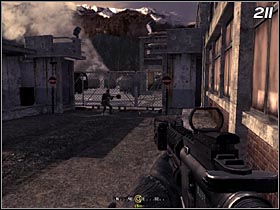
Keep going and you will get to the building from which enemy is shooting at your allies. Hide in one of the garages and look at the nearby container (#209). When you get there, walk around it and you'll find a perfect spot from which you can eliminate the enemies (#210), When it's done get to the building. One of the soldiers will blow up the gate (#211).
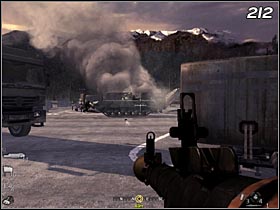
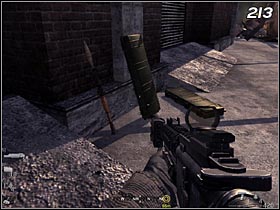
You're almost there - all you have to do is destroy two armoured vehicles that won't let you go any further. There are two ways of dealing with them. You know the first one: you throw a smoke grenade and plant the C4 (#212). The other one is simpler: just pick up any RGP and use it on the vehicles (#213). It doesn't matter which option you will choose. What matters is that the 2 vehicles will turn into piece of junk.
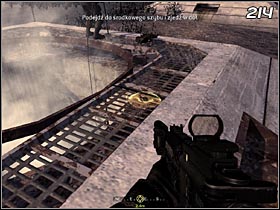
When you get rid of the vehicles, kill ale the soldiers that are still alive and wait for the silo to open . Grab the line (#214), to go down to the base.
You got into the ventilation (#215). Follow Griggs and when he turns, join Price. Go will get to the baths (#216). You will learn that 11 minutes is what you got to neutralize the launched missiles.
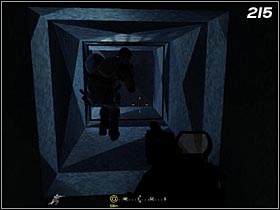
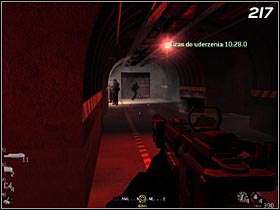
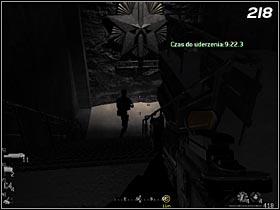
When you get out of there, turn left and go straight (#217), eliminating the enemies. You just have to keep going and do not waste too much time on shooting. Use as many grenades as you want - the faster you get rid of the enemies the bigger chances to neutralize the missiles. You should get to the stairs (#218).
When you're in the next part of the base, do not go straight. You should turn left or right(#219). You have better chances there. Use the flash grenades, especially in the corridors where you can get shot from the back.
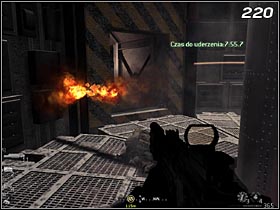
The most difficult situation is in the silos with missiles. Hide behind the missiles and watch out for the fire or steam coming out of the pipes (#220).
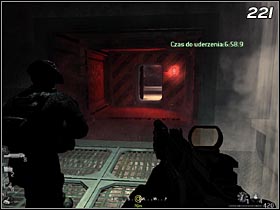
When you're at the end of the path you will have only seconds to get behind the armoured door (#221). Run as fast as you can. Shortly after Price will close the door.

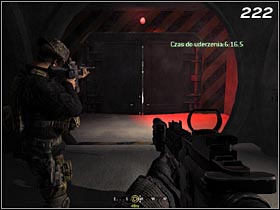
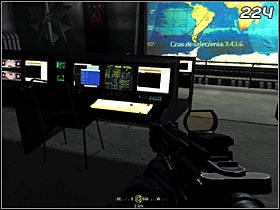
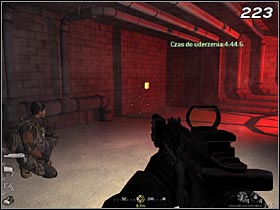
Gaz will open the door leading to the next part of the base (#222). As soon as you are able to push through the door, do it and start eliminating the soldiers. Then you will have to plant the explosives in the certain point (#223). Detonate C4 and get to the control room. Kill the rest of the soldiers and head to the keyboard (#224). After you give the right codes, the missiles will be neutralized.

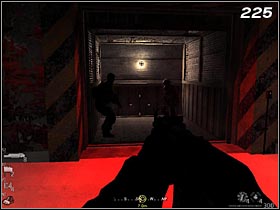
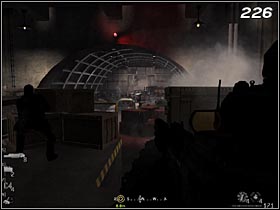
You will have to evacuate then, so follow Price. On your way out you will have to kill some soldiers. At the end there's a lift (#225). When you get up (#226), help with exterminating the enemies head towards the exit.
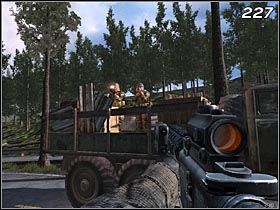
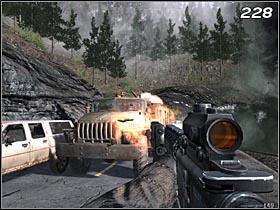
The last part of the game is a typical rail shooter, at least at the beginning. You can't go anywhere, but what you can do is shoot. The soldiers on the trucks are the most dangerous so eliminate them as quick as you can (#227). Do the same with soldiers equipped with RPGs (#228). When they show up, you will hear it from your teammates.
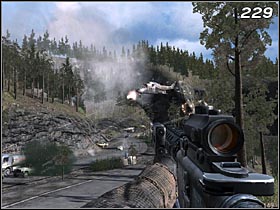
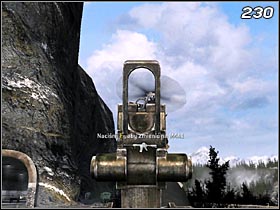
Then a Hind helicopter with Zakhaev will show up (#229). Try to destroy it with a launcher (#230) - actually there is almost no way you can destroy it now but the helicopter will be distracted. Then the helicopter will fly off. Apparently, Zakhaev will decide that it's better to destroy the bridge instead of the truck.
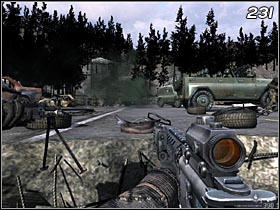
You survived the crash, but if you don't hurry up you'll die.. Follow Prince to get off the falling bridge and find a suitable position on the road (#231). Kill every opponent you can. The situation is getting worse but hey, you're still alive.
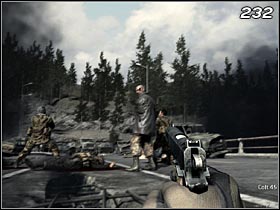
Finally the helicopter will reappear and destroy the fuel tank. When you come round you will see Zakhaev coming with two of his soldiers (#232). Take your chance and, after grabbing the pistol that Price slid to you, kill Zakhaev and his soldiers. After that all you have to do is watch the credits...

 Call of Duty 3 Game Guide & Walkthrough
 Cities XXL Game Guide & Walkthrough
 Crackdown Game Guide & Walkthrough
 Call of Duty 2 Game Guide & Walkthrough
 Call of Duty: Modern Warfare 2 Game Guide & Walkthrough