Welcome to the unofficial guide to Call of Duty 3. It will help you finish all fourteen missions and assist the allies in invading France possessed by Germans. Gameplay in COD3, just like in other parts of the series, is linear. It means you have to succeed at all task in order to complete each chapter. On the other hand, the way of doing it is mainly up to you. You'll often need to find another, less obvious path to reach some point. Sometimes your life will depend on whether you use a cover in good place, throw a grenade or eliminate opponents in right order. In mentioned cases, you may find this guide helpful. Besides, in the fervor of battle, you might lose orientation, and preventing from this is the other thing this guide can be used for. On the end, you will find a list of all achievements for the game. Now, please spare a moment for getting to know some hints.
Well, that would be all for the beginning. Any other information will be given au courant in appropriate place. Now grab your gun and get in the battle. Good luck.
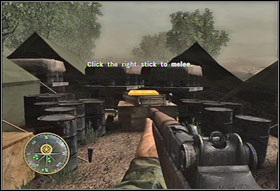
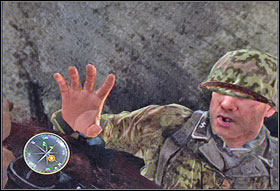
Before you head into battle, you need to demonstrate your basic soldier skills. Your tester will be private Huxley. All you have to do is follow his instructions.
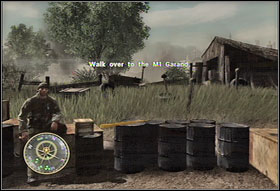
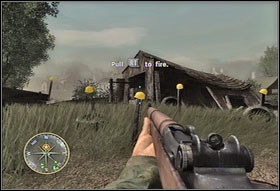
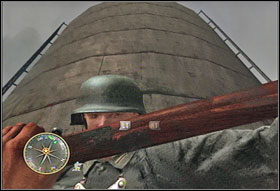
At first, approach Huxley. There's a M1 Garand gun near him (#1). Pick it up and use to shoot German helmets situated on sticks (#2). Don't worry, soon your will be aiming real opponents.
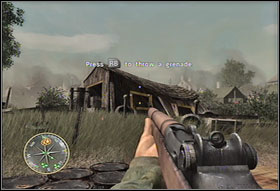
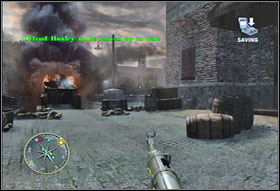
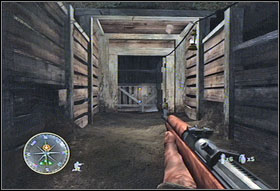
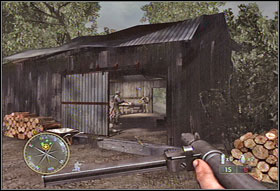
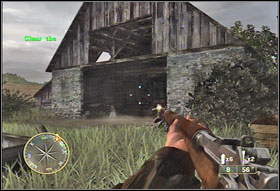
Now it's time to play grenadier. Pick up grenades lying near Huxley. Your task is simple: give imagined Germans hidden in the barn some entertainment (#1). Throw few grenades inside - two through the windows and one through the door. Now take the smoke grenades. Throw one in direction of the barn and your task will be completed.
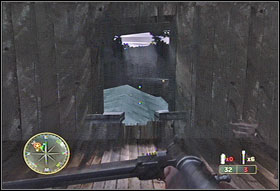
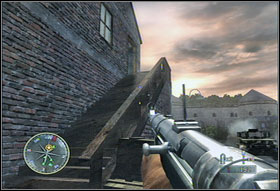
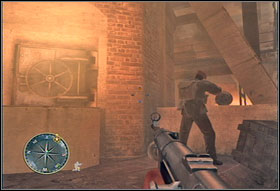
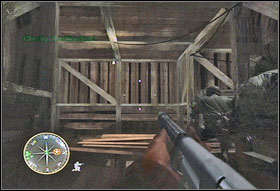
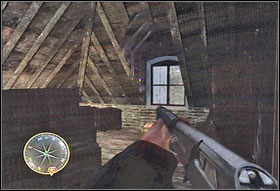
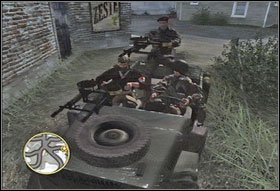
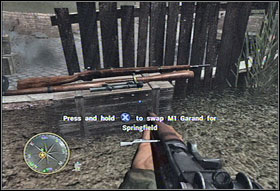
Next you will be sent to get additional weapons. Go to the spot marked on the compass, bend down the board, approach the box (#2) and break it off by striking quickly. Now take the gun and head to the nearest truck. After you get inside, your test will be completed. Time for some real battle.
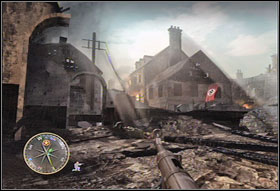
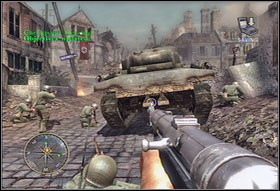
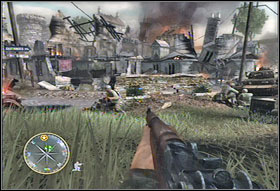
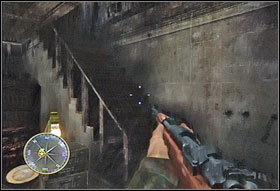
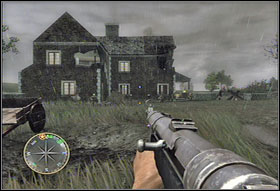
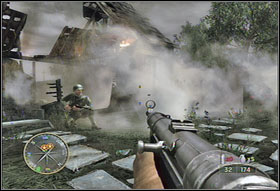
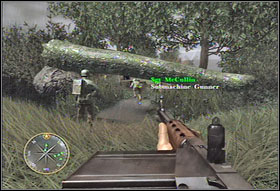
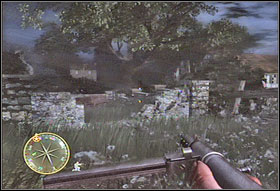
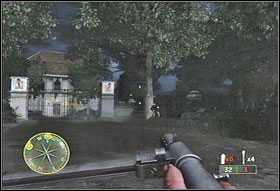
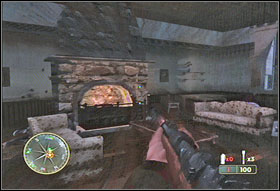
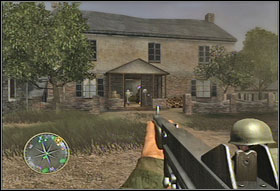
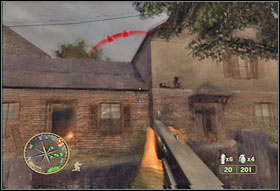
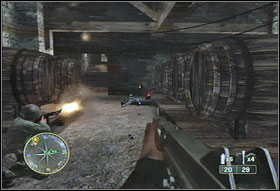
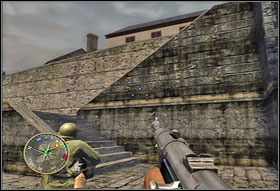
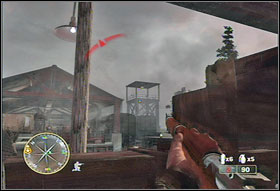
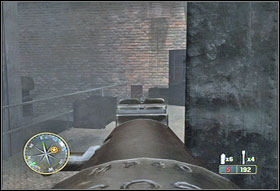
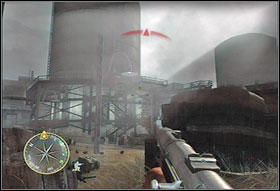
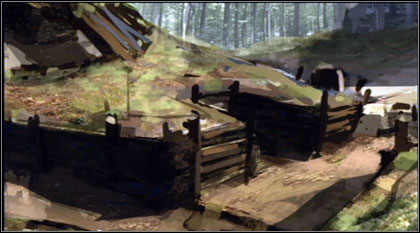
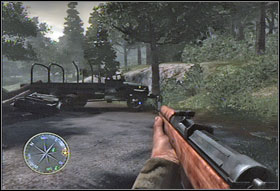
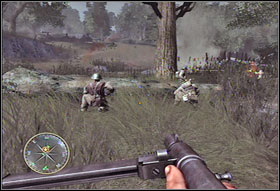
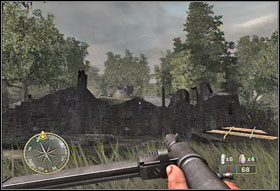
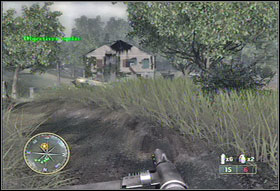
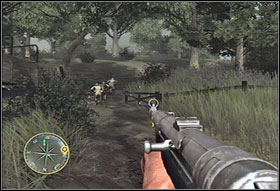
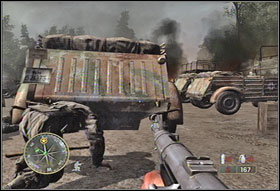
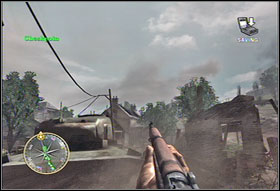
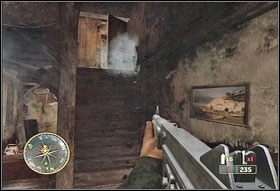
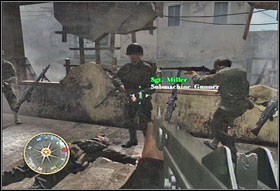
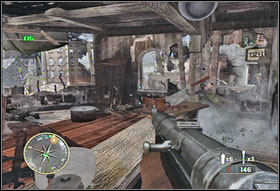
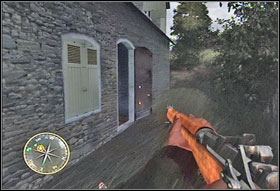
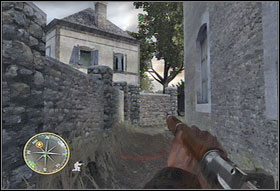
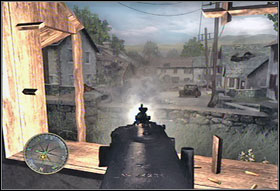
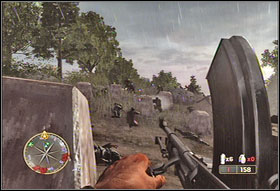
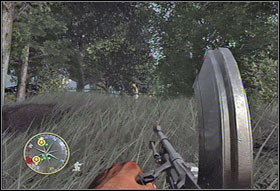
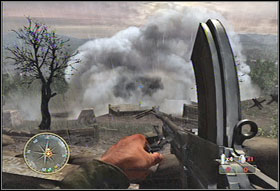
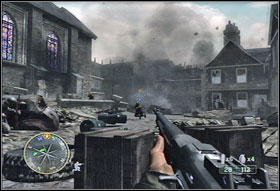
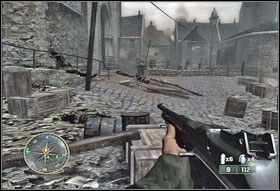
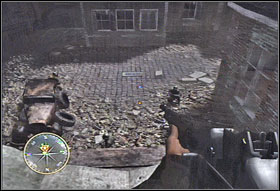
Your joyride won't last long. Soon you will be at the center of the fight. There's a cemetery, then a church and further part of destroyed city in front of you. When you get through the wall, head to the small building (#1). Be careful, because it may be occupied by an enemy soldier. Kill him, hide in the north-east corner of the housing and clear terrain in front of you. Remember that haste makes waste so eliminate your opponents little by little. Head slowly to the church (#2). Use the tombstones and cemetery wall to take cover.
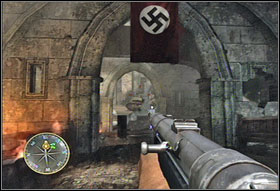
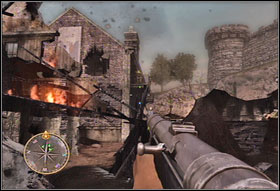
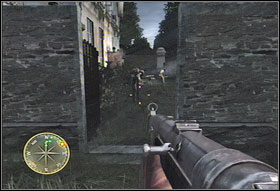
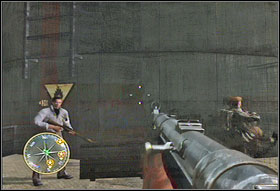
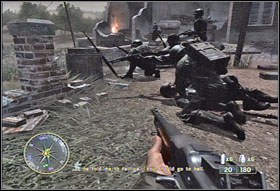
Quickly run through the path and head to the church entrance (#2). There's a lot of Germans inside, so throw a grenade before getting in. Now run inside, kill the survivors and go ahead.
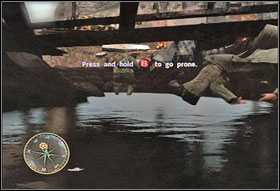
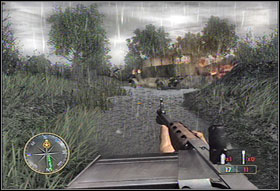
When you'll be in the water, lay down and crawl under the beam (#1). Soon you'll be on the other side. Turn left and overleap another obstacle (#2).
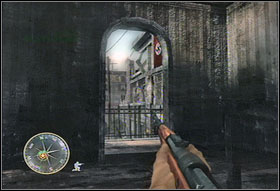
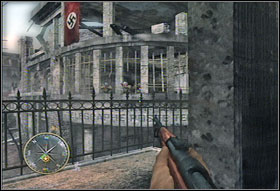
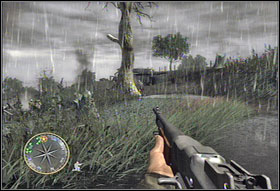
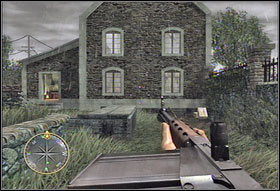
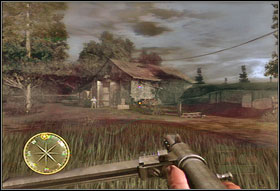
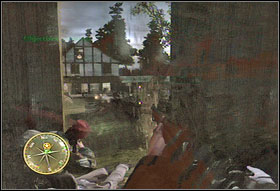
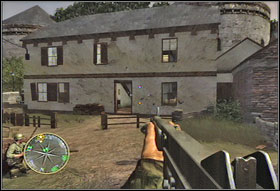
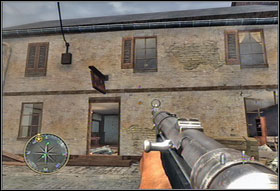
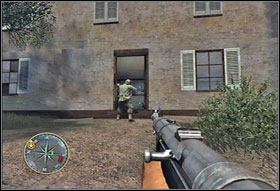
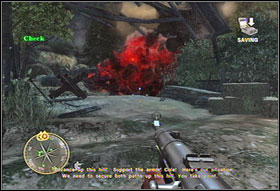
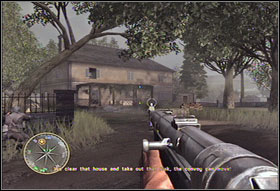
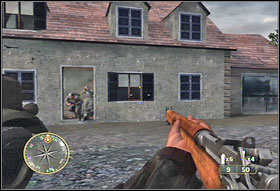
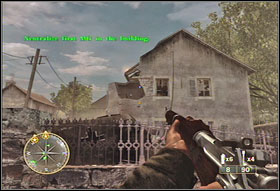
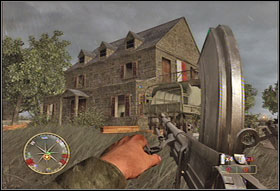
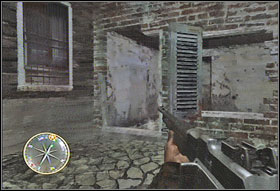
Now head to the building with swastika on it. Watch out for the enemy behind the gate (#1). After eliminating him, run to the house occupied by Germans. Halfway you'll be guided to right to check and secure a building nearby (#2).
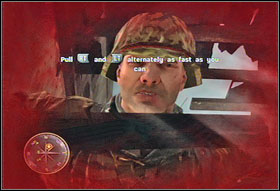
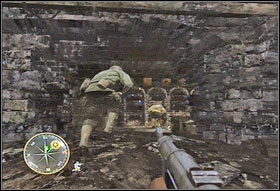
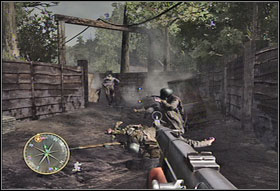
Suddenly, you will be attacked (#1). Hand-to-hand struggle will consist of four stages. First, you fight to seize the gun (press RT and LT buttons in rhythmic movements). Second, you push away your opponent. He won't lose heart though and will attack again. Another moment of struggle and you'll be able to finish this clash (#2).
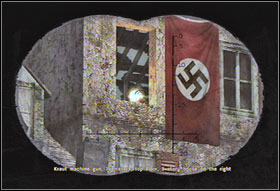
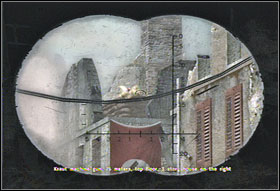
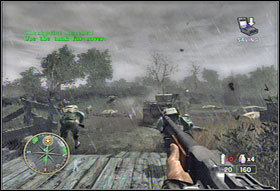
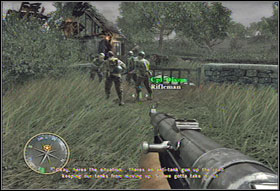
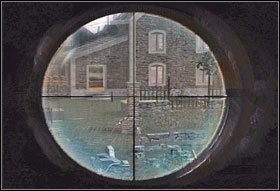
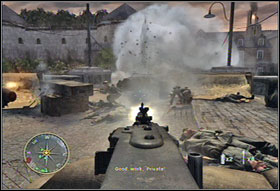
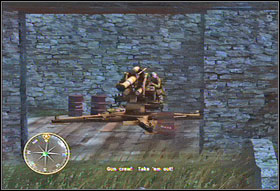
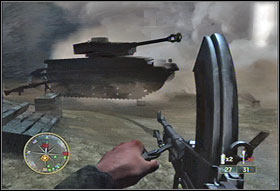
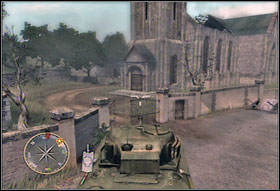
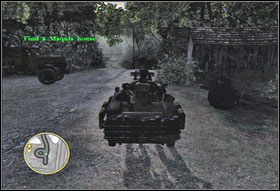
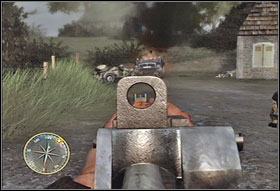
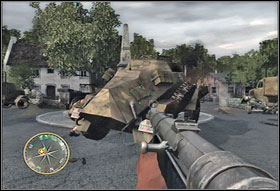
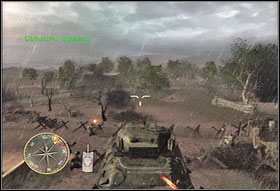
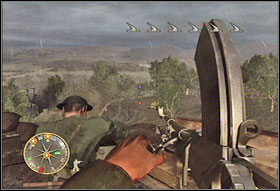
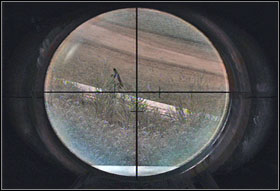
Now it's time to drive a tank a bit (#1). Climb on it, equip the binoculars and look for targets to destroy. In the building on the right, you'll perceive your first opponent (#2). Inform the tank crew and they will eliminate him.

Do the same thing with two other enemies. One is situated in the building right in front of your tank (#1). The other hides in the boarded up window on the left (#2). Then your tank will move forward.

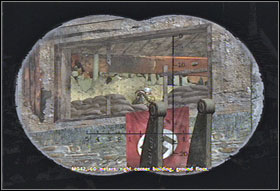
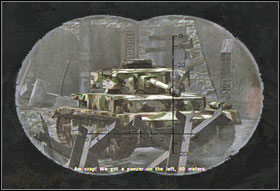
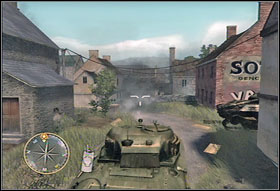
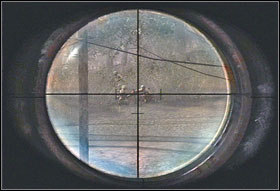
When the vehicle will stop, look again through binoculars and find an enemy hidden behind the barricade on the destroyed floor of the building. Your last target to eliminate is a German tank, which will arrive from the left side. Unfortunately, you won't be lucky for long. Your vehicle will crash and you will find yourself in a building nearby.
Leave it and run east to the place that used to be a caf before the war (#1). There will be a little drama going on. Apparently your squad is in dead end. Enemy cannons can hit it an any moment. No wonder some of your comrades become very nervous. Luckily, you find a secret passage which will lead you out of this dangerous location.
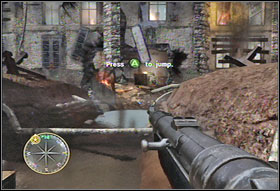
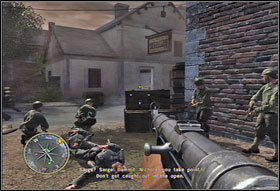
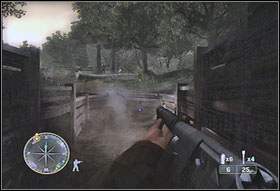
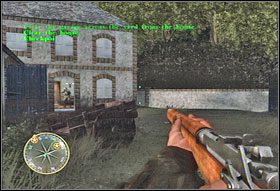
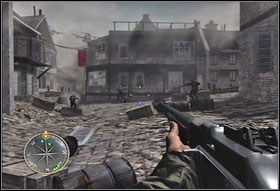
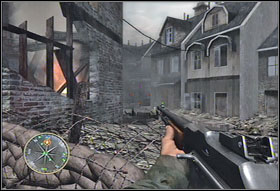
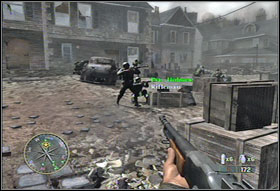
Move with your comrades toward the east (#1). Soon you'll be outside. Now you need to get across the street (#2). The terrain is guided by an enemy forces so better throw a grenade first and then hide behind the wall and eliminate the rest of opponents. In case of troubles, you can always use a smoke screen.
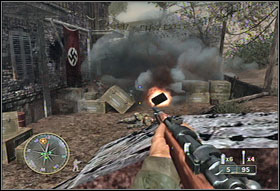
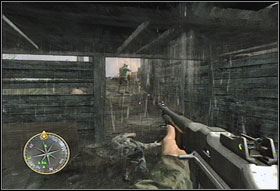
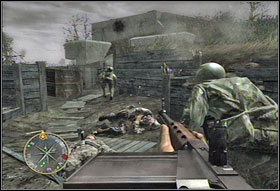
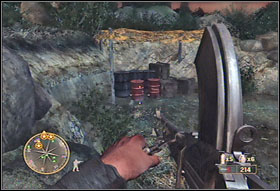
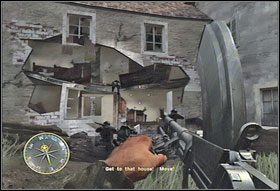
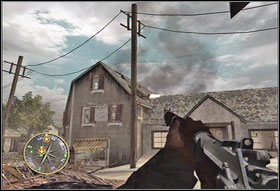
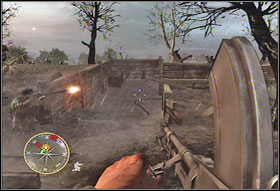
Your next target is building in front of you (#1). Be careful, because there are Germans running out its side door every moment. To clear the way, it's good to use the elements of environment. Do you see that red barrel near the enemy post (#2)? Shoot it and the situation will become better.
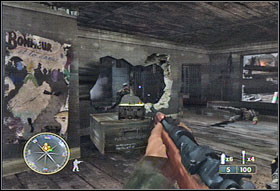
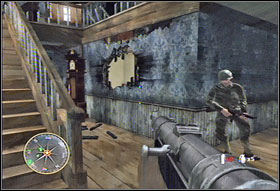
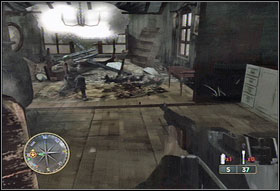
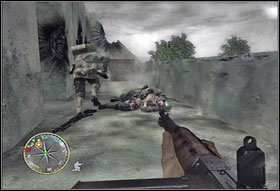
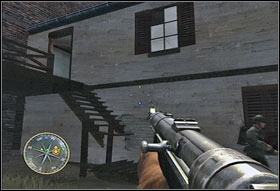
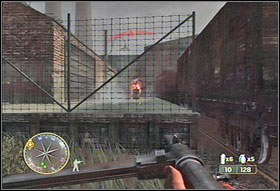
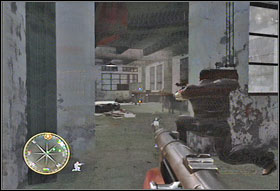
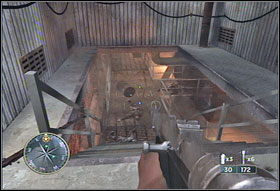
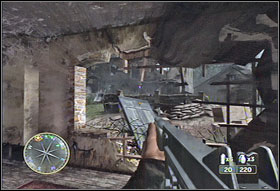
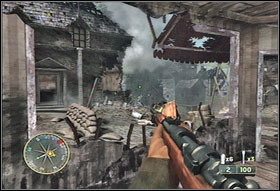
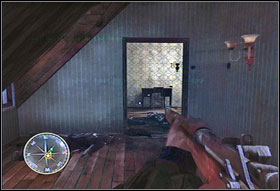
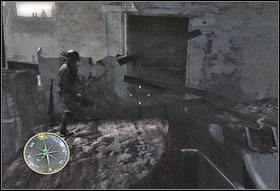
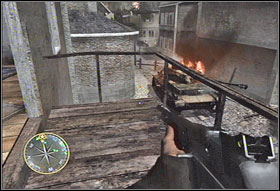
It's not advised to run in the building thoughtlessly. Instead move little by little trying to eliminate as many enemies as you can. When you'll see a hole in the wall leading to another room, throw a grenade through it. It will affect your opponents surely. When you'll manage to clear the ground floor, move with your comrades to the second one (#2).
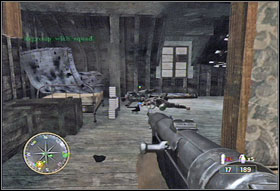
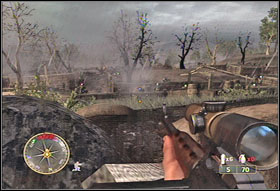
After a while, the gameplay will change a little. You will be forced to act on the defensive now. Your task is to survive until the succor arrives. You can take advantage of three holes in the front wall of the housing. Your comrades usually concentrate on the middle one, so you better use the one on the left first and eliminate enemies which you will see through it. Next watch for no one to get to the floor (throwing a grenade through the hole in the floor should make it). Now hide behind the wall near the exit to the balcony (#1) and shoot the Germans in the building vis-a-vis. If you manage to survive the enemy offensive, the mission will have a successful ending and Saint Lo will be free.
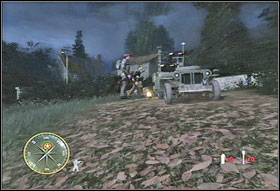
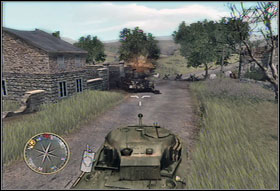
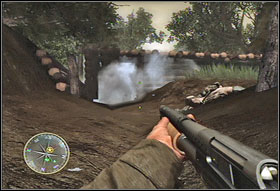
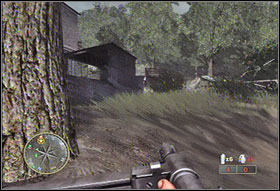
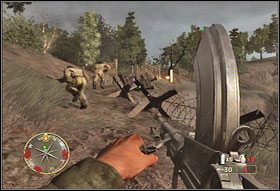
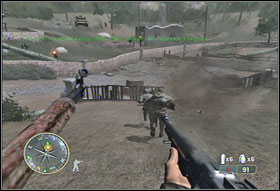
In the beginning of second mission you must act quickly. The key to success is to use the tank as the cover (#1). Depending on situation, take position on this side of the vehicle, which will protect you from getting hit. Move like this through the field and the path nearby. Then you will reach some rural buildings (#2).
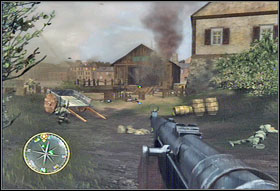
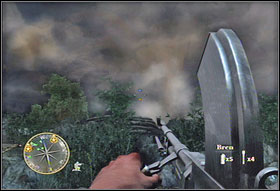
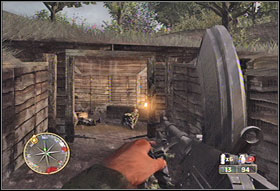
Soon you will get under fire. Throw a grenade toward the soldier on the barn storey (#1). In this same moment, the tank which was giving you protection, will get shot and useless in effect. Walk quickly round the barn (if there are still enemies, you can hide behind the straw lying nearby). Use a grenade to kill the Germans inside (#2). Then walk in and clear the space.
Go out the barn the same way you used to get in. Now it's time to head to the house nearby. There's a little group of enemies waiting for you inside, so be careful. When you'll reach the stairs leading to the second floor, you'll see a hole in the side wall of the housing. Throw a grenade through it and quickly you'll clear another enemy post off.
When you'll clear the ground floor, go upstairs (#2) and finish the task. After eliminating all opponents and picking up the gun you choose, go outside and join the rest of your squad.
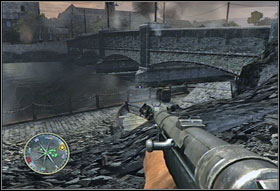
Now you need to choose a path to go (#1). You can turn right or go to the left along the river. The second choice is recommended. Soon you will face fragments of the wall (#2). You can use them as a cover when fighting the first wave of enemies.
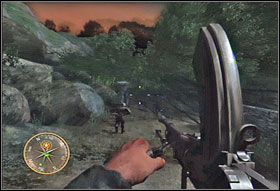
Before you head down the river, it's good to eliminate enemies running from the bank. This way you'll avoid getting hit unexpectedly. When you'll reach the place where the riverbed widens (#1), wait for attacking enemies and get rid of them. Then kill those on the left side of the river (#2) and head to the direction marked on the compass.

Walk under the lying tree (#1) and eliminating the enemies on the way, continue until the German post. There kill its staff by throwing a grenade. Shoot rest of the opponents using a machine gun.
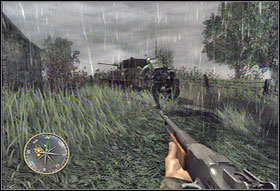
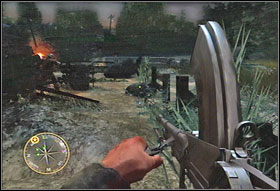
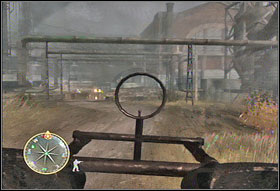
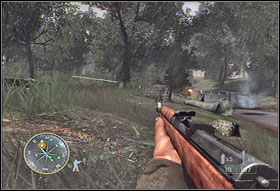
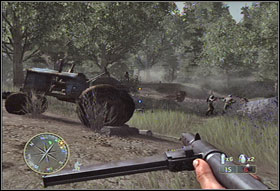
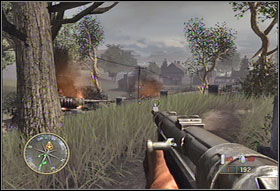
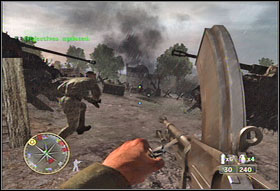
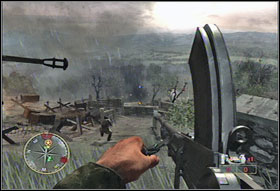
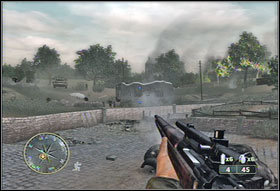
Suddenly a burning truck will wheel toward you (#1). After explosion, you can approach it and reconnoiter. It doesn't look well. Now you need to attack the hill with few heavy machine guns posts on it. Don't play Rambo and don't run thoughtlessly. The best way to capture the hill is to take advantage of natural covers and get to the right side of it. You can throw a grenade toward your opponent to limit his visibility. After a little while, you'll be near the top and out of guns range (#2).
Now you just need to move left and eliminate opponents along the way. When you reach the guns posts and the opposite side of the hill, go toward the town. As soon as you'll make for the building seen afar, all hell will break loose.
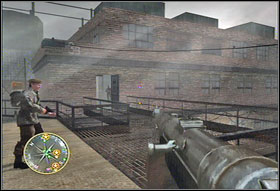
You will get hit again. But what are brothers-in-arms for? Soon you'll be draw aside. Go after the tank (#1), until you reach a building nearby. Then jump into its basement, clear it, climb to the ground floor (#2), eliminate the Germans and go upstairs.
When you'll kill all enemies and reach the top of the building, pick up a sniper rifle and come near the window (#1). Use your new weapon to clear your comrades the way to the vis-a-vis building (#2). Then go out.
Now you need to go in your comrades wake and head toward the house, entrance of which you safe-guarded using the sniper rifle (#1). Dig your way through the building and go out on the court (#2). Here you'll find yourself under fire, so better duck and stay this way until you leave the terrain.
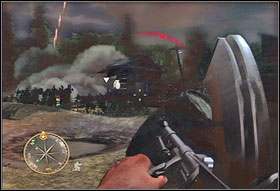
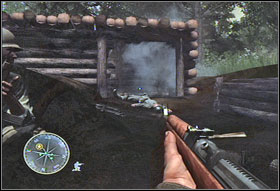
After a while, you'll reach the German trenches. Getting through them may seem complicated, but really it isn't. You just need to be cautious and drag slowly ahead eliminating opponents along the way. Soon you'll reach a bunker occupied by enemies. You need to clear it. After doing it, head to the top of the building. Anti-tank cannon will be stopped and heavy vehicles of the allies could drive in the town safely.
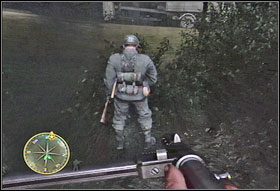
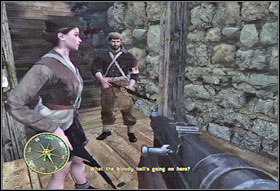
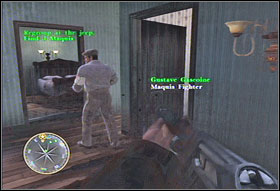
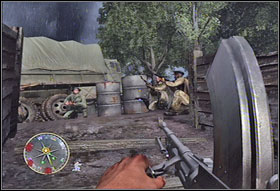
Another mission starts after you jump off the burning plane. Luckily, you will get down safely. Now you're near the point of meeting French resistance movement. Move toward the house you see in front of you (#1). After a short talk with your new associates, leave the building and come after your comrades. Soon you'll perceive a peeing German soldier (#2). Seize this opportunity. Sneak in and eliminate him using melee attack.
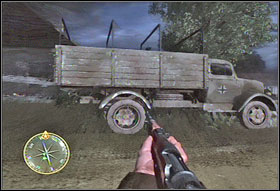

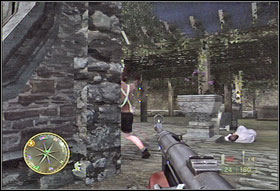
Approach the truck (#1). Behind it, you'll see a group of enemy soldiers by the camp-fire. Throw a grenade toward them, look for a cover to hide behind and eliminate another opponents. You can use boxes standing nearby (#2).
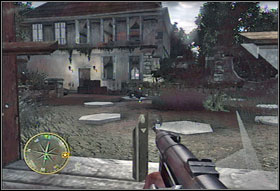
After clearing the terrain, go through the fence gap to the right side of the court (#1). Follow the indications on the compass until you reach the beginning of the path leading to the building protected by machine gun post situated upstairs (#2). First you need to distract the shooter. Use a smoke grenade to go through imperceptibly. Be careful, because there are other enemies along the way. Be quick and efficient. Try to reach the entrance before the smoke scatters.
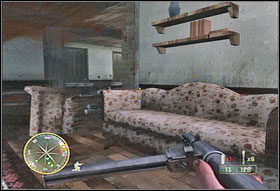
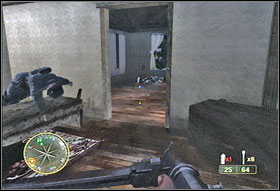
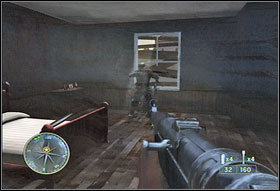
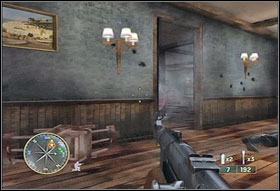
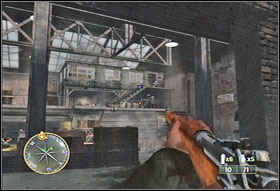
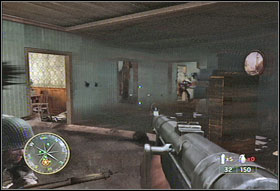
Inside you'll find a few enemy soldiers, so be very careful. Check one room after another using corners, walls and sofas as a cover. Larger groups of opponents can be eliminated with a grenade. Start clearing the building from the ground floor (#1). Then go upstairs (#2). Kill Germans hidden in every of three rooms.
Using one of the windows (#1), go to the roof. Watch out for a hole nearby. Before you jump in, throw a grenade to clear the way. Now eliminate the rest of the opponents and head to the jeep (#2).
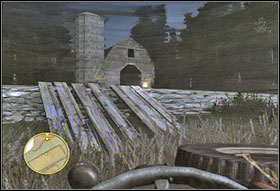
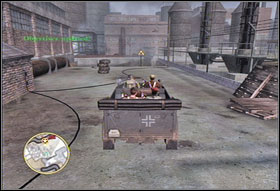
Now it's time to give your legs a rest. Take the car's wheel and drive ahead (#1) following the spots marked on map. Pass round the obstacles and blockades along the way. Driving fast is safer. Soon you'll perceive that spot on the map is not visible anymore. It's a good sign. Turn right on the court of a house nearby. There you'll find few boards by the wall. They make a perfect take-off. Use it, drive quickly through the field and using another take-off jump near the building with big door (#2). Crash it and get to the other side.
Still follow the spots on the map. You should reach a broken-down bridge (#1). Drive fast, so you can jump over the gap. Soon you will get to the end of the ride. Get out the car. Now you must choose: find Marcel (right) or attack anti-aircraft guns (left). It's better to do it in this order.
That's why go to the right first. Soon you will reach a hole in the wall. Use it to get inside the property. One of your comrades will help you get to the building through the window (#2).
Inside, you will be attacked. Kill the enemies and go upstairs, but before that, throw a grenade to the room on the left. Then attack. After clearing the second floor, jump down through the hole in the floor.
Get over the enemies which will be off guard. Soon your allies from the resistance movement should enter the building. Go to the basement together and meet Marcel. The task is completed. Now you have to get out the building.
You and your brothers-in-arms will find yourself in a house near the garden (#1). It is well guarded, so stay under the cover. Eliminating enemies along the way, get to the room with windows. It will be perfect for defense. Your comrades will take their positions and so should you (#2). Use it to kill some opponents. Still it's important to move forward toward the spot marked on the compass. After leaving the building, head to the enemy fortifications.
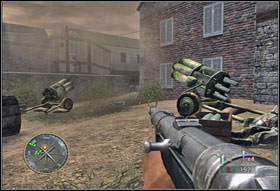
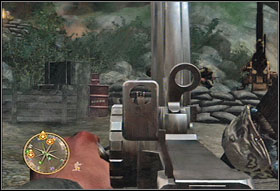
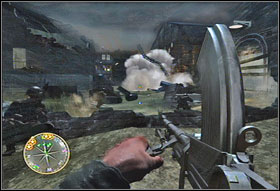
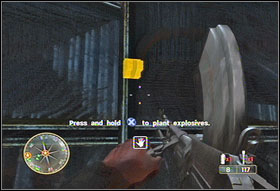
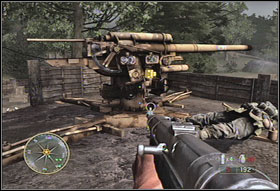
Go to the trenches (#1). They connect three anti-aircraft guns posts. You must destroy them all. The rule is simple. Run forward, eliminating opponents. Then clear the terrain around the gun (#2) and kill enemies. After that approach the gun and install a bomb on it (you need to repeat the moves shown on the screen). If you'll manage to do that, a counter will show on the side of the screen. Now it's time to run quickly toward another gun and repeat the whole operation.
Come after the members of resistance movement and get out the trenches. One of your allies will open the gate to the court of a house nearby (#1). Soon you will reach the car (#2). Take the wheel and drive after directions marked on the map. You must get through the rail station. The terrain is filled with army patrols, so don't drive on the platform. Instead of that, use the tracks and turn left behind the station. You will reach a weakened bridge. Drive through it and the mission will be completed.
This mission starts near the castle occupied by Germans. Before you go there, take care of enemies waiting around the place. Head to the east and go through the house (#1). There's another building behind it. This one is guarded much better (#2). Hide behind the fence and kill the enemies. Watch out for the grenades. There's no need to run when one will land near you. You could get hit. Better throw it away quickly. When the entrance to the building will be open, go inside and clear both floors. Then return to the west.
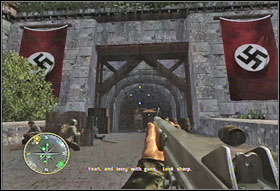
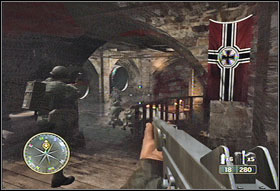
First eliminate the opponents in the building situated on the south (#1). Then you can attack the castle (#2). Kill enemies guarding at the entrance (the ones on the right first). Hide behind barricades and shoot the rest of Germans.
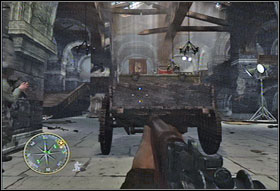

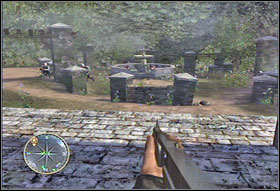
In the main room hide behind the wagon (#1) and shoot from there until you clear the way. You can also throw a couple of grenades. Soon you'll reach a court with a statue in the center of it, but there's no time for admiring the art.
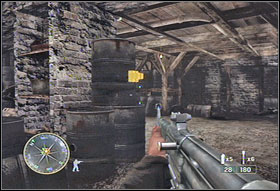
Don't even think about frontal attack. Let your comrades take up the enemies, go in the arcades and shoot them from the side (#1). Then get to the basement (#2). Inside you'll find few opponents. Eliminate them while hiding behind the barrels.
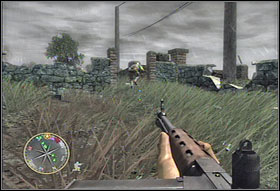
Soon you'll reach an open area with some walls on it (#1). There's a lot of opponents here so don't get uncover. Look around and you'll see a passage on the left (#2). Use it and staying near the brushes walk round shooting enemies. Kill them. You can always take cover behind one of the walls.
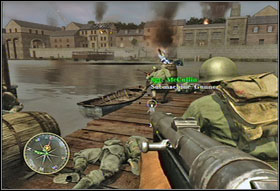
Now you need to get across the river. You'll find a boat in the dock, but it is guarded well. Throw a smoke grenade and get to the building ashore (#1). Kill all the Germans along the way and head to the foot-bridge. You can take cover behind a wall nearby. Soon you'll reach the boat (#2). Get in it.
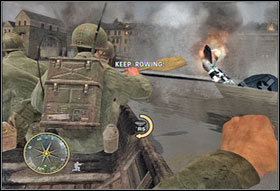
After everyone will take its place (#1), you'll need to oar quickly to get across the river. Soon before reaching the land, you'll receive another task. You need to kill the enemies (#2). After doing it, you can disembark.
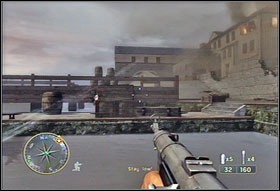
Now you have a little problem. You won't get through without eliminating two machine guns posts in vicinal buildings. First head to the lower one in the middle (#1). Throwing a smoke grenade will help you get inside safely. It will be hot there, so be careful. After killing the opponents upstairs, get higher and eliminate soldiers at the post (#2).
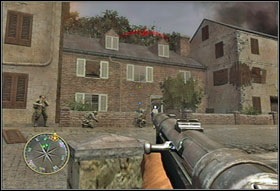
Go downstairs. The door which was closed before should now be opened (#1). This is the passage to the vicinal building. Throw a grenade first. Then, using the walls as a cover, kill the enemies inside. After clearing the ground floor, go upstairs. Soon another gun will be yours (#2).
Meet up with the rest of the squad. Wait until your comrades move the locker and open the door (#1). Now you need to get across the street to the opposite house (#2). Try to clear the terrain first and go inside. There kill all the opponents.
Leave the building using the back door. Go downstairs (#1) and get to the court. Your task now is to eliminate the anti-aircraft post. To reach it safely, you need to find a safer way. Run across the street and walk inside the house (#2). Eliminate the Germans hiding inside. Get to the other building through the hole in the wall. There's a lot of enemies to kill there too.

Wait until the situation calms down. You can shoot the enemies using a hole in the wall or leave the building and hide behind the car wreck standing nearby. Follow the indications on the compass and you will reach the anti-aircraft posts soon (#2). Kill the soldiers guarding them and move on.

Then a tank will arrive (#1). Go after it. Soon the enemies will appear. Most of them will hide behind the sandbags on the left. Throw a grenade toward them. Now head to the way the tank did. You will see the stairs on the right (#2). Go up and clear the building. Come back the same way you came.
Cover up for Huxley and wait until the tank will be destroyed (#1). The terrain is full of covers so you should kill all the opponents without a problem. Go after your comrades and you will reach another building (#2). Go inside.

Kill all the enemy soldiers inside the building. First on the ground floor, then on the second one. After you clear it, go to the balcony (#1), turn back and join the rest of the squad. Now it's time for the last part of the mission. Go to the river shore, eliminate opponents and walk below the bridge (#2).
Over the bridge go upstairs (#1). There's a lot of Germans but the terrain is good. You will find many places to hide. It's also good to take advantage of red barrels standing there. You can shoot them in the right moment and kill few opponents right away. You can also use some regular or smoke grenades. In the end, you'll reach the MG42 gun. Take it and shoot the running up enemies. You completed the fourth chapter. Unfortunately, not without loosing any of your comrades.
This mission you start by the cannon gun (#1). Your task is to cover a vehicle, so concentrate on real danger - soldiers with bazookas and stationary armor-piercing guns. First part of the route is safe and easy. When you'll get to the first buildings, leave the gun in the one on the right. Then turn around and eliminate the other gun (#2). The quickest way is to shoot the barrels standing nearby.
Soon you'll be on your legs again. You need to find a way out of the vineyard and avoid getting hit by a machine post standing nearby. Look around. On the right, behind the fence, you'll see a little path. Throw a smoke grenade toward your opponents and go there.

Kill the soldiers by the gun, turn around and go out using the back door (#1). Soon you'll need to get to the anti-aircraft posts. When you'll reach a crossing (#2), turn left to the sidehill.
Go up eliminating enemies along the way. Soon you will find a lot of red barrels (#1). You already know how to use them. Before you blow them up, wait for the moment when your enemies will be weakened enough. Eliminate the anti-aircraft guns in the same way (#2).
After eliminating the first gun, watch out for the German post over you (#1). Before you move on, throw a grenade to clear the way a bit. Now there's last one gun to destroy. Follow your comrade (#2) and take care of it.
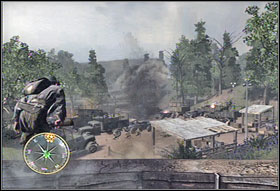
Your next task is to clear the specified area. Go after the rest of your squad. Soon you'll reach the first post occupied by German soldiers. Throw a smoke grenade toward them (#1), come closer and take better positions. Eliminate the enemies to begin from the right side (south), then slowly surround the area killing all of them. They are hidden especially in the windows of the buildings nearby (#2).
Now there's only a factory in the center of the area left. The entrance is on the south side of it (#1). It will be hot, so it's good to get the feel of the terrain before. As always, eliminate the opponents on the ground floor first. Then you can go upstairs, take a better shooting position and kill the rest of the enemies (#2).
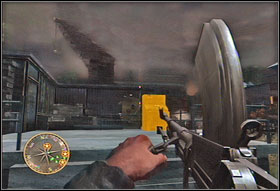
Now you must prepare the terrain to fight back. First, head to the north-west where you will see a control panel of a crane (#1). Before you go there, eliminate the opponents. Then throw a smoke grenade toward attacking soldiers, approach the panel and launch the crane. Now back to the south (the terrain is still under fire, so don't go directly toward your destination) and then to the east. Kill a few Germans along the way and you will reach a place, where you must put a blowing charge (#2). Do it and then run to the south.
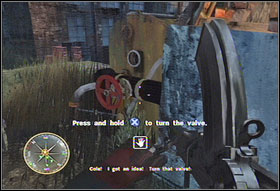
Not far from the place you left before, you'll see a valve (#1). Turn it and back off toward the factory. Go inside, then upstairs and wait for the tanks (#2), but don't stop shooting back.
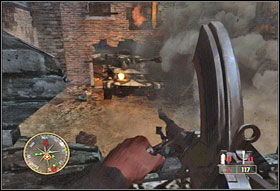
To destroy the first tank, use a panzerfaust found in the box behind you (#1). Then leave the building and go to another tank (#2). Now you must cover up for your comrade who will put the blowing package. After a little while, the tank will be history. Eliminate the third one by yourself. Run from the back or from the side and put the blowing package as well. After the explosion, your mission will be completed.

This mission you start in front of the transfer station occupied by the Germans. Stay on the left side and get in. Go between the railway cars and eliminate soldiers standing on the platform (#1). Go left and you will get near the fence which is blocking the way. In the distance, you'll see a watchtower (#2), from which your comrades will be getting shot. Your position is now perfect to aim and eliminate the soldier who's operating the gun. Then you can walk on the platform and continue toward the next one.
Eliminate the enemies you'll see and walk to the other platform (#1). You will have a good view on the next watchtower. Kill the watchmen in this same way as before.
Go down the platform using the same stairs you used to climb on and turn right. Kill the enemies you'll meet and the ones in the building nearby. You can use red barrels - you already know what for. After clearing the terrain, come back to the second platform. Go down using the other stairs and head to the building (#2).
Kill the enemies inside and walk to the place from where you'll be seeing the room on the other side of the hall (#1). Eliminate the opponents on the balcony and go upstairs. The room will be full of Germans, so throw a grenade to clear the way (#2).
Leave the room using the second door. Follow the directions on the compass and reach another room. Kill the enemies inside and switch the button opening the gate (#2).
Walk outside. Now a little time with operating the gun (#1). It will be easier than the last time. Remember to shoot at the red barrels. It will discomfit your enemies. Soon you will be on your legs again. Take cover behind the truck (#2) and clear the terrain.
Come closer and kill another group of enemies. Soon you will see them going upstairs to the silo seen afar (#1). Before you reach it yourself, eliminate them. Then go up and put a blowing charge (#2).
The other silo also needs to be blown. There are few ways leading to it. I propose to choose the one through the factory - it is easy and fighting inside is more fun than shooting each other on a open terrain. When you'll strike a room full of Germans, use a grenade or two. You can also shoot through doors (#2) or windows.
After leaving the factory, you'll be near the second silo. Put a blowing charge there (#1). Be prepared, because you will be attacked. After a short struggle (#2), your opponent will fall down. Luckily, you will clutch the brink at the last moment.
Go downstairs and follow the indications on the compass. You will reach a room where some big action will take place. Run toward the first furnace and using a low wall as a cover, shoot the enemies nearby. Look around the room and find the stairs. Throw a grenade toward it and taking advantage of the mess, go as high as you can. Now you just need to eliminate running up enemies (#2).

Run after your comrades and reach the roof. Go down the ladder (#1). Now you will drive the car again (#2). The ride isn't difficult unless you will follow the advices of your comrades. After a little while, your mission will be completed.


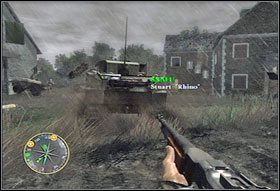
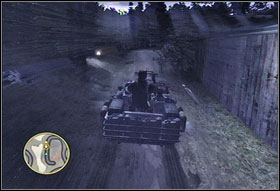
This mission is rather easy and nice, mostly because you drive a tank. First phase is set to make you familiar with controlling this vehicle, so simply follow the directions on the compass. Soon you'll reach enemy tanks (#2). Eliminate them and move on. The rest of the mission will be quite the same.
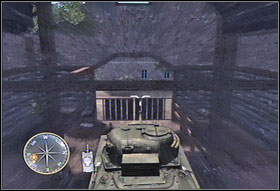
When you'll reach the buildings (#1), it will become a bit more difficult, because you won't be able to maneuver easily. But eliminating German tanks still won't be a big problem for you. Kill the soldiers with panzerfausts using a machine gun. Soon you'll reach a church. Drive through the gate to the cemetery, but don't lose cover given by the building - there's an enemy vehicle near it.
Soon you'll meet a more difficult opponent to beat (#1), but you will be given an air backup. Go through the barn (#2) and eliminate the rest of the tanks. Another mission is completed.
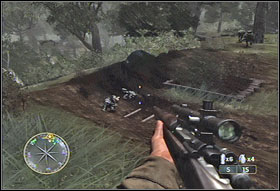
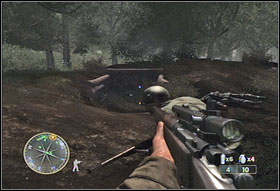
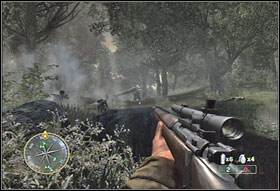
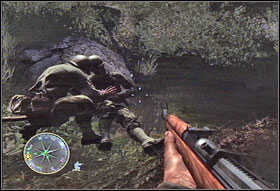
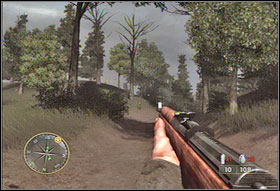
This is probably the most difficult mission in the game. The hardest part is taking place in the forest. German soldiers are well hidden, there are a lot of them and they are running from many directions. Luckily, you can also hide behind the trees. To fight on an open terrain, a sniper rifle and M1 Garand gun (with good accuracy) will be useful. Thanks to them, you will be able to eliminate enemies before you will find yourself within their gunshot.
Kill the opponents near the place where you started this mission (#1) and those near the destroyed bunker (#2).
Now you need to go through a few tens of metres (#1). There's many Germans, so don't run quickly. Move slowly toward the direction marked on the compass and watch out for the enemies. When one of your comrades will get shot (#2), turn back.
Your next task is to blow two German weapon storehouses. Both are situated in the trenches nearby. Head there and eliminate enemies along the way (#1), using sniper rifle or bolt action rifle. Before jumping into trench, throw a grenade to cleat the way a bit. Change weapon to an automatic gun because there will be a short distance fight going on. Soon you'll reach a first magazine. Put a blowing charge and run away.
Head to the other magazine (#1). Act the same way as the first time. Now you need to clear an underground room (#2). Before you get inside, eliminate the guards using a grenade.
When you'll reach the road junction, turn right and clear all rooms along the way from the enemies (the one inside the complex too). After that, go out and quickly leave the trenches (#2).
Now is the hardest part of the mission. You have to run across the road (#1) and eliminate the enemies hidden on the other side. First, staying of the left side, run to the truck (#2). Now wait until the rest of the squad start throwing smoke grenades. You can add yours. Then run under cover to the other side and slowly move toward the direction on the compass.
Run quickly to the bunker. There a lot of enemies, so try to stay under cover. When you'll see a group of Germans hiding in some hole, throw a grenade inside it. You can also use smoke grenades to retain cover. Once you'll reach the bunker, it'll be easier. Eliminate the guards using a grenade and walk inside.

Kill the soldiers inside (#1) and get to the other side. Now you must destroy a barricade seen afar using a mortar. First kill the enemies running down the hill. Then aim and eliminate the trucks blocking the way (#2). After that the mission will be completed.
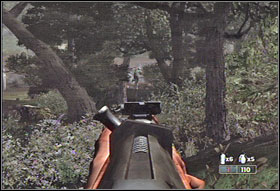
Run to the tree trunk (#1) and using a sniper rifle eliminate the opponents on the hill side on the left. Then follow the path and go up until you reach the ruins of some building (#2). Use them as a cover and clear the way.
Go round the ruins and following the indications on the compass, hide behind the tractor. Eliminate the Germans inside the wood storehouse and get through it.
There's a building occupied by enemies in front of you (#1). Your task is to capture it. Run the path leading to it. First eliminate the enemies standing in the windows and go right round the house. Near the wooden box (#2) you will find a little group of enemies. They will be engaged in combat. It is a perfect opportunity to kill them.
Now go inside (#1) and shoot the enemies found there. Go out and follow your comrades (#2).
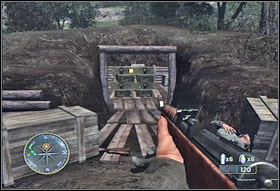
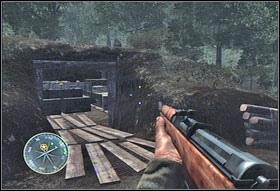
Your task is to blow three anti-aircraft posts. All of them are situated in the connected trenches (#1). Once you'll jump inside, the situation will become very hot. Use smoke grenades, find a good spot behind one of box pile (#2) and shoot from there.
Once you'll reach the first post (#1), don't start with putting the explosion package. Instead, first clear the passage leading further. Then come back to the gun and put the package. Run through the passage you cleared a moment ago. Repeat the same sequence with the next gun. As for the third one, after putting the blowing package, go back the same way you came, because there will be no further way.
After the explosion, you will be able to move on. Leave the path quickly (#1) and go near the enemy posts from the left side. You can hide in the smoke, to be safe. Kill the soldiers operating the mortar and take control over it. You need to destroy three trucks seen afar. If an enemy approaches you while doing it, return to the regular mode, kill him, and go back to the mortar.
Soon you will find yourself on a military parking space. There will be a lot of things to hide behind there (cars, boxes). Use them to take cover and eliminate the soldiers nearby. You can even shoot while lying beneath some cars (#2).
And now the last part of this mission. Follow the path (#1) and reach near the building full of enemies. Of course, you need to kill them all. Don't run to the court immediately. Taking cover behind the fence (#2) and staying in the distance, eliminate the soldiers standing by the house.
Now run to the left wall of the building (#1). Broke the window and throw a grenade inside - regular, smoke or better both of them. Now you can go in and kill the survivors. Then go back the house, eliminate the rest of the Germans (#2) and join your squad.
In the beginning of this mission, follow the tank (#1). When it will be stopped, turn left and go inside the building nearby (#2).
You can shoot some of Germans on the court through a hole in the wall (#1). Then leave the building and run across the court. Go inside the building seen afar (#2). There will be a useful hole in the wall as well, but don't stay there too long. Run deep the house and you'll manage to flank the enemies.
Now you need to get to the other side of the ruined house (#1). You will encounter some enemies, but you shouldn't have much problem with killing them. Soon you will get outside. Eliminate the soldiers guarding the entrance to the "Aladin" (#2).
Go after your comrades through destroyed city. You will reach place where they will climb on the box and run further. You won't be able to do this, so you must find another way. Go inside the building on the right (the one with many books scattered on the door sill) (#1). Be prepared, because soon a soldier with knife will attack you (#2). After a short struggle, you will be able to move on.
Soon you will find yourself on the street again (#1), but not for long. Go after the rest of the squad until you reach another house. After clearing the ground floor, you'll need to eliminate the grenadiers upstairs. You will be fighting them from the ground floor. Your opponents will be throwing grenades through the hole in the ceiling (#2). You can throw them away or run around, beyond the range of explosion. Be still on the move and you shouldn't have much problem with killing them.
When the last of the grenadiers will be eliminated, you can go upstairs (#1). Kill the rest of the enemies. Suddenly, one of your comrades will get shot. A medical help will be called.

You'll need to clear the way for them. Grab the gun lying nearby (#1) and eliminate running up Germans. Soon it will be over. Leave the building. Suddenly, you will fall into channels. Go through them following your comrades.
You will reach a small German post (#1). Kill its crew. You can do it using a grenade. After going back to the surface and meeting your squad, you will be able to choose the direction to go. I propose to go through the buildings (#2). There will be some Germans inside them. You will kill them easily using cover of furniture lying on the floor. Watch out for the enemies on the street as well.
Following the indications on the compass, you will reach a housing, which you'll need to guard for a little while (#1). Using holes in the walls, shot the soldiers in the windows in the building in front of you (#2).
Soon a German offensive will begin. Took the position by the left wall (#1) and kill the enemies running from this side. Then walk to the hole leading to the street (#2). Use grenades to eliminate the soldiers coming into sight.

When a tank will arrive, go out the building, then to the left and continue the defensive using cars standing nearby as a shield (#1). You can also run further and shot through the hole in the wall of a building nearby. Your task is to survive. Move between the mentioned locations and shoot, shoot, shoot. When the German commanders give order to retreat, your mission will be over.
First, you need to get to the place of meeting with the resistance movement. Use the cannon on the car and shoot the enemies around you. Soon you will sit behind the wheel (#1). The road is blocked, so you need to find another one. Drive around the statue and turn left to the direction shown on the map. Soon you will reach the point of meeting (#2).
Now it's time for a little rescue operation. Somewhere inside the building (#1), major Ingram is kept. Your task is to rescue him. Start with clearing the court. Hide behind the truck and you shouldn't have problems with working your way. Then sneak under the window (#1), break it and throw a grenade inside. After it blows, break inside. Kill all the enemies starting from the ground floor. When you'll reach the attic (#2), turn back and leave the building.
Since major wasn't in the house, maybe he's kept inside the barn nearby (#1)? Go there and kill all the enemies. Go down to the basement (#2), eliminate the Germans and rescue Ingram.

As you'll find out, there are three more soldiers in the village, which need to be rescued. Return to the car (#1) and drive toward the direction marked on the map. Listen to the commands given by the pilot and try to react quickly. It will spare you errancy. Soon you will reach your target (#2).
Run toward the house and kill the Germans on the court. Go around it until you reach the back door (#2). Eliminate the enemies inside and go upstairs.
After clearing the house, first soldier will be rescued (#1). It's time to look for the second one. Return to the car (#2) and drive again following the direction on the map and the commands of the pilot. Don't stop or slow down and you shouldn't have much problem.

There's another building to clear in front of you (#1). It will be quick and easy task. Run inside, kill all the enemies and soon another prisoner is free (#2).
Again, return to the car (#1) and drive following the direction on the map and the commands of the pilot. Soon you will reach your target (#2). Before going inside, eliminate the opponents seen on the both floors of the building (#2).
Now you must kill the Germans situated in the house (#1) and the garage. It doesn't matter where you will start. After eliminating all opponents, the last captive will be rescued (#2).

Return to the car (#1). This time the ride will be a bit longer, because you must get to the place, from where you started this mission. Some roads are blocked, so you need to find alternative routes from time to time. Luckily, advices of your pilot will be helpful.
Now your task is to support the squad which will be fighting attacking enemies. Take cover behind the truck standing on the road (#2) and shot until the orders change.
Suddenly, a German armoured car will arrive. Your task is to destroy it. Go with Isabelle to the court right from the place your squad is shooting. Go along the fence and get to the back of the vehicle. Cover your comrade until she puts the explosion charge. Soon the truck will be a wreck. Another mission is completed. Unfortunately, not without any victims.
In the beginning of the mission, run to the south (#1). Then, using the hole in the wall (#2), reach the next building.


Suddenly, you will be attacked by a Nazi (#1). After a short struggle, clear the building (#2) and leave it.
You must destroy three machine gun posts. First is situated in the house near the one you left (#1). Second is on the other side of the street (#2), but you don't need to move to eliminate it. Just use a single shot rifle. Then turn left and you will see an enemy in the building nearby. Throw a grenade toward him.
Run quickly to the other side of the street. Meet the rest of the squad in the tavern (#1). Now you need to kill the soldiers operating three mortars behind the building you're in. One crew will be on the left side and two on the right (#2).
Prepare to fight back. Germans will come in two flows. First they will throw smoke grenades and try to attack from the north. Go back into building and shot everyone who will get inside. Then they will attack from the south. Use a gun (#1). Soon it will be over and you could go outside (#2).
Doors to the neighboring building will be forlorn. There's a crow-bar near it. Use it to remove the boards (#1). Go to the basement and kill all the enemies there. Then put the explosive charge on the barrels (#2). Soon you mission will be completed.
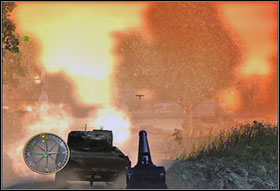
First get in the tank (#1) and using its weapons, destroy the enemy vehicles. Then you'll be forced to move to the other position. Run to the south-east (#2), then to the north-east. Eliminate running up opponents along the way.
After reaching the field shown on #1, use covers situated on it and kill the enemies. Then go after the rest of the squad and climb on the hill (#2).
After a little while, you will reach the fortifications. When it will come to choose, head east, toward the bushes nearby (#2).
You will reach a post perfect for use a sniper rifle. Clear the trenches killing all German soldiers (#1). Then go there yourself (#2).
Eliminate enemies in the trenches. When you'll reach the post, throw a grenade, kill the survivors and get through it to the rest of the squad. A Canadian soldier with the radio will join you. Use his connection with the army to get the artillery on the indicated by you positions (#2). This way you'll destroy approaching tanks. Use the binoculars. Soon move to the other post and repeat the operation. Unfortunately, you will be forced to get back to the top of the hill.

Follow the indications on the compass and kill the running up Germans along the way. Suddenly, the Canadian will get shot. Cover your comrade until he take off the radio from him (#1). Run across the field hospital (#2).
Head to the building with Polish flag on it (#1). After a short conversation, run through it. On the other side, join your squad (#2).
Now you need to repeat the previous operation. Use the binoculars to indicate the tanks to be destroyed by the artillery (#1). After a while, you will lost connection with the army and its backup (#2).
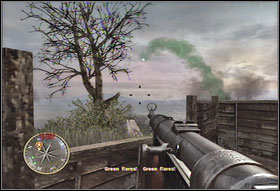
Follow the indications on the compass. German attack won't stop so you need kill successively the opponents. Once you'll receive the order to eliminate the tank, run to the indicated spot (#2), pick up the bazooka and return to the position, from where shoot to the enemy vehicle. After a little while, there will be green flares seen on the sky - the Canadians are coming with succor. Soon your mission will be over.
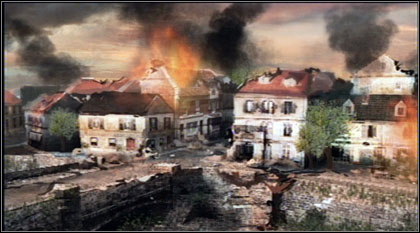
You reached Chamois. Here, the final battle in Call of Duty 3, will have place. German soldiers are forced to retreat by the allies and they move to the city which you will be occupying.
First go to the building on the north (#1). You can change your weapon there, of you like. Get to the wide window and machine gun post (#2). You can use it but it's better not staying here for long.
Return to the barricade (#1) and defend the area from the enemies. You can take cover behind the corner of the building you left a moment ago. After you receive the order, go back to the direction on the compass and get inside the building (#2).
By the next barricade, shot for a while to the running up enemies (#1). Then go after the rest of the squad. By one of the walls, use your comrade help (#2) to get to the other side. Soon you'll receive the order to retreat to the church.
When you'll get there, eliminate the Germans running up from the south (#1) and then from the east (#2).
Now follow the indications on the compass and your comrades. Go through the building (#1) and run to the house with a flag on it (#2). Get through it to the other side.
Guzzo will be indicating the terrain with the flares for the artillery (#1). You must cover him at all costs. Run to the fence and pick up a sniper rifle (#2).
Use it to kill the enemies on the other side of the wall (#1). First, eliminate the crew of the machine gun post inside the small house on the right. Unfortunately, Guzzo will get shot. Clear the way, throw a smoke grenade and run to him. You comrade will lift Guzzo and start to go back to the position. Try to cover him. After reaching the position, you will see that the wounded one is already dead.

Now it's time to go back. Go after your squad (#1) to the direction on the compass. Use the barricades to eliminate the enemies along the way (#2).
Run through the buildings. Go through the balcony near the burning tank (#1) and when you'll see the rest of your squad, just jump down to them (#2).
Before moving on, kill the enemies trying to flank you (#1). Then go after your squad (#2).
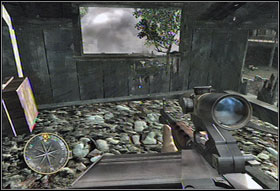
Clear the building (#1) and go upstairs. There pick up the sniper rifle (#2) and use it to eliminate crews operating three mortars, but first kill the Germans under the wall near the building.
You will see the first mortar by this wall (#1). Another one will be a little further (#2). Eliminate all soldiers operating them.
The last mortar is the most distant one (#2). To shot it, you need to take look at the left side of the field. After eliminating all mortars, the doors will open and your comrades will run outside. Follow them and you will reach the big stationary gun.
Use it to destroy the tanks and enemy armored vehicles (#2). The gun is operating the same way as the mortar. After a while, leave the post and kill the rest of the Germans. Your last mission is now completed. Congratulations.
Complete each achievement to get the allotted gamerscore.
 Call of Duty: Ghosts Game Guide & Walkthrough
 Crime Scene Investigation: Hard Evidence Game Guide & Walkthrough
 Call of Duty: Black Ops III Game Guide & Walkthrough
 Command & Conquer: Red Alert 3 Game Guide & Walkthrough
 Crysis Game Guide & Walkthrough