

Welcome to a complete guide to "Crysis" PC video game. This guide consists mostly of a very detailed walkthrough of all eleven missions of the singleplayer campaign. You should know that "Crysis" has a very non-linear structure of most of its levels. You won't be given a full freedom of choice, however you will be capable of reaching and fulfilling your main tasks using various different approach methods. There are different routes to choose and you can decide whether to engage enemy units or try to ignore them. I'd personally recommend planning each move very carefully. This is an important issue, especially if you've decided to play the game on a higher difficulty setting, because it's going to be extremely easy to die. Thankfully, you'll have your Nanosuit at your disposal. Using some of its coolest features will allow you not only to withstand tremendous amounts of pain, but also to surprise enemy soldiers with the cloaking ability. My guide offers a very thorough description of each mission task. I wasn't in a lot of hurry and neither should you. Make sure to explore each area before moving on to more dangerous zones. The second section of this guide contains a lot of useful hints. Some of them may considered to be quite obvious, but nevertheless you should consider reading them. I've also said a few things about the guns and the abilities of the Nanosuit. Make sure to familiarize yourself with the basics before proceeding on with the main campaign.
Have fun playing the game!
Stranger
- "Crysis" isn't a type of game that allows you to engage enemy troops without having to worry about losing your life. Most direct assaults will end in a failure, even if you've decided to choose one of the lower difficulty settings. Remember that you have a lot of useful tools at your disposal. Binoculars and a detailed strategic map are only a few of them. It's very important to plan your journey each time you want to reach a new area of the map. You will also have to observe enemy units carefully in order to surprise them or avoid them. It's crucial to your safety that you remember one thing - you won't have to kill everyone you encounter. You should also know that enemy troops may appear somewhere else once you've decided to repeat a mission. This affects mostly enemy patrols, because they're exploring the map without you being around them. Using the powers of your Nanosuit is equally important, so you shouldn't rely only on the firepower of your current guns. Use the abilities wisely in order to fulfill mission objectives without having to risk too much.
- Don't forget to save your current progress as often as possible. This is an extremely important thing, especially if you plan on exploring a new territory of the map. Additionally, you will be allowed to rely on autosaves. Checkpoints are quite frequent. They are usually created once you've dealt with a major problem or if you're closing in on a new location after a longer journey.
- Make sure that you rest for a few seconds after each battle. This will allow your Nanosuit to regenerate itself. You should consider stopping Nomad frequently, especially if you're using a cloaking device. You will also have to make sure that no one sees you while you're trying to regain power. As a result, it's often wise to lie down on the ground or hide in the bushes.
FY71 Assault Rifle is definitely one of the most useful weapons in the game. The main advantage of having this gun is that you won't have to worry about finding ammunition for it. Most of the Korean soldiers will use similar weapons, so all you have to do is to kill them and check their bodies for additional supplies. You will also be allowed to upgrade this gun with a lot of useful components. One of them is a scope. If you decide to use this upgrade, you'll turn FY71 into a mini sniper rifle. Obviously it won't be as good as the original, but it'll still allow you to inflict a lot of damage. You should also consider attaching a silencer to the assault rifle, especially early during the course of the game, because you'll have to sneak a lot in order to survive.
Shotgun is your best choice if you plan on fighting inside buildings or if you want to surprise and defeat enemy soldiers from a smaller distance. Obviously the main advantage of having this weapon is the firepower. Additionally, you won't have to worry about the ammunition. As a result, shotgun is a much better choice than most similar guns, like the Gauss rifle.
Rocket launcher is a very unique weapon. Each of these guns is treated separately. This means you won't be able to pick up new missiles. Instead, you will have to be on a look out for a new launcher. Other than that, you won't have anything to be worried about. You can use the rocket launcher to destroy enemy gunships, tanks, armored vehicles and heavy machine gun nests. Make sure that you have this weapon with you all the time. You will find a lot rocket launchers in the game world. They are often hidden inside ammo depots and other buildings. You won't find them near dead soldiers.
MOAC rifle becomes available near the end of the campaign mode, however you don't have to worry about acquiring it on your own, because you'll receive it automatically. I've decided to mention this weapon, because it's a much better gun than a standard minigun. The main advantage of having it is that you won't have to worry about the ammunition. You'll receive an unlimited supply of bullets. The firepower is also acceptable. Your only concern is the temperature bar. You won't be allowed to overheat this rifle.
Camouflage allows you to gain an unfair advantage over your opponents in almost every situation. You'll be using it all the time, especially early during the course of the singleplayer campaign, because you're be going against enemy soldiers and not alien creatures. Make sure that you're activating your cloaking device each time you plan on going somewhere you've never been to before. The only exception is when you're able to hide in the bushes. You can use the camouflage to avoid enemy patrols or to surprise them. The same goes with the terrain. You can be on a look out for side entrances or you can use the cloaking device to get closer to enemy troops and kill them with a shotgun. How you decide to use its features is only up to you. I would recommend to use it mostly to avoid being seen, however you will have several opportunities to attack enemy forces by surprise. I reckon you won't be using this feature so often once you've met alien creatures, however you will still be able to perform surprise attacks. I wouldn't recommend turning on camouflage unless your power bar is fully regenerated. You should also be more careful once you have 30-40% of power left. Also, remember that if you're moving slower, you will be allowed to use a cloaking device for a longer period of time.
Increased armor is mostly a passive ability and it should remain that way. It will turn on automatically each time you've drained your power bar. You should also use it while trying to take on larger groups of enemy units. Increased armor value will allow you to sustain more damage without having to retreat.
Increased strength can be used to avoid certain obstacles. You'll often have to reach a very high ledge or pry open a closed door. You will also be allowed to choke life out of Korean soldiers and smaller alien creatures, however I would recommend using standard weapons, instead of draining your power bar.
Increased speed is often used to retreat from endangered zones. You can also use it to outrun a pursuit, whether it's an armored vehicle or an alien creature. Maximum speed ability is also used to avoid certain threats. Mines and fire traps are only some of the dangers you'll have to deal with while playing the game.
Author: Jacek "Stranger" Halas
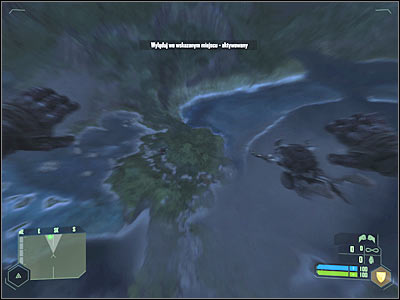
The first mission of the game will begin with a short FMV sequence. Next up, you'll have to wait for a short cut-scene to end. This scene will take place inside a plane. Take your time to familiarize yourself with the members of your team. Sadly, you aren't the leader here, so you must listen to what Prophet (squad leader) has to say to you and your colleagues. He will finally decide that it's time to leave the plane.
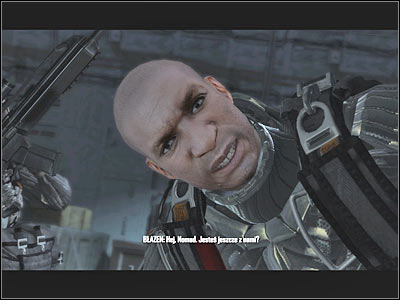
You will be given partial control over your main character (Nomad) while you're in the air. Thankfully, you won't have to perform any actions here. Instead, listen to what your team members have to say. You should consider reading displayed hints. As you've probably found out by now, you can look around by moving your mouse. Activating a night vision (I key) is also a good idea. Sadly, you won't be able to use the night vision indefinitely, because you would have drained one of your power bars.

Your main character will lose his parachute in just a few seconds. As a result, you will have to be ready for a very unpleasant landing. Just as before, you won't have to activate any of your suit's powers manually, because this is only a short introduction. Once you're in the water, use the movement keys to go back to the surface.
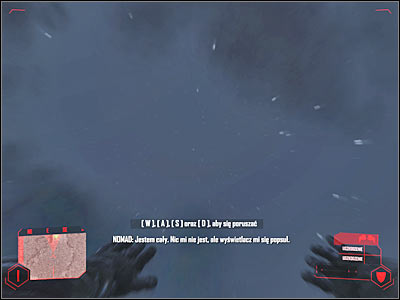
Don't worry about any of the warning lights, because your Nanosuit can be repaired very soon. Start swimming forward. Obviously you won't encounter any hostile units here. Additionally, you can't get lost, because the beach is located nearby. Your main task here will be to reach a small island (screen). Once you're there, wait for Prophet to contact you. He will repair your Nanosuit.
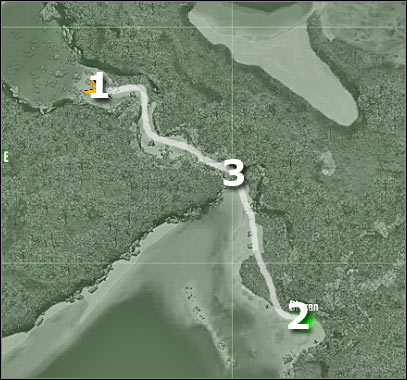
Map legend:
1 - starting area
2 - destination
3 - first group of enemy soldiers
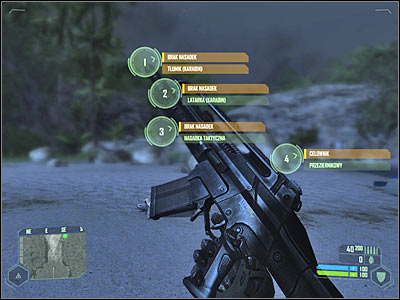
Obviously you'll start the game standing on a small beach. You won't encounter any enemy soldiers for at least one minute, however you should modify your default gun right away. It's going to be a SCAR rifle. Press the C key in order to activate an interesting menu. I would recommend choosing a tactical adapter and a silencer. You should also change the firing mode to single shots.
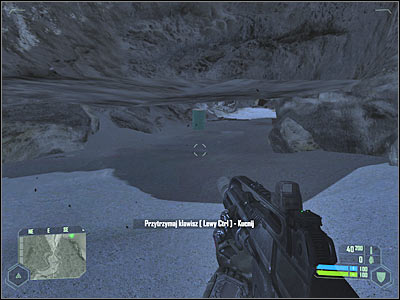
Start moving forward. You're surrounded by rocks from both sides, so you really can't get lost. Like I've said before, you won't encounter any soldiers, so you won't have to be moving carefully here. Look at the screen, because that's where you'll have to practice using a crouching stance. You may also consider laying down on the ground entirely. New hints will familiarize yourself with melee hits and picking up objects.
You'll soon reach 3 from your map. You will probably receive a warning here that an enemy soldier is patrolling this area. It would be a good idea to practice using a cloaking device. You can access it from the main menu of the suit (hold the middle mouse button). Wait for the guard to get here and surprise him by shooting him in the head (make sure you're using a silencer!!). You could also try and stun him with a melee hit, however it won't be necessary.
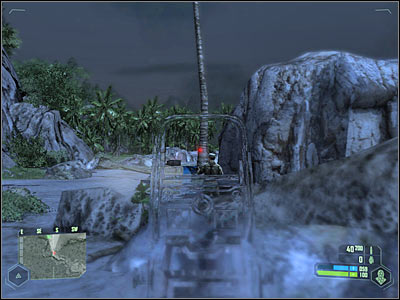
Now you should consider moving forward. There are some rocks to your left and it would be wise to use these objects for cover. Two enemy soldiers will arrive in this area. I'd strongly recommend getting rid of them using an element of surprise. For now allow them to get closer. You should also wait for your suit to regenerate itself.
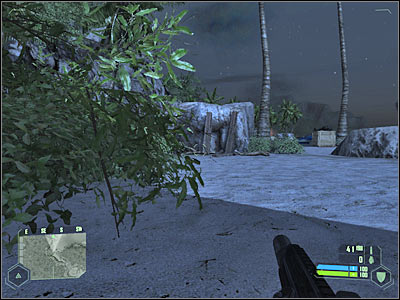
Move over to your left, so you won't have any problems finding the soldiers. You may attack them right away or try to surprise them from one of the flanks. Either way, focus on aiming at their heads. If you're lucky, you'll only lose two bullets here and you won't raise an alarm. Make sure to check their bodies, because they were carrying excellent rifles, called FY71. Take one of these guns and modify it right away. Use the exact same upgrades as with the SCAR rifle.
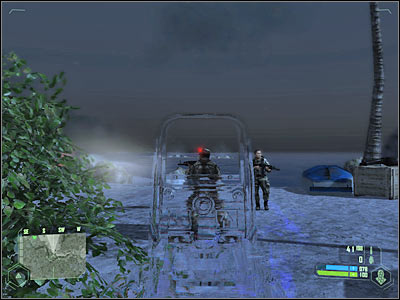
You may ignore the red flare, because you won't encounter any other hostile units in this area. Instead, keep moving towards Jester's location. I wouldn't recommend staying on the beach. Instead you should turn left and head on into the jungle. This is a very safe shortcut and you won't get lost. Head over to Jester and wait for the game to give you a new task.
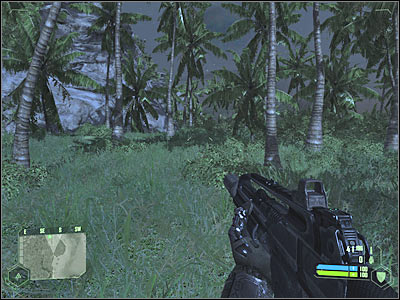
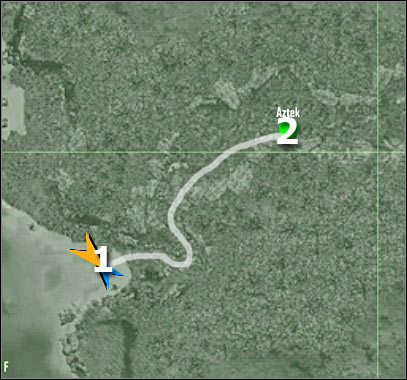
Map legend:
1 - starting area
2 - destination
This is going to be a very simple task, so there's nothing you should be worried about. You won't encounter any hostile units. All you have to do here is to follow Jester to Aztec's last know location. Try staying close to Jester, however even if you lose him, he'll wait for you. It would also be wise to use a night vision here, because it's quite dark in the jungle.
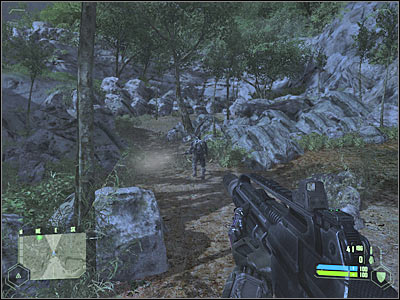
You will have to reach an upper ledge very soon. Thankfully, you won't have to search for any alternative routes. Activate your suit menu and choose maximum strength. Once this is done, press the spacebar and you'll land exactly where you want to. Keep following Jester. Once you've arrived at your destination, you will be rewarded with a longer cut-scene.
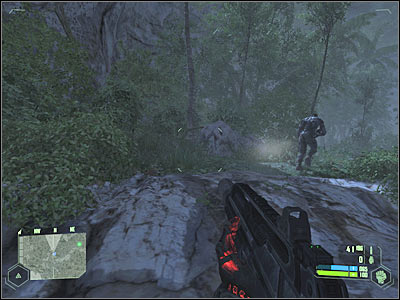
Map legend:
1 - starting area
2 - area where you'll receive a new mission goal
Despite what you might think, you won't have to go all the way towards the landing site. Start off by moving forward. You'll reach a new obstacle in just a few seconds. Just as before, you'll have to use maximum strength in order to land on a new ledge. Keep heading forward. You'll be warned that an enemy patrol is heading your way.
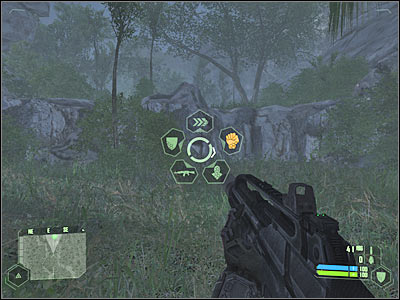
Two enemy soldiers will arrive in this area. Start off by hiding behind some of the nearby rocks. Wait for one of the soldiers to move closer to your current position. Activate a cloaking device and use your gun in order to kill him quietly. Once he's gone, go back into hiding, so you won't be spotted by his colleague.
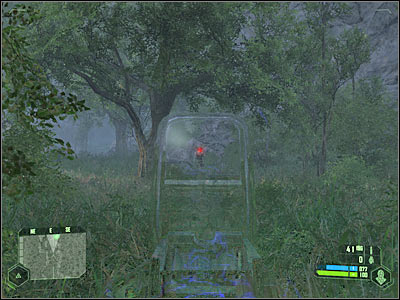
The second soldier should be standing somewhere to your left. There's a larger hill there. You'll have to hunt him down and kill him. Obviously you should consider using camouflage in order to gain an unfair advantage over him. Go back to the main path and start moving forward. Sadly, you'll lose video transmission in a short while. This means you won't be allowed to use your map. You'll also be given a new task.
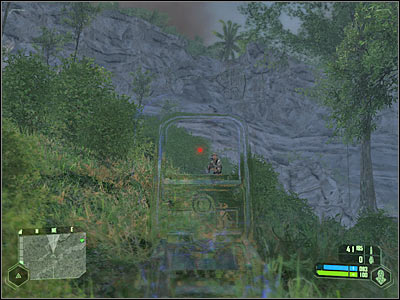
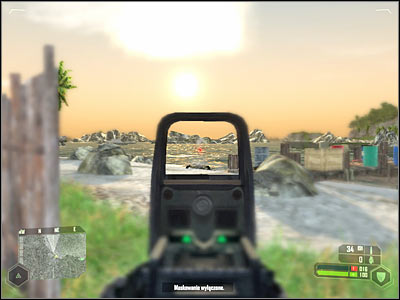
You don't have any maps at your disposal, however it's not a serious problem, because there's only one passageway leading to your current destination. Additionally, you won't have to travel far in order to reach the camp. Start off by moving forward. Eventually you will reach a much larger area (screen). Take your time and look around.
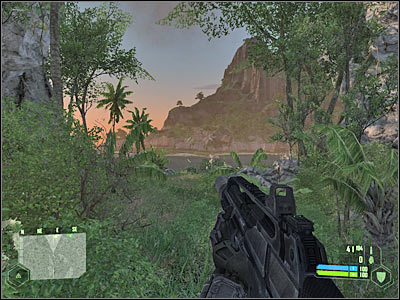
You should be crouching here, so you won't raise any alarms. Your objective can be found in front of you. As for the enemy soldiers, there's going to be at least three of them. The first soldier is guarding the device, the second one is probably on the pier and the third one can be found to your left. There's also an enemy boat patrolling this area. You will have to avoid it all costs for the next 15-20 minutes.
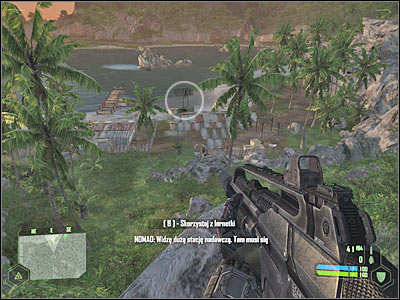
Start off by sliding down towards the encampment. You should be moving towards the device. Obviously you must be using a cloaking device here, so you won't raise any suspicion amongst enemy forces. I would also recommend keeping a crouching stance, so you won't deplete the power bar too quickly. Once you're close enough to the device, use one of your guns to get rid of the first soldier.
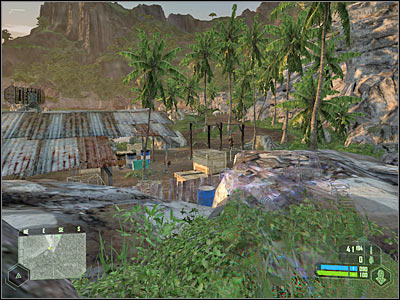
Now you should move on to your left. There's a small cottage here and it would be wise to use it for much needed cover. Look at the pier. You shouldn't have any problems finding the second soldier. Aim for his head or wait for him to stop near an explosive barrel. Once he's gone, turn left and kill the third soldier. You must prevent him from using a flare gun. Otherwise you would have to wait for reinforcements to show up near this camp.

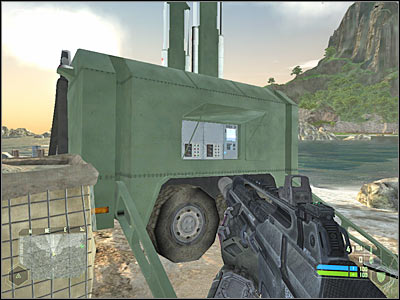
Your final task here will be to disable the jamming device. Head over to it and approach it from the western side. You will have to press an action key (F) here. Make sure that you're avoiding the boat at the same time. It shouldn't be too difficult, especially if you've decided to activate camouflage.
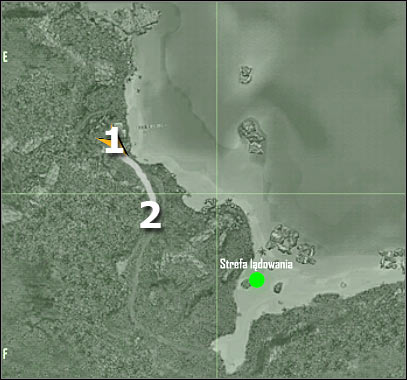
Map legend:
1 - starting area
2 - area where you'll receive a new mission goal
Just as before, you won't be given an opportunity to get too close to the landing site. Start moving towards your goal area. Make sure that you're avoiding the boat, because you could suffer some major injuries as a result of its attacks. I would recommend choosing the main road and moving south. You can also use the nearby bushes to your advantage. You'll probably come across a few soldiers along the way. Surprise them.
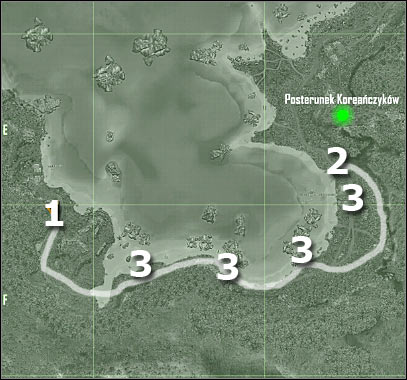
Map legend:
1 - starting area
2 - area where you'll receive a new mission goal
3 - largest groups of enemy units
You'll be given many opportunities here, because there are a lot of different ways to reach your destination. I wouldn't recommend moving near the water, because you would have to avoid the boat constantly. There are some exceptions, however it would be better to use the jungle for cover. Start off by going south. Be careful, though. You may encounter a small patrol here. I would recommend hiding in the bushes and surprising the soldiers once they're closer to your position. You could also try and avoid them.
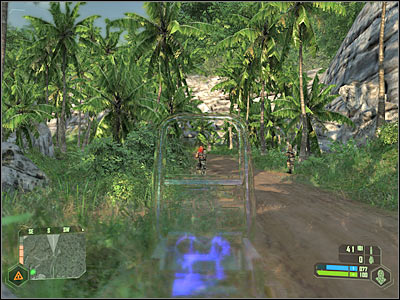
You won't have to leave the main road for the time being, because you won't encounter any additional troops here. Eventually you'll come across a much larger beach (screen). I wouldn't recommend going to your left, because there are a lot of enemy soldiers there (3 on the map). Instead, move forward and hide near the palm trees.
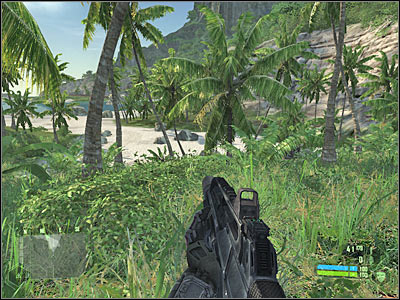
The beach itself is being patrolled by at least two enemy soldiers, however you should focus your attention on an enemy humvee. Look at the screen - that's where you'll find this vehicle. Use the jungle for cover in order to get closer to the humvee. Attack it from the rear, however make sure that you aren't seen by anyone.
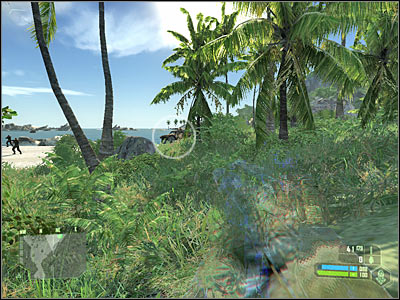
Obviously you will have to take out the gunner in the first place. A single shot to his head will do the trick. You've got two choices here - you can use your silenced weapon to get rid of the remaining enemy troops or you can mount a machine gun (screen). I would recommend choosing the second approach, because otherwise you'd have to spend too much time on the beach.
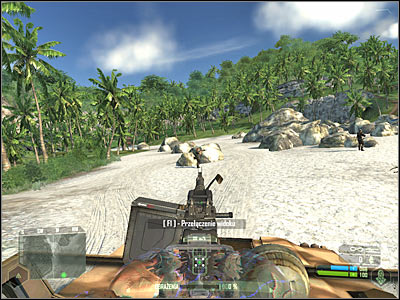
Once you've killed all enemy soldiers, go back to the jungle, because more enemy vehicles may arrive in this area. I had to deal with only one more humvee (screen), but your behavior pattern should always be the same - start with the gunner and then kill soldiers standing near the truck. Eventually you'll have to secure this entire area.
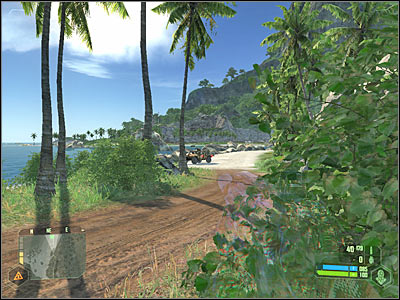
I'd strongly recommend using one of these vehicles to your advantage, however make sure that the boat has left this area. Start moving towards your current destination. You should be using the main road. You'll probably encounter several soldiers along the way (3 on the map). Use the machine gun (on the vehicle) to get rid of them. You'll receive a warning that there are more enemy units in the area. Exit the vehicle and start moving north on foot.
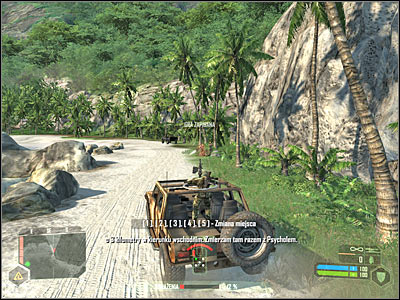
Head on to your left, because enemy soldiers are guarding a nearby beach (3 on the map). I guess I won't have to remind you to use camouflage, because that's the only way to get close enough to them. Try eliminating them with single shots to the head and from a cover, so none of them uses a flare to warn other enemy troops of your presence.
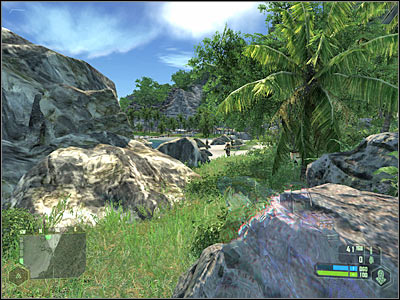
Try going back to the main road leading north. Depending on the outcome of previous fights, this area may be guarded by one of the vehicles (screen). As a result, you will have to neutralize it as soon as possible. Make sure that you're using camouflage all the time, so you aren't spotted by anyone.
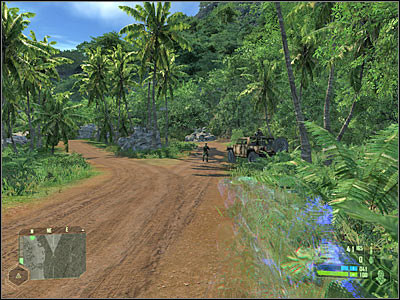
Now it would be a good idea to leave this main road, because it's not safe here and you would be exposed to enemy fire. Head on to your right. This is a dense jungle area, so you won't have any problems avoiding the final encampment (3 on the map). You'll only have to use maximum strength at some point in order to proceed to the upper ledge (screen). Keep heading towards your current destination. You should receive updated orders very soon.
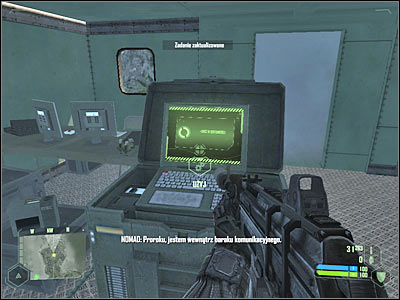
You won't have to use your strategical map here, because your objective can be found inside this building. You will have to approach one of the computers. Once this is done, press the action key in order to upload data (screen). It's going to take a while, so be patient. Exit the building and go back to your previous assignment.

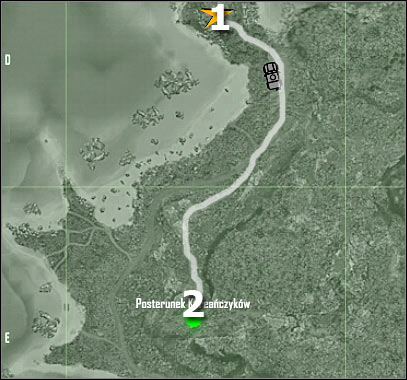
Map legend:
1 - starting area
2 - destination (it's a blockade that prevents access to the main hill)
Your first task here will be to leave this area, because you won't have to inspect the headquarters any further. There are some vehicles parked nearby. Steal one of the pick up trucks and head back the same way you came before. Eventually you'll have to go back to one of the previously explored encampments. Leave the car once you're close enough to a small junction (screen).
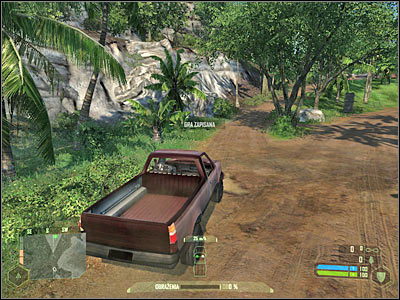
You've been to this campsite before, but now it's probably guarded by a new group of Korean soldiers. You could try and avoiding them, however it would be better to kill them. Use camouflage here. Once they're gone, head on towards a new road (screen).
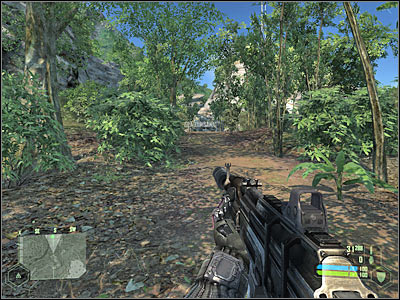
You're getting closer to a large hill. It's being heavily guarded, so you must be careful. Try hiding behind some of the nearby rocks. Obviously you should be using a cloaking device here, so you don't end up being attacked by several soldiers at the same time.
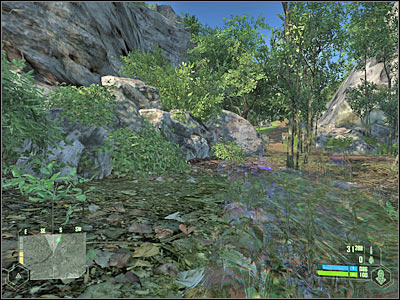
This isn't over yet. Try moving closer to the barricade. There are some large objects to your left and it would be a good idea to use them for cover. Make sure you're using camouflage here, so you won't raise any suspicion. Now you must neutralize this blockade. Start off by killing the gunner. Once he's gone, deal with the remaining enemy units.
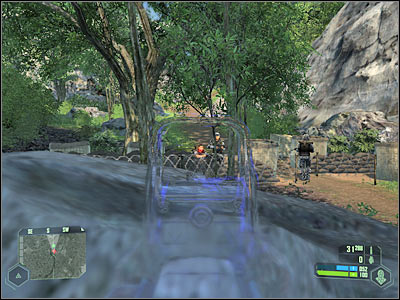
You should be using a rifle with a silencer attached to it during these fights and if you're lucky, you won't attract the attention of other enemy soldiers. If you want a more direct approach, consider using some of the carried frag grenades. You could also move closer to the blockade and take down enemy units with a shotgun. Head on to a secured barricade.
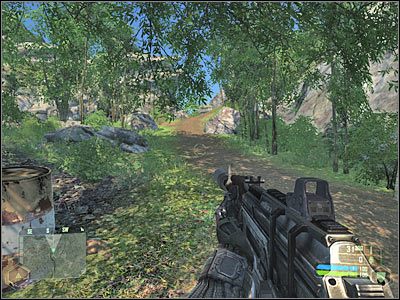
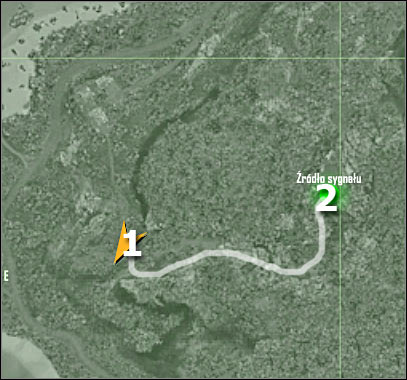
Map legend:
1 - starting area
2 - destination
You will have to go left in order to reach the source of a distress call. Sadly, there are some other soldiers near this hill and you can't just ignore them. They should be standing to your right, near the main road that leads to the top of the hill. You've got two options here - you can try and kill all of them or you can use a cloaking device and leave their field of view.
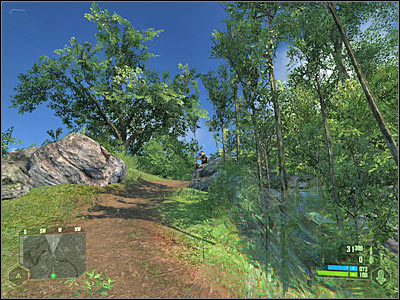
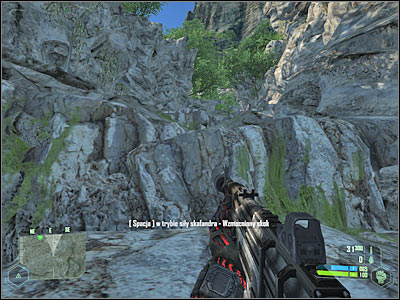
Either way, your objective here will be to reach a narrow passageway (screen). Once you're there, disable the cloaking device and start moving faster (you can use maximum speed ability). Keep going straight. There's only one main road here, so you don't have to worry about finding a correct route.
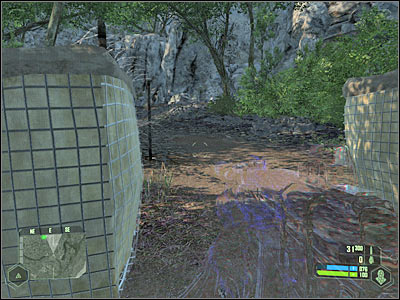
Keep moving forward. You will have to use maximum strength ability a few times, however you should already be familiar with this option. Thankfully, you won't encounter any enemy troops here. Head on towards your current destination. Once you're there, you are going to be rewarded with a new cut-scene.
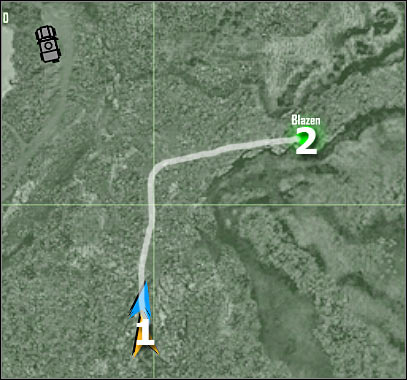
Map legend:
1 - starting area
2 - destination
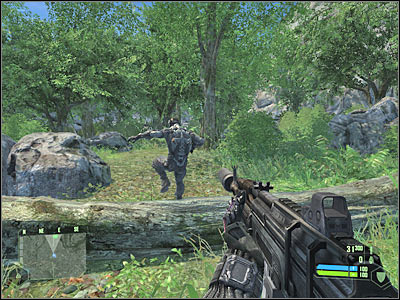
You won't have to do anything out of the ordinary. Just make sure that you're following your teammates. You will be moving towards your final target area. Once again, you won't encounter any hostile units. You will only have to jump over a small tree. Once you've reached your destination, slide down in order to be able to finish this first mission of the game.
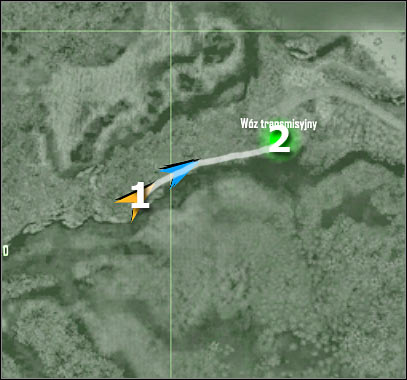
Map legend:
1 - starting area
2 - destination
Your first objective here is going to be very simple. You won't encounter any enemy units and you'll approach the target area very soon. All you have to do is to follow your teammates. You will be able to find the communications trailer in just a few seconds. Listen to what Prophet has to say to you regarding the hostages.
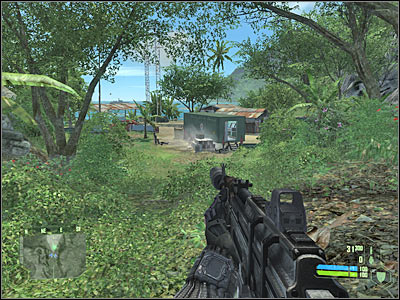
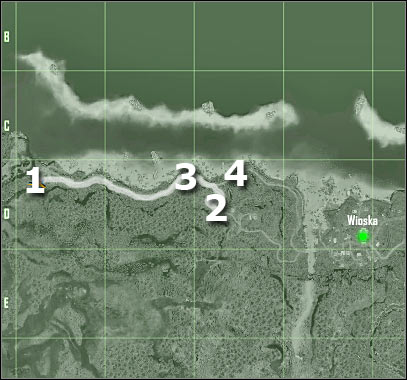
Map legend:
1 - starting area
2 - area where you'll receive a new mission goal
3 - largest group of enemy units
4 - enemy blockade (you must avoid it)
I guess you won't be surprised by the fact that you won't enter the village right away, because you'll receive a new task in a few minutes from now. Start off by leaving this small campsite. There aren't any enemies nearby, so you won't have to search for cover. Head on to the main road. You should be able to find a humvee here. Use it and head on forward.
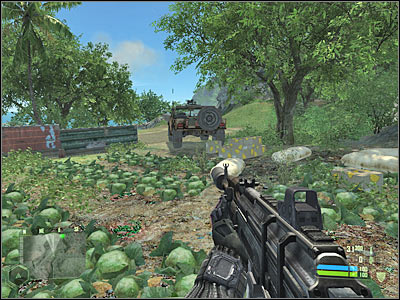
You will have to stop your vehicle after about 100 meters. Man the machine gun (make sure you're in FPP view). You will probably notice that an enemy humvee is heading your way. Wait for the enemy soldiers to exit this vehicle and start shooting at them. You will have to kill them all. Now you've got two choices. You can try to use the humvee again or you could move towards the village on foot. I would recommend that you stay in the car.
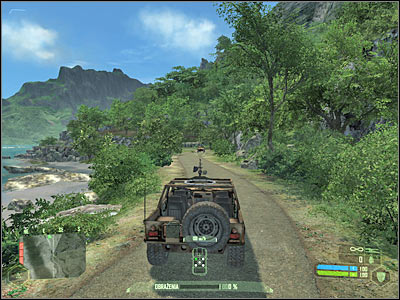
Keep heading forward. You shouldn't make any unnecessary stops here, because the surrounding area is being guarded by an enemy sniper. As a result, you would become an easy target. Exit the vehicle once you've come across a tight bend (screen). Head on to your right and hide near the hill. Activate your cloaking device here.
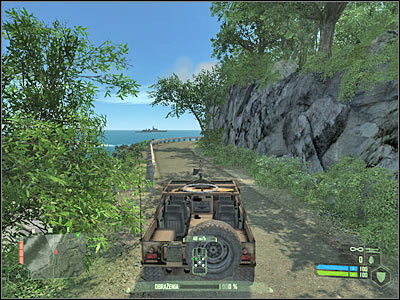
You shouldn't leave this area just yet. Instead, wait for enemy soldiers to come to you. They were probably alarmed by your actions, so it shouldn't take long for them to get here. Use the shotgun to kill them, but make sure that no one else sees where you're standing. You will have to deal with a second group using the exact same element of surprise.
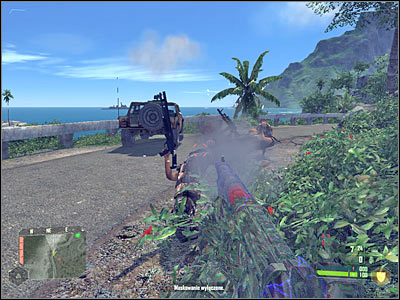
Be careful. One of the enemy soldiers may try to surprise you. A third group will arrive from the east. Make sure that everyone's dead before moving on. I'd strongly recommend that you search bodies of fallen enemy units. Look for a dead sniper and take his rifle. Once this is done, throw it back and take your previous weapon. The sole purpose of this action was to collect a more professional sniper scope. Attach it to your FY71 rifle.
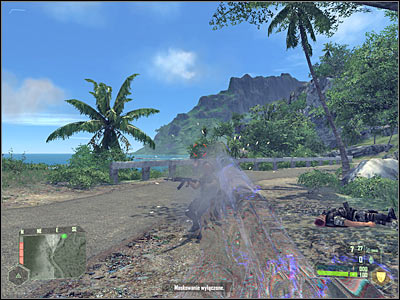
Now you may go back to your humvee. Head on to the east. Once you've reached a junction, leave the asphalt road, because you would come across a massive blockade (4 on the map). Instead, turn right and head on towards a nearby hill. You will probably exterminate several soldiers along the way. Stop the vehicle once you've received a new task from Prophet.
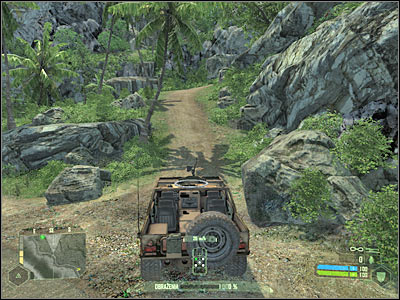
Map legend:
1 - starting area
2 - destination
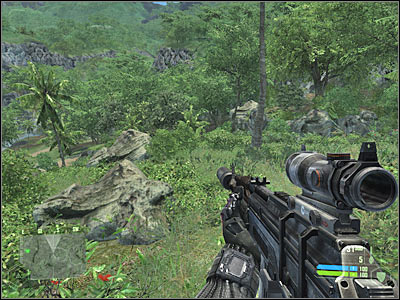
You can choose between two different approach methods here. The faster way would be to proceed with a full scale assault, however I would recommend to take on enemy soldiers by surprise. Start off by activating your cloaking device. Proceed to the upper section of the hill. You will have to secure this road. I had to eliminate a single soldier here. Make sure that you're using a silenced weapon and that you're aiming at heads of enemy units.
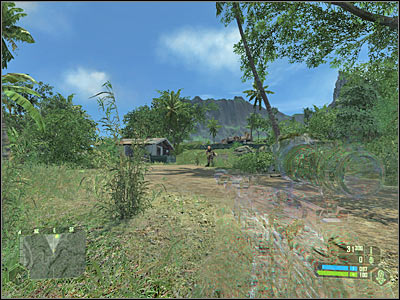
There's a small hut to your left. You should consider running over to it, because it'll pose as a great cover. Wait for your Nanosuit to regenerate itself and proceed towards the top of the hill. Obviously you shouldn't choose the main road. Instead, head on to the bushes (screen). Be careful, though. This area will probably be guarded by at least one enemy soldier. You will have to kill him without making too much noise.
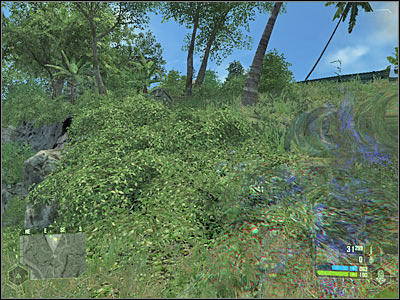
Eventually you'll end up near a small camp (screen). Just as before, you will have to decide on how to proceed with the current objective. If you attack enemy soldier right away, you should use nearby objects for cover and prevent them from attacking you from different sides. I would recommend that you plan next actions more thoroughly. Find a large rock and use it for cover. Wait for the power bar to regain all of its capabilities.
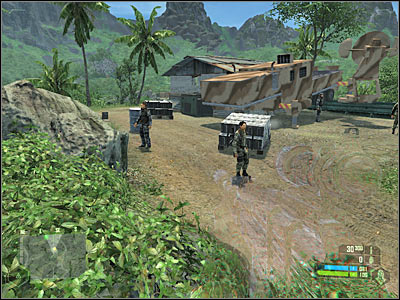
Now you should move on to your left. Head on to a small road which leads directly to the building. Obviously you will have to be using camouflage all the time. One of the enemy soldiers will be guarding the building (screen). Kill him and take cover inside. Now you should use your cloaking device to get rid of some of the nearby enemy units. Try and kill them one at a time.
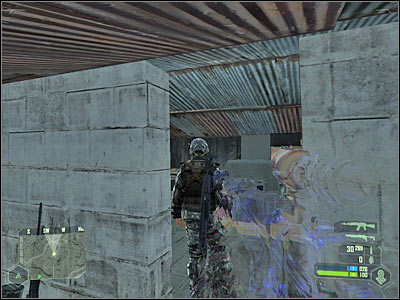
You will probably have to kill the last two soldiers separately. They will be guarding the entrance leading to this camp. Thankfully, you won't have to worry about raising any alarms. Use a shotgun and aim for their legs. Once they're gone, go back to the hut.
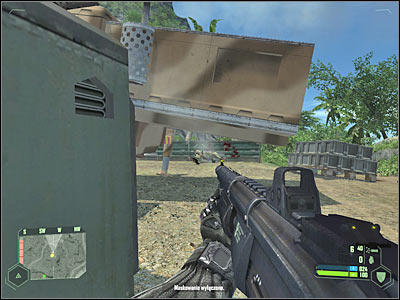
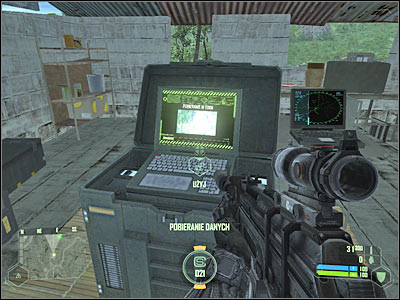
You may fulfill this mission objective right away if you want to. There's a computer inside this hut (screen). Use it and you'll find out that the hostage is being held in a local school building. Don't leave this area just yet. You'll find plenty of ammunition here. Additionally, make sure that you've taken a rocket launcher, because you're going to need this weapon later on during this mission. You can also pick up some grenades.
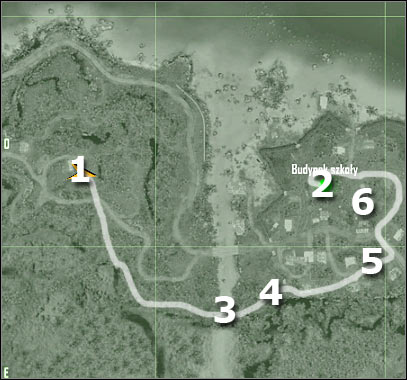
Map legend:
1 - starting area
2 - destination
3 - safest passageway to cross the river
4 - mine field
5 - parking lot
6 - town hall
As you've probably noticed by looking at the map, there's a long walk ahead of you. I wouldn't recommend trying to enter the village through the main bridge, because that area is heavily guarded. Instead, we'll try to sneak our way in. First off, you will have to leave this hill area. I wouldn't recommend going back to the junction. Instead, make sure that no one's in the area and start moving south (screen).

Once you've reached a larger road, I would recommend that you hide somewhere in the bushes. Take your time and observe your surroundings. There's a high probability of encountering an enemy patrol. I wouldn't recommend attacking enemy units. Instead, wait for them to leave. They will go either north or towards the bridge. Head on south. This means you will have to enter a new jungle area.
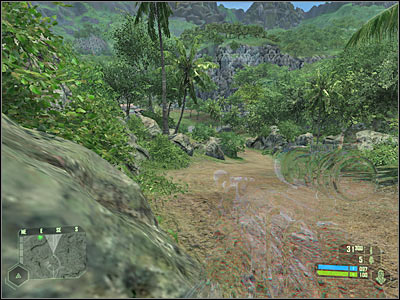
Look at my map, because that's where you'll have to go. Thankfully, you won't encounter anyone while going through the jungle. Nevertheless, you shouldn't be in a lot of hurry. You will probably get closer to a new road very soon (screen), so you must be careful. Once again, you should allow the opponents to leave, so they won't see you coming.
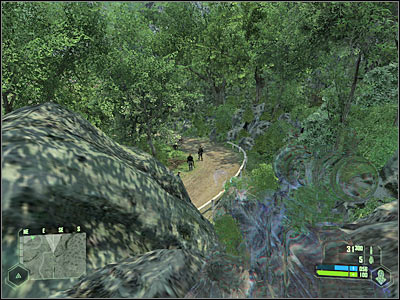
Eventually you will have to get closer to the river (3 on the map). Be careful here, because one of the enemy soldiers will appear in front of you. Kill him quickly, but make sure that your weapon has a silencer attached to it. Once he's gone, cross the river and move closer to the village. You will have to "disappear" here, so activate cloaking device.
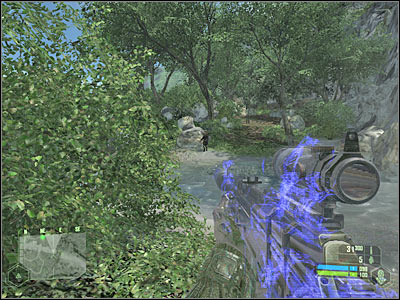
Make a few steps forward. There's a heavy machine gun nest to your left and your first task here will be to neutralize it. As a result, you will have to use a scope in order to take out one of the enemy soldiers. Make sure that he dies instantly. Otherwise you would have raised an alarm. Now you must act quickly, so no one replaces him at the nest.
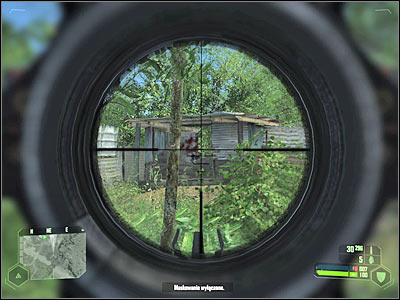
As you've probably noticed by now, there's a large mine field ahead. Sadly, you won't be able to destroy the mines and you can't get around them. Also, you can't use maximum strength in order to jump over the barbed wire, because your character would have been killed. Instead, activate maximum speed and start running towards the neutralized machine gun nest. Some of the mines will explode, but you won't suffer any injuries. Once you've arrived at the rest, activate your cloaking device.
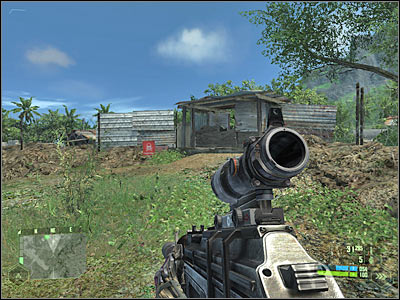
Make sure that no one has decided to inspect the explosions. Take your time, so you won't be surprised by anyone later during the course of this mission. If you looked at map, you'll know that you must go east in order to get to the armored vehicles. You won't encounter any hostiles right away. Slow down once you've reached a larger field (screen). This area is being patrolled by several soldiers. It would be a good idea to kill a few of them, but you must prevent the alarm from being raised.
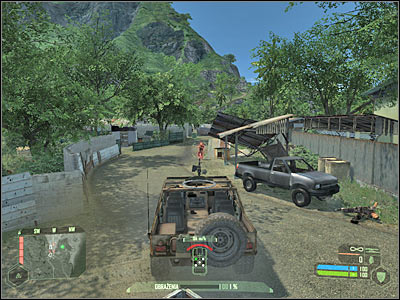
Keep heading towards the vehicles. Look at the screen - that's how your current destination should look like. Approach one of the humvee vehicles and take a seat inside. Now you will have to start attacking some of the nearby soldiers. Thankfully, you won't encounter major resistance, because all machine gun nests are facing the river. Additionally, enemy soldiers will not use any rocket launchers to hunt you down.
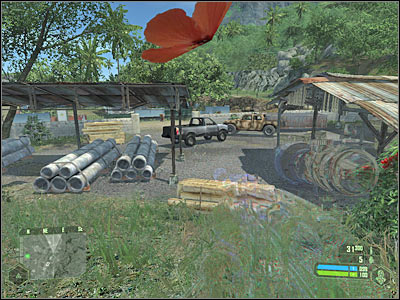
You will probably have to kill 25-30 soldiers on your way to the main destination. Start off by clearing the area around the vehicles. After that, head north. Don't let anyone get closer to your car. You must also prevent your machine gun from overheating. Use the map in order to find out exactly where to shoot.

Now you should proceed to the town hall area (6 on the map), because that's where you'll come across a new large group of enemy forces. Remember that it's often better to move back rather than damage your vehicle. Additionally, some of the enemy soldiers will try to surprise you. Don't let them destroy your humvee.
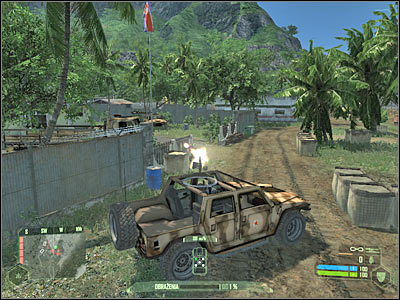
It would be a good idea to get closer to the town hall building, because you'll find a second humvee there (screen). Switch vehicles if you need to. You won't have to inspect the town hall building, because you would only find out where the hostages are being held and you already possess that knowledge (hut from the top of the hill).
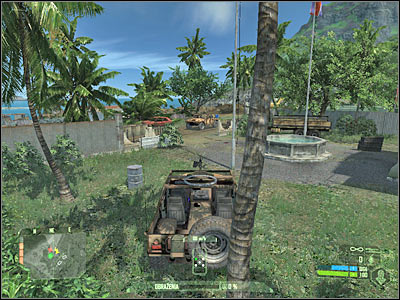
Keep moving towards your current destination (school building). Try securing this entire area right now, so you won't have to deal with enemy troops later during the course of this mission. As for the school building, make sure to inspect upper balconies. You'll find a few machine gun nests there. Neutralize them right away (screen).
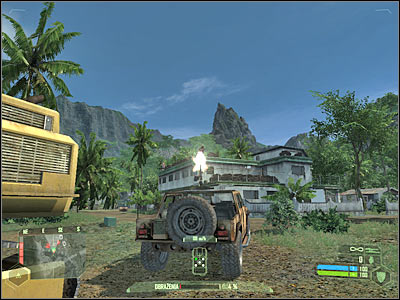
Make sure that the area has been secured. Stop the vehicle near the school and proceed to your target area. You will have to be extremely careful here. Some of the enemy soldiers may be standing near the stairs (screen). Kill them and secure the ground floor. You should also be looking at the entrance from time to time, because more enemy units may appear there, even if you thought that you've secured the village.
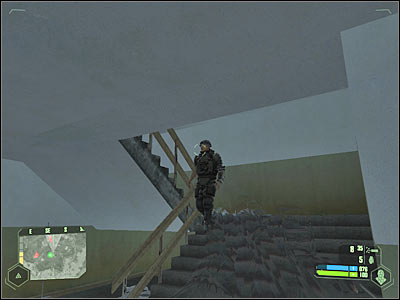
You should also have a look at the roof area of this building. Use the sniper rifle to get rid of some of the remaining enemy troops. You may also pick up a few grenades. Your objective here is to find one of the doors on the first floor. Click on the door and you'll trigger a new cut-scene.
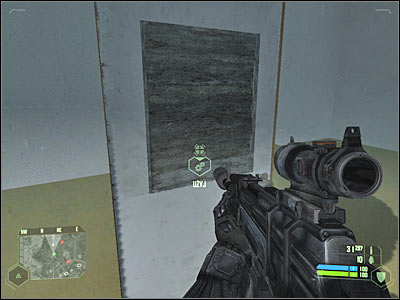
You won't have to use my map here, because you will know where the tanks are. I assume you have a rocket launcher at your disposal. You were able to pick it up while trying to fulfill one of the previous objectives of the mission (Accessing Korean data network). Proceed to the roof as soon as possible. Choose a rocket launcher from your inventory. Focus your attention on the northern tank, because it'll stop closer to the school.
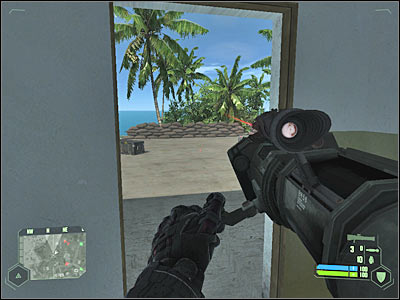
You should consider hiding near one of the sandbags. Wait for the tank to stop and fire at least two missiles at it. This should be more than enough to destroy it. You may also fire a third missile at something, because you'll have to pick up a new weapon to take out the second tank.
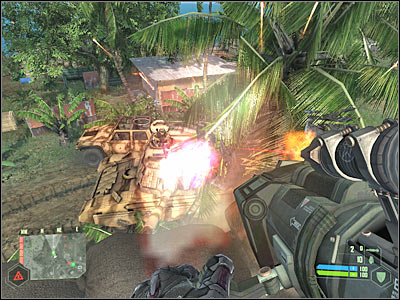
Go back to the ground floor of the school. Don't exit this building and don't expose yourself to enemy fire. Otherwise you could easily die. You will have to go to one of the smaller rooms (screen). You'll find a large armory inside. Pick up one of the available rocket launchers and exit the building. Start moving south, because that's where you'll find the second tank.
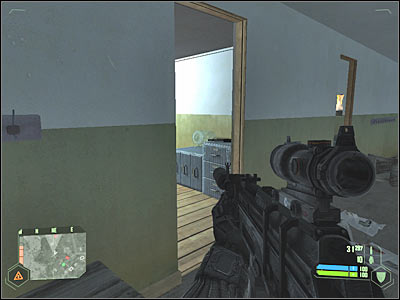
You could also take a rocket launcher from a nearby gas station which is located closer to the tank. You would have to get there in the first place. You also have to activate your cloaking device once you're close enough to the gas station, so you won't attract any attention. Proceed towards a small room. You may enter it from the front or from the back. Just make sure that you aren't seen by the crew of the tank, because the explosion of the gas station would have probably killed you.
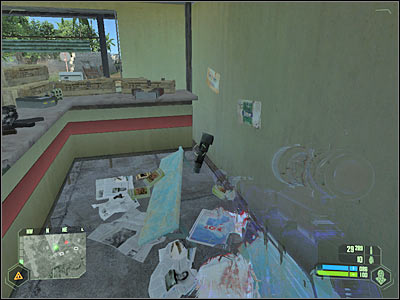
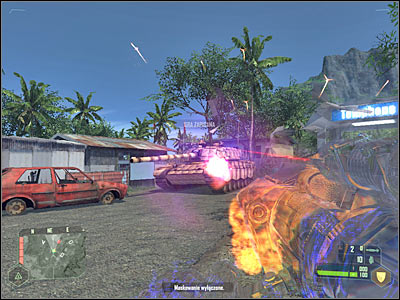
It doesn't really matter where you'll collect the second rocket launcher. Head on towards the tank. You must be extremely careful here. Use the rocket launcher to take out the tank (fire all three missiles just to be sure). Now you will have to wait for a new order to be displayed on your HUD.
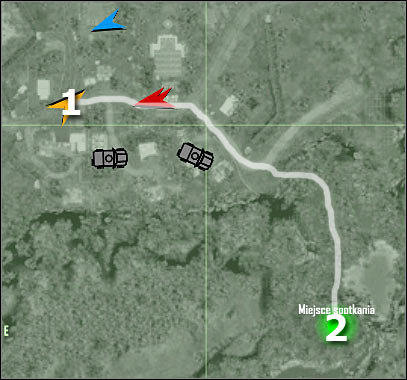
Map legend:
1 - starting area
2 - destination
You shouldn't have any problems with this particular mission objective, especially if you have managed to secure the village during some of the previous fights. Start off by finding a vehicle. It doesn't really matter what it is. Use the vehicle to reach your new destination. You will be moving to the south-east.
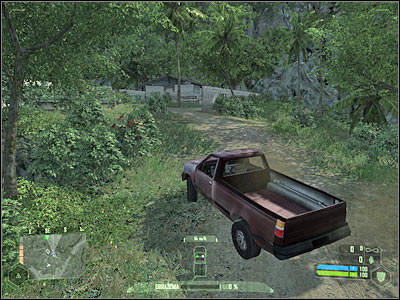
Stop the vehicle once you're close enough to a larger hill. Exit the car and start moving upwards. You won't encounter any enemy units here. Keep moving south. You will have to approach a large waterfall in order to receive a new task from Prophet.
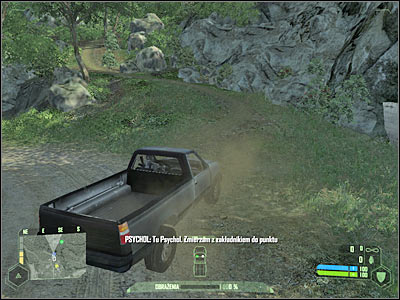
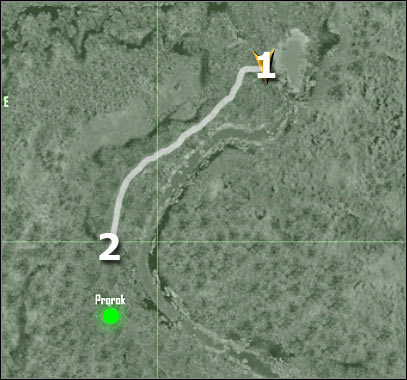
Map legend:
1 - starting area
2 - area where you'll receive a new mission goal
This time it's going to be a little more difficult, however you should still be fine and you won't come across any major obstacles on your way to the meeting area. You'll start near the waterfall. Turn right and make a few steps forward. There are some upper platforms to your left. Use maximum strength to reach them.
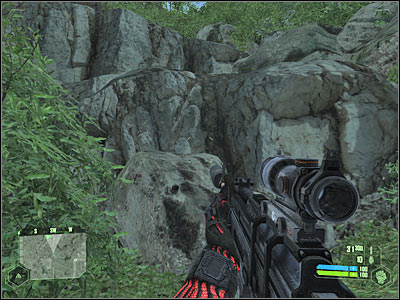
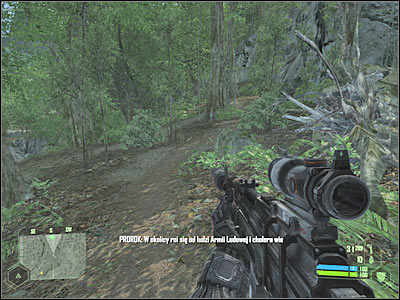
Now you will have to start moving south-west. You'll be going through a jungle, so you must be careful, because it won't be easy to locate enemy troops. You'll come across at least one larger patrol along the way. You have two choices - you can either avoid enemy soldiers or you can try and engage them. Use the shotgun if you plan on killing them.
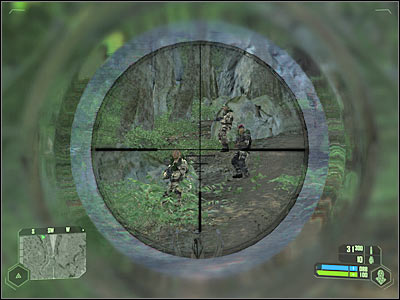
Watch out for enemy snipers. They will be standing to your left, near the river. Don't expose yourself too much while going through the jungle, because you would be an easy target for them. Remember that you don't have to be in a lot of hurry. You will receive an updated task once you're close enough to the original meeting area.
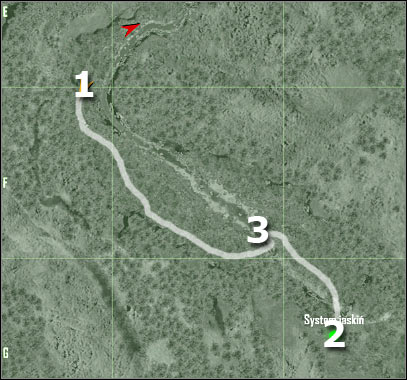
Map legend:
1 - starting area
2 - destination
3 - waterfall
Nothing will change here. You'll still be going through the jungle. Your new target is also to the south. Make sure to avoid enemy patrols and snipers along the way. I wouldn't recommend moving too close to the river bank. Use your cloaking device as often as possible. Choose a sniper rifle if you really have to kill something on your way to the target area.
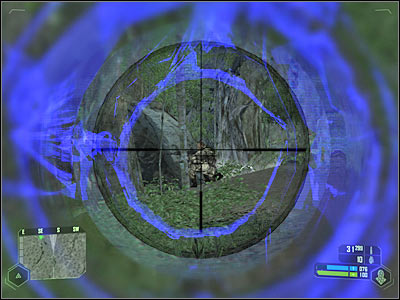
You will probably encounter a mutilated body along the way. You might as well ignore it. Be careful here, because a very large enemy patrol is heading your way. You could try and exterminate all enemy units (screen), however waiting for them to leave seems like a better idea. Keep heading towards your current destination.
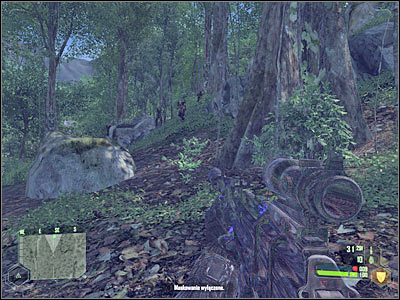
You should be able to get closer to a waterfall. Enemy snipers are standing to your left. I wouldn't recommend attacking them, especially since they can't see you. Approach the waterfall and slide down carefully. Don't worry. You shouldn't lose any health points here.
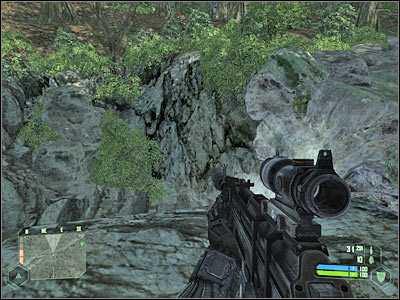
There's a small ledge in front of you. Use maximum strength in order to reach it (screen). Once you're there, turn left and perform a jump towards a second ledge. This should allow you to reach the highest level. Turn on your cloaking device or activate maximum speed. Head on south, because that's where you'll have to team up with Prophet.
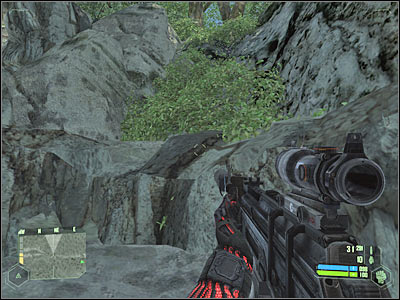
You probably won't encounter any additional units along the way, so you may consider speeding up a little. You will have to find Prophet. He is standing next to a second waterfall. Listen to what he has to say to you. Once this is done, head on to the entrance to the cave system. Wait for the game to begin loading a new mission.
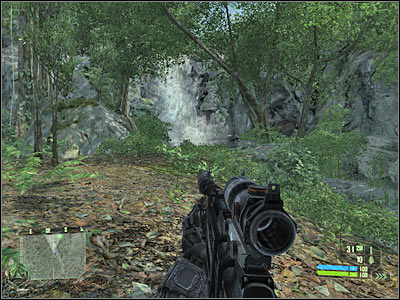
Start off by listening to what Prophet has to say. Unfortunately, he is going to be captured by one of the weird monsters. As a result, you'll be on your own here. Sadly, you can't use your map, because there's a jamming station nearby, similar to a device found during the course of the first mission of the game. Start moving forward. There's a small path here (screen).
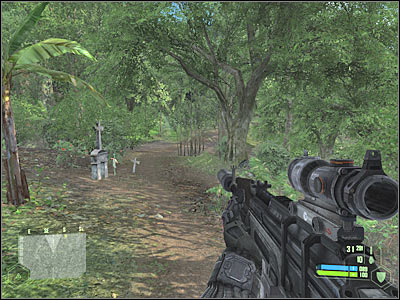
Keep heading straight until you reach a smaller hill. Look at the screen, because that's where you should be standing. There's a large field ahead of you. Try and locate an enemy vehicle. It should be parked to your right. Your main task here will be to neutralize it by taking out the gunner. Once this is done, start shooting at the remaining enemy soldiers. Most of them will appear near the humvee. Additionally, they probably won't be able to respond to your attacks (only if you're using a silencer and a cloaking device).
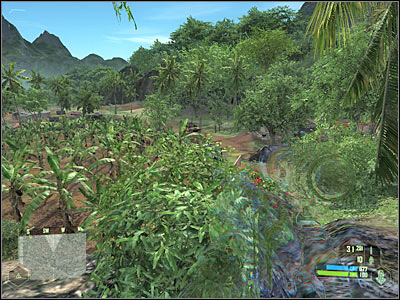
Start moving towards the vehicle. You will have to be careful here, because you might have let someone live. Use a cloaking device just to make sure that you won't suffer any major injuries. Enter a nearby hut and pick up some ammunition. After that, go back to the car and use it.
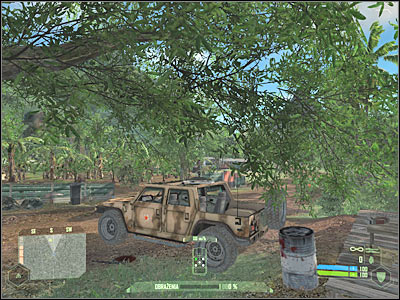
Your task here will be to secure the surrounding area. Thankfully, you're using a humvee, so it shouldn't be a problem. Start off by going towards a nearby field (screen). Look around a lot, especially since you can't use your map. Be careful, because some of the enemy troops may try and surprise you.
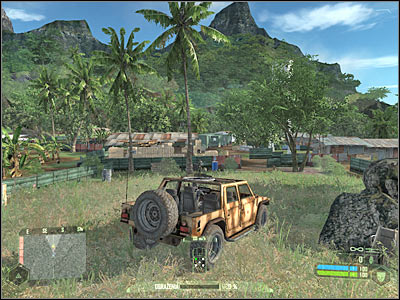
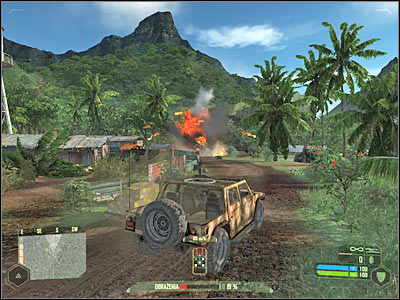
A second humvee should appear in this area very soon. It's heading your way, so you must act quickly. Use your gun in order to destroy it (screen). Make sure that you've killed all enemy units before leaving your car. Start moving towards the buildings. You should be using camouflage here. It would also be a good idea to choose a shotgun from your inventory.
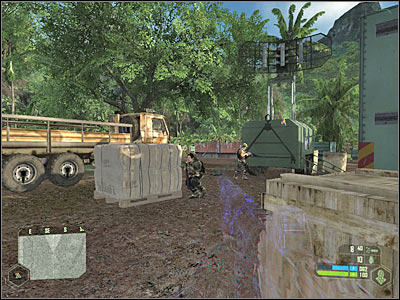
You will have to reach a well known device. Look at the screen, because that's how your target should look like. I had to deal with three additional soldiers here, so make sure to check the surrounding area before approaching the jamming station. Press the action key in order to disable this device. Your map is going to be activated. Take a look at it, especially since you're waiting for new orders to pop up on your screen.
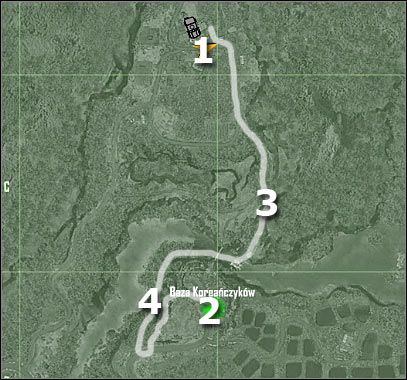
Map legend:
1 - starting area
2 - destination
3 - side road
4 - pathway leading to a nearby hill
As you've probably noticed by now, it's going to take you at least 10-15 minutes to reach an enemy base. I would recommend going there undetected, so you won't have to deal with an enemy gunship. Start off by stealing a car. Look at my map and use the same road. You will have to turn left at some point (screen).
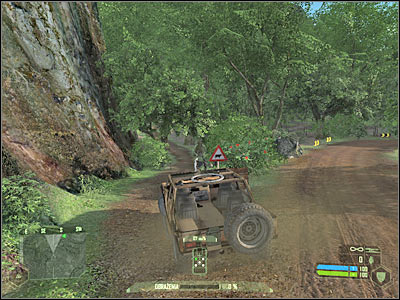
You will probably encounter a small patrol along the way. Killing the soldiers is going to be very simple. Just make sure that no one uses a flare to alarm the main camp. Leave the vehicle and go to your left. You should be using your cloaking device here. Keep heading forward. You should also listen to what one of your colleagues has to say.
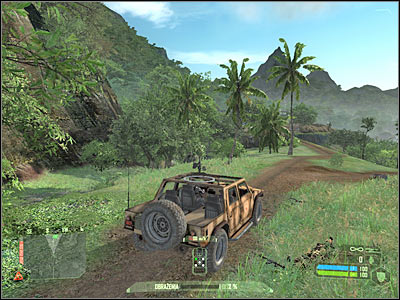
You will probably notice a machine gun nest to your right. DON'T attack the gunner. Instead, keep moving forward. You should be able to approach a large waterfall very soon. Slide down carefully, so you'll end up near the water. Make sure that no one saw you.
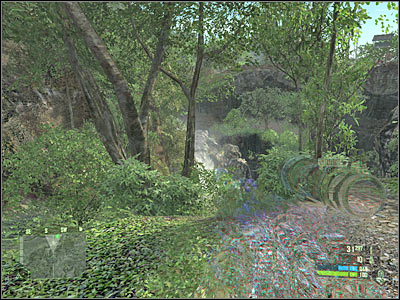
Now you must start swimming forward. Make sure that you're close enough to the left hill. You will probably hear a sound of an incoming helicopter. I wouldn't recommend trying to destroy it, because you'll need the rocket launcher for later. Instead, swim towards the shore. Make sure that you've activated your cloaking device, so you won't be seen by the crew of the helicopter. Keep heading towards an enemy base (use my map for directions).
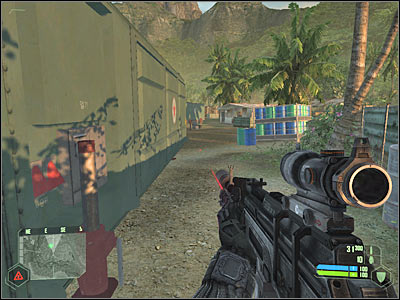
If you've followed my instructions, you should come across a small path leading to the top of this hill (4 on the map). I had to deal with two enemy soldiers there. Killing them was very easy. Once you've secured this passageway, head on to your destination. Once again, you should be using camouflage, so you won't be seen by anyone.
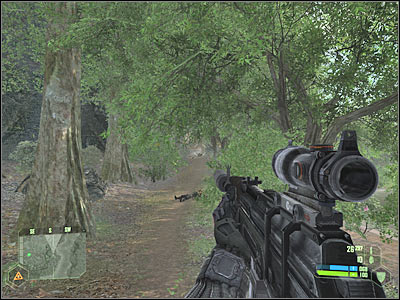
Eventually you'll come across a very large field. The base can be found to your left. Obviously you shouldn't even think about proceeding with a frontal assault. Instead, turn left and find a second path (screen). You won't encounter any hostiles there and you will be allowed to get closer to an enemy camp without being attacked by the helicopter.
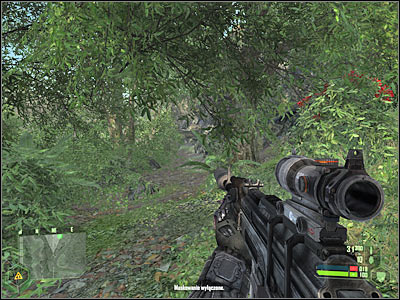
Reaching the base should only take you a few seconds. Look at the screen - that's where you'll have to make a stop. You'll be perfectly safe here, mostly because enemy soldiers won't be able to surprise you. Choose a rifle from your inventory and take out one of the enemy snipers. He should be standing inside the guard tower which can be found in front of your current position. The second sniper is to your right, but you'll deal with him later on.
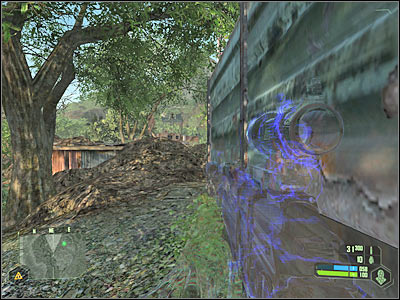
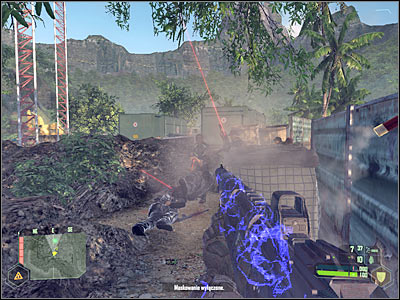
Now you will have to lean out several times. Try and take out enemy soldiers from here. Be careful, though. Some of them may advance towards your position (screen). Use a shotgun to kill them and hide behind the wall each time you've managed to kill a few of them. You will only have to watch out for enemy grenades. I'm sure that you won't have any problems killing at least 6-10 Korean soldiers.
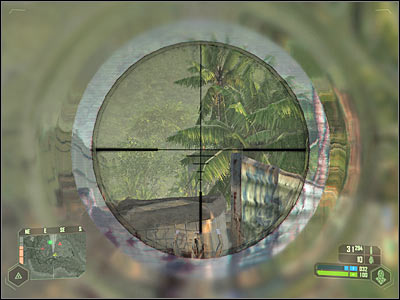
Now you should consider taking out the second sniper. He's well hidden, so you probably won't notice him at first glance. Look at the screen if you're having some difficulties finding him. He will be standing inside the guard tower, to your right. Once he's gone, deal with the remaining enemy units. You won't have to save up on ammunition, because there are a lot of supplies in the camp.
Make sure to check bodies of fallen enemy units. As you've probably noticed before, some of them were using guns equipped with laser sights. Pick up one of these weapons and immediately drop it. Attach laser sights to your main guns. Start moving towards the camp. You should consider using camouflage, because the area may not be safe.

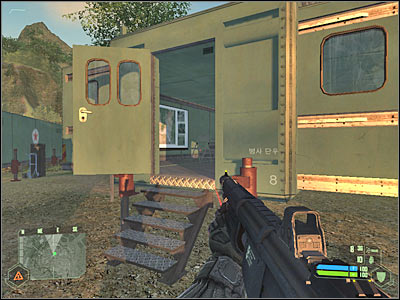
You will probably encounter only a few additional enemy units. Soldiers are probably hiding inside trailers. Kill them and proceed to your target. It's going to be a small barrack. Enter this structure and approach the computer. Press the action key in order to upload necessary data. Wait for the game to grant you with a new task.
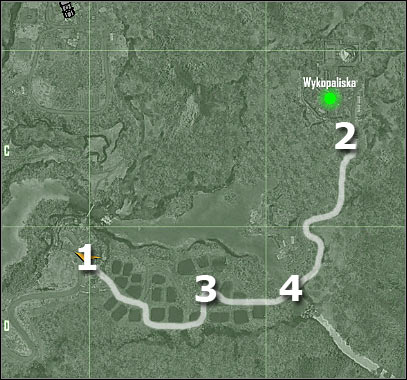
Map legend:
1 - starting area
2 - area where you'll receive a new mission goal
3 - small hut (rocket launchers)
4 - area where you should cross the river
I guess you won't be surprised by the fact that there's a long and demanding journey ahead of you. Thankfully, you won't have to travel on foot, at least not until you've reached the river. You will be moving east and then north. Start off by using one of the nearby trucks. You could also ignore it and proceed to a humvee vehicle.
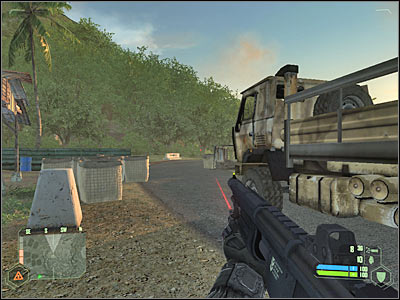
You shouldn't have any problems finding the swamps. Use your turret to take out all enemy soldiers. Be careful, because some of them may actually try and get closer, especially those to your left. Prevent them from doing that. Try killing all of them before reinforcements show up. Now you will have to eliminate 4-5 new soldiers.
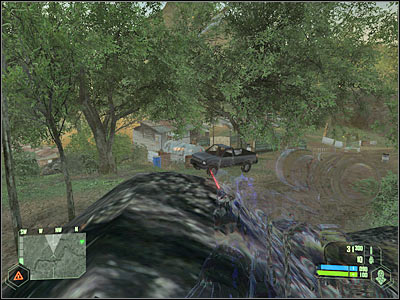
It would be a good idea to exit the truck. Try and move closer to a nearby hut (3 on the map). You will have to start off by neutralizing a heavy machine gun nest, because it's the only major threat out there. Once this is done, go back to one of your vehicles and go to the hut. You must be quick. Reach this new area before anyone else decides to use the heavy machine gun post.

Make sure that you're travelling towards the hut at full speed. I would recommend surprising the soldiers from the south-west. Try killing as many of them as possible with your main turret. Sooner or later, you will have to leave your vehicle. Turn on your camouflage.
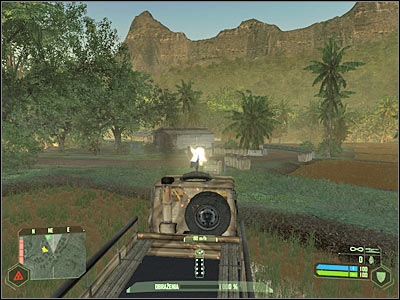
You should focus all of your efforts on securing this area. It's very important, because you'll know that you won't be attacked by anyone else later during the course of this mission. There are several rocket launchers inside the hut (screen). Take one of these weapons if you've decided to attack the helicopter before. Exit the hut and start moving east.
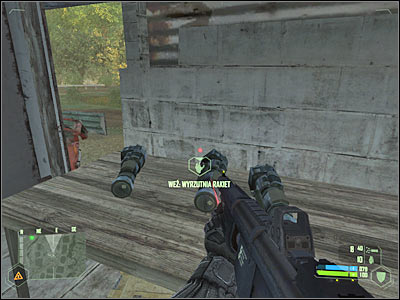
Eventually you will have to reach a river (4 on the map). You've got two choices here - you can try and use maximum speed to cross it quickly or you can activate camouflage and swim towards the opposite shore. Either way, stay out of sight, because an alarm would cause an enemy gunship to appear in this area. Start moving north-east.
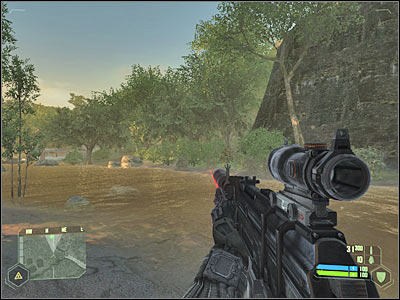
Even if you're staying the shadows, you still have to avoid being spotted by an enemy gunship. Hide in the bushes each time it appears near your position. I wouldn't recommend moving too close to the left road. Instead, stay in the jungle and keep pushing towards your current goal area.

Now you will have to deal with a very challenging segment of your approach. You will be forced to get closer to the main road. This area is being patrolled by at least two groups of enemy soldiers. I'd strongly recommend avoiding them. If you decide to fight them, you must use trees for cover. Shotgun is the best weapon to take them down.
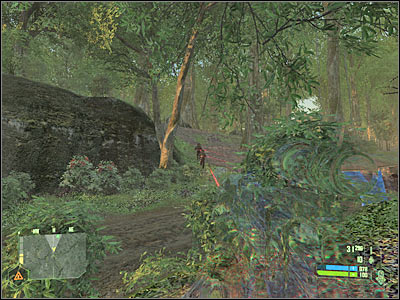
Keep heading north, but make sure that you're staying close to the eastern edge of the map. There are some dense bushes out here, so you'll be able to use them for additional cover. Use a cloaking device all the time. Slow down once you're close enough to the excavation site. Lie down on the ground. You will have to kill two enemy snipers from here. The first one is in front of you (screen) and the second one can be found to your left. Make sure that you're very precise (one shot to the head), so you won't raise an alarm. Head on to the orange container and you'll receive new orders.
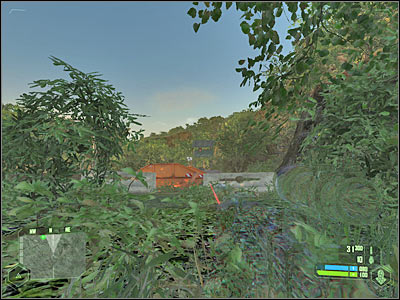
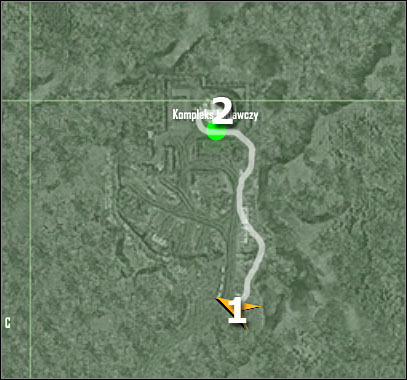
Map legend:
1 - starting area
2 - destination
Turn on your cloaking device and start moving north (slowly!!). Your first objective here will be to neutralize a machine gun nest (screen). Make sure that you fire only a single round at the gunner, so you won't raise any alarms. You may proceed to the north. I would recommend choosing a small hill, so you won't get too close to the main encampment. Activate your camouflage here, so you won't attract any attention.
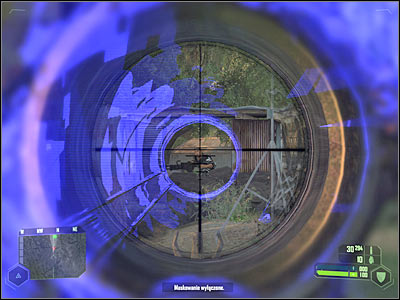
Now you should consider hiding behind a humvee vehicle. I wouldn't recommend using this vehicle, because it would be better to stay in the shadows and surprise enemy soldiers. There's a sniper tower to your left. Neutralize it as soon as possible. Once this is done, move closer to a large dome structure.
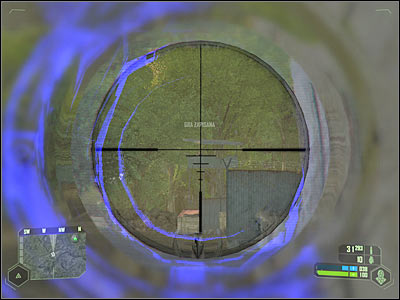
Keep heading towards a large dome. You shouldn't have any major problems finding it. Make sure that you're using some of the nearby trees for cover. Once you're close enough to the dome, jump down to a lower level. You should be using your cloaking device here, so you won't get caught.
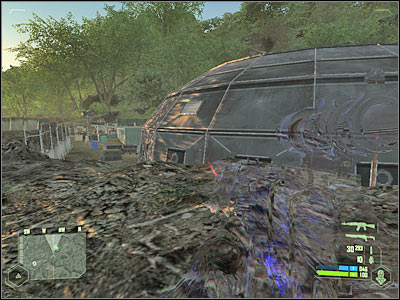
Enemy soldiers are standing to your right. You could try and kill them right away, however I would recommend moving closer to the entrance to the lab complex. There's a second machine gun nest to your left. Neutralize it, because otherwise you might have been attacked. There's also a third sniper tower in this area. Now you may focus on other enemy soldiers. They will be guarding the entrance, so you must kill all of them. If you're lucky, you won't raise any alarms. Eliminate them one at a time.
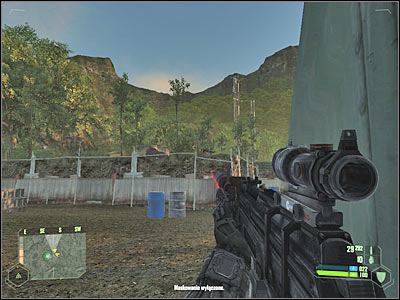
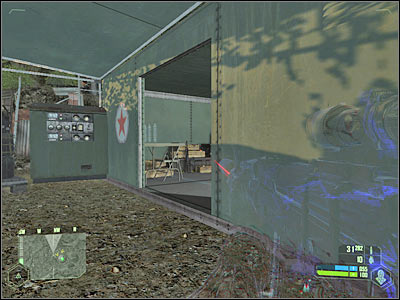
Once you've secured this area, head on to a nearby tent (screen). Obviously you will have to enter it. Head on to a new corridor. You won't have to worry about any alarms here. The inside of the tent is probably guarded by two Korean units. Kill them and proceed to the right corridor. Use a panel which can be found near the door. This will trigger a longer cut-scene.
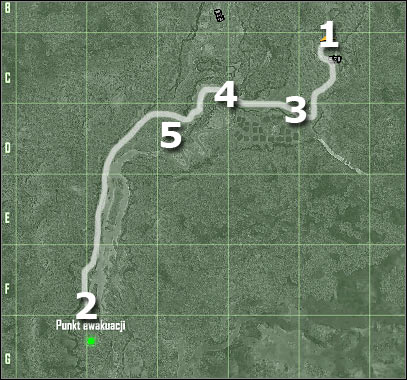
Map legend:
1 - starting area
2 - destination
3 - boat
4 - waterfall
5 - river blockade
As you've probably noticed, you will have to go back all the way to the southern area of this map. Thankfully, only the first part of your journey is going to be difficult. Start off by leaving the research dome. You will have to jump over several objects along the way. It's dark outside, so it's going to be easier to outrun enemy units (smaller field of view). Sadly, you may have some problems spotting them.
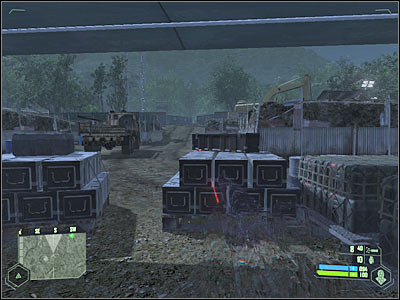
You will have to make a very important decision here. Your first objective will be to go back to the river which is located to the south of this base. You can try and stay in the shadows or you can fight your way through enemy checkpoints. I would recommend choosing a more direct approach. As a result, head on to a nearby truck (screen).
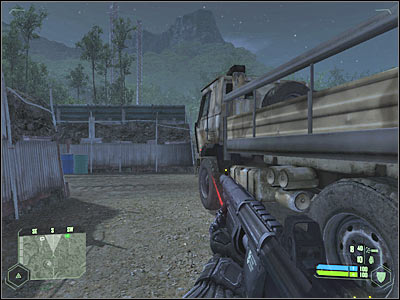
The most important thing here will be to keep moving in order to prevent the truck from receiving too much damage. Also, you can't hit any of the nearby objects, because that would only slow you down. Head on forward. Turn left and then right. You will have to go through your first checkpoint (screen). Keep heading south and don't leave the main road.
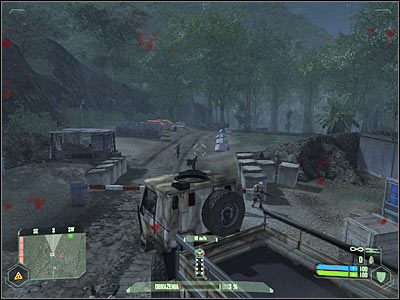
You will come across an enemy humvee in just a few seconds. You could try and fire a few rounds at it, however it's more important to keep moving, because your truck can't withstand too much damage. Keep moving south. Exit the truck once you've reached a small junction (screen). You've been here before, so you should be familiar with the surroundings.
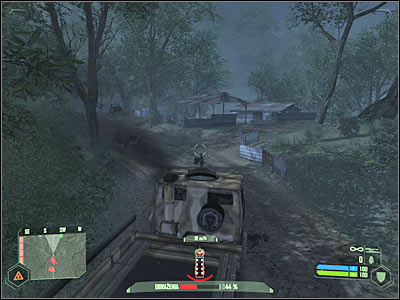
Activate your cloaking device as soon as you've left the truck. After that, hide somewhere in the bushes. If you're lucky, you won't be attacked by anyone. Now you must start moving towards the river. Ignore enemy soldiers, because they won't follow you (they will probably stop near the truck). Once you're close enough to the river, turn right. This area should be safe.
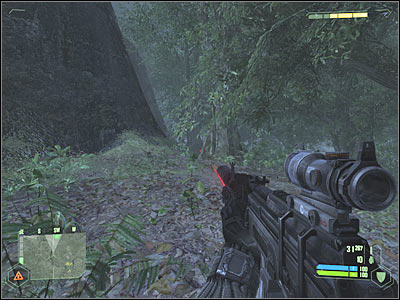
Your next task will be to find a small shack. There's a boat here and you will be given an opportunity of using it. The easiest way to reach the boat would be to start swimming towards it. Enter the boat and start moving forward. Sadly, you'll come across a waterfall in just a few seconds. Don't even think about staying inside the boat. Instead, leave it and carefully approach the waterfall.
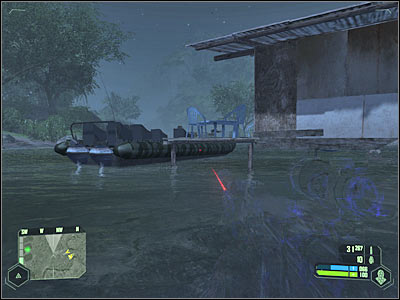
I wouldn't recommend looking for other passageways. We'll perform a single jump here, however you must activate maximum speed or maximum strength, so you won't hit any of the surrounding objects. If you've done everything according to the plan, you'll end up in the water. Go back to the surface and start swimming south. It would be a good idea to head on to a nearby beach as soon as possible.
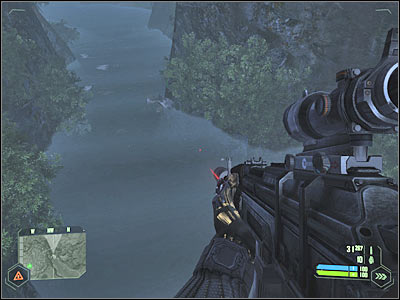
Hide somewhere near the trees and activate your cloaking device. An enemy gunship should arrive here. You've ignored helicopters before, but I'd strongly recommend destroying this one. Make sure that you're cloaked. Choose a rocket launcher from your inventory. Wait for the helicopter to get closer. Fire 2-3 missiles at it and it'll explode (screen).
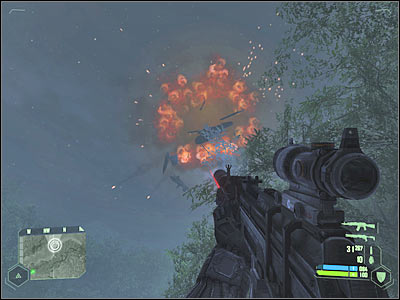
Go back to the river and start swimming towards your current destination. You will be moving south-west. Sadly, you will come across a massive blockade in about 15-20 seconds (screen). I wouldn't recommend attacking some of the visible enemy soldiers. Instead, head on to your right (west). There's a large hill here.
You should be moving near the western edge of this map, so you won't have any problems avoiding Korean soldiers. Thankfully, due to the fact that it's dark, you won't have to worry about them seeing you. Keep heading towards your current goal area. Use my map if you're having some difficulties finding a correct route.
Eventually you should come across a larger asphalt road. Be careful. I had to avoid an enemy humvee here. If you see a vehicle coming your way, activate camouflage and allow it to get past you. Don't attack the vehicle, because it would be too risky. Start moving south. You shouldn't encounter any soldiers for the time being, however you don't have to be in a lot of hurry.
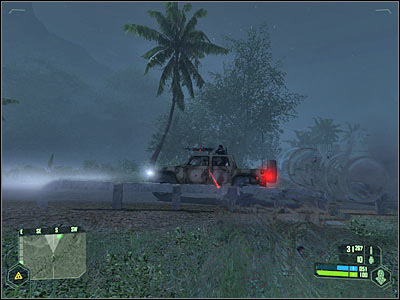
You will come across a new enemy checkpoint in a few minutes (screen). This is the only threat separating you from the extraction zone. Use your scope and start shooting at enemy soldiers. There should be a large distance separating you from each other, so they'll be helpless to your attacks. Try and kill most of them. We'll deal with the rest (not more than two) in just a second.
Start moving towards the blockade. Obviously you must be very careful here. Use your shotgun to deal with remaining enemy units. Take your time here. Pick up a rocket launcher and the ammunition for your weapons. You will also find a couple of grenades, however you won't have to take them.
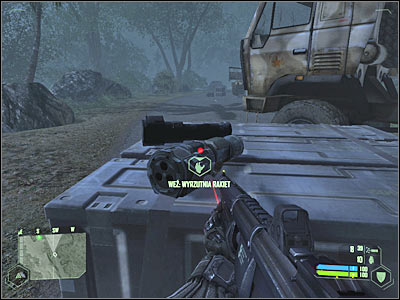
There's only one road leading to your goal area. The extraction zone can be found nearby, however you should consider using one of the available vehicles to get there. You will receive your final task once you're close enough to the extraction point.
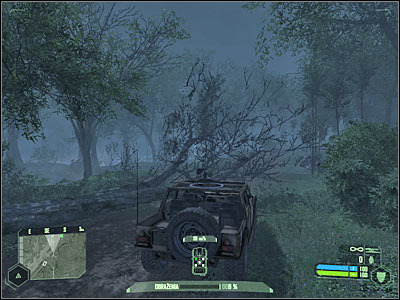
You won't need a map here, because you'll stay near an extraction zone until the end. Leave the vehicle. It's very important, because some of the enemy soldiers are carrying sniper rifles and you would be an easy target for them. As you've probably noticed, they're also using similar Nanosuits to your armor. This means they can withstand more pain and they can cloak themselves. Choose a sniper rifle or a rocket launcher from your inventory and attack them.
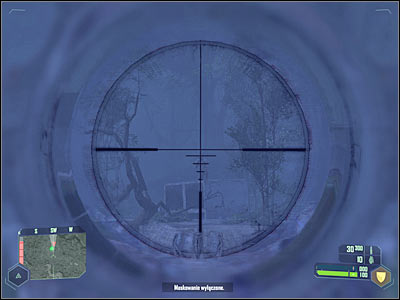
Once you've fired a few rounds, hide behind a nearest brick wall. Now you must wait for them to get to you. Make sure that you've activated your cloaking device. Kill each soldier with a shotgun (screen). You must be careful here, because it's difficult to find them, especially if they're using camouflage. Once they're gone, wait for the game to display a new mission objective.
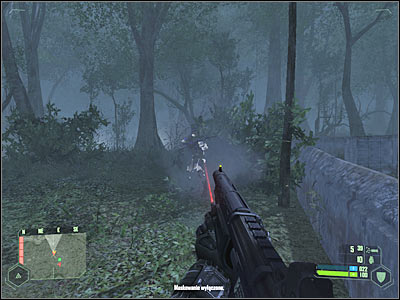
This is strictly going to be a formality, so there's nothing you should be worried about, because you won't find any other hostile units in this area. First of all, you must wait for an allied VTOL to show up and land. Head on to the main compartment of the plane. This is where you'll be rewarded with a new cut-scene. Get ready for the next mission.
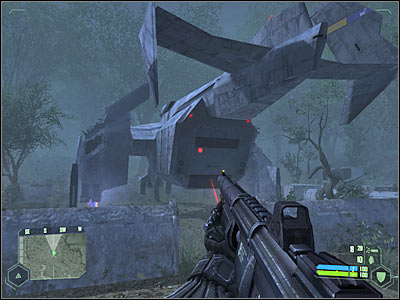
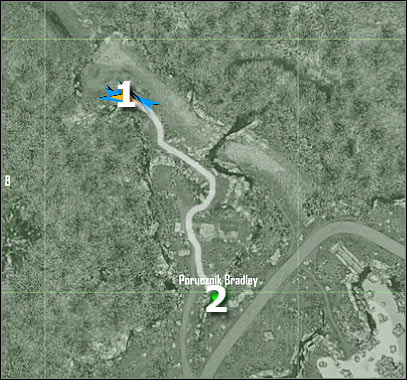
Map legend:
1 - starting area
2 - destination
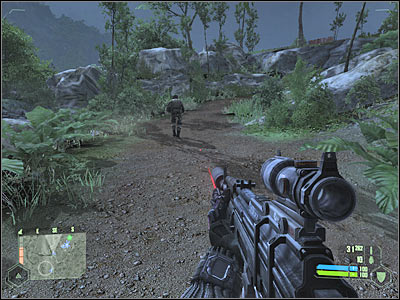
This mission will begin when you're still inside an allied VTOL. As a result, you will have to wait for the plane to land. This time using your strategical map won't be restricted in any way. The first objective of this mission is going to be extremely simple, but I guess you won't be surprised by that. Your only task will be to follow one of the allied soldiers. Eventually you will meet up with lieutenant Bradley. The game will display a cut-scene here. Wait for him to give you new orders.
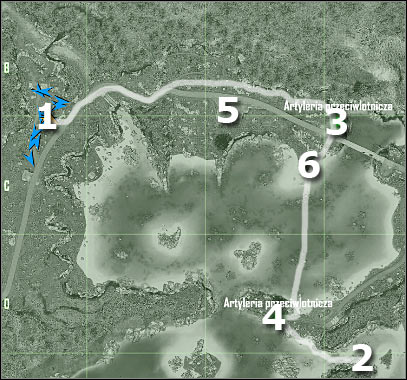
Map legend:
1 - starting area
2 - area where you'll receive a new mission goal
3 - first AA gun
4 - second AA gun
5 - gas station
6 -patrol boat
Obviously destroying all three AA guns is going to be your main task. We'll start with two units. As for the third gun, you'll get to it later during the course of the game. Your first area of interest will be the northern gun (3 on the map). As a result, you will have to leave this hill by sliding down to the lower level (screen). It shouldn't be too difficult and you won't have to use camouflage here, because you are accompanied by allied soldiers.
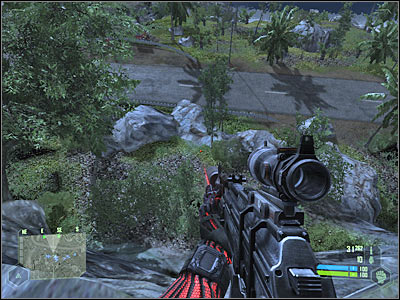
Start moving north-east. You will probably encounter an enemy humvee in just a few seconds. Activate your cloaking device and take out the gunner as soon as possible. Once he's gone, deal with the remaining enemy units. Like I've said before, you will be able to rely on a small group of allied soldiers, so you won't have to use camouflage constantly. Try securing this entire area before moving on towards the first AA gun.
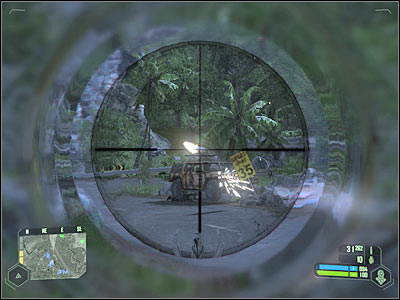
It would be a good idea to use this humvee to your advantage, especially since you won't have to worry about raising any alarms. Choose the main road leading to the AA unit. As a result, you will be moving to the east. Obviously you will come across several enemy soldiers along the way. Stay inside the vehicle, because you'll be safe there.
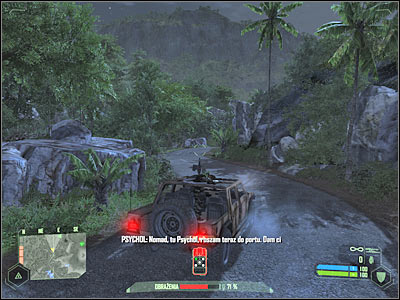
Look at the screen - that's where you'll have to stop your vehicle. A second humvee will arrive here very shortly. Destroy it as soon as possible. You can use a turret from your car. Remember that the easiest way to destroy an enemy vehicle is to aim for the fuel tank. Exit your vehicle, because we'll get to the first target on foot (it'll be a lot safer that way).
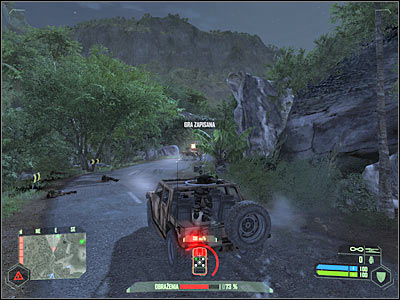
I would recommend going to the north. There are a lot of trees and bushes in this area, so make sure that you've used them for cover. You must be very careful here, because this area is being patrolled by at least one group of enemy soldiers. If you plan on attacking them, use your shotgun and hide behind larger objects (preferably trees and boulders). Keep heading east. There's a small pathway here (screen).
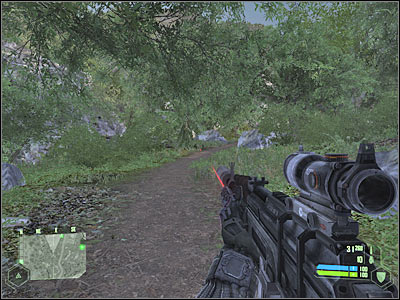
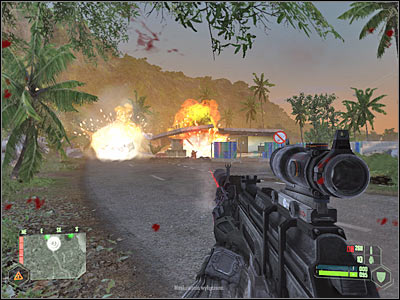
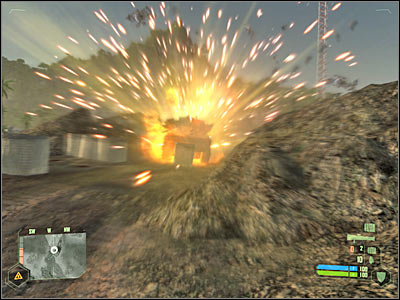
You are getting closer to a large gas station. It can be found to the south-east. You've got two choices here - you can either ignore the gas station and try to avoid enemy soldiers or you can aim at the fuel tanks. As a result, there's going to be a huge explosion (screen) that will kill most of the Korean units. Deal with the rest on your own if you want to.
Be careful. The explosion might have alerted some of the nearby enemy units. As a result, it would be a good idea to activate camouflage instantly. I had to deal with soldiers who came from the north. Make sure that you don't leave anyone behind. Keep heading towards the first AA unit. You should stay close to this small passageway, so you won't get lost.
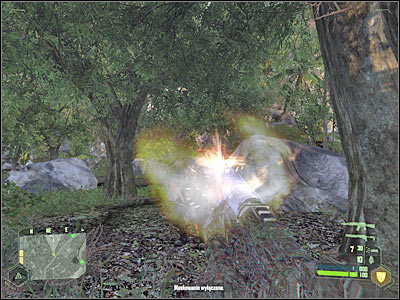
It would be a good idea to stay close to the northern edge of the map. You won't have to use your cloaking device all the time. You are getting closer to a small hill. Keep heading east. You will have to reach an upper ledge at some point of the game (screen), so make sure to use maximum strength there.
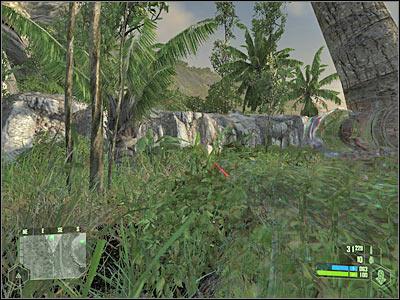
You are probably very close to the first gun, so you should start using cloaking device in order to avoid being seen by anyone. You shouldn't encounter any hostile units here, but it's better to be safe than sorry. Slide down and make a few steps forward. The AA unit is being guarded by several soldiers and you'll have to deal with them in the near future.
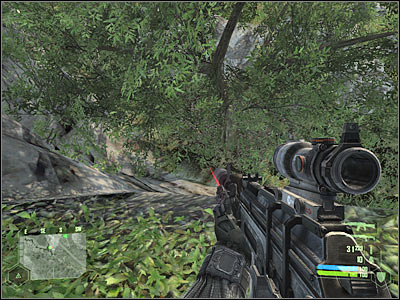
I would recommend using a cloaking device in order to approach the AA unit safely (screen). You won't have to destroy it right away. Instead, plan your next moves very carefully. Hide near the AA gun and wait for the power bar to regenerate itself.
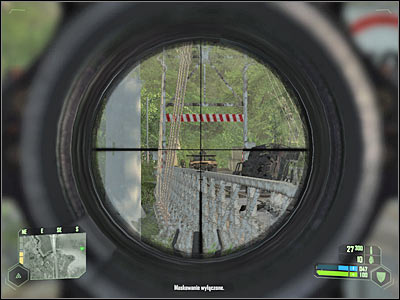
Enemy soldiers are standing to the south and to the south-east of the AA unit. You will have to kill them all. I wouldn't recommend using a cloaking device here, because you won't have to worry about raising any alarms. Shotgun will do the trick, especially since you'll be allowed to use the AA gun for cover. Make sure that you've secured the area around your first objective.
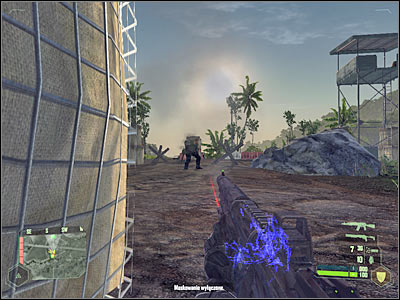
Take your time and explore the surrounding area. First of all, you will find plenty of ammunition for your weapons, especially the machine gun. Picking up a rocket launcher is equally important. Last but not least, we have some C4 charges here (screen). Take them and choose one of these objects from your inventory.
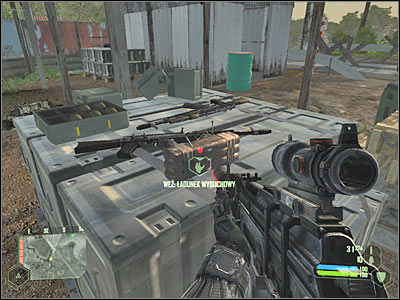
Head on towards the AA unit. Place a charge on the gun by pressing the left mouse button. Now you must move back to a safe distance. Press the right mouse button in order to choose a detonator instead of a new charge. Detonate C4 and enjoy a wonderful explosion. Activate camouflage at the same time, without leaving this area.
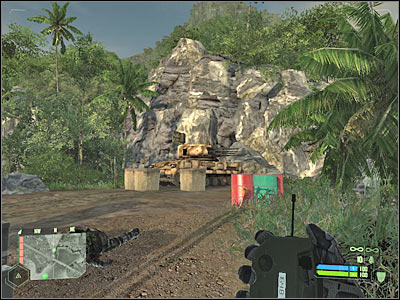
An enemy gunship should appear near a destroyed AA gun. Don't move in order to prevent the Nanosuit from losing all of its power. Wait for the helicopter to move closer. Choose a rocket launcher from your inventory and destroy the helicopter. Two missiles should be more than enough. Now you may proceed to the southern road.
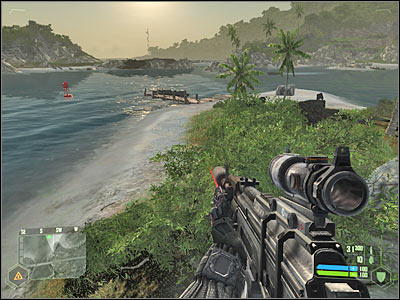
There's a large bridge to the east of your current location. You won't have to go there, but it would be a good idea to secure that area. Use your scope in order to take out enemy units from a safe distance. Start off with the gunner (humvee), because he poses a serious threat. Don't forget to go back for supplies once you've eliminated all enemy units.

You can take a shortcut to reach the second AA unit. As a result, you should consider moving south, towards the water. You could also use the bridge, however it won't be necessary. The surrounding area is being patrolled by an enemy boat. You may destroy it with a rocket launcher or you may try to ignore it for the time being. If you decide to leave the boat, use a cloaking device in order to get closer avoid being spotted.

Make sure that you're hiding somewhere near the small pier. Activate your cloaking device once again and proceed to the pier. You will be able to find a patrol boat here. Get on board as quickly as possible, before your power bar reaches zero.
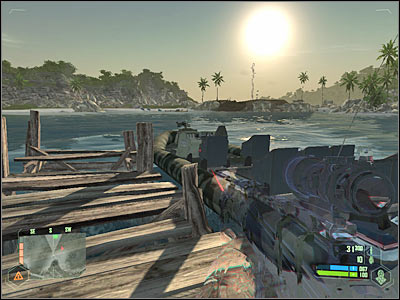
Use your newly acquired boat to get rid of an enemy unit. You will only have to take out the gunner in order to ensure your safety. Start moving towards the southern AA emplacement (use my map if you don't know where it is). Leave the boat somewhere nearby and get ready to proceed with an assault.
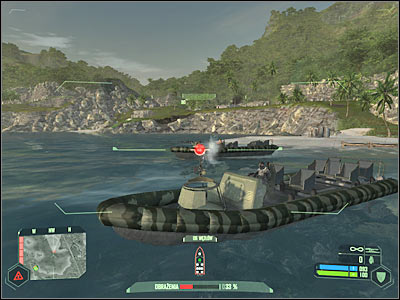
You will have to move on towards this small hill. I guess I won't have to remind you to be extremely careful here. If you've done everything according to the plan, you'll be able to surprise enemy units from the east. Try killing all of them from here. Use the scope in order to maintain a safe distance. You can always go back to your boat if you see someone heading your way.
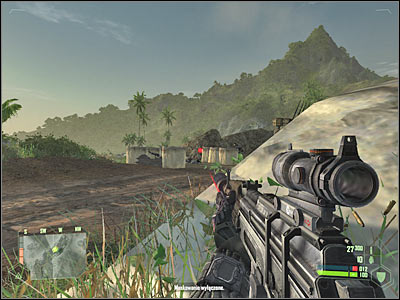
Start heading west. As a result, you will be closing in on the second main target of this mission. I wouldn't recommend destroying the second AA unit right away. Instead, go even further to the west. Take out a few additional enemy units. You should also be careful, because there's a second patrol boat to the north. Avoid it at all costs.
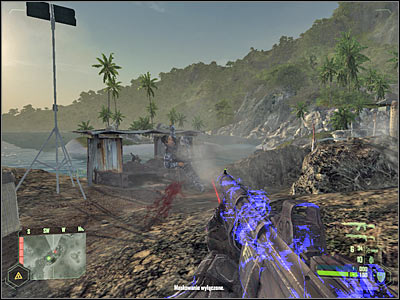
You will also have to neutralize one of the sniper towers. It can be found to the west. Otherwise you would have some serious problems exploring this area. You'll find a lot of C4 charges here, as well as ammunition for your main weapon.
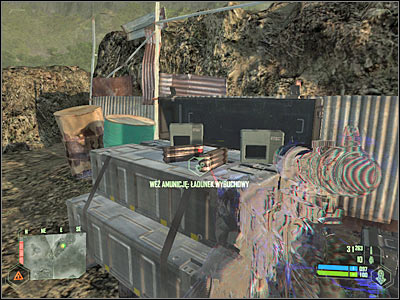
Now you may finally go back to the second AA unit. Approach it and place a C4 charge on the AA gun. Move back to a safe distance and detonate the charge. Now you will have to wait for a plane to get here. As a result, allied soldiers will start taking over this area. You won't have to assist them in securing this section of the island.
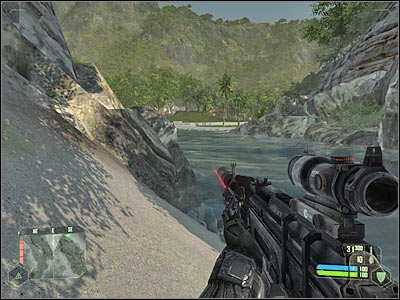
Now you will have to try and get closer to the third AA gun. As a result, you must go south-west. Try staying close to the water. You will have to swim towards a nearby island (screen). Make sure that you've avoided an enemy patrol boat. One of your allies should contact you here. He will inform you about a possibility of fulfilling an additional mission objective. We'll take care of this problem right away, especially since you're very close to your new destination.
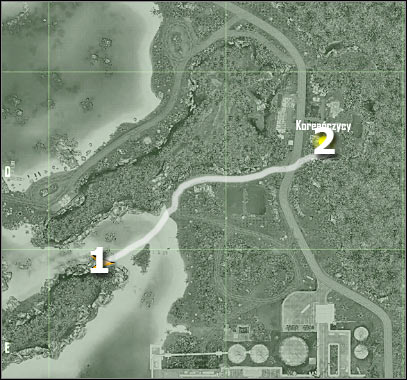
Map legend:
1 - starting area
2 - destination
I'd strongly recommend fulfilling this objective WITHOUT raising any alarms. It's very important, because otherwise you would have to take out at least one enemy helicopter and reinforcements would arrive near your destination. Thankfully, you won't have any problems reaching your target. Start off by moving north-west. You'll find yourself near a larger section of the beach.
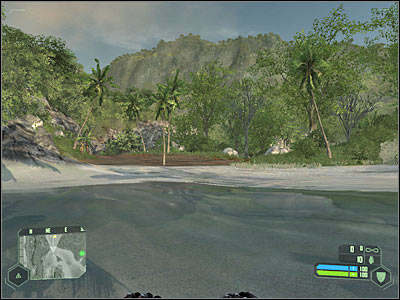
Use my map to find your way to an enemy camp. You shouldn't encounter any soldiers right away. Eventually you will come across a larger junction (screen). Activate your cloaking device here, because the surrounding area is being guarded by several enemy units. Start moving towards your current destination. Hide in the bushes and regenerate your armor there.
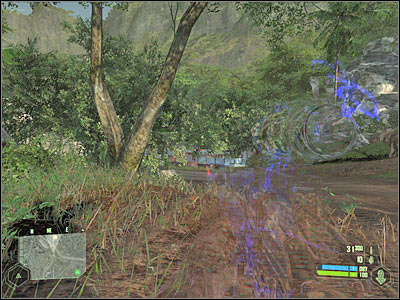
Now you will have to approach the southern section of this small encampment (screen). As you've probably noticed, the metal wall isn't too big, so you won't have any problems jumping over it. Don't enter this base just yet. Instead, move to the east.
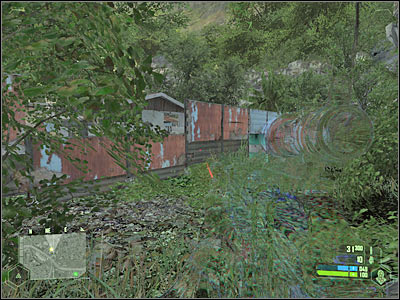
Your target building is guarded by at least two enemy soldiers (screen). It would be a good idea to kill them from here. Make sure that you're very precise, so you won't raise an alarm. You could also try and avoid them, however you would have to be extra careful while trying to find a computer with access to Korean network.
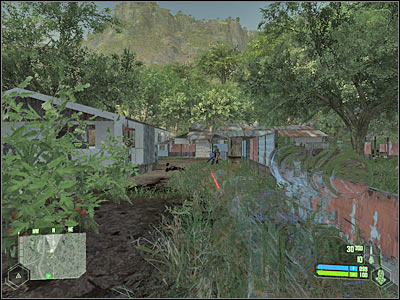
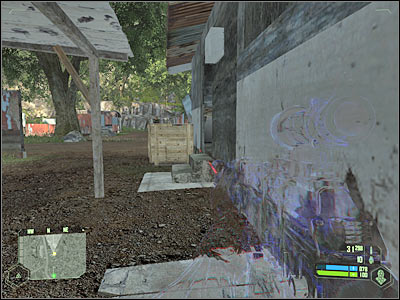
Jump over the barricade and head on towards the second building. You will have to approach it from the western side (screen). Once you're inside the building, use a computer in order to upload necessary data. You may go back to the junction. Choose the same passageway as before and stay out of sight at all costs.
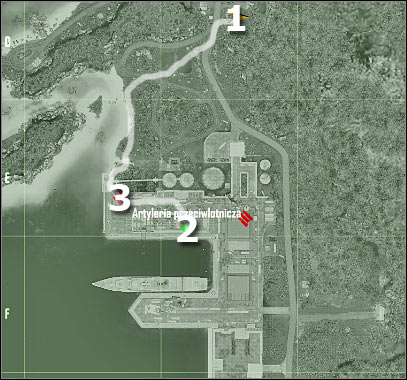
Map legend:
1 - starting area
2 - destination
3 - first ammo depot
We should get back to our main objective - neutralizing enemy AA guns. You only have one more AA unit to find, however it's well guarded, so destroying it won't be easy. You will have to reach a nearby port in the first place. Like I've said before, you must go back to the junction. Use your cloaking mechanism here, so you won't get caught.
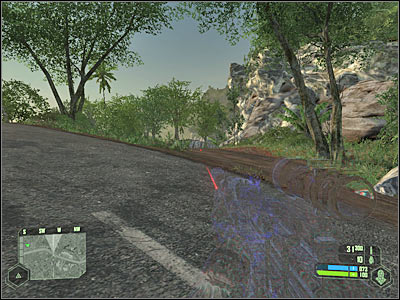
Start moving south-west. Be careful, though. You will come across an enemy patrol very soon. I wouldn't recommend attacking enemy soldiers, especially since your near the harbor. Instead, turn on your camouflage and wait for them to leave. Keep heading towards the beach area.
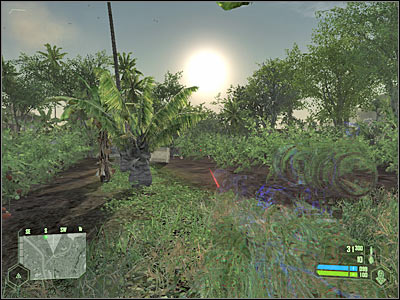
Like I've already mentioned, you will have to get to the beach. Make sure to avoid a patrol boat. Now you must go south. Head on towards the first ammo depot (3 on the map). As a result, you will come across a large concrete structure (screen). Use the maximum strength or the stairs to get to the upper floor.
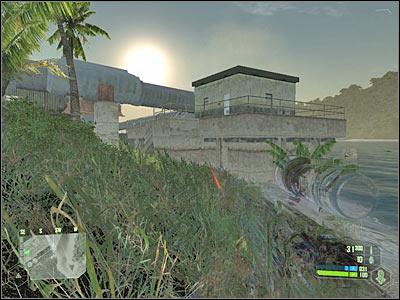
Now you must get to a storage facility which is also an ammo depot (screen). Jump over the balustrade and head on towards a nearest entrance. You've got two choices here - you can continue with your stealth approach or you can attack enemy soldiers. I would recommend proceeding with the assault, because you're close enough to your target, you'll need to secure the harbor anyway and you'll also receive backup from an allied sniper (he is immune to enemy fire).
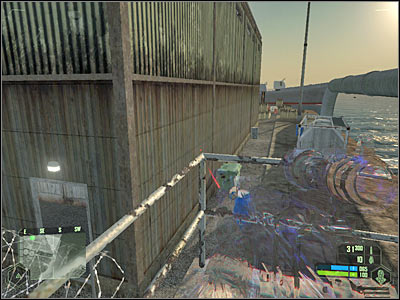
Like I've already mentioned, you will have to secure this entire warehouse. Start off by shooting at the soldiers standing in front of you. Additionally, you will have to watch out for the upper balconies. There's also a huge entrance to your left. Remember that you don't have to be in a lot of hurry. Choose your targets carefully.
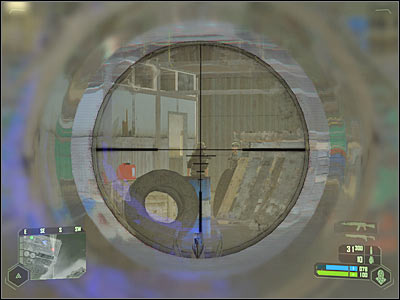
Head on to the south-east. You should be able to find a small armory there. Pick up some of the available weapons. There's also a second armory near the northern wall of this warehouse. Keep shooting at the enemy soldiers. Some of them will try to enter this area and you must kill them as soon as possible. Use the shotgun for close encounters.
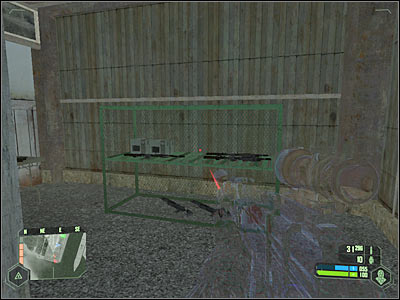
Once you've secured the warehouse, head on towards the eastern exit (screen). As you've probably noticed, an allied sniper has already killed a lot of enemy units. Thanks to his help, you won't have to kill everyone on your own. Try taking out several enemy soldiers from here. They'll be disoriented, so you shouldn't have any problems eliminating them.
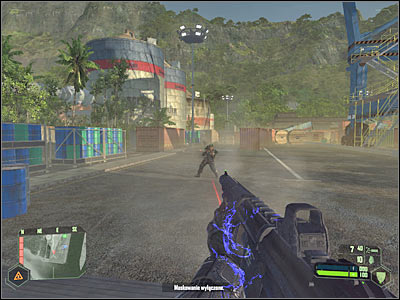
Now you should consider moving towards your current target. I would recommend staying near the northern wall of the harbor section (screen). This will allow you to avoid some of the enemy soldiers and your sniper will kill them in the meantime.
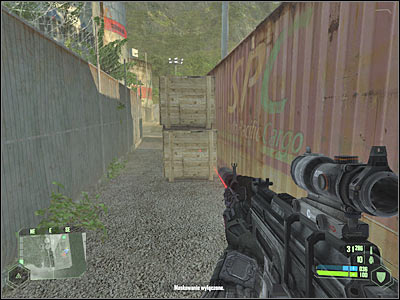
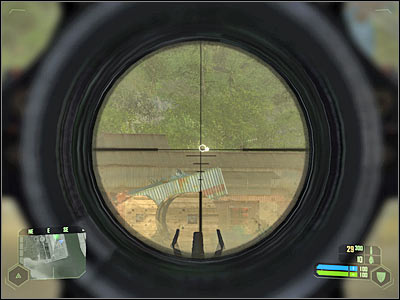
You should try and secure this section of the harbor. Your priority here will be to eliminate an enemy gunner. He will be standing on a roof of one of the nearby buildings (screen). Once he's gone, deal with the rest of the enemy soldiers. Start moving towards the AA unit (CAREFULLY!).
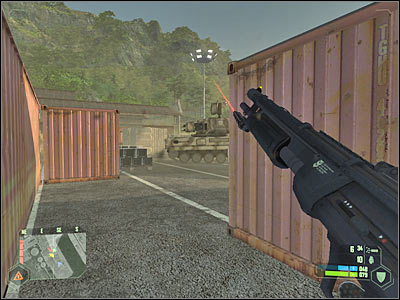
You will have to go to large containers. It's a good idea to use them for much needed cover. You have to choose here on how to proceed - you can try and place a C4 charge on the gun or you can destroy it from a distance with a little help of a rocket launcher. Either way, you have to neutralize this threat. Wait for the game to reward you with a new mission objective.
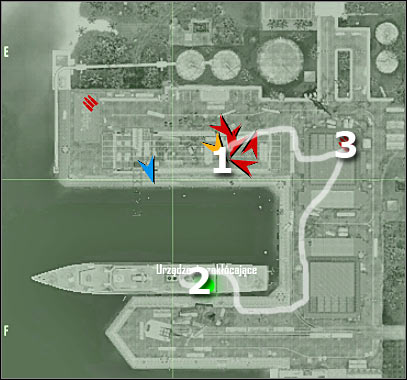
Map legend:
1 - starting area
2 - destination
3 - second ammo depot
Before you'll proceed towards the cruiser, there are a couple of other problems you have to take care of. Start off by moving to the east. You will have to reach a second ammo depot (3 on the map). Approach it carefully and take out several enemy soldiers. Once they're gone, enter this warehouse. It would be a good idea to turn on the night vision, because it's very dark here.
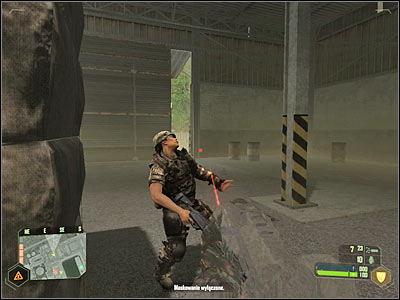
Make sure to explore all of the surrounding areas of the warehouse. You'll find a couple of rocket launchers here. It's very important to take one of these weapons. Proceed to the upper floors of the warehouse. Eventually you'll end up standing on the roof.
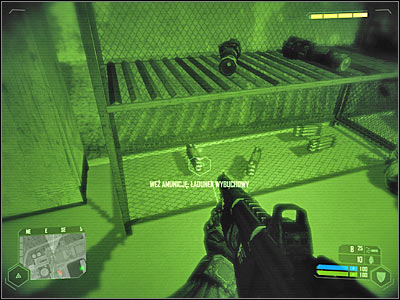
You will have to make sure that there aren't any other soldiers standing on this roof. Now you should look around a bit. Use your sniper rifle to take out enemy units. You will probably have to deal with one enemy vehicle. Fire a missile at it in order to get rid of it quickly (screen). Go south and head down to the ground level.
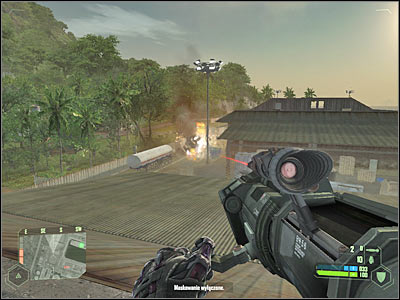
You will come across a second warehouse building in just a few seconds. You won't have to explore it, however it would be a good idea to take out some of the nearby enemy units, so they won't be able to surprise you later on during the course of this mission. There's only going to be a few of them, so you won't have to waste too much of your precious time.
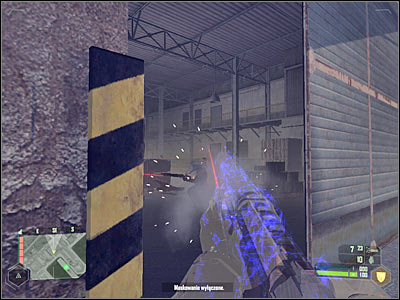
You'll be moving south-west, however start off by neutralizing a nearby heavy machine gun nest. You should consider using a scope here in order to eliminate enemy soldiers from a safe distance. You could also approach them with a little help from your cloaking device, however it won't be necessary. Go there now, but make sure that the area is clear.
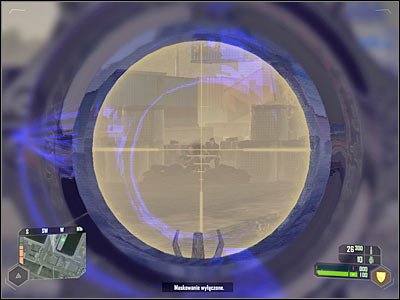
Approach some of the nearby crates. Make sure that you have a rocket launcher with a maximum number of rockets. Turn on your camouflage and wait for an enemy gunship to arrive. Obviously you will have to blow it up to pieces (screen).
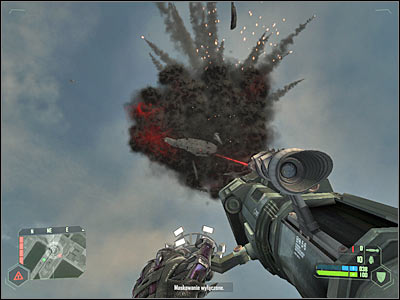
Be careful, because more enemy soldiers may arrive here. Start off by neutralizing an enemy humvee. Once again, you should consider using a rocket launcher in order to get rid of the vehicle quickly (screen). Now you must activate your cloaking device, because more enemy soldiers are heading your way. Make sure that you've killed all of them. Once they're gone, take a new rocket launcher from one of the nearby crates.
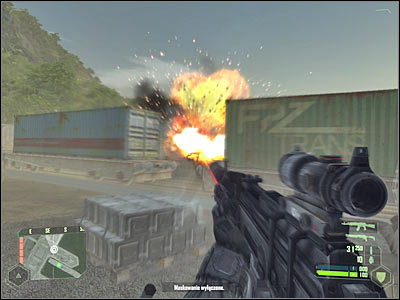
Your next goal will be to reach the main deck of the ship. Look at the screen, because that's where you should be standing. Activate maximum strength and perform a single jump in order to land on the cruiser. Go to your left and proceed towards a nearby corridor. Use the stairs.
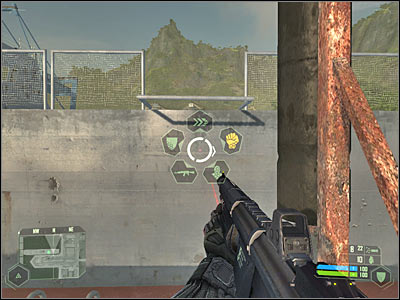
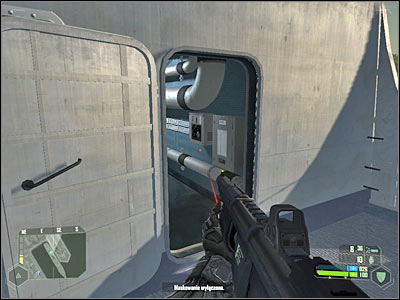
You are probably going to be attacked by a small group of enemy soldiers. Killing them should be easy, especially since you will be allowed to go back to the stairs. You will also find new rocket launchers here. Head on to your left. There's a small entrance here (screen). Go inside and approach the jamming device. Press the action key in order to disable it. You may leave the deck of the ship. As a result, you should activate maximum strength feature one more time. Go back to the machine gun nest.
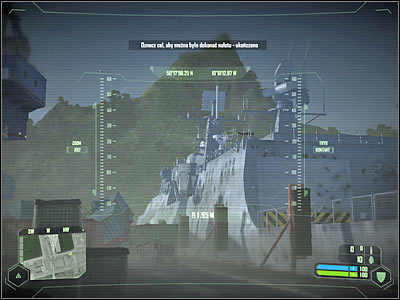
This is going to be a very simple objective. All you have to do is to use the binoculars by pressing the B key. Make sure that the cruiser is in your line of sight. Press the left mouse button and wait for allied jets to proceed with an airstrike. Now you will have to activate your cloaking device, because you'll have to deal with a new gunship in just a second.
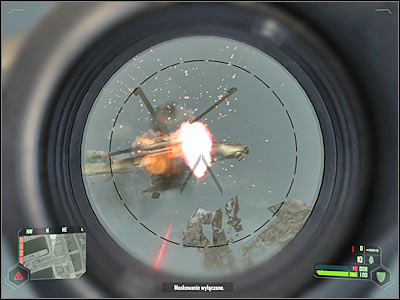
You will have to perform only one action here. Your objective will be to take down a new enemy gunship. Obviously you should activate your camouflage before proceeding with this battle. Use a rocket launcher to destroy this helicopter. You won't have to pick up a new launcher, because you're very close to the exit.
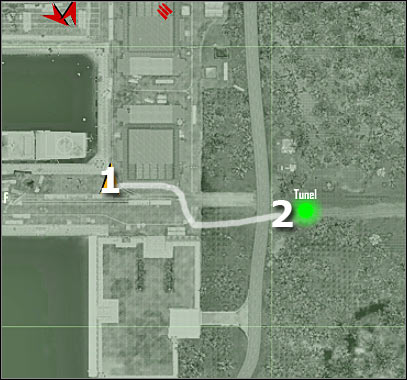
Map legend:
1 - starting area
2 - destination
This is going to be a very simple task, so you won't have any problems getting to the extraction zone safely. All you have to do is to go east. Your only obstacle here is going to be a large brick wall. Thankfully, you won't have to search for any alternative routes. Instead, use some of the nearby crates (screen) in order to successfully jump over the fence. Approach allied tanks and listen to a short conversation. You will also witness a huge explosion. Get ready to take control of one of these tanks!
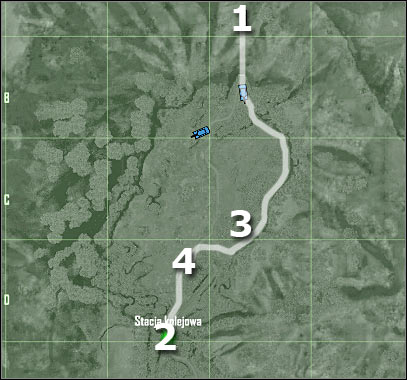
Map legend:
1 - starting area
2 - destination
3 - checkpoint on a top of a larger hill
4 - main road leading to the train station
Before we'll go into details, there are a few things you should know about:
1) You only have a few rounds for your main cannon, so you should consider conserving this type of an ammunition. You won't see the problem early during the course of the mission, but it's going to get more difficult later on. As a result, neutralize weaker targets with your machine gun.
2) You may exit the tank at any time. In most cases, this is a very interesting possibility, especially if don't want your tank to take on too much damage. You should also know that you'll switch to a second tank once you've reached the train station.
3) You don't have to be in a lot of hurry. Watch out not only for other tanks, but also for soldiers equipped with rocket launchers, especially since you won't notice them at first glance.
4) You won't have to worry about enemy forces using machine guns. Only rocket and tank rounds can damage your armor. Try maintaining it in a good shape, especially since it's very easy to lose a lot of armor points in one battle.
Once you've regained control over your main character, use the tank and proceed towards the tunnel exit. You won't have to worry about other allied tanks. Focus only on staying alive.
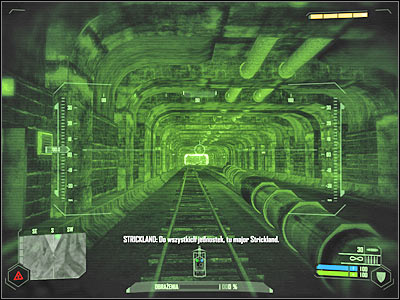
Once you've left the tunnel, stay on the train tracks. As a result, you will have to go left. You won't encounter any hostile units right away. The first enemy tank should appear to your right (screen). Fire the main cannon at least three times in order to destroy it. Make sure that you didn't sustain any damage here.
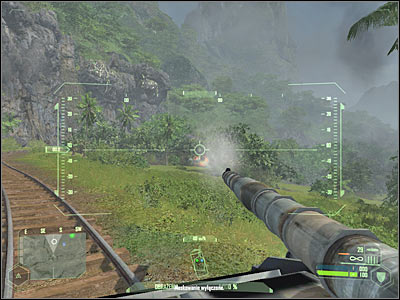
The second tank will be guarding the train tracks, so you must take it out as well. Just as before, make sure you weren't hit, because you'll have to kill a lot of enemy targets before switching to a second tank. Keep heading south. You'll probably encounter a few soldiers along the way. Ignore them or eliminate them with your machine gun.
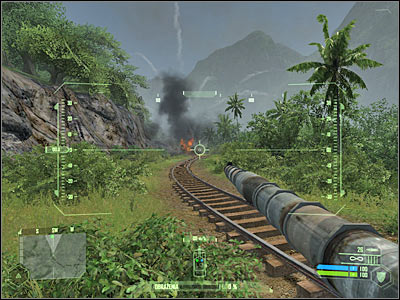
You should be getting closer to a much larger hill (3 on my map). You must be extremely careful here, because for the first time you'll encounter soldiers equipped with rocket launchers. You won't have to worry about your supplies just yet, so you may consider firing at them from a main cannon (at least 3-4 times). If you don't want to risk damaging your tank, leave it and take them out from a larger the distance. Obviously you will have to use a scope.
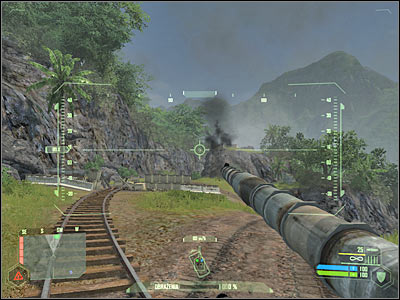
Make sure that the coast is clear before you decide to move on. Use the tank to get closer to this hill. You will have go around a small barricade (screen). Eventually you'll go back to the train tracks. Keep heading towards your current destination. Turn the main turret to your right, because you're going to have to eliminate a third tank. If you don't want to waste too much time here, allow some of the allied tanks to deal with this problem.
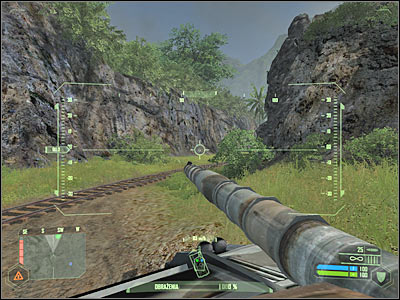
Once you've received updated orders, keep going south, because you'll have to get closer to the train station. As you've probably noticed, an explosion destroyed the train tracks. Sadly, you will have to find a new path. There's a large field to your right (screen). Go there now. Watch out for an allied gunship. Destroy it with your main cannon or wait for one of the allied tanks to deal with this major threat.
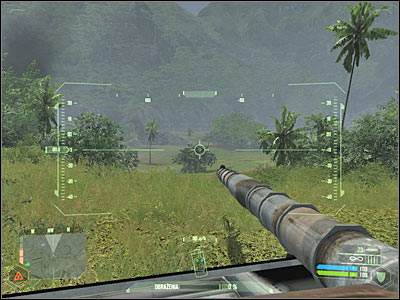
I would recommend that you assist some of the nearby allied tanks in securing this field. It's important, because that's how you'll get to your main goal. Now you will have to go make an important decision. You could proceed towards a nearby hill (screen). This would allow you to use a sniper rifle to take out some of the enemy units. If you don't want to make this approach any easier, proceed towards the main path (4 on the map) right away.
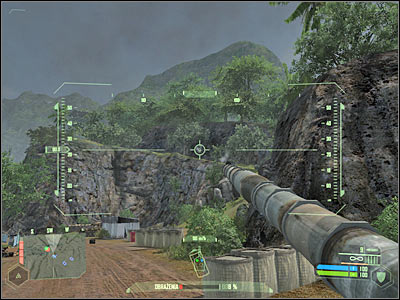
Approach the train station very carefully. As you've probably noticed by now, the entrance is being blocked by the trenches. There's also an enemy tank there. Take it out and move back quickly, before you're going to be attacked by RPG soldiers.
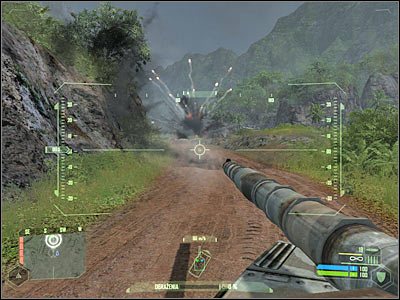
You could also go back to the previous hill in order to take out some of the visible RPG soldiers. If you want to decide on a more dangerous approach, head on to the entrance and start using your main cannon. Allied tanks should also proceed with the assault, so it's going to make your life a lot easier.
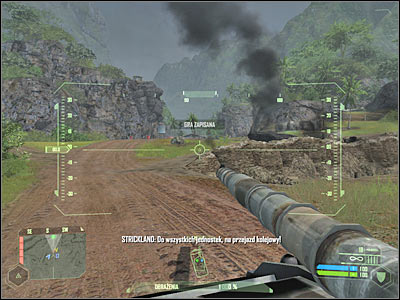
You won't have to worry about soldiers equipped with machine guns, because they aren't a threat of you. Focus all of your efforts on securing two surrounding hill areas. Look at the screen - it's the most dangerous zone. There are a lot of RPG soldiers out there and you have to hunt down and kill all of them.

Eventually you will start killing weaker enemies as well, because it will allow you to ensure your victory. You should also consider leaving the tank in order to look around on foot. Collect some of the available ammunition. You can take a peek inside the main building (screen). After that, wait for the commanding officer to grant you with a new task.
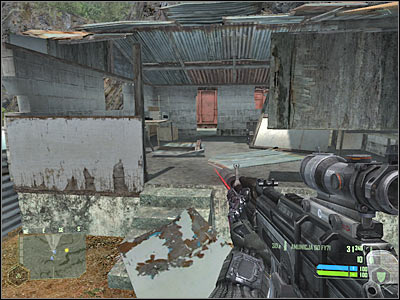
This is going to be a very simple objective and you won't have to leave the train station in order to fulfill it. Make sure that you've collected all necessary supplies, including ammunition and grenades. There's a second tank to your right (screen). It would be a good idea to use it right away.
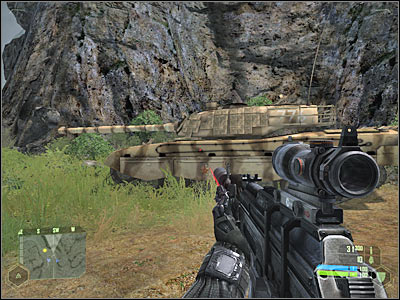
You won't have to move the tank right away, because the boxcar can be found in front of you. Use your main cannon in order to get rid of it (screen). You could also use a rocket launcher here, especially if you don't want to waste main cannon rounds. Start moving south.
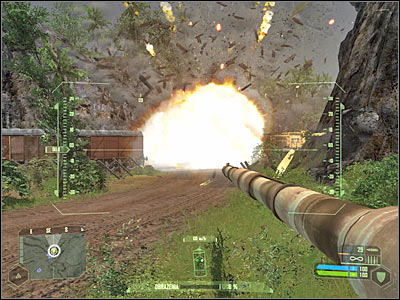
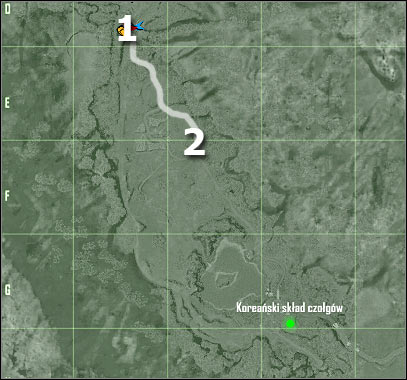
Map legend:
1 - starting area
2 - area where you'll receive a new mission goal
Keep heading towards your current destination. You are going to witness a huge earthquake in just a few seconds (screen). It would be a good idea to stop here to enjoy the mountain being destroyed. You can also proceed to the next area (2 on the map) right away if you don't want to waste any of your precious time. Make sure to stay on the main road.
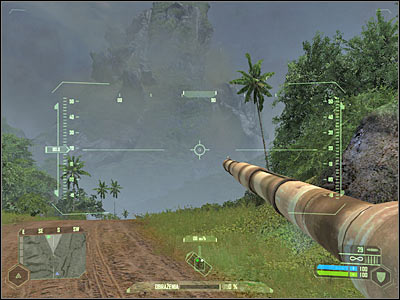
You will have to destroy at least two enemy tanks along the way. The first tank should appear to your right (screen). Make sure that you're constantly moving, so you won't receive any damage. You must fire at least three times in order to destroy it.
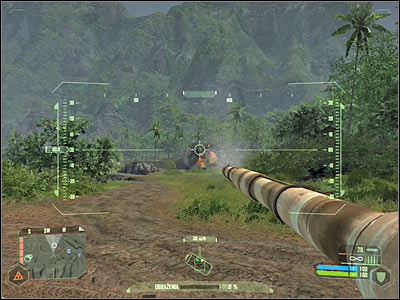
The second tank attacked me from the left. You will have to be very careful here, because it'll appear closer to your position. Make sure that the tank has been destroyed and proceed to your current destination. You will have to leave the main road (screen) at some point of the game. Keep heading south and you'll eventually receive an updated task.
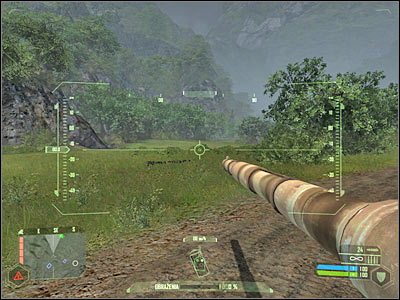
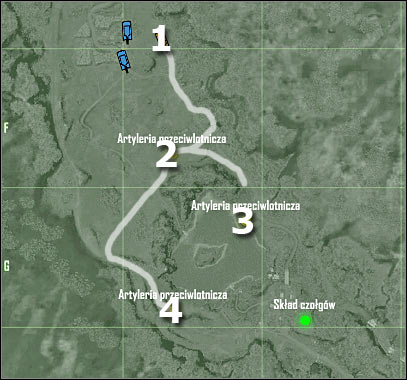
Map legend:
1 - starting area
2 - first AA gun
3 - second AA gun
4 - third AA gun
As you've probably noticed, there's a long journey ahead of you. Destroying three AA units is going to be your main objective for the next 15-20 minutes. Make sure to follow my instructions if you don't want to deal with any unforeseen difficulties along the way. Start off by moving south. Destroy or ignore an enemy humvee.
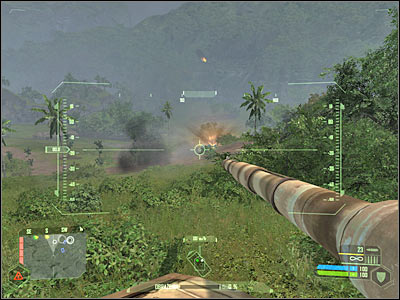
Keep moving south, because that's where you'll find your first AA gun. Eventually you should come across a small barricade. There are a few RPG soldiers out there, so make sure that you've killed them as soon as possible. You should also secure the left hill. Remember that you won't have to stay inside the tank during these fights. It's sometimes better to exit the tank in order to kill enemy soldier with a sniper rifle.
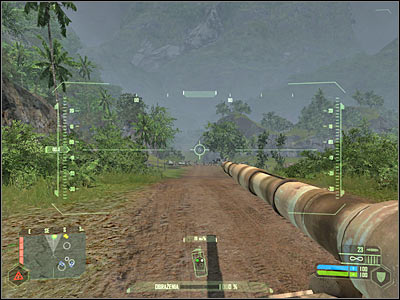
Make sure that the area has been secured before you decide to move on. Get closer to the barricade and go past it. Now you will have to turn right. There's an enemy tank in this area. Obviously you will have to destroy it. Once again, ensure that your tank doesn't receive too much damage.
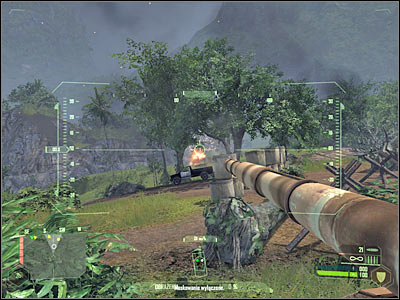
Leave your tank once you've secured this entire area. I wouldn't recommend using your main cannon to destroy the AA gun. Instead, place a C4 charge on the AA unit. Move back to a safe distance and detonate the charge. Go back to your tank. Our next objective is to the south-east (3 on the map), so you will have to go back in order to get there.
You must be extremely careful here, because an enemy gunship will appear in this area. Don't let it fire (successfully) any missiles at you. Destroy the gunship with your main cannon (screen). It shouldn't be a problem, especially since it'll hover near your position.
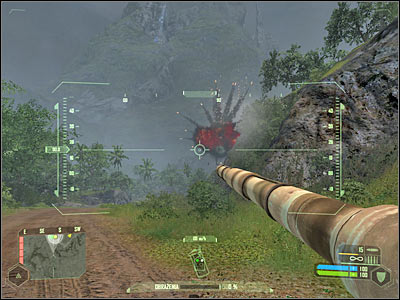
Once again, you must carefully plan your approach. Head on to the south. There's a new barricade in front of you. Fire a few rounds at it in order to take out some of the visible enemy soldiers. Turn the turret to your right and destroy a second AA unit. Once this is done, go back to where you've disabled the first anti-aircraft gun. You will have to retreat quickly, so you won't be attacked by RPG soldiers.
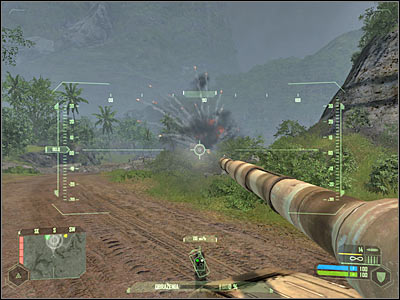
You will have to disable one more gun in order to fulfill this mission objective. As a result, start moving south-west. The next group will appear on top of a nearby hill. Try killing them from here. Don't exit the tank, because there are snipers amongst enemy troops. They won't be able to harm you as long as you're inside the tank. Aim at the sniper towers in order to kill them.
Once you're ready, proceed towards the main hill. You should end up on the train tracks. Keep moving straight. You will only encounter a few soldiers here and killing them is going to be very simple. Be careful, though. Some of them may actually surprise you. There's also an enemy humvee here, however disabling it is going to be very simple. You won't have to worry about receiving too much damage here, because these are the closing stages of the mission.
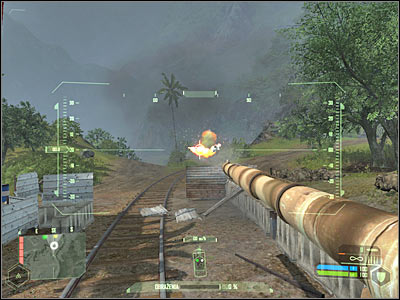
There are a few other sniper towers in this area. One of them has been shown on the screen. Remember to destroy them right now, because you won't be able to defend yourself once you've left the tank. Keep heading towards the third anti-aircraft unit.
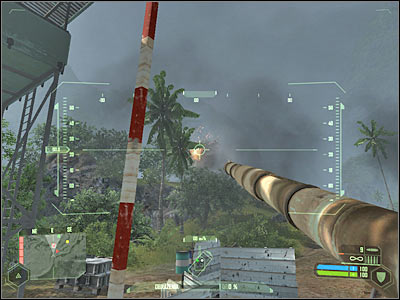
Once again, I urge you to make sure that the area has been properly secured. Exit the tank and approach the third AA gun. Just as before, you will have to place a C4 charge on the anti-aircraft unit. Move back and detonate the charge. Wait here and you'll receive a new task.
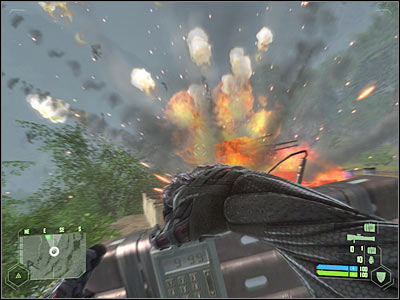
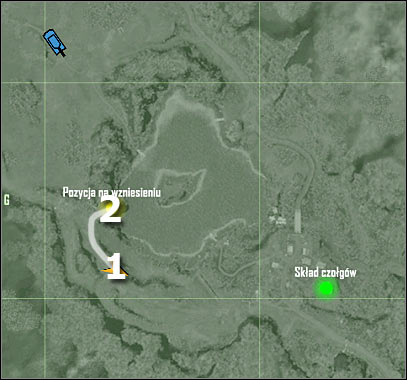
Map legend:
1 - starting area
2 - destination
This is going to be a very simple mission objective. You won't have to use your tank here, because your target is located nearby. You will have to get on top of a larger hill (screen). Use my map if you're having some difficulties finding it. Head on to a designated area of the hill.
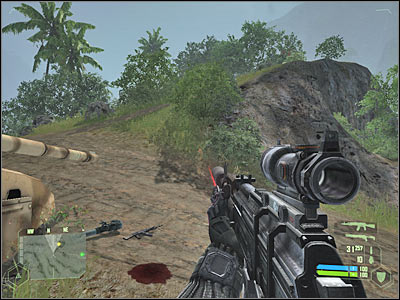
Turn right and you should be able to see an enemy base. Use the binoculars and target one of the highlighted objects. Once this is done, press the left mouse button. Close this window and wait for allied jets to proceed with an airstrike. You can also go back to your tank, because you will receive a new objective very soon.
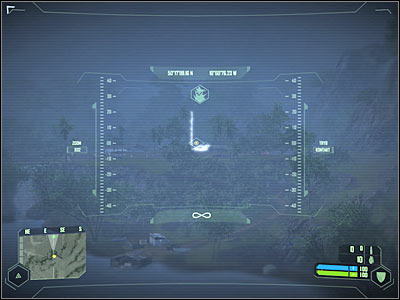
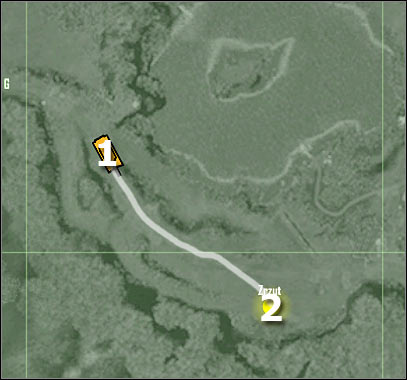
Map legend:
1 - starting area
2 - destination
You should receive this task in just a few seconds. I guess you won't have any problems understanding what has to be done here. Wait for an allied VTOL to land and proceed to the back. You will have to pick up a Gauss rifle. I wouldn't recommend taking it for the next mission. Shotgun is a much better weapon, so you should drop the new rifle right away. Now you will only have to wait for the game to display your final objective.
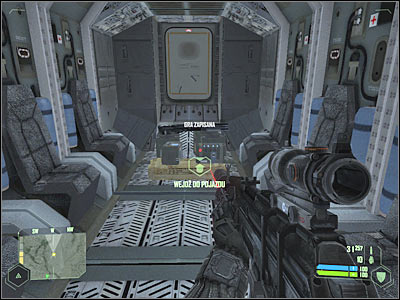
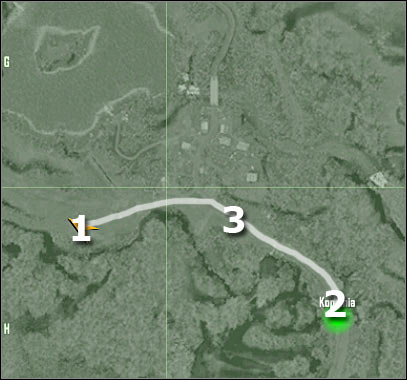
Map legend:
1 - starting area
2 - destination
3 - barricade
This is also going to be an easy task, so there's nothing you should be worried about. Board your tank and start moving towards your current target. You will have an opportunity to go through a small village. There are a few enemy units out there, however you won't have to kill them yourself. Your allies will secure the village on their own.
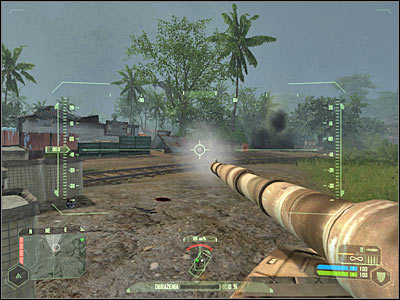
You will come across a massive blockade in just a few seconds. Unfortunately you can't get through. Nevertheless, don't exit your tank. Instead, use all of your remaining cannon rounds to attack visible enemy soldiers. Make sure that you've disabled both machine gun nests, so your allies will be able to assist you here.
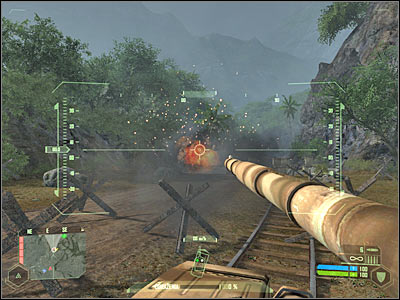
Try and kill as many enemy units as possible. Exit the tank and start moving forward. Stay on the main road, because there are mine fields nearby. Proceed to the second section of the blockade and use a shotgun to deal with the remaining enemy troops. Make sure to check bodies of fallen enemies. Pick up some ammunition. You will also find a rocket launcher here.
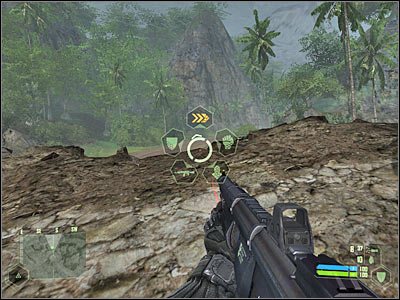
You may proceed towards the mine area. You will come across a destroyed section of the road. Make a few steps forward. You will have to use maximum speed here in order to ensure a safe passage. Once you're on the other side, this mission will come to an end.

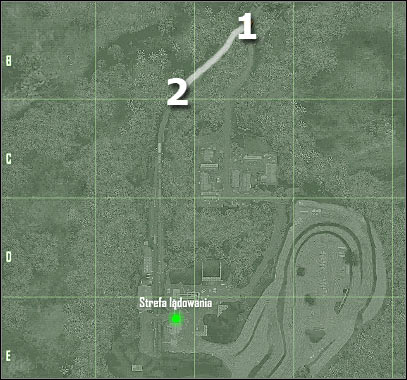
Map legend:
1 - starting area
2 - area where you'll receive a new mission goal
This is only going to be a short introduction, so you won't be able to reach the landing zone right away. Start off by moving south. There's a road to your left, but ignore it. Instead, stay near the train tracks. You will witness some new special effects concerning the mountain. One of the enemy soldiers should be standing to the south from your current position. Kill him and wait for the game to display a new mission objective.
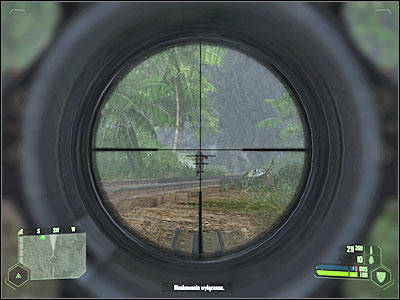
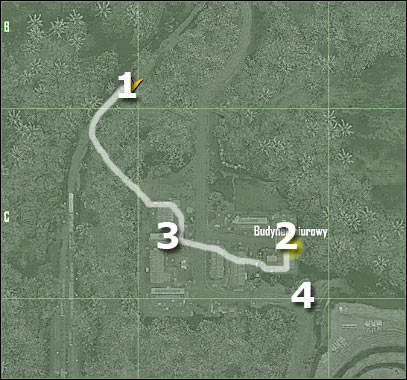
Map legend:
1 - starting area
2 - destination
3 - main ammunition stockpile
4 - enemy tank
This isn't going to be a difficult challenge, however I would recommend hiding in the shadows. If you raise an alarm, an enemy tank will enter the base and that would make your progress more difficult. Remember to kill enemy soldiers with a gun which has a silencer attached to it. You will also have to avoid being seen by anyone. Thankfully, you don't have to worry about the corpses. Leave the train tracks and start moving south-east. Obviously you'll be going through the jungle.
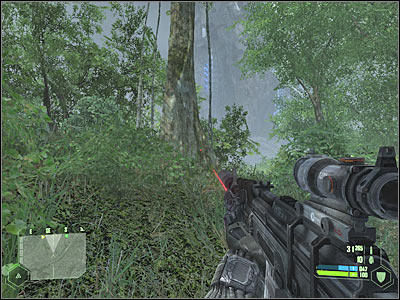
You should be able to reach the camp in just a few seconds. I'd strongly recommend lying down on the ground. You will have to eliminate an enemy sniper. Once he's gone, move closer to the base. There's a hole in the wall. Find it and enter this compound. Make sure that you're using your cloaking mechanism!
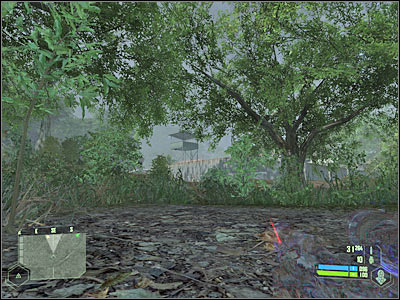
I would recommend that you go to your left. There's a large wall near the secured sniper tower (screen). You should consider killing enemy soldiers from there. Start off by eliminating those who are standing in front of you. If you're lucky, you won't raise an alarm. Just make sure you're not spotted and you should be fine. Like I've already said, you won't have to worry about the bodies, because enemy soldiers will ignore them.
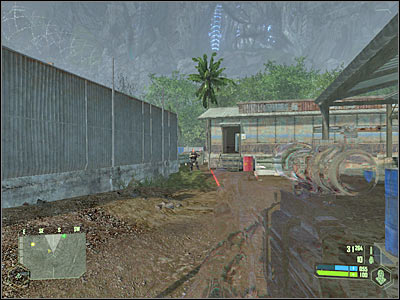
Kill anyone who decides to show up here (screen). It shouldn't be a problem, especially if you're using camouflage. You may consider leaning out carefully in order to take care of the visible enemy soldiers. Your target building is to your left, but ignore soldiers standing in front of it. We'll deal with them in a few minutes.
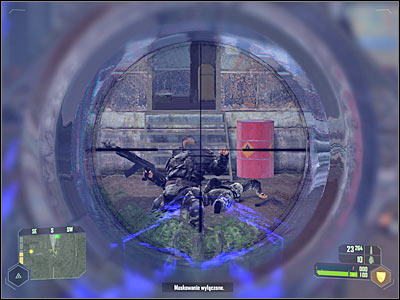
Don't move to the east. Instead, check one of the surrounding buildings - 3 on your map. You should be able to find a huge ammo stockpile inside. Rearm yourself and take a rocket launcher while you're at it. You may exit this building.
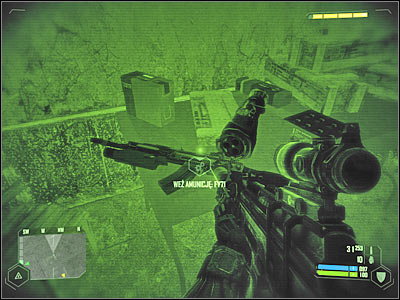
Now you should consider moving to the east, however you will have to go through two of the nearby buildings. Start off by entering the first one (screen) and then find a passageway leading to the other one. As a result, you will get closer to your current destination without risking anything.
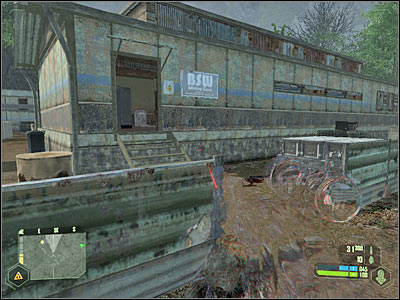
If you've followed my instructions, you should be standing near one of the exits (screen). This is also an excellent area to take out enemy troops. Remember to kill them one at a time. You will have to move back each time you've killed someone, so you won't get spotted. Watch out for the upper balconies. Thankfully, no one should decide to come to you.
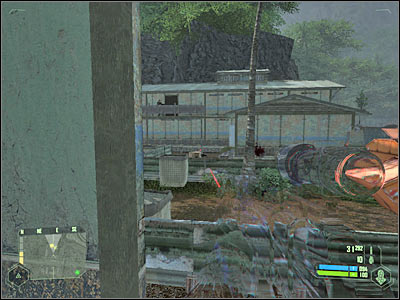
You will have to kill all visible soldiers from here. Once this is done, head on to nearby containers (screen). These objects can be found to your right. Approach a new door and activate your night vision, because it's very dark inside. You will have to kill other soldiers here. Be careful, because they may decide to leave the building. There's going to be at least 6-8 of them.
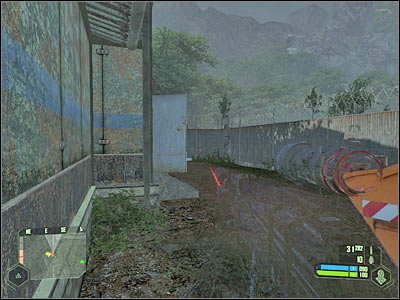
Make sure that it's safe before you decide to enter this building. Start off by securing the ground floor. Remember that you don't have to be in a lot of hurry. Instead, be very thorough, so you won't leave anyone alive. You'll also find some new weapons in the surrounding rooms. Once you've secured the ground floor, use the stairs (screen) to get to the first floor.
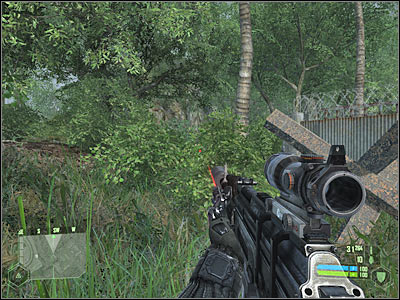
Just as before, you will have to check all nearby rooms in order to take out the remaining enemy units. You should also consider going to one of the balconies in order to make sure that there's no one else in the camp.
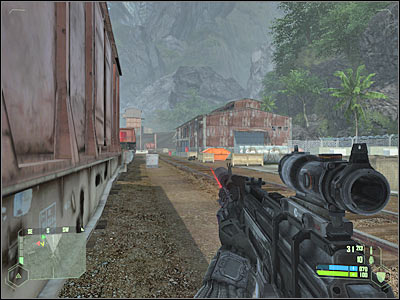
You should be able to find a second ammo stockpile in one of the rooms. You'll also come across rocket launchers there. Once you're ready, approach the computer and press the action key in order to upload necessary data. It's going to take a few seconds, so be patient. You won't have to leave this area right away.
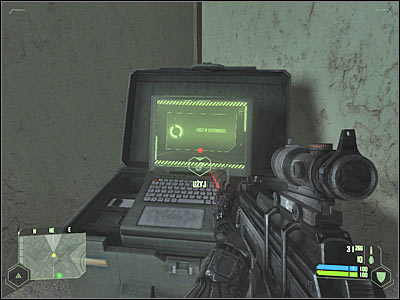
Before you'll proceed with the next objective, there's one more problem for you to take care of. Head on to one of the balconies. Use maximum strength in order to reach the roof of this building. Activate camouflage and move towards an enemy tank (4 on the map). Destroy it with your rocket launcher. Go back to get a new weapon and exit the camp through the southern gate.
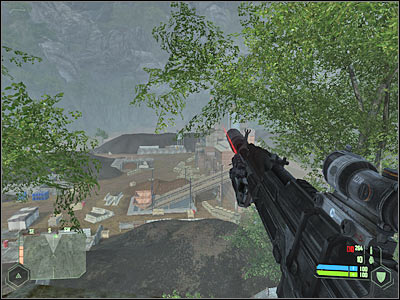
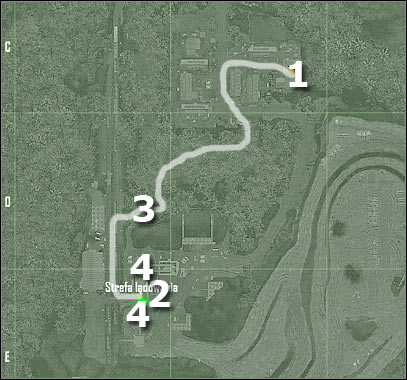
Map legend:
1 - starting area
2 - destination
3 - observation points
4 - buildings guarded by Nanosuit soldiers
You can consider going towards the quarry before proceeding with the current mission objective. You would be able to take out a few soldiers from a higher ground. Obviously this is not necessary and you'll visit the quarry. As a result, you should go back to the southern gate and proceed with your main task.
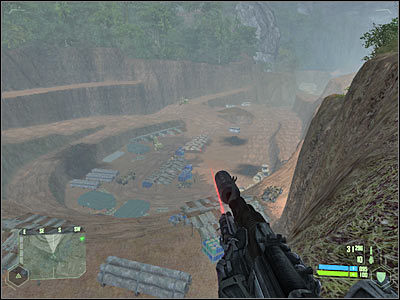
Start moving towards the jungle. As a result, you will be heading south. You will come across a larger hill in just a second, so you must turn west. Don't worry, because you're still heading towards your current target. There aren't any enemies in this section of the jungle, so you won't have to use camouflage.

You should be able to reach one of the observation points (3 on the map) in just a short while. Take your time and look around the landing site. You will probably notice that some of the enemy soldiers are using Nanosuits. As a result, you shouldn't attack them (at least - not until you're ready). Instead, try taking out other soldiers. Some of them will be standing near heavy machine gun nests and it would be a good idea to get rid of them.

Now you should move west. Remember to ignore soldiers equipped with Nanosuit armors. Instead, try finding one of the enemy snipers (screen) and make sure he's been killed. There are also other enemy units beneath you. Try and kill most of them from here, so you won't have to deal with them later on during the course of this mission.
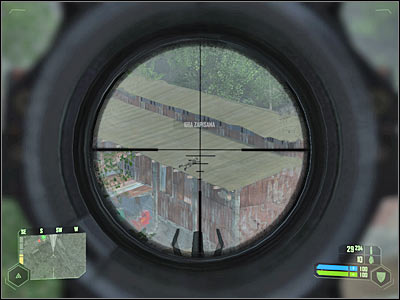
You've got two choices here. If you don't want to go back to the upper section of the train tracks, you should try and slide down, so you'll end up somewhere near the train station. Proceed to the carriages right away and approach them from the western side. Use them for cover and start moving south. Obviously you will have to activate camouflage in order to prevent main character from being slaughtered.

You will probably come across a Nanosuit soldier. You will have to be extremely careful here, because he's carrying a powerful minigun. Wait for him to get closer and attack him with a shotgun. Now you should consider exchanging your shotgun for the minigun, especially since you'll have to take out other Nanosuit units in the near future. Wait for other soldiers to show up here before you decide to move forward.
Eventually you should be able to reach a space between two of the largest buildings of the landing area. Look at the screen if you're having some difficulties finding out where exactly to go to. Be careful, though. Some of the enemy soldiers may still be hiding to your left. Kill them, however don't go to the main area of the landing zone, because it's not safe there. Instead, wait for the game to display an updated mission objective.
Look at the map for the previous objective of this mission. Your main task here will be to neutralize three Nanosuit soldiers. Two of them will be standing to the north and the final one to the south (4 on the map). Before you'll deal with them, you must neutralize an enemy gunship. Wait for the helicopter to get here. Use a rocket launcher or a minigun to get rid of it.
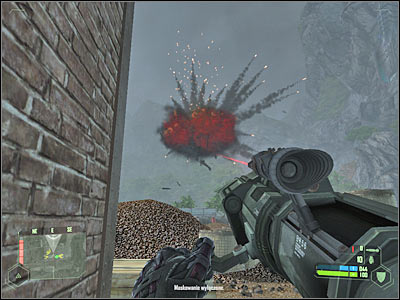
Let's start by going south, because the third Nanosuit soldier is using a sniper rifle, so you wouldn't be able to approach the landing zone without neutralizing him. Obviously you should be using cloaking device here in order to prevent main character from being seen by two other Nanosuit units. Head on towards the stairs (screen). Once you're at the top, turn right.
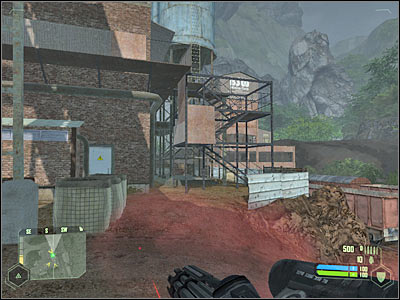
Turn right as soon as you can (screen). This will allow you to approach one of the southern buildings safely. Keep heading until you've reached a dead end. Use maximum strength in order to reach an upper balcony. Use the stairs and pick up the ammunition for the minigun. You'll also find this weapon here, so take it if you're still using a shotgun.
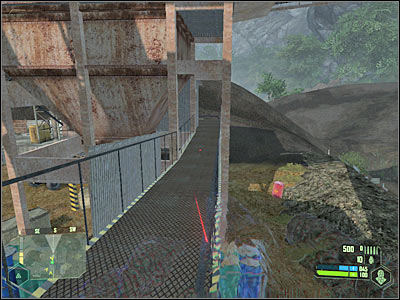
Use maximum strength for the second time. This time you will have to reach the roof of this building. I wouldn't recommend staying here for too long. Activate maximum speed and make a jump towards the building in the middle (screen), because that's where enemy sniper is currently hiding. Activate camouflage once you've safely landed on the new building.
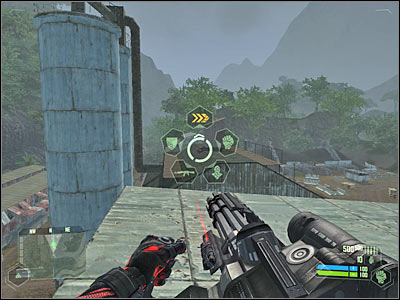
You will have to be very careful here, because the enemy sniper will also be using camouflage. Approach him quietly and kill him with one of your more powerful weapons. I wouldn't recommend taking his sniper rifle. Instead, go back to the ground level and go back to where you've destroyed the helicopter. Get ready to take on other Nanosuit soldiers.
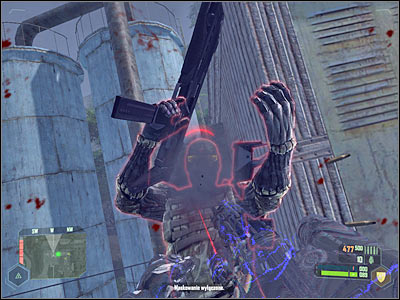
Now you'll have to secure the northern building. Be careful, though. One of the Nanosuit soldiers will be standing to your right. This is a platform leading to a roof of a nearby building. Get closer to him. Obviously you should be using camouflage in order to ensure your safety. Use a minigun to kill him. Remember that you can always go back to the previous building in order to collect ammunition for this weapon.
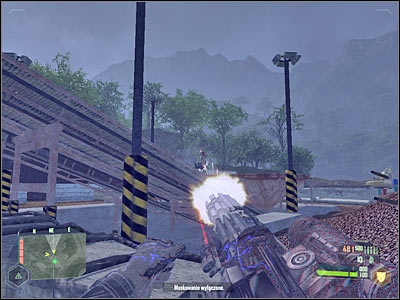
There's one more Nanosuit soldier for you to kill. Proceed to the platform carefully. Activate your cloaking device and start moving towards your opponent. You shouldn't have any problems finding him. Once again, you must use a minigun. Once this is done, wait for allied planes to arrive. You will also be rewarded with a new mission objective.
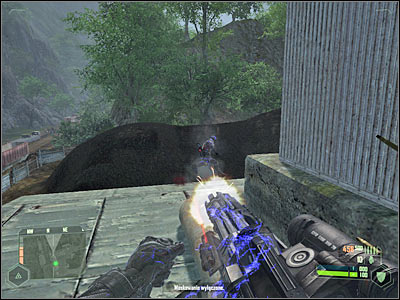
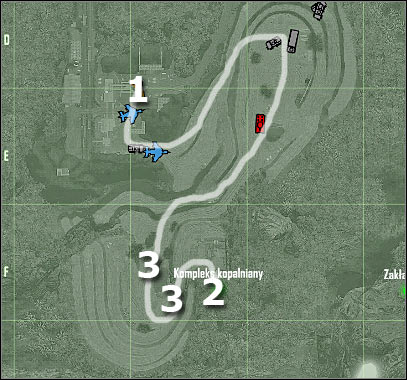
Map legend:
1 - starting area
2 - destination
3 - enemy tanks (they don't have to be stationed exactly there)
You will have to go back to the quarry area. You could travel there on foot, however it would be better to find a humvee. Be careful, though. You will encounter an enemy vehicle once you've entered the quarry. Use your turret in order to get rid of this threat. You may also witness a huge battle between weird looking monsters and Korean forces.
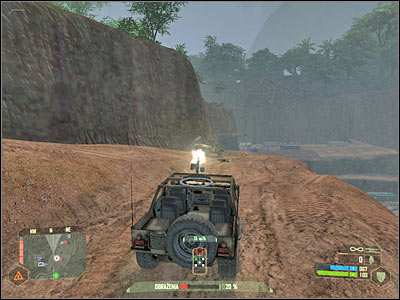
I would recommend going to the north in order to get ready for a main assault on the entrance to the mining complex. Try eliminating all enemy soldiers from here. Most of them will be sitting inside vehicles, so it shouldn't be a problem, because they won't fight back. Proceed to the lower level of the quarry.
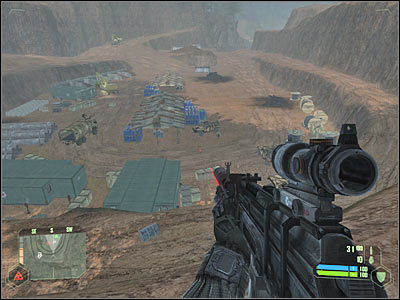
There are a few trailers in this area, as well larger crates. Make sure to check your surroundings, because you'll find a rocket launcher. Pick it up and start moving south. You will find other rocket launchers along the way. Remember where they are, because you'll have to go back for one of these weapons once you've destroyed the first tank.
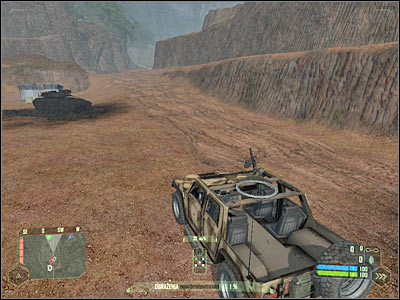
Like I've already mentioned, enemy tanks won't remain in one place, so you will have to be extremely careful while trying to find them. Exit your humvee and turn on your cloaking device. Find and destroy the first tank (screen). Once this is done, go back to one of the crates and pick up a new rocket launcher. Drop the old one if you didn't use all missiles.
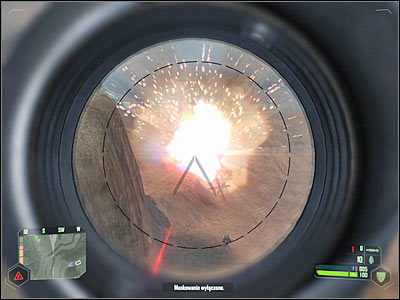
The second tank should be somewhere near the first one. It's probably guarding the road which leads to a nearby hill. Just as before, you should consider using camouflage in order to approach it safely. Use all available missiles to destroy the second tank. Thankfully, you won't have to go back for a new rocket launcher. You'll find several of these weapons right here (screen).
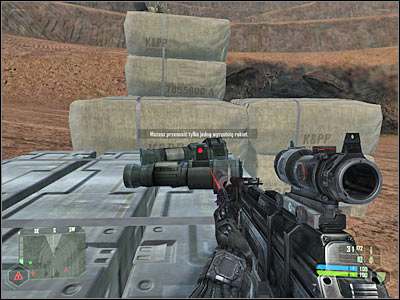
As for the final part of this assignment, you will be allowed to choose between several different approach methods. Don't worry about allied soldiers, because you won't have to protect them or assist them in any way. If you plan on using a sniper rifle, activate maximum strength and perform several jumps in order to reach an upper ledge (screen).
Performing a frontal assault isn't dangerous, however you should consider hiding somewhere to your right, near one of the machine gun nests. Kill one of the gunners while you're there. After that, start leaning out carefully. You should be able to surprise some of the enemy soldiers by attacking them from the left flank.
It would be a good idea to get closer to two heavy machine gun gests. Those objects are guarding the entrance to the mine complex (screen). Obviously you would have to kill the gunners in order to prevent them from fighting back.
Neutralizing heavy machine gun posts would allow you to use one of these weapons to attack (and surprise) enemy forces. If you don't want to risk your life, stay near the previous heavy machine gun nest. Lean out a lot in order to get rid of enemy units.
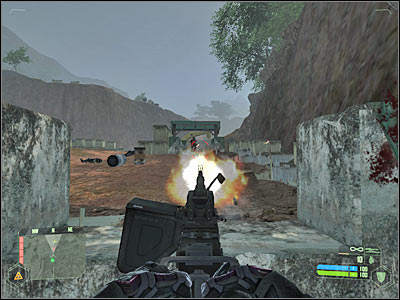
Your final task here will be to neutralize a Nanosuit soldier. I guess you won't be surprised by the fact that he's using a minigun. Use your cloaking abilities to get closer to him. After that, choose a shotgun or a minigun and kill him. It shouldn't be too difficult. Eventually you should try to secure this entire area, however you must avoid getting too close to mine fields.
You will probably notice that a plane has landed near the entrance to the mine. I'd strongly recommend going there in order to pick up necessary supplies. You should consider exchanging your current rifle for a SCAR, because it's going to be very easy to acquire ammunition for the new weapon. It's not a necessary thing to do, because you'll lose all of your weapons very soon. Go back to the main entrance. There's a small armory to your right (screen). Make sure you've got everything your need and enter the mine. You should receive a new task here.
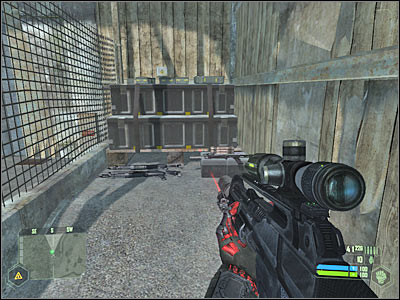
You could still be using your map here, but since you're underground, it won't be of any real use. Start off by moving towards one of the nearby rooms. You won't have to use a silencer during these fights. Lean out and kill one of the enemy soldiers.
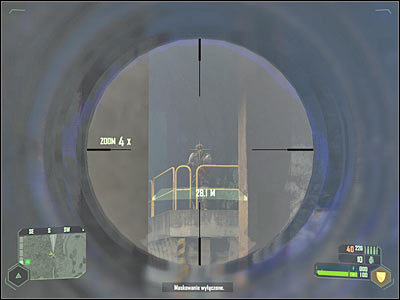
Make sure that you're standing behind a good cover and activate camouflage. Wait for a Nanosuit soldier to get here and use your minigun to kill him. Once this is done, enter this new room and deal with the remaining enemy troops. Proceed to one of the upper balconies.
You will be able to reach a longer tunnel here. One of your allies will suggest that you should use night vision. Follow his instructions by activating this feature. Start moving SLOWLY towards your current target. You will have to get rid of a new Nanosuit soldier. Make sure that you've killed him. Otherwise he could try and surprise you.
Head on to the next room of the underground complex. You shouldn't encounter any additional soldiers here. You will eventually come across a large elevator shaft. You must head down to lower levels (screen). Don't worry, because you won't lose too many health points here. Proceed to the next section.
Keep heading forward. There's only one road leading to your current destination, so you can't get lost. Proceed towards the right corridor. Eventually you'll enter a much larger cave. Stay here for a few seconds and allow huge boulders to fall down from the ceiling. Remember that you don't have to be in a lot of hurry.
Keep moving forward. You shouldn't have any major problems finding a new passageway (screen). Proceed towards the tunnel area. You should be able to hear a conversation. Keep heading forward. Once you've reached a new area of the map, a longer cut-scene is going to be displayed on your screen. You'll also lose your equipment here. Sadly, you can't prevent this from happening.
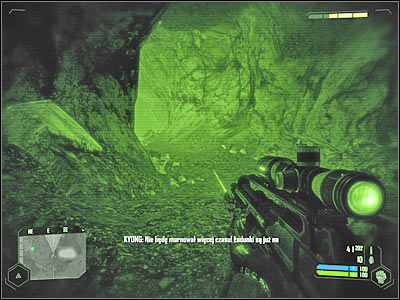
After you regain consciousness, you will have to take part in a longer cut-scene. You can look around, but you can't move your character. Eventually you will have to engage in a duel with general Kyong. Once you've regained full control over Nomad, activate camouflage and hide somewhere to your left.
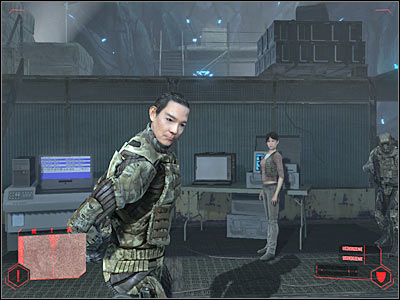
This is going to be an extremely easy challenge, mostly because general Kyong won't be able to find you when you're using cloaking device. Additionally, he will remain on the upper platform. As a result, you will be allowed to explore the surrounding area safely. Just make sure you're using camouflage and you should be fine. Start off by picking up a SMG machine gun.
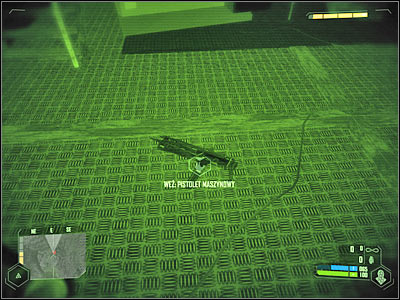
Make sure that you have checked the surrounding area for weapons and ammo. You will find a shotgun (screen), as well as a sniper rifle. I wouldn't recommend taking the rifle, especially since you'll find better weapons soon enough. Don't forget to reattach upgrades to your shotgun.
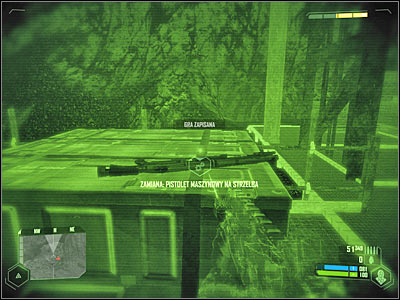
When you're ready, find the stairs and proceed to the upper platform. Obviously you should be using camouflage, so you'll be allowed to surprise Kyong. Use your shotgun and you'll kill him almost instantly. Prevent him from responding to your attacks by firing at him without any interruptions. Thankfully, shotgun is a very powerful weapon, so you won't even have to reload this weapon while fighting Kyong.
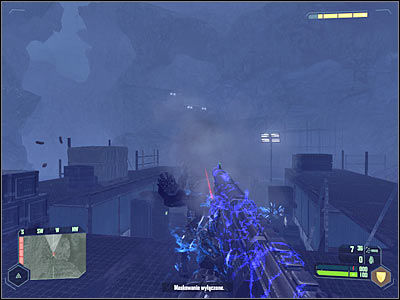
You could consider picking up Kyong's minigun, however you will find a more useful weapon very soon. Once you're ready, proceed towards the elevator. Talk to one of the hostages. You won't have to do anything else here, so focus only on listening to the conversation.
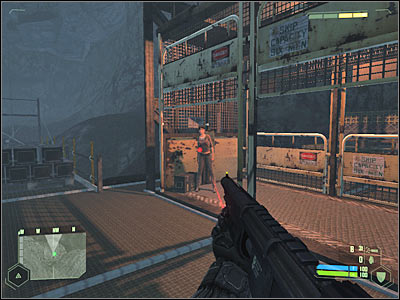
You won't be able to prevent some of the future events from happening. The good news is that the hostage will be rescued by the crew of an allied plane. The bad news is that your main character won't have an opportunity to escape along with the hostage. Furthermore, your elevator will crash down. Get ready for the next mission .
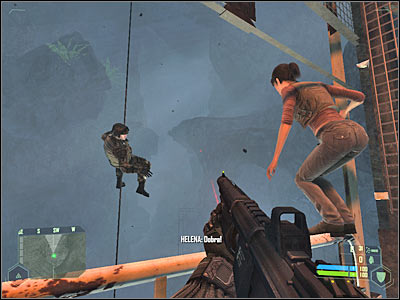
This is going to be a very unique level. You can't use your tactical map, however this isn't a serious problem, because you'll be dealing with small spaces, so you won't have to spend too much time planning your next moves. This mission will take place inside some sort of an alien ship. Additionally, you will have to deal with zero gravity later on. You will also have an opportunity to defeat interesting monsters. You'll start the game near a destroyed elevator.
Turn on your night vision goggles before you decide to leave the elevator. Obviously your main task here will be to collect new weapons. I would recommend choosing the best combination you can think of - FY71 rifle and a shotgun. You can find the rifle near the stairs (screen). I wouldn't recommend taking a minigun, mostly because you're going to need a fast weapon for close encounters and it takes more than a second for the minigun to open fire.
Take your time and explore the surrounding area. Eventually you will have to approach a door of some sort (screen). Go there now and you'll find yourself standing inside a new cavern. Keep moving forward. You will be allowed to listen to a few dialogues along the way. You should be able to reach a new cave very soon. Look at the crystals. You won't have to touch any of them, so keep moving straight.
Head on to the opposite end of this cavern. You shouldn't have any problems finding the exit. You will eventually find a small hatch (screen). Approach it and it should automatically open. You'll end up standing in a new corridor. Start moving forward. Just as before, you won't have to worry about being attacked.
Keep heading forward. You can look around if you want to, but it's not necessary and you certainly won't get lost. Your objective here will be to reach the opposite end of this long corridor. Approach a new hatch, however it won't open. Instead, your visor is going to be covered with ice (screen). Don't worry, because you won't lose any health here. From now on you will be travelling inside zero gravity zones, so don't be scared by the that you're floating.
Obviously you should take your time here, because it's definitely something new to you, so you will have to familiarize yourself with new controls. I wouldn't recommend being in a lot of hurry. Otherwise you may lose your orientation. Your main objective here will be to locate an entrance leading to a new tunnel (screen). Go there now.
Keep heading forward. Now you will have to find a small hole in one of the walls (screen). A monster has used it a little while ago, so you'll know which one it's going to be. You shouldn't have any problems here. You will end up inside a new cavern complex. There are some lights on the walls, as well as new crystals, so you'll know where to go.
You should be able to reach a much larger cavern in about 40-60 seconds (screen). Make sure that you're using a shotgun, because you are going to be attacked by one of the weird creatures. A single shot should scare it away.
Keep heading forward. Eventually you will reach a vortex. It will prevent you from going to a new area, so you will have to do something about it. Thankfully, the solution to this problem is very simple. Destroy a glowing device with one of your weapons (screen). You may proceed to the next section.
There's only one pathway leading to your current destination, so you really can't get lost. It's often wise to look for glowing lights and crystals, because they'll show you the right way. You will have to reach a small hole in the ceiling (screen). Approach it and you'll be rewarded with a short cut-scene.
Once again, you will have to defend yourself against a weird looking monster. Use one of your weapons to kill it. I would recommend choosing a shotgun, so you won't have to spend too much time trying to deal this new threat. Go back to the upper hole. This time you won't be surprised by anything else and you'll be allowed to proceed to a new section of the cave complex.
Keep heading forward. You will have to go to a well know hole in the wall (screen). This will allow you to reach a new section of the cave complex. Head on to a new tunnel. Eventually you will arrive at a much bigger location. Listen to what your main character has to say about all this.
I would recommend that you leave some of the nearby creatures alone, because there's a high probability they will do the same thing. Start off by destroying some of the nearby devices (screen). You can even use your pistols here if you don't want to waste any shotgun or rifle ammo. A few shots should do the trick.
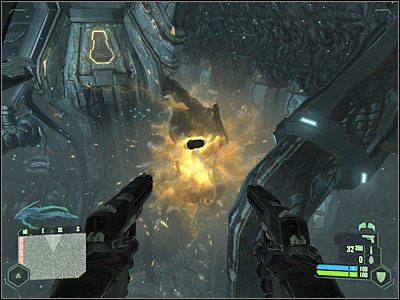
You may finally proceed towards a tunnel. It can be found near the destroyed devices (screen). You weren't able to use it before due to effects of an active vortex, but now's your chance. Start moving forward.
You should be able to reach a huge structure. Don't go near it, because nothing will happen. Instead, head on to your right. There's a large tunnel here. You will probably encounter one of the alien creatures along the way, however you won't have to kill it. Instead, use the pistols to scare it off. Obviously you will have to find an exit. It's going to be a small hole in the wall.
Keep heading forward. You will be going through smaller caverns, so you shouldn't get lost. You will reach a much larger cavern in about one minute (screen). As you've probably noticed, there are new alien creatures out here. You should consider attacking them, especially since you'll probably want to look around a bit. You will also find supplies very soon, so you don't have to worry about running out of ammunition.
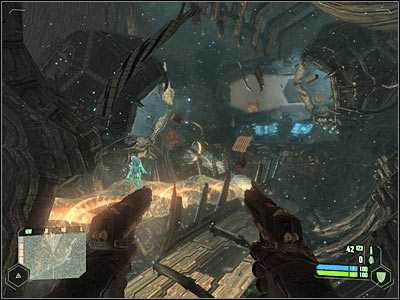
Take your time and explore this cavern. You'll probably notice a lot of holes filled with floating objects (screen). It would be a good idea to search them, because you'll find a lot of useful items. Don't take the minigun. Instead, be on a look out for an ammunition to your guns (pistols, rifle & shotgun). You will also find a couple of grenades.
Now you will have to proceed towards a small entrance (screen). You shouldn't have any major problems finding it. Keep moving forward until you've reached a new area of the map. You will have to defeat several new beasts there. Be careful, because they may try to surprise you. Use your shotgun, because it's the most effective weapon against alien foes.
Make sure that you've killed most of the alien creatures. Once this is done, proceed towards several forcefields (screen). Listen to a short statement. You will have to follow these instructions. As a result, wait for each forcefield to disable itself. Keep moving forward and attack everything what decides to harm you. Don't worry about the ammunition, because you'll come across more supplies pretty soon.
You shouldn't have any major problems going through the forcefields. Now you will have to proceed to the left tunnel. You'll probably have to wait there for a few seconds in order to be able to use it. I guess you'll be surprised by the fact that you're moving at extreme speeds. Don't worry, because you won't lose any health points here and you don't have to use any movements keys. Wait for the mechanism to transport you to a new location.
You will end up inside a new cavern. Take your time and explore the surroundings. You will come across several new holes here. Make sure that you've picked up ammunition for your guns. This time you will find more objects, so it shouldn't be a problem.
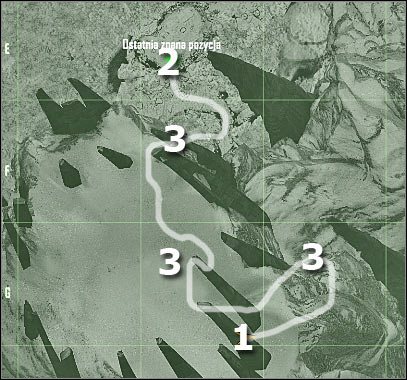
You could also approach a large glass wall if you wanted to. You would witness several interesting scenes here and you would also be able to take a closer look at one of the larger creatures. Head on to the main passageway. You will have to kill several new creatures before moving on. It shouldn't be a problem. Rearm yourself after the fight.
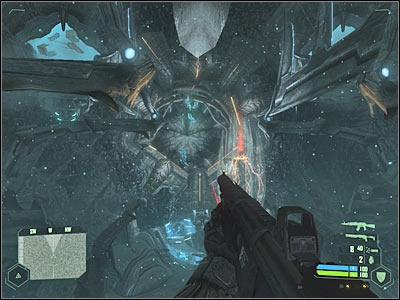
Head back to the main exit. You will come across a much larger structure. It should open in just a second, so you must be patient. Move over there slowly. Now you will have to take part in a more serious battle, so make sure that you've chosen a shotgun from your inventory.
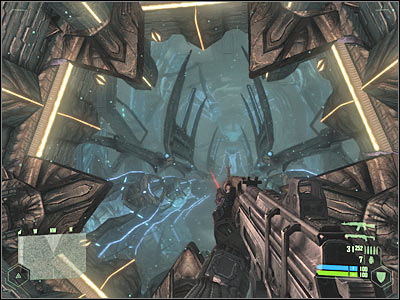
You will have to defend yourself against alien creatures for the next few minutes. You won't have to perform any other activities at the same time. I would recommend hiding near one of the walls, so you won't surprised by any one of the monsters. Make sure that you've chosen this spot quickly, because you'll only have a few seconds to look around.
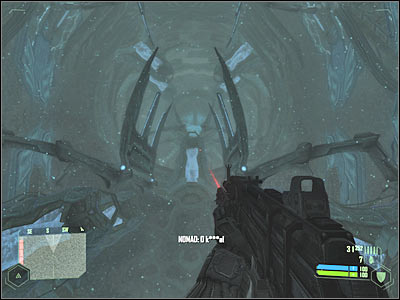
You should be using your two primary weapons. Machine gun will allow you to wound alien creatures from a longer distance and the shotgun is best for close encounters. You could also use maximum strength to fight back, however it won't be necessary. Focus all of your efforts on avoiding being hit by the aliens, because if the attack is successful, you may even lose your life.
You will probably notice that some of the nearby mechanisms are being activated in the meantime. Sadly, you can't speed up this process. Your only task here is to defend yourself against enemy attacks.
You will have to wait for all mechanisms to activate themselves. Take out some of the remaining enemy creatures and start moving towards these devices. You shouldn't perform any unnecessary stops, because more aliens may arrive.
Your final objective here will be to find a large vortex. Approach it and you'll blasted into a new tunnel. Thankfully, you won't lose any health points there, so enjoy your final trip. Wait for the game to begin loading a new mission.

Map legend:
1 - starting area
2 - destination
3 - ammo supplies
Obviously this mission will begin with a very interesting cut-scene. As you've probably noticed, the surrounding area has changed and you're currently standing on top of a large mountain. Listen to a short conversation. Take your time and look around. You should also notice that if you stay in one place for more than a few seconds, your visor is going to be covered with ice. As a result, you should keep moving in order to sustain maximum field of view.
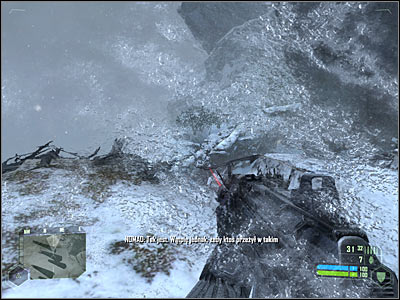
Look at my map, because that's how you'll be able to reach your current destination. Sadly, for the most of the time there's going to be only one pathway leading to the target area. Start off by moving south-east. You won't encounter any alien creatures here, so you won't have to be going slowly.
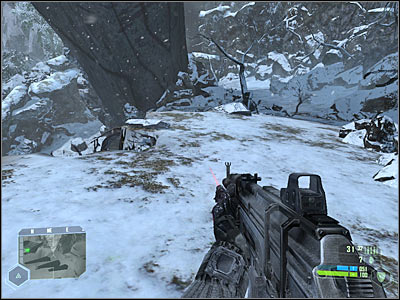
You should be able to reach several destroyed crates at some point of your journey (3 on the map). Make sure you've picked up ammunition for your main weapons (machine gun & shotgun). I would also recommend that you switch the guns often, so you won't run out of ammunition for one of them.
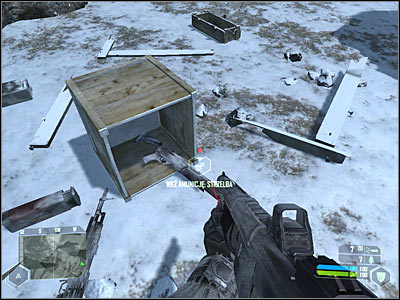
Keep heading towards your current destination. You are going to be attacked by several monsters once you've reached a new area of the map. You must be careful while trying to kill them. They're very agile and they can attack you with icy bullets if you let them. Go back to the ammo crates and wait for them to show up. Use the shotgun to kill all monsters. You won't have to use your cloaking mechanism here. Instead, increase the strength of your armor. Also, make sure to move back from the alien creatures when they die, because they'll explode.
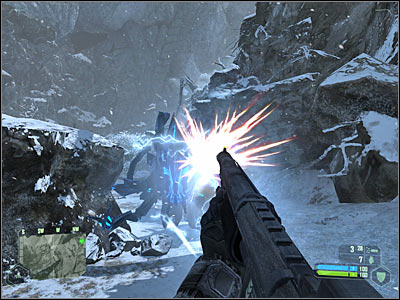
Make sure that you've taken all necessary supplies. Go back to where the alien creatures have appeared for the first time. Thankfully, this time you won't encounter anyone else. Keep heading forward. You'll probably have to kill one monster along the way. You won't have to preserve your ammo, because you'll find more supplies very soon.
Head on to your right and proceed carefully towards a lower ledge. You've probably noticed before that there's a small hut to your left. You will have to reach it. Make sure that you're standing somewhere near that platform (screen). Use maximum speed and perform a single jump. You can't make a mistake here or you'll die.
Head on towards this small hut. Once again, you won't have to worry about being attacked by aliens. There are a lot of supplies in the cabin, including weapons and ammunition. Go back to the main passageway. As a result, you will have to perform a similar jump (maximum speed). Proceed to the next section.
You should be able to reach a steep descent in just a few seconds. Proceed to the lower section of the mountain. As you've probably noticed, more alien creatures have been dropped nearby. You can fight them if you want to. Just make sure that you're not using only one weapon all the time.
You could also try and avoid these creatures or delay having to attack them. If you choose not to fight, you will have to proceed to your left right away (screen). Make sure you're moving near the rocks and you should be fine. Keep heading towards your current goal area.
You will probably have to get to a lower platform at some point of your journey. It shouldn't be too difficult. Keep going left and you should be able to reach a new area (screen). Go there as soon as possible.
Now you've got two choices. If you decide to go right, you will have to defeat several new creatures. If you decide to go straight ahead, you will have to slide down VERY carefully in order to reach a new area. Either way, you must get closer to your destination. Just make sure that no one is following you.
Be careful. More alien creatures will probably appear in front of you. Killing them isn't going to be too difficult, mostly because you'll be going against a small group. Now you will have to start moving forward. You'll approach a large truck very soon. Make a stop there, because you'll come across additional supplies. It won't be much, but you won't need a lot of bullets (you'll soon find out why).
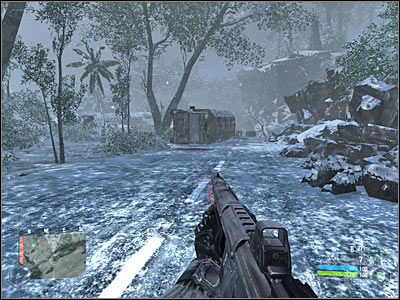
Keep heading forward. You should be able to reach a lower ledge very soon. Take your time and look around if you want to. Head down once you're ready. You won't have to attack any creatures here. Proceed to the north.
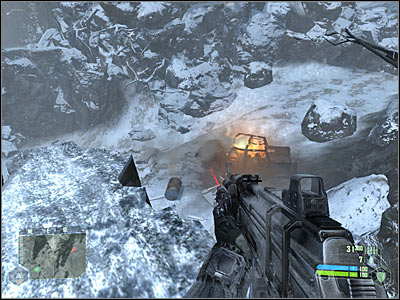
Keep heading north and then turn to north-west. Eventually you should be able to reach a road leading to an allied camp (screen). Proceed there without any other delays. I guess you won't be surprised by the fact that all the marines are already dead. You'll be rewarded with an interesting cut-scene. As you've probably noticed, Prophet has returned!
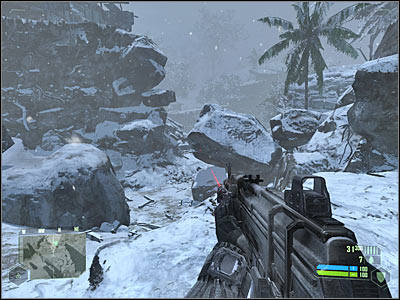
You will have to stay near the main area of the camp, so you won't need to use your tactical map here. Once you've regained full control over your main character, turn around and enter a small container. You will find a lot of weapons here, however you won't have to spend too much time picking them up, because you'll receive a new gun very soon.
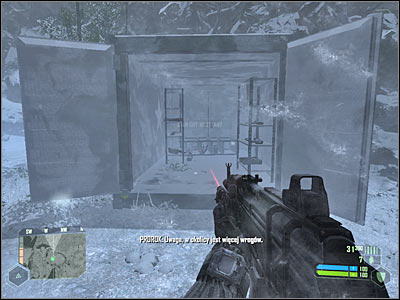
Get ready, because the campsite is going to be attacked by alien creatures. Thankfully, Prophet will get rid of most of them. Focus only on surviving this battle, because you won't have to assist him too much. I also wouldn't recommend leaving him. Stay close to Prophet, because you're going to have to interact with him very soon. You should have plenty of ammunition at your disposal, so don't even think about going back to the container.
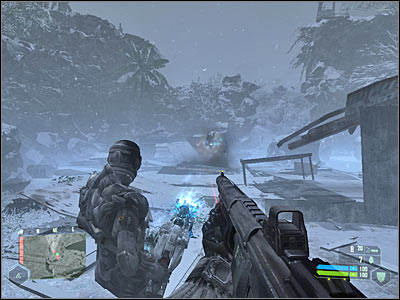
Prophet should inform you that his Nanosuit has been damaged and he's losing power. As you've probably noticed, an additional bar has appeared on your HUD. It will inform you about Prophet's health. Obviously you can't let it reach zero, because he would die. Approach Prophet quickly and take his weapon. It's going to be a MOAC rifle. I would recommend exchanging it for a shotgun.
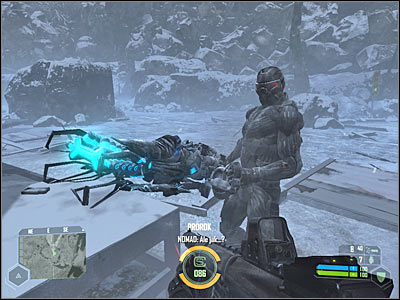
Now you will have to defend yourself against two waves of enemy attacks. Obviously you should be using your newly acquired alien weapon during these fights, especially since you won't have to pick up any ammunition for it. Just make sure that you don't overheat this weapon. You shouldn't have any difficulties understanding how it works. Kill the aliens quickly, so you'll be able to receive a new task. Make sure that Prophet's bar has at least 50 health points left.
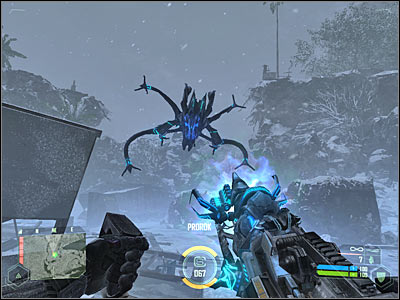
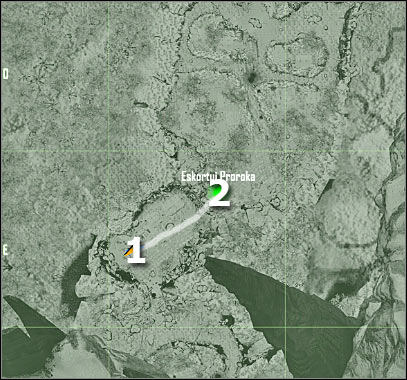
Map legend:
1 - starting area
2 - destination
This final challenge is going to be divided into several similar segments. Each time you will have to escort Prophet to available camp-fires (burning wreckages - to be exact). This will allow him to regain full health. You'll also be dealing with alien creatures along the way, however this shouldn't come as a big surprise.
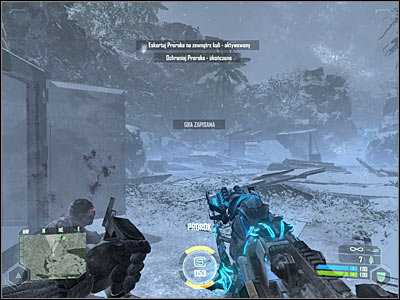
It should be fairly obvious to you that you'll have to be in a lot of hurry here, because Prophet is still losing heat and there aren't any camp-fires in the main camp. Start moving forward. You won't encounter any alien creatures here. Instead, head on towards a small passageway (screen). You'll be rewarded with a new cut-scene. Approach the first wreckage and wait for Prophet to regain some health. You'll also be given the location of a new burning wreckage.
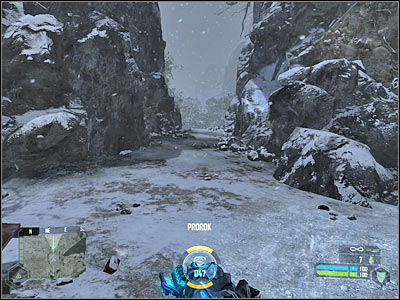
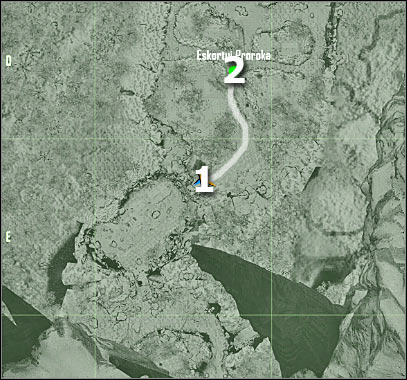
Map legend:
1 - starting area
2 - destination
Make sure that Prophet's Nanosuit is at full capacity. Start moving towards your new destination (2 on the map). You won't encounter any monsters on your way to this new area. Finding a correct spot is very simple. Prophet should automatically follow you and he'll also automatically approach the camp-fire. Get ready to fight off some new monsters!
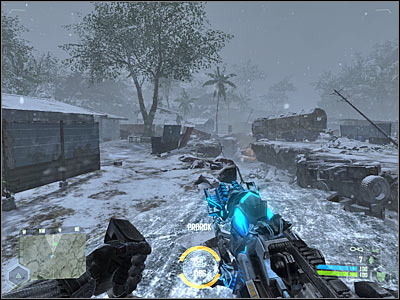
Make sure that you're using a MOAC rifle during these fights, because you'll have to defeat much larger creatures. They're shape is similar to a large octopus. These monsters will perform a lot of jumps and they'll stay in the air for the most of the time, so you must be extremely careful in order to prevent them from surprising you. Thankfully, you will be dealing with one them at a time. Don't overheat your weapon too often. You don't have to worry about Prophet, because he'll stay out of your way the whole time.
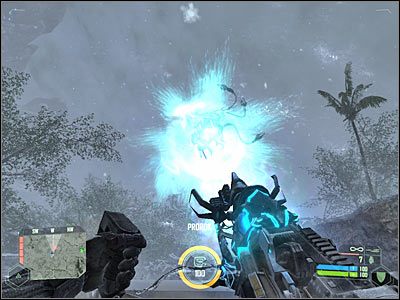
You will have to defeat a total of four monsters. Make sure to move all the time, so you'll avoid their attacks. Each defeated monster will crash down and explode (screen), so make sure that you're not standing next to its body. You should receive the location of a new burning wreckage in the meantime.
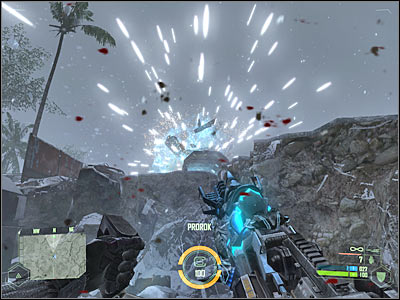
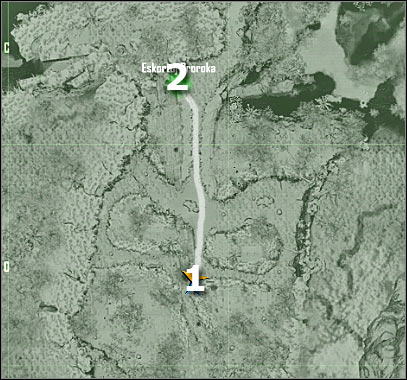
Map legend:
1 - starting area
2 - destination
This time you'll be moving north. At first everything will play out according to the plan, however you are going to be attacked by a group of smaller creatures once you're about half way through (screen). Deal with them swiftly and escort Prophet to a new burning wreckage. Just as before, you will have to wait for him to regain full health and your map is going to be updated.
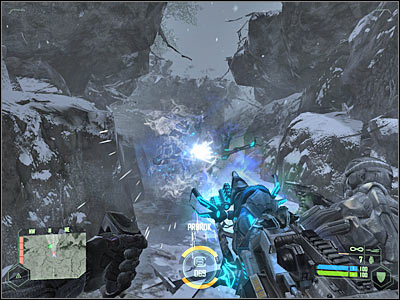
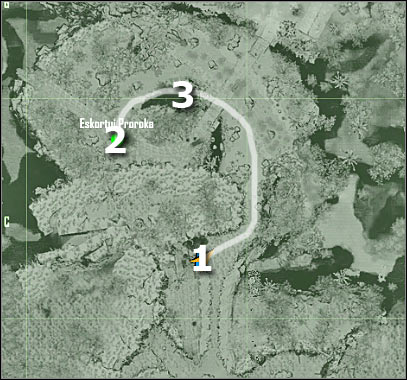
Map legend:
1 - starting area
2 - destination
3 - additional camp-fire
Start off by heading north-east. After that, you will have to go north. You are going to be attacked by a few alien creatures there. Kill them. Go back to the previous wreckage if you don't want to risk losing Prophet.
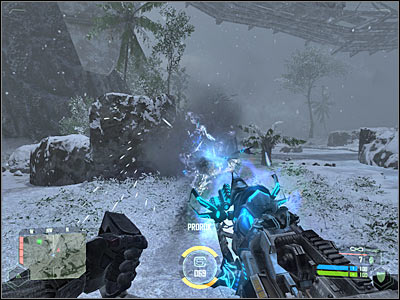
If you want to choose a more dangerous approach, proceed to an additional burning wreckage (3 on the map). Obviously you should wait for Prophet to regain full strength. Once this is done, proceed to the final destination and wait for your map to be updated. You will also have an opportunity to take a look at an alien mothership. Sadly, you can't shoot it down just yet.
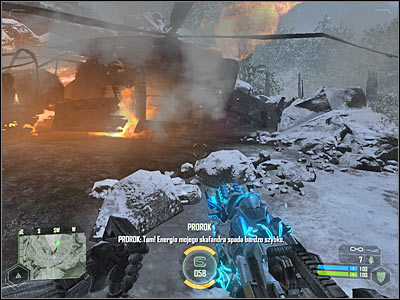
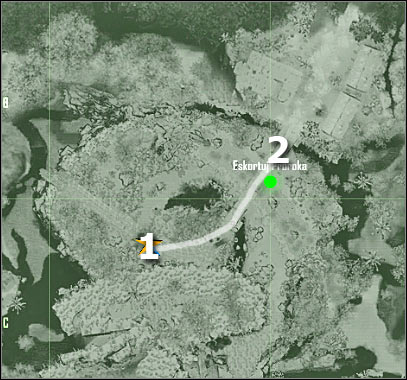
Map legend:
1 - starting area
2 - destination
I guess you may feel a little disoriented here. It would seem that your target area is somewhere you've been to before. The solution to this problem is very simple. You will have to proceed towards a bridge. You've probably seen it before, so you'll know where it is. Prophet has also mentioned something about it. Start off by moving towards a nearby road (screen).
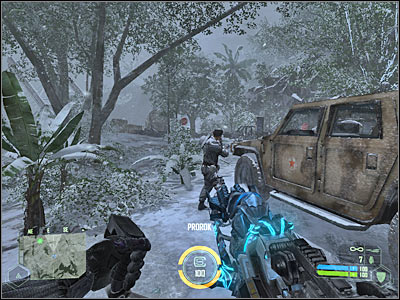
Thankfully, you won't encounter any alien creatures here. Proceed towards the destroyed bridge. Don't worry, because it'll hold your weight. Keep heading forward. You won't have to wait for Prophet. He's going to be fine on his own. Perform a second jump to leave the bridge. Wait for the game to begin loading a new map.
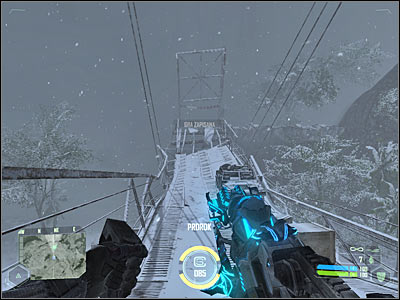
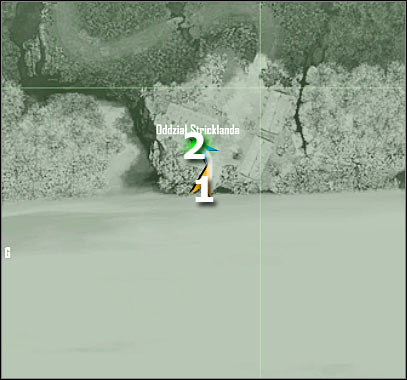
Map legend:
1 - starting area
2 - destination
This is a going to be an extremely short, yet quite difficult mission. You shouldn't have any problems with this introductionary challenge. All you have to do is to reach a nearby outpost, because that's where allied soldiers are being stationed. You won't even have to look at your map, because it's only going to take you about 10 seconds to get there.
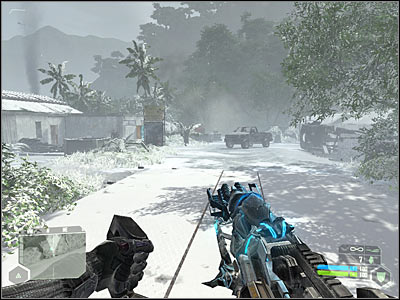
You should be able to receive a new task once you're close enough to this small checkpoint. You could also take your time and listen to what some of the allied soldiers have to say. You're going to have to assist them, so make sure you're using an alien rifle.
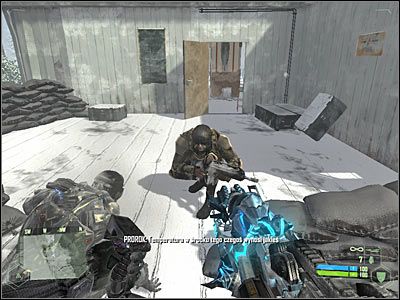
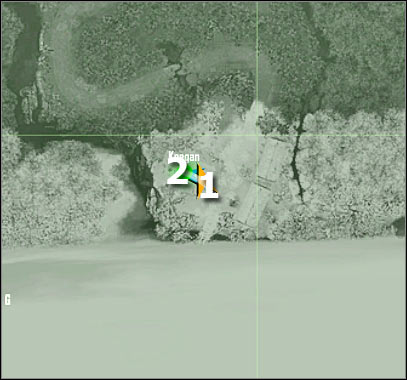
Map legend:
1 - starting area
2 - destination
This is also going to be a very easy task. All you have to do is to enter this small building. Keegan is standing inside the main room. Approach him and listen to what he has to say to you. Sadly, this is going to be a short conversation, because the outpost is going to be attacked by alien creatures.
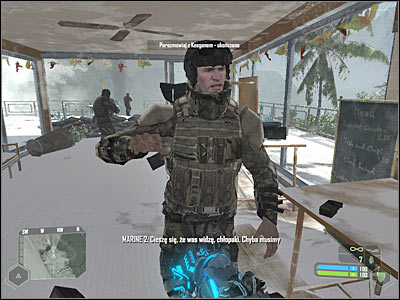
You will have to defend this area against enemy attacks for the next 3-4 minutes. You've probably noticed that there are a lot of interesting objects here. You won't have to take any of them, because you should be using the MOAC rifle all the time. Start off by proceeding somewhere to the west. You should be standing outside, so you'll have a much better view at the surrounding area.
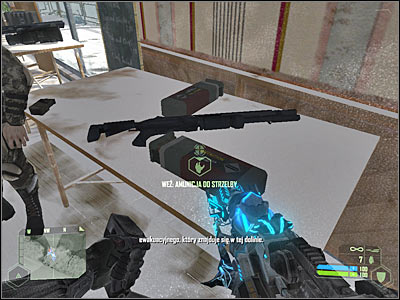
At first you'll only have to kill a few smaller creatures, so you won't have to be extra careful, because they'll die quickly. Just make sure that you're not standing next to them once they're dead. You won't have to worry about your allies. They'll be fine on their own.
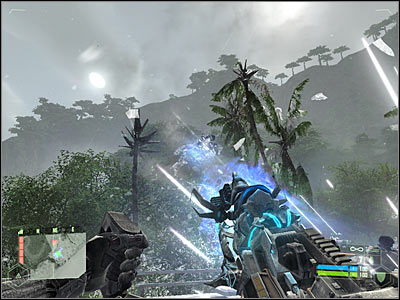
It's going to get more difficult in about one minute. Larger creatures will appear above the outpost. As a result, you will have to focus all of your efforts on taking them down quickly. Don't overheat your weapon, because you'll only lose a few seconds without being able to fight back. Also, you can always hide inside the building, especially if you've suffered major injuries. Keep defending this outpost until you've received a new task.

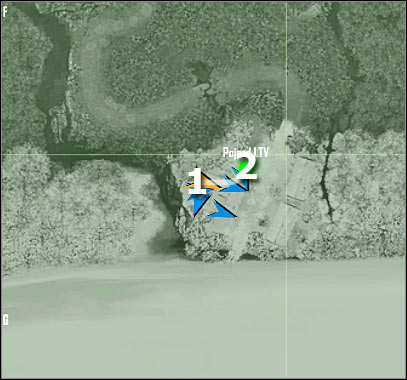
Map legend:
1 - starting area
2 - destination (humvee)
My map will only show you where to find the humvee, because once you're inside it, you won't be able to control it. One of the allied soldiers will take the wheel. Start off by going back to the main road. The vehicle should be parked to your left (screen). Approach it and press the action key. Nomad should automatically step up to the heavy machine gun.
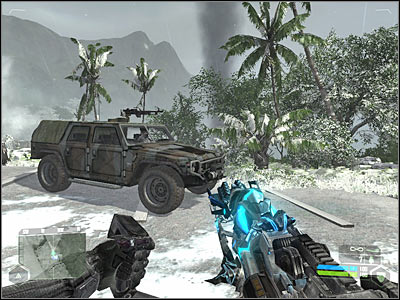
As you've probably suspected, your main objective here will be to defend the humvee against alien attacks. You will have to be very precise here, because the humvee has a weak armor and it could explode if you're not good enough.
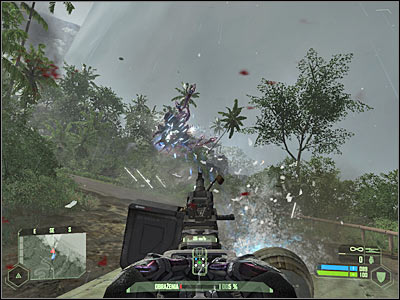
Focus your efforts on destroying aliens creatures. You will have to look around a lot, so you won't be surprised by any of these monsters. You can also use your tactical map in order to find out where they're coming from. Listen to a short transmission once you've dealt with the first wave. This isn't over yet. Keep shooting at the aliens and wait for the humvee to reach its destination.
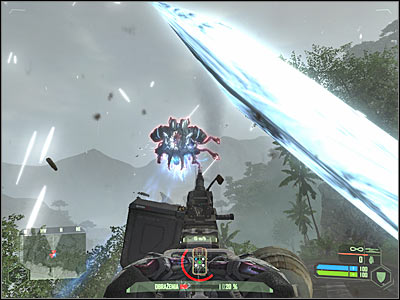
The humvee will have to go through several tight bends very soon and that's where the final phase of this battle will take place. Keep firing at the creatures and prevent them from destroying your vehicle. Leave the humvee once you've reached your destination. You will receive a new task here.
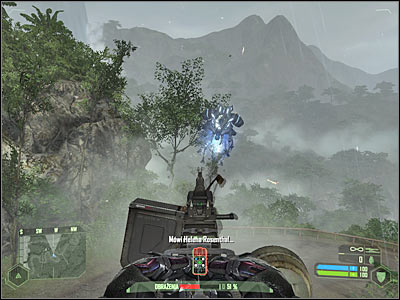
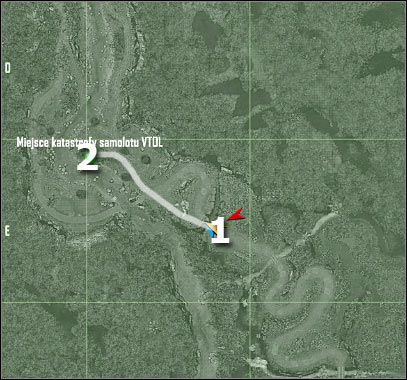
Map legend:
1 - starting area
2 - destination
As you've probably noticed by now, your humvee has stopped near a huge abyss. You will have to use maximum speed in order to be able to proceed to a new section of the road. You'll also come across Prophet. Follow him to the crash site.
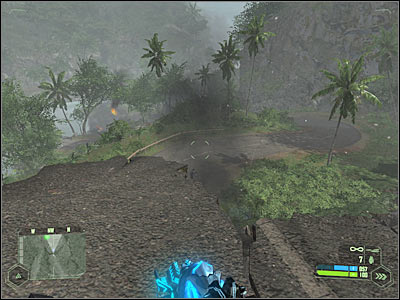
Keep following Prophet. You won't have to use the asphalt road. Instead, turn left. You will have to reach some of the lower ledges, but it shouldn't be a problem. Despite what you might think, you don't have to be in a lot of hurry.
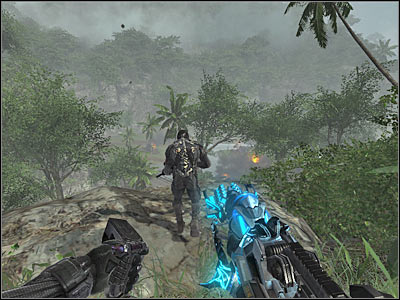
As you've probably noticed, two larger creatures are flying over the crash site. Don't go there. Instead, try and attack them from here. Allow them to get closer and defeat them. Just make sure that you're constantly moving and you should be fine. The road leading to the crash site has been secured, so you may go there now.
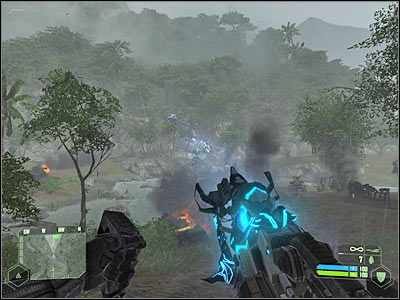
Keep heading towards the crash site. You won't have to approach an allied plane. I would recommend that you stay near the AA unit (screen). Now you will only have to wait for the game to grant you with a new mission objective.
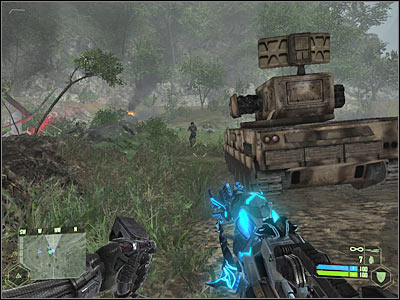
Once again, you won't need a map, because you'll be staying near the crash site. You will have to spend more time here, however if you didn't have any problems defeating alien foes before, you should still be able to succeed without having to reload the mission. Like I've said before, you should be standing near an AA unit. Use it right away by pressing the action key. Get ready, because this area is going to be attacked by a lot of enemy units.
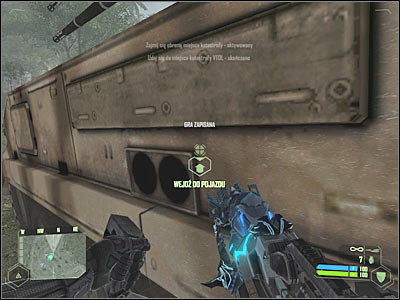
Sadly, the AA unit has a very weak armor, so you won't be able to hide inside it indefinitely, especially since you'll immediately receive full attention from all alien creatures. You will probably have to leave the AA unit in about 10-15 seconds. Make sure to do a lot of damage before it's nearly destroyed, especially since the turrets won't overheat.
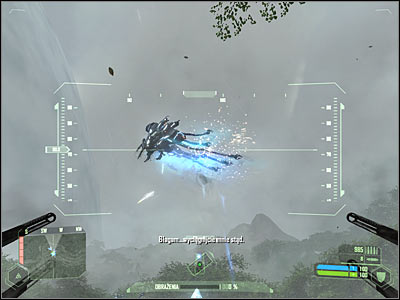
Exit the vehicle once it has received about 90% of damage. You can't allow the aliens to destroy it when you're still inside, because that would kill you. Start using your MOAC rifle in order to kill the monsters. Make sure that you're moving all the time in order to avoid being hit. You will also have to prevent your weapon from overheating. Use your map to prepare yourself for new attacks.
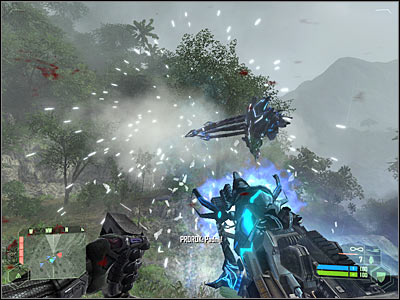
You'll probably sustain some major injuries during the course of the battle. As a result, consider going back to a destroyed plane. You will be allowed to hide inside it (screen). You would also find weapons there, however you don't have to take any of them.
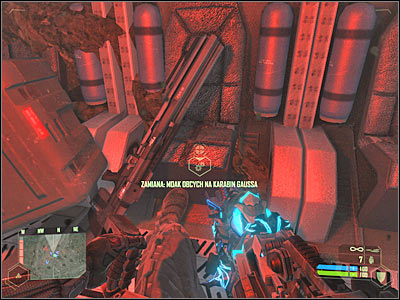
Keep shooting at the alien creatures. You should also notice that a small group of marines is taking part in this battle, so you won't have to go up against the monsters on your own. Nevertheless, you must kill enemy units in order to be able to proceed with the course of the mission.
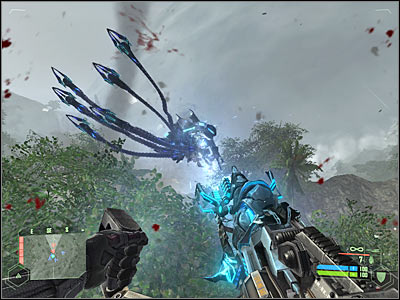
You should receive a message that a second VTOL is heading towards the crash site. Alien creatures should be gone by now, so you will only have to wait for this plane to show up. It's going to take some time, so be patient. Sadly, you won't be allowed to get on board the plane. Instead, you'll receive a new objective.
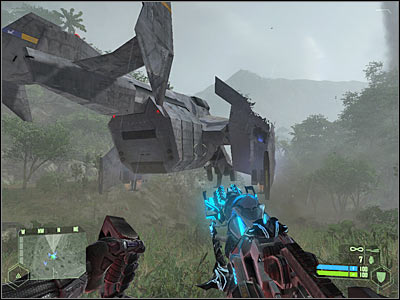
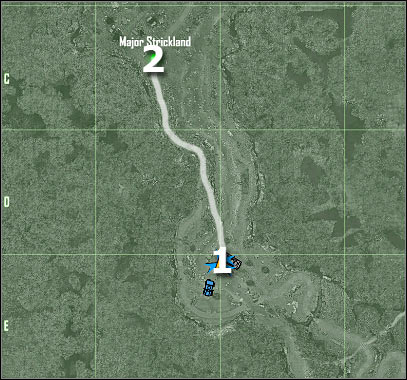
Map legend:
1 - starting area
2 - destination
For the first time since the previous mission, you'll be allowed to go somewhere on your own. Sadly, this isn't going to be a long trip and there's only one good passageway leading to your current destination. Obviously you will have to go north, because that's where allied forces are currently defending themselves. You will come across a river in just a few seconds. This means you're heading the right way.
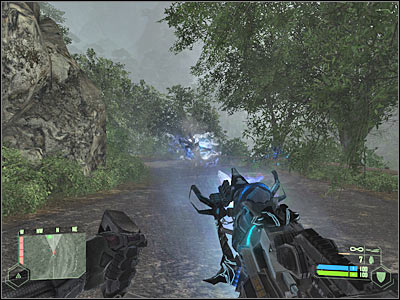
I wouldn't recommend staying near the river. Instead, head on to a small road which can be found to your left (screen). This will allow you to avoid some of the alien creatures and it won't you take much time to get to your current target area.
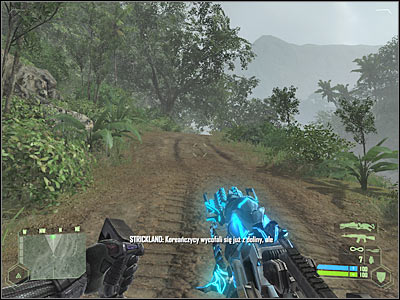
Be careful, because you will encounter several monsters along the way. Thankfully, you won't be going against larger foes, so it should be fairly easy to get rid of them, as long as you stay away from their exploding bodies. Keep heading towards your current destination. Choose the main road leading to the camp, so you won't get lost. You should receive new orders once you're close enough to the village.

This is going to be your final main task for this mission. Thankfully, it's going to be much easier this time. You won't have to protect anyone in particular and there are a lot of allied soldiers in the vicinity. You'll also notice two active AA guns. Proceed to the third AA unit (screen), because it's not being used by anyone.
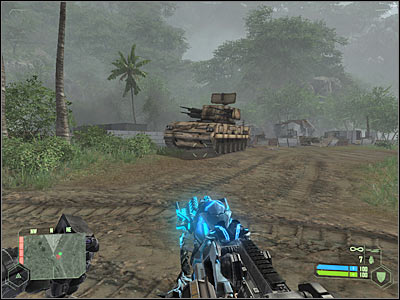
You should be able to spend more time inside this AA gun, mostly because alien creatures will attack other AA units. Additionally, some of the toughest battles will take place near the river and you're far away from there. Use your turrets to take down as many alien creatures as possible. Don't worry about the ammunition. Just keep shooting at enemy units.
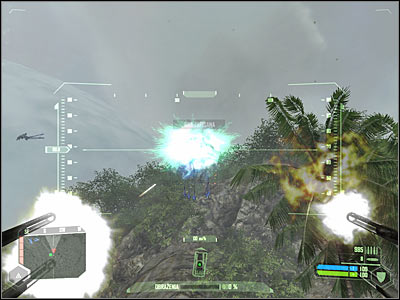
You shouldn't stop shooting at alien monsters. You'll probably notice that a huge alien spider has appeared near the river. You won't have to attack it, because it's immune to your fire. Instead, focus all your attention on standard alien units. You will have to wait for the final objective to pop up on your screen. Remember to leave the AA gun if it's badly damaged.
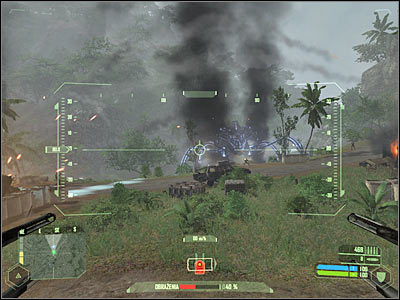
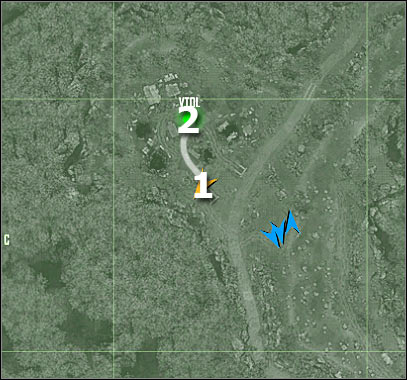
Map legend:
1 - starting area
2 - destination
Exit the AA gun, because you won't be able to move it. As you've probably noticed, an allied plane has landed near the village. Start running towards it. Don't worry about some of the ongoing fights, because you won't have to participate in them anymore. Board the plane (screen) and witness an interesting cut-scene. It's the end of this fairly short mission.
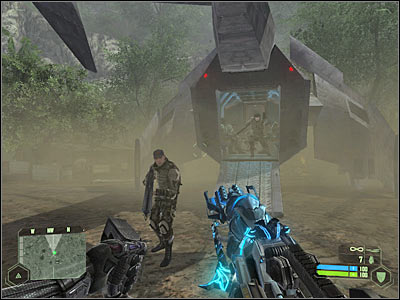
This mission is also going to be very unique, because you'll be using an allied VTOL throughout the entire time. Before you'll proceed with your current assignment, take your time to familiarize yourself with the controls. You'll also be presented with a lot of hints. Make sure to read them. You should receive an updated task in a few seconds, so you'll have plenty of time to practice some of the basic maneuvers.
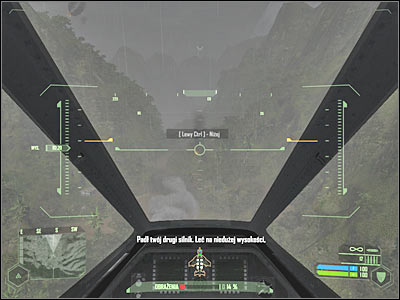
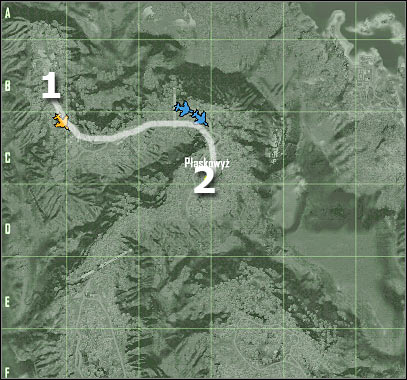
Map legend:
1 - starting area
2 - destination
Despite what you might think, you don't have to be in a lot of hurry and you don't have to keep up with other VTOL's. There's only one canyon area leading to your first target, so you shouldn't get lost. Make sure to maintain a high altitude, so you won't crash by mistake. You will have to lower your flight altitude a bit once you've reached a large bridge (screen). I wouldn't recommend trying to fly over it.
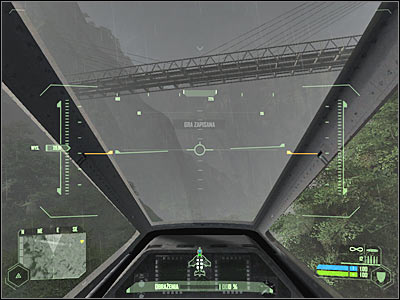
You should be able to reach the plateau in just a few seconds. Ignore the first group of aliens, because they'll be slaughtered in a short while. Instead, focus your attention on other enemy units. You shouldn't have any problems spotting them.
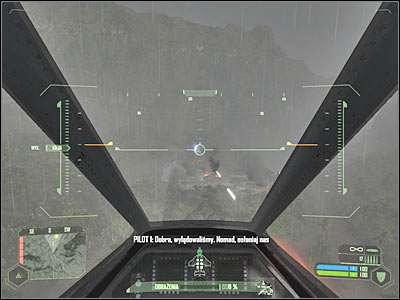
I'd strongly recommend that you maintain a large distance between the monsters and your ship, mostly because your VTOL isn't too agile and it would take a few seconds to turn it around. Use the machine gun, because you'll need the rockets for later. You should also consider pressing the side movement keys in order to avoid enemy fire.
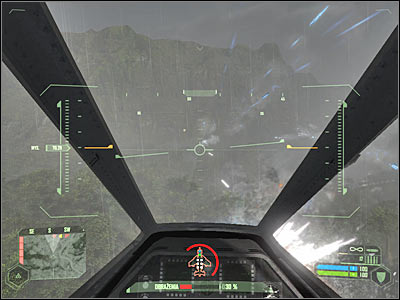
You will have to be extra careful here, because one of the larger creatures will probably surprise you from the back (screen). Depending on how much energy you've got left, you may consider dodging its attacks or using one of the available heat seeking missiles. WAIT here once the battle has ended, because your ship will automatically regenerate its armor. Make sure you've got plenty of armor points left before you decide to proceed with the next objective.
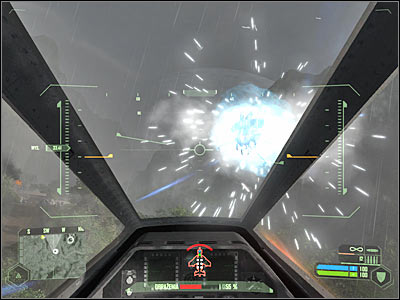
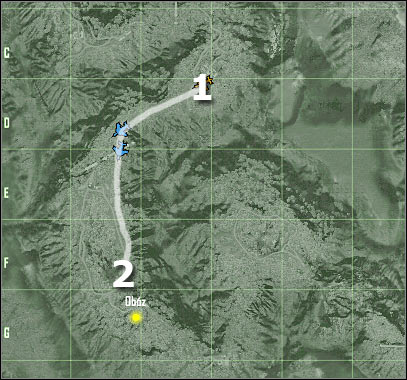
Map legend:
1 - starting area
2 - area where you'll receive a new mission goal
You may proceed to the next section of the map. You won't encounter any alien creatures here, however there's a different threat you have to worry about. Start off by heading towards a new bridge. This time you'll be allowed to fly over it. It's very important that you maintain a high flight altitude!
For the first time during the course of this mission you will have to avoid small tornadoes. Focus all of your efforts on staying away from them. You can't get closer. Maintaining a high flight altitude is equally important. Don't let any of the tornadoes suck you in. Prevent that from happening by using an afterburner. You should be able to get a hang of it once you've gone past several of these phenomenons. Wait for the game to reward you with a new challenge.
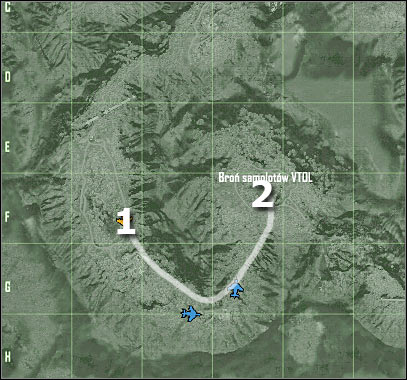
Map legend:
1 - starting area
2 - destination
Keep heading towards your new goal area. You won't encounter any other obstacles along the way, however you should remain at higher altitudes for obvious reasons. You will come across several alien creatures once you're close enough to your destination. Once again, try maintaining a large distance from them and use only your primary machine guns to take them down.
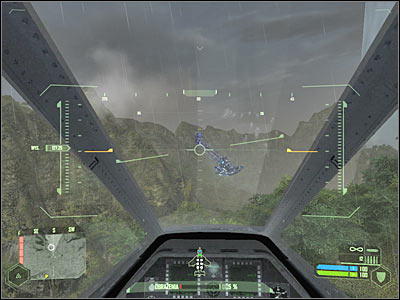
You will have to defend this area for about 60-90 seconds. You shouldn't encounter any major problems here, especially if you decide to use side movement keys to avoid enemy fire. This seems to be the best way to prevent alien creatures from destroying your ship. Once the battle has ended, you will receive a distress call concerning an allied convoy. DON'T leave this area, because the convoy is going to be destroyed anyway and you couldn't do anything about that. Allow your ship to regenerate itself and get back to the main objective of this mission.
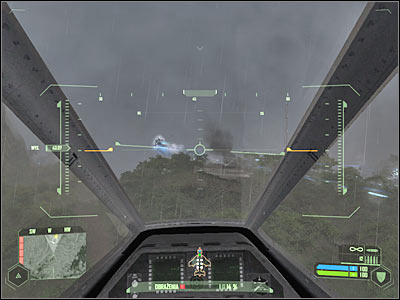
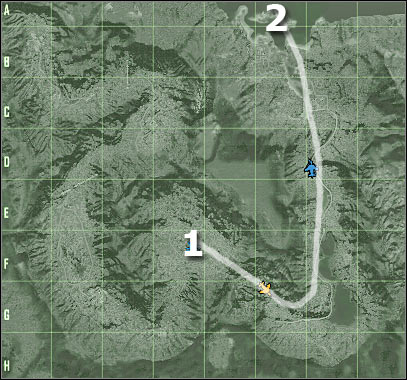
Map legend:
1 - starting area
2 - destination (you won't see any additional icons on your map - you just have to end up near the ocean)
Ignore the information about the convoy and go south-east. After that, you will have to turn north. I would recommend choosing a small shortcut here (screen) in order to save a few seconds. You are going to be attacked by alien units. You could ignore them, however it would be a good idea to start firing missiles at alien creatures.
If you decided to make a run for it, use the afterburner in order to outrun alien creatures. Some of them will probably catch you, but you can use heat seeking missiles to kill them (screen). Eventually you'll have to get closer to the ocean. Once you're there, listen to a short radio transmission and get ready for the final mission of the campaign!
Once you've safely landed, you will find yourself standing on the main deck of an aircraft carrier. You will have to take part in a longer cut-scene. Don't worry, because you won't have to attack the alien creature. Wait for the game to give back full control over Nomad to you. Start moving forward. You won't have to attack anyone, so don't worry that you aren't carrying any guns.
Your first task here will be to follow Psycho to the command center. You won't have to use your map for the time being, because you'll leave the main deck in just a few seconds. Keep heading forward. Thankfully, Psycho isn't going too fast, so you shouldn't lose him. Eventually you will have to use the stairs.
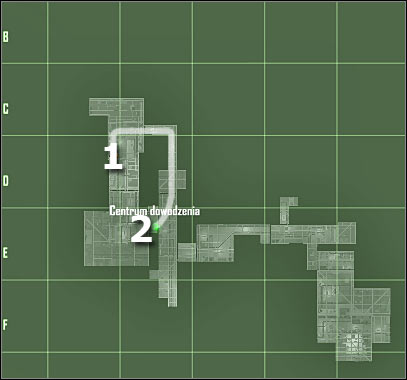
Map legend:
1 - starting area (staircase)
2 - destination
I would recommend that you take a closer look at my map, so you won't get lost. Thankfully, it's only going to take you a few seconds to get to the command centre. You may consider listening to a few interesting conversations along the way. Once you've arrived at your destination, turn right and approach the door. Press the action key in order to open it. You will be rewarded with a new cut-scene here. It's going to be very important, but that shouldn't surprise you.
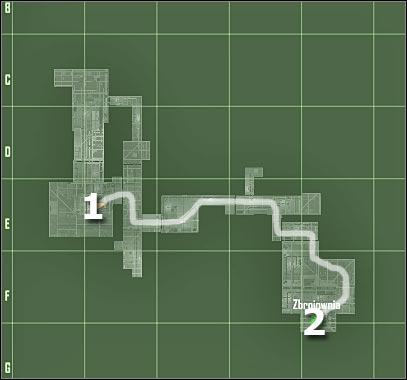
Map legend:
1 - starting area
2 - destination
Once again, there's nothing you should be worried about, because your only task here will be to reach the armory. As a result, you will have to go through several corridors and cabins. You will meet a lot of people along the way, but you won't have to talk to them. Enter the armory and listen to a longer conversation. Don't leave this area. Instead, wait for this conversation to end.
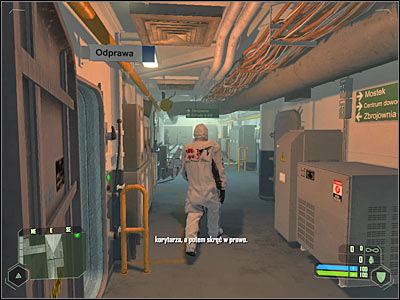
Psycho should stand up, allowing you to use a weird looking chair. Start off by listening to a new conversation. After that, approach the chair and press the action key in order to use it. This is all going to be done automatically. Now you will have to take part in a new cut-scene. You'll only be allowed to look around. You will regain full control over Nomad in about one minute and you'll also be given a new task.
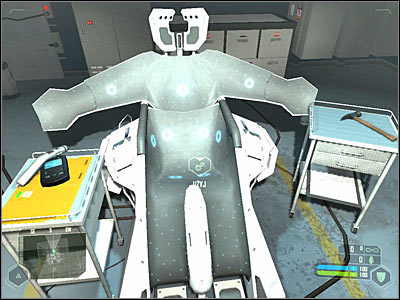
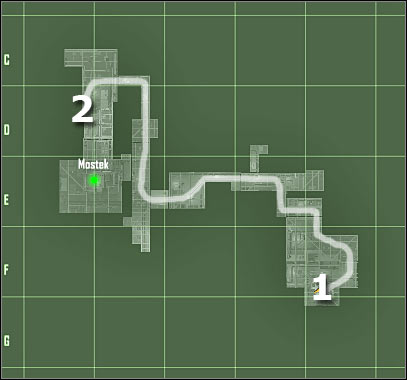
Map legend:
1 - starting area
2 - staircase (leading to the upper level)
As you've probably noticed by now, you will have to go back the same way you came before. You shouldn't have any problems doing that. Ignore the door leading to the command centre. Instead, you will have to go to the ship's bridge. As a result, start moving forward, because you'll eventually have to reach an upper deck.
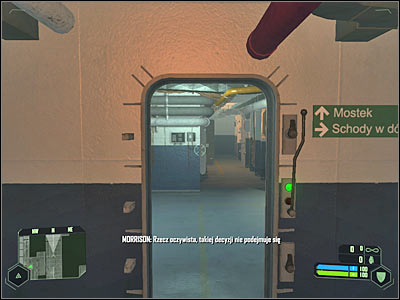
You should be able to reach the stairs (2 on the map). Head on to the upper deck of the ship. Once this is done, proceed to a new staircase. Eventually you will have to reach the highest floor, because that's where you'll find the bridge.
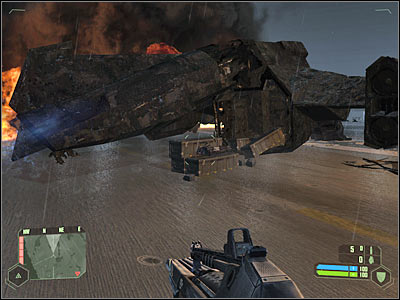
Head on to the left room. Like I've already said, it's going to be the ship's bridge. You won't have to do anything out of the ordinary here. Instead, you will be rewarded with a very interesting cut-scene. The island is going to be nuked. Obviously this won't resolve the problem and from now on you will have to deal with alien creatures which will appear near the aircraft carrier.
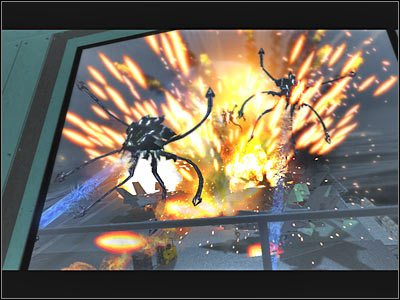
You will have to wait patiently for our main hero to regain consciousness. You won't receive any specific orders right away, however you shouldn't be worried about that. Your first objective will be to pry open a nearby door. As a result, you will have to activate maximum strength. After that, choose fists instead of a standard weapon. Punch the door by clicking the left mouse button in order to open it. You will have to perform similar actions later during the course of this mission, so I won't repeat these instructions and I'll only remind you to use maximum strength ability.
You may proceed towards a new corridor of the ship. Don't use the stairs. Instead, start moving forward. You will have to enter a new cabin. It's very important, because you'll find two weapons here - a Gauss rifle (screen) and a pistol. Go back to the stairs and proceed to the lower level.
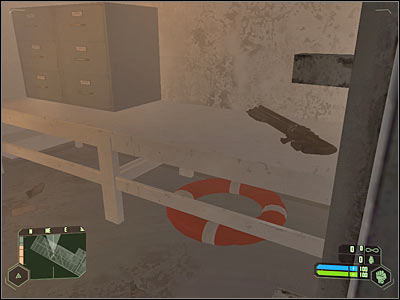
Head on to a new staircase. You shouldn't have any problems finding the right way, because you'll be dealing with smaller corridors. Once you've reached one of the lower levels, make sure that you've taken a minigun (screen) with you. Eventually you will come across a new closed door. Use maximum strength to open it.
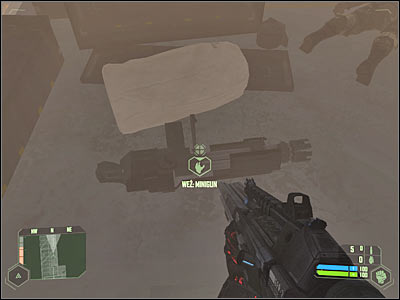
Keep heading towards the only exit. It shouldn't take you too long to get there. Proceed to the flight deck of the ship. As you've probably noticed, there are a lot of alien creatures out there. You will have to start attacking them. Obviously you should be using a minigun or a gauss rifle. Don't worry about the ammunition, because you'll find supplies nearby.
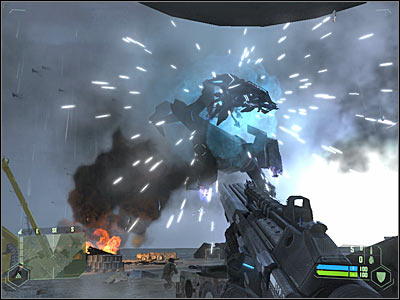
You will have to spend at least two minutes trying to take out as many alien creatures as possible. Remember that you're not alone on the deck of the ship, so you won't have to kill all monsters by yourself. You can also try and explore the surroundings, because you would come across a lot of supplies. Take ammunition for the shotgun. You can find it near the wreckage of an allied VTOL which is located to your left (screen).

Amongst other interesting supplies you'll coma across ammunition for a SCAR rifle and a shotgun. You should also consider taking a rocket launcher with you. Make sure that you memorize where to find these items, because you'll return here later on during the course of this mission. You should also be using a Gauss rifle during these fights, especially since you'll eventually want to exchange it for a shotgun.
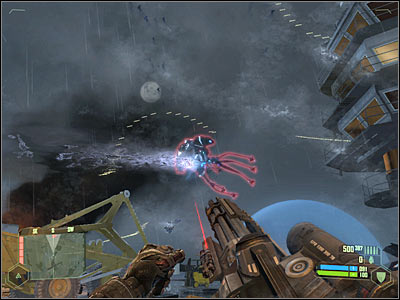
Make sure you're constantly moving, so you will avoid being hit by the alien creatures. Some of the monsters will use freeze rays to stop you, so if you're not too careful, you might end up being frozen for a few seconds (screen). Avoid these attacks at all costs. You will have to spend a few more minutes here. You should receive a confirmation that alien forces are retreating. Wait for the game to display a new mission objective on your screen.
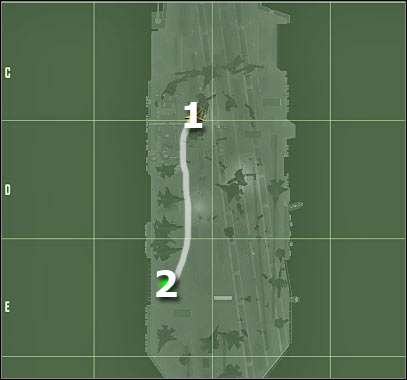
Map legend:
1 - starting area
2 - elevator leading to the lower deck of the ship
Before you decide to proceed with this mission, you should take your time and rearm yourself. Like I've already said, you will be able to find a lot of supplies on the flight deck of the ship. I would recommend taking a shotgun and a minigun. Alternatively you could pick up a SCAR rifle instead of a shotgun, however you would have some problems killing larger groups of monsters.
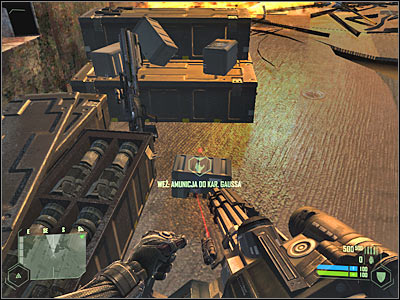
Proceed towards the southern section of the aircraft carrier. Watch out for the large holes. You will have to avoid them, because otherwise you would end up standing in a fiery trap. Approach some of the allied soldiers. Step up to a large platform. It's an elevator, so you must wait for it to reach a new deck of the ship.
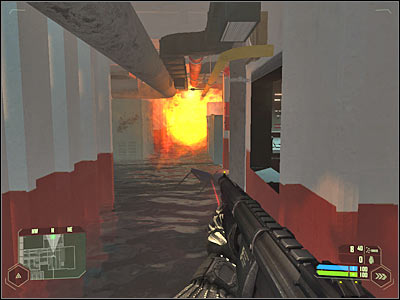
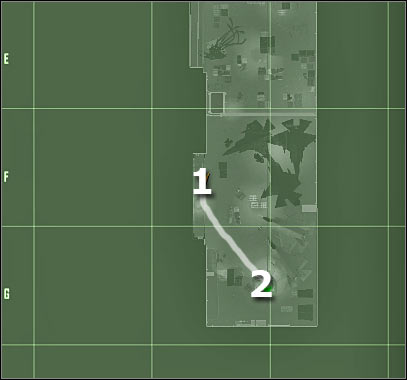
Map legend:
1 - starting area
2 - hole in the ground
You will find yourself near a new corridor. Proceed forward and you'll eventually come across allied soldiers. There aren't any monsters here, so you won't have to be moving slowly. Approach a new hole. This time you'll want to head down. Don't worry, because you won't lose any health points here. Allow the floor to collapse and you'll end up inside a new area of the ship.
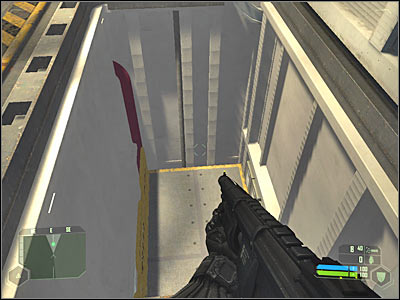
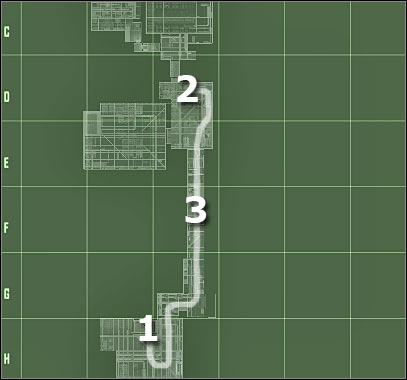
Map legend:
1 - starting area
2 - destination
3 - traps
Start moving forward. Just as before, you won't encounter any alien creatures. First of all, approach the body of a dead soldier. You'll be able to find a lot of useful items here, including ammunition to your minigun. You should also pick up a couple of grenades.
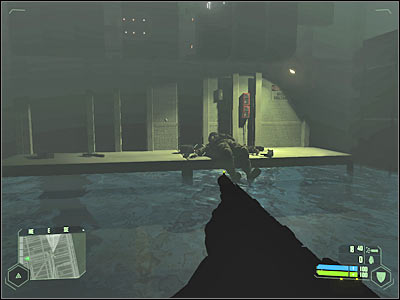
Now you will have to start moving north. There's an open doorway here, so you shouldn't have any problems finding a correct route. Be careful, though. The area is not safe. Approach a new corridor slowly and wait for an explosion to occur. You could also move back a little.

Approach this corridor once again. You will have to avoid a second trap which can be found here (screen). The solution to this problem is very simple. Activate maximum speed and start running forward. Don't worry if your armor has sustained some damage, because it'll regenerate quickly. Proceed to a new area of the ship. You won't encounter any other obstacles along the way.
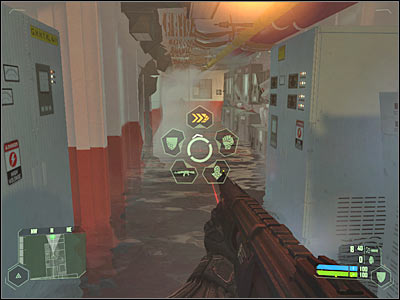
Ignore the stairs, because you won't have to go there. Instead, approach a nearby door. Activate maximum strength and punch the door in order to be able to move forward. Repeat these actions once you've come across a second closed door. Eventually you will team up with a small group of allied soldiers. Make a few steps forward and use the stairs. You will have to talk to chief engineer. He will explain you what has to be done.
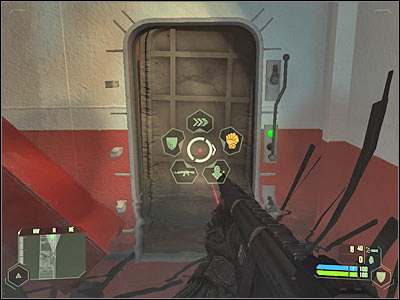
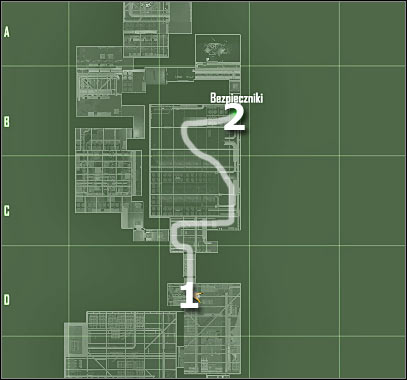
Map legend:
1 - starting area
2 - destination
The passageway is located next to the chief engineer, so you shouldn't have any major difficulties finding it. There's also only one corridor here. As a result, you can't get lost. Head on to the stairs (screen). You should end up near a flooded room. Keep heading towards your current destination. It's very dark here, so you should consider using a night vision.
Head on to your left and you will come across the stairs. Proceed to one of the upper balconies and listen to a short statement. The chief engineer will tell you what to do, so make sure to follow his orders. Approach a large panel which can be found on the left wall (screen), near an alarm light. Press the action key and wait for the game to display a new mission objective.
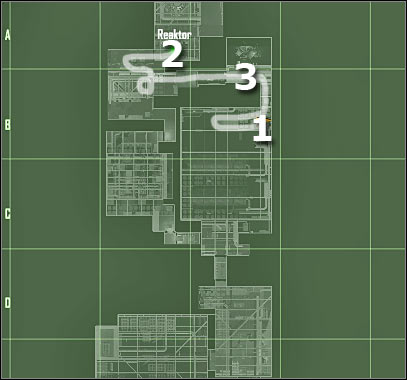
Map legend:
1 - starting area
2 - destination
3 - corridor - electrical discharges
I guess you may have some problems finding a correct passageway leading to ship's main reactor. Make sure that you've taken a closer look at my map. Use the stairs to go back to the flooded area of the room. Turn around and proceed forward. There should be a small exit to your left. Go there now.
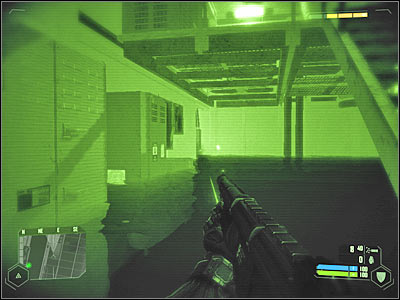
As you've probably noticed, this corridor is being protected by powerful electrical discharges. Sadly, you can't get around them. As a result, you will have to use maximum speed ability. Keep running forward, however turn left once you've entered a new room. Try to leave this area as soon as possible, so you won't lose too much health and armor.
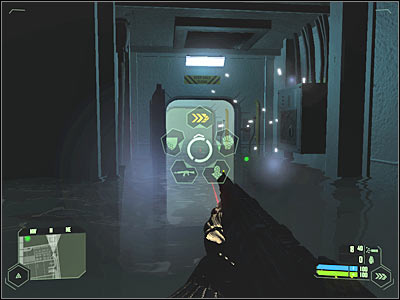
Proceed towards a new flooded corridor. Despite what you might think, finding the exit is going to be very simple. Activate maximum strength and perform a single jump in order to land on an upper platform. You shouldn't have any problems performing this action.
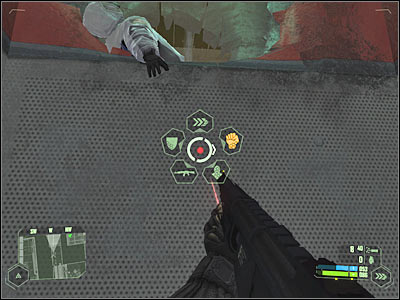
Head on to a destroyed section of the ship. Turn around and use a small ladder. You could also activate maximum strength, however this won't be necessary. Once you're at the top, enter a nearby elevator shaft. Go through a short tunnel. You won't encounter any alien creatures there, so you don't have to move slowly.
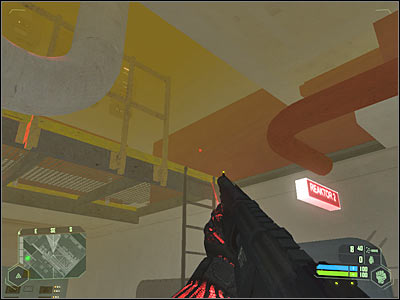
You should be able to reach the exit very soon. Head down to a new cabin. As you've probably noticed, you're standing very close to your current target. You will only have to go a nearby room. Approach a large console and press the red button. Don't leave this area. Instead, observe what will happen. Alien creatures should appear near the main reactor. Stay here, even if they try to brake the glass to get to you. Eventually you'll be rewarded with a new assignment.
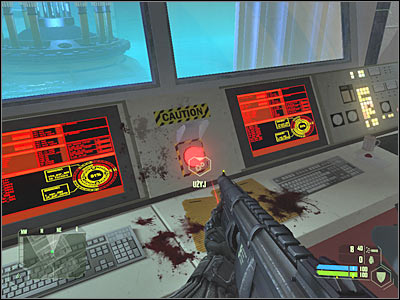
You won't need a map here, because the rods can't be found in front of you, near the main reactor. Start off by moving towards a new passageway. You will be entering the reactor room only for a few seconds, because you'll immediately start losing health. As a result, you will have to get out of there as soon as possible in order to survive.
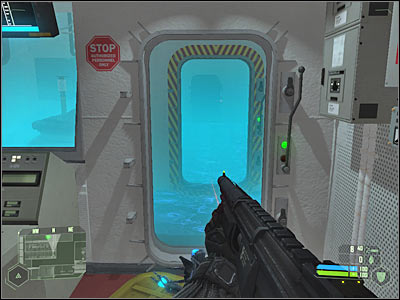
You will have to lower three different rods. As a result, you must enter this room three times. Once you've disable each rod, go back to the exit before Nomad loses all health points. Thankfully, you won't have to perform any complex actions in order to fulfill this task. Approach each of the rods and press the action key in order to lower them. Once you've lowered all three rods, you should be rewarded with a new mission objective.
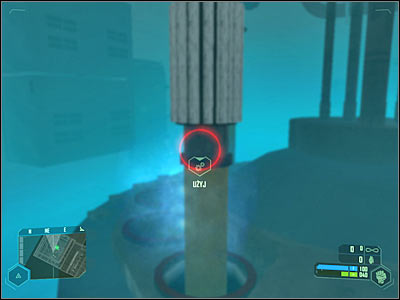
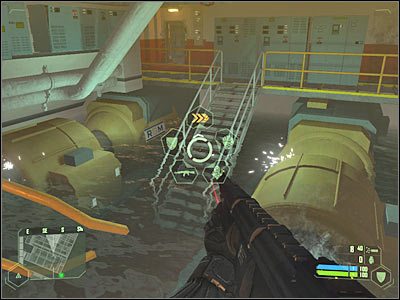
Map legend:
1 - starting area
2 - elevator which will take you to an upper deck
3 - flooded room - electrical discharges
Ignore the green icon on your map, because obviously the flight deck is above you, so you won't be able to reach it right away. Instead, focus your efforts on leaving this deck and proceeding to the upper one. As you've probably noticed, you will basically have to go back the same way you came before. Start off by moving towards some of the nearby rooms.
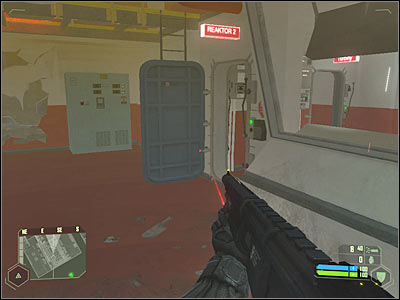
Don't use the ladder. Instead, go to your right. You will have to go through several cabins. Eventually you will reach a flooded room (screen). You must be extremely careful here, because once again you'll have to deal with electrical discharges. Minimize your time spent in the water. Otherwise you would start losing health points rapidly. The easiest way to do that will be to use maximum speed. Run over to the opposite balcony.

Once you've safely reached a new balcony, proceed to the left door. Obviously you will have to use maximum strength here. Pry open the door and start moving forward. You will have to repeat this action once you've arrived at the second locked door.
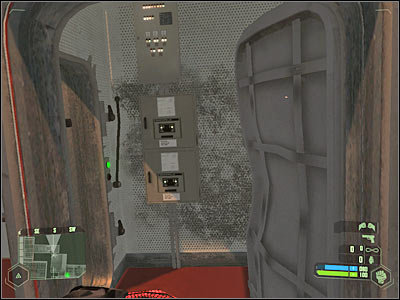
Keep moving forward. Eventually you will go back to the chief engineer. You won't have to talk to him. Instead, proceed to the flooded area. Make sure you're using a good weapon. I would recommend choosing a minigun, however shotgun will also do the trick. Proceed forward and turn right. There should be an entrance in front of you (screen).
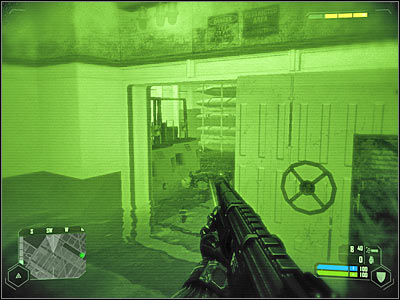
Be careful here. You are going to be attacked by alien creatures. It's going to be very easy to get rid of them, but only if you're using a minigun. They won't stand a chance against your massive firepower. If you decide to use a shotgun, you will have to move a lot in order to avoid being hit too often. You could also consider going back to the previous room and waiting for them to appear near the entrance.
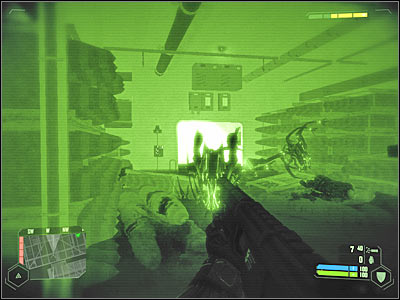
Either way, you will have to kill all monsters before moving on. Proceed to the western side of the room and approach a small elevator shaft. Wait for the elevator to carry you to the upper deck of the ship.
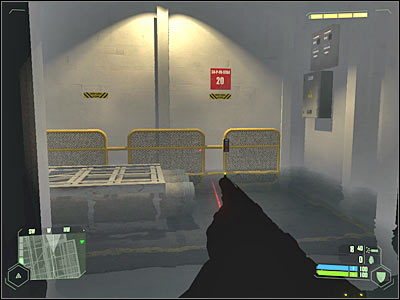
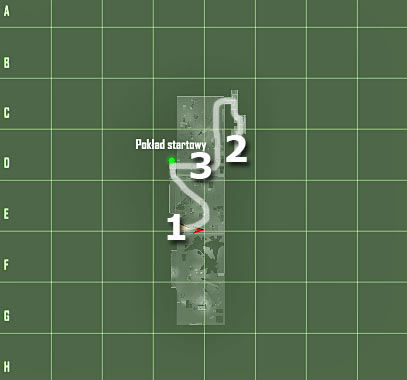
Map legend:
1 - starting area
2 - passageway leading to a higher deck
3 - allied soldiers
Get ready, because you are going to be attacked by new monsters even before you'll get to a new level. Once again, you should consider using a minigun during these fights, especially since you won't receive any assistance from the allied soldiers. You can also consider shooting at the explosive barrels in order to wound some of the nearby creatures.
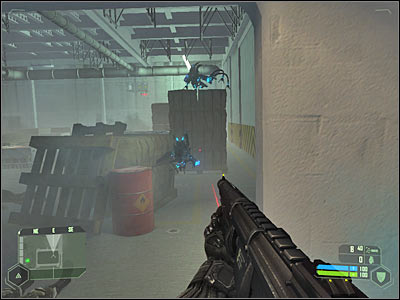
Enter this new room. Ignore a large monster which can be found to your left. Instead, focus your attention on killing smaller creatures. There's going to be a lot of them here, however you should consider switching back to a shotgun, especially since you'll find a lot of ammunition for this weapon. Secure the entire area and collect necessary supplies.
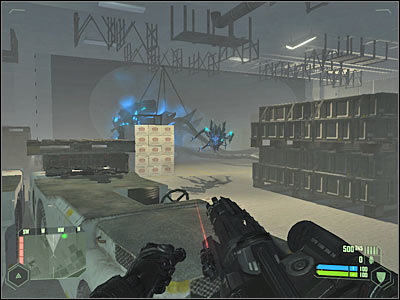
Now you will have to proceed towards the left exit. You can't use the stairs, but you don't have to worry about that, because we'll find a new passageway to your current destination. Head on towards a second door. It's located to your right.
You should be able to get closer to a small group of allied soldiers. Despite what you might have thought, you won't have to assist them right away, because they don't have any problems eliminating enemy creatures. Instead, be on a look out for additional ammunition. Eventually you will have to head north. You will probably encounter a few monsters along the way. They're very easy to kill, so you don't have to run back to your colleagues.
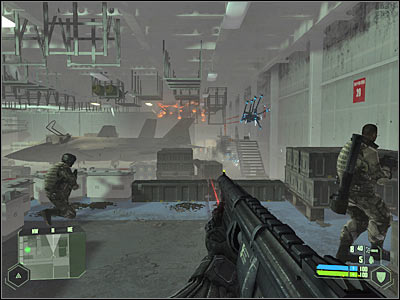
The next corridor will be located to your right, however you can't go there right away. As you've probably suspected, you will have to use maximum strength ability here. Enter this new corridor and proceed towards a small balcony. Take your time and witness the destruction of an allied vessel.
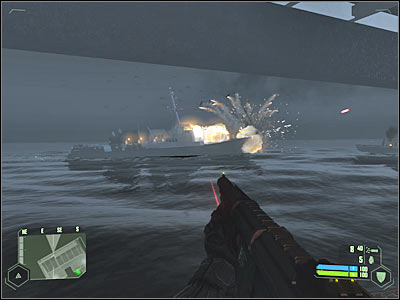
Now you must head on to your right. Be careful, though. One of the alien creatures will destroy the wall and try to surprise you. Kill it with your shotgun. It shouldn't be too difficult. Use the stairs and keep moving towards the upper decks. You should receive some new orders in the meantime.
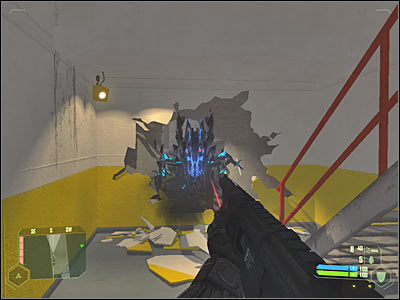
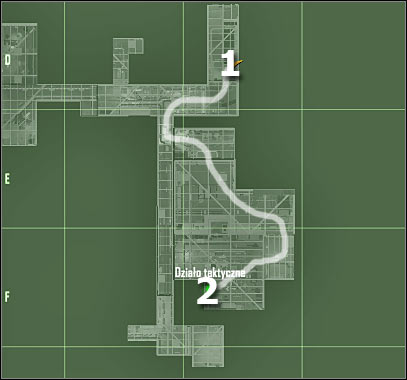
Map legend:
1 - starting area
2 - destination
Start off by using your fists to pry open a new door (screen). Obviously you will also have to activate maximum strength function. You'll end up in a well known section of the ship. The main difference is that some of the nearby corridors are being patrolled by alien creatures. You will be killing a lot of them on your way to the target area.
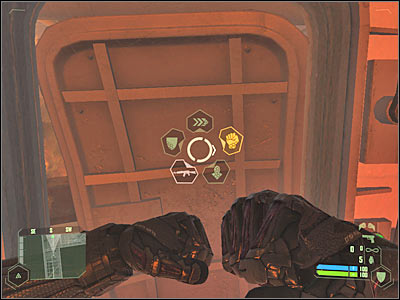
The first group will probably attack you once you've entered the first corridor. Obviously you should be using a shotgun to take down all monsters, mostly because you will be taking part in close encounters. Use my map to find your way into the armory. You will come across several allied soldiers along the way, but you can ignore them.
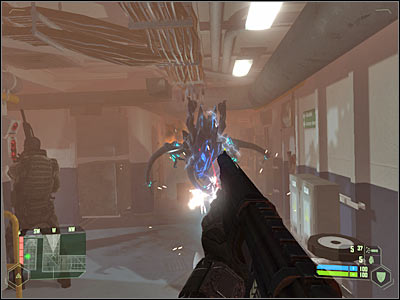
Keep shooting at the monsters. You shouldn't have any problems killing them, especially since other soldiers will help you to defeat them. You will probably find some supplies along the way. Take the ammunition for your shotgun. Head into the armory and pick up a new weapon (screen). You can't use it here, however you won't have to drop any of your currently used guns. Wait for the game to display a new objective on your screen.
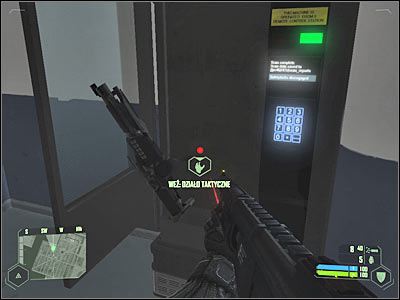
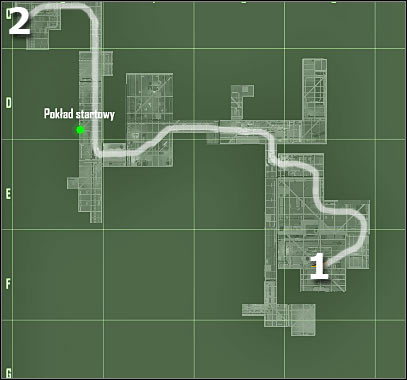
Map legend:
1 - starting area
2 - staircase
You were here before, so you shouldn't have any problems leaving this deck of the ship. The only difference is that you'll encounter a few monsters along the way. Just as before, you shouldn't have any major problems killing alien creatures, especially if you're using a shotgun.
Your only difficulty is going to be a closed door. Once again, you will have to use maximum strength in order to pry it open. You've performed similar actions before, so it shouldn't be a problem. Proceed to the next corridor.
Eventually you will have to get to the stairs. Start moving towards an upper deck. You will encounter a new door here. Punch your way through (screen) with a little help from a maximum strength ability.
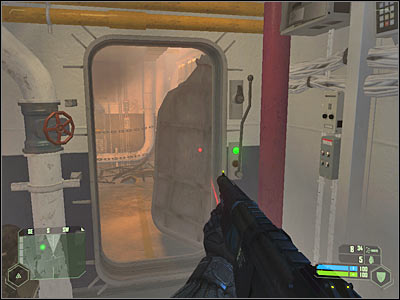
You will probably notice that admiral Morrison is standing here. Sadly, he is going to get stabbed by one of the alien creatures. You couldn't prevent that from happening. Kill the monster and listen to what a dying admiral has to say to you.
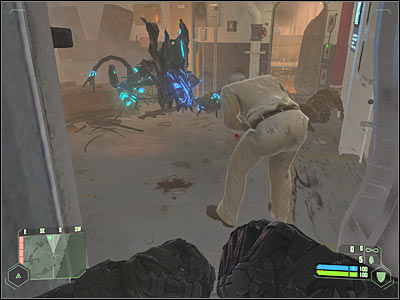
You've got two options here. If you want to pick up some additional ammunition, you should use the nearby stairs in order to get to the upper levels. Eventually you would have to get back here, because you wouldn't be able to find an alternative passageway to your destination. Instead, choose a pathway located near Morrison's body (screen). That's where you'll be given a new challenge.

Now you will finally have an opportunity to test your wit and strength against a much larger enemy creature. You've already met this monster before, however you weren't allowed to attack it back then. Well... now's your chance, because your Nanosuit has been properly altered. Approach the Exosuit monster and wait for him to become vulnerable to your attacks. You will probably notice a grainy filter on your screen. This means you may proceed with the attacks.
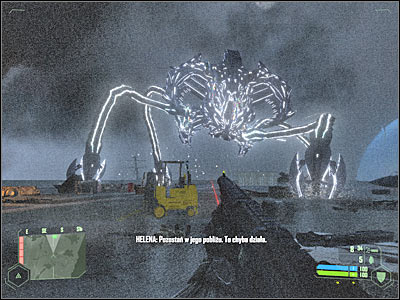
Start shooting at the alien creature. The easiest way to get rid of it would be to use a rocket launcher (several times), however minigun is also a good idea. Make sure to go back to some of the nearby supplies once you've run out of ammo or rockets. You should remember where to search for these objects.
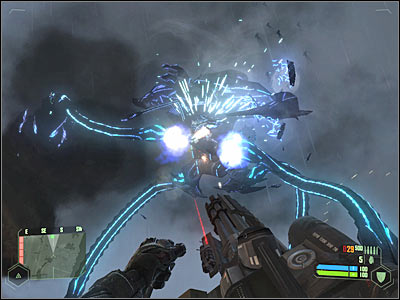
Don't get too close to the Exosuit creature, so you won't get caught by it. You will also have to avoid its massive freezing ray (screen). Thankfully, you will know exactly when the alien creature plans to attack you with its main weapon, so you'll have to plenty of time to find a good cover. Don't leave the cover until the attack has ended.
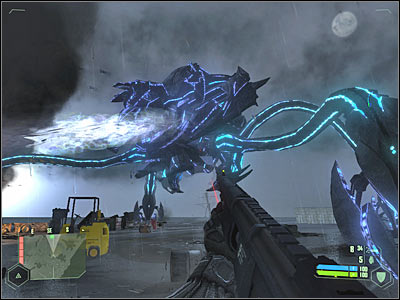
You will have to keep shooting at the alien Exosuit. Make sure that you're using some of your more powerful weapons, so it won't take too long. You should finally be able to kill it. Make sure that you stay away from the main shell, because the Exosuit will explode. I'd also recommend picking up ammunition in the meantime, because you will have to take part in tougher challenges very soon.
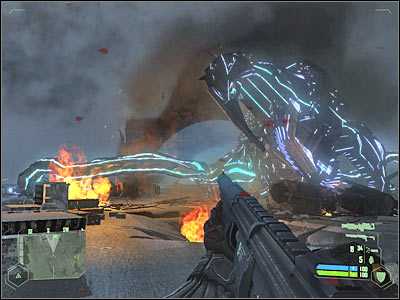
This is going to be your final challenge. As you've probably suspected, you will have to destroy a huge alien vessel. You were able to see it before, so you won't be surprised by the fact how big it really is. Don't even think about using your standard guns. You will have to follow a certain procedure. Just make sure that you're fully equipped. Wait for your first task.
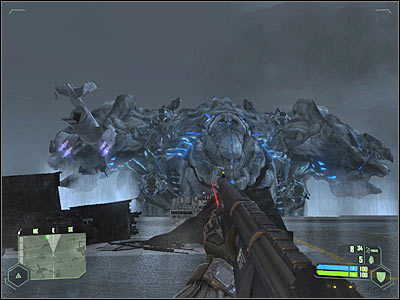
I would recommend hiding behind one of the larger objects. You should be standing somewhere in front of the mothership, because you will have a lot of supplies around you. The first phase of this boss battle will require you to destroy FOUR turrets. Look at my screen if you're having some difficulties finding them. They are also going to be marked on your personal map.
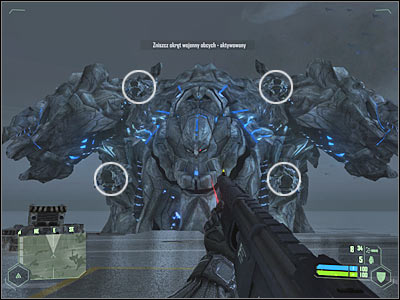
You may destroy the turrets in any order. Obviously you will have to focus all of your attention on neutralizing them. Avoid the main attacks of the boss at the same time, including a very powerful freeze ray. You can't get caught in the crossfire, because that would make you an easy target. As for the weapon, you could use a minigun, however rocket launchers are a much better choice, especially since you'll find a crate filled with these weapons. Additionally, one missile should be more than enough to destroy each turret.
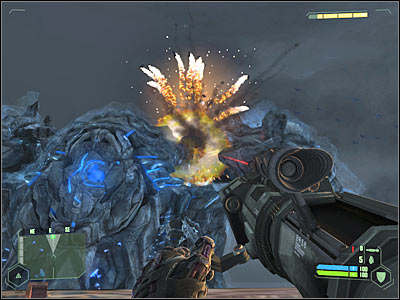
Destroying the turrets was very easy. Now for the hard part. First of all, you will have to allow your teammates to weaken one of the side wings of the mothership. Start shooting at the smaller alien creatures in the meantime. There's going to be a lot of them. You won't have to kill all monsters, however try and take out as many of them as possible. You could also use camouflage to avoid them, however you would have some problems with them later during the course of this mission. As a result, try and get rid of most of them.
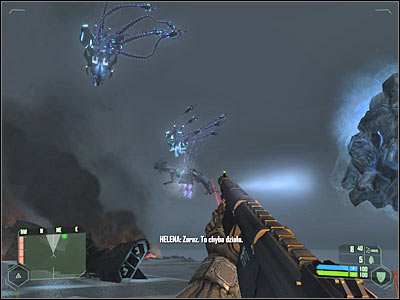
Make sure that you're using larger objects for cover while trying to take out enemy creatures. You will also have to avoid being hit by the freeze ray of the mothership. You will have to continue with your attacks until one of the side sections of the war ship has been weakened (screen). Activate camouflage and get ready to attack the mothership.
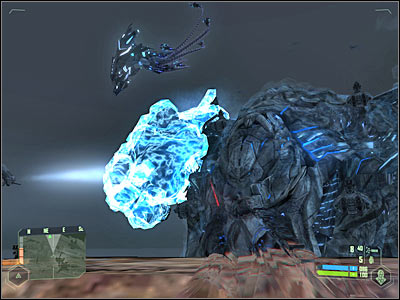
Choose a TAC cannon from your inventory. You weren't able to use it before, but now's your chance. You will have to be aiming at the weakened side of the mothership. You'll probably notice that a power bar has automatically appeared on your screen. Allow the cannon to fully charge itself. Use a camouflage, so you're not interrupted.
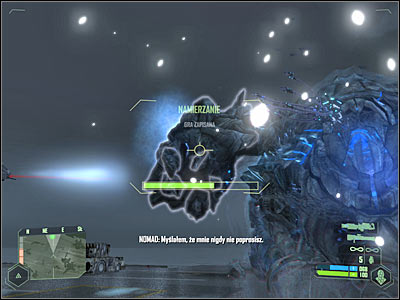
Wait for the power bar to reach maximum value. Once this is done, press the left mouse button in order to fire a single round at the mothership. If you've done everything according to the plan, the right wing is going to be destroyed. Now you will have to go back to defending yourself against enemy attacks.
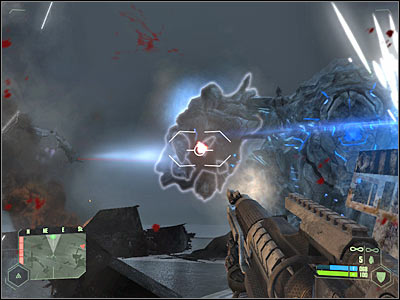
Your allies will try to disable the other wing of the mothership. Wait for their signal. Activate your cloaking device and start aiming at the wing with your TAC cannon. Just as before, you will only have to fire one projectile. Now you should consider moving to your left. Hide inside a destroyed VTOL. You should also pick up a new rocket launcher, as well as ammunition for the minigun.
The alien mothership should begin moving. This is going to make your life more difficult, especially if you've avoided smaller creatures before. Your first task here will be to destroy a central hatch of the ship. Look at the screen if you're having some problems figuring out what it is. The easiest way to destroy it would be to fire at least two missiles. Thankfully, you won't have to go back for a new rocket launcher. Keep hiding near a destroyed plane.
Now you will have to choose a TAC cannon from your inventory. Start aiming at the central (and unprotected) core of the ship. Wait for the power bar to reach maximum value and fire a projectile at the mothership. If nothing happens, repeat these actions. The final result should fully satisfy you - alien mothership is going to be destroyed.
Depending on how many creatures you've been able to kill so far, you will probably have to stay here a little while longer. Try and kill most of the remaining monsters from here. This is very important, because otherwise you might not be able to reach the extraction area safely.

Leave the cover once you've dealt with most of the enemy units. I wouldn't recommend staying here for too long. Instead, start running towards the southern area of the aircraft carrier. It would be a good idea to activate maximum speed ability, however you must avoid large holes along the way, so it'll be risky.
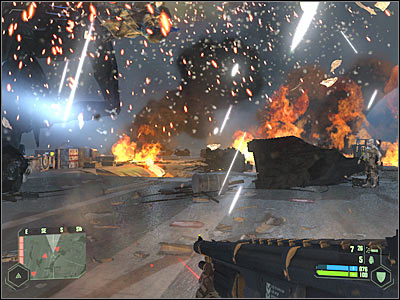
Keep heading south. You are probably being chased by a few alien creatures, but you should consider ignoring them. You will have to get closer to an allied VTOL. Head on forward and perform a single jump in order to get on board of the plane.
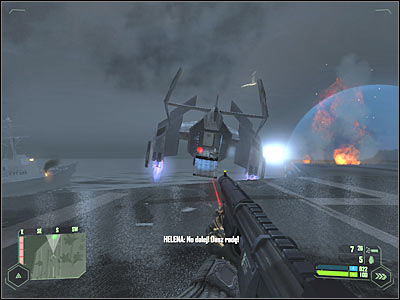
Congratulations! You've just finished the game! Sit back and enjoy the ending. :-)

 Call of Duty: Black Ops III Game Guide & Walkthrough
 Crysis Game Guide & Walkthrough
 Chronicles of Mystery: The Tree of Life Game Guide & Walkthrough
 Crysis 3 Game Guide & Walkthrough
 Crysis Warhead Game Guide & Walkthrough