

The LearnToMod online software walks you through a series of challenges that you complete in order to earn Minecraft badges. These challenges help show you basic programming skills and how to make Minecraft mods.
Here, you learn how to log in to the LearnToMod online software, create and run your first mod, and share that mod with other modders.
Signing up for the LearnToMod online software is quick and easy. It takes only about 5 minutes to complete the sign-up process and start earning badges.
Follow these steps to access your new LearnToMod account:
Go to mod.learntomod.com.
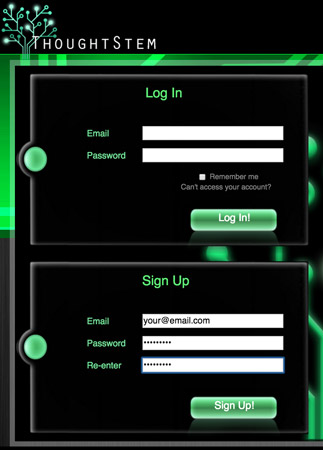
The first time you log in, the site redirects you to ThoughtSTEM’s login page to create your account.
Use the Sign Up window (located below the Log In window) to create your LearnToMod account.
If you need to, you can contact the LearnToMod customer service team at [email protected].
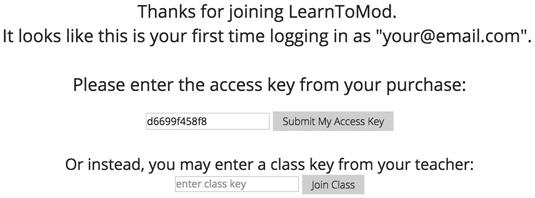
After you create your LearnToMod account, you are redirected to a page that asks for your access key.
Choose a LearnToMod nickname. Pick any name you want!

You see the dashboard (the Home screen). Now you can start unlocking badges to learn how to mod!
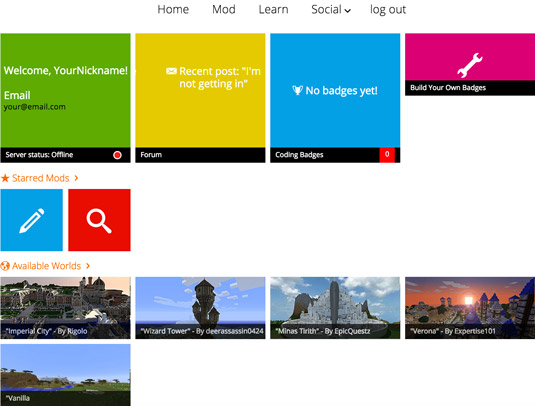
To access your LearnToMod badges, log in at mod.learntomod.com with the email address and password you used to sign up. You see the home page. To see the list of challenges, click on the Learn tab at the top of the home page. You see the first set of challenges.
As you complete challenges, color is added to the badges so that they no longer appear shaded. Badges that are shaded have yet to be earned.
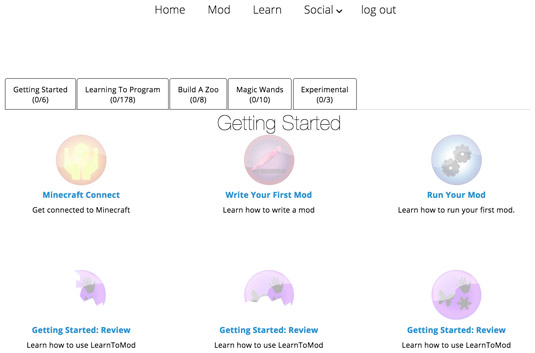
To get started, click on the first badge, Minecraft Connect. In this badge, you can find all the instructions to help you connect your mods to Minecraft so that you can see their effects in the game.
To run your mods in Minecraft, you should have the most recent version of Minecraft. Over time, Minecraft improves by way of updates, and you should always use the newest version so that you have access to the newest LearnToMod features. To see which version of Minecraft you’re running, follow these steps:
Click the Edit Profile button in the lower left corner of the Minecraft startup screen.
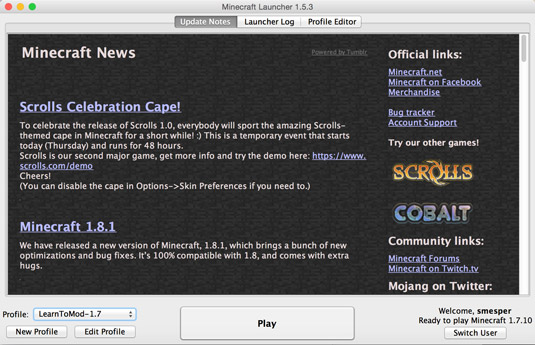
In the Profile Name text box, name the new profile.
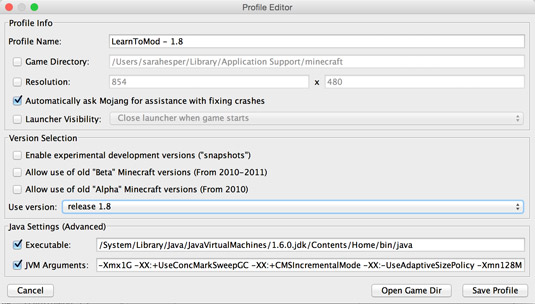
Look at the Version Selection section to see which version you’re using. It’s in the Use Version text box. You should be using the version at the top of the list. In this case, it’s version 1.8.

Click the Save Profile button at the bottom of the screen.
If you’re using an earlier version (such as version 1.7), you should complete one of these actions:
Change it to the most recent version.
Create a new profile where you set the version to the most recent version.
Add your Minecraft username to the LearnToMod account by typing it in the text box on the badge.

Your username must be spelled exactly the same as you created it (including capitalization) in order for your mods to be connected to your Minecraft account. If it isn’t spelled the same, you can’t see your mods within Minecraft.
Click the Connect button.
The Minecraft Connect badge pops up.
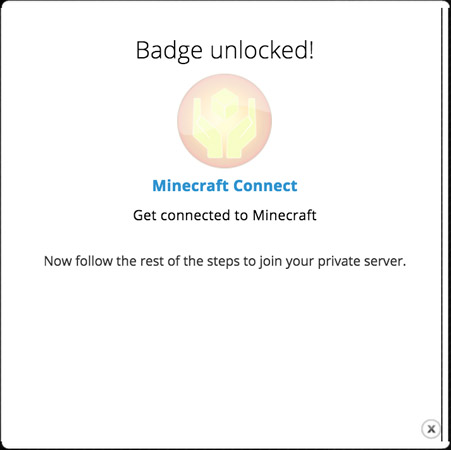
Under the text box in the Minecraft Connect badge, you see the text Success!.

Follow the 11 steps that you see onscreen in the Minecraft Connect badge:
Click Play on the Minecraft home screen.
Choose Multiplayer.
Click Add Server.
Type Learn To Mod as the server name, and type play.learntomod.com as the server address.
Click Done.
Click Join Server.
When you have completed these steps, you see a prebuilt world. It’s similar to a waiting room. You can explore this world while Minecraft finds you a new world in which you can test your mods. Your wait time should be between 1 and 5 minutes. (Be patient — it’s not that long!)
If you’re having trouble connecting to the LearnToMod server, email the technical support team at [email protected].
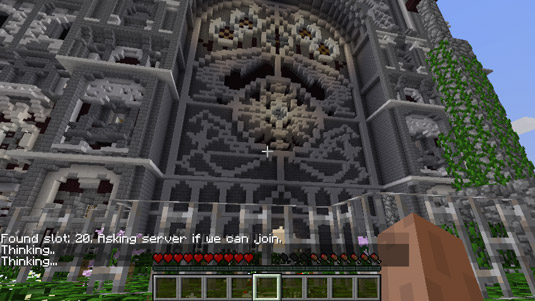
Whenever you’re connected to your testing world, you have a mod chest in your inventory, and you can play in either Creative mode or Survival mode.
 How to Make a Secret Room in Minecraft - For Dummies
 How to Build Fences and Walls in Minecraft - For Dummies
 How to Craft Slabs in Minecraft - For Dummies
 How to Make Your Minecraft Construction Look Old - For Dummies
 How to Use Randomized Block Patterns in Your Minecraft Construction - For Dummies