Patterns have a big impact on your Minecraft designs, decorations, and buildings. For example, it’s easy to use simple patterns to create a sense of order. Of course, the world rarely follows simple patterns. Can you imagine what it would look like if everything were the same shape? Borrrrring.
Sometimes you want a structure to look more natural, chaotic, or realistic — this is where random patterns enter the picture. Many designs have blocks placed all over to make things look more authentic. Think about it: When you’re in the country, do you see trees scattered around or all lined up? Unless you’re looking at an orchard, it’s a good bet that they’re scattered.
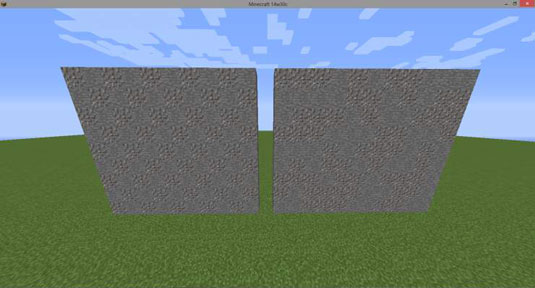
See what a difference a little randomness can make? You can see two walls made of stone and gravel. The one on the left has a consistent checkerboard pattern, and the one on the right has a random and sporadic pattern. The random pattern makes the wall on the right look gritty and timeworn — just what you’d think a stone-and-gravel wall would look like.
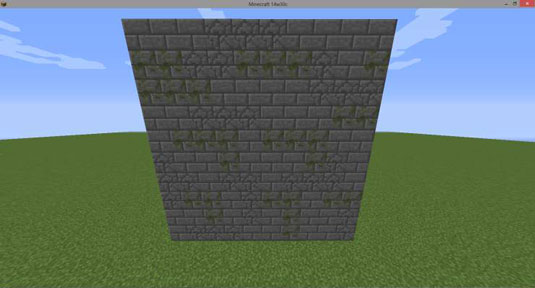
Similarly, you can see another application of random block patterns. This wall is made of stone bricks, but it also has a few mossy and cracked bricks spaced throughout. By breaking up a generic surface with a few different (but similar) blocks, you can make your structure look more real.
Random block patterns generally work best with big surfaces. If you’re not sure whether you should use a random pattern, just try it out and see how it looks — you can always change it later.
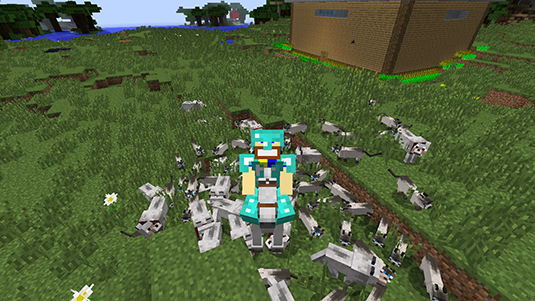
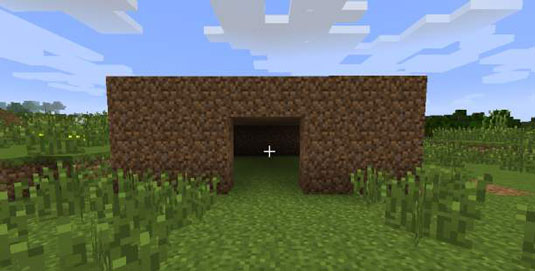
Sometimes you want to build some small, natural-looking areas. In those cases, definitely use a bit of randomness so that the areas look more realistic. Suppose that you want to make a little grassy hill for a zoo or a centerpiece decoration. A pyramid, or a dome, or any sort of hill that looks obviously manmade would ruin the effect.
To get the natural look you’re going for, follow these steps:
Build the bottom layer of the landscape.
Come up with a random flat shape, and build it — the rest of the landscape should be built on top of it.
Reshape the layer until it’s in the shape you want.
Work out any flat or misshapen parts that don’t seem compatible with the rest of the shape. For example, if something seems too flat or jagged, take away blocks to make it resemble a shape closer to what you are picturing.
Build a second layer on top of the first.
Create another random flat shape. If you’re making a hill or mountain, the second layer should be a slightly smaller than the first. Remember that a single shape might turn into multiple shapes at higher layers.
Reshape the second layer.
Make sure that the first layer transitions smoothly into the second.
Keep adding layers until the landscape is completed.
The smaller each layer is than the last, the shorter the landscape will be.
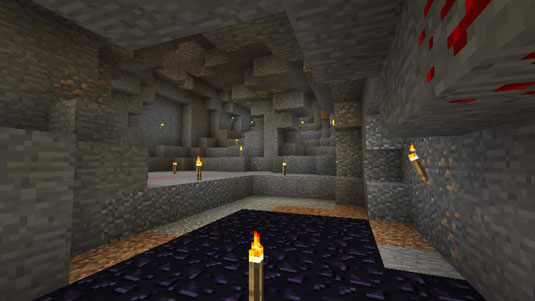
You can follow these steps to construct almost any landscape. If you want to create a cave, go underground and dig out the walls and ceiling layer by layer. If you want to construct a hill with multiple types of blocks (such as dirt on top of sand on top of stone), just complete the preceding steps for each type of block.
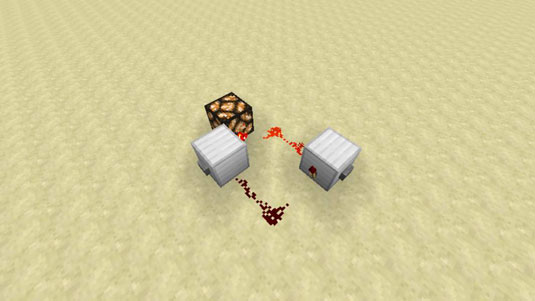 Create a Constant Signal Switch in Minecraft with the RS-NOR Latch - For Dummies
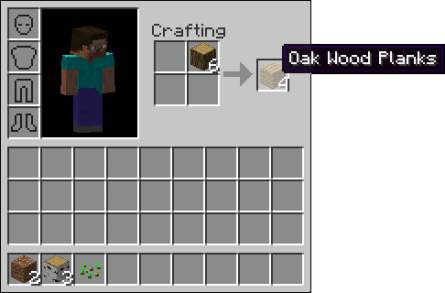 How to Build a Crafting Table in Minecraft - For Dummies
 How to Make Stained Glass for Your Minecraft Construction - For Dummies
 How to Find Food in Minecraft - For Dummies
 Add Friends to Your Private Minecraft LearnToMod Server - For Dummies