After you write your first mod, the next task you take on is to run the mod in Minecraft. The third badge, Run Your Mod spells out the steps to do this:
 Enlarge
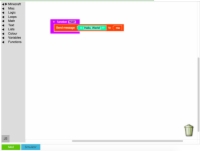
1
Enlarge
1You can see the button in the lower left corner.
 Enlarge
2
Enlarge
2This message lets you know that the mod was successfully sent to your Minecraft account.
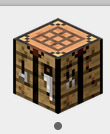 3
3This is located on the taskbar of your computer.
 Enlarge
4
Enlarge
4If you aren’t already in this world, go back to the Minecraft Connect badge and reconnect.
 Enlarge
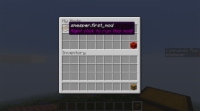
5
Enlarge
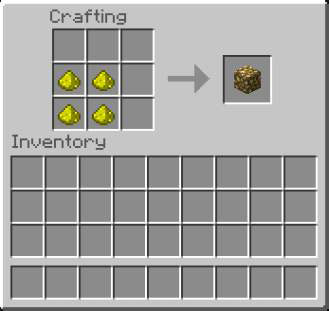
5Open the mod chest by pressing 9, and then right-click the mouse button.
Choose the mod that you want to run, and drag it from the mod chest to the inventory. Hover the mouse cursor over different mods to see their names appear.
Press the Esc key to exit the mod chest and return to playing.
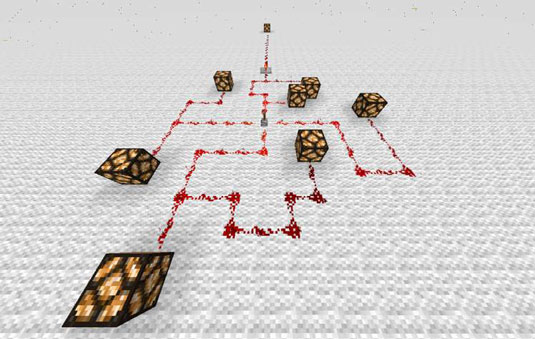
Run your mod by pressing the number that corresponds with the position of the mod in the inventory.
For example, if you place the mod block all the way to the left, you press the 1 key and then right-click the mouse button to run the mod.
6You should then complete the next three challenges, which are quiz badges.

 How to Use the Gameplay Loop in Minecraft Mods - For Dummies
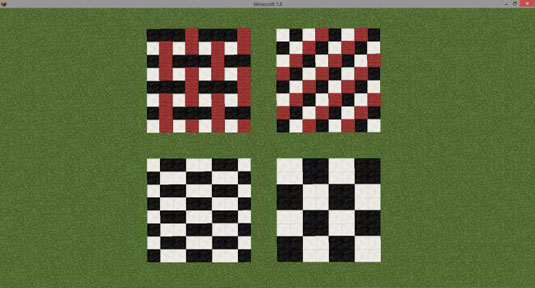 How to Customize Floors, Roofs, and Walls for Your Minecraft Construction - For Dummies
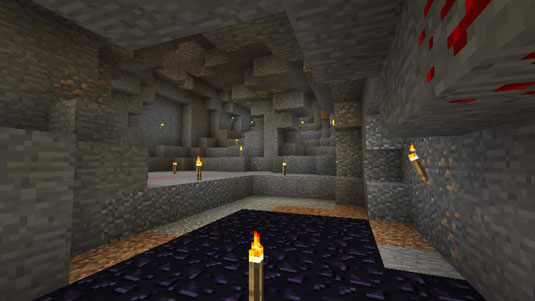 Cave Mining in Minecraft - For Dummies
 How to Use Lava as Light in Your Minecraft Build - For Dummies
 The Looting Age in Minecraft - For Dummies