Whether you’re managing a minigame or guiding an adventure in Minecraft, redstone engineering can be quite useful for making your custom map progress the way you like. Use input from players to run your programs and execute the events that occur on the map.
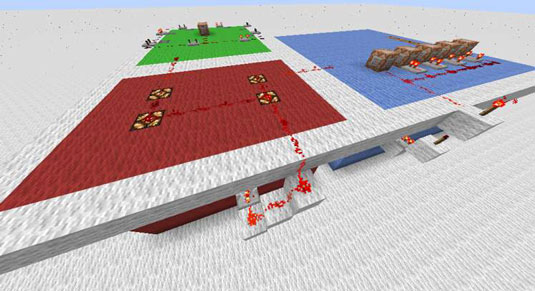
For example, here you see three rooms of a custom map, with redstone linked around them. The redstone, which causes various monsters and rewards to activate, is activated by levers (which players must use to open doors) and hoppers (which players can throw items into). This arrangement ensures that players are faced with the proper challenge for each room, and must make certain payments in order to get better rewards.
A couple of interesting engineering problems may crop up when you create a redstone-powered map.
The machines you build for your map often have to see what players are doing in order to provide them with a good experience. The map can directly ask for the players’ input — for example, set the players behind a locked door, requiring them to flip a lever. Then you can connect the lever to a hidden machine that players must activate to pass through the door.
You can gather active player input in a few different ways:
Basic levers, buttons, and pressure plates: These are often the simplest and most popular ways to gather player input. For example, players can click a button to indicate that they’re ready to continue or step on a pressure plate to activate an event.
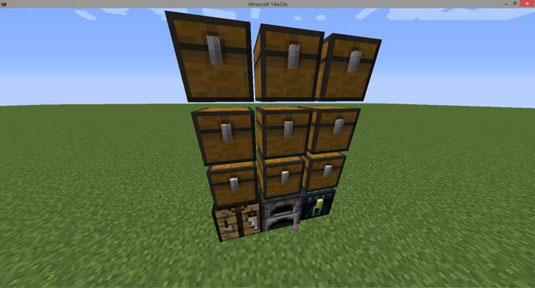
Containers: The redstone comparator can provide output proportional to the contents of a container, which means that your redstone machines can activate by simply having a player drop a “key” into a hopper or removing all items from a treasure chest.
Special chat messages: You can use the tellraw and trigger commands to send clickable messages to players, which allows players to activate other commands.
Just asking: If you ask players to walk to a location or fight an enemy — via a chat message, a sign, or a hint, for example — you can turn passive input into active input: It turns absentminded decisions into ones that players are actively aware of. Players can then more easily understand their obligations, and you can more easily show them how the custom map should be experienced.
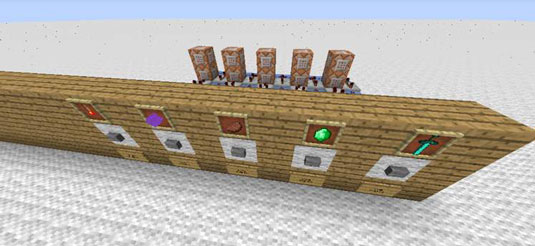
Here’s a tricky example of active player input: a store. Each button corresponds to a different reward. A player who presses the button — and who can pay the price of the item (determined by using scoreboards or other types of counters) — receives an item.
Sometimes you don’t want players to know everything that’s going on, or you want to maintain a pure experience for them while working out the semantics yourself. In this case, you can use passive player input (actions without the intent of directly providing input to the controller) to silently keep the map working around them.
For example, if a player walks into a room, you can use a hidden sensor to summon a boss battle. Or, if a player steps over a checkpoint in a racing game, you can use a tripwire to broadcast the player’s achievement and alert other players to her progress.
You can collect passive player input in several ways:
Pressure plates and tripwires: You can guide players into these traps fairly easily — for example, by using a low ceiling so that they can’t jump over the trigger. If a pressure plate or tripwire is activated, the redstone recognizes that a player is in the right place and can respond by starting a machine, granting a reward, or summoning monsters, for example.
BUDs: Block update detectors are useful for detecting actions that players may believe are harmless. The trapped chest can also achieve this effect.
Timers: Sometimes you might want machines to activate while players are just watching and waiting or while they’re trying to complete a task. You can do this by stringing together redstone repeaters, which act as delays. Performing many events in a sequence, separated by set lengths of time, is useful for choreography, minigames, and battles with interesting complications.
The testfor command: If you put a command block on a loop and have it repeatedly activate the testfor command, you can test for players around a certain location. If you test for other entities instead, you can use the testfor command to see whether players have, for example, defeated all monsters in a room. This is useful for providing paths and rewards only after a challenge is complete.
In addition, the testfor command works well with the scoreboard. Note that scoreboard objectives can represent many different variables, from health to deaths to any achievement or statistic. You can then test for players with a certain score and use those results in interesting ways.
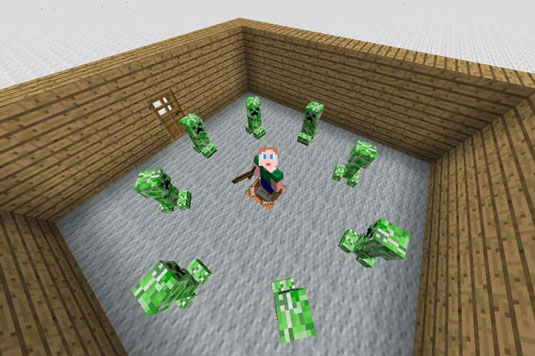
For example, you can see there’s a command block hidden five blocks beneath the player with the command testfor @p[r=5]. If this command block is repeatedly powered by a redstone loop, it waits until the player is at the center of the room and then powers a bunch of other command blocks which that surround the unsuspecting player with creepers.
If you build lots of machines that respond to passive input, you can make your custom map feel almost like a mod (a program that adds extra content to the game). With some clever programming, you can essentially rewrite the rules of the game.


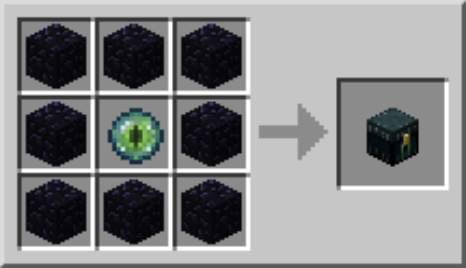 Ender Chests and Eye of Ender in Minecraft - For Dummies
 Add Friends to Your Private Minecraft LearnToMod Server - For Dummies
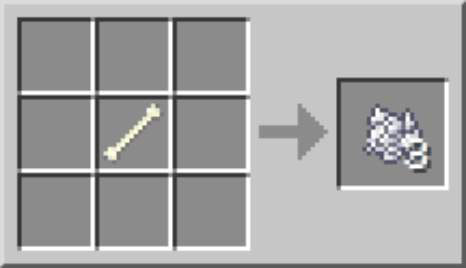 How to Create Minecraft’s 16 Dyes - For Dummies
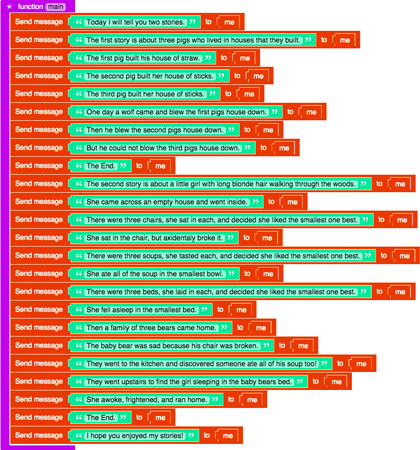 How to Make and Call New Functions in Your Minecraft Mods - For Dummies
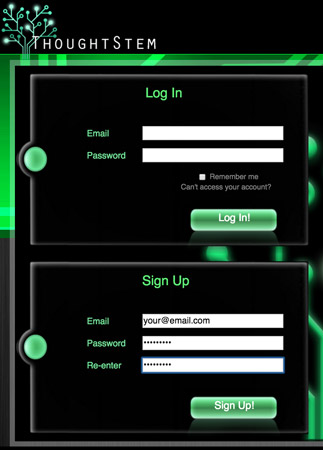
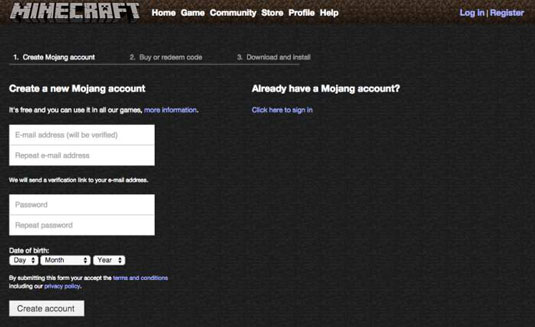 How to Register a Minecraft Account - For Dummies