To design a detailed custom map, make the map well-adjusted for your Minecraft players: it should be sufficiently fun, not too easy or difficult, and well-detailed. Keep reading to figure out how to set up a map and use redstone to control the adventure.
Especially in adventure or survival maps, be sure to complete these actions:
Set the world spawn. This area is the one in which all new players first appear. Provide some sort of plaza or platform, and then use the setworldspawn command at its center to mark it.
Determine the game rules. The gamerule command is important in determining the settings for the world. Many custom maps activate the keepInventory rule, and deactivate rules like doDaylightCycle, doMobSpawning, doTileDrops, doFireTick, and mobGriefing.
Give players proper freedoms and restrictions. Players must be able to play your custom map, but don’t let them break the mechanics of the game! Remember that every block in Minecraft can be destroyed.
To prevent your brilliantly designed dungeon or arcade from being wrecked, you can use the defaultgamemode command to put all players in Adventure mode — this mode prevents players from breaking blocks unless they have the right tools, so you can choose exactly which tools they’re allowed to have.
Bedrock and barriers make good walls for non-Adventure mode maps because they cannot be destroyed or moved by players, unless the game is in Creative mode.
Build that setting and instructions. Players need to know where they are, how they should use the map, and what to do next.
Setting up the game is, relatively speaking, the easy part — you need to execute only a few commands from the Chat window, setting all the rules and modes detailed in the preceding list. After players have started on your custom map, however, you need to guide their actions to produce fun results. This is where the heart of your world’s redstone takes effect.
As mentioned previously, redstone is meant to connect input to output — in a custom map, the inputs are the actions of the map’s players. As players progress through the map, you can use redstone to control the adventure in various ways, including
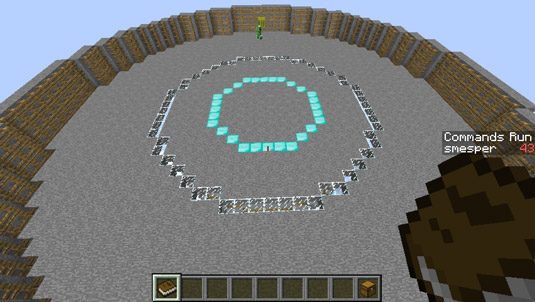
Introduce redstone-powered challenges: For example, hook some sticky pistons to a loop, which produces a set of constantly moving blocks that you can make players jump across or dodge. You can also use command blocks, or dispensers containing monster eggs, to summon enemies whenever players draw near.
Control minigames: Do you want a game to have a scoring system? Do you want your minigame to complete computations to determine the challenges and rewards it gives to players? Do you want pistons to drop the losing player into the void? Most minigames like these use quite a bit of redstone behind the scenes, like circuits which control the mechanisms, or counters which record the players’ scores.
Run scoreboards and variables: You can use memory latches or scoreboards to keep track of the status of the map and players, from scores to progression to unlocked rewards. This sort of tracking is useful for creating a sense of completion for players, as long as you show them their progress along the way.
Create tricky blocks and entities with commands: Maybe you want players to fight a spider-riding zombie with triple health or you want blocks and treasure chests to appear from nowhere with particular settings. You can do all this by connecting command blocks to pressure plates or other machines and by using the command to summon special blocks or entities.
Choreograph effects and events: You can hook up redstone around the entire map to control its structure and progression.
 How to Use Generalized Variables in Minecraft to Efficiently Create Commands - For Dummies
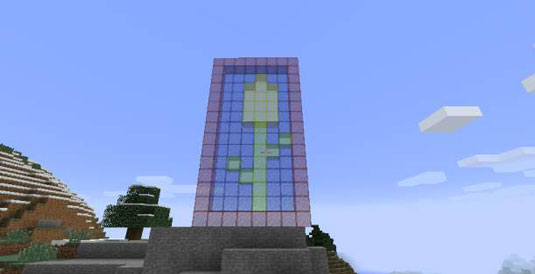 How to Make Stained Glass for Your Minecraft Construction - For Dummies
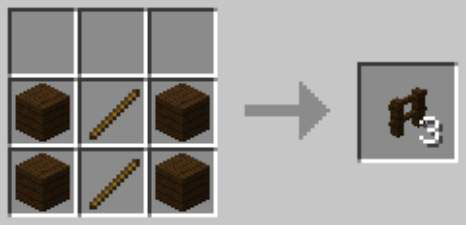 How to Build Fences and Walls in Minecraft - For Dummies
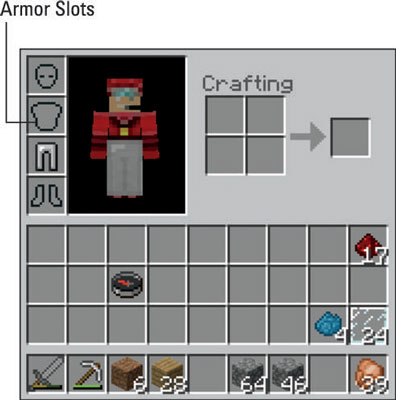 How to Protect Yourself with Armor in Minecraft - For Dummies
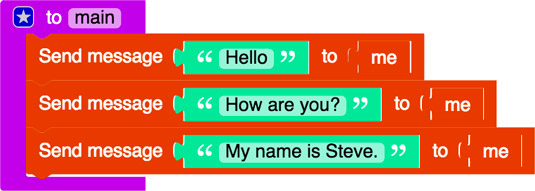 How to Write Minecraft Mods with Functions - For Dummies