
This guide to Star Wars: The Force Unleashed II will help you in easily completing the campaign, give you some hints on the most effective fighting techniques with various enemies and point out the locations of all the Holocrons in the game.
- try to complete at least a couple of the first challenges available from the game menu. They will teach you not only all the attacks and combos, but also unlock movies, thanks to which you will learn some mysteries behind Starkiller.
- quick time events prompt out often during the game. Keep an eye on the screen and complete the instructions.
- in order to see both endings, you will have to fight the main boss once more during Kamino - The Confrontation.
Przemek "G40st" Zamecki
Saber
Rank I
Rank II
Rank III
Standard Lightsaber fighting techniques
Cost - 20000
Increased damage, adds another combo
Cost - 45000
Increased damage, adds a new attack type
Force Push
Rank I
Rank II
Rank III
Pushes back the enemies. You can charge it by holding down the button
Cost - 16 500
Increased damage, force and area of effect. Adds a new attack
Cost - 45 000
Increases the damage, force and area of effect
Force Lightning
Rank I
Rank II
Rank III
Shocks the enemies with lightning
Cost - 20000
Temporarily stuns the enemies. You can shock up to three enemies at a time
Cost - 52000
Increases the time of the paralysis. You can shock up to five enemies at a time
Force Grip
Rank I
Rank II
Rank III
Allows you to grab an item or enemy and throw him
Cost - 22500
You can pick up two objects or enemies at a time
Cost - 52000
You can pick up three objects or enemies at a time
Mind Trick
Rank I
Rank II
Rank III
Lets you influence the mind of the enemy, forcing him to fight on your side or commit suicide
Cost - 20500
Works on two enemies at a time
Cost - 50 000
Works on three enemies at a time
Saber Throw
Rank I
Rank II
Rank III
Lets you throw both sabers. You can charge it up to increase the effect
Cost - 25000
Increased damage. The sabers attack more enemies
Cost - 50000
Increased damage. The sabers attack more enemies
Force Repulse
Rank I
Rank II
Rank III
Pushes back and causes damage to the surrounding enemies. You can charge it to increase the effect
Cost - 25000
Increased damage
Cost - 50000
Significantly increases the force and damage. Weaker enemies become disintegrated
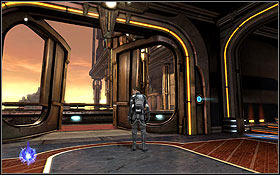
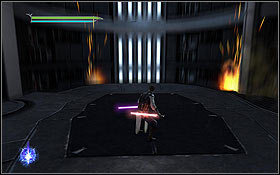
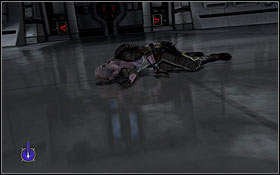
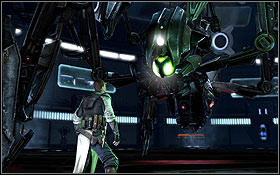
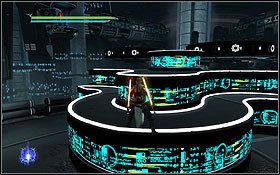
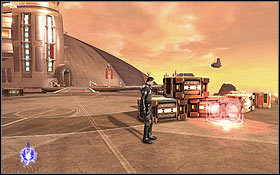
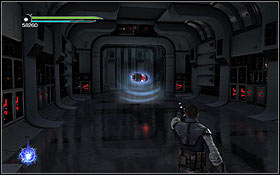
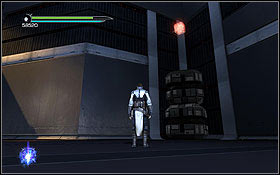
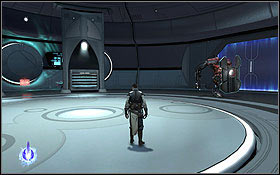
Main objective: Escape the cloning facility
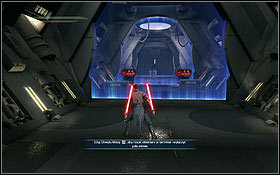
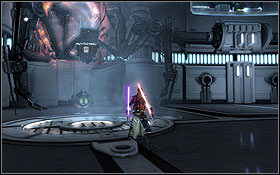
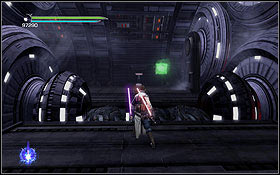
Current objective: Destroy the Sith training droids
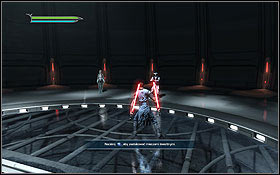
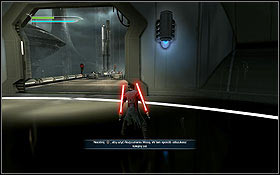
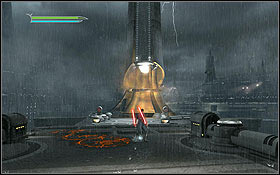
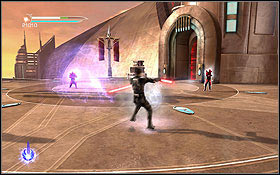
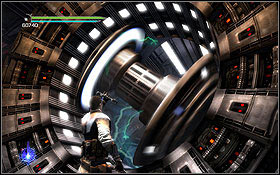
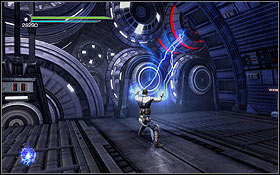
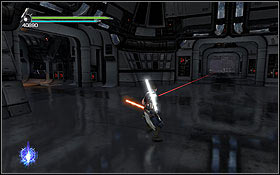
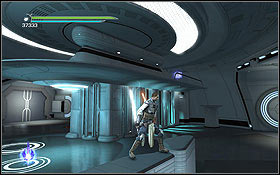
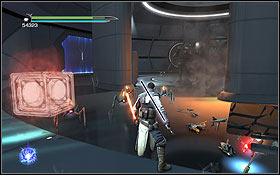
Attack the incoming droids following the hints on the screen. Once you attack the Juno hologram, Starkiller will start remembering various things from the past.
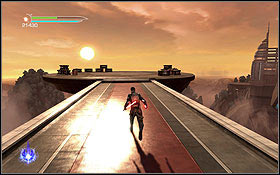
Current objective: Head to the edge of the city
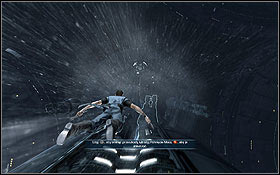
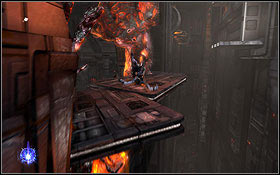
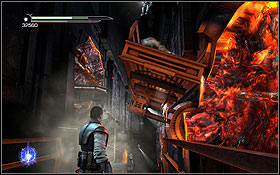
After jumping out, you will have to dodge the obstacles or use your powers to destroy them. Try to fly through the holes between the bridges to avoid wasting energy.
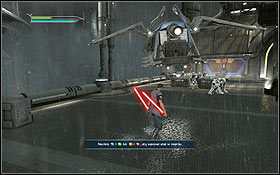
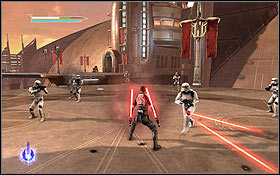
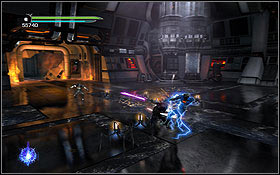
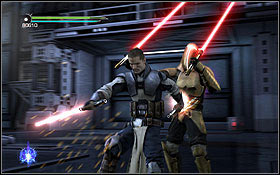
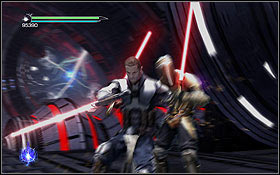
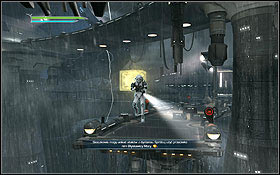
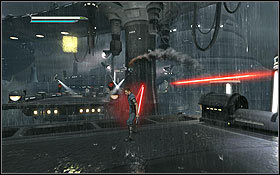
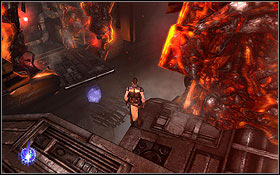
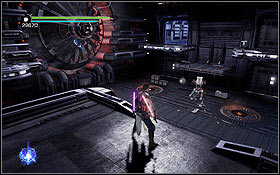
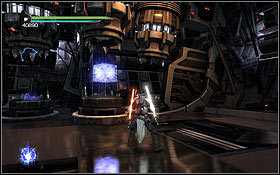
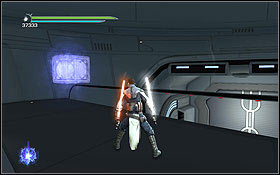
After getting down, you will encounter some enemies. Normal troopers are very easy, you don't need to use any particular tactic against them. The soldiers with energy lances are a bit more difficult, with which they will almost always block your saber attacks. That's why you should first use Lighting and then quickly hit them. Alternatively you can use Force Push to throw them down or one of the finishers.
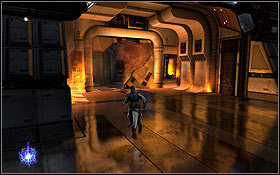
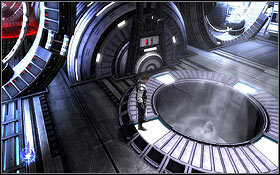
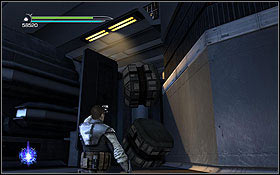
After the first fight, your path will be blocked by a locked gate. Use Force Push to tear it apart. Afterwards use the Force on the platform and push it out.

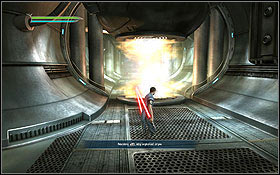
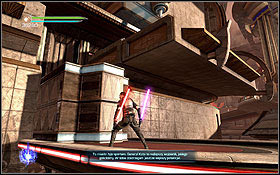
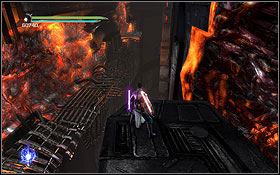
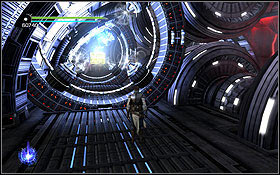
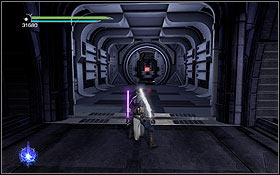
Use double jump and dash to move across the gaps. Once you're in the first corridor, pulsating fire pillars will cross your way. Wait for the first one to disappear and Dash. Do the same with the other ones.
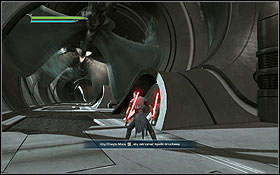
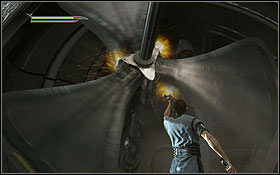
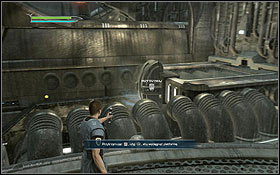
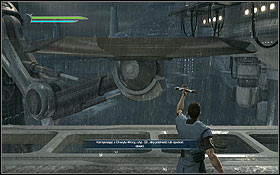
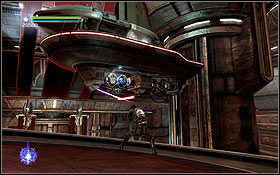
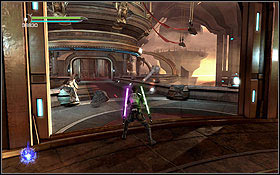
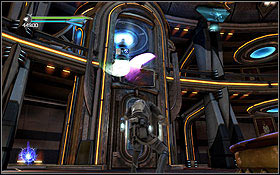
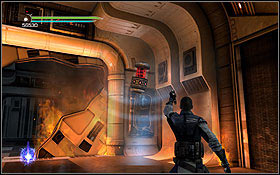
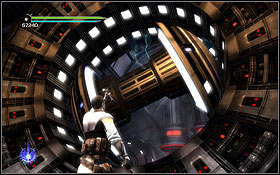
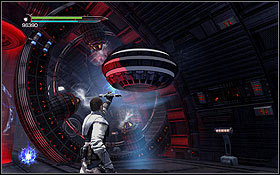
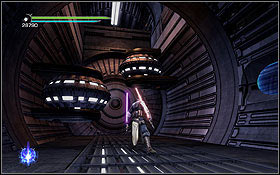
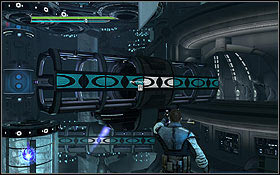
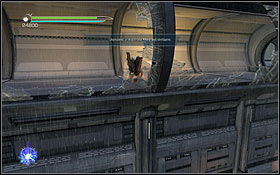
A bit further you will come across some fast-moving turbines. Grab them using the Force top stop them and move on.
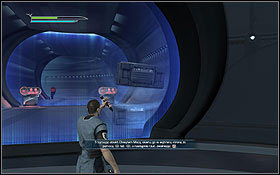
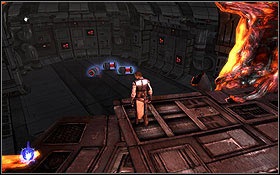
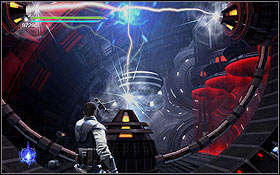
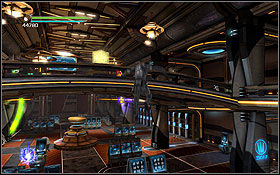
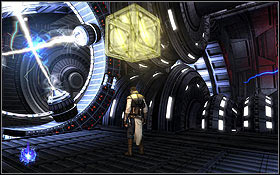
After passing the turbines, jump into the shaft. Once you find yourself in the room closed with force fields, grab the boxes behind it with the Force and throw them into the control panels on the sides of the corridor.

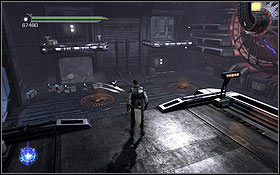
You will have the first chance to use Mind Trick. It's not especially useful throughout the game, so don't waste points on upgrading it.
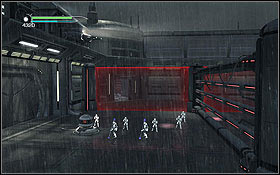
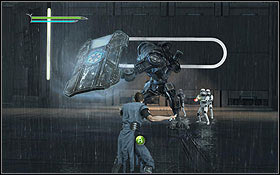
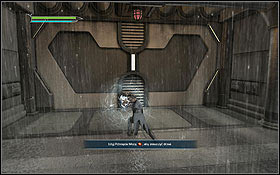
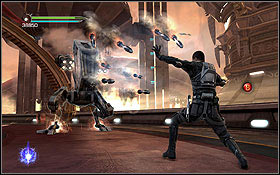
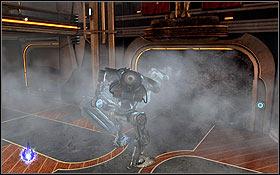
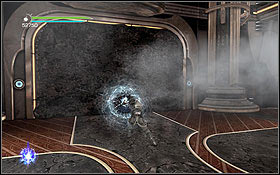
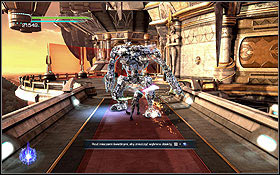
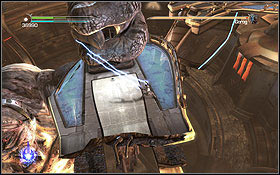
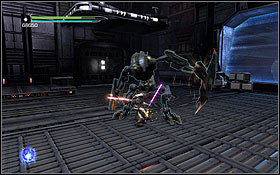
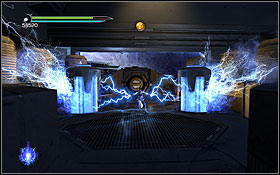
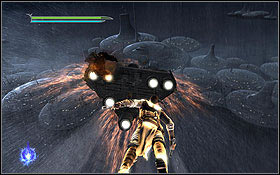
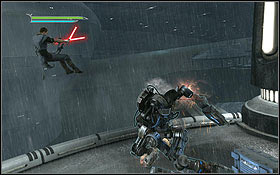
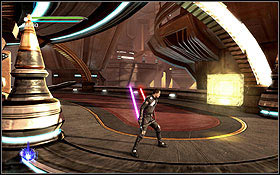
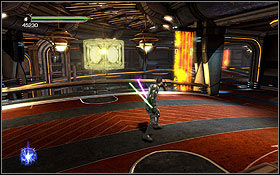
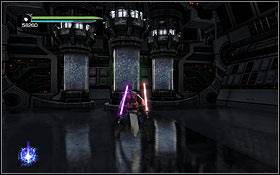
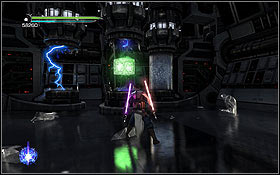
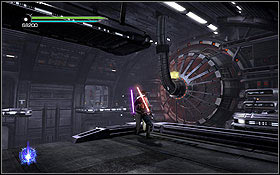
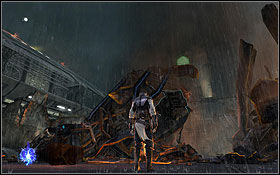
On the courtyard, your task will be to defeat all enemies in every sector divided by force fields. The force field will then disappear and you will be able to move on to the next section. At the end you will have to fight your first Carbonite Wardroid. First of all you have to get rid of its shield, which can be done by following the on-screen commands. Be quick and use Dash to avoid getting frozen. The most effective and quite safe method at this stage is using Force Lightning.
Deal with the next force field blocking the passage and you will once more find yourself outside the complex. Deal with the incoming enemies and raise the platform with the Force. Jump onto it to move on.

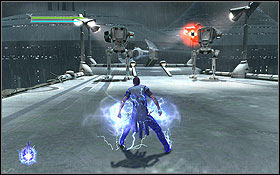
The Force Lightning is pretty much the only effective way of fighting the Jumptroopers.

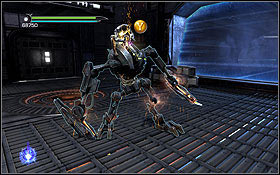
Near the end of the level, you will once more come across the Carbonite Wardroid. Firstly get rid of the lesser enemies and then destroy it just like the last one.

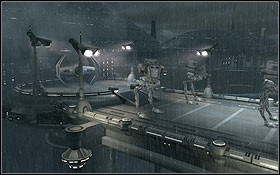
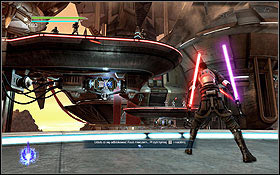
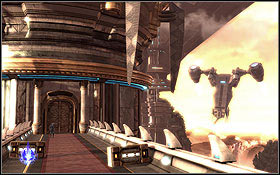
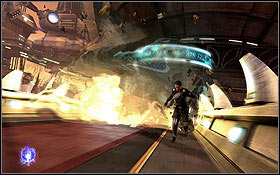
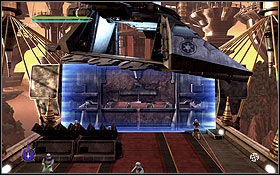
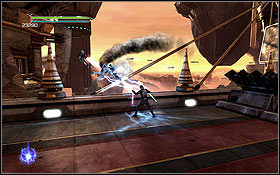
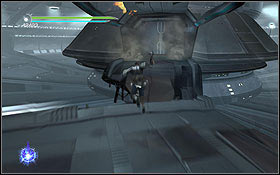
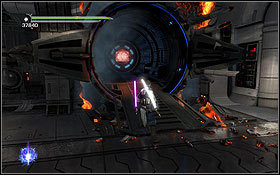
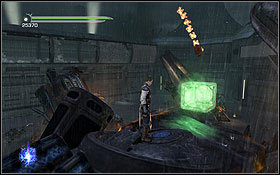
Once you find yourself in the corridor attacked by the carrier, the only way of surviving will be quickly dashing. Don't even bother with the normal enemies. After getting outside once more, you will have to get to the TIE Fighter guarded by two AT-STs.
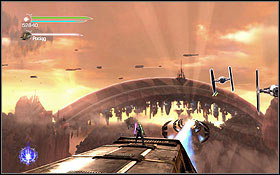
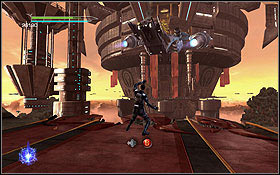
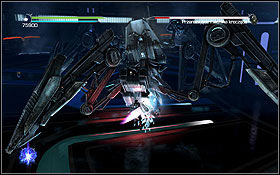
Run to the end of the platform and end for the Fighters to move in. Grab three of them one by one and throw them into the tower in the front, which will eventually crumble. Jump onto the lying fragment and quickly run to the other side or otherwise you will fall down. Now you will be able to use the Fury mode for the first time, but to be honest it doesn't work very well against the machines. Wait for the robots to start shooting rockets at you, intercept them and throw back at the machines.
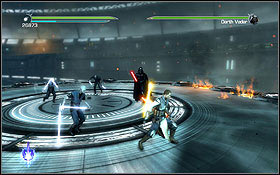
Main objective: Find your way to the arena to rescue General Kota
Current objective: Pursue the Baron!
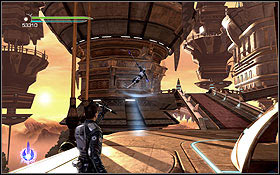
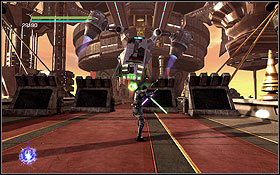
Kill all the enemies on the landing platform. Once you're done, an AT-MP machine will appear on the other one and start shooting rockets. You have to bounce them off, which isn't particularly hard. You just have to press the block button once the incoming rocket starts making the last loop before hitting you.

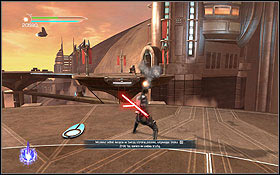
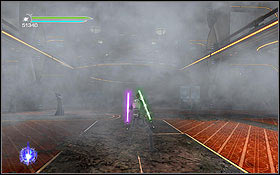
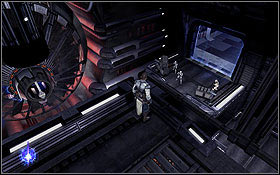
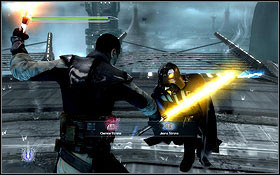
After destroying the AT-MP, run to the second bridge, where you will encounter the Sith Acolytes. They're demanding enemies, mostly because of their powers to neutralize the Force. That's why you should try to avoid the energy spheres they shoot and attack only using your saber.
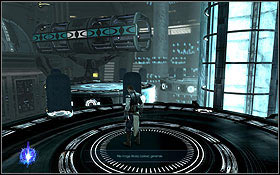
Current objective: Take the tram to the Western Arch
After getting out of the elevator, you will find yourself nearby the train platform. Destroy the Walker. However once you reach the platform, the train will leave.
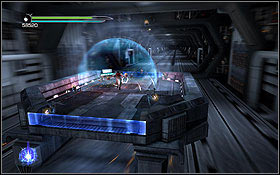
Current objective: Fight through the Casino to reach the second tram

Right after the departure, three round platforms will appear behind you. Grab two of them (counting from the right) with the Force and push them up. Afterwards jump onto the third, lowest one and then onto the two others which you moved.
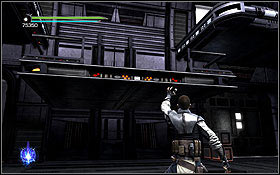
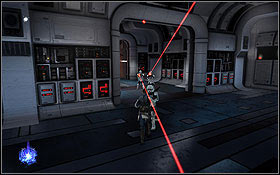
Time to learn how to throw your saber. Approach the platform with troopers and follow the on-screen instructions. Saber throw is one of the more useful skills in the game, so it's worth to develop it maximally. Using it you will be able to kill even 5-6 enemies at once. Once the platform goes down, jump onto it and destroy the next one, which will let you get to the corridor.

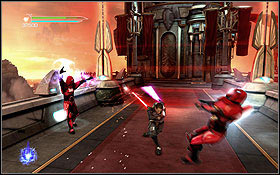
One of the most frustrating enemies are those equipped with snipers. That's why you should always try to eliminate them first, using Dash and Saber Throw. A bit further, get rid of the Acolytes and destroy the force field.
A bit further you will stand below another platform, destroy it with a saber throw. Afterwards jump onto it and onto the upper level.
Once you get to an area attacked by two AT-MPs, you should stand by the exit, thanks to which you will be covered from one of them. Intercept the missiles, destroy the first one and then take care of the second.
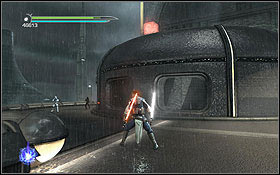
Once crossing the long bridge, a Nemesis will appear. Just like with the last ship, you can avoid it by performing Dashes and avoiding any big obstacles without worrying about them.
Current objective: Fight through the Casino to reach the second tram
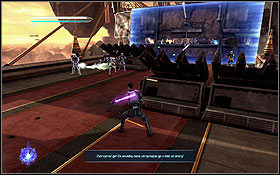
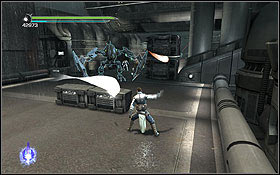
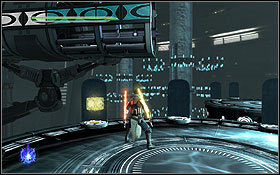
After successfully running away from the gunship, you will reach the casino. Kill all the enemies.
The further path is blocked by a force field. However on the left there's a door - break it down with a Force Push and go round the field.
To move on, you have to destroy the elevator's generator. Approach it, throw your saber and jump into the shaft.
You will find yourself in a smoky room. After defeating the AT-MP you will reach a spot where a droid assisted by some other enemies will appear and the path will be blocked. Defeat everyone...
... and use Force Push to break through the frozen path. Once you get out of the casino, you will have to once more run from a gunship using Dash.
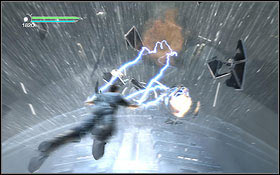
Once you land on the train, you will have to protect it. Treat the incoming TIE fighters with Force Lightning. Once the gunship appears, be ready for countering the missiles it shoots. Block once the incoming missile start violently descending.
Current objective: Fight your way to the arena

After jumping off the train, fight your way through the group of enemies.
There's no need to hurry, so try to lure the droids away from their companions or use covers to protect yourself from the snipers.
Right before entering the arena, you will have to break through a couple more barricades. The force field will disappear once you kill all the enemies in front of it. Don't forget about the covers, from behind which you can eliminate the troopers with saber throws.
Kill the jumpers and Force Push through the first barricade.
I'd suggest killing the enemies behind the cover with a saber throw before destroying it. This way you will easily eliminate the snipers.
One last gunship will appear behind the barricades. Hide behind the cover as it shoots lasers. Once the gunship stops shooting, jump forward and throw your saber into the gun. As for the missiles, just counter them.
Force Push to break the crate and jump onto the elevator.
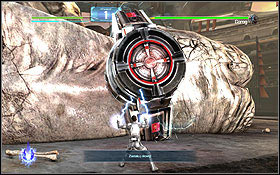
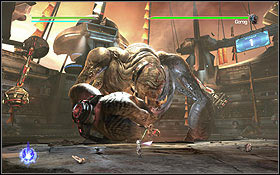
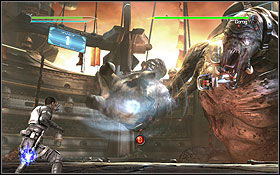
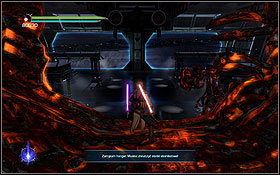
After the cutscene, you will have to fight Gorog. The only thing you can do is dodge his attack by dashing and jumping above his hand once it starts sweeping the floor. At the same time, hit him with Force Lightning. This way his hand will eventually fall down for longer and you should attack the bracelets round his wrists.
After attacking the bracelet, you will be able to catch the monster's arm in a magnetic chain. Repeat this process a couple times after which Starkiller will jump onto Gorog's head, where you will have to follow the on-screen commands.

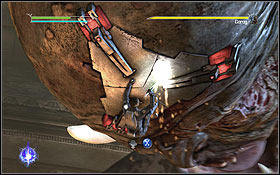
After a bit you will find yourself above the arena. Attack Gorog with lightning and hit his arm with your saber. The monster will eventually destroy the fragment of the building on the right and you will be able to move on.
You have to climb the platform with the pole supporting the arena and attack the monster's arm. Afterwards you will move onto another platform - do the same there. Eventually you will be able to jump onto the other side using the destroyed fragments of the environment.
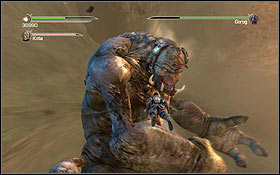
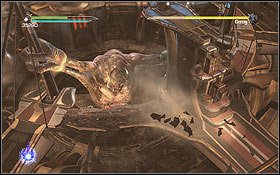
Gorog is a tough one, so the last act will be played as you're falling onto the planet surface. Avoid the rock pieces and keep using Dash to move in onto the monster. Once you make it to him, perform normal attacks and Starkiller will start throwing the saber. After some time you will be able to defeat the beast by performing one of the quick time events.
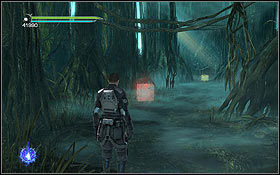
Main objective: Discover the mysteries of Dagobah
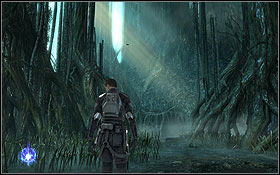
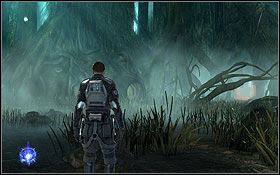
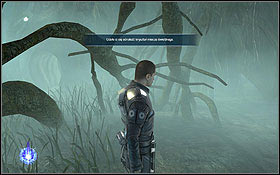
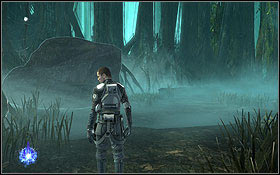
Current objective: Explore the mysterious swamp
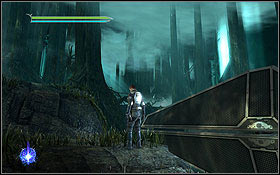
Just get out of the niche and head towards the caves, passing by Yoda's hut on your way.
Main objective: Pursue the intruders and rescue Juno
Current objective: Make your way to the bridge of the Salvation
Follow the general. At the end of the corridor, grab the door with Force and raise it to make yourself a path towards the bridge.
Current objective: Chase the bounty hunter to find Juno
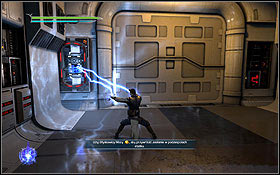
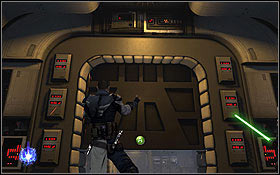
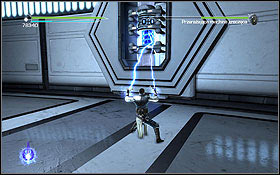
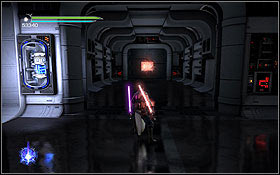
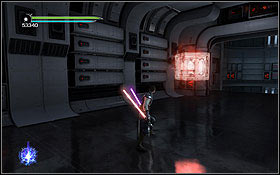
While navigating through the corridors of the Salvation you will often come across circuit panels. Charge up the first one with Force Lightning. If the panel is lying on the floor, pick it up with the Force, put it into the slot by the door and charge with lightning.
A bit further you will reach an elevator, which will suddenly start falling down. Get out of it and cut the fragment of the destroyed door to get inside the room.
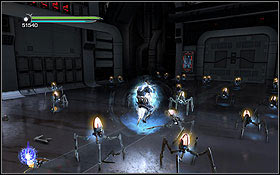
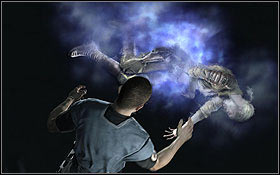
You will be attacked by a spider droid. Throw it away by following the onscreen commands. Dozens new droids will appear and Starkiller will remember yet another power. It's the only reasonable way to fight them, though you can also try to use your saber or lightning against smaller groups of enemies.
After destroying the spider bots, you will reach a big room and an explosion will occur. Head towards the corridor from which the explosion came.
It will turn out that at its end, in the next room, Juno is lying on the floor. She however is protected by a force field. Return to the site of the explosion.
Here you will be attacked by a new type of enemy - terrifying soldiers with a perfect cloaking ability. But there's a tactic against them. When none of them is visible, keep blocking. That way you won't receive damage once attacked. Treat the enemy with Force Lightning and attack with the saber. A couple slashes will be enough.
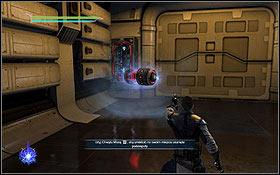
Defeat the enemies and notice the fuse inserted into the slot by the door. Take it out and enter into the slot beside the opposite door, on the other side of the room.
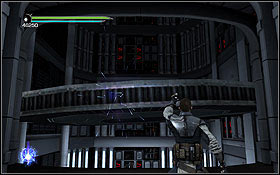
Go past the consecutive corridors and you will reach the ones through which the mysterious Imperial Walker went. Go outside through one of the holes and get to the other side, jumping from one caving to another.
In one of them you will find fuses on the ground. Grab one of them with the Force ...
... and move to the other side of the gap. Afterwards jump there, place the fuse into the slot by the door, charge it up and move on. Once you see that the only path leading to the next niche are the remaining of a wall, jump onto it and move forward by performing quick jumps. If you slow down, you'll fall.
Soon you will reach the engine room. Jump over the force field once it disappears, stop the quickly turning mechanism with the Force and jump into the second compartment.
At the end of the engine room, jump into the vent leading to the level below.

You can get past the next force fields with Dash. After getting out of the engine room, you will find yourself in a big room, where you will have to fight the Imperial Biodroids for the first time.
The fastest way of dealing with the Biodroid is constantly throwing sabers at him, so it doesn't have much time to react. Once you damage it enough, you will be able to launch a quick time event, which you should of course do as fast as you can.
After defeating the droid, approach the wall on the other side of the room and use the Force to raise the middle platform. Jump onto it and go to the elevator.
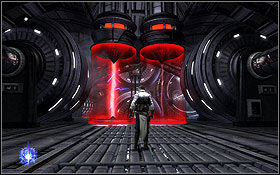
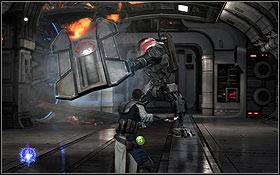
You'll have to fight one of the harder enemies, though if only you don't panic and start slashing it unnecessarily with your saber, everything should go smooth. The terrifying walker has been equipped with a force field, so for now it's untouchable. That's why you firstly have to overload the generator inside the room. There are four cylinders surrounding it. Use the Force to pull them maximally up.
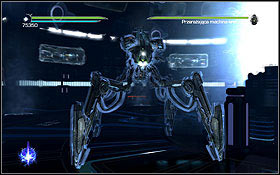
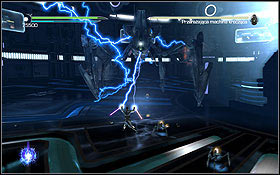
Once you do that, the machine's force field will disappear. Don't attack it with the saber, use Force Lightning instead, while fighting off the other enemies.
Once the machine falls down, start attacking it with the saber. That however won't be enough. After the first attempt to destroy it, fuses will fall out of their sockets in the wall. You have to put them back onto their places and charge up. Use Dash frequently to dodge attacks and don't be hasty. It's better to circle the room twice than die.


Once you put the fuses back inside, start attacking the machine with Force Lightning. When it falls down again, finish it off with the saber and Starkiller will be able to control it. Get rid of the other enemies from its back and head towards the generator, destroying the machine that way.
Main objective: Find your way to the Salvation's bridge
Current objective: Find a way to remove the Imperial boarding vessels
The fleet will exit hyperspace above planet Kamino. However there' a large group of Imperial forces waiting for them there. Jump down to the hangar.
You will encounter a new enemy type - a sword guard. He's hard in direct combat, but if you've infused your swords with a Lightning crystal, it won't be as difficult. Alternatively you can defeat him with a finisher, during which Starkiller throw the enemy. Afterwards run to him and pierce with the saber while he's lying on the floor.
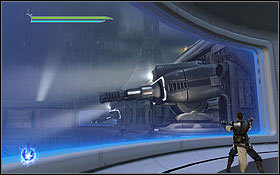
The Imperial boarding vessels are equipped with some attachments which stop them from falling down. To destroy them, get onto the construction in the middle and throw the saber. Do the same with the second vessel.
Current objective: Stop the Imperial forces from destroying the main engine!
Once you're back in the engine room, kill all the enemies and use the Force to insert the ring into the round coil. It will cause it to overload and you will be able to jump to the other side.
Do the same with the next coil - the ring is behind it, so you must get a bit closer. Destroy the round cells with Lightning.
In the engine room below, destroy the cells blocking the way and exit through the side corridor.
Current objective: Get to the fuse cannon

Once you exit the engine room, you will find yourself in a hall filled with enemies, amongst which the saber guards are the majority. To save yourself some problems, attack them with finishers and finish off once they're on ground. Once you defeat them all, the force field blocking the further road will disappear.
Once you're back in the area through which the terrifying walker passed, start lowering the platforms with the Force and eliminate the snipers as fast as possible by throwing your saber.

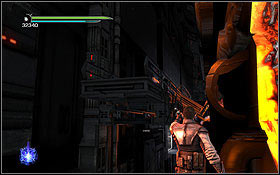
After crossing the gap you will meet a new type of enemy - a flamethrower droid. Keep avoiding the flames with Dash and throw your saber at it. After a few throws the droid should be destroyed.
Raise up the lift's floor and jump into the shaft.
Once you reach the first cannon, take out the fuse and place it in the door.

In the second room with cannons, firstly defeat all the enemies and then approach the last cannon (the first from the left). take out the fuse.
Place the fuse in the destroyed cannon. Charge it up and shoot the cannon. This way you will clear the way towards the fuse cannon room. Once you're there, go round the big cannon and note the nearby boxes. Place them beside the cannon one on another and go up using them.
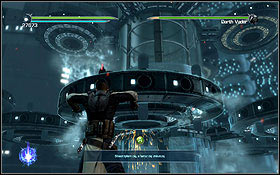
Once you're upstairs, Starkiller will shoot and destroy the Star Destroyer. Afterwards exit through the newly opened passage and defend from the incoming spider droids using Force Push.
Main objective: Find a way to the top of the city
Current objective: Hit the force field generator with the Salvation
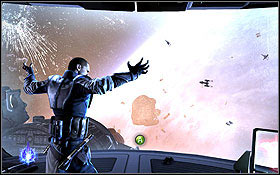
Follow the onscreen instructions to guide the ship. After jumping out, avoid the pieces falling off the hulk.
Current objective: Regroup with Kota and his Rebels

To move on, you have to get rid of the debris blocking the corridor. Unfortunately it's being protected quite successfully by two cannons above. Get rid of the enemies, while avoiding the gunfire.

There are large piles of debris lying on the sides of the courtyard. You can climb them up and then double jump and dash to get to the upper corridor.
Destroy the first cannon and jump down onto the courtyard. Use the opposite debris pile to reach the corridor on the other side.
Destroy the second cannon and jump down onto the courtyard. Now you can unlock the entrance without being disturbed by anyone.
After passing a few rooms and corridors you will reach a demolished bridge. Straighten the bended fragment and jump to the other side of the gap.
After exiting the complex you will have to fight a few dangerous enemies. Use the same tricks that were described in the previous parts of the guide. Try not to rush into a group of enemies and eliminate them one by one.
After once more entering the cloning facility, you will have to defeat a dozen or so sword guards and a couple acolytes. Take care of the latter ones first, which will make dealing with the others easier.
Jump between the platforms towards the top. From each platform, firstly jump onto the levitating robot and then further.
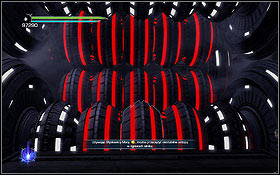
Get to the further sections by moving the corridor parts. Once you see that one of the modules is far away, push it towards yourself, go to the other side and then place it back in its original position, thanks to which you will create a path. Basically you must pass through two rooms in a very similar way, but in the second one you will have to fight disappearing soldiers. The easiest way is to treat them with Lightning and then push down from the platform.
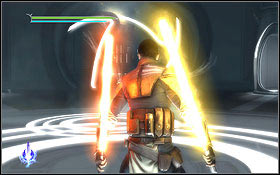
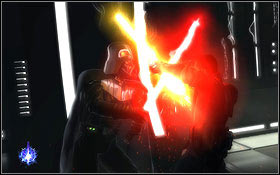
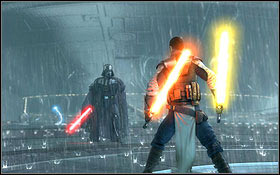
Main objective: Fight with Vader to save Juno
Current objective: Use all that you have learned to bring down the Dark Lord
You can't run and Vader will attack you a couple times throughout the corridor. Follow the instructions displayed during the QTEs. Remember that each time you fight off an attack, a counterattack is sure to follow, so keep alerted throughout the whole fight.
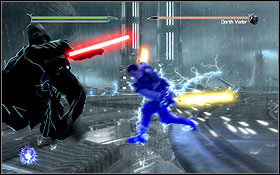
In fact Vader is the least problem while fighting on the platforms. Above all try not to stay on a platforms once the Sith is no longer on it. Be beside him all the time, taking care of the mutated clones in the first place. As the Force doesn't work on them, it's best to quickly approach them, attack with a finisher focusing on a normal attack followed by a throw. If you perform this at the right spot, the enemy will be thrown down from the platform. you can also use Mind Trick, assuming you've been upgrading it. Don't bother with throwing Vader back the items he'll be thrusting at you. It's better to fight him head-on.
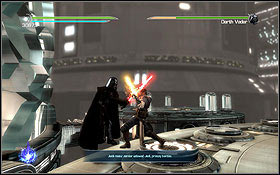
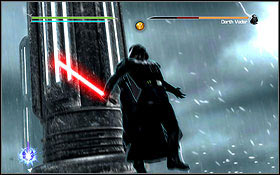
The tactic of fighting Vader is easy. Keep on blocking, as he likes to throw his saber. Don't attack while he's holding the saber with both hands, as he's sure to parry then. At the same time be sure to attack once he's lowering his saber while holding it with one hand. At that moment he's vulnerable to attacks and you should be able to land a few before he's able to protect himself again. The first phase of the battle will come to an end once the green life meter of the Dark Lord runs out.
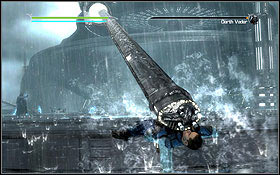
In the second phase of the battle, played during pouring rain, the tactic doesn't matter. Starkiller is in Fury mode, so he easily breaks even through Vader's block. Once you manage to pick Vader up and shock him with Lightning, mash the button as fast as possible. The enemy's energy will drastically fall thanks to it. Two moments like that and Vader will be near death.
The last phase of the battle consists of quick time vents. Just follow the on-screen commands and choose which side of the Force you want to follow. If you want to watch the second ending, you'll have to complete the whole fight all over again.

Right after pulling the first platform with the Force.
Saber Crystal: Chaos
You gain additional Force points for destroying elements of the environment.

In the corridor, right after going through the fire pillars.
Saber Crystal: Meditation
Each hit recovers some of your energy.
After getting out of the short corridor with fire pillars, on the remote platform.
Green Bacta Tank: Increases health
After jumping into the vent behind the big turbines which you had to stop for a bit.
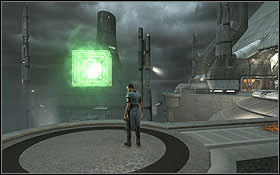
EXP Holocron.
After your first meeting with Jumptroopers. Impossible to miss, you will get it by making a double jump followed by a Dash.
EXP Holocron.
Once you meet the second carbonite droid, defeat it and behind the door you will find the next holocron.
Blue Bacta tank: Increases the maximum Force level
During the beginning of the mission, clear the platforms of enemies while paying special attention to acolytes. The holocron is behind the boxes on the third platform.
Saber Crystal: Protection
Increases your defensive abilities.
Once the train leaves the station, you will have to raise three platforms. Once you reach the next level, you should find the holocron.
EXP Holocron.
The exit from the second decorated corridor is protected by a door. Break the window in it or use Force Push to get outside and immediately turn left. you will find the holocron right beside.
Saber Crystal: Fury
Each hit increases the Fury meter.
After entering the third decorated corridor, raise the sphere by the entrance. The holocron will be beneath.
Saber Crystal: Healing
You will regain some health for every defeated enemy.


Use Dash to avoid the Nemezis shots and by the end of the bridge you can jump to the holocron.
Blue Bacta tank: Increases the maximum Force level

After entering the casino, the holocron is on the very first bridge.
Green Bacta tank: Increases your vitality
After jumping down to the lower level of the casino, exit the elevator shaft and look to the right. The next holocron is on the bridge.
EXP Holocron.
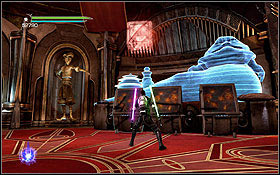
After destroying the frozen door in the casino, you will find yourself in a room with Guybrush Threepwood's statue and Jabba hologram. Destroy the three vending machines in front of Jabba and the holocron will appear.
New suit.
Right after jumping off the statue, the holocron can be found behind the partially sheltered cover.
EXP Holocron.
After destroying the third force field, the one heavily protected by snipers. The holocron is levitating above the bridge, but it's a bit too high to jump to it. Use the Force to move the nearby box, place it below the holocron, get on it and jump to the holocron.
Saber Crystal: Chaos
You gain additional Force points for destroying elements of the environment.
In the room under artillery fire, right after destroying one of the force fields.
Blue Bacta tank: Increases the maximum Force level
The holocron is before the last barricade.
Green Bacta tank: Increases your vitality
Once you're below the arena, get on the elevator, but don't ride it to the very top or the two holocrons here will be lost! You have to wait for the lift to be a bit above the holocron visible on the other side of the cave and perform a double jump and a Dash in its direction.
EXP Holocron.
The second holocron is a bit easier to reach. Once you take the first one, don't jump down to the very bottom, but search for a small ledge - it's hard to notice, but you'll find it eventually. Jump onto it. The holocron is just a double jump and a dash away.
Saber Crystal: Corrosion
You can deal corrosive damage.
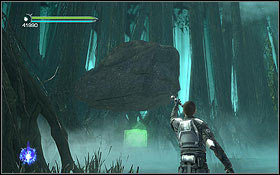
Go round the ship and you will see a big rock. Raise it to find the holocron.
Blue Bacta tank: Increases the maximum Force level
Jump on the same rock which you picked up a moment ago. Afterwards jump onto the ship and take the next holocron.
EXP Holocron.
Once you see Yoda's hut, stop and look to the right of it. The holocron is behind the dried branches.
Saber Crystal: Life Drain
You can absorb some of your enemies' health.
Right behind Yoda's hut, on the right side of the path there's another big rock. Pick it up to find the holocron.
Green Bacta tank: Increases your vitality
Two more holocrons are lying directly on the path leading to the cave.
Saber Crystal: Focus
Using Force consumes less energy.
EXP Holocron.
The holocron is in the corridor behind the room in which you were attacked by the spider droids for the first time.
Saber Crystal: Regeneration
Your health regeneration increases.

After the first meeting with the terrifying disappearing soldiers, you will fight them again in the next room. A bit further you will come across a door and a fuse lying nearby. Don't put it into the door just yet, instead grab it and move to the side corridor a bit earlier. At its end, put the fuse into the second door and charge up with Lightning.
You will find yourself in a room with bacta tanks. Destroy the middle one to find the holocron.
Green Bacta tank: Increases your vitality
Once you find yourself in the corridor destroyed by the Terror Walker for the first time, look below at the first platform. The holocron is a bit lower. To get to it, jump to the hole on the other side and from there jump to the holocron. Act fast, as the fragment on which you're standing will crumble after a while!
Blue Bacta tank: Increases the maximum Force level
In the first engine room, on the left side.
EXP Holocron.

After exiting the engine room, you will find yourself in a big hall. The holocron is on the right side. To get to it, jump onto the nearby platform and from there perform a double jump followed by a Dash. If you won't make it and fall down, you can grab the middle platform and raise it.
EXP Holocron.
After defeating the Terror Walker, grab its hulk with the Force and jump into the corridor. The holocron is just a bit further.
Saber Crystal: Wisdom
You gain additional Force points for defeating the enemies.
Once the fight in the hangar breaks out and the second wave of boarding craft will arrive, imperial snipers will appear on the right. Jump there and kill them and you will find the holocron inside the ship in which they came.
EXP Holocron.

In the engine room, behind the cells you treated with Lightning.
Green Bacta tank: Increases your vitality
After passing through another engine room, you will reach a room crawling with enemies. Defeat them all and the force field will disappear, opening a path to a corridor. You will find the holocron inside.
Saber Crystal: Meditation
Each hit recovers a bit of your Force.

Once you defeat your first flamethrower droid, take a look inside the boarding craft in which it arrived. You will find the holocron there.
Saber Crystal: Incineration
You can light your enemies on fire.
After the second fight with the flamethrower droid and his friends, you will find yourself in a long corridor guarded by snipers, with a shorter branch leading left. Follow it and you will find the holocron at its end.
Blue Bacta tank: Increases the maximum Force level
After jumping down the elevator shaft, turn around and you will notice a corridor above the floor. Jump into it and collect the holocron.
EXP Holocron.
Holocron is inside the room with the fuse cannon. Go round the cannon and look up - it's too high. Push the box and place another one on top of it. Now jump on both and you will easily reach the holocron.
Saber Crystal: Healing
You will regain some health for every defeated enemy.

You can collect the holocron while jumping from the debris pile into the corridor to disable one of the cannons.
EXP Holocron.
This holocron is in the middle of the courtyard guarded by Imperial forces and two cannons. To get there, jump onto the tallest debris pile.
Green Bacta tank: Increases your vitality
The holocron is inside the room from which you've been destroying the ships attacking general Kota.
Blue Bacta tank: Increases the maximum Force level
After exiting the complex you will soon come across a perfectly visible holocron. In order to get to it, you have to circle the round building and go onto the element sticking out of the floor. An energetic double jump and you're there.
Saber Crystal: Disintegration
You can disintegrate you enemies.
Once you're back inside the complex, you will have to fight the Incendiary Wardroid and a horde of spider droids. The holocron is beside the wall.
Saber Crystal: Shock
You can deal additional lightning damage.
In the second room with clones, on the second-to-last floor of the spinning platforms. The holocron is inside one of the bacta tanks.
EXP Holocron.


 Sam & Max: Season 2 Game Guide & Walkthrough
 Street Fighter IV Game Guide & Walkthrough
 Sacred 3 Game Guide & Walkthrough
 Sherlock Holmes vs. Jack the Ripper Game Guide & Walkthrough
 Secret Files 3: The Archimedes Code Game Guide & Walkthrough