Bionic Commando Walkthrough Bionic Commando
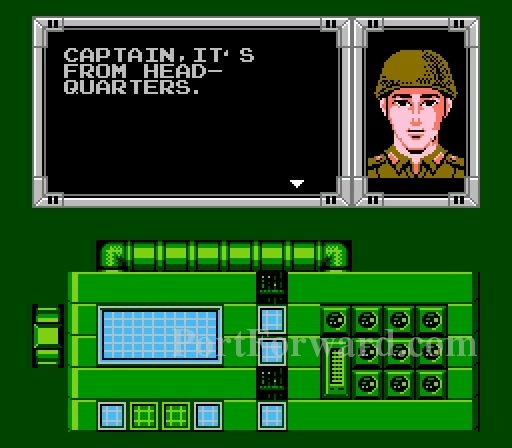
CAPTAIN,IT'S FROM HEAD-QUARTERS.
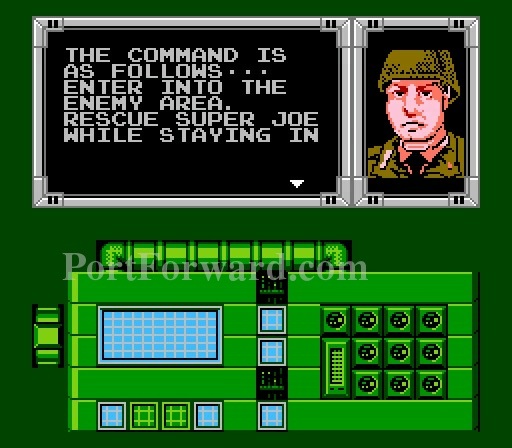
THE COMMAND IS AS FOLLOWS ENTER INTO THE ENEMY AREA. RESCUE SUPER JOE WHILE STAYING IN
TOUCH WITH AGENTS. THERE ARE MANY AGENTS IN AREA 1 NOW. FIRST,GO SEE
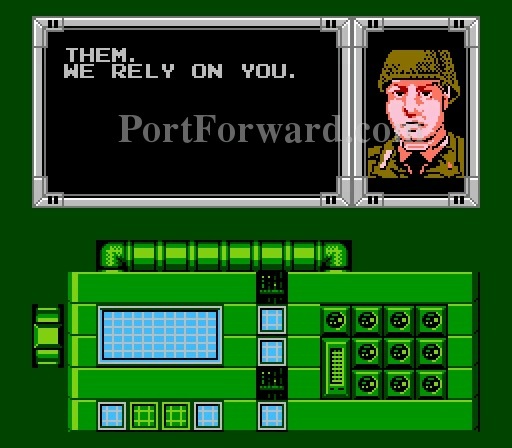
THEM. WE RELY ON YOU.
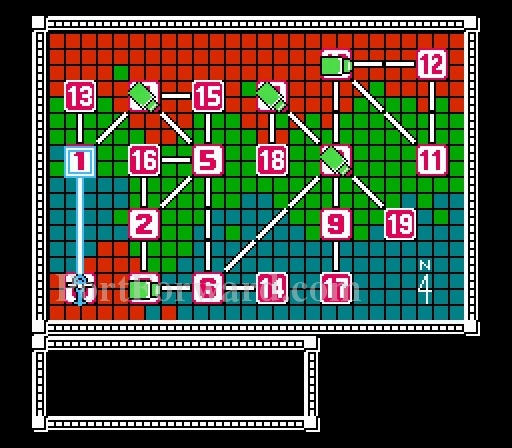
The first line of business is to head to Area 1.
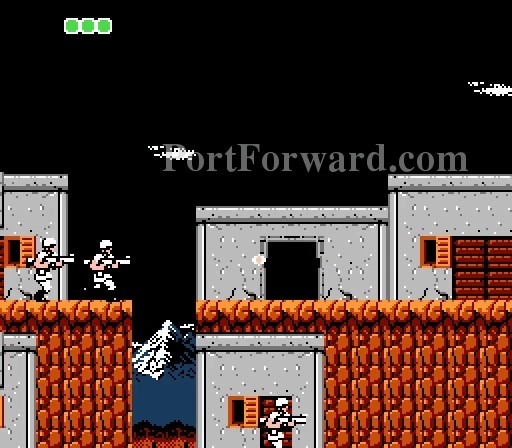
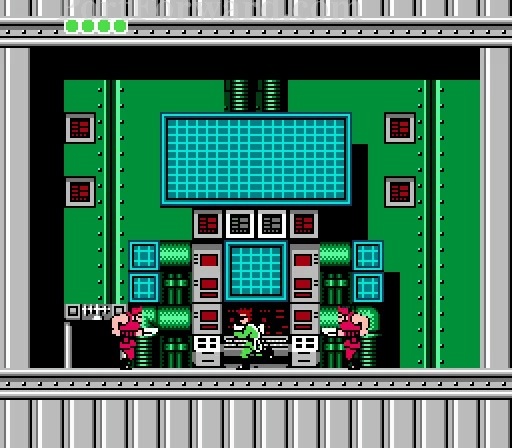
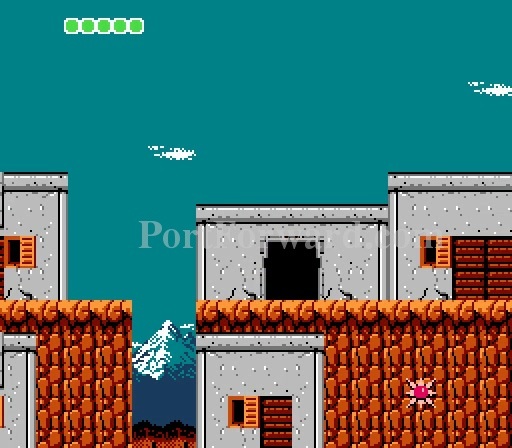
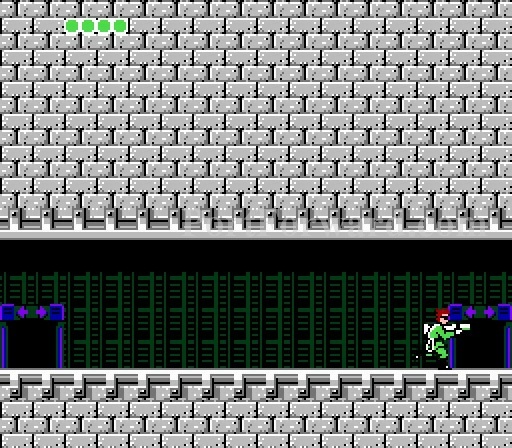
Bionic Commando Walkthrough Area 1
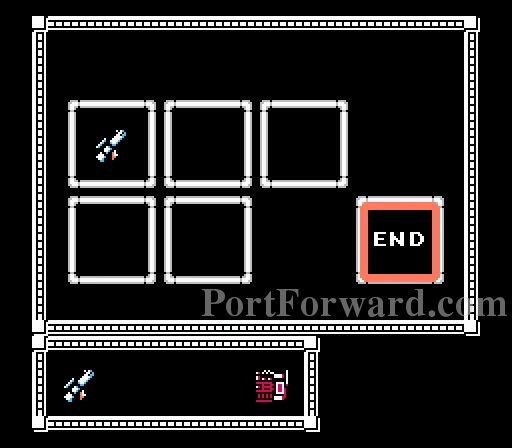
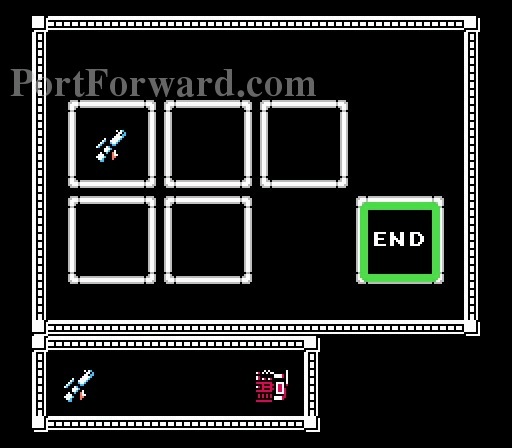
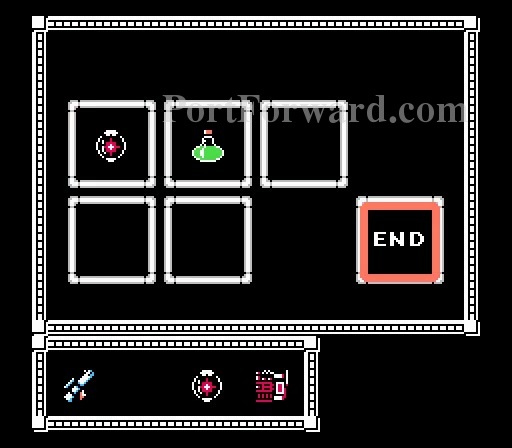
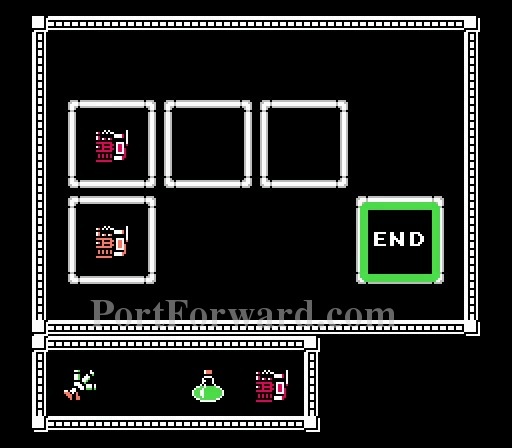
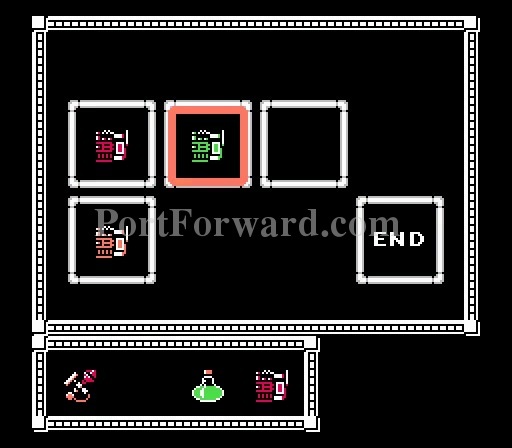
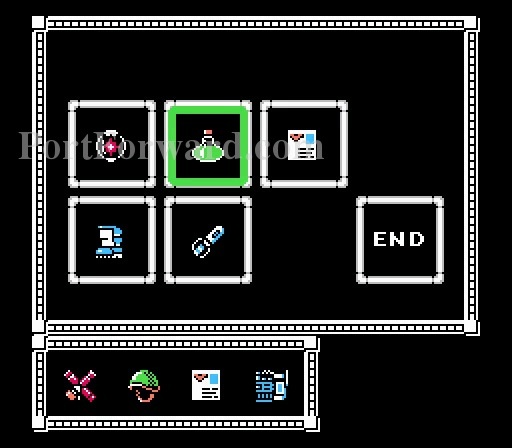
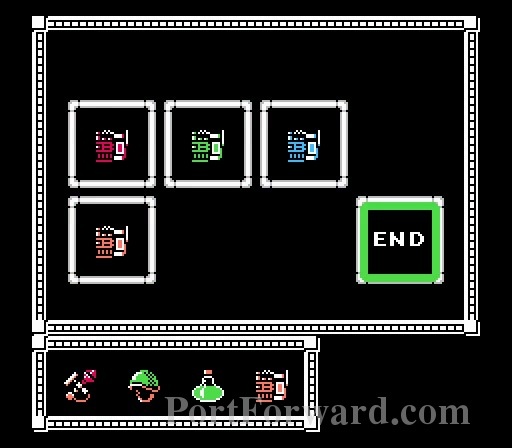
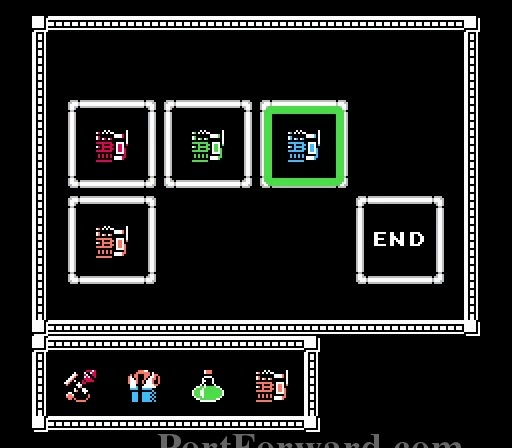
You only have these available at the start.
Just hit End.

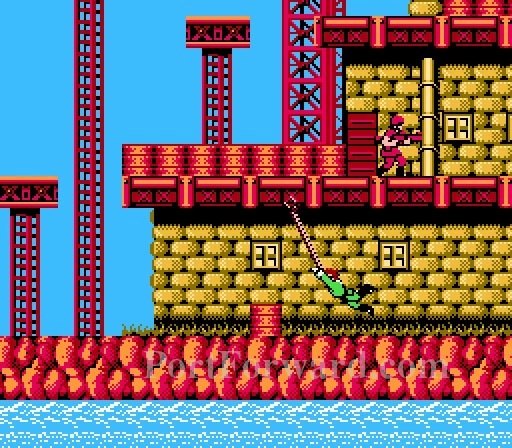
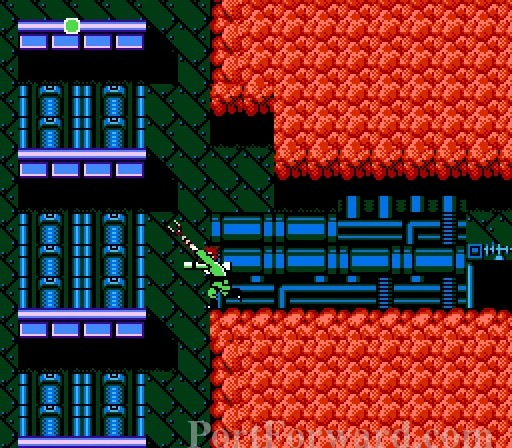
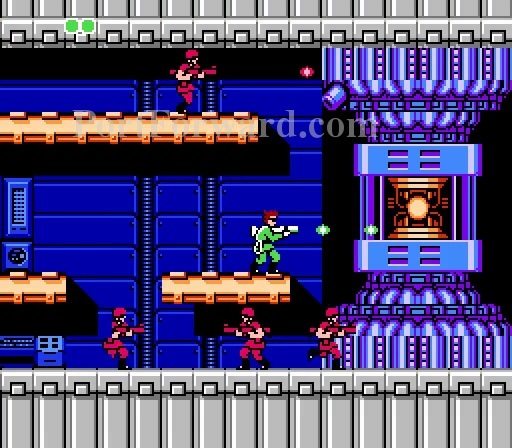
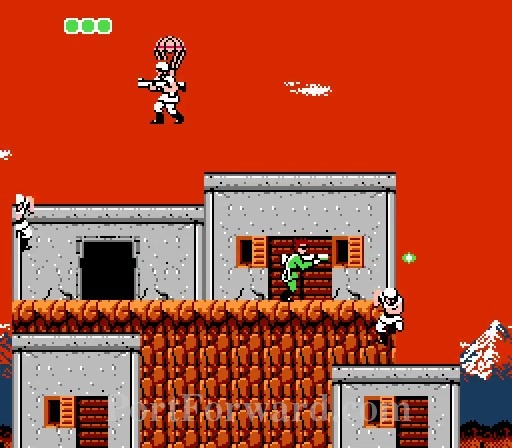
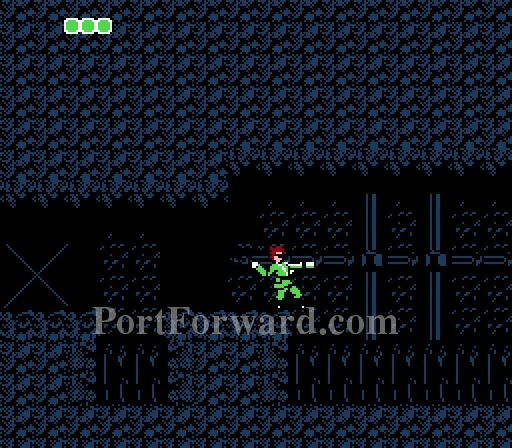
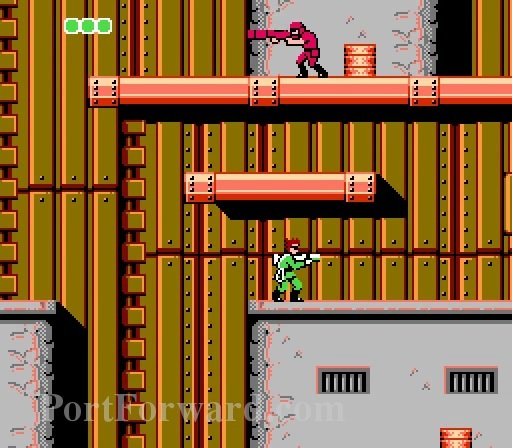
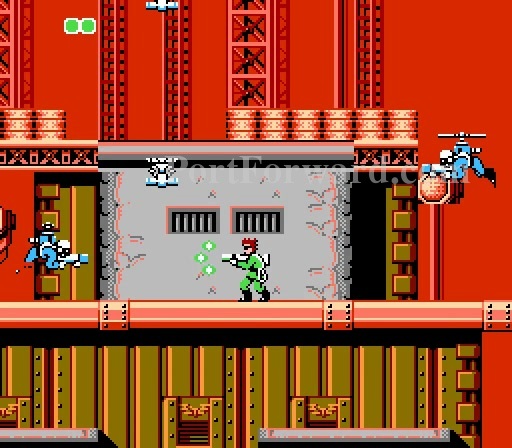
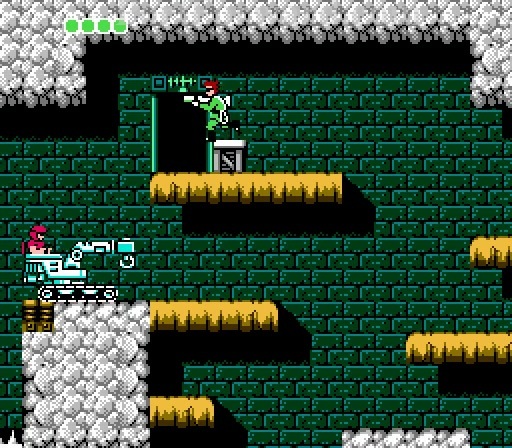
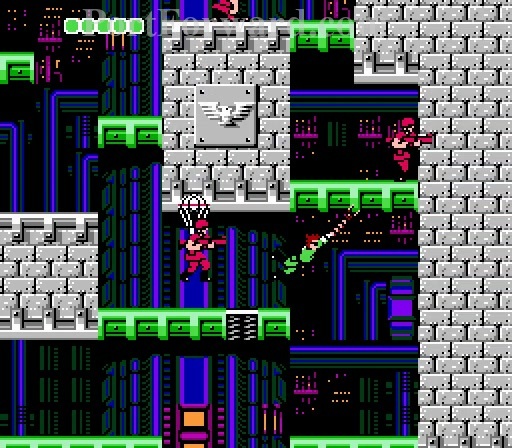
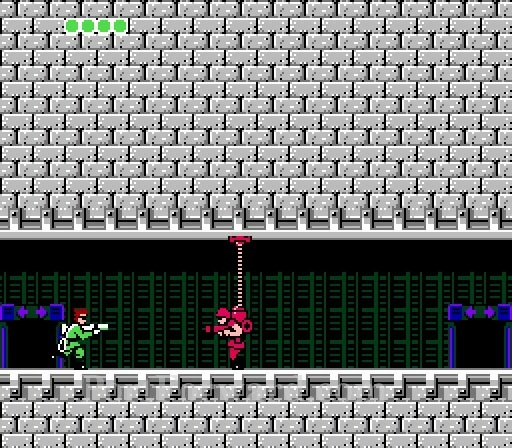
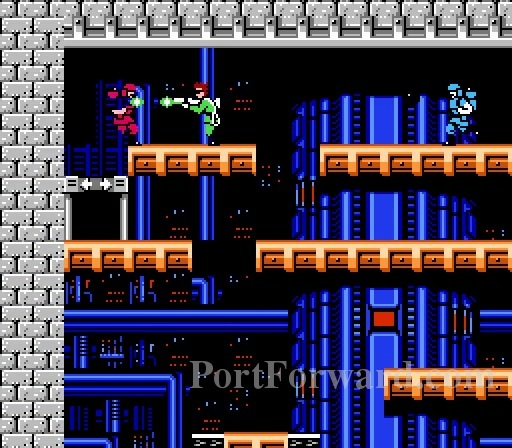
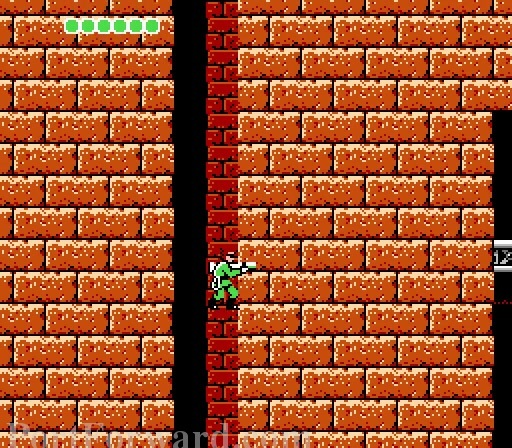
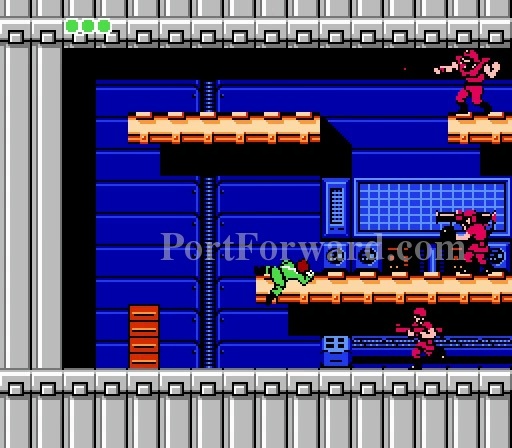
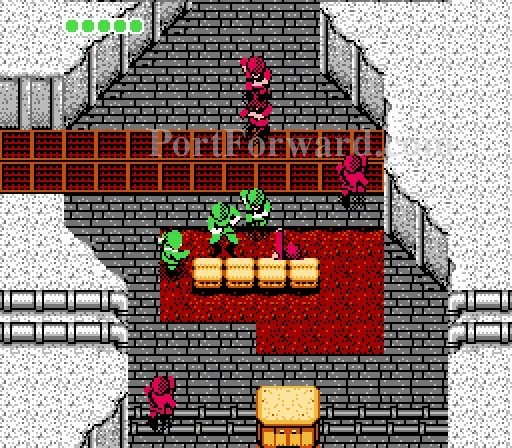
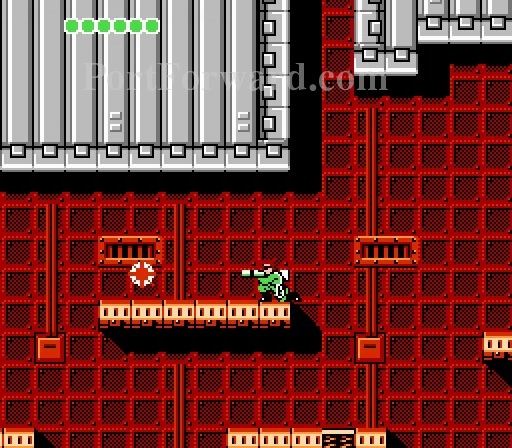
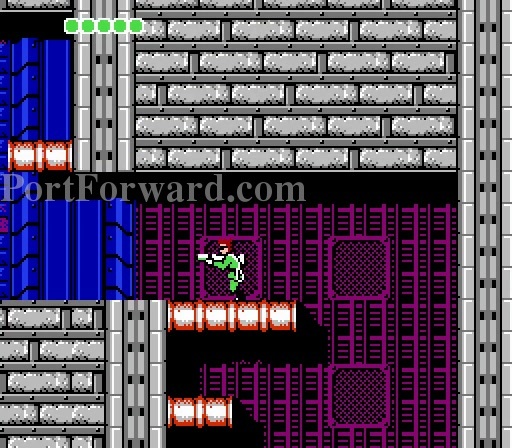
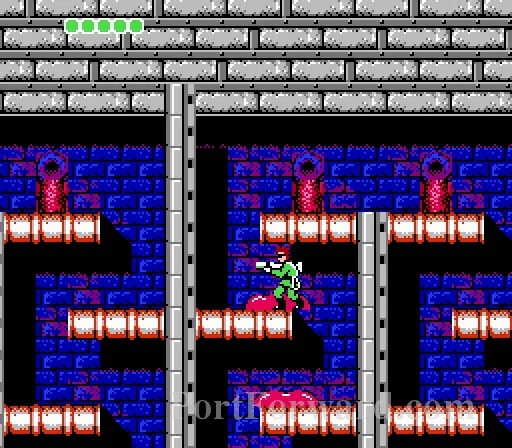
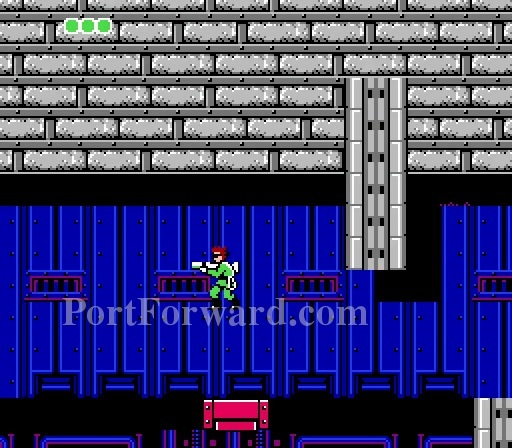
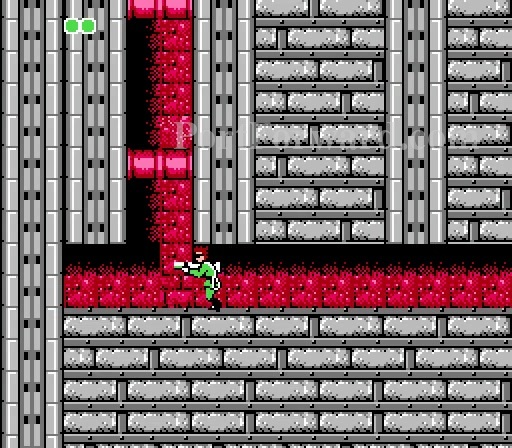
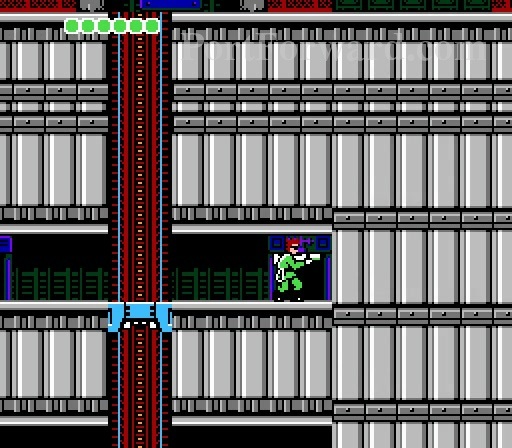
As soon as you land, head right and start shooting.

You can't jump in this game. You need to use your Bionic Arm to swing over things.
Get used to it as you will be doing some tough swings later on in the game.
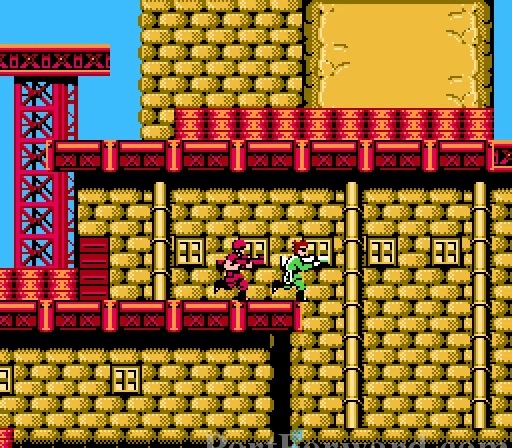
You die if you get hit so don't get shot.

Killing enemies gives you a cannister. Collect a number of them to increase your hit points by one.

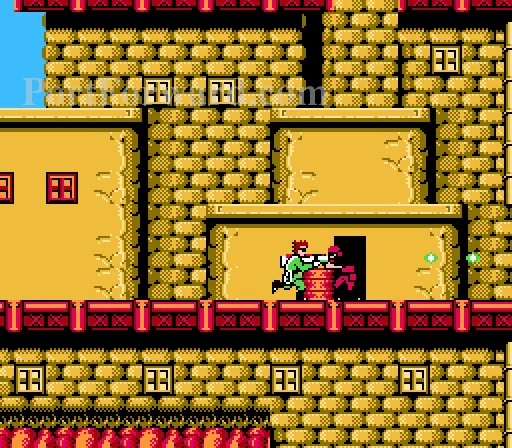
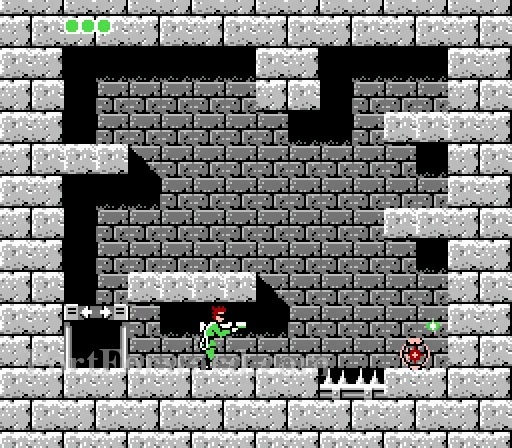
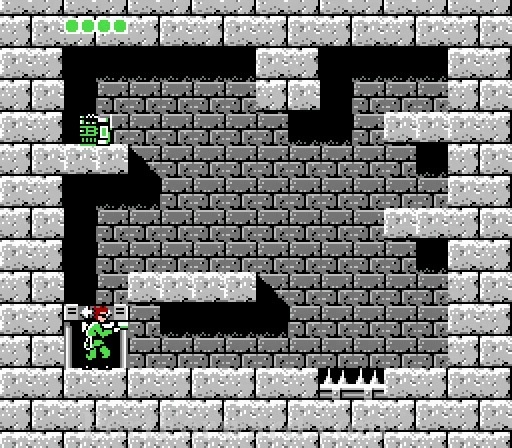
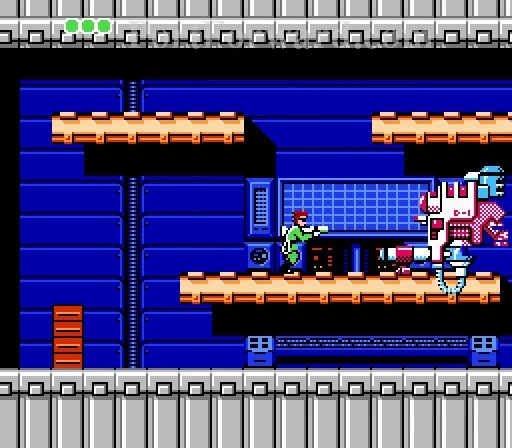
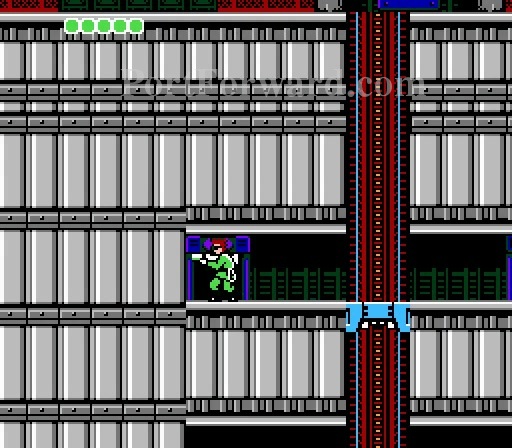
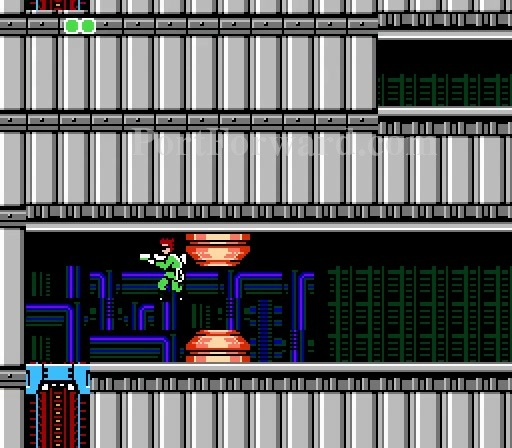
Go into this first tower.
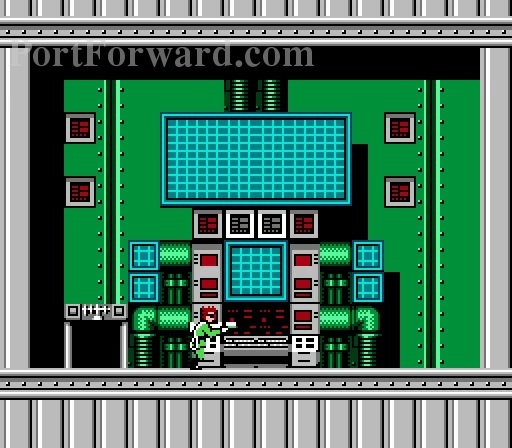
Get in front of the computer and press up.
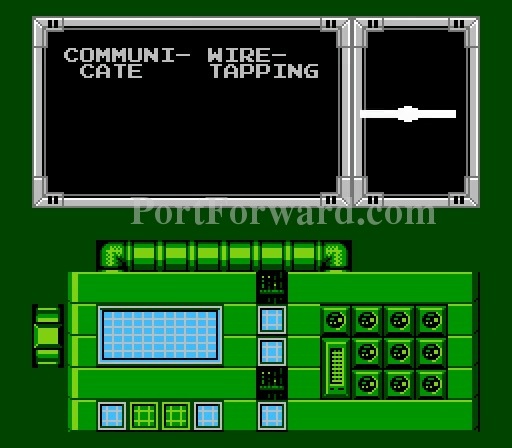
You can choose to Communicate or Wiretapping. You have to choose one then revisit to choose the other. Communicating gives you info from your allies. Wiretapping can give you important level information from the enemies most of the time.

Communicate: THIS IS MA-1. I'VE BEEN WAITING FOR YOU.MANY OF OUR AGENTS HAVE ALREADY
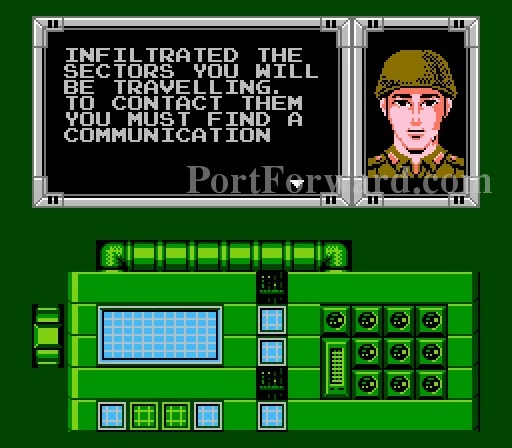
INFILTRATED THE SECTORS YOU WILL BE TRAVELLING. TO CONTACT THEM YOU MUST FIN A COMMUNICATION
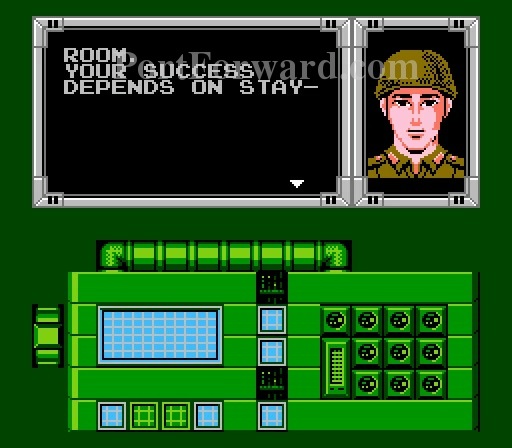
ROOM. YOUR SUCCESS DEPENDS ON STAY
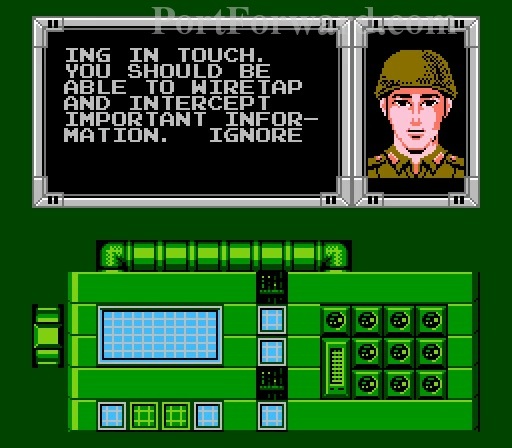
ING IN TOUCH. YOU SHOULD BE ABLE TO WIRETAP AND INTERCEPT IMPORTANT INFOR-MATION. IGNORE
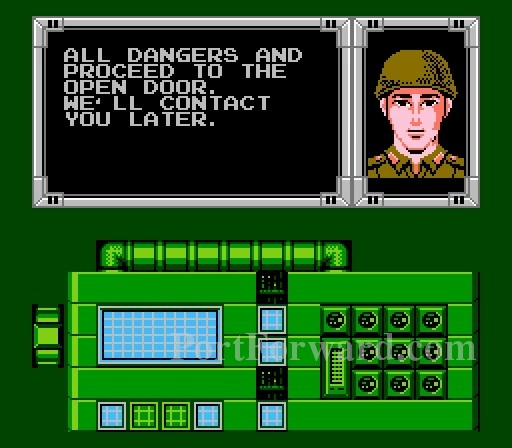
ALL DANGERS AND PROCEED TO THE OPEN DOOR. WE'LL CONTACT YOU LATER.
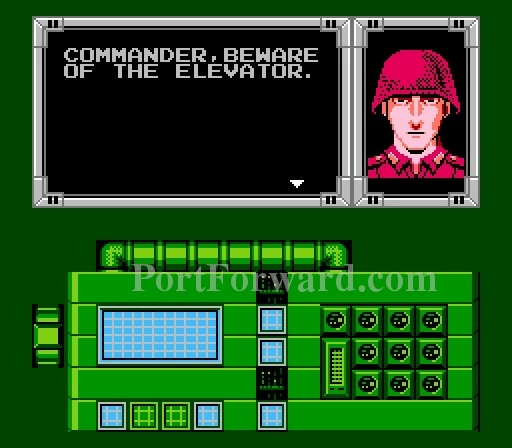
Wiretapping: COMMANDER,BEWARE OF THE ELEVATOR.

NOW WE HAVE YOU.
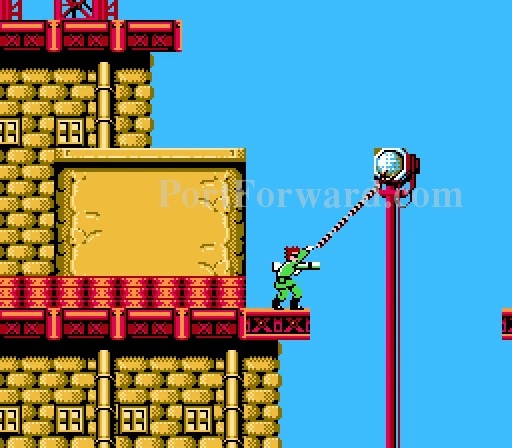
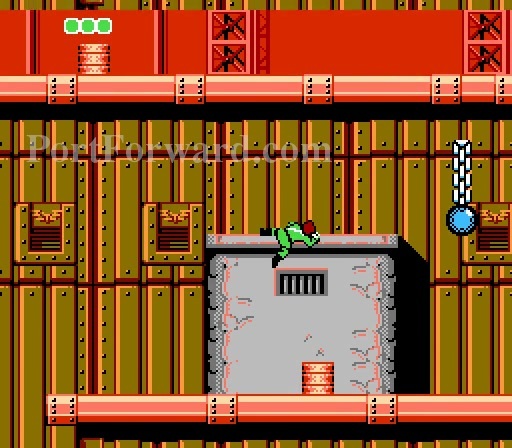
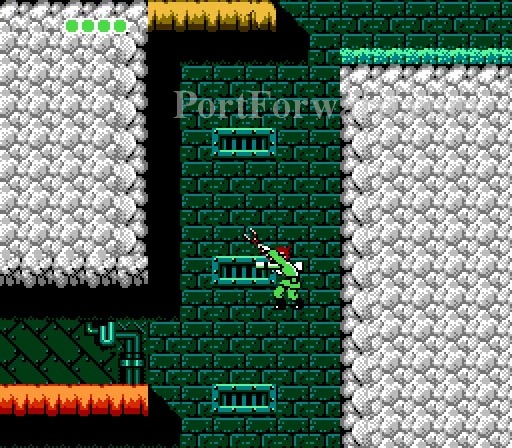
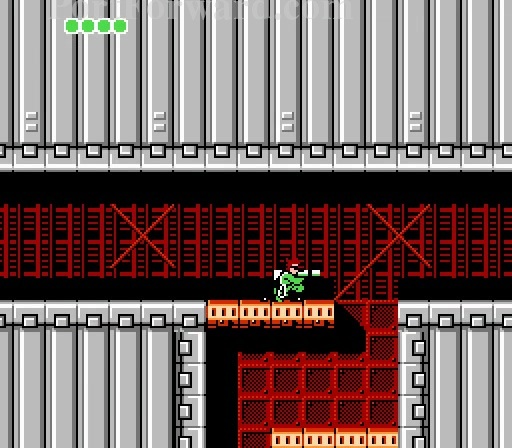
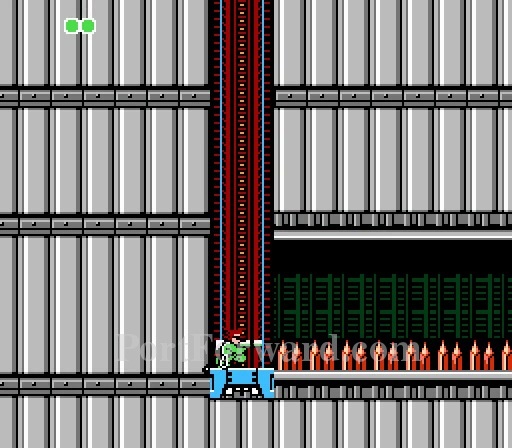
You can stand on top of the light for only a split second before you slide off.

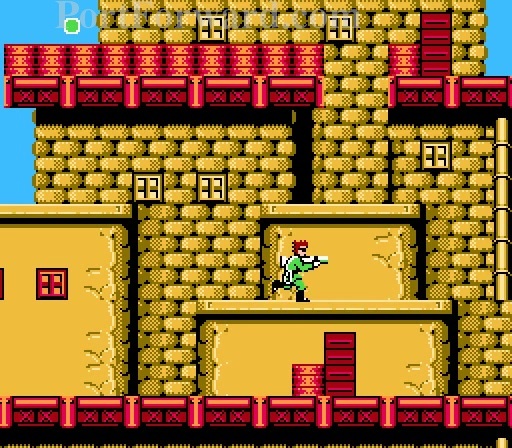
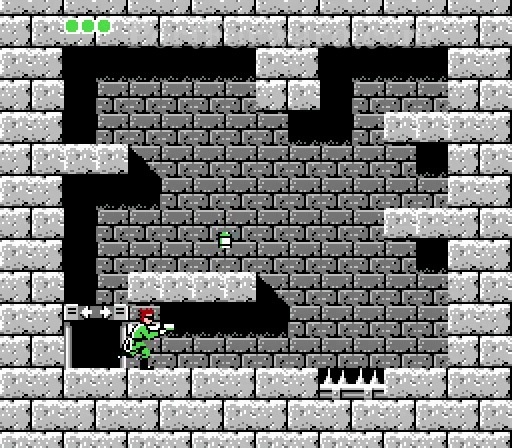
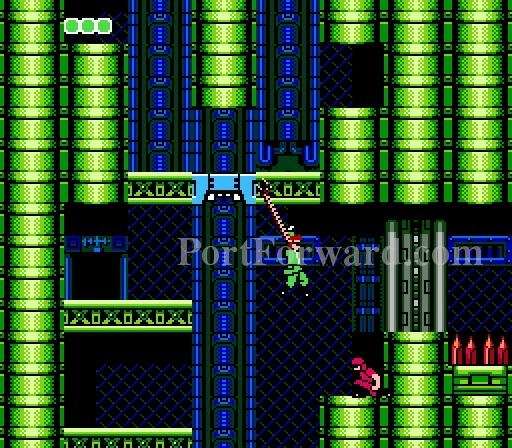
Time to start climbing up here.
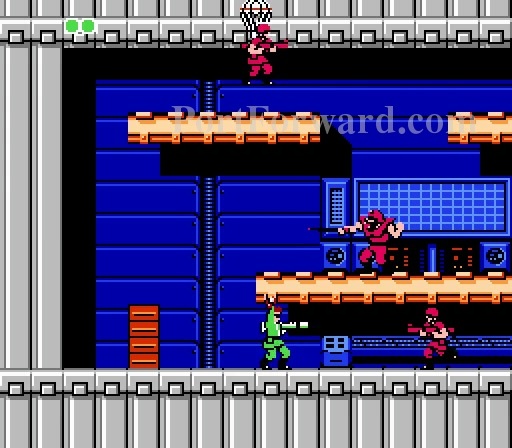
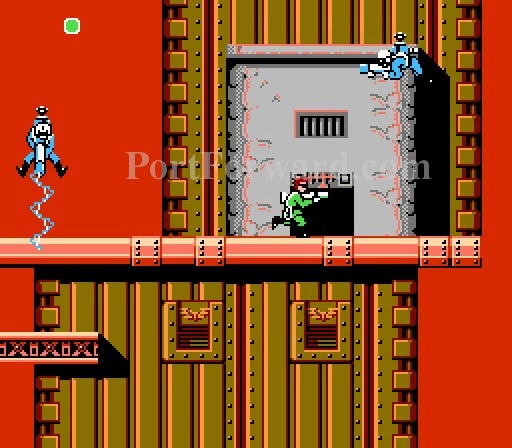
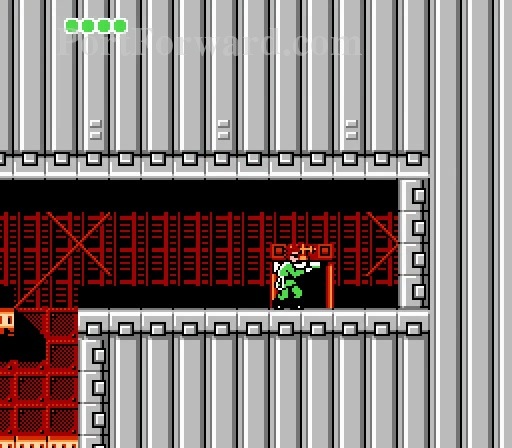
Enemies will come out of the door and start shooting.
You got your first hit point. Now you can take an extra hit.

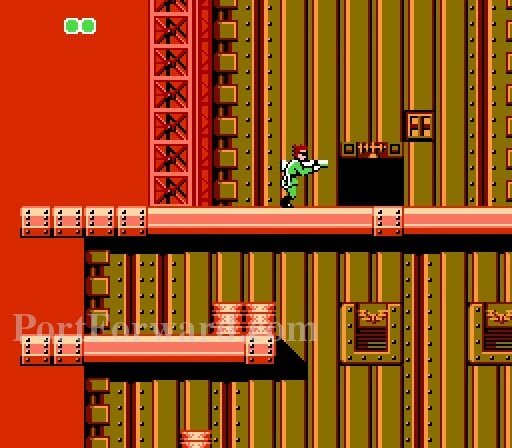
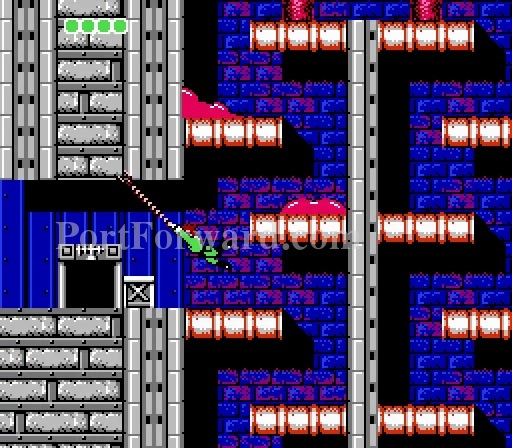
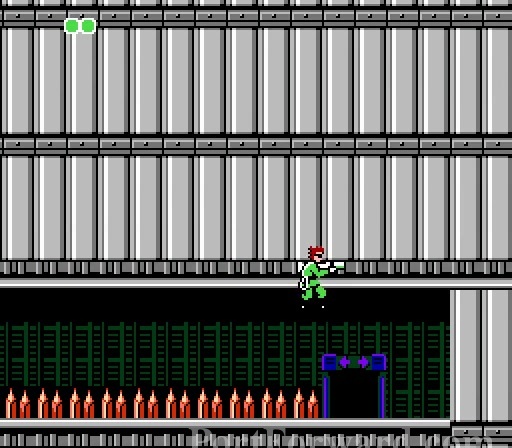
Enter this door. It would be closed if you didn't enter the communication room earlier.
Go down the elevator to the right.

As you go down, head right and enter this door.
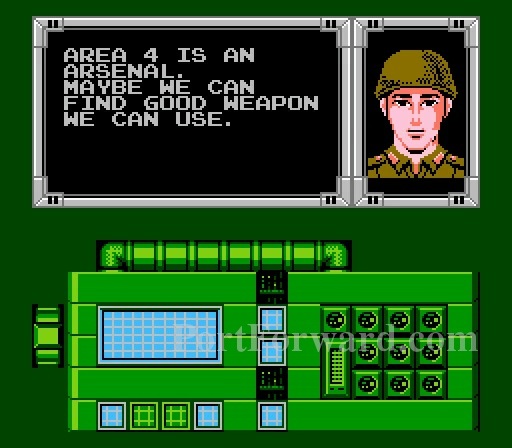
Communicate: AREA 4 IS AN ANSENAL. MAYBE WE CAN FIND GOOD WEAPON WE CAN USE.
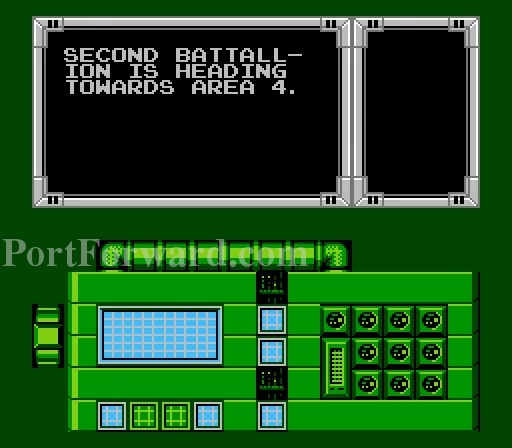
Wiretapping: SECOND BATTALL- ION IS HEADING TOWARDS AREA 4.
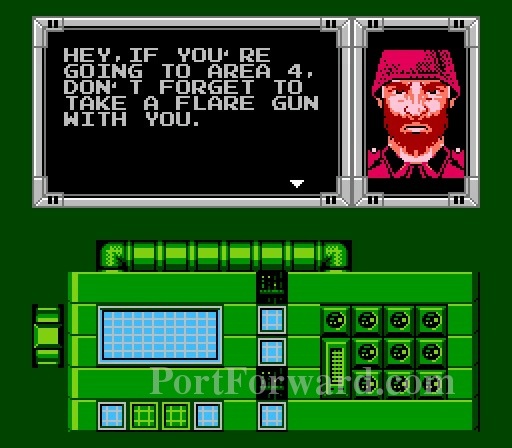
HEY,IF YOU'RE GOINT TO AREA 4,DON'T FORGET TO TAKE A FLARE GUN WITH YOU.
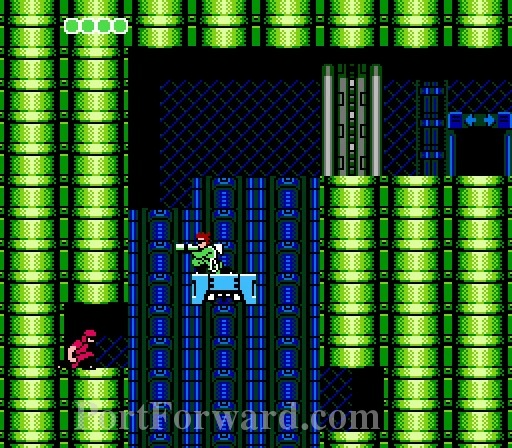
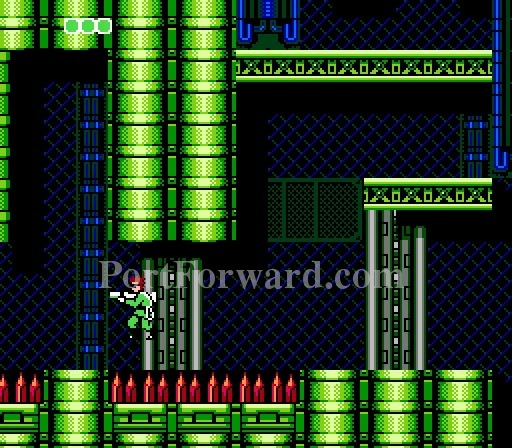
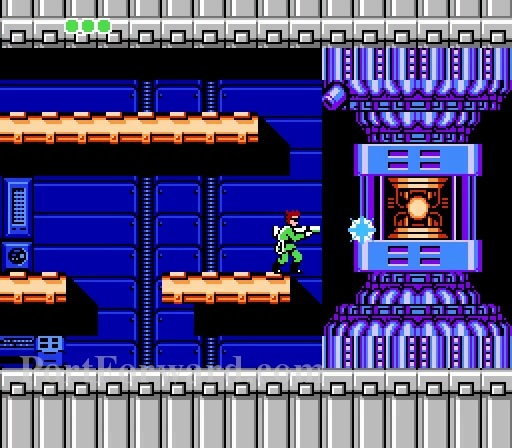
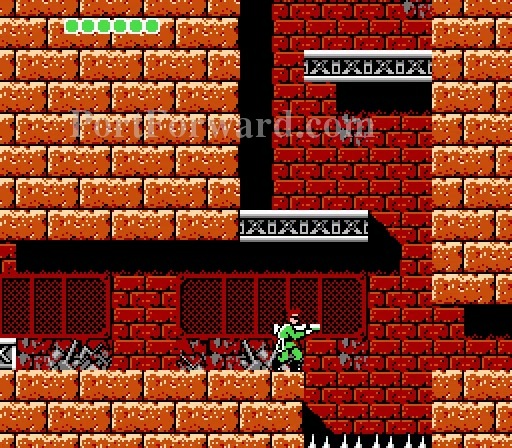
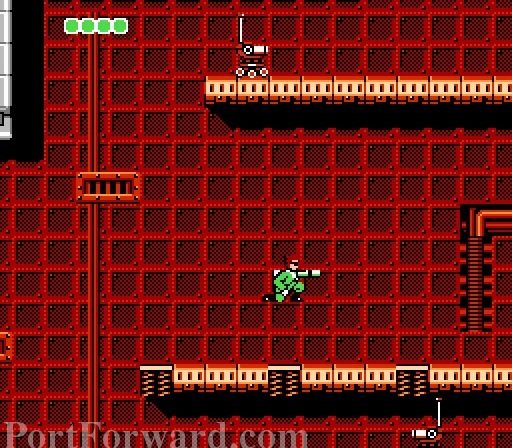
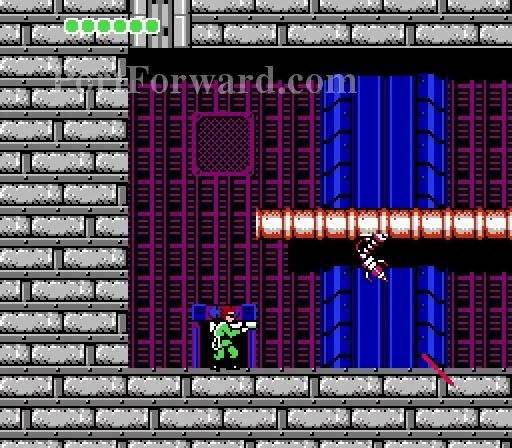
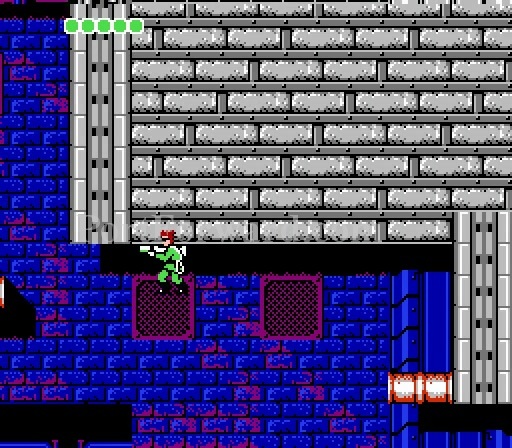
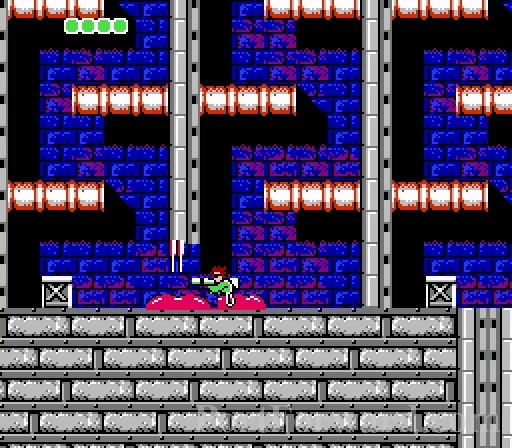
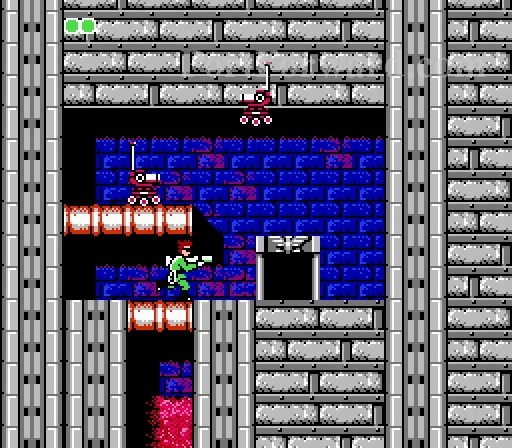
After you exit, swing to the left.

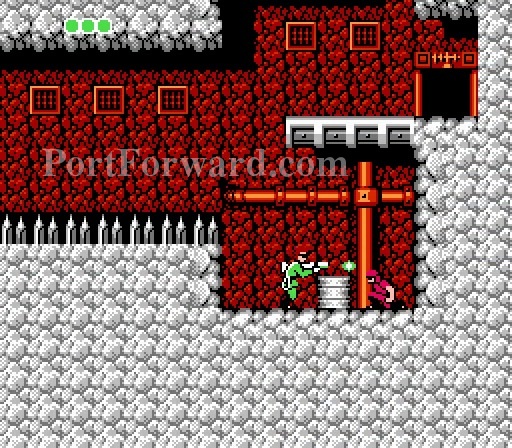
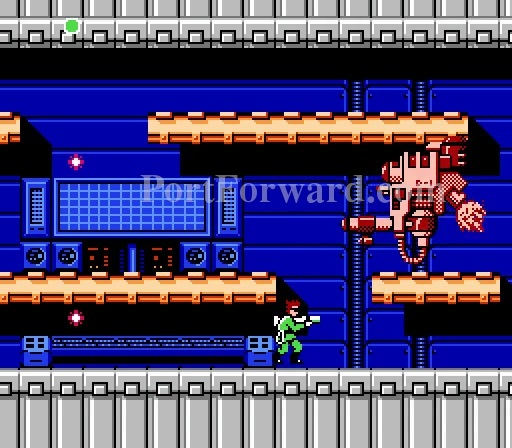
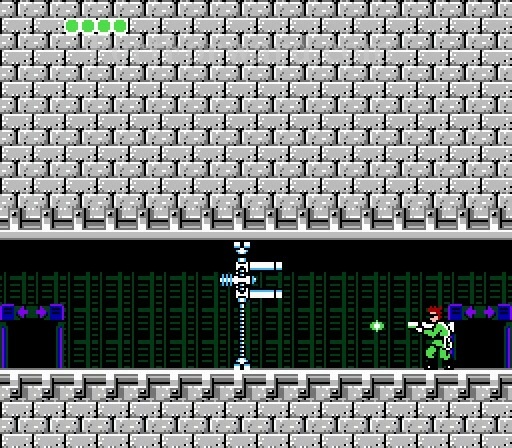
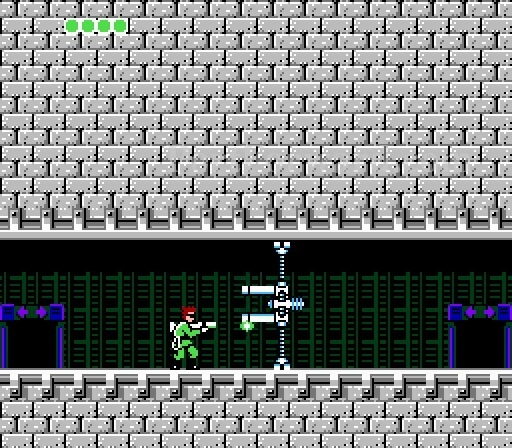
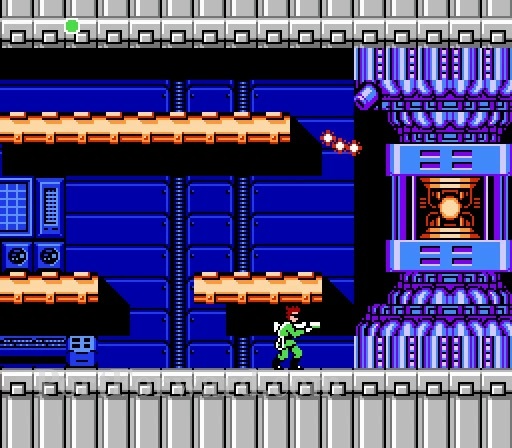
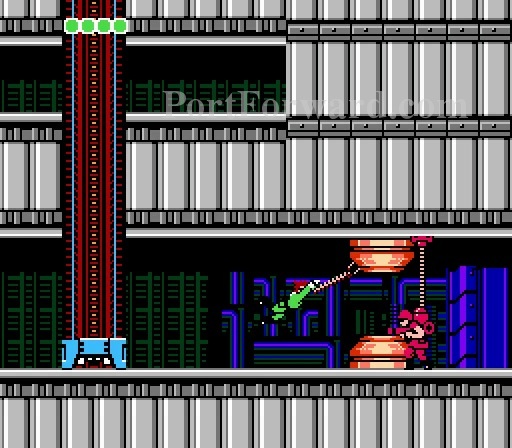
Grapple up and shoot this robot.

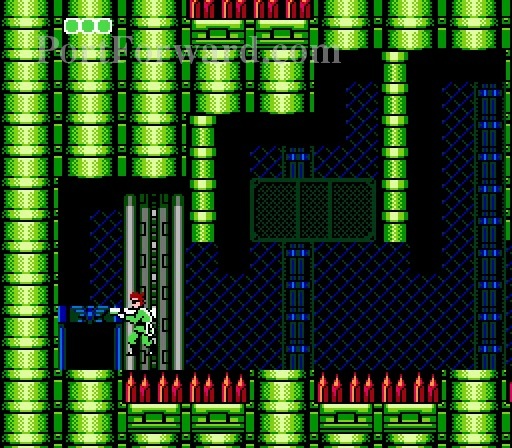
Watch of for this guy's bazooka fire. Kill him quickly or grapple up to avoid the fire.

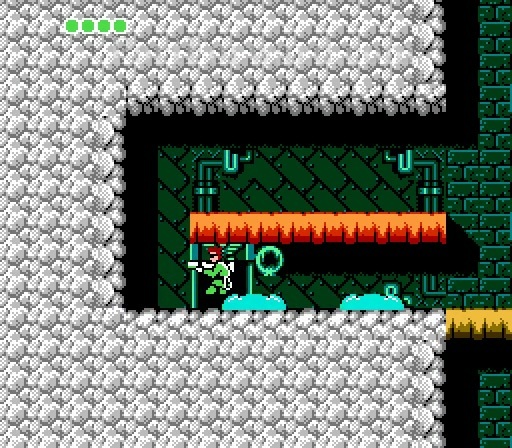
Some item will parachute in to help you.

This one contains a barrier to protect you from damage for a little while.

You got another hit point.

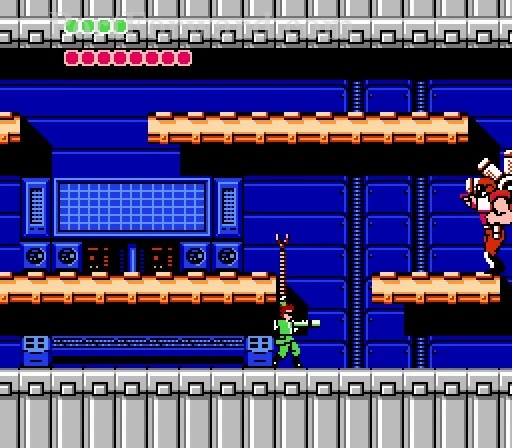
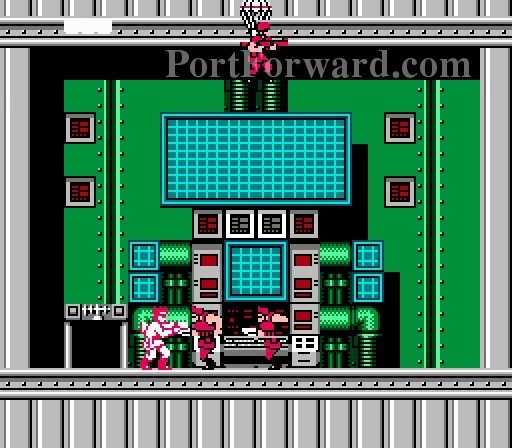
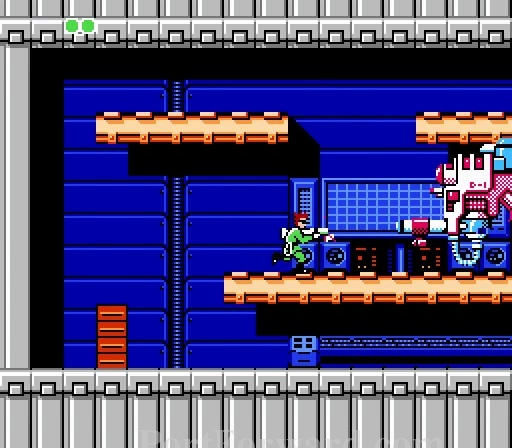
Enter this room to the boss door.

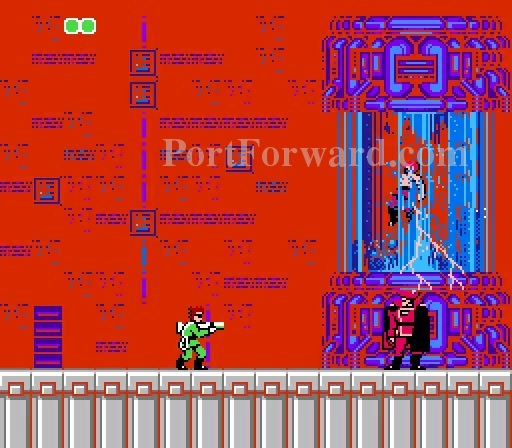
SO,YOU THINK YOU CAN DESTROY THE MAIN SYSTEM? YOU HAVE NO CHANCE!
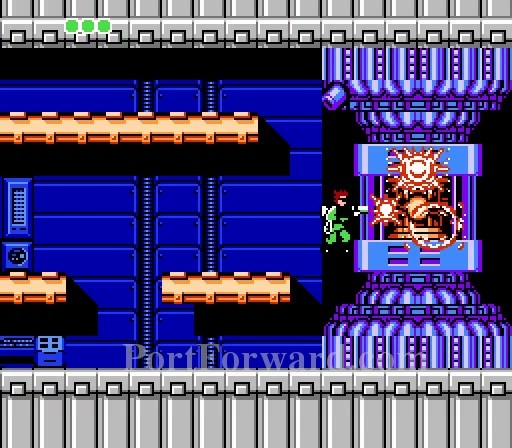
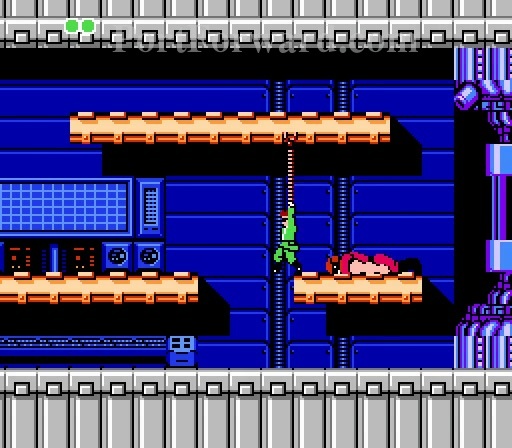
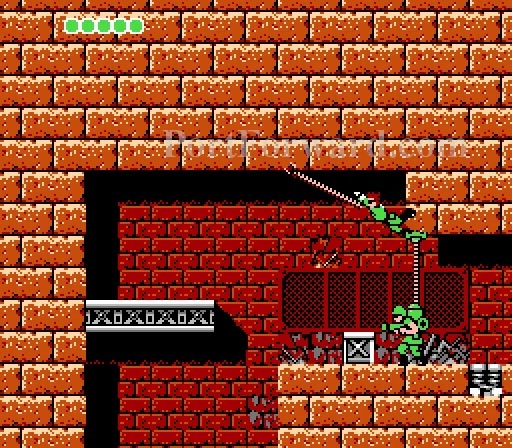
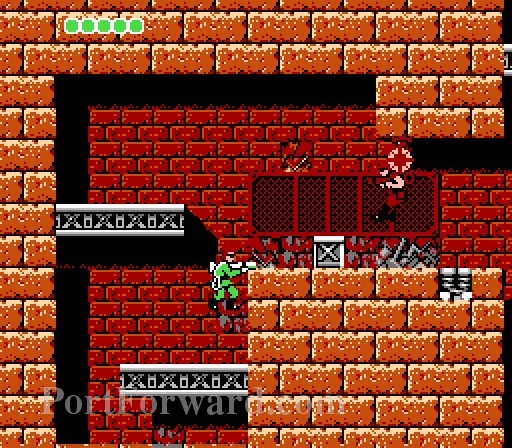
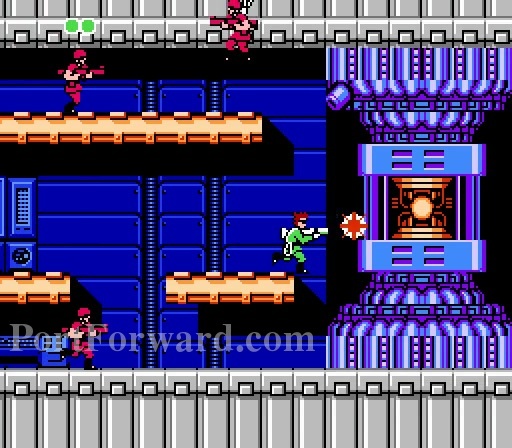
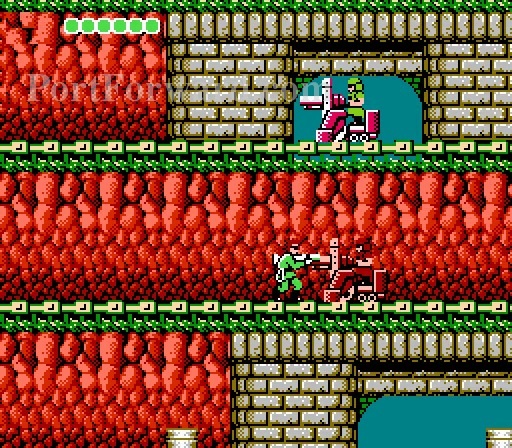
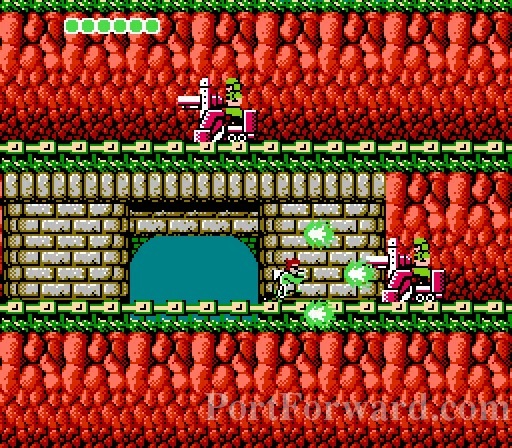
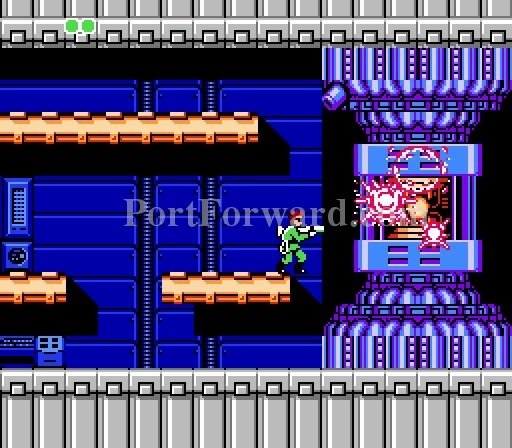
Blast away any enemies in the way.
Your aim is to destroy this core.

Shoot any enemies that interfere.

After enough shots and the core is destroyed.

WE'VE OBTAINED ENERGY RECOVERY PILLS

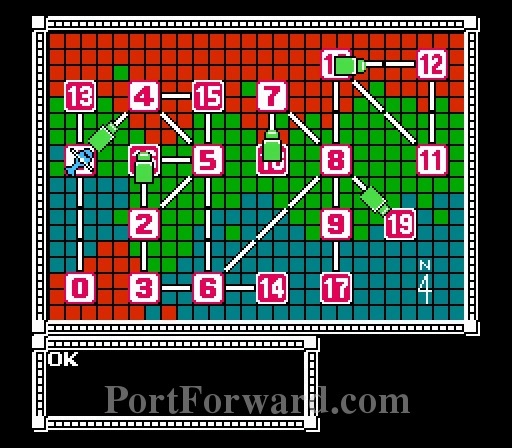
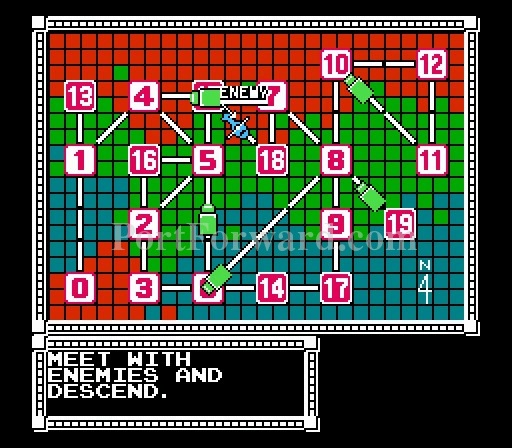
Now you will decide which way to go. You can go to 4 now but I advise you go to Area 13 first.
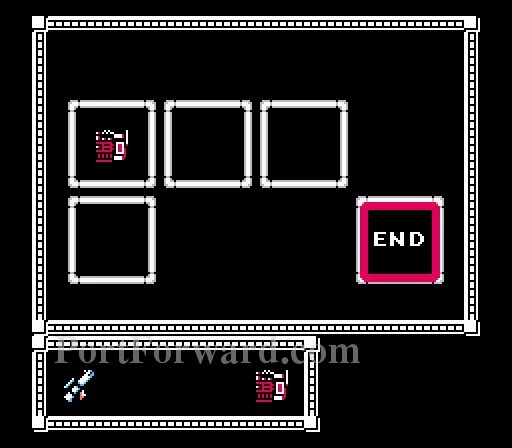
Bionic Commando Walkthrough Area 13
Once again, you only have these options.

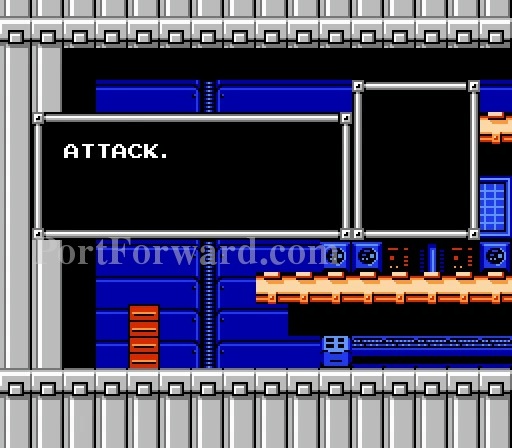
THIS IS A NEUTRAL AREA. ALL ACTS OF HOSTILITIES ARE

PROHIBITED IN THIS AREA. IF VIOLATED,YOU WILL BE

ATTACKED.

Enter this door.
You get a canister inside.

WELCOME, MY FRIEND. WE'VE PREPARED SOME FLARE BOMBS

FOR YOU. YOU WILL NEED THEM IN AREA 4. PUSH START

BUTTON TO USE THEM.
Enter this door.
These are the flares for Area 4.
If you shoot with in the neutral area, the neutral guards attack you.
Off to Area 4. I'll mention this once. You may randomly touch one of the trucks on the screen. That leads to an overhead encounter but more on that later.
Bionic Commando Walkthrough Area 4
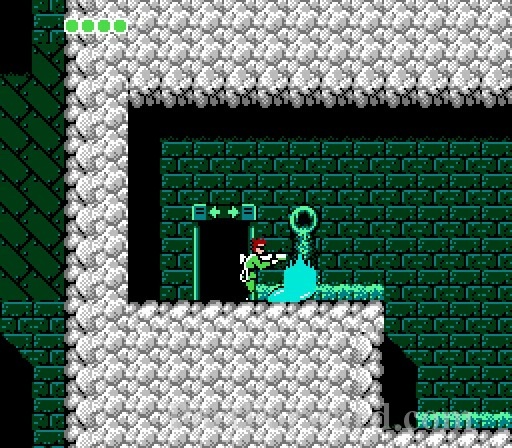
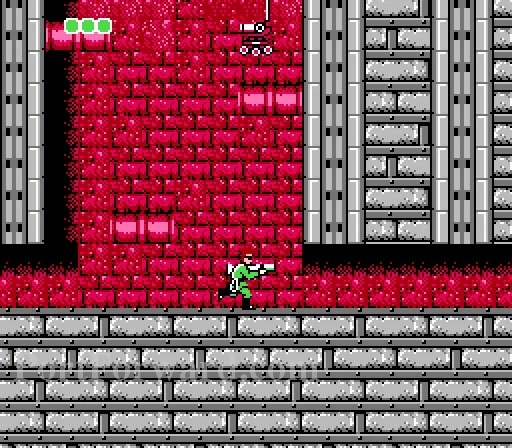
Arm the flares. You will need them.

Head to the right.

It's dark in here.
Press Start to launch the flare.

It will light up this dark room to see where you are going.
As you can see there were spikes down below. Enter the door above.
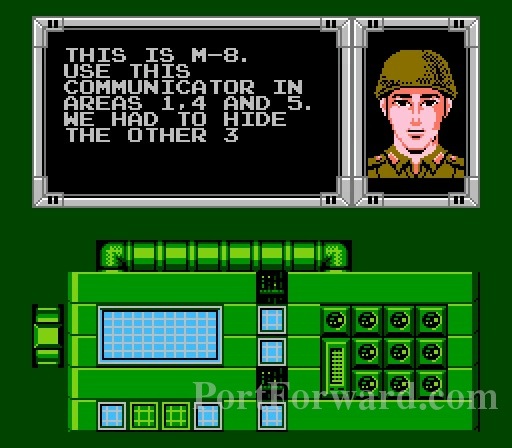
Communication: THIS IS M-8. USE THIS COMMUNICATOR IN AREAS 1,4 AND 5. WE HAD TO HIDE THE OTHER 3
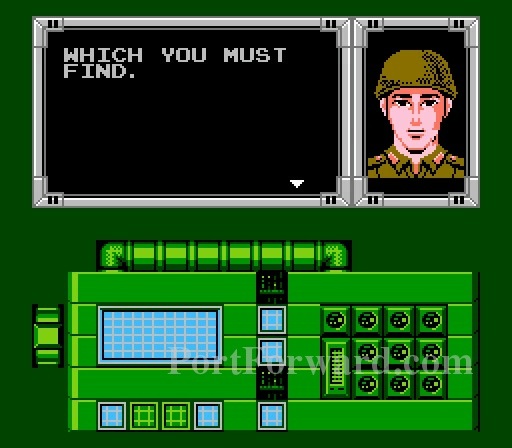
WHICH YOU MUST FIND.

Wiretapping: HE'S TOO STRONG FOR US.
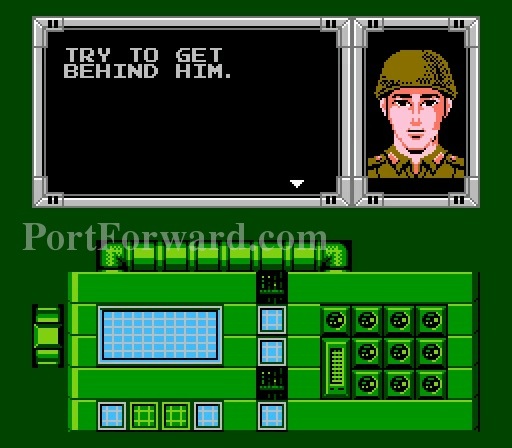
TRY TO GET BEHIND HIM.
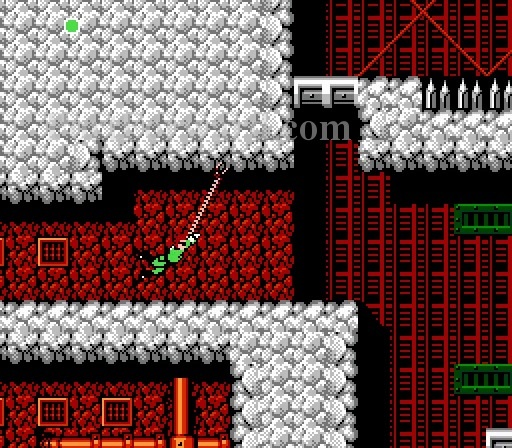
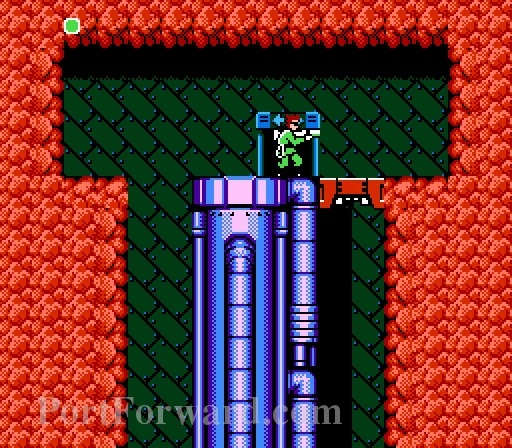
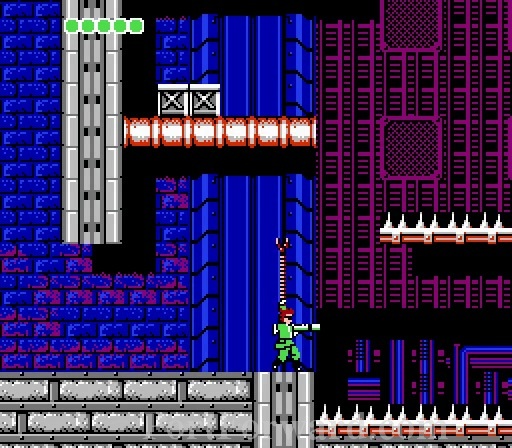
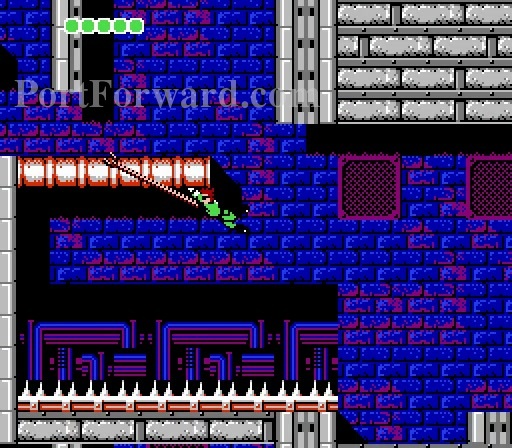
Time this swing to get underneath that platform up there then grapple upwards to pull yourself up.
Don't land on the spike. They are super deadly.
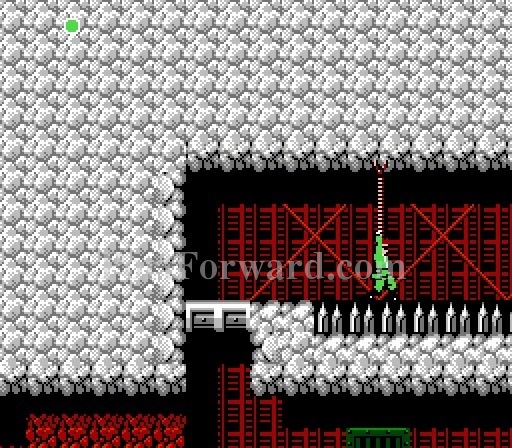
At the end, enter this door.

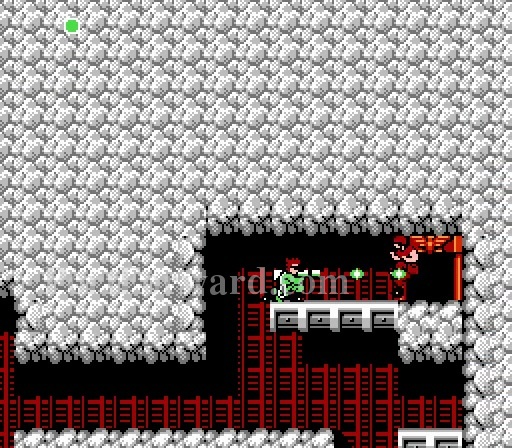
YOU'RE A FOOL IF YOU THINK I'LL LET YOU HAVE ANY WEAPONS.
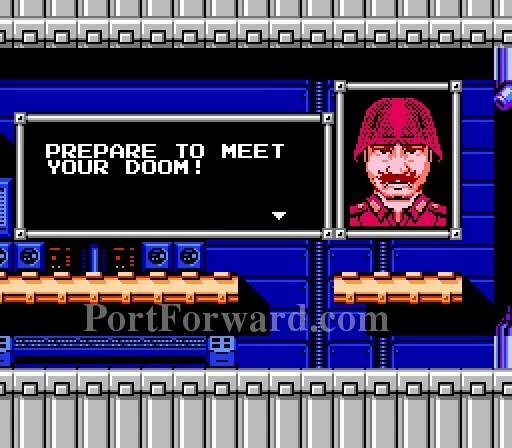
PREPARE TO MEET YOUR DOOM!

This boss can't be hit from the front. You must get behind him to hurt him. If you are above him, he'll try to pull you down to him.
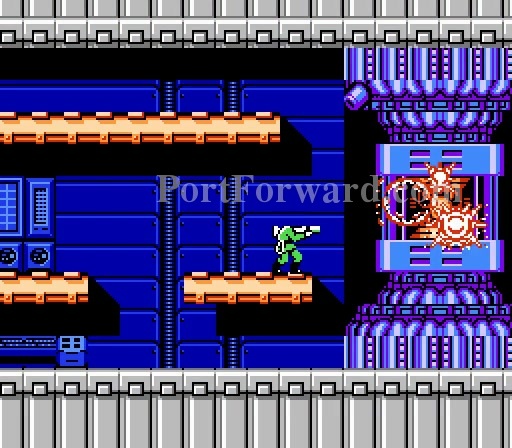
You can defeat him if you want but destroying the core will end the fight immediately.

WE'VE OBTAINED WIDE CANNON
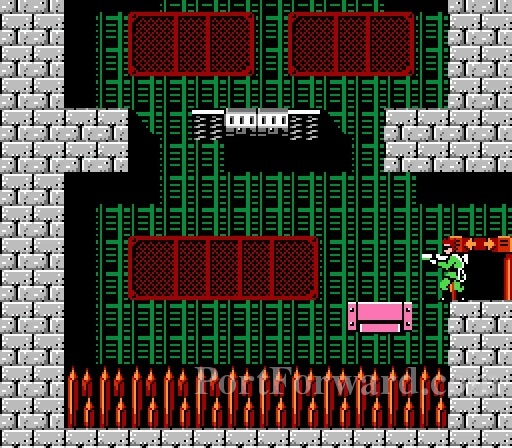
Bionic Commando Walkthrough Area 15

It doesn't mattter what you equip right now. You don't need flares anymore anyway.
Enter this first door.
There is a one up here.
You must fire a shot to get in this door or the barrier will block you. Shooting will remove the barrier but alert the guards.
This is the Delta Communicator. In the Japanese version, this would be the last communicator you could get because the barrier outside could only be destroyed by a 3-way gun.

Enter this door for info on Joe.

WE'VE LOCATED JOE! HE'S AT P.O.W. CAMP IN AREA 7.
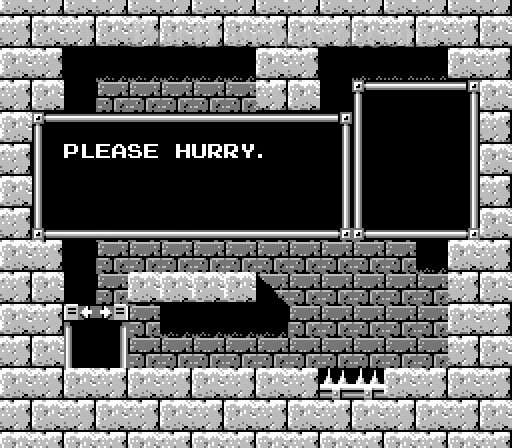
PLEASE HURRY.
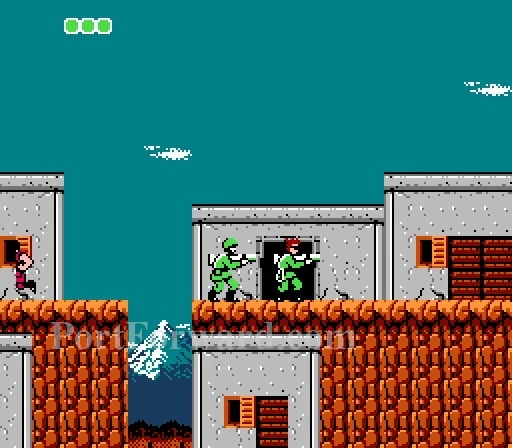
Bionic Commando Walkthrough Enemy Encounter

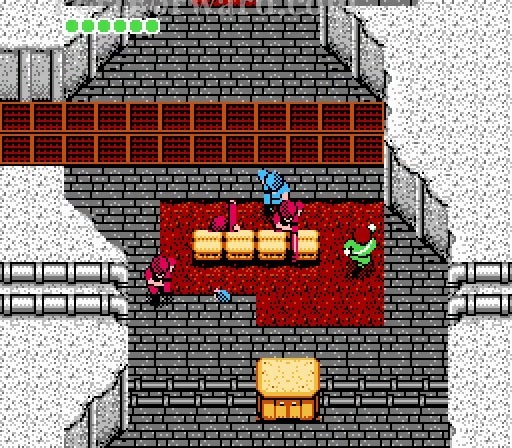
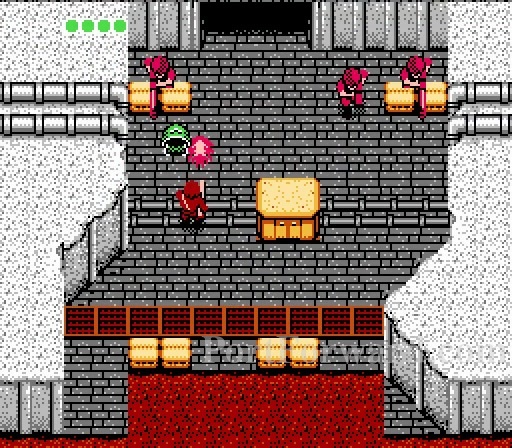
This is an enemy encounter. There are several different ones. You must shoot your way upward.
Watch out for these jeeps. They can run you over.

Blow past these guards in the baracks.

Collect the symbol and exit through this hatch.
Bionic Commando Walkthrough Area 5
This is your setup for this level.
This music sounds like something out of a Mega Man game (more like a Wily level). You are to climb up the level.
The boulder is no threat here since it will never get to you.

But other boulders will run rampant.
Enter this door here.
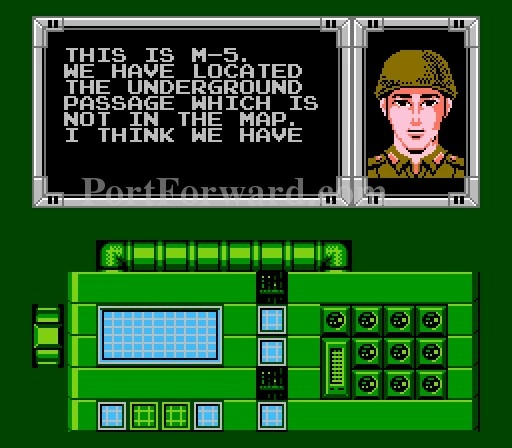
THIS IS M-5. WE HAVE LOCATED THE UNDERGROUND PASSAGE WHICH IS NOT IN THE MAP. I THINK WE HAVE

FOUND SOMETHING.

Wiretapping: AAAWHO IS AWAKENING ME?
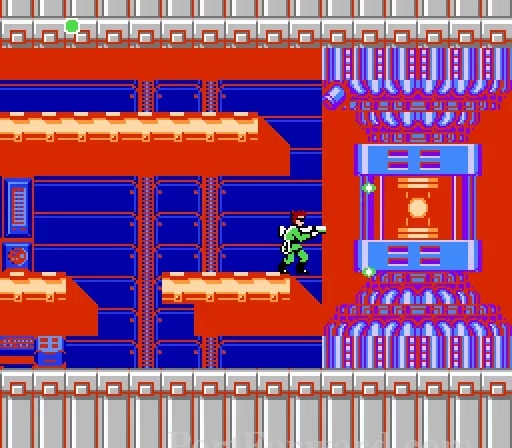
These flying guys will blast you when in range.
Get into this door next.

Communicate: ARE YOU FROM THE FEDERATION? I'M A SPY FOR THE FEDERATION. I JUST SAW THAT JOE WAS TAKEN
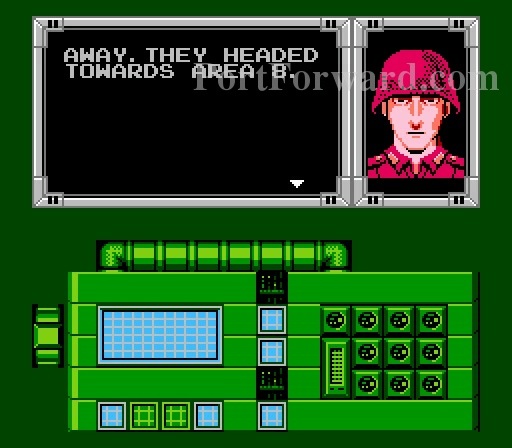
AWAY. THEY HEADED TOWARDS AREA 8.
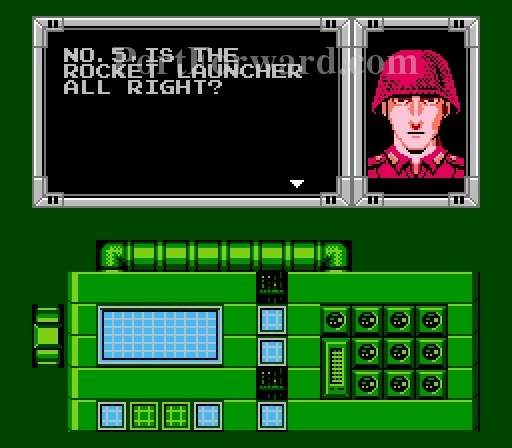
Wiretapping: NO.5,IS THE ROCKET LAUNCHER ALL RIGHT?

YEAH,IT'S FINE.
These springs are technically what makes you jump. Use them throughout the game to reach higher places.
This is the boss door at the top. You may enter.
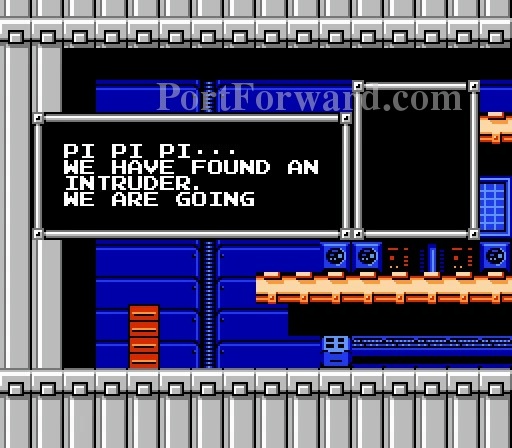
PI PI PI WE HAVE FOUND AN INTRUDER. WE ARE GOING TO
ATTACK.
Get close and the machine's shots will miss.
Destroy it then destroy the core.

WE'VE OBTAINED ROCKET LAUNCHER
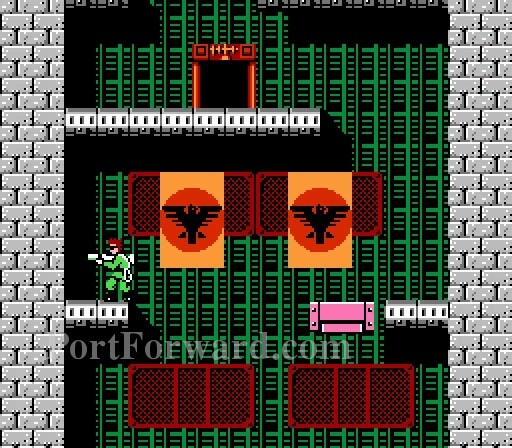
Bionic Commando Walkthrough Area 16
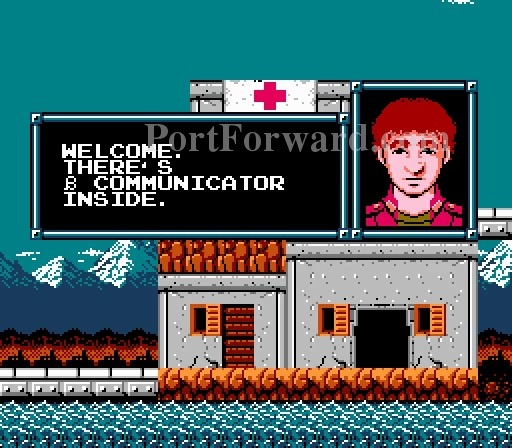
WELCOME. THERE'S COMMUNICATOR INSIDE.
This is a Beta Communicator. You need it for level 2, 3, and 6.
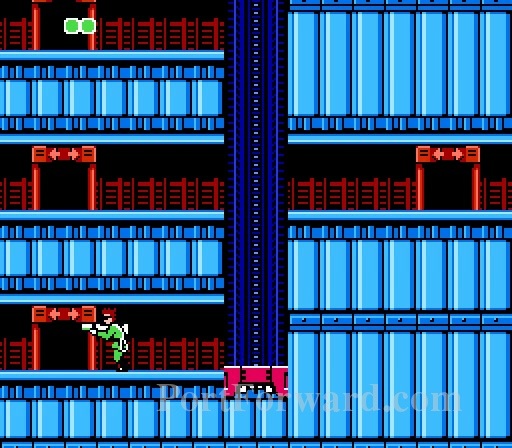
Bionic Commando Walkthrough Area 2
Use the green communicator (beta) here.

Defeat this guy and go inside.
These slimes will carry you along the floor.

Make your way up the level.

Use the springs to reach grapple the ledge above.
With the Rocket Launcher you can take out just about anybody in no time flat.
Grapple to this door and enter.
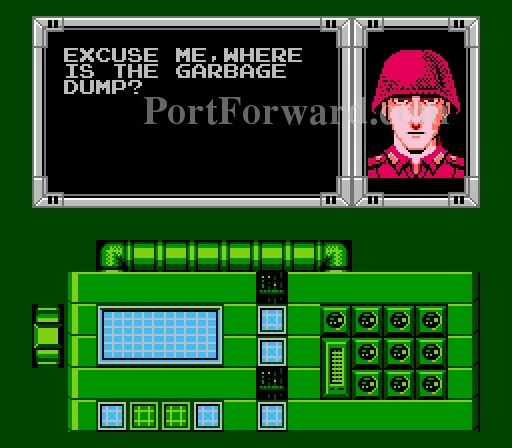
Wiretapping: EXCUSE ME,WHERE IS THE GARBAGE DUMP?
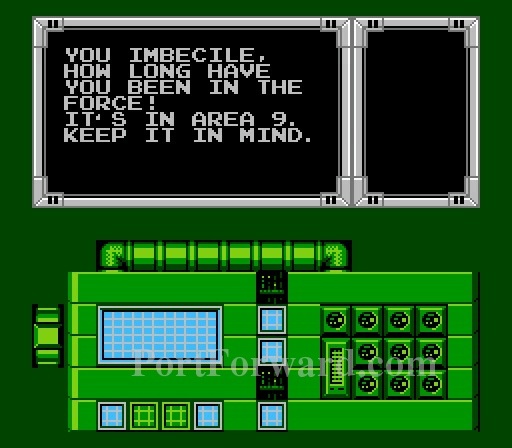
YOU IMBECILE, HOW LONG HAVE YOU BEEN IN THE FORCE! IT'S IN AREA 9. KEEP IT IN MIND.
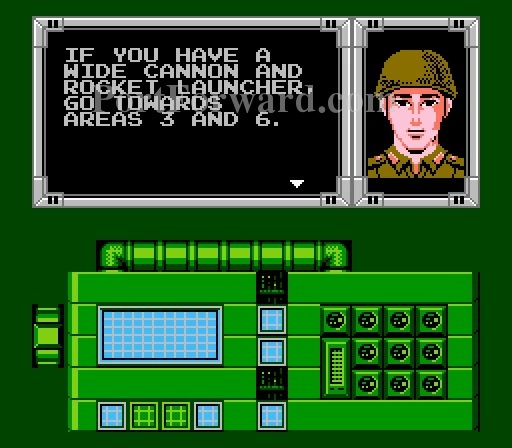
Communicate: IF YOU HAVE A WIDE CANNON AND ROCKET LAUNCHER,GO TOWARDS AREAS 3 AND 6.

Grapple along the top to land here.
Fall down to here.
Enter this door.

ATTACK!! LET'S SHOW WHAT THE 2ND PLATOON CAN DO!
The Rocket Launcher destroys the core in 2 hits.

WE'VE OBTAINED PENDANT
Bionic Commando Walkthrough Area 3

This is the recommended setup.
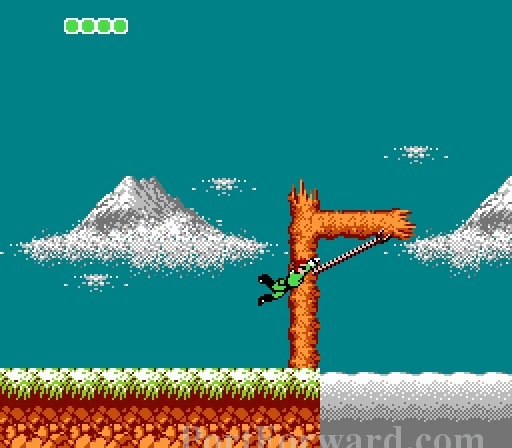
Don't sink to far into the snow so grapple and swing over it.

A good swing will make you miss the snow completely.

If you land in the snow, get close to a branch and pull yourself out.

Careful with these Venus Fly Traps. They surprise you out of nowhere when walking on the ground.

Get past these crabs and enter the mountain.
Ride down the elevator and pick off anybody in the way.
Enter this door.
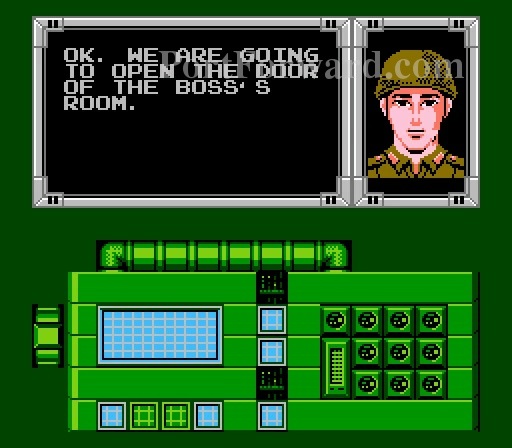
Communicate: OK. WE ARE GOING TO OPEN THE DOOR OF THE BOSS'S ROOM.
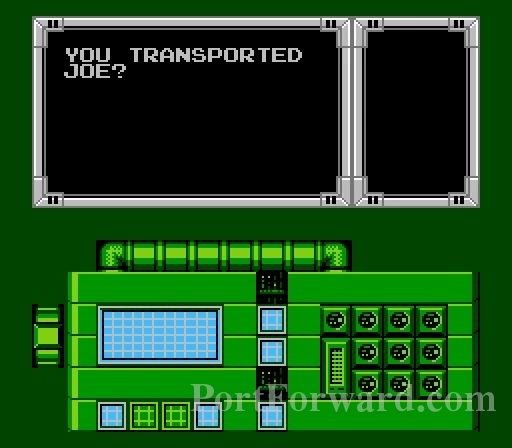
Wiretapping: YOU TRANSPORTED JOE?

YEAH,OVER TO DISPOSAL AREA. HEROES ALWAYS LOOK GOOD.
Sometimes enemies will attack after you wiretap. Just kill anyone in the way and escape.
Swing to the right.
Carefully land on the platform.
Careful swinging will land you here.
Just blast this guy once with Rocket Launcher and it is history.
Destroy the core.

WE'VE OBTAINED RAPID FIRE DEVICE
Bionic Commando Walkthrough Area 6

The setup here.

You need the Rocket Launcher to knock down this wall.

Watch out for spikes popping out of the water when swinging.

Grapple and climb onto the light then quickly grapple upwards before you slip off to get the 1up.

This guy tosses up mines.

Swing across these lights.

You want to land here and enter.

Avoid the rolling spikes.

These are the guys that throw them.

Use the springs to grapple up there.

Enter this door.
This guy blocks bullets so it is best to grapple onto the upper platform but don't climb on it then shoot him as you drop down.

Fortunately he can't go to the ground level but when above or in front, he can grapple you and pull you into him.
He just got killed by the strategy I mentioned earlier. Now finish the core off.

WE'VE OBTAINED PERMIT
Bionic Commando Walkthrough Area 14
Watch for the spike balls popping in and out of the water.
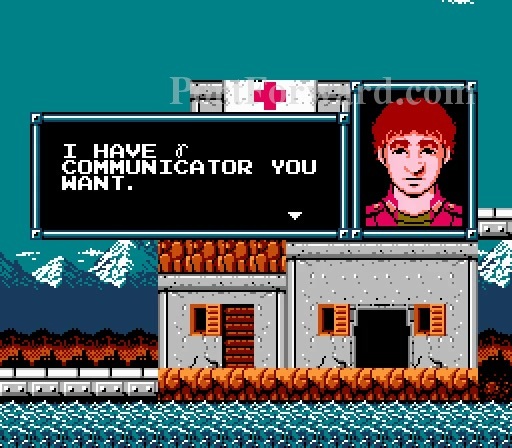
I HAVE Gamma COMMUNICATOR YOU WANT.
This is a Gamma Communicator for area 7, 8, and 9.
Enter this door.
There are 10 cannisters you can get.
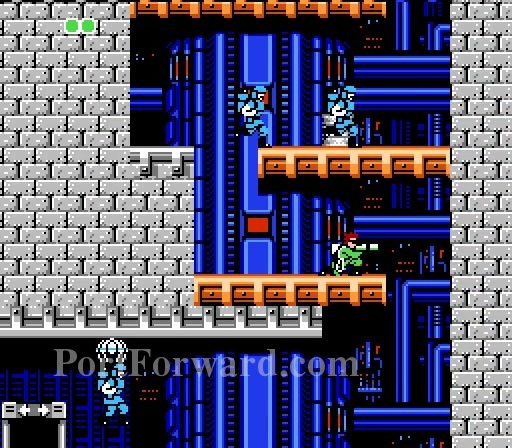
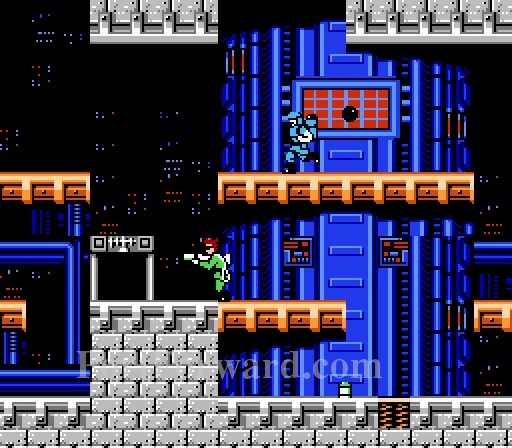
Bionic Commando Walkthrough Area 8

This time use the Gamma (blue) communicator.
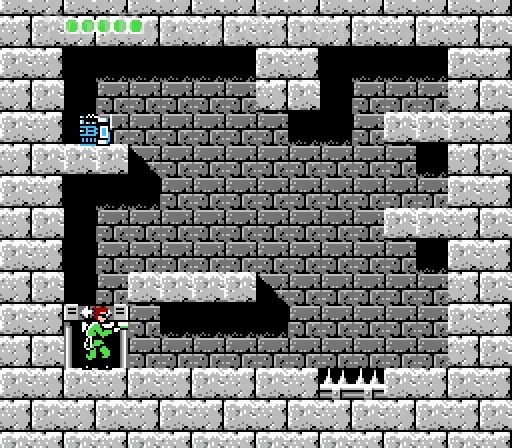
This level is a maze as it has many doors. Start by climbing up the right side.

Go into this door here.
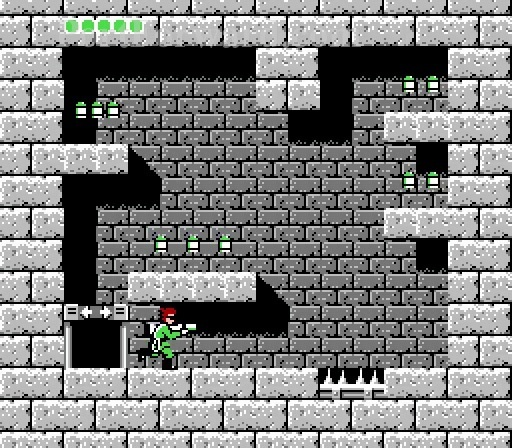
Shoot down this dual gun by getting level with it.
Then exit out this door.

Get onto the elevator.

Enter this door.
Shoot this gun down.
Then enter this door.
This enemy tries to attack you with bombs. He will grapple up when you are on the ground and drop when you grapple up to meet him. Hit him as you switch level planes.

Then enter this door.

Which door shall I take.
Don't try this one.

Take this one.
Grapple your way up.

The blue guys launch napalm bombs.
Enter this door.
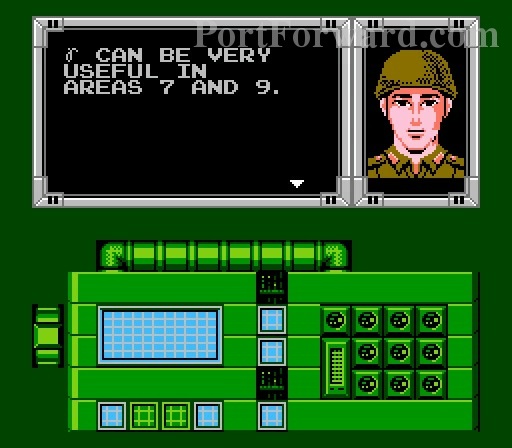
Communicate: Gamma CAN BE VERY USEFUL IN AREAS 7 AND 9.
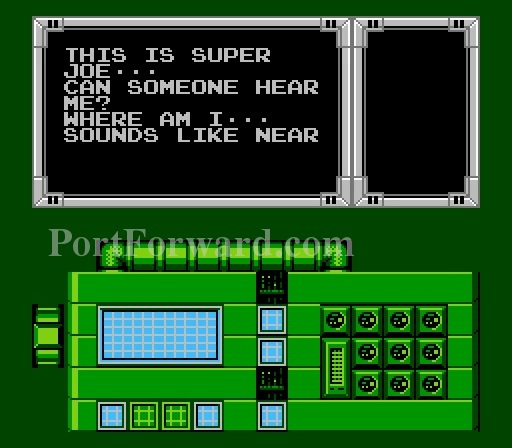
Wiretapping: THIS IS SUPER JOE CAN SOMEONE HEAR ME? WHERE AM I SOUNDS LIKE NEAR
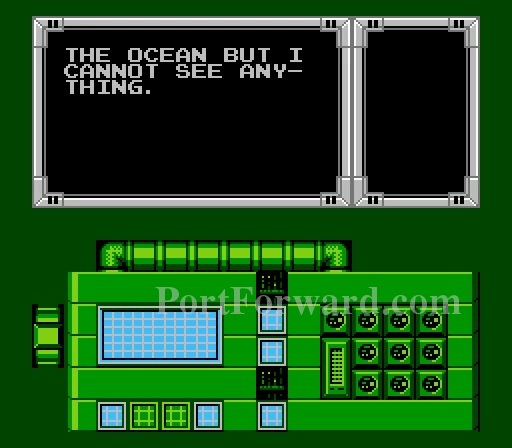
THE OCEAN BUT I CANNOT SEE ANYTHING.
Grapple your way up to the top left area and enter the door.

Kill this gun and proceed.
Don't fall into the spikes. Get onto the moving platform then pull yourself up.
Use the springs to jump to the left or right.
Grapple up from there and get into the door.
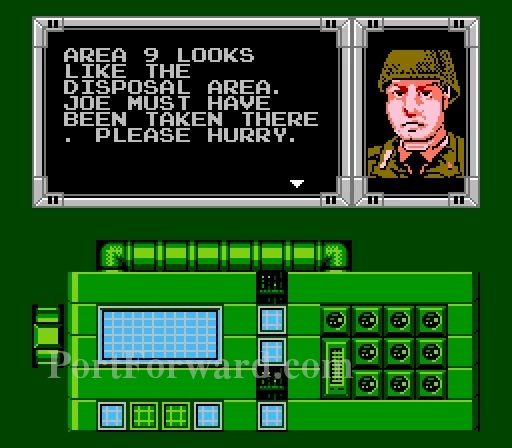
Communicate: AREA 9 LOOKS LIKE THE DISPOSAL AREA. JOE MUST HAVE BEEN TAKEN THERE. PLEASE HURRY.
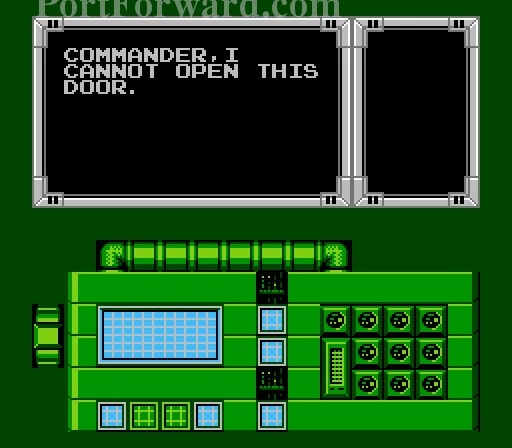
Wiretapping: COMMANDER,I CANNOT OPEN THIS DOOR.

I TOLD YOU TO MEMORIZE THE NUMBER, YOU IDIOT!
Once out, enter this door.

Another room to choose.

Just head into this door as that's the boss room.

SO, YOU THINK YOU CAN DESTROY THE MAIN SYSTEM? YOU HAVE NO

CHANCE!
Same fight as before except the cannons above the core actually shoot this time..

WE'VE OBTAINED IRON BOOTS
Bionic Commando Walkthrough Area 18

I AM DESTROYER-1. DO YOU HAVE NEED FOR A
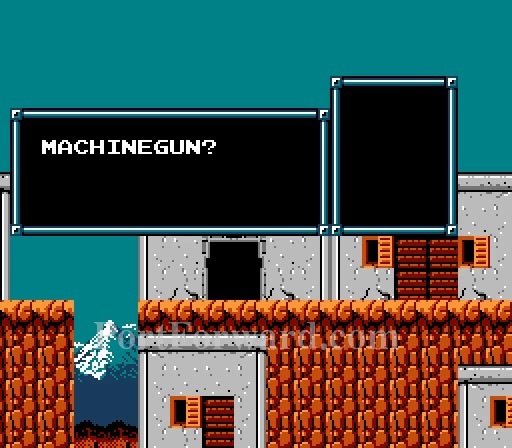
MACHINEGUN?

Say yes

OH YES,SOMEONE JUST ASKED ME TO TELL YOU THAT Delta IS IN TOWN

LOCATED BETWEEN THOSE MOUNTAINS. DO YOU KNOW WHAT IT MEANS?
Enter this room for the machinegun.
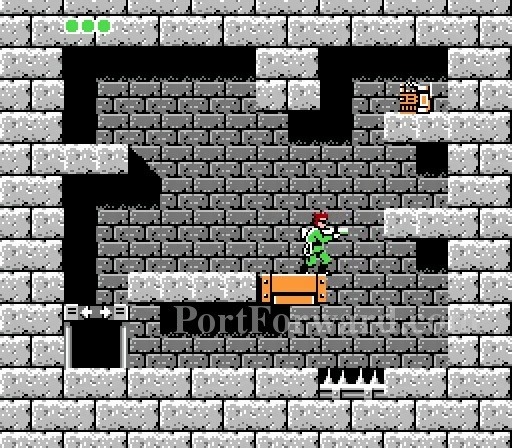
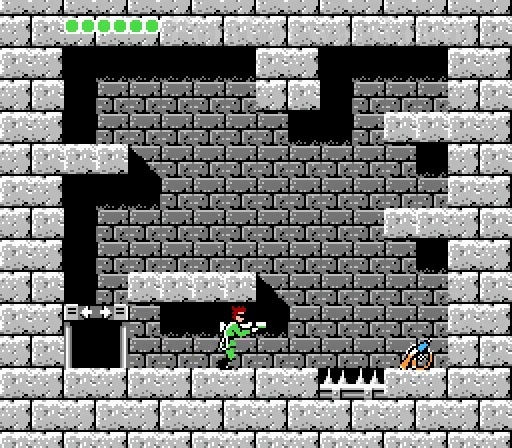
Bionic Commando Walkthrough Area 9

The setup for this level.
Another enemy that will try to stay unlevel with you except he shoots bullets.
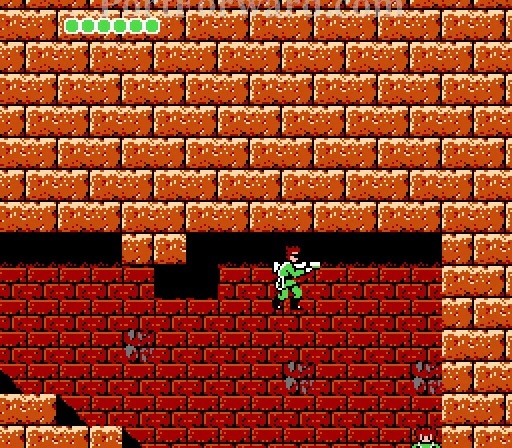
Swing your way along the top to get this 1up.
Fall down the shaft.
It looks tempting to go right but go up instead.
It's hard to hit this guy.
So shoot him as you fall.
Enter this door.

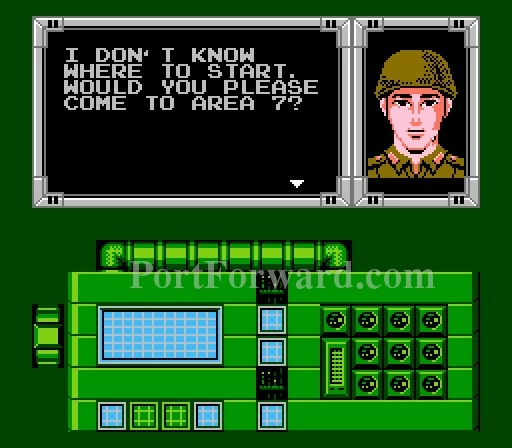
Communicate: THIS IS M-2. WE'VE CAPTURED THE ENEMY. I WANT TO KNOW ABOUT THE UNDERGROUND PATH BUT
I DON'T KNOW WHERE TO START. WOULD YOU PLEASE COME TO AREA 7?
Note: It's actually Area 17.
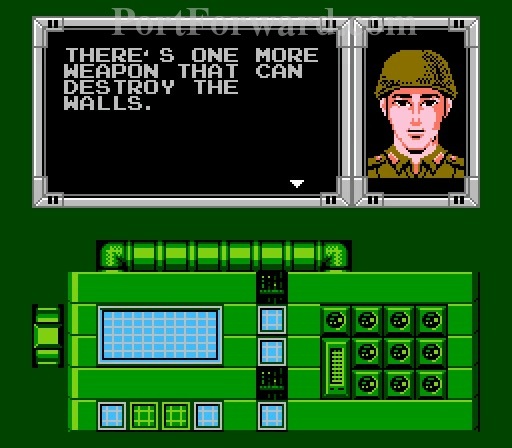
Wiretapping: THERE'S ONE MORE WEAPON THAT CAN DESTROY THE WALLS.

Those moving platforms can damage you if they run you over.
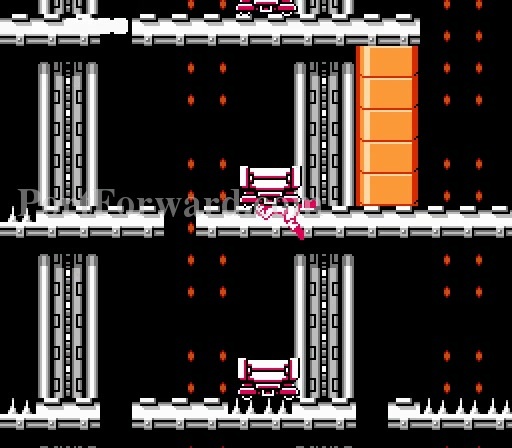
As seen here.

The boss door is right here.

YOUR EFFORT IS WASTED. WE'VE JUST TRANSFERED JOE
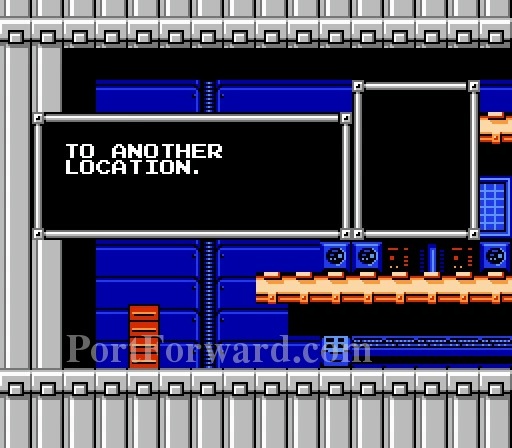
TO ANOTHER LOCATION.
Just climb up and blast everyone in sight.
Two good Rocket Launcher shots and bye bye core.

WE'VE OBTAINED 3-WAY
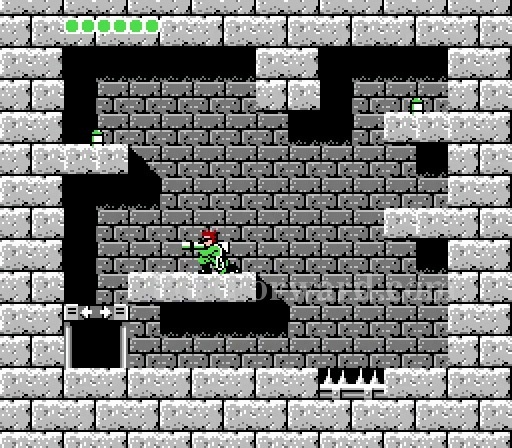
Bionic Commando Walkthrough Area 17

WE WERE WAITING FOR YOU. PLEASE COME IN.

OH,WE'VE GOT A LITTLE BOY NOW?
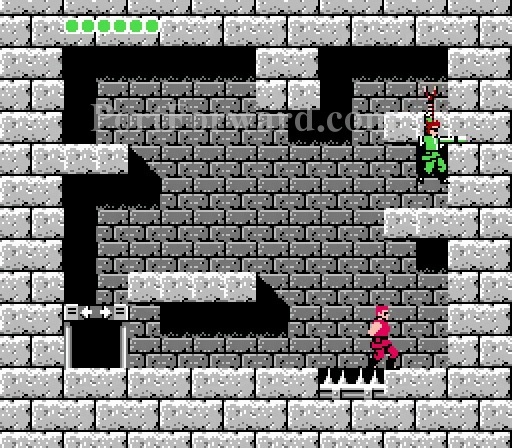
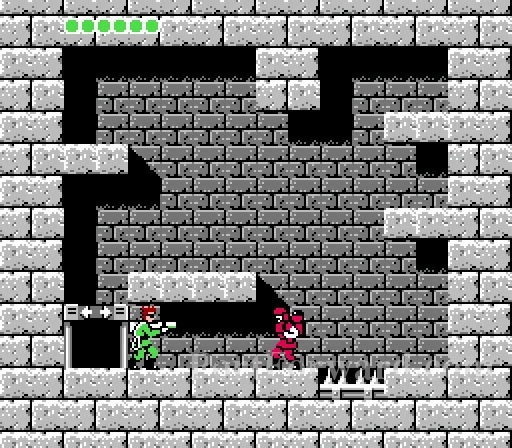
Swing over to his side to make him talk. In the Japanese version, you would have to hit him with your Bionic Arm to make him talk and hitting him 255 times would make him yield all weapons and items in the game.
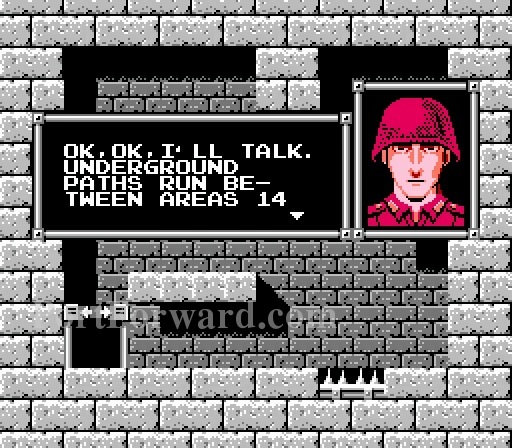
OK,OK,I'LL TALK. UNDERGROUND PATHS RUN BE-TWEEN AREAS 14
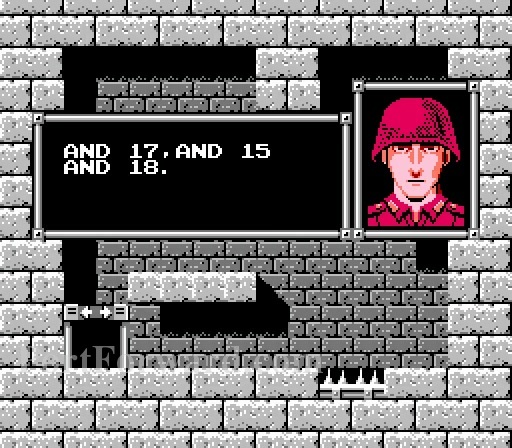
AND 17,AND 15 AND 18.

Between 14 and 17 is an overhead battle.
The blue guy lobs grenades.
Grab the helmet before leaving.
Another encounter between 15 and 18.
Nothing special here but it needs to be completed to reach area 18 from 15.
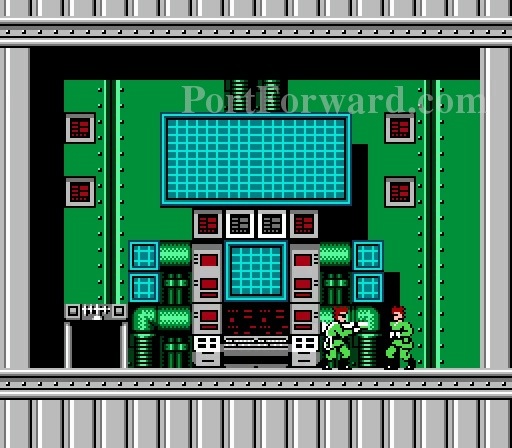
Bionic Commando Walkthrough Area 7
Equip these.

You need the 3-way gun to knock this barrier down.
Shoot away these guys as you climb to the top.
Here is what the gunfire looks like.

Once you get to this part. Climb up as fast as you can to avoid the enemy fire.
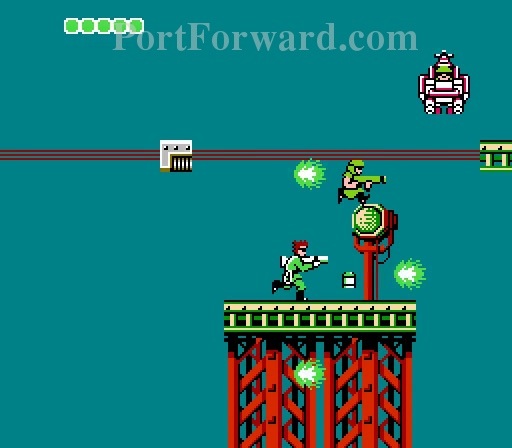
Swing along the minature platfoms to the left.

Watch out for the enemies trying to pick you off.

It's not as easy as it looks but keep swinging along the left.

Enter the door.
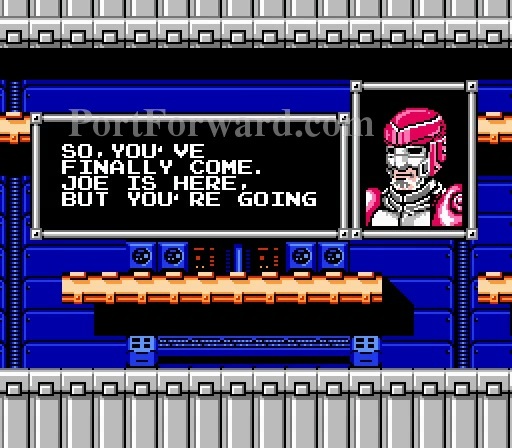
SO,YOU'VE FINALLY COME. JOE IS HERE, BUT YOU'RE GOING
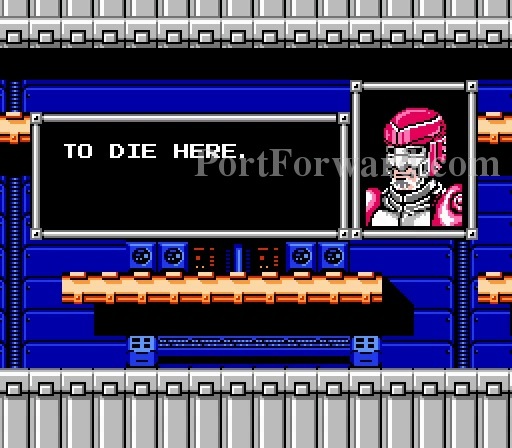
TO DIE HERE.

Another enemy that tries to grapple you into him.
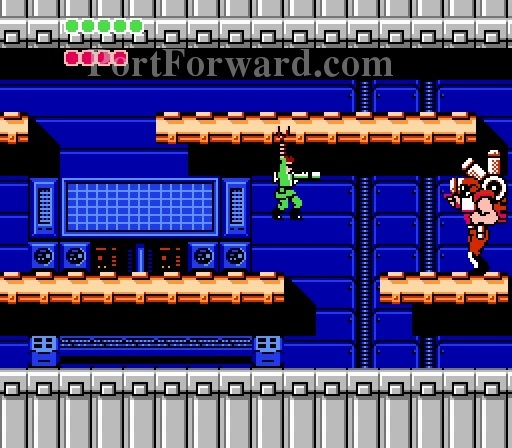
Grapple up and aim for the head.
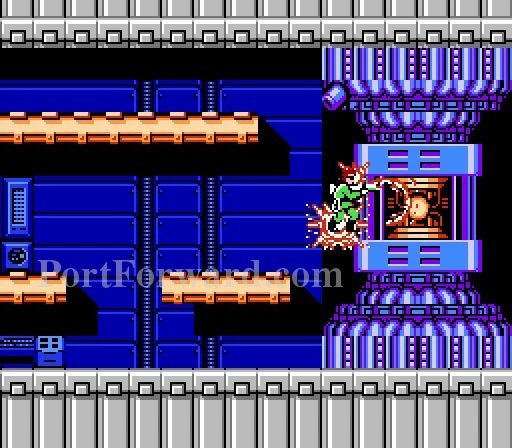
Destroy the core.
Super Joe is saved.
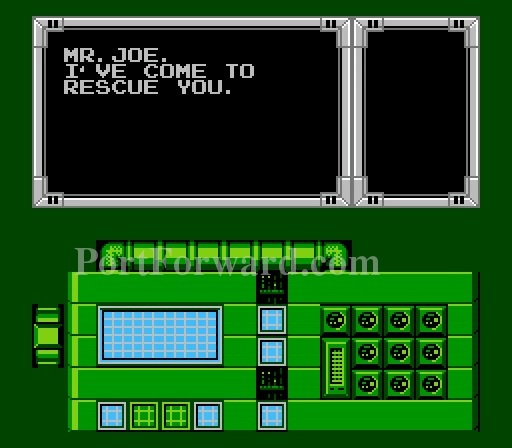
MR.JOE. I'VE COME TO RESCUE YOU.
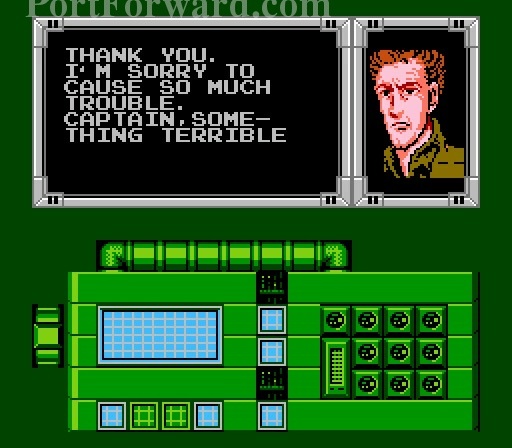
THANK YOU. I'M SORRY TO CAUSE SO MUCH TROUBLE CAPTAIN,SOMETHING TERRIBLE
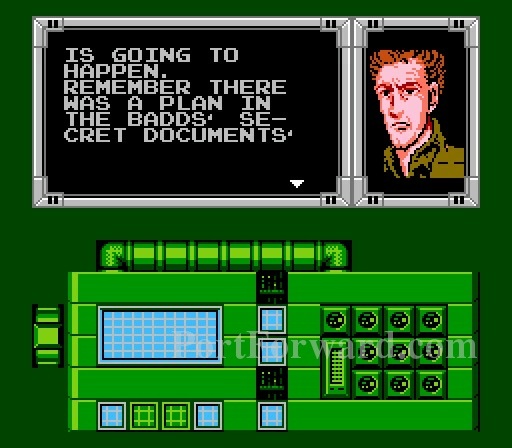
IS GOING TO HAPPEN. REMEMBER THERE WAS A PLAN IN THE BADDS' SECRET DOCUMENTS'
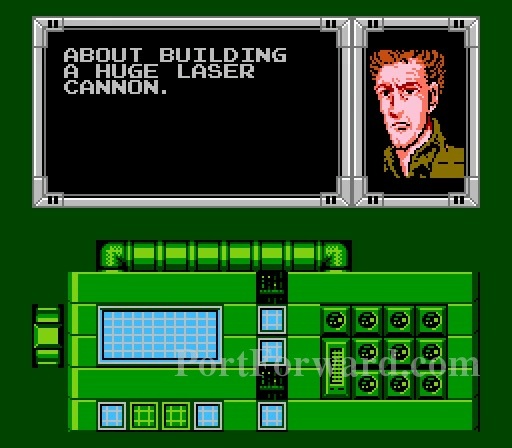
ABOUT BUILDING A HUGE LASER CANNON.
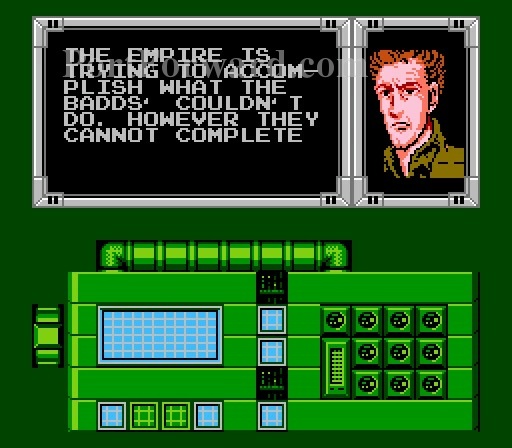
THE EMPIRE IS TRYING TO ACCOM-PLISH WHAT THE BADDS' COULDN'T DO. HOWEVER THEY CANNOT COMPLETE
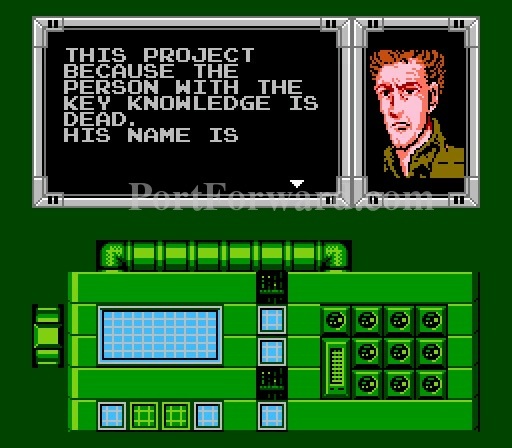
THIS PROJECT BECAUSE THE PERSON WITH THE KEY KNOWLEDGE IS DEAD. HIS NAME IS
MASTER-D. TO FINISH THE PROJECT,KILLT IS TRYING TO RESURRECT HIM BUT HAS BEEN
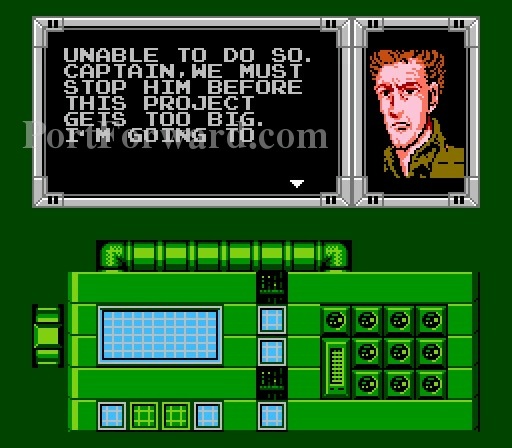
UNABLE TO DO SO.CAPTAIN,WE MUST STOP HIM BEFORE THIS PROJECT GETS TOO BIG. I'M GOING TO

AREA 12 NOW. CAN YOU FIGHT WITH ME?
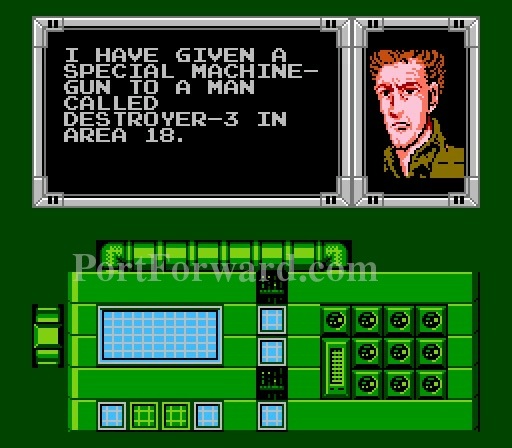
I HAVE GIVEN A SPECIAL MACHINE-GUN TO A MAN CALLED DESTROYER-3 IN AREA 18.

YOU SHOULD USE THAT GUN.
Bionic Commando Walkthrough Area 19
The first door has cannisters.
In this room, this guy lobs bombs but before he does...
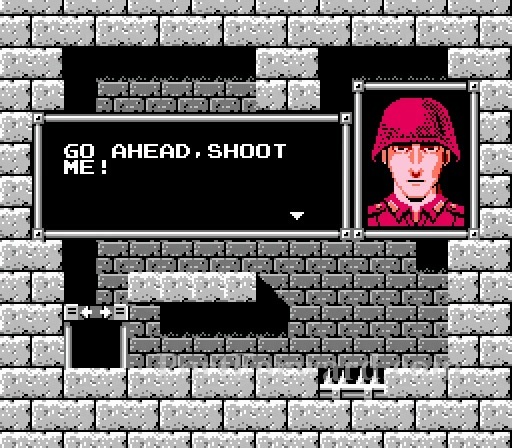
GO AHEAD,SHOOT ME!
Bionic Commando Walkthrough Area 11
Now you can use the Delta (yellow) communicator.

Stay out of the fire.
It looks tempting to travel along the bottom but...
It's better to travel along the top.

Then drop down here.

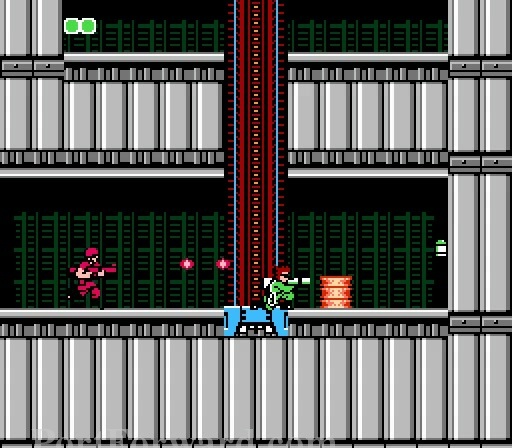
Wait for the guy above to pass then pull yourself up behind him.
and blast him.
Swing to this platform then use the springs to jump up to the right and grapple the platform.
Head to the top.
Head to the right into this door.

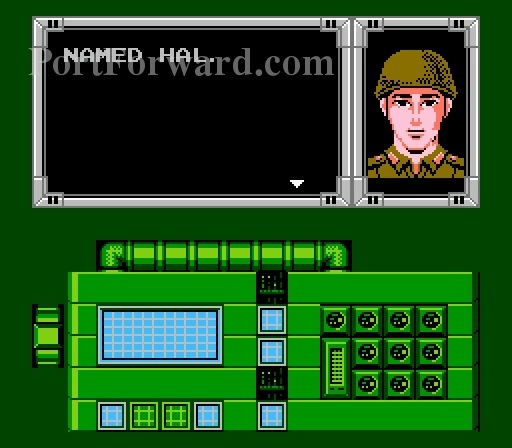
Wiretrapping: NO. HAL HAS THE BAZOOKA.
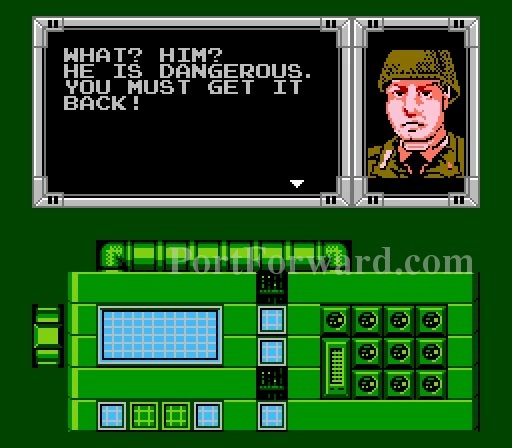
WHAT? HIM? HE IS DANGEROUS. YOU MUST GET IT BACK!
The enemy attacks.

I AM HAL. I'M IN FRONT OF AREA 12 NOW. I CANNOT ENTER UNLESS YOU BLOW UP AREAS 10

AND 11,SO PLEASE DO IT FAST. BAZOOKA? YES,I HAVE IT. DON'T WORRY ABOUT ANYTHING.

LET ME HANDLE THE REST.
Try to swing your way across these kind of platforms.
They get spaced apart as you go. Fall and you die in the fire below.

The boss door is here.

IT'S TOO EARLY TO FEEL SAFE. I'LL KILL YOU

Watch out for the laser beams from above.
The cannon also attacks.

WE'VE OBTAINED BULLET PROOF VEST
Bionic Commando Walkthrough Area 10
The setup for this level.
The laser beam from the last boss fight. Grapple up and kill it.
Climb up here.
Get to the top and go left.
Swing along the ceiling.
Don't land in the spikes.
Climb up the right side.
Let the slime do the work for you.
Duck down to be carried under the spikes.
Climb up and enter this door.

Communicate: THIS IS M-8. WE'VE BUILT A NEWLY DEVELOPED BAZOOKA. PLEASE OBTAIN IT FROM A MAN
NAMED HAL.

Wiretapping: BLOW UP! WE WANT TO BLOW UP THIS AREA.

BUT WE HAVE NO BOMBS.
The enemy attacks.
Stay along the ceiling.
Land on this platform and crouch under the spikes.
Drop down into this area and go left.
Go up, here.
This leads to the boss door.
Same ol fight.
Same ol core to blow up.

WE'VE OBTAINED 1UP
Bionic Commando Walkthrough Area 12

The final setup.

Go down the elevator.
Go into the right door.
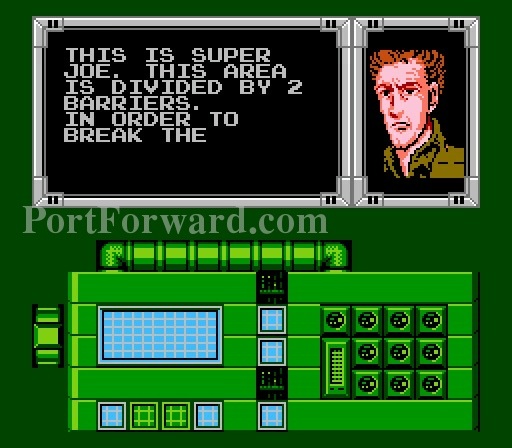
Communicate: THIS IS SUPER JOE. THIS AREA IS DIVIDED BY 2 BARRIERS. IN ORDER TO BREAK THE
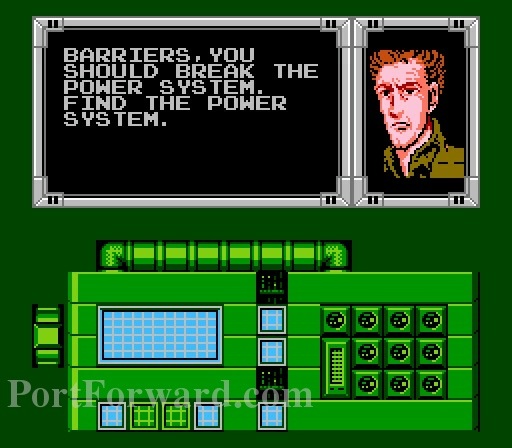
BARRIERS,YOU SHOULD BREAK THE POWER SYSTEM. FIND THE POWER SYSTEM.

Wiretapping: WHWHAT IS IT?

WHAT IS GOING ON?
The enemies attack.
Go into the other door.
Make your way down and don't let the sparks hit you.
Enter this door below.

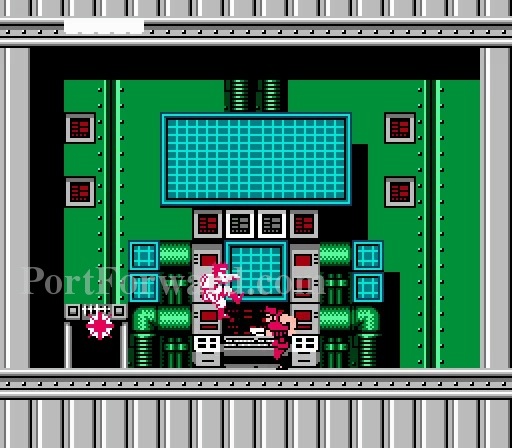
Grapple up and destroy the core.

Now make your way to the bottom.
Destroy this guy upon entering before he moves.
Blast this guy first. There would have been a barrier here if you didn't destroy the core that does damage.
Go down the elevator.
Ignore the upper door and enter this one.
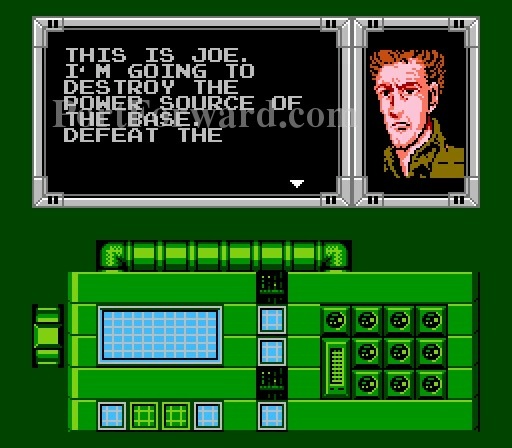
Communicate: THIS IS JOE. I'M GOING TO DESTROY THE POWER SOURCE OF THE BASE. DEFEAT THE

LEADER AND GET OUT!

Wiretapping: IT'S JOE,SUPER JOE IS COMING!
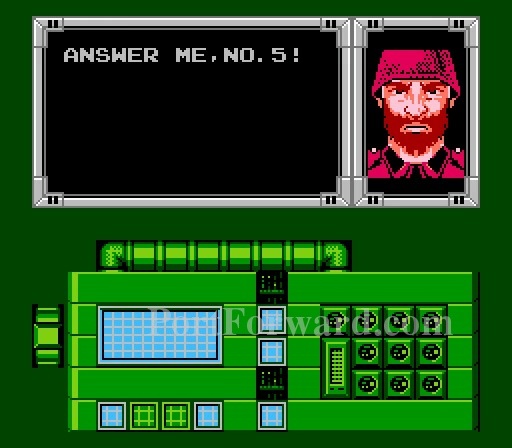
ANSWER ME, NO.5!
Now enter the upper door.
The wrecking ball is a coming.

Grapple to the ceiling to let it pass.

Avoid the electric currents and ignore this door.

You want to enter the door at the bottom.

Destroy the core as enemies parachute in.

Climb back to the top.
Ride the elevator to the bottom.
Swing through where the barrier used to be.
Take the elevator to the bottom and swing over the spikes.
There is the door to enter.

OH? THE KID WHO WAS HERE BEFORE. I NEVER THOUGHT I'D SEE YOU

HERE. BUT YOU'RE TOO LATE. THE ALBATROS HAS

BEGUN TO MOVE. NOT NECESSARY TO WAIT FOR MASTER-D TO

REVIVE. I'VE JUST CUT OFF THE SWITCH

FOR THE REVIVAL DEVICE. MASTER-D WILL NEVER RISE

AGAIN. NOW,IT'S YOU TURN TO DIE UH? WHAT!?

AYHH
Killt is fried up.

YOU WOKE ME FROM A LONG SLEEP. NOW,I HAVE NO MORE USE FOR

YOU. I'LL TAKE OVER YOUR ARMY AND RULE THE WORLD.

WHAT,YOU'RE GOING TO FIGHT AGAINST ME? YOU DAMN FOOL.

IF THAT'S WHAT

YOU WANT, I'LL SHOW YOU THE HORROR OF THE ALBATROS!

Avoid the fire coming out engines and get to the grapple point in front of the core.

Shoot at the core as fast as possible.
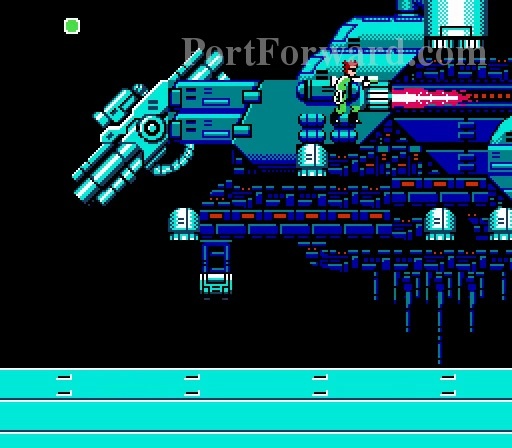
Try not to get hit buy the side fire.

After several hits the battle is over.
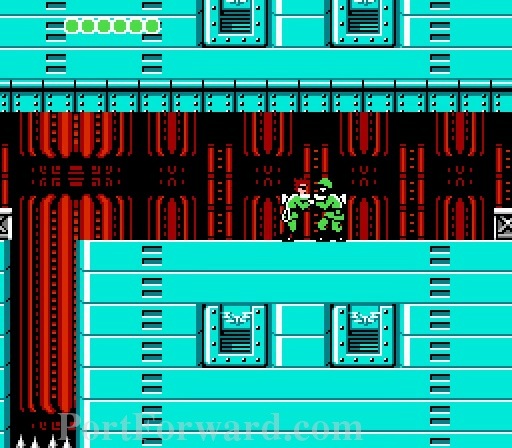
You are not done yet. Talk to Hal.

I'M HAL.MASTER-D ISLEAVING. I WON'T LAST LONG.

I TAKE THIS BAZOOKA. GET HIM! TH

THERE IS A CHOPPER DOWN HERE. AIM AT THE COCKPIT AS YOU JUMP.

YOU CAN DO IT!

Take a good swing to the right and shoot the blue windows as you fall.
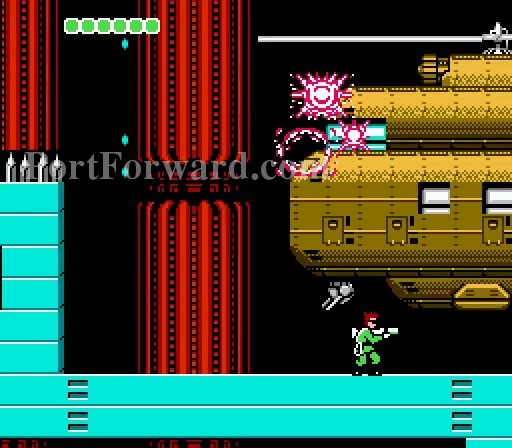
If you missed, you would be killed by the machine gun on the bottom.

YOUR NUMBER'S UP! MONSTER!

AH!
Note: You will see the head explode but I don't want to show you any gore.
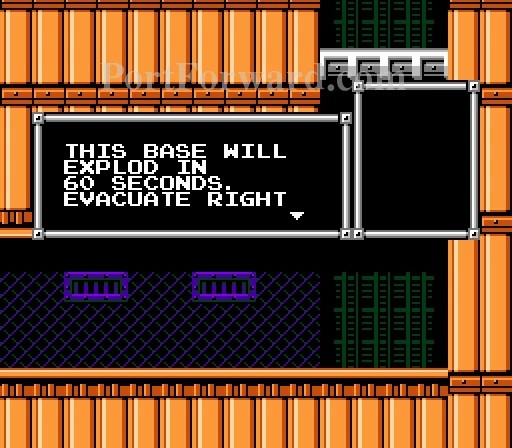
THIS BASE WILL EXPLOD IN 60 SECONDS. EVACUATE RIGHT
AWAY.

Climb to the top as fast as possible.

IT'S TOO EARLY TO FEEL SAFE. I'LL KILL YOU HERE.
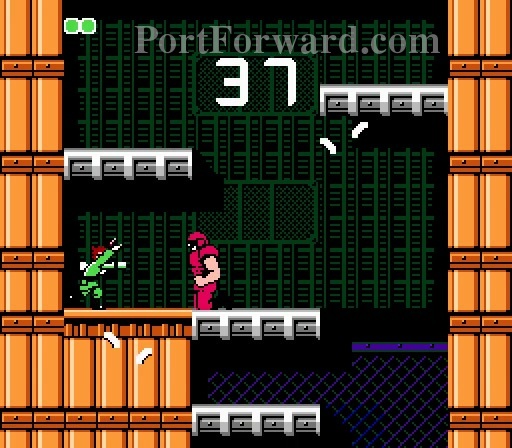
You can kill this guy if you want but you can also ignore him and head to the top.
Ain't no holding back you are almost there.

You made it but aren't you forgetting something or shall I say someone?

IS JOE STILL INSIDE?
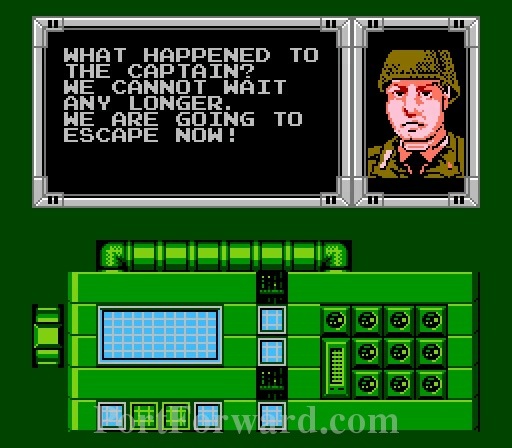
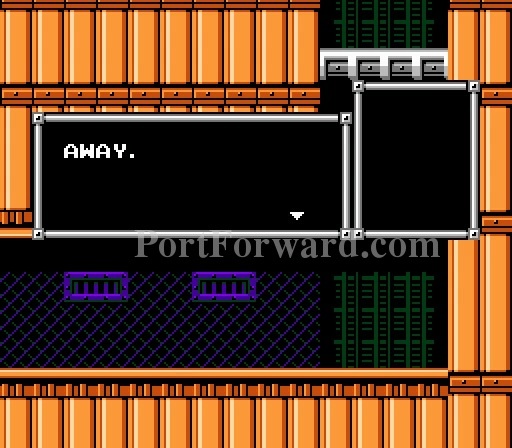
WHAT HAPPENED TO THE CAPTAIN? WE CANNOT WAIT ANY LONGER. WE ARE GOING TO ESCAPE NOW!

PLEASE WAIT JUST LITTLE LONGER HEY,WHAT'S THAT!
Bionic Commando Walkthrough Ending

Both of you escape. Check out the fancy explosion.

Whey!! A close call at its best.

THIS IS LADD,OUR MISSION AC-COMPLISHED. SUPER JOE

IS SAFE. WE ARE RETURNING NOW.

BATTLE HAS ENDED AND WE HAVE A NEW HERO NOW. I WAS FEELING

DIFFERENT AS I RECEIVED THE BLESSINGS FROM COMRADES.

NOW,SO MUCH TIME HAS ELAPSED AND I'M OLD NOW, I THINK IT'S

TIME FOR ME TO TELL YOU THE WHOLE STORY. I HOPE THIS

STORY WILL BE TOLD FOR A LONG TIME

The End.


 Castlevania: Lords of Shadows - Resurrection DLC Walkthrough Dimensional Prison
 Castlevania: Lords of Shadows Walkthrough Chapter I: Besieged Village
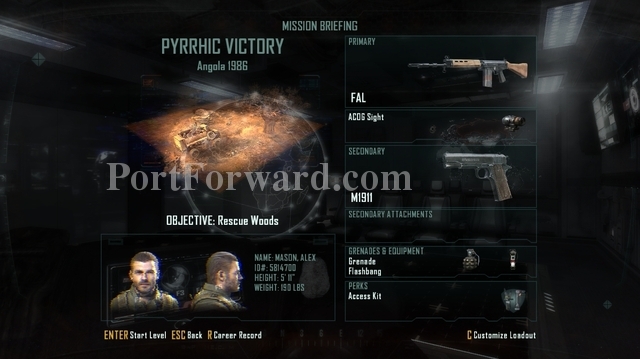 Call of Duty Black Ops 2 Walkthrough Mission #1 - Pyrrhic Victory
 Bastion Walkthrough The Beggining
 Batman: Arkham City - Harley Quinns Revenge Walkthrough Shipyard - Robin