

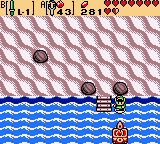
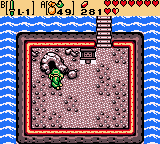
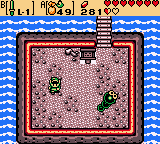
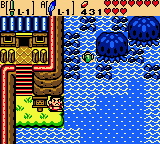
Once outside, use a Gale Seed and warp to Horon Village. Make your way to the northwest part of the village and to the west. Jump off the ledge just below, falling down one screen, then head right one more screen. Next, continue down one, left one, and down one more screen. Use the Slingshot equipped with Ember Seeds to shoot the torch in the water. The partial bridge here will connect across the sea, so follow it down one screen to an island with a strange “?” symbol in the earth. Use a Mystery Seed on the “?” and it will explode into a Mini-Moldorm. Defeat it and a chest will appear containing the X-Shaped Jewel!
Now, use a Gale Seed and warp to North Horon. Head down three screens, toss the boulder aside and continue right one and down one screen. Jump over the pits and head right one screen along the frozen water. Head up the next set of steps back onto land and continue up one screen. Use the stump to change the season to Autumn, then head up another screen.
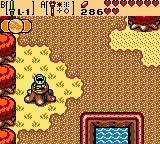
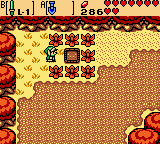
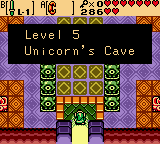
Use the Shovel to dig the bare spot in the middle of the square layout of bushes here to uncover a Soil Patch. Continue on right one screen and toss the three mushrooms blocking the steps aside. Head up the steps and into Level 5: Unicorn’s Cave.
~First Floor~
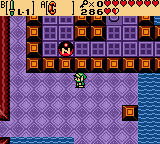
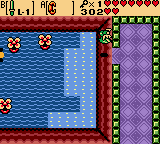
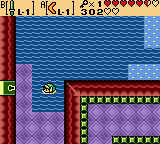
Link enters the dungeon on the first floor, room H3. Head up one screen, then enter the water and swim right one screen to room 1F-G4. Hop into the mine cart on the left and prepare to hit the green switch as soon as it takes you up into the next room. The track will shift and ride on up another room to 1F-E4.
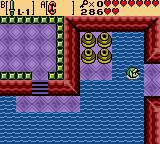
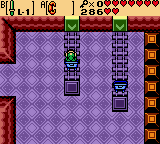
Walk up the steps and head along this ledge right, then walk down the steps on the opposite side and continue right one screen to 1F-E5. Kill the Red Darknut in this room, then push the lone block “right”. A ball with an “N” marked on it will fall on the other side of the block wall above.
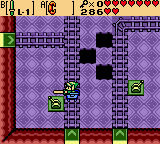
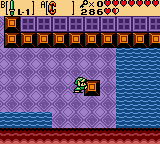

Backtrack left one screen, head along the path at the upper part of the room again, then hop into the mine cart at the end. It will take Link back to room 1F-G4. Now, hop in the mine cart on the right, again being prepared to hit the green switch in the next room as you pass. The cart will drop Link off in room 1F-E4 again, this time on the other side of the green blocks where a chest is located. Open it to recieve a Small Key, then ride the mine cart back to 1F-G4.
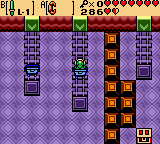
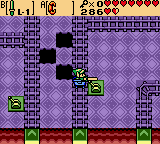
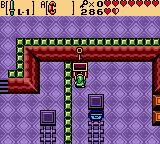
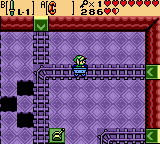
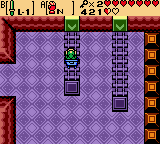
Hop back into the mine cart on the right and swipe the green switch again so that the track shifts to the right. When the mine cart stops, re-enter it to ride to room 1F-F5. Head down the staircase here to a dungeon area below. Walk left, jumping over the gaps and avoiding the fireballs until you reach the next screen. Step onto the green ladder, close to underneath the Thwomp to have it fall. Hop onto the Thwomp’s head and ride up, then jump off onto the platform between the two Thwomps. Again, walk slightly underneath the Thwomp on the left to have it crash down, then ride it up and hop off to the left to reach the ledge. Head up the green ladder and Link will come out in room 1F-C3.
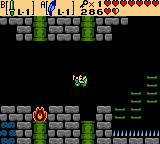
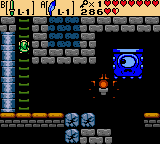
Watch out for the Bubbles and Mini-Moldorms in this room. Some of the vases in the center will have Bombs hidden in them if Link tosses them aside, so try and gather some if you are low or completely out. Continue right one screen to 1F-C4. Defeat the two Red Zols and Gibdos in this room and a chest will appear containing the Dungeon Map! Grab it, then head left two screens to 1F-C2.
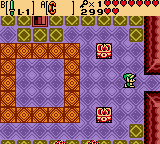
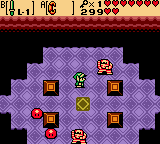
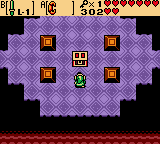
Walk up the steps above and head up one screen to 1F-B2. Continue along this path until you reach a break in the edge and jump off. Enter the water and swim to the left side of this room to reach a locked door. Unlock it using a Small Key and head left one room to 1F-B1. There is a chest on a small ledge in the upper-left portion of the room. Open it to obtain the Magnetic Gloves! Each time Link uses these gloves, the polarity will shift and the gloves will either become blue with an “S” or red with an “N”. While blue, the gloves will pull “N” labled objects like the magnetic balls towards Link, but will repell “S” labled objects such as magnetic posts. When red, the gloves do the opposite: Attract the “S” labled magnetic posts but repell the “N” labled magnetic balls.
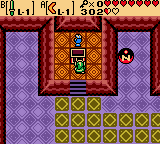
Use the Magnetic Gloves to pull the magnetic ball over to and on top of the switch on the right to open the doorway. Head right one and down one screen to room 1F-C2. When you reach the three blocks, push the left and right ones “down”, then push the middle one either “left” or “right” to clear a path. Swim across to the right side of the room and head right one screen to 1F-C3.
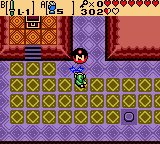
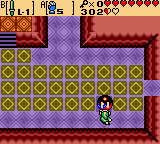
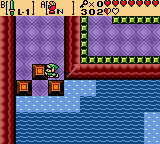
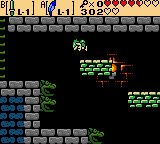
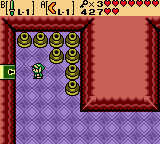
Go down the staircase into the dungeon area and bomb the cracked rocks just below the ladder. Head through this new path left one screen. Use the Roc’s Feather to jump and dodge the fireballs shot out by the dragon-head statues on the left until you have an opportuity to hop onto the rightmost green platform that is moving. From there, continue over onto the next platform and eventually onto the ledge on the left. Head up the ladder to room 1F-D3
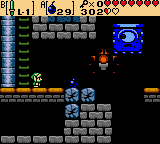
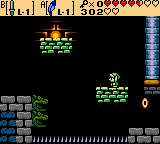
There are two Armos Statues in this room, each on one side of the blocks that separate the room in the center. Whichever way you push one Armos Statue, the other will move in the opposite direction. Push the Armos Statue on your current side of the room “down” three times, “right” twice, and “up” once. Head down through the now open doorway one scren to 1F-E3.
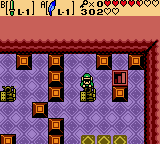
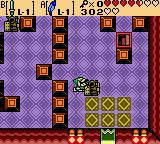
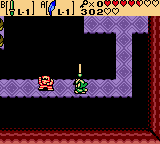
Follow the path left, defeating the Gibdo and Keese in this room that get in Link’s way, and head left one screen to 1F-E2. Walk over to the left side of this room and walk up the steps to reach a chest containing 100 Rupees! Now head over to the upper-right corner of the room and head up through the passage one screen to room 1F-D2.

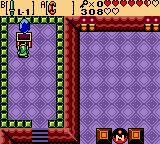
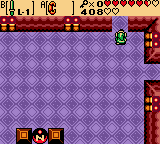
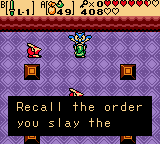
The Owl Statue in this room will remind Link to “Recall the order you slay the knights in”. Defeat the Mini Moldorms and, as for the Iron Masks, use the Magnetic Gloves on them to pull their mask off and make them vulnerable to attack. After defeating all the enemies, a door will open on the left. Head through left one screen to room 1F-D1.
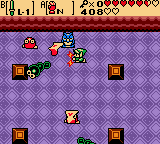
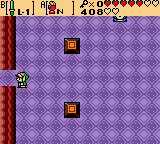
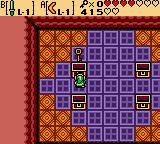
When Link gets close to one of the Armos Statues in this room, it will awaken and begin to move around. The key is to remember the order in which you defeat the statues, so taking them one at a time will be less confusing as they begin to move around. Once all area defeated, four chests will appear in their place. Open them in the same order you defeated the statues to recieve 1 Rupee, 10 Bombs, 4 Ember Seeds, and a Small Key in that order.
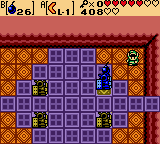
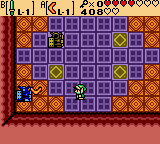
Head right one and down one screen to room 1F-E2. Use the Magnetic Gloves to attract the ball and simply move it out of the way of the path. Head along this path down one screen to room 1F-F2. Defeat the Mini Moldorm and three Iron Masks in this room to open the doorway on the left. Head through it one screen to 1F-F1.
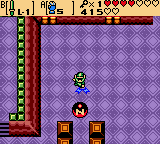
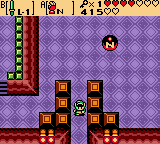
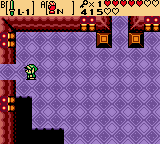
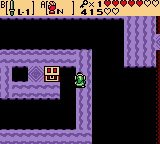
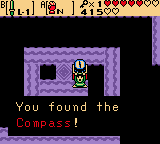
The path to the chest will attempt to send Link into a bottomless pit, so while holding the direction Link needs to walk, you must also hold the direction against which the floor is trying to pull him. When you make it to the chest, open it to recieve the Compass! Either make your way back around the path or fall into a pit if its not worth the trouble to get back to the entrance to this room, then head right one screen to 1F-F2.
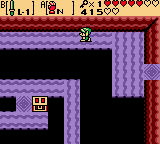
Continue down two screens to room 1F-H2. At the bottom of this room, stand on the yellow tile and face left. Use the Magnetic Gloves to pull Link to the other side against the pole and head up one screen to room 1F-G2. Open the chest to recieve a Small Key, then head back down one screen.
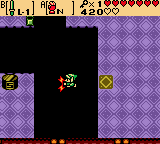
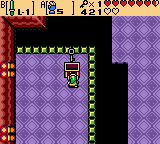
Stand on the right side of the magnetic pole and use the Magnetic Gloves to repell Link back to the right side of the room. Head right one screen through the opening, then continue up one and right one more screen to room 1F-G4. Hop inside the mine cart and hit the green switch as you pass so the tracks take you left one room to 1F-F3.
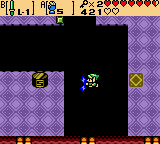

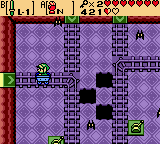
Stand across from the rotating blue magnet in this room and use the Magnetic Gloves to pull Link to it. Continue holding down the button until Link is on the left side of the blue magnet, then quickly release and press the button again to repell away from it and onto the left side of the room. Open the chest here to recieve a Small Key, then use the rotating blue magnet the same way to get back on the right side of the room.
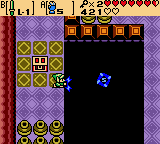

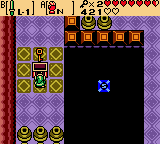
Hop back inside the mine cart and ride to 1F-G4. Go left two and up one screen to room 1F-F2. Continue from there up one, right one, and up one more screen to room 1F-D3. Head down the staircase here to the dungeon area. Make your way across the platforms right one screen, then bomb the cracked blocks again to clear the path. Use the same technique as before with the Thwomps and continue right another screen, then head back up the ladders to room 1F-F5.
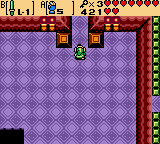
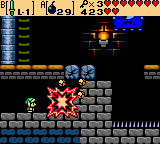
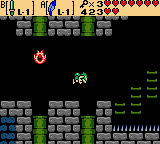
Stand below the magnetic pole and use the Magnetic Gloves to repell across the gap and onto the other side. Walk left and hop inside the mine cart which takes you to the far right side of room 1F-G4. Open the chest here to obtain a Small Key, then hop back inside the cart to return to 1F-F5. Head right and use a Small Key to open the locked door, then head through to room 1F-F6, the location of the dungeon’s mini-boss.
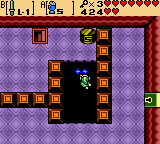
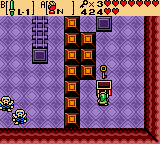
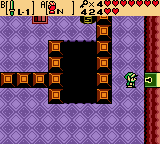
* Mini-Boss: Syger *
Syger will spin around the room in various patterns, as well as jump and try to land on you. Avoid being hit by him and slash the ball on his tail when he is not spinning and you will eventually defeat him.
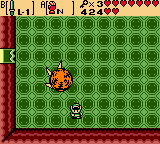
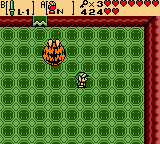
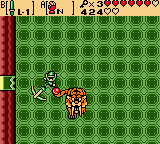
Head up one screen through the opened doorway to room 1F-E6, then continue right one screen to 1F-E7. Follow the path to the top of the room and step on the switch. It will open a door on the upper-right side of the room. Head over and up through this passage to room 1F-D7. Avoid the Beamos in this room and continue left one screen to room 1F-D6.
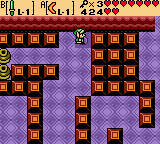
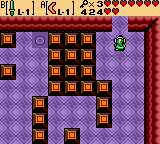
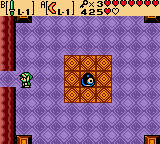
This room contains a new enemy known as a Magnite. Depending on their polarity, the Magnetic Glove can be used to repell or attract them to you. Defeat all the Magnites and head left one room 1F-D5. Use the Magnetic Gloves to pull the magnet ball down one level of blocks and as far “left” as possible, then head to the top-right corner of the blocks and use the gloves again to push the ball to the left side of the room. Backtrack right two, down one, and left one room back to 1F-E6.
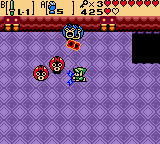
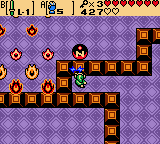
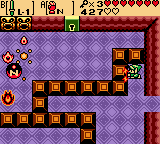
On the left side of this room, use a Small Key to open the locked door and head through to room 1F-E5. Equip the Magnetic Gloves and use them to pull the ball over and on top of the switch, unlocking the door at the end of this path. Enter through it up one screen to room 1F-D5. Use the Magnetic Glove to pull the ball around the blocks and down to you, then hold it in front of you as you cross the path of fire heading right. At the top of this room, head through the locked door up one screen to 1F-C5, then walk down the staircase on the right.
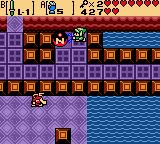
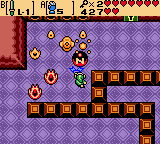
In this dungeon area, use the Magnetic Glove to pull Link up to the pole in the ceiling. As you let go, fall on the ledge to the left and use the Roc’s Feather to jump onto the conveyor-belt platform. Ride it left and head down the ladder one screen. Again, make your way to the right across the moving conveyor platforms and onto the rightmost ledge. Face up and use the Magnetic Glove to attract Link to the ceiling, then drop over onto the higher ledge and grab the Boss Key! Backtrack through this dungeon area all the way out to room 1F-C5.
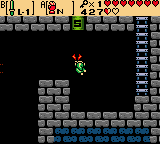
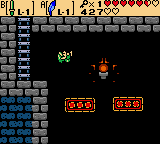
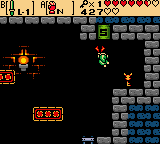
Head down one screen and use the magnetic ball again to protect Link from the flames as you walk to the left side of the room. Head down one and right one screen to 1F-E6. Over on the right side of this room, use a Small Key on the locked block and head down the staircase to another dungeon area.
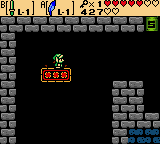
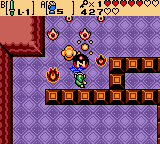
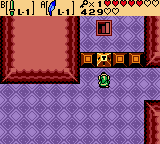
Hop onto the moving green platform and use the Magnetic Glove to pull Link up to the pole on the ceiling. Drop down onto the leftmost green platform then ride over to the ledge on the left then continue left one scree. Drop onto the first ledge with an Anti-Fairie circling it and stand above the magnetic pole. Use the Magnetic Gloves to repell Link away towards the ceiling, then drop onto the next ledge as you fall. Hop over to the ladder and head up to room 1F-C5, this time on the other side of the blocked-in area.
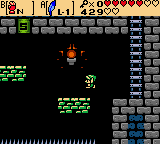
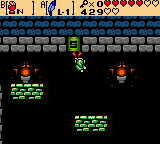
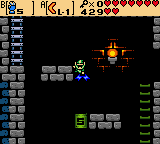
Toss the vases on the left aside and use the Magnetic Gloves to pull Link onto the floor sticking out from the left wall. Face right and use the gloves again to pull Link to the opposite side of the room onto a vertical line of floor. Stand at the top of this strip of floor and use the gloves yet again to pull Link over to the piece of floor leading to the boss’ lair. Head up one screen through the locked door to room 1F-B5.
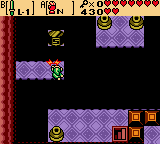
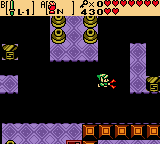
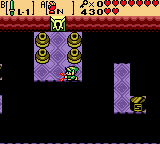
** Dungeon Boss: Digdogger **
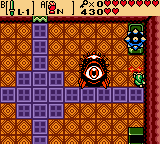
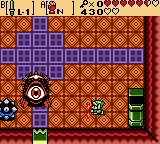
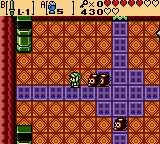
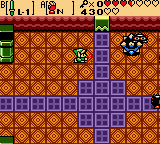
Digdogger will hop around the room, sometimes jumping high into the air and attempting to land on Link. Equip the Magnetic Gloves and attract/repel the spiked ball in the room trying to hit Digdogger with it. After a few hits, Digdogger will separate into smaller Digdoggers and run wild throughout the room. Link must still use the spiked ball to defeat the smaller Digdoggers hit and, if you cannot get them all in time, Digdogger will return to normal size. The smaller Digdoggers you defeated will stay dead, so just keep making the boss seperate until you have successfully defeated all of the smaller portions.
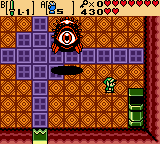
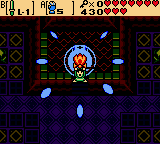
Once you have defeated Digdogger, head up one screen and climb the altar to claim the fifth Essence of Nature, the Nurturing Warmth!
 Guide: Wacky, Fun and Cool Nintendo Gifts for the Holiday Season
 Twilight Princess Walkthrough – In Search of the Sky –
  A Link to the Past Walkthrough – Eastern Palace –
  Watch Dogs – Privacy Invasion Guide
 Skyward Sword Walkthorugh – Fire Sanctuary –