


With a brand new Rock Band game comes brand new instruments for your system. Of course, the old ones will still work, and might connect in the same fashion, but I’ve went through and connected all the newest instruments to my PS4. This can actually be a somewhat confusing process, so here is a quick guide for how to get it done.
These instructions are for the guitar and drum sets that come in the Rock Band 4 Band In-A-Box edition, though they are likely applicable to PS3 controllers being used with the game. For the microphone, just plug it in and use a regular DualShock 4 controller.
Turn on the device that you wish to connect by holding the PS button on the front. The light should start flashing blue, but it isn’t quite ready to connect. Below the PS button, on the front of the drums and in a notch on the guitar, is a special button to put the controller into pairing mode.
Hold this button for a few seconds and the light should begin flashing blue and red, this means it is ready to connect to the PS4. Head to Settings and select Devices and Bluetooth Devices. This will show you a list of connected, paired, and available devices. Give it a minute or two and the new instrument should appear here. Select it and choose Yes to pair the new instrument with your PS4.
If done correctly the light should turn to a steady blue color and stay that way as long as it is on. Turning it on in the future should automatically connect it to the PS4, allowing it to act like any other controller.


 Star Wars Battlefront: how co-op / split screen modes work
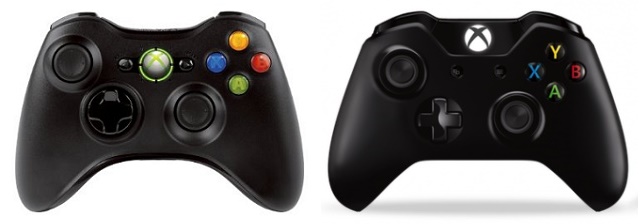 Controller Wars: PS3 vs PS4, Xbox 360 vs Xbox One
 How to Extend Your PS Vitas Battery Life
 Oddworld: Abe's Oddysee: New 'n' Tasty: All Trophies Guide
 Metal Gear Solid V: The Phantom Pain All Cassette Tapes Location Guide