

An imgur user "jmusterman" has creatively swapped the buttons on Nintendo Wii U Pro Controller and got amazingly fancy results. Here is the complete guide with images which will enable you to get exact same results if you follow the steps correctly.
All you need is a Tri-wing Screwdriver Tool, a Nintendo Wii U Pro Controller Black, Nintendo Wii U Pro Controller White, some patience and concentration. When you are ready with these, just follow the steps given below:
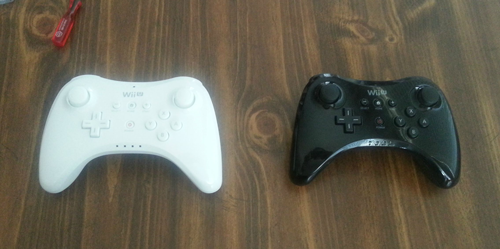
Disassemble each controller at a time to avoid confusion. Remove the battery cover and battery from the first controller. Then remove the screws, there are 8 tri-wing screws on the back of the controller; 4 in the casing and 4 in the battery compartment.

Separate the two parts of the casing, they are a bit tough to pull apart but try wiggling the case halves back and forth and pull them apart.
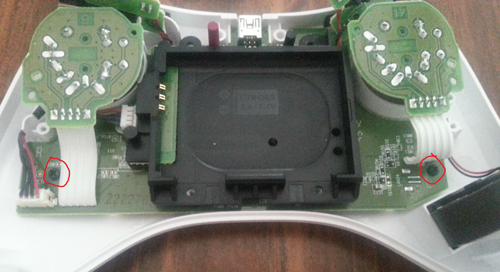
Unscrew the circled screws, the shoulder buttons will comeoff on their own.

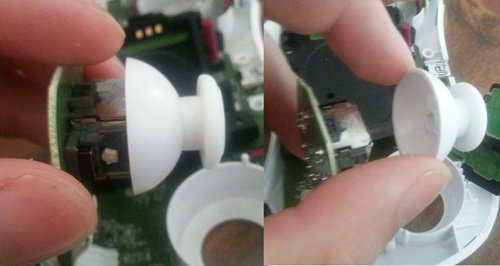
Pull out the control sticks from the front casing and remove the stick from the circuit board without twisting.
Unscrew the last two screws shown in the picture and keep all the part safe.
You need to remember how the wire leading to the battery is wrapped around the posts. You will have to assemble it the same way later.
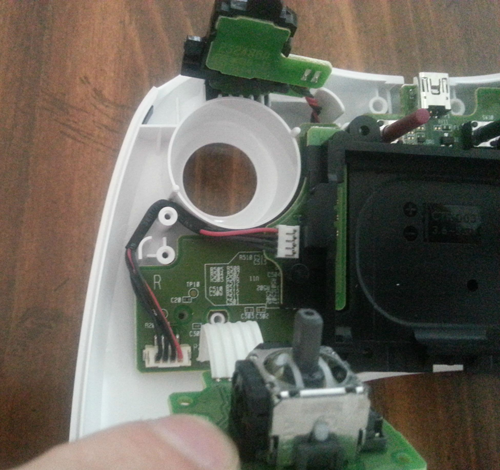
Keep each n every part safely, separated from each other. You will find tiny parts keep them on a neat surface. Repeat the above process with the other controller.
In this stage we will swap the buttons. Place the rubber pieces properly on the +, -, Home, and Power.
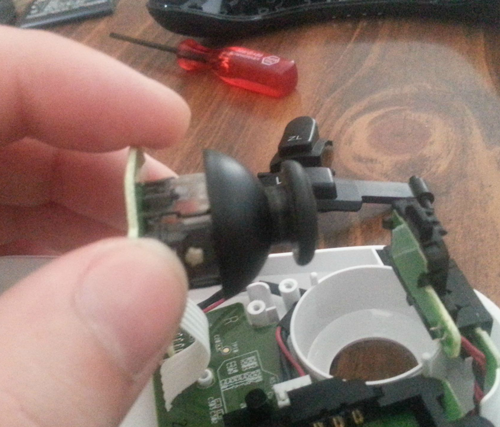
Attach the circuit board back in place with the new stick.
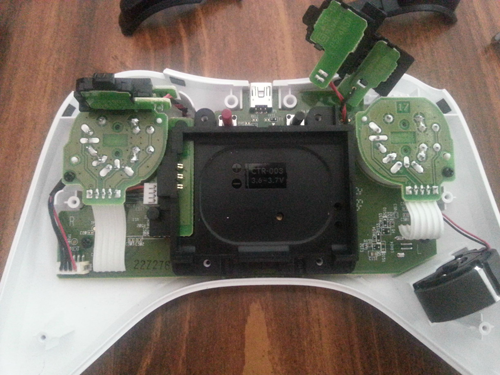
Replace the batter wire, 4 circuit board screws and the L and R into place.
Patiently replace the other half of the controller and all the screws in their proper place.
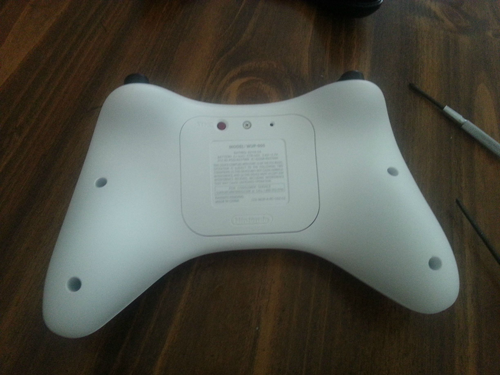
After you complete the process for both the controllers, you are done!
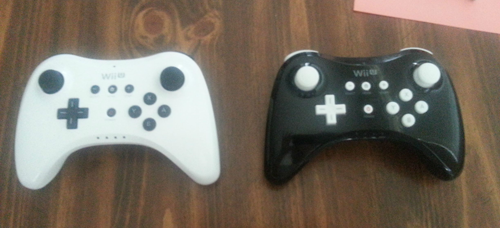
Thanks to imgur user jmusterman


 How to Really Hide Folders Full of Questionable Content
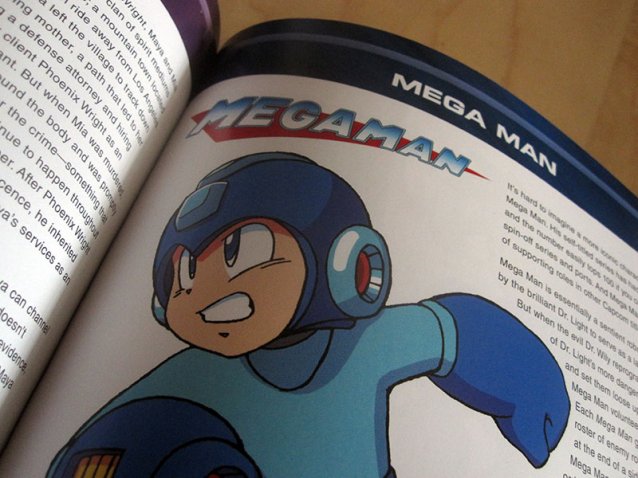 Capcom 30th Anniversary Character Encyclopedia Review
 Top 5 Most Overpowered Weapons in Video Games
 Destiny: The Taken King, How To Beat This Weeks' Court Of Oryx Tier 3 Boss: Kagoor
 How to Summon all the NPC, Location and Requirements in Bloodborne: The Old Hunters