Welcome to the 100% club. Be warned, what is contained within has spoilers. It is a reference guide, so please refer to it only when stuck.
HOW TO USE THIS GUIDE
First off, this is not a walkthrough, so do not expect step by step ‘turn left here, look at giant muffin’-type direction. This is a reference guide. It contains spoilers, so please only refer to it when you are stuck.
Or, you might not mind spoiling things, in which case, feel free to soak yourself in warm bubblebath, put your feet up and read the whole thing as if it were the latest thing Dan Brown farted out his literary bunghole. Your choice.
All missions that have bonus objectives are covered here in detail, which includes main story missions, naval locations, naval missions and privateer missions – the difference between them you will become accustomed to as you play. As for all the other little fiddly bits to get you to 100% synch; there’s a lot to them, but we will take you through these first. These are things you should try to do throughout to save yourself the hassle of getting everything at the end. So let us begin…
SOME ADVICE: BE TIDY!
This is a law that applies to your entire playthrough of the game. When a bunch of new icons appear on the map, get rid of them. Aim to keep clean maps at all times. This will frequently mean stopping the main story while you arse about collecting feathers and trinkets and liberating districts and so on, sometimes for hours at a time. But if you leave all this to the end the boredom will become insurmountable and you most likely won’t finish. Be a bro and clean as you go.
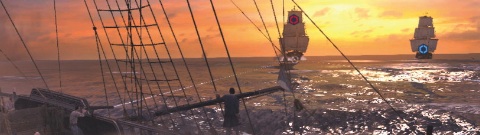
Not to be confused with the similar naval locations and privateer contracts, these begin with you upgrading the Aquila and end with you putting a cannonball through Biddle’s left bollock.
LIMIT THE SHIP’S DAMAGE TO 50%
Use the swivel cannon only. This is very much a case of fastest gun wins. Take out the attacking ships as fast as you possibly can. Shoot first, ask questions later. Stay at full sail.
USE MINES TO ELIMINATE GUNBOATS
The second set of mines encountered has boats near it. Target this with the swivel gun and it’s job done.
LIMIT YOUR OWN DAMAGE TO 50% WHEN TAKING OUT THE FORT
The key here is to come to full stop and turn in towards the fort and away from the approaching mortar fire each time it’s launched. Use cannon only here; swivel guns don’t do anything. Remember, it’s all about controlling your speed to turn quickly enough. Full or half sail only will kill you fast.
LIMIT DAMAGE FROM ROGUE WAVES (25%)
When one approaches, steer into it so you’re taking it head-on. At the last moment hit X to duck and cover. Do this and it’s easy. Don’t and you’ll take a ton of damage.
LIMIT THE NUMBER OF MISSED SHOTS (2)
A missed shot is counted when nothing at all connects. Basically, just be very careful during the first part of the fight. Use your swivel cannon against the smaller boats and time your shots well. Don’t worry if a wave gets in the way. That won’t count as a miss.
DESTROY FRIGATES BY FIRING ON THEIR WEAK POINTS
Weak points are highlighted with a big, obvious white circle. Trouble is, you have to have damaged the other ship exactly the right amount to see it. Basically, keep steering around them, ignoring the damage they’re doing you (there is no objective for your own damage) grazing them until the target appears. Take your time and make sure you hit – the reticle should turn red when it’s safe.
LIMIT DAMAGE TO LA BELLADONNA
This and the next criteria go hand in hand. Use swivel guns to take out the smaller ships as fast as you possibly can and La Belladonna won’t take much damage at all. Switch to incendiary shot for the larger ship in the first group.
SINK MORE ENEMIES THAN LA BELLADONNA (11)
Again, start shooting immediately and be fast and accurate. Use your minimap to ‘see’ ships so you can swivel gun them even when the fog means you can’t see them physically. It’s all about the red reticle, people.
KILL THE OFFICER WITHIN THE GIVEN TIME (1:00)
He is a pain, but once you’ve chased him along both sides of the boat, he stops running. Hold X and run-kill him to end it quickly.
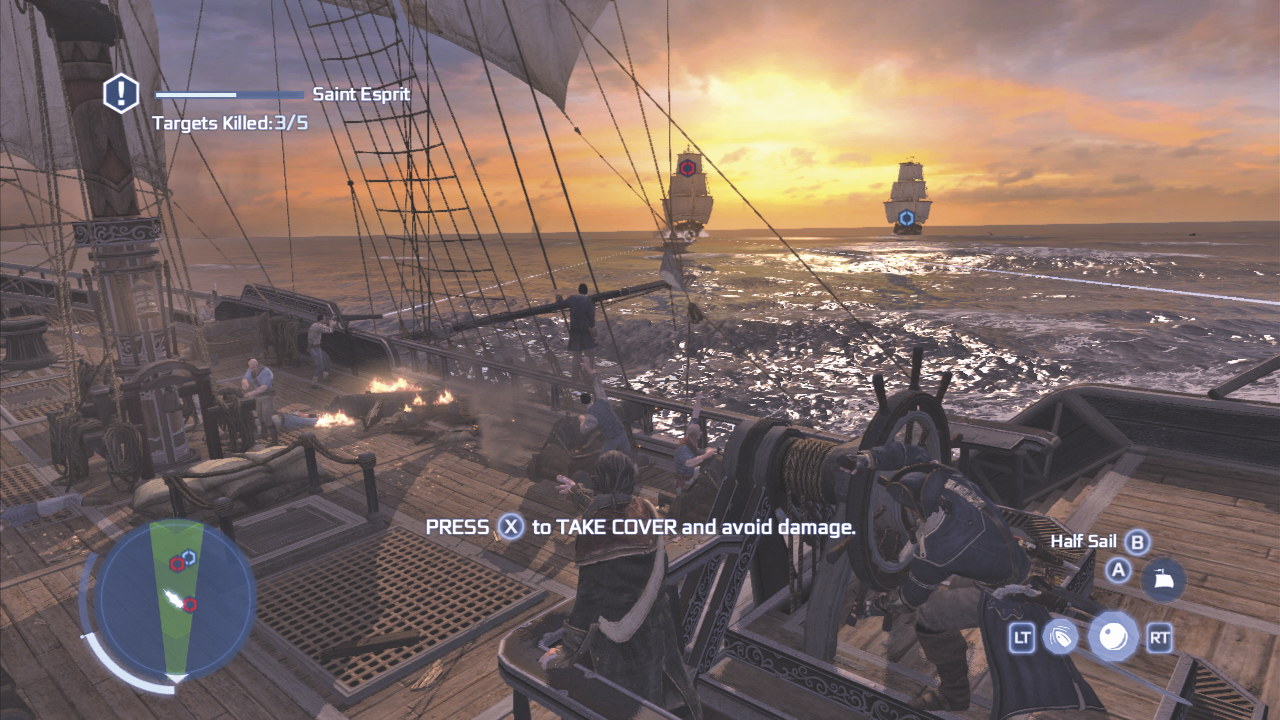
TAKE OUT THE MEN-OF-WAR WITHIN THE GIVEN TIME (3:00)
Unlike other time limits, you won’t be provided a countdown. Ignore Biddle’s ship and head straight for them at full sail. You’ll need a fair bit of luck here. The high seas make it difficult for you to get your shots to connect and they always seem to be running away from you. Use incendiary shot and on one out of every three occasions or so a weak spot will open up. This is probably the only way you’ll be able to do it within the time limit. Was for us.
DESTROY THE RANDOLPH’S MAST WITH A SINGLE BROADSIDE
This is all about holding off. Keep manoeuvring around her until you are point blank, almost touching and perfectly aligned. Fire. If you try a shot from a bit further away, remember that chain shot are slow to travel through the air and so you’ll have to aim a fair bit in front of your target.
KILL ONLY BIDDLE
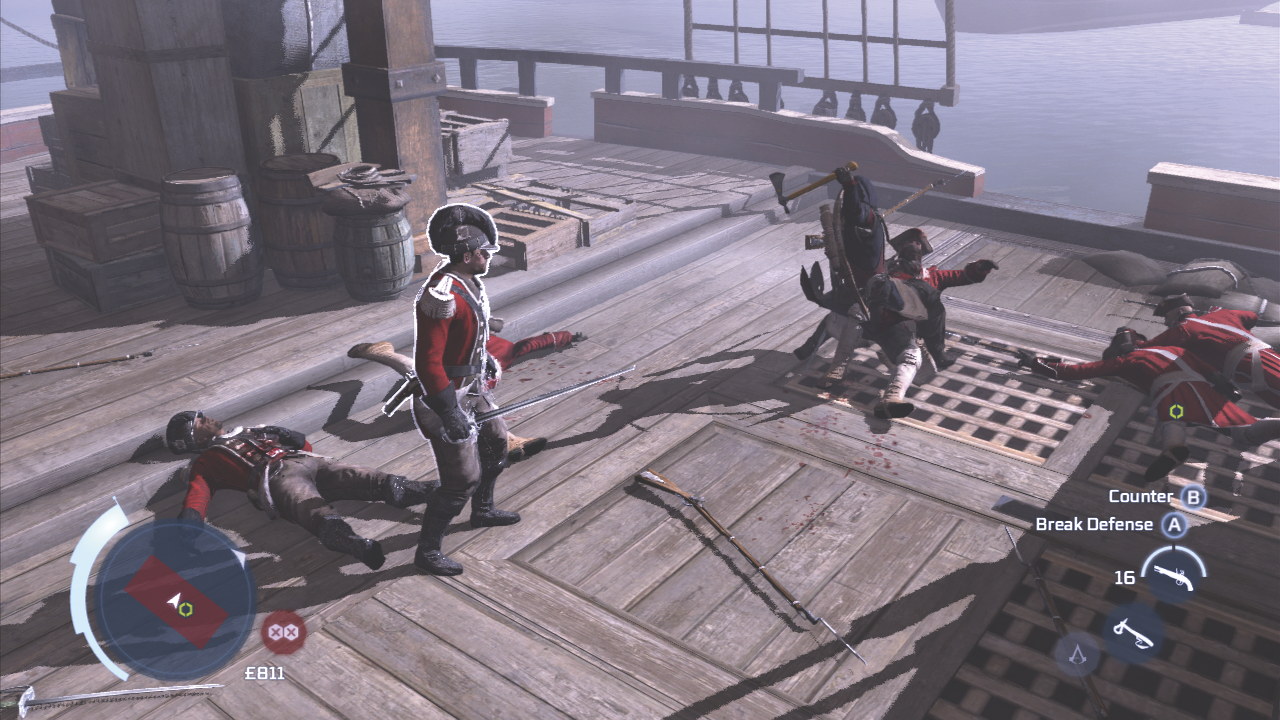
Just ignore the other men. When you get into the fight with him use Counter-A to beat him.
These are specifically for Kidd’s Treasure and are separate from all the other naval missions. They are unlocked by retrieving all the Peg Leg trinkets and giving them to Peg Leg.
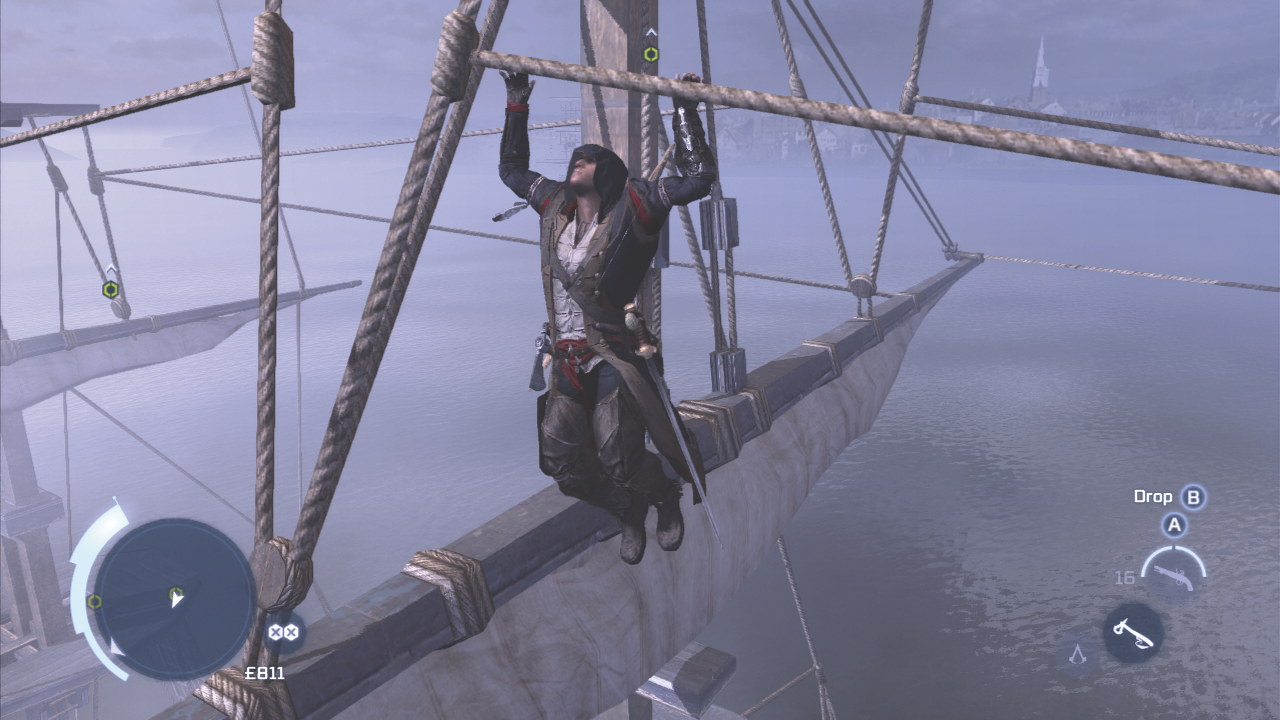
PERFORM THREE LEDGE ASSASSINATIONS
The first is right above you. Climb around to the front and wait for the guard to stand near you, then grab him by the belt and yank him off. For the second, when you arrive at the large-ish room with the three guards and the hay bale, dive into the hay bale and silently dispatch the first two, then ledge-kill the third one at the far end of the room on the left-hand ledge. You cannot miss the third. After getting the treasure in the bedroom, the courtyard jumping path leads you directly to his feet.
LIMIT HEALTH LOSS 33%
Avoid the fire and learn the route. This is far easier to accomplish than the next criteria guards to fight, once you’ve killed one use the left stick to point at the next and mash X. If you’ve done it right, you will combo into your next attacker. Repeat. If it does not unlock immediately, reset to the checkpoint and try again.
ACHIEVE MINIMUM KILL STREAK (3)
You have only one chance at this. When you meet your first set of
PERFORM RUNNING ASSASSINATIONS (3)
During the chase, mash X whenever you approach an enemy. It is really easy.
STAY WITHN RANGE OF YOUR TARGET (40 YARDS)
Hold RT the whole way and don’t get slowed by anything. Do it right and this part too is easy.
KILL THE TARGET BEFORE HE REACHES THE CAVE
Took us an oddly long time to figure this out, but provided you haven’t been slowed down at all, you should find yourself in a final leap above his head just before he reaches the cave. Mash X while in the air and it’s sayonara monsieur thief man.
REACH OCTAVIUS WITHIN TIME LIMIT
Just keep running toward it. Hold down R and Connor will do the rest. We managed it with about ten seconds to spare, so there’s leeway for a couple of mistakes, but…
DO NOT FALL IN THE WATER
Also this means you’re going to have to get your skates on when escaping the ship.
REACH THE ASSAILANT’S LOCATION WITHIN THE TIME LIMIT (1:00)
Climb the stuffed bear then follow the path up and around, across the mammoth tusks and over the bells. Done. Be sure to get the treasure after finding the next two clues. You have to climb the sliding cabinet and jump back aways from it and onto the high platform. For the second bonus treasure chest, drop down in the small room with the ramp and floor-slide through the hole in its bottom.
SOLVE THE RIDDLE WITHIN THE TIME LIMIT (1:00)
Change the time on the grandfather clock to 4:50. The answer, in case you were wondering, is on the faces of all the little watches in the other cabinet.
SOLVE THE RIDDLE WITHIN TIME LIMIT (5:00)
There are four of them. Go in whichever order you like and use Eagle Vision if you get lost. Each is a basic puzzle involving pattern matching. They’re pretty easy and we did this with a couple of minutes to spare, but if you get stuck, just remember to align the largest object with the largest socket and take it from there, rotating around it.
DO NOT USE RANGED WEAPONS AGAINST ANIMALS
Easy. When the wolves attack, just use quick-time events to kill them in the usual way. Problem is…
LIMIT HEALTH LOSS (30%)
These wolves don’t fight fair. As you will probably be used to by now, Assassin’s Creed III just loves changing its own rules to suit itself, so these wolves offer you approximately a quarter of a nanosecond to hit the right buttons. Good luck, then. It only took us 46 tries. Or thereabouts.
Twelve of these. They are quicker and easier than other naval missions, their function to reduce the risk posed by pirates and other marauders to your trade routes. That is, if you use trade routes. We didn’t because we were playing Assassin’s Creed III, not Port Royale 3. These are fun at any rate, and necessary for 100% synch.
LIMIT ALLIED LOSS 50%
Get on the swivel gun and start bullseying them immediately. No real tips to offer here other than that this is going to take skill. The faster you take them down, the less damage will be suffered by the Henderson, natch.
DESTROY THREE SHIPS BY RAMMING THEM
Prioritise ramming. Halfsail is the best speed for this as it provides the best balance between speed and manoeuvrability. Slam into three then take the rest out. Don’t worry about your own ship being damaged as there is no fail criteria for it.
LIMIT ENVIRONMENTAL DAMAGE (25%)
Very easy. Only use your cannons on the St James and only when up close. Sink her first and swivel gun the remainder of her fleet. In the meantime watch out for rocks.
LIMIT DAMAGE TAKEN (50%)
Quite easy. Before disembarking, make sure you have incendiary shot available and have them equipped. Two broadside shots will sink each British privateer and since each is a long way apart, if you’re efficient you should never come up against more than one. Make sure you duck and cover when you’re hit by the big waves.
SINK THE FLEET WITHINTHE TIME LIMIT (1:30)
Ignore the larger ship at the outset and broadside the group of smaller ones with standard shot, then finish them off as quickly as possible with the swivel, all the time bearing your ship left. By the time you’ve turned about, the larger ship should be bearing down on you. Broadside her. If you’re lucky, you’ll do her in one hit. And you’ll need to be lucky. Polish the rest off with the swivel gun. Good luck. This is very tough.
SINK A FRIGATE
Blast the enemy until the frigates appear, chase one until dead.
LIMIT DAMAGE (25%)
Couldn’t be easier. Only four ships. Use incendiary shot.
LIMIT ALLY DAMAGE (75%)
Mash their boats to driftwood as quickly as possible.
LIMIT ENVIRONMENTAL DAMAGE (25%)
Just avoid the rocks at the start.
COMPLETE THE CONTRACT WITH MINIMUM ALLIED CASUALTIES (4)
Take the enemy out with fire shot and you’ll lose two allies max.
MINIMISE ENVIRONMENTAL DAMAGE (25%)
Just avoid the rocks at the start.
SINK SHIPS BY FIRING ON THEIR POWDER STORES (3)
You have to wound each vessel just enough without sinking her to open up the opportunity to target her powder. We recommend not using incendiary, but standard shot and firing grazing shots rather than full broadsides which have the potential to sink them immediately. Good luck. This took us three tries, but we reckon we were lucky.
That’s not all there is. Check out NowGamer’s guides to Assassin’s Creed 3’s feathers, almanac, inventions and trinkets locations and story missions.


 Mass Effect 3 Guide
 ZOMBI: CCTV Junction Box Location Guide
 Battlefield Hardline: Fix for MSVCP110.dll Error, Hardline Battlelog, Cant download game, Game not in library
 Review: Dead Island: Riptide (PC)
 How to Switch to a Sony Xperia Using Xperia Transfer