Buy Assassin’s Creed III on Amazon
On the map, you’ll find that forts are marked as large Restricted circles, and while no quest giver or Memory will commission you outright to go conquer them, there are some rather beneficial perks to doing so. Not only will you be one step closer to 100% Synchronization, but taxes on passing convoys will be reduced, and you get whatever sweet loot is inside.
Fort Saint Mathieu: Located close to the southern New York exit (frontier)
Fort Monmouth: Located in the southwest corner of the map, west of Harbormaster (frontier)
Fort Duquesne: Located in the northwestern portion of the map, north of Valley Forge (frontier)
Fort Hill: Located in the easternmost portion of Boston
Fort Independence: Located in the southwest, near the Boston Common landmark (Boston)
Fort Washington: Located in the west, near the docks (New York)
Fort Division: Located in the northeast, close to the frontier exit (New York)
Notes:
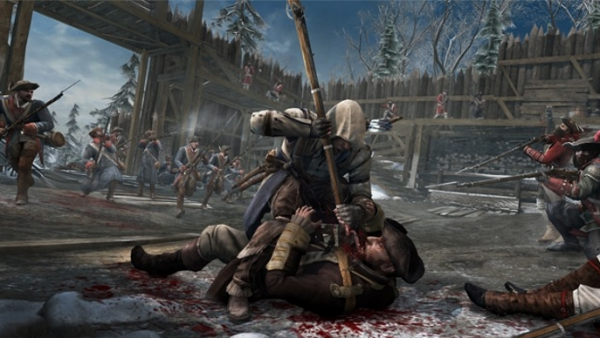
Naturally, every fort has a number of Redcoats dwelling within, and since entering the area of a fort bumps your Notoriety up to 2, they’ll investigate you if they catch a glimpse, and attack you upon full detection. Engaging in open combat is risky, because at any time, doing so will cause an alarm to sound, whereupon every soldier in the vicinity moves in to attack you. On top of that, all entrances and exits will lock down, preventing any simple escapes, should you become ensnared.
Conquering a Fort:
- Kill the Fort Captain: The captain is always of the more powerful archetypes, marked with a red hexagon on the map.
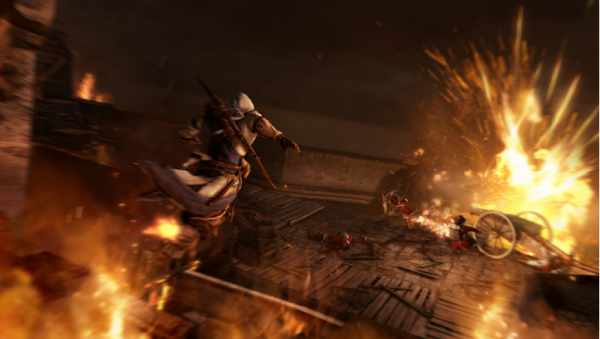
- Ignite the Powder Reserve: The reserves are also marked with a red hex. All you have to do is interact with the door, and after ten seconds, the whole thing explodes. Of course it will raise some confusion…
- Lower the Flag: Lowering the flag is the last step in conquering a fort and can only be done if the first two steps are completed. The British flag is marked with a yellow/green hex and be taken down by interacting with it, as with the door. Once this done, your work is finished; all the redcoats are replaced with patriots, the fort itself becomes a fast-travel destination, and you can now treat yourself to the Chest inside.
Tips & Guidelines:
While you don’t acquire Connor’s full arsenal of tools until Sequence 6, it’s still very possible to conquer any fort after Sequence 5, with the exception of those in New York. Frontier forts are available for conquest from the start of sequence 5, while Boston forts are fair game once you’ve completed Boston’s Most Wanted. New York forts are available after Missing Supplies in Sequence 9.
- As a rule of thumb, have a full load of Poison Darts when attacking a fort. They make short work of captains and a must for stealth.
- If you don’t complete all three of the above steps when you leave the fort, it becomes restored to its original state, so don’t leave your work unfinished.
- While some captains will seek refuge in the fort once an alarm sounds, some will engage you in combat with their troops. Killing the captain in a direct assault will cause some of his minions to jump ship and run away.
- In Boston & New York, you can use Assassin Recruits to help you in conquering a fort, making the Marksman ability a powerful asset. Note, though, that there will be some unforeseen troop movements within the fort as a direct result.
- Weather is your friend: rainy conditions lower the detection range of hostiles, and snow or blizzards only make it easier for you.
- Note chronological guard positions. Guards will be at different posts, depending on the time of day.
- If combat gets hairy and you still need to take out the powder reserves, some forts will have stray powder kegs laying around. If you shoot them, they’ll explode and take out the reserve (which comes in handy, as you cannot interact with it while in combat). After that, just sprint to the flagpole and lower it, thus ending the conquest of the fort instantly.
- The loot inside the fort is, indeed, pretty sweet, but its under the hardest locks you’ll find. Once you find the sweet spot on the lock, tap R1 (or RT) as fast as possible to spring the mechanism before time runs out, otherwise you’ll have to start all over.
Buy Assassin’s Creed III on Amazon