

You’ll start this level in a Broadsword. The gauntlet you’ll have to pilot the Broadsword through is filled with moving parts and, glowing orb forcefields and turrets. You need to boost through closing sections of the trench occasionally. To avoid the turret fire, simply move around a lot. You can shoot them but it’s not necessary. Every once in awhile a waypoint marker will advise you to dip to a tunnel below but this just takes quick reactions.
Eventually you’ll pilot the Broadsword out into an area where you can freely move about. Head towards the center spire and take out the glowing point in the middle with your guns. Now head for the perimeter of the area. There are 4 massive turrets to take out, but you can only shoot their glowing orb bases from an open port on the the sides of each gun. Follow the outer diameter of the ringed area and shoot out the smaller guns as you work your way around to destroy each orb. You can safely fly through the turrets’ bases after the orb is destroyed. Take out all four and a cutscene will begin.
To the Grave
Switch to your SAW and immediately take out the three Watchers in the first room. If you do this fast enough, they won’t be able to complete the Beam Sentrys in the room. The same goes for the next room but there are two Knights here. The Scattershot is actually a pretty good resource in this area for eliminating Watchers and even Beam Sentries but the Lightrifle is best choice for keeping your distance.
In the next room are three Knights, each with different, powerful weapons. You need to snipe these Knights and you can trick their AI a bit by staying on the other side of the door. They won’t advance through the door until you’ve taken their shields down, so it’s a safe place to shoot from. Try using your Hologram to distract them but one of the Knights here holds the very important Auto Sentry.
Enter the elevator, and, at the top, plug her into the column. Enter the portal. The first portal leads to a room with a few Crawlers. The portal to the next area is ahead, but at its feet is a helpful Binary Rifle you won’t want to miss. Use something other than the Binary Rifle for now in the next room on the Knights and their Watchers. A rack with Light Rifles can be found at the bottom of the platform. The Auto Sentry can do much of the work in this area. A final impediment before you reach the portal on a high platform across the area is a Knight with an Incineration Cannon. Use the Binary Rifle on this tricky enemy from very far away.
Unless you are going for the Chief Smash Achievement, ignore the Gravity Hammer in the armory. Pick up Plasma Grenades and a mid-range weapon like the Light Rifle or Battle Raffle. Absolutely take an Incineration Cannon. As you walk through the portal, keep pressing forward and melee attack the unaware Knight at the bottom of the ramp. You’ll now be at the top of a slope, with four Knights, two with Incineration Cannons, between you and the next portal. Toss up your Auto Sentry and begin taking out Crawlers and Watchers.
The Knights are quite easy with an Incineration Cannon. They are especially vulnerable right after they warp since they won’t be warping again for a few seconds. Grab their Inceration Cannon ammo and load up on Lightrifle ammo for the next area. You can retrieve Cortana in the next area but first you must defend a small area from dozens of Crawlers. Cortana will activate some of the beam defenses in the room to back you up and you can add your Auto Sentry to the mix to have a nice, defendable position on the raised platform. Here you can stock up on Lightrifle ammo and grenades. Only use your Incineration Cannon on the biggest clumps of Crawlers and then save two or three rounds.
Eventually Cortana will appear in a short pillar below the area you are defending. Retrieving her opens a portal at the far end of the ramp. Here you will encounter heavy Crawler resistance, so have your Incineration Cannon at the ready to vaporize large groups. Enter the portal at the end of the line. Cross the large gap by stepping into the launcher. You’ll land in another armory. Grab a Light Rifle and a Binary Rifle for the next fight. After depositing Cortana in the column, you’ll have a choice of paths. Go to the right.
Launch over to the massive island in the distance. You’ll first encounter a Watcher and several Crawlers. There is a small doorway off to the side that leads to a room with Promethean Weapons, including an Incineration Cannon. You won’t need this now but remember its location. Many, many Crawlers and a few Watchers block your path up the floating island you are on. Take it slow, and hit them with Lightrifle Binary Rifle rounds. You’ll have to use a button to extend a bridge across to the target area. More Crawlers line the walls here. After accessing the marked panel, you can head to the next island. But before you go, grab that Incineration Cannon!
The launcher to cross to the next island is below. Use it, and as soon as you land, target the Knight along the back wall and destroy it. This Knight has a Lightrifle, which you should grab. Before you can do that there are about a dozen Crawlers to take care of. Destroy the nearby ones, then dash for the overhang. The Crawlers above can’t target you here.
At the top of this area is a Beam Sentry. Expend another Incineration Cannon round on it. Beneath its location at the pinnacle of the island you can stock up on both Lightrifle and Incineration Cannon ammo. From this high point you can also skip the remaining enemies on the island and make a dash to the next launcher. Save your Incineration Cannon ammo for now. Use the Lightrifle on the many enemies as you work your way up the familiar island. Again, there is a small ammo cache along the wall on the middle level.
The final battle is at the top of the floating island. There are Knights with all kinds of different weapons guarding the top area. To make them appear you’ll have to once again extend the bridge. Here’s where lugging that Incineration Cannon around pays off. While sniping from across the bridge and throwing grenades can help thin out the Knights, crossing the bridge and filling the columned hallway with Incineration Cannon death is an easy way to handle this area. If you run out of Incineration Cannon ammo, rely on the Lightrifle. Again, the Auto Sentry is vital in this final fight as it draws fire.
Once every Knight is down a spot appears on your HUD at the end of the hallway. Access it and look for ammo for the Incineration Cannon near the downed Knight. There are three more Knights on the final island to contend with. Hopefully you have enough Incineration Cannon ammo to make this easy.
At the top of the island is blue bridge leading to the central area. It’s not over yet! You’ll have to use the left stick, the left trigger and the right trigger when prompted to eliminate Didact and detonate the nuclear device.
 Razer BlackWidow Stealth Ultimate Edition Review: A Keyboard for Gamers
 10 Awesome Educational Websites for Kids You Must Bookmark
 Video Game inspired Nike Sneakers
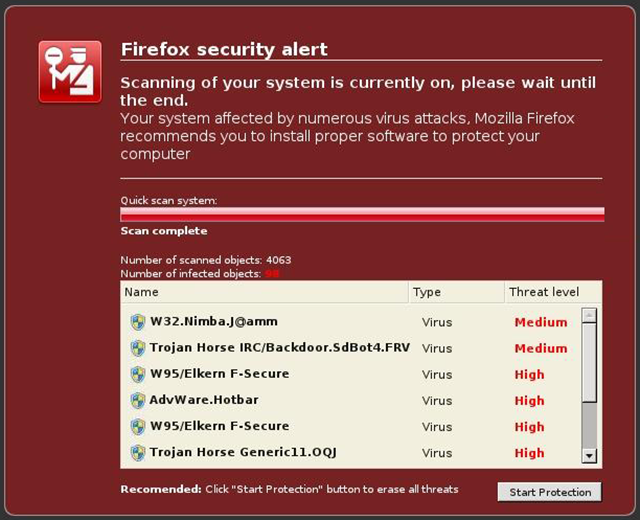 How to Spot and Avoid Fake Virus & Malware Warnings
 MK 9 Review Round-Up: The Mortal Kombat Series is Reborn With Its Latest Title