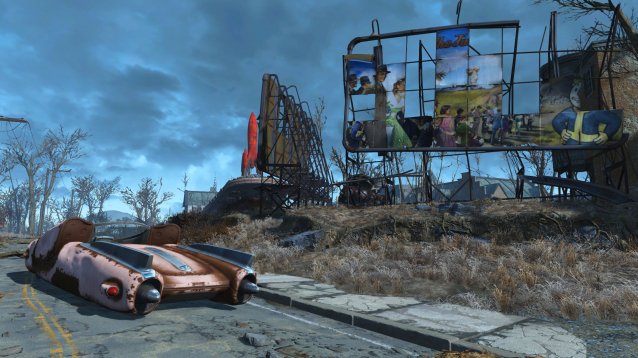
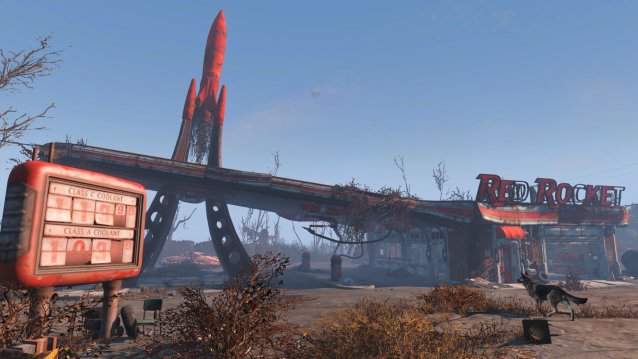
For years I’ve been fascinating with honing my photography skills in Bethesda games, pouring hours upon hours into getting that perfect shot, be it in the Capital Wastelands, the fields and mountains of Skyrim, or the dust of the Mojave Desert. In that time I’ve picked up a few tricks for getting a better shot, and in light of the beauty that is Fallout 4, now is a good time to share them.
There are two console commands you should use every time you take a Fallout 4 screenshot. First hit the tilde button, marked with ` and ~. This will bring up your console command window, where you can manipulate the game’s backend to remove or add elements as needed.
In that window, enter the letters “tm” (without the quotation marks) and hit enter. You will now have removed all HUD elements to get a clear view of the screen. This is very important. The HUD distracts from the beauty of your landscape photos, so best to get rid of it for every shot.
Next enter “tcl” (again without the quotation marks) and hit enter. Exit the console command window by pressing the tilde button again. Now you have turned off collision mode. This will allow you to move anywhere you want in the game. If you need an angle that can’t be achieved by normal play, this is the trick to use.
You can go high in the air to get a shot from far away, or dip beneath the ground to get a unique angle, which is idea for landscape shots. Sometimes all a shot needs is a little height or distance. It also allows you to get closer to objects that you normally might be able to in the game, opening up the potential for better still life photos.

Be willing to stop everything and perform these two console commands to give you the freedom you need to take a great picture. But also keep in mind some basic photography principles. Examine the position of your photo’s subject to other objects around them. Try to create pleasing angles and interesting geometric relationships between the two. Maintain the rule of thirds, that is, try not to put your subject in exactly the middle of the photo. And pay attention to your lighting and weather effects. If conditions are not ideal, wait until they are. It will be worth it.
And above all, practice practice practice! Be sure to look over your own photos every day, take note of the ones that work and the ones that look good, then compare them to other shots and make note of the differences. This is the best way to become a better photographer, no matter what equipment you’re using.
If you need more pointers on console commands, check out our post here. And if you want some tips for optimizing settings, click here.
Happy snapping!


 The Hunger Games Adventures Guide
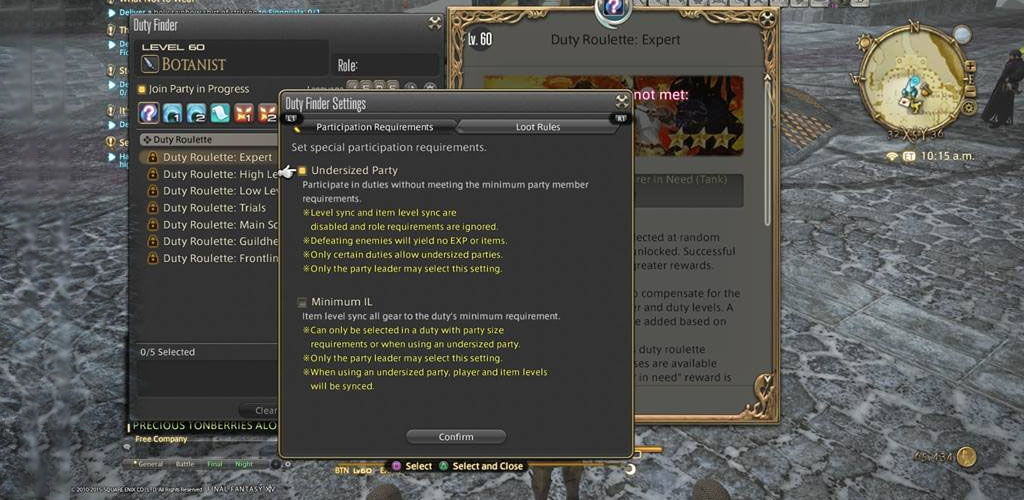 Everything You Need to Know About the Undersized Party Option in FFXIV
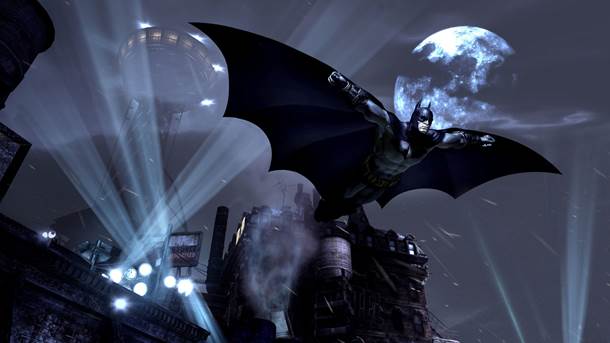 Retrospective: Batman: Arkham City
 A Sum of Parts: Creating Belief
 Complete the Songsneak playlist in Watch Dogs