

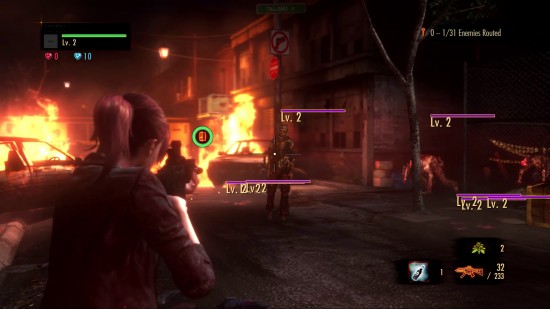
You may or may not have realized this during the course of your runs in Raid Mode in Resident Evil Revelations 2, but there are 5 medallions you can earn in each stage. These include Clear, No Herb, Genocide, Challenge, and Completion.
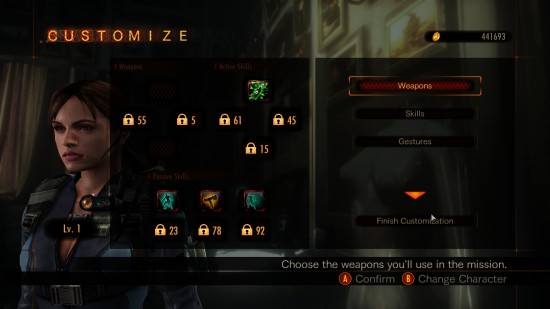
What’s the point of earning all these medallions, you ask? Not only do you get bragging rights when showing off your completion rate to your friends, earning a certain number of Completion medallions will allow you to unlock new characters in Raid Mode as well.
You will also be able to unlock a new gauntlet of stages depending on your medallion count. So naturally, if you want to check out the full variety of stages that Raid Mode has to offer, you have to get that medallion count up. Here are a few tips to give you an easier time earning those Completion medallions in Raid Mode.
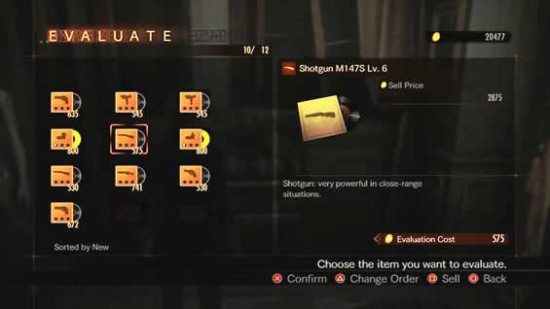
First things first, evaluate every album you get from playing through a main stage. These come in the form of upgrade parts and new weapons. When you’re at a low level, you’ll want as many weapon options as you can possibly get. Besides, if you happen to get duplicate weapons, the money you can get from selling it off will probably be higher than what you paid to evaluate it anyway.
So far, players have discovered 6 different colored albums that indicate their level of rarity: black, gold, green, blue, red, and purple. The rare albums can only be obtained through missions, though the drop rate of these seems to be somewhat random.
You’ll also be able to purchase weapons from the in-game store and sometimes the weapons being sold there will come with equipped parts. However, I’d advise against spending too much gold buying from the store; the really good stuff can only be found in chests.
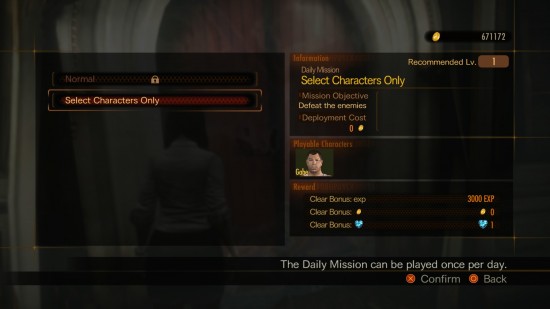
As much as you can, try to play the two Daily Missions that Capcom drops into Raid Mode each day. The first mission can be attempted by any character, while the second Daily Mission will be character-specific. When you’re at a low level, the Daily Missions will be pretty brutal as they usually throw in tons of enemies with skill buffs. However, the Daily Missions are great for earning a huge gold and experience boost. There’s also no deployment cost, making the Daily Missions very worth your while in terms of the benefits you can reap from them.
The Daily Missions can only be attempted once, so make sure you grab them whenever you can.
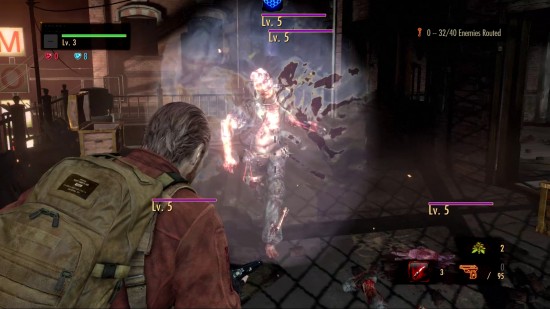
While playing Raid Mode, you might notice some enemies with curious little icons next to their purple health bars. This means that these foes have special stat boosts that make them a little more dangerous than your regular schmucks.
Tank: One of the first Elite foes you’ll come across, the Tank has a lot of HP, a high attack stat, and will not be easily stunned by your bullets. However, he’s weak to all elemental attacks.
Sprinter: He has high movement speed, but very little HP. Watch out for these guys though; you wouldn’t want to be swarmed by them. Sprinters will make a mad dash towards you once they spot you, so take them out first.
Burner: These guys are covered in flames, making them pretty easy to spot. If you see a Burner in a zombie pack, take them out quickly because they’ll explode when their HP count reaches zero. Burners are also vulnerable to ice ammo, obviously.
Freezer: These enemies are covered in ice and are colored blue. Similarly to the Burners, the Freezer will explode when it dies and freeze anyone in its surrounding.
Shocker: Shockers are covered in electricity and you can identify them with the purplish hue that surrounds them. When they die, they’ll explode and immobilize surrounding enemies with an electric shock.
Barrier: These guys are a pain to deal with. A Barrier has a protective shield that greatly reduces any damage coming from the front. To counter this, you’ll have to attack from the side or the back. Explosive bottles work well against Barriers.
Healer: As the name suggests, these guys will heal surrounding enemies. Be sure to take them out as soon as you can or you might end up wasting a ton of ammo trying to eliminate a pack of zombies.
Booster: Instead of healing nearby enemies, Boosters will grant stat buffs to their allies instead. But don’t worry, taking down the Booster will remove any buffs previously granted to your enemies.
Vanish: Invisible enemies. Total pain in the ass. They can only be seen when you aim your weapon at them.
Poisonous: These enemies will emit a cloud of yellow smoke at their feet. Be sure to keep your distance as any contact with the smoke will drain your health.
Coat of Armor: These silver colored enemies have very high defense to make up for their low HP. Though difficult to kill, they will grant you a giant experience boost once taken down.
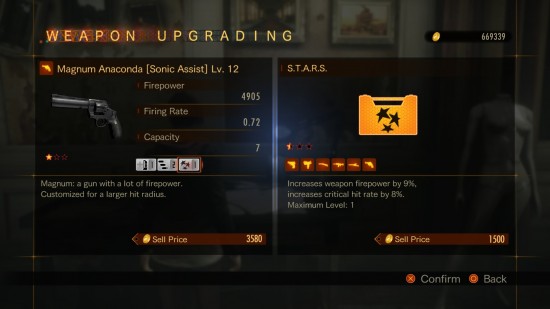
When you’re just starting out in Raid Mode, it can be tempting to throw all your upgrade parts onto the weapons you’re using the most. I’m telling you to curb that temptation right now. Once you equip a part on a weapon, it can’t be removed unless you destroy that part. Furthermore, once you unlock the tool bench, you’ll be able to increase the levels of your upgrade parts.
Some useful parts to take note of include Long Range and Force Ammo, depending on your play style. Long Range comes in especially handy for those who enjoy using rifles, pistols, and generally creating distance between themselves and the enemies. This handy upgrade allows you to deal more damage to your foes the further you are from them.
Force Ammo, on the other hand, might be better used on a shotgun or other short-range weapons. This upgrade pushes your enemies back a short distance, giving you some breathing space to work with.
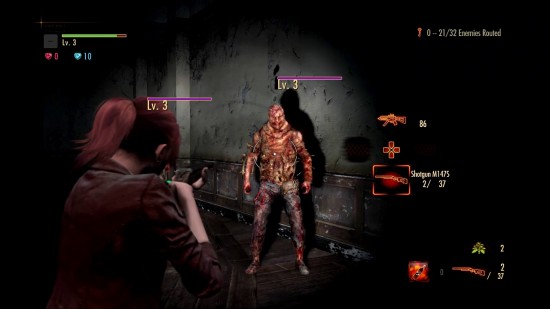
Alright, now that we’ve identified our enemy types, evaluated our weapons, and added some upgrade parts to them, we can finally get down to business: actually clearing a stage in Raid Mode.
Ammo conservation is key, especially when you unlock the harder gauntlets. Try to stun your enemies with a few bullets before running up to them with a melee attack. Use the knife on the zombies whenever you’re behind them or if they’re on the ground. There are breakable crates containing ammo scattered around the stages, but these can run out pretty quickly especially if you’re not careful with your shots.
If you’re going for the Completion medallion, you can’t use herbs during a stage. This means that you’ll have to get used to evading enemy attacks whenever they’re too close for comfort. Players will do well to remember that they can evade any time, even when they’re reloading.
When you’ve unlocked the final area in the stage, it’s usually ideal to run straight for the endpoint and try to force your enemies into a choke point so that they won’t be able to sneak up from behind. Besides, this ensures that you’ll have an escape route handy just in case you’re out of ammo and you get overwhelmed. Though you won’t be able to get the Genocide medallion by ending the mission early, it’s still better than failing it completely.
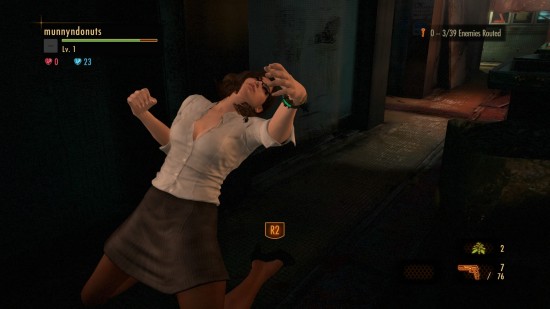
Each character in Raid Mode has a special skill unique to them. My final tip to all Raid Mode players is to use Gina at least once for her Gesticulation skill.
This supremely awesome skill allows you to deal damage to enemies with the in-game gestures, and leveling it up just might transform her into a melee attack bad-ass. Note: I haven’t actually maxed out Gesticulation so I can’t provide a first-hand confirmation of aforementioned melee bad-assery, but I’m assuming that’s what you’ll get when you pour your skill points into it.
The story of Resident Evil Revelations 2 can get so serious sometimes that it becomes necessary for players to sit back every once in a while and appreciate the silly side of the series.


 How to Hide Anything in Windows
 Add Pomodoro Timers to Your To-Do Lists With This App
 How to Unlock Wormhole Fulton Extraction Device in MGS V: The Phantom Pain
 The Broken Straight Sword can be the best weapon in Dark Souls 2
 The Five Most Wanted Mass Effect Spinoffs