Unofficial Max Payne 3 Guide by vhayste for
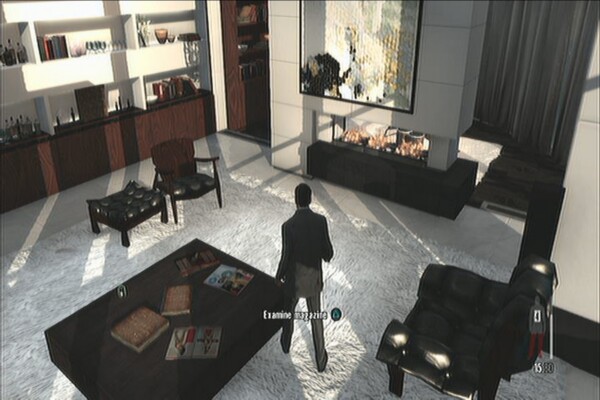
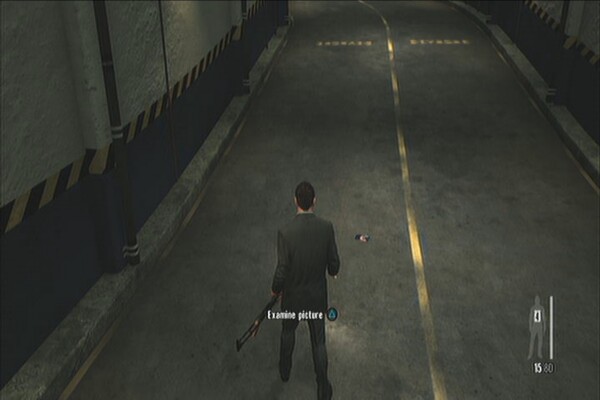
Love Max Payne? then you'll love our cool unofficial guide to Max Payne 3. We walk you through the whole game from start to finish, chapter by chapter getting all the collectibles along the way as well as telling you how to complete each trophy/achievement. The guide is accompanied by visuals from the game and videos to help us describe to you how to complete each section. Golden Gun: PT92 (3 parts) Head inside the room and check the magazine to get the first clue in this chapter (Celebrity Magazine) on the table. You need to pick this up before heading outside the balcony. Once done, exit the balcony and while you're sliding in slow-mo, aim for the hostage-taker's head and kill him with one shot. Follow the path and kill the last enemy. Hold X as instructed and keep shooting to deliver a series of overkill shots to the target. Continue to the parking lot. Continue follow the road ahead and you should find a dropped photo on the ground. This is your second and last clue of the chapter. (Dropped Photo) Continue heading up and clear the next area of enemies. As the van makes its escape, shoot the tires and clear out the remaining enemies. Next, kill the last two enemies aiming for your client and kill them quickly. Golden Guns: .38 Revolver (3parts), Mini-30 (3 parts)

Chapter 1
Something Rotten in The Air
Clues: 2
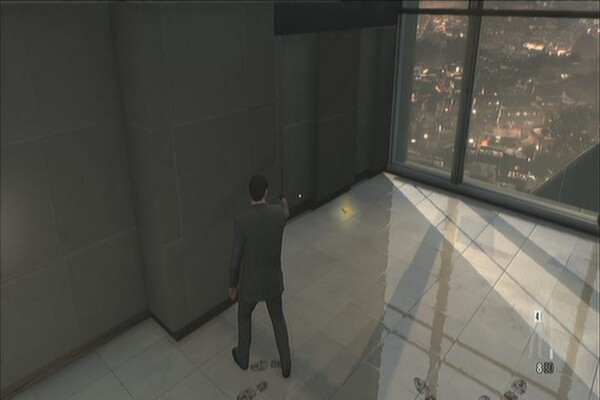
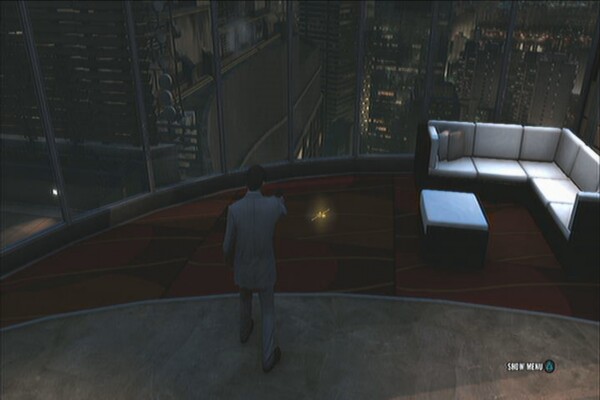
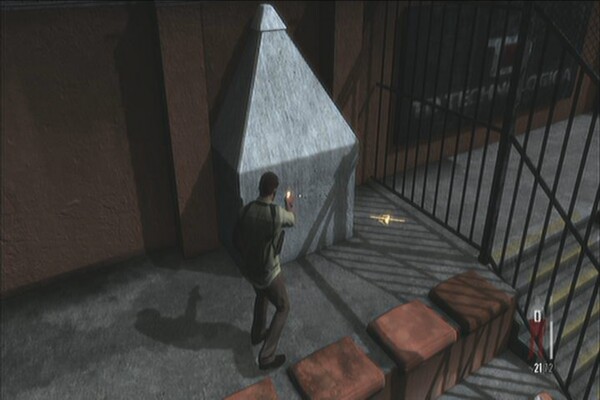
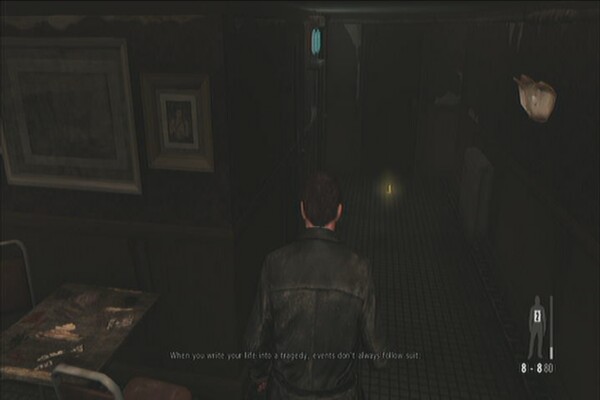
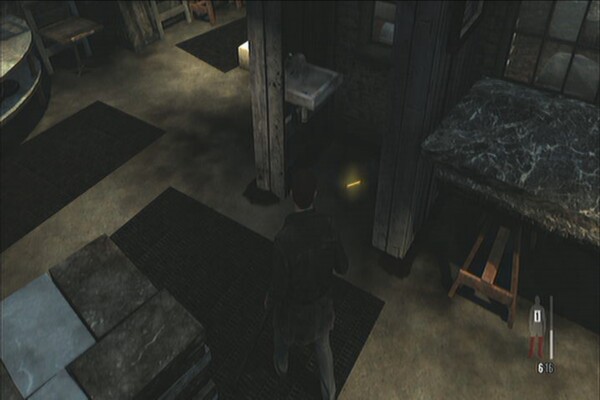
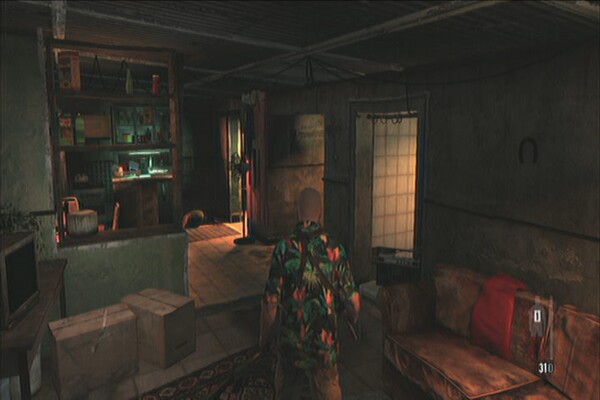
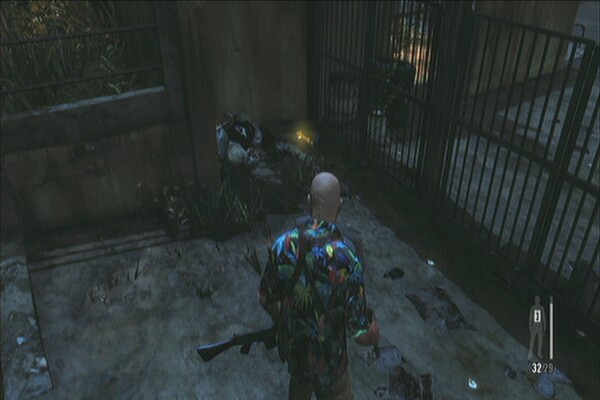
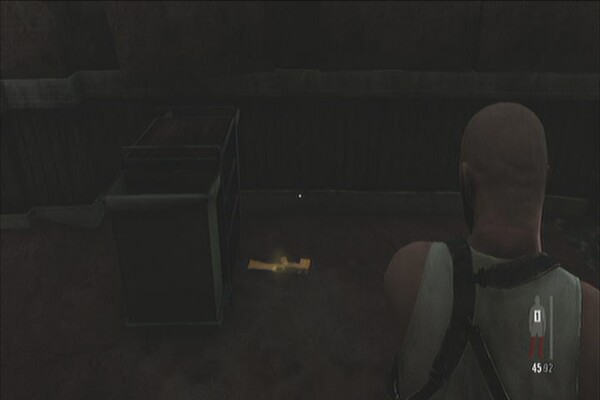
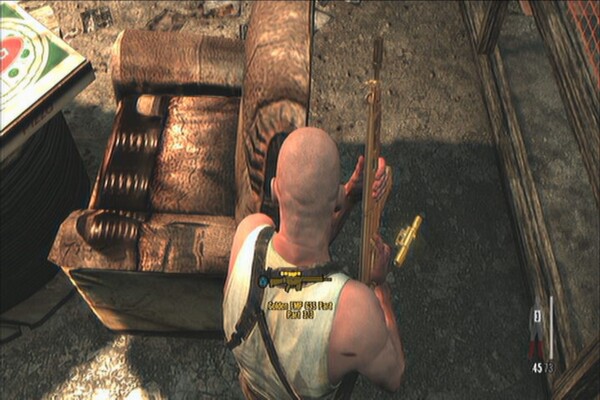
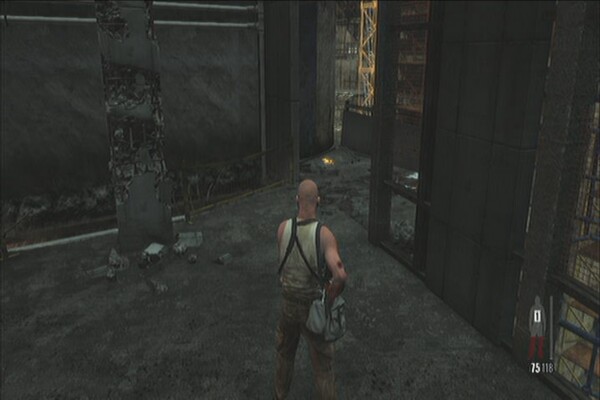
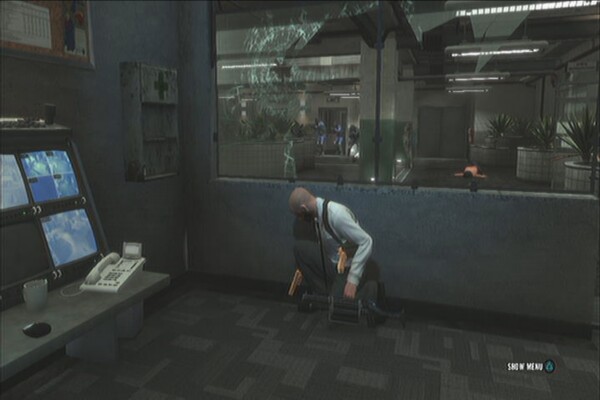
As soon as you start the game, don't enter the room yet; instead keep heading forward until you find a golden gun on the floor near the windows. This is the first of the many collectibles in the game. (Golden PT92 Part 1)
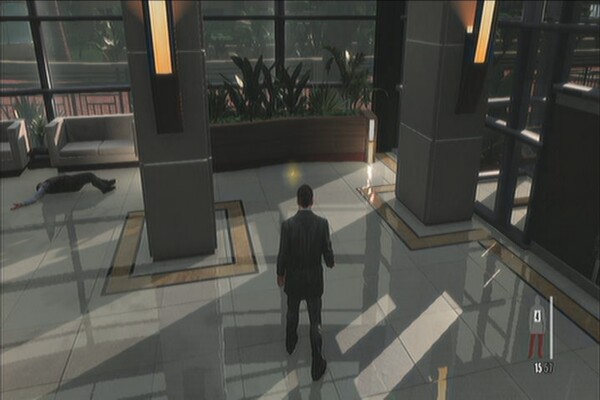
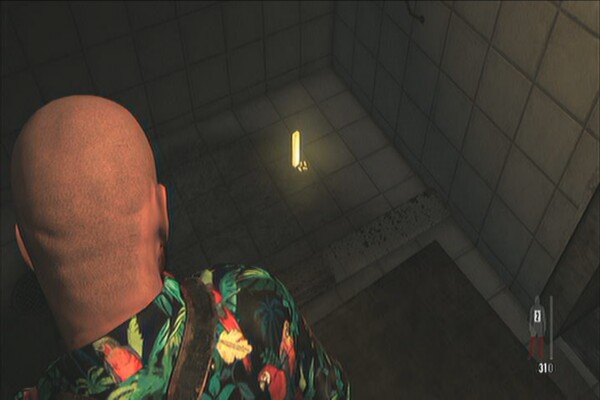
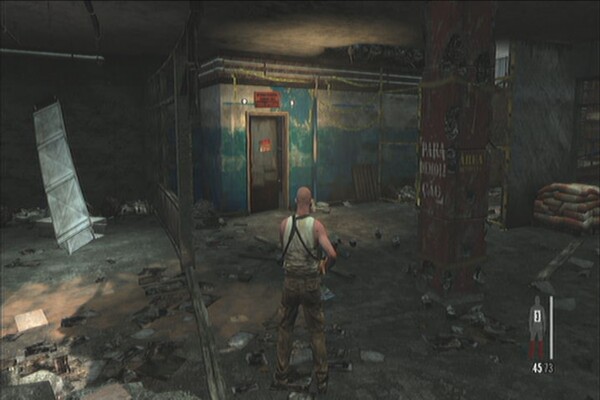
After getting off the elevator, you'll find a golden glimmer on the floor, far ahead. Pick it up to get the second golden gun part of the chapter. (Golden PT92 Part 2)
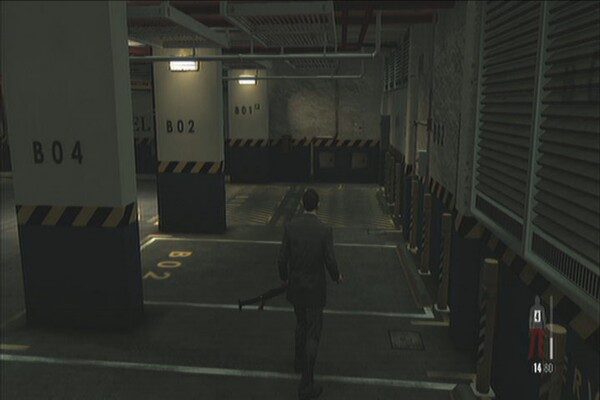
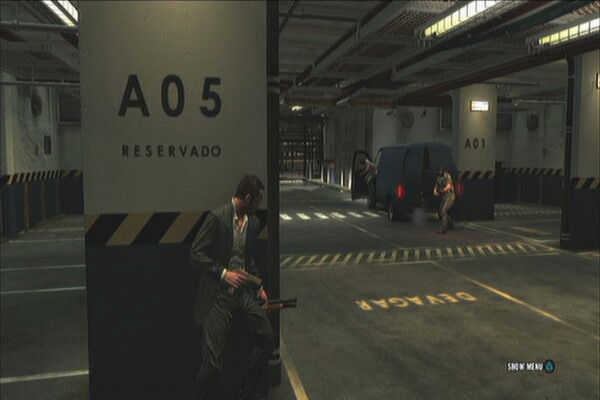
Once there, clear the area and open the gate. Head to the second area and continue to the parking area B01, the far corner. The last golden gun part should be found here. (Golden PT92 Part 3)
Chapter 2
Nothing But the Second Best
Clues: 6
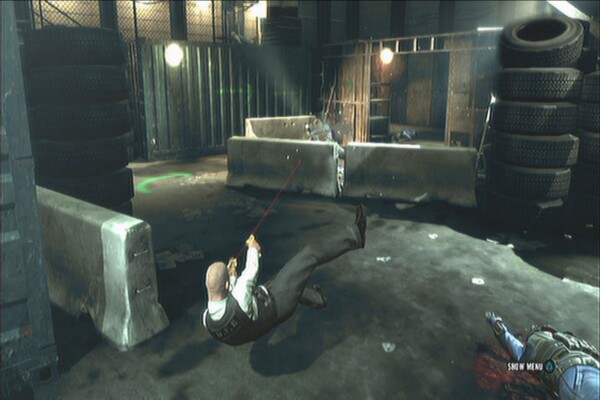
At the start of the chapter, you'll be in mid-air in bullet time. If you have FREE AIM enabled, you can attempt unlocking the Out the Window trophy by killing all six enemies before you land on the floor.
Window Cleaning
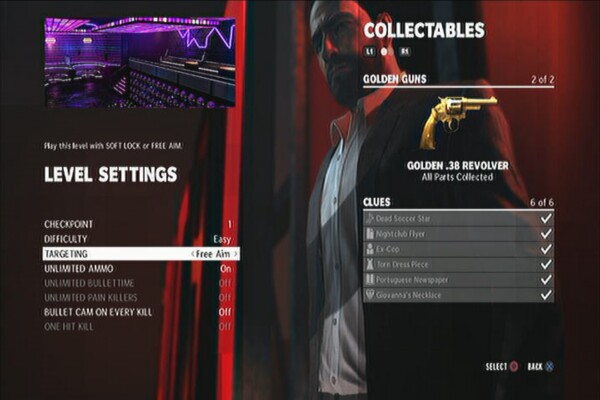
After the scene and after Max dives out from the window, look at the DJ stage. The first part of the two golden guns in this chapter can be found there. (.38 Revolver Part 1)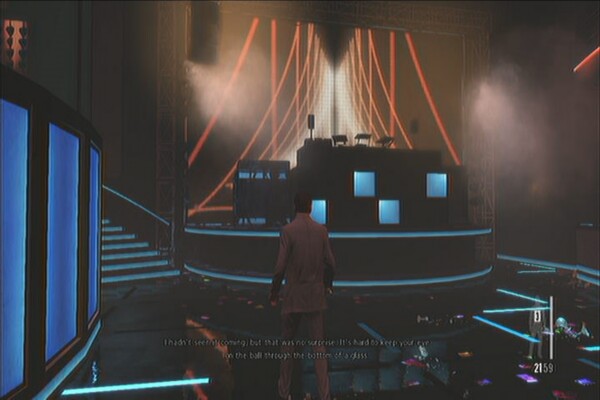
After getting the part, head to the exit for a scene. This should open the previously locked door beside the DJ stage. Kill the enemies inside and before moving out, collect all the available collectables in here. 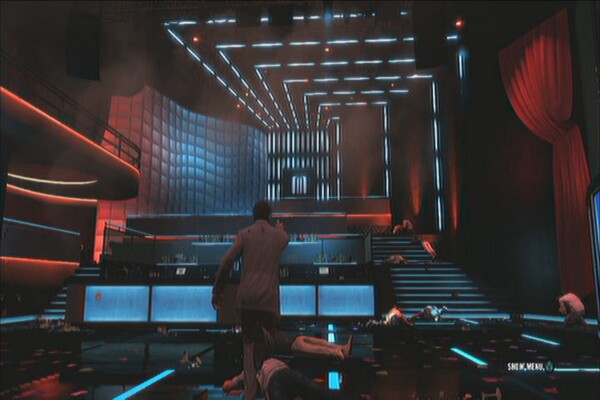
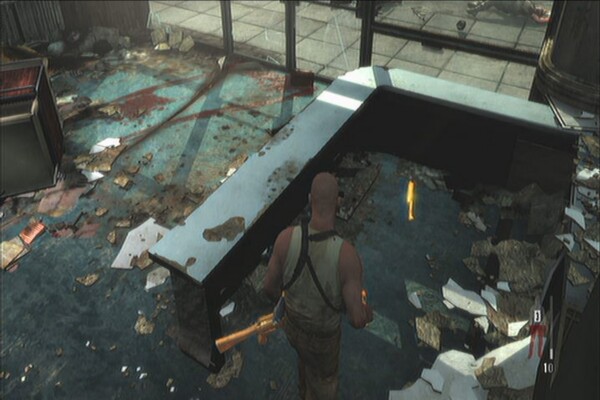
Check the bar itself to find the first part of the second gun in this chapter. (Mini-30 Part 1)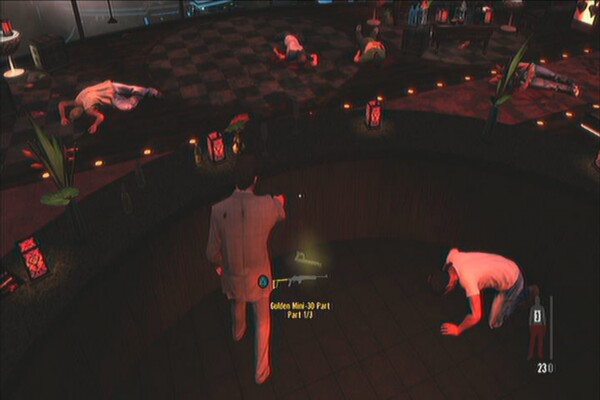
Next, examine the Club Flyer in the counter of the bar for the chapter's first clue. 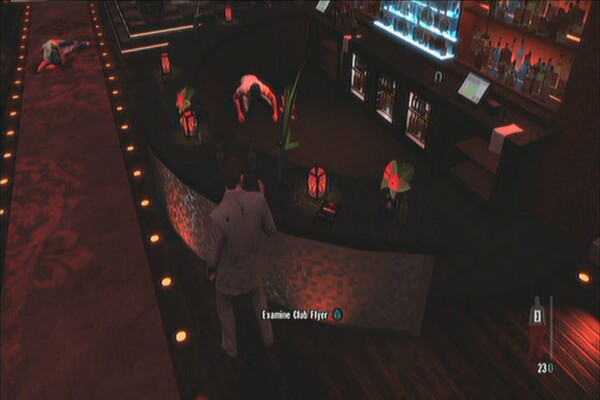
Next, check out the Claudio's corpse beside the couch to get another clue. (Dead Soccer Star)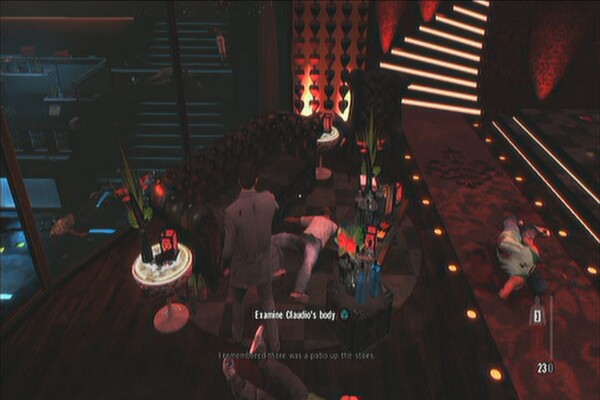
After getting the collectables in this room, continue to the next room and kill all enemies. Exit to the door for a scene.
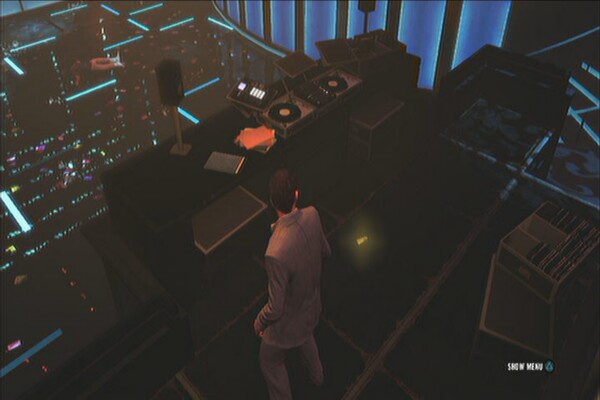
Continue to the next lounge and clear all enemies. Find the DJ platform and get up there to find another gun part. You may need to access it through the staff room door on its left side. (.38 Revolver Part 2)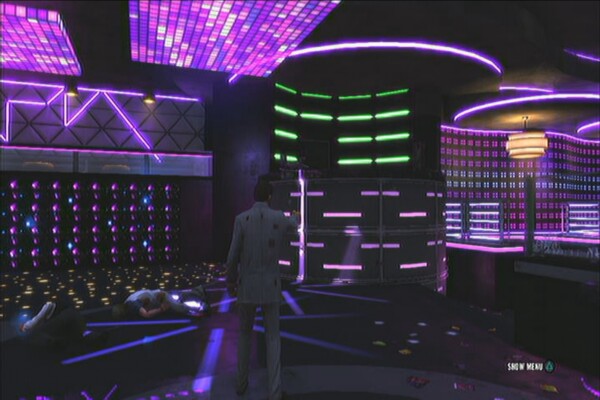
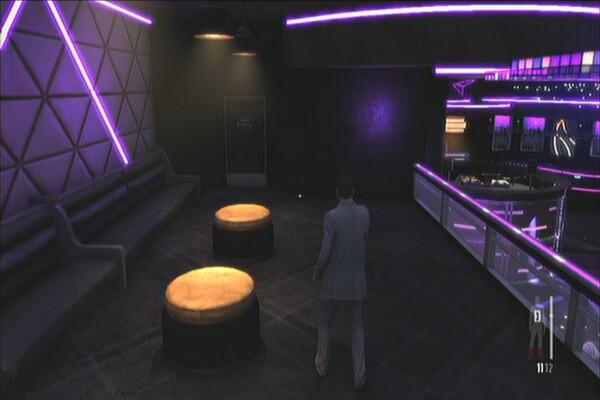
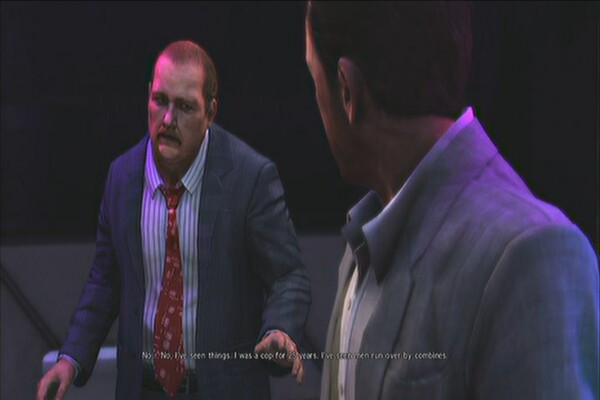
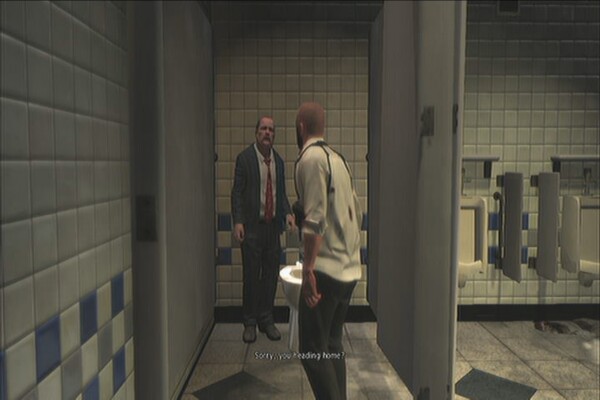
Exit through the door and you should find yourself in a small bathroom. Check the middle door for a short conversation with an ex-cop. This should be added to your list of clues for this chapter. (Ex-cop)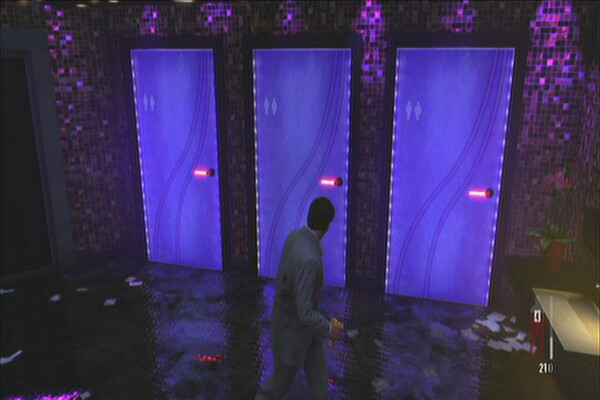
After finding the ex-cop, check the sink nearby for a clue. (Torn Dress Fabric) 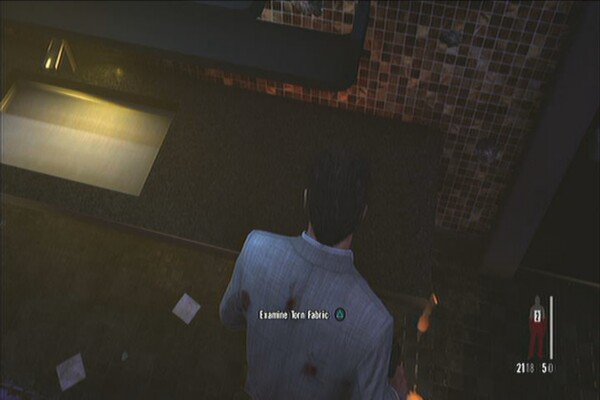
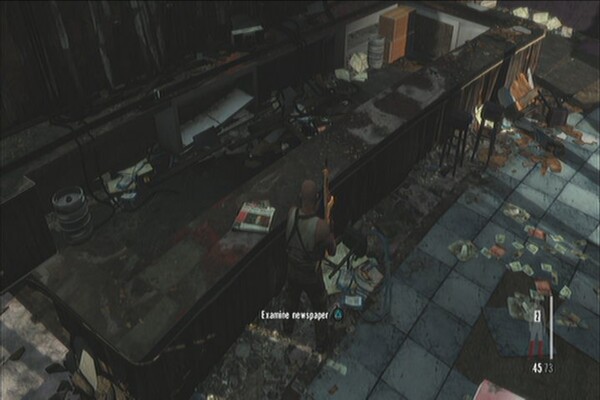
Continue to the kitchen and kill all enemies. Grab the next clue beside the radio near the sink to the right. (Portuguese Newspaper)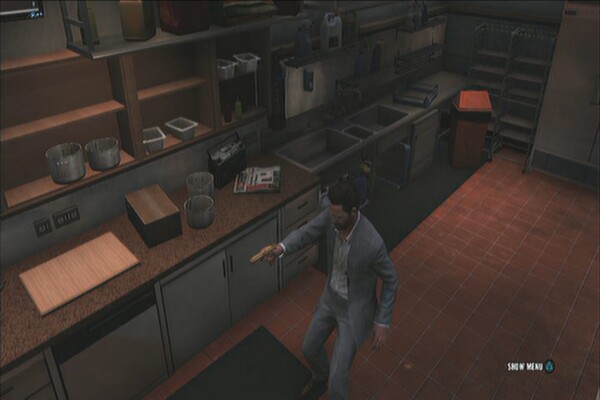
Continue to japanese-themed restaurant and clear all enemies. You'll find the second part of the Mini-30 golden gun in the center dining area. (Mini-30 Part 2)
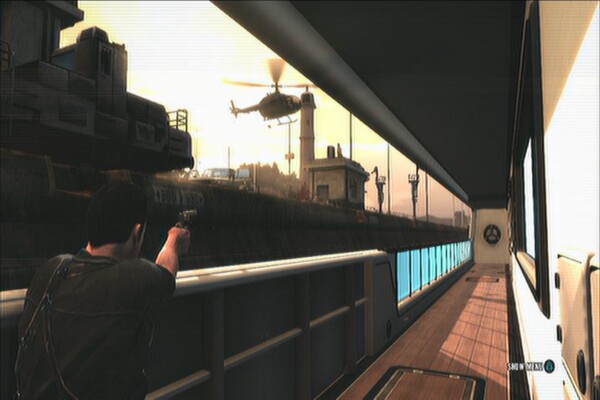
Exit the restaurant to find the captors. Head out to the veranda for the next scene. During this helicopter sequence, you have to take out the enemies before they can kill the girl. Keep doing this until you finally reach the part where there are RPG-wielding guys on the helipad. Shoot the rocket before it hits the chopper then kill the enemies below. Another RPG guy will appear afterward so blow the rocket again to complete this sequence.
Helicopter chase
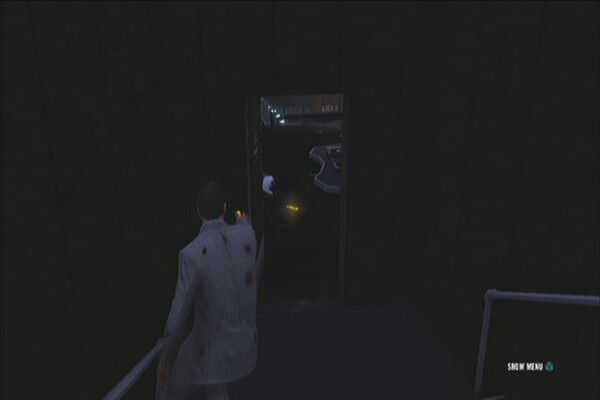
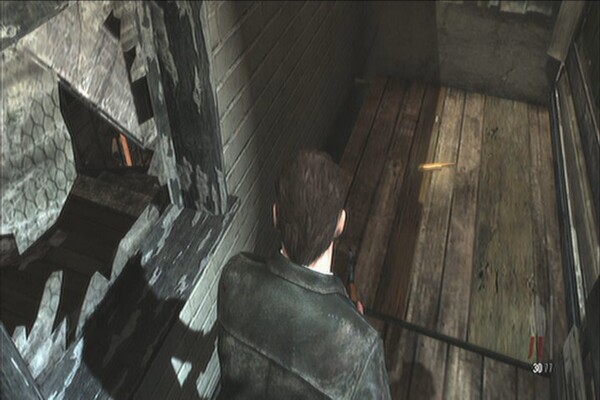
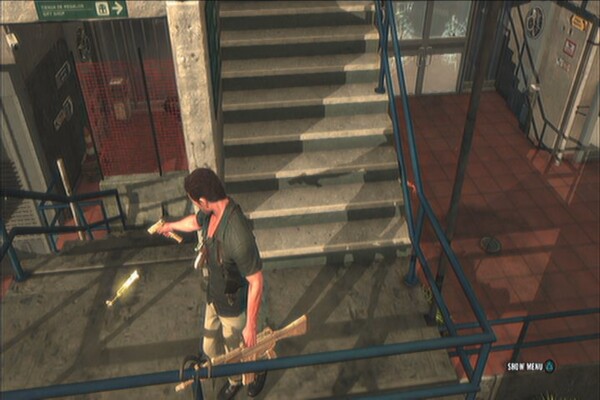
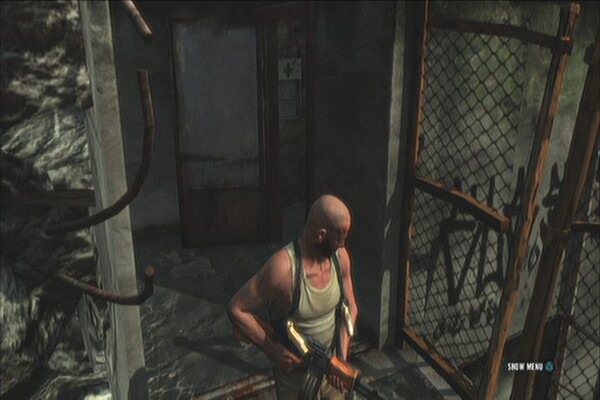
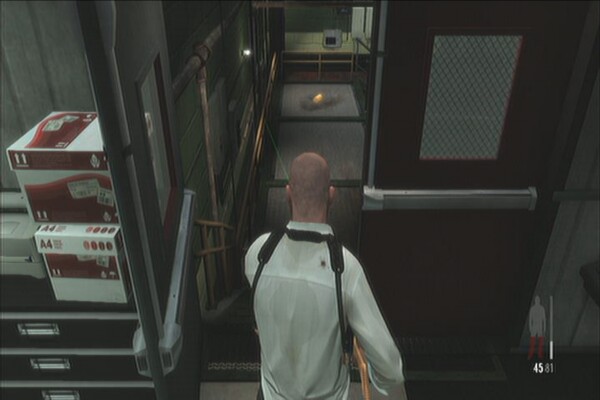
After jumping off from the chopper, grab the two painkillers from the first aid cabinet along the stairs then continue downstairs and go through the double doors to find a room inside with the another gun part. (Mini-30 Part 3)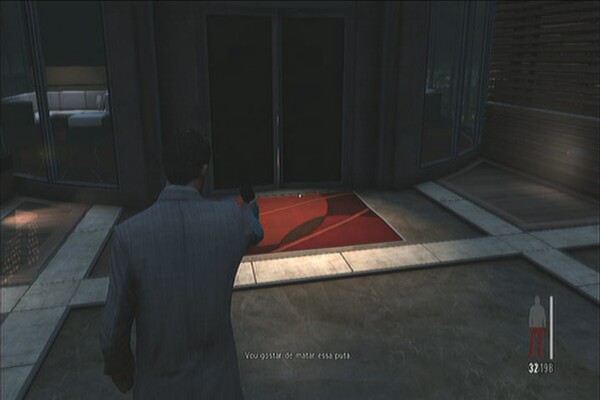
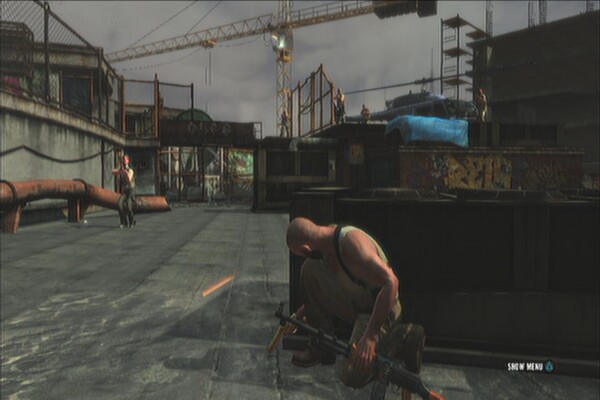
Continue following the path and take out the initial wave of enemies in the rooftop. Proceed to the large signboards and kill the next set of enemies. Continue to the far end to find a gun part. (.38 Revolver Part 3)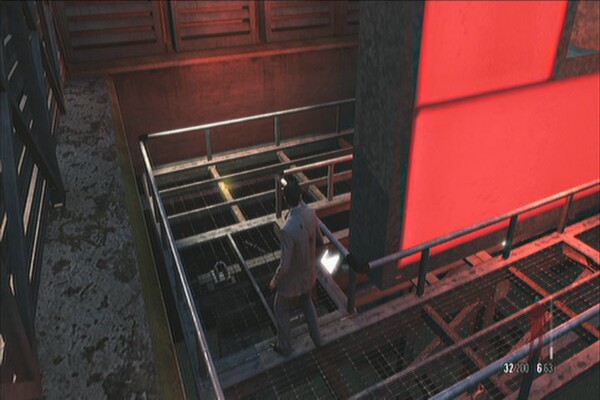
Continue forth and kill all enemies until you finally reach the stairs. The last clue in this chapter is found along the way. (Giovanna's Necklace) Continue downstairs and exit through the door for a scene. 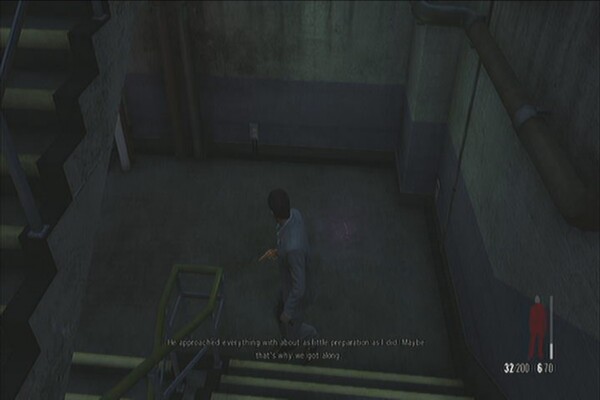
Golden Guns: M10 (3 parts), M82A1 (3 parts)
Clues: 4
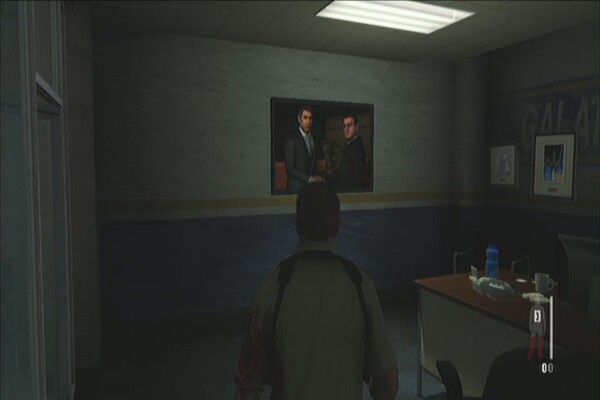
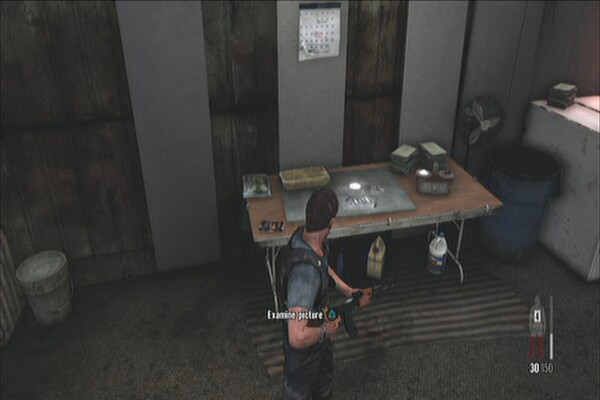
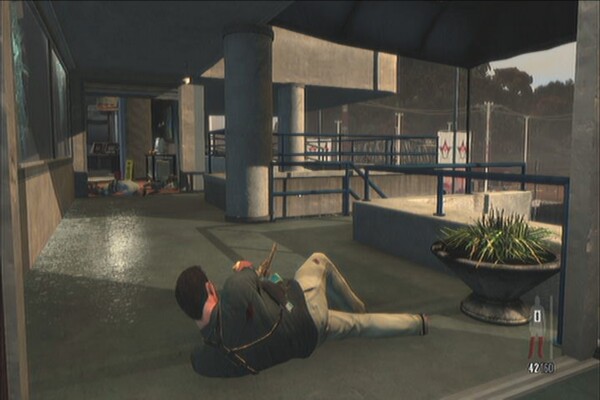
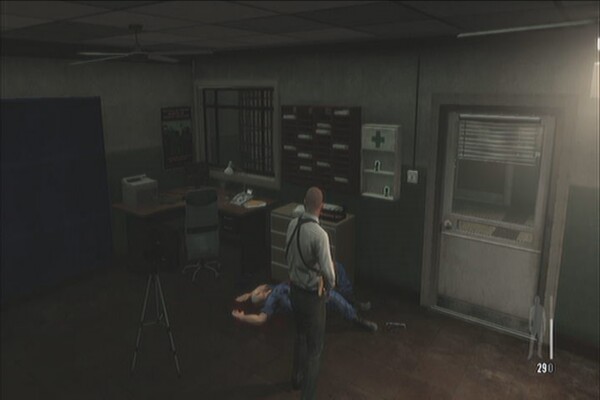
Drag yourself out of the field and follow your partner. Keep following him until you reach the clinic. Take out the enemies then enter the room beside the clinic behind you. Examine the picture on the left wall for your first clue in this chapter. (Picture of Victor)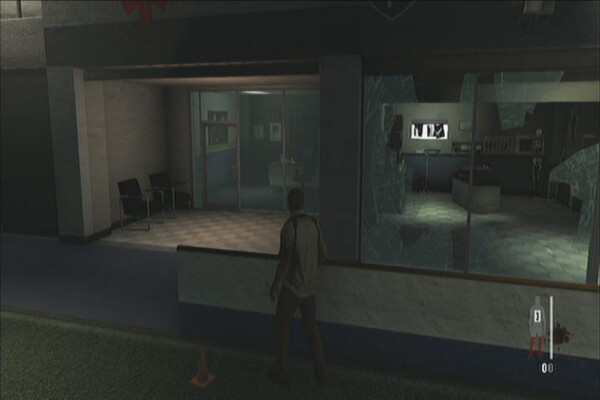
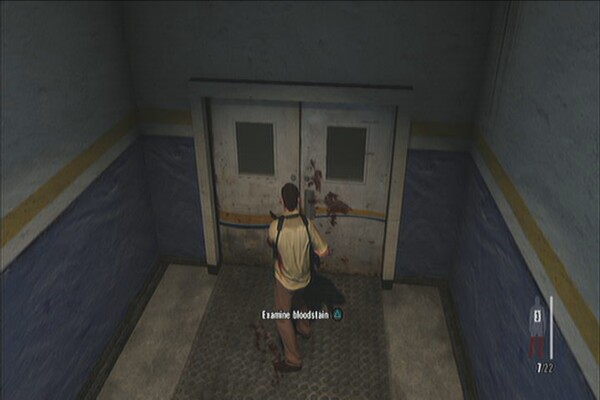
Loot the bodies for ammo and a shotgun then follow your partner. He'll be waiting by the elevator in the adjacent room. Check the bloodstains on the white double-doors beside the elevator for your second clue. (Blood Stained Door)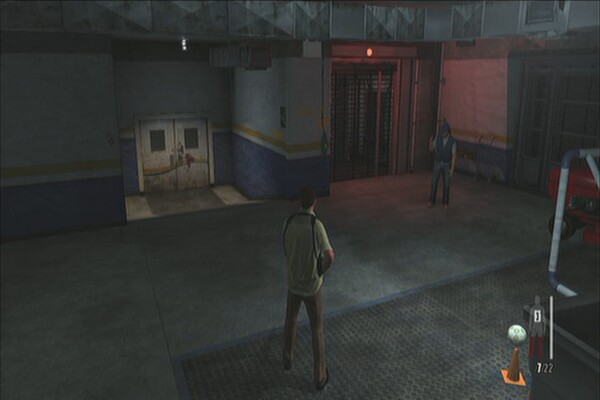
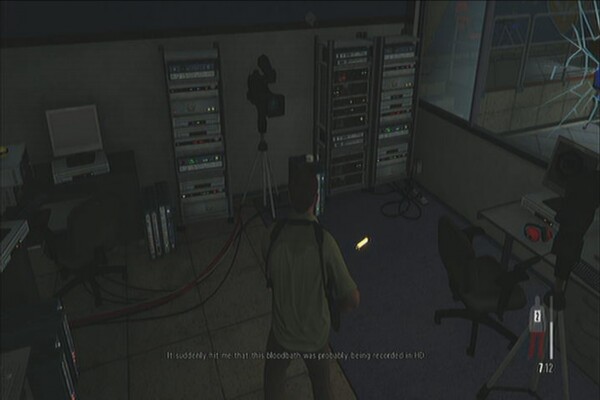
Call the elevator for a short scene. After disembarking, follow Passos to the recording room as he interrogates the bloodied gang member. Take out the enemies who will barge in the room then enter the equipment room nearby to find a golden gun part. (M10 Part 1)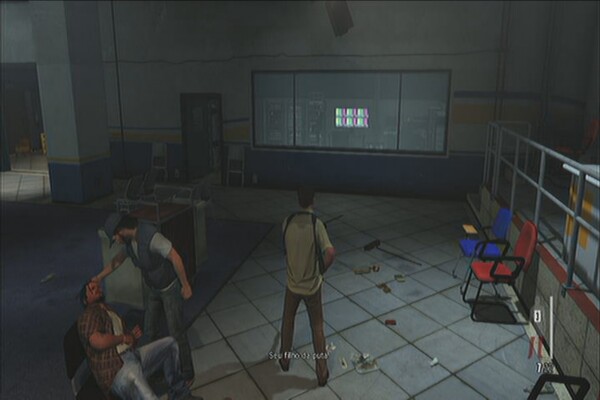
Continue to the next corridor and kill the shotgun-wielding thug who will try to ambush you from the door to the left. Check the room where he came from to find a painkiller.
Continue to the next room for another scene. Clear out the enemies and before following Passos, backtrack a bit from where you came from and check the wall where a soccer team display is painted. A golden gun part is found on the shoe locker. (M82A1 Part 1)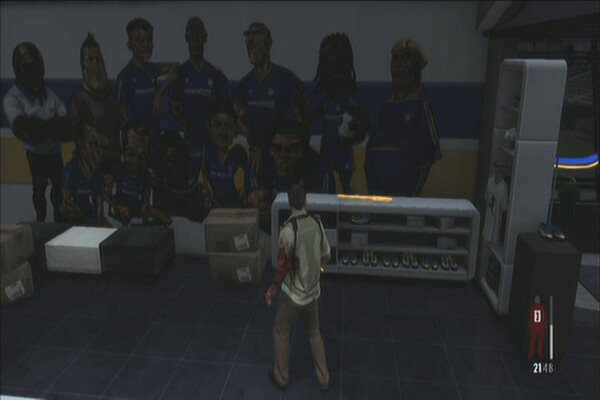
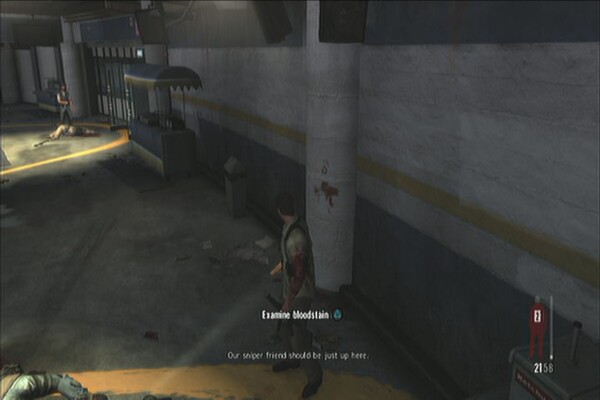
Follow Passos and run/roll pass the sniper. You'll be in a hallway where you need to kill more thugs. The third clue in on the bloodstained pillar to the right. (Blood Stained Hallway) There's also a first aid cabinet to the right so pick up a painkiller there as well. 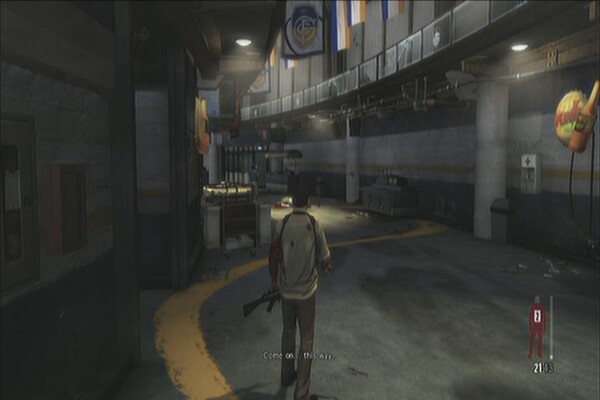
Continue forth and kill the thug on the next corridor. In the following small room, there's a first aid cabinet in the corner as well containing another painkiller. Kill the two guys in the next room for another scene. After clearing the enemies while your partner provides sniper cover, take the stairs down to the left, then turn left to find another gun part near the gate to the far left. (M10 Part 2)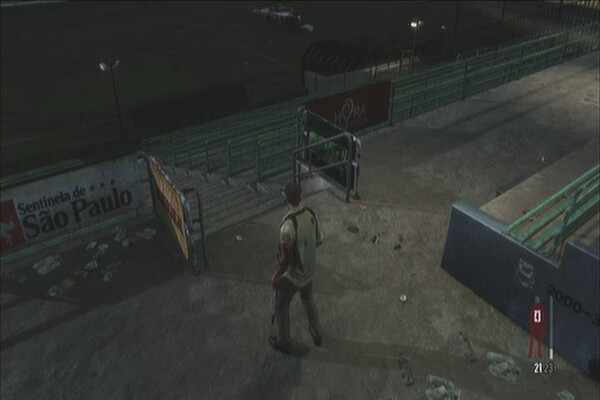
Backtrack a bit then continue to the opened gate. More enemies will appear so take them all out. Go to the far end of the walkway and kill two more enemies upstairs. Check this room to find two painkillers in a first aid cabinet. Enter the double door to the left to reach the VIP lounge. 
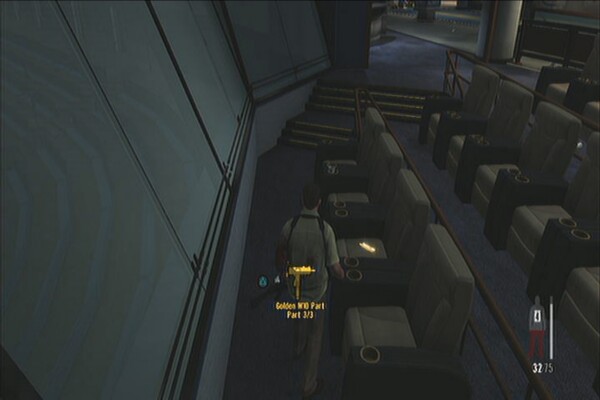
Kill all the enemies in the area then proceed along the corridor. Check out the VIP seats to the left and you'll find the last M10 part in the front row seats by the windows. (M10 Part 3)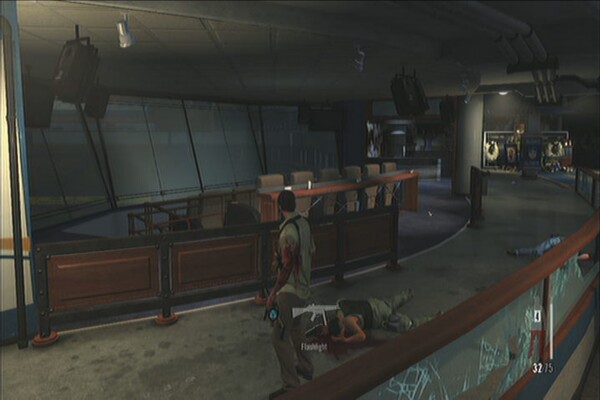
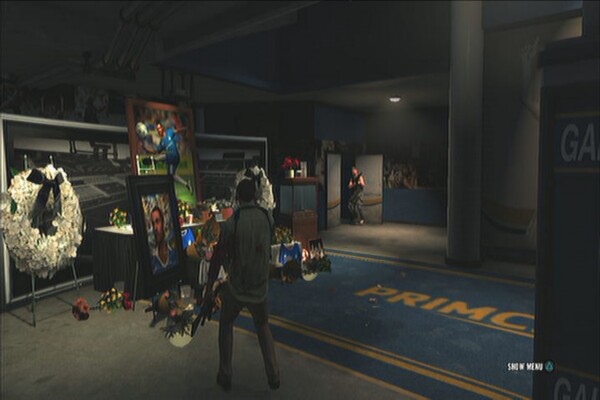
After collecting the gun part, check the counter past the VIP seats to find two painkillers. The next clue is the actual memorial at the end of the hallway. (Soccer Star Memorial)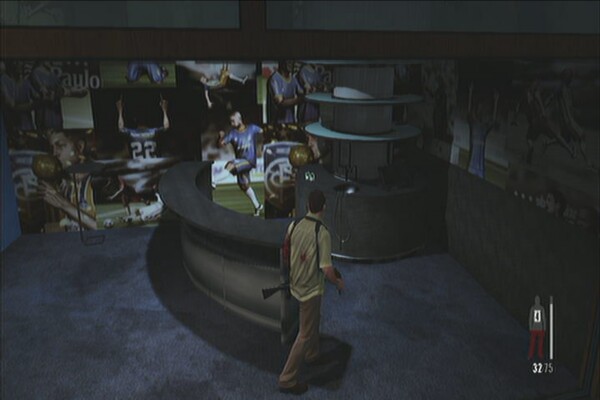
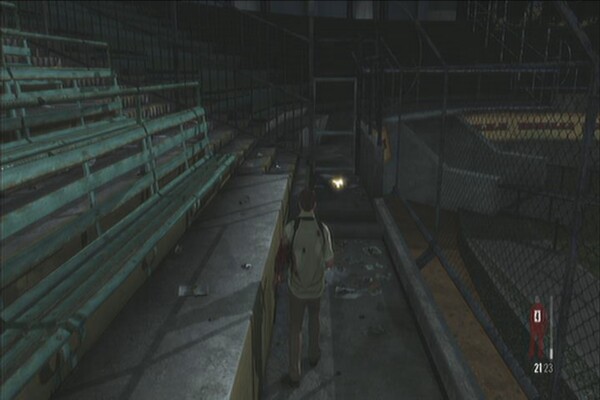
Kill the last enemy then continue to the maintenance elevator and ride it to reach the stands. Take out the enemies and be careful of the grenades they lob at you. Take note of the warning markers that will appear in your screen. You can also shoot these grenades using Bullet Time, should you wish to do it.
After clearing the enemies and while Passos is keeping the enemy sniper busy, go downstairs in front of the elevator then turn left to find another gun part. (M82A1 Part 2)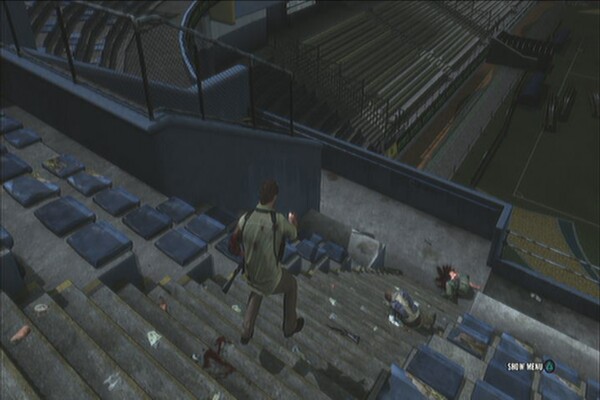
Keep running to the other end of the stands. Enter through the open gate and grab the two painkillers along the way. Open the door and take out two more enemies for the next scene. In this sequence, you have to provide cover to Passos as he makes his run for it. You can zoom in and out using the left analog stick. Try not to miss any shots to unlock the trophy “The One Eyed Man Is King”.
That wasn't fun
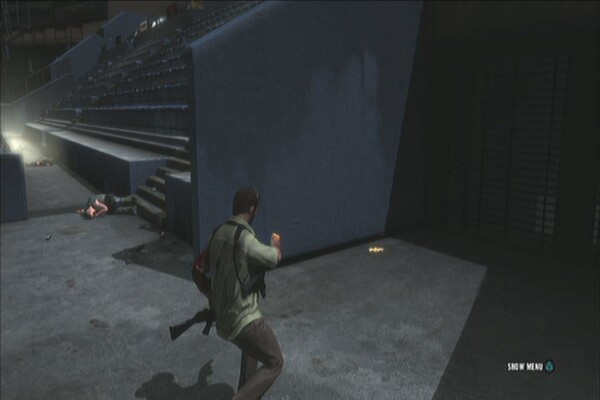
After the scene in the security monitoring room, you'll be back outside. Take out the two enemies upstairs. Go upstairs and before entering the gate, turn right and find the last gun part in the far end. (M82A1 Part 3)
Enter the gate next then kill the next set of guys there. Approach the ladder to climb it then take out more enemies as you make your way to the tower. Kill more guys in the topmost level then approach the middle lift for another scene. Kill the sniper during the bullet time sequence to complete this chapter. 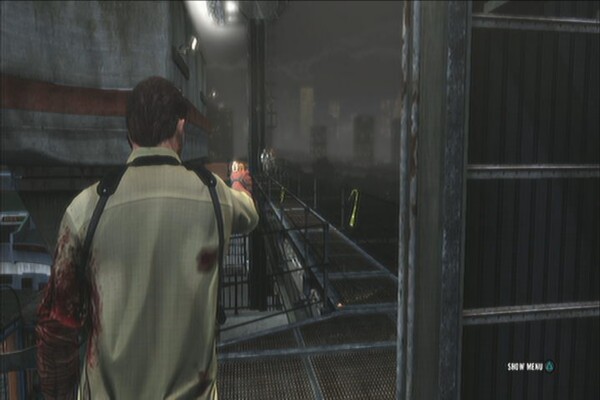
Golden Gun: 1911 (3 parts), SAF40 Cal (3 parts), M500 (3 parts)
Clues: 3
After the scene, kill the douchebags (happily). After the gunfight, backtrack to the bar entrance and look on the floor to the right to find the first gun part in the chapter. (1911 Part 1)
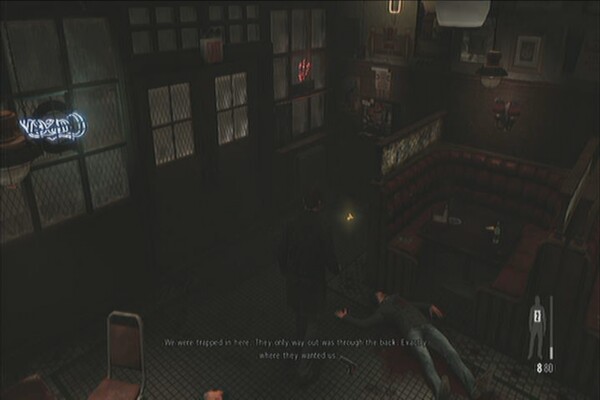
In the next room with the pool table, take the stairs to the left and find the second gun part in the short corridor. (1911 Part 2)
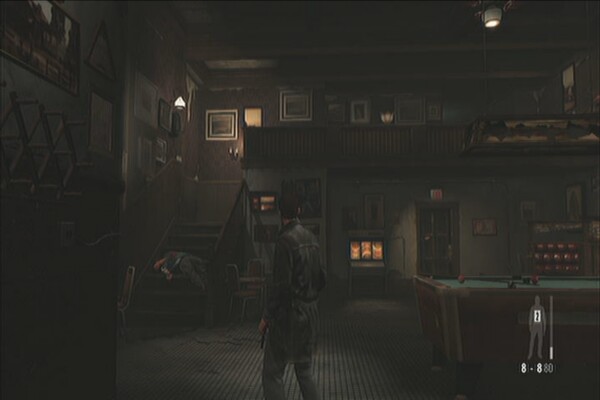
Head to the exit and go dowstairs to reach the lower bar. Kill all the douchebags and grab the two painkillers on the counter. Continue to the exit for another scene. Once you're outside, kill all the douches outside then go back downstairs where you came from to find the last 1911 golden gun part. (1911 Part 3)
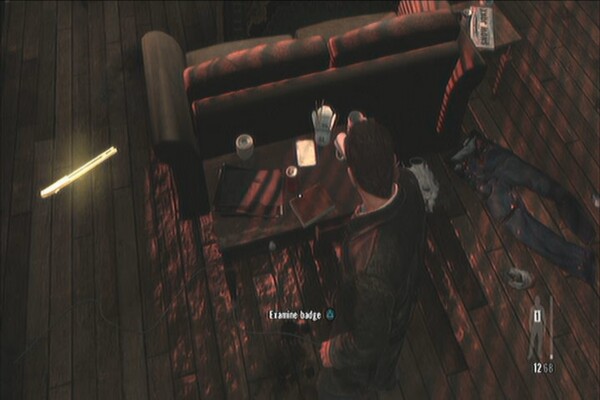
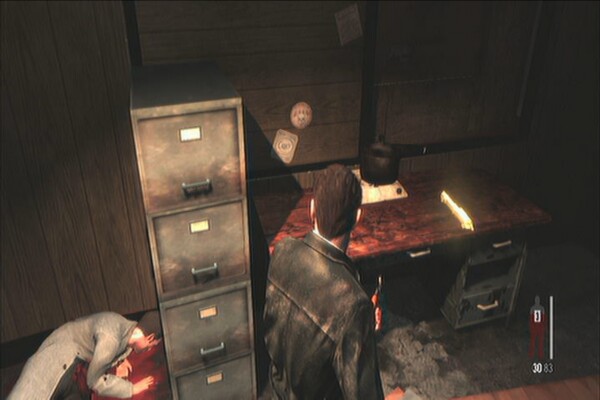
Kill all enemies to trigger the next scene and return to Max's apartment. Before leaving, check the table behind the couch to find this chapter's first clue (Max's NYPD Badge). Next, pick up the first M500 part beside the couch (M500 Part 1) You can also pick up another 1911 on the table so you can dual-wield them and a painkiller as well.
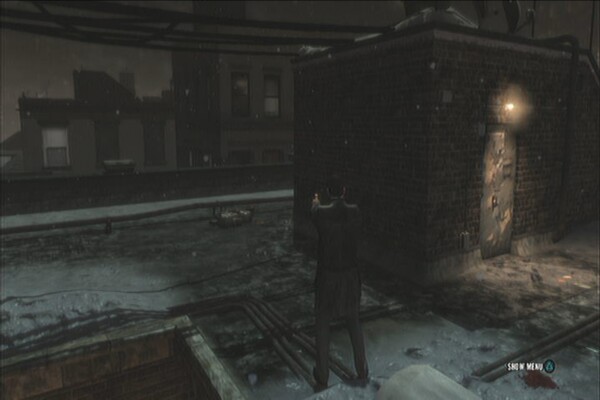
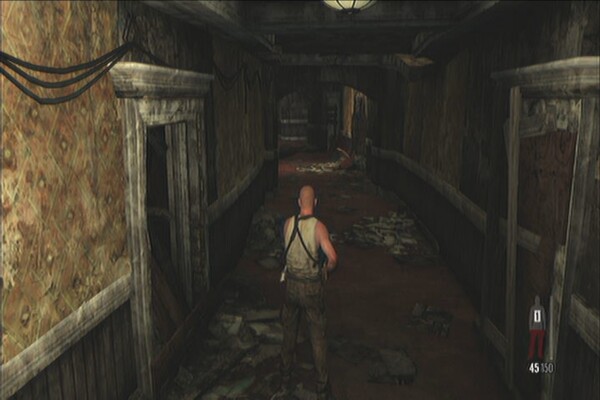
Kill the enemies in the far end of the corridors and stick on the wall to the left. Keep hugging to wall to protect yourself from enemy fire all kill all the enemies on the roof to get a trophy. (That Old Familiar Feeling)
That Old Familiar
Feeling
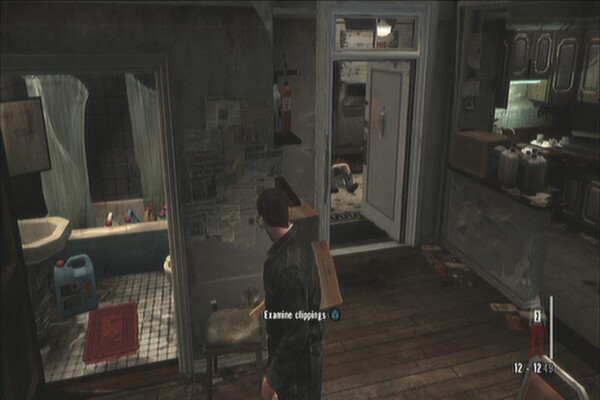
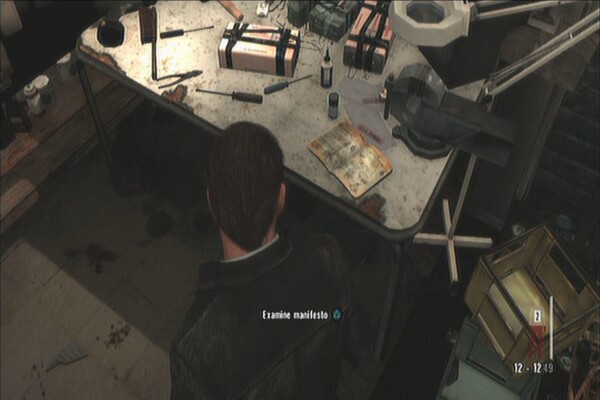
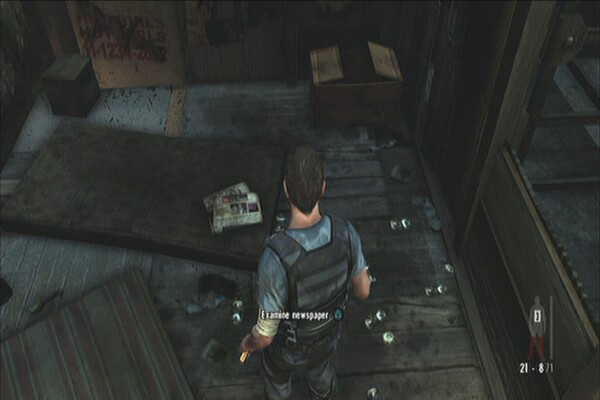
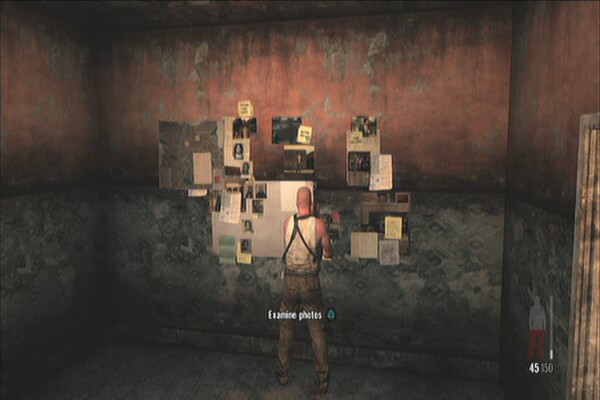
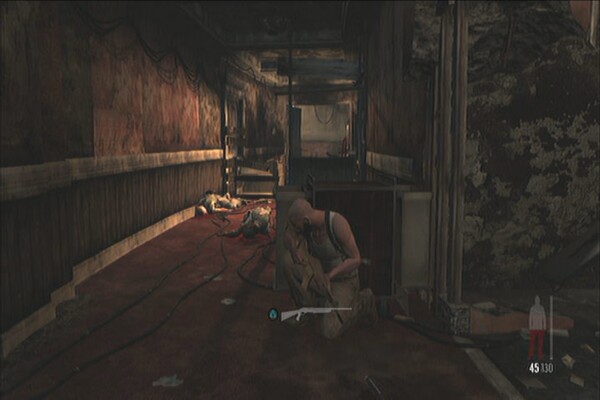
Continue to the next hallway to trigger a scene. Enter the room where your hippie neighbor came from. Examine the newspaper clippings on the wall beside the bathroom (Newspaper Clippings) and the manifesto on the table with a painkiller for clues. (Brewer's Journal) Finding all these should complete all the clues in this chapter.
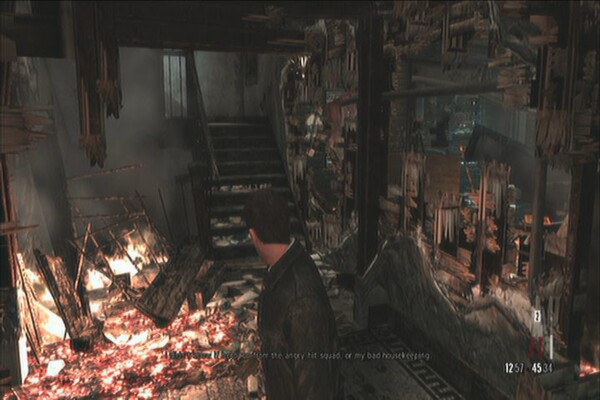
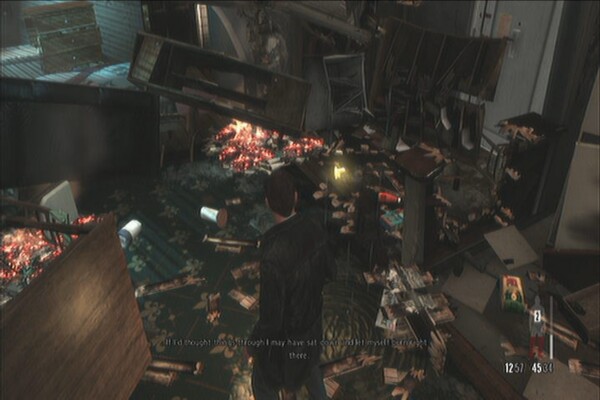
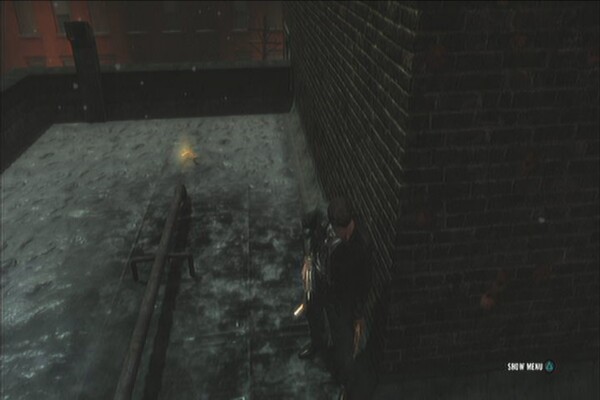
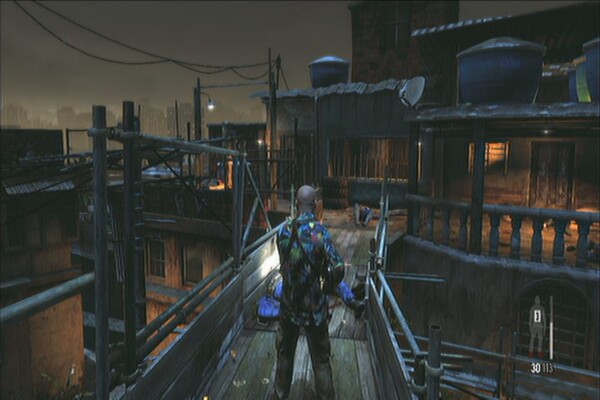
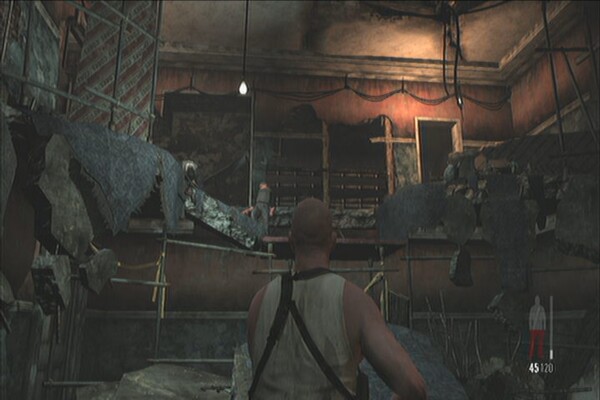
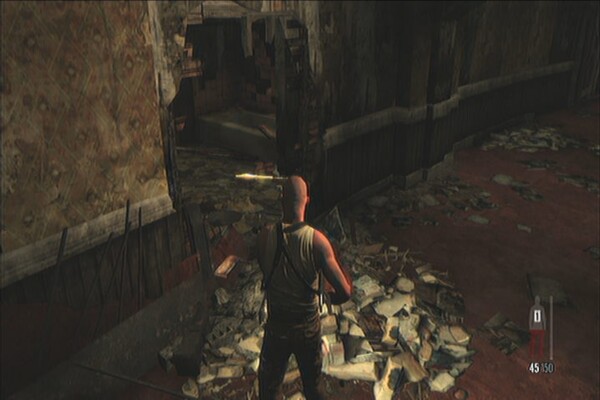
Head through the corridor where hippie got blown up. Before going upstairs, turn right and enter the destroyed room to find a gun part inside. (SAF 40 Cal Part 1)
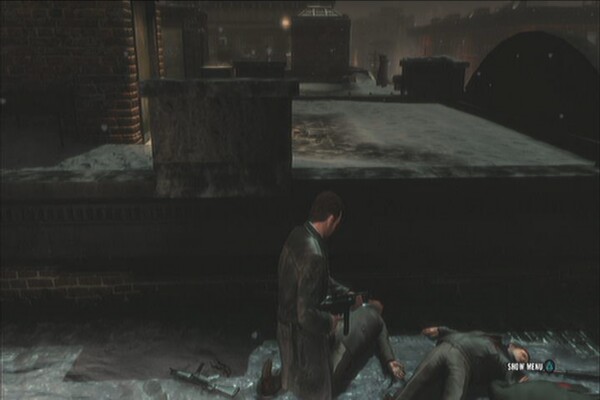
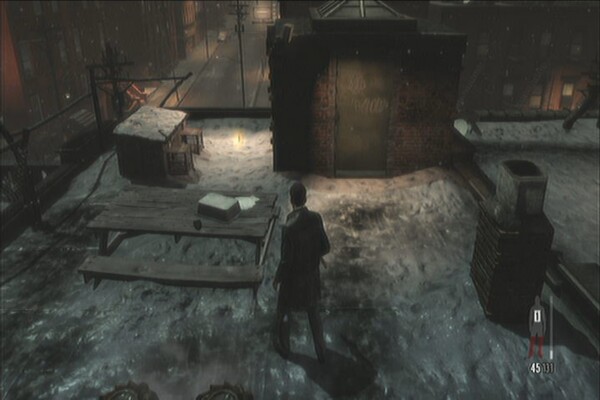
Go upstairs to reach the rooftops. Kill all enemies and check the area in the back of the door where you came in to find another gun part. (M500 Part 2)
Continue killing all the enemies ahead then use the ramp to reach the other roof. Continue to the edge for a scene. Kill all the enemies during the bullet time sequence to reunite with Passos. After this, vault to your left and find a table in the far end. A golden gun part should be on the floor near it. (SAF 40 Cal Part 2)
Follow Passos and enter the partially demolished building. Kill all the enemies then go upstairs. Kill the next set of enemies but before moving forth, check the narrow walkway to the right of the stairs where you came from to find another gun part. (M500 Part 3) Before following Passos, check the room to the left to find two painkillers.

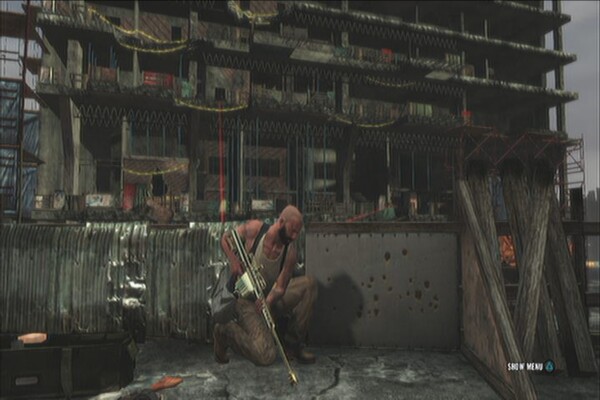
After crashing in the garage, stay in cover and take out all enemies. Before moving on, check the room to the right to find a painkiller and the last gun part of the chapter. (SAF 40 Cal Part 3)
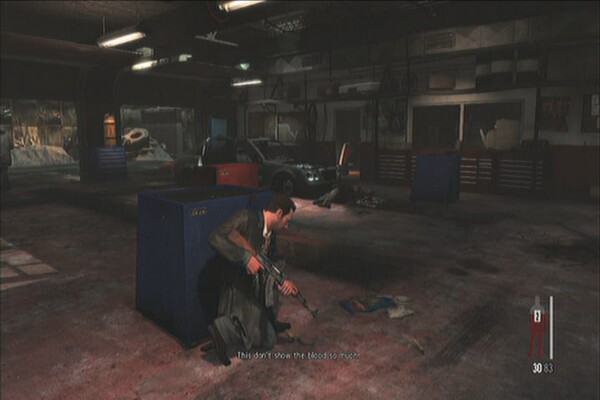
Regroup with Passos and kill all the remaining enemies to complete the chapter.
Golden Guns: LMG (3 Parts), Micro 9MM
(3 parts)
Clues: 6
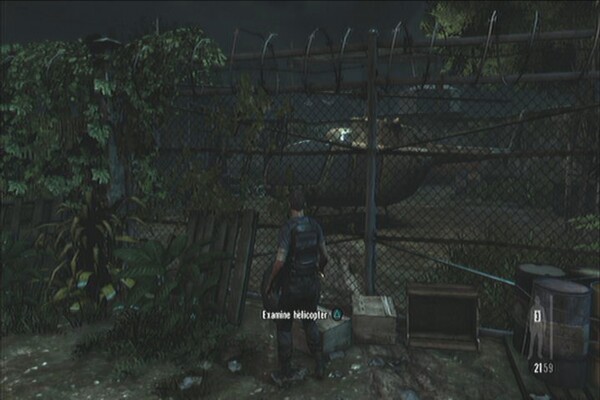
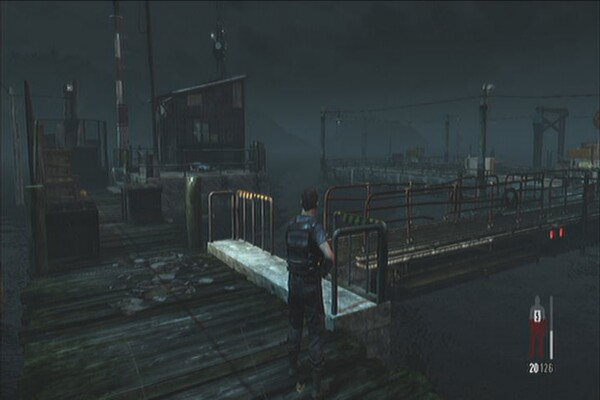
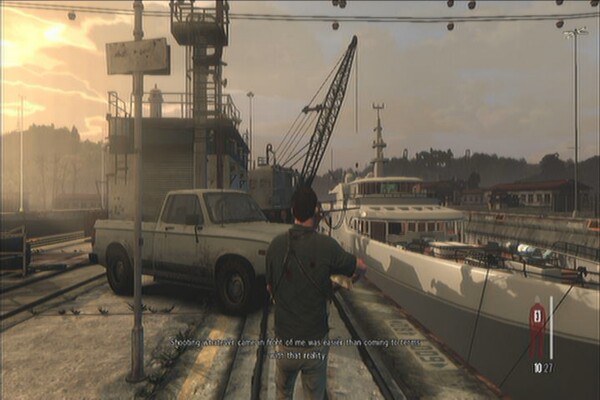
Once you're off the boat, continue forth and examine the helicopter for the first clue. (Parked Helicopter)
Vault over the wall then continue to the warehouse. Shoot the lock to open the doors. Continue inside and proceed forth the reach a gate. Approach small door for a scene. After the scene, take out the two thugs near the pick up. I suggest taking them out stealthily or a flood of thugs will appear as reinforcements. Wait for them to walk away from the pickup then use bullet time to take them out as quickly as possible.
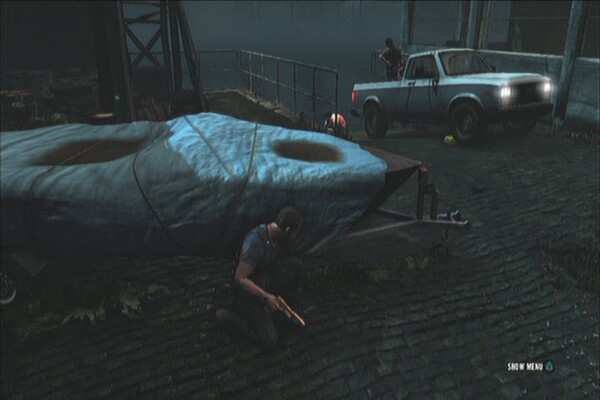
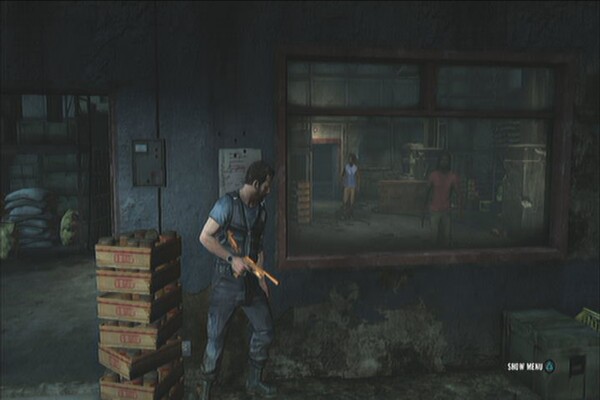
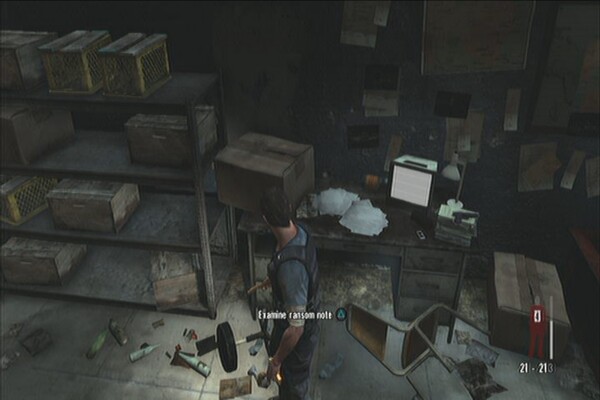
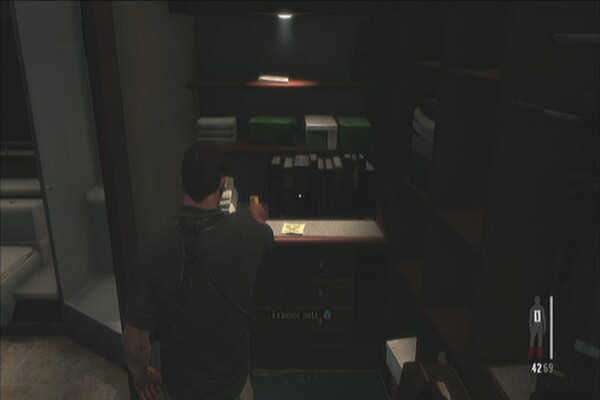
Find the entrance to the nearby warehouse and enter it for a scene. Two more thugs will appear. As much as possible, try to take them out quietly to make your job a lot easier. If not, just go loud and clear all enemies in the room. Before moving forth, grab the painkiller on the shelf behind you and examine the ransom note on the table for a new clue. (Ransom Note) There's also another painkiller in the first aid cabinet on the wall near the door.
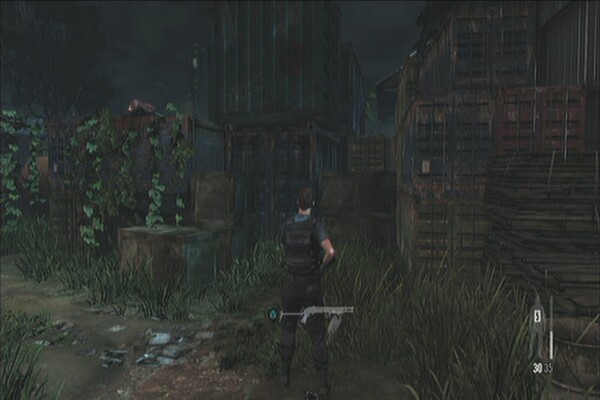
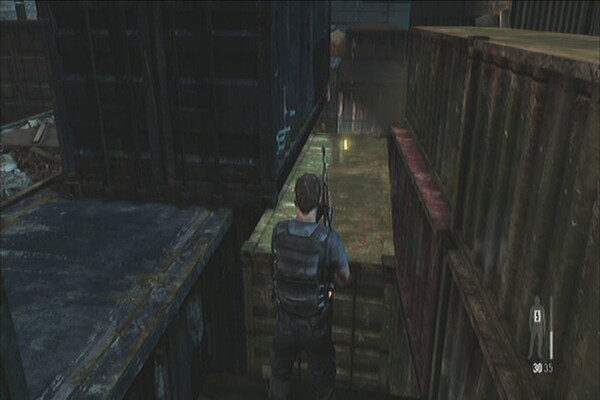
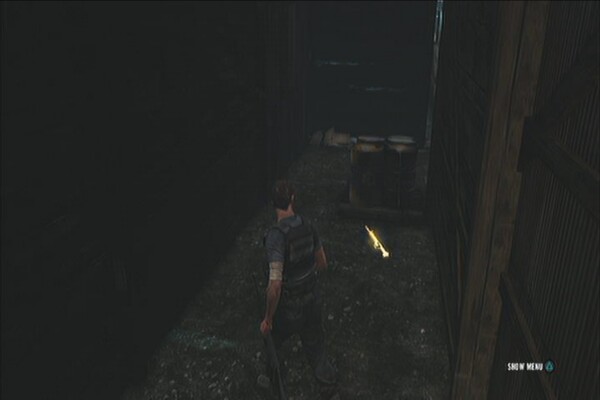
Collect some ammo and head to the warehouse gate. As soon as it opens activate bullet time and kill all the guards outside. Take out the other two guards nearby before moving forward as well. Before moving forth, climb the container van ahead to find the first gun part of the chapter. (Micro 9mm Part 1)
Move along the path and kill all enemies until you reach the garage where Fabiana was held. Examine the video camera ahead for another clue. (Video Camera) There's also a painkiller beside the TV.
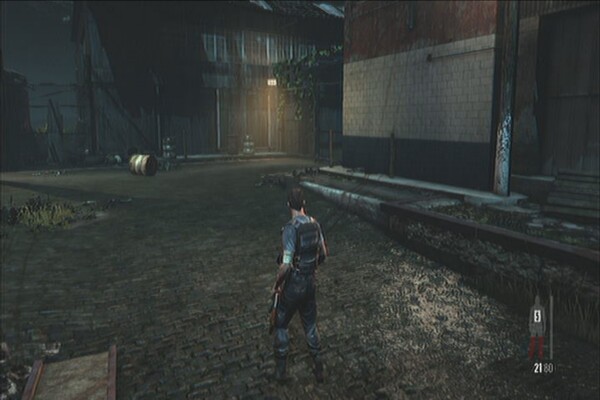
Leave the garage and keeping straight. The second gun part of the chapter should be located on the ground near the closed gate to the right. (Micro 9mm Part 2)
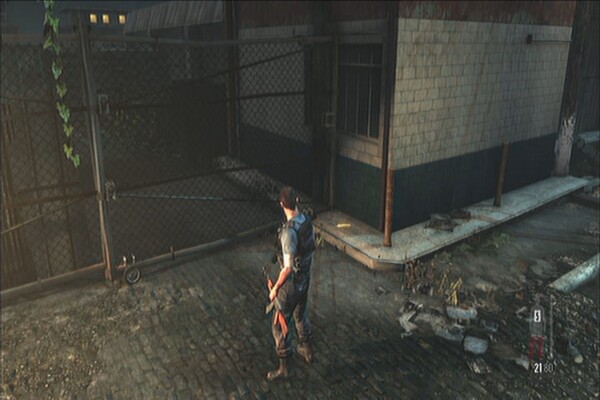
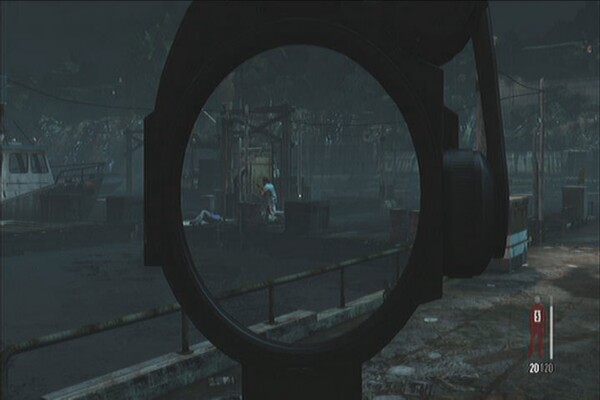
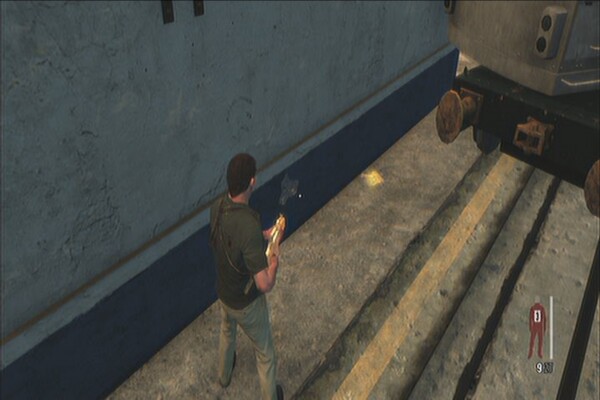
After grabbing the gun part, take the stairs to the left of the garage door and enter the doors for a scene. Shoot a few guys to get their attention. Once they shoot the boat you're in, it will crash, throwing you in bullet time so use this chance to kill a few more thugs until you land behind cover.
If you have FREE AIM enabled, you can attempt the “Something Wicked Comes this Way” trophy.
Something Wicked
Comes this Way
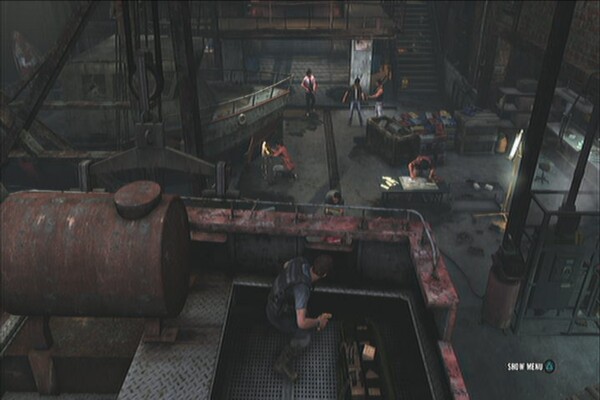
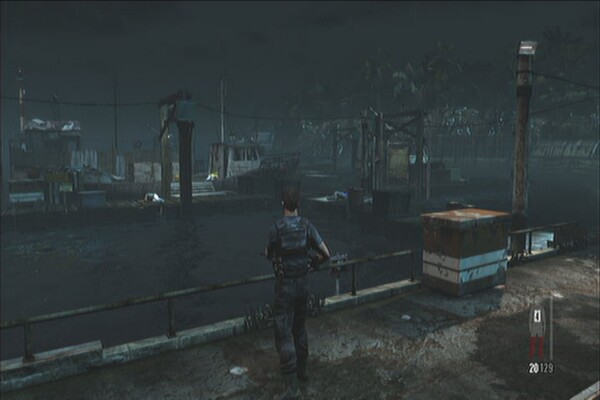
Take out the remaining enemies. Take the stairs ahead and follow the walkway to find another gun part. (Micro 9mm Part 3)
Go back downstairs and enter the room to the left. There's a switch there you need to press but first grab the painkiller in the first aid box to the left and examine another clue on the table. (Branco Family Photo) Press the switch to open the garage doors afterward.
Exit and refill all your weapons' ammo by checking the bag in the middle. Kill the two thugs outside then start clearing the next building. Before exiting the building, check the shack under the stairs to find another clue. (Boathouse Newspaper)
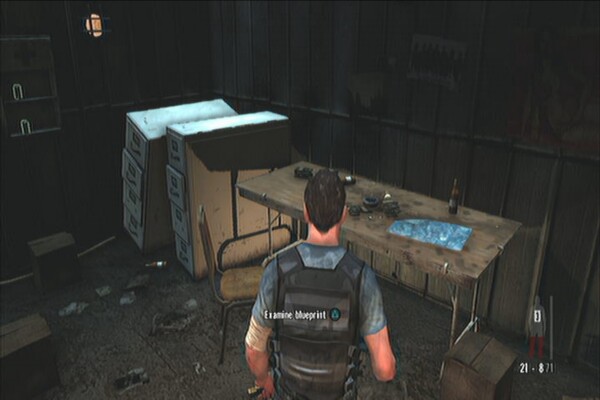
Now enter the adjacent room to find the last clue in the chapter (Nightclub Floor Plans) and two painkillers in the first aid cabinet nearby.
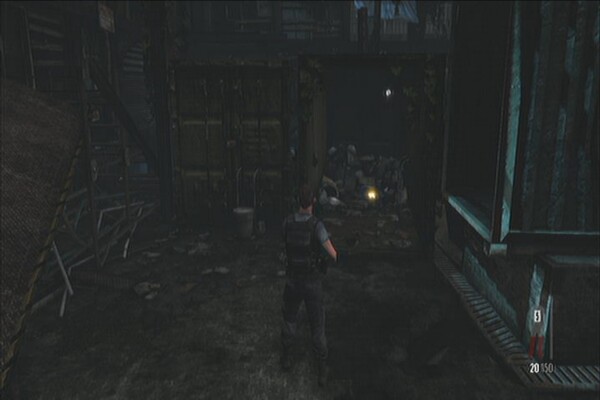
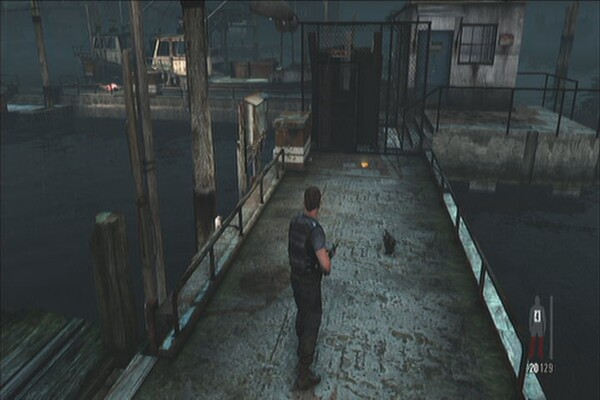
Exit the warehouse and you'll find the next gun part inside an old container van just ahead. (LMG .30 Part 1)
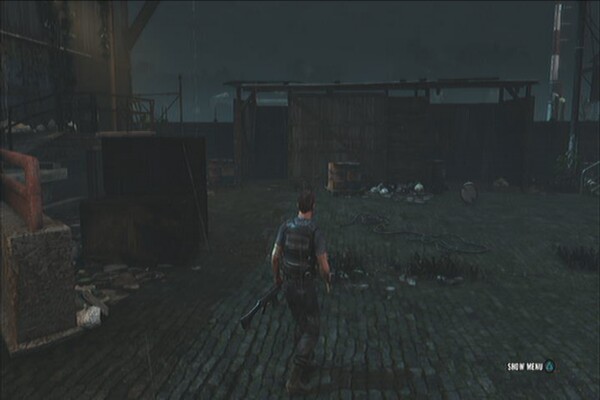
Return to the building and take the stairs this time. Jump off from the ledge and kill all enemies outside. Proceed to the next gate to reach the next area of the docks. Enter the shack ahead to find another gun part. (LMG .30 Part 2)
Enter the control room nearby to activate the walkway. Grab the two painkillers nearby as well. Cross the walkway then kill the first guard. Take cover as an enemy boat crosses. Take all the guys out if you want. Take the Red-dot FAL the first guard drops so you can easily take out the enemies ahead from a safe distance.
Cross the wooden walkway after clearing the area then turn left to find the last gun part. (LMG .30 Part 3)
Backtrack then open the gate on the other side to continue forth. More enemies will be waiting there so take them all out. There's also a painkiller inside the control room in the far end of the walkway, after the second turn. Cross the walkway and continue clearing your path and head to the gate for a scene.
Once in control, take out the pursuers behind you. After the cutscene, you'll catch up with the boats. The enemies from the decoy boat will start throwing molotovs at you. Shoot them before they hit your boat. Keep taking out enemies until the next cutscene.
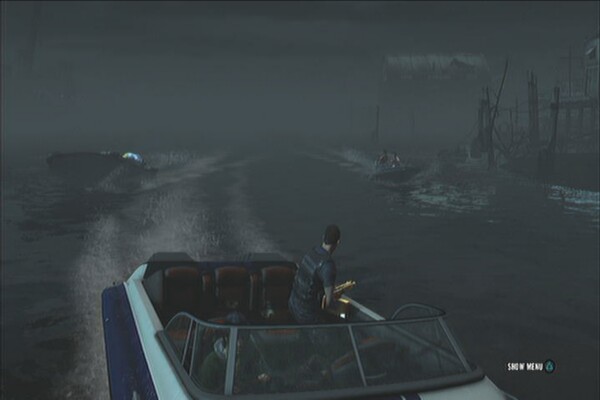
Keep shooting at the enemies while Passos fixes your boat. Take advantage of bullet time when there's a large group of enemies to quickly take them out. After clearing the enemy-infested riverhouses, take out the remaining enemies on the pursuing pickups to complete this sequence. You can unlock the trophy “Colder Than The Devil's Heart” by killing 30 enemies in 2 minutes.
River mayhem
After the scene, take out more pursuers. You'll finally catch up with the two boats again. Kill the next set of targets until your speedboat launches off the ramp. In the next bullet time sequence, just aim and kill as many enemies as you can to complete this chapter and Part I of the story.
Chase out of a
movie
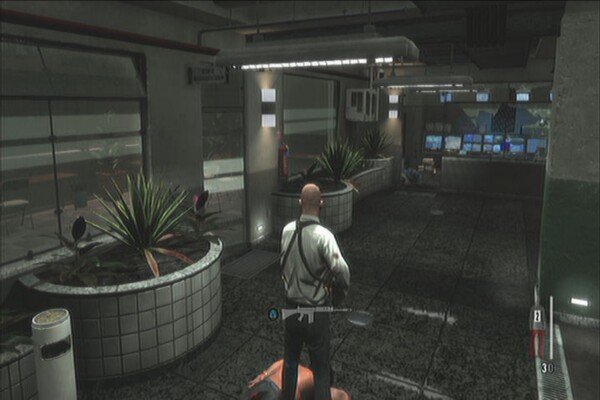
Golden Gun Parts: MD-97L (3 parts)
Clues: 5
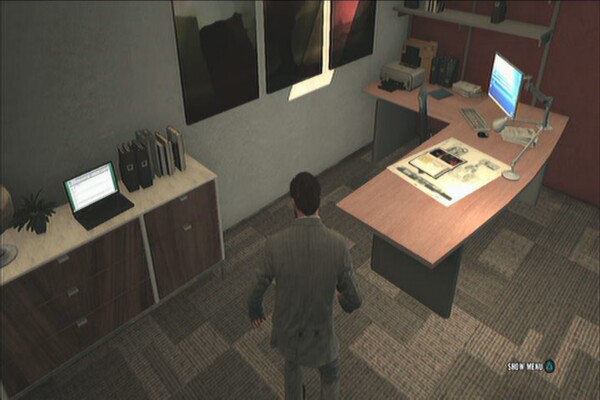
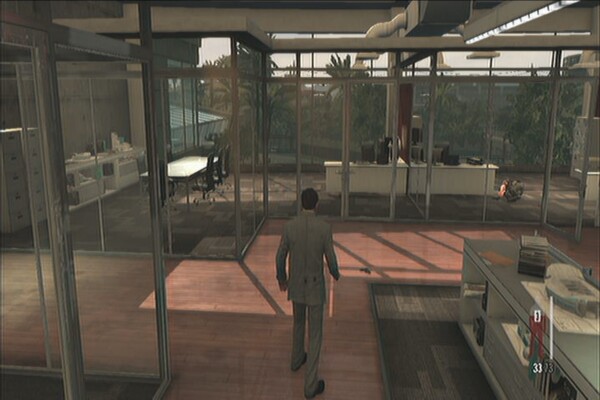
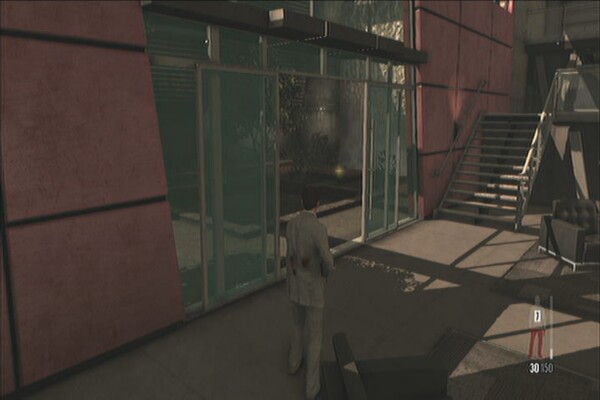
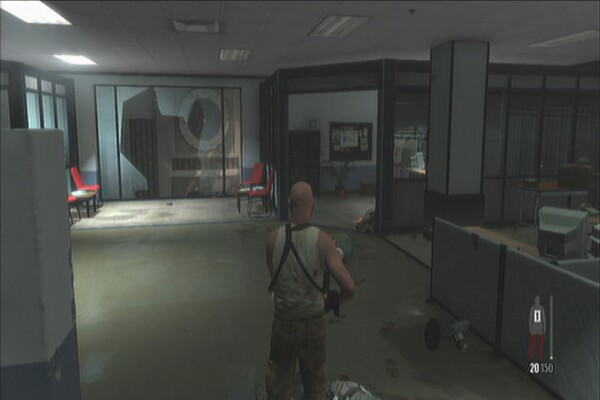
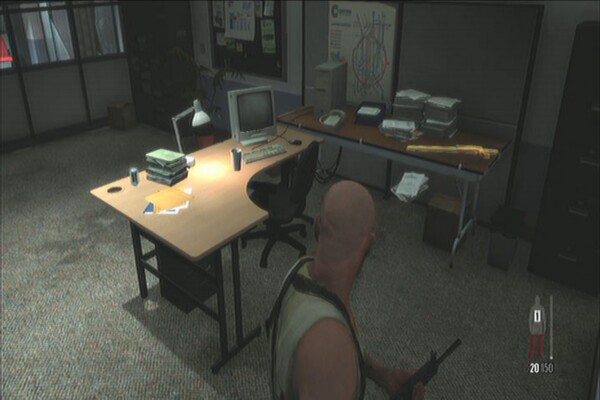
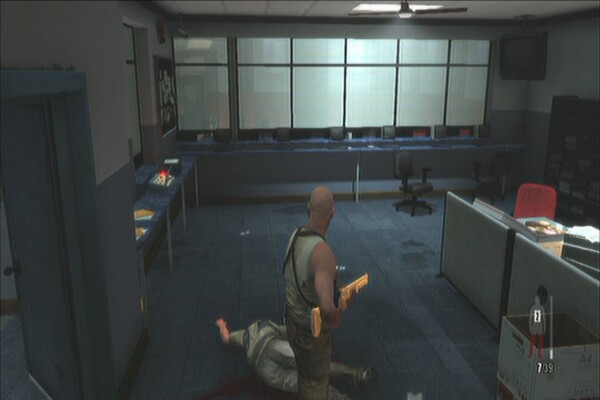
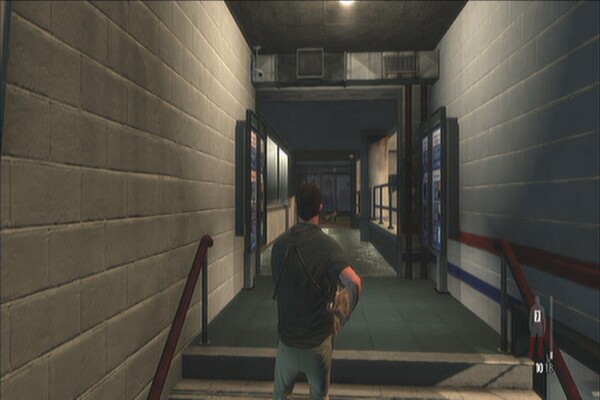
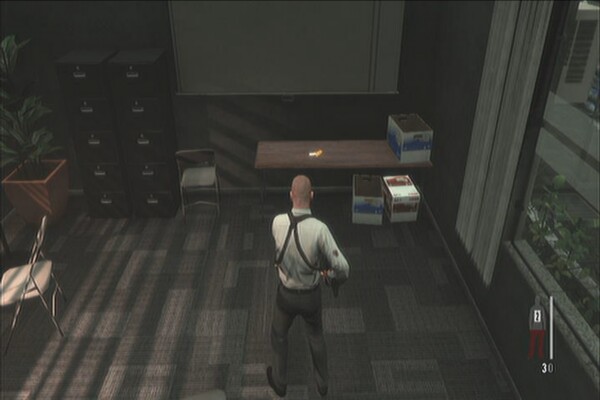
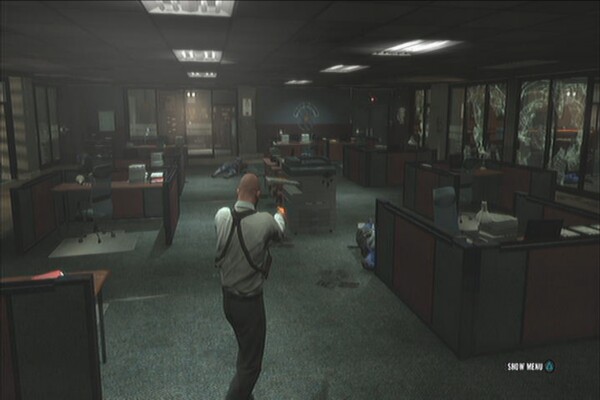
After the scene, activate bullet time and kill the first set of enemies. Immediately get to cover and wipe out the remaining enemies. Before leaving this area, turn around and enter the cubicle beside the door to your left. You'll find two clues inside. Examine the laptop on the drawer (Rodrigo's Email) and folder on the desk. (File on Fabiana)
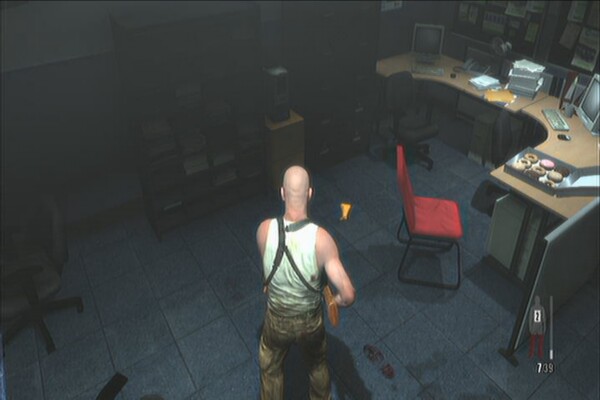
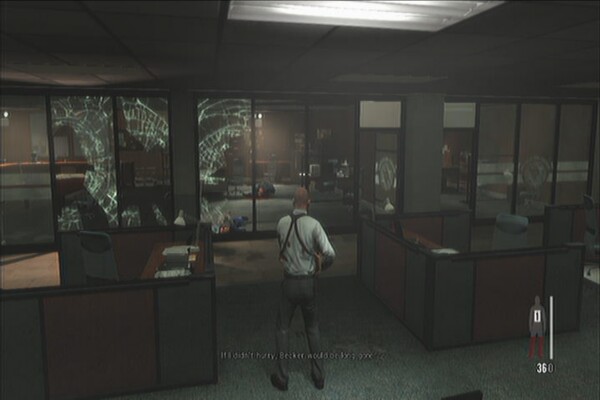
Now check the adjacent cubicle to find the first gun part of the chapter on the floor behind the desk. (MD-97L Part 1)
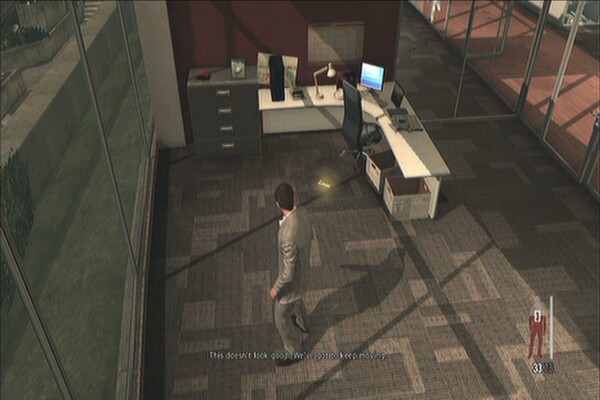
After getting the collectables in this area, sweep the dead bodies to collect ammo and guns. There's also a painkiller in the third cubicle to the left of the room. Join the nerd and head to the next area.
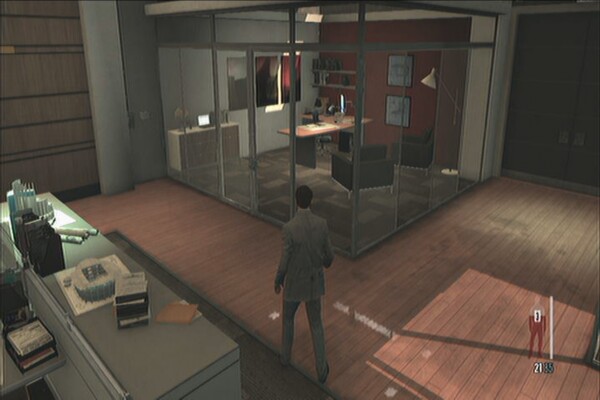
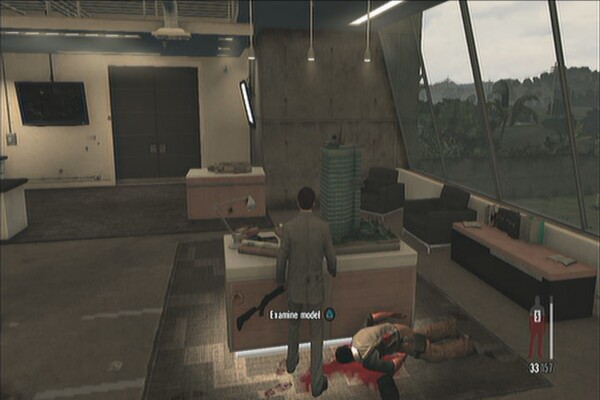
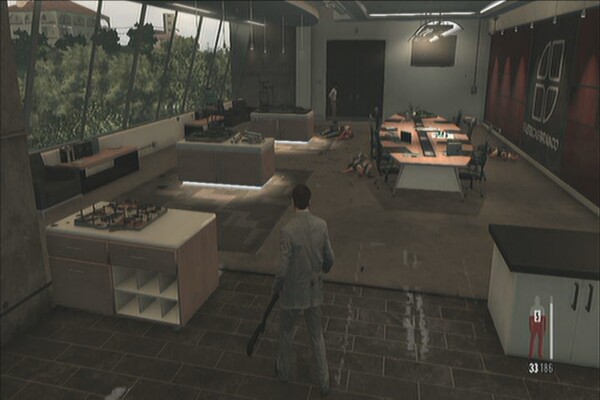
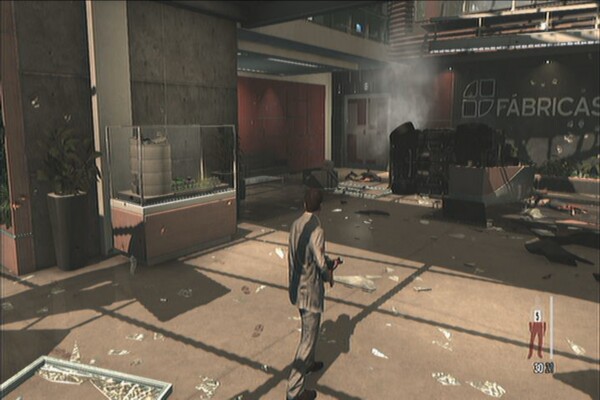
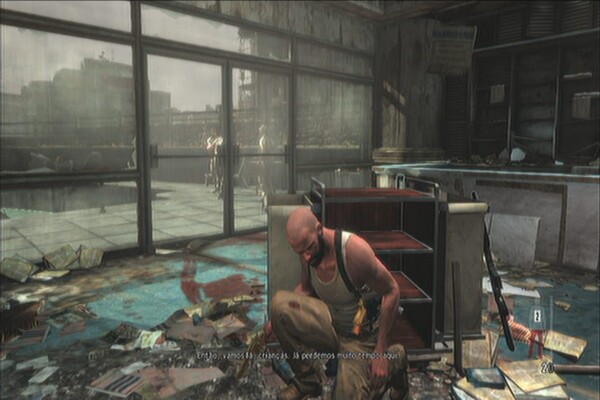
Once you're in the boardroom, activate bullet time immediately to quickly take out most enemies before they take cover. Clear the room and before leaving, examine the blue-green colored building model for a clue. (Architectural Models) Before leaving this boardroom, destroy all models for the “Amidst the Wreckage” trophy. There are a total of five models in this room. Two obvious models to the left, and two on the meeting table to the right, and one on the counter near the door where you came from.
Head to the next room and clear all enemies in the area. After the short cutscene, more enemies will barge in. Move away from the cubicle cover and find a more solid cover. Clear the room then collect three painkillers on top of the desks in this office and another one by the server room. Go to the kid to trigger the next scene.
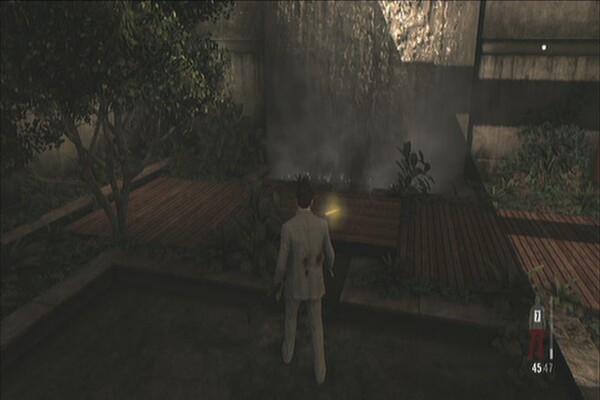
Go downstairs and head outside for a scene. The next gun part should be immediately visible by the decorative waterfall. (MD-97L Part 2)
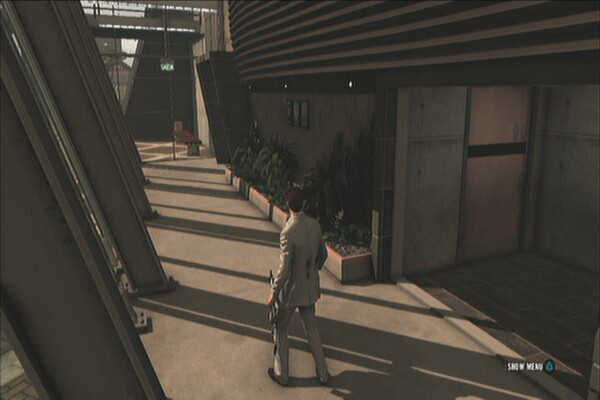
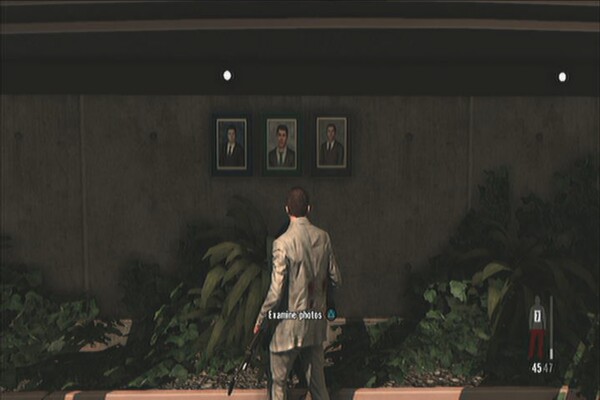
Go to the front and follow the hallway. Keep an eye for three portraits to your right and examine them for another clue (School Pictures) Head to the next door for a scene.
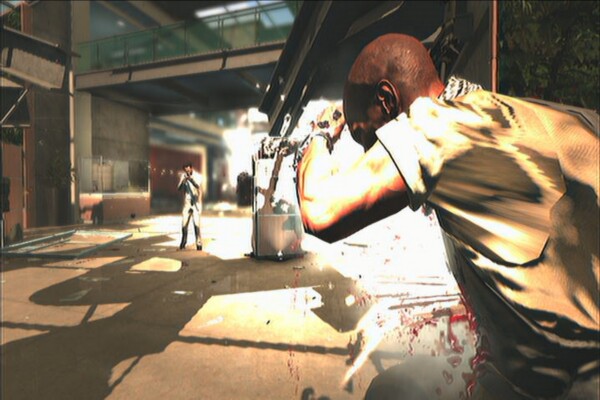
As soon as the jeep come crashing through the entrance, kill the driver and the other guys before you find yourself lunging towards the second wave of enemies in bullet time. Take out as many as you can, then continue sweeping the floor to kill them all. A heavy gunner will appear later on. Aim for its head and shoot it 2-3 times to kill it.
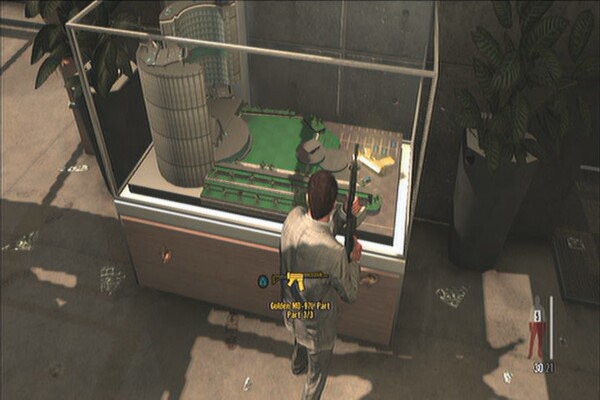
Clear the floor and before leaving, check the encased architectural model near the overturned jeep to find the last gun part of the chapter. (MD-97L Part 3)
After collecting the gun part, head to the elevator for the next scenes. Drag yourself back in and go upstairs. Approach the gates to reach the other side. During this scene, press R2 to disarm the enemy and shoot him while he's down. Examine the kid's body for the last clue of the chapter. (Dead IT Guy)
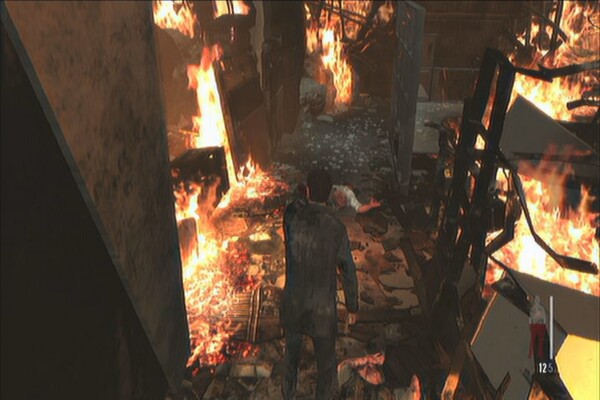
Kill the two other enemies in the room then go through the boardroom. Kill the roasted guy on the floor then head to the next room where three more enemies are waiting. Take them out as well.
Push the cabinet and keep moving forward until you trigger another scene and complete the chapter.
Golden Gun Parts: Sawed-off (3 parts),
SPAS-15 (3 parts)
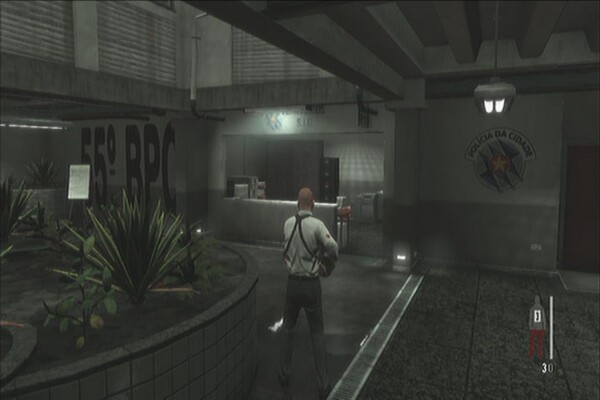
Clues: 9
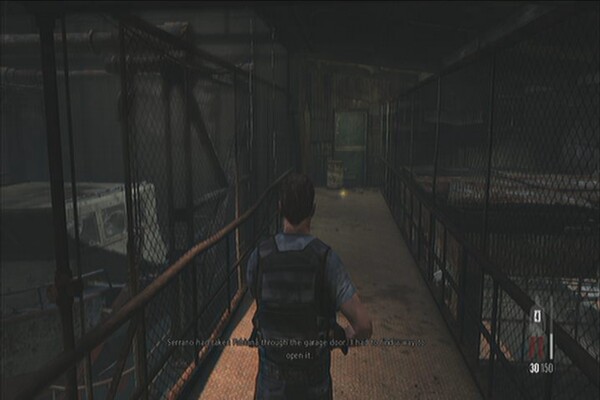
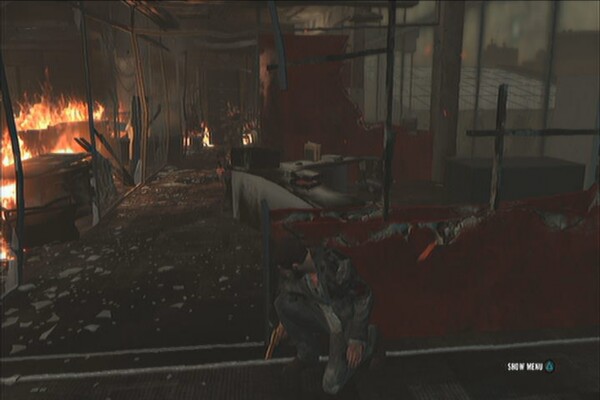
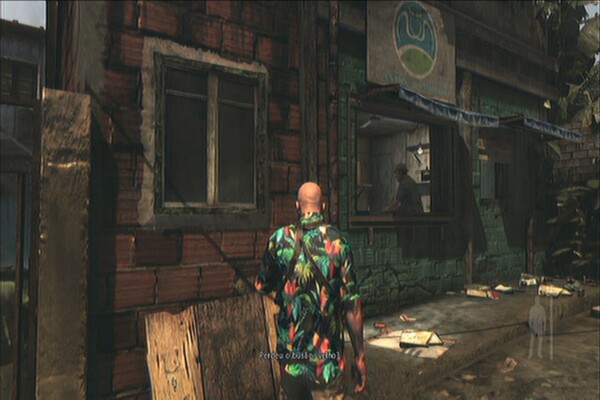
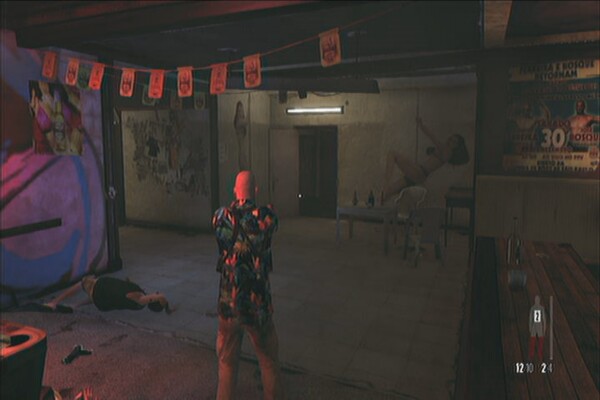
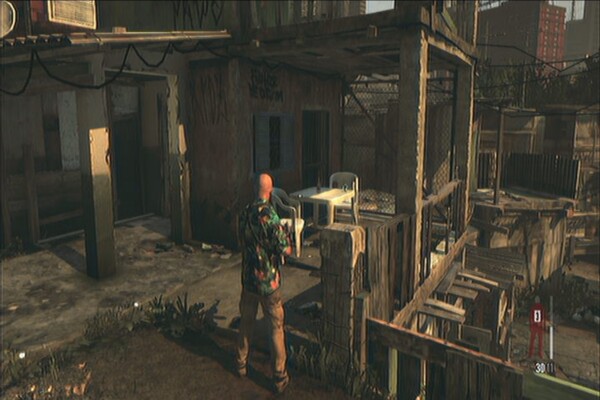
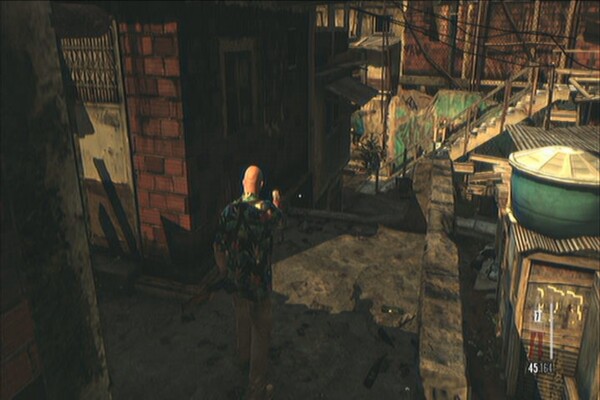
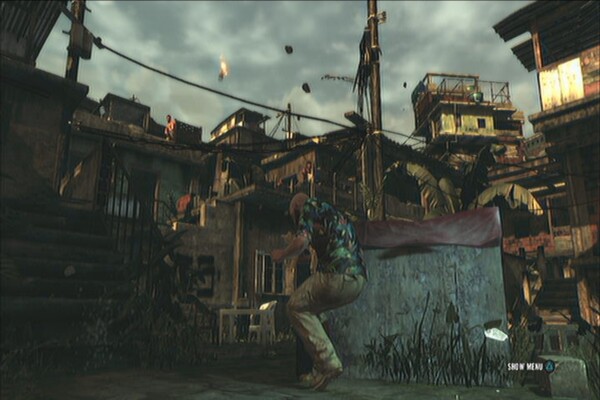
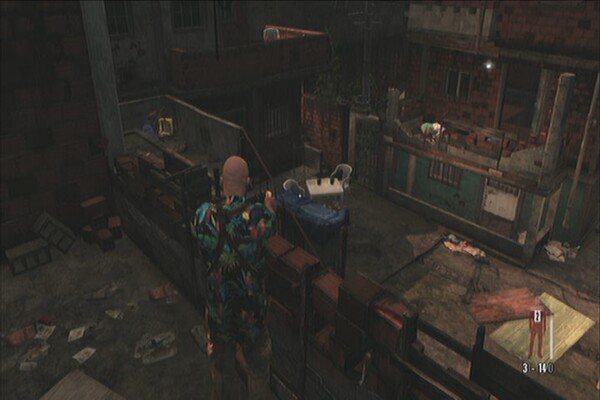
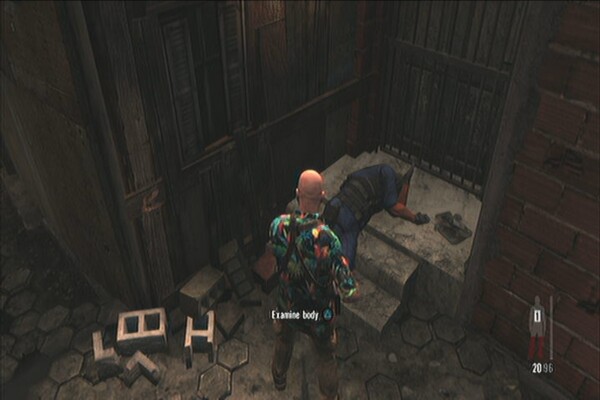
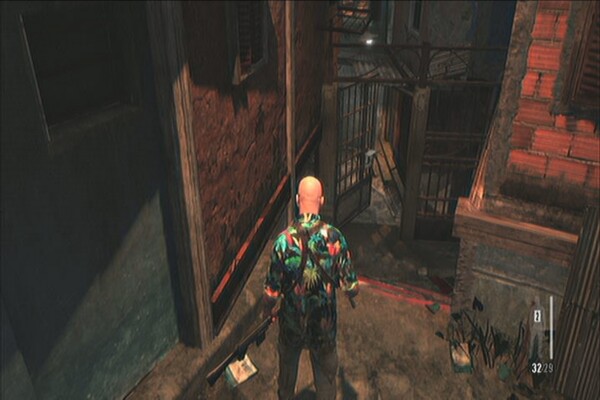
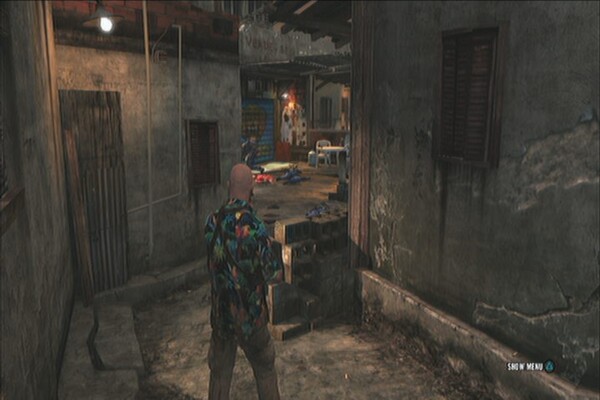
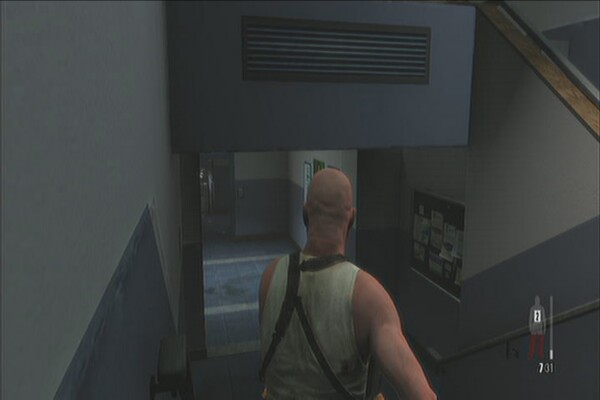
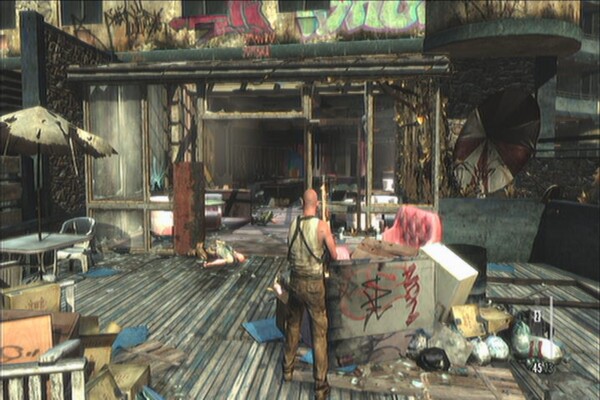
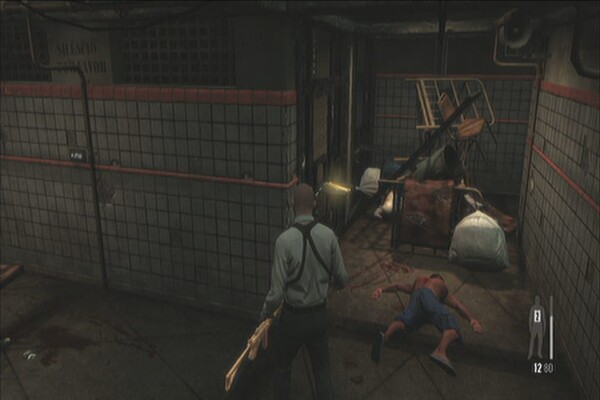
Follow the kid until you trigger a scene. Find your way up and follow the path until you trigger another scene. Continue ahead and keep going to the left to find a green painted store to trigger your first clue for this chapter. (Ex-Cop)
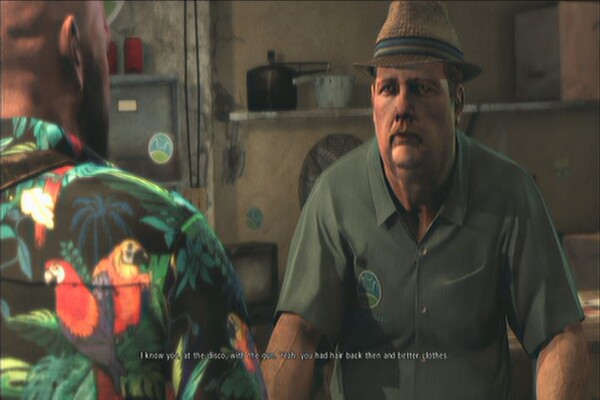
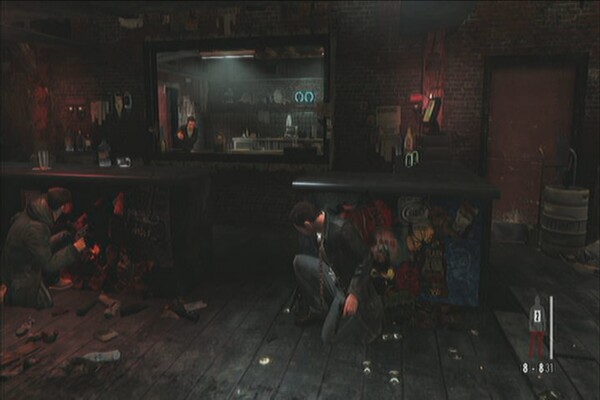
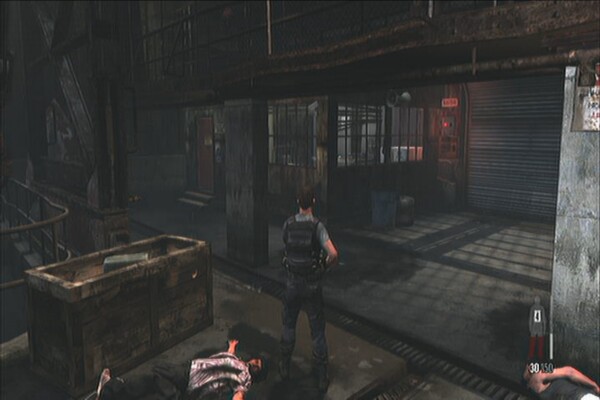
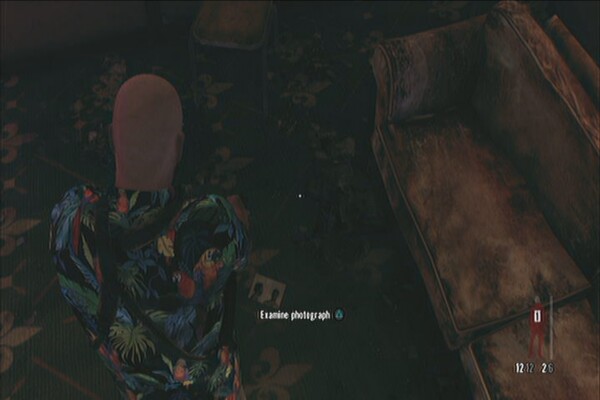
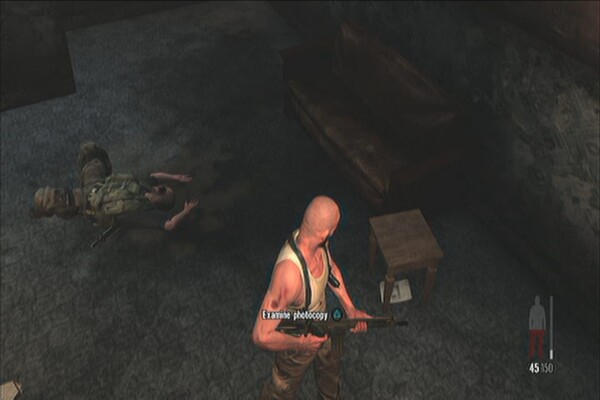
After talking to the ex-cop, move along and continue to the bar for another scene. Some local thugs will try to put you down so kill them all then return to the couch you're sitting. Examine the photo on the floor for another clue. (Photo of Serrano)
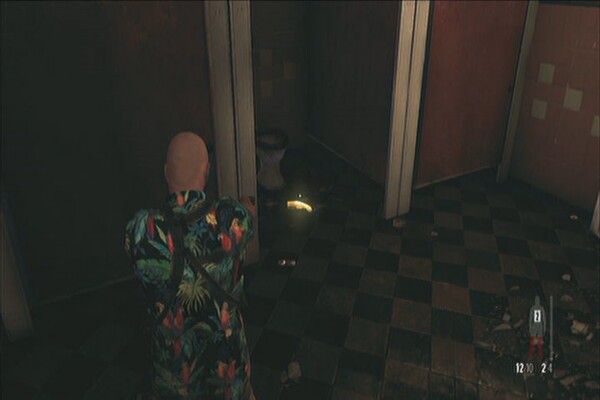
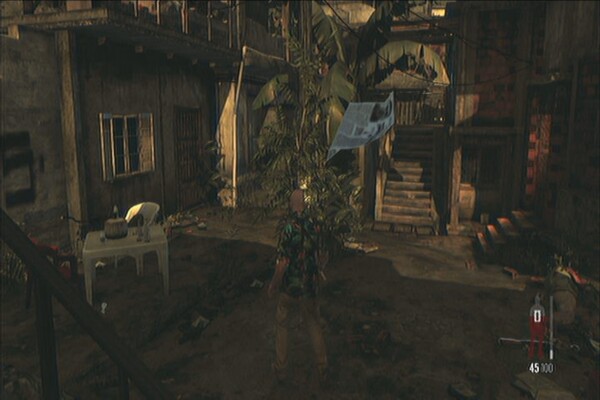
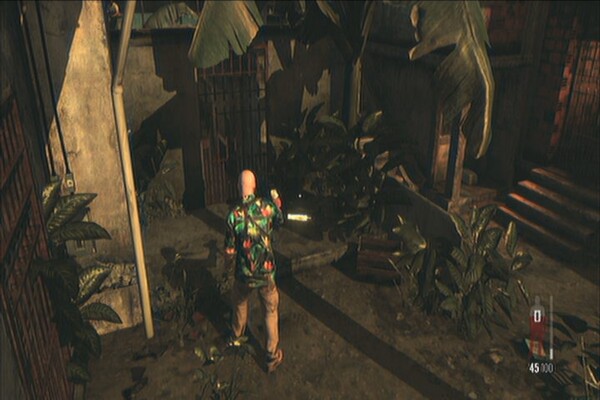
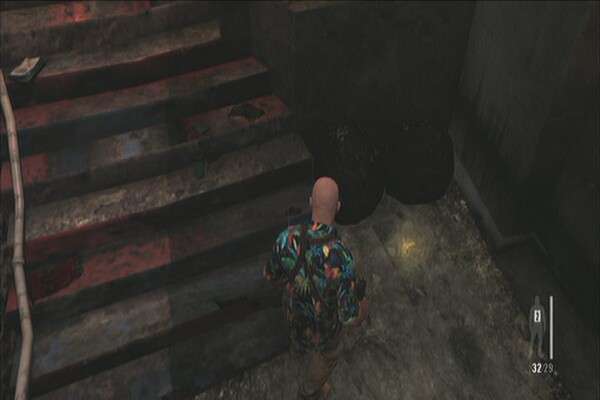
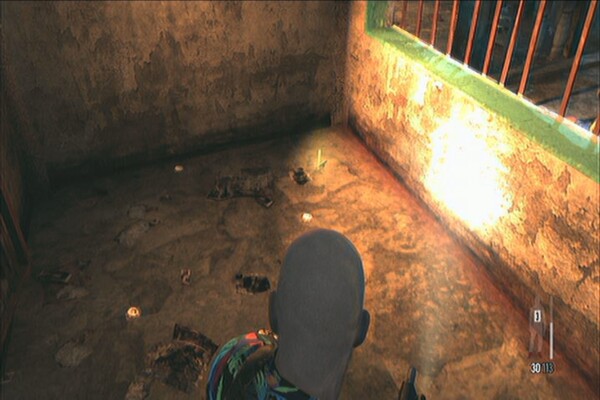
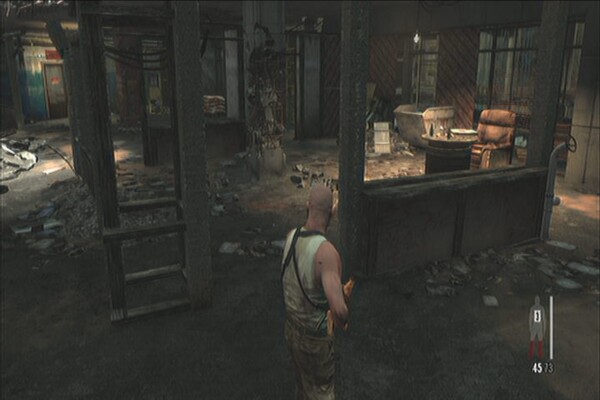
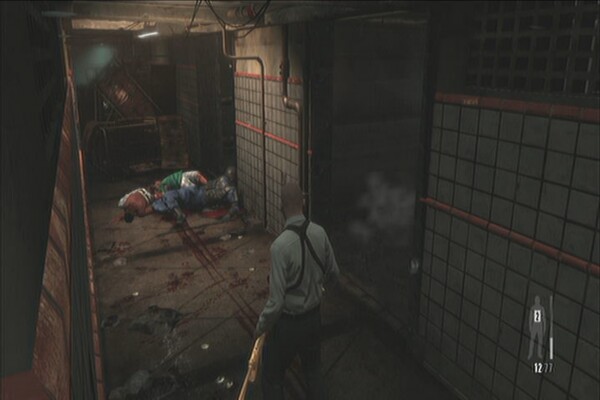
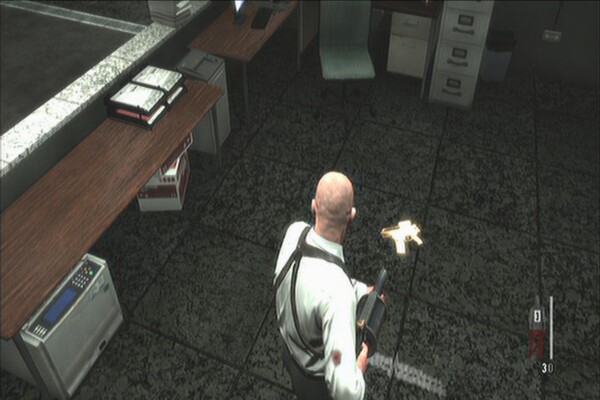
Check the bar to find a painkiller on the counter and another one in the room in the back. Next, go past the pool table and enter the restroom to find the first gun part of the chapter on the floor. (Sawed-Off Part 1)
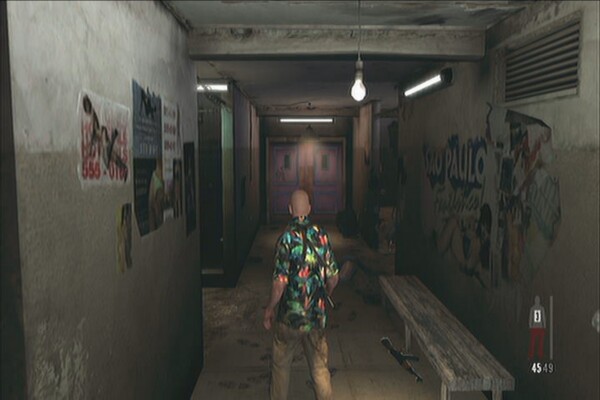
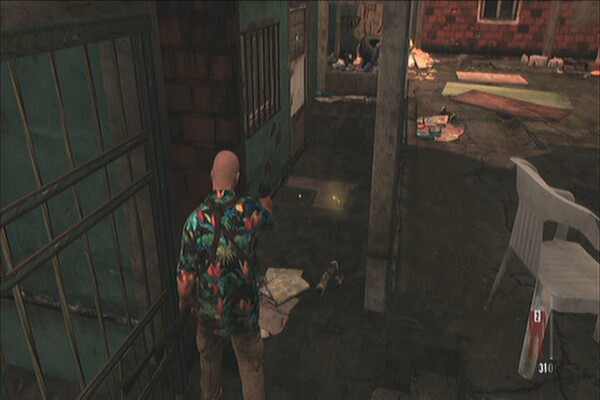
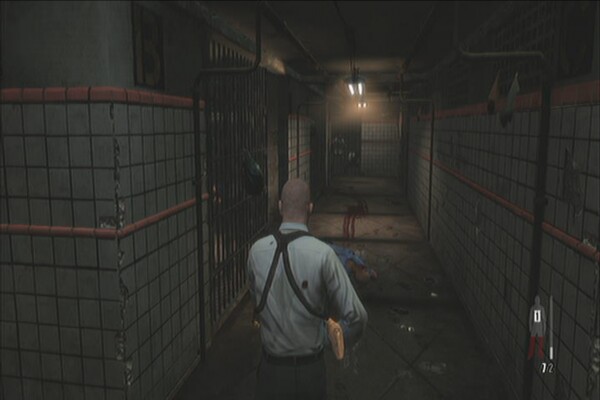
Carefully turn to the next corridor and kill the thugs there. Check the room nearby for painkiller. Before heading out through the purple double-door, check the room to the right and approach the bed to find a tourist. This will trigger a scene and another clue. (Tourist)

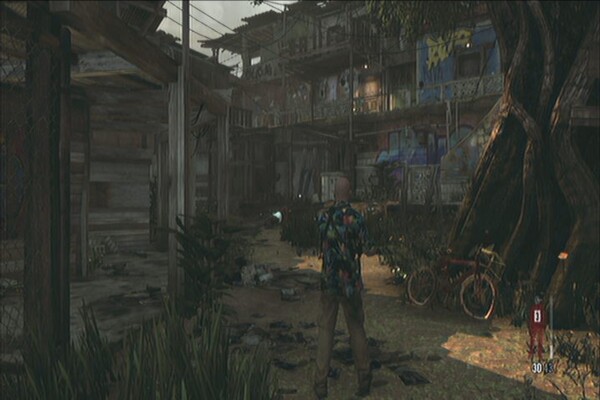
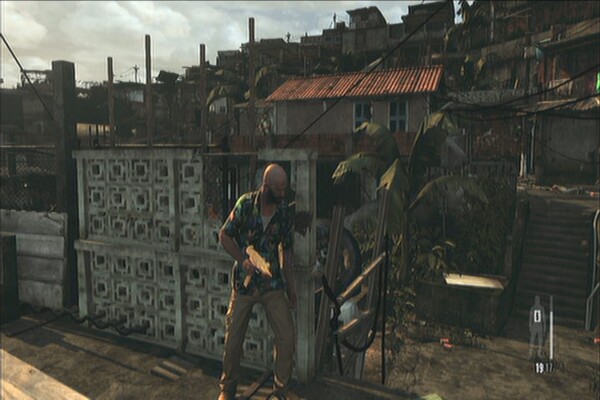
Exit the bar then follow the path. Approach the edge of the wall to jump over. After the scene, continue along the straightforward path. Be careful of the two thugs who will shoot you from the rooftop as you approach the next gate. Continue to the next open area and kill all the enemies that will appear.
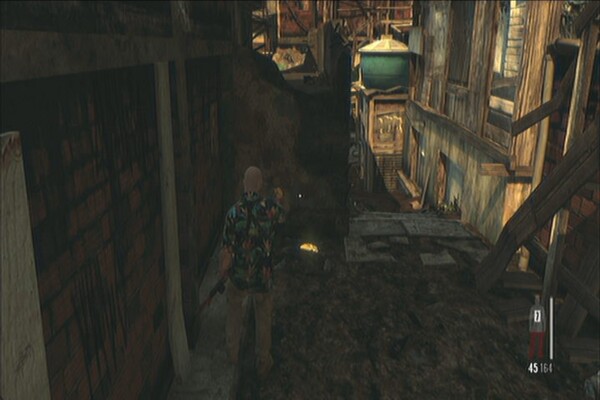
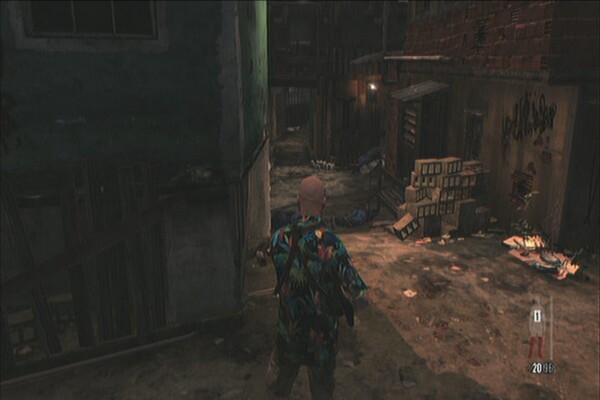
Continue upstairs and clear your path. Jump down to the lower ground then take the stairs to the right. Grab the painkiller on the white table along the way and continue to the alley while taking out more thugs.
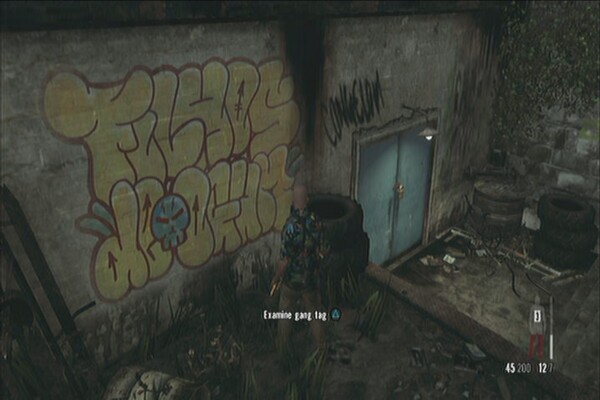
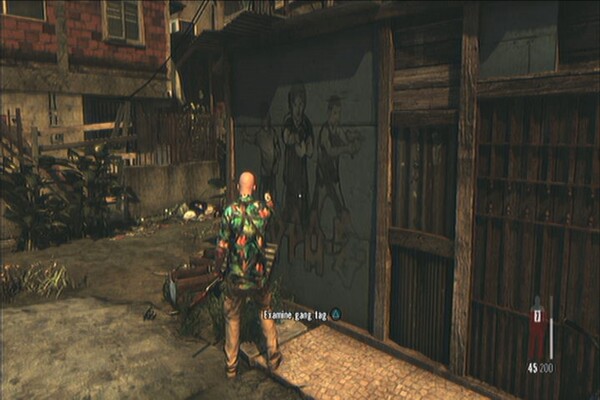
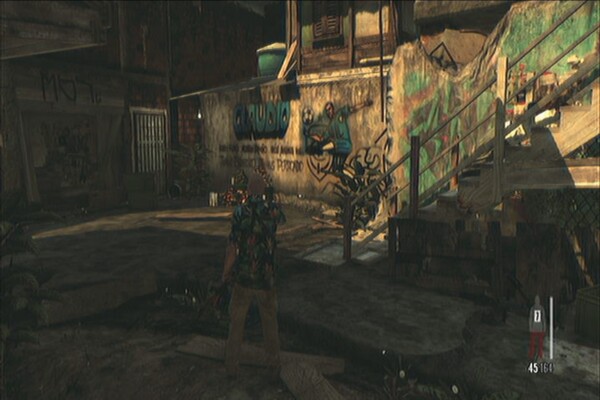
Continue until you reach a gate. Open it and you'll find a blue padlocked door. Examine the graffiti to its left for another clue. (Lower Gang Spray Tag) Shoot the padlock to open the door then head inside the building.
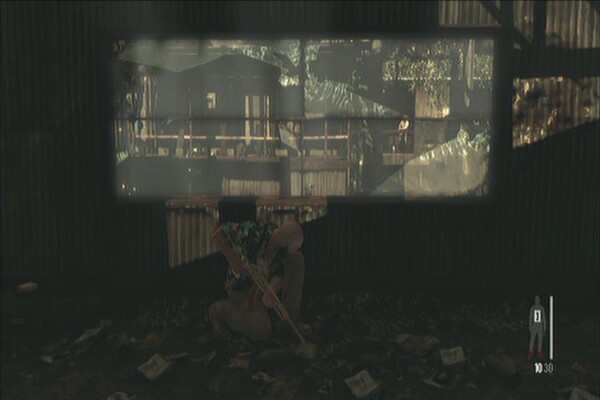
After the scene, you'll be in another sequence where you'll need to kill enemies while being pulled up in a chain. To unlock the “So Much for Being Subtle” trophy, you have to kill all nine enemies during the sequence. You may refer to the video below.
So much for being
subtle
Continue along the walkway then go downstairs. More enemies will appear on the other side. Head inside the next room to find two more painkillers and a red-dot scope Mini-30. Take out all enemies on the other side using it. There's also a bag nearby that provides ammo refill.
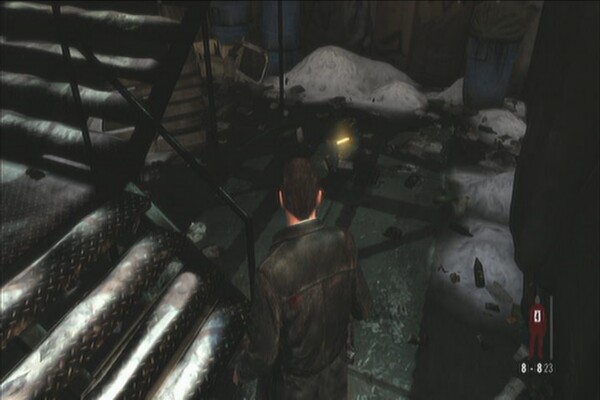
Once the other door bursts open, kill the two immediate enemies outside then deal with another wave of enemies on the other side of the building. Once done, exit the room and look to the left of the door to find another gun part. (Sawed-off Part 2)

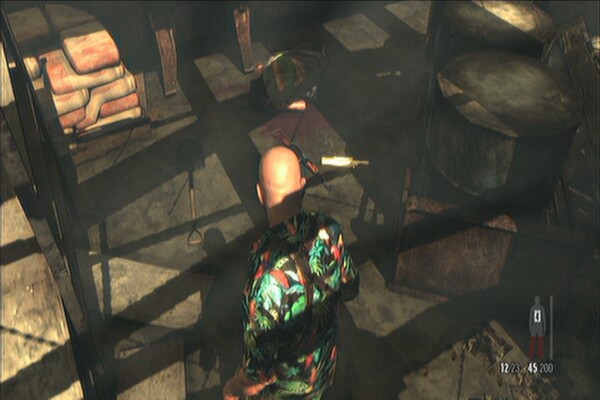
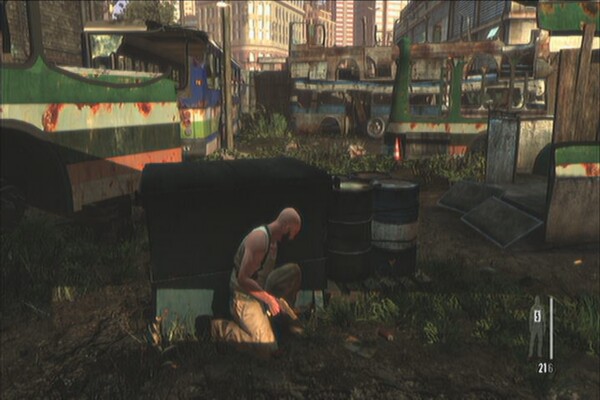
Continue downstairs then kill the enemies on the floor. Continue to the next set of stairs and kill more enemies. Find another gun part behind some oil drums. (SPAS-15 Part 1)
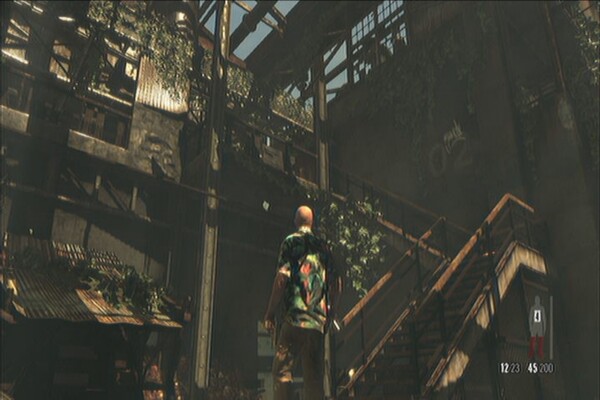
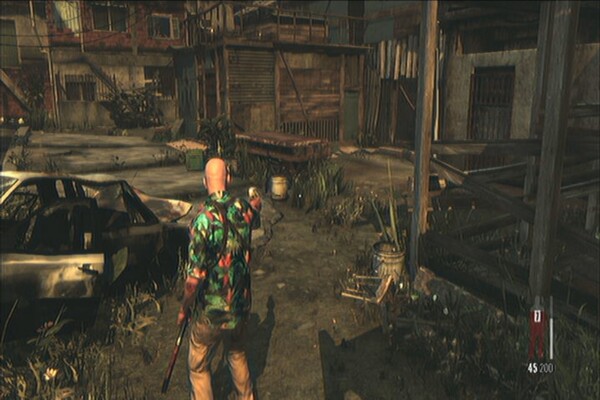
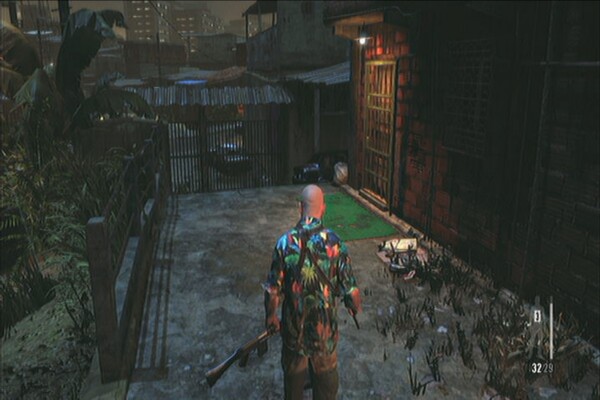
Continue to the next corridor and kill a couple more guards. Grab the two painkillers inside the small room to the right then continue upstairs and exit the building. Continue outside and open the red gate next. Grab a painkiller from the table to your immediate right then check the ground behind the pile of wood, to the right of the car wreck to find another gun part. (SPAS-15 Part 2)
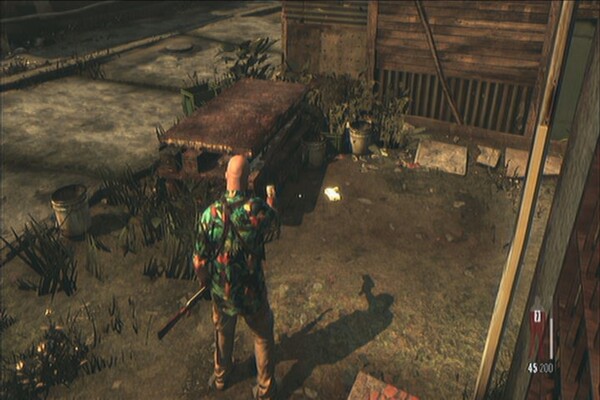
After grabbing the gun part, go ahead and check the graffiti on the wall of the blue shack for another clue (Middle Gang Spray Tag) Check the small room to the left of the red brick wall to find yet another painkiller.
Continue following the path upstairs and clear your way. As soon as you reach the part where you can jump down, turn right and check the deadend alley at the back to find a gun part. (SPAS-15 Part 3)
Move forth and before taking the stairs, examine the next clue which is the shrine for Claudio. (Shrine for Claudio)
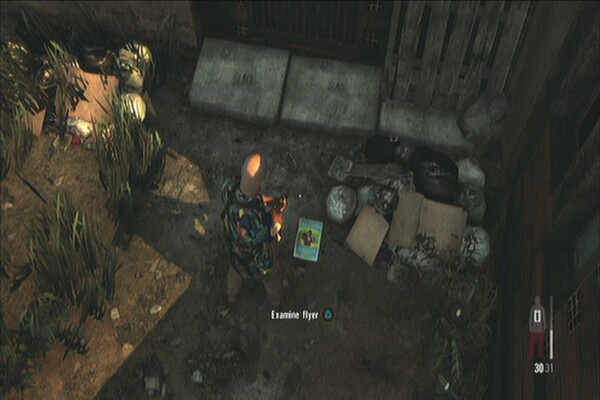
Go upstairs next then take out the enemies in this area. There's a painkiller inside the room across the wooden plank. Jump down and before entering the door, check the flyer on the ground for another clue. (Flyer for Giovanna)
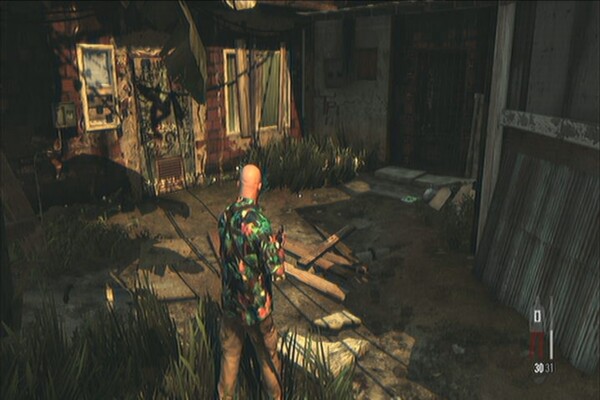
Enter the room and kill all enemies inside. You'll find a painkiller on the counter in the kitchen. Exit the house and continue along the alley. Enemies will ambush you from the nearby doors so anticipate them as you move forth. Enter the next house and take out the enemies on the roof then proceed forth.
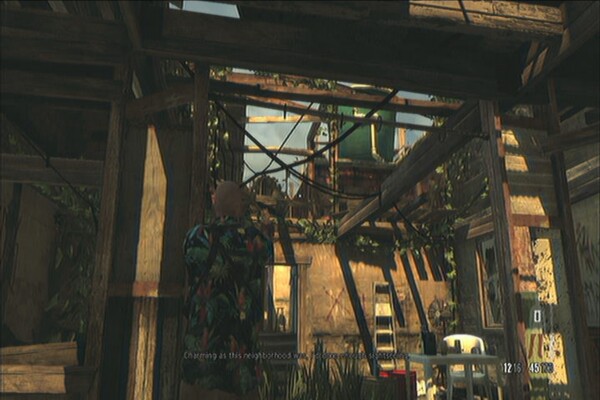
Once you're in the open area, find cover immediately as more enemies will come rushing in. Kill them all then enter the house and collect the painkiller on the table near the other door. Exit the house and continue to the next door for a scene. Once back in control, kill all enemies inside.
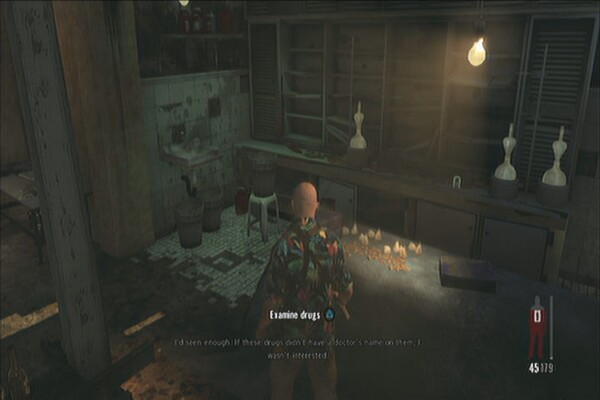
As you make your way to the exit, examine the drugs under the bulb for a new clue. (Bag of Oxidado) There's also a painkiller beside some vials near it.
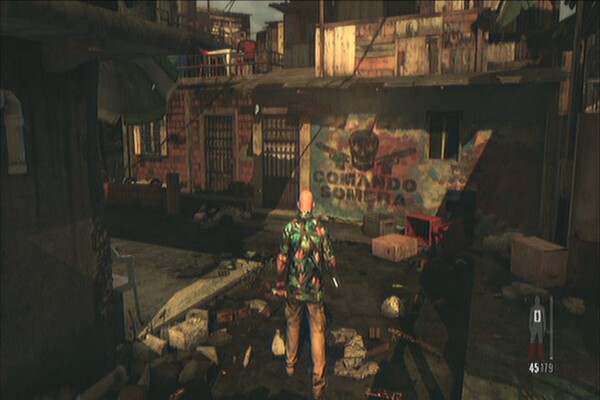
Exit the drug house for another scene. Once back in control, examine the Commando Sombre tag just ahead of you for this chapter's last clue. (Upper Gang Spray Tag)
Move along and approach the gate for another scene. You'll be in the middle of an ambush with molotovs thrown at you. Use your bullet time to thin out the opposition and save ammo as well.
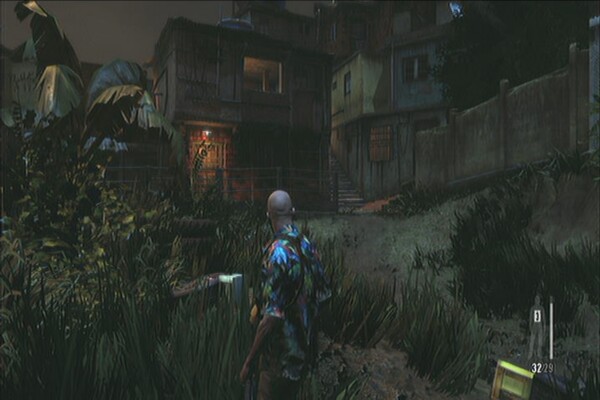
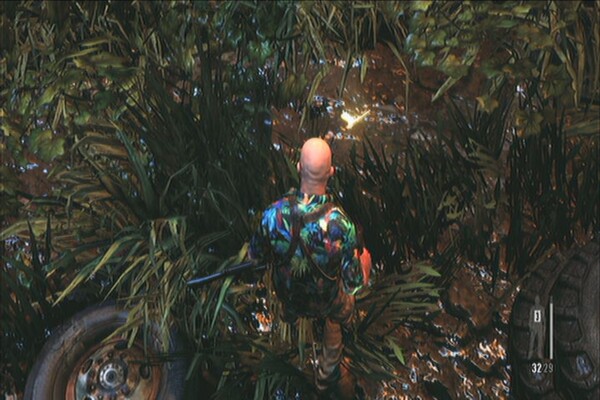
After clearing the first wave of enemies, you can find the last gun part behind the tree near the stairs. (Sawed-off Part 3)
Move along the walkway and carefully take out enemies as they appear. This is a really annoying path since enemies will appear from all directions as you make your way. If you have stored a good amount of painkillers at this point, you shouldn't have any problems keeping yourself alive. Continue to the next gate to complete the chapter.
Golden Gun Parts: 608 Bull (3 parts),
Auto 9mm (3 parts)
Clues: 3
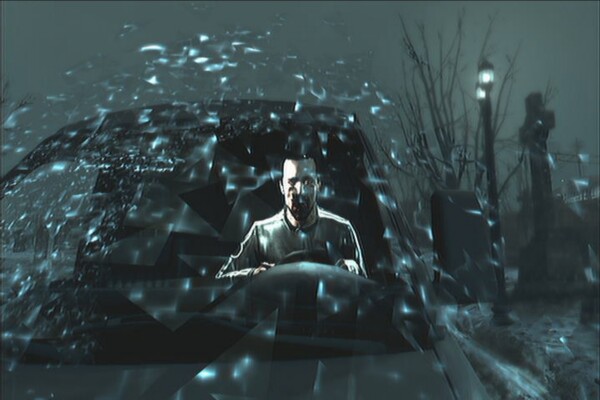
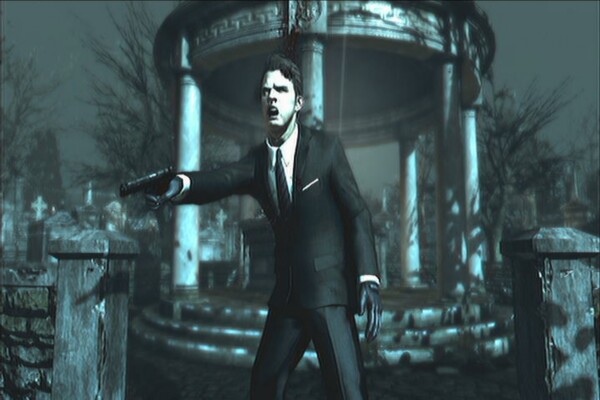
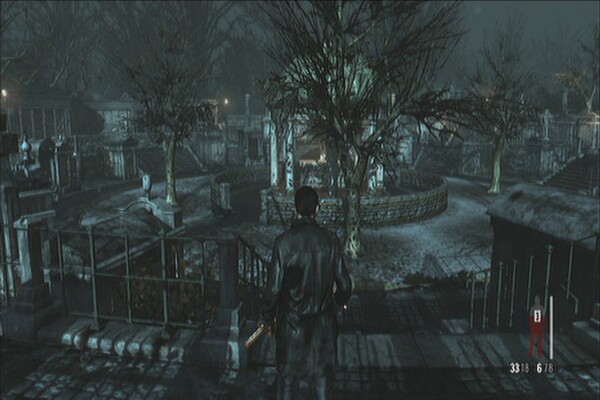
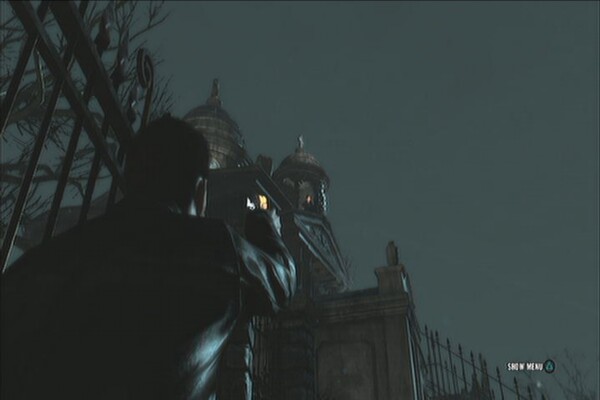
Start by killing the assassins and looting their guns and ammo. Continue down the hill and kill all the remaining enemies to trigger the next scene. During this sequence, you have to shoot the driver of the van before you get run over.
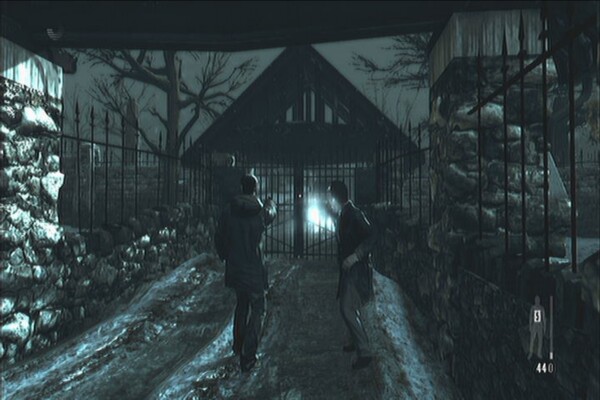
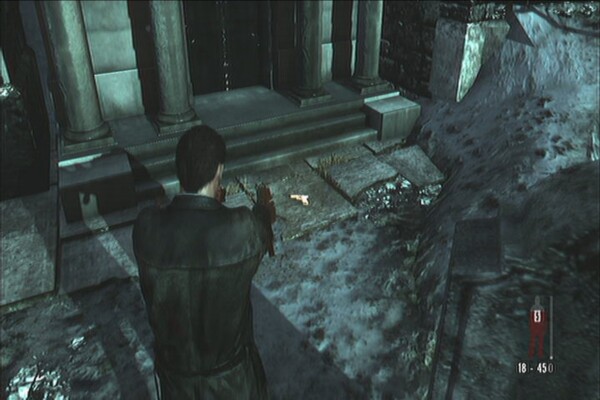
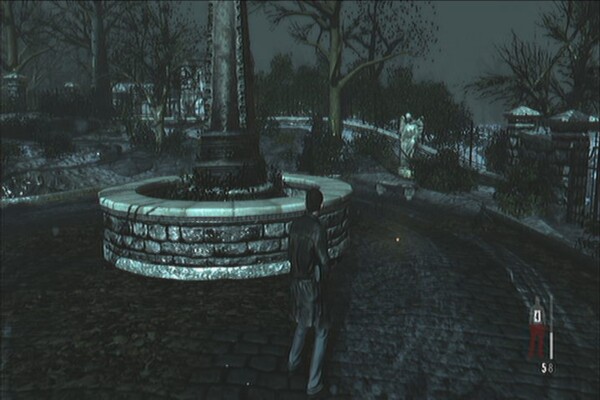
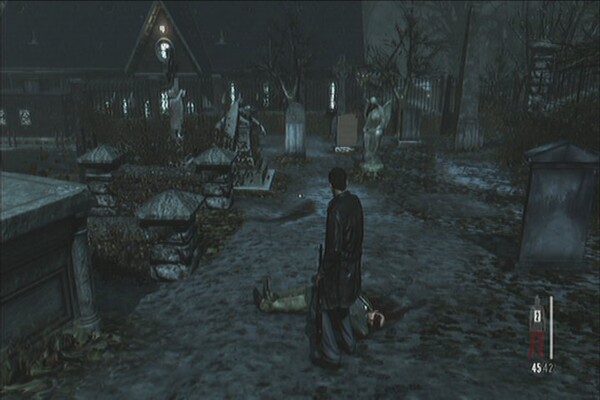
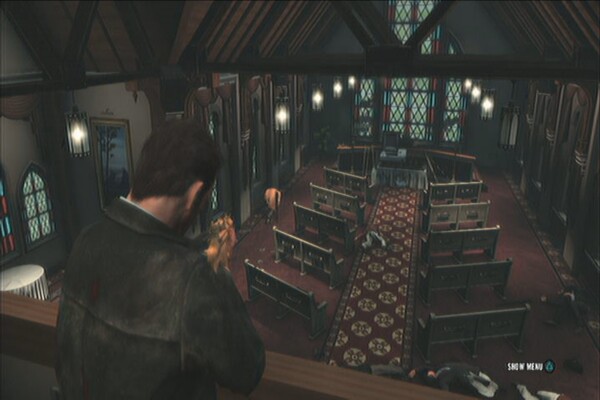
For the next part of the chapter, you'll be in the middle of another ambush. Stay in cover and take out the enemies one by one. There's a guy in the middle that has a grenade launcher so try taking him out first. Before going upstairs, head to the right to find the first gun part in the game, near a tomb on the ground. (Auto 9mm Part 1)
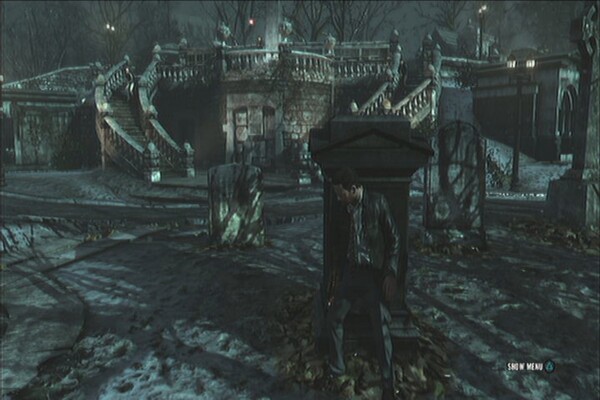
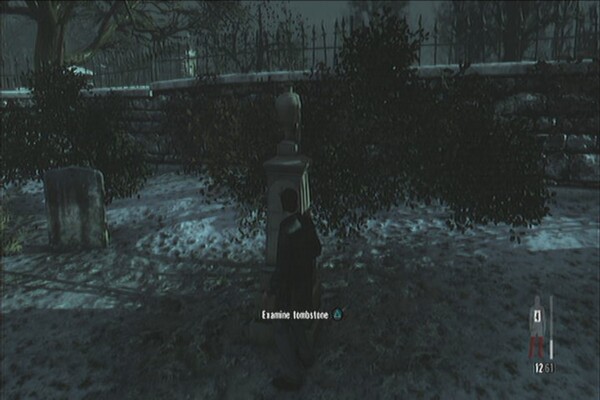
Go upstairs and take out more enemies. After clearing the area and before following Passos, check the tombstone with an urn on the top, near another tomb to the right for this chapter's first clue. (Valerie's Tombstone)
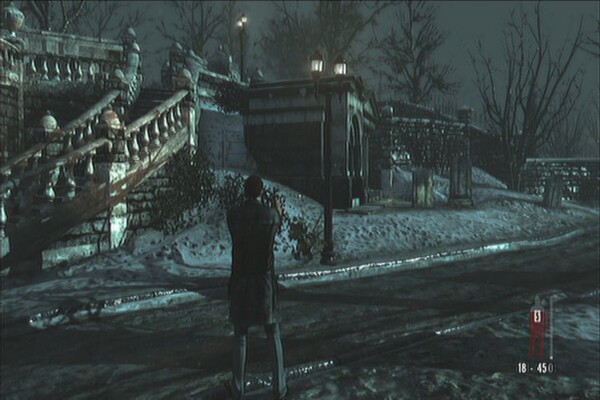
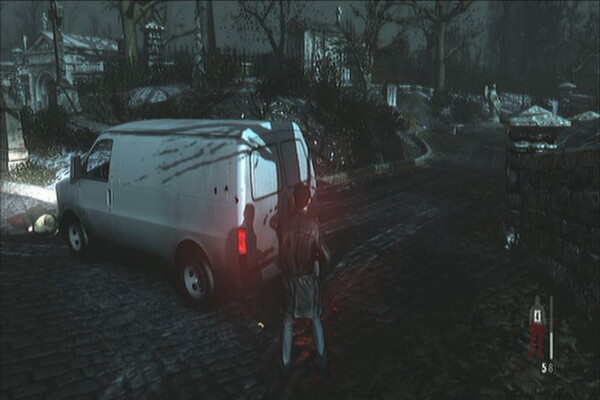
Loot the ammo from the enemies you killed and regroup with Passos. After the scene, kill the enemies in front of you then take cover to take out all the remaining enemies. Before leaving, follow the path to the side of the van to find a monument. Behind it is another gun part. (608 Bull Part 1)
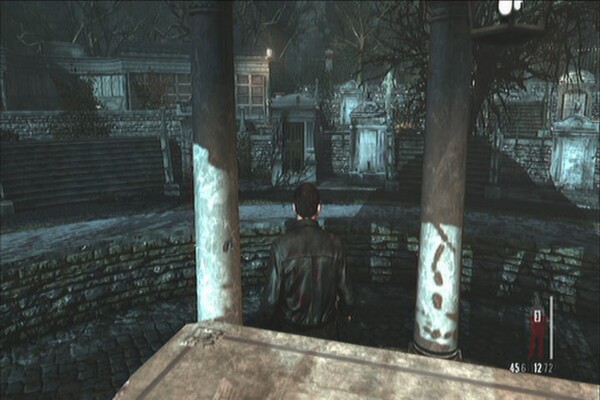
As soon as you enter the next circular area, kill all enemies then head right along the arc. You'll find another part in the end. (Auto 9mm Part 2)
Next head to the gate and kill the guy aiming at Passos. Clear the area next then grab the next gun part in the gondola in the middle. (608 Bull Part 2)
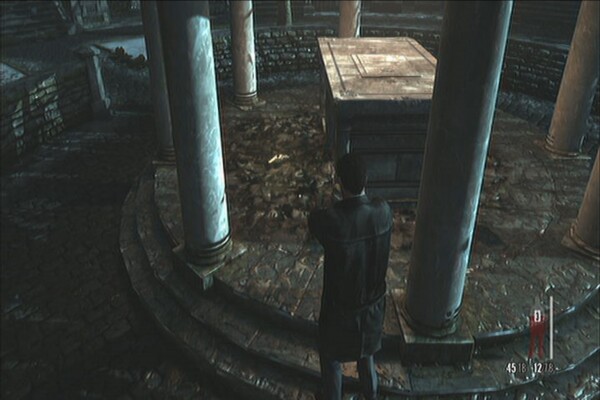
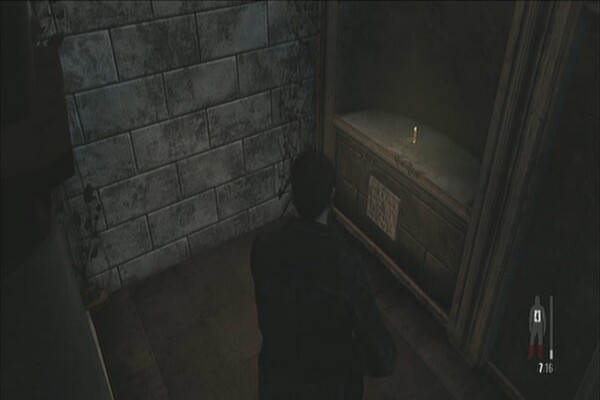
After grabbing the gun part, check the odd looking mausoleum marked “Horne” behind the gondola for another clue. (Nicole Mausoleum)

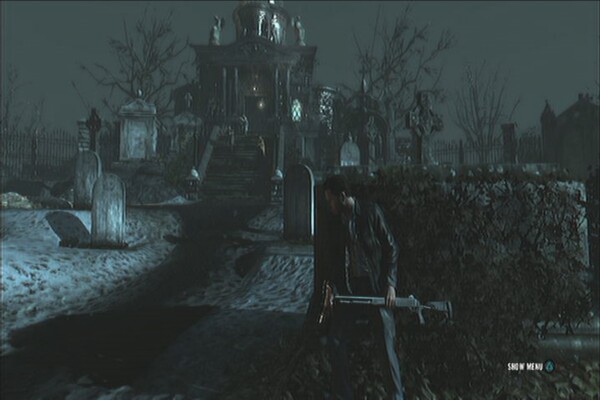
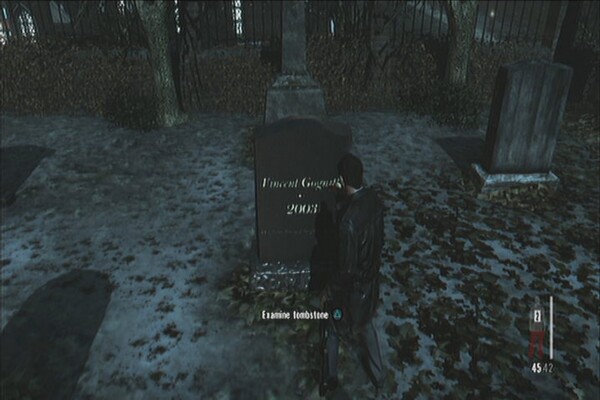
Regroup with Passos for another scene. Stay in cover until Passos draws the sniper's attention. Immediately move to the nearest cover and take out the guys coming out of the building. Repeat the process until you reach the building. Go to the left to find an opening then kill the sniper afterward.
After the scene, kill the last guy then head straight towards the shiny marble tombstone marked “Vincent Gognitti” for the chapter's last clue. (Vinnie's Tombstone)
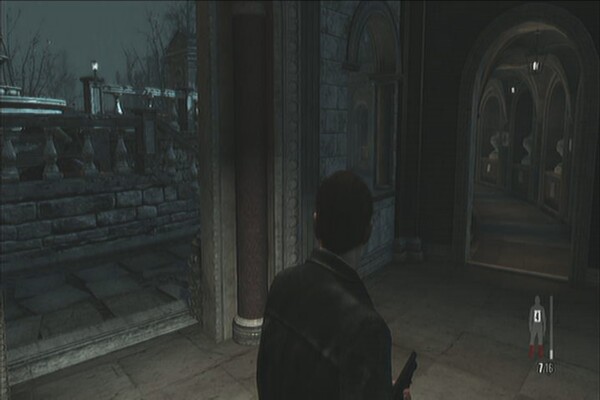
Head to the open gate and kill the enemies in the other side. Enter the shed to the left to find a gun part and a painkiller. (Auto 9mm Part 3)
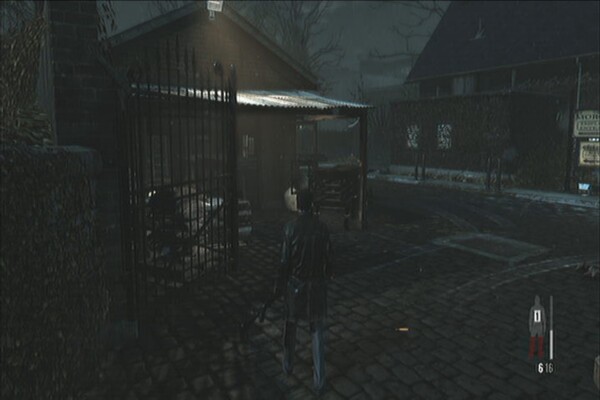
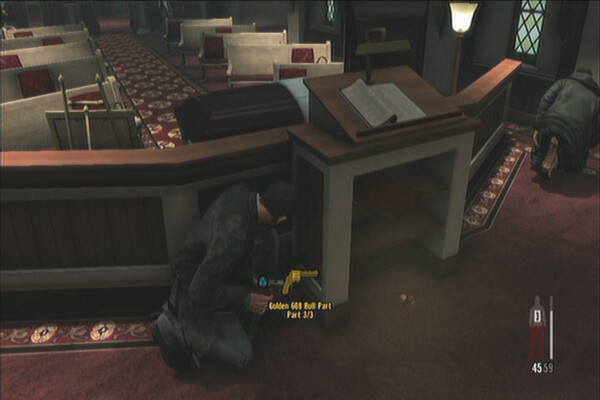
Continue to the morgue and kill the first set of enemies there. There's also a painkiller in the small room to the left before the exit. Leave the room for a scene. As soon as you start in cover, just move a bit to the left to grab a painkiller and the last gun part in this chapter. (608 Bull Part 3)
Kill the enemies on the ground then head to where the gunner on the upper floor is and kill him. Get his rifle and use the nearby ammo bag to refill your ammo. Use this chance to protect Passos from the incoming enemies. After killing them a scene will trigger.
Golden Gun Parts: M972 (3 parts), DE
.50 (3 parts)
Clues: 3
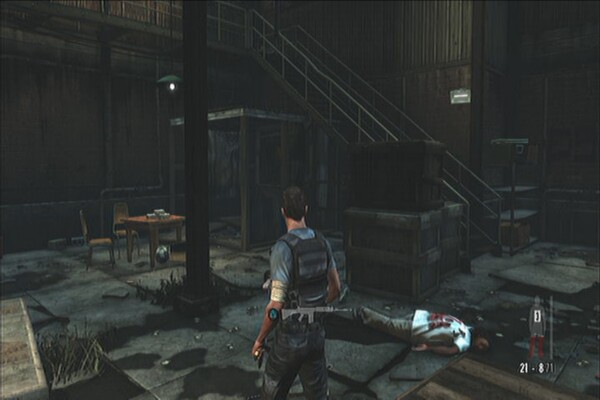
Go downstairs and check the dead body to the right to find a pistol and painkiller. Continue along the path until you reach a house with some corpses. Examine the body by the wall for your first clue. (Dead Gang Members) There's also another painkiller nearby.
Exit the house then go downstairs. Check the back of the stairs to find a corpse with a G6 Commando rifle nearby. Continue back to street level for another scene. Follow the path to trigger another scene. Continue along the pathway for yet another scene. After the scene where you'll get attacked by the armored “cops”, continue downstairs and check the entrance of the green house below to find the first gun part of the chapter. (DE .50 Part 1)
Continue along the alley and by the next turn, kill the two UFE members. Examine the third body past them for another clue. (Dead UFE Members)
Move along until you reach a house. There's another gun part inside the bathroom floor to the right. (M972 Part 1)
Exit the house and go downstairs to another house. Take cover and kill the UFE members on the other side then vault over the window and proceed to the small passage to trigger a scene. During this bullet time sequence, kill the two UFE guys on the helicopter then shoot the RPG the third UFE commando shoots towards you. You'll find yourself back on the ground after falling through the roof.
Continue downstairs and after passing through the gate, look to your immediate left to find another gun part on the ground, beside the stairs. (M972 Part 2)
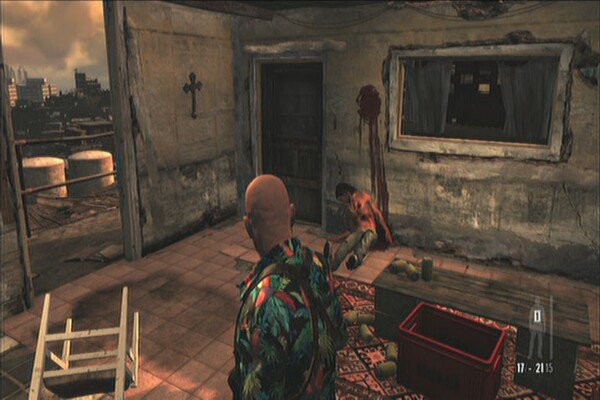
After getting the gun part, walk a few steps ahead and you'll find three UFE members executing a civilian. Kill them all and examine the civilian's body for the chapter's last clue. (Dead Residents) Don't forget to pick up the painkiller on the table nearby.
Continue downstairs and past through the gate for another scene. After the scene, check the grass to your left to find another gun part. (DE .50 Part 2)
Head towards the stairs but don't go up there yet. Turn left twice to find yet another gun part. (M972 Part 3)
Continue upstairs this time and continue until you trigger another scene. Keep heading left until you reach the other side. Take out the two UFE guards nearby and kill the others who will respond to the gunfire. The last gun part is found inside the small room with metal grills. (DE .50 Part 3)
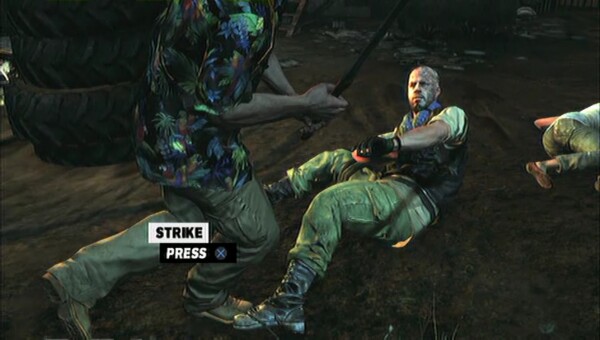
Continue downstairs and take out enemies along the way then enter the next building for a scenes. During the fight sequence with the scarred thug, follow the prompts that appear in your screen to kill him and proceed with the story.
Golden Gun Parts: FAL (3 parts), M4
Super 90 (3 parts)
Clues: 2
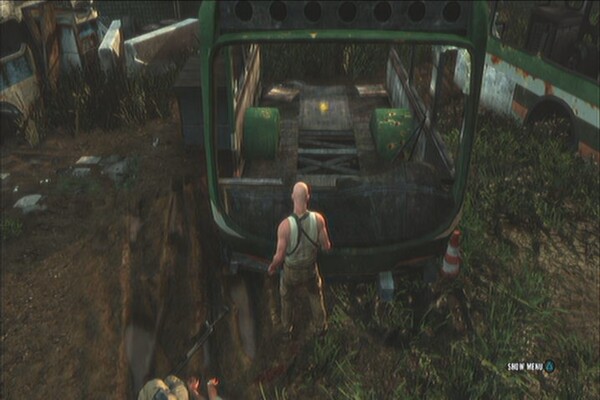
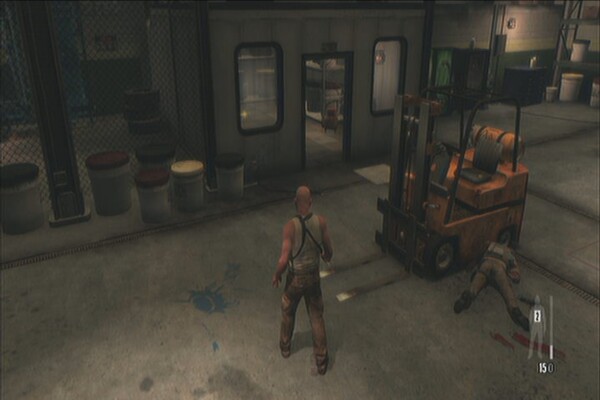
After the gunfight, move forward and check the second bus to the right to find the chapter's first gun part. (FAL Part 1)
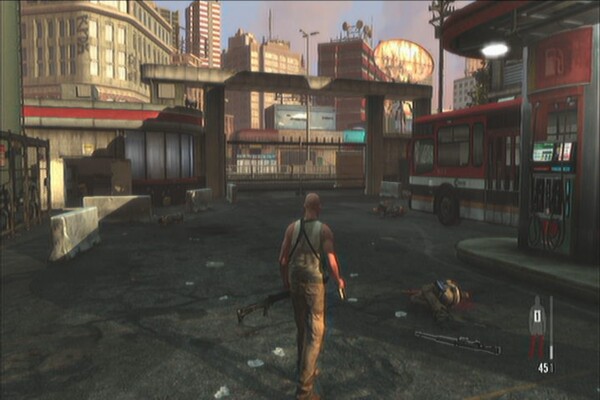
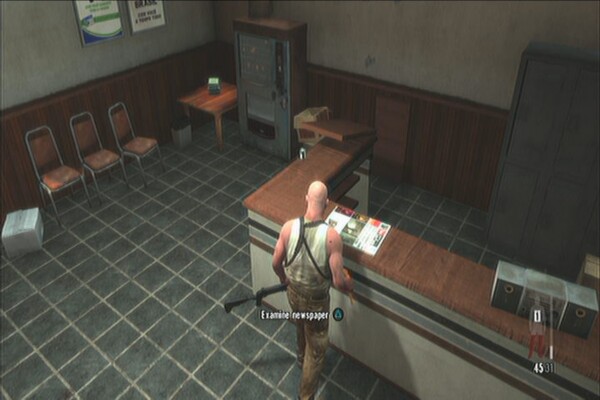
Loot the ammo and grab some guns before regrouping with Giovanna. In the gas station, find some cover and take out the enemies, specially the sniper on the roof. After clearing the area, check the small office to the left of the gate to find your first clue for this chapter and a painkiller. (Office Newspaper)
Go back to Giovanna for another scene. While dangling from the chain, kill all 8 enemies in Free Aim to unlock the trophy “The Only Choice Given”
The Only Choice
Given
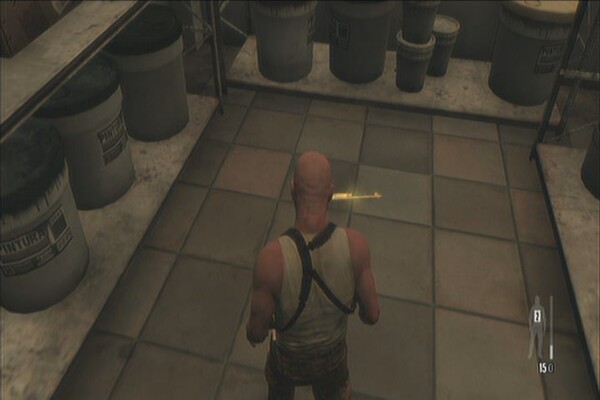
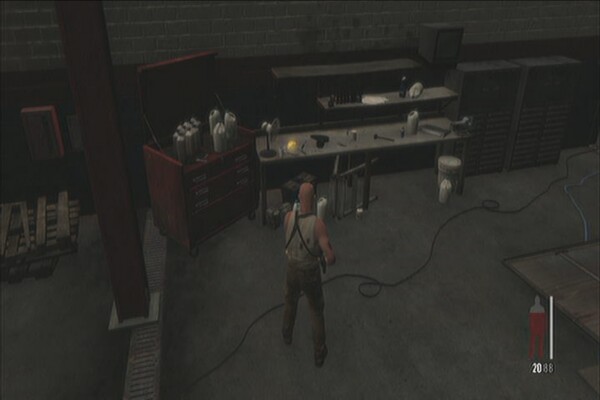
After the sequence, check the room to the left for the forklift to find another gun part. (M4 Super 90 Part 1)
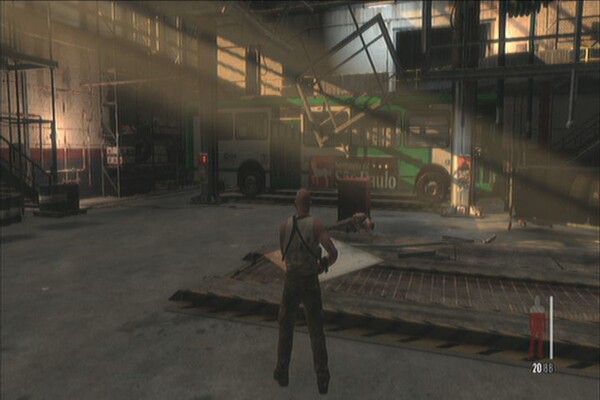
Collect the ammo and guns then push the red flashing button. Head to the exit next. More enemies will appear after the scene so deal with them accordingly. After Giovanna lowers the stairs, turn around and look at the bus. Check the table beside it to find another gun part. (M4 Super 90 Part 2)
Check also the room under the stairs Giovanna lowered to find a painkiller inside. Regroup with her upstairs afterward. Check the office room nearby for another painkiller then follow her to the next room. After killing all enemies go downstairs and go inside the parked bus to find a gun part inside. (FAL Part 2) Join up with Giovanna for next scene.
Once inside, check the bathroom to the left for a painkiller then go upstairs. Kill all enemies inside then check the office cubicle to the right of the main window. You'll find a painkiller there and another gun part. (M4 Super 90 Part 3)
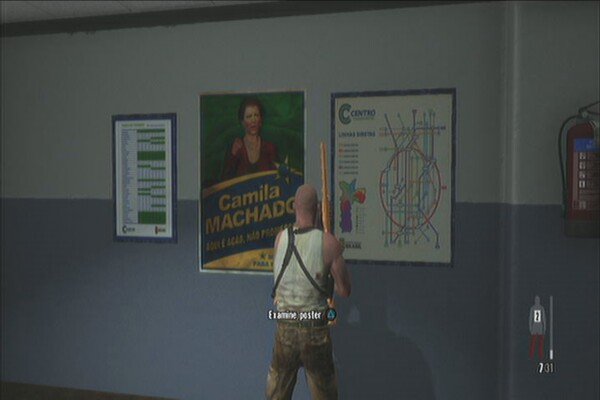
Continue downstairs then check the green campaign poster for another clue. (Ad Campaign Poster)
Finally, enter the next room with the flashing red switch. Don't press it yet; grab the final gun part on the floor across it, behind the desk. (FAL Part 3)
Open the security door for another scene. Kill the guard to save Giovanna and you'll be in another shoot-and-drive sequence in a bus. You can attempt to unlock the “Trouble Had Come to Me” trophy during this scene. (Refer to the Trophies section for more details) After the scene, dig in and fend off several enemy waves to complete the chapter.
It's drive or shoot,
sister
Golden Gun Parts: AK-47 (3 parts),
Super Sport (3 parts)
Clues: 8
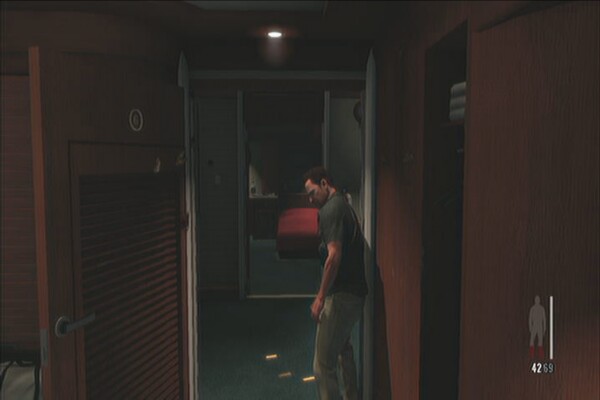
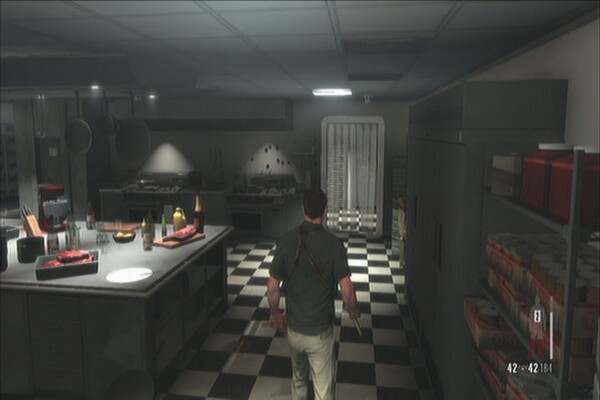
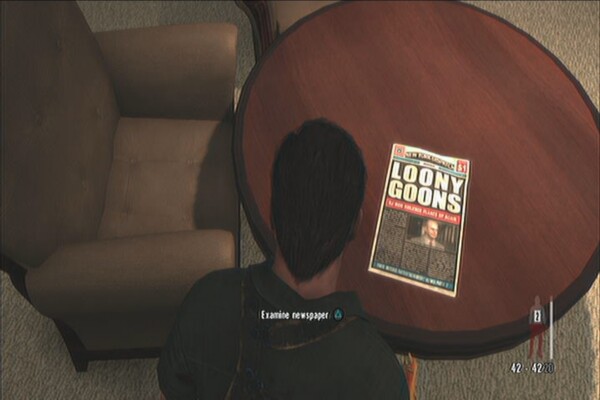
After killing the enemies, check the bathroom inside your room to find a painkiller. Check the room across from your starting position and examine the note on the tabletop beside the bathroom for your first clue. (Notes on Max)
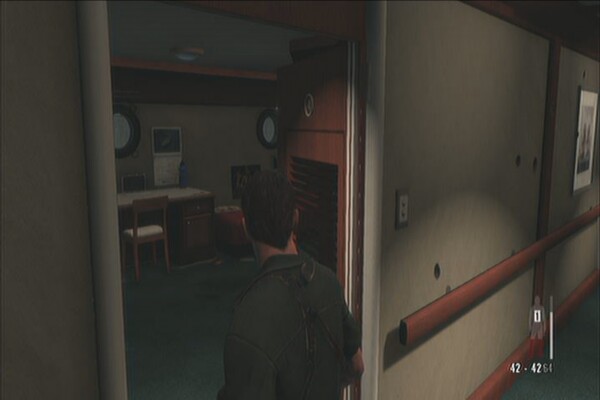
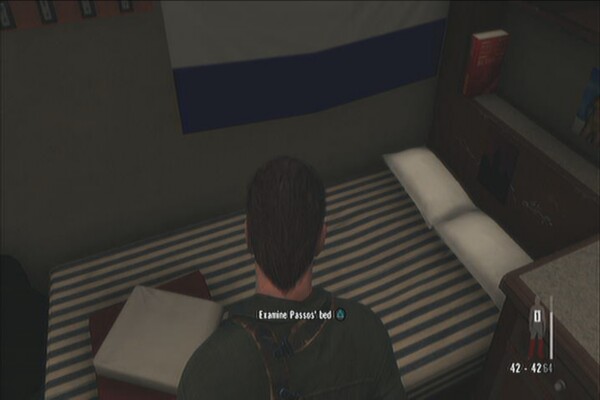
Check the second room to the right (number 4) and examine the bed for your second clue. (Passos's Bed)
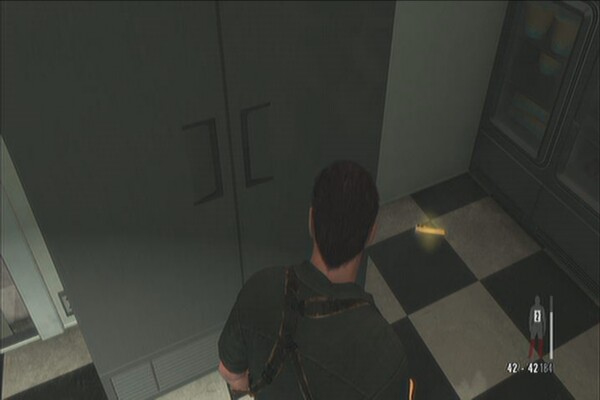
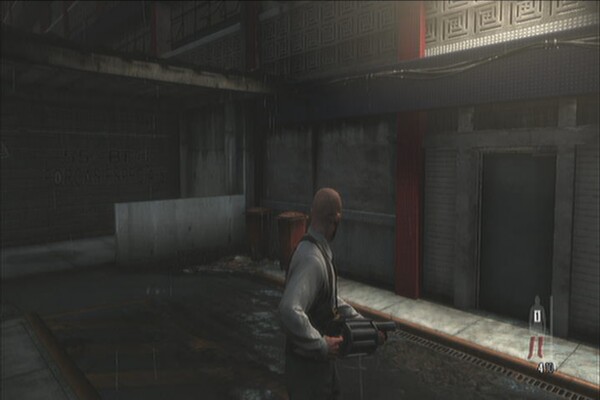
Check the bathroom in the third room to the left to find a painkiller. Make your way to the kitchen then enter the open doorway to the right with strips of plastic. You'll find the chapter's first gun part on the floor in front of the fridge. (Super Sport Part 1)
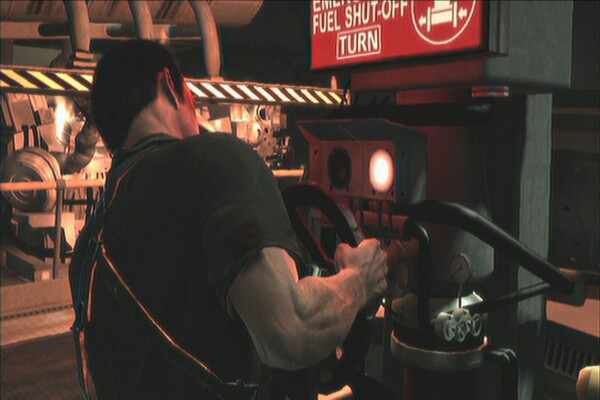
Continue to the next room to find the radio for a scene. Approach the door for another scene. Kill the guys then after the explosion, find the two emergency fuel shutoff valves and turn them off.
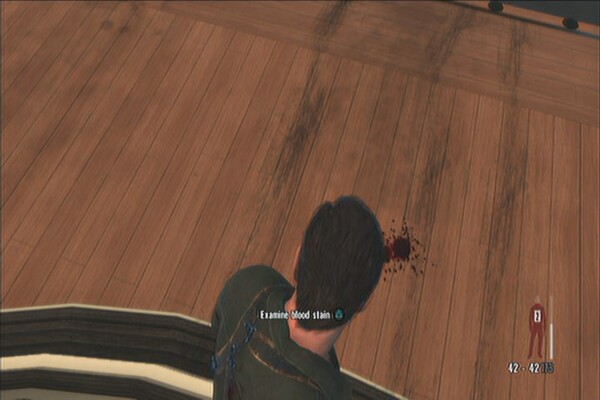
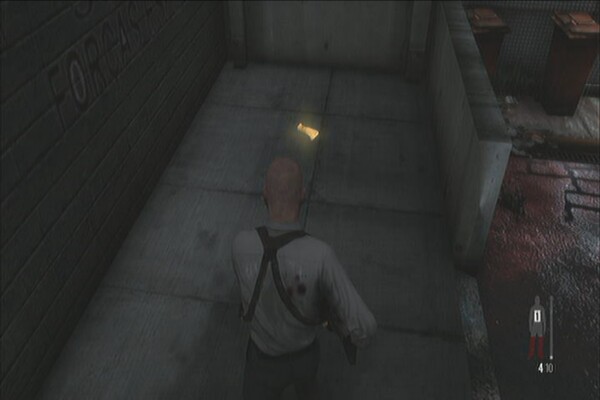
Carefully head to the rear of the boat and kill two more enemies. Before moving forth, check the bloodstains on the rear end of the boat for another clue. (Blood Trail)
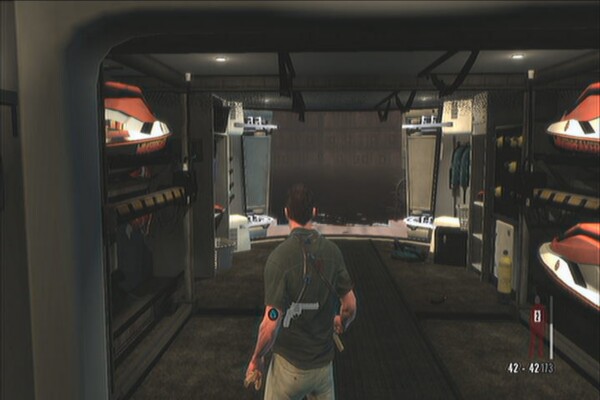
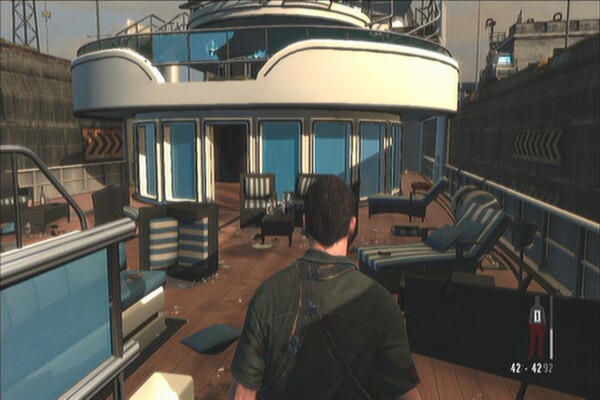
Continue to the upper deck and kill the enemies on the roof. Before heading in, check the far end of the deck to the right to find another gun part. (Super Sport Part 2)
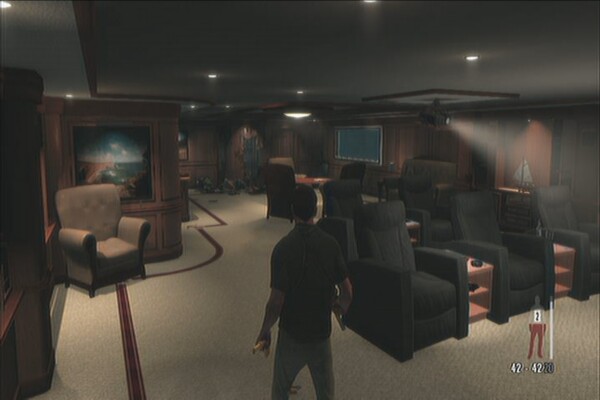
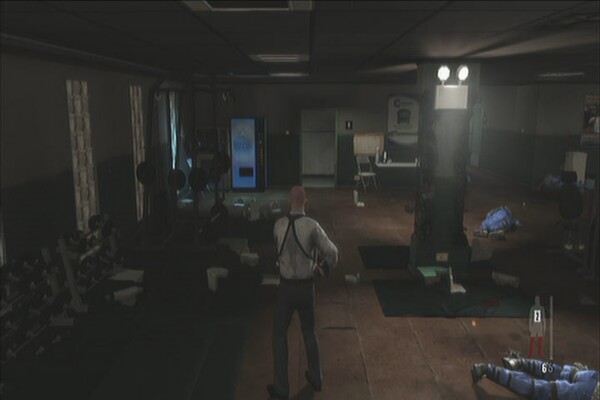
Enter the gym room and grab the painkiller from the first aid cabinet then enter the door to the left for a scene. Kill all the four enemies inside then find a newspaper on the round table near the destroyed wall. Examine it for another clue (Discarded Newspaper)
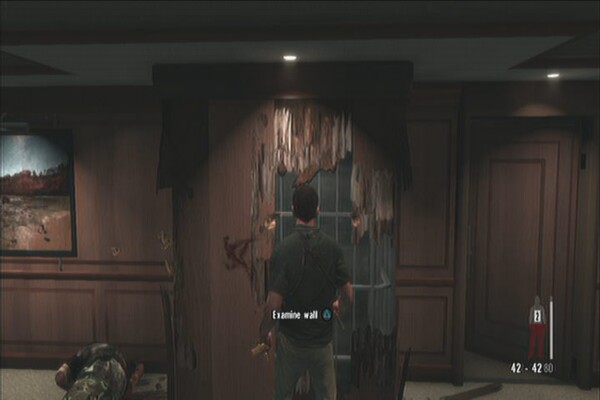
In the same room, check the damaged wall for another clue (Pried Wall)
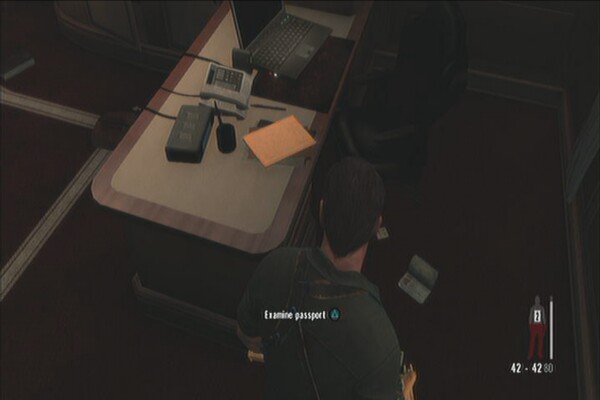
Enter the next room then continue to the hallway to the left. Enter the next room to the right and check the floor behind the desk in the small office to find another clue. (Daphne's Passport)

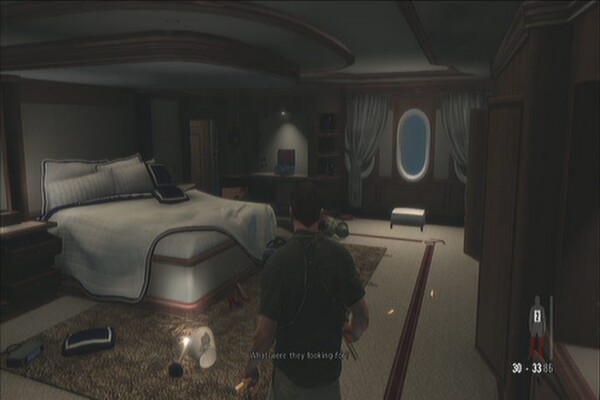
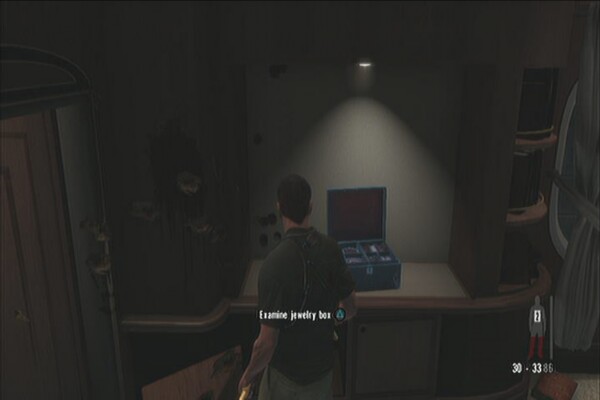
Check the bathroom next room to find another painkiller. Head to the next bedroom and kill all the enemies inside. Check the jewelry box by the wall for another clue. (Daphne's Jewelry Box)
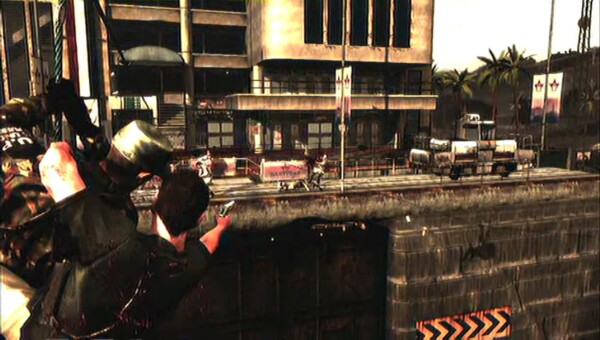
Continue to the bow of the ship and kill more enemies. Enter the main lounge then pick up the painkiller on a table to the left, near the tv. Continue to the open door to the left and take cover. Enemies will attack from the docks to the left so dig in and take them out.
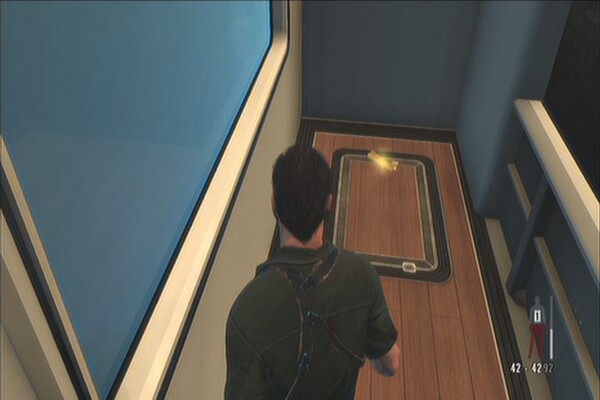
Once clear, continue to the next room and grab two painkillers from the table across the piano. Continue upstairs carefully and take out all enemies. Go through the automatic sliding door and kill more enemies ahead. Before heading to the bridge, touch the destroyed painting to the left to open a safe. You'll find a gun part inside. (AK-47 Part 1) There are also two painkillers to the right so don't forget to grab them as well. Head to the bridge next for a scene.
After regrouping with Passos, kill the initial wave of enemies up the tower. Kill another set of enemies and a couple more. Before moving to the tower, backtrack to your initial cover and refill your ammo by checking the bag at the back of the trucks. You'll get painkillers there as well. There's also another gun part in the far end to the right, by the crane. (AK-47 Part 2)
Enter the tower then grab the painkiller from the first aid cabinet near the stairs. Continue upstairs and kill the last enemies. Head outside for another scene. During this sequence, kill all enemies and stay in cover since more enemies will appear. If you have FREE AIM enabled, you can also attempt to unlock the “Along for the Ride” trophy by killing all enemies ahead while on the zip line.
Along for the Ride
Check the rightmost corner of the building to find another gun part. (Super Sport Part 3)
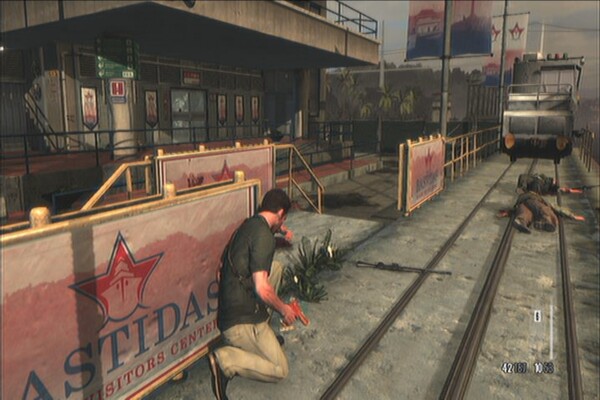
Enter the building using the doors to the right and grab the two painkillers in the corner, beside a computer monitor and fire extinguisher. Check the counter in the middle and grab another painkiller. Activate the security door next.
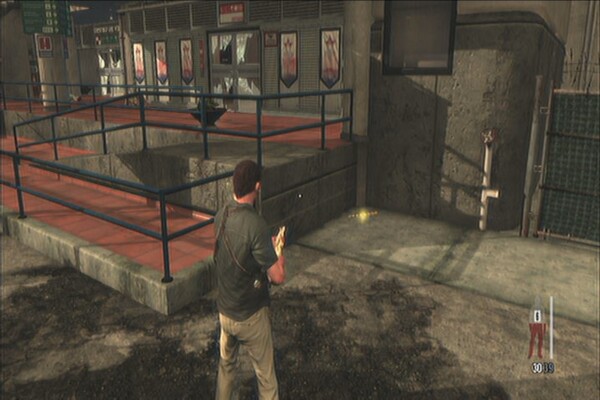
Carefully continue upstairs and kill more enemies. Go downstairs to your immediate right to find the last gun part of the chapter. (AK-47 Part 3)
Continue forth and clear your path. Be careful as you go upstairs since there will be enemies who will launch surprise attacks. After taking another set of stairs above the audio/visual room, you can grab another painkiller from the first aid cabinet to the right.
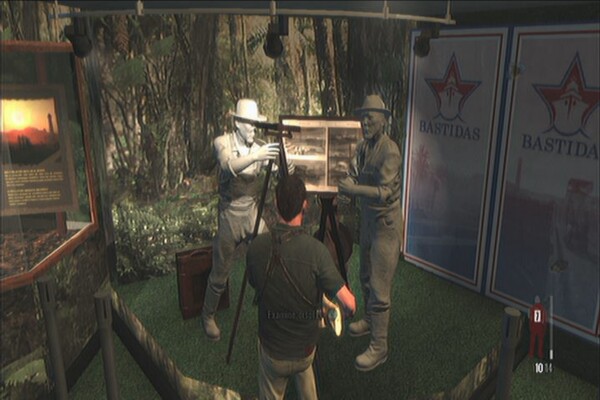
Continue up the second set of stairs and clear the area. Examine the two statues inside the display area for your last clue in this chapter. (Visitor Center Display)
Continue upstairs for another scene.
Golden Gun Parts: RPG (3 parts), FMP
G3S (3 parts)
Clues: 6
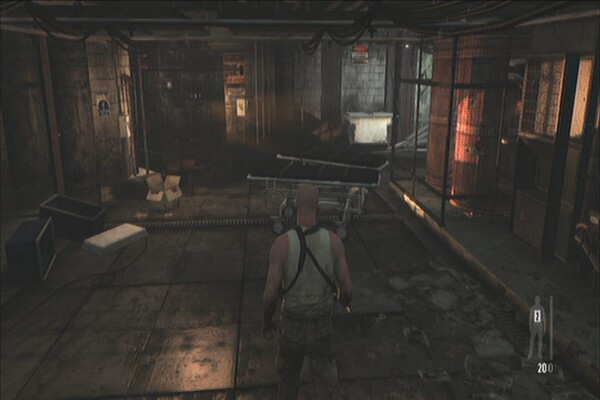
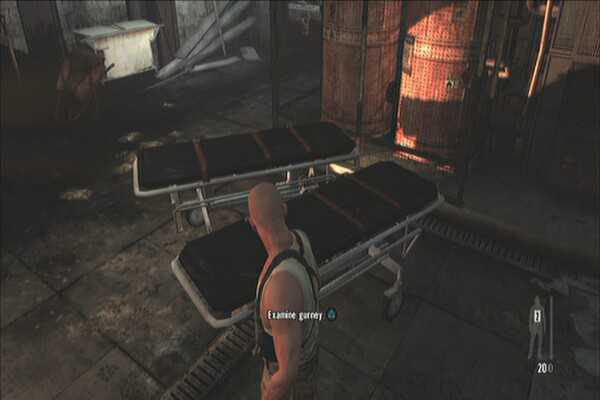
Continue along the corridor until you see a scene. Once the thugs leaves, check the gurney in the middle for your first clue. (Gurney)
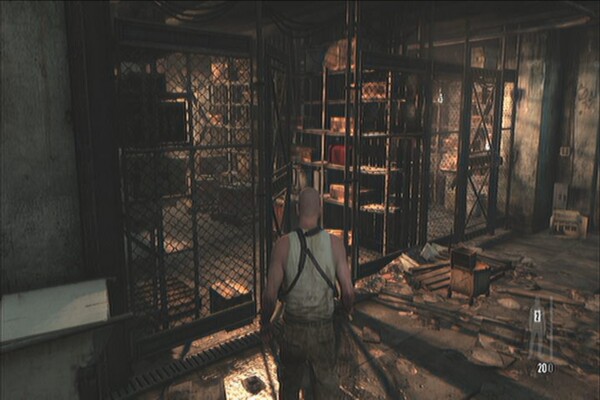
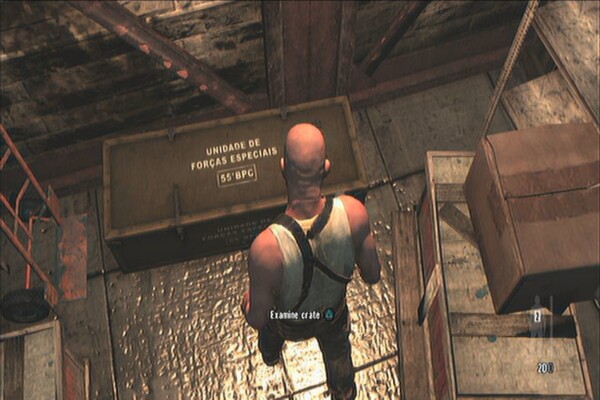
Go through the double doors then check the storage space to the left. There's a painkiller on the shelf to the left. Examine the ammo crate on the floor for another clue. (Ammo Crate)
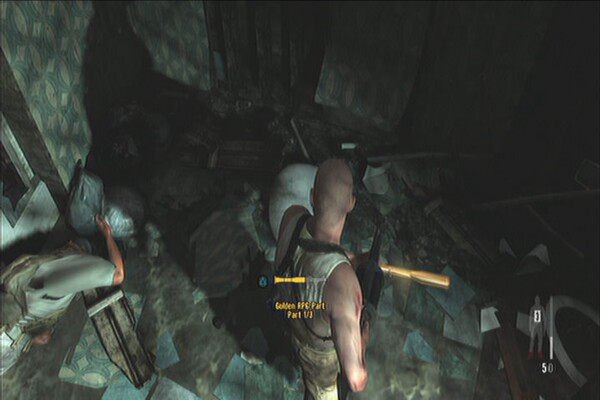
Head to the next doors for a scene. After leaving the elevator, kill the two thugs then kill any enemies that will respond. Check the broken bathroom to the left to find the first gun part of the chapter. (RPG Part 1)

Move from room to room and clear it of enemies. Continue until you reach the yellow metal gate. Press the blinking yellow button to open it. Open it and take cover immediately. Kill a few enemies then check the pushcart in the left corridor. You should find another gun part there. (FMP G3S Part 1)
Continue to the next room and jump down. Use the scaffolding to climb back up then enter the room to the right to find some wall photos on the wall. Examine these for a clue. (Wall Photos)
In the same room, check the piece of paper under the small table beside the sofa for another clue (Passos' ID Card)
Continue to the hallway to the left and immediately take cover since there's three enemies waiting in ambush. You can use bullet time to shoot the propane tank behind them to blow the door open and kill them all at the same time. Before leaving, check the room behind you to find a painkiller.
Continue through the blasted door and upstairs. Enter the door again to find yourself in a hallway. Move along and check the hole in the wall to your right to find a gun part. (RPG Part 2) Continue to the next door for another scene.
After the scene, you'll be in the upper floor. Kill the guards then grab another gun part on the floor behind the counter to the right. (FMP G3S Part 2)
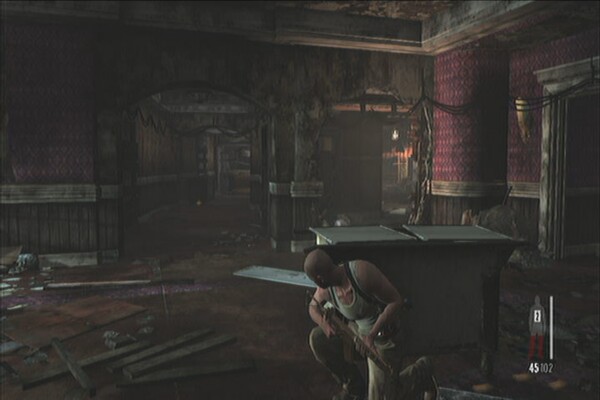
Go past the pool and tennis court then move around to the next area where more enemies are waiting. Kill them off then enter the bar. Check the newspaper on the counter for another clue. (Newspaper Article) Grab the painkiller nearby then continue to the next door.
After the scene with the doctor, continue to the next room. Head to the right and check the floor behind the couch to find a gun part. (FMP G3S Part 3)
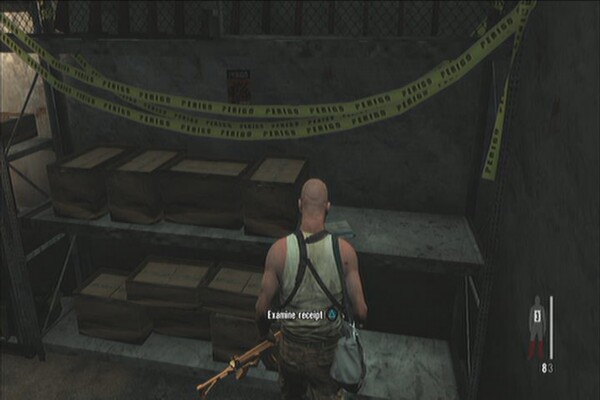
Continue ahead and enter the next room to trigger a scene. After the scene, go back to the room to find two painkillers, an ammo bag and another clue to the right. (Donation Receipt)
Exit the room and continue planting explosives on the red pillars. After the scene, kill the remaining enemies and go past the yellow gate. Continue along the wooden planks and you'll finally meet some enemy snipers. Take them out one by one before moving forth.
Go through the yellow gate and take out more enemies. Some enemies will appear from behind so be careful as well. Once done, from the gate, turn right to find the last gun part in the corner. (RPG Part 3)
Continue planting explosives on the red pillars until you plant the last explosive on the last pillar. After the scene, you can attempt to unlock the “Sometimes You Get Lucky trophy”. As soon as the checkpoint starts, stay in cover and don't kill the nearest guy until the 12 second mark. Once you reach that point, run towards him and perform a shootdodge. This timing will go alongside with the tremor, giving you ample time to aim for the head and unlock the trophy.
Sometimes You Get
Lucky
Continue fighting your way on the roof. Once you reach some stairs and after the wall near it blows off, go upstairs and check the room to the right to find a couple of painkillers.
Continue to the open gate. Kill the guy that will appear then head to the next door. It will get blown up as well so step back and take cover since more enemies will appear on the roof. After dispatching them, a heavy gunner will appear from the other rooftop. Dig in and kill him to finish the chapter.
Golden Gun Parts: G6 Commando (3
parts), Law (3 parts), MPK (3 parts)
Clues: 7
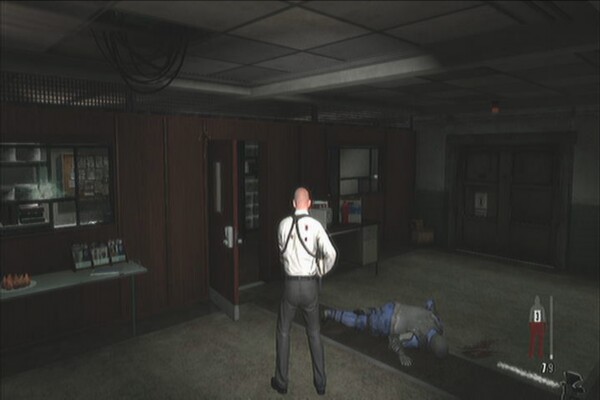
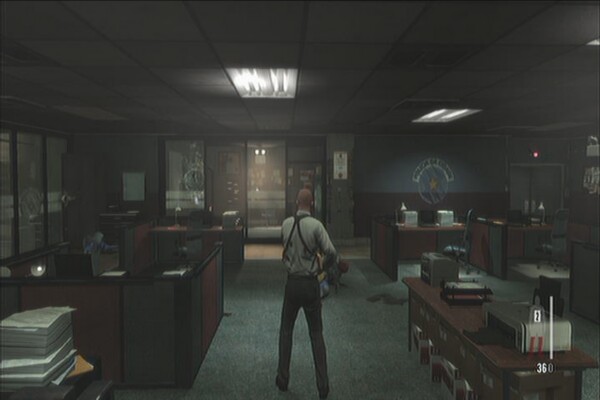
Take out the guard nearby, then take out the other two inside the office. There are two painkillers in the nearby first aid cabinet as well so don't forget to collect them.
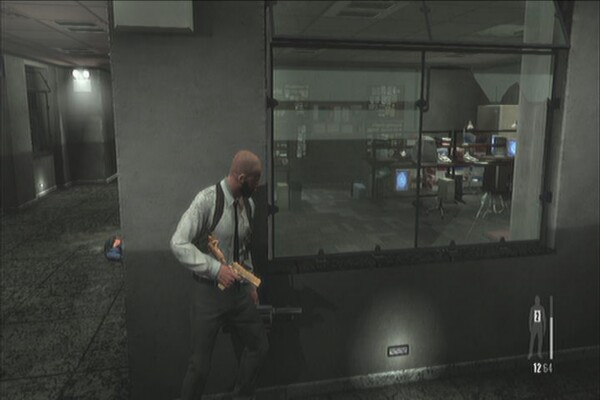
Approach the gate for a scene. After the scene, go through the opened gate then immediately turn left to find the first gun part of the chapter. (MPK Part 1)
Head right then kill the two guards in the next corner. Enter the washroom to the right to find another gun part in the corner. (LAW Part 1)
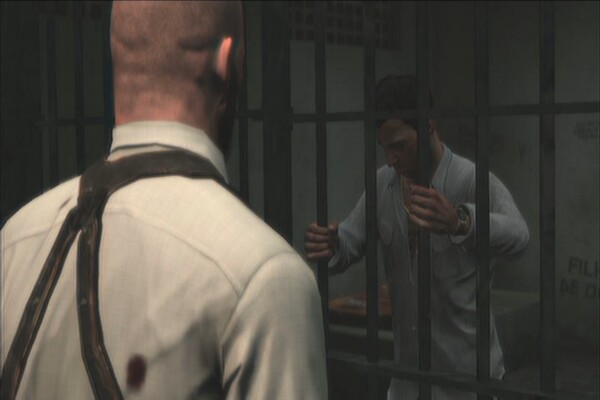
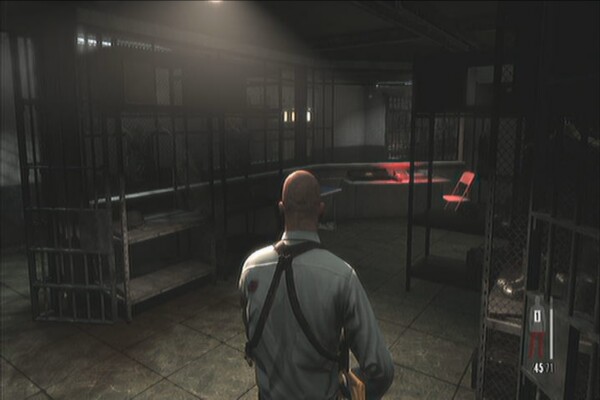
Continue following the opened cells and corridors until you encounter a few more guards. Enter the open cell to the right to find a painkiller inside. Here you'll hear a familiar voice whining about. Backtrack to the corridor with a bloodtrail and you should find the tourist shouting from the far end cell. Talk to him for a clue. (Tourist)
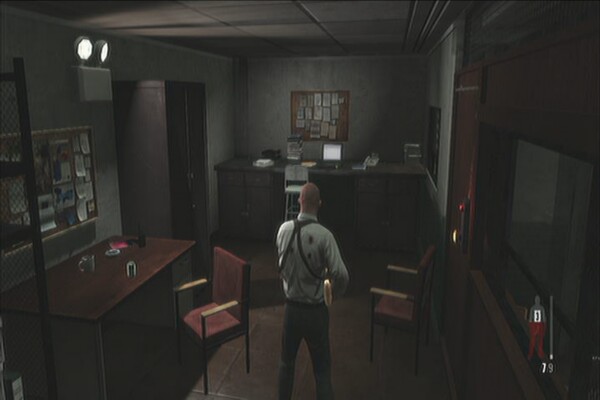
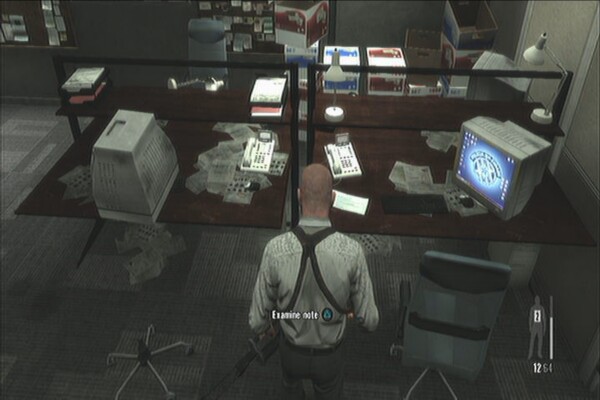
Continue along the path then exit through the door. Stay behind cover as more guards pour in the room. Once clear, enter the small room to the right to find a painkiller. Continue to the red booth in the far end of the room to find yet another painkiller. Examine the laptop for another clue. (Prison Log) Activate the flashing button nearby to open the security doors.
Exit the prison for a scene. Run and grab the RPG then take cover. Wait for it to stop firing then blow up the APC up the street.

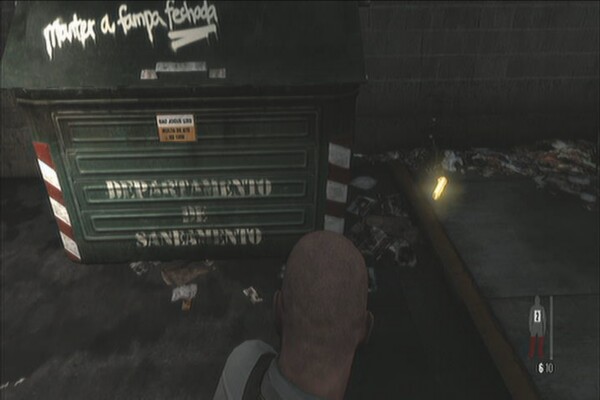
After destroying the APC, more enemies will arrive. Take cover and take them out. Head past the gate then go left to find another gun part beside a garbage bin. (LAW Part 2)

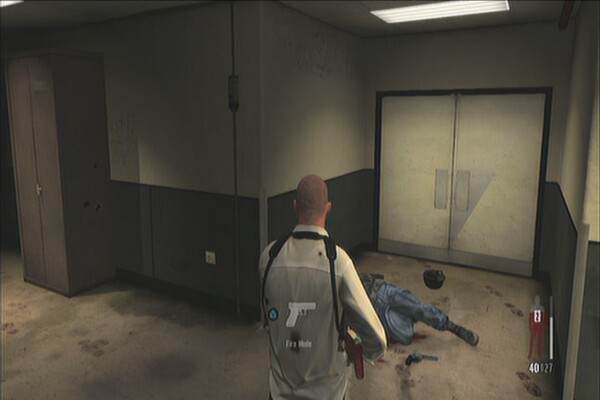
Head to the double door to the right and a guard will appear. Take him out and continue upstairs to exit the building. Kill the guards beating a prisoner then check the shed behind you to find another gun part. (G6 Commando Part 1)
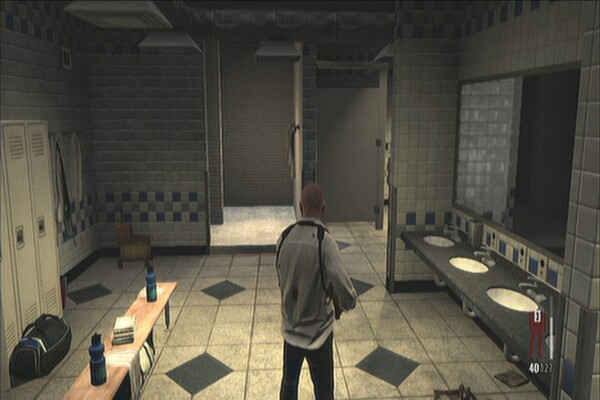
Move forth until you reach a locker room. Find a painkiller from one of the open lockers there then go to the gym room next and clear it. Once done, enter the men's bathroom to find another gun part inside the shower room. (MPK Part 2)
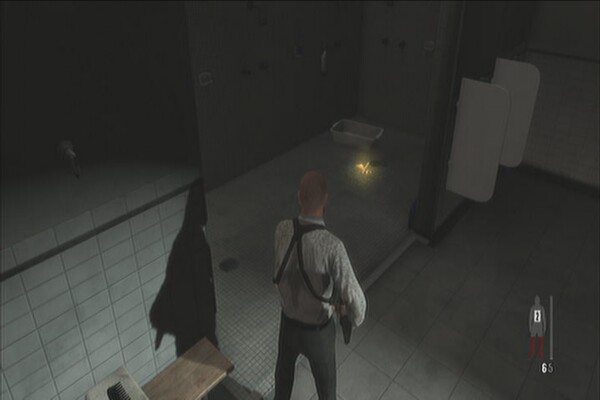
There's also a painkiller in the ladies' bathroom in the other side. Go through the red double-door once done. Enter the office on the right side then check the note near the computer monitor for another clue. (Promissory Note)
Now check the kitchen area of the canteen to the left to find another gun part under the shelf. (G6 Commando Part 2)
Head through the next double-door then enter the conference room to the left to find another gun part on the table in the far end of the room. (MPK Part 3)
Now check the small reception area across the conference room to find another gun part on the floor behind the counter. (G6 Commando Part 3)
Head to the security room next for a scene. More enemies will appear afterward. Stay in cover and take them all out. Once cleared, enter the elevator and head to the fifth floor.
After the scene, kill the guard by the counter then collect the painkiller in the room nearby. Head to the next office room and start killing all the guards. A heavy gunner will appear afterward. Stay in cover and aim for his unarmored parts.
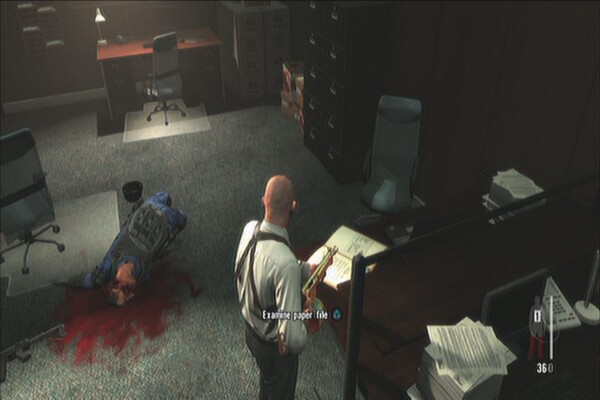
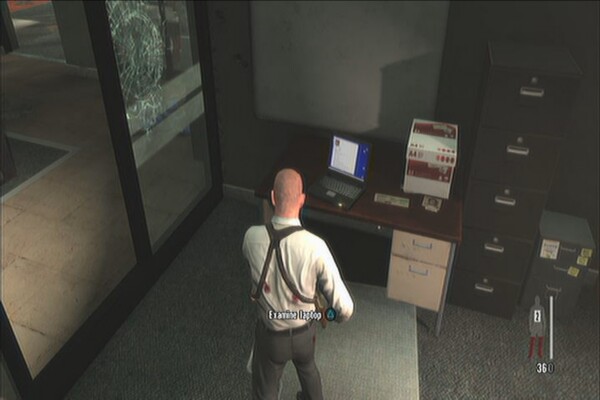
Enter the office room in the middle and check the paper file on the table for another clue. (Political Folder)
Next, head to the office room to the left of the red-lit door and examine the laptop for another clue. (E-File on Da Silva)
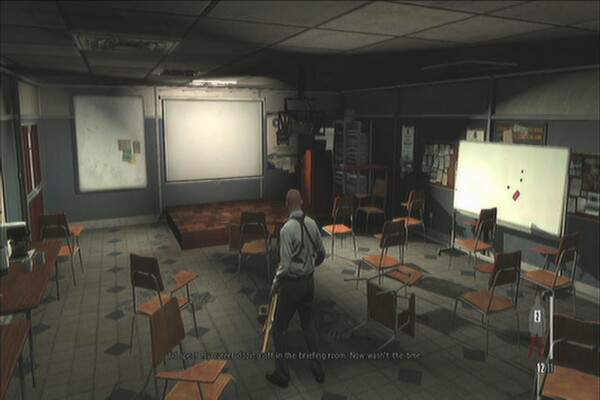
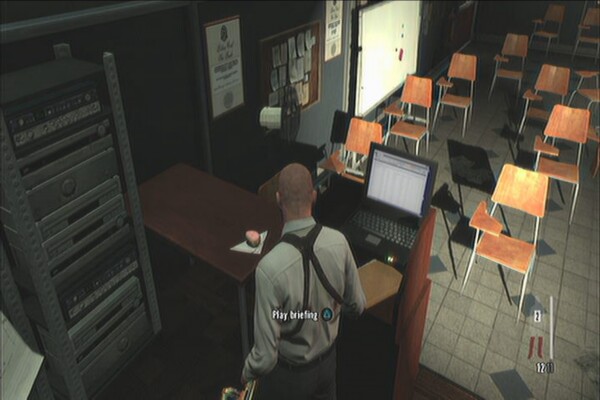
Approach the door for a scene. You'll find yourself in a briefing room afterward. Check the laptop in front of the display to play the briefing. Play through all the slides to get this clue (Slide Show)
Exit the room and continue forth until you reach the storage room. Take out all enemies then continue upstairs. After the scene, shoot the vent open and climb up to escape the gassed stairwell. After the scene, kill the guard immediately after falling off the vent.
Approach the computer monitors for another scene. Leave the security room then continue to the next office area across the hallway. Clear the room then exit through the door for another sequence. While riding the cart, kill all enemies from across the window until you stop. If you have FREE AIM enabled, you can unlock the “It was Chaos and Luck” trophy by killing all six enemies across the building.
It Was Chaos and
Luck
More enemies will start coming in from the armory so be prepared.
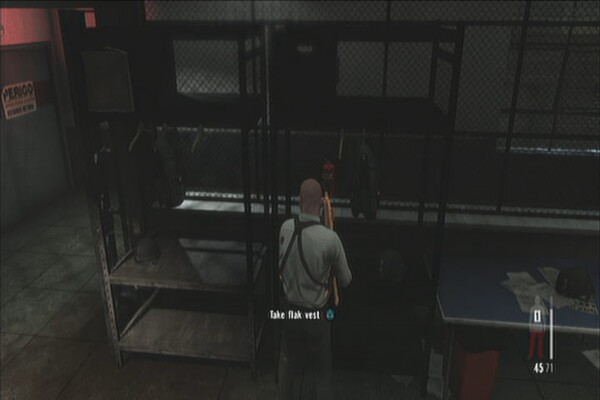
There's also an ammo bag along the equipment rack to the left. After clearing the area, head inside the armory. Continue to the next room where there's a flashing red button. Before pressing it, check the vests hanging on the left side for another clue. Max will also be able to wear this as well. (Flak Vest)
Head to the next area and grab the painkiller from the medical cabinet beside the red door. Continue to the CQB training area and carefully move from cover to cover to avoid ambushes.
Continue clearing your path until you reach the shooting range. There's a lot of enemies waiting there so stay put and take them one one by one.
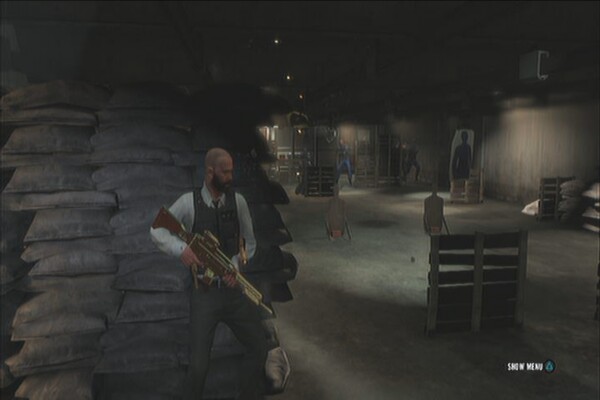
You should also find the last gun part on the floor behind the first sandbag where you took cover. (LAW Part 3)
Continue forth and as you enter the backroom, a heavy gunner is waiting for you so be prepared to take it out. Grab the two painkillers from the first aid cabinet near the sink then exit through the door. Continue upstairs for a scene.
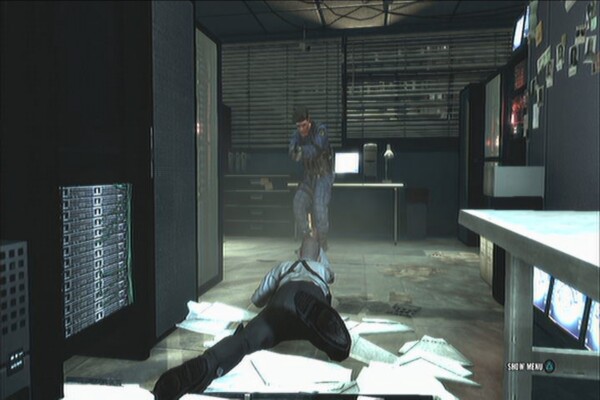
After the scene, take cover inside the nearby room to have a better cover and find a painkiller as well. Take out the remaining guards for another scene. This time, you have to fend off another attack. Take out the couple of guards on the ground then shoot at the ceiling tiles overhead the main enemy.
Keep shooting at the tiles so that the overhead lights fall on him. After that, more enemies will appear. Take them out and move to another cover. Next, shoot at the air-conditioning unit overhead. This force him to move up from his cover and make him vulnerable. Land the finishing shot to kill him.
Golden Gun Parts: RPD (3 parts),
Rotary Grenade Launcher (3 parts)
Clues: 1
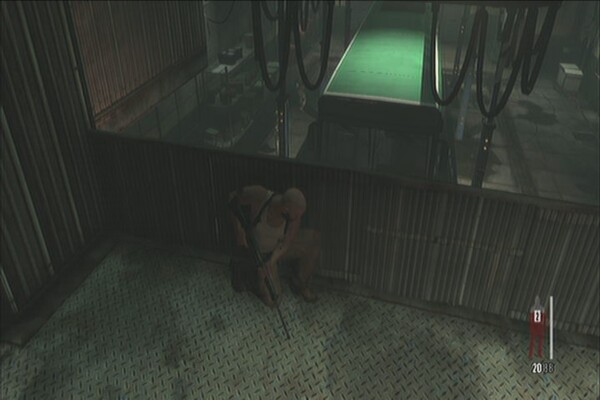
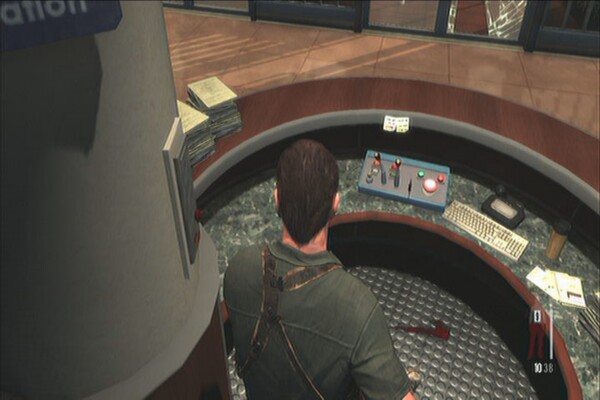
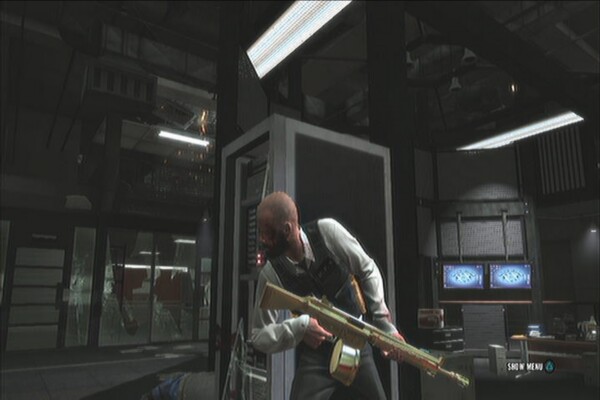
Jump off the conveyor belt and take cover before engaging the guards. Once cleared, ride the conveyor belt to the left to reach the chapter's first gun part. (Rotary Grenade Launcher Part 1)
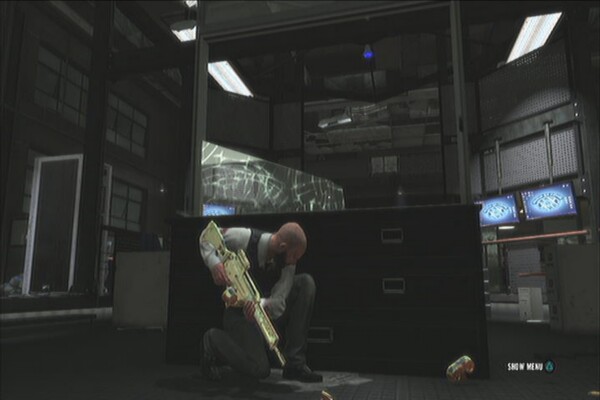
Enter the control room nearby then use the stairs behind to reach the catwalks. More guards will appear so dig in and take them out one by one. Now go to the upper control room BUT do not take the doors straight ahead. Instead, go through the double-door to the right to reach another gun part. (Rotary Grenade Launcher Part 2)

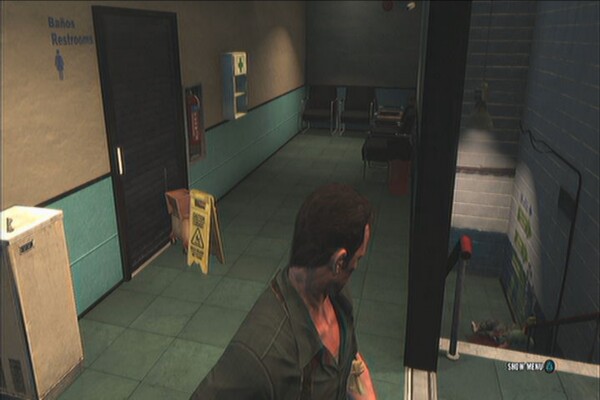
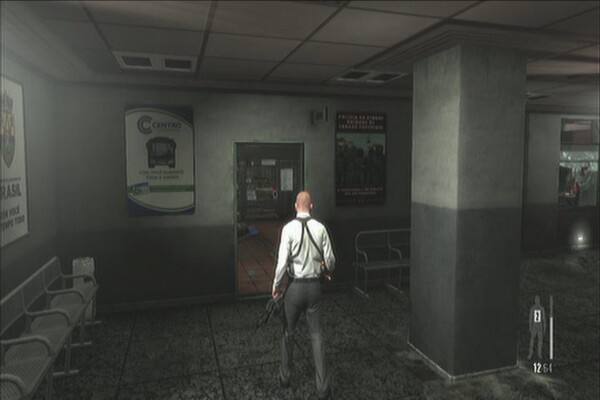
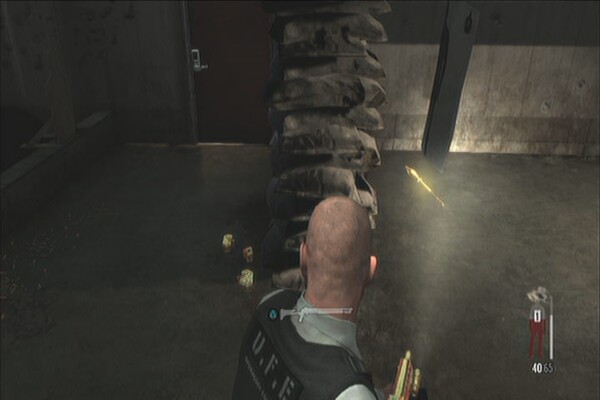
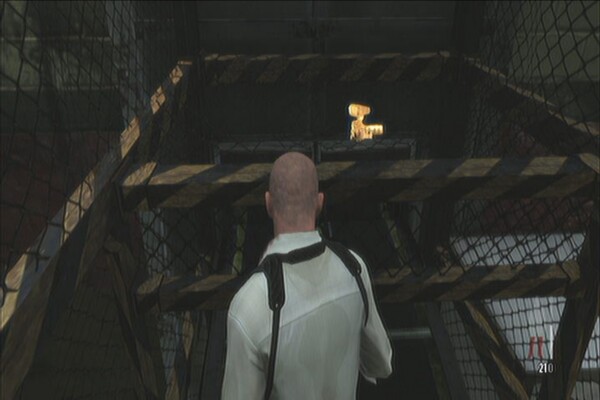
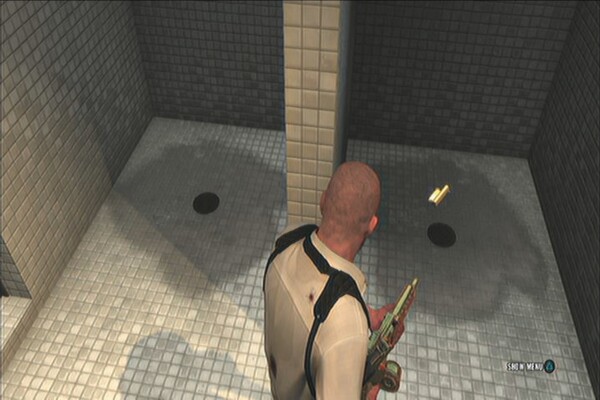
Grab the painkiller from the cabinet then go through the door to reach the next area. Kill the guard then take out a few more along the corridor. There's a painkiller inside the room by the corner as well. Once the corridors are cleared, do not enter the door straight ahead. Instead, check the double-door to the right to find a bathroom. There's a painkiller in one of the lockers and another gun part in one of the shower rooms. (Rotary Grenade Launcher Part 3)
Check the cubicle in the same room to find the only clue in this chapter. (Ex-Cop)
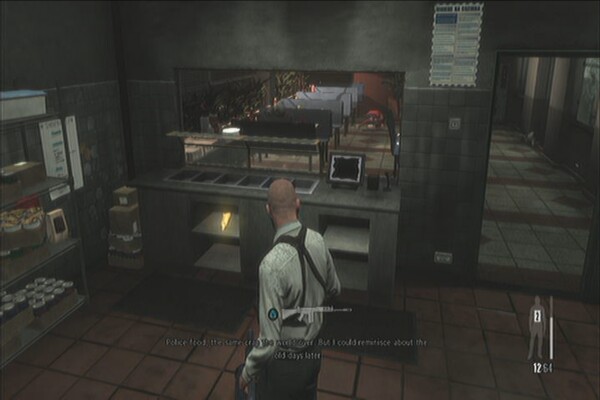
Exit this restroom then continue along the doors to reach the customer restroom. There are two painkillers on the first aid cabinet ahead so grab them before heading to the exit.
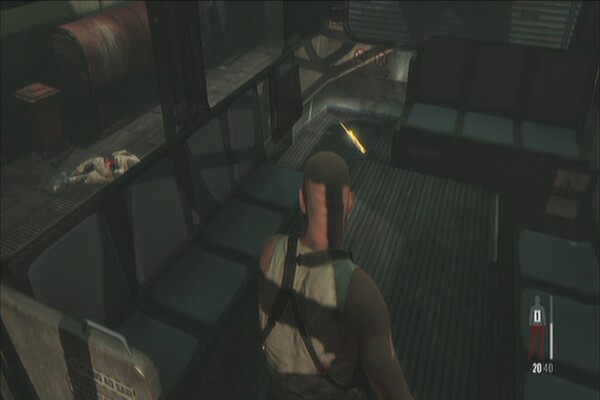
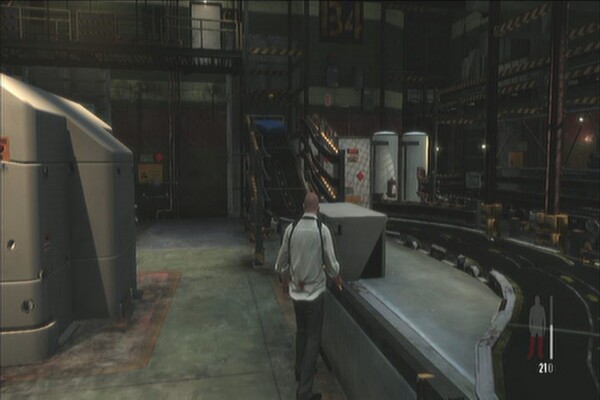
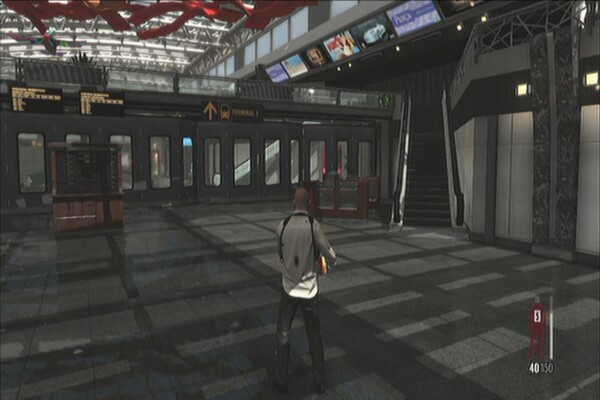
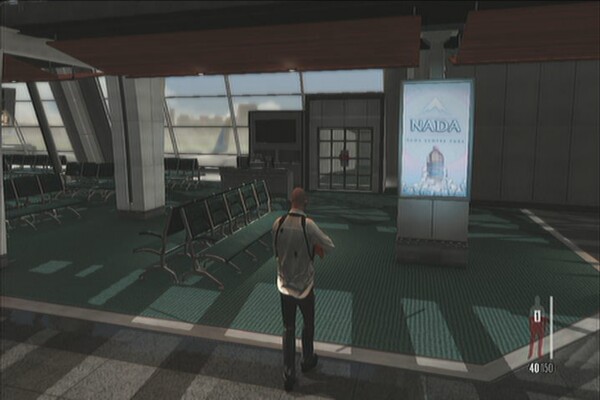
Once you reached the departure lounge, take out all guards while in cover then head to the next escalator ahead to the right. Grab the painkiller nearby then follow the walkway left then turn left again to find a gun part all the way to the far end. (RPD Part 1)
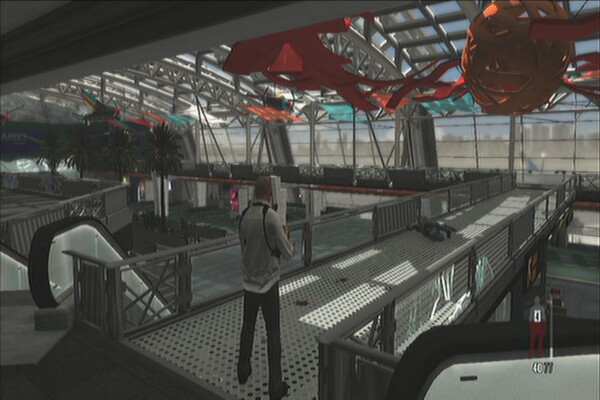
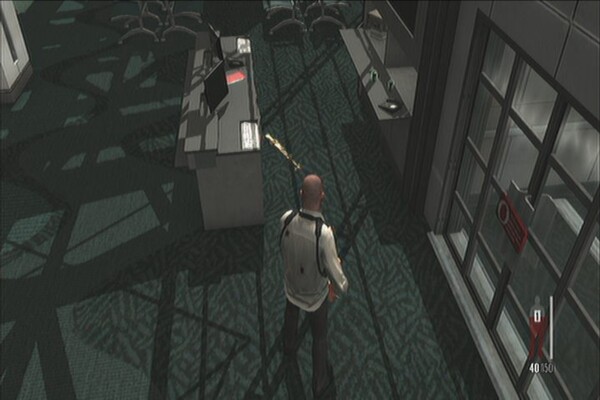
Go downstairs and before pressing the flashing button to open the security doors, check the counter in the left side of the lounge to find another gun part with two painkillers. (RPD Part 2)
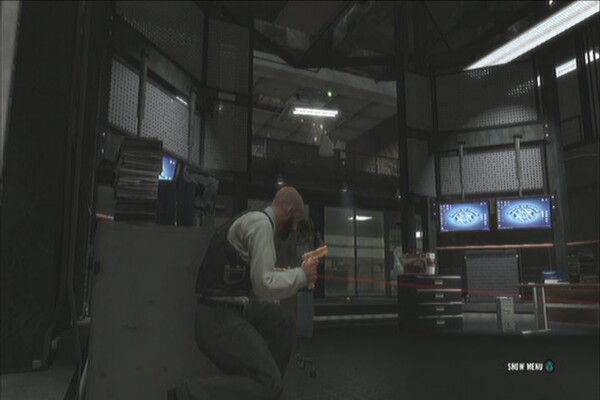
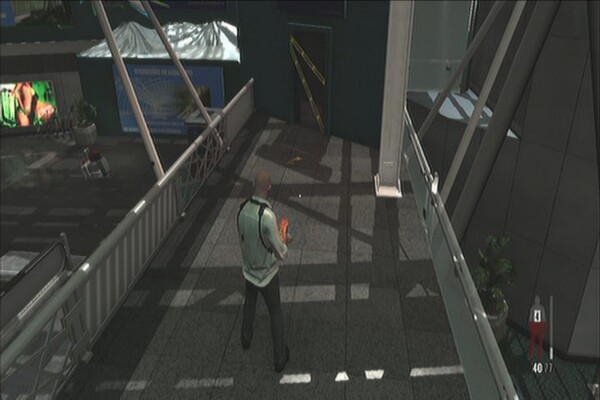
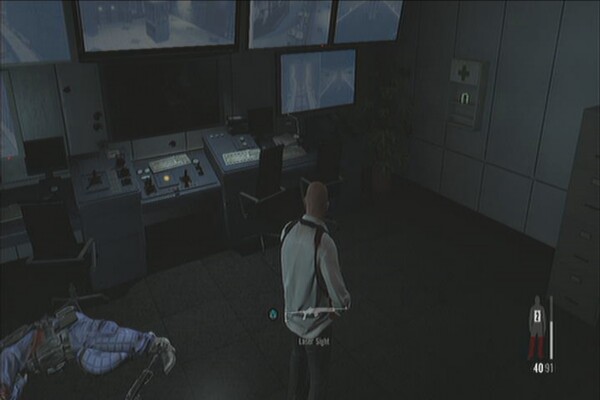
Now proceed to the security gate and press it open to continue to the next area. Fight your way to the escalators and through the open gate. Take cover and more enemies will appear. Once clear, go inside the control room, grab the painkiller and activate the flashing button.
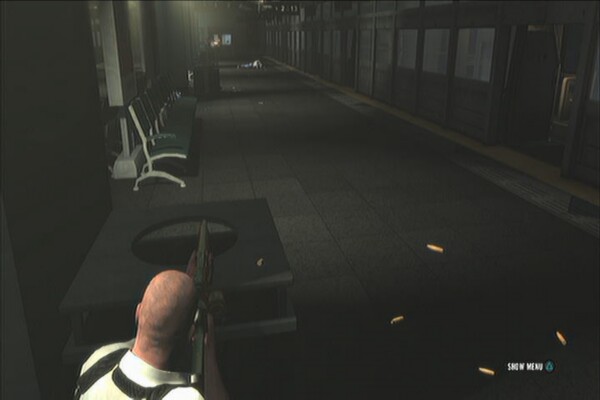
After restoring the power, dig in as more guards start to pour in. Once done, ride the tram. You just basically need to kill all enemies in this sequence. Just remain in cover as you take them out one by one and you shouldn't have problems.
Runaway train
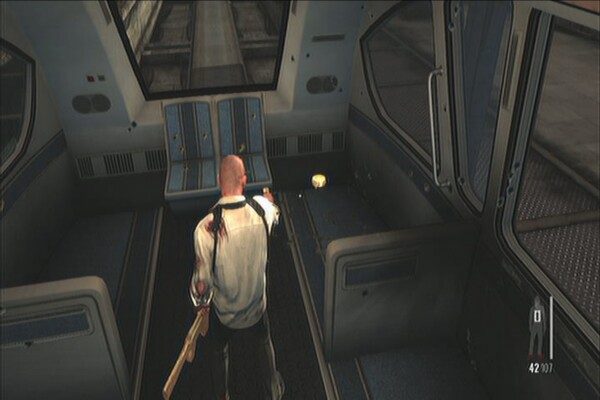
Once the tram pulls to a stop, don't leave yet. Check the far end of the tram to find the game's last gun part. (RPD Part 3)
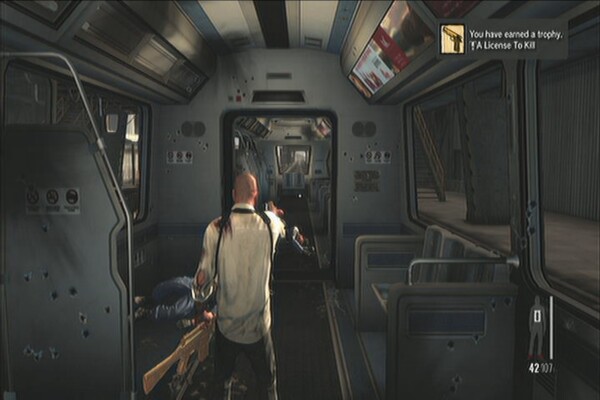
After the scenes, you'll be fighting Becker. Stay in cover and take out his guards until he's the only one left alone. Once you're in a bullet time sequence, shoot the grenade launcher to take him out. Don't shoot Becker afterward to get the trophy “You Push A Man Too Far”
The merciless
For the next part, you have to use the grenade launcher to take out enemy vehicles before they destroy the car. During this sequence, you can attempt to unlock the “The Road-kill Behind Me” trophy. You have to take out the first four jeeps, the helicopter four parked police cars, and finally a jeep and APC. Refer to the video below for more details.
The Road-kill Behind
Me
After catching up with the jet, shoot its engines to take it down. Watch the ending scenes.
You know you'll walk
in limp.
Story related and obvious trophies won't be explained. For trophies with FREE AIM, you have to enable this option from the game menu. Even if you kill all enemies during the fixed sequences, you won't unlock the corresponding trophy unless your targeting is set to FREE AIM. If you're having problems, you may want to adjust your aiming speed and acceleration in the controls option.
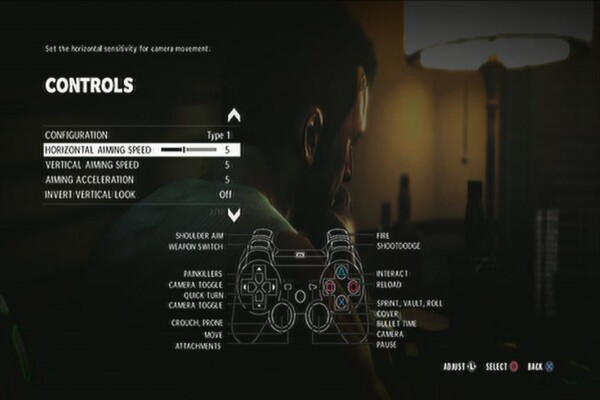
It will be easier to do this after clearing the game since soft lock will help a lot in getting through the main story. You can replay the chapters and checkpoints if you need to do them again. After getting the trophy in a particular checkpoint, you can leave the chapter and try another one.
You can also set the difficulty on EASY but don't activate any cheats. For other trophies that doesn't require FREE AIM, setting your targeting to HARD LOCK will definitely help.
Platinum Trophy (Platinum)
Unlock All Max Payne 3 Trophies
Feel The Payne (Bronze)
Story Complete [MEDIUM]
Serious Payne (Silver)
Story Complete [HARD]
Maximum Payne (Gold)
Story Complete [OLD SCHOOL]
Payne In The Ass (Bronze)
Story Complete [HARDCORE]
Part I Complete (Bronze)
Complete Part I Of The Story
Part II Complete (Bronze)
Complete Part II Of The Story
Part III Complete (Bronze)
Complete Part III Of The Story
A New York Minute (Gold)
Finish In A New York Minute
The Shadows Rushed Me (Silver)
Unlock And Complete New York Minute Hardcore
Out The Window (Bronze)
Get 6 Kills While Diving Through The VIP Window [FREE AIM]
This sequence is in Chapter 2, Checkpoint 2. There are a total of six enemies to kill.
Window Cleaning
The One Eyed Man Is King (Bronze)
Cover Passos With Perfect Aim
Chapter 3, checkpoint 12. You must take out the enemies attacking Passos without missing. You can set the difficulty to EASY. Always aim for the body to increase your chances of hitting. Take note that you can also trigger bullet time as necessary. If you missed past the scene where Passos tries to open a locked gate, you'll have to exit the game and load checkpoint 12 again since this is considered as a new checkpoint already.
That wasn't fun
Something Wicked This Way Comes (Bronze)
Get 7 Kills While Jumping From The Rickety Boat [FREE AIM]
Chapter 5, Checkpoint 7. This is a bit tricky since you only a very small window to kill enemies. As soon as you launch, don't move your reticule but keep holding your fire button. This should automatically kill one target ahead. Carefully aim for the torsos of the two enemies to the right then move to the left. Take note that if the enemies don't die instantly and they bleed out, it won't count towards the trophy.
Something Wicked
Comes this Way
That Old Familiar Feeling (Bronze)
Clear The Hallway Of Lasers
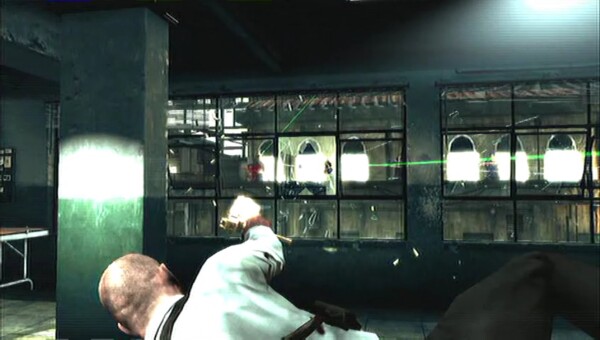
Chapter 4, Checkpoint 8. This is really easy to get. Take out the first three enemies in the corridor then just take cover behind the windows, activate bullet time if you want then kill all enemies on the roof.
So much for being
subtle
The Only Choice Given (Bronze)
Get 8 Kills While Dangling From A Chain [FREE AIM]
You can do this in CH10, Checkpoint 5.
The Only Choice
Given
Trouble Had Come To Me (Bronze)
Clear Everyone On The Bus Ride
Chapter 10, Checkpoint 11. You should set the difficulty to EASY and your aim to HARD LOCK. Its easy to take out the enemies but what you really need to look out for is the part where there are three guys at the end of the tunnel, with the guy that has a rocket launcher in the middle. It seems that the guy to his left can survive the explosion if you managed to shoot the rocket. If possible, try to take out the guy to the left first before the scene where the rocket launcher guy takes his aim takes place. Be careful as well if you trigger bullet time after that specific scene, you won't be able to shoot the rocket and you'll get hit.
Refer to the video below for more details.
Trouble Had Come to
Me
Along For The Ride (Bronze)
Trigger A Bullet Cam On The Zipline [FREE AIM]
You can do this in CH11, Checkpoint 11. You need to kill all 5 enemies in front of you to unlock this trophy.
Along for the Ride
Sometimes You Get Lucky (Bronze)
Get A Headshot During The Rooftop Tremors
This is done in Chapter 12, Checkpoint 11. As soon as the checkpoint starts, stay in cover and don't kill the nearest guy until the 12 second mark. Once you reach that point, run towards him and perform a shootdodge. This timing will go alongside with the tremor, giving you ample time to aim for the head and unlock the trophy.
Sometimes You
Get Lucky
It Was Chaos And Luck (Bronze)
Get 6 Kills While Riding The Push Cart [FREE AIM]
You can do this in CH13, Checkpoint 14. Just keep firing since you have unlimited ammo in this sequence. The
It Was Chaos and
Luck
The Road-Kill Behind Me (Bronze)
Total Everything On The Runway
You can ignore the foot soldiers during this sequence. You have to take out the first four jeeps, the helicopter four parked police cars, and finally a jeep and APC. Refer to the video below for more details.
The Road-kill Behind
Me
The Fear Of Losing It (Bronze)
Survive A Level Without Painkillers
You can do this in Chapter 1 in Easy Mode with Hard Lock. Just stay in cover and abuse your bullet time to avoid getting damaged too much.
It's Fear That Gives Men Wings (Bronze)
10 Bullet Time® Kills In A Row
You Might Hurt Someone With That (Bronze)
Shoot 10 Airborne Grenades
One Bullet At A Time (Bronze)
300 Headshots
You Play, You Pay, You Bastard (Bronze)
100 Kills With Melee
With Practiced Bravado (Bronze)
100 Kills During Shootdodge
Colder Than The Devil's Heart (Bronze)
Kill 30 Enemies In 2 Minutes
Chapter 5, Checkpoint 14. Keep shooting at the enemies while Passo fixes your boat. Take advantage of bullet time when there's a large group of enemies to quickly take them out. After clearing the enemy-infested riverhouses, take out the remaining enemies on the pursuing pickups to complete this sequence.
River mayhem
A Few Hundred Bullets Back (Bronze)
Use Every Weapon In The Game
Past The Point Of No Return (Bronze)
Take 100 Painkillers
Painkillers used for Last Man Standing sequences are also counted.
An Echo Of The Past (Bronze)
Find All Clues
Check the Clues section of the guide
You Sure Know How To Pick A Place (Bronze)
Discover All Tourist Locations
These are part of the Clues you can find in each chapter. Check the Clues section of the guide and look for the Tourist and Ex-Cop clues.
A License To Kill (Silver)
Collect All Golden Guns
Refer to the Golden Guns section of the guide for more details.
All Of The Above (Gold)
Finish All Single Player Grinds
Refer to the Grind section of the guide for more details
Full Monty (Bronze)
Complete One Of Each Game Mode Including All Gang Wars
Payne Bringer (Silver)
Kill 100 Other Players
Max Payne Invitational (Bronze)
Invite someone to play through the in-game contact list
Man Of Many Weapons (Bronze)
Unlock All Weapons
Man Of Many Faces (Bronze)
Unlock All Faction Characters
Deathmatch Challenge (Bronze)
Winner In Any Public Deathmatch
Grave Robber (Bronze)
Looted A Body
The Gambler (Bronze)
Won A Wager
Training Complete (Silver)
Achieve Level Rank 50
Dearest Of All My Friends (Bronze)
Kill Someone On Your Friends List
You Push A Man Too Far (Bronze)
Don't Shoot The Dis-Armed Man
Chapter 14, Checkpoint 12. After blowing up Becker he'll be agonizing on the ground and you'll have the option to put a bullet to his head. Don't shoot him and let him die a miserable death to unlock this trophy.

Sweep (Bronze)
Flawless Team Gang Wars Victory


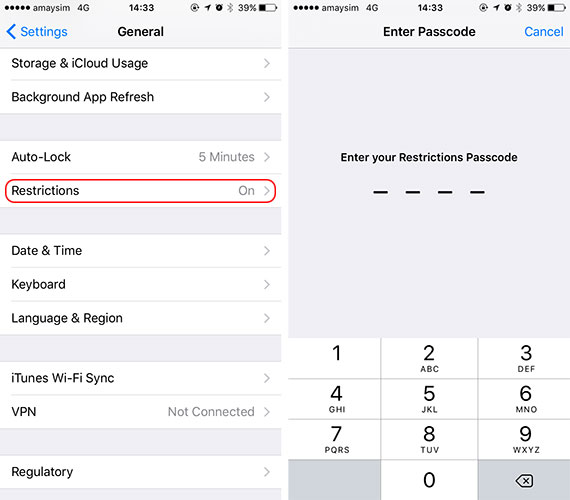 Lock Down Your Child's iPhone Access & Hide Apps With iOS Restrictions
 The Map and the Territory: Why Other Players Enrich Everything You Play
 Voices In Your Head: 7 Biggest Video Game Voice-Over Stars
 How to use Bayonetta 2 Basic, Advanced Combos and Techniques for Nintendo Wii U
 BioShock Infinite Collectibles: Voxophones, Infusion Upgrades & Sightseer