Jump to Content
The Room is a game that requires patience, a keen eye for perspective, as well as a little bit of luck. It is a puzzle game all in its own, as it is both addictive and challenging, and players will rely a lot on focus and observation in order to advance. This article will delve into the many puzzles within the room, so that you would be able to refer to it if ever you find yourself stuck at some of the more frustrating tests.
The game begins with a short tutorial that will familiarize you with the mechanics within the game. Simply follow the instructions and you will now be left on your own.
Your first challenge will be solving the riddle “What survives when fed and dies when given water?” The answer here is fire, and you will find a fire sign and the text “FIRE” by the leg of the safe. Press the symbol and take the key that will be revealed. Next, rotate the camera to one side of the safe, and you will find a rivet along the sides that is different from the others. Upon opening it, you will find a keyhole.
If you observed the key that you found, you will see that the head can be rotated. Rotate the head until it matches the lock, and insert it into the keyhole. If you have done this successfully, a panel will open and you will be able to retrieve the wrench like object. The wrench can then be used to remove the logo by the front of the safe. Simply turn the wrench around the screw, after which a lens will be revealed. With the lens, you will now be able to use the eyepiece that was given to you at the beginning of the game.
Now, look at the front of the safe where there is a circular panel with symbols. Slide the odd panel on the safe’s surface and another keyhole would be revealed. Again, turn the head of the key until it fits into the slot. You will now be able to some gold rings. Use the eyepiece, now with the lens attached, and you will be able to see a pattern on all sides of the box. Go to the side with the circles, and slide the panels until a figure with two ankhs on both sides of it and with the central figure resembling the Tri-Force symbol is revealed. This will cause the safe to open, and you will then receive a box for your troubles.
Starting off from where we left off, you will be left with a box with three seals that you would have to solve before being able to open the box. For the first seal, you would have to rotate the box and find the stand whose upper portion can be rotated. Rotate it enough and you will be able to tap on the portion that pops out, with you being able to get what looks like a miniature telescope. By observing this in the inventory, you can see that it can be extended to look more like a telescope than its original form.
Next, find the leg that is different from the others. Look at the bottom portions and you wouldn’t miss it. By rotating it, you would be able to find a piece of string that has been soaked in paraffin. You will be using this once you rotate to the back of the box where a combination lock of some sorts would be found. Using the eyepiece from Chapter 1 to reveal a hidden image, a three dimensional cube with numbers floating around each side. Use camera angles to be able to see the partially hidden numbers on each side of the cube and note these down. It is important also to note down as to which sides of the cube the numbers appeared. Using the normal viewpoint, input the numbers that you saw into the combination lock and pull down the switch in the center. To those who weren’t able to see the numbers properly, it’s 2 on top, 7 to the right, 6 on bottom, and 5 to the left.
Once the panel to the side has been opened, you will see a mechanism that requires a light to run. You can place the paraffin in the hole located to the side of the device. Roll the lighter to the left of the fuse to light it aflame. A switch will then appear to the right of the now lit fuse, and you must slide it up so that a section near the middle of the box would light up.
Place the telescope on top of the two partial rings, and it will fit snugly into the device. On the other side of the device, there is a panel that you can unhook, revealing the device’s inner workings. Now, zoom out of the box and equip your eyepiece. By rotating the box, you will be able to see a corner lit up. Tap on this area and a book will pop out. Rotate the top and bottom sections so that the rounded edge is facing outwards and then slide the center area so that it looks like the letter I. Lastly, rotate the left section so that the rounded area fits snugly with the center piece. This will unlock the book at it will then allow you to open it.
Inside the book, you will be able to find a key that is used to wind up toys and other forms of mechanisms, as well as a note. Place the key into the hole found in the box’s mechanism and turn it a few times. You will then discover that the box is actually something like a microfiche machine, and you will be able to see an image by peering into the telescope. However, you would need the eyepiece to see this. After seeing the image, you should open the gold panel in front of the device, where a symbol comprised of circles would appear once again. Rotate the circles so that a set of horns bordered by symbols would appear, and another panel to the side would open, revealing a plate with the letter L on it.
Go to another side of the box and see another combination panel, although this time there are letters on it, and one section is missing a place. This is where you will place the plate that you have found. Rotate the pieces in order to come up with the word “TRIAL”. This was the word written on top of the photo. This will return the machine into the box, and the first seal will now be broken.
After this, another side of the box will open to reveal a written note inside. Look at the top of the new box and slide the lock on it. This will open up the box to reveal some sort of locking device with a diagram in the center. By tilting the device and rolling the wheels of the puzzle, you must have the tops facing up. You’ll know that you’re doing it right if the bulbs lit up. Once this has been done correctly, a panel will slide out, revealing a diagram. Use the eyepiece again to see the figure in 3D. By rotating the camera, you can arrange it in such a way that all lines will touch each other. This will reveal a key slot.
To find the key, go to the other side of the box where there is another combination lock, this time with symbols rather than letters. By looking around the box, you will see the correct pattern. The first symbol can be found on the upper corner of the box, on top of the box, on the inside of the panel where the book came out of, and the wall of the panel where the cube from the first chapter. Input these symbols according to where the specific items have been placed and you will get the key.
Use this key in the key slot and a panel will open and you will be able to get a star shaped emblem. After taking the emblem, the panel will close and the key will change shape. Place this star on tip of the box and the panels around the spire will open. Take the brass ring from one of the panels and place it on one of the sides of the popped out box. This will form a dial. Turn the dial one notch to the left, two notches to the right, one notch to the left, one notch to the right, and one notch to the left. If you feel that you have made a mistake, simple roll the dial and try again.
You’ll know that you have solved the puzzle successfully if a cylinder popped out. When this happens, slide up the two switches and a key will appear. This key can now be used in the newly reshaped key slot, but you would have to rotate the head just like in the key in Chapter 1. This time, though, there will be two turning mechanisms involved. Successfully using the key will open the panel again, this time revealing a plate of some sorts. You may use this at the back of the bigger box. The smaller box will then slide back in, with you having a closed box once more, and the second seal broken.
Another panel will now slide open, revealing a combination safe that looks like a clock. To the side of the mechanism, slide the switch and turn the crank, turning on the machine. The spire will now rise up, revealing some brass widgets. These widgets must be formed in such a way that the sharp edges form a rectangle so that the drawer may be unlocked. Four dials can be used to turn these widgets, with a symbol corresponding as to which one they control. Two can be found on both sides of the safe. One can be found on top of the box, while the last one is at the corner of the box. Once you have unlocked it, slide the drawer out and take both the cog and the elastic band.
Place the cog on the empty slot to the side of the safe and turn the crank once more. This will open up a panel and you can get a screwdriver from it. Use this to unscrew the panel on the other side of the safe, and you will see the inner workings of the mechanism. To buttons to the side of the panel will stop the gears from moving, and you must time pushing them so that you can get the key within. The key fits the a key slot located near the top on the bigger box, but you must turn the key in order to match the exact shape. This will allow you to get two more cogs that you must place on the side of the safe gain. You might have to turn the switch to the other side as one side controls one set of gears while the other one controls another.
This action will open up a panel in the front of the safe, and you will get another cog. Remove the last two cogs and place them, along with the new cog, on the rightmost slots. You will also have to use the elastic band to connect the two uppermost cogs. Turn the crank again and another side of the safe would be activated.
Push the button on the upper left side of the clock and a pipe containing a key and a photograph can be found. You can flip the photograph and you will be able to see the text “REV. 6:05” written behind it. On the right side of the clock, use the key and a panel will slide open. You will see a circle that can be rotated, a square that can be slid left and right, as well as a symbol. Use the eyepiece and try to copy the symbol on the panel by rotating the circle and sliding the square. You will also have to use camera angles to reproduce the shape. Once done successfully, this will reveal a shield emblem that you must take and place on the gold statue on top of the box. The statue will then turn, and you must take the gem and place it in the center of the timepiece. You will now be able to turn the dial. Equip eyepiece once more and you will be able to see hour and minute hands illuminated. Turn the dial so that the clock is set at 6:05. This will break open the last seal, opening the box and revealing a smaller box within.
Start off by sliding the emblem off in front of the box. This will reveal a switch that you must then slide down in order to open a panel to the side. You will be able to see another box as well as a note. Observe the smaller box and you will see that the central area can be rotated. Move the ball from the left side of the box’s cover to the right by tilting your device and rotating the center piece in order to create a path as needed. This can be a bit difficult and may need a little bit of trial and error.
When done successfully, you will be able to get a key from the newly opened panel. Now, find the side of the box where there is a key slot. You will find that the key that you’ve just found will fit perfectly, and you can now turn the dial to raise the metal edges running alongside the dial. This will take a bit of trial and error once again, and the goal is to have all the edges switched upwards. In order to do this, you must turn the dial five clicks to the left, four clicks to the right, and then you must turn the dial all the way left, and then all the way right. If you made a mistake, simply restart again.
Stick the photograph that you found earlier into the newly revealed contraption and use your eyepiece to look into the lens. After a few animations, the word “SIGIL” will be revealed. Still using your eyepiece, go to the left of this and you will see a circular control panel. You will see that there is a hole to put a disc in. In order to get this, find a contraption near the bottom of the box and flip the two switches, turning the mechanism nearby. You can find a peg underneath the viewing lens that you unlocked earlier – insert this into the hole, unlocking a letter combination panel nearby. Enter the word “SIGIL” and a panel with both a blue crystal and a note will slide out. Place the crystal on the holder by the foot of the box and it will slide into the structure. A light will then emanate from above it. Turn the dial to focus the light, and another panel will open, revealing a disc.
Put the disc into the earlier hole and flip the two switches at the bottom, this will unlock and open the panel above it, and you will be able to get the light reflecting device. Tapping the bottom of the left side of the drawer will also reveal a part of a map. Put the device on top of the area where the light is shining through, and this will uncover another side of the box, this time with a gauge of some sort and two buttons. Press the right button to start the gauge. Quickly, zoom out and rotate right where you will be able to find a similar gauge with another button. Press this in order to reveal a star shaped map piece. If this does not happen, repeat the previous process as you were probably not fast enough.
Place the two map pieces into the globe. You might have to rotate it in order to find the hole. After this has been done, a crank will appear on the upper right hand side. Take the crank and place on the hole located on the side of the box with a circular pattern. This will open up the center of that side of the box. Use the eyepiece and manipulate the camera angles so that you will come up with the symbol that has been appearing all throughout the game. You can also rotate a section of the image via a disc located inside the structure. Once you have completed the puzzle, a small wooden box will appear and the circle will close up again.
Now, go back to the place with the gauge and two buttons. Repeat the previous process, but this time, push the button on the left. Doing the process correctly will open up another panel, this time with a brass key that has movable parts. Arrange the key so that it will be able to fit into the cross like slot on the side of the box, and you will be able to find another light reflecting device. Attach this to the left of the first light reflecting device and a panel will open to the left. Using the eyepiece, reflect the light to all surfaces by moving the mirrors inside the area accordingly. The box will now close and you will be rewarded by a light show featuring constellations projected towards the ceiling.
Take the new map piece and put it in the role hole on the map. You will be able to observe that the globe is still missing one piece. In order to get this, observe the wooden box that you found and rotate towards its bottom. Align the bottom into a cross pattern and stick it into the hole located near the top of the box. A telescope will now pop up, and looking into this, you will be able to see a star pattern. Find the control panel on the side of the box that allows the buttons to light up when you click on it. Copy the star pattern that you saw, and the panel underneath it will open up. You will also be able to see a note inside the panel. Take that last piece and put in into the globe, and a switch will appear. Pull down the switch and the top of the box will now open up.
Slide the two rings by the side so that they light up, and the panel directly in front of it will open. Take the handle, flip the cover to the left of where you found it, put the handle into the slot, and turn it clockwise. Press the button on the newly revealed control panel. Go to the back of the upright panel, equip your eyepiece, and once again, use camera angles and rotation to form the usual symbol. You will now be able to get a sword which you will now place at the center of the box.
New structures will now appear on top of the box, and a combination entry panel will also be revealed. The combination can be found once again by equipping your eyepiece and looking at the upright board, where the combination has now magically appeared. Once you have entered the code, press the button at the bottom.
The model at the center of the box’s cover will now rotate. Go back to the area with the cogs and press the button once more. Equipping your eyepiece and looking at the wooden panel again, you will see that there is another combination pattern on the lower left side. Input this again into the control panel, and the planets will now align directly in front of the upright panel. Look into the panel once more with your eyepiece equipped, and form the symbol once again. You can now take a golden amulet from the upright panel.
Place the amulet on the hole that fits it, and the model planets will go back into the box. By rotating this new dial, with guides being visible using your eyepiece and looking through the upright panel, you will be able to see a gray box at the center of the table. The red dots along the face of the gray box correspond to the areas on the combination panel that should be flipped. Look at all angles of the box, flip the boxes accordingly, and then push the button once more if you are done. A rotating glove will then appear, and you must take this object, which is defined as the energy source.
Press the button on the panel with the gears again, and look through the wooden panel once more. This time, equip your eyepiece again and zoom in. It will seem as if you have been transported into a new area with a new box in front of you. The box is made up of rotating cylinders, and you must equip your eyepiece and rotate the box so that all illuminated sides appear on one side. This will open up the new box, and you can place the energy source on the revealed platform. The platform will now get back into the box, and the door at the end of the room will now open, ending the chapter as well as the game.


 PS4: How To Connect To TV or Any HDMI Compatible Display
 Maximal Effort for Minimal Rewards: Addressing GTA Onlines Broken Economy
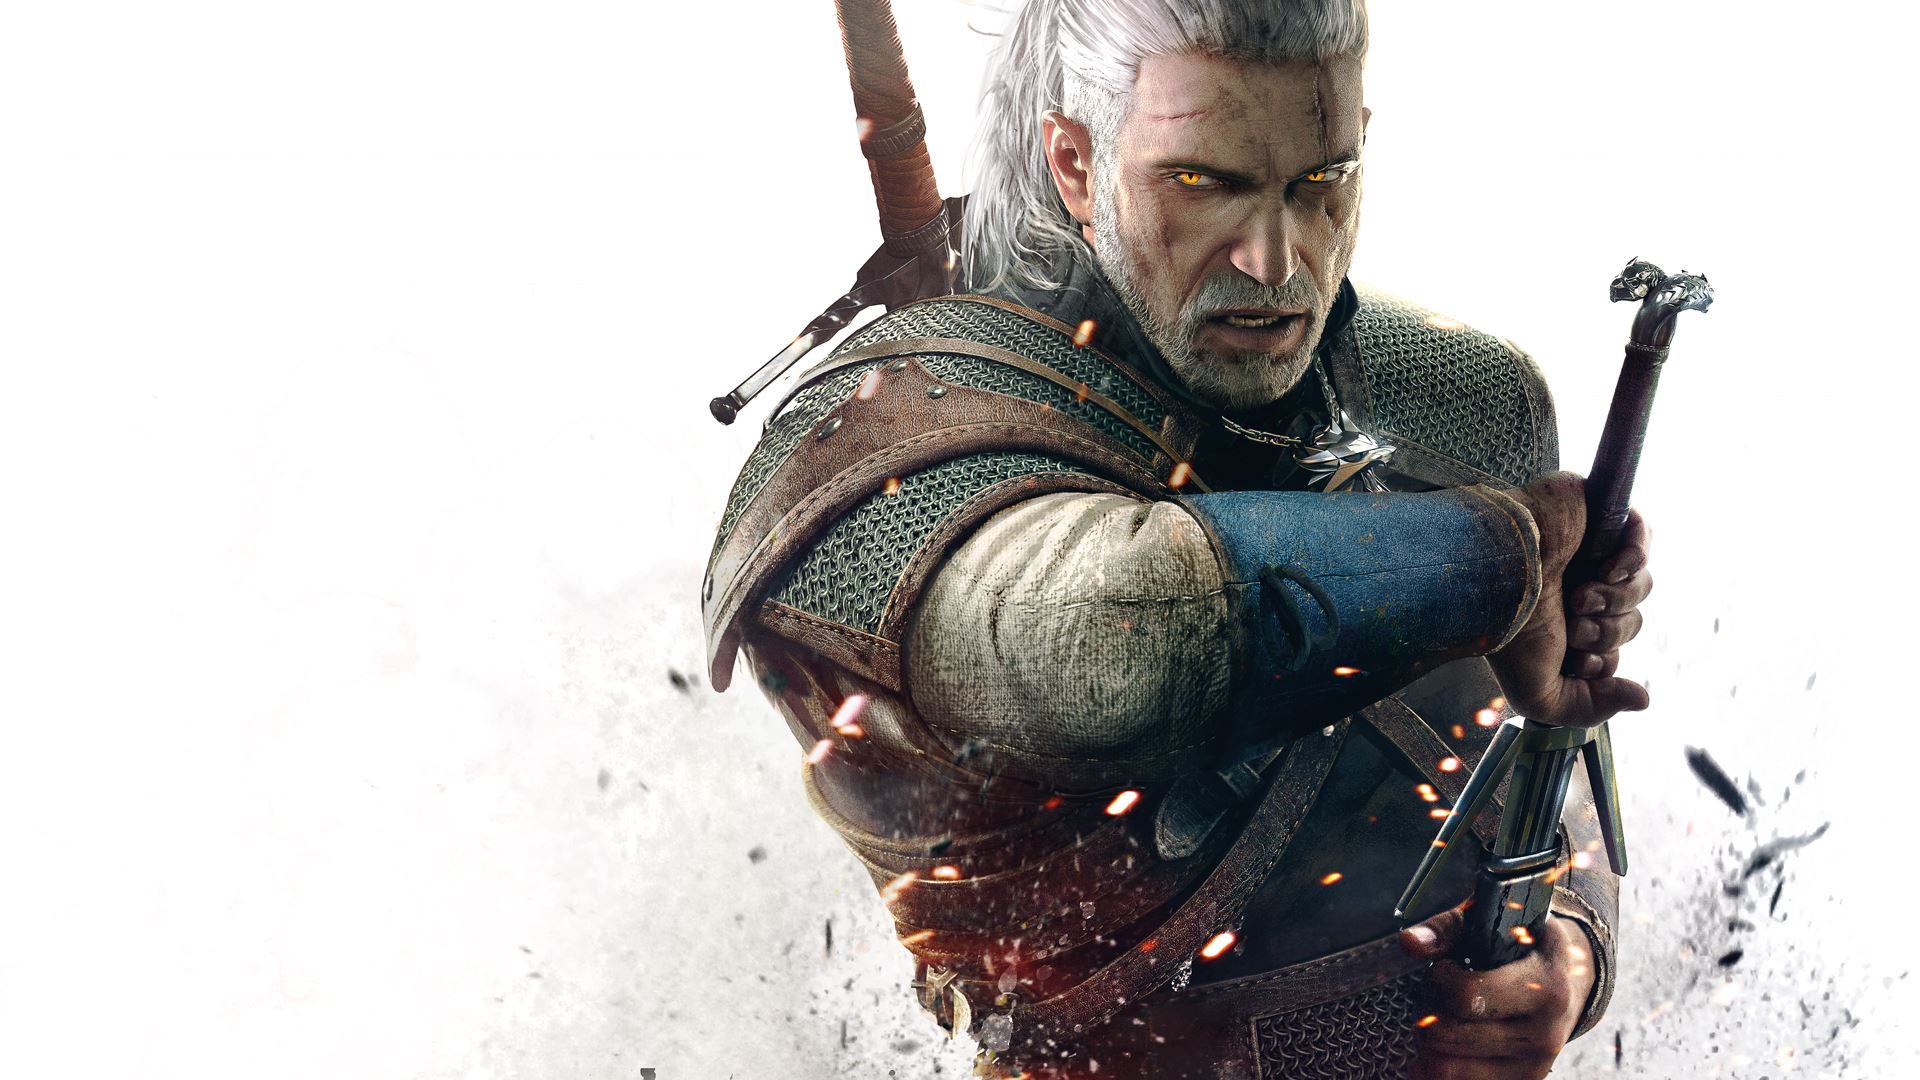 The Witcher 3 – One Of The Best Games In 2015
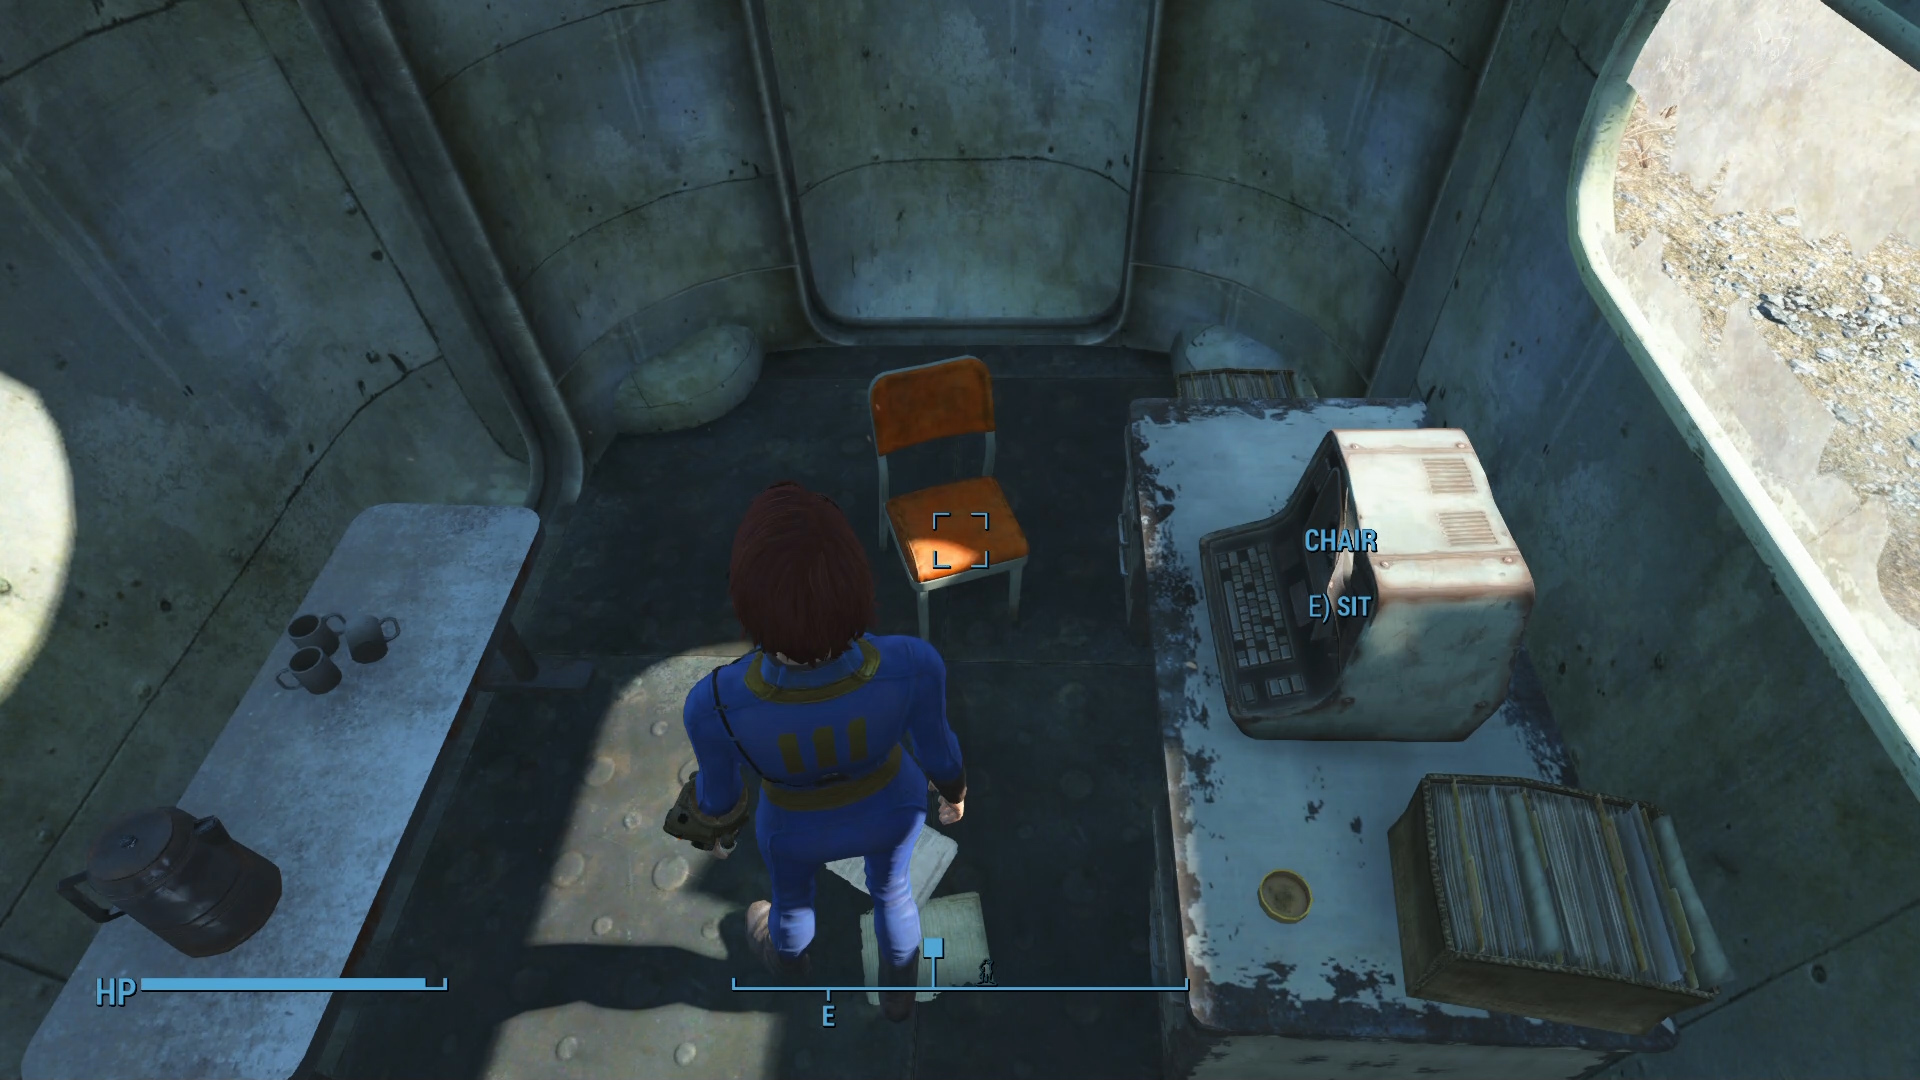 How to Wait in Fallout 4
 Transformers: Rise of the Dark Spark Complete Video Walkthrough for All Chapters