Speaking with Philippa after healing Saskia will initiate
this quest, along with Hatred Symbolized. If you have been following this guide
so far, you should have completed Hatred Symbolized already by speaking with
Saskia. That just leaves you with Death to collect. Unfortunately, this is by
far the harder of the two items to obtain. Your first step towards completing
this quest should be to seek out Cecil, who fought in a war three years ago
that you must discuss to decipher the next step in your quest.
You will be able to find Cecil through the southeastern tunnel directly across the little clearing from Philippa’s house. Head south through the tunnel to pop out in a little ravine with a cliffside and a staircase on either side of the area. Cecil’s house will be behind the cliffside, up on the ridge. It will be built into the wall behind it. Head inside to find him. Talk with him and ask him about the battle that happened three years ago. You will learn everything he knows, starting with the inception of the conflict. Cecil will then go into a description of both sides in the conflict, and he will describe which sides were winning and losing. In the end, the sorceress Sabrina cast a firestorm spell to kill everyone, including her allies, the Kaedwenis. The bit of information that you should pay the most attention to, though, is the talk of the Dun Banner unit. This is the origin of the item that you will need to seek out. The Dun Banner unit’s standard is now located in the Dwarven catacombs to the north of Cecil’s house.
In order to reach the Dun Banner unit’s standard, you will
have to leave through the northwestern entrance of the village. Leave Cecil’s
house and head back through the tunnel from which you came. This will deposit
you back in front of Philippa’s house. Turn to the south and head through the
tunnel to reach the main area of the town. From here, head straight forward,
under the bridge, and keep with the path as it branches off to the left. When
you reach a set of staircases on the left, head forward to the intersecting
road and turn right. Follow the path here up the stairs and loop around to the
south. Head to the south, and then loop back around to face north. Follow this
path all the way to the north until you reach another tunnel, this one heading
off to your left. Grab the Surgical Tools from Felicia Cori here because they
will come in handy later. Go through this tunnel, then head north, through the
houses and into a back courtyard to reach the northwestern entrance.
Go through the tunnel here to reach the entrance to the
dwarven catacombs. They will be littered with corpses. You can examine the
corpses, but it is not recommended, as doing so will often summon Wraiths to
attack you. Instead, simply head forward and proceed down the staircase ahead.
This will take you down a linear path that meets up with an intersecting path
heading off to the left. Before you follow the path, look at the wall on the
opposite side of the path. It will be weak. You can break it down with Aard.
Head through the opening in the wall and search the back left-hand corner of
this little chamber to find the sword Fate.
Leave the little room and proceed down the hallway heading
off to the left. The right-hand wall will curve inwards soon ahead. Search the
wall as it curves inwards to find another breakable portion. Use Aard and smash
through the wall to find some pretty basic loot. The same goes for the section
of wall as it begins to climb back out and become narrower. Head down the path
and curve to the right. You will be faced with another breakable wall. Smash
through it with Aard to keep making forward progress.
After breaking through the wall, right where the left-hand wall begins to curve in, search the embalmed corpse to find the Investigator’s Notes item. These will fill you in on some of the details of the Wild Hunt. Lop around the path and follow it forward. When the walls ahead begin to taper towards a point, search on the right-hand wall to find another corpse. Use the Surgical Tools that you brought along to recover a scrap of metal from the corpse.
After grabbing the scrap of metal, turn left and head towards the wall with the alcove jutting out of the side. Use Aard on the back of the wall to break open the path ahead. This will lead into a long straightaway ending at some stairs. Head down the stairs. At the base of the staircase, search to the left to find another breakable wall. This will lead you into a similar room next door, with another staircase leading to a shorter corridor. You can loot a few basic things from here, but nothing special. Grab whatever you need and return to the base of the staircase in the last room. Turn to the left and head to the opposite wall. Use Aard to break through the wall and head into the next chamber, where you will find your objective.
Of course, nothing is simple for Geralt, so you won’t be able to simple pick up the needed items and leave. A ghost will inhabit this room. Speak with him to learn that he is the ghost of Ekhart Henessy, the man who was entrusted with the standard of the Dun Banner. You will have to answer a series of questions about the war from three years ago in order to make the ghost go away. You will have several options with how to proceed in getting the standard from the ghost. You can try to trick the ghost and make him think that you are a part of the Dun Banner, which will make him hand over the standard peacefully, or you can attack him and kill him. If you decide to answer his questions peacefully, answer with the following when prompted:
When Henessy asks about the positions from which the
northern armies fought during the battle, say “You got it wrong.”
When he asks about the name of the chief Nilfgaardian commander, respond with “Menno Coehoorn.”
When Henessey asks about Coehoorn, reply with “Coehoorn is
dead.”
When Henessey asks you the names of the northern army’s leaders, respond with “Vandergrift and Seltkirk.”
Finally, when Henessey asks you how you survived at the Battle of Brenna, tell him that “Biggerhorn took me prisoner.”
If you have completed the Baltimore’s Nightmare quest already, which you should have if you have been following this guide, you will likely have the Beaver Cap and the Dun Banner Cloak items (the Beaver Cap is won during the Baltimore’s Nightmare quest, but the Dun Banner Cloak must be won in a game of dice after Baltimore’s Nightmare ends.) These two items will signify that you have allied yourself with Dun Banner in the past, meaning that Henessey will go a little easier on you. You can miss one answer for each of these two items that you possess.
When the ghost leaves, search the sarcophagus nearby to find the standard and the Sword of the Dun Banner.


 Best Shooters of the 90s
 The Sims 4 – Skills Guide
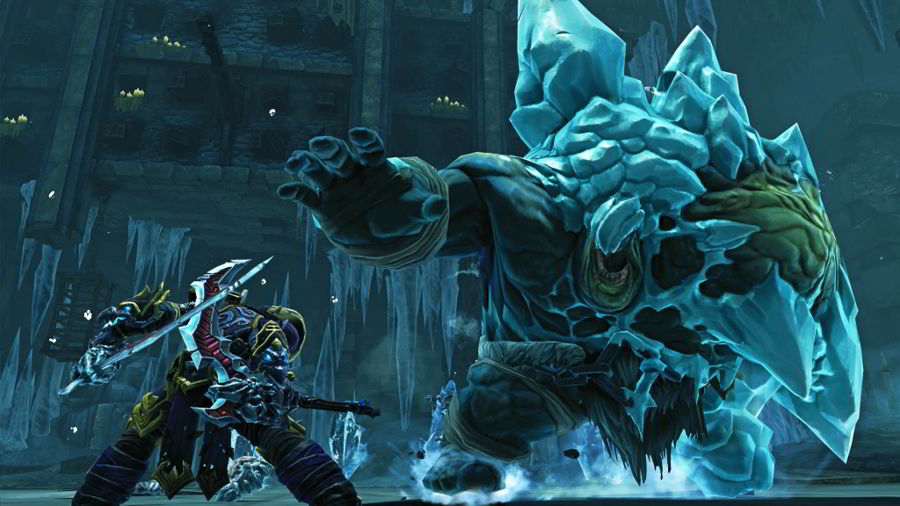 Darksiders 2: Argul Boss Fight Guide
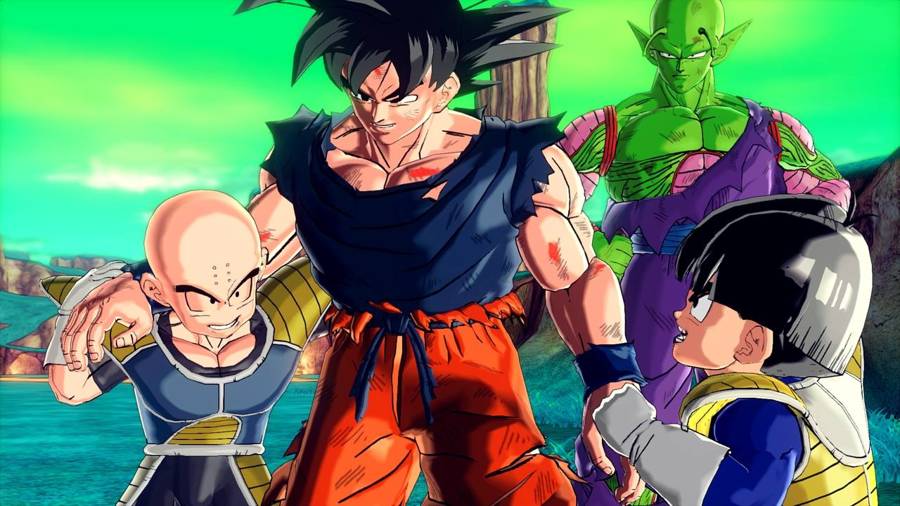 How To Unlock The Broly And Bardock Saga In Dragon Ball Xenoverse
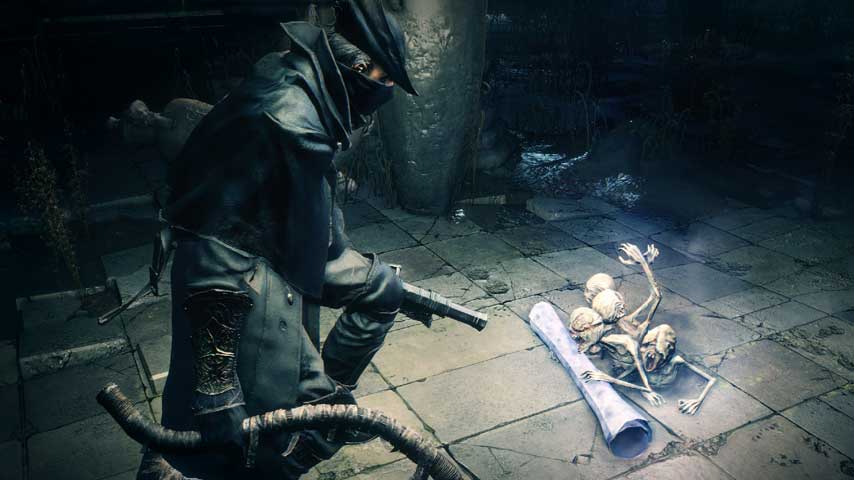 Bloodborne guide part 18: Lecture Building and Nightmare Frontier