Mission Challenges:
Each mission will have its own unique sets of challenges, viewable in the menus before you begin the mission. The challenges for Nimble Guardian are as follows:
1) Kill five or more enemies with a single burst from a LMG
2) Express Train: During the ambush at the cog rail station, kill all soldiers in 60 seconds
3) No Witnesses: Don’t leave any witnesses in Paex’s HQ
4) Ace of Diamonds: Execute 10 headshots while in diamond formation
Available Equipment:
· Primary Weapons:
Goblin PDR
MK48 LMG
· Secondary Weapons:
45T Sidearm
Goblin PDR
· Item 1:
Sensor
· Item 2:
Frag Grenade
For this mission, your starting arsenal will be relatively limited. Unlike many of the later missions in the campaign, you will be doing a lot of shooting during this mission, and although there will be sections that necessitate stealth, mostly you will be on the attack. For this reason, it’s a good idea to pack two automatic weapons instead of using a sidearm like the 45T. Bring the MK48 LMG as your primary and the Goblin PDR as your secondary.
Mission Walkthrough:
In this mission, you will find yourself in command of a new team of Ghosts, one that is eager to claim revenge for their fallen comrades from the Prologue. You will begin this journey in Bolivia, attempting to get in touch with a contact who has been supplying your HQ with info on the terrorists who may have been responsible for the other day’s bomb ambush at the convoy. The contact’s name is Paez, and you will need to hook up with him and protect him from any opposition you meet up with along the way.
Unfortunately, you won’t exactly be dropping into the most friendly part of town, so resistance is of course to be expected. Many of the inhabitants of this village are linked to the plot in some way, but you will also have to watch out for civilians, who will highly outnumber enemies. Unlike in many games, blasting innocent civilians in your line of fire won’t force a mission restart. It will, however, decrease your score at the end of the level, so be mindful of where you fire if you want to come out the other end of this mission with a respectable score. If you don’t care about the score… well, it’s open season, as the game won’t really take any action against you for stray shots. Just be sure not to hit them if you don’t want to, as they will often flee the battle right into your line of fire.
You will begin in an alley. Leave the alley, following your team. Proceed towards the first waypoint, only slowing down when the yellow “Contact” flashes on the top of your screen. This message will appear when enemies are nearby. It doesn’t necessarily mean that you have been seen or caught by the enemy – there are different notifications for that – but rather it serves to let you know that you should approach the next areas a little more carefully. When near enemies, you will want to crouch down by hitting the B/O button and approach the enemies stealthily. This will make it easier for you to sneak up on enemies.
Proceed to the end of the alley to reach a small courtyard with a few armed men patrolling it. Take cover behind the white ice cream boxes next to the crates and wait for your squad to take up positions around you. Before beginning any firefight, you should take into consideration your cover and whether or not it is suitable for prolonged battle. The white ice cream carts are made of metal, and can withstand a bullet or two. The crates to your right, on the other hand, are made of wood and will quickly disintegrate under sustained gunfire. Whenever you are in battle, it is always best to avoid taking cover behind wooden objects, as they tend to be the weakest of all forms of cover.
The game will continue to tutorialize you a little as you sit in the cover. It will instruct you to toss out your gadget, the sensor grenade, in order to paint a better picture of the hostiles in the area and their reach. Hit the left bumper to toss out a sensor grenade to light up the enemies in the area with a yellow outline. As long as the enemies remain yellow, you will know that they are unaware of your presence. As soon as that outline turns red, that means that the enemies have heard or seen you and know that you are there now. In this case, the sensor will show off two enemies behind cover to the left. You will now have to deal with five enemies. Aim your weapon at the hidden enemies and open fire. Note as you are aiming that looking at a highlighted enemy will reveal information such as the weapon he is carrying. This can be helpful if you have to pick and choose targets during a stealthy mission.
When the first enemy drops, the others will be alerted to your presence. Your bullets will punch right through the wood and kill the two enemies to the left. The rest of your squad will open up on the enemies out in the open, leaving the area cleared. A blue “Clear” will flash across the top of the screen when you have taken out all of the enemies in a contested area. This is how you will know that it is safe to proceed to the next area. Leave your cover and keep heading forward.


 Star Wars: The Old Republic Overview
 Best Adventure Games For PC
 Walkthrough Anno 2205
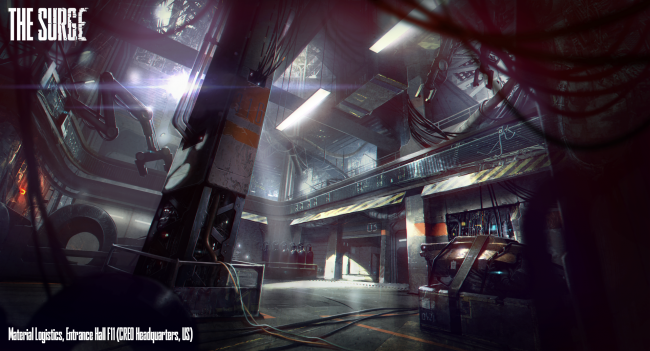 Fighting the Future: Jan Klose on The Surge
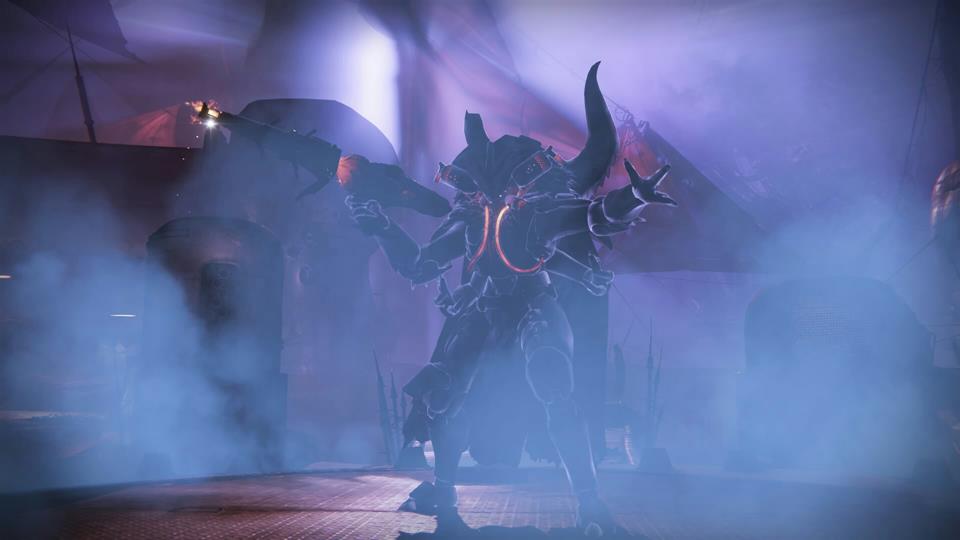 Destiny guide: how to beat Skolas’s Revenge in an hour