Darksiders 2 Walkthrough Part 57 – Phariseer, Part 4
Darksiders 2 Walkthrough Part 57 – Phariseer, Part 4
At the end of the corridor after fighting the Wraiths and the Undead General you will find yourself back in the elevator chamber. Turn to the left and climb up onto the hand hold there. Time to make your way over to the Eastern Door. Head to the right on the first hand hold. Wall Run over to the second. Go to the end of the second then run up to the third. Leap from one side of the shaft to the next hand hold on the other side. Head to the right on that hand hold then wall run over to the following hand hold. Wall Run from there over to the pillar against the wall. Drop from there to reach the entry way of the Eastern door. Head on through to the East.
When you enter the room equip Redemption and aim at the head of the statue opposite you. There you will be able to shoot and claim another Stonebite: A Stone of Power. Move forward now, still in aiming mode and look to the left. You will notice a Shadow Bomb Growth nearby some Corruption Crystals. Shoot the Bomb to clear away the Crystals. Head over to the area you just cleared then Wall Run along the left-hand wall to the pillar. Slide down it and wall run to the left. Head to the bottom of the third one and Wall Run over to the left. Here you will find a chest that you can claim. Head back to the pillar you were just on after that. Leap from this one to the next. Wall Run to the right close to the bottom of this on. Turn to the left and leap from there over to the next pillar. Wall Run over to the vines that are to the right. Climb them up to the ledge above. Once there throw the lever to raise a bridge out of the mists below which is covered in Mummies. This makes the next trek through this room a lot easier.
Drop down to the platform below this ledge and push the mobile pillar down onto the bridge below you. Take care of the Mummies there then push the pillar over to the West and over the step there. Continue with it to the center of the elevator chamber. This will prevent the elevator from dropping out on you a second time. Now you need to head back up to the elevator.
To get back to the elevator head back to the East. Climb up the ledge that you first pushed the pillar down. Now turn to the left and climb the vines up. Wall run over to the pillar and leap from to the next one. Climb up the pillars until you arrive back at the top of them. Once there head West into the elevator chamber and strike the stone to descend to the second floor. The elevator will catch on the pillar below, allowing you access to the Phariseer's chamber. He is none too happy to have the Horseman intrude on his chambers.
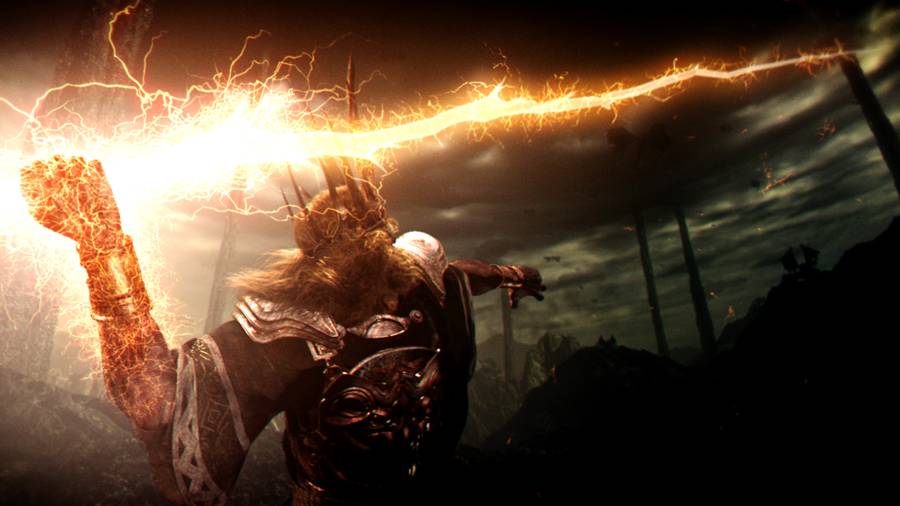
Phariseer
While he seems to move slow when it comes to attacks they seem to come almost blindingly fast. There are pauses after each of attacks. You want to use these to move in and get some hits on him. After you get him down by a quarter health expect him to begin glowing and to call forth Skeletons and Skeletal Warriors. These can be a very annoying distraction but using Harvest, Exhume or other area effects it will not be long before they fall. They will keep coming until the Phariseer falls though. Use this to build Wrath and quickly unleash those abilities to wipe out the horde of skeletons. If you get low on health, heal using a potion and then bring out your Reaper Form. It will help you inflict a lot of damage on the Phariseer. From there just keep the pressure it.
He will fall to Death who will demand that he yields. The Dead Lord will and will now serve Death. Stand on the circle in the center of the room. Look to the East and aim Interdiction at the Pressure Plate you needed to trigger to enter the room. Enter Aiming mode and have the Dead Lord approach and stand on the plate. Hold down the trigger until the Dead Lord arrives at their target. Now just head back into the room before and it is time to claim the last of the treasures here.