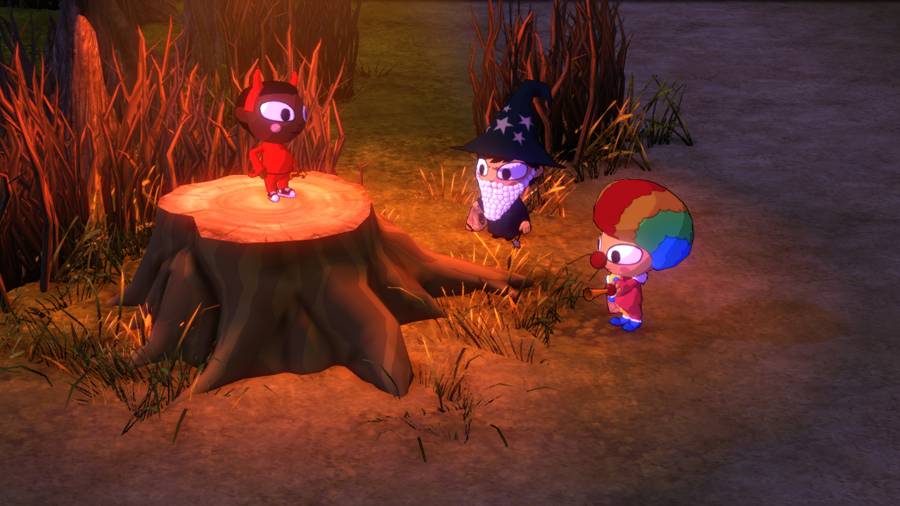
As you enter, Oichi runs into wild-haired boy from earlier- there’s no conversation, though, as he appears to pretty much ignore her. Oichi recovers herself, then points out the first (so far only) area in the fortress, the Farm- where wild pokemon can be fought for training purposes. She suggests the two of you improve your skill by heading in there to encounter some pokemon and practice with the partners you already have. The Farm is marked ‘Lv. 1' and contains one each of Bidoof and Starly, neither a challenge to either of your Pokemon at this point.
Before you concern yourself with the fight though, use the start menu to check out the two Warriors you have to begin with- your Main and Oichi have 100% maximums with Eevee and Jigglypuff respectively, being perfect matches for your partners already. You have more Power, Oichi has more Wisdom and a lot more Charisma. Your specialty is Normal, hers is an impossible hybrid- Normal/Dragon. Both of you have a Capacity of 4. Eevee has the Celebrate ability, which allows it to move (and therefore attack) again after its attack knocks out an opposing Pokemon. This ability is immensely strong and allows you to up your Eevee’s Link rating very quickly. Jigglypuff, on the other hand, has Lullaby, which sometimes puts enemies within two squares (counting squares non-diagonally) to sleep at the start of your turn. While this ability is strong, it relies on enemies ending their turn in its zone, so don’t expect it to go off too frequently. Additionally you start out with a Potion ready, so you can heal your Eevee in case of an emergency mid-battle.
Now that you’re more familiar with what you’ve got in your budding army, it’s time to head into the farm. This two-on-two fight is going to be fairly simple and easy, so don’t worry much about dealing with the opposing pokemon. The worst that’s likely to happen is the Starly turning out to have Intimidate and cutting your damage, thereby drawing out the battle without really making it any harder. Neither of these pokemon will be dealing upwards of 7-8 damage per attack, so you really have very little to worry about.
The Farm has two major features to introduce to you, though- the house that occupies the entire middle of the map, and the dark item pit right in the middle of where your pokemon start. This item pit generally holds a single potion, which a pokemon standing in it will dig up at the end of your turn. Occasionally there’s a second item in the pit, usually a hold item that’ll boost an attribute but breaks at random times when that attribute is used.


 DOTA Hero Tips: Puck the Faerie Dragon
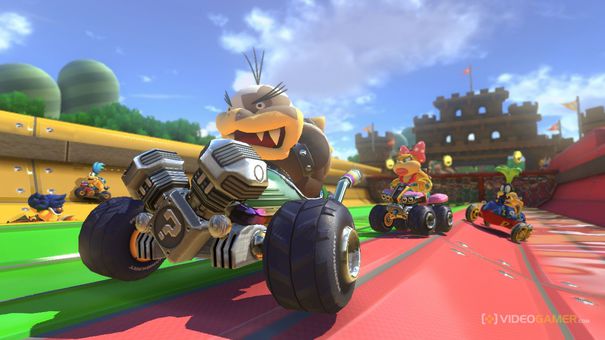 The 9 best games of 2014 so far
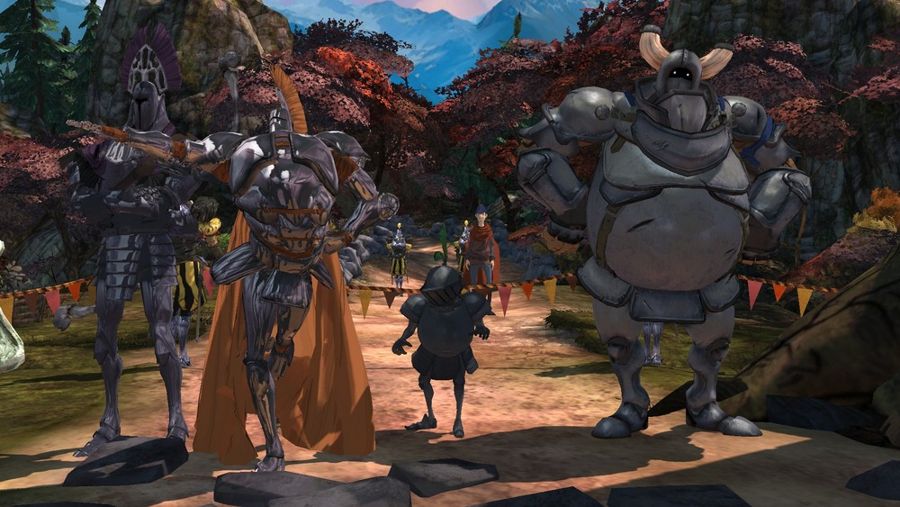 King's Quest - Chivalry Test Guide
 Dragon Age Inquisition guide and walkthrough part 2: The Threat Remains
 Kingdom Hearts 3D Traverse Town Link Portal Guide