Dead Island: Riptide Walkthrough Part 4 – Paradise: Castaway (Pearl Sands to Paradise)
Dead Island: Riptide Walkthrough Part 4 – Paradise: Castaway (Pearl Sands to Paradise)
Once the Survivor comes around it is time to do some searching and looting. Harlow and another are searchign the wreckage for more survivors but they do not seem to be having much luck beyond the Immune. Search the initial area to find more stuff you might need later from money to modification parts. When you ready to start toward the next objective turn to the North and head under the massive archway.
Once through the archway head over to the right. Go up the slope, looking along the left-hand side of it. First you will find a blade weapon. After that you will find an overhang. Go out onto it and drop onto the rooftop below. From there head through the hole in the rooftop. Search around the area to find the first collectible, a recording Angela Guerra. This is the first of many collectibles that can be found in the area. Take a little time to search the area around the hut. You will find items to patch you up and more modification parts. When you are ready to move on then head for the path you dropped from to get here.
Go to the top of the path, to the next marker. Head onto the wooden planks in front of you and press on. Head forward and keep going along the path to the left. This will lead to a suspension bridge eventually. Head across the bridge, loot a few more bodies then head for the marker. When you make it to the marker you will find that things are not going too well at the hold out point for the living.
Start sprinting toward the cave on the left. Turn to the right as soon as you can. You will find a number of Walkers already en route toward the Treehouse. Kill the few who get in your way but focus on teh various people who can be found in the camp. They are in danger. If any of the survivors died, then you need to reload the last save so start getting lethal shots in immediately.
Start with the first survivor at the entrance to the camp. Quickly take otu the zombies who are swarming him. Just help him get back into the fray and there is not too much to worry about after that. It just jsut after he gets the help that 5 other survivors will need aid as well. Look at the icons. If you see any with up or down arrows by them, attend to them after you get through saving the nearest Survivor. Just work your way around the courtyard quickly otherwise. This tends to work well to save the rest of the survivors quickly enough that no one will die.
When the fighting is over you will find yourself with a lot of resources on hand. On top of that there are workbenches you can use to upgrade your weaponry on. The next part of the story line will not trigger until you talk with Paul so take advantage of that to loot the bodies of the fallen undead Be sure to head to the end of the camp you came through and climb up the ladder to the right. You will find some more loot but you can also head into the second story and look on the tables to find another Collectible: "John Morgan's Diary". Grab it and read it to learn more about this new character. From there poke around to find the Work Benches to get your gear back into good condition and get ready for the next part of this chapter.


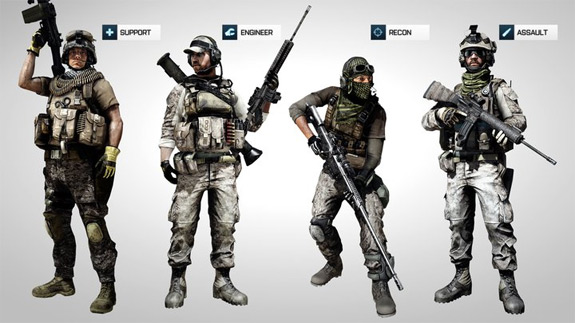 Battlefield 3 Multiplayer Kit Unlocks for Assault, Engineer, Support, Recon and Co-op kits
 Destiny Guide: Earth Golden Chest Locations
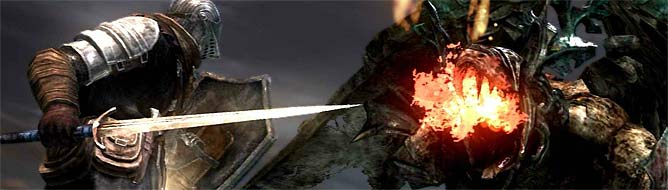 Dark Souls 2 Walkthrough Part 7: Belfry Luna
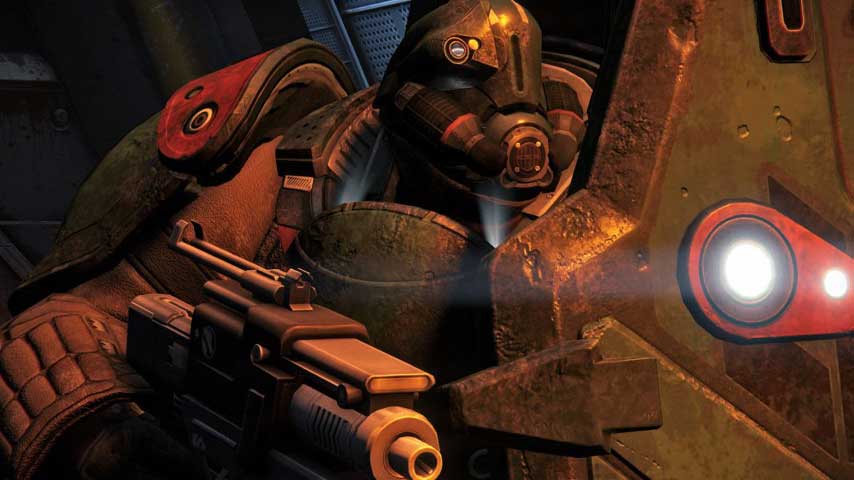 Destiny guide: Mars Meridian Bay story mission walkthrough and guide
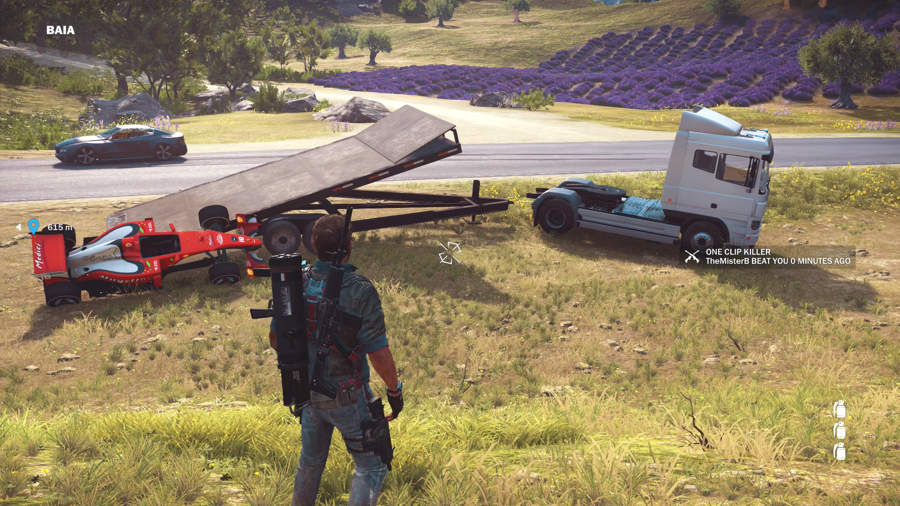 How To Unlock The F1 Car (Mugello Farina Duo) In Just Cause 3