Borderlands 2 Sir Hammerlock's Big Game Hunt Walkthrough Part 8 – The Fall of Nakayama (Part 3)
Borderlands 2 Sir Hammerlock's Big Game Hunt Walkthrough Part 8 – The Fall of Nakayama (Part 3)
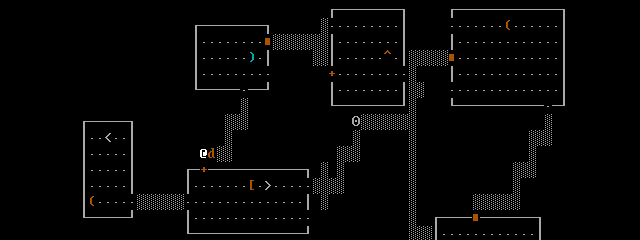
On the far side of the cave, to the South, you will find a stair case. Take it on upwards, looting the containers as you go. Stop on the first landing. Look up and to the left. You will find see the far end of a retractable bridge. Just to the right of that is a glowing switch. Aim and fire on that to extend the bridge out. If you are having trouble, try a weapon with zoom. This will give you the passage forward you needed to find. Head to the top of the stairs and cross over the next extended bridge.
On the far side of the bridge you will have a number of different Warriors and a Witch Doctor or two to deal with. Kill them all quickly and start on up the stairs on the far side of the bridge. Head on up the top of them to find some additional containers. From there go to the South and toward the building you see there. Just follow the path up toward the Hyperion ship that is sitting on the cliff above you.
After you go around the switchback you will find more Savages to deal with. Thankfully it is mostly Warriors and a few Triggermen backed by 1 Witch Doctor. As always, find and kill the Witch Doctor first then the rest of them. Search the landing for more money and ammo then turn to the upslope and start on it.
At the top of the next slope you have number Savage Village based right around the ship itself. Gun down the Savages around it then head for the entrance to the ship. To find it just look for the 2 Loader Statues and go between them. Head on over to the left and up to the wheels that are sitting to the left of the door. Claptrap will contact you and give you the door code: 1, 3, 4. Nakayama panics some as you open the door. This is not too surprising. Head on over to the entrance of the ship and go on inside.
Once inside the HMS Terminus you will find a number of Vending Machines to the left. Once again, clear out inventory and stock up on the needed ammo, if necessary. Turn to the right from the vending machines and look for the small crawlspace underneath the ventilation duct. Head on through it and go on toward the end of it. This will drop you into the Sunken Cargo Room. Head on forward some to trigger the fight that is lurking in here: Jackenstien.
 Easy Platinum Trophy/1000 Achievement Points #1
 Where To Respec And Change Skins In Borderlands The Pre-Sequel
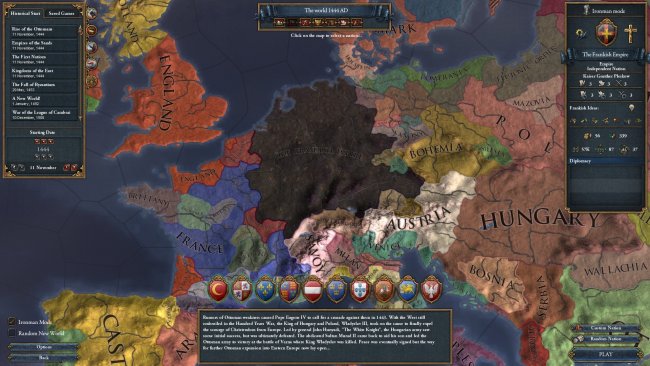 Europa Universalis IV: The Two Year War
 . Plays, 24th January 2014
 My top 10 favorite DOTA 2 heroes