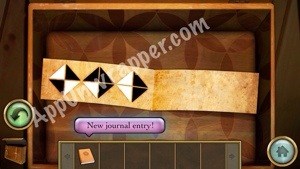
1. Walk through the doorway and look at the clue in the box on the floor:
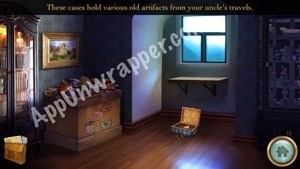
2. Take a look at the painting on the wall. Also, you can find a keyhole in the chest of toys & junk, but you can’t open it yet.
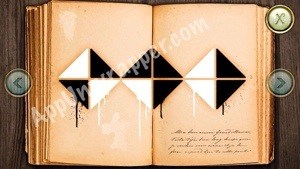
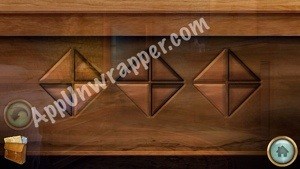
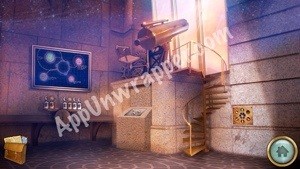
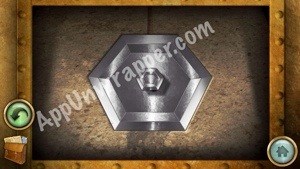
3. Go back to the bedroom and use the clue to solve the puzzle above the fire escape. Then enter through the secret passage that opens up.


You can also watch my video walkthrough for this part here:
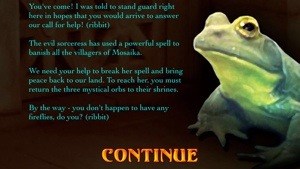
4. Talk to the frog.
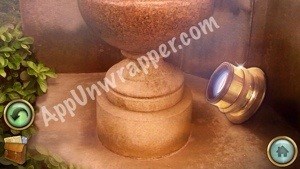
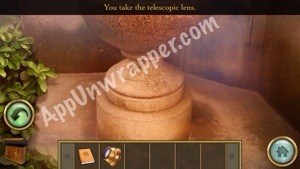
5. Head down the stairs and take the Telescopic Lens.

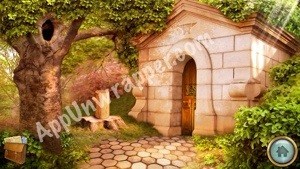
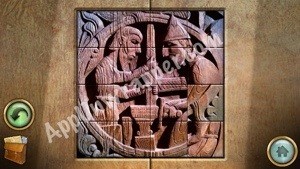
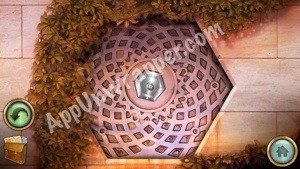
6. Continue up the path. Take a right at the fork in the road and solve the puzzle on the door. Here’s the solution (swap the last two tiles):

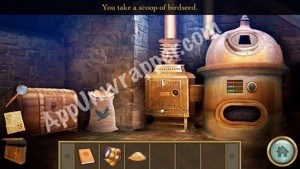
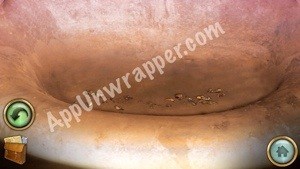
7. Enter the blacksmith’s place and take some birdseed.
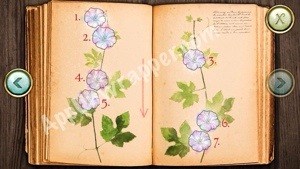
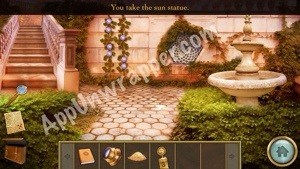
8. Go back to the fork in the road and take the left path. Tap the flowers on the wall to get a clue. Pick up the sun statue.

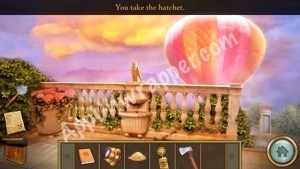
9. Go up the stairs to the left. Go past the balloon, up the next staircase. Take the hatchet.

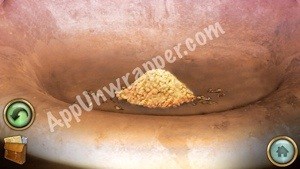
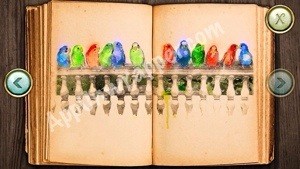
10. Place the birdseed in the bowl below the falcon statue. Then take note of the colored birds that arrive.

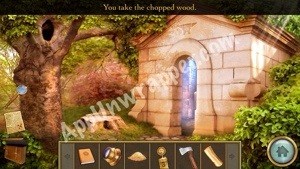
11. Go back to the blacksmith. Chop the wood on the stump with the hatchet and take the chopped wood.

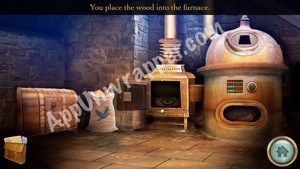
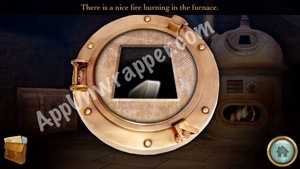
12. Place the chopped wood in the furnace.
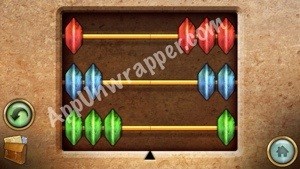
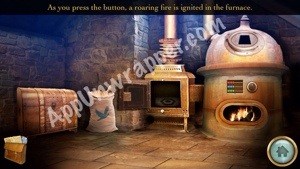
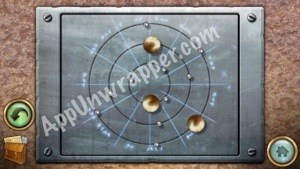
13. Use the bird clue to solve the abacus puzzle and turn on the furnace:
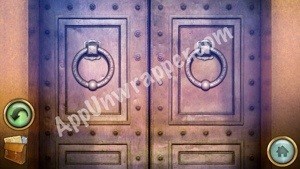
14. Go back a few screens and zoom in on the door of the building to see two knockers. Use the flower clue to unlock the door (knock in the order shown in the clue). Enter the planetarium.

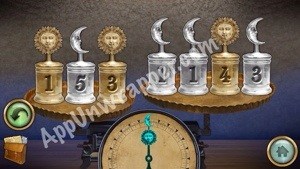
15. Place the sun statue on the scales with the other statues and move them around so each side is 9 and the sun and moon hands match up at 12.
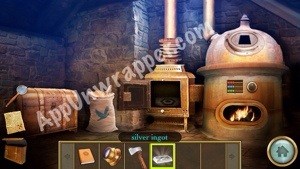
16. Take the silver ingot and go back to the blacksmith. Place the silver ingot in the furnace and make a silver casting.

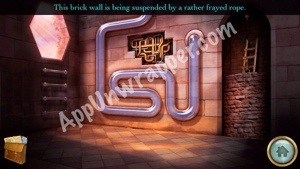
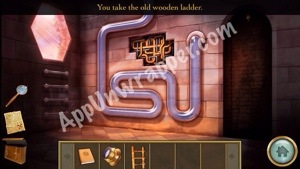
17. Go back to the garden with the fountain. Place the silver casting in the wall to open a secret entrance. Enter. Use the hatchet to cut the rope holding the brick wall and take the ladder.

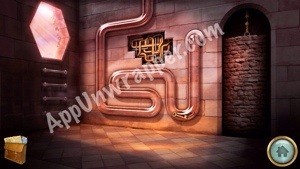

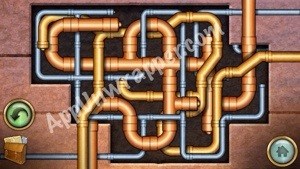
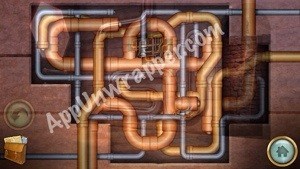
18. Solve the pipe puzzle (use the photo I provided, but rotate the upper right piece):
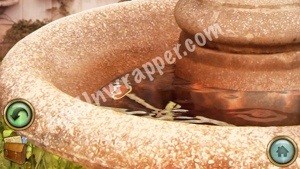
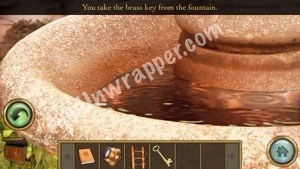
19. Go back to the fountain and take the brass key.
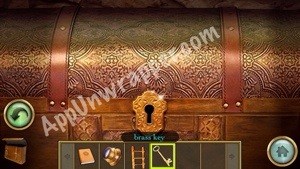
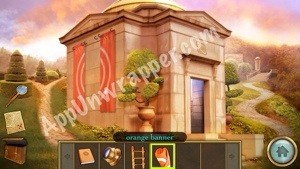
20. Go to the blacksmith and use the brass key to open the locked chest. Take the orange banner.

21. Go to the planetarium building and add the banner to the other two pieces to get a clue:
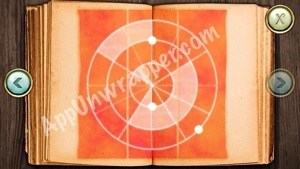
22. Go into the planetarium and use the clue you just found to solve the puzzle and get the mystical orb.

Continue to part 2 of the walkthrough.


 100 Pics E is for… Pack Levels 1-100 Answers
 Into the Dead Cheats & Hack for Coins, Weapons & Experience - AppGameCheats.com
 How to kill as many people as possible in Overkill 3: Hints, tips, and tricks
 Guess That Postcard – Answers Level 1-10
 Doraemon Gadget Rush Free Bells Hack & Cheats - AppGameCheats.com