Guide for The Cave helps in solving all the puzzles in such a way that finishing the game should be possible regardless of the chosen characters. It's however worth noticing that some of them can be completed in an alternative way to the one presented here - it depends on the choice of characters made at the beginning of the game and their special skills.
The Cave is a logical platform game created by one of the most renowned adventure games developer, ex-employee of LucasArts Ron Gilbert. The game gives you a chance of exploring the title cave - a peculiar place with its own personality and a narrator - which has been a witness to many crimes over the ages. The player will be able to meet seven characters who have done some dirty deeds in their life, whereas the cave lets him take a look at them in an allegoric manner.
g40st
Translated to English by Jakub "cilgan" Lasota
All challenges awaiting the player are thoroughly described in the guide, some of them referring to screenshots found above the text. In such cases, it is clearly stated. Names of all the objects found in the game have been marked with blue.
Throughout the game you can control three characters and switch between them at any moment. The cave which you will be exploring has an open structure and some challenges will appear regardless of what characters you choose. Some, on the other hand, are connected directly to given characters (one to each of them) and will be unlocked only if you meet the requirement of having them in your team. Therefore, in order to learn the story of all the characters in the game, you will have to finish it at least twice and start a third playthrough to a certain moment.
Guide shows how you can solve all the puzzles in the game. It's divided into chapters corresponding with particular sections of the cave which you have to go through during each game and into chapters connected with given characters.
In The Cave, the player chooses three out of seven characters and explores locations within the cave with them. Depending on the choice, some of the locations connected with characters which have not been chosen, won't be available, as reaching them required a special skill to open the passage.
The order in which characters are chosen doesn't matter - the game can be finished regardless of the chosen team, though some of the puzzles can be solved in alternative ways by using the special skills of the characters.
If you want to learn the whole story but not necessarily finish the game three times, leave the Knight and Hillbilly for the last playthrough. Their locations are closest to The Campfire, so that way you will save time on having to pass through The Mine, Zoo and Island.
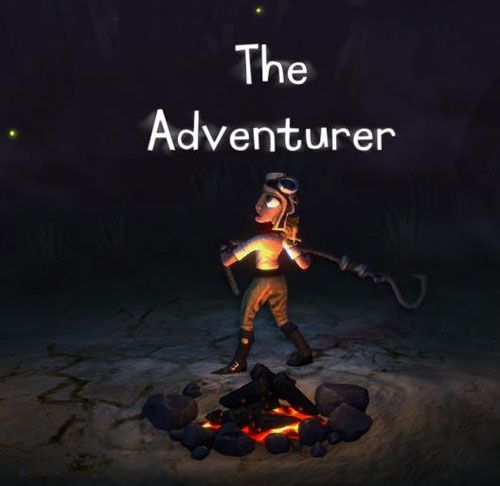
The Adventurer
Dedicated Cave location: The Pyramid
Special skill: A line with a hook, useful for jumping over traps and lets her climb onto special rock ledges.
The Hillbilly
Dedicated Cave location: The Carnival
Special skill: The Hillbilly creates a bubble of air around his head, letting him breath under water.

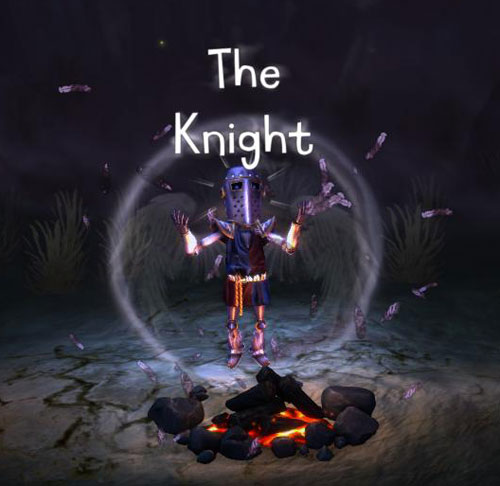
The Knight
Dedicated Cave location: The Castle
Special skill: The Knight creates a barrier around himself, therefore becoming immune to any damage (fire, bolts, falling down).
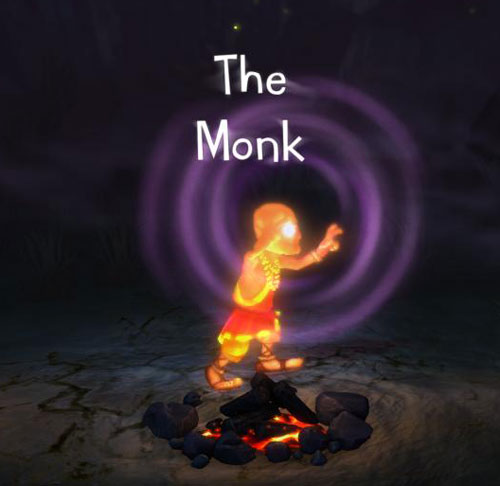
The Monk
Dedicated Cave location: The Temple
Special skill: The Monk is a master of telekinesis - he can attract items or directly influence other items.
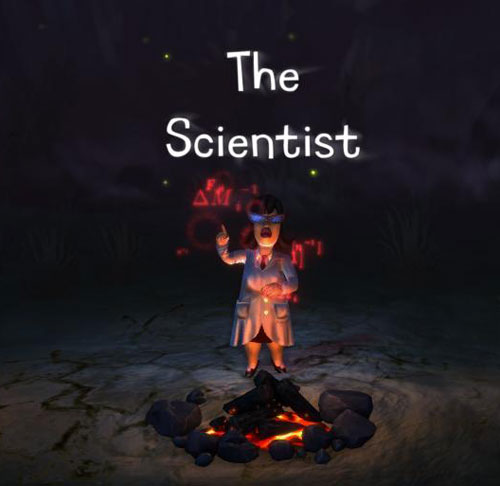
The Scientist
Dedicated Cave location: The Missile Silo
Special skill: The scientist can hack computer terminals.
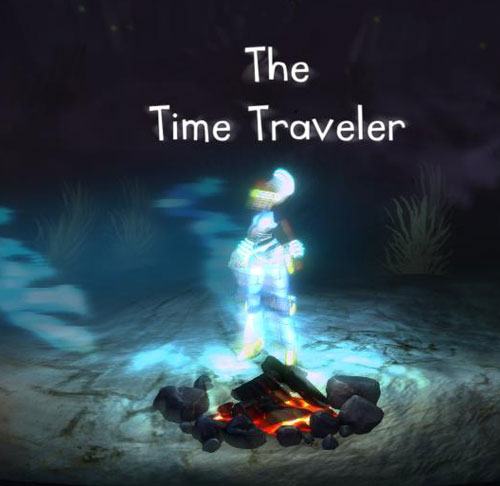
The Time Traveler
Dedicated Cave location: The Museum
Special skill: Can pass through obstacles.
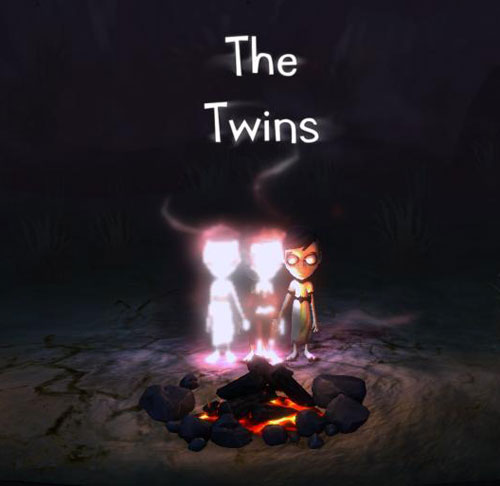
The Twins
Dedicated Cave location: The House
Special skill: The Twins can separate their bodies and souls, effectively cloning themselves.
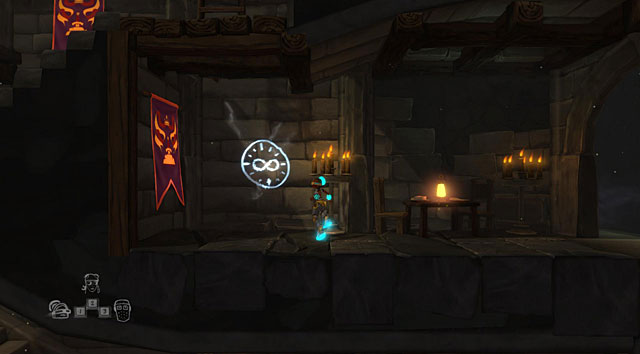
Throughout the game you will come across painting on the walls dedicated to given characters. Their appearance depends on the combination of characters that you choose and can vary between playthroughs. Most paintings are visible and accessible during normal exploration, but some finding and reaching some of them can be troublesome.
The painting can be found behind the old well at the back of the cave, in the employee only corridor. It can be accessed after using rank on the well and getting the bucket to the surface.
The painting can be found in one of the castle chambers which you can access with the lift lowered by another character.
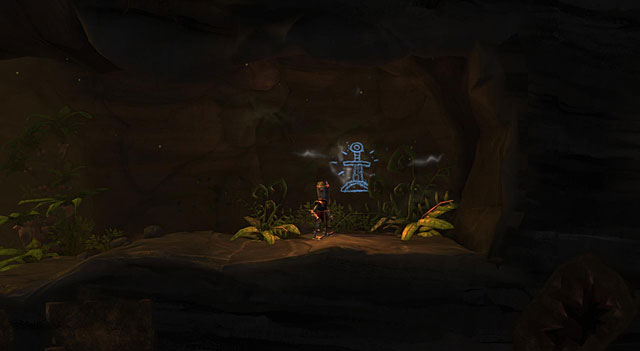
The painting is on a wall in the museum, where a dinosaur was before in the past.
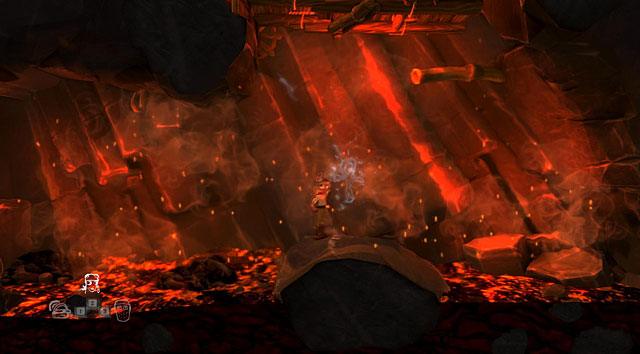
The painting is on a island in the lava pit. You can get there using the adventurer's special skill.
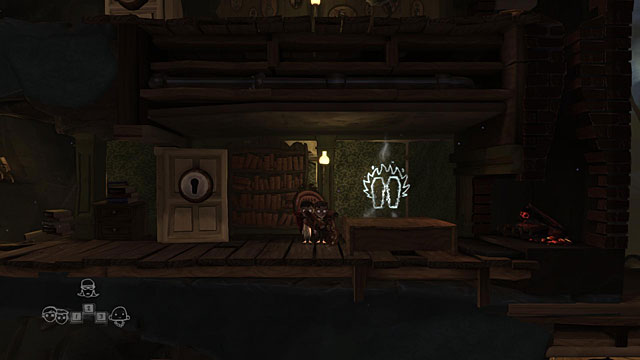
The painting is in The Living Room of the twin's house, behind a bookshelf. You need to click on it a couple times to knock it over.
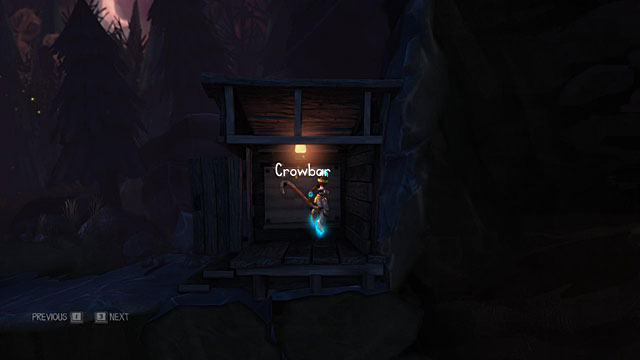
Choose your characters, head to the left and take the Crowbar from the wall.
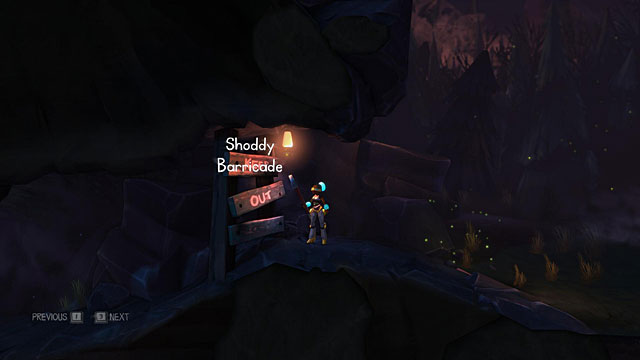
With the crowbar, head right and use it three times on the boards which are blocking the path to the cave (Shoddy Barricade).
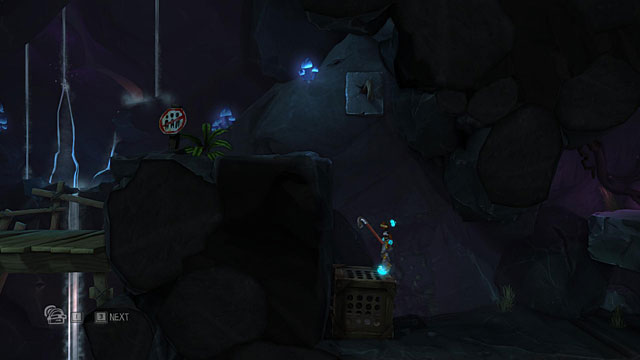
Keep going left and down until you reach a place that you can't jump to. Back up a little and push the chest to the below the ledge. Use it to get above and head onto the bridge. now switch to any other character and do the same with it.
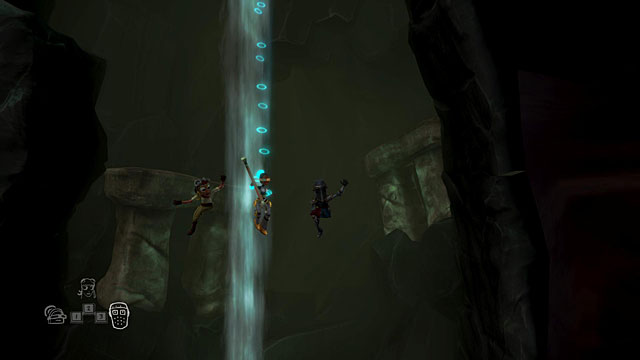
After getting to the bridge with the second character, switch to the third one and head there as well to cause the bridge to crumble under the weight of the three characters. Remember to have the crowbar with you.
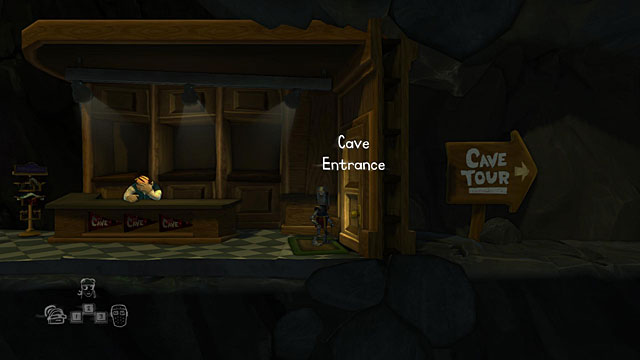
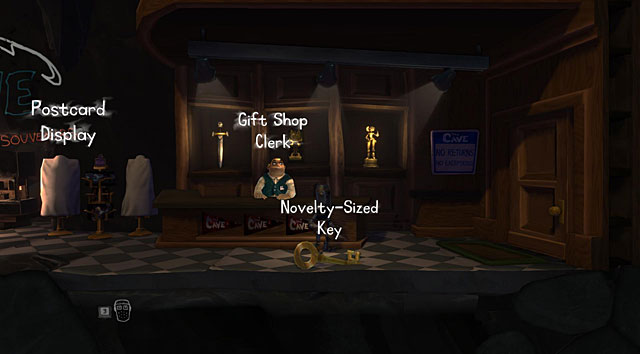
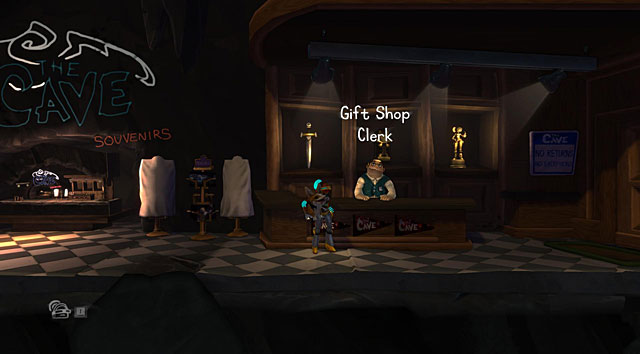
After landing in a small puddle, head out of it with any character and go right. The path to the cave is blocked by a locked door (Cave Entrance). Speak with the Gift Shop Clerk and head left.

You will be stopped by the clerk, who will give you the Novelty-Sized Key and ask you to bring the artefacts belonging to three other adventurers from there.
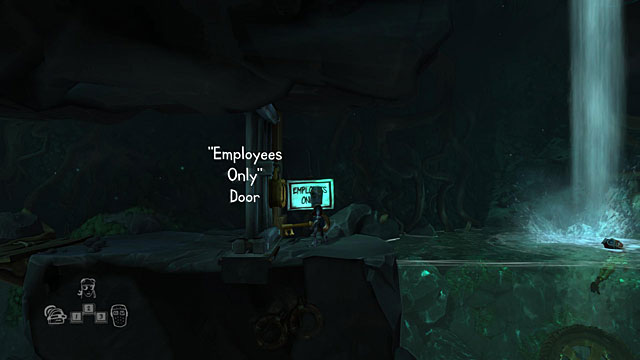
Take the key and head left to the "Employees Only" Door. Open it with the key and head further to the left.
You don't need to switch to other characters, just lower yourself on the rope and run right and they will appear right beside you.

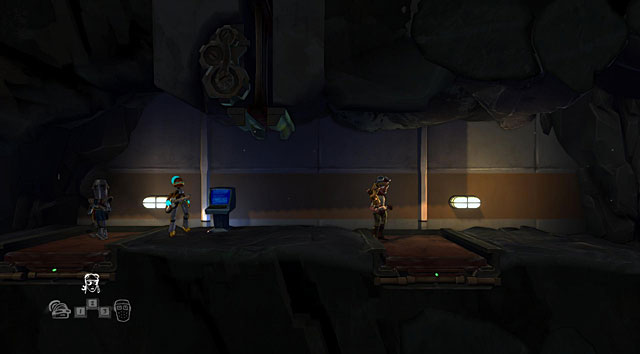
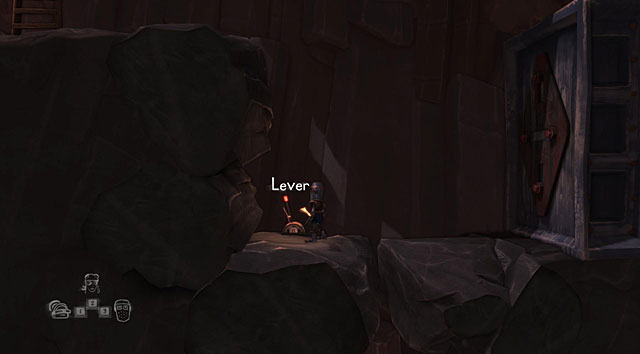
In the corridor you will find three levers. With one character, hold the one by the locked gate...
And with the second character, head below to hold the lever by the deactivated vending machines.
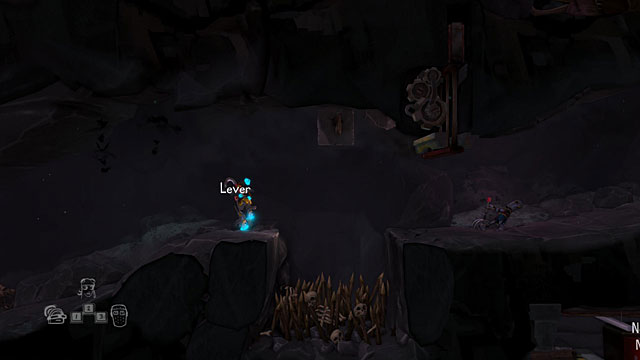
With the third, head through the raised gate on the other side of the pit. That way you will unlock the passage.
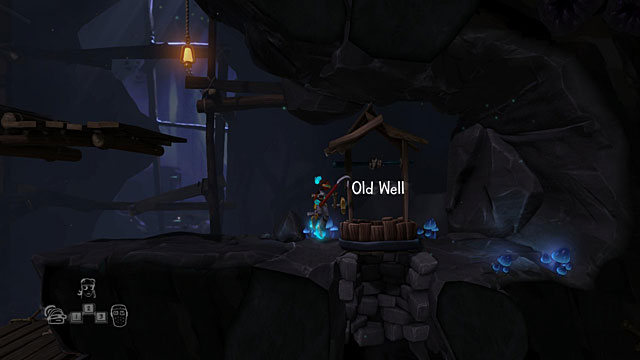
Choose the character with the crowbar, go left and climb up. You should find the Old Well, on which you have to use the crowbar.
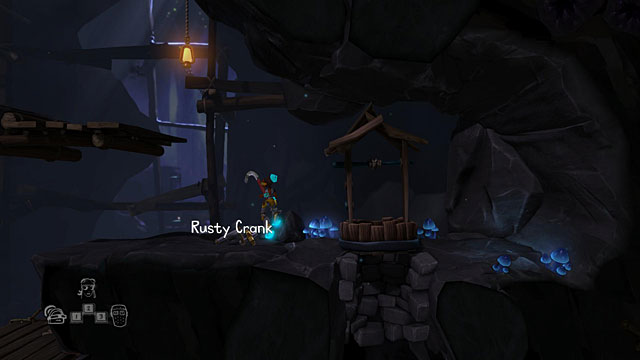
The Rusty Crank should fall off the well. Take it and go through the gate to the right side of the level.
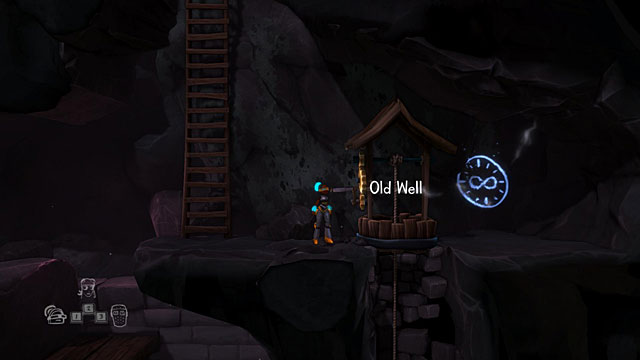
Use the crank on the second Old Well to destroy it and cause a Bucket to appear by the ladder on the left.
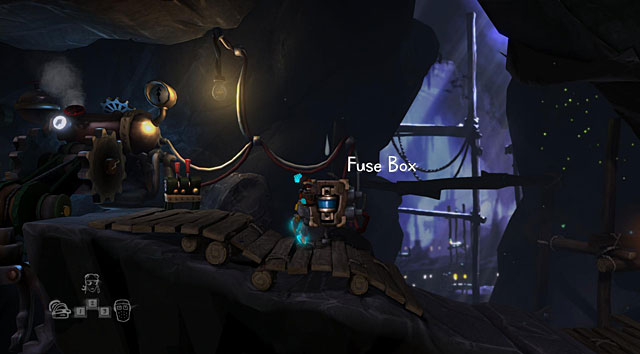
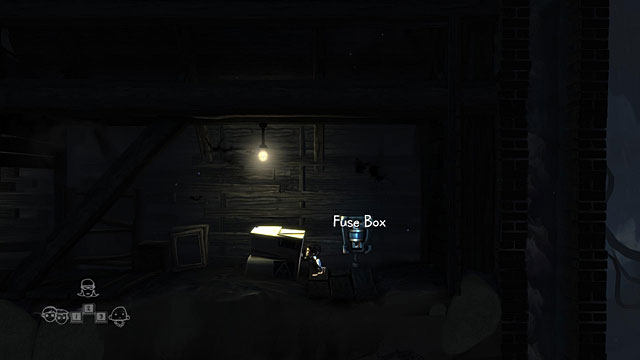
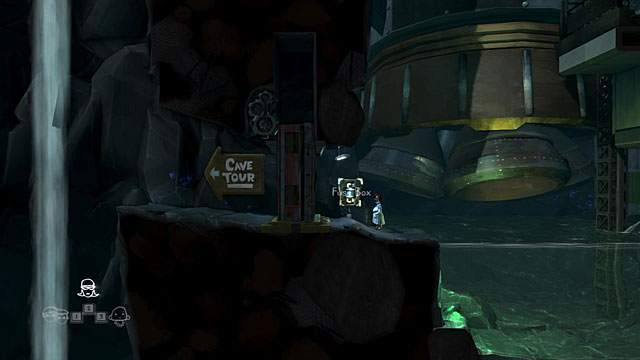
Take the bucket, head back to the left side of the level and head up to the place where the large machine with claws is. To the right of it there's a Fuse Box onto which water is dripping. Place the bucket on the crate and take the Fuse.
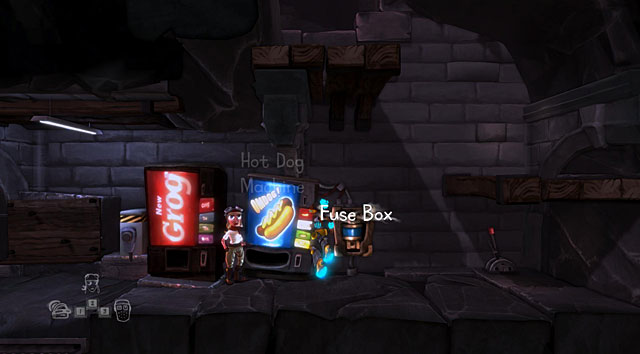
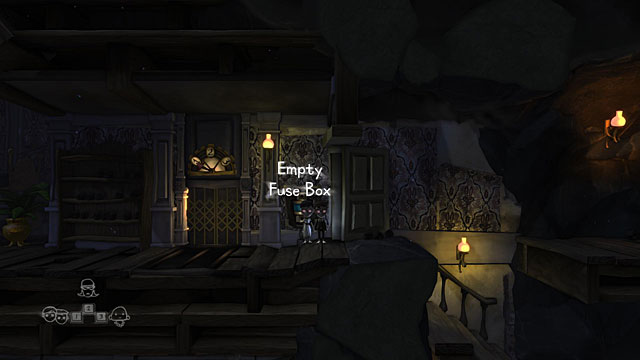
Return to the Grog and hot dog vending machines and place the fuse into the Empty Fuse Box. Use the Hot Dog Machine, pick up the Hot Dog and head back up and to the left, towards the Bell.
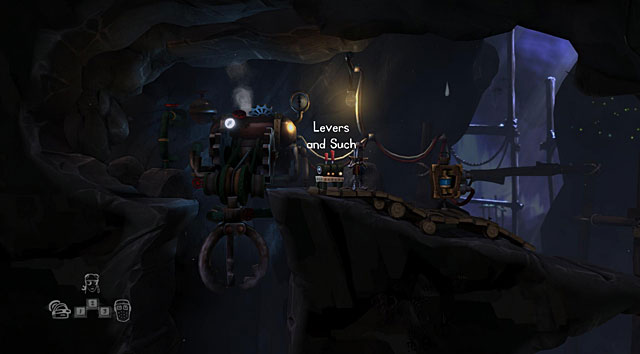
With another character, take out the fuse by the vending machines and take it back to the first fuse box. Approach the Levers and Such.
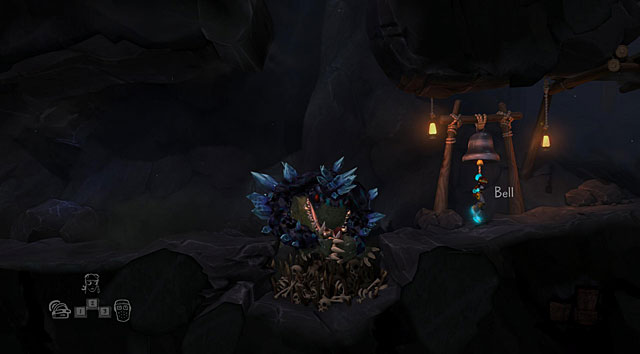
Switch to the character with the hot dog. Throw it at the Pit of Spikes and ring the Bell. As the dragon approached the hot dog, quickly switch to the character by the machines and activate it. The claws will pull up the dragon and create a path for you.
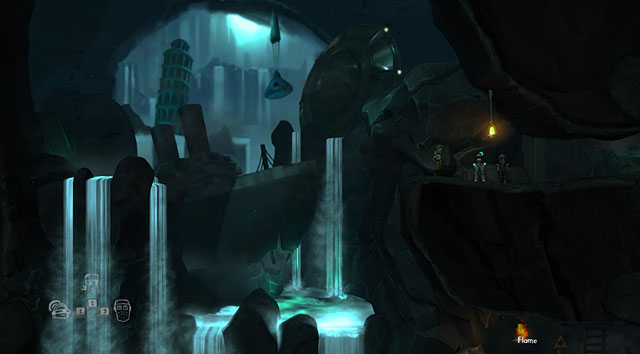
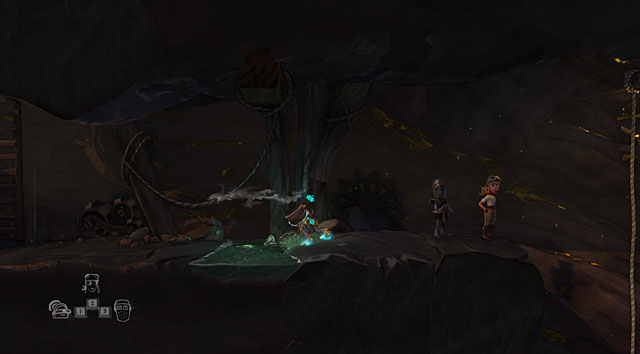
After unblocking the path, head to the left and jump off the ledge.
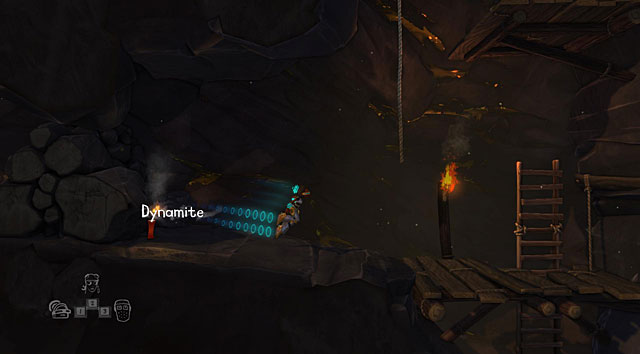
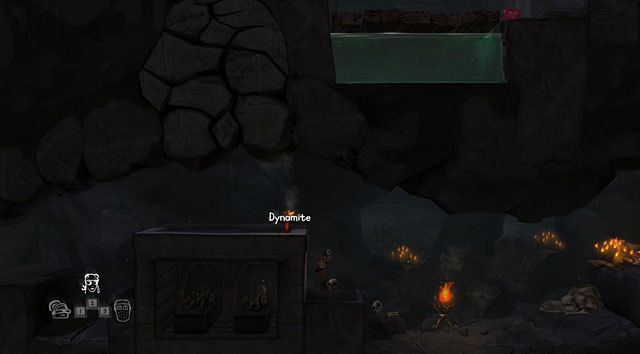
Get out of the water and move right. Go down the ladders and pick up the Box of Dynamite. Head back above, light the dynamite from the Flame on the wall and quickly drop it by the rocks which are blocking the further path.
Find the two artefacts in this area (the Thespianship Award and the Cursed Guitar) - one character can hold onto one of them. The further path is blocked by steel bars. Stand on the pressure plate found to the right of the blocked passage with one character, head through the passage with the second and stand on the plate on the right. Afterwards get there with the two others who were left behind. Take the third artefact (Jewelled Skull) and move to the right.
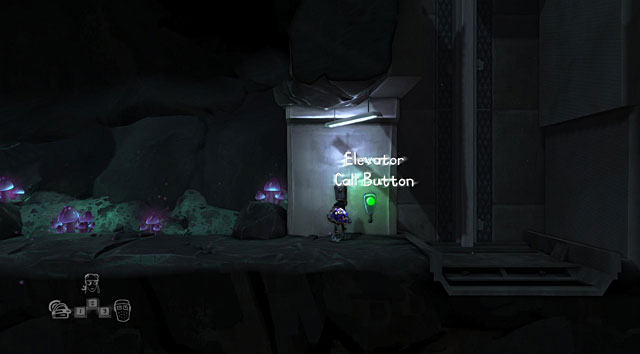
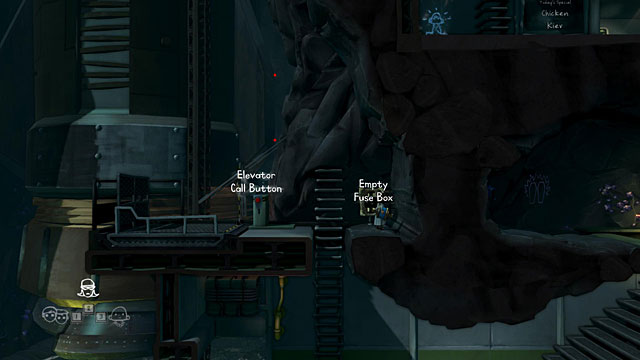
Use the Elevator Call Button, head onto it with all your characters and press the button again. Now return to the clerk and give him all three artefacts. Speak to him again and he will open the door for you.
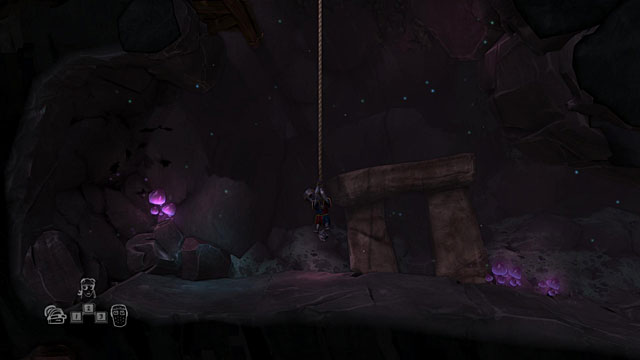
Head through the door, jump off the ledge and head left. You should see a big weight hanging from a rope. Jump onto the rope with one of the characters, head to the left with the others, below the weight. Get off the rope with the first one and a passage will be opened below. Switch back to someone below and push the chest to the left so that the first character can jump down onto it without hurting itself.
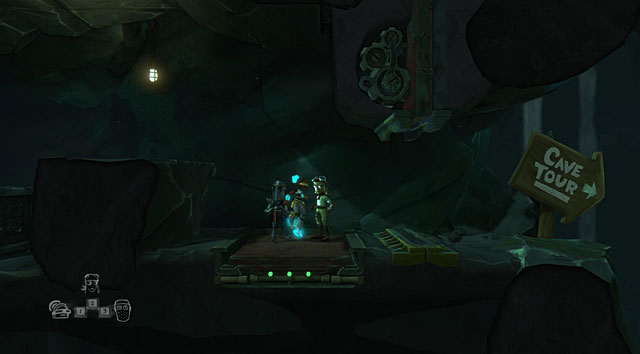
Head with all three characters to the right and stand on the platform. Three lights will turn on and the passage will be opened.
The passage will be blocked by a wide pit filled with sharp spikes. With two characters, switch the levers beside to make a large boulder fall down. Use it to move to the right.
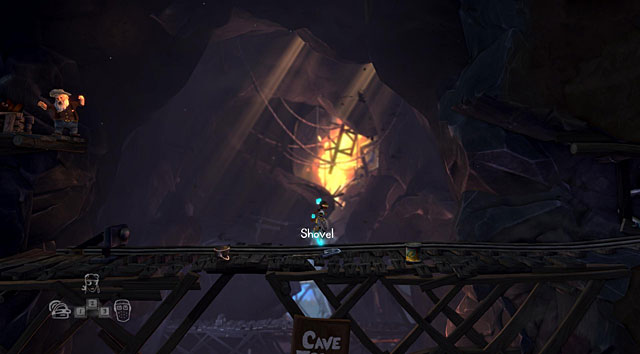
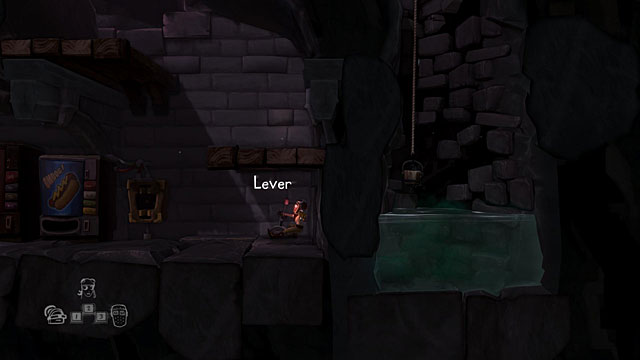
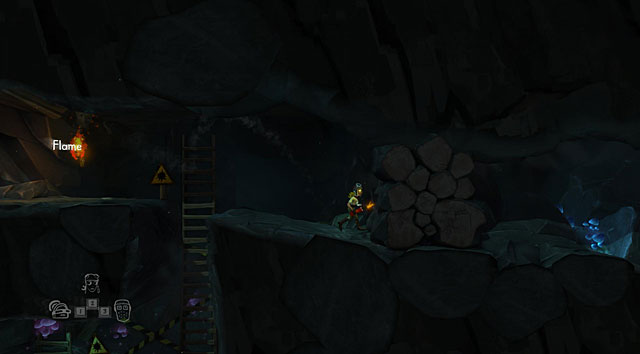
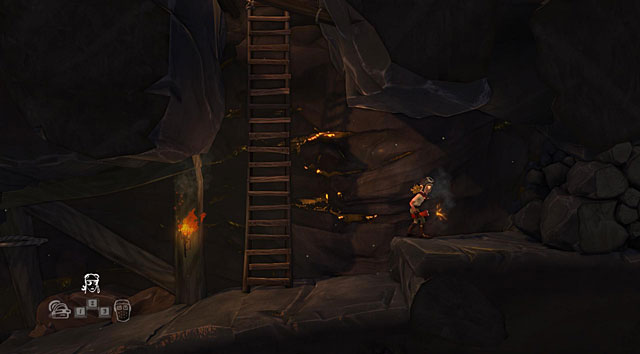
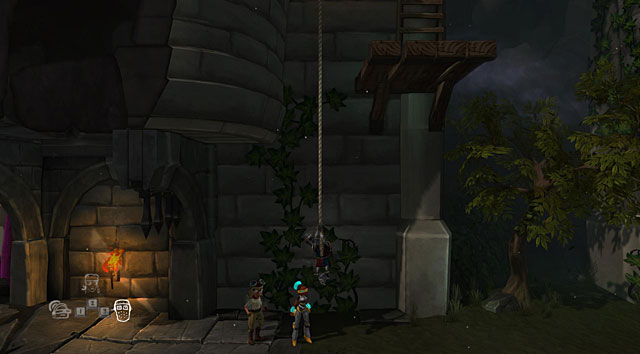
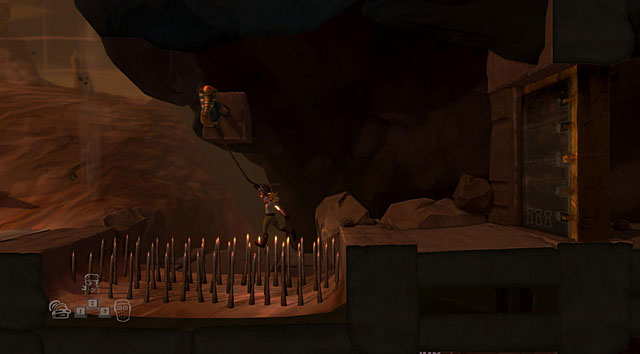
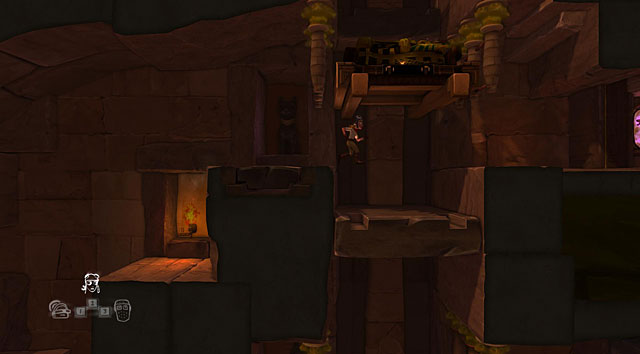
In the further part of the cave you will come across a crazy miner who will start throwing his equipment and afterwards also dynamite. Take the Bucket, go up along the ladder and even further using the rope.
In the corridor you will find a Water Puddle. Gather water into the bucket and return to the miner.
You will now have to determine where the dynamite stick thrown by the miner will land. With the bucket filled with water, head below a dynamite and it should fall into the bucket, therefore not exploding (Bucket o' Dynamite). Take it out.
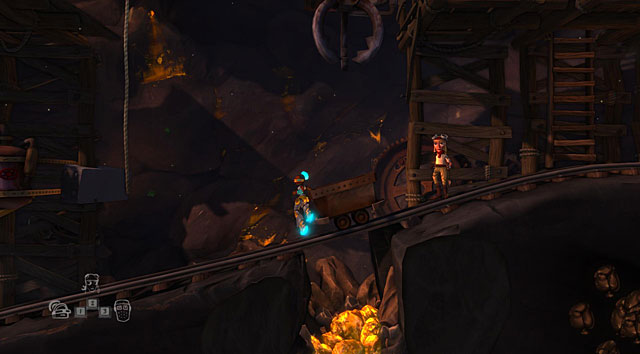
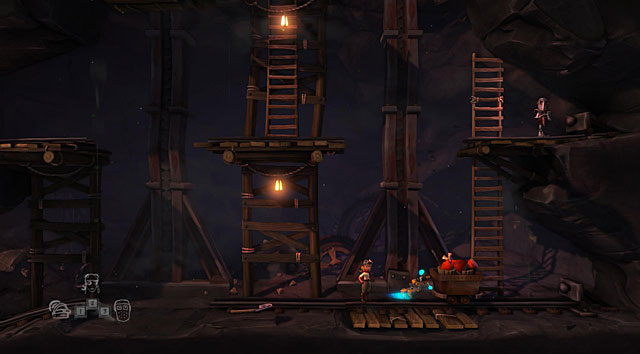
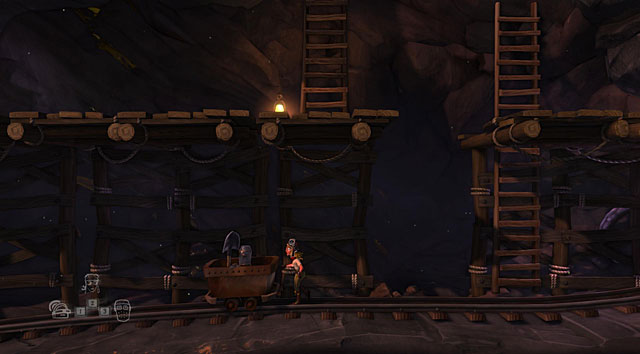
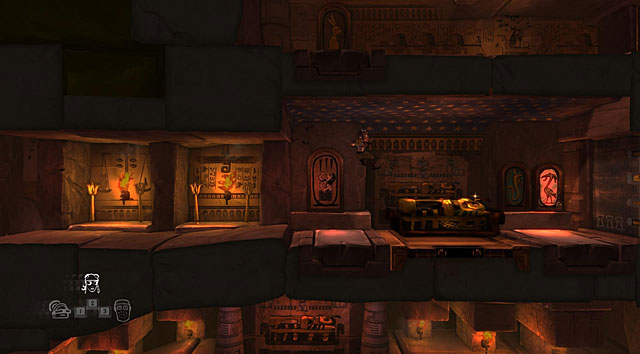
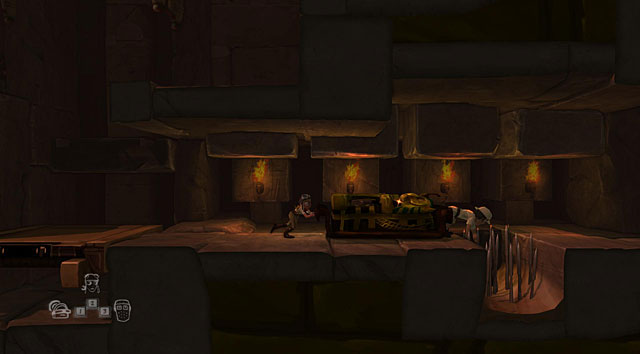
In this part of the cave there are three corridors filled with rocks. Start with the lowest one, the closest to the miner. Light the dynamite using the Flame and leave it by the crumbled part of the corridor. Move further to the right until you reach the first mine car and a machine. The car needs to be filled with gold. Block the rails with one of the characters by standing beside the gold hole. With the second one, push the car to the left, above the hole (screen above).
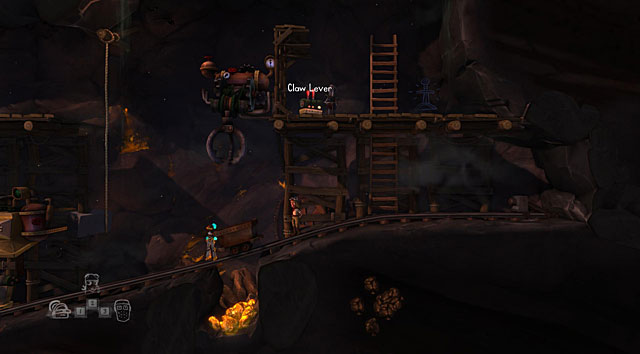
Use the third hero to use the Claw Lever and gold will be loaded onto the car. Now get off the rails with the character that's blocking the car.
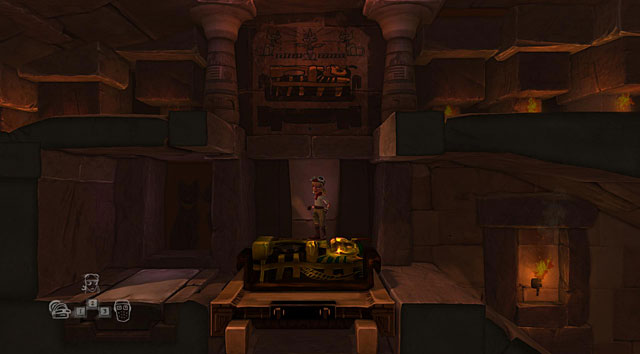
Once again take the water bucket and grab another stick of dynamite thrown by the miner. Head higher than before and blow up another tunnel, this time leading left.
Stand with two characters on the platform on the right. Use one of them to push the car on the right across the platform so that it's between the two platforms.
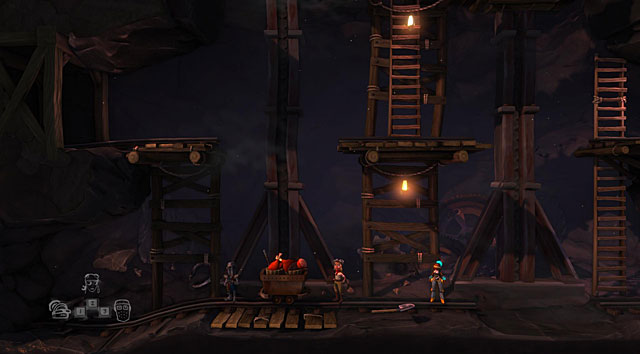
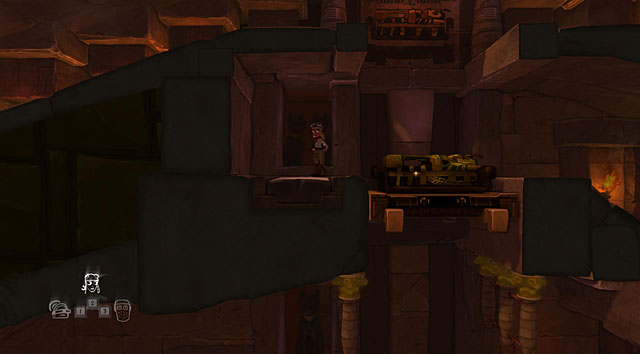
Afterwards get onto the platform on the left which went up before so that it falls down and push the car onto it.
The right platform should be at the top now. Get onto it with the heroes while leaving the third one with the mine car. That way the car will be raised by one level. Push it to the left and it will ride down to the miner.
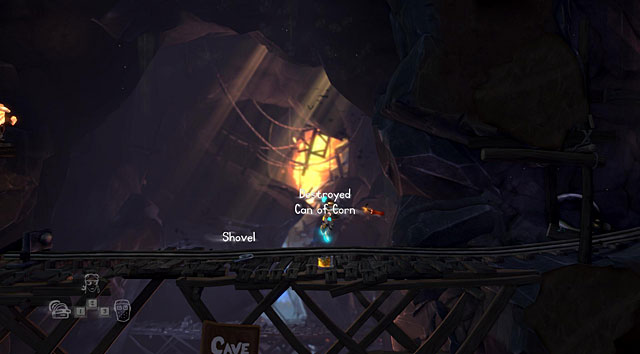
Head down to the miner for the third time and use the filled bucket to grab a stick of dynamite. Take the Shovel with the second characters. This time, blow up tunnel at the very top.
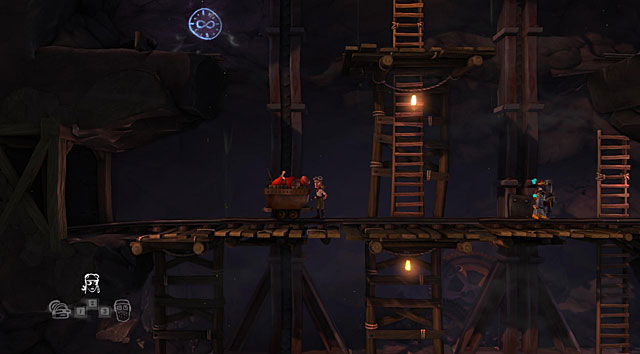
Get into the mine car with the character with the shovel and push it to the left with another one. Quickly switch to the one with the shovel.
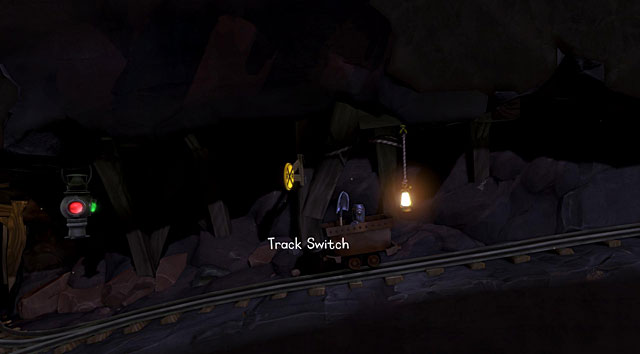
While in the car, use the shovel on the Track Switch. Afterwards get all the characters into cars and the bridge will crumble.
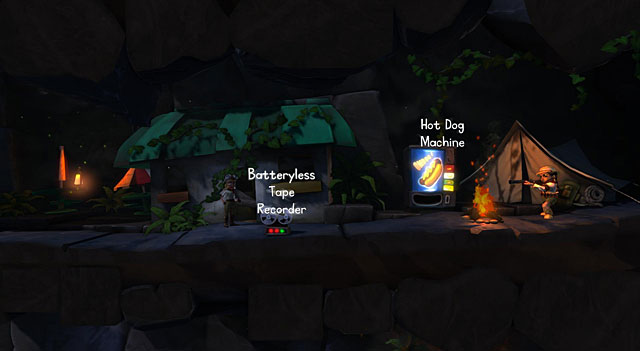
Get past the ZOO entrance and one of your characters will be taken away by a monster that's being chased by a hunter. Go one level below to reach the hunter's camp. She will throw away a Batteryless Tape Recorder. Pick it up.
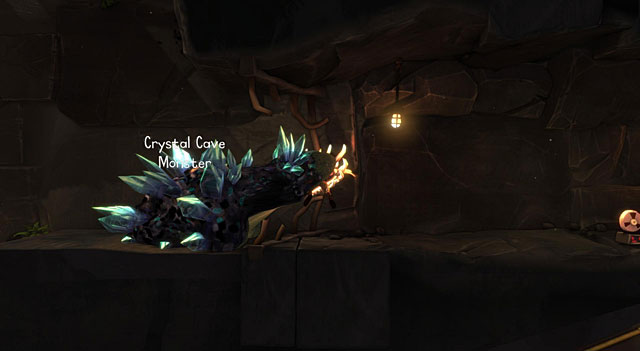
Go below and let the Crystal Cave Monster throw your characters to the other side, where the previously taken one already is.
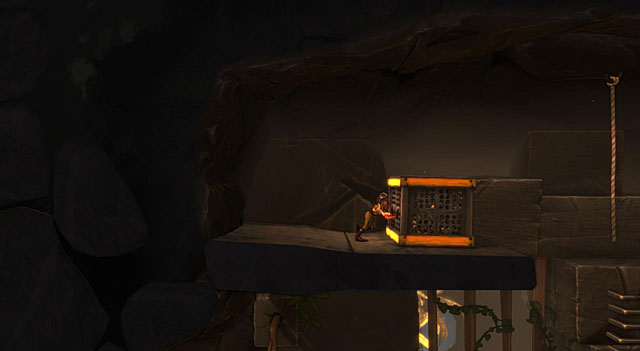
Climb up and drop the cage to the very bottom.
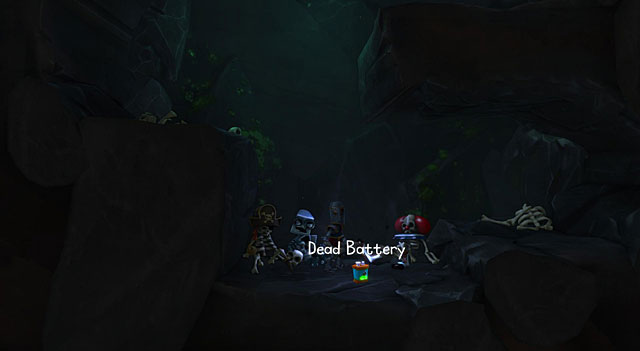
After the cage falls down twice, push it to the left and use it to get up by one level. Move to the left and below to find the skeleton of a clown and a robot. Touch the robot and take out the Dead Battery.
Head above and hold the Lever with one character. That will make the door open, letting the two others jump down through it.

Pull the Lever found there with the second character and with the third one that's holding the battery, go through the opened grates towards the gates of the ZOO.
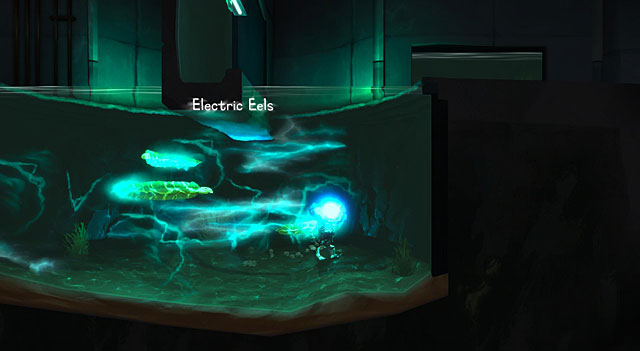
To the left of the ZOO gates you will see swimming Electric Eels. Jump into the water while holding the battery and swim between the fish to charge it up.
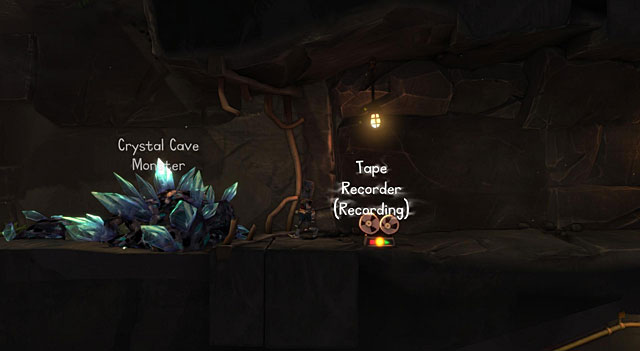
Put the battery into the tape recorder and place it beside the monster (Tape Recorder (Recording)). Now let it grab you to make its roar record on the tape. Cross the corridor below back to the tape recorder, take it and go to the hunter's camp.
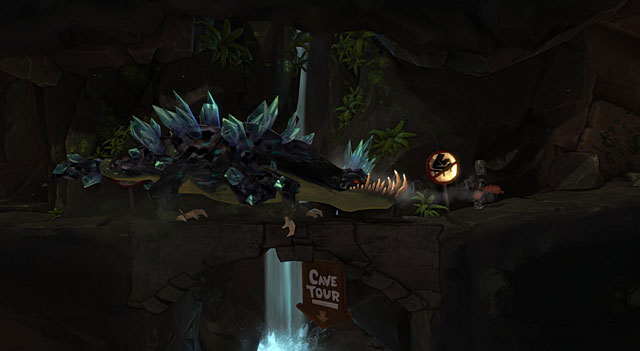
Place it beside the Hot Dog Machine, wait for the hunter to go away and take one hot dog. Return to the monster and start luring it to the right so that it stands on the instable bridge.
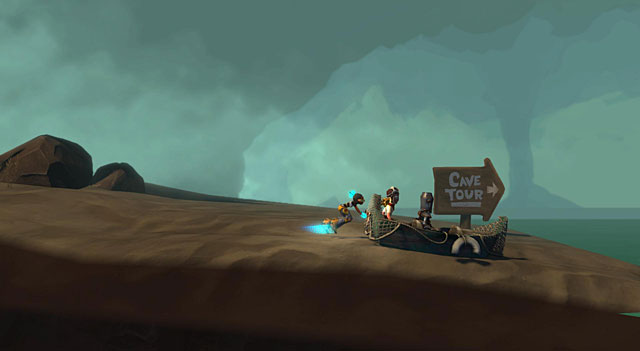
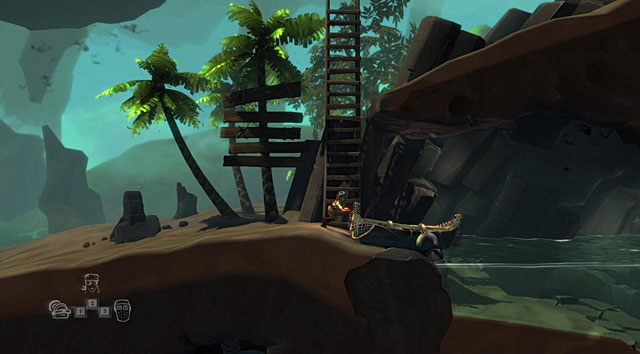
Jump into the boat with two characters, push it to the water and jump inside as well.
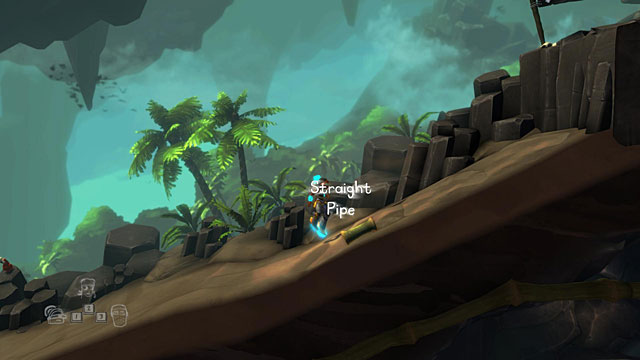
Head to the right and collect the Straight Pipe on your way.
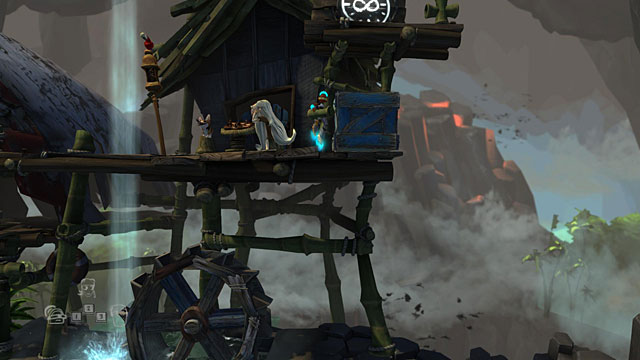
Go up the ladder onto the platform by the Hermit house and drop the big wooden crate to the right. With another character, collect the Cross Pipe found a bit above.
Push the crate maximally to the right and you will be able to move on.
Keep going right until you reach a beach with a second wooden crate. Push it to left as far as possible and you will be able to get inside the hill.
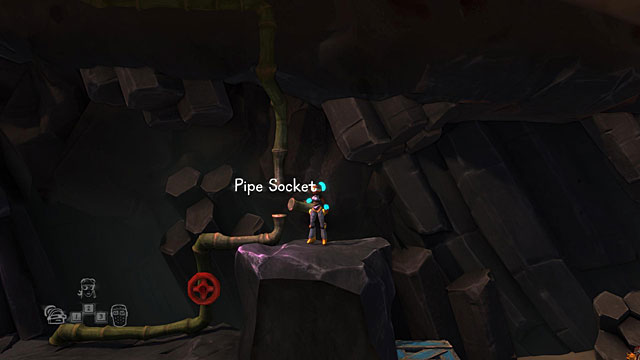
Go above along the crate and put the pissing pieces of the pipe to the Pipe Socket.
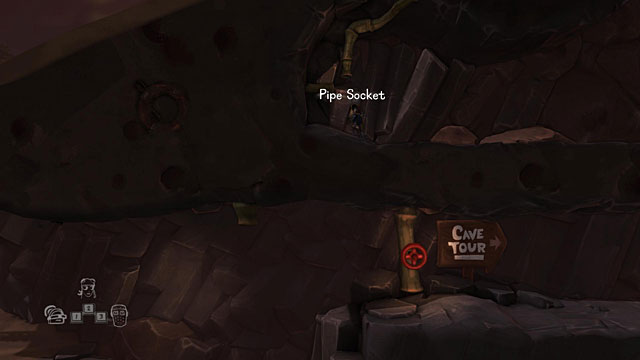
Head deeper to find yet another pipe (L Shaped Pipe). Put it into the missing place in the further part of the corridor leading left.
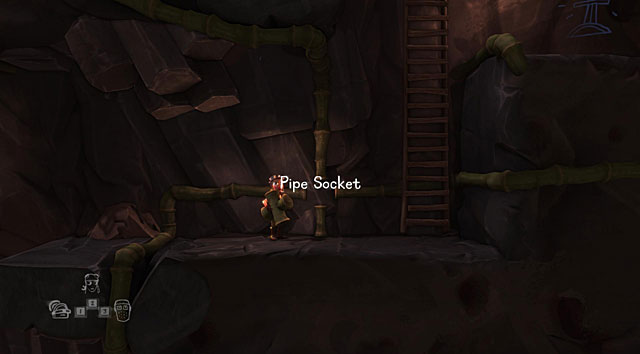
Put the cross pipe into its place in the upper part of the corridor, below a hillock.
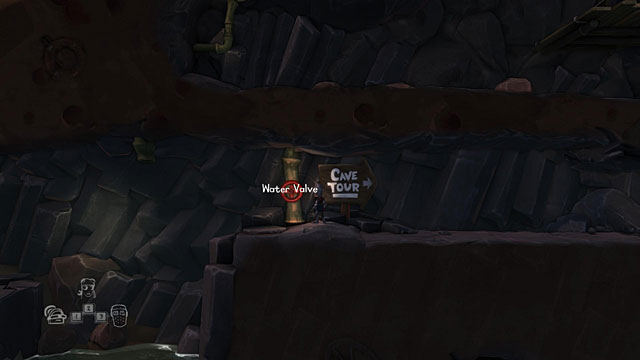
Go down and turn the Water Valve to make the part of the corridor on the left to be filled with water.
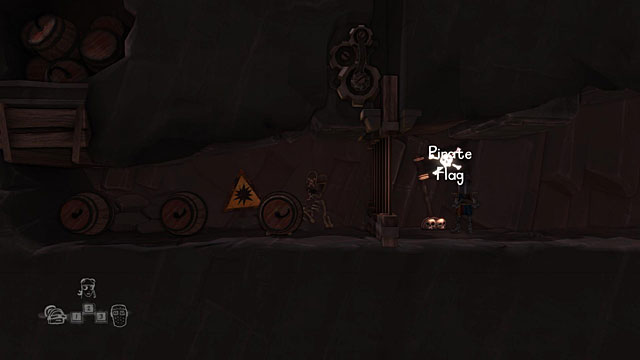
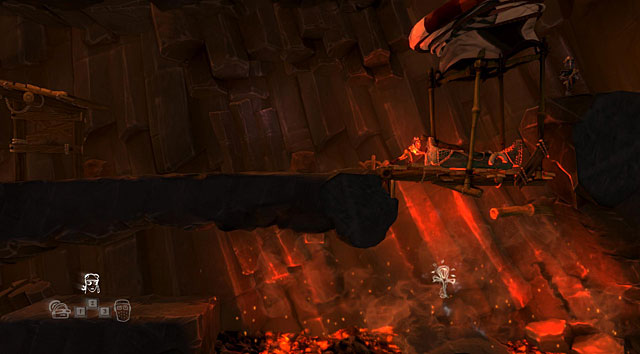
In the lowest corridor there is a locked gate with a skull with a Pirate Flag beside. Stand next to it and switch characters. At the top of the hill there are two more flags. Use the two other characters to push them without letting go. With both of the held onto above, return to the hero in the corridor below and push the lever as well to make the grate open.
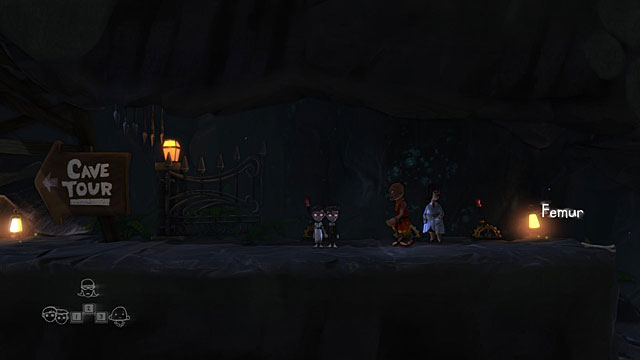
Behind the grate you will find three barrels and a Femur. Pick it up and roll all the barrels to the right so that one of the ends up on the iron grate below partially cracked rocks and the second a few metres further to the right of it.
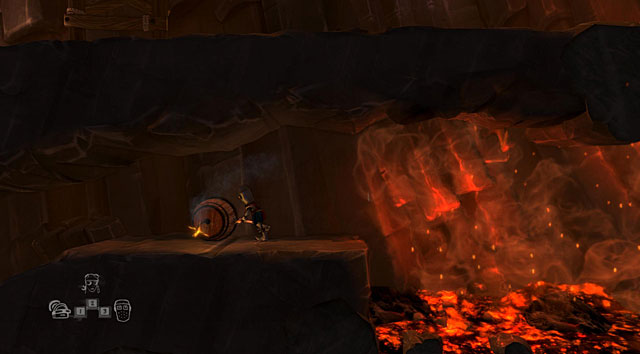
Roll the third barrel to the edge of the pit (remember to stand on its right side) with hot fumes and quickly roll it to the left when the fuse is lit. It should start rolling on its own in the place where the corridor start falling, causing a series of explosion, destroying part of the ceiling and removing water from the hole.
Now move to the place from which you removed water just before and pull the Lever. The path to the right will be unblocked.
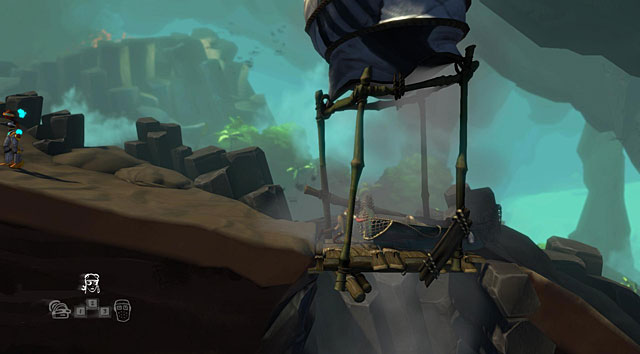
Head to the beach with the boat and start pushing it to the right. Firstly across the water...
...and further to the platform with a balloon. Head into the boat with the character that was pushing it and use the Water Valve to the right with another one. Steam from the hot pit will fill the air and the boat will go up.
Now push the boat to the left and it should slide down to the beach.
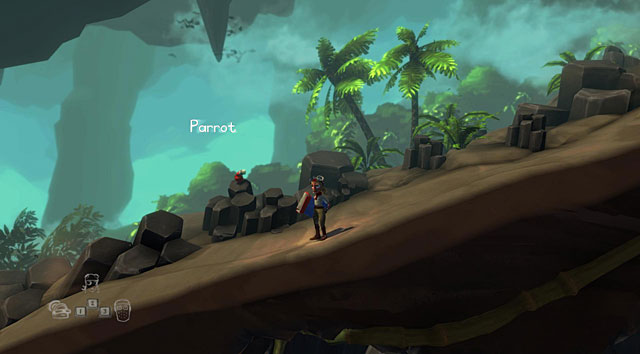
Take the Box of Crackers lying beside the boat and head to the left side of the village, where the Parrot is. Treat it with crackers and she will sit down on your arm.
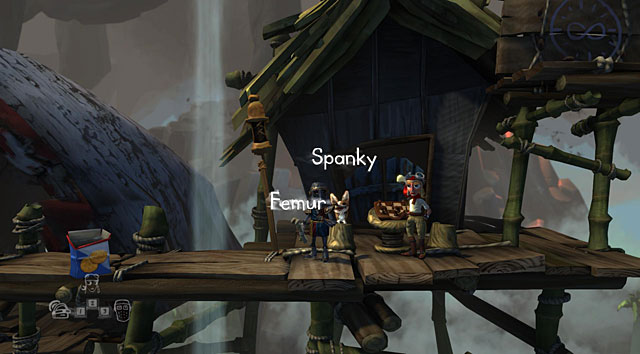
Head to the hermit house with the characters with the parrot as well as the one with the bone. Stand beside the dog (Spanky) and give it the bone, causing the parrot to start barking.
Run to the boat with the character with the parrot to get rid of the hermit. Get onto the boat with all the characters.
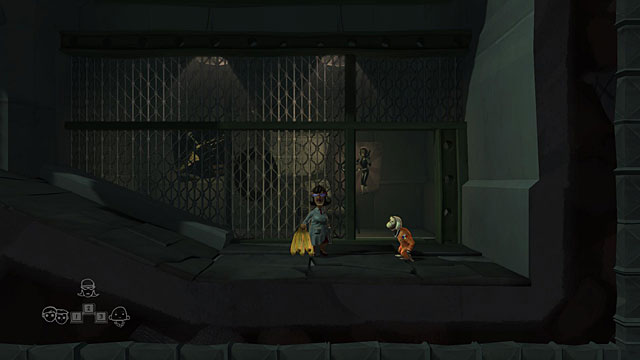
Take the Novelty-Sized Key from the clerk and use it to open the "Employees Only" Door.
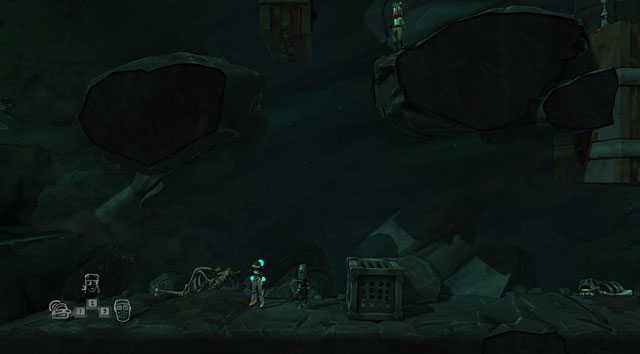
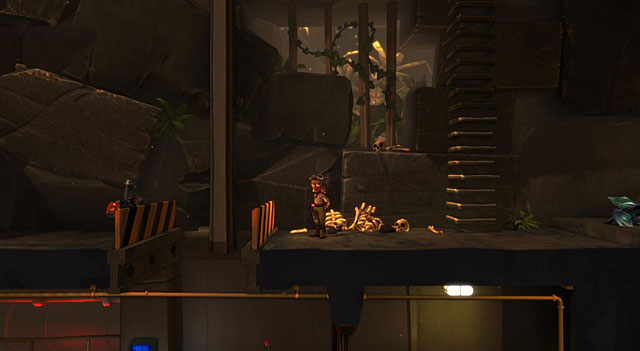
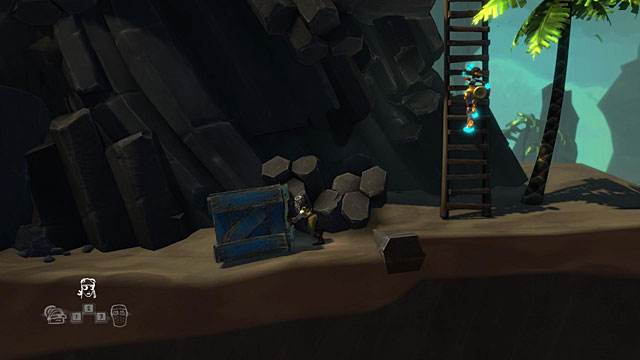
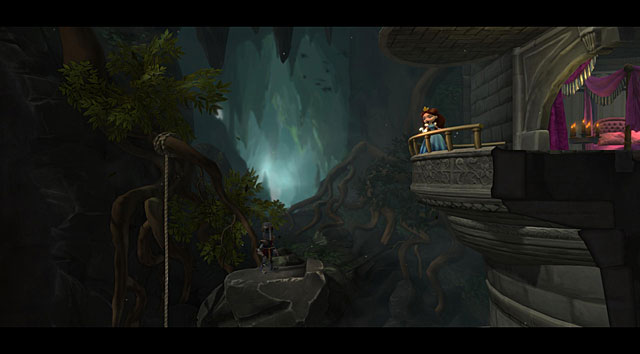
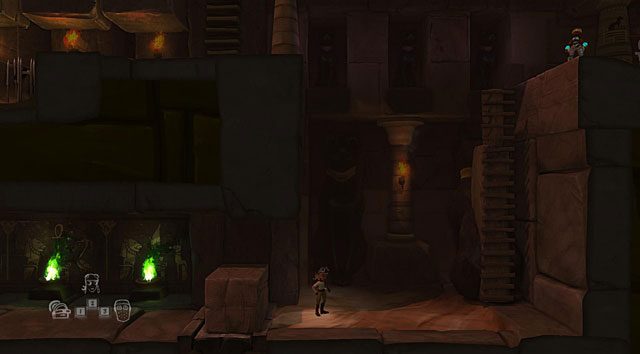
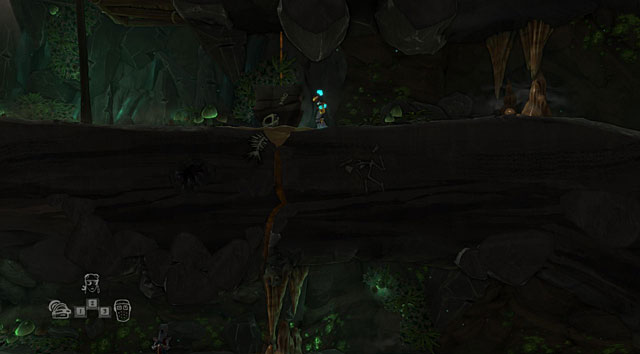
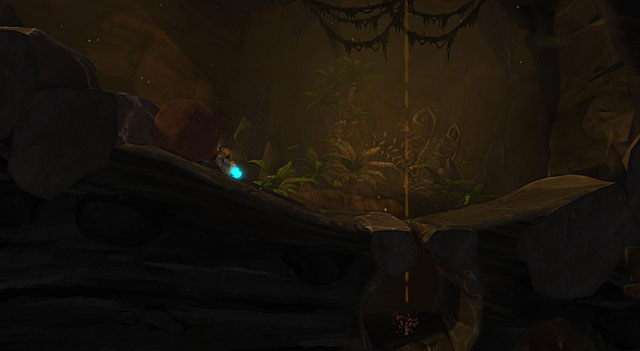
Go across the cave that you visited at the beginning of the game and jump off the ledge visible in the above screenshot. Head to the right while collecting the artefacts found in this part of the cave.
Return to the clerk, give him the artefacts, go through the room on the right and reach the surface using the ladder.
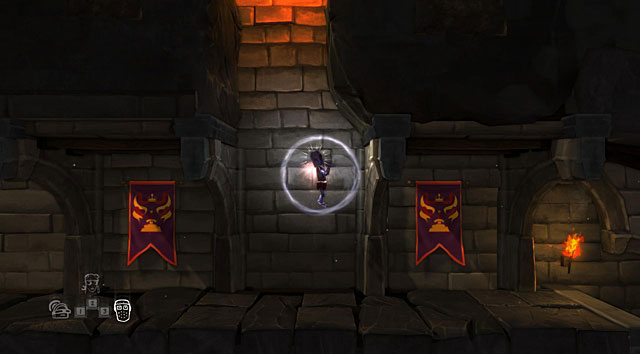
Use the knight's special ability and jump into the fire pit. Cross the corridor to the left and listen to the king. In order to pull the sword out of the rock, the knight must first obtain the love of the king's daughter and receive a certain amulet from her.
Keep running right behind the gate which will automatically open before the knight. Jump onto the rope and keep going up.
Listen to the king's daughter to learn that in return for the amulet she wants you to obtain a treasure guarded by the dragon. Jump to the very bottom and head to the right. The previously locked passage will automatically open.
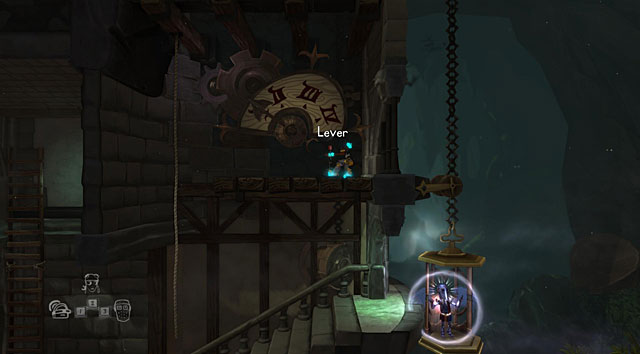
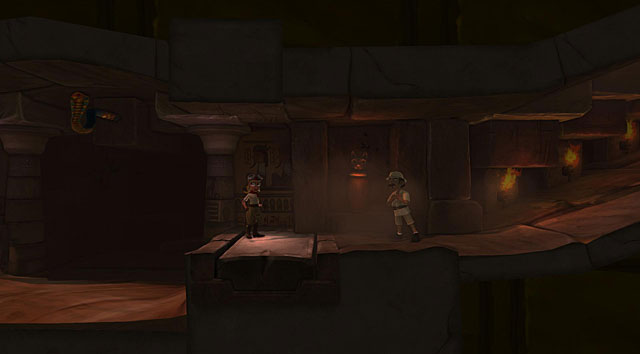
In order to reach the dragon, you will need a key. Head to the upper right part of the castle, to the elevator. Head inside with the knight and with the second character to the control panel. Use the knight's special skill, switch to the other character and lower the elevator with the Lever by two floors. The crossbowman will start shooting at the knight, but he should be alright thanks to his barrier.
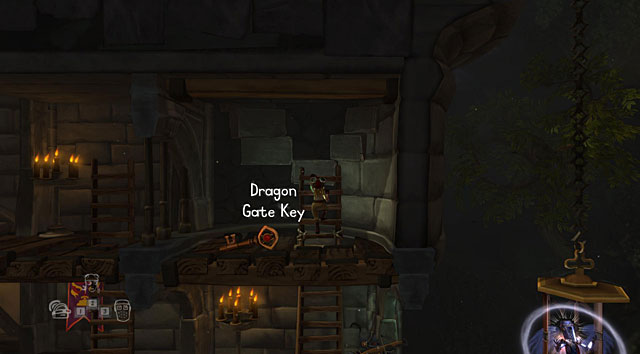
Now switch to the third character and enter the room with the crossbowman. Go up to the upper level using the stairs behind him and take the Dragon Gate Key.
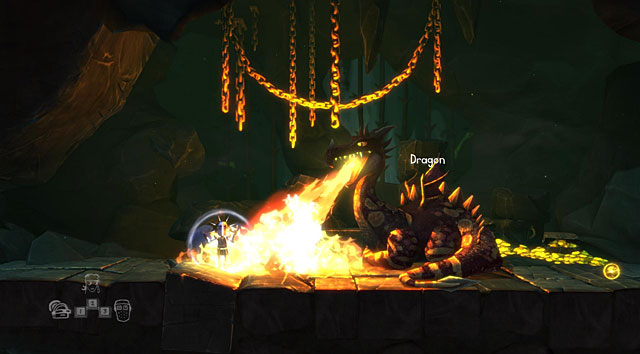
Use it to open the Dragon Gate behind the sleeping dragon with any characters other than the knight. Approach the dragon from the front and quickly activate the special skill so that the fire doesn't hurt you. Afterwards switch to the character that opened the door behind the dragon and take the Dragon Treasure. Go to the side and drop the treasure which should be then picked up by the knight. As you start heading towards the princess' chamber, the dragon will get furious.

In front of the princess' chamber there's a Coin Machine. Drop the dragon's treasure inside and the door will open. Take the Bloody Amulet from inside and run to the king.
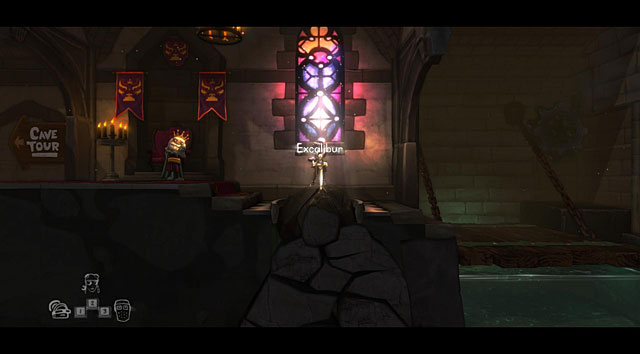
Thanks to the amulet, the draw bridge will come down and the knight will be able to reach the stone with the sword. Try pulling out the Excalibur, only to fail. Use another character to take the Crate of Dynamite found nearby the princess' chamber.
Go below and keep running left until you reach the pile of rocks into which the sword is thrust. Light the dynamite using the Fire, run with it onto the crypt with two skeletons and drop down. The rock should become cracked. Switch back to the knight and pull out the sword.
Go through the door and use your special skill to get to the other side of the spiked pit.
Get across the top of the pyramid to its other side and jump across another spiked trap. One of the archaeologists will appear.
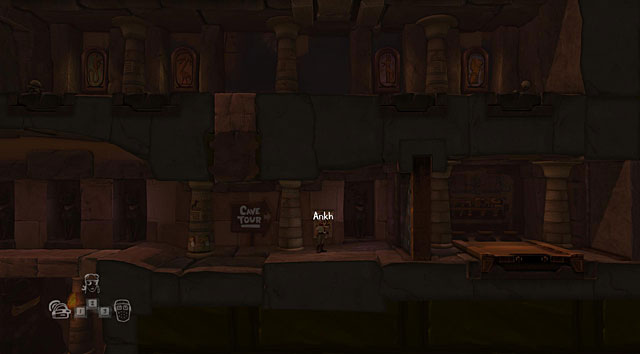
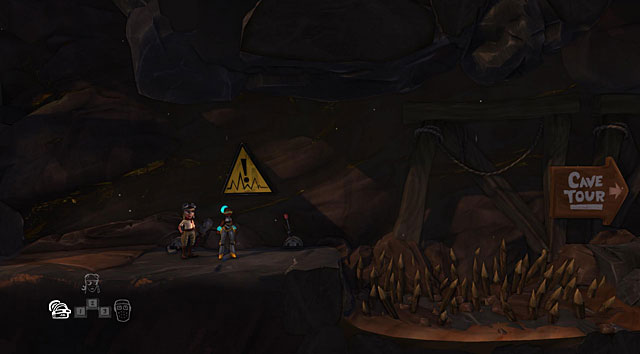
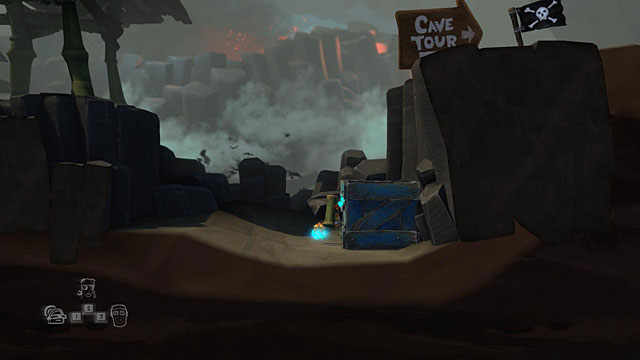
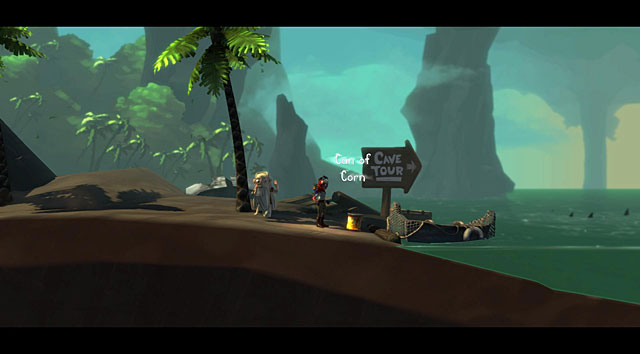
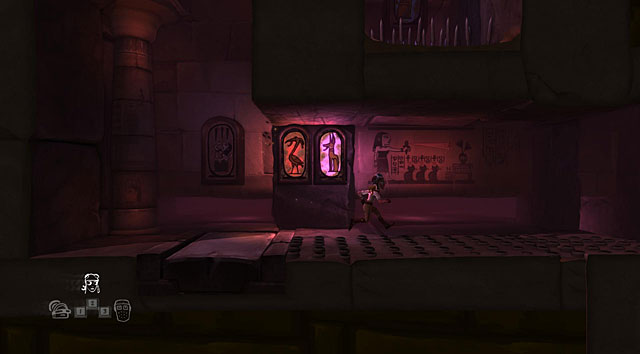
Head to the right and down the pyramid. After getting down a very long ladder, start going to the right until you see a Cave Tour board. Right behind it on the wall there's the Ankh cross. Take it and head to the upper part of the pyramid. Jump across the spiked pit there and find a locked door to the chamber with the sarcophagus behind.
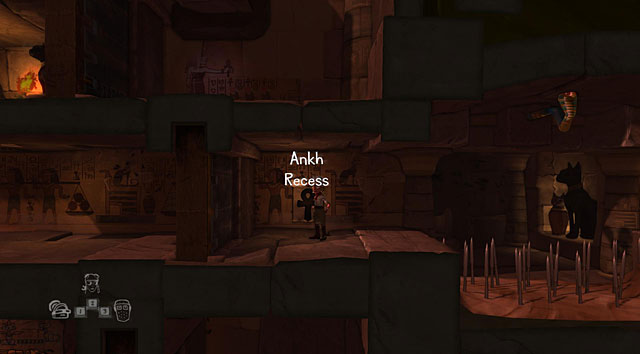
Put the Ankh into the Ankh Recess. Go through the door and stand on the pressure plate beside which there's a rabbit image to open a passage in another part of the pyramid. Head there with the two other characters and jump to the chamber with animal images. They will be imprisoned there.
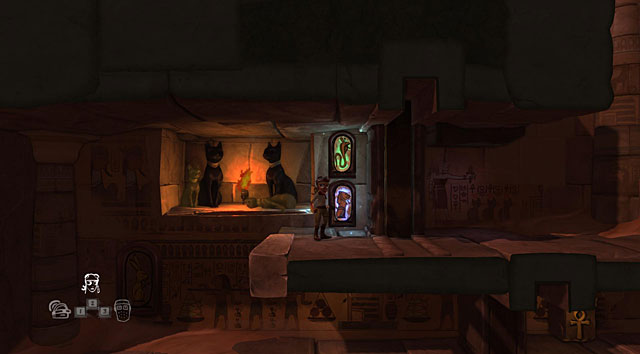
Stand on the pressure plate with the snake image with one of the imprisoned characters and with the second on the one with the lion image. A door will open in the room where the adventurer is.
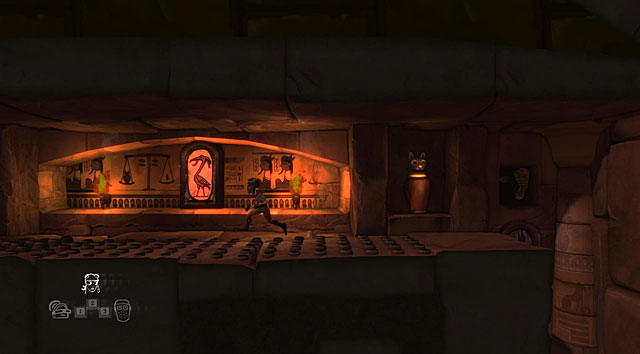
Head through the newly opened door with the adventurer and use her special skill to pull yourself to the upper level. Now stand on the bird pressure plate with one of the characters below (remember to keep the second one away from any plates) to make the spikes slow down, allowing the adventurer to cross them to the other side.
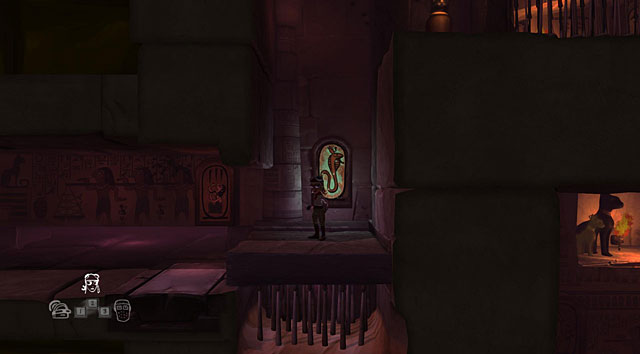
Now stand on the snake pressure plate with one of your heroes and switch back to the adventurer. She will be able to safely jump down. Before moving to the left, try avoiding the pressure plate with the image of one of the characters and spikes hanging above it. Follow this rule in the further part of the pyramid as well, as otherwise the imprisoned characters may be killed by the dropping ceiling. Move a bit to the left, switch to the imprisoned heroes and use one of them to stand on the lion pressure plate. Move further to the left with the adventurer and jump left while avoiding another ceiling trap.
Stand on the bird and jackal pressure plates to create a path to the right for the adventurer, at the end of which she will be able to use her skill to avoid the spikes of the second trap.
Before the entrance to the sarcophagus chamber, avoid the pressure plate which activates a ceiling trap.
Stand on the snake and eagle plates with the imprisoned characters and start pushing the sarcophagus to the right with the adventurer. When it presses the pressure plate a door will open, so push it to the lower level and further left to the elevator. The sarcophagus will start going down.
Stand on the jackal pressure plate with one of the imprisoned characters. From now on you will have to be very fast with the next steps. Jump down onto the sarcophagus with the adventurer and stand on the plate on its left side. When the sarcophagus starts moving, run below to the right and afterwards left.
Run below the moving sarcophagus and jump onto the pressure plate on the left side of the elevator. At the same time, use one of the imprisoned heroes to push down the jackal pressure plate (remember to keep the second character away from any others!). When the sarcophagus rides below, run to the right with the adventurer and jump down. Quickly switch to the imprisoned characters and press the lion plate. Run through the opened door with the adventurer, move below the sarcophagus and once again stand on the plate on the left side from it.
Jump onto the sarcophagus with the adventurer and pull it to the right. Afterwards jump to its other side and push to the archaeologist. Listen to his monologue and start pushing it further, pushing the archaeologist onto the spikes and further to the right until the floor crumbles.
The adventurer will be trapped as well. Go left and stand on sail plate. Use the two other characters to push the snake and jackal plates. A green fire should be lit. Now step onto the Ankh symbol with the adventurer and the lion and bird symbols with the two others. Another green fire will be lit. Stand on the last symbol with the adventurer and on the lion and jackal with the two others. The two prisoners will be able to leave the chamber through the floor.
Push the fallen boulder to the left so that it falls where the adventurer is. Switch to her and push the boulder onto the pressure plate, climb above and go right along the tour route. Stand on the platform with all three characters and the passage will open.
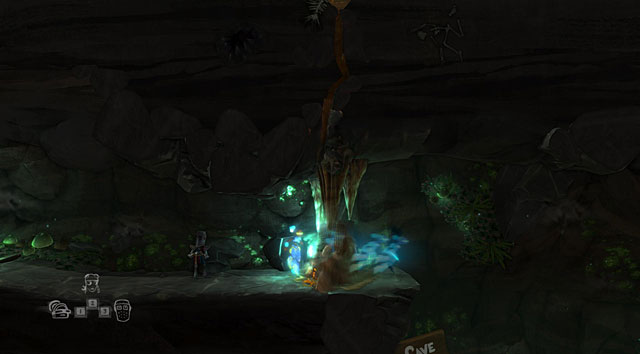
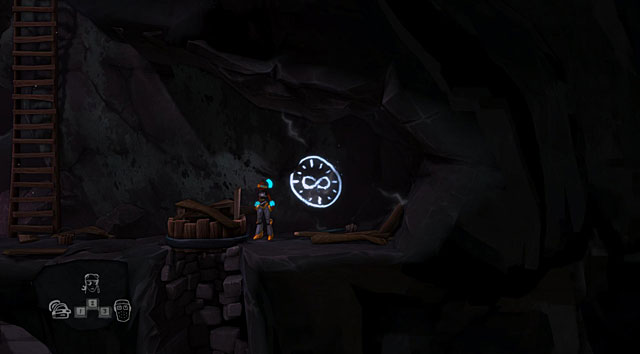
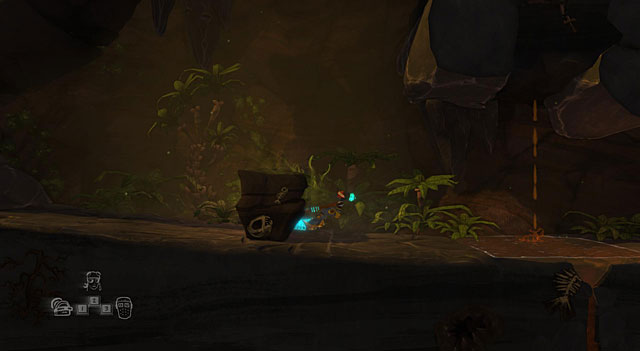
When you come across a group of stalactites and stalagmites, use the time traveler's special skill to "phase" to the other side.
Go right. Behind the Time Machine you will find a ladder leading up. Climb it and afterwards move to the left. Your path will be once again blocked by stalactites and stalagmites. Phase through them to the other side. Eventually you should come across a large stone. Move it to the right, jump onto it and afterwards onto the platform above. Take the fuse from the Fuse Box and jump below. Drop down the Fuse for a moment and push the large stone into the pond on the right so it blocks the water dripping from the ceiling.
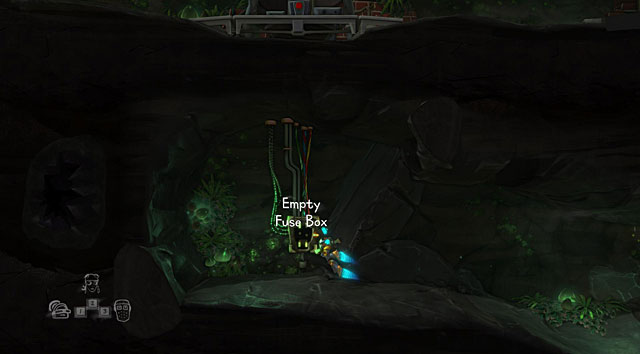
Take the fuse and move to the level below the time machine to put the fuse into the Empty Fuse Box. The time machine will be activated=.
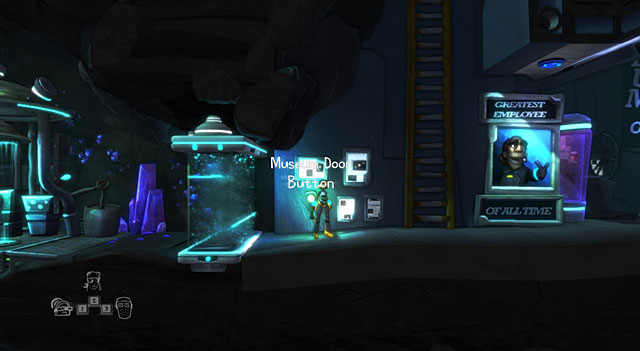
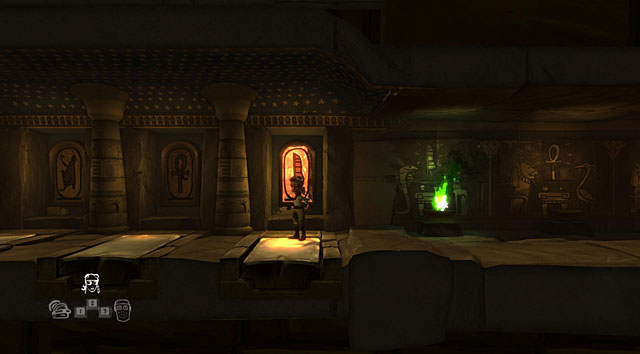
Use the time machine and you will be taken to the future. Head right, "phase" through the blue barrier and switch it off by using the Museum Door Button on the wall.
Return to the time machine and go back to the past. Head to the upper level of the complex, to the same place where you here pushing a large stone in the present times to block water dripping from the ceiling. Push it just like the first time. Thanks to that the stalactites and stalagmites won't be created and the other characters will be able to enter the museum complex.

Switch to the two other characters and move them to the right. Use one of them to enter the time machine and move to the past. Head to the right and below, afterwards left above the place where the dinosaur is and further to where a man is carving stones. Move the triangular stone to the edge of the hole on the right and switch back to the time traveler.
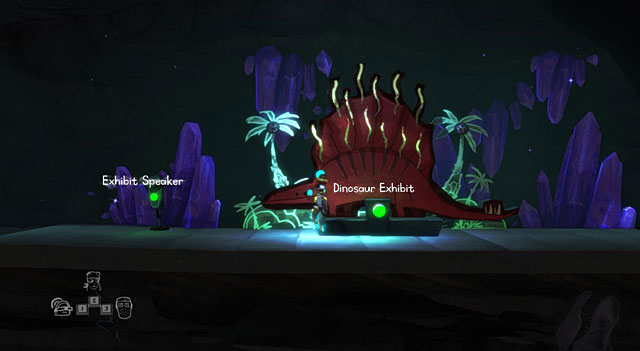
Move to the future with the traveler, head to the right and to the lower part of the complex. There you will find a dinosaur model. Press the Dinosaur Exhibit and the traveler will be sprayed with dinosaur pheromones. If you spray it on all three characters, you will receive an achievement.
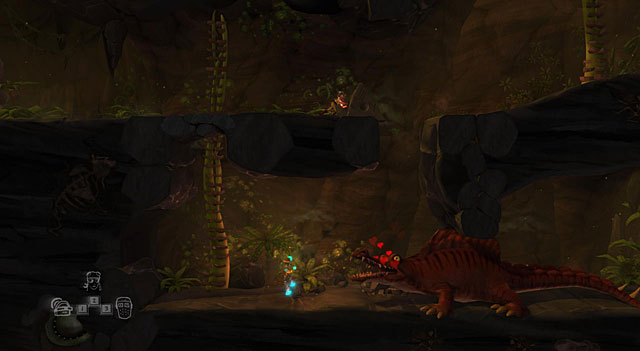
Move to the past with the traveler with the time machine and head down to the place where the live dinosaur is. Lure it to the left thanks to your scent. When it reaches the hole above, switch to the second character and push down the triangular rock onto it.
Now you will have to move to a different time with each of the characters. In the future, in the right part of the level there's a part of the museum missing one of the exhibits in the form of a bucket helm. Stand with one of the characters here. The second one should be standing in the same place in the present times and the third in the past. Use the one in the past to push the rocks so that the water drops into the hole. Move the rock left and while still pushing, switch to the character in the present time.
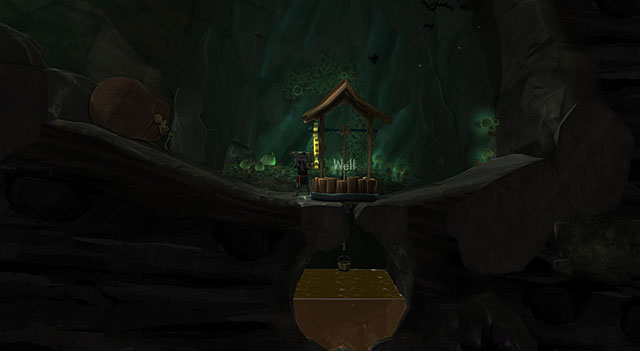
It turns out that by moving away the rock you have created a Well. Use the crank and switch to the character in the future while not letting go.
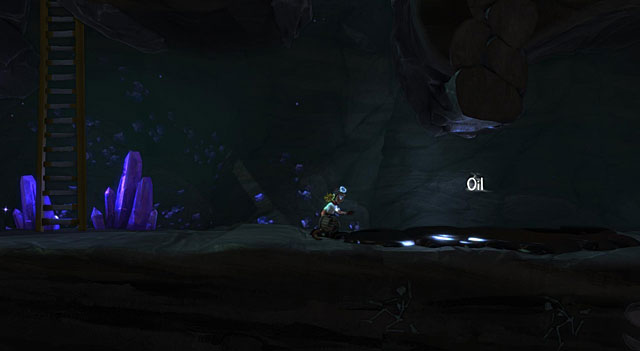
Use the character in the future to take the Bucket from the pedestal below the painting. Head to where the dinosaur died and gather Oil into the bucket.
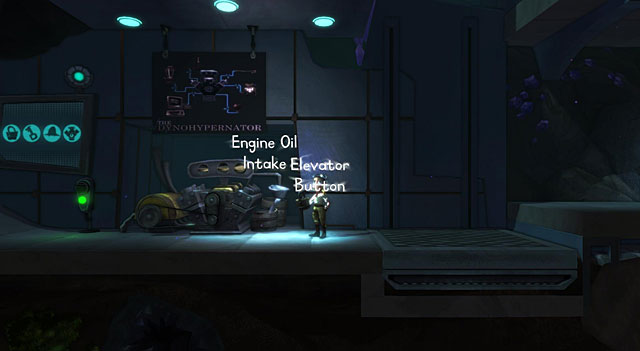
Move to the future with this character and pot the oil into the Engine Oil Intake to the right of the reception. Head onto the elevator platform and press the Elevator Button on the left.
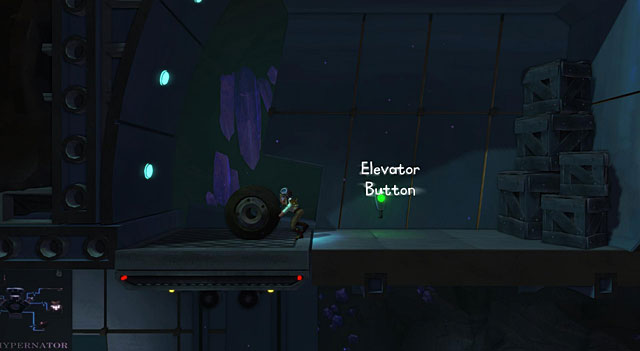
The elevator will take you higher. Push the wheel onto the platform, push the Elevator Button and ride it below. Push the wheel to the time machine and move to the past. Keep pushing the wheel to where the sculptor is working. The wheel will fall down to where the dead dinosaur is. Now head to the sculptor and push the boulder onto his head.
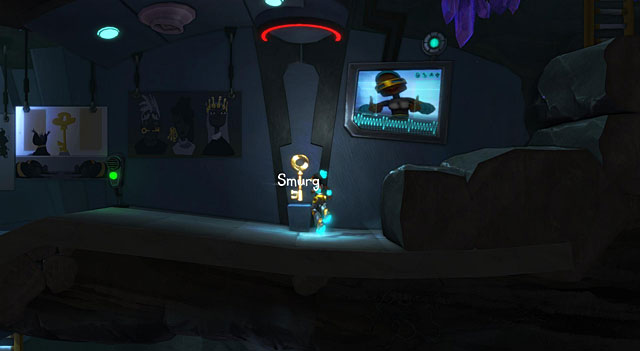
Now switch to the character in the future and pick up the Smurg which you have passed by on your way to the dinosaur model. Move to the present times and use it to open the Locked Door to the left of the time machine. Afterwards open another one and yet another after crossing the long corridor to the left.
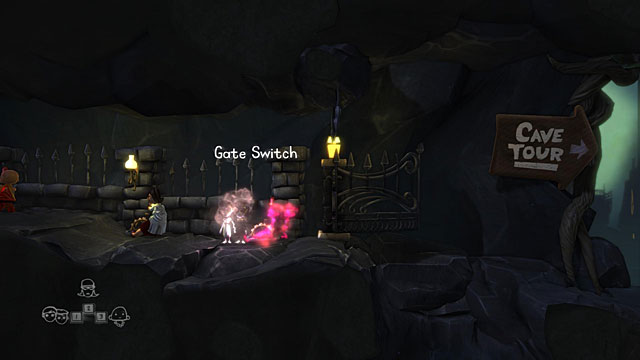
In front of the gate there are three Gate Switches. Have two characters pull the ones on the left and have the twins pull the one closest to the gate. When the gate opens, don't let go of the lever and use the twins' special skill. Jump with them over the pit to the other side.
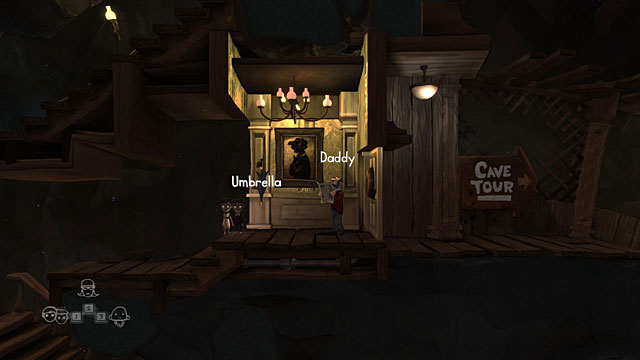
Jump between the platforms, enter the house and run to its right side where you will find a blocked passage and Daddy who's reading a newspaper. Take the Umbrella from the hook on the wall.
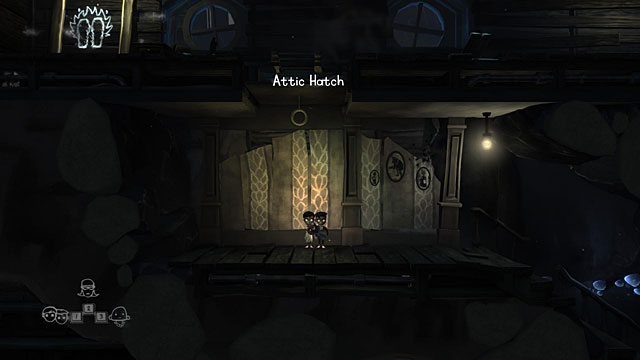
Run to the top floor to where the Attic Hatch is. Use the umbrella on the hatch and enter the attic.
On the right side of the attic you will find a cardboard box. Push it to the left and take the Fuse Box from the wall. Now push the box maximally to the left, to the board blocking the floor.
Head a bit lower and put the fuse into the Fuse Box found beside the elevator.
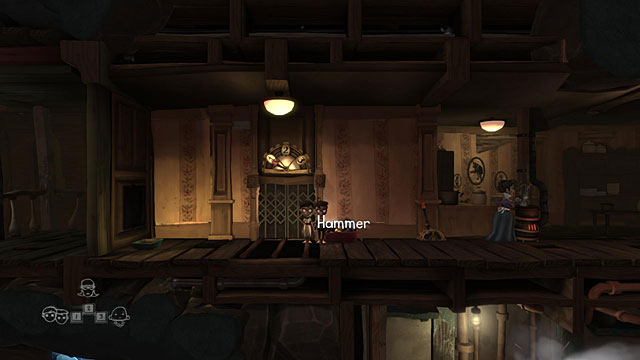
In the kitchen beside the elevator you will find a Hammer. Take it and head to the attic to fasten the Loose Floorboard to the floor. Afterwards you have to drop down the cardboard box beside.

Now you have to push the box to almost the very bottom of the house, to the kitchen. Afterwards, place it on the platform beside the elevator and pull the Dumbwaiter Switch twice until the box reached the third floor.
Run to the elevator on the third floor and push the cardboard box to the wall on the left. You will be now able to use the rope to reach the roof of the house. However before you do that...
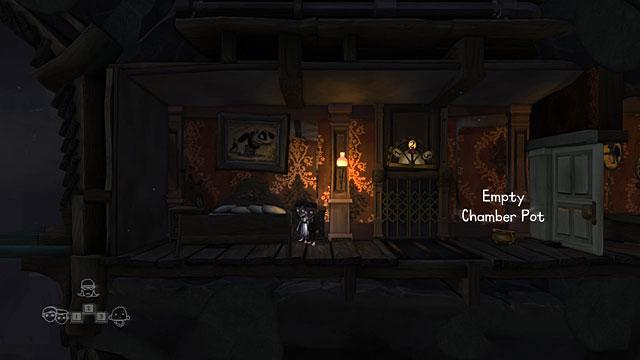
...run back to the elevator on the first floor, grab the switch, use the twins' special skill and get onto the elevator platform with them. If you do everything correctly, you should reach the locked room of your parents. Jump a few times on the bed to earn an achievement. Take the Empty Chamber Pot and head down to the bathroom below (it can be accessed using the ladder from the kitchen).
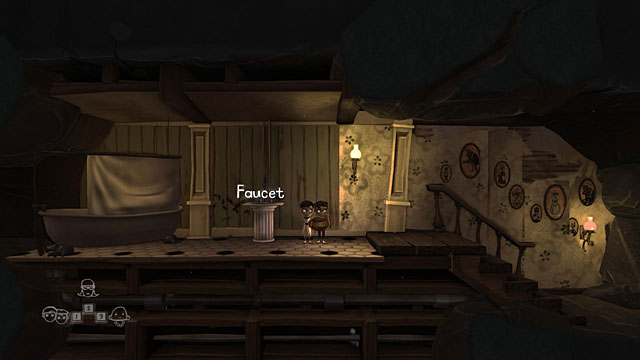
Fill up the chamber pot with water using the Faucet and run up to where you left the cardboard box by the wall. You can also get there using the elevator to save time.
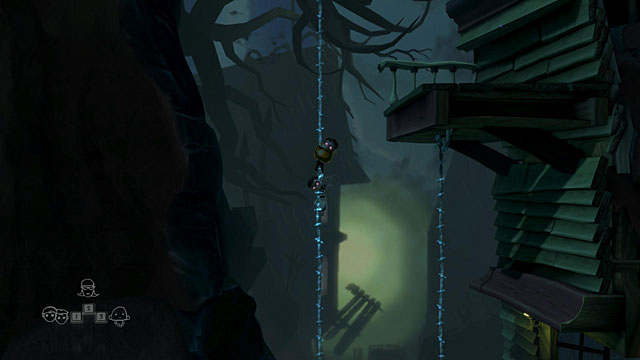
Go up to the roof along the hanging ropes.
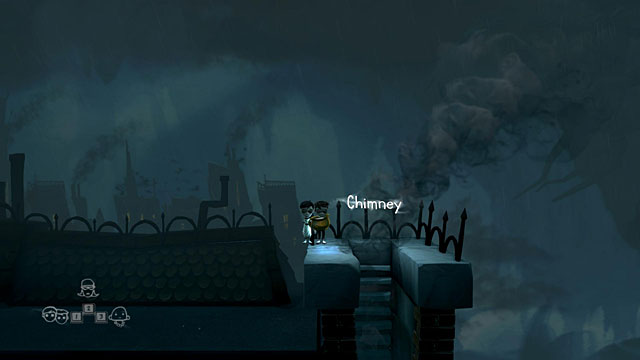
Head to the right side of the roof and pour water from the chamber pot into the Chimney. Go down the chimney.

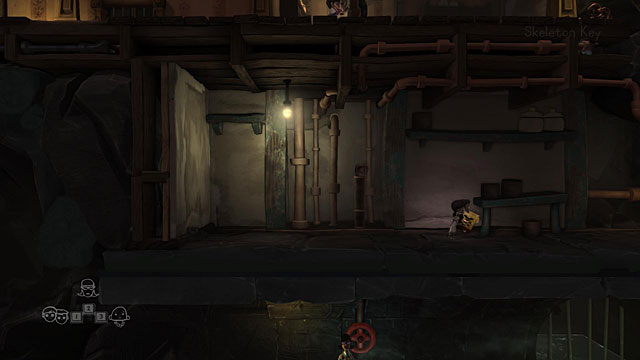
Take the Skeleton Key and use it to open the Study Door.
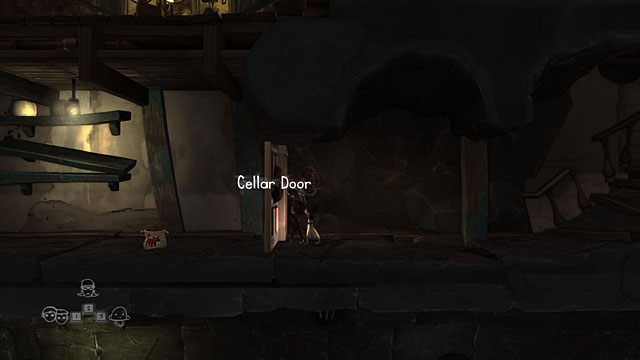
Head down the house to the cellar. Open the Cellar Door using the key and take the Dog Food.
Return to the kitchen and pout the food into the Empty Dog Bowl by the door.
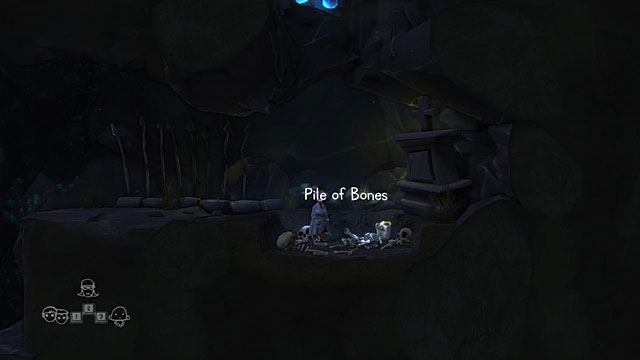
Now switch to another character, head a bit to the left of the gate and afterwards below and to the right. You will come across a Pile of Bones. Take one bone out of it, head left and jump below the stairs.
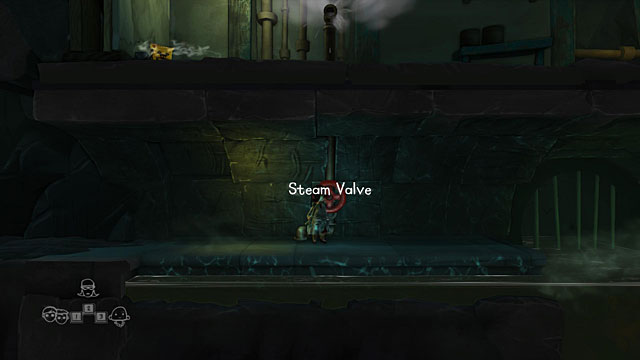
You will reach a Steam Valve found below the cellar. Turn it.
Switch to the twins and head to the cellar once again. Take the Rat Poison.
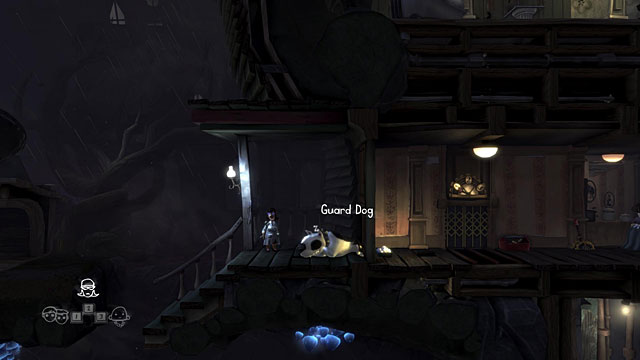
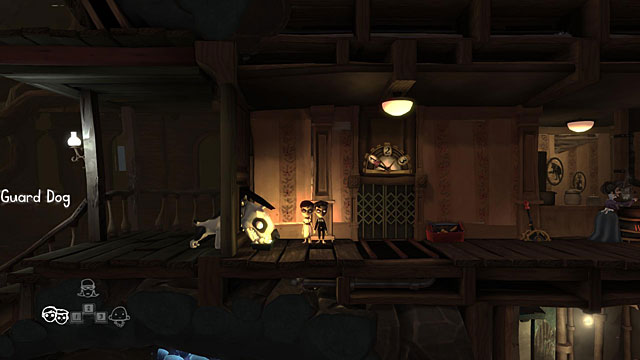
Return to the character with the bone and approach the Guard Dog lying on the porch of the house. Treat him with the bone.
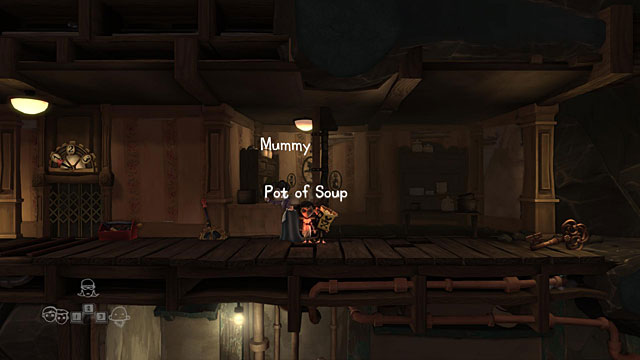
Quickly switch to the twins and when the mother turns her back on the kitchen, pour the poison into the Pot of Soup. Green smoke in the shape of a skull should start coming out of the pot.
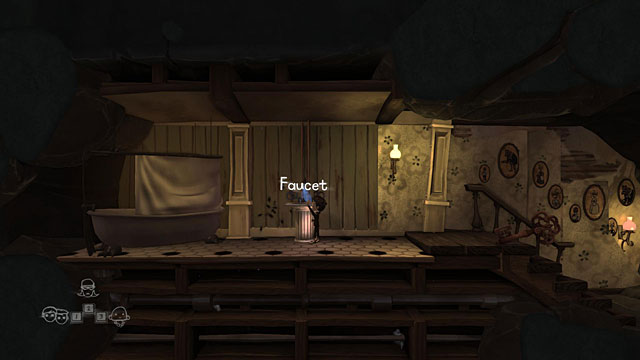
Head to the bathroom and turn off the Faucet. In the mean time the rest of the family should get poisoned with the soup.
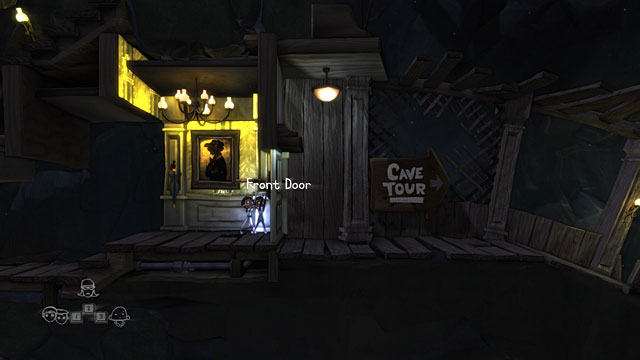
Take the Skeleton Key and head to the Front Door which was previously blocked by the father. Open it with the key.
Head out of the house, go down and to the left following the long corridor. You should reach the gates of the manor by which there are three Gate Switches. Switch all of them with three characters and the gate will open.
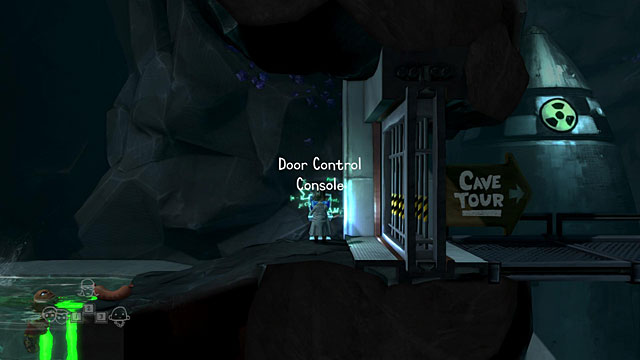
Use the scientist's special skill by the Door Control Console.
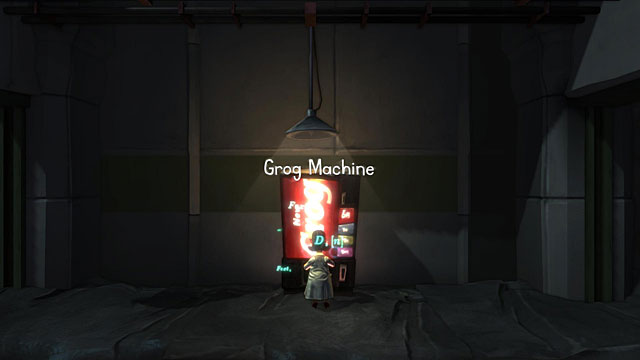
Follow the long corridor to the end to find a Grog Machine. Use the special skill on it to find out that it's a hidden method of reaching the laboratory.
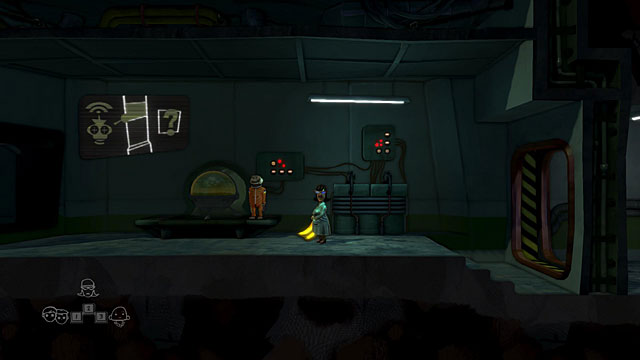
Run left, swim through the water and take out the fuse from the Fuse Box on the wall.
Climb the ladder with it and put the fuse into the second box. Head to the left, press the Elevator Call Button and stand on the platform to ride it up.

Climb the ladder to the Lower Blast Door Console and use your special skill on it. Return to the elevator and ride it down to see that the rocket is heating its engines.
Ride up again and head to the right. The door which was blocking the passage up until now will automatically open.
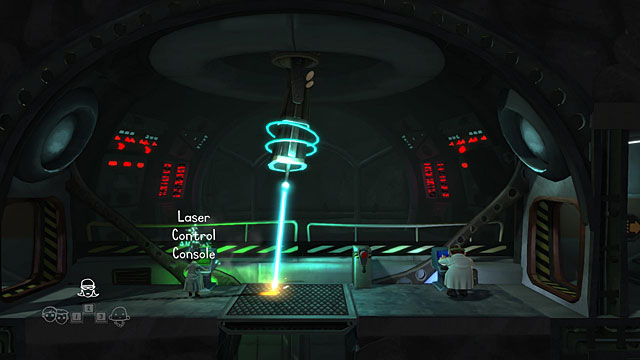
Wait for the laser beam to turn into the other direction and quickly use your special skill on the Laser Control Console. Pick up the Launch Key which the dead scientist left from the floor.
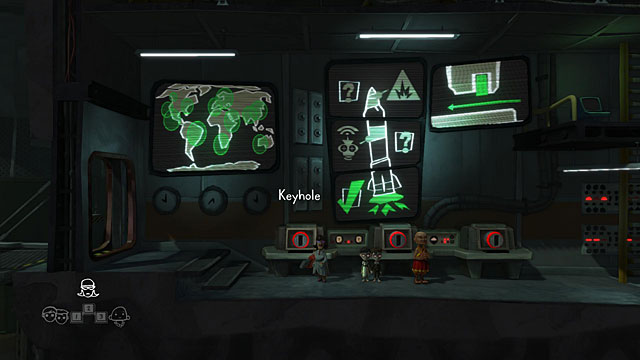
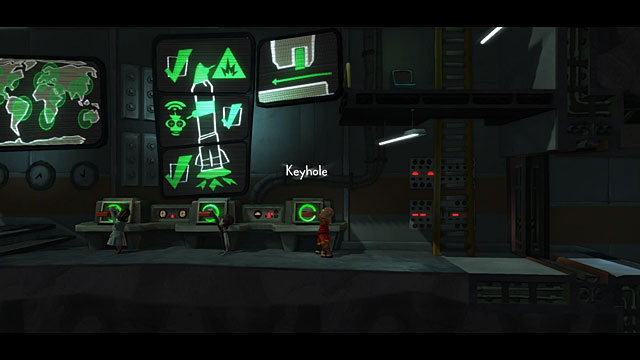
Return with the key to the first room and put it into one of the three Keyholes.
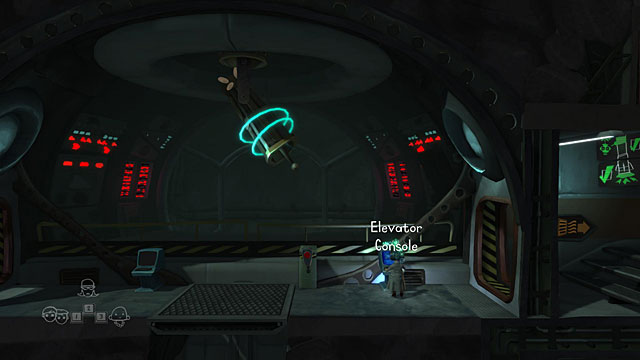
Head back to the right and use the scientist's skill on the Elevator Console on the right to activate the elevator. Ride it down.
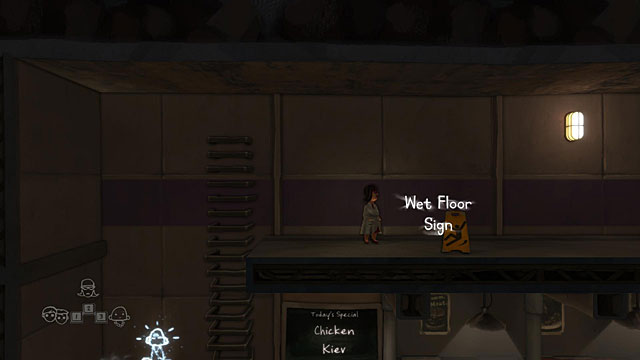
Head to the lowest, third floor. There you will find a Wet Floor Sign. Take it and head to the 2nd level.
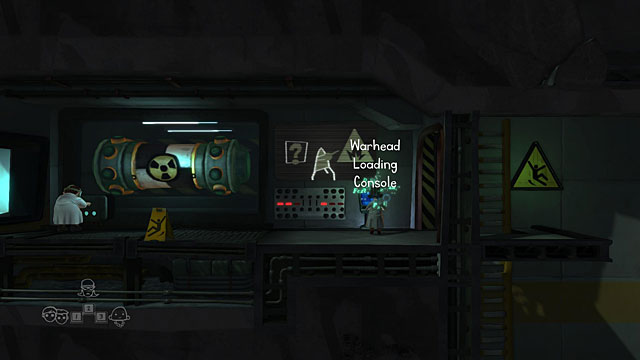
Find the Tech Lab and place the wet floor sign to the right of the technician. Afterwards use the special skill on the Warhead Loading Console on the right side of the room. The technician will slip and kill himself. Pick up the key lying beside him and put it into the second Keyhole in the first room, by the entrance to the complex.
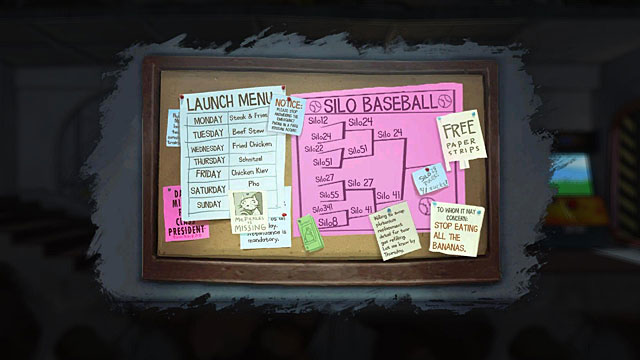
Head back to the second level but this time go to the right. You should find a big Bulletin Board. Take a closer look at the menu and days of week.
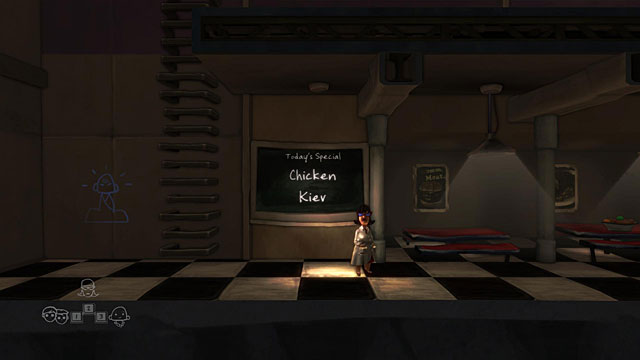
Go to the lower level and head into the cafeteria. Look at the board to find out what's the day of the week. It will vary with each walkthrough. You have to compare the name of the dish on the board with the one on the bulletin board above.

On the right side of the board you will find a Fruit Bowl on the table. Keep reaching for it until you take out bananas. Take them.
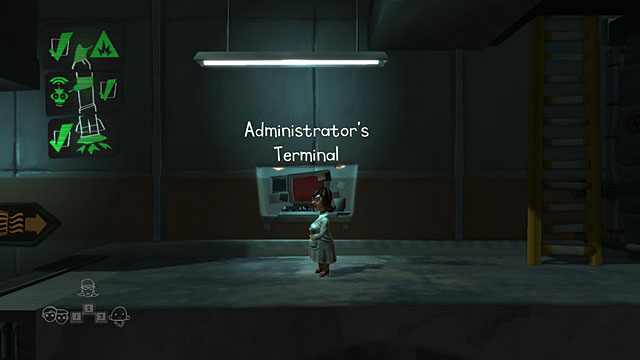
Ride the elevator up and head to the right to the Administrator's Terminal. Activate it and look at the sticky notes.
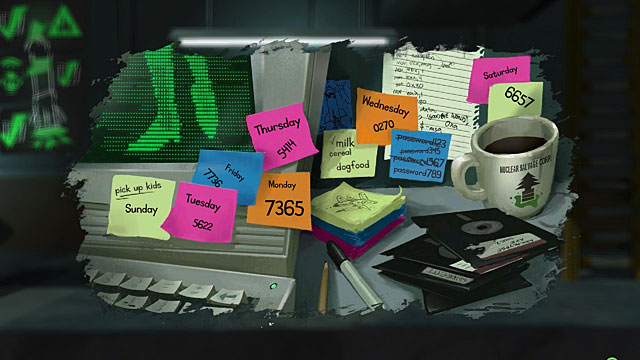
You should already know what day of the week it today, so write down the corresponding code.
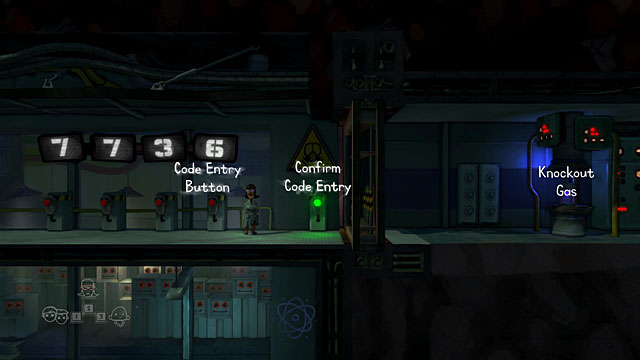
Ride down the elevator and go down onto the third floor. In the corridor on the right you will find four Code Entry Buttons. Enter the code corresponding with the current day and afterwards push the Confirm Code Entry. If you have entered the proper code, the passage will open.
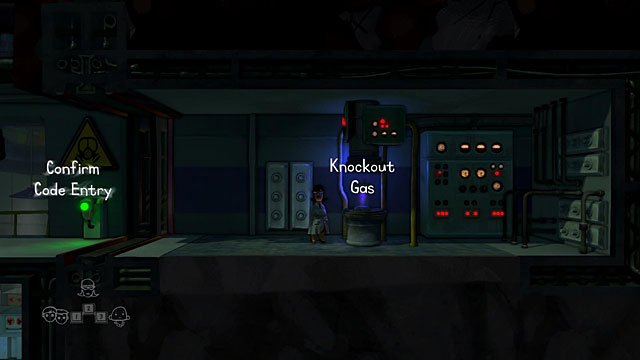
Head into the room and take the Knockout Gas.
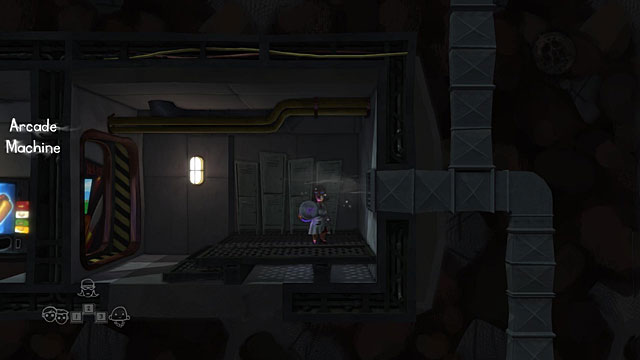
Go to the 1st level and head maximally to the right. At the end you will find a ventilation system which should be at the moment sucking out air.
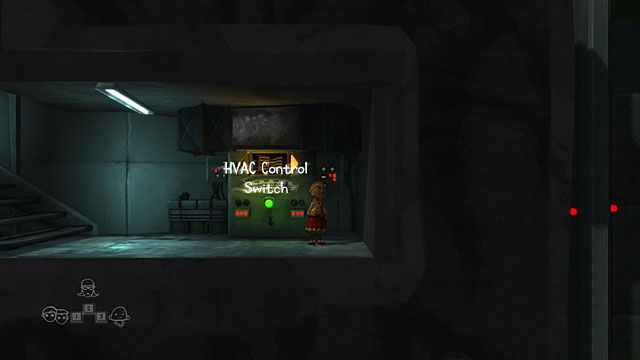
Switch to the second character and head to the far right on the highest level of the lab. There you will find the HVAC Control Switch. Use it and quickly switch back to the scientist.
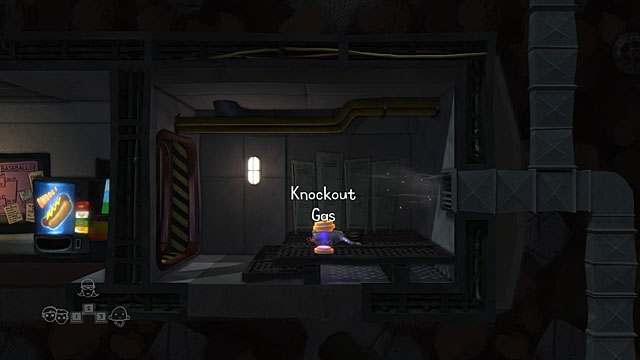
Drop the gas container onto the floor. If you make it in time, you will get rid of the guard and obtain the third key. Of course take it to the first room and put into the Keyhole.
Behind the unconscious guard you will find a room with a Chimp. Give him the bananas and it will start following you. Go to the 2nd level and to the room on the left side.
After you get there, the chimp will jump into the capsule. Head back above, to the place with the three keys.
Turn all three keys with all characters and the rocket will be launched. Afterwards head out of the room to the left, ride down the elevator and go left, along the tour direction.
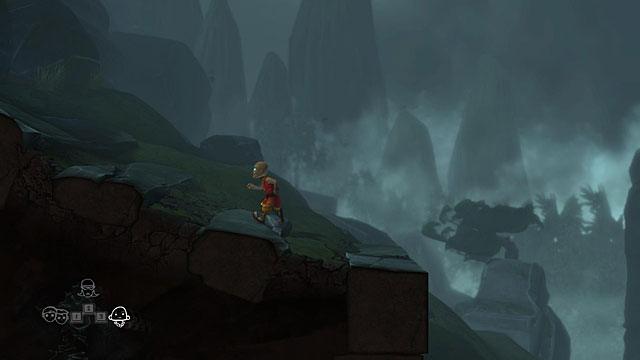
Run to the left to the very top.
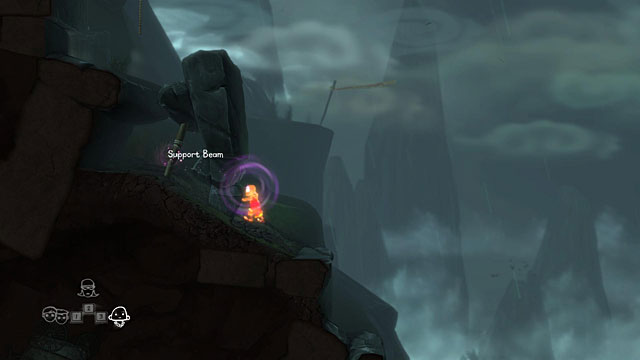
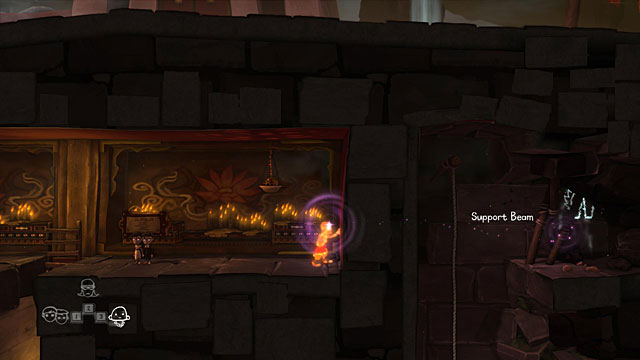
Use the monk's special skill on the Support Beam holding the large rock and you will be able to move further to the left.
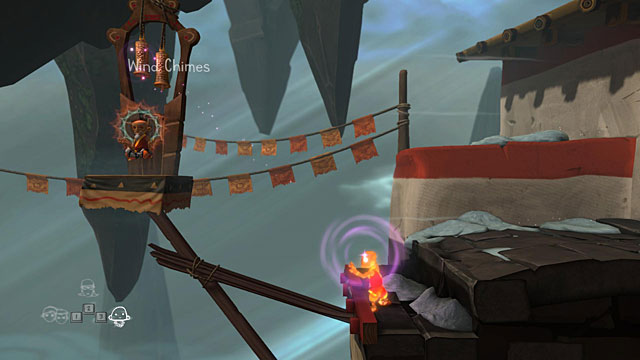
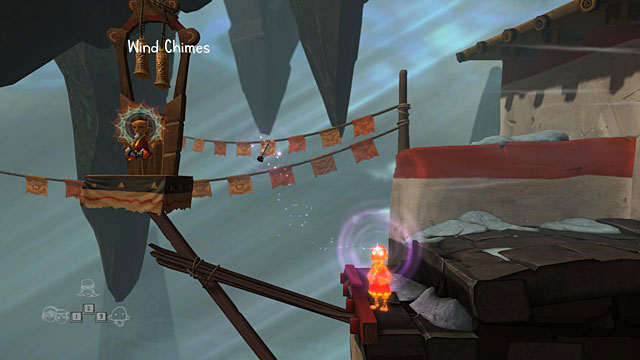
Use your skill on the Wind Chimes above the master to end his meditation.
He will throw out a Feather. Use your skill to grab it.
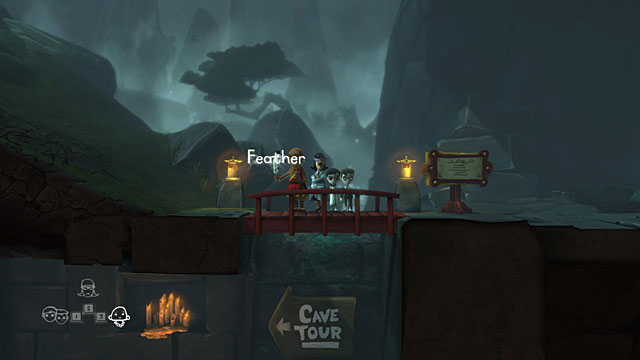
Go back from the hill, stand with all three characters on the bridge and start jumping. The bridge will crumble.
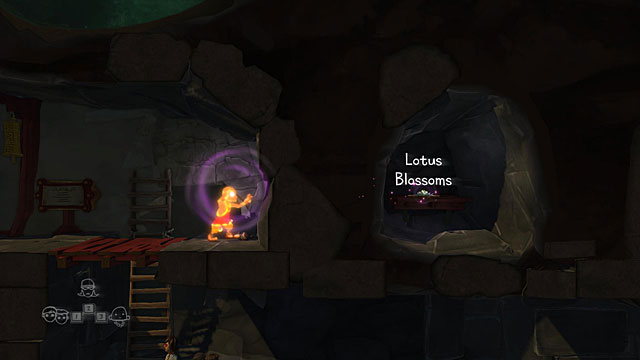
Follow the corridor to the left and climb the ladder. Use your skill on the Lotus Blossoms behind the wall.
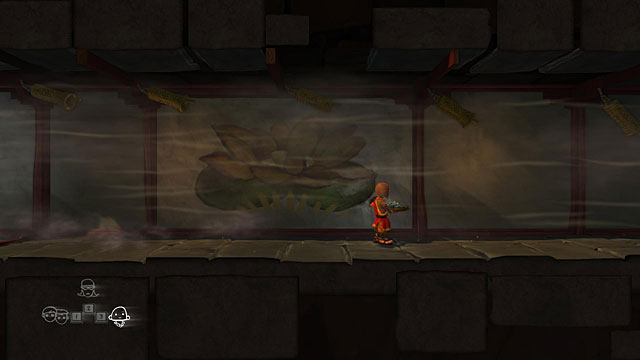
Hold onto the flower and very slowly and carefully head to the left (keep shift pressed in the PC version). When wind start blowing, turn your back onto it. That way the wind won't blow away the flower.
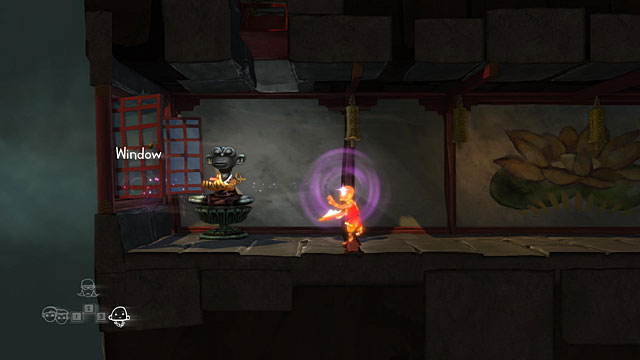
After reaching an open Window, use the monk's skill on it. Afterwards place the flower in the hands of the Blossom Pedestal. That way you will open a passage above, so climb the ladder.
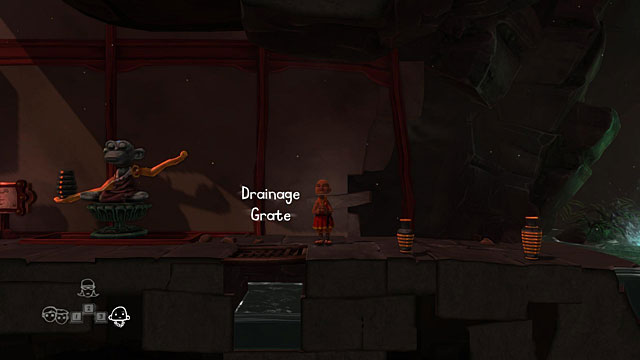
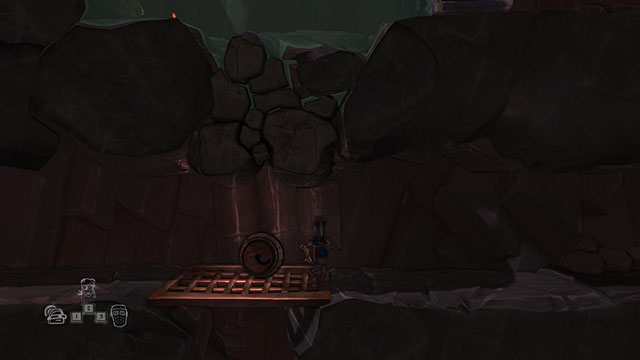
You will have to use two jars (4 and 7 gallons) and pour water between them so that one of them has exactly 6 gallons inside. In order to gather water, jump into the Pool of Water with a pot. In order to get rid of the water, pour it out to the Drainage Grate.
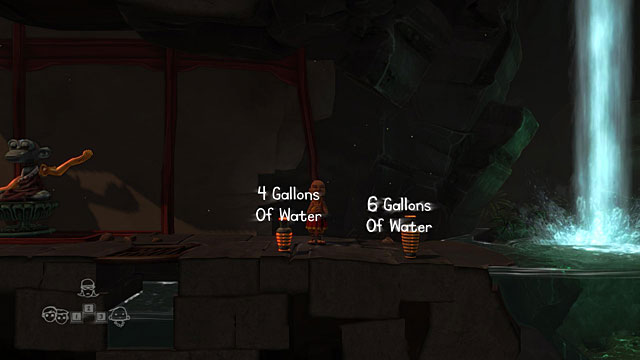
Fill the bigger pot with 7 gallons of water and pour it into the smaller one. That way the bigger one will remain with 3 gallons. Put it aside and pour the content of the smaller through the grate. Put it down and pour inside the content of the bigger pot. That way you will have 3 gallons in the smaller one and nothing in the bigger. Take water from the puddle into the bigger pot and pour some of its content into the smaller one, therefore ending up with 6 gallons of water inside. Place the bigger pot on the Scale Pedestal and take the elevator up with all three characters.
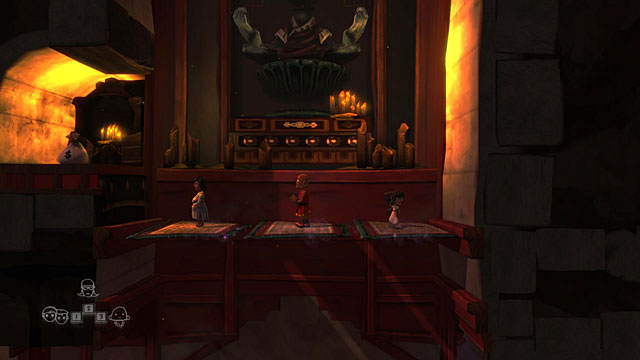
Place your character so that each one stands on a different carpet and they should all fly up. If you don't move any of your character throughout the whole track, you should safely reach the upper level. Climb up using the rope.
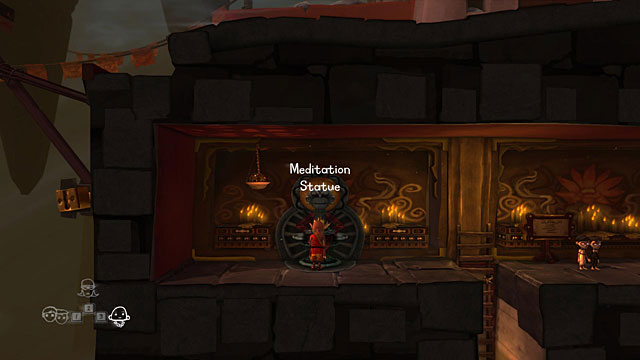
Approach the Meditation Statue and use it. The camera will start moving away. On the left side of the screen you, behind a wall, you will see a Support Bolt.
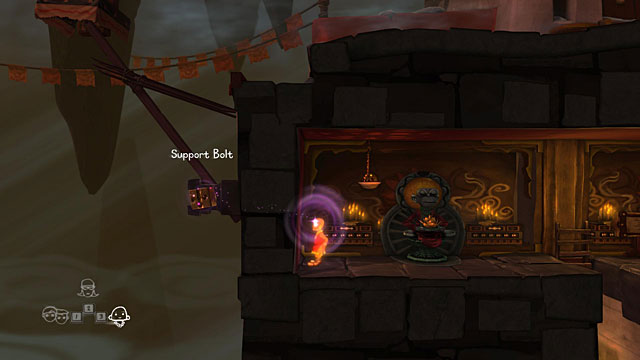
Stop meditating and use the monk's special skill on the bolt five times until it falls down from the construction.
Head to the right side of the chamber. Behind the wall you will find Support Beams. Keep using the monk's special skill on the until they get destroyed.
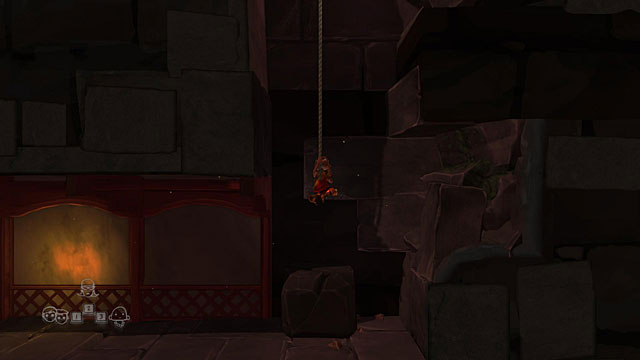
Go lower and push the stone block to the right so that you can jump to the rope. Climb it and run left to the master.

Once again use the monk's special skill on the bells to disturb his meditation.
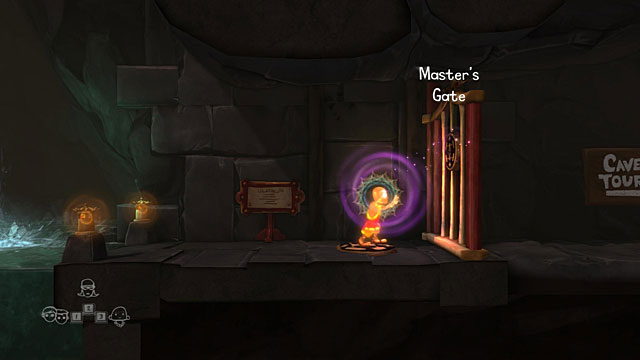
After he falls down into the pit, run to the right and go off the mountain. Stand by the Master's Gate and use the monk's special skill to open them.
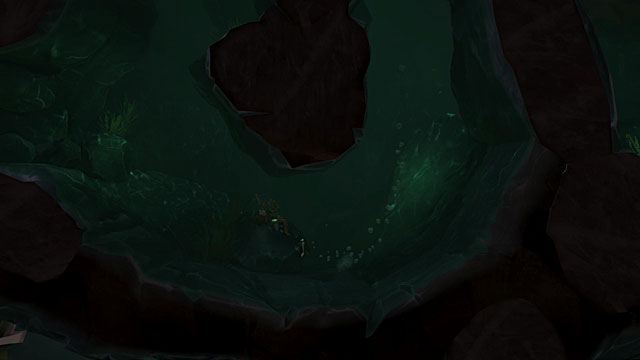
The hillbilly's special skill let you hold your breath. Use it and dive. Keep swimming left, remembering to use it from time to time.

Head out of the water and take a stick of dynamite from the Crate of Dynamite. Light it using the Flame and throw by the pile of rocks on the right. The explosion will open a passage for other characters. Head to the left and go down the ladder to the carnival.
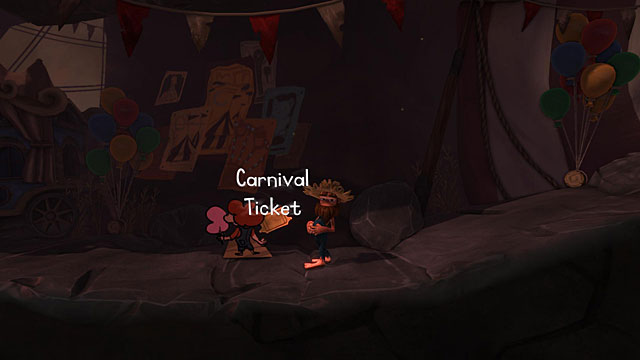
In order to obtain the Pink Bear, you will need five Carnival Tickets. One of them can be found to the left of the machine.
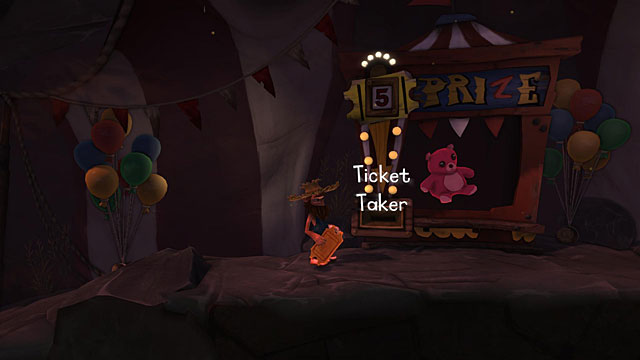
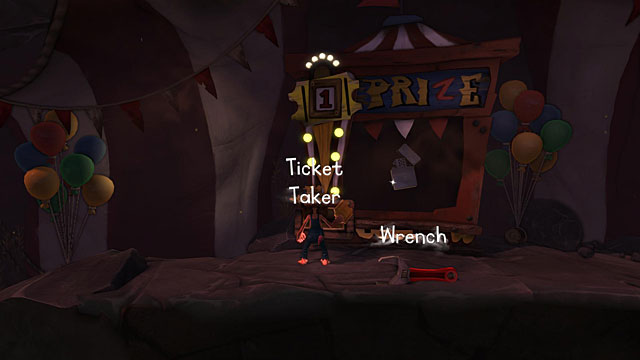
Approach the Ticket Taker with the bear inside and give it one ticket. That leave four remaining.
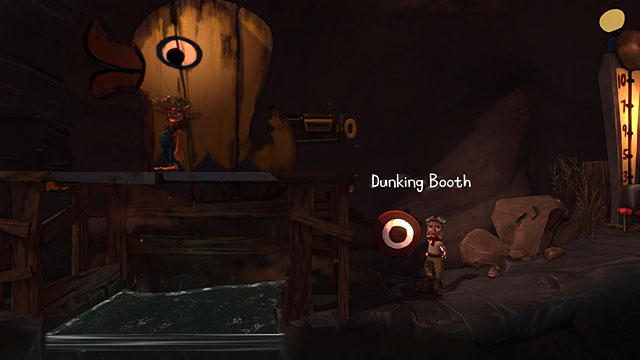
Step onto the trapdoor above the water. With another character, hit the Dunking Booth. The hillbilly will fall down into the water, but the booth will throw out a ticket. Dive with the hillbilly and swim out on the left side. Climb up the ladder, jump down onto the trapdoor, take the ticket and use it on the ticket taker. Three more remain.
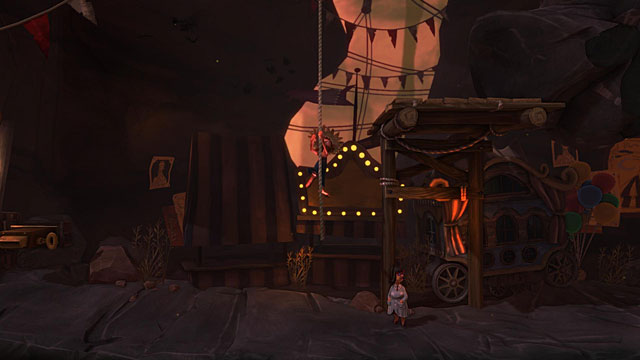
Climb one of the ropes to nearly the very top...

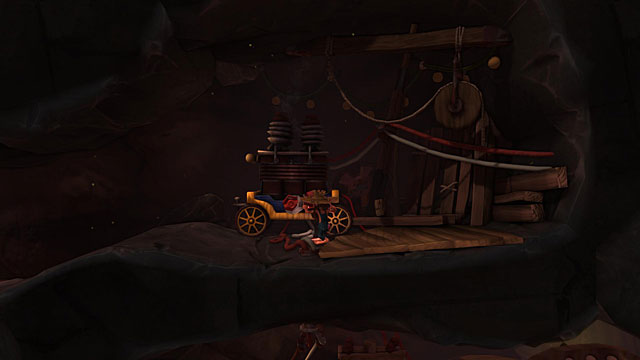
...and find the Generator Truck. Beside it there should be a Wrench. Pick it up and switch to a different character.
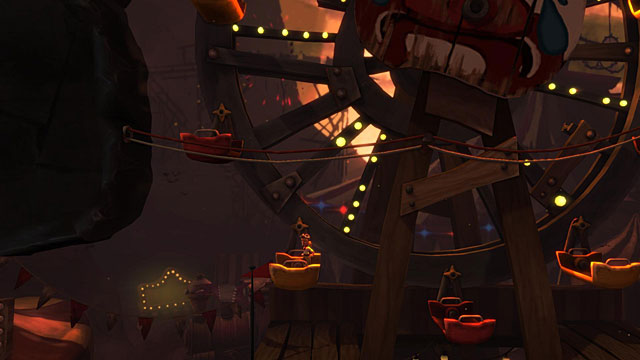
Climb higher towards the ferry wheel and jump into one of the cars.
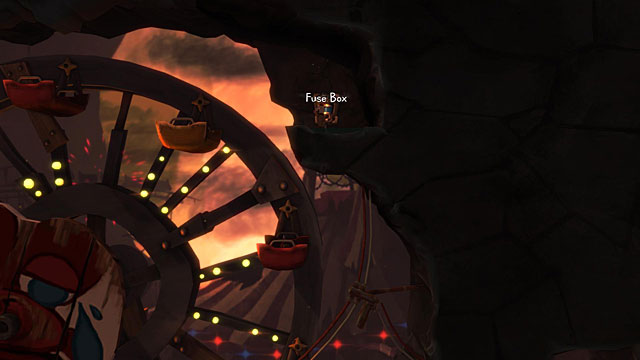
Jump off onto the rock ledge with a Fuse Box, but don't take out the fuse just yet.
Switch to the hillbilly and use the wrench to turn the bolt in the generator. Return to the previous character, pull out the fuse and jump down along the ferry wheel's cars.
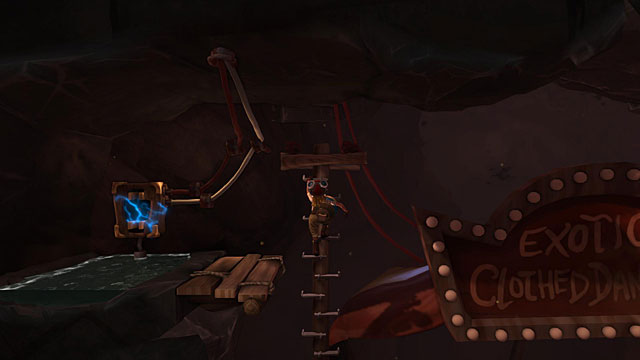
Run left and climb the ladder to the Empty Fuse Box. Don't get off the ladder and switch to the hillbilly to once again turn the bolt in the generator. Switch again and put the fuse into the box. Go down the ladder and take the Sledgehammer.
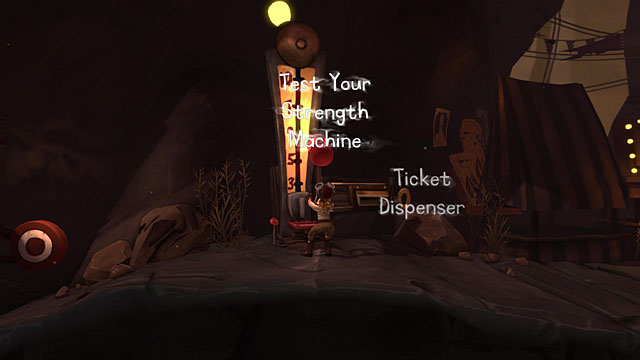
Head down with the sledgehammer in hand and use it to hit the Test Your Strength Machine. Another ticket will fall out of it, so take it to the bear machine. Only two more to go.
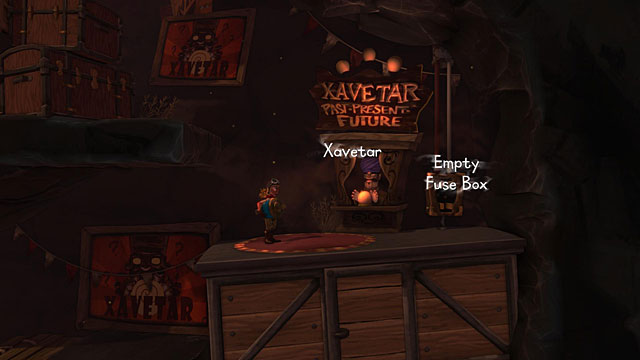
Head back to the ferry wheel to take back the fuse. Before taking it out, switch to the hillbilly and turn the bolt in the generator. With the fuse, head right to Xavetar who call tell you the past, present and future. Place the fuse in the Empty Fuse Box.
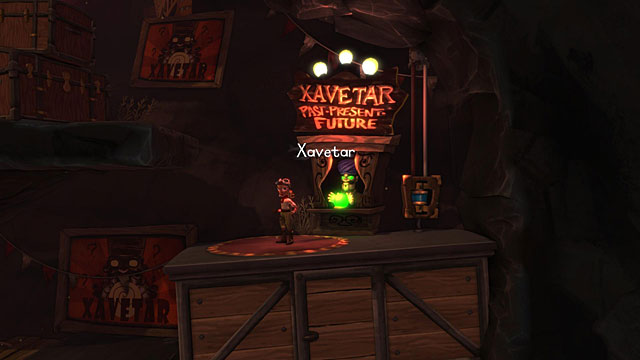
Talk to Xavetar and remember the colour which the crystal ball will take.
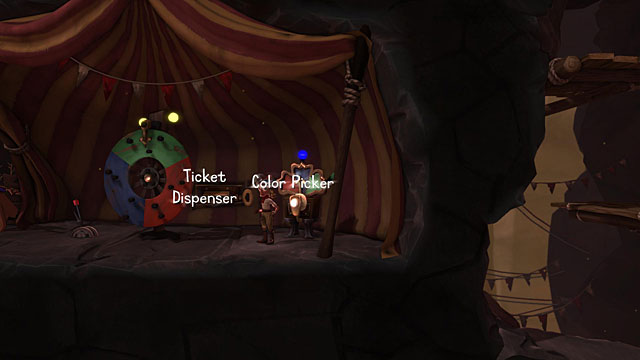
In the left part of the complex you will find the Wheel of Misfortune. Set the colour from the crystal ball on the Color Picker and pull the Lever. After winning, take the ticket and throw in into the ticket taker. Only one more ticket left.
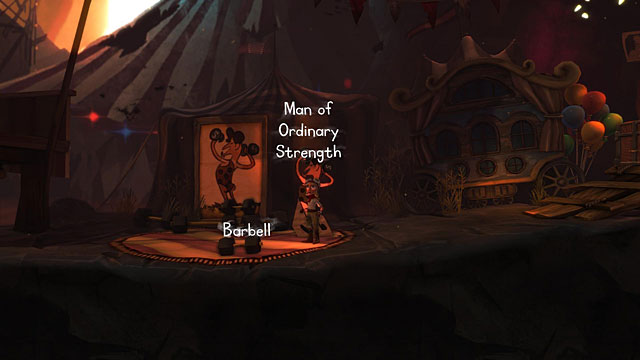
Head to the ferry wheel. To the right of it there's the Man of Ordinary Strength and a Barbell beside it. Pick it up and go below, to the magician.
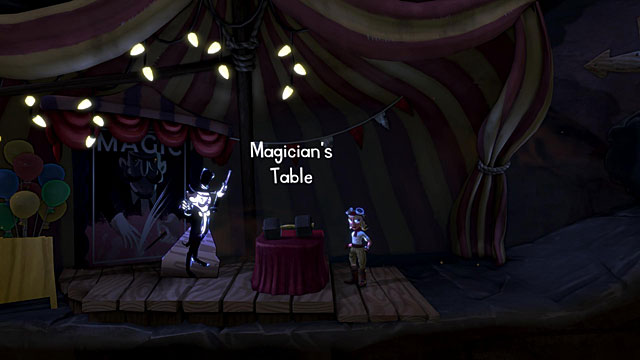
Place the barbell on the Magician's Table when there's nothing going on. The magician will make the barbell invisible. Take it.
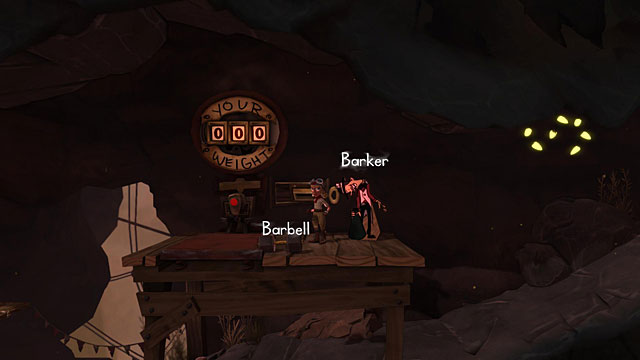
Nearby there's a weight and a man who can guess how much you weight. Step onto the machine and thanks to the barbell that you're holding the man will make a mistake, causing a ticket to fall out. Take it to the machine with the bear. The hillbilly will automatically take it.
It however looks like that the lady is already taken.
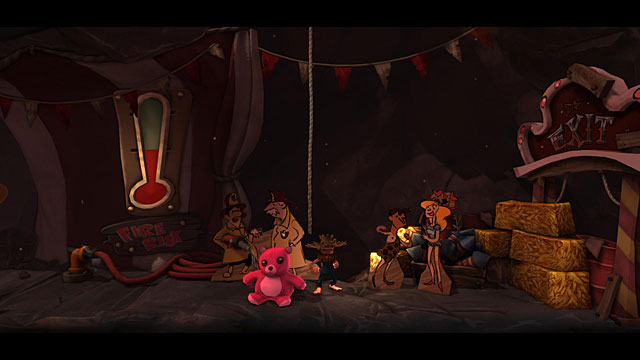
To the left of the bear machine, inside which a Lighter has now appeared, there's another ticket. Take it and put it into the machine to obtain the lighter. Trying to set fire to the hay bales behind the woman won't have an effect, as the firemen will extinguish the fire immediately.
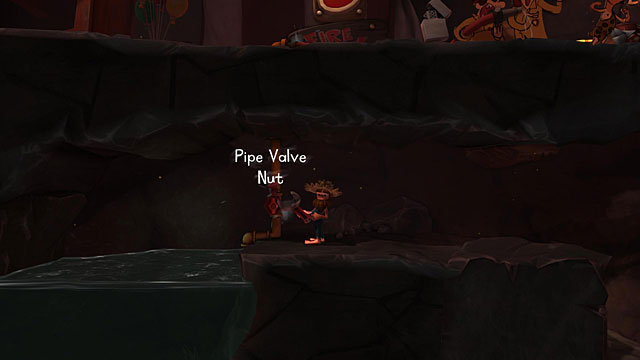
Take the Wrench which you previously used to turn the bolt in the generator and stand on the trapdoor above the water (you've already done that to obtain one of the tickets). Have another character hit the wheel to make the hillbilly fall into the water. Swim below and to the right while using your special skill every couple seconds. Get out of the water and turn the Pipe Valve Nut, therefore cutting off the water.
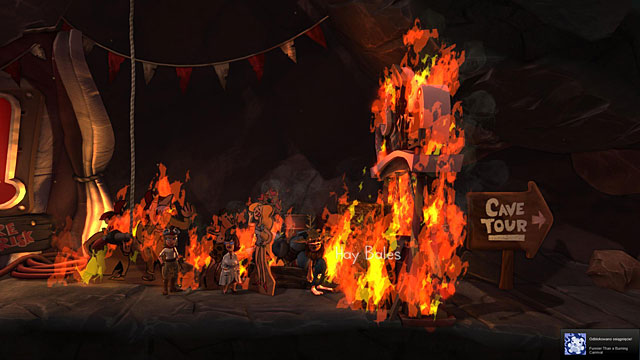
Return to the upper level, take the lighter and set fire to the Hay Bales. Run to the left as far as possible, afterwards head back and the path should be clear.


 The Lord of the Rings: Conquest Game Guide & Walkthrough
 The Matrix: Path of Neo Game Guide & Walkthrough
 The Da Vinci Code Game Guide & Walkthrough
 The Last of Us Game Guide & Walkthrough
 The Elder Scrolls Online Game Guide & Walkthrough