
Taking great risks, we decided to share this tome of knowledge with out readers. It has been passed along in secret for generations, as it contains secrets so secret, that even we aren't sure if they actually exist. This walkthrough mustn't fall into wrong hands, and now YOU are the one responsible for guarding it as well.
Apart from that, this guide will help you finish The Da Vinci Code and find all secrets hidden in the game. Have fun and enjoy, at least to the extent that's possible with this crappy game.
Orange markings in the text indicate various objects, items, and places.
Green markings indicate secret items.
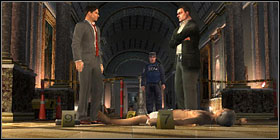
Look at the victim's body. Notice the Pentacle on his chest, and look At Sauniere's Feet, Sauniere's Clothes, Sauniere's Left Foot.
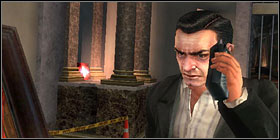
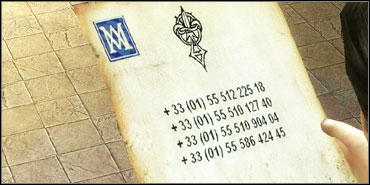
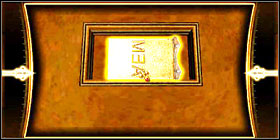
Enter your inventory (Q) and examine the Business Card. Rotate it to find an access code: 454.
Use the Cell Phone and dial 454.
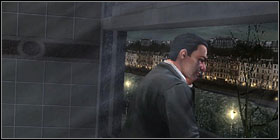
You're in the bathroom. Pick up the Soap from under the mirror. Open the window.
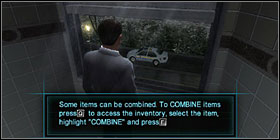
Enter your inventory. Combine the Tracker with the Soap, and then throw it out of the window.
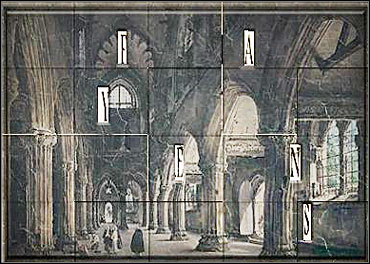
You're back by Sauniere's body. Solve the puzzle by changing the letter order from OH LAME SAINT to THE MONA LISA.
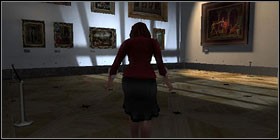
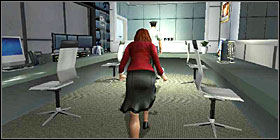
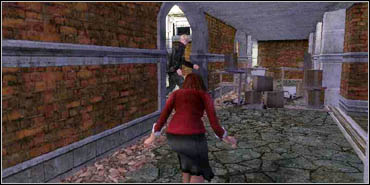
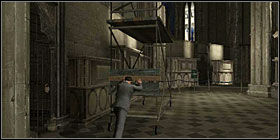
Now you play as Sophie. Move to the end of this room and use the Gate Controls. Sneak past the two guards here (holding Shift) and go to the gallery room ahead. Pick up a metal bar from the floor and use it to sneak attack a guard (man, is that game stupid).

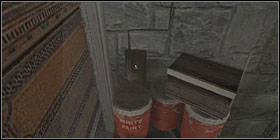
Approach the locker. Move the bottle labeled "BIONE". There's an UV Light there, pick kit up.
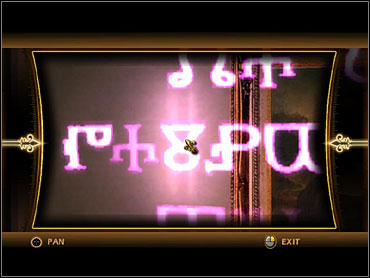
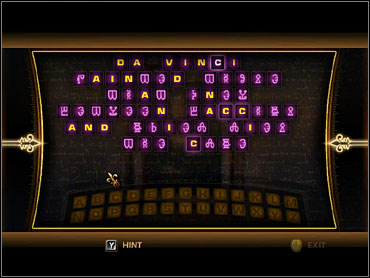
Look at the Mona Lisa painting and use the UV Light to read the message written on the glass. Another riddle, an anagram. The message is: DA VINCI PAINTED THOSE THAT KNEW BETWEEN BACCHUS AND URIEL LIES THE CLUE.
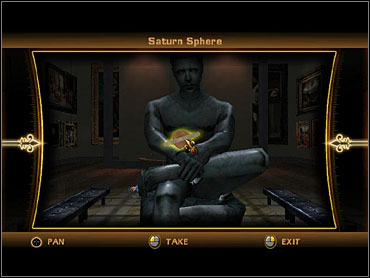
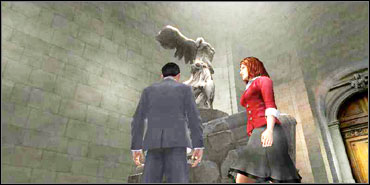
Defeat another guard and approach the statue in the center of the Mona Lisa room to get a Saturn Sphere.
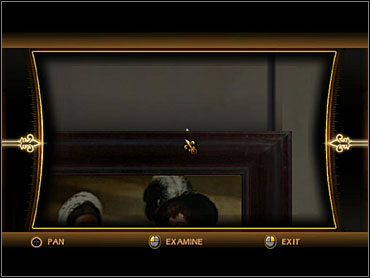
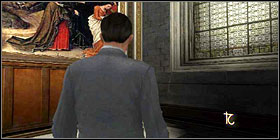
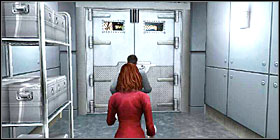
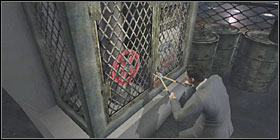
Enter the Grand Gallery, using the door to the left. Look at the John the Baptist painting (screen). Notice there's something above it (screen below). You'll get a Priory Ring.
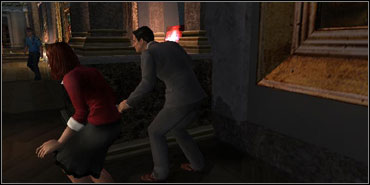
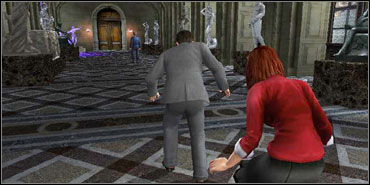
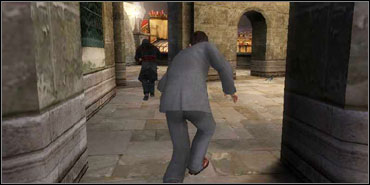
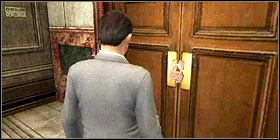
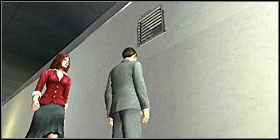
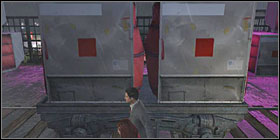
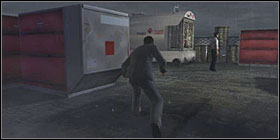
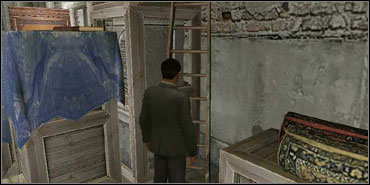
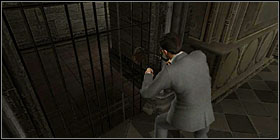
Approach Sauniere's Office to trigger a cut-scene with some cops. Hide behind a pillar (screen) and sneak past them inside. You can also fight them if you like.
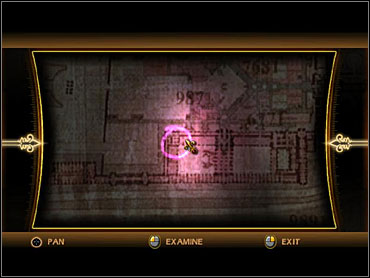
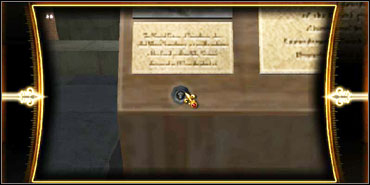
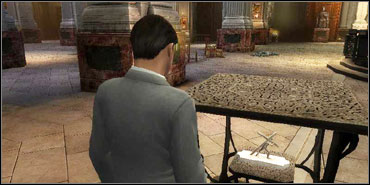
Look through the things on the desk. Check inside the drawers - there's a bandage in one of them. A knight on the desk points towards a map on the wall. Use the UV Light on it to find a marking.
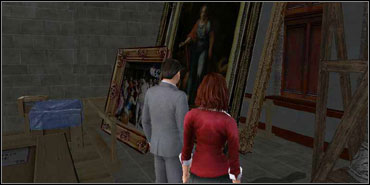
Help Sophie get into the Air Vent nearby. You'll be in the Restoration Room. Find a Towel here, a Med Kit (it's in the corner, hidden behind some paintings) and Da Vinci's Aerial Screw. There's a note on the desk about the chemicals. Approach the workbench and mix Chitinase, Dismutase and Catalase. Combine the mixture with the tower, and use it to clean the painting in the center of the room.
Go all the way back to Mona Lisa room and sneak to the left side of the painting. You'll avoid fighting a guard this way. Continue on to the next room, and use the right passage this time, to get past two more guards.
Go to the Nike statue and defeat a guard there. Look at the statue, and then approach the display case on the left (Hand of Nike). Use the Priory Ring on a Copper Engraving and you'll get a Fleur-de-lys Disc.
When you go downstairs, two guards will enter the room. You can fight them openly or sneak attack (there's a useful metal bar nearby).
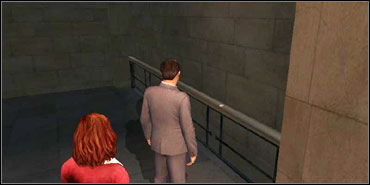
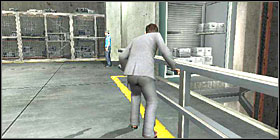
Go downstairs once more, and turn right. There's a Lead Coin on the railing here (screen).
There are 2 more guards before you. Fight them or sneak, doesn't matter. Go to the exit and you're done here.
Pick up the Small Bandage from the nightstand.
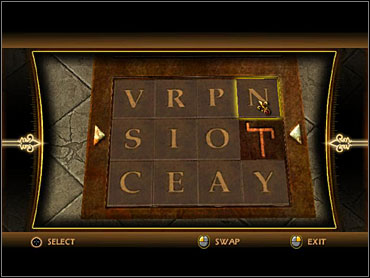
Move to the room across the corridor and examine Sister Sandrine's body. Look at the Note on the desk. Sister's hand is pointing towards her bed. Approach it and push it. You will see a riddle down there. You have to move the letters so the central row reads SION. When you do this, take a Bronze Slide from there.
Leave the room and use the door on the right to reach the balcony.
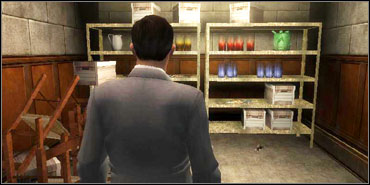
Enter the room across the balcony. Approach the Supply Shelf and take Bolt Cutters and an Oil Can from there.
Go back to living quarters and use the door to the left to go outdoors. Sneak behind a monk and stealth-attack him.
Examine the Chappe Monument on the wall.
Go downstairs to find yourself in the church. Get rid of two monks here (sneaking). In a chapel between IX and X Station you will find a Tin Coin. In a Seashell Fountain there's an Ornate Key.
Enter the niche between III and IV Station and read the Book of Eclipses there. Examine the Roseline Placard on the floor nearby, and turn the left handle to Aprilis and the right to XI. Take the Station of the Cross Statue.
Use the Bolt Cutters to open the door in the corner of the church, near the VII Station. Go forth until you see the organs. There's a bandage on the left.
Use the Organ Clock Controls on the right. Set the clock to 7:14 (the number from the note on late sister's desk). Take the Copper Slide.
Go back all the way to Sister Sandrine's room. Use the Ornate Key on the Keyhole in the Armoire. You'll get another statue. Go back to the church.
There are stone platforms on the VII and XIV pillars. Put the Station of the Cross statue on VII, and the other one on XIV. A trapdoor will open on the floor, use it.
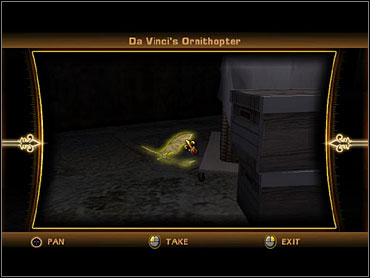
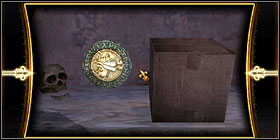
There's Da Vinci's Orhithopter near the boxes on the right in here.
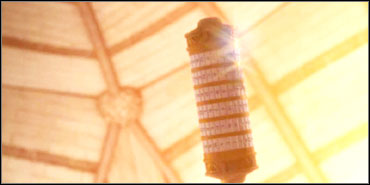
Approach the three lanterns in the center of the room. Use the Oil Can on the Oil Valve, and then use the Copper Slide on the left lantern, and the Bronze Slide on the right one. Use your matches to light all three lanterns.

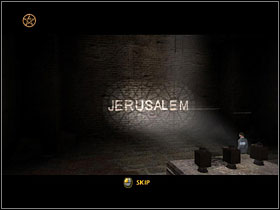
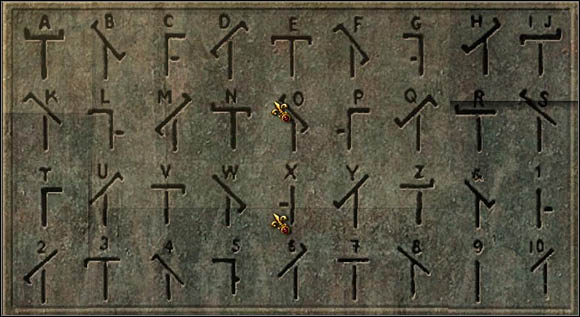
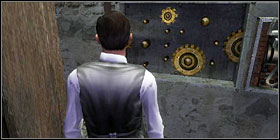
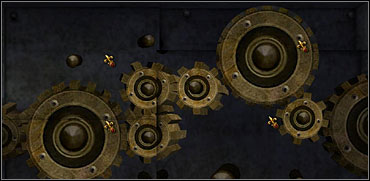
Move one of the stone tombs (yeah, this game's ridiculous) to reveal yet another puzzle. These symbols are signs from the Chappe Monument - you have to press them in the right order, so the translation spells JERUSALEM. The right order is indicated below.

After a cut-scene you will see 2 monks entering the crypt. You can fight them, but it's best to just run for it. Run all the way to Sister Margarite's room (near where you started the level), and that completes this chapter.
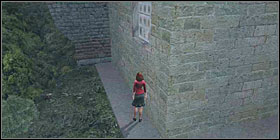
Turn right and go around the building to enter through the Shed Window. Inside you will be attacked by one of the monks, you will have to fight him. There's a shovel on the floor to help you.
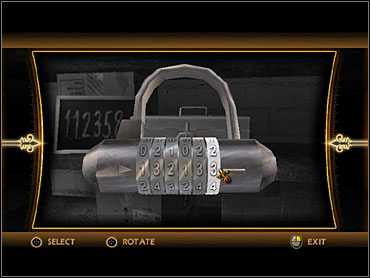
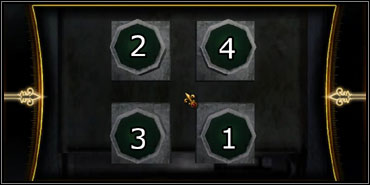
Open the lock on the shelf using the combination 132134. Take the Mansion Key.
Go back outside and go to the shack on the other side of the courtyard. Smash the door and open the Dog Food Locker to take some Dog Food.
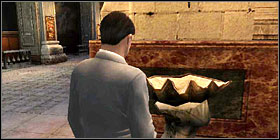
There is a dog shelter nearby. Enter it and use the meat on one of the bowls. Use the Bell Pull Chain nearby. The dogs will come for a dinner and you will be able to enter the mansion unharmed.
Approach the Da Vinci Bridge Winch and use it. Turn the bridge four times. Use the Mansion Key on the front door. You finally got yourself inside.
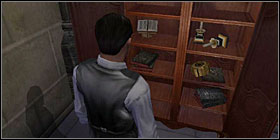
Turn left and open the locker. Take the Aeneas Statue from there.
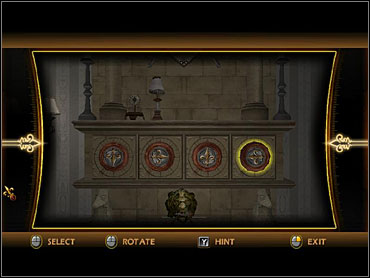
Use your Fleur-de-Lys disc on the fireplace. Turn the discs so they point, looking from the left: down, right, up, left. You'll get a Venus Statue. Also, grab the Cupid Statue which is laying on one of the tables here in this room.
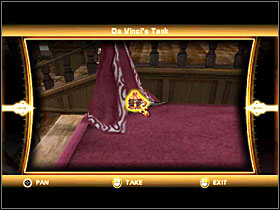
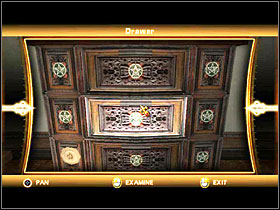
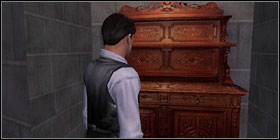
Go upstairs and the Priory Ring on the locked door. There's Da Vinci's Tank on the bed. Approach the cabinet and take Vulcan Statue from the lower-left drawer (use the Priory Ring again to get it open). Also, find bandage (middle-right drawer), and a poem (central drawer).
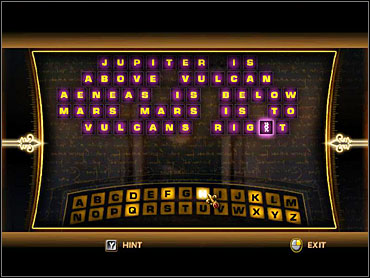
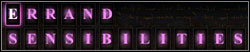
Leave the bedroom using the second door, thus entering the library. There's a Jupiter Statue on the table on the left. You'll also find another anagram here. The solution is on the screen below.
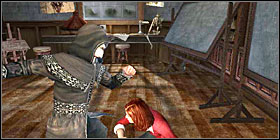
Go downstairs. Another crazy monk fight for you. Examine the Da Vinci's Tank on the desk and you'll find yet another statue - Mars. Leave through the door and go back to the room where you were just after entering the mansion.
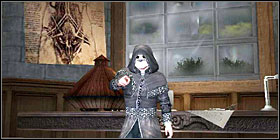
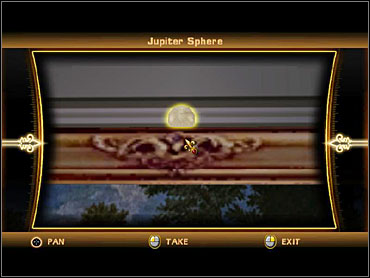
Go upstairs. Look closely on the paintings on the landing half way up, there's a Jupiter Sphere on one of them (screen).
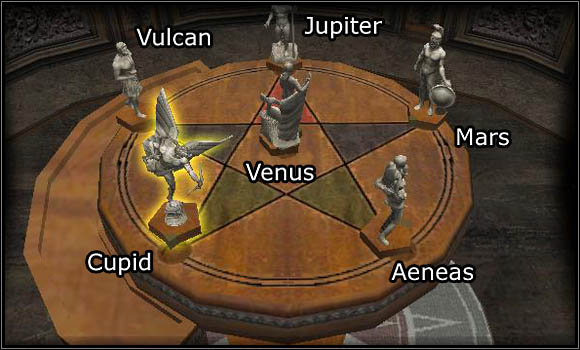
Enter the room upstairs. Here you finally get to use those statues that you've been collecting for some time now. Place them as indicated below, and then turn all of them so they are facing Venus. Turn Venus so she is looking "down" and you're done.
You're in the garden now. Generally the puzzle is to repeat what you've just done with the statues, only this time you only have to turn them the right direction and, uhm, they're a little bigger. There are 3 cops wandering around, so watch out and try to take them out one by one. Turning the statues is easy, because the game tells you when the direction is right. Just don't get lost, and when you do the thing with all of them, a secret passage will open in the Venus Statue.
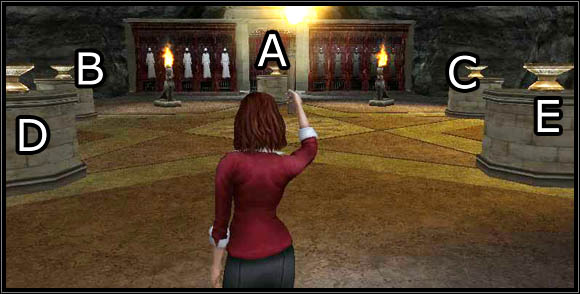
Enter the Egyptian-like statue on the right and take a torch. Light it from one of the fires here. You now have to light those goblets around here in the right order, which is A, B, E, B, C, B, D - look at the screen below to know which is which.
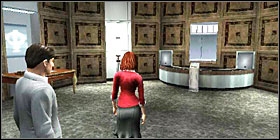
Talk to the man behind the desk and he will point your way. Go through the right door. In the big room turn left and enter Private Viewing Rooms. Use the Laser Etched Key on the terminal.
Move to the next room and use the key on another terminal. Examine the chest that appeared. Use the terminal again and enter the password 1021.
You've found a Cryptex, a puzzle that will accompany you almost to the very end of the game. Look at the suitcase closely again. Go to the desk on the left, open a drawer and take one Paper Clip. Use it on the box that's inside the case. You found a clue. The password you should enter into the Cryptex is GRAIL.

After a cut-scene leave the room and go back to the big hall with elevators. Turn left and use Security Card Lvl 1 on a card reader. Enter the elevator and help Sophie up when it's stopped. Use the gauge to open a way outside.
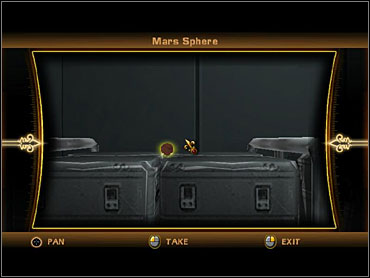
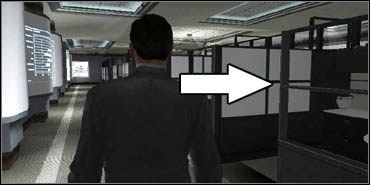
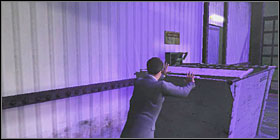
Turn right and enter the door over there. There's a bandage on the floor and a Mars Sphere between the cases. Leave and go to the door that leads to Bank Offices.
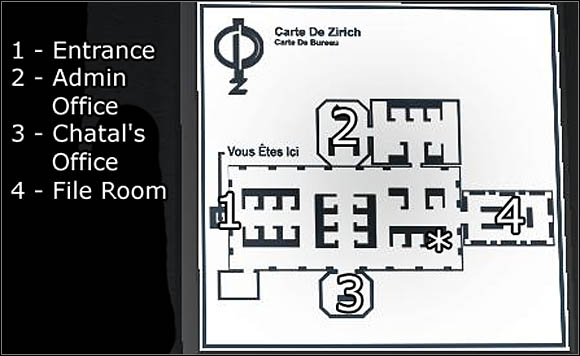
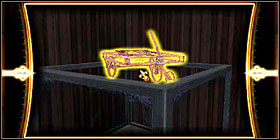
There are two guards in this room and it's best to take care of them in the first place. Try to stealth-attack them. Near a desk marked on the map with (*) there's Da Vinci's Ballista (also marked on the screenshot below).
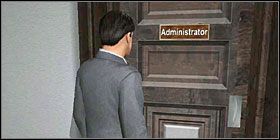
Go to the Administrator's office. Approach the computer and use your Security Card on it. Enter the code 867530. It's no use, you'll have to get a new code. Go to Chatal's Office across the room.

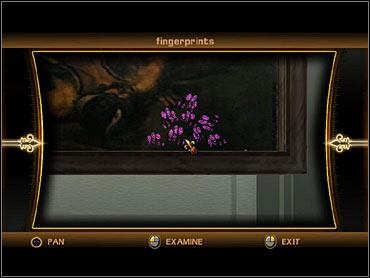
Use the UV Light on the painting. You'll notice fingerprints. Move the painting and you'll see a safe. Open it by entering the pass 728559 (it's written on a note in the desk drawer) and take a File Cabinet Key from there.
Go to the File Room and use the File Cabinet Key to open a drawer marked System Passwords. You got a new password: 260924. Go back to Admin's Office and use your Security Card on the computer once again, this time using the new pass. Now use the updated card on the terminal near the entrance to the offices.

Go all the way downstairs and enter Atrium once again, this time on a lower level. Sneak across the room to reach Deposit and Server Area.
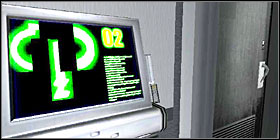
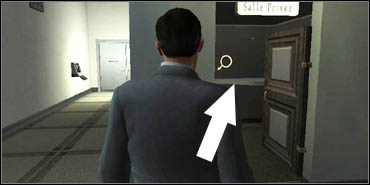
Go forth until you reach a huge room with a lot of small cabins labeled Salle Privee. There are two guards in here, but you don't have to approach them at all. Find the room shown below (look where the terminal is on the screen and find this location) to find an Iron Coin.
Find the Security Card Terminal in one of the corners. There's an Air Vent near it - enter it with Sophie. When you're inside, knock out a guard and sneak into the small room ahead. Once in there, take care of another guard and use your Security Card on Security Card Upgrade Terminal. Leave the room by using the updated card on the door.
Go back to Atrium and sneak past the guards to the Loading Docks.
Use the Security Card on another terminal. There's a corridor with some guards before you. Do what you will with them, it's best to stealth-attack. At the end of the corridor use the Car Keys (you got it from the bank director a while ago) on the Truck Door.
Enter the room in which Teabing awaits you. He'll tell you to solve a riddle: choose the right 2 shields and place them on the armors by the doors on each side of the room. Do so, using the screenshot below.
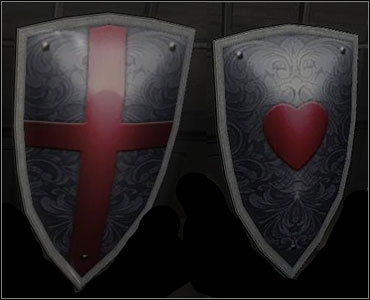 To the left - Gallahad's Shield - place it by the painting with angels.
To the right - Percival's Shield - place it by the painting with castle.
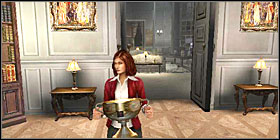
Enter the room near the painting with angels on it. Take the Red Dragon Chalice and take it to the opposite room (the one next to the castle painting) and place it on a stand that reads "Arthur".
Enter the secret passage and solve the puzzle. The screen below will help you.
Enter the library and take the Music Sheet from the table. Also, there's Da Vinci's Warcraft on the empty display case in the corner.
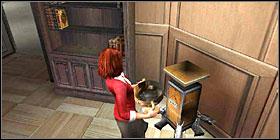
There's a digital lock in the room from which you took the chalice a while ago. Enter the password HEAR to open the door.
In the next room there's a door on the right that leads you to a closet. Look at the small cabinet there, below it there's a Venus Sphere.
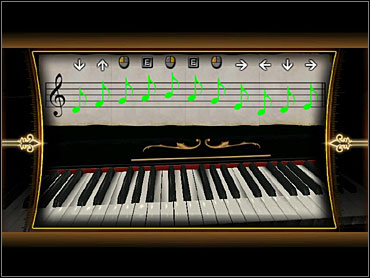
Use the Music Sheet on a piano and solve the "riddle" by repeating the key sequence (you are to press the key when the note is highlighted yellow).
Now go back to the previous room and loot at the "Last Supper" on the wall. You have to notice a few details on it. Look at the list below.
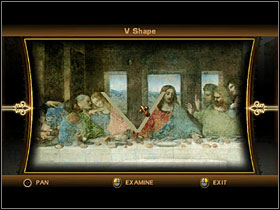 V Shape
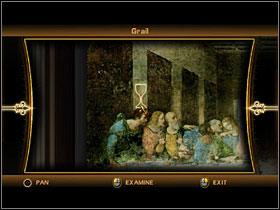 Grail
Grail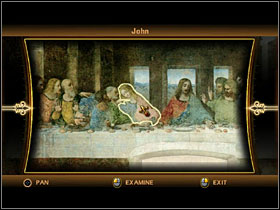 John
John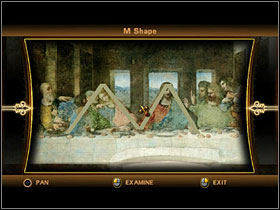 M Shape
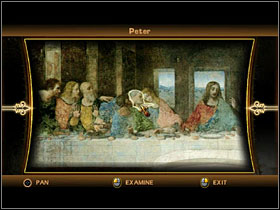 Peter
Peter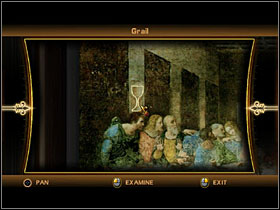 Grail
Grail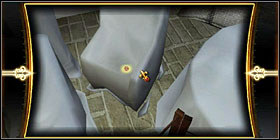 Jesus and Mary
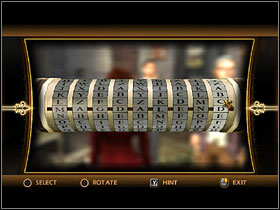
Use Cryptex #2 (it's in your inventory) and enter the word MAGDALENE it in. A cut-scene will occur, after which you'll find yourself in the basement.
Be sure to save your game now, as it's quite easy to die in what follows. There's a Copper Coin near the chairs in the corner of this room.
Go to the piano room and pick up the globe in the corner. You now have to fight the monk. When you win, go to the room where you put a chalice on a stand. There's a machine piece in the corner. When you take it, another fight will begin. The last piece of the mechanism is in the library, next to the computer. Fight the monk once again. And that concludes the level.

Move the container so it blocks the door. Use the lever that you unblocked this way.
Use brake near the cart and move to the other side of the courtyard, hiding behind it. Enter the hangar.
There's Da Vinci's Bridge on your right. Take it and approach the tool box. There are Bolt Cutters in one of the drawers.
Use the Bolt Cutters to destroy the Padlock in a gate to the left of the airplane. Go in there to find a bandage on the table. Use the computer to move the crate below and go back to the main room.
There are two guards here, you'll have to fight them. Take some Flares from the shelf near the trapdoor. Open it and go down.
Go straight ahead, using more trapdoors when you see them. Eventually you'll reach a big gate that's out of power. There's another padlock gate a bit further, so make use of your favorite Bolt Cutters once again.
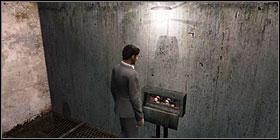
You'll reach a power box on the wall. Take 3 Fuses from it. Turn left to find yourself in a huge room filled with WW2 mechanisms. Turn right and find another Power Box. This time it will contain 2 Fuses, grab both of them.

Move to the opposite side of the room (don't go down the ladder yet) and use the ladder to go up to the control room. There's a First Aid Kit on one of the shelf (behind some bottles filled with chemicals). Use the elevator and take 3 Fuses that you find up there.
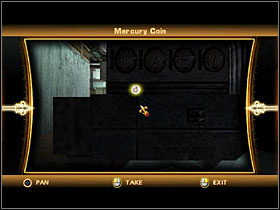
There will be a guard waiting for you in the control room. Take care of him, and go back to the main hall. There are 2 guards here, get rid of them, preferably one by one. Go down the ladder. In a dark corridor to the right you'll find a Mercury Coin.
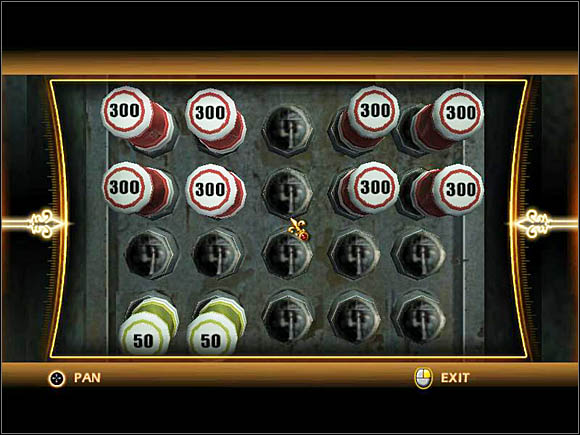
Approach the electrical mechanism on the other side of the room. Use the UV Light on the blueprint on the wall. You can now examine the power box and use these Fuses you've been collecting to turn on the power. Use the switch nearby when you place the fuses as on the screen below.
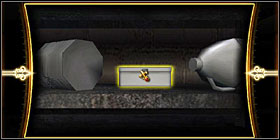
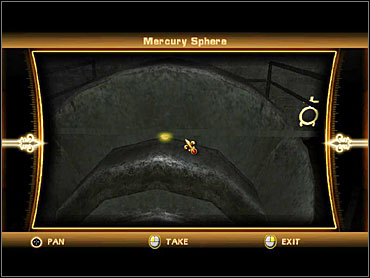
Make your way back to the electric door you saw earlier. You'll see a guard on your way - ignore him for now and turn left, where he came from. In a dark niche you'll find a Mercury Sphere.
Take care of both guards that block your way to the door. Reach it and use the lever there.

Climb up the ladders twice to reach the ground level. There are two more guards before you. They're quite easy to sneak on. Approach the gas container and use Bolt Cutters on a Padlock. Turn the Gauge.

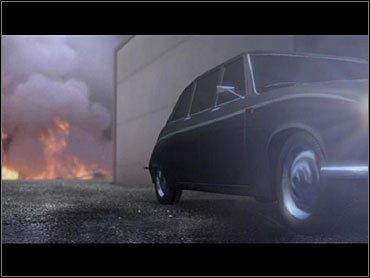
Take the ladder up to get to the roof of the nearby building. Defeat the last guard in there and throw a Flare from the edge to ignite an explosion. Well, that would be it.
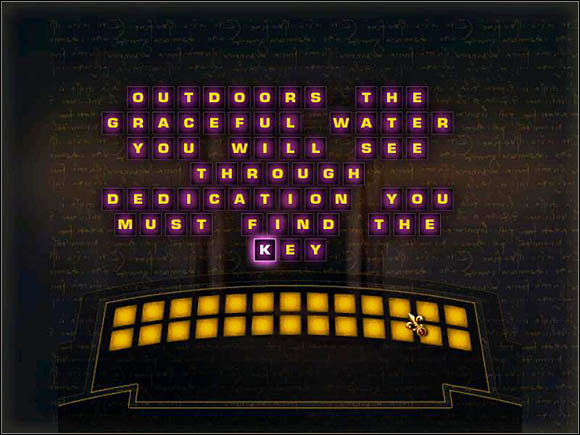
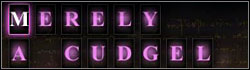
First you'll have to solve another anagram (it's on a Coded Scroll in your inventory). Look at the screen below for a solution.
Go down the stairs that are in the corner of the courtyard. You'll find a Silver Coin by the trash in there.
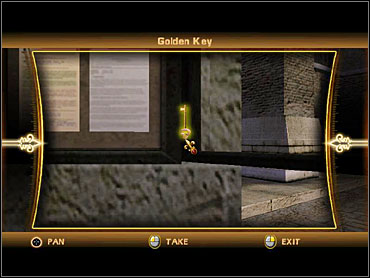
Approach the bulletin board near the church door and open it. There's a Golden Key in there, that will let you open the backyard door to the left.
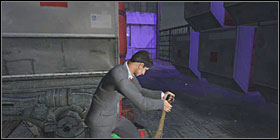
There's one goon to be stunned before you. Use a shovel.
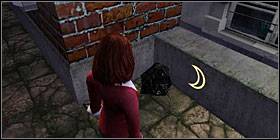
Somewhere between the boxes among the archways is the Moon Sphere (right screen above)
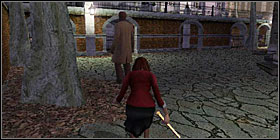
Move to the other side of the archways and go up the stairs. Wait for the goons to finish talking and try to defeat them one by one. These guys are much tougher than those police geeks you encountered before, so watch out and don't underestimate the power of stealth attack.
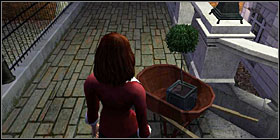
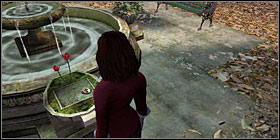
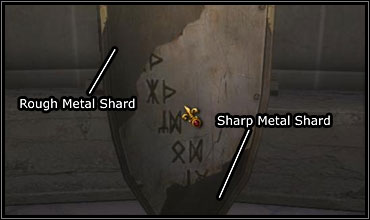
There's a Wheelbarrow nearby. You'll find Shears in it. Take it and use it to cut the roses by the fountain. Use the Priory Ring on the engraving there and take the Rough Metal Shard.
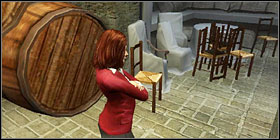
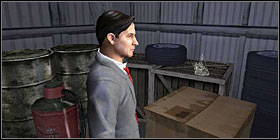
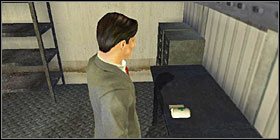
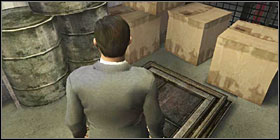
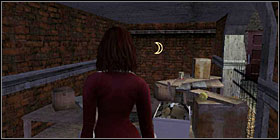
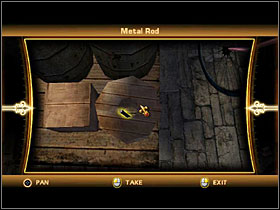
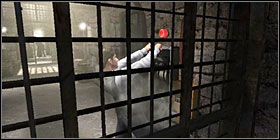
You now take control of Langdon, who's apparently been caught and imprisoned. Move the chair by the table in the center of the room to get a Metal Gear. Behind the box on a desk in the corner is a Piece of Cardboard. Move a box near the barrels to the right to grab a Metal Rod.

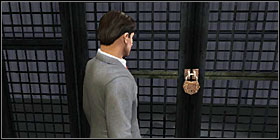
Now it's time for a most classic adventure game maneuver ever. Use the cardboard on the Gap Under Door and a Metal Rod on the Keyhole. Use the key you just snatched and leave. Sneak on the guard and stun him.
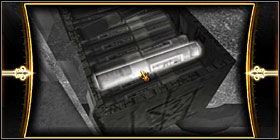
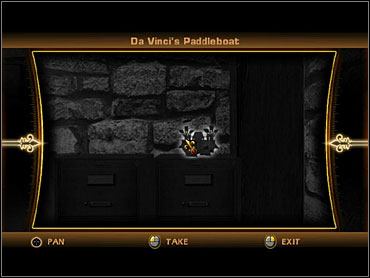
Enter the room opposite your cell. There's Da Vinci's Paddleboat inside. Leave the basement using the door to the right of the TV.
Turn right, towards the main altar. Take care of the one guard in there. To the right of the altar you'll see a cabinet. Take a bandage and another Metal Gear from it. In the opposite corner of the room there's another cabinet, with the next Metal Gear in it.
Wait for the two guards in the back of the church to finish talking, and take them on using Sneak. Enter the room with tombs in it and grab the last Metal Gear from the cabinet there. Go back to the basement and find a Gearbox (go to the left of the TV).
You must place the gears in a way that will let the mechanism function. When you do that (screenshot below), use the lever to the right.
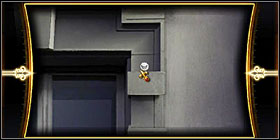
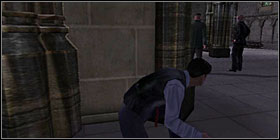
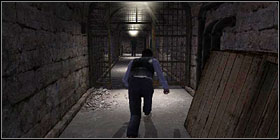
You have to sneak past the two guards so you can enter the trapdoor to the basement. Sneak in the spot shown on the screenshot below and wait for the right moment.
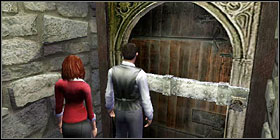
When you're reunited with Langdon, approach the door to the catacombs (screenshot below) and open it.
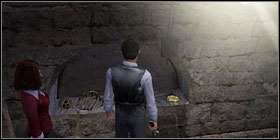
There's a bandage behind your back - it might be useful. Wait for the guard to get closer and then sneak attack him when he turns away from you. Go forth, doing the same to every other guard you see. In one of the niches to the left you'll see a Templar Seal.
The second seal is in another niche a little bit ahead, behind a cardboard box.
You'll reach a guard and a light switch. Take care of the goon and turn on the light, pressing the 4 buttons in the order shown on the screenshot below.
Use the lever on the left. Enter the room that's been opened and grab a third Templar Seal and a bandage.
Go back the tunnel until you see a respawned guard. Defeat him and find a lever nearby. You'll find yourself in a room with a riddle to be solved. First use your Templar Seals to complete the mechanism on the wall. You now have to turn the seals so they point towards the right directions. Look at the screenshot below.
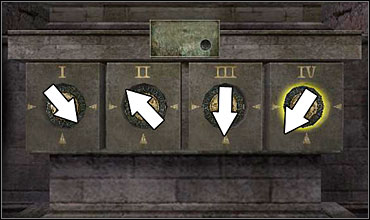 The arrows show the direction that a hardly visible "triangle" on each seal should point.
Head back to the basement level. There are 3 new guards on your way. The first one can be easily wall-attacked (tap the wall to get his attention, look at the left screenshot below to get the idea). As for the other two, try to take at least one of them with sneak attack.

Go to the church and open the main gate in there to find yourself on the courtyard that you started the level on.

By the pillar in the center you'll find a Sharp Metal Shard. Two goons will show themselves, you'll have to fight (certainly a lot of beat-em-up on this level). Go back to the church.
Head to the back part of the church. There's an incomplete shield on the right side - use the two Shards you own on it.
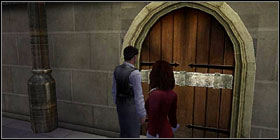
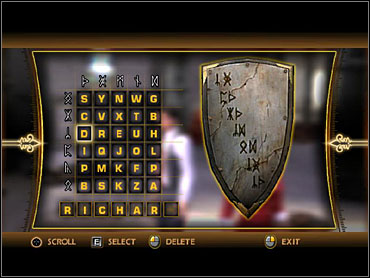
Approach the tomb that says Dark Effigy. You'll have to solve a riddle. The password is RICHARD. Enter this word into the Cryptex.
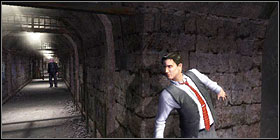
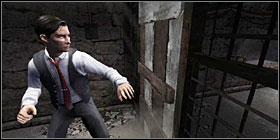
After a cut-scene, you will have to deal with a long arcade sequence. You are running away from a monk who's chasing you with a gun in his hand. There are doors on your way, and each one requires a different way to get past by. Some of them can be smashed, some require you to use an electrical switch (the combination is the same as earlier) and turn the handle. The last type of gate needs to be lifted up (Langdon apparently doesn't know the word 'crouch'). You'll surely have no problem figuring out which is which. When you reach the end of the corridor, the level will come to an end.
Turn 180 degrees and examine one of the statues there. You'll find a Gold Coin.
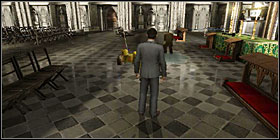
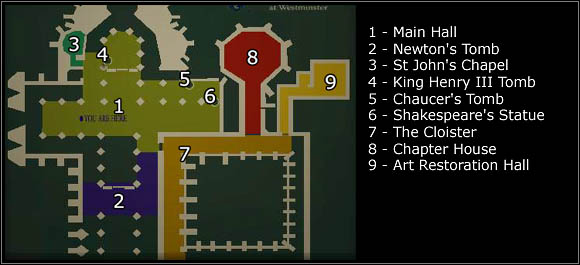
Go to Newton's Tomb (#2). When you enter, you'll see a guard that can be easily dealt with by pushing the light into the puddle of water in the center of the room. Go to the other side of the hall - somewhere in the middle you'll see a statue that lets you Examine it. There's a Sun Sphere in there.
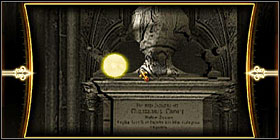
Approach Newton's Tomb and examine it closely. Look at The Planets, a sculpture below the Newton statue. You'll notice a hole in there, use your Priory Ring on it. Take the Sun Orb.
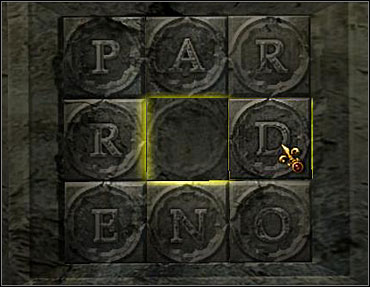
Go to Caucher's Tomb (#5). Look at the shields above the tomb, and use the Sun Orb on the puzzle-looking engraving below. You now have to arrange the letters so they spell PARDONER when read clockwise (P must be in the upper-left corner). Do it by moving the letter D to the middle and then rotating the whole board so you can place the D in its place to the right. You'll get a Large Ring.
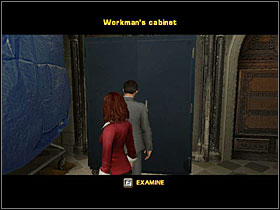
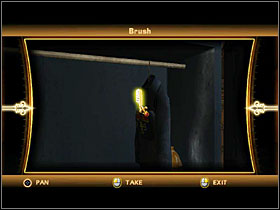
Look around the Shakespeare's Statue (#6), or at least what's left of it for the time being. There's a Worksman's Cabinet in there, take a Brush from it.
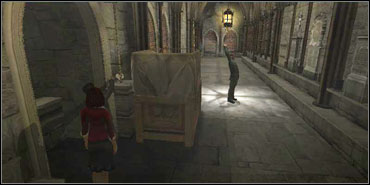
Head to The Cloister (#7) and go straight ahead. When the guard is standing under the lamp, untie the rope to the left and you'll have him knocked out without a fight. Enter the Art Restoration Hall (#9).
There are 3 guards before you. There's a light switch on the right, you can use it to distract one of them. Try to deal with the rest so you don't have to fight more than one at a time, you know by now that it can be very troublesome. One more goon is waiting for you in the room at the end of the corridor.
 Your favorite Bolt Cutters await you here.
When you're in the room with Shakespeare's statue in it, look at the cabinet to the left of the door to find Da Vinci's Codex Arundel. There's also a Pallet with Bolt Cutters on it in here, so grab them.
 And here's Codex Arundel.
Return to The Cloister and go to the opposite end of the corridor, defeating one more guard on your way. Use the Bolt Cutters to open the door to the locker. When inside, move the boxes to reveal a light switch. Use it and examine the Workbench. In one of the boxes you'll find a Marble Cleaner. Snatch it and go all the way back to Shakespeare's statue (the one in Art Restoration Hall).
 Light Switch.Marble Cleaner.
Combine the Marble Cleaner and a Brush. Use the wet Brush on a Scroll held by Shakespeare's statue. Read the inscription there and use the Large Ring on its finger. Take the Hand Crank from the drawer that just opened.
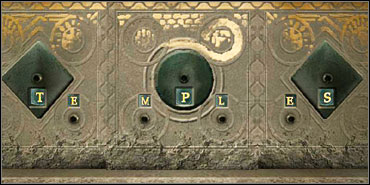
Go to King Henry III Tomb (#4). Use the Hand Crank on the hole, and you'll have to solve a riddle: turn the letters so they spell out TEMPLES. You'll get a King Symbol.
Look at the Scaffold behind you. Loosen the two brakes by the wheels, and you'll be able to move it. Enter St. John's Chapel (#2), using the almighty Bolt Cutters on the padlock.
Use the King Symbol on the empty space on the altar, and then press the buttons in the order: Queen, Baron, Knight, Soldier.
Take the Unusual Cylinder and combine it with the Sun Orb. A guard will enter the room - defeat him and return to Newton's Tomb. There's another goon waiting to be knocked out there.
Use the Sun Orb Cylinder on the spot that initially held the Sun Orb. Another puzzle will be revealed.
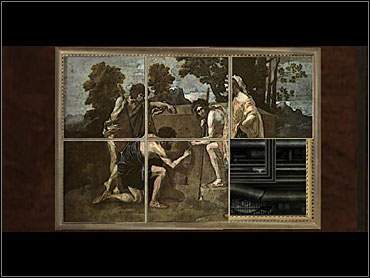
Read the note and then solve the jigsaw using the screenshot below. It's easiest to do that by completing the borders first.
After a cut-scene you will have to distract Teabing by saying things that upset him. Every time when he's distracted, you'll get a few seconds to enter the word PAYENS into the Cryptex. Here are the right phrases:
- I though you told us only the worthy can find the Grail?
- You are the one responsible for my grandfather's murder.
- You are no better than the Church.
- And now you have taken over where the Church left off?
You probably won't have to use all 4 of them, as you'll be able to enter the password earlier. OK, only one level left. Btw. Did you notice that EVERY time you solved a Cryptex riddle, something interrupted you and you never got to know what was hidden in there? Man, is that annoying.
Turn around and take a Stone Lid from the stand.

Approach the curtain on the right side of the church and pull the rope. Use the Stone Lid on a Stone Sculpture to get a Lily Disc.
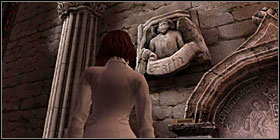
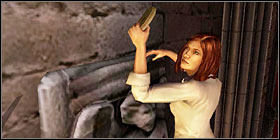
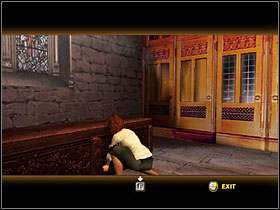
On the back side of the church there are 4 sculptured angels. You'll find matches under the one labeled "Faith". Go to the second curtain on the opposite side of the church and pull the rope again. Use the matches on a candle there and you'll be able to read the inscription. Go to the angel marked "Truth" - help Sophie up, and you'll get a Rose Disc.
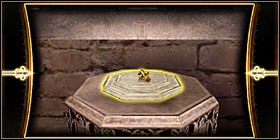
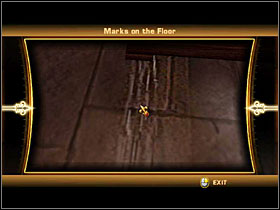
Go back to the room from which you took the Stone Lid There's a chest in there, examine it and note the Marks on the Floor. You can now pull it to reveal a loose stone. There's a Daisy Disc under it.
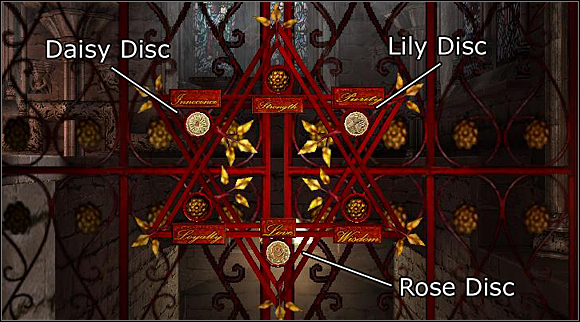
In a drawer under the right altar there's a Ceiling Journal. It contains clues on how to place the three discs on the gate to the right.
Approach the gate and place 3 discs on it, using the screenshot below. Go down the stairs.
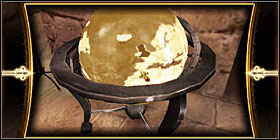
Read the inscription to the right and approach the globe. Turn it around to notice that it's missing a part. Head through the small corridor to find a Bleeding Angel statue. He's holding the missing part of the globe (Oddly Shaped Stone) - take it and place it on its right place to get a Star Disc.

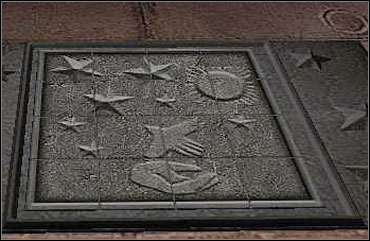
Reach the end of the corridor with the Bleeding Angel. Place the Star Disc in the engraving on the floor and solve another jigsaw. Once again, start with the borders.
Move the Wicker Box and open the trapdoor. Go down.
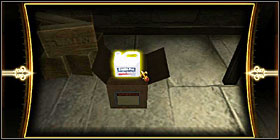
In the corner of this room lies the last secret item in the game - Da Vinci's Codex Atlanticus.
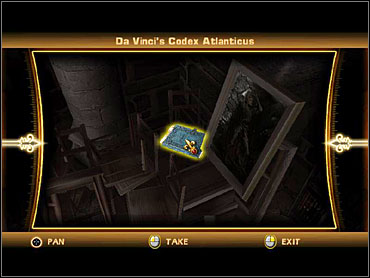
11. All that's left it to look around the room and examine all the details - newspaper fragments, sarcophagus on the floor, and murals on the walls. Great, you've solved the Da Vinci Code. Does it make you feel any good...?
(Unlocked partially after beating each level of the game)
You're back in Louvre and must solve 9 anagrams, hidden in the paintings that correspond to 9 levels in the game. Use your UV Light to find them, and then solve them just as any other anagram before.
Louvre Museum
You should not have run monsieur sauniere now tell me where it is.
St. Sulpice
The sister must have been calling priory members when she was attacked.
Normandy Mansion
It's the princess sophie key my grandfather promised me.
Bank of Zurich
It is the cryptex this is based off of a design by da vinci.
Chateau Vilette
The legend of the holy grail is a legend about royal blood.
Biggin Hill Airfield
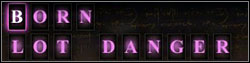
Sauniere brought us together to follow these clues for a reason.
Temple Church
Silas take the keystone from mr langdon teabing is our hostage now.
Westminster Abbey
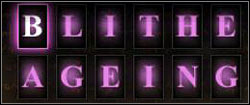
Teabing felt the truth crashing down on him the grail was lost to him.
Rosslyn Chapel
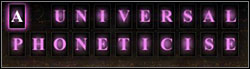
The quest for the grail is the quest for the divine in each of us.
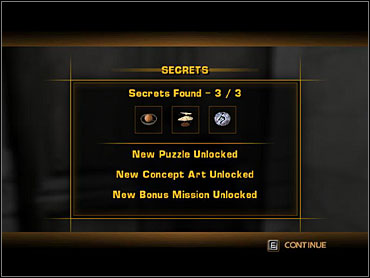
(Unlocked by beating the whole game, and certain parts require you to find all the secrets)
Rosslyn Chapel underground level is now a kind of a gallery of secrets you found throughout the game. Here you will find all the previously found coins, spheres and Da Vinci designs. The upper level contains quite a big puzzle. First you have to solve 8 riddles - every time it's about rearranging the letters so they form a name of one of the game's main characters.
LEIGH TEABING (The Baron)
ROBERT LANGDON (The Knight)
SOPHIE NEVEU SAINT CLAIR (The Queen)
REMY LEGALUDEC (The Merchant)

BEZU FACHE (The Soldier)
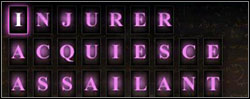
JACQUES SAUNIERE SAINT CLAIR (The King)
SISTER SANDRINE BIEIL (The Bard)

SILAS (The Priest)
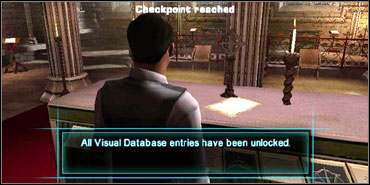
The names in brackets are needed for the final part of the puzzle. Approach the altar and press the symbols in the following order: Priest, Knight, Soldier, King, Queen, Bard, Merchant, Baron. When you do this, you'll get a message that all of the game's encyclopedic content has been unlocked.


 The Matrix: Path of Neo Game Guide & Walkthrough
 The Last of Us Game Guide & Walkthrough
 Test Drive Unlimited Game Guide & Walkthrough
 The Banner Saga Game Guide & Walkthrough
 TERA Game Guide & Walkthrough