


The guide to the Rise of the Tomb Raider will show you all aspects of the game. Thanks to it, the new adventures of Lara Croft will hide no secrets from the players. The guide contains a detailed walkthrough to the main single player campaign, including advices related to puzzles, interacting with various objects and surviving dangerous situations. Additionally, in the guide you will find dozens of information related to items hidden in the Syrian temple on the Siberia territory such as documents, coin caches and murals. Side missions received from the native citizens are important part of the game as well and you will find a list of them in this guide. You will also find a detailed walkthrough to all crypts and tombs available in the game in which you will find treasures and new abilities which Lara will obtain by plundering them. In the last part of the guide you will find descriptions of Lara's abilities, available weapons, such as few types of bows, guns, shotguns and machine guns, types of resources available in the game which Lara uses to create ammunition and equipment, and you will also find a list of achievements.
The guide to Rise of the Tomb Raider contains:
Przemyslaw "g40" Zamecki ()

Moving

Sprint

Aiming adjustment / Camera rotation

Survival instinct / Zoom

Jump / Climb

Dodge / Roll / Drop down / Quick swim

Interaction / Attach the Axe / Throw the Axe with the rope / Reload weapon

Melee attack / Finisher

Change weapon - Bow / Switch between special arrows

Change weapon - Rifle

Change weapon - Pistol

Change weapon - Shotgun

Heal

Aim (hold) / Dive (hold)

Shoot with special ammunition / Craft special ammunition (hold)

Shoot with regular ammunition / Throw item / Craft regular ammunition (hold)

Status screen / maps

Pause menu
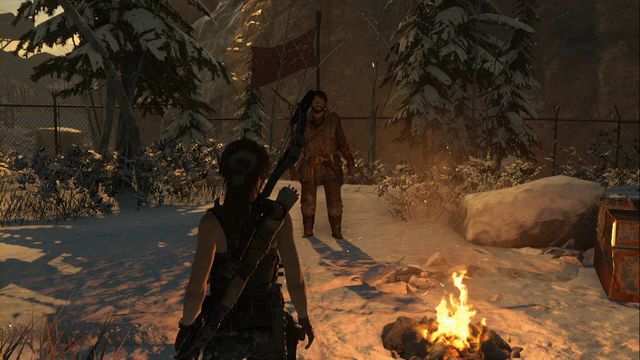 You find the mission-giver in the Logging Camp.
Lockpick is a very useful tool that allows you to open many locked caches with valuable items inside. You can obtain it very quickly after you reach the Soviet Installation. During the main campaign, you meet a person that may task you with "Cut Short". It is available in the Logging Camp - talk to the man there. Thanks to this, five radio towers will be added to your map.
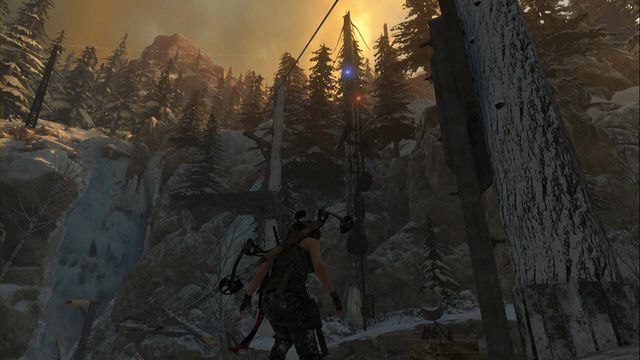 The blinking lights signal the location of the transmitter.
You can see targets of the mission from afar and you can tell them by the lights blinking in the distance. They have been located within a short distance of each other, which is why locating them is not too much of a problem. You are going to indulge in some climbing and, depending on your progress into the main storyline, some combat, if you want to get to each one of the towers.
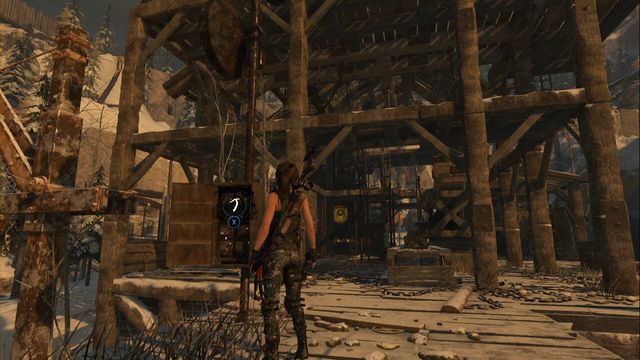 Approach the Chest and use the hatchet to destroy the transmitter.
As soon as you approach the repeater, you only need to destroy it with your hatchet. As soon as you do the same with the rest of the towers, return to the man to receive the lockpick. You can now open all of the locked Chests and doors.
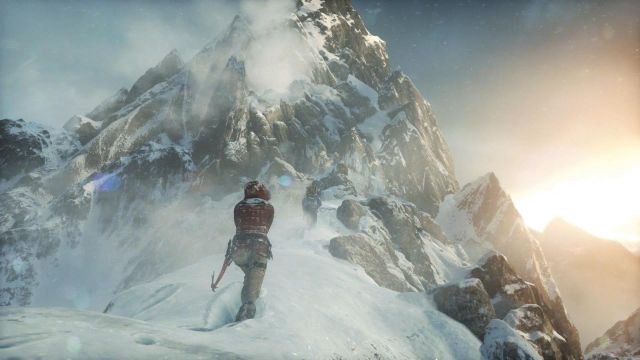
The game starts in high mountains, near the camp from which Lara and Jonah will go searching for the lost city. First you must go through the deep snow, following your friend.
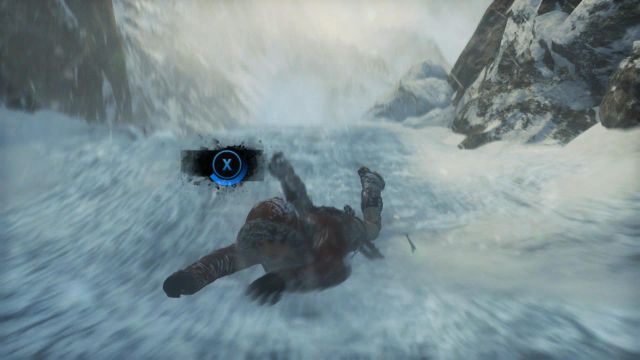
After walking a bit more than dozen of steps, Lara will start falling. To avoid dying, you must react to the first of the so called Quick Time Events (further in this guide called the QTE). When a blue X sign appear on the screen, press it on the pad.
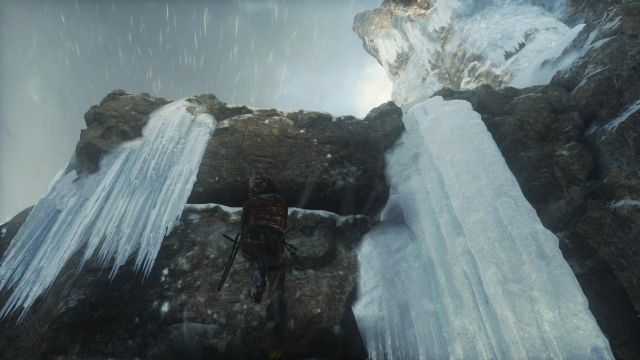
Lara will manage to stick the axe into the ice with enough strength to hold her. Then, follow the hints appearing on the screen. Pull the left analog stick of the pad and press the A button. Lara will jump over the edge. Watch out, another QTE will start and you will have to react quickly by pressing the X button. Jump above the second abyss, then go up to get to safe territory.
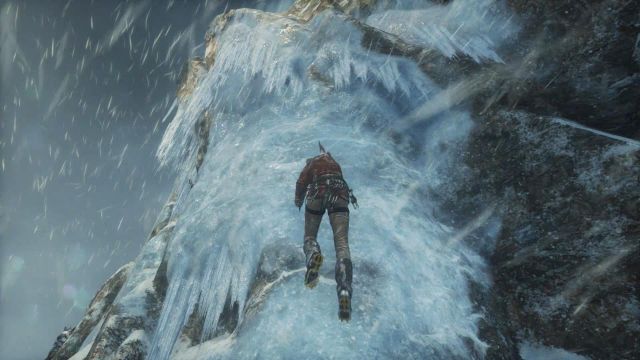
Walk towards the ice wall and press X button to stick the axe into the ice. You can also jump and then use the axe. Climb few meters, then walk the hanging icicles around from the right side. Avoid other ones under an overhang and turn left. Once you reach the edge, jump left - don't forget to quickly press the X button, allowing Lara to quickly stick the axe into the ice. Perform another jump in the direction of Jonah waiting for you.
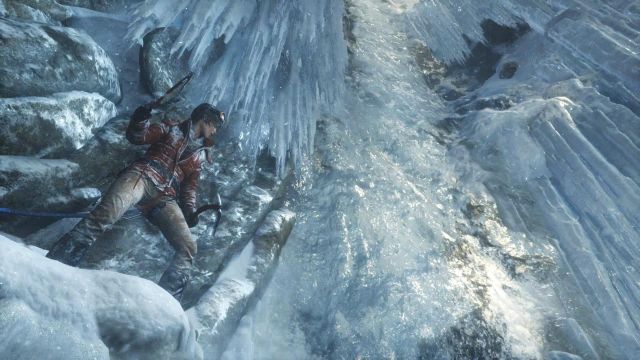
Once you regain control of Lara, go right, then jump on the icy fragment of the wall. Quickly press the X button so that Lara will stick the axe into the ice. Go above. After a cutscene with falling rock pieces, go above. Press the A button on the pad so that Lara will jump to the above overhang. Perform another jump right, to the next ledge. Go slightly right and jump above, sticking the axe into the ice. Keep going right.
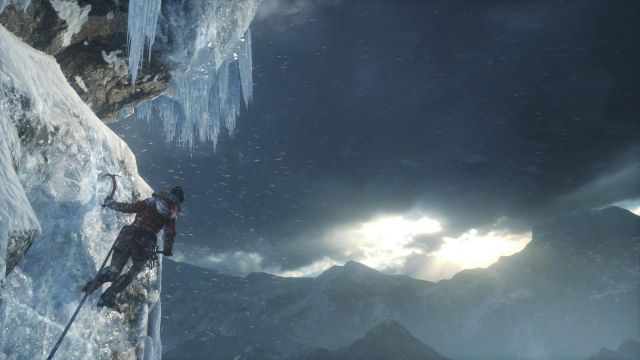
Perform another long jump right after another cutscene and quickly press the X button so that Lara will stick the axe into the ice wall on the other side. Go right and above. At some point you must perform a long jump above and then immediately stick the axe into the ice. Walk above the edge of the ice wall and Lara will notice the ruins of the city. After that, she will slide below.
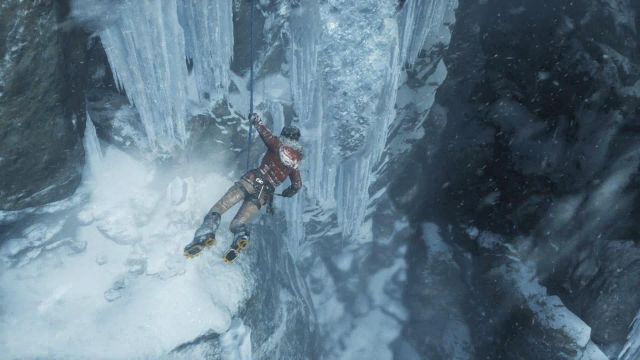
Lara is hanging on the rope. The other end is attached to Jonah. Move the analog stick of the pad up and down to swing the girl. After few moves, once Lara is swinging enough, press the X button near the ice overhang to use the axe.
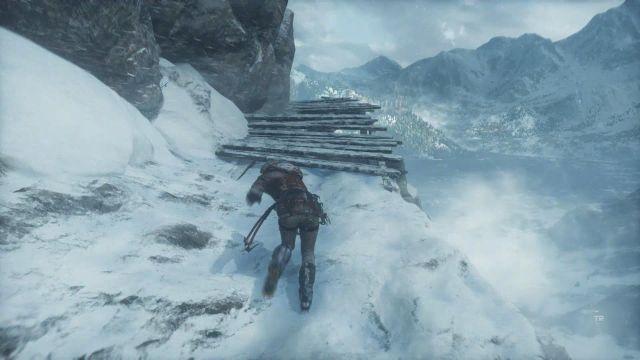
Once the avalanche will start, run straight ahead, using the A button to jump from one wooden platform to another platform. Watch out as the first jump will require you to react to a QTE - press the X button.
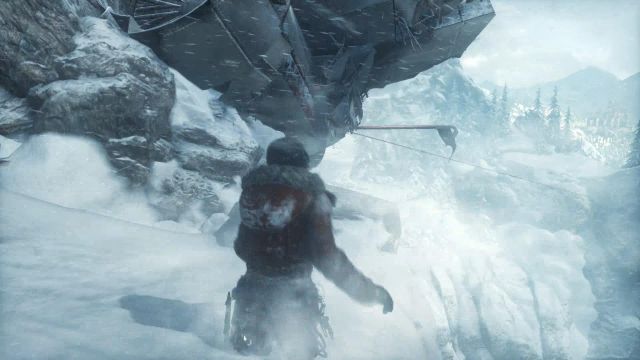
At the end of the plane wreck, jump up to catch the metal rod pointing from the tail of the machine.
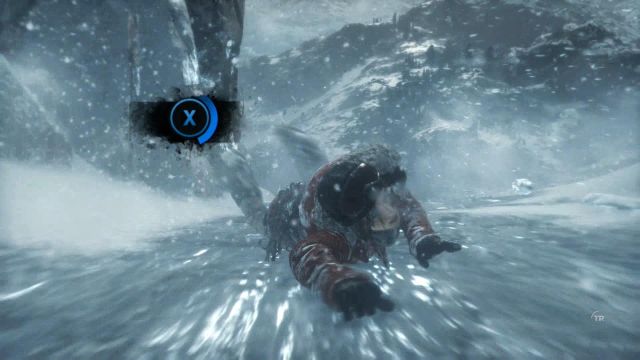
Once again, Lara will start sliding down, be ready for another QTE.
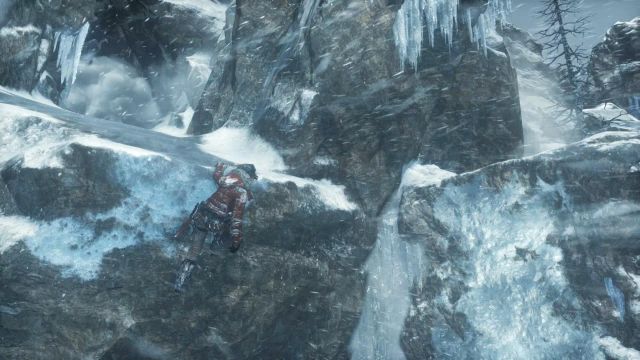
Once Lara will hang on the edge of the rock, quickly jump right using the axe. Otherwise the avalanche will kill you. Climb to the top and run forward while jumping above the cliffs.
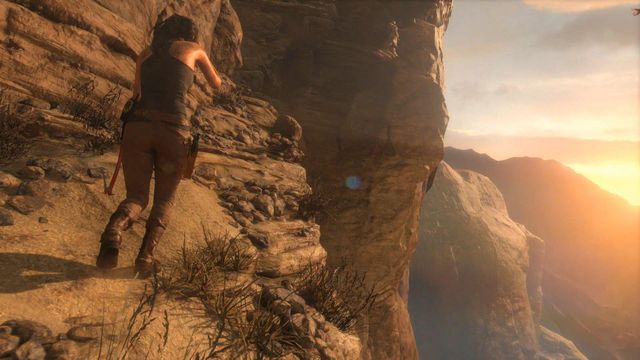
After the cutscene showing a chopper chasing Lara's and her guide's jeep, the heroin will fall down and land on a rock ledge. From there, the city can be seen. Go forward through the narrow passage until you reach the rocky wall.
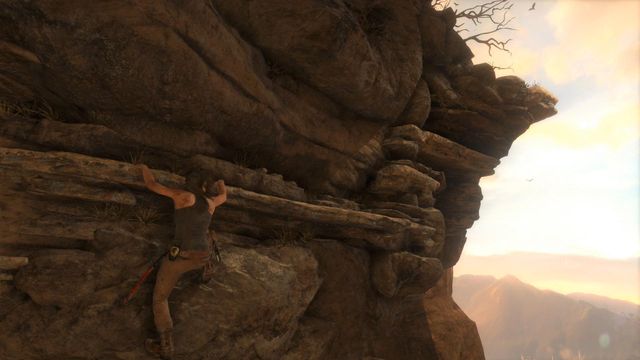
Jump on the wall, Lara will hang on the ledge. Move to the right. Once the girl reaches an overhang in the corner of the rock giant, jump up and pull yourself up.
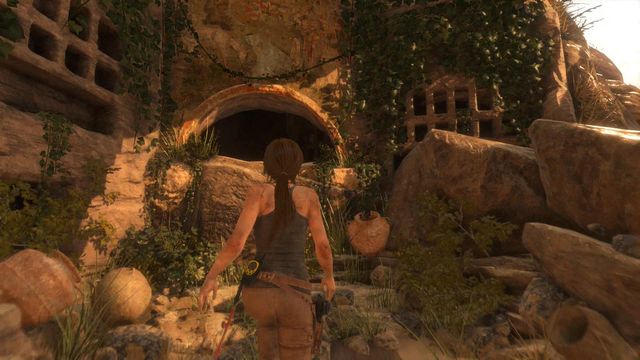
You will see a passage leading to one of the temple's tunnels. Get close to it and Lara will walk to the other side.
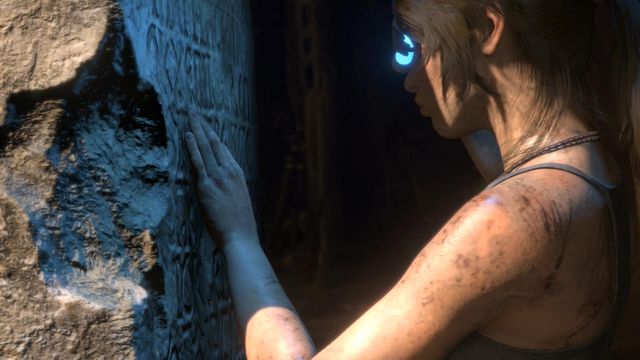
In the middle of the chamber you will find a monolith with writings in Greek language. In order to read information carved in it, Lara must become better in that language. Look around the chamber. You will find three objects there that are called murals. You can use the instinct to highlight them. The instinct can be activated by pressing the right analog stick. Interactive objects will be highlighted with gold color.
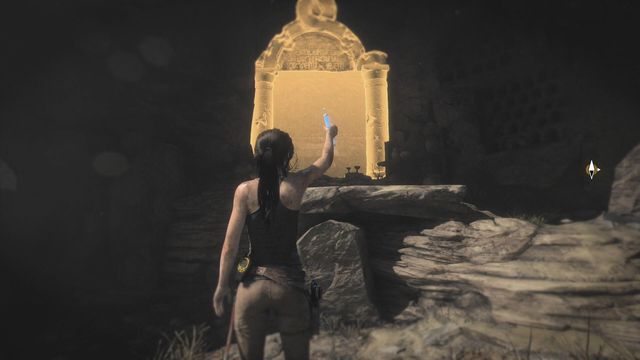
Walk towards each of three murals found in the chamber (the fourth one can be found in the corridor leading to the next part of the level, but it can be used after you complete all actions in the chamber.
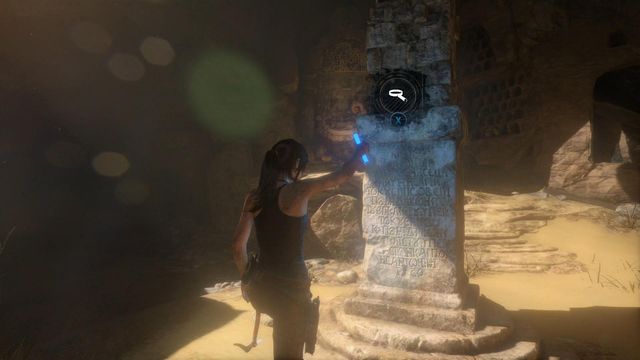
After interacting with three murals, Lara's skill in reading Greek will increase. Now you can walk towards the monolith and read it. Both in this chamber and later in the game reading the monolith will mark precise location of coin caches on the map. Open the menu and check the map, you will see a new marker next to the monolith. Walk to that location and press X, Lara will dig up some coins.
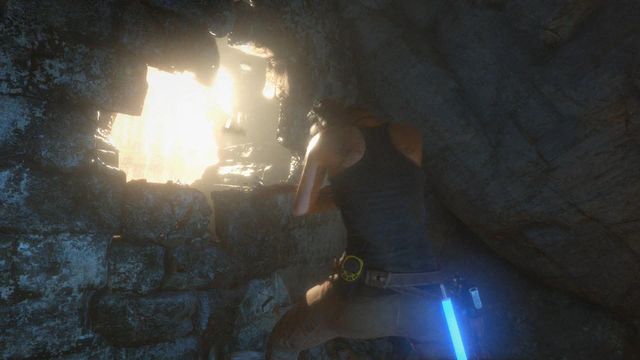
After digging the coins, go to the dead end of the corridor with fourth mural. Watch it, then walk towards the brick behind which you can see a faint light. Press the interaction button and Lara will use the axe to break the wall. Hit it three times and walk outside.
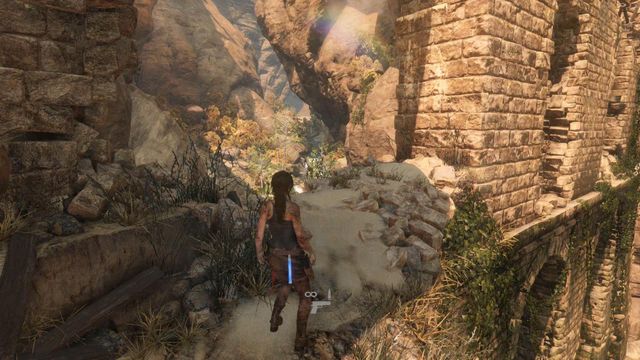
Walk left and jump on one of the pillars of the aqueduct. Notice that all places where you can perform a jump are marked with a white paint. Perform a double jump and Lara will catch the ledge.
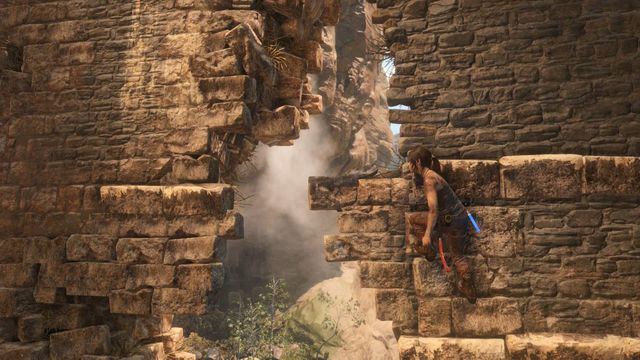
Move left and jump to the other side of the hole in the wall. Then, walk up.
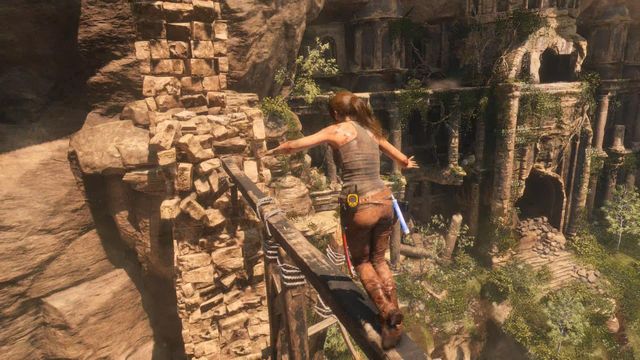
Walk further left through the wooden beam. At some point it will break and Lara will fall below.
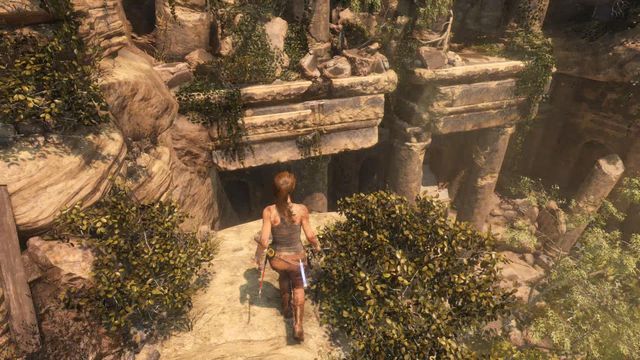
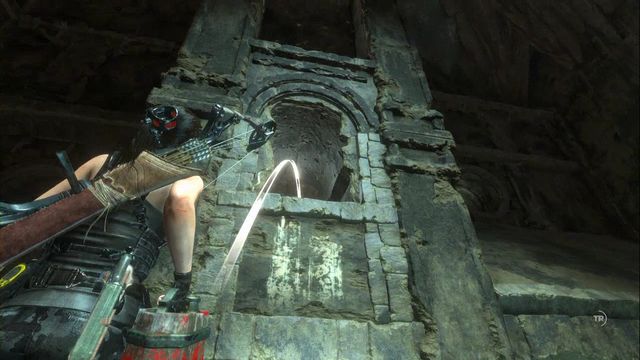
Perform few more jumps towards the entrance to the main part of the temple. Jump to another ledge, move right, jump right above the niche shown on the picture above and climb on the solid ground. Jump into the hole that is the entrance to the temple.
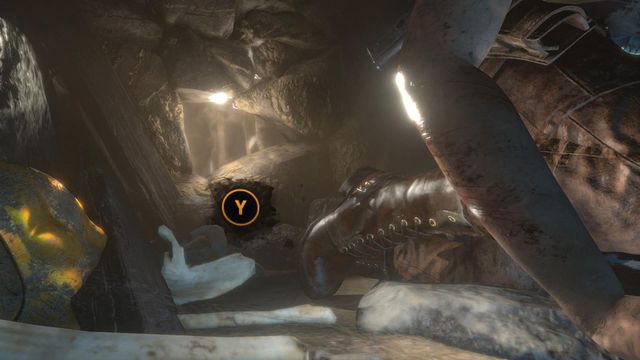
Lara will start walking through a dark, narrow corridor. At its end use your leg to break the stones that plugs the tunnel. When the Y button sign will appear on the screen, press it on the pad. Repeat this action twice.
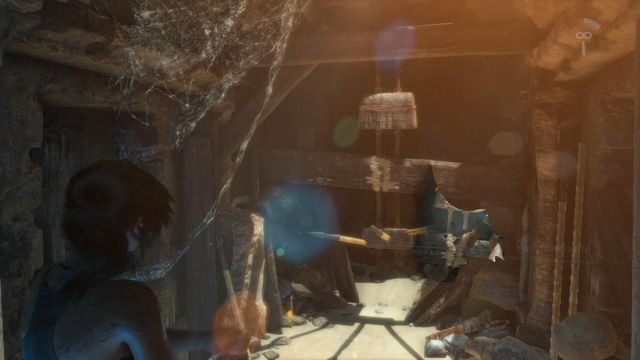
A moment later Lara will barely survive a trap she activated. To get further, use the pistol by shooting the rectangle part of the trap almost at its top. When you aim the pistol in the right place, the viewfinder will change its color to red. Destroy the trap and walk further.
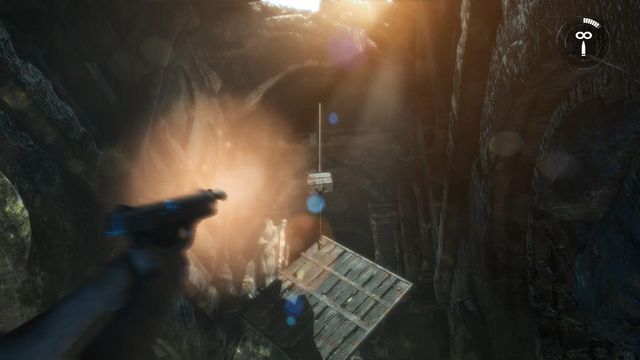
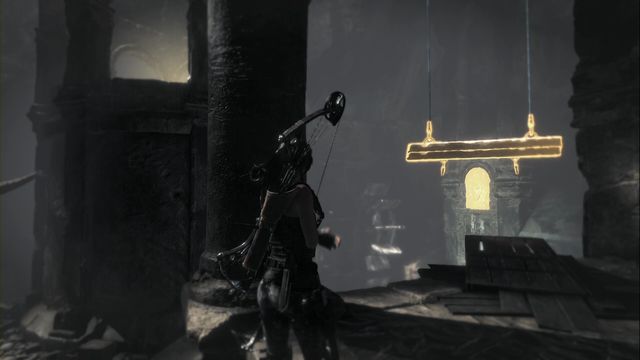
Further in the corridor you will have the first environmental puzzle to solve. Don't jump into the water. Instead, shoot the rectangle object located above the wooden platform hanging on the other side of the hole. The platform will fall on the water.
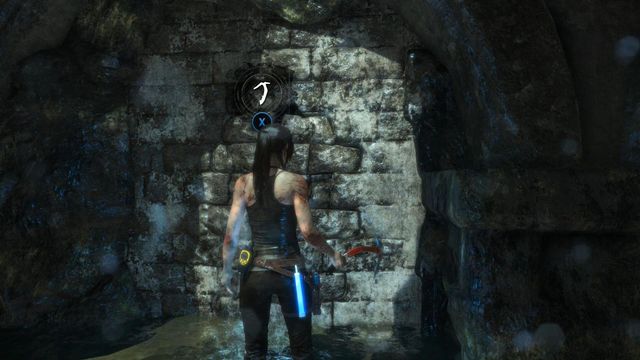
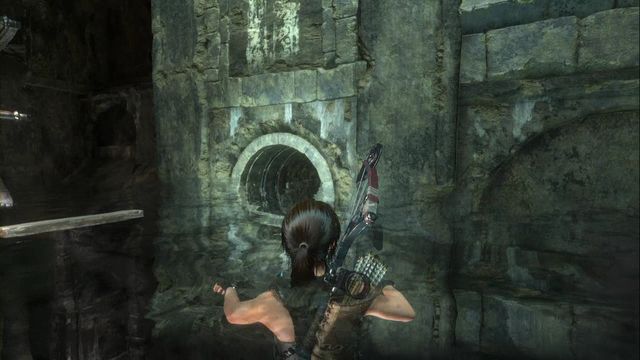
Now, jump into the water and walk towards the wall on the left. Use the axe to break the wall. Water will start flowing from the new hole, increasing the water level. Swim to the previously shot wooden platform, climb on it and jump from it to the hole.
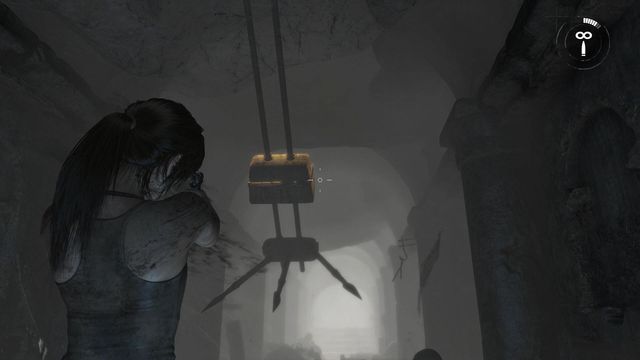
A moment later, Lara's life will be endangered once more. Another trap will activate and the time will slow, allowing you to shoot the weak point of the trap - the two desks shown on the picture that are above three spikes.
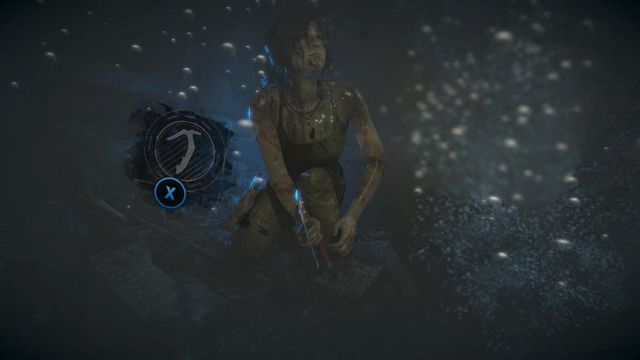
When Lara will start drowning, immediately start quickly pressing the X button on the pad. The axe icon shown on the screen will start filling with white color.
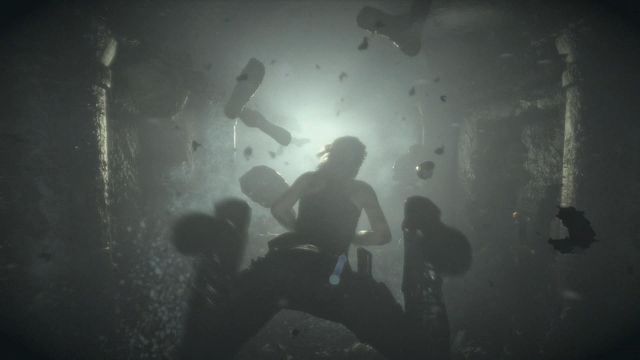
Lara is not able to hold her breath for more than few seconds, so after freeing your leg from the trap quickly swim ahead by pressing the B button on the pad. Thanks to that, the swimming character will move more quickly.
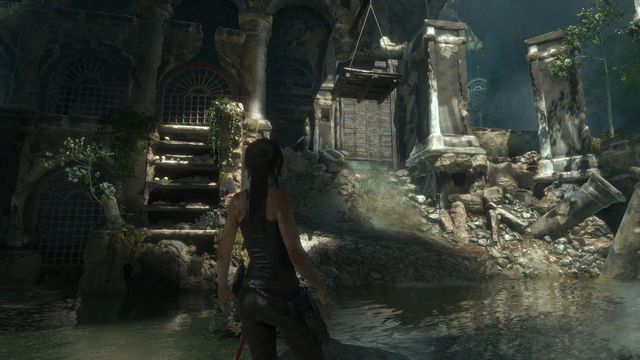
You must solve another environmental riddle. After getting Lara out of a flooded tunnel, you will find yourself in a large room with the tomb. Once again, you must raise the water level to get to the upper parts of the chamber. Walk below, jump into the water and notice that on the right side there's another fragment of unstable wall. If you do not see it, help yourself with Lara's instinct by pressing the right analog stick. Walk to the pointed location and use the axe. After three hits, water will flow from the hole and the water level in the chamber will rise.
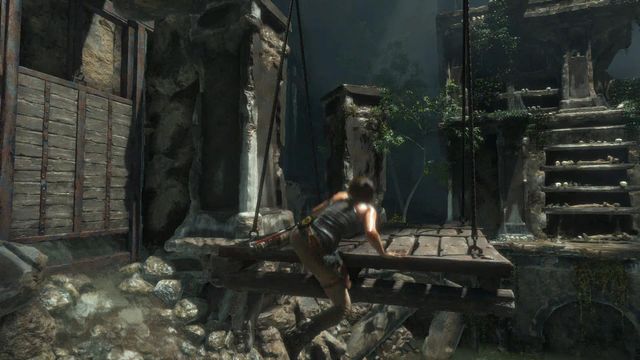
Swim to the other side, near the rock ledges shown on the picture above. Start climbing on them. Get to the top, move right, pull yourself up. A platform is hanging on ropes ahead of you. Jump towards it. Lara will hang on the wooden platform and the weight will open the sluice. Water level will rise once again and Lara will fall from the platform. Swim towards the beams painted in white and attached to the wall. Climb on them, move as far right as possible (behind the corner) and, once you have the corridor on the floor ahead of you, pull up to it.
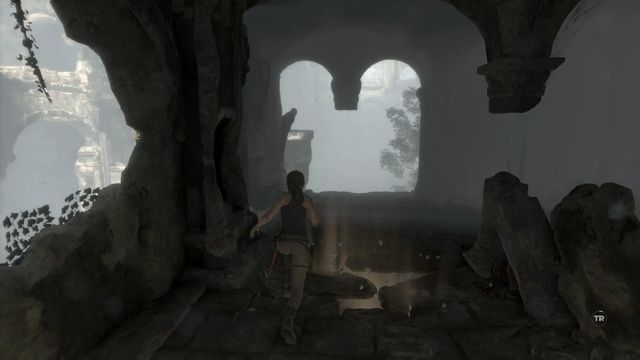
After walking few steps, the floor under Lara will collapse. During such moments (there are more of them), the game will test your reflexes. The time will slow down for a second and you must quickly jump to avoid falling into a spike trap.
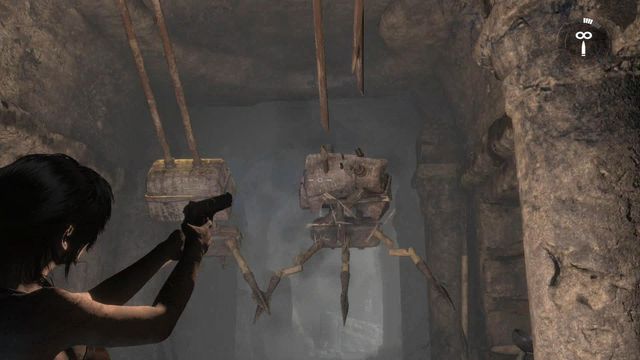
Jump to the other side of the chamber using the destroyed pillars and enter the dark corridor leading right. Watch out! After another dozen of steps the floor under Lara will collapse once more - when the time will stop, jump ahead. A moment later a trap will activate in the ceiling. The time will slow again and you must shoot two weak points of the trap before the girl is killed by a sharp object.
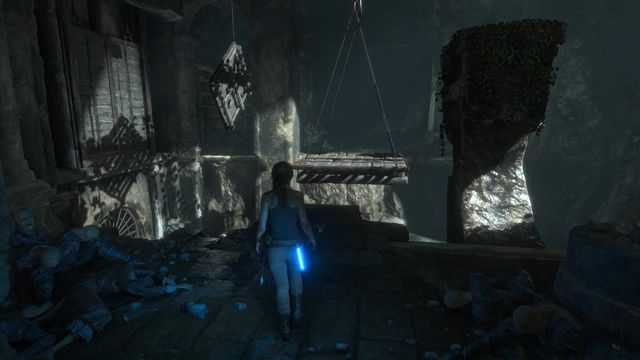
Another environmental riddle is the last in this location. Shoot the weak point of the hanging wooden platform shown on the picture above. The platform will fall to the water below. Now, using the hanging platform (it's also visible on the screen above), jump to the other side - you must do it very quickly, otherwise Lara will be washed from the platform and you will have to repeat the jump. Use the axe to break the wall. Water will start flowing from the hole and the water level in the chamber will rise.
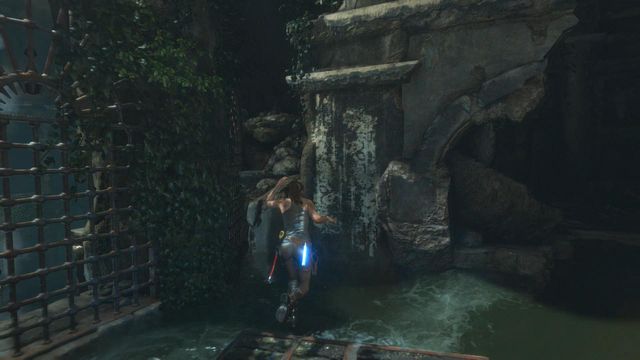
Jump again on the wooden platform and this time let the water wash you off. Quickly swim to the previously shoot platform which now is on the surface, climb on it and from there jump on the part of the wall nearby. Climb the wall, move right and jump to the pillar on the right.
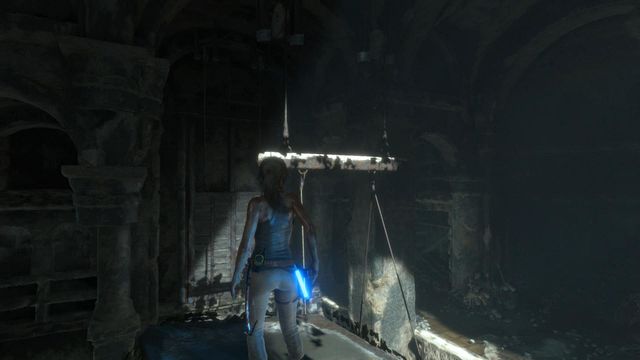
Once you stand on the pillar, notice that above the counterweight a board partially painted in white is hanging. Jump towards it. Lara will be once more washed by the water, allowing you to get close to the tomb. Climb up the wooden ledges with skulls.
The location map presents whereabouts of all the collectibles, which you can find here. Each type of collectible has been marked in a different style, which makes it easier to differentiate between them. Numbers provided by the markings serve as a reference to the guide - apart from having been marked on the map, each collectible has also been described and shown in the screenshot. In case of any problems finding the collectible, you can find it in the guide, by the provided number.. Collecting all of the items and completing all of the challenges of a mission allows you to explore the location in 100%
Syria is the first separate location that you get to. Here, you find several collectibles and one mission to complete. If you miss something, you can revisit Syria only after you complete the main storyline - then, there appear 3 new camps here which you can travel to from another camp.
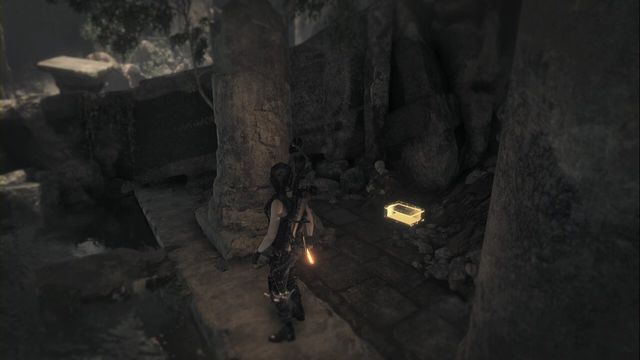
On the escarpment, in front of the entrance to the prophet's tomb.

On the bank, behind one of the columns.
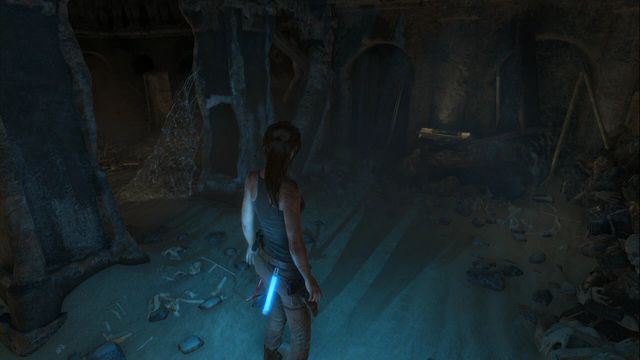
Right after you enter the prophet's tomb, (the Syrian Tomb Base Camp), on the left, on the pile of planks.
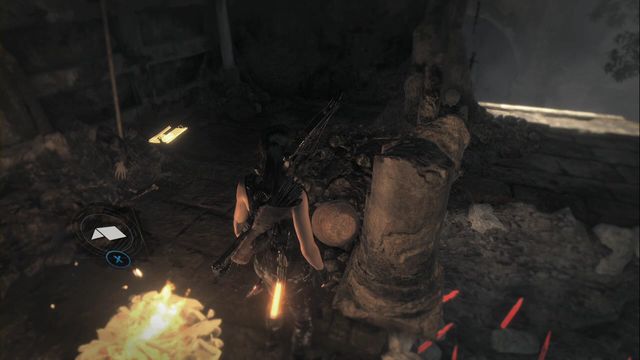
On the ground next to the campfire, in the Syrian Tomb Base Camp.
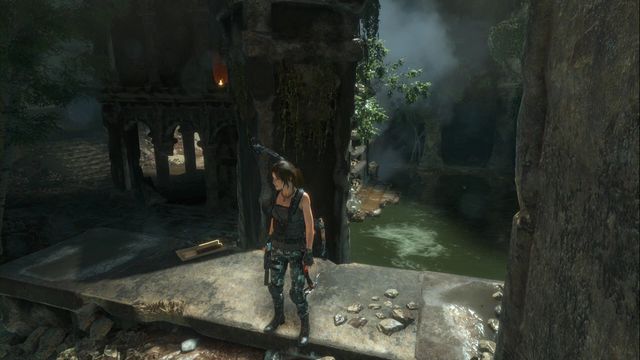
On the wall, next to the column.
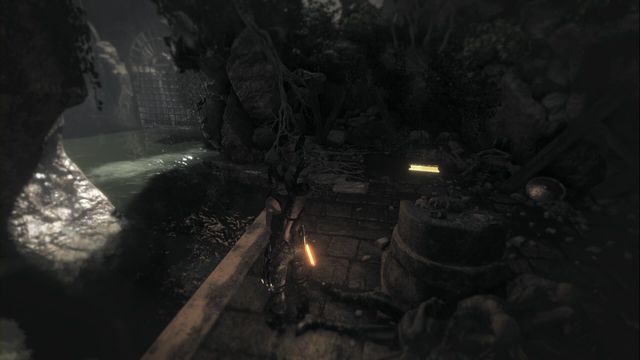
Right after you enter that chamber, on the ground on the right.
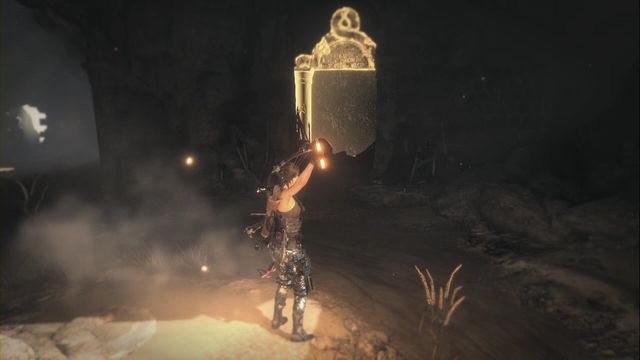
Opposite the monolith (the Syrian Cliffs camp).
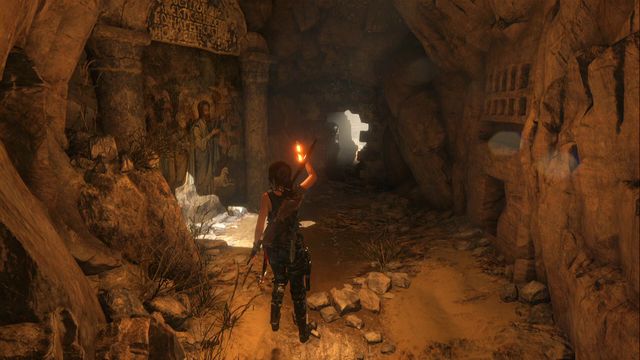
In the corridor, right next to the Syrian Cliffs camp (go left from the campfire).
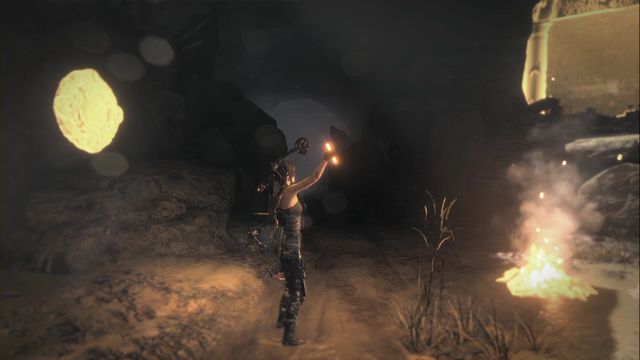
above the stone, opposite the campfire (the Syrian Cliffs camp).
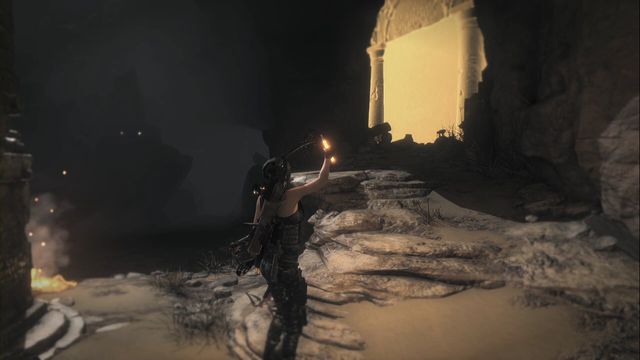
Behind the campfire in the Syrian Cliffs camp.
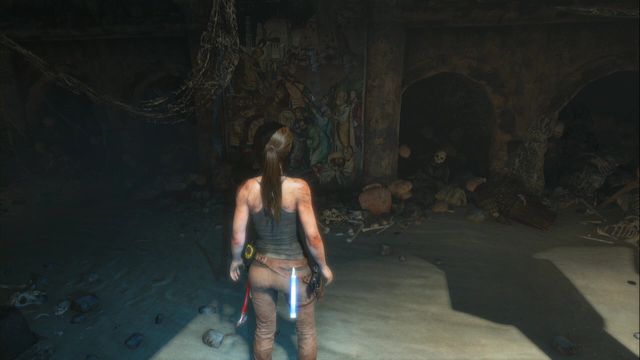
Right after you enter the prophet's tomb (the Syrian Tomb camp), on the left.
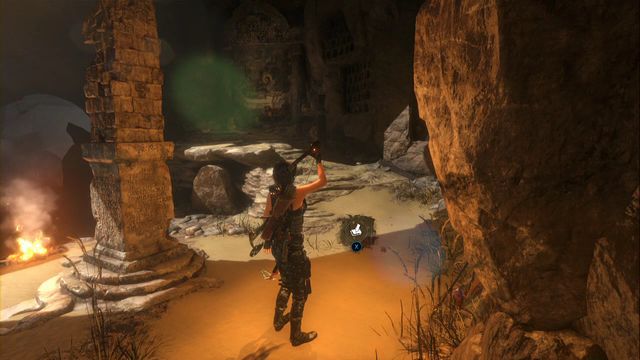
Next to the monolith (in the Syrian Cliffs camp).
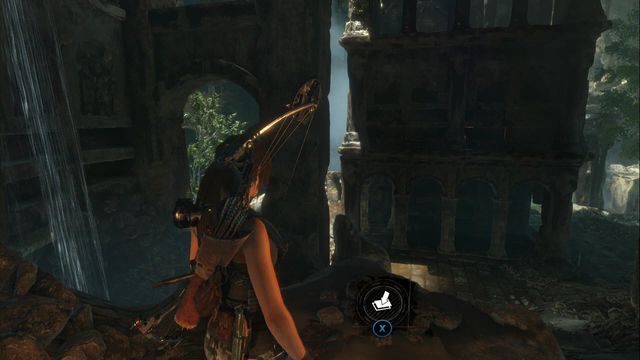
In the corner of the chamber, by the waterfall.
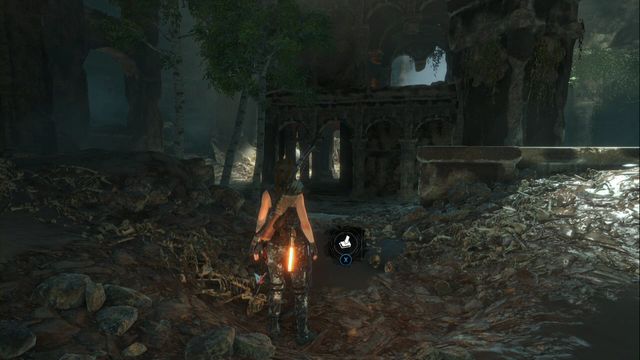
A bit behind the wall, in the middle of the road, when you are looking towards the camp.
In the last two chambers, there are several incense burners hanging and these are your target. To destroy them, do not shoot the burners themselves, but the elements that fasten them.
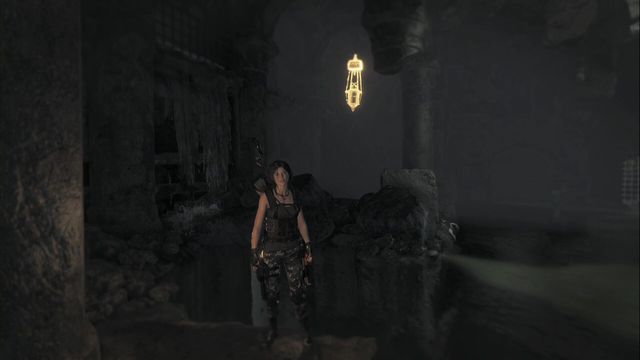
Incense burner 1
Under the balcony, behind one of the columns.
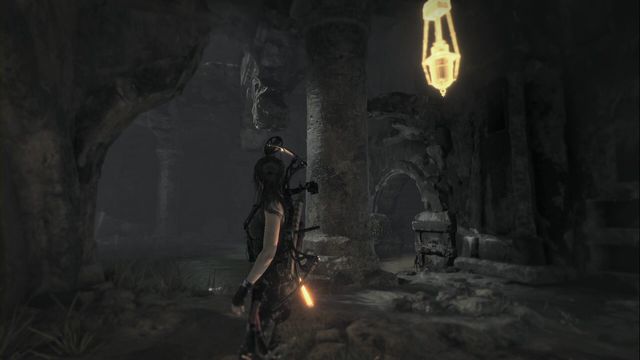
Incense burner 2
Behind the column in the corner of the flooded chamber.
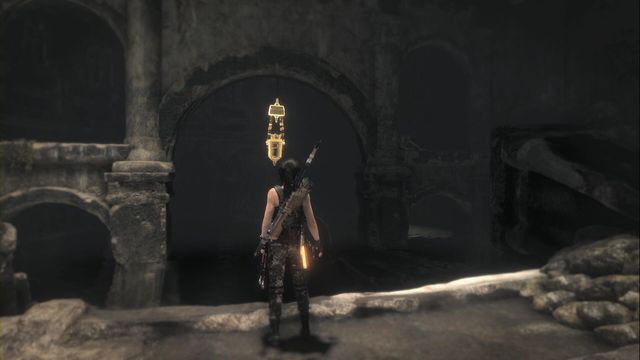
Incense burner 3
On the arch above the water surface. You can spot it after you jump out of the room, where there is the camp Syrian Tomb.
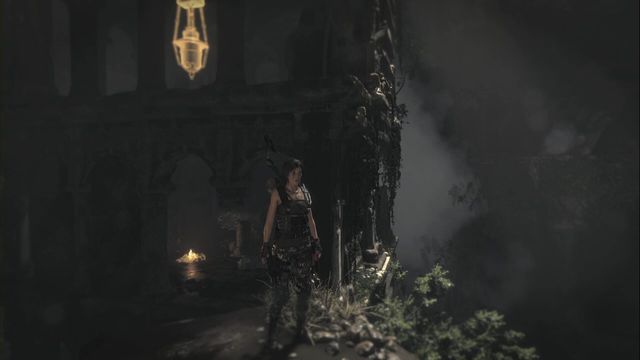
Incense burner 4
Above the camp. Jump onto the column next to you.
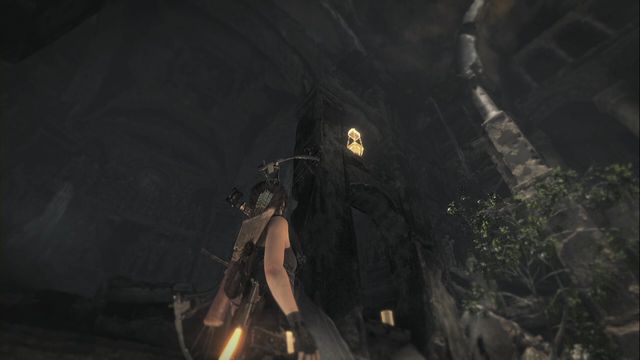
Incense burner 5
In the free space in the wall next to the building with the camp.
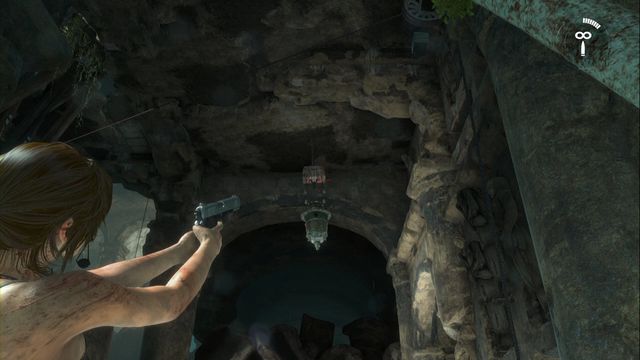
Incense burner 6
After you jump over to the upper balcony, before the turn to the corridor. You jump over here from the camp area, over the column.
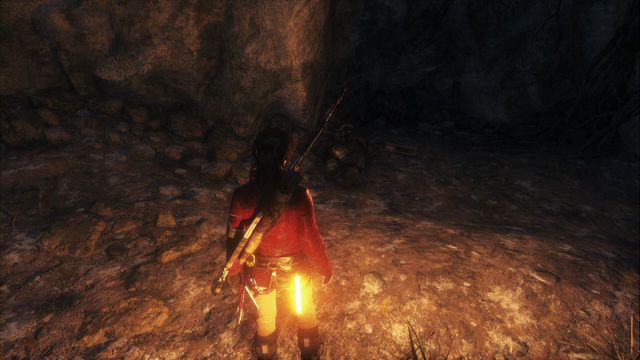
Incense burner 7
It is hanging above the gate.
The map of the location presents the whereabouts of all the collectibles that you can obtain in a given area. Each type of collectible has been marked in a different way, to make it easier to tell them apart. Numbers provided by the markers are references to the walkthrough - Each collectible, apart from being marked, has been described and shown in a screenshot. If you have any problems finding a specific collectible, find it in the walkthrough by its number on the map. Collecting all of the items and completing challenges is required to explore the location in 100%.
On the map of the Siberian Wilderness all of the interesting locations, camps and caves, have been marked. Siberian Wilderness is a small area and you gain access to each spot the first time you are there. The only exception are the caves in the Southern part of the map and you can access it only after you complete the part of the storyline that takes place in the Soviet Installation.
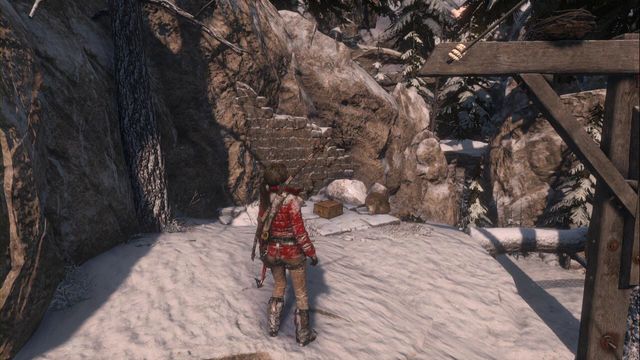
The ledge close to the cave entrance. Examine the crack in the crown.
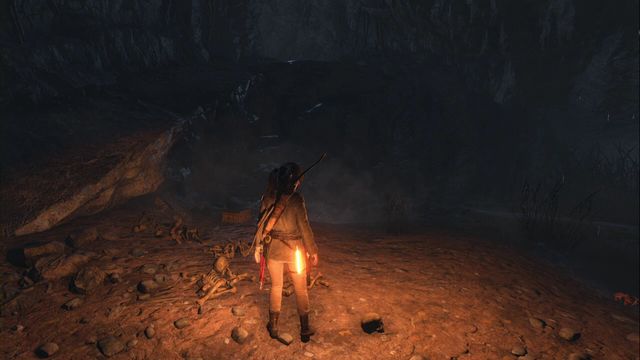
You can gain access into the cave when you, during the mission in the Soviet Installation, learn to craft explosives and obtain the assault rifle. Thanks to this, you can blow up the obstacle and enter the cave, inside of which there is the tug.
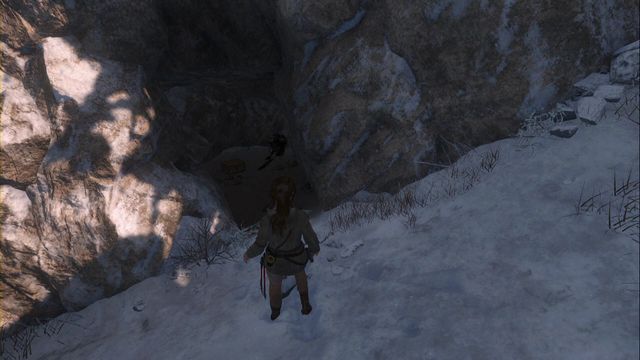
You can gain access into the cave when you, during the mission in the Soviet Installation, unlock the skill of firing rope arrows. Use this skill to gain access to the cave.

At the corpse inside the cave. You find it while searching for toadstools that you need for crafting poison arrows.
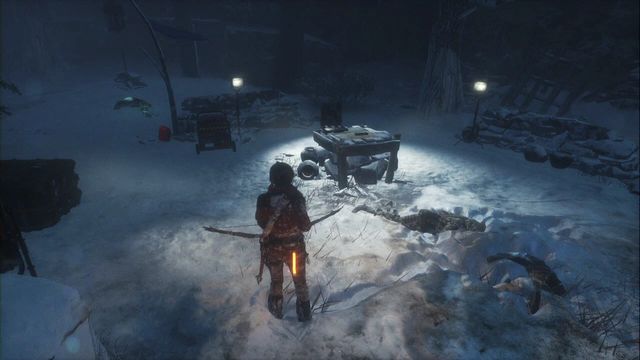
On your way to the cave with the bear. It is on the table surrounded by two soldiers, in the area enclosed within a low wall.
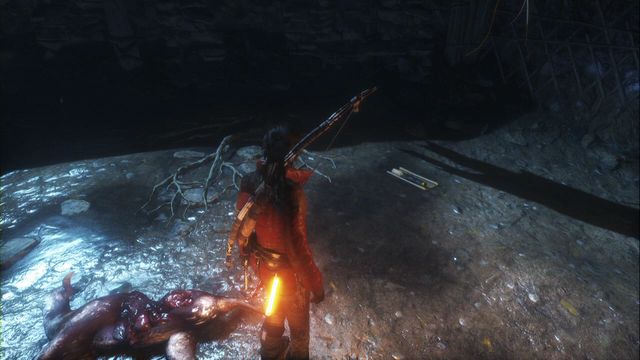
On the ground, in the cave where a bear lurked. After the bear is done, approach the stag's remains.
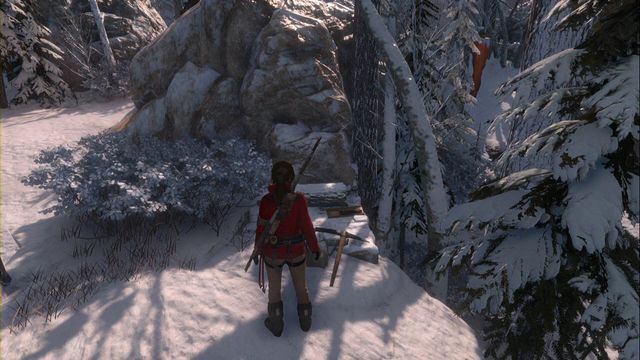
Close to the camp on a ledge.
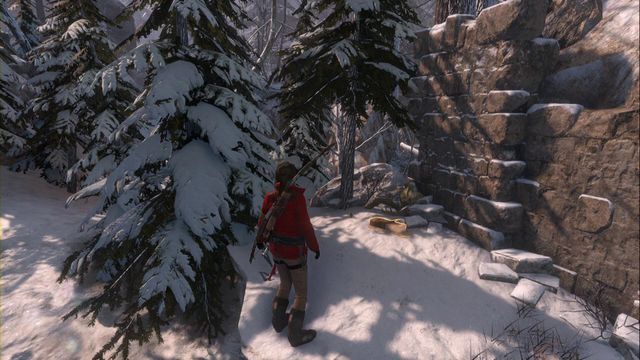
Just like the previous one, close to the camp, at the wall close to the road.
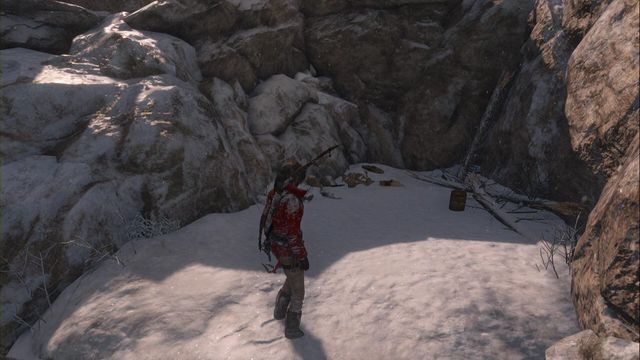
On the ledge. You get there after you climb onto the branch of the nearby tree and take a leap from there.
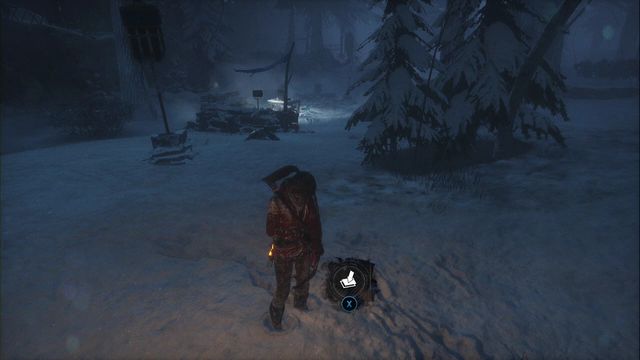
Among trees, right past the spot, where two opponents used to talk. At the moment at which a message of the locals' traps is transmitted via the radio (during the mission).
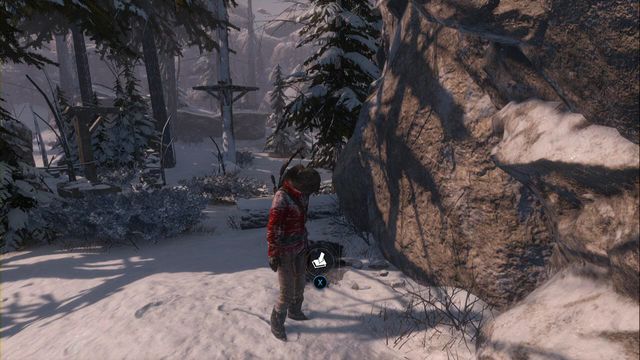
Buried at the stone wall, close to the Monolith.
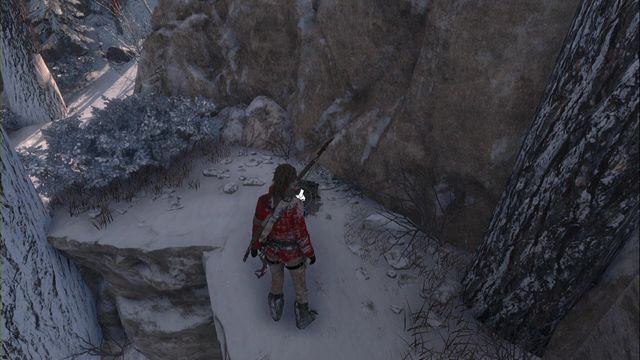
On the ledge, right next to the tree.
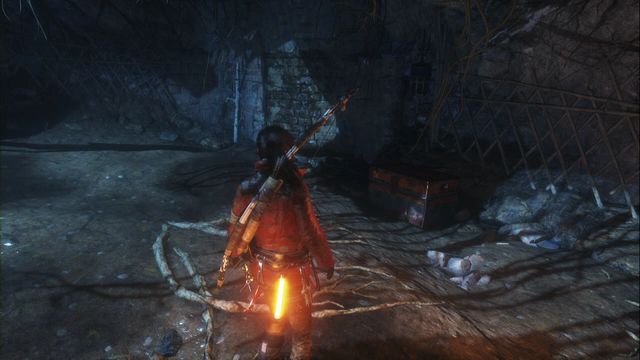
Semi auto pistol element - after the fight with the bear, in the cave, before the entrance to the Glacial cave.
Near the blocked passage, close to the Monolith.
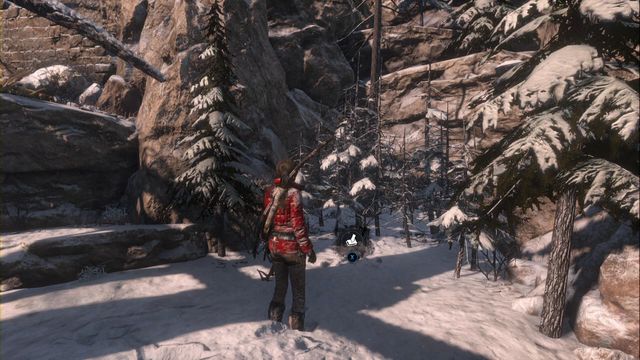
Under the fallen tree, among the small trees.
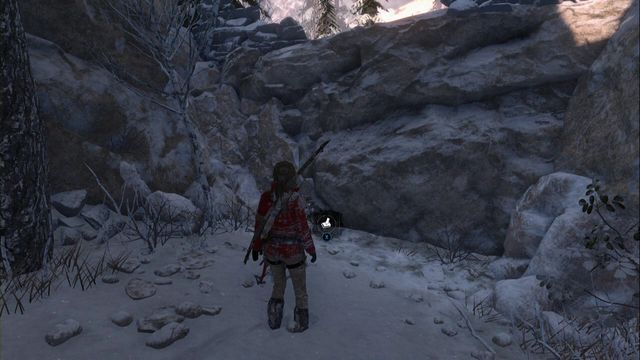
Close to the camp, at the end of the side-road .
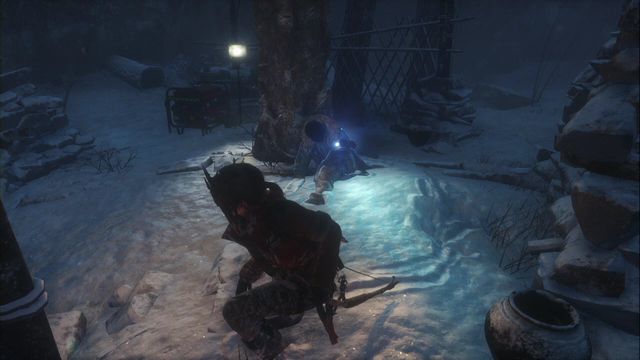 Kill the soldiers and loot the corpses.
To complete this mission, you only need to kill the soldiers of the Trinity, approach their corpses and loot them.
The map of the location presents whereabouts of all the collectibles that you can obtain in a given area. Each type of collectible has been marked in a different way, to make it easier to tell them apart. Numbers provided by the markers are references to the walkthrough - each collectible, apart from being marked, has been described and shown in a screenshot. If you have any problems finding a specific collectible, find it in the walkthrough by its number on the map. Collecting all of the items and completing challenges is required to explore the location in 100%.
Glacial caverns is a transfer location, where there is not much to see. The map has been marked for Relics and Documents, which are the only interesting things here. A separate curiosity is the Tomb, which you can visit to find an Archivist map, one of the Documents and learn a new skill.
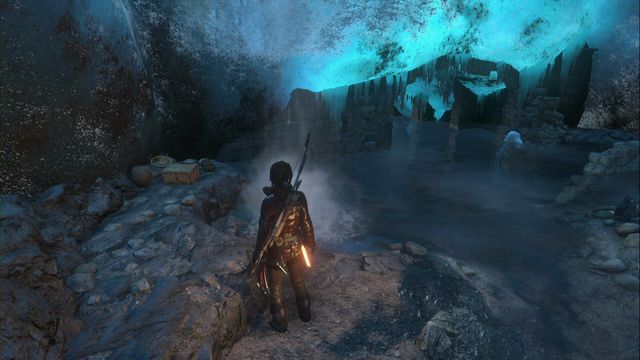
Right after you enter the cave and jump down, you find a chest on the left. Examine the arrowhead at the point.
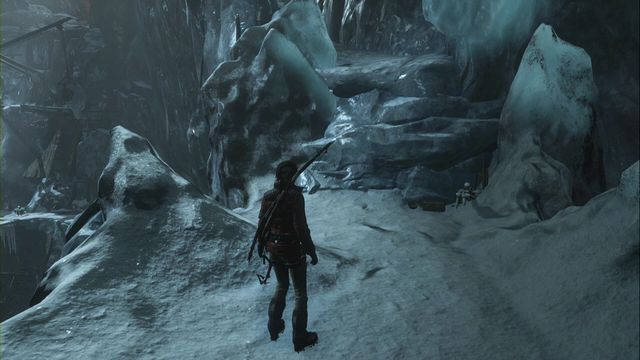
In the other part of the cave, by the ledge, at which you exit the Tomb, with the exit path on your right. Examine the reverse side of the brooch and the spoiled image.
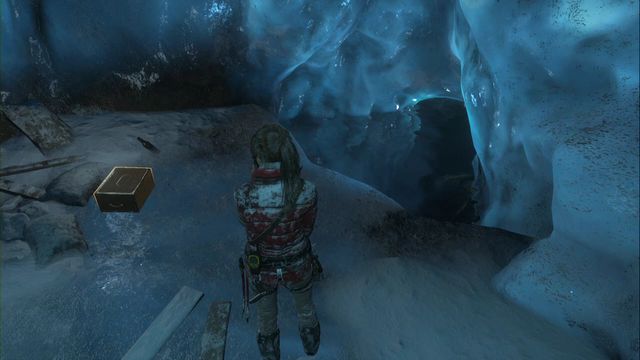
While swimming towards the camp, dive into the recess on your right. Examine the relic by flipping it over to the other side.
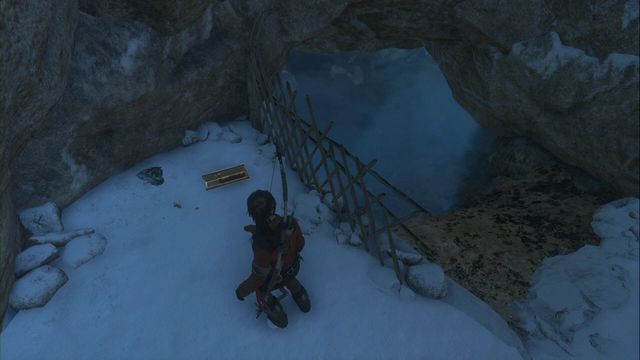
Right after you exit the caverns, to the right of the spot, where you resurface.
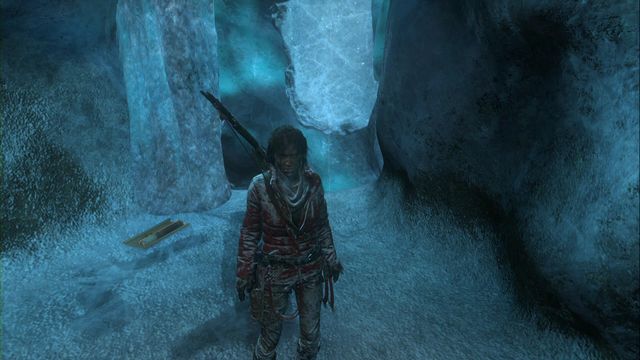
After you come down into the caverns, turn around towards the entrance and over the layer of ice, climb onto the ledge above.
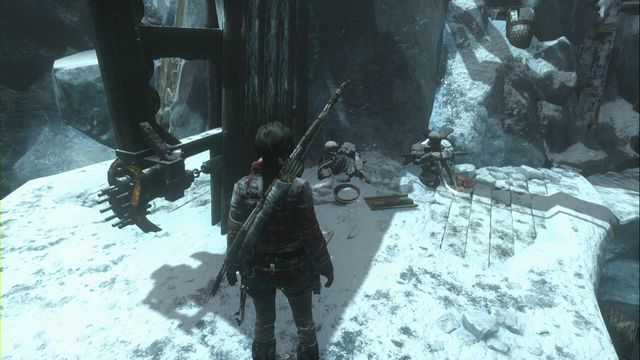
Enter the tomb by jumping from over the ship's mast to the other side. In the spot, where you can start the mechanism (QTE), on the right, there is the document.
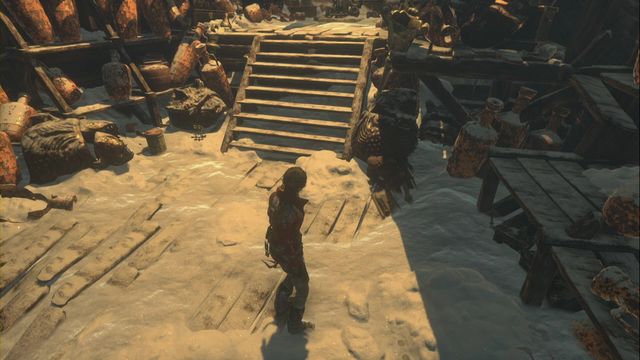
The last document that you read, after you have explored the tomb - it is right next to the Archivist map.
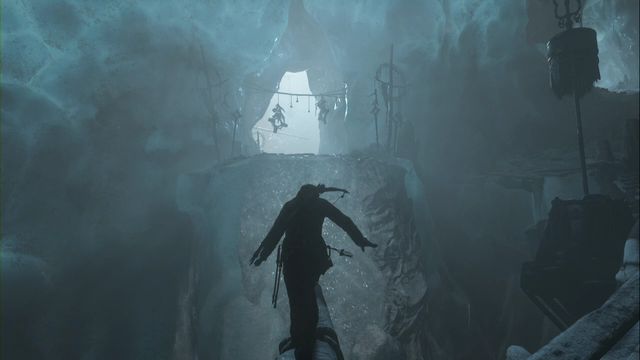
You find the entrance to the tomb right after Lara spots the ship. Go towards the cavern exit and, in the spot shown in the screenshot, jump over to the other side. Walk over to the end and start the mechanism (to the right of the skeleton, there is a Document).
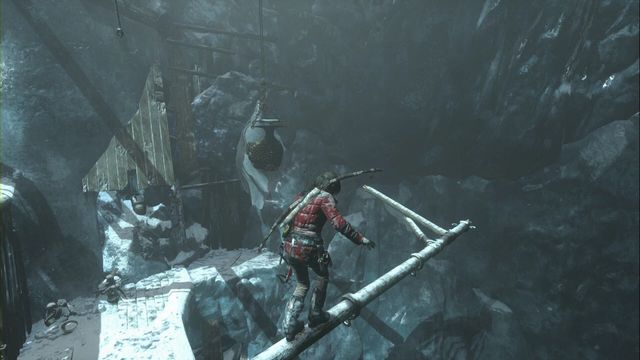 Jump over the container hanging down.
Past the mechanism, jump up and over the mast, walk over to towards the hanging lump of ice. At the end, run up (sprint), jump over the container and smash the ice lump at the other side. Thanks to this, you can now climb up.
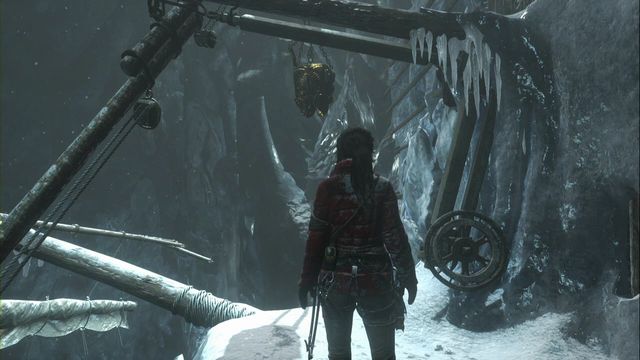 Spin the turning wheel and climb onto the mast quickly, where you can jump over onto the container
You now need to give the turning wheel a turn. This lowers the container to the very bottom. Then, walk over the mast to reach its end (on the right), where you should jump onto the container, at the right moment, and smash the ice. After you come down, climb over the ice wall, on the left, and then climb even higher, from the spot, where there is the turning wheel.
Note: "The appropriate moment" is when the container is hanging for a moment at the same height as the mast and Lara on it. After you lower it and release the turning wheel, the container starts going up. You then have a moment to walk onto the mast and, when the container stops, you can jump onto it.
 examine the book, which completes the tomb exploration.
While up above, you find some coins, the Document and the Archivist map. Finally, examine the book that you find at the end of the path, in order to complete the tomb exploration.
Reward: "Ancient Skills" skill (enables you to fire two arrows in succession).
The map of the location presents whereabouts of all the collectibles that you can obtain in a given area. Each type of collectible has been marked in a different way, to make it easier to tell them apart. Numbers provided by the markers are references to the walkthrough - Each collectible, apart from being marked, has been described and shown in a screenshot. If you have any problems finding a specific collectible, find it in the walkthrough by its number on the map. Collecting all of the items and completing challenges is required to explore the location in 100%.
Soviet installation is the first sprawling map. There, you find lots of collectibles, treasures, challenges and missions. Due to the size of the map, to increase its clarity, maps have been provided for the individual sections. Main map, on the other hand, presents the entire area and it is marked for the key spots.
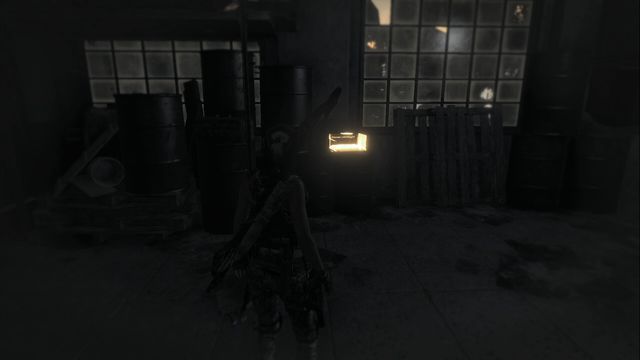
Inside the storage that you zipline into - in the room, where you enter through broken windows, there is a locked door. You are going to need a lockpick to open it. After you get one, you can open the door - the chest with the relic is inside.
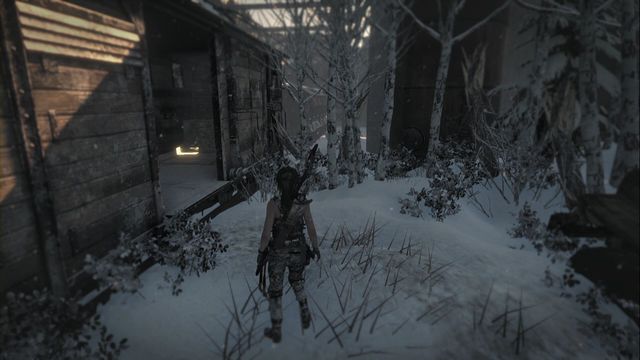
Right in front of the gate and the tower next to it, there is a hole in the fence, to the right in the corner. Thanks to this, you can enter the cart behind the fence. Inside, you find the chest with the relic.
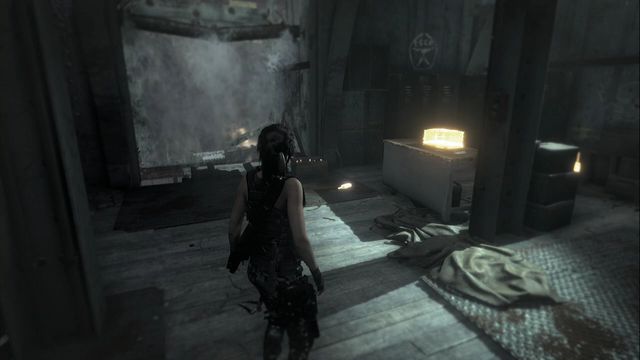
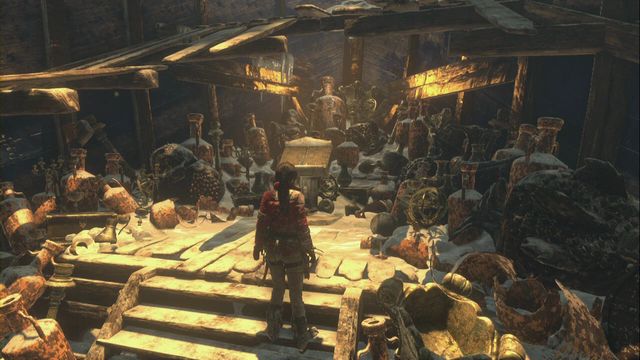
In the lower part of the tomb Red Mines, in front of the flooded entrance, where you need to throw a Molotov to the other side. Examine the top of the flask.
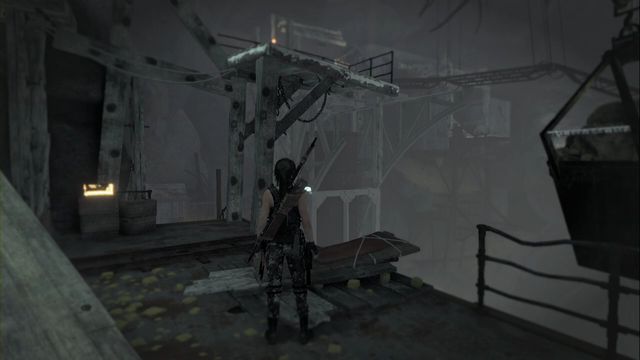
Inside the Red Mines, a bit past the camp, where you need to push down the carts using the hanging containers.
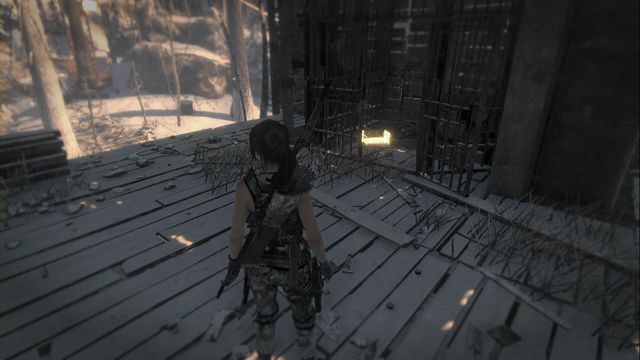
Inside the building, climb up and then jump onto the platform closer to the center. From here you can leave, where on the right, there is the relic. Examine the inscription at the back of the photo.
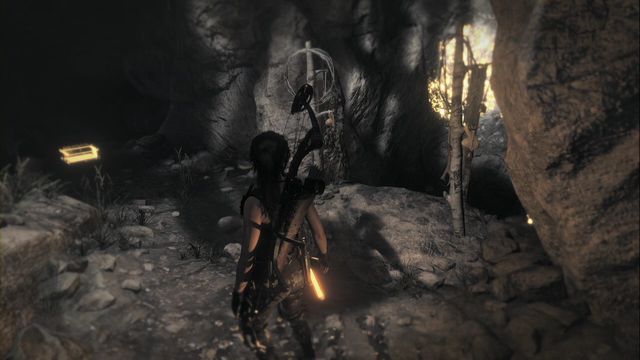
Right after you enter the cave to the tomb - Ancient Cistern. To reveal the entrance, you need to throw down the log attached to the nearby crane, which destroys the planks and opens the cave entrance. You find the relic right after you climb down there, after Lara hears water falling. Examine the reverse side of the coin.
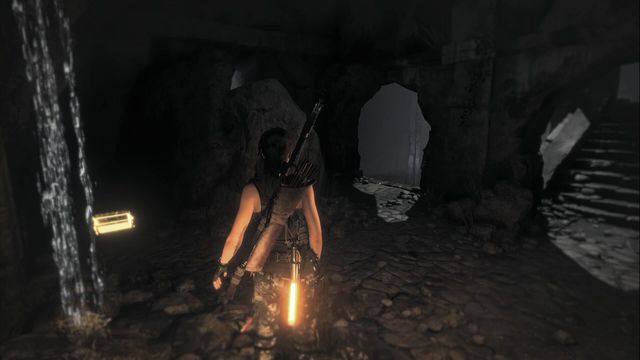
In the cave of the Ancient Cistern tomb. Right after you climb down and find water (the above relic), climb down over walls that you can jab your hatchet in. At the bottom on the left side of the entrance, you find a box under a stone.
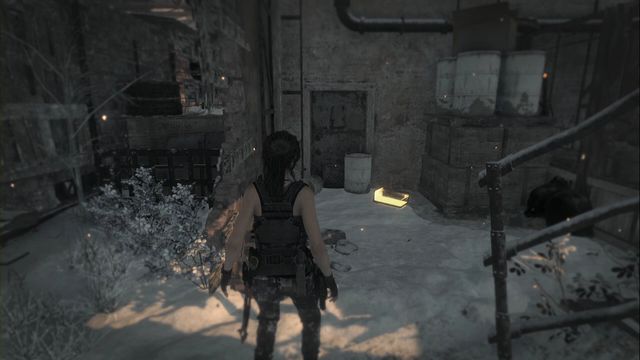
After you climb down to the bottom of the building, before you reach the carts.
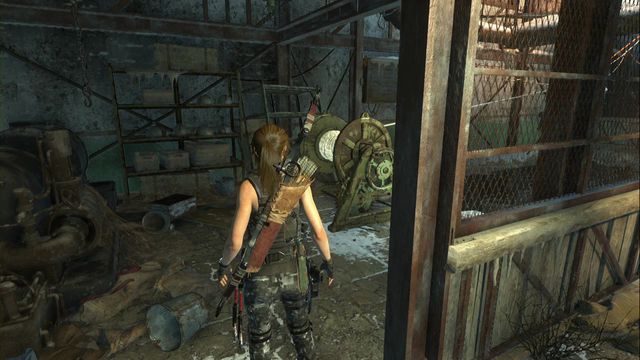
In the spot where you have to remove live wires from water.
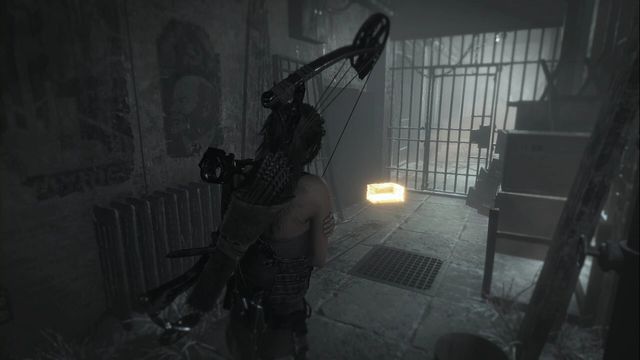
In one of the cells, in the corridor on the left.
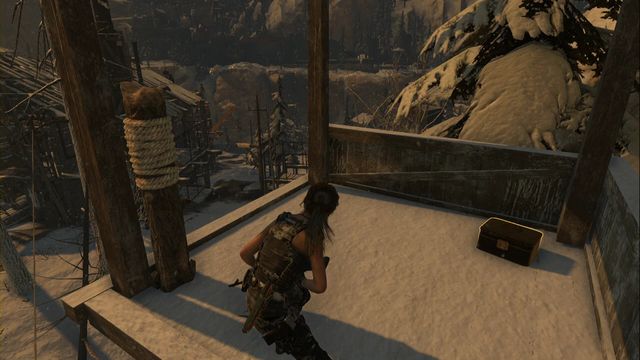
Atop the watchtower.
In the first house on the left, right after you enter through the gate. Examine the other side of the relic.
After you reach the upper part of the copper mill (near the tomb entrance), before you climb the stairs to the next building, find a passage covered with a cloth, on the right.
Burn up the material and jump up. You find the relic in a small room. Examine the other side of the dog tag.
After you climb the stairs into the next building, in the upper part of the copper mill, walk around the stairs up - the relic is a bit behind the stairs, on the left.
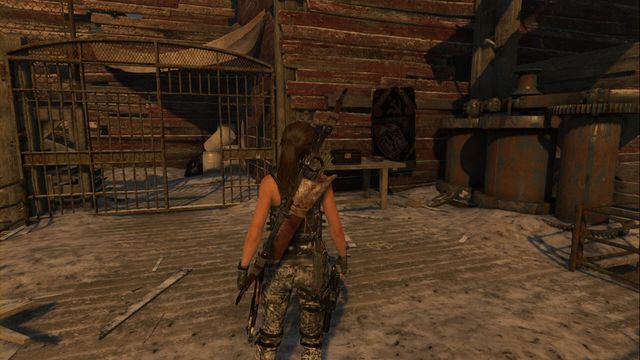
Before you climb the ladder, after which you need to hang down on a rope and swing to get to the other side. While standing in front of the ladder, jump right. Examine the inside of the box.
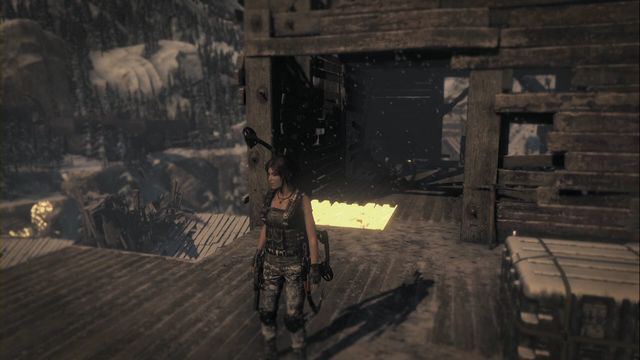
To get downstairs, you need to attach the rope to the planks to gain passage down (aim at the very edge of the obstacle).
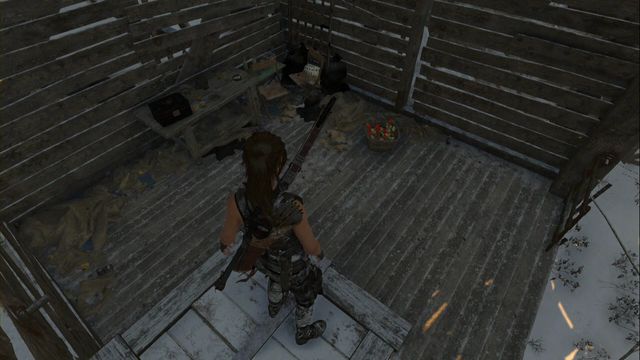
Jump down below, where you find the box.
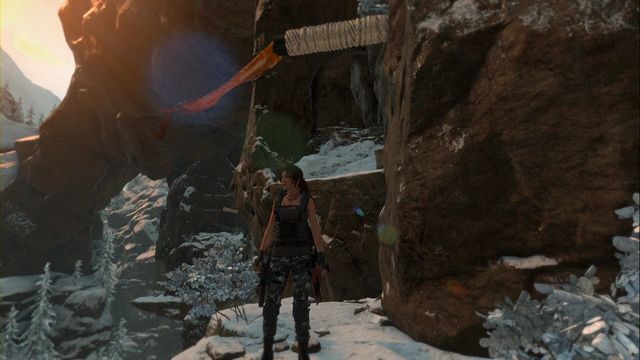
After you reach tomb Voice of God, jump over to the other side, over edges and over the climbing wall. In the spot shown in the screenshot, under the beam wrapped in rope, go left.
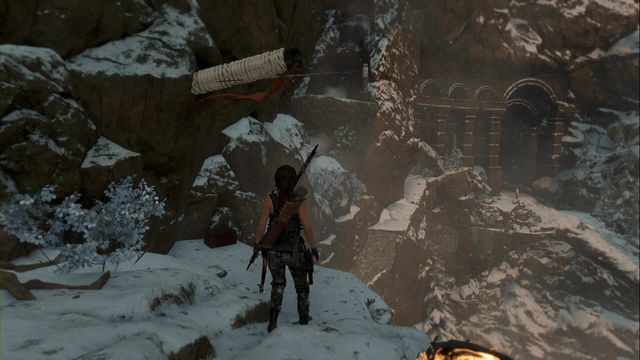
Then, use the rope arrow to get to the net ledge, where you find the relic.
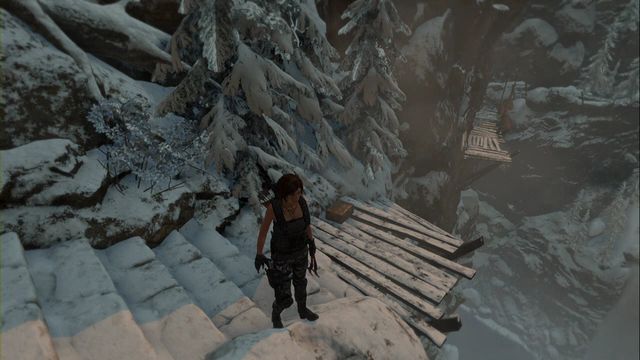
While in front of the main entrance to the Voice of God tomb, backtrack a little. The chest with that relic is next to the rocks on the right, where the road ends.
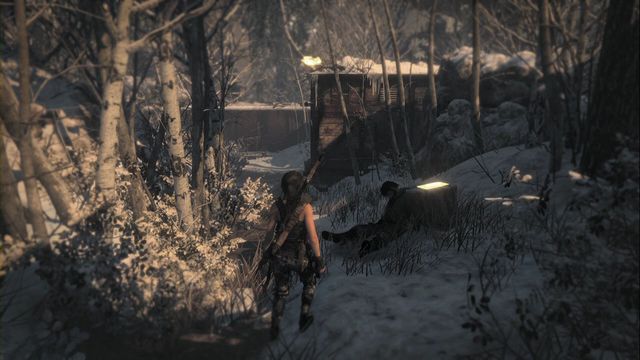
A moment after you zipline down from the camp in the south on the treetrunk, to the right of the path that you follow.
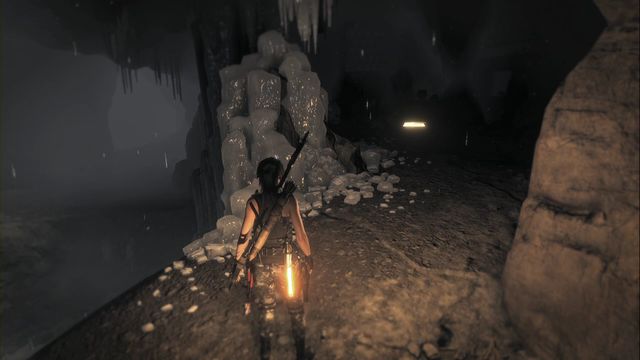
After you enter the crypt close to the camp in the south. Inside, smash the crumbling wall and go left at the fork. There, jump over to the other side and reach the end of the path. You find the document in the recess, on the ground.
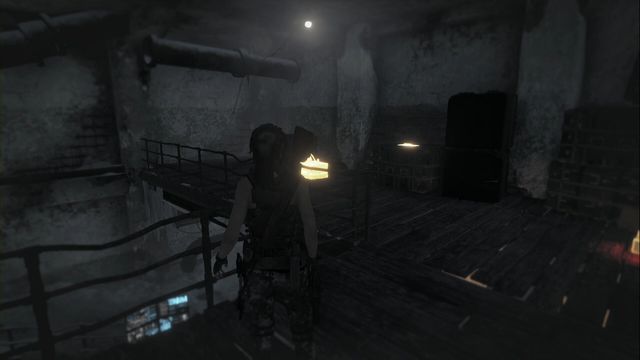
Right after you enter the building, past the small yard, go left at the first floor - the document is on the chest.
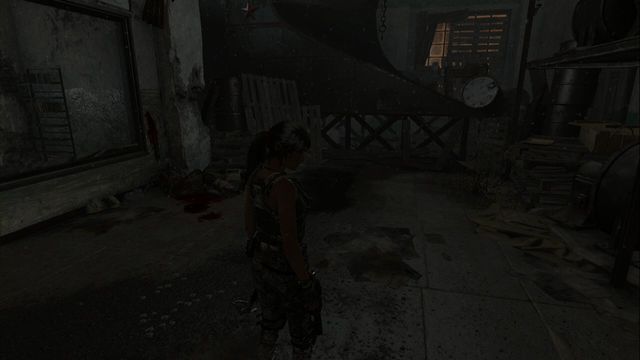
Inside the storage that you zipline into.
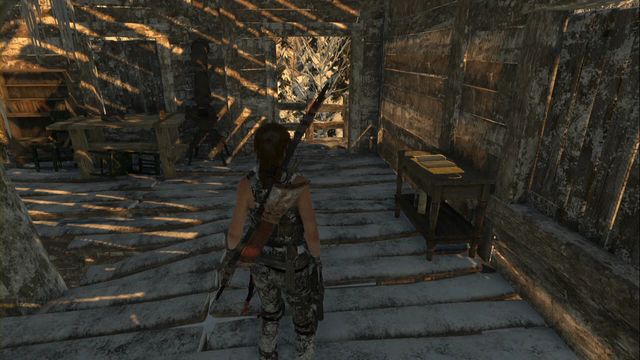
On the table inside the chalet, right above the campfire in Logging Camp.
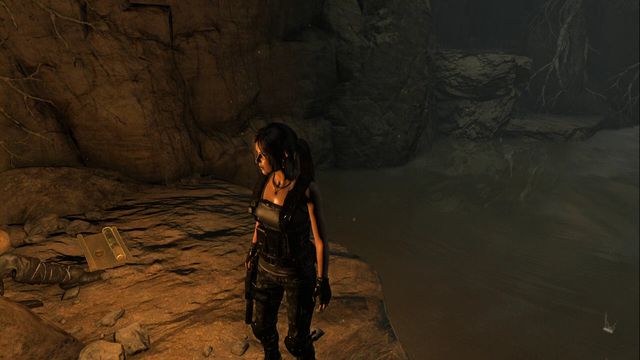
In the crypt, after you go down, on the right there is a mural. Enter even deeper, right next to the mural, to the right. A bit ahead, you jump into the water. The document is on the ledge in the corner of the cavern.
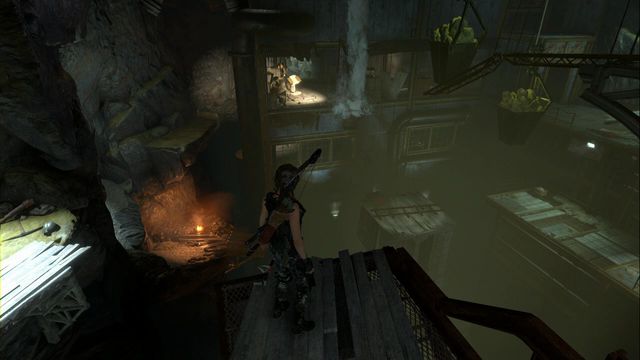
After you reach the main part of the Red Mines right after you enter, still before you reach the camp, you can jump over from the platform onto another to your left.
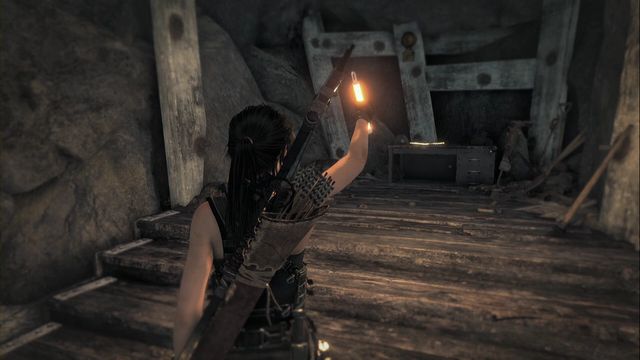
Then, before you go down, walk into the recess, where you find the document.
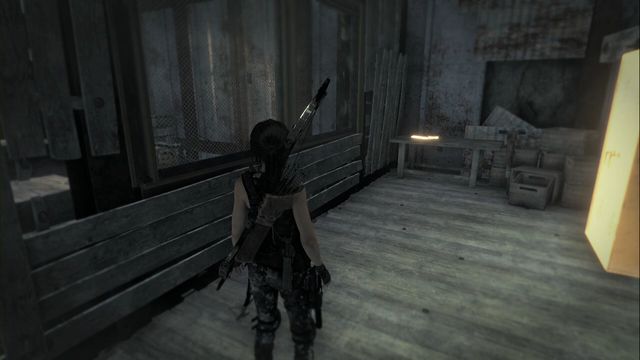
In the Red Mines, a bit past the camp, where you need to push the carts down. Use the hanging containers - go left into the corridor.
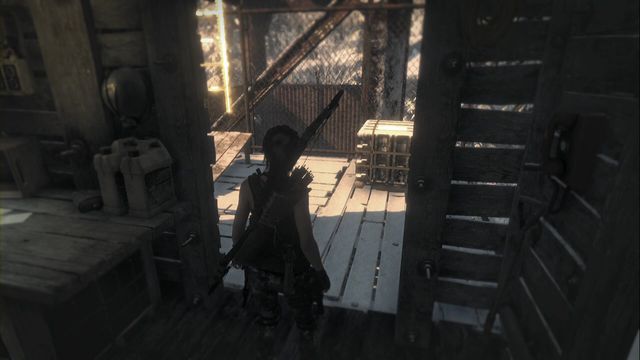
On the crate, right after you exit the Supply store.
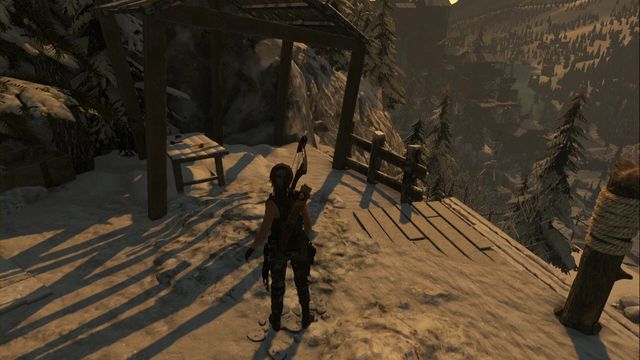
Under the wooden roofing, right above the Communications Tower camp.
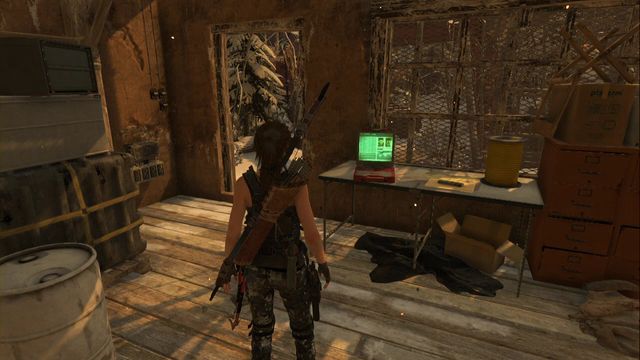
Right after you enter the building, on the desk to the left.
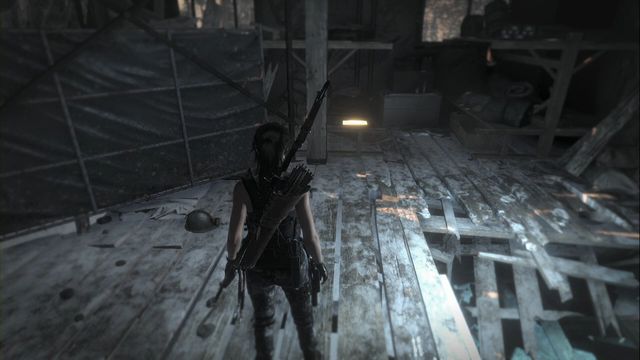
Right before you climb down into the water, near the hole in the ground.
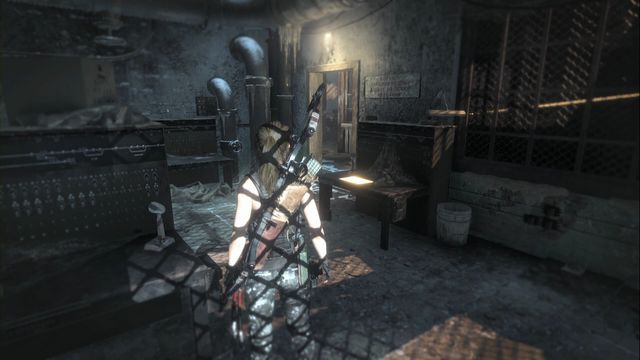
Right before you enter the room where you need to remove live wires from water.
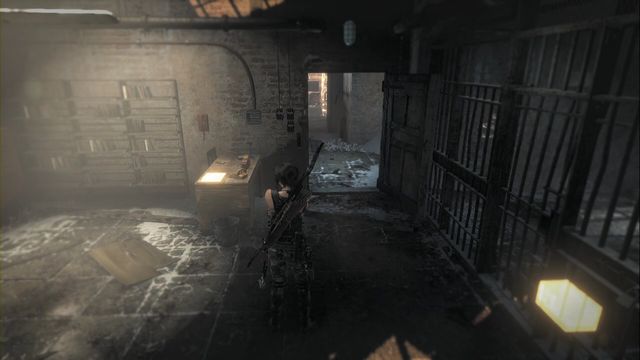
On the table at the prison exit.
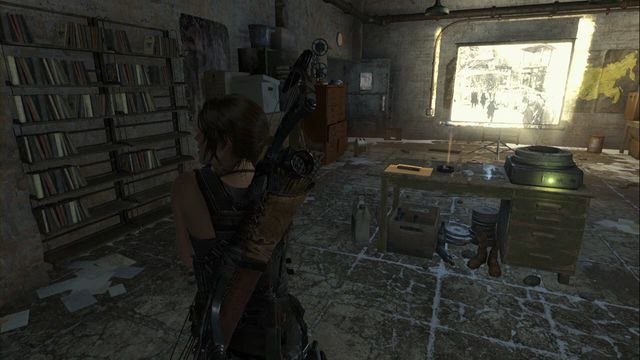
At the bottom floor of the prison, next to the projector .
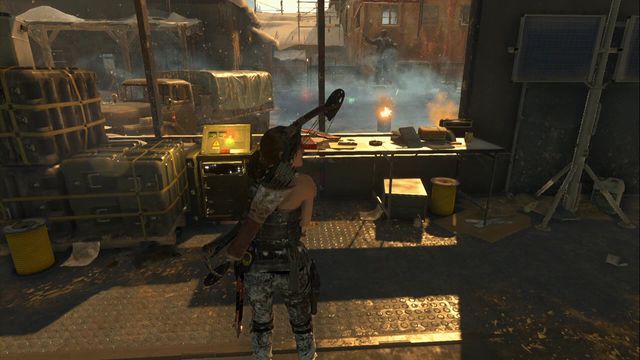
On the table at the window, inside the building.
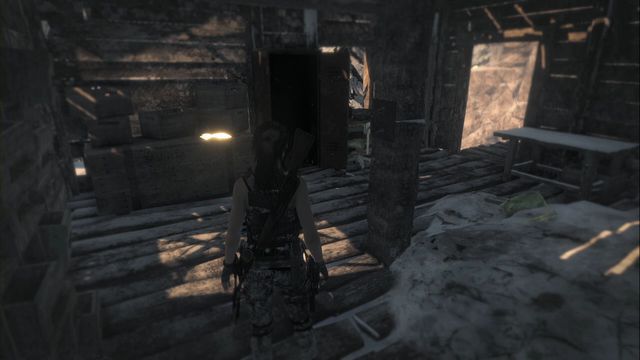
On the crates in the center oft he house.
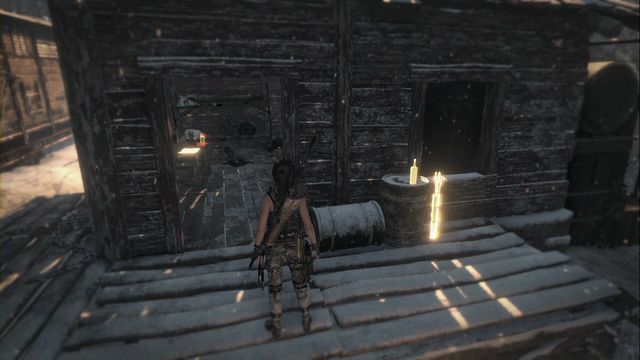
In the building in front of the gate, behind the truck.
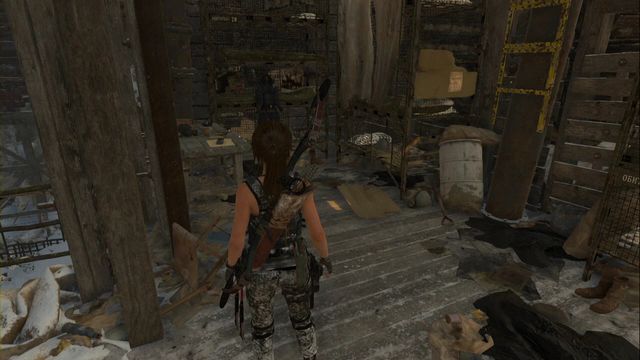
Before you climb the ladder.
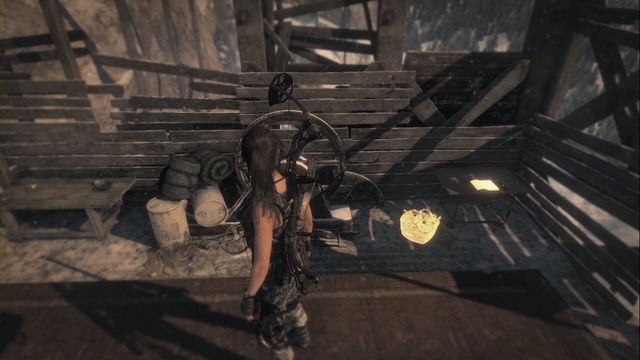
In the spot, where you need to jump over the chasm, a moment earlier. The document is on the table, at the other side.
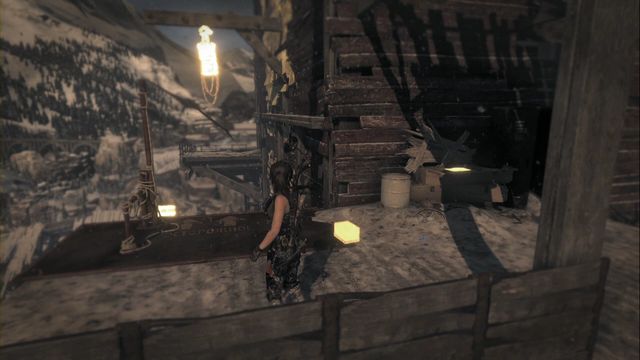
In the spot where you need to hang down from the rope and swing to jump to the other side.
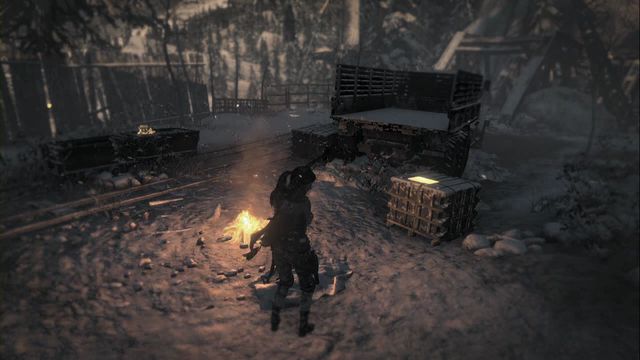
On the crate near the campfire, in the Copper Mill Camp.
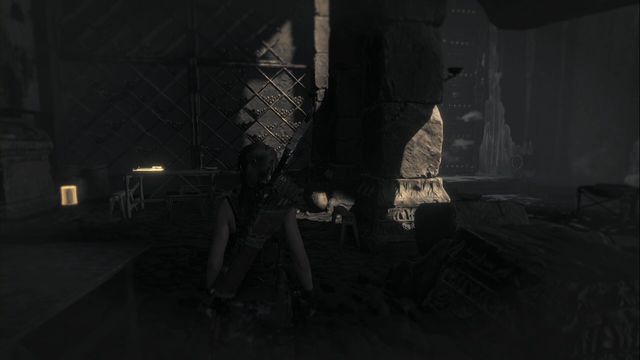
After you enter the Voice of God tomb through the heavy gate. The document is on the table to your left.
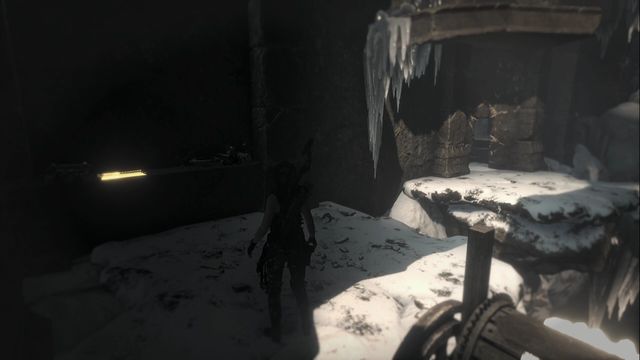
In the Voice of God tomb, at the hoist.
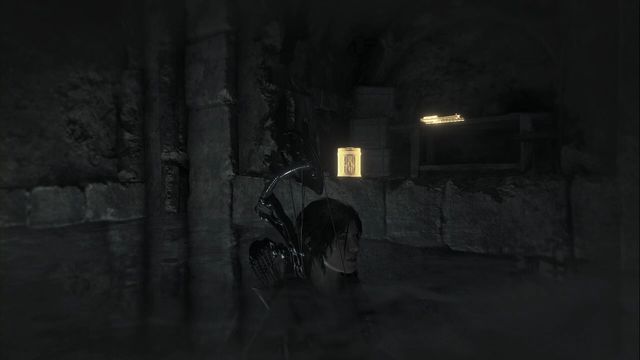
In the Ancient Cistern tomb, in the main hall, w in one of the recesses, after the room has been flooded with water.
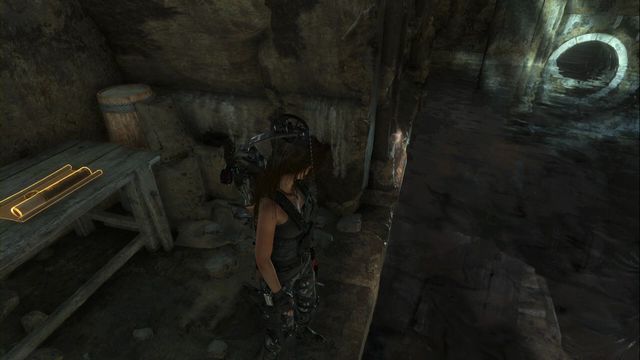
In the Ancient Cistern tomb, in the room where you destroy the last valve that holds the water (the recess opposite the stairs).
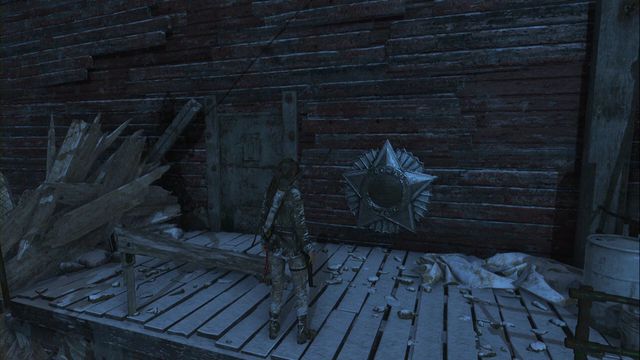
Above the Copper Mill camp, after you receive broadhead arrows, which you can use to get higher (the level above the campfire).
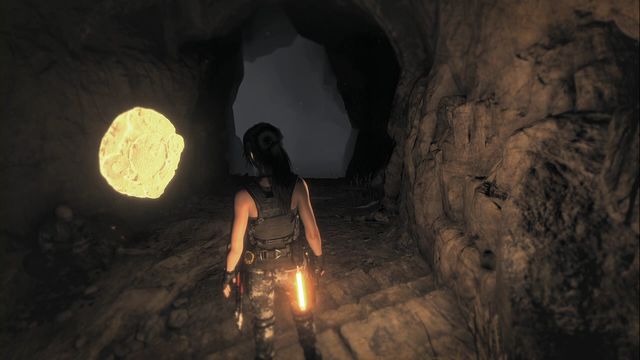
After you enter the crypt near Camp Overlook. Inside, smash the crumbling wall and you find the mural behind it.
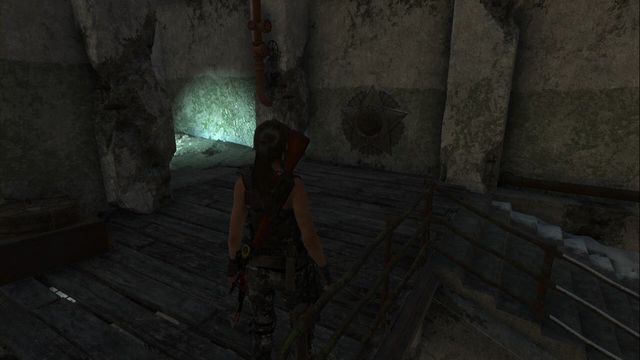
Right after you climb the stairs into the building, past the small yard on the first floor.
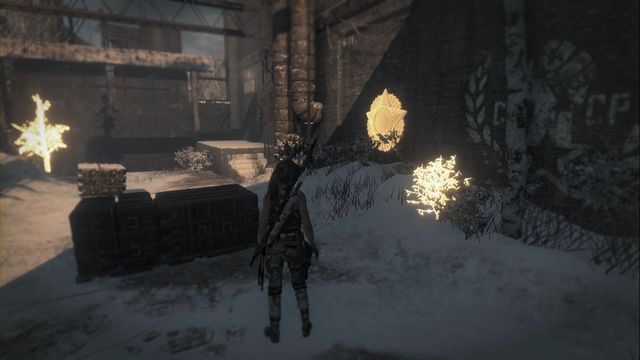
After you exit the storage, where Constantine gouges the eyes of one of the soldiers, on the wall to the right of the path.
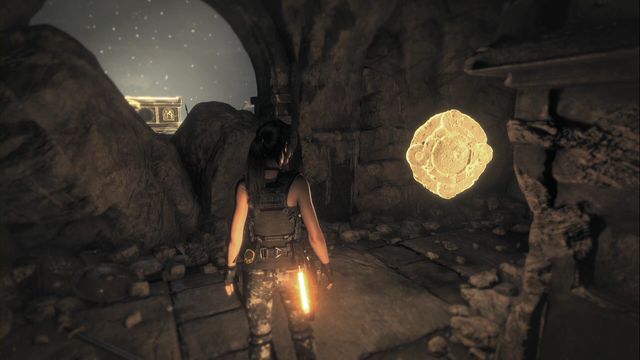
In the crypt, after you descend to the very bottom.
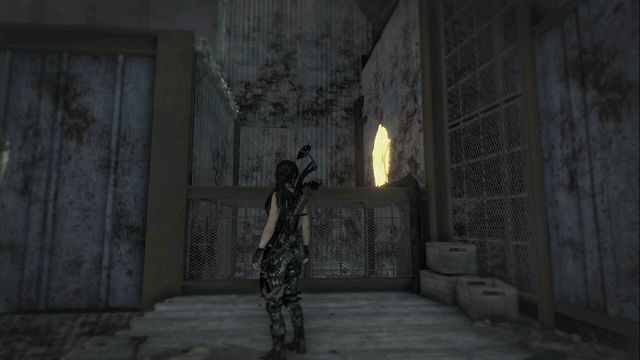
Deep in the Red Mines camp, along your path to the location, where you can attach the rope to the lowered cart.
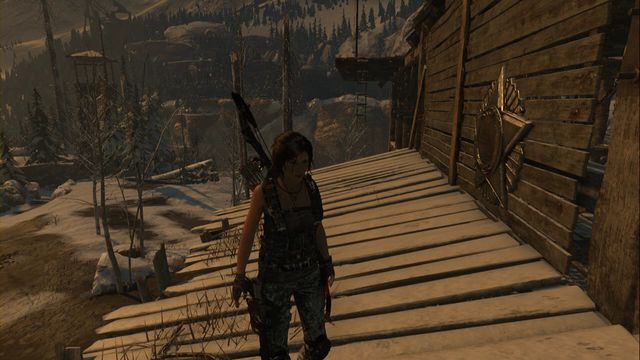
You find it on the wall of the wooden structure that you can climb onto over the crate right next to it.
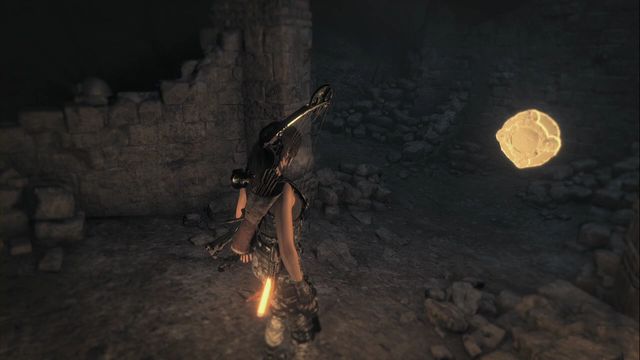
After you enter the cave to the Ancient Cistern tomb. To reveal the passage, you need to throw down the log attached to the nearby crane. This smashes the planks and reveals the cave entrance.
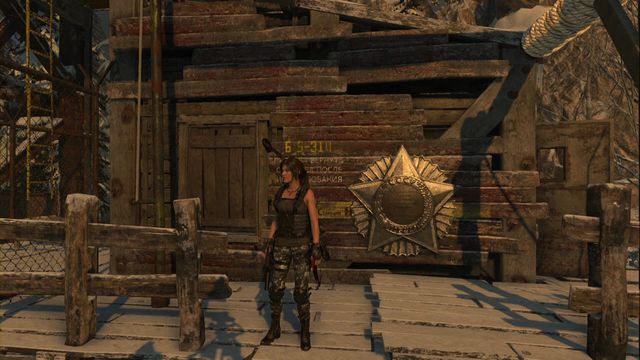
On the wooden wall of the Supplies store, close to the campfire in the Communications Tower camp.
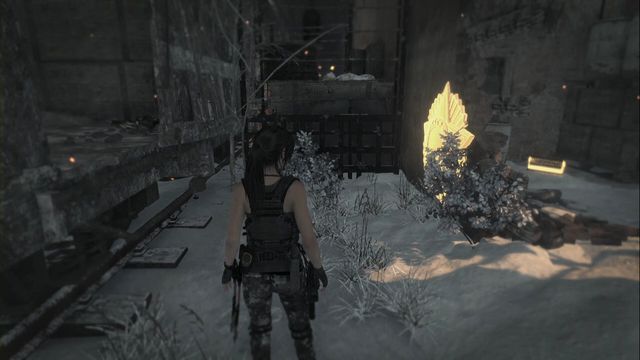
On the wall of the destroyed building, right before the cart.
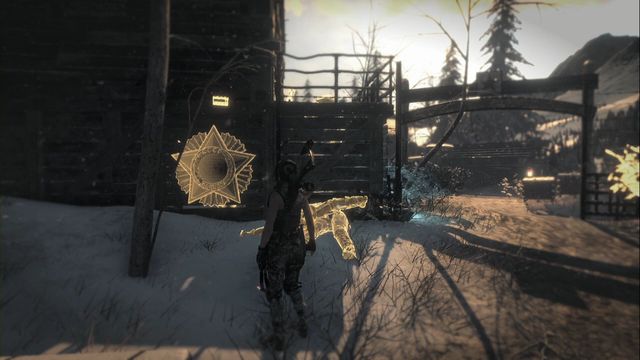
A bit past the campfire in Copper Mill Yard Camp, to the left of the gate.
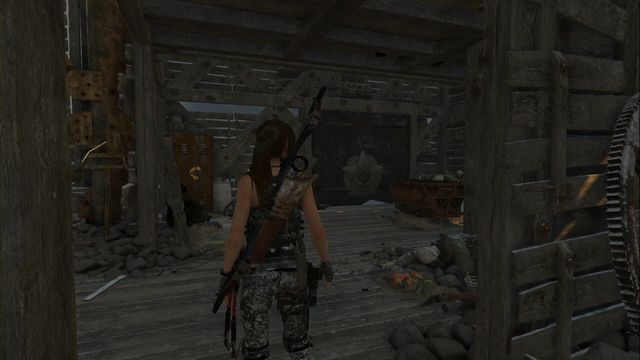
After you climb the stairs into the next building, in the upper part of the copper mill, walk around the next staircase - the mural is at the other side.
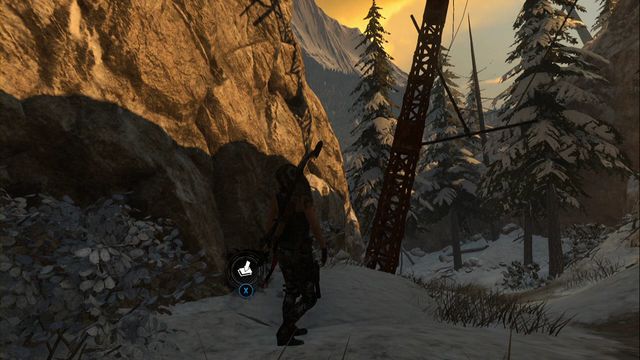
Right after you zipline down from the camp in the south. Once there, turn towards the rock, right next to the spot, where Lara lands after letting off the rope.
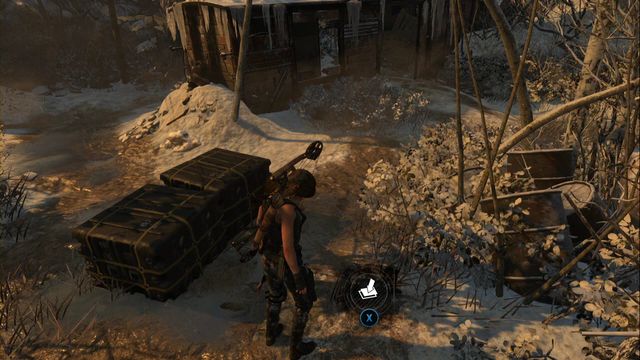
In the spot, where you meet the first soldiers of the Trinity. Between the barrels and chests.
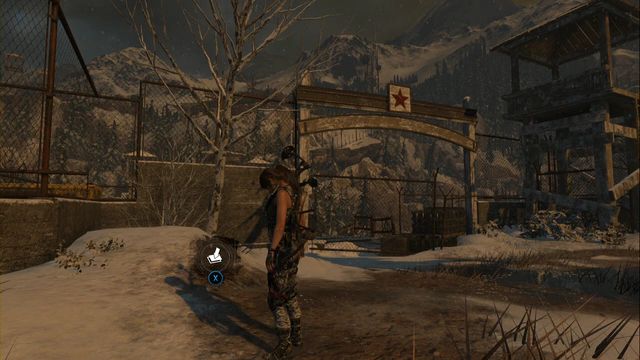
In front of the gate, to the left of the road.
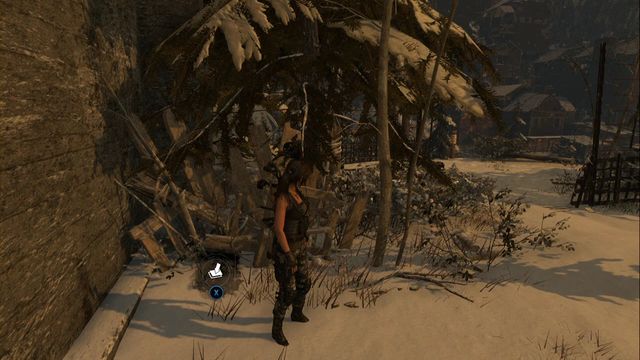
At the wall. You get there from the side of the river - you need to jump in and climb onto the highest rock that is marked on the map (at the height of that cache). From there, you can get to the other side, using rope arrows, and walk inside, after you climb.
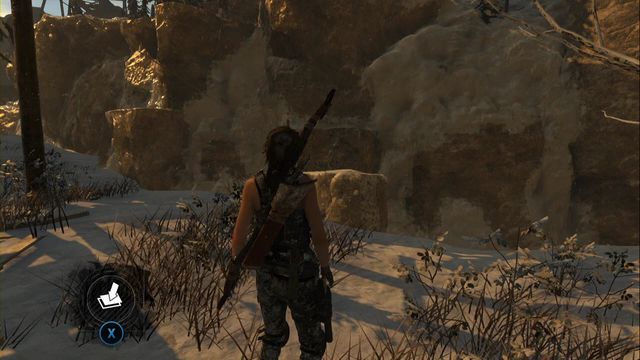
Jump into the water and swim to reach the end of the river. Here (there is a big ledge projecting from the water), you can climb up, above the cave entrance. The cache is at the tree, above.
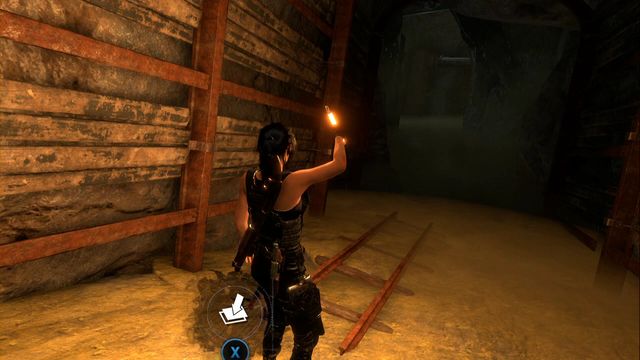
At the second fork inside Red Mines (the flooded level) go left - the cache is at the end of the collapsed tunnel.
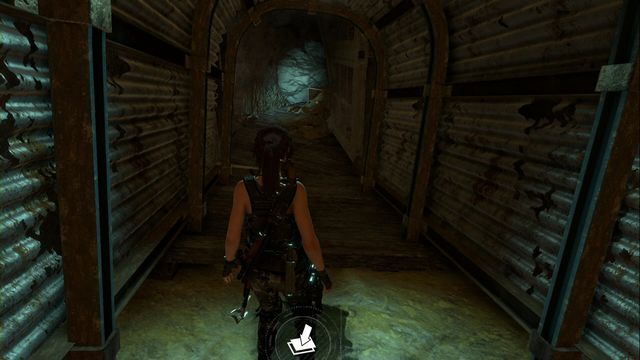
In the Red Mines tomb, at the moment at which towards Lara (after you jump above the chasm) a cart slides down, Lara automatically comes down. After you regain control, climb down the stairs and go right - the cache is at the end of the corridor.
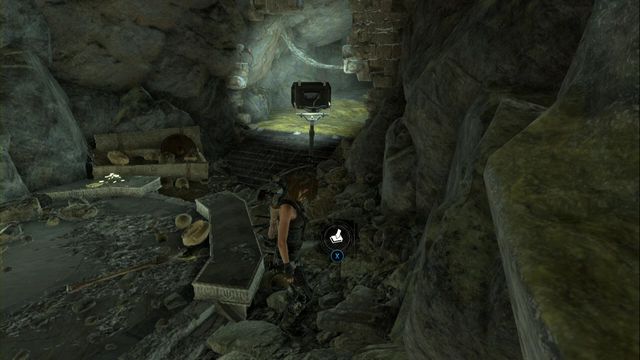
Right past the lamp, after you read the book, while you are leaving Red Mines.
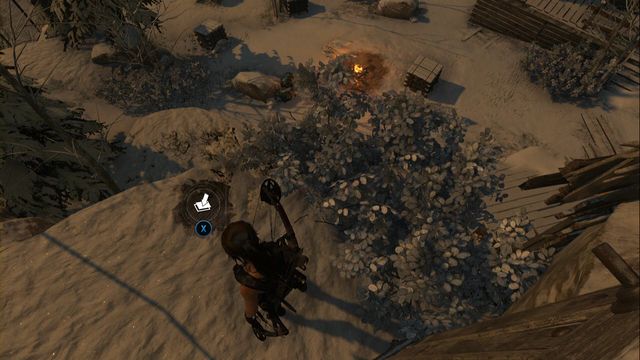
While above the Communications tower camp, near the wooden roofing, jump down onto the ledge below.
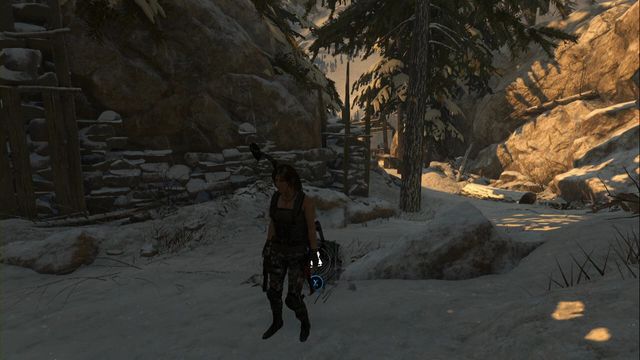
In the middle of the path to Research Base camp.
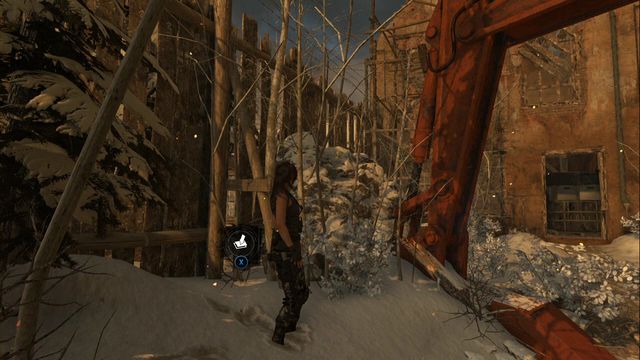
Next to the tower right behind the Supply store.
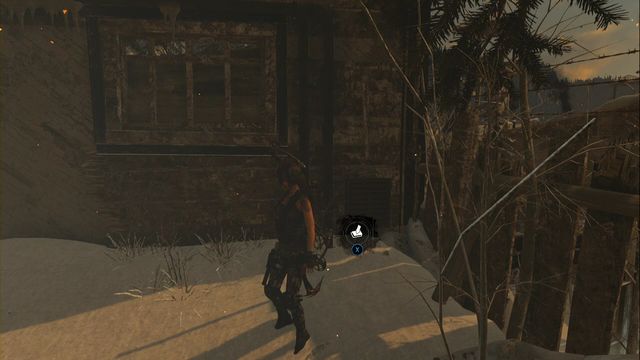
In the very corner, right in front of the building.
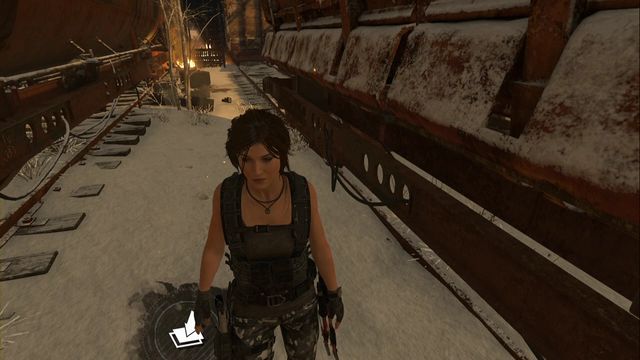
Between railway cars, right next to the fence .

Next to the excavator's hoe.
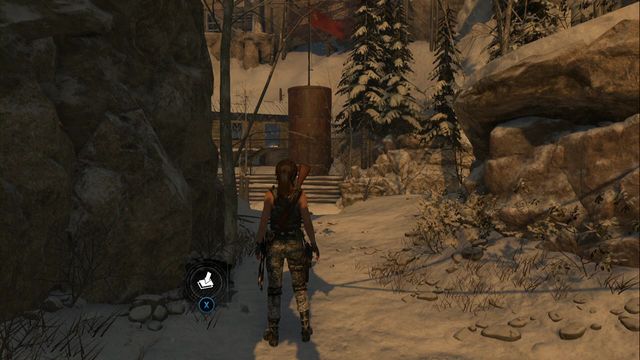
Next to the bulky rocks.
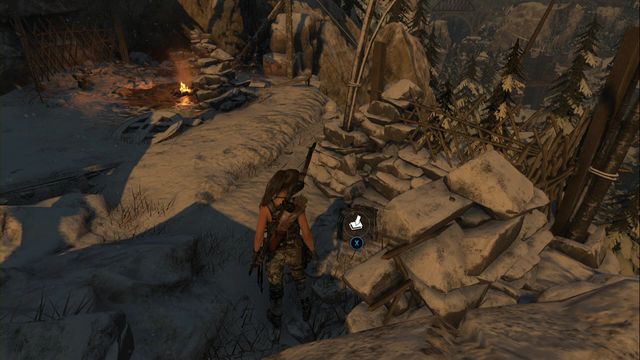
At the wall, in Camp Overview.
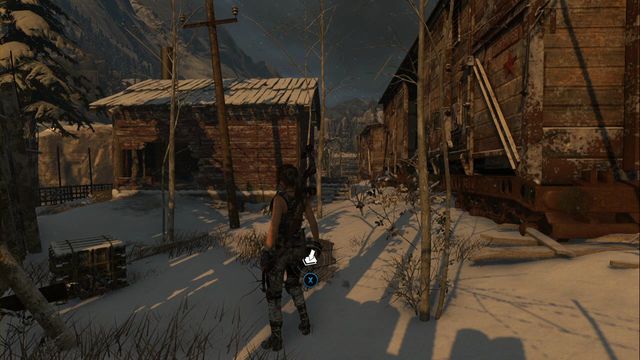
A bit behind the building, at the car.
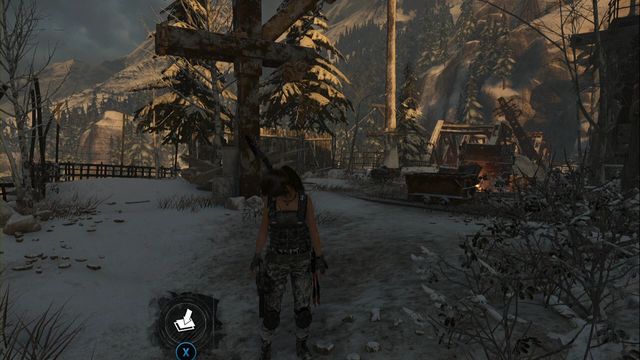
At the fence, near the campfire in Copper Mill camp.
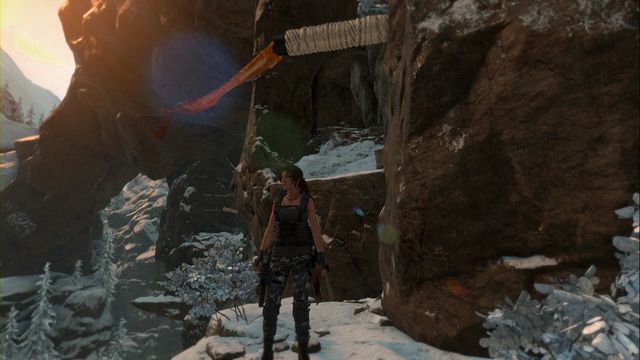
After you enter Voice of God tomb, jump over to the other side, over ledges and the climbing wall. In the spot shown in the screenshot, under the beam wrapped in rope, go left.
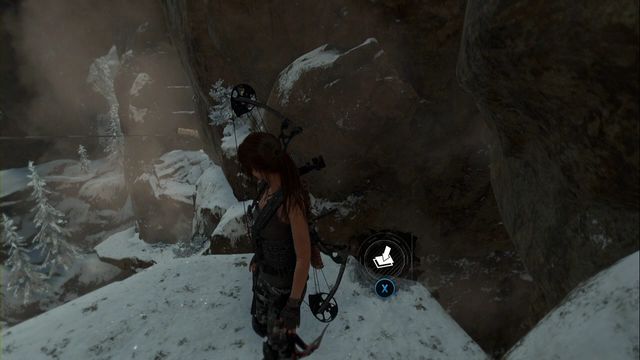
At the end, on the projecting ledge, next to another spot where you can attach the rope, you find the cache.
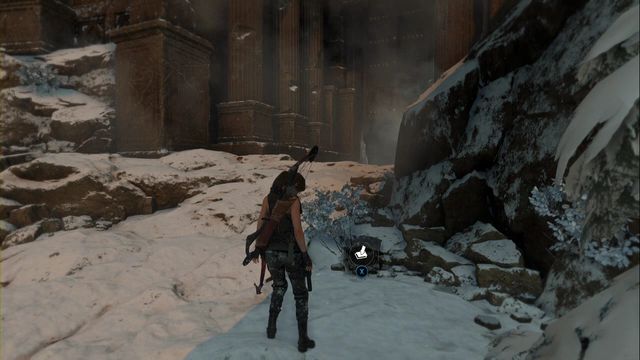
In front of the bulky entrance of the Voice of God tomb, by the rocks on the right.
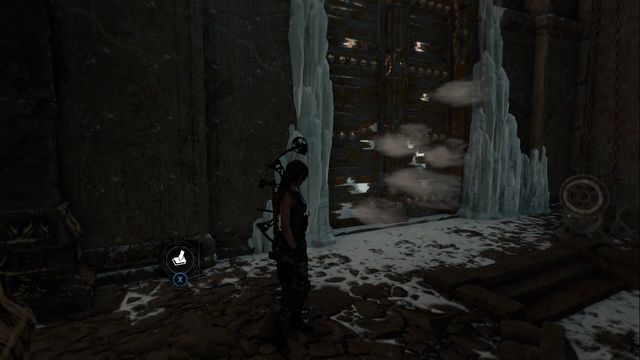
After you enter Voice of God tomb through the massive gate, you find the cache in the left part of the space, next to another destroyed door.
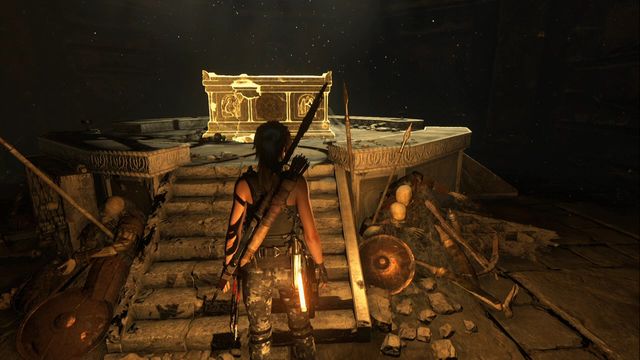
After you enter the crypt close to the camp Overlook. Inside, smash the crumbled wall and, at the fork, go right. Follow the path to the end, where you find the sarcophagus with the treasure, in a round chamber.
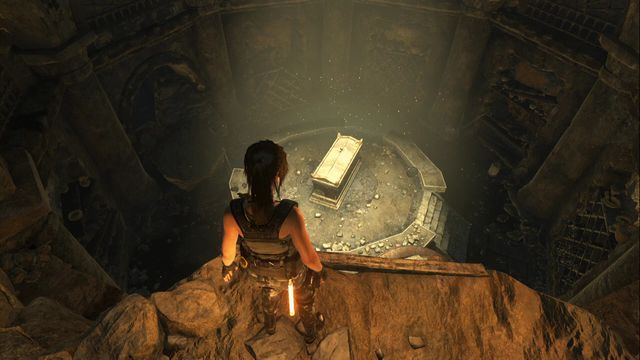
You can quickly get to the exit by going down from the Hidden Camp. Then, in the crypt, follow the path down, up until you reach a flooded crypt. In there, locate a narrow path to the upper part of the cave. Keep following the path, up ahead, between rocks and jump down at the end of the path, into the chamber with the sarcophagus.
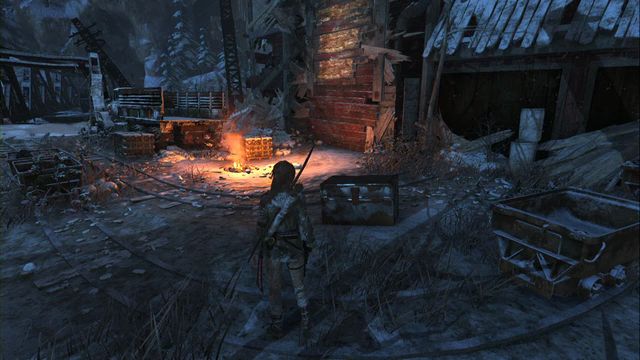
You find it in the main camp in Copper Mill Camp, you need to open it to push the story forward.
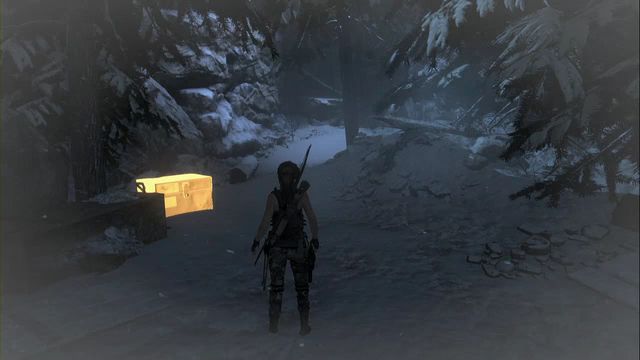
Right above the Communications Tower camp, you ride up in the main storyline, after you receive broadhead arrows that you can shoot into wooden elements.
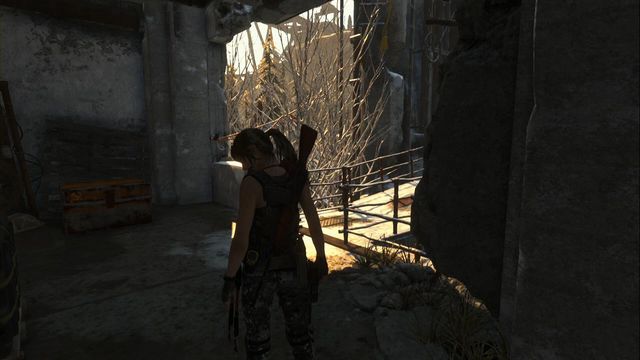
After you enter the building from a small yard, climb to the first floor and go into the corridor to the left - the chest is along the path to the next part of the installation.
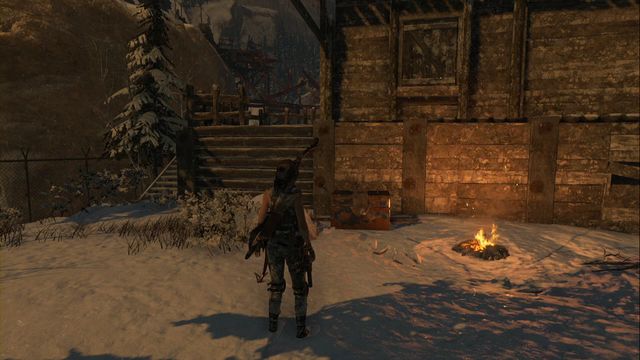
At the campfire in Logging Camp. You need the lockpick to open that.
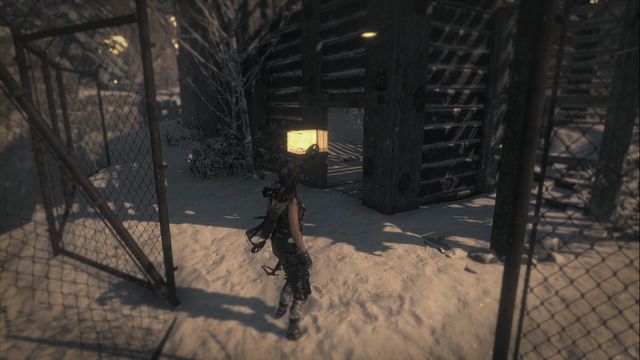
Under the chalet, in Logging Camp. Walk around the chalet and you find the spot that you can reveal with a rope arrow, at the back of the building.
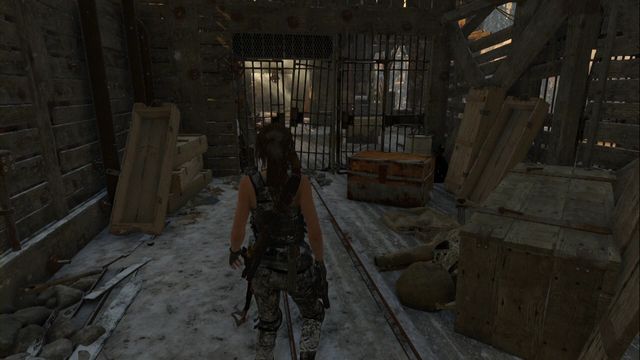
Before you enter the Red Mines tomb- standing in front of the grate, you can see the entrance to your left (you can climb up). Jump inside and backtrack towards the grate.
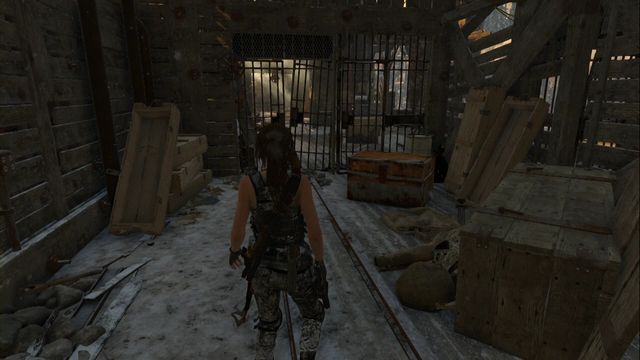
Before you enter the Red Mine tomb - while behind the grate, the entrance will be on your left (you can climb up). Jump inside and backtrack towards the grate.
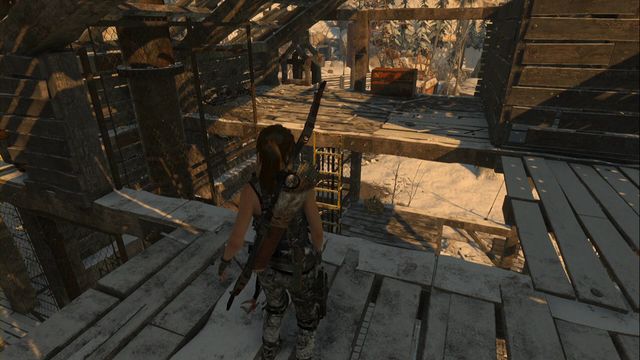
At the upper level of the wooden building.
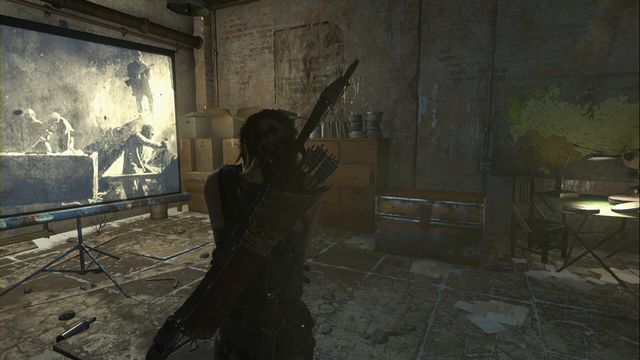
At the bottom level of the jail, in the room with the projector.
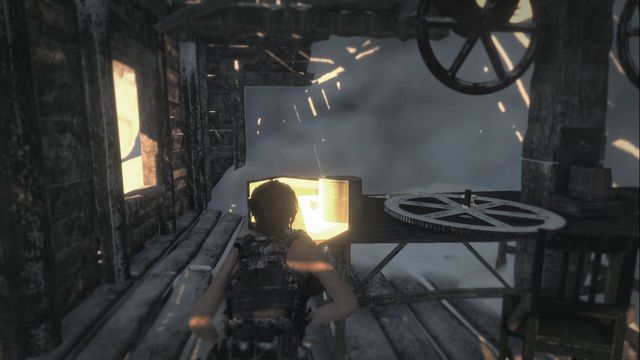
Inside the building.
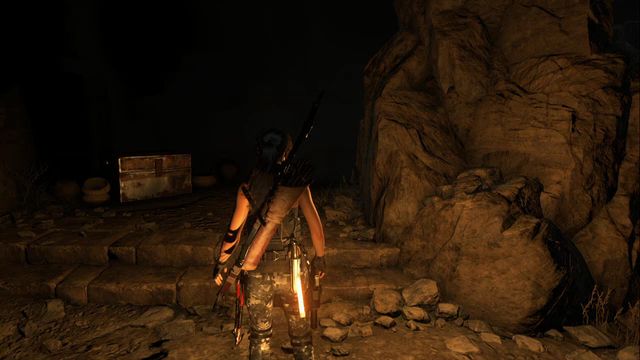
In the cave.
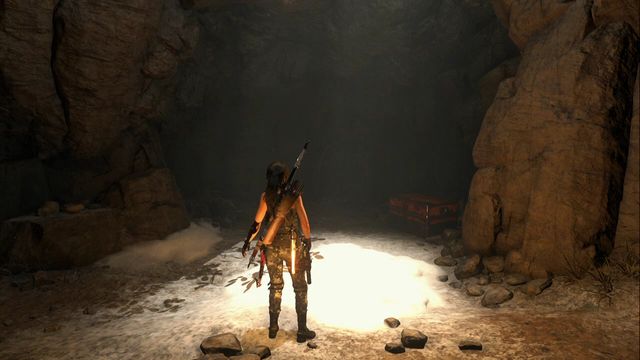
In the cave.
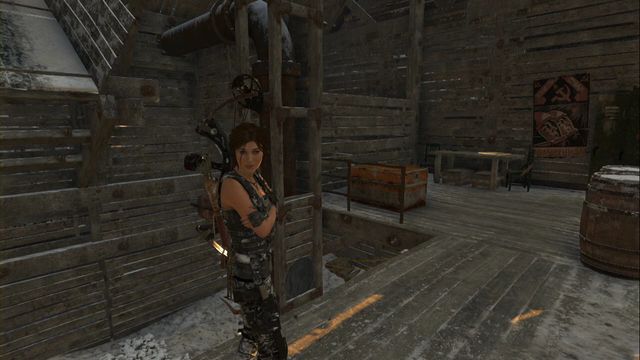
In the upper part of the room. You can get there down from the copper mill, or jump and grab on to the ledge, using your hatchet, as soon as you already have rope coil, which you receive with progress into the storyline.
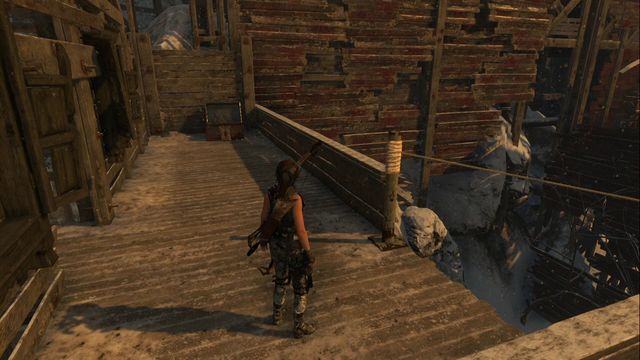
After you climb onto the rooftop of one of the building, from where you zip down the line. The chest is on the left, in frond of the next ride down. You need the lockpick to open it.
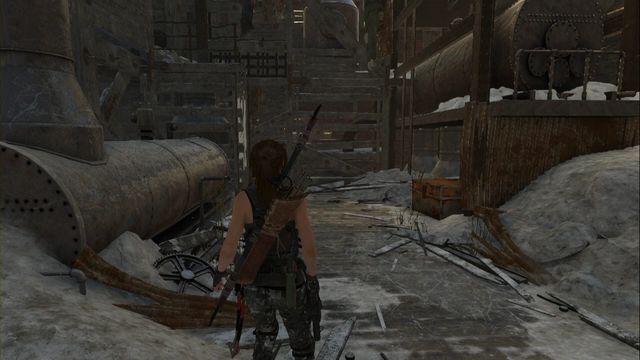
Past the spot, where you need to swing on the rope. While climbing down the stairs, divert to the right, into the room.
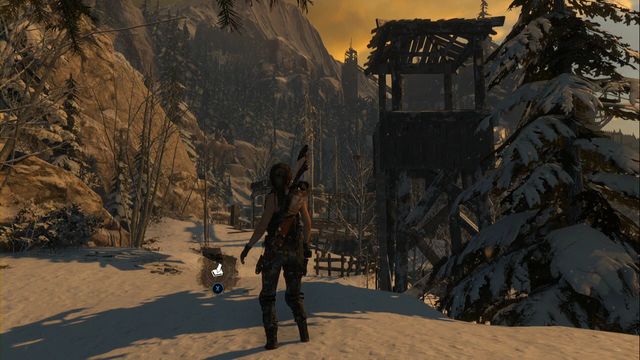
Close to the crypt entrance, on the ledge.
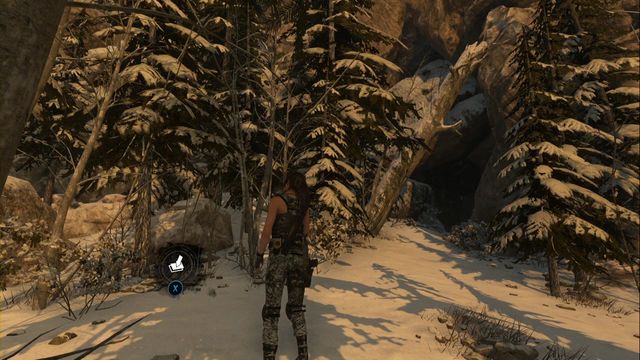
right in front of the crypt entrance. You can get there quickly by coming down from the camp in the south.
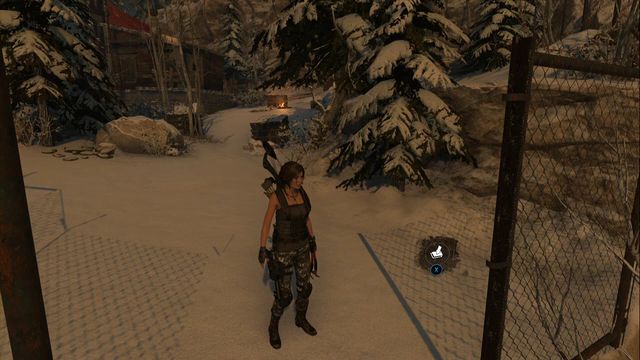
At the fence, close to the campfire at the Communications tower camp.
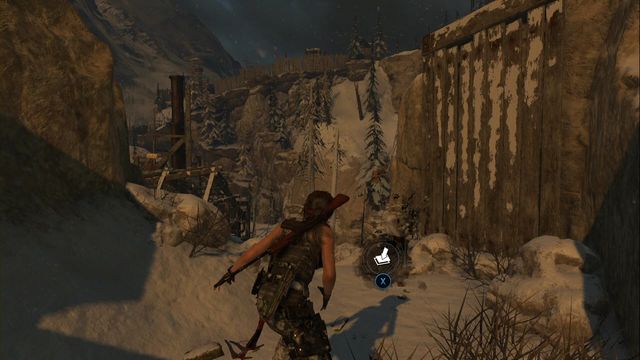
To get to this chest, you need to climb onto the ledge. The climbing spot is in front of the cave entrance, on the right.
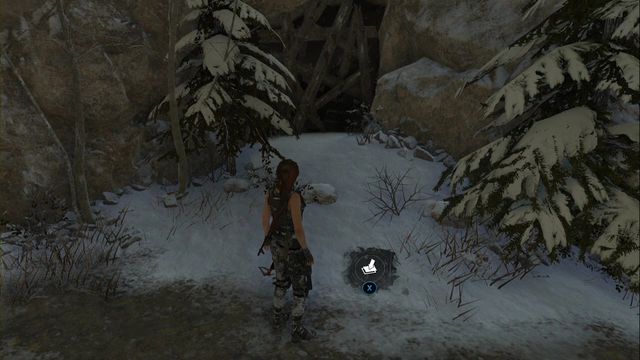
On the path, right in front of the cave entrance.
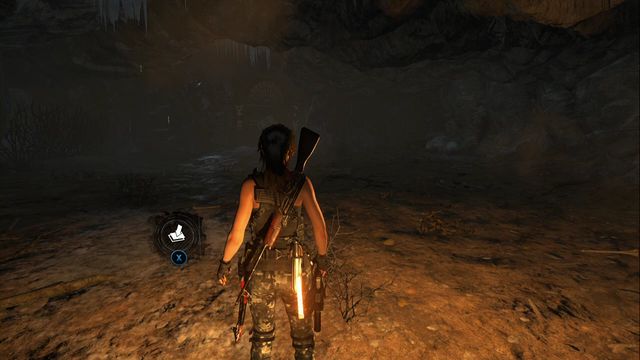
In the cave.
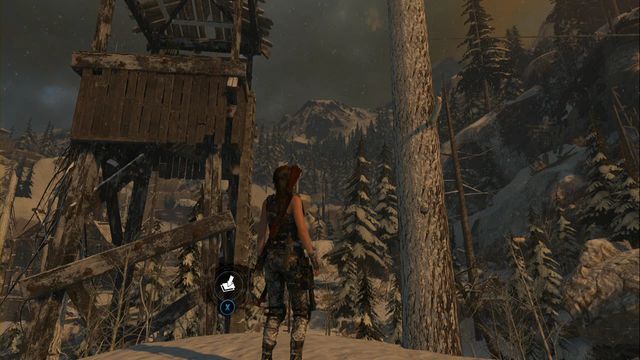
On the highest rock, next to the watchtower.
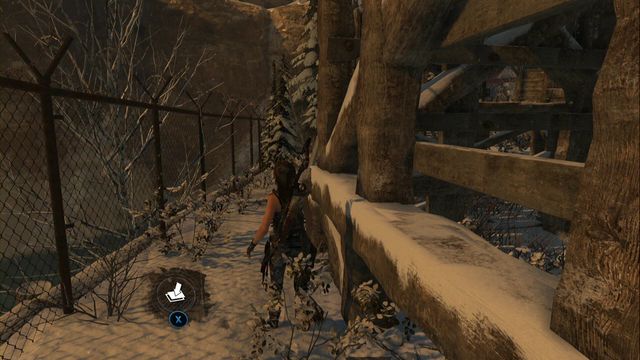
Right next to the fence, behind the watchtower.
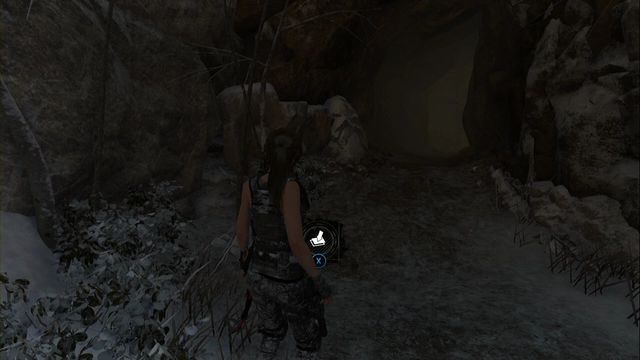
In front of the crypt entrance.
There is nothing easier than that. To complete this challenge, you need to visit 5 caverns in this location and it does not matter which ones. Entering the crypt also counts for this challenge.
You need to destroy red computers in the gulag. Destroy them by firing any weapon at them. They have been marked B1 - B10, on the map.
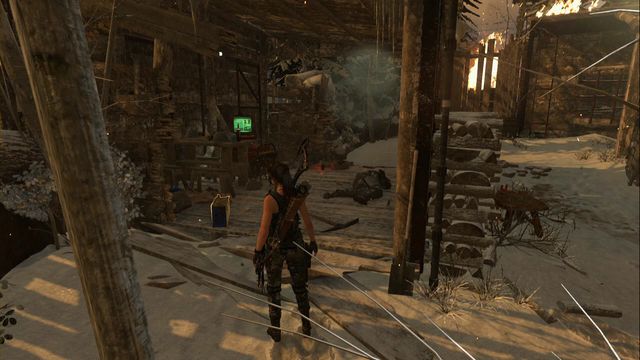
Computer 1
Inside the chalet, right after you enter the gulag.
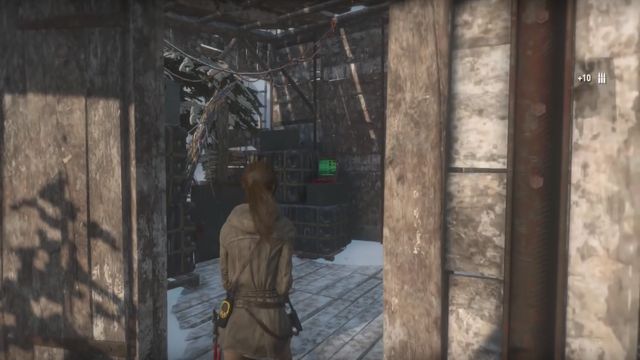
Computer 2
In the chalet.
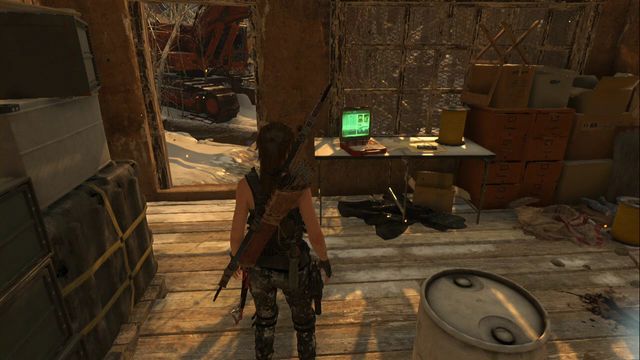
Computer 3
Right after you enter the building, on the desk on the left.
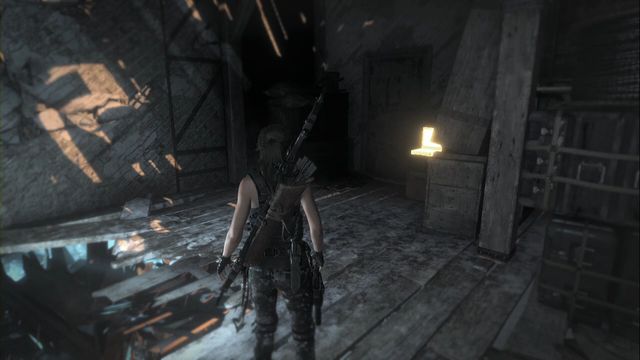
Computer 4
Before you jump down into water, by the hole in the ground.
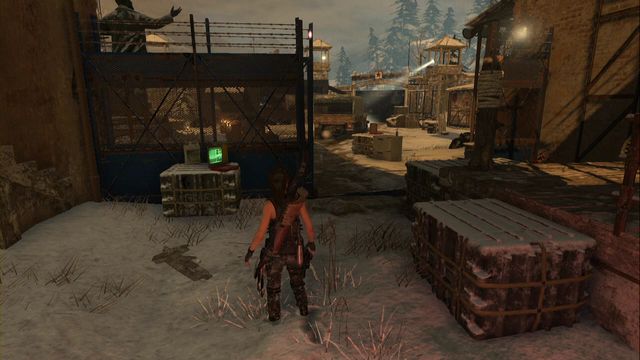
Computer 5
Right past the gate.
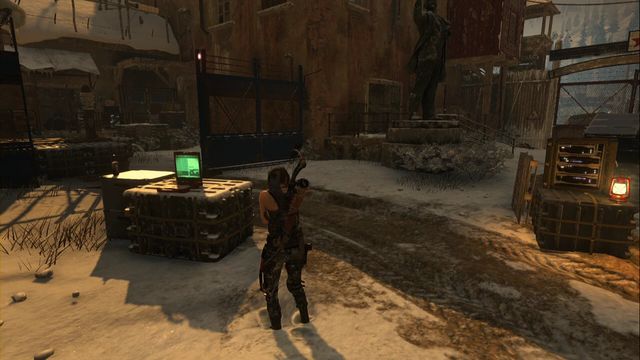
Computer 6
On the crate in front of the gate.
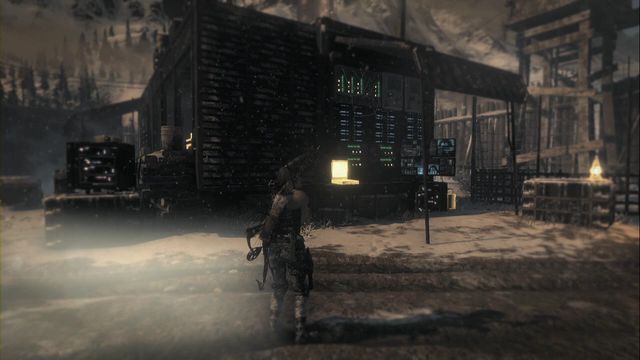
Computer 7
In front of the building.
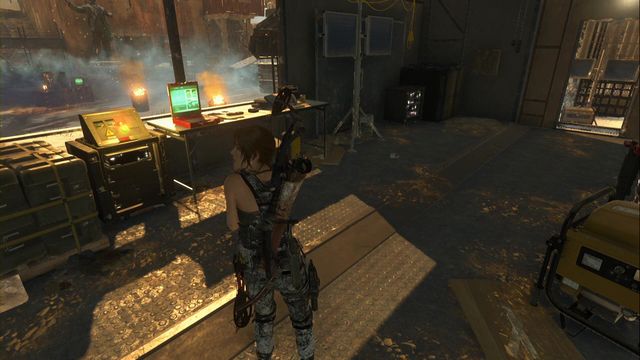
Computer 8
IN the building, at the window.
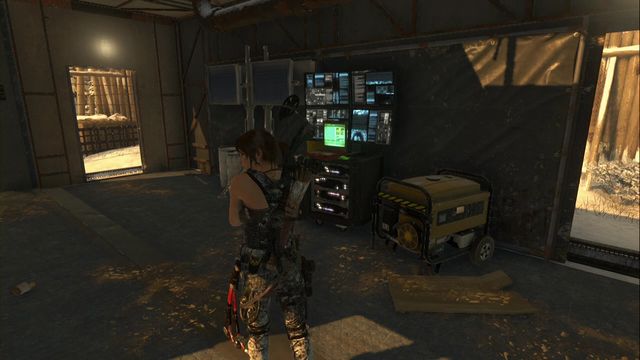
Computer 9
Inside the building, by the displays.
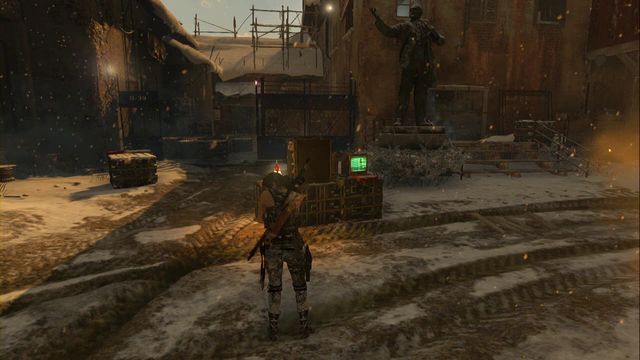
Computer 10
on the crates in front of the statues.
Masts with the flags are all around the installation. To cut down a flag, you need a knife. You only need to come close to the mast and the option to cut the rope appears. Flags have been marked C1 - C7, on the map.
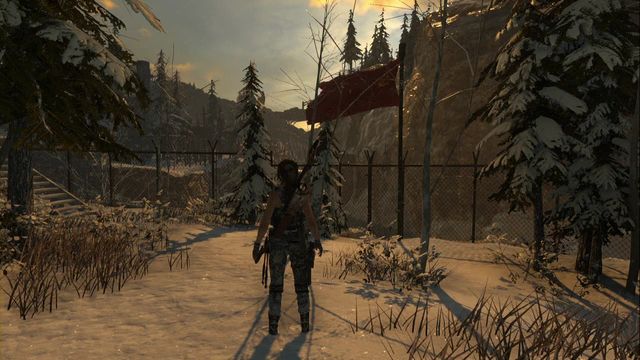
Flag 1
You find it by the campfire in the Logging camp.
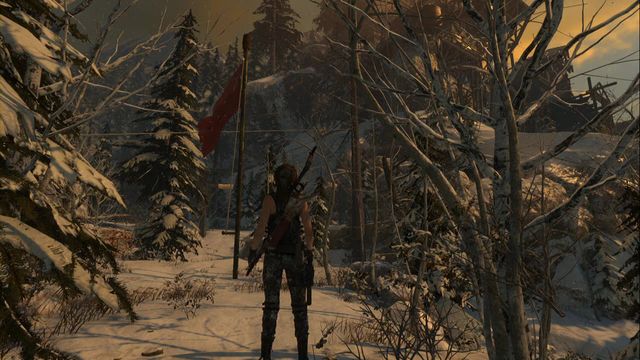
Flag 2
In the forest, among trees.
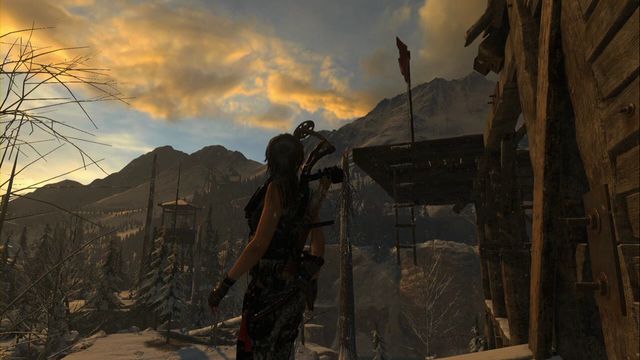
Flag 3
Climb onto the wooden structure near one of the murals (on the ground, there is a box that you can climb over). Then, run up, jump towards the flag and cling on to the ladder.
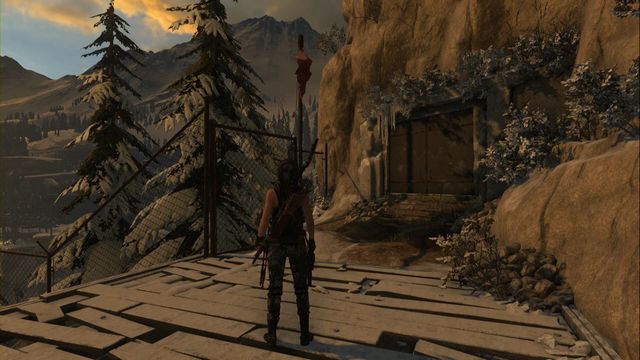
Flag 4
By he fence, right next to the rocks.
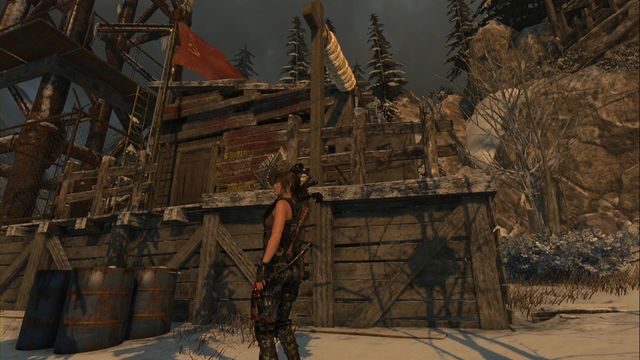
Flag 5
By the Supplies store, close to the campfire in the Communications tower camp.
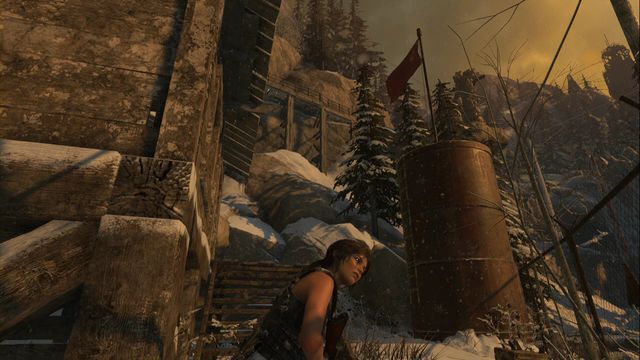
Flag 6
On the round tank.
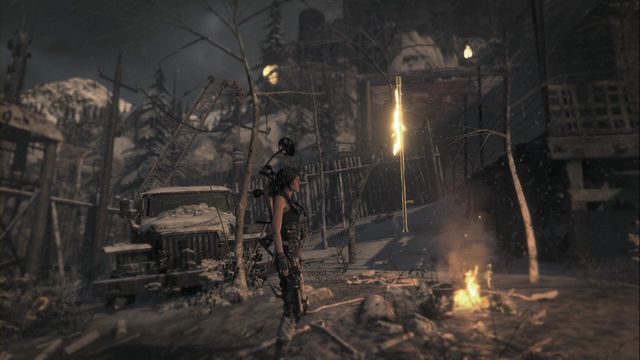
Flag 7
Above the campfire in the Copper Mill Yard camp.
All of the posters for this challenge are all around the copper mill. To destroy them, throw a molotov at them, or shoot an arrow. The posters have been marked D1 - D7, on the map.
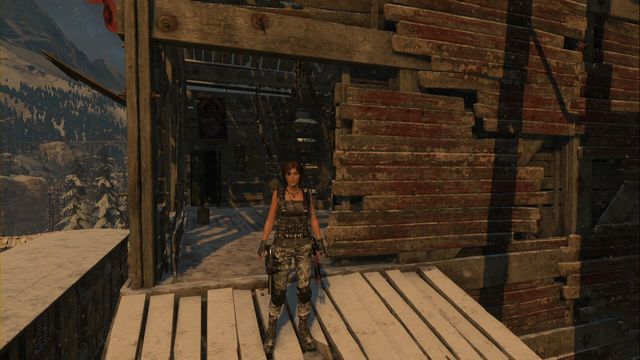
Poster 1
Past the gate, after you climb the railway car and jump over to the next one on your left, before you climb the ladder. The poster is on the wall, above the cupboard.
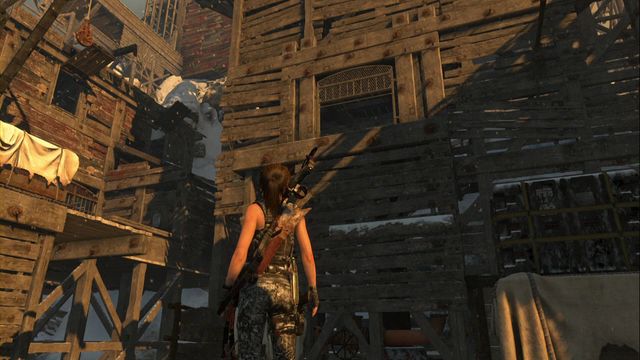
Poster 2
After you climb to the upper part of the mill (near the tomb entrance) before you climb up the stairs into the next building, find the passage on the right, covered with a cloth.
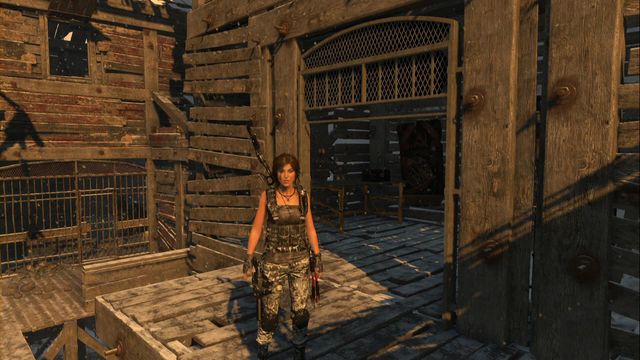
Burn the cloth and climb up. You find the poster in a small room, on the wall.
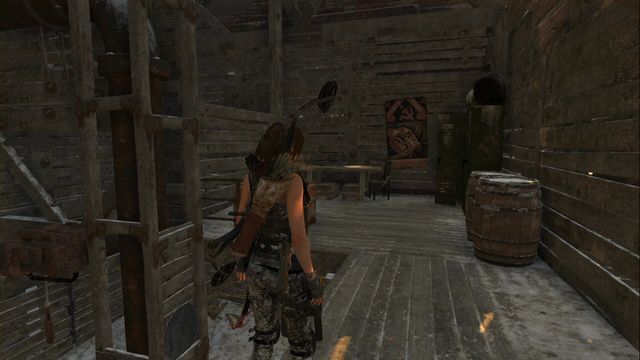
Poster 3
In the upper part of the room, you can get here from the copper mill, or climb up and cling to the edge with the hatchet, with the rope coil on you (you receive it later into the game, but you can always come back here).
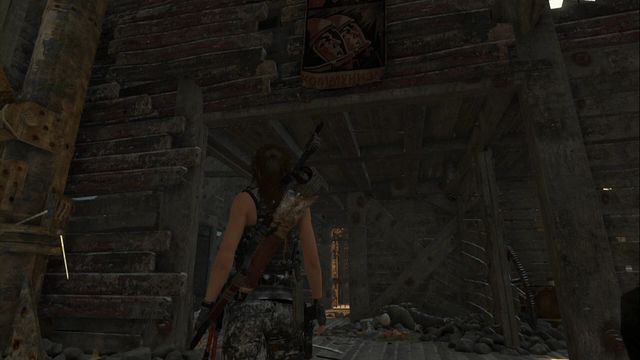
Poster 4
After you climb the stairs into the next building, in the upper part of the copper mill, walk around stairs up - you find the poster a bit past the stairs, on the left (look up, above the passage).
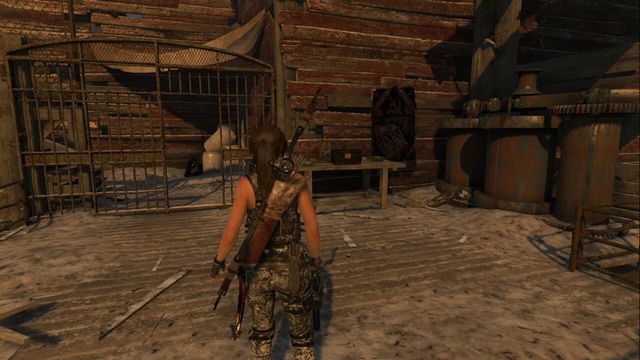
Poster 5
Before you climb the ladder, after which you need to hang on the rope and swing to jump to the other side. While in front of the ladder, jump right.
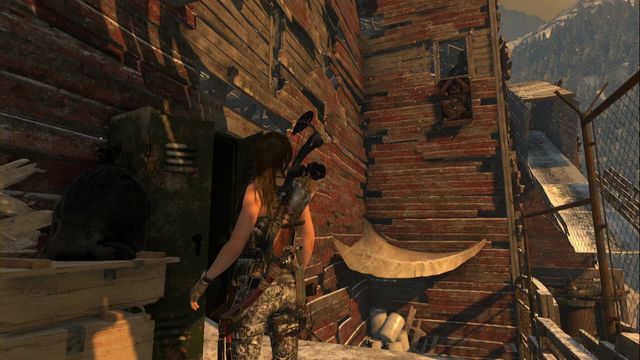
Poster 6
In the spot, where you need to hung down on the rope and swing to jump to the other side. The poster is on the building wall, on the right (hanging under the window).
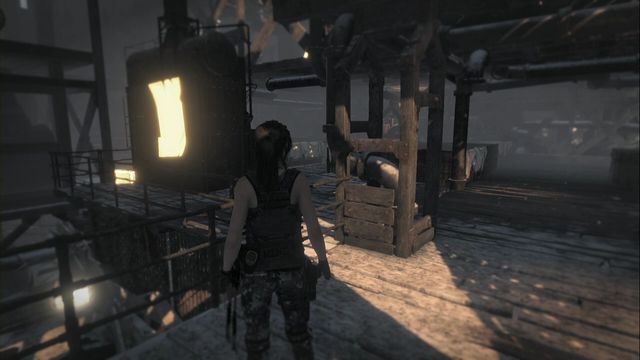
Poster 7
On the back of one of the machines, while you are climbing up, where there are white patches of cloth hanging on barriers.
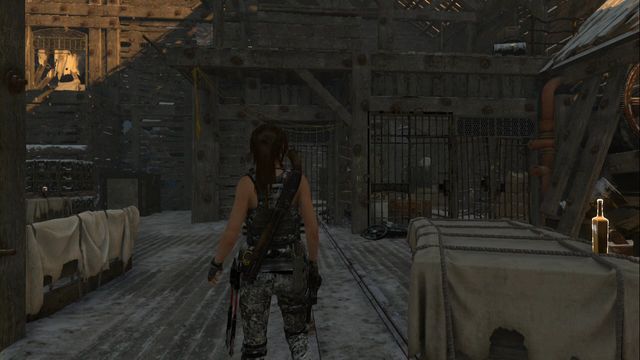
Inside the copper mill building, go to the first level. Locate the grate shown in the screenshot, past which there is a tomb entrance. You simply need to walk around the grate on the left side, where you find the spot to climb up. At the other side, jump down and approach the panel at the wall - it opens a way down (before you reach the one at the grate, you can open the Chest).
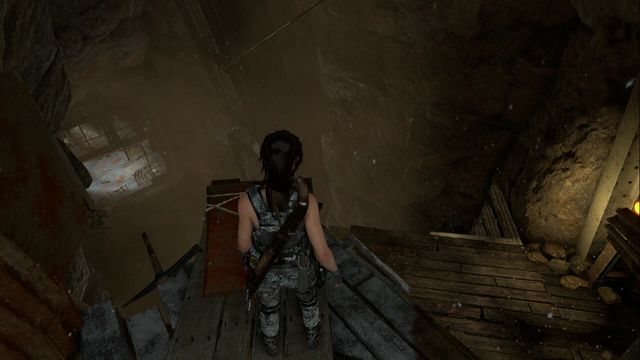 The path leads deeper into the mine.
As you go down, before you reach the fork, on the left you can collect an Archivist map. Then, continue down and keep to the left side. A bit ahead, use the rope to zip down. Right afterwards, you walk into a flooded corridor - go left and follow to the end, where you find a Survival cache. Then, return up and take the right corridor. Walk past the obstacle and jump over to the other side - there will be a cart coming your down way and Lara will slide down to the lower level.
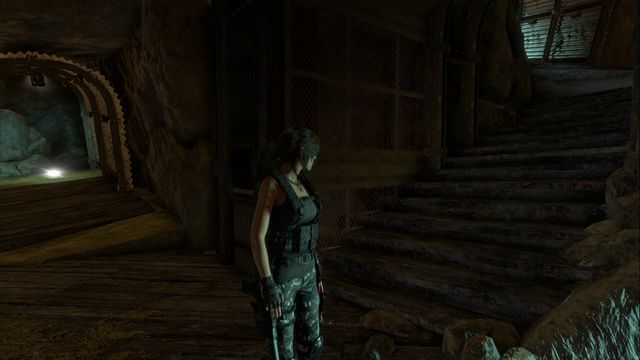 Turn left past the stairs. On the right, you find a Survival cache.
After you regain control, climb down the stairs and go left (in the corridor to the right, there is a Survival cache), go down and watch out for a trap in the narrow passage. Then, in the small room, you need to craft a molotov and throw it over the wall of water flowing from the pipes, to burn down the obstacles at the other side (throw it a bit "above" the wall of water. From the table, collect the Relic and jump through the "waterfall".
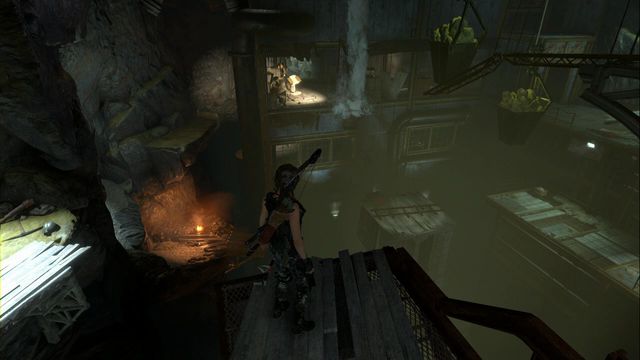
Finally, you reach the place shown in the above screenshot. Jump onto the projecting planks to the left and go left (inside the recess, there is a Document). Past the cart, you also find an Explorer satchel. Finally, ride down, where there is a camp.
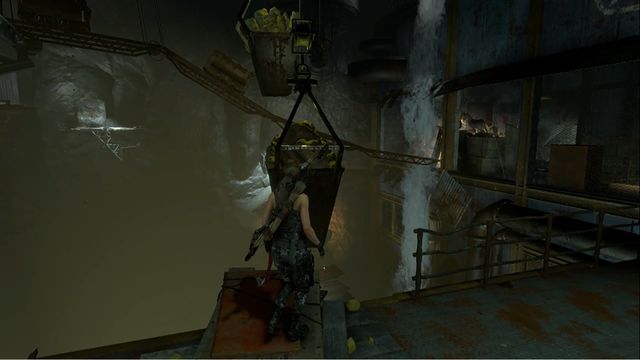 Hang down from the container to lower the cart.
Jump over to the other side and jump down from the container of stones. Thanks to this, you push down one of the carts. To do the same with the other one, climb up higher (here, you can find a Relic and a Document), and look at the mechanism on the left.
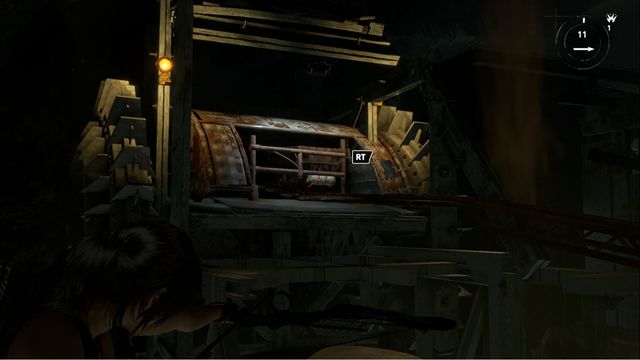
In the spot shown in the screenshot, you can attach a rope and release the cart. After you do that, turn around, towards the wall - you find a beam attached to it, over which you need to jump to the other side (on the right, there is a Mural).
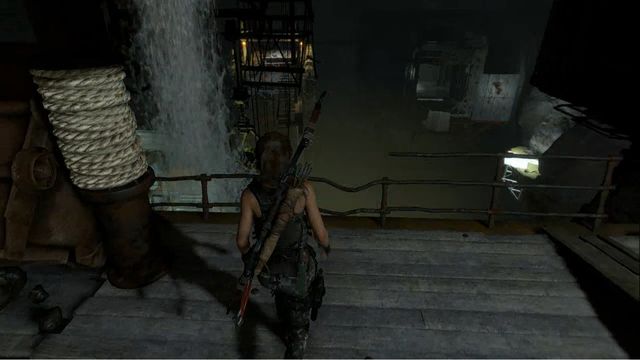
Finally, attach rope to the cart, in the spot shown in the above screenshot. Return down and hang down from the container, which lowers the cart. Thanks to this, you can jump, from the nearest platform, into the middle, where you need to use a bottle, or a fire arrow, to set the obstacle on fire. Jump over to the other side and you see the path to the book, which you find at the level above. Read it to complete the Challenge of this tomb.
Reward: "Hawk eyes" skill (Lara's instincts allow you to spot traps).
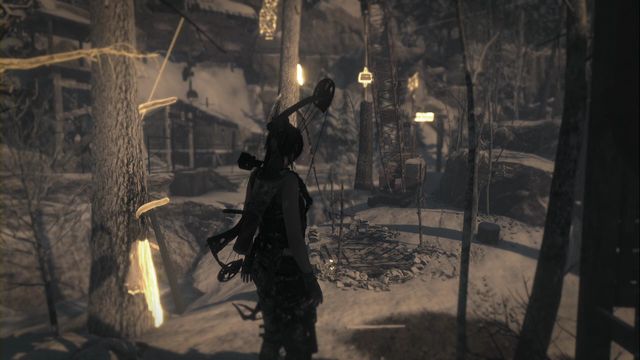
You first need to find the entrance to the tomb. It is close to the wooden building. Find the nearby crane with a log hanging down from it. Use Lara's instinct to spot the mechanism that holds the two together. Shoot at the mechanism and the log drops down and reveals the passage.
Note: It is going to help you complete the tomb, if you have several explosive arrows with you.
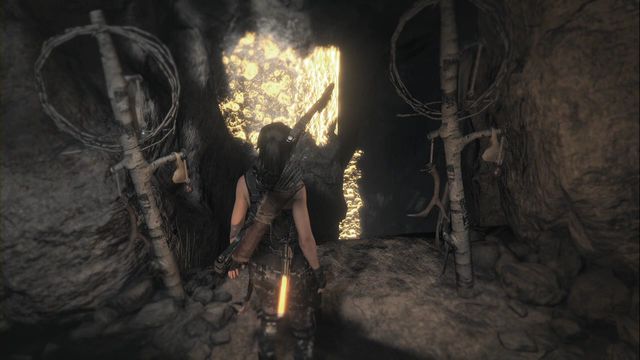 Jump over to the spot where you can jab your hatchet.
Right after you climb down, locate the Mural among the ruins, to the right of the entrance. Then, climb down and take the path on the left side of the cave. After a while, you slide down and hear water falling (there is a Relic at the end of the path). Then, jump over to the rocky wall opposite and jab your hatchet into it. Climb down and jump over to the next wall and finally, drop down to the ground.
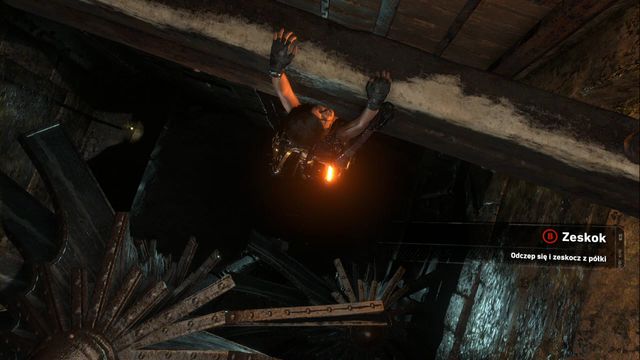
Climb down now (there is another Relic by the rock on the left). Climb up the stairs and hang down the beam. Drop down at the right moment, thanks to which you avoid the moving mechanisms (the screenshot). After you climb out of the water, destroy the red container by the barricade and swim into the camp.
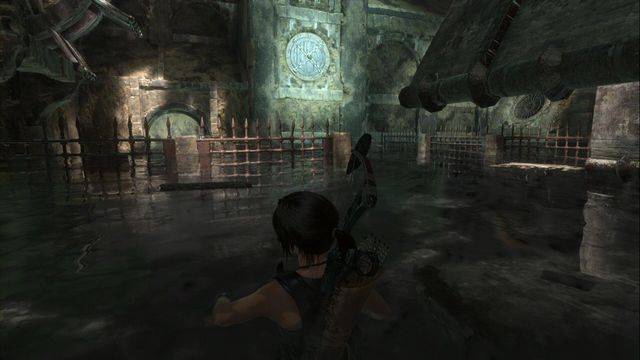 Destroy the obstacle in the room, on the left of the main chamber.
You can try and grab on to the edge, but you drop down anyways. Swim over to the chamber in the left part of the tomb. There, you find the door that is blocking the water off. Use the red container atop the stairs, or use an explosive arrow to release water.
 Lower the water level by grabbing on to the beam.
Swim back into the main chamber and take the exit on the left. Climb up the stairs and grab on to the beam above. Use the raft to destroy the water gate in the center (there are red tanks next to the stairs, which you can drop onto the raft and blow up close to the water gate. To set it into motion, grab on to the abovementioned beam), or use the explosive arrow for that.
 Destroy the obstacle and swim into the next part.
Swim through the hole ad climb up. There, destroy the wall and use the explosive arrow across the last hole. You can now swim out of here, after the place has been flooded (the raised water level will also allow you to collect a Document) and reach a tome in the main chamber. In one of the recesses, there also is an Archivist Map and a Document, that you get to thanks to the raised water level.
Note: If you do not have any explosive arrows, you can use the raft and red containers, which you find near the beam. Place one of them on the raft and hang down from the beam yourself, which sets the raft into motion. Quickly, climb onto the raft and wait for it to reach the end part. Find the window above (where there is a hole in the wall) and throw the red tank through the window, at the right moment. You will be able to use it to destroy the last blockade.
Reward: The "Natural Instincts" skill (resources around you will be highlighted automatically and marked on the map).
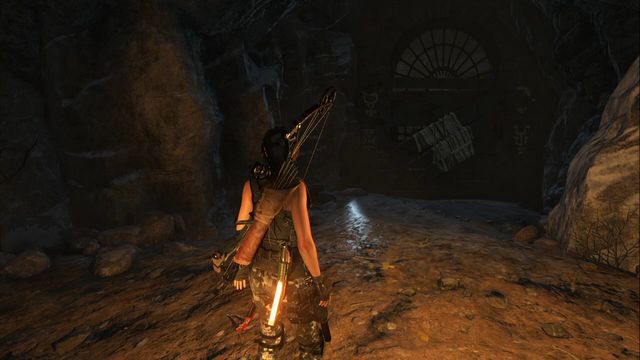 Tomb entrance
You find the tomb entrance in a cave opposite the spot marked by the game (the cave location overlaps with the dots that represent the zipline). Inside, remove the obstacle using the rope arrow and follow the path to the camp.
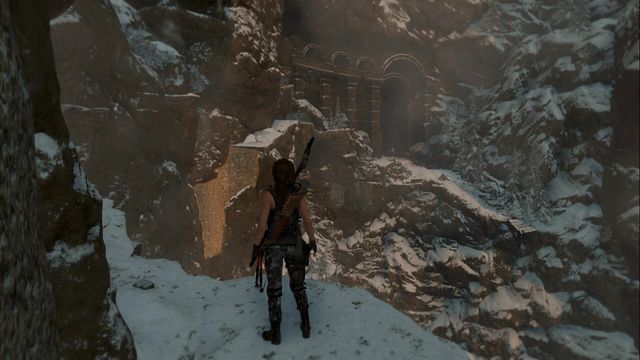 Be prepared for a QTE while jumping over.
Past the campfire, go a bit to the right and walk between the rocks. Then, jump over to the other side, climb up and grab onto the climbing wall. Follow the only possible path, jump over to the other side and walk along the ledge. You will then get to the tomb proper.
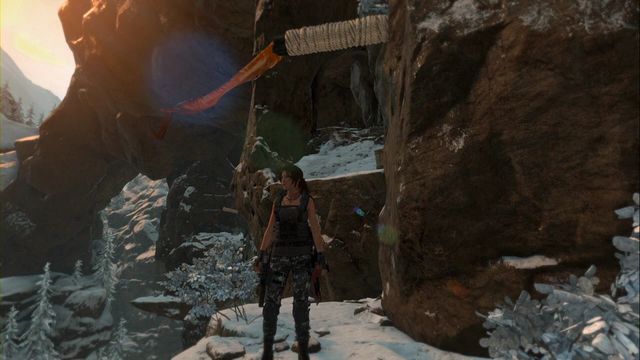
Then, from the spot shown in the screenshot, jump up ahead and grab on to the ledge. Shimmy a bit and drop down towards the wall that you can jab your hatchet into. Watch out here, because Lara will slide down the first wall and you need to grab on to another one, during the ride. Over the wall, reach stable ground (you can go left here to return for a Relic and a Survival Cache). The way ahead is along a narrow passage that collapses - be prepared to grab on to a ledge once again. Jump to the right two more times and you will get to the entrance.
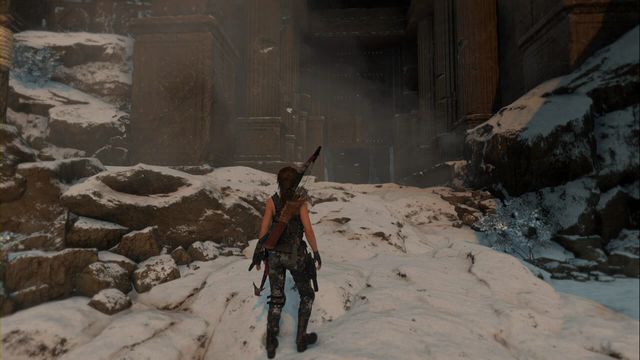 In the entrance area, you can collect several items.
Pick up the Explorer Satchel, and a Survival Cache next to it. Also, you can backtrack a little, where you find the Relic at the end of the path. Then, walk inside. On the left, you find an Archivist's map and a Document, near the door up ahead, there also is a Survival Cache. Finally, use the knob to lower the gate. Over the gate, you will get to the upper ledge, from where you need to drop below, by the hoist (a Document next to you).
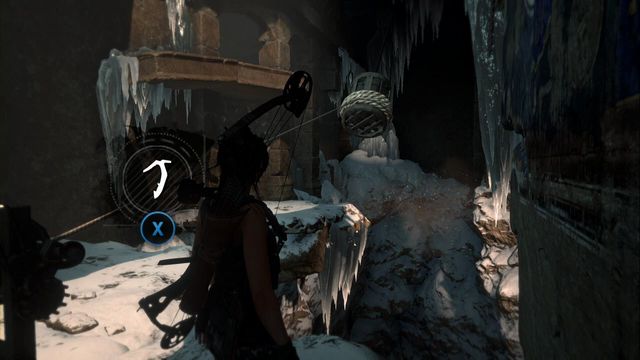 Note gusts of wind and release the weight at the right moment.
Attach the weight to the hoist. Jump over to the ledge on the left and destroy the wall, then turn the mechanism by the gate, which lowers the weight. Return to the hoist and tense the hoist line with the weight hanging on it, as much as possible. Now, whet you need it timing. At the other side of the hoist, there is a lever that you need to pull at the right moment to make one of the weights hit the other one and shatter the ice lump. The right moment is when the wind is blowing. You know the wind is blowing when you hear it, and visual-wise, it is when dust is blown inside. As soon as wind starts blowing, release the weight. If you do this correctly, it shatters the ice cap at the other side.
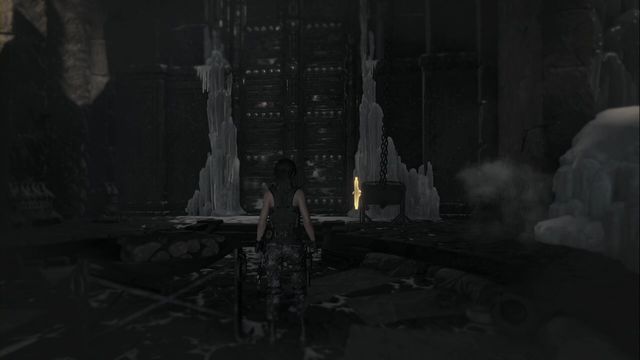 Finally, open the door leading up to the book.
Now you need return to the main chamber and open another door. Behind the door, there are stairs that you climb to get to the book.
Reward: The "Inner Strength" ability (health regeneration, if you sustain critical damage, once per fight).
The map of the location presents whereabouts of all the collectibles that you can obtain in a given area. Each type of collectible has been marked in a different way, to make it easier to tell them apart. Numbers provided by the markers are references to the walkthrough - Each collectible, apart from being marked, has been described and shown in a screenshot. If you have any problems finding a specific collectible, find it in the walkthrough by its number on the map. Collecting all of the items and completing challenges is required to explore the location in 100%.
Abandoned mine is a transfer location and it is quite big. In several spots, it branches in several directions. You get the option to explore it fully during the main storyline, along your path to Geothermal Valley. You can then find nearly all of the collectibles here, with the exception of, e.g. one of the chests that you need the lockpick for.
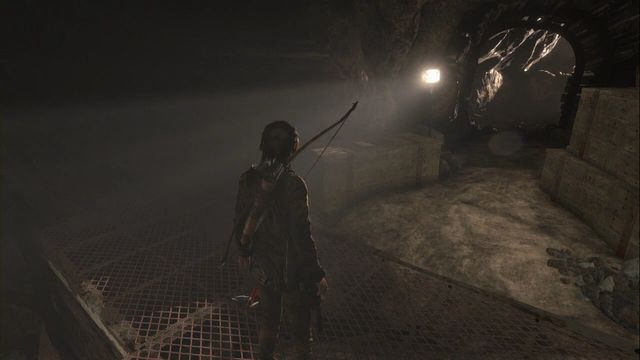
Right after you get to the upper level of the mine, over the collapsed lift and the nearby ice wall.
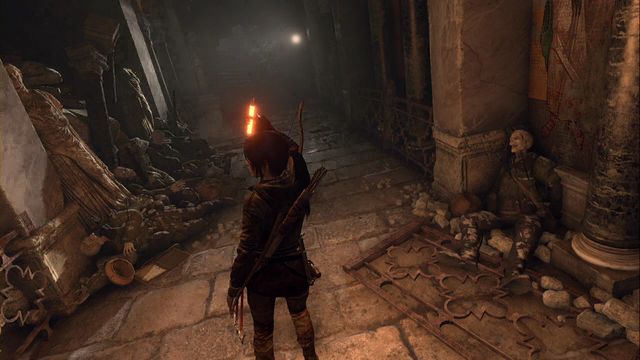
A bit after you find the first Document, after you enter the part where you find ancient ruins. The Document is at the skeleton on the ground, to the left of the corridor.
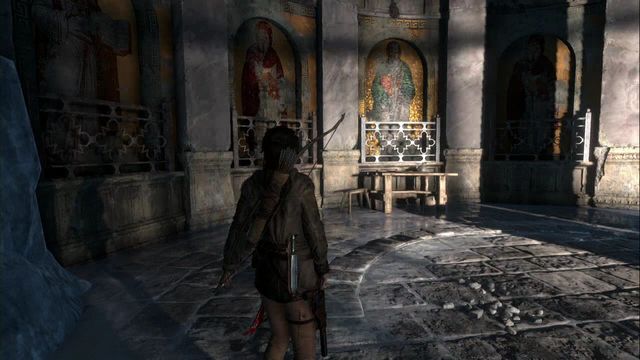
In the big room, where you craft smoke grenades for the first time, during the main storyline. The recess on the left. The Document is on the table.
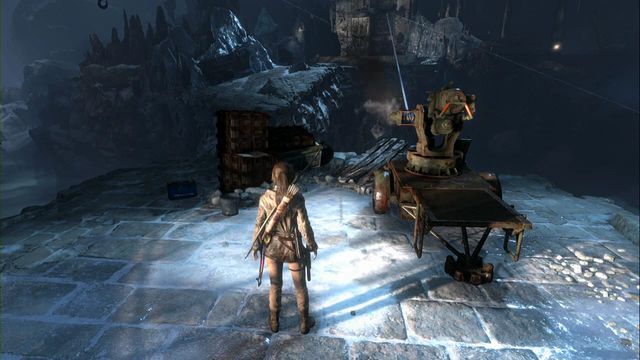
At the back of the biggest chamber, in the mine at the destroyed cannon with the rope aimed at the gate at the other side.
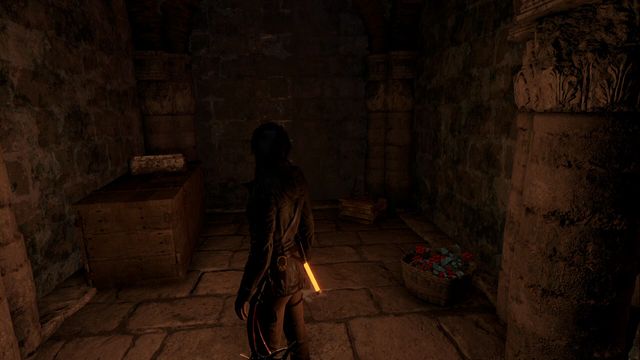
After you pass through the chamber with murals on walls and jump over onto three successive columns, you walk into a small corridor. Halfway through the corridor, on the ledge to the left, you find a recess and the Document inside.
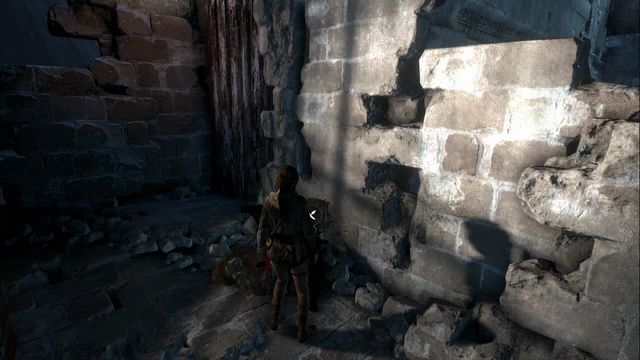
From the big hall before the cannon aimed at the gate, climb up the ladder, where you find a chest and the cache at the wall on the right.
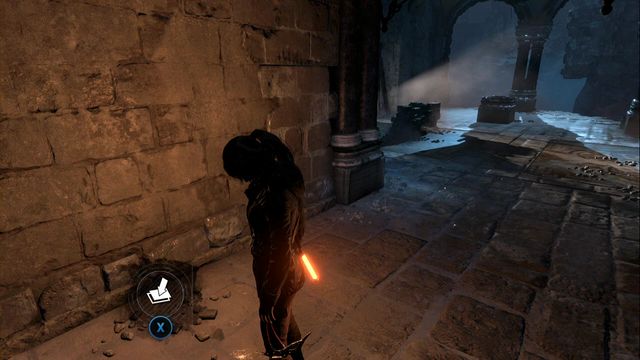
In the chamber full of murals, where you get while doing the min storyline, at the moment at which you push the truck down. The cache is in the corner of the chamber.
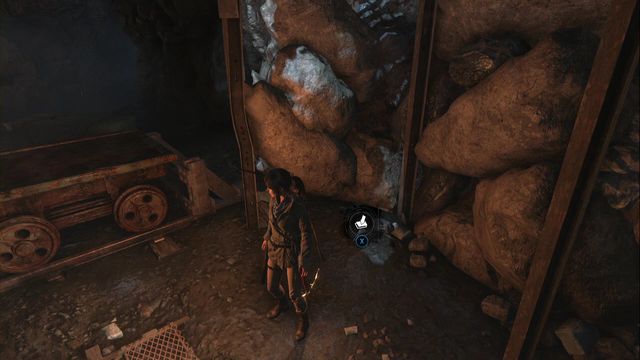
Next to the tracks and the cart, at the rocks, before the elevator shaft entrance.
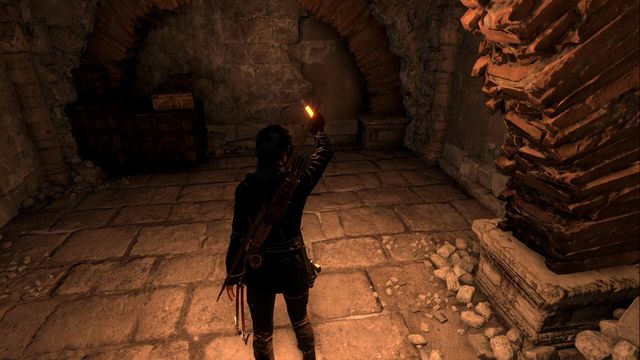
In the location, where you push down the truck, in the main storyline, and walk over to the chamber below. From there, you can get to the chamber right above the camp, where there is a chest with the relic. Examine the broken tip of the sword.
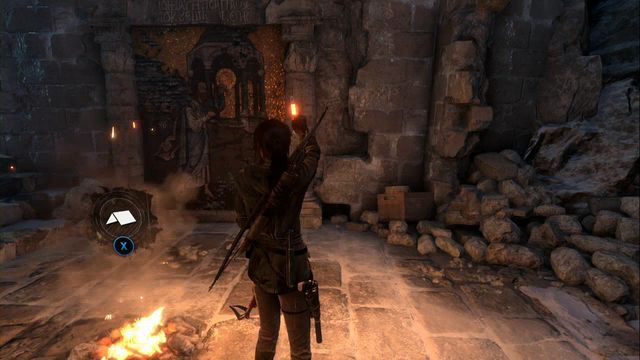
You cannot miss it. It is right next to the campfire (in the Pantheon Corridor camp).
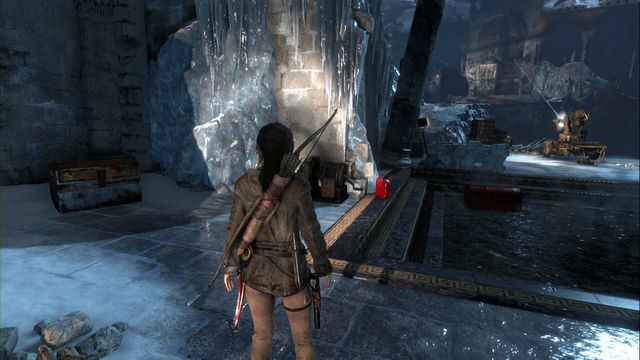
In the big chamber, on the left in the recess.
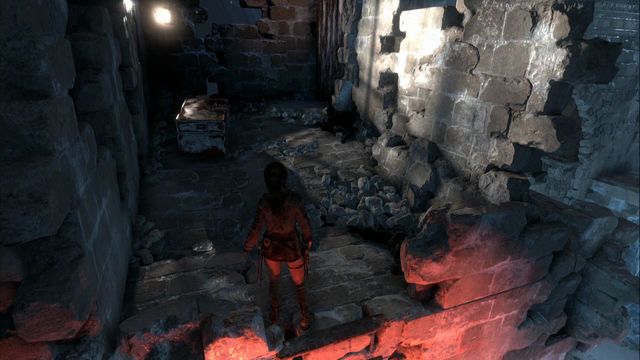
In the same chamber as the above chest - before the chamber with canisters in it and an explosive barrel, on the left, there is a path up and that is where the chest is. You need a lockpick.
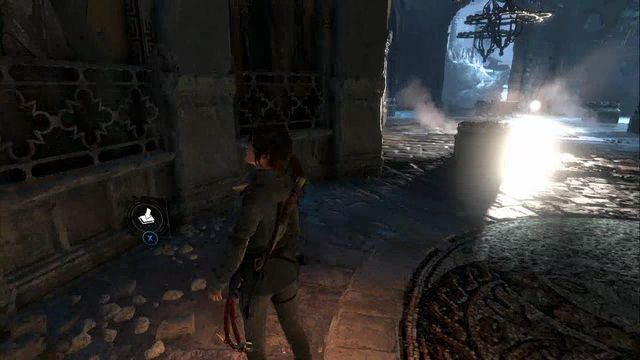
At the opposite end of the chamber, where you find the monolith.
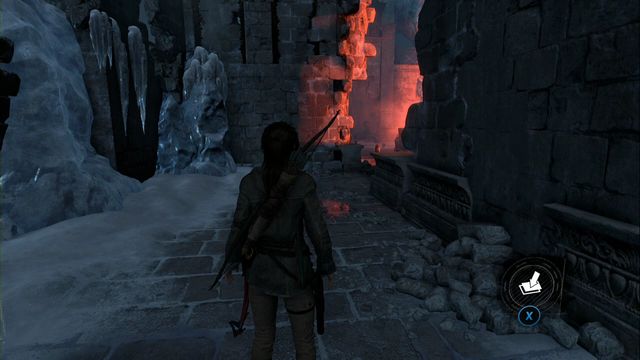
In the corridor, in front of the entrance to the big chamber.
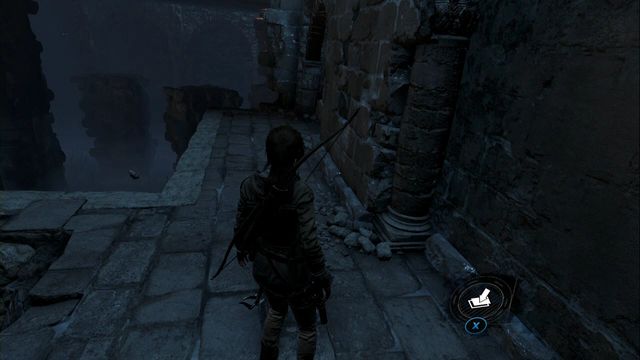
In the corridor below. The path down is in the big chamber, over the wall of ice.
The location map presents whereabouts of all the collectibles, which you can find here. Each type of collectible has been marked in a different style, which makes it easier to differentiate between them. Numbers provided by the markings serve as a reference to the guide - apart from having been marked on the map, each collectible has also been described and shown in the screenshot. In case of any problems finding the collectible, you can find it in the guide, by the provided number.. Collecting all of the items and completing all of the challenges of a mission allows you to explore the location in 100%.
Geothermal Valley is yet another, after the Soviet Installation, big map. Here, you find lots of hidden collectibles, loot, challenges and tasks. Due to the size of the map, to lend it clarity, the individual sections have been provided with a separate map, one per collectible type. The main map presents the entire location with key locations marked.
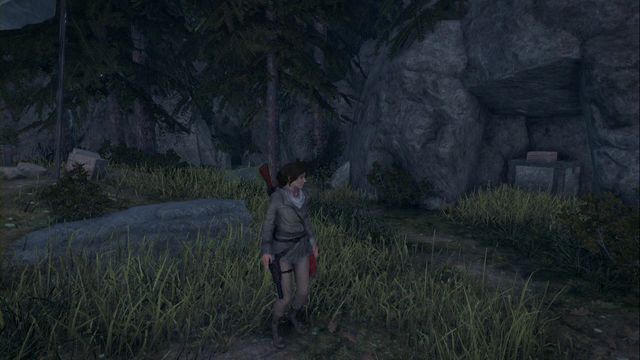
In the grotto, behind the planks in the Ridgeline Camp. Examine the bottom of the artifact.
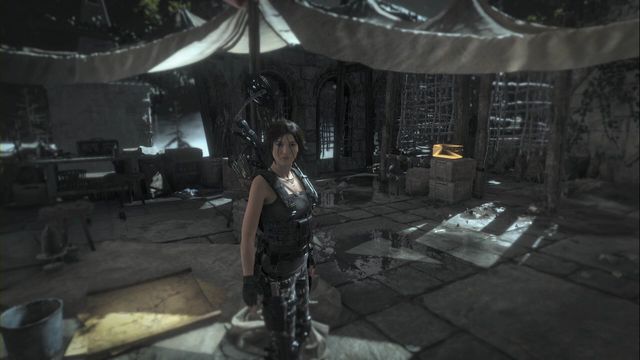
In the tent in the Valley Farmstead Base camp.
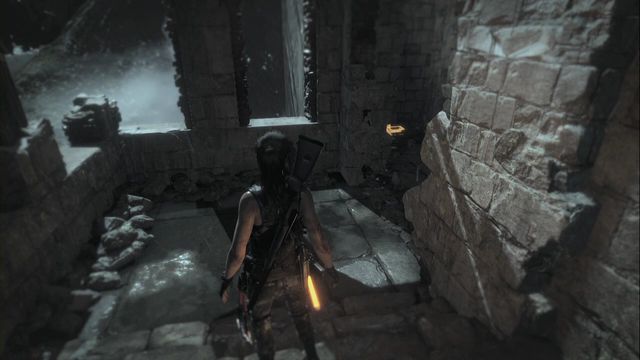
Climb down a bit from the Valley Farmstead Base camp and head towards the edge of the map. There, you find a barricaded entrance and a chest with the relic inside.
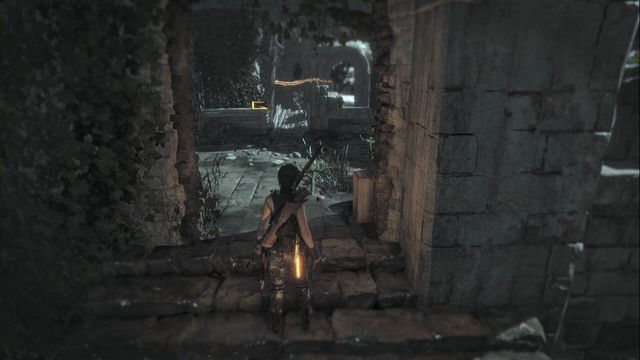
In the stone building.
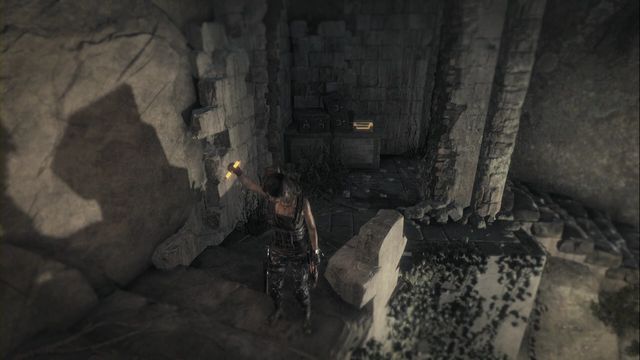
On the stairs, in the very corner of the location. Examine the arrowhead's base.
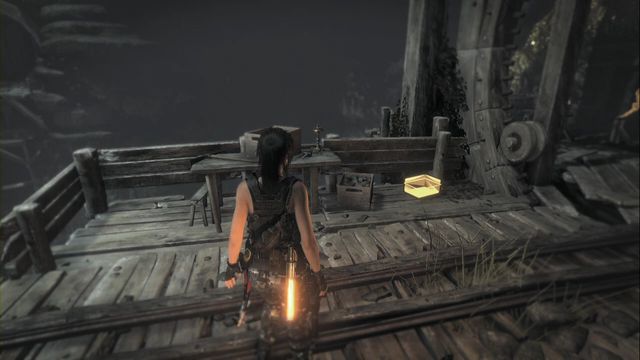
Inside the Pit of Judgment, on the platform to your right, after you swim across the water reservoir and you turn to face it, (climb up over railway tracks).
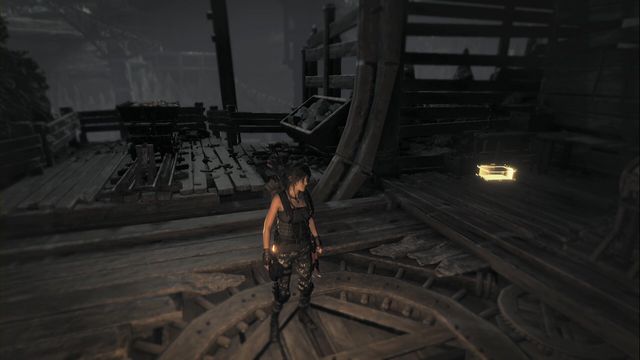
In the Pit of Judgment tomb, by the second cart. Examine the "six" on the dice.
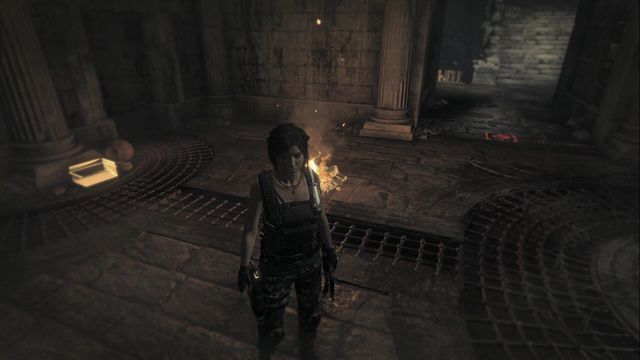
In the Aquifer Cavern Base Camp, in the Baths of Kitezh tomb. Examine the strap attached to the case.
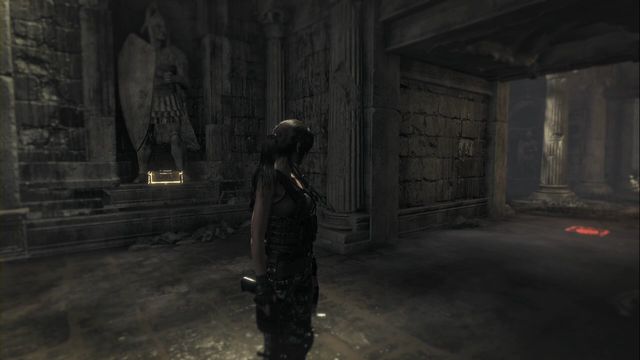
By the statue, right past the camp in the Baths of Kitezh tomb.
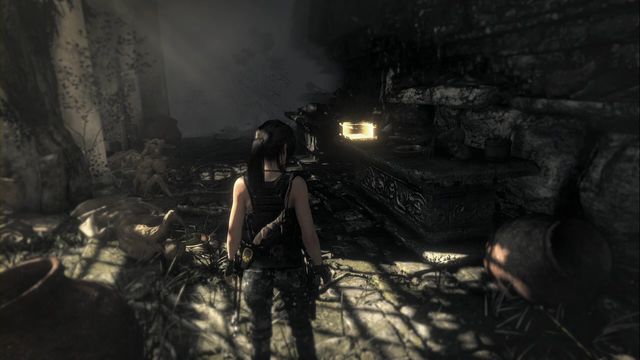
In the House of the Afflicted tomb, right after you enter the tomb proper (a moment before you enter the camp).
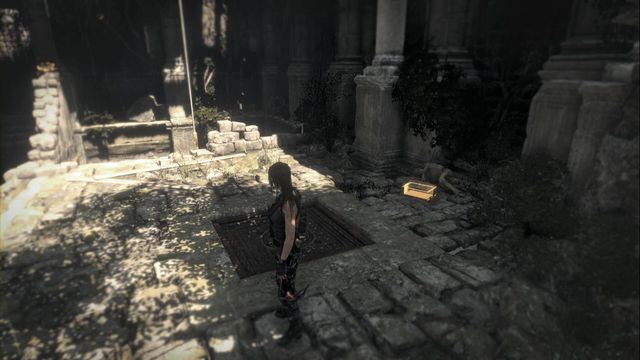
In the House of the Afflicted tomb, after you walk into the yard, run towards the second gate opposite the entrance to the actual camp.
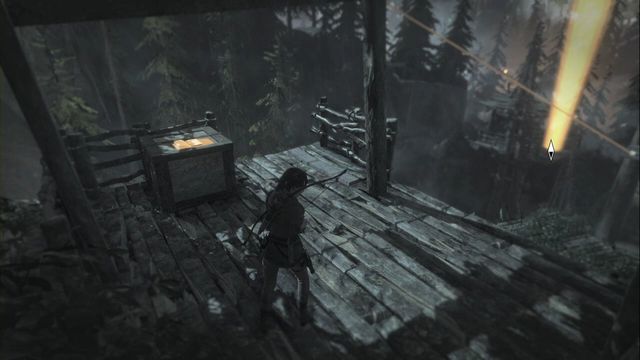
In the cave leading to the Catacombs of Sacred Waters tomb. In the location that you cross with the rope arrow shot over the water surface, right after you walk into the round chamber. The relic is by the wall, between heaps of skulls.
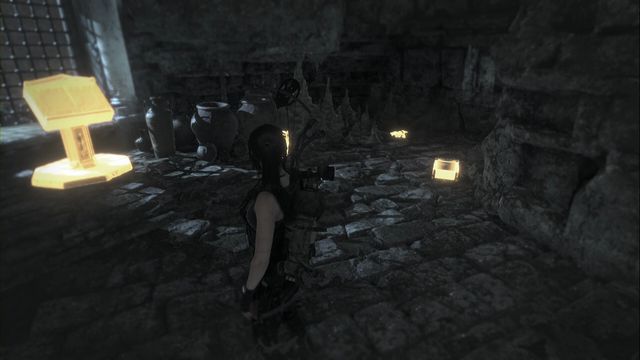
In tomb Catacombs of Sacred Waters, in the same chamber as the book.

After you exit Acropolis (Riverside Landing Base Camp), you can zip down the line. From the place where you jump off the line, climb up a little.
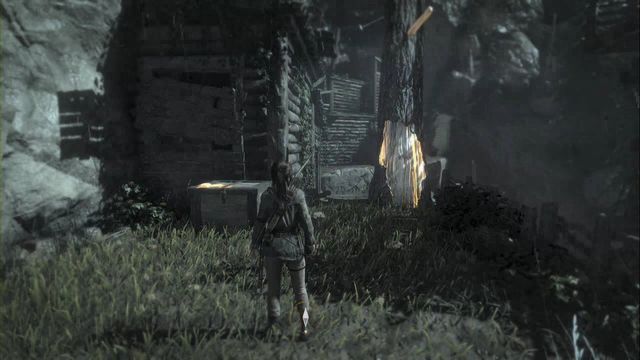
Zip down the line from Riverside Landing Base Camp. Walk around the small wooden house and you find the document by the side wall.
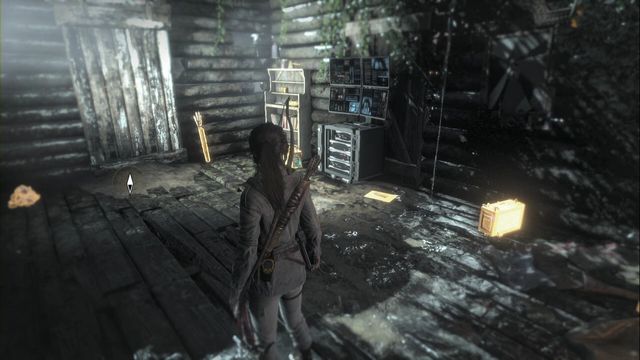
Inside the small house.
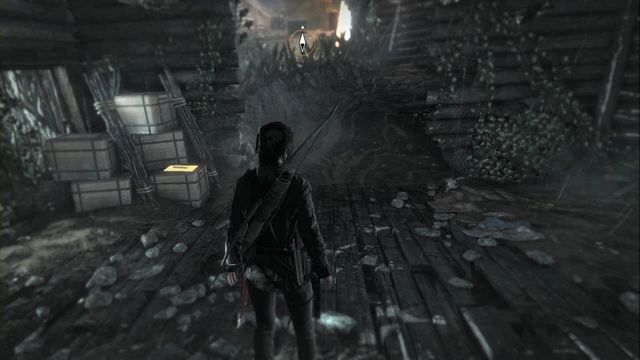
In the wooden house, while you are traveling from one part of the village to another.
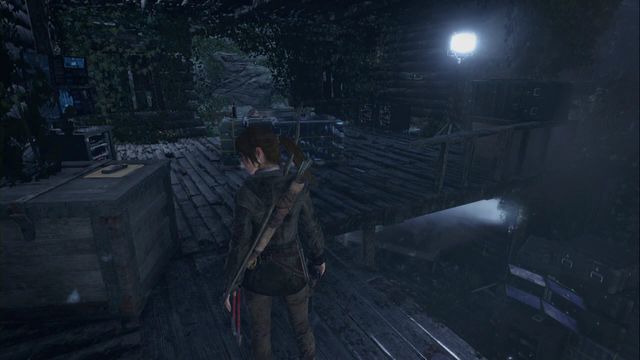
The hangar swarming with opponents (floor one) while you are completing the storyline quest, along your path to the cathedral.
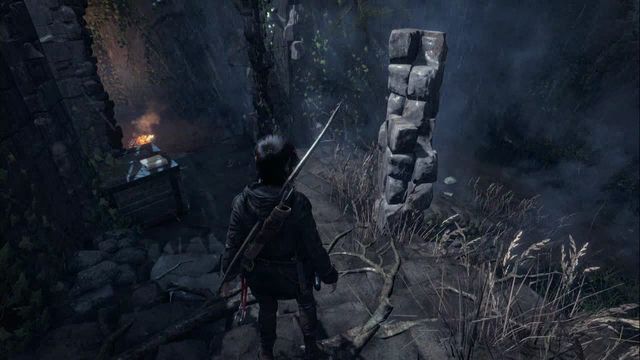
You find it while climbing down the stairs into the Cathedral Courtyard Base Camp. The document is on the crate by the wall.
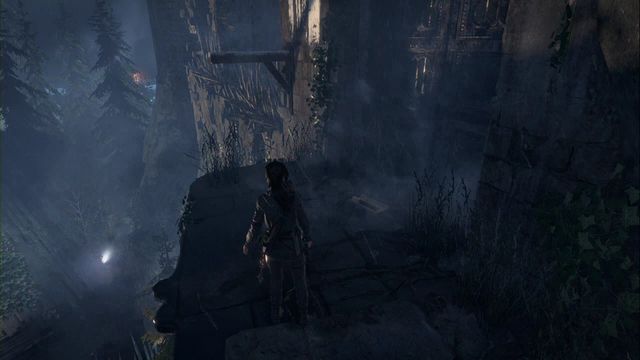
While climbing to the cathedral, right past the tower with a single opponent. It is at the door.
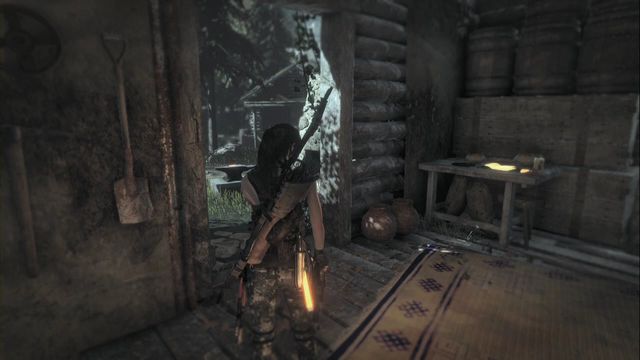
On the table in the wooden house.
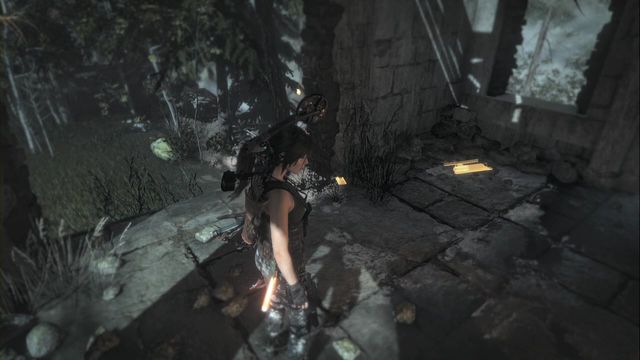
Inside the tall building.
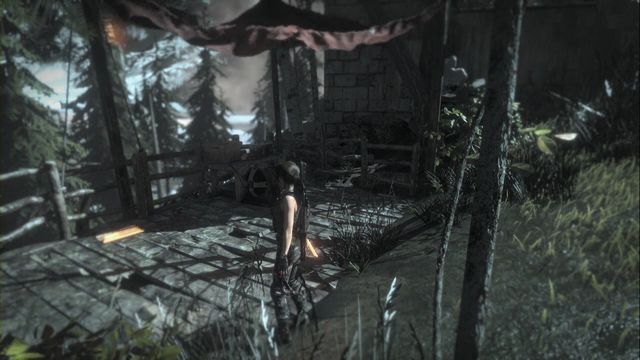
On the wooden platform next to the tall building.
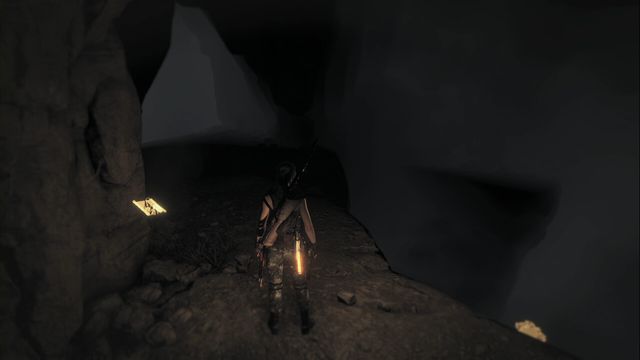
On the table in the cottage.

On the crate under the tent at the roadside.
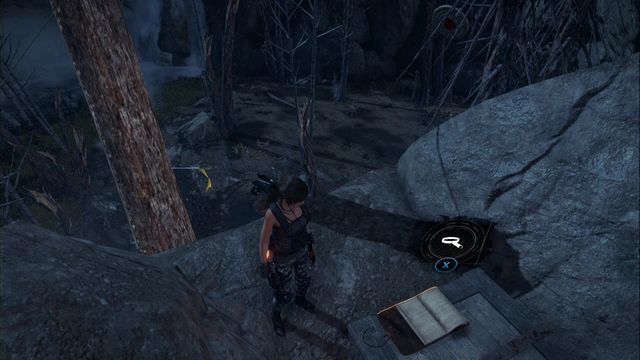
On the ledge that you can reach over the tree that you can stick broadhead arrows into. Over the arrows, climb the tree and jump over to onto the ledge.

Along your path, in the crypt. A bit past the wall outcrop, go left on the first fork.
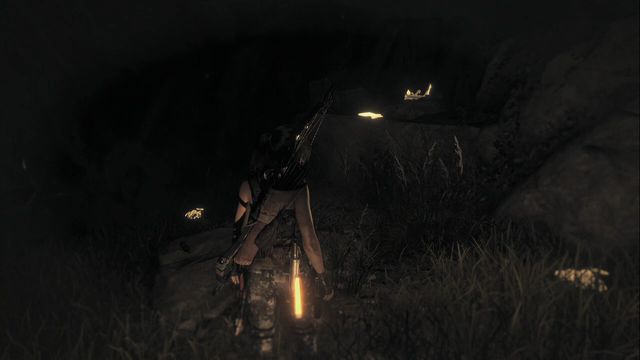
In the nearby cave.
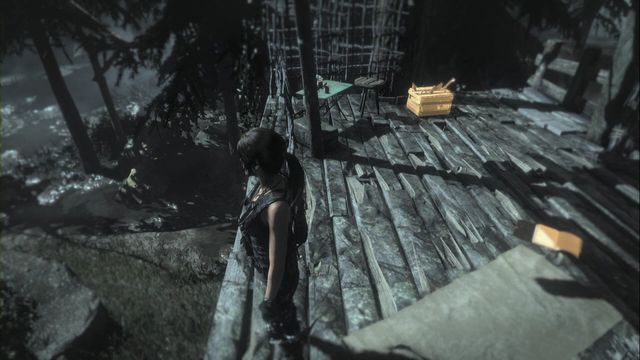
On the hunting platform hanging between trees.
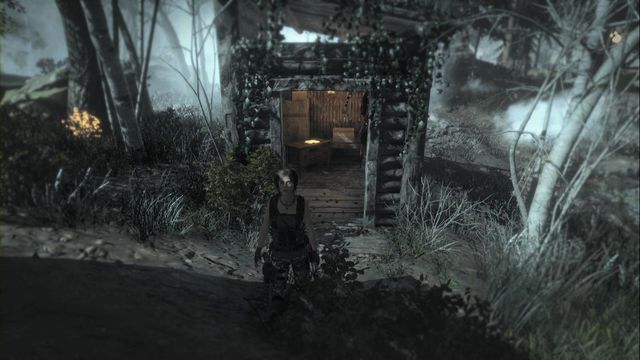
In the wooden cottage.
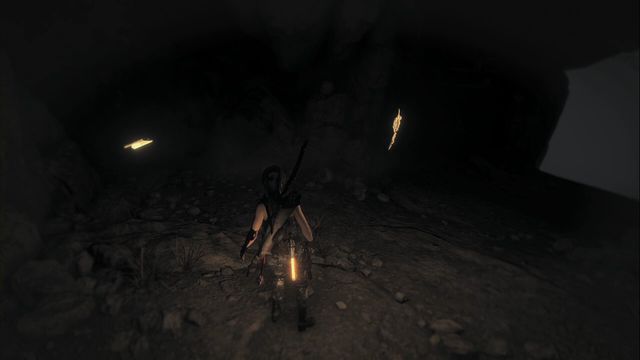
In the crypt, in the recess on the left, a bit past the place where Lara zips down the line.
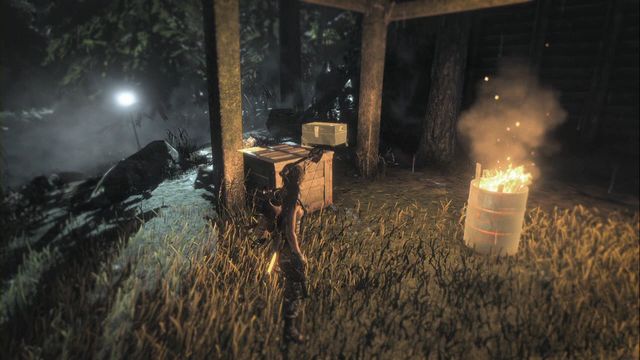
On the crate under the wooden roofing.
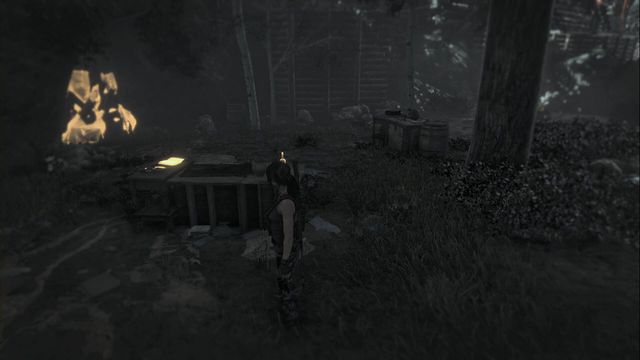
Ob the table above the level of the village.
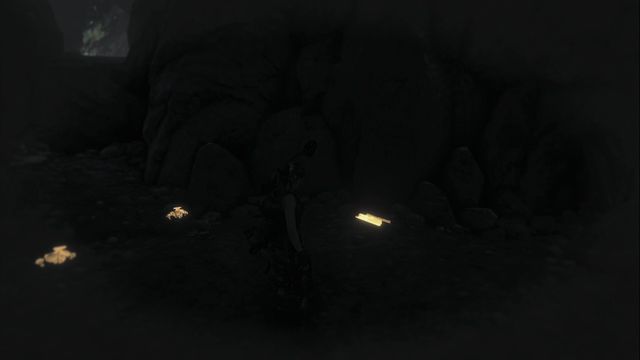
Inside a small grotto that you find the entrance to near the previous document. You need to set fire to the planks in the way.
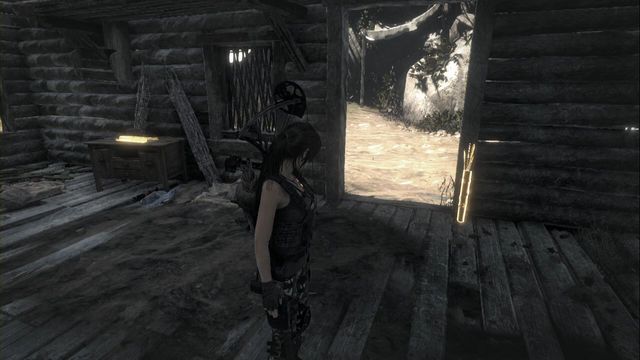
Inside the house.
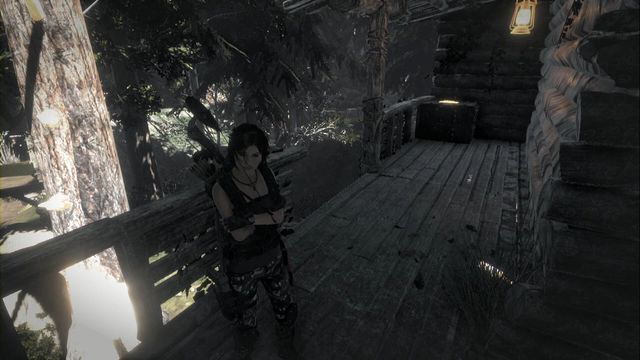
On the chest, one the balcony of the big hangar.
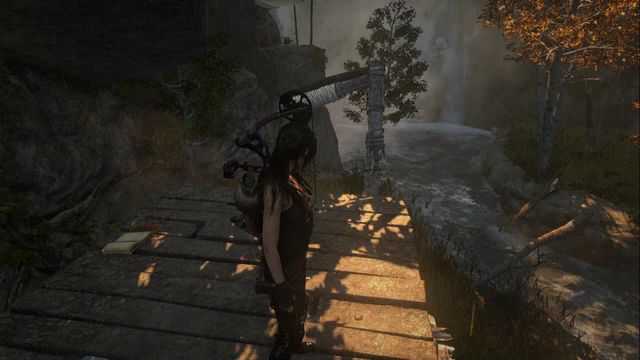
On the column that you get onto by jumping off the nearby tree.
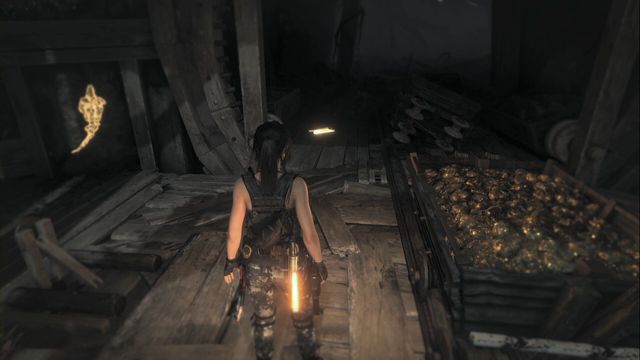
In tomb Pit of Judgment, on the platform on your right. After you cross the water reservoir, face it (climb up over the rocks). The document is on the ground, behind the cart.
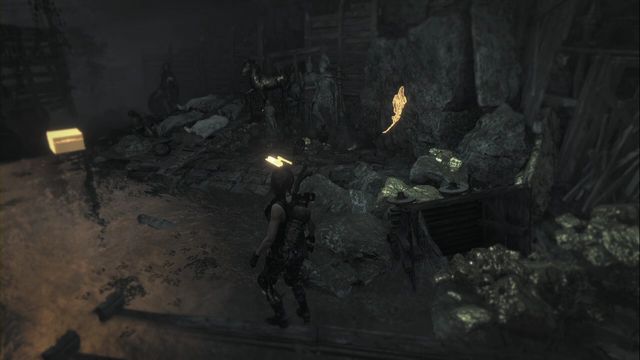
In tomb Pit of Judgment, in the last chamber, where there is the book.
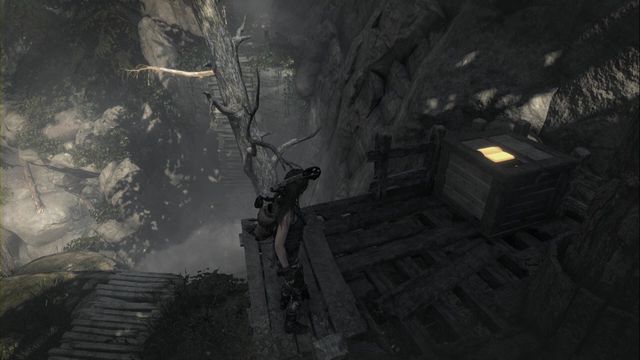
On the platform attached to the tree. To get onto it, jump while in front of it and try to cling to the edge quickly. With coil of rope, Lara should cling on to the edge and climb onto it.
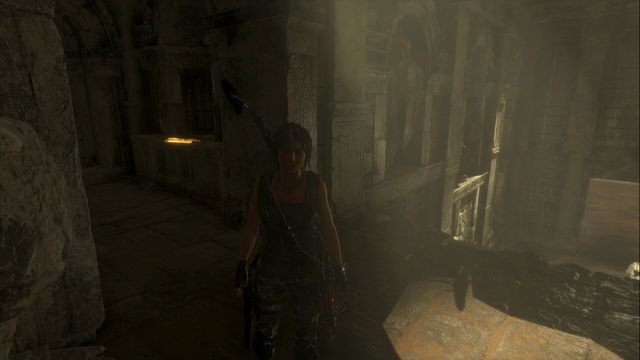
Right past the camp in tomb Baths of Kitezh, after you climb the stairs go right.
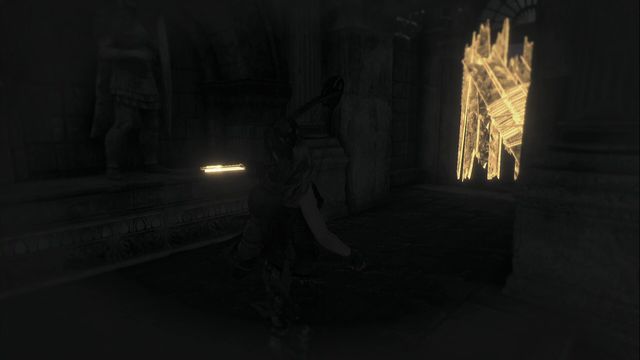
By the statue in the unlocked corridor, after you drain water from tomb Baths of Kitezh.
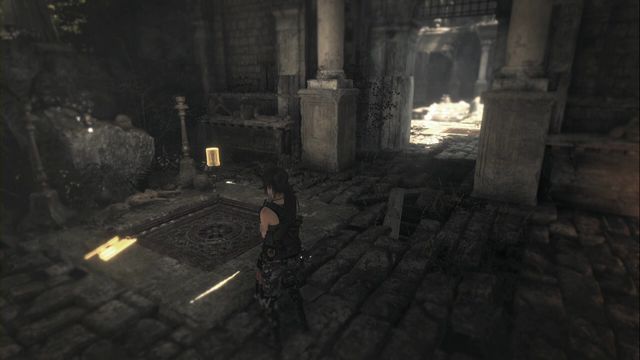
In the camp in tomb House of the Afflicted.
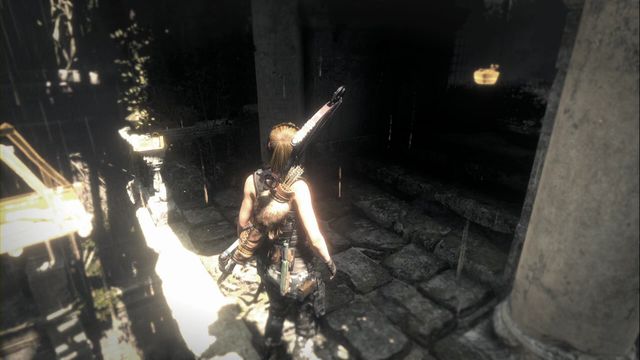
In tomb House of the Afflicted, after you get to the higher level, on the barrier in front of the entrance to the chamber where you reed the book.
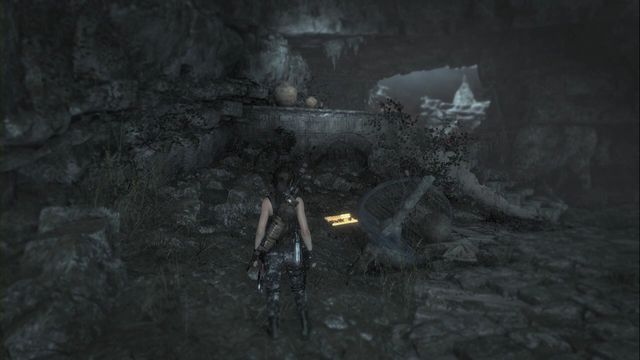
In tomb Catacombs of Sacred Waters, right past the camp, climb down to the water reservoir. The document is behind the boat on the right.
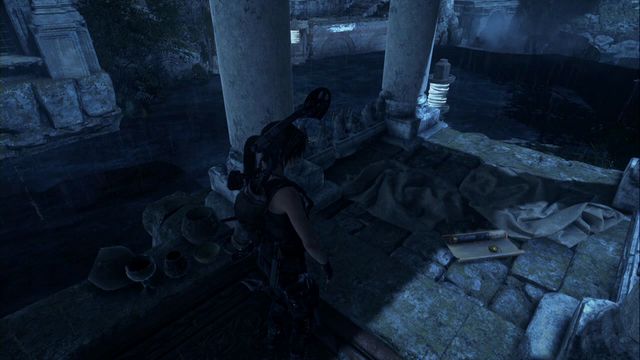
On the isle in tomb Catacombs of Sacred Waters.
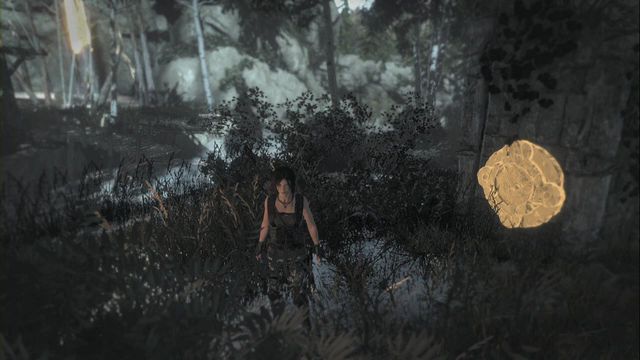
You find it at the riverside, on the column to the right of the waterfall.
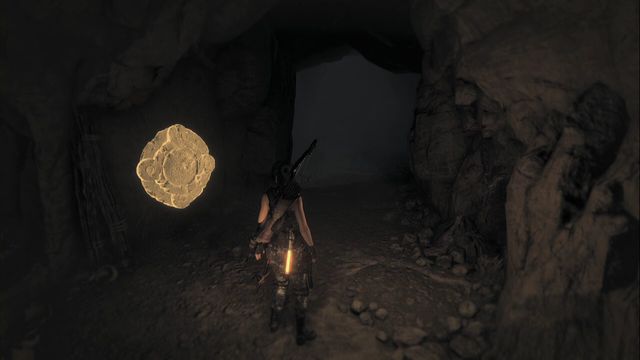
In the crypt corridor. A bit past the wall outcrop, go right and jump down (on the first fork).
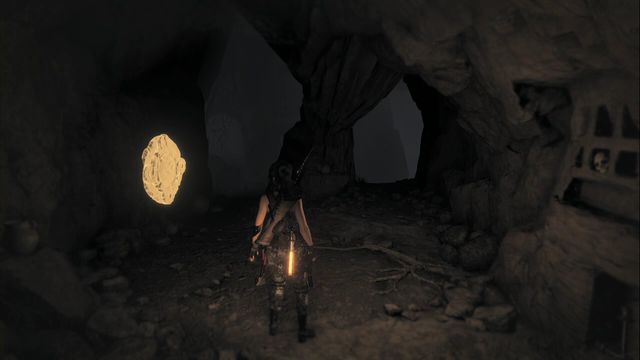
In the crypt on the wall, after you zip down the line.
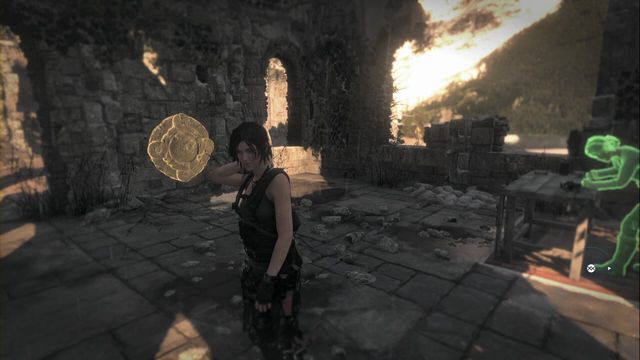
On the stone wall, in the location where you can receive a mission.
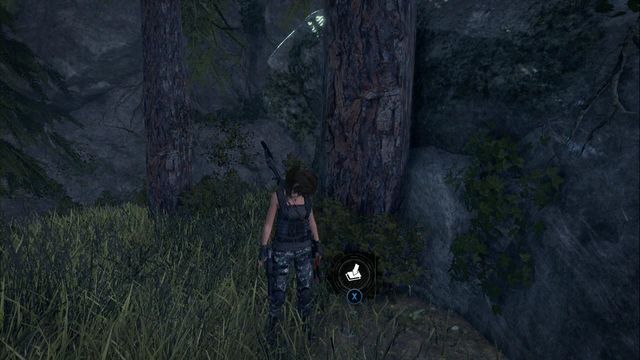
Divert from the main path a little and find the cache by the tree.
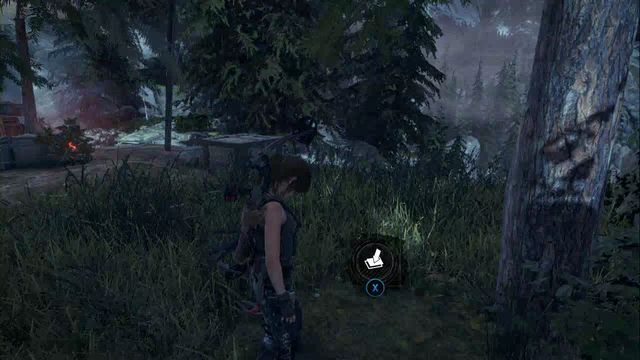
By the tree near the rocks, Ridgeline Base Camp.
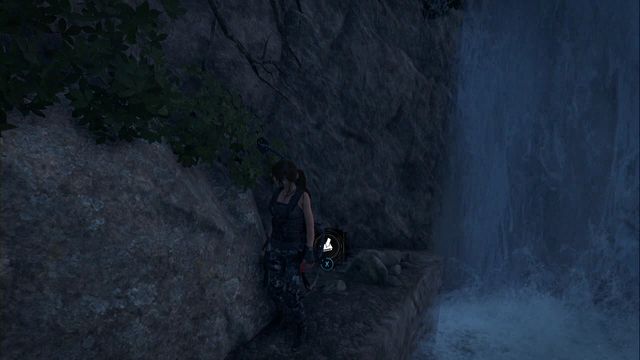
On the rock, right by the waterfall, walk alongside the water, from the Ridgeline Base Camp.
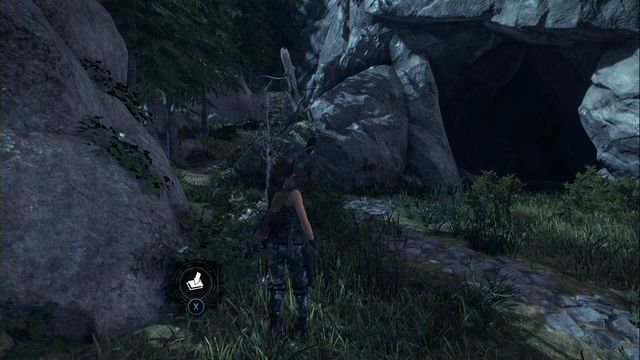
By the rocks, opposite the passage to the Flooded Archives.
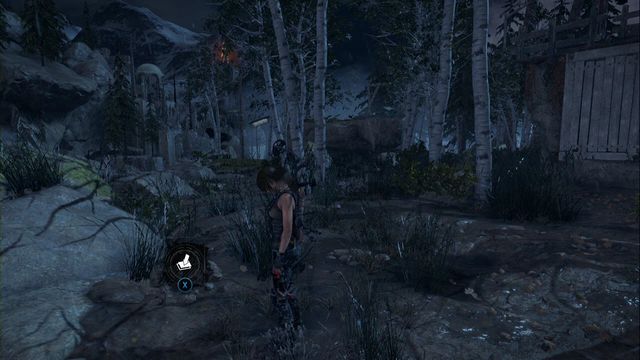
IN the forest, by the rock close to the hunting platform.
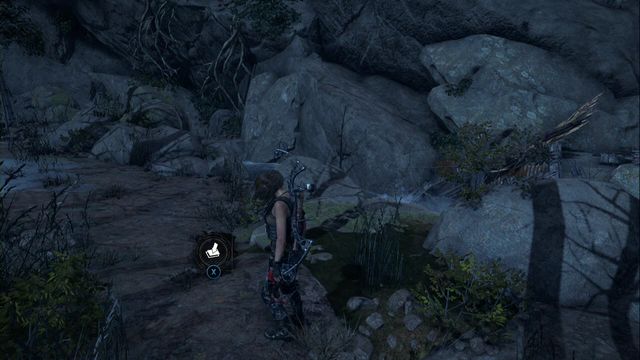
In the middle of the path, at on level with wood scattered in the river.
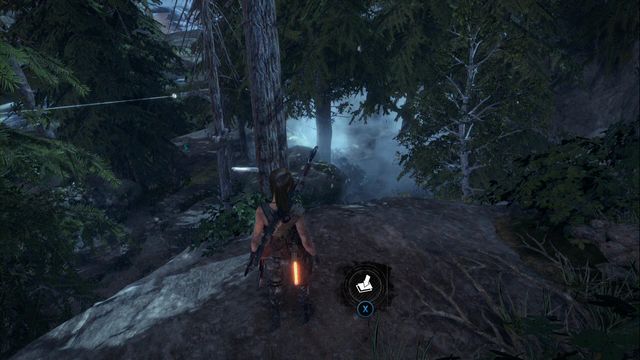
ON the ledge to the right of the cave entrance. You can climb up the climbing wall.
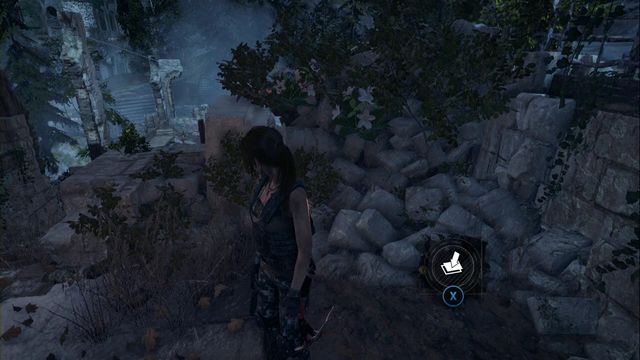
At the wall, a bit higher than the campfire in Valley Farmstead Base camp.
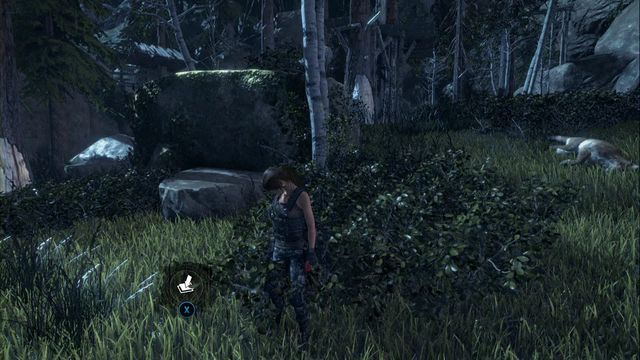
In the bushes in front of the rock.
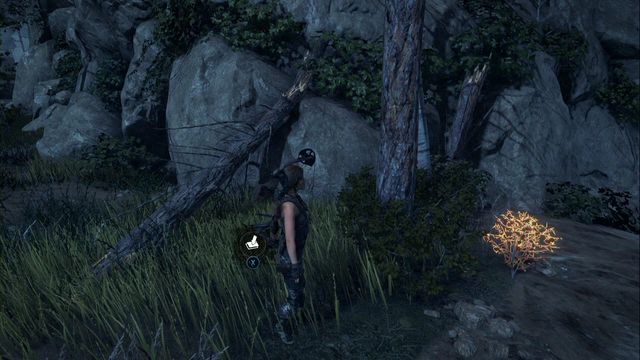
By the fallen tree to the right of the cave entrance.
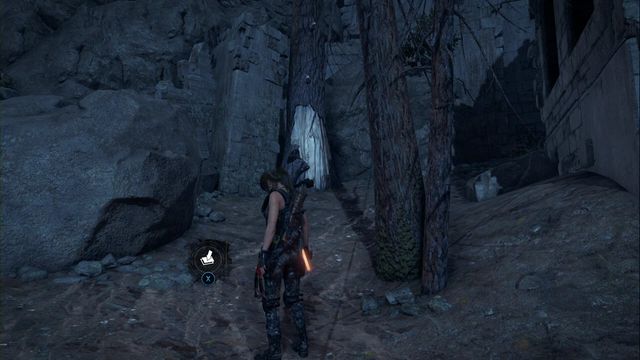
Between the rock and trees.
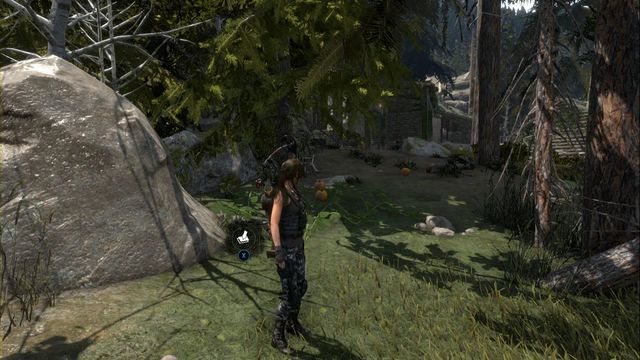
By the rock, behind the field of pumpkins.
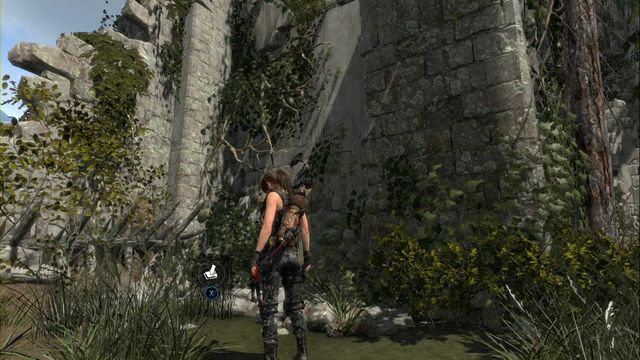
In the shallow puddle by the wall.
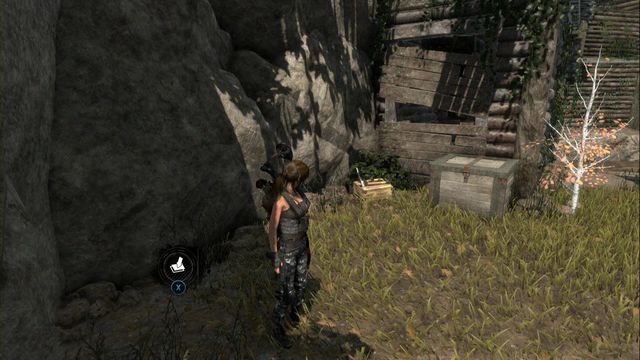
By the rock, in front of the chest be the wooden cottage.
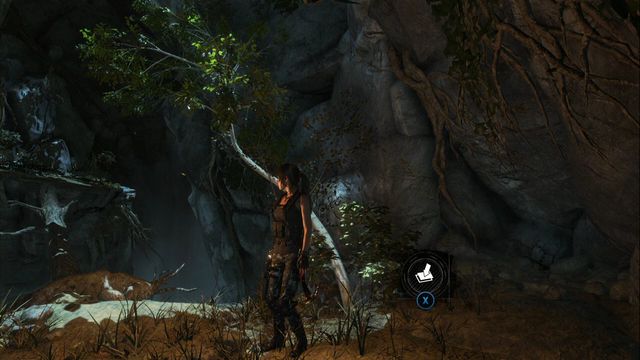
While crossing the cave to tomb Pit of Judgment. The cache is in front of the entrance, right past the fallen tree that Lara climbs over.
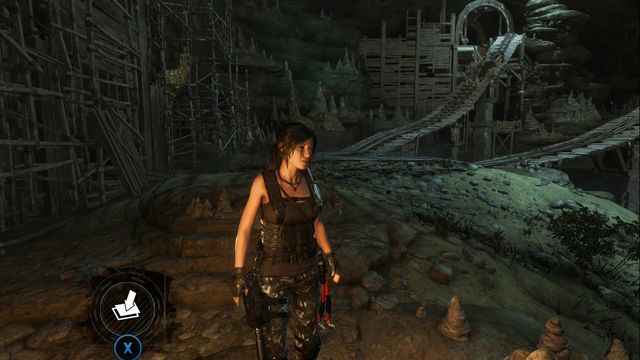
After you drop into tomb Pit of Judgment, swim over to the other side. You find the cache under the wooden scaffolding, in the left corner.
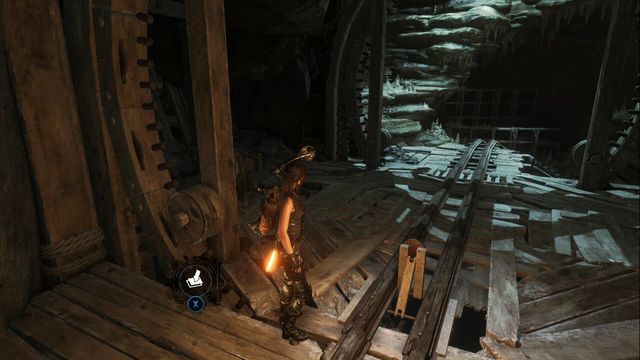
In the location of the second cart (tomb Pit of Judgment), climb to the upper part of the scaffolding and you find the cache by the wall.
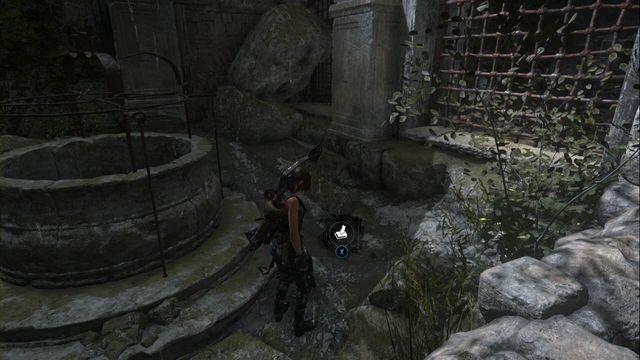
In tomb House of the Afflicted, still before you enter the camp. In the spot where you get to the bottom of the gorge, before you enter the corridor to the camp, jump over from the stairs onto the platform. You find the cache in the corner, next to the big stone well.
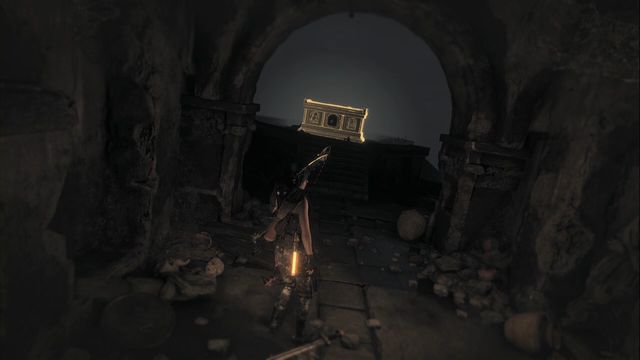
In tomb House of the Afflicted, after you walk into the yard, go right and you find the cache in the corner, under the wooden stairs.
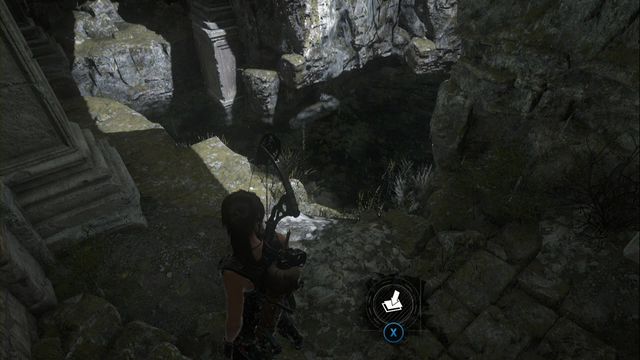
You find it in tomb House of the Afflicted. Right after you walk into the yard, enter the water reservoir on the right. You can dive and reach, underwater, a new chamber. Here, you find an Explorer Satchel and the cache right next to it.
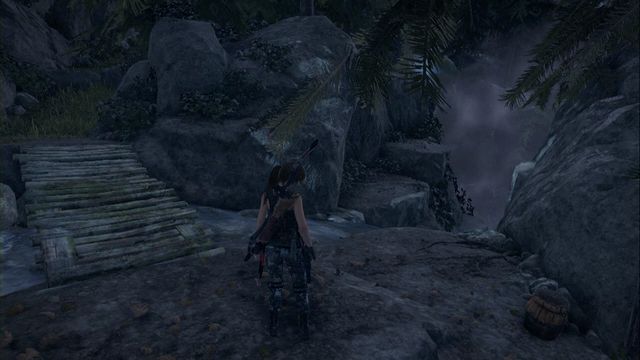
To enter the crypt, head towards the waterfall, climb a bit below the Ridgeline Base Camp. By the small torrent, you can jump over onto the ledge at the other side (the screenshot). Then, drop down twice, to the ledges below. Finally, take two jumps towards the waterfall and cling on to the climbing wall. The crypt entrance is behind the waterfall.

Once there, make an outcrop in the wall and, on the first fork, jump down, to the right, Follow the corridor and use the rope at the end of it. You will get to the other side, where there is the tomb.
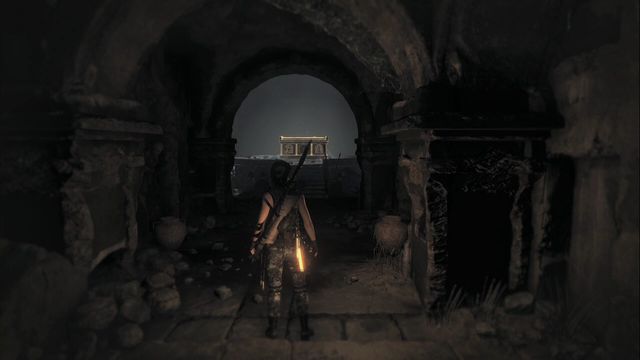
The entrance is close to the water, at the edge of the map. In the cave, smash the wall and keep going down (watch out at the climbing wall), where you need to use the rope. A bit ahead, on the fork (after you have climbed down), go left - the sarcophagus is at the end of the corridor.
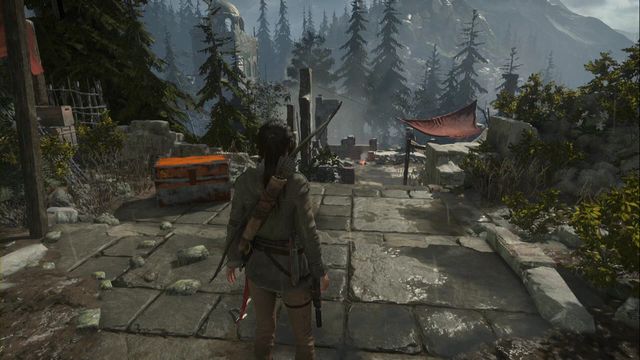
Right after you enter the location, after the cutscene, you find the chest right in front of Lara.
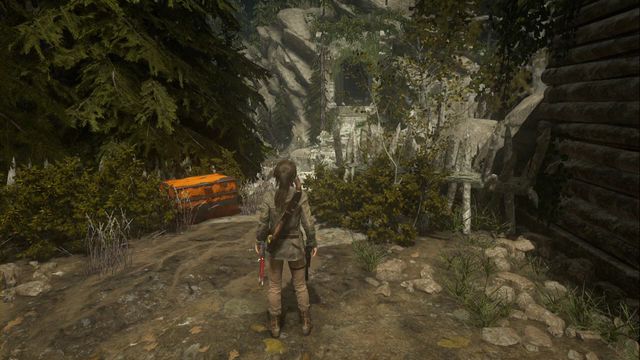
During the main storyline, you find it along your path to the tower, after the defense of the valley, in front of the destroyed bridge.
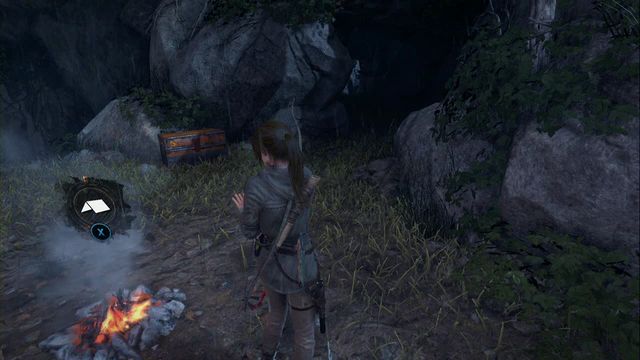
After you leave Acropolis, by the Riverside Landing Base Camp.
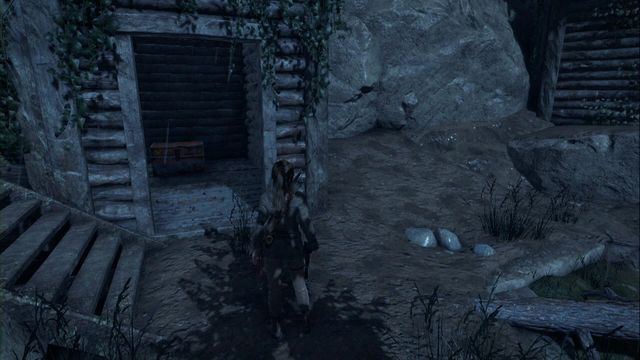
While walking away from the Riverside Landing Base Camp, zip down the line. Then, use explosives/ shoot the barricade and you find the chest inside.
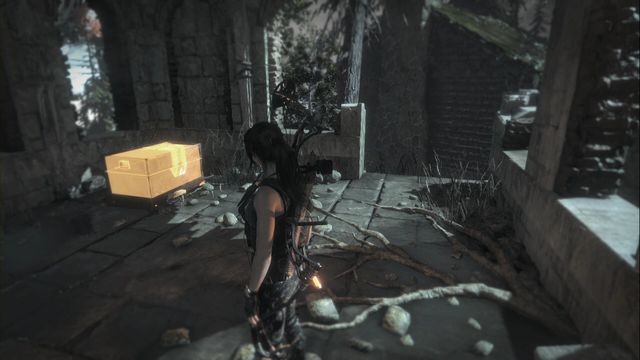
Inside the tall building. To open it, you require the lockpick.
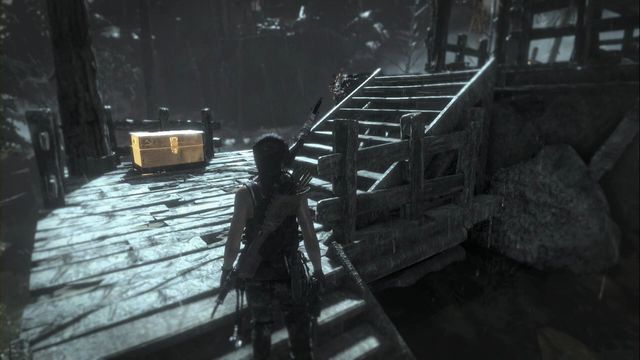
The hunting platform in the forest.
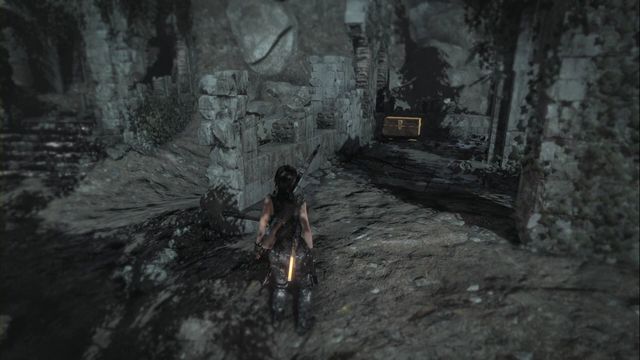
In the corner, in the ruins.
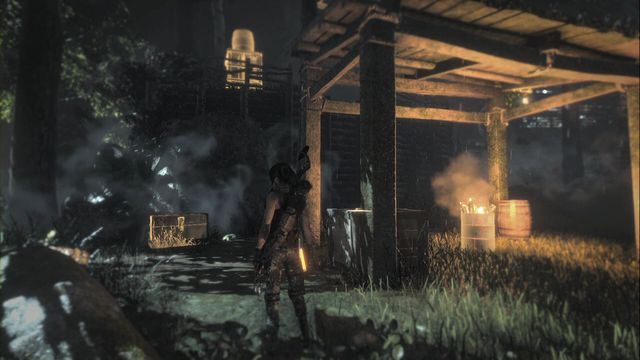
By the rocks, next to the wooden structure.
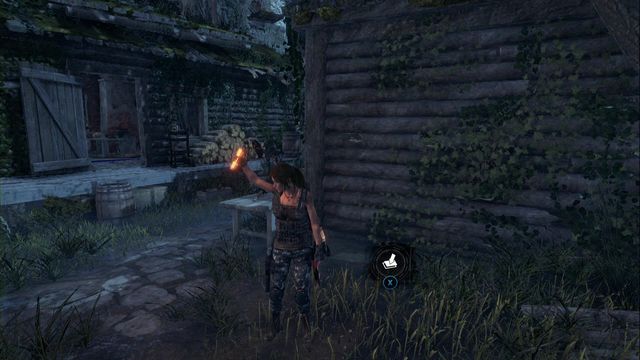
Behind the wooden cottage.
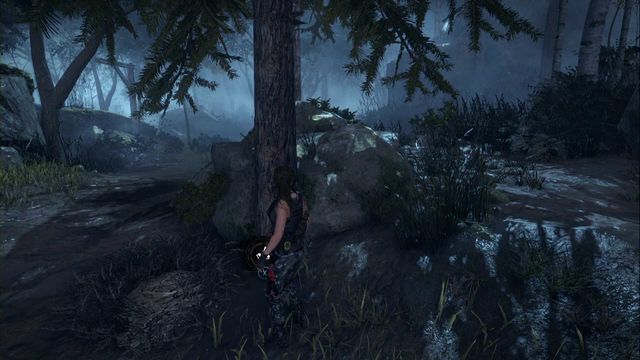
At the tree, by the path in the forest.
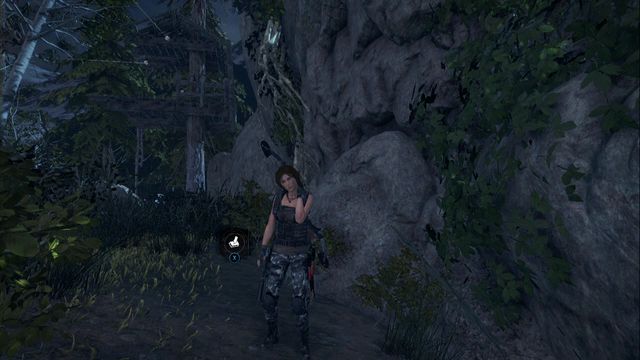
At the edge of the map, close to the hunting platform.
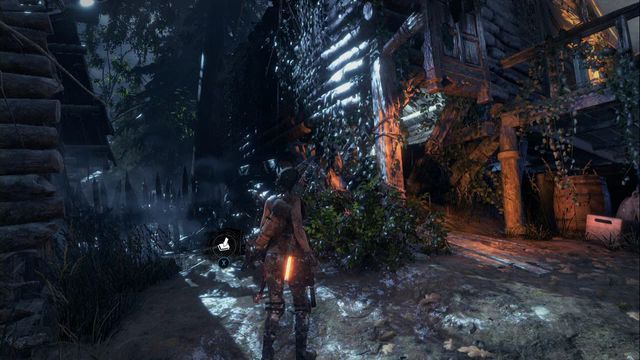
Between two houses.
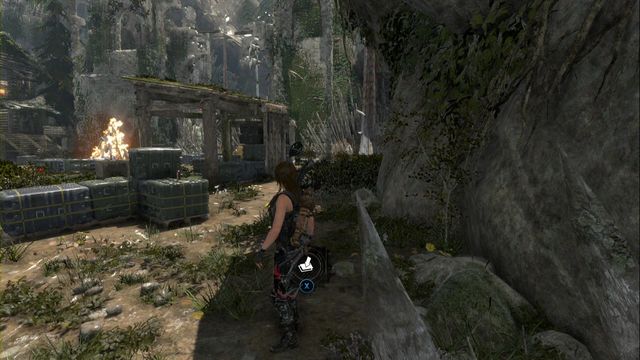
In the corner, by the rocks and tapered wooden stakes.
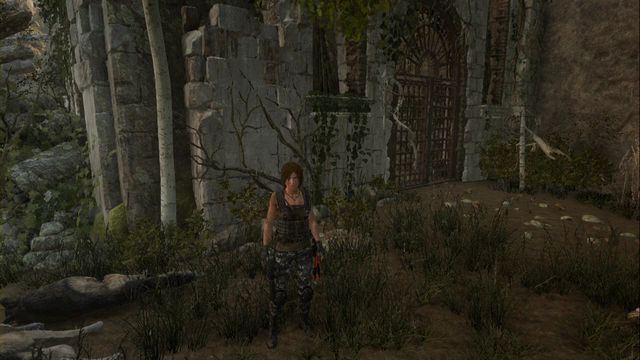
By the entrance gate of on of the tombs.
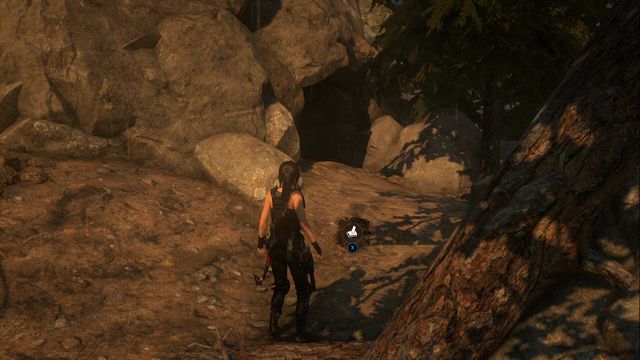
By the fallen tree, in front of the crypt entrance.
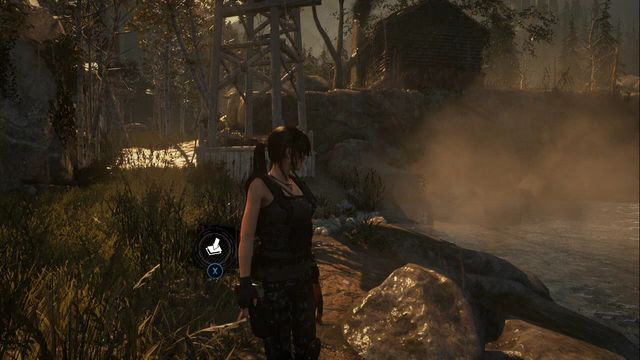
By the rock, several steps away from the wooden tower.
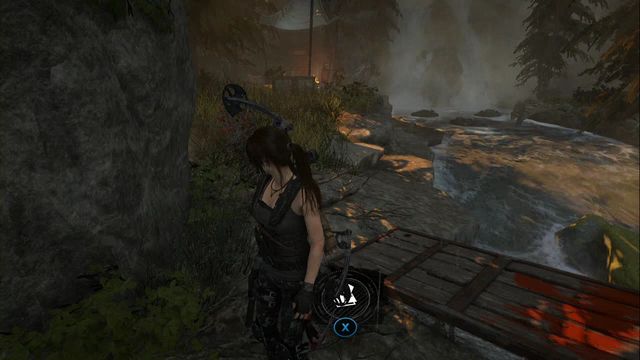
On your way away from the Ridgeline Base Camp, approach the escarpment - the chest is buried next to the platform from which you can jump into the water.
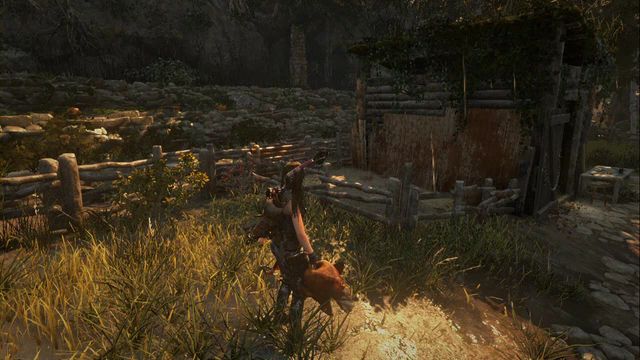
In the valley, close to the Valley Farmstead Base camp there are quite a few chickens running around. Catch up with one and Lara can catch it. This places the chicken coop (a pen) on the map, where you can put the chickens (you throw them in the same way as you would molotovs). Throw 5 chickens into the pen, thanks to which you complete the challenge. The chickens are in various locations and traveling between the individual camps causes them to respawn, in case all of them hid away. Chicken coop has been marked on the map as A.
To complete this challenge, it is necessary to find diving platforms and diving into water off them. Remember to press the appropriate button to have Lara assume the appropriate position in mid-air. A regular jump won't do (this needs to be a plunge, which is what pressing the button quickly does). Diving boards have been marked on the map as B1 - B4.
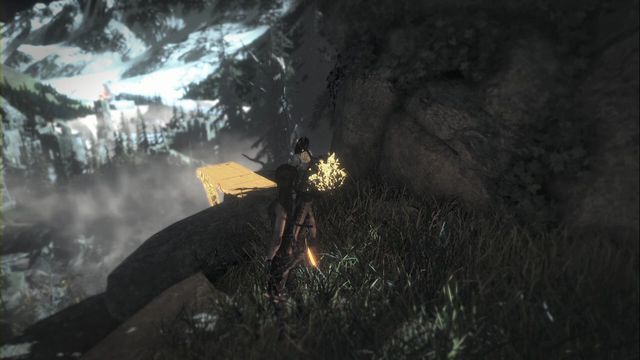
Diving Board 1
Approach the edge, near Ridgeline Base Camp - there, you find the board off which you can jump into the water.
Diving Board 2
This diving board is on a wooden structure neighboring the house, where your ally can task you with an optional mission.
Diving Board 3
It is on the island, where there is a signal fire lit up on the top of the tower. You need to get to the other side (use the rope) and walk around the tower. You can take the jump off the board at the back.
Diving Board 4
This diving board is in frond of the tomb entrance.
This challenge is about searching out targets hanging in various locations and hitting the bull's eye (or close to the center - the red circle)/ To make things easier, zoom in thanks to which you can take a precise shot. On the map, the targets have been marked as C1 - C8.
Target 1
While by the well, look towards the tall wall with the target attached to it. The target is hanging up above one of the windows.
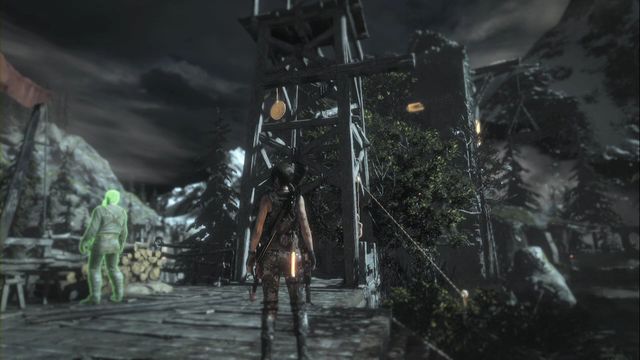
Target 2
This target is attached to the wooden structure, right next to your ally and the spot where you can start a mission.
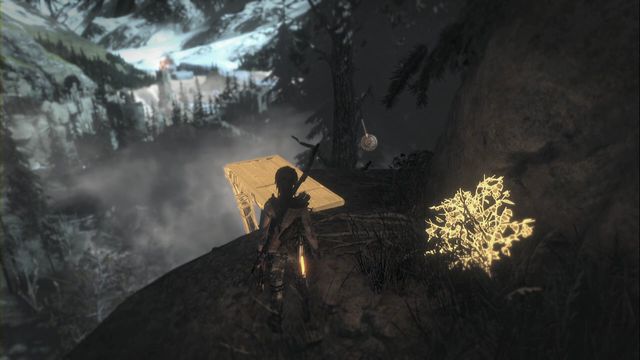
Target 3
Approach the edge, close to the Ridgeline Base Camp - the target is hanging on he tree up ahead.
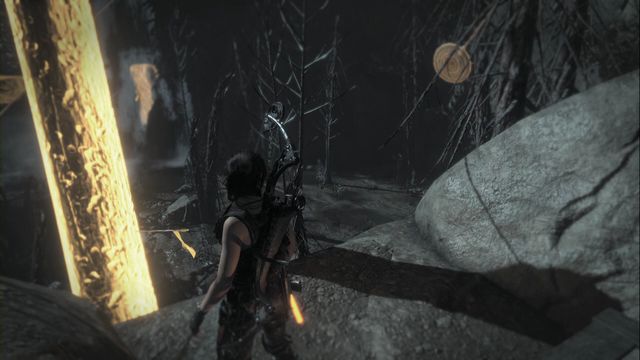
Target 4
It is easy to find it from the ledge, where you get over the tree that you can shoot broadhead arrows at. Over the arrows, climb onto the tree and jump over onto the ledge.
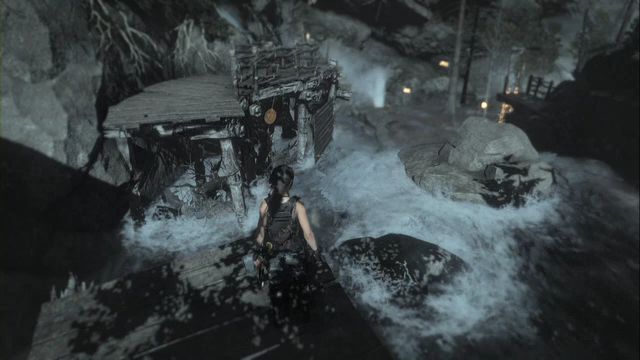
Target 5
It is attached to the passage along the rocks at the riverside.
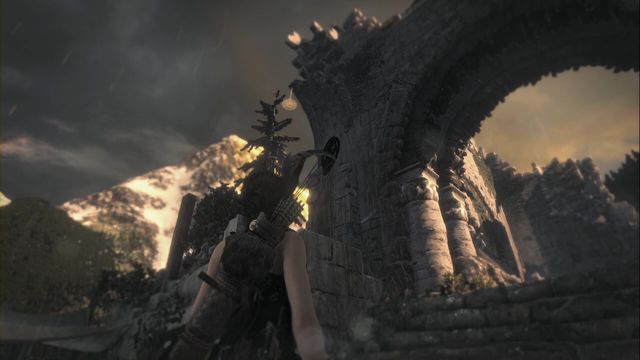
Target 6
Turn to the exit gate in Valley Farmstead Base camp. You spot the target on the left, at the very top, by the treetop.
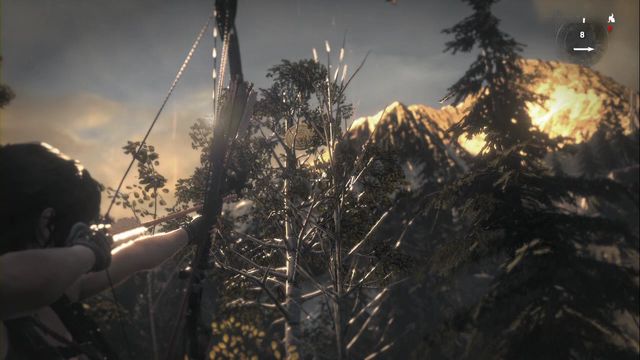
Target 7
It is difficult to spot it, at first - stand in the appropriate spot, with trees in front of you. From the spot shown in the screenshot, you can zoom in and spot the target up above, among trees.
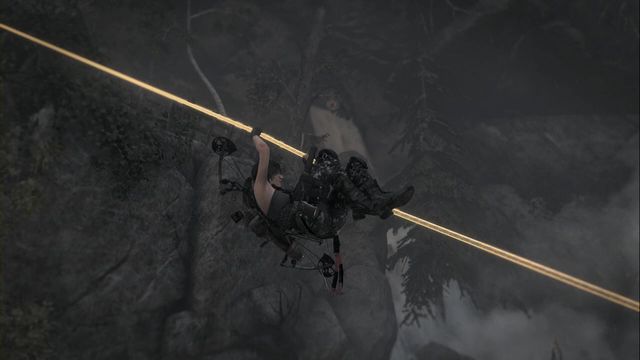
Target 8
This target is hanging on the branch and it is hanging down above the waterfall. You can either spot it from below, or while standing in front of the tomb entrance (it is behind the bushes, look for it in a straight line behind the wooden post that you can attach the rope to).
In this challenge, you need to find ropes that rabbits are hanging on and cut them off. Locations of the rabbits have been marked on the map as D1 - D6.
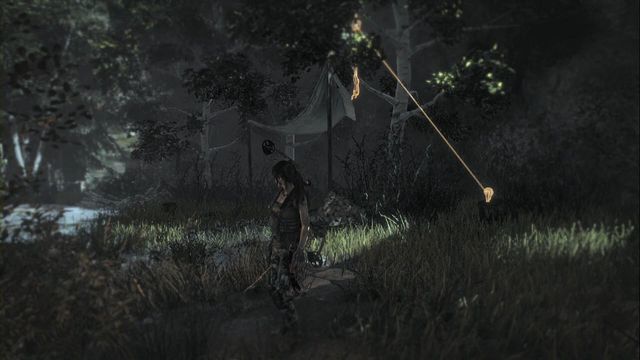
Rabbit 1
Next to the tent at the side of the road.
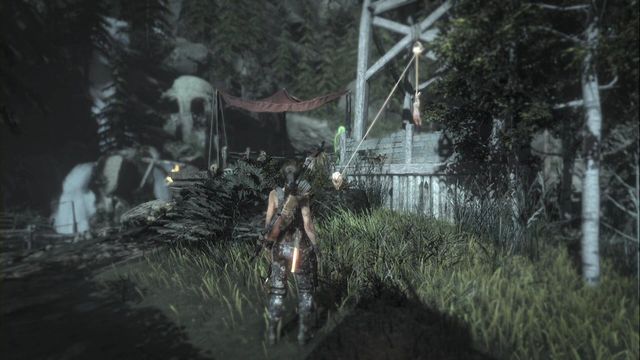
Rabbit 2
By the wooden structure, next to your ally and to the spot where you can start a mission.
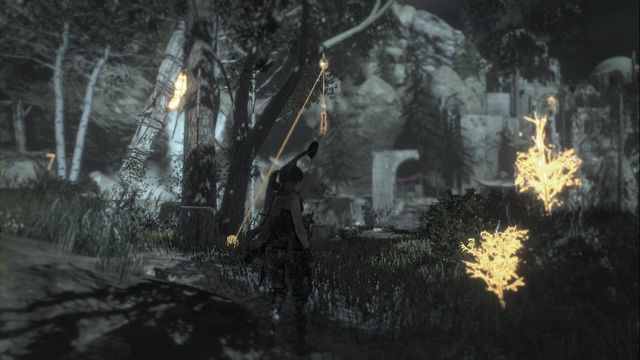
Rabbit 3
Between two trees, close to the bridge.
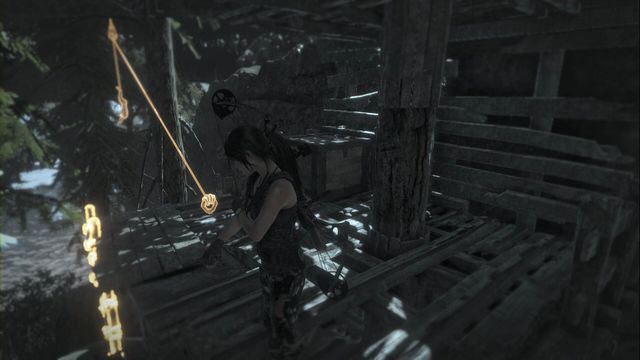
Rabbit 4
Te hunting platform at the edge of the forest. Jump over from the rocks onto the ladder and you can cut the rope at the top.
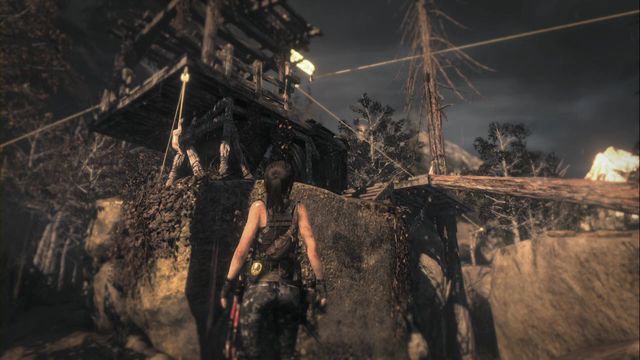
Rabbit 5
The rope is attached to the wooden structure on the massive rock.
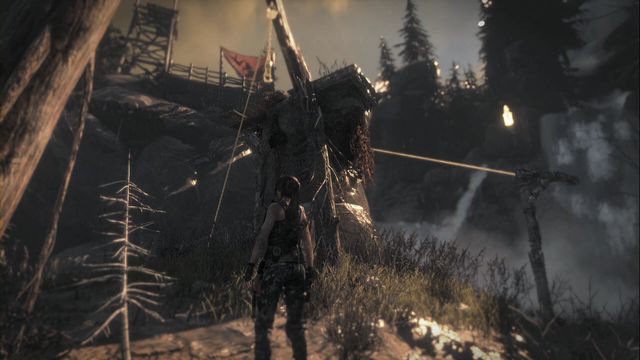
Rabbit 6
In the spot to which you zip down the line by the waterfall, in the upper part of the village.
This one is a quick challenge, because all of the barrels are located close to one another. Go to the pumpkin field (point E on the map). You need to pick up pumpkins and toss them into successive barrels close to the field. They have been marked on the map as E1 - E5.
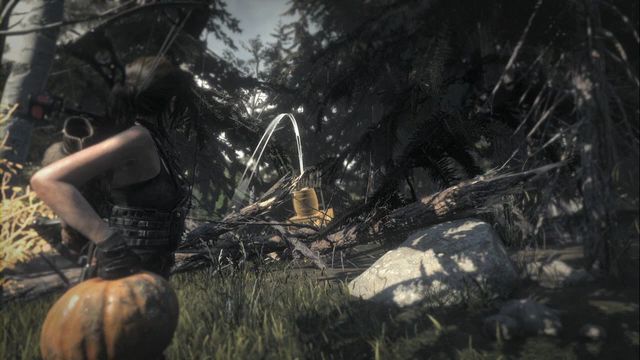
Barrel 1
By the pumpkin field, over the fence.
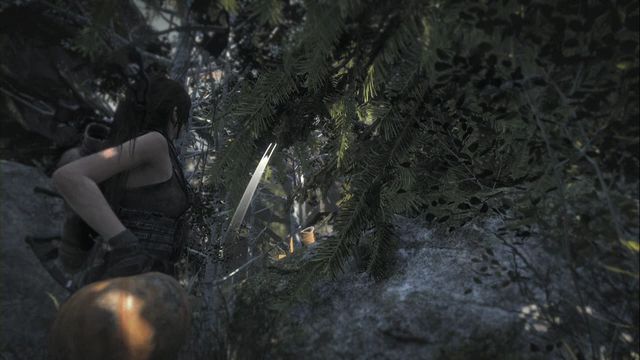
Barrel 2
To the right of the field. Throw between the rocks.
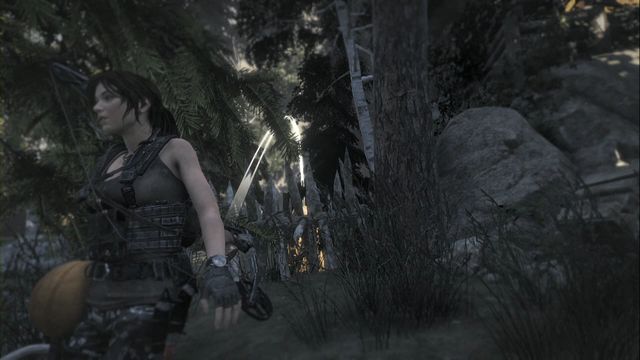
Barrel 3
Even more to the right, by the nearby building. Watch out for the tree, while taking the throws.
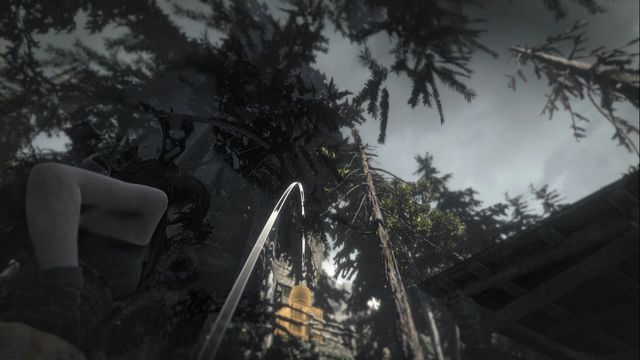
Barrel 4
On the building balcony. While throwing, watch out for the tree. If you have problems, jump the pumpkin up, climb onto the balcony, pick up the pumpkin and throw it into the barrel.
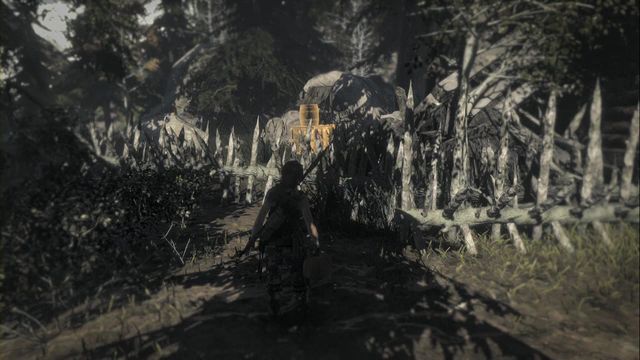
Barrel 5
Walk around one of the buildings. The barrel is behind the fence.
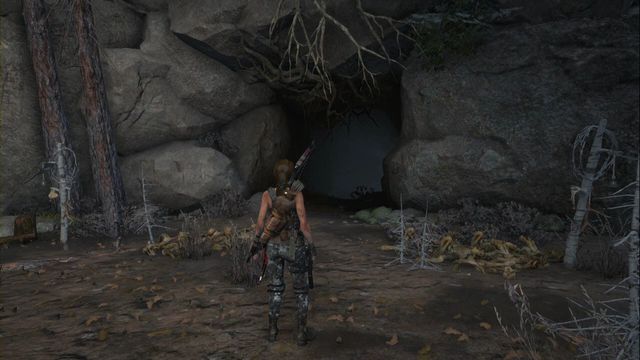 The cave into the tomb.
The tomb entrance is in the lower part of the valley and the entrance is across the cave that you find in the destroyed part of the forest. Right after you enter, prepare for a bear attack. After you kill it, make an outcrop in the wall and swim underwater.
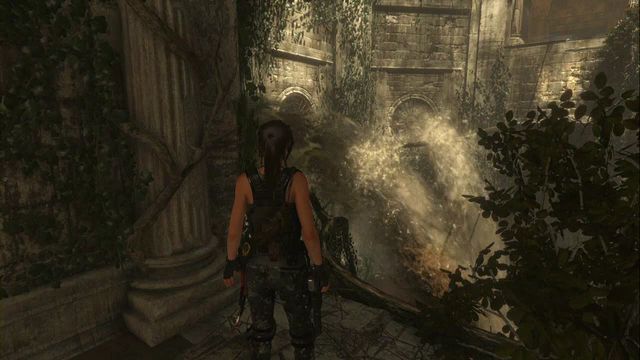
At the other side (the screenshot), climb onto the root and follow it slowly, in order to avoid water flowing out of the pipes. The pattern is simple here - the water comes either simultaneously from pipes one and three, or from the middle one. Wait by the middle pipe while it is inactive.
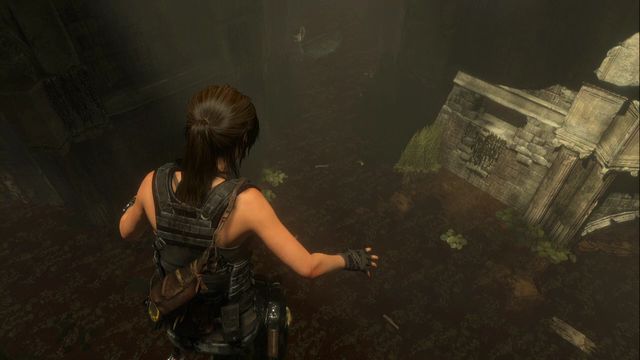 Jump down and swim up to the boat.
Right afterwards, you get into a camp. Pick up the Relic by the campfire, and another one up ahead, by the sculpture under the stairs. Climb up (in the corridor to your right, there is a Document) and go left among roots to enter the main part of the tomb.
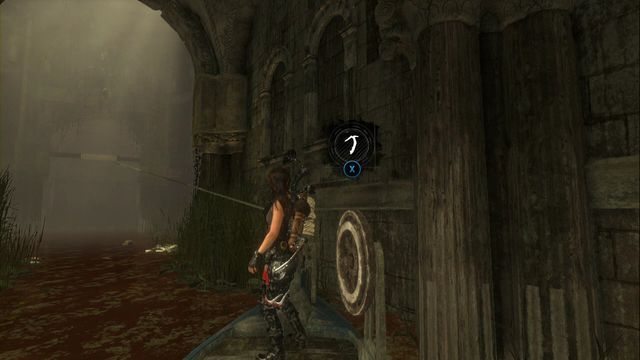 Attach the rope to the beam, thanks to which you can cross the body of water in the boat.
Jump down and swim up to the boat. Jump into it and attach rope to the beam under the spot that you took the dive in. get to the center in the boat and turn right, where you spot another beam. Attach the rope and get there, thanks to which you can jump on the wall right next to you and enter the next chamber.
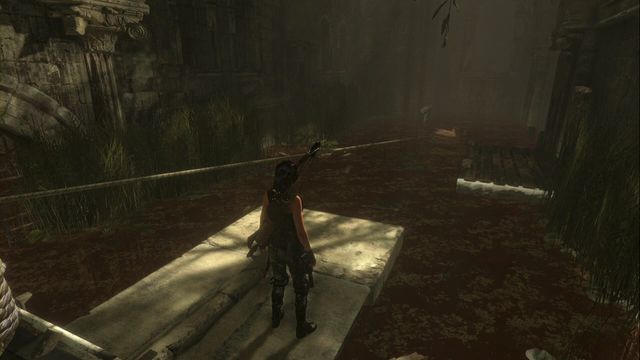 Drain some water and attach the rope to the turning wheel in the water.
Get closer to the mechanism on the wall and give it a pull. This drains water from the chamber and allows you to attach rope to the turning wheel in the water. Then, give the mechanism another pull and get to the turning wheel quickly. As long is water level is low, it is possible to give it a turn, which leaves the mechanism in the appropriate position. Do this quickly, before the chamber is flooded again.
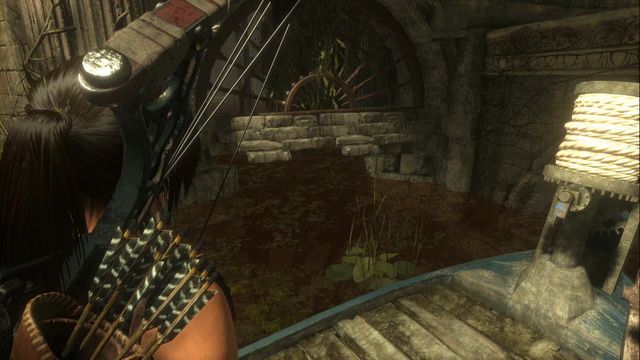
Return to the first chamber (you can get there across the small window) and attach the boat to the beam that you have not yet been using - it is opposite the spot, where you left the boat. Approach the end (these is an archivist map on the platform, and dive in the spot shown in the screenshot. At the other side, grab the mechanism and wait for the water to be drained from the chamber. Finally, launch the rope towards the boat, in order to extend it between the boat and the mechanism. Finally, return to the boat where you need to use the turning wheel to secure the rope in place. This will drain the water from the chamber. There are explosive barrels by the main gate - fire at them and read the book and, on your way back, collect the Document (by the statue in the unlocked corridor).
Reward: Ability "Iron Grip" (faster climbing over rocks and ice).
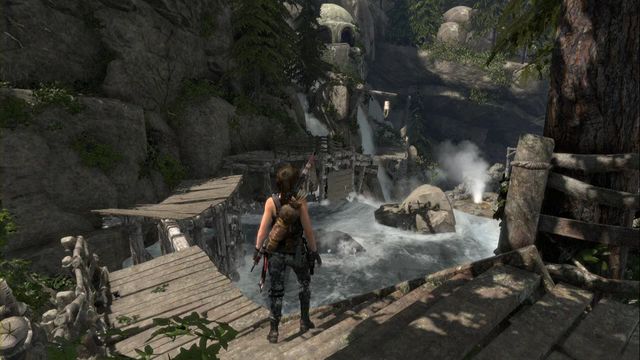 The path to the tomb.
You find the entrance to the tomb after you leave the village towards the river and jump over several platforms. You will get to a gate that you need to walk around, through the passage under the rock. Right afterwards, you will be attacked by several wolves, so prepare your weapon beforehand (you can also find a Survival Cache here).
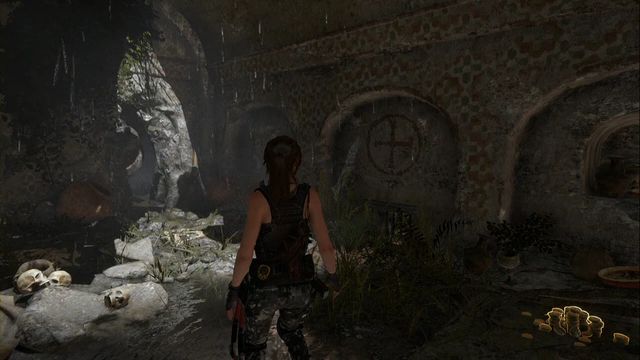 Squeeze between the rocks.
Walk inside and follow the corridor squeezing between rocks. A bit ahead, you will walk into a camp (Lara comments on the architecture here, in the passage, you walk by a Relic, and you can jump down, before you enter the passage and pick up a Survival Cache next to the well). In the camp, there also is a Document. Walk into the yard across the passage opposite the campfire.
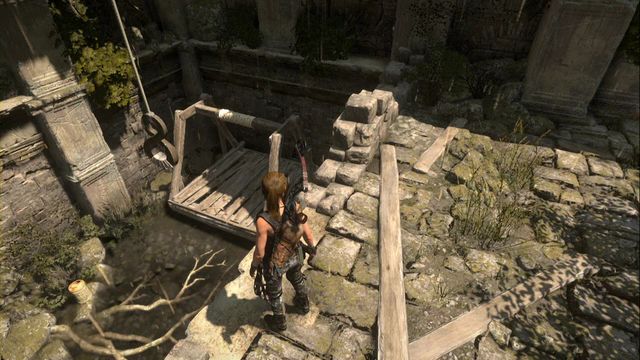
At the other side, you can find a Relic and Survival Cache under the stairs on the right (optionally, enter the water, into the basin on the right, where you can dive and swim into a separate location - here you find an Explorer Satchel and a Survival Cache). Then, approach the enclosed hole in the ground, in the left corner of the yard (the screenshot). Jump down and connect the platform with the hanging element. Return to the yard and find the cart on the right. Give the cart a push, as strong as possible.
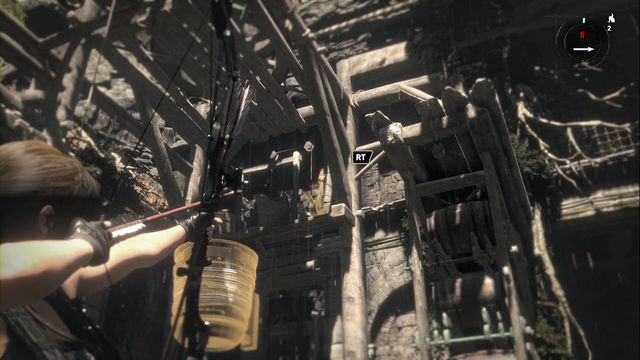
While close to the cart, look up, towards the bucket hanging above. To its right, you spot a lever - take a shot towards it and approach the cart quickly. The bucket will fill with water and will come down, for a moment. You need to fit within this time window and shoot towards the bucket to attach the rope. Be quick about it, because the bucket goes back up after a while.
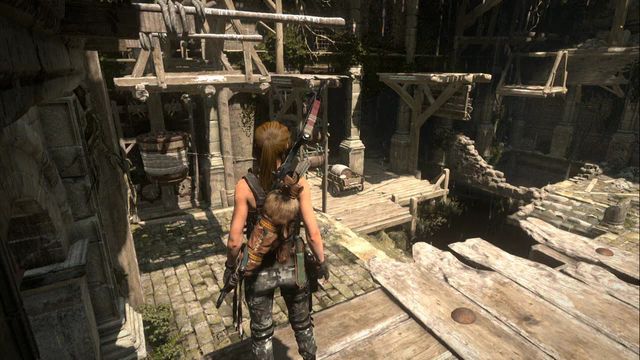 Jump over to the other side, over the platform.
Finally, climb up higher, over the stairs and jump over to the successive platforms to get to the chamber at the other side. There, you find a book and an Archivist Map, a well as a Document on the railing, right next to the entrance.
Reward: Ability "Fast Healer" (faster dressing of wounds).
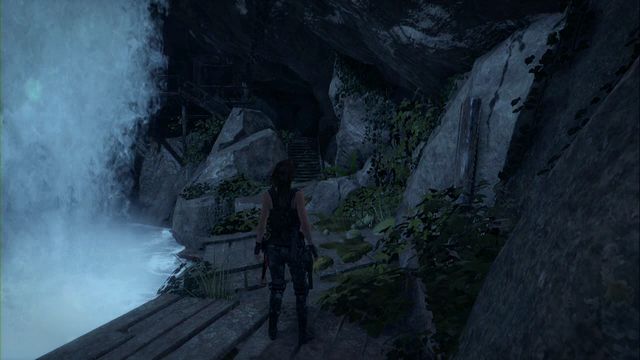 The path to the tomb
To find the tomb entrance, start in the Ruins Encampment Base Camp and go North, along the river. Walk under the rocks and in the distance, you spot a path to the cave. Inside, jump over to the next ledge and squeeze through the rift - this way, you will find the camp.
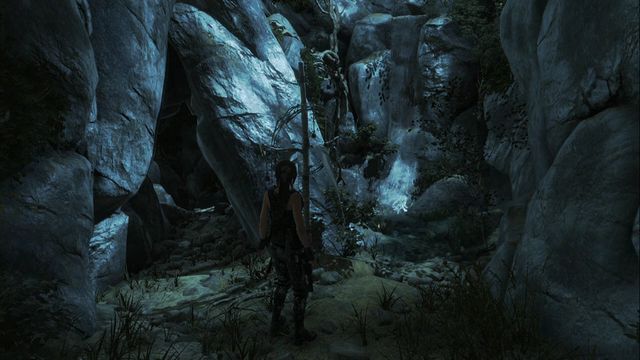 A bit past the brook, prepare to jab the hatchet quickly.
Jump over to the other side again. On the right, next to the brook, there is an Explorer Satchel. Keep down and be prepared to take a jump and to jab the hatchet into the stone wall, when Lara starts to slide down. A bit ahead, walk over the fallen tree trunk (on the left, you find a Survival Cache). Follow the narrow corridor and jump over to the other side - Lara falls down here, straight into the main part of the tomb.
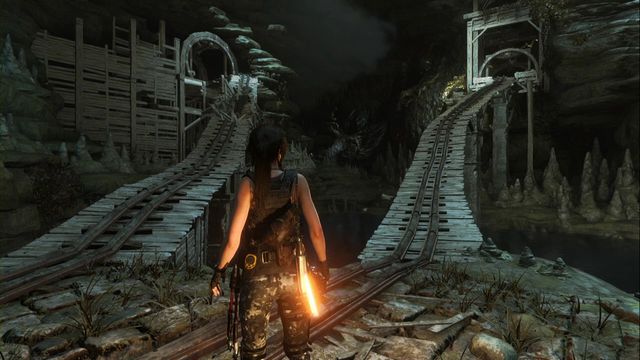 First handle the first cart on the right.
Swim over to the other side (in the corner on the left, there is a Survival Cache). Then climb onto the platform on the right, over the tracks (as seen while you are facing the water reservoir). At the top, pick up the Relic and the Document.
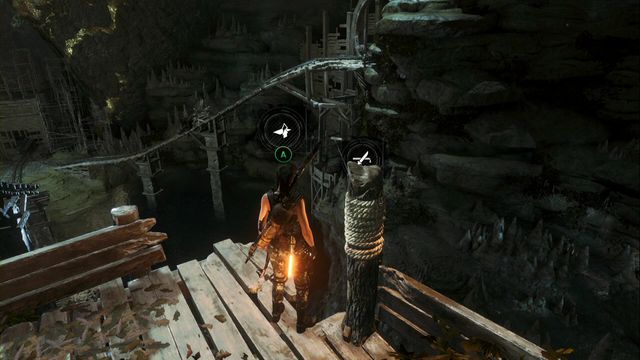 The spot where you zip down the line into another cart.
Give the turning wheel, to the left of the cart, a spin by 180 degrees. Thanks to this, you can push down the cart. In the recess on the right, you can jump into a small chamber, where you find an Archivist Map. Finally, use the zipline next to the cart that you have thrown down and take the ride to the next one.
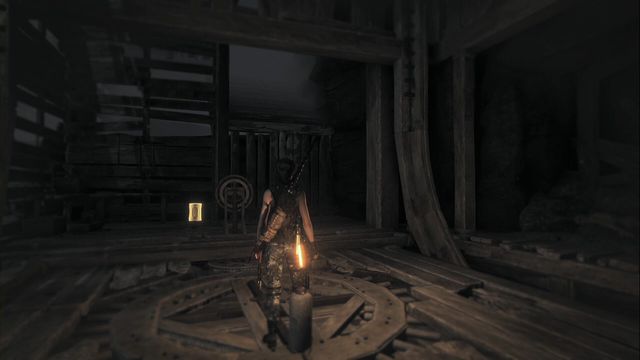 The way up.
Behind the second cart pick up a Relic. Climb to the top (the passage on the left, where there is another Survival Cache at the wall) and use the turning wheel to lower the platform to the bottom. Once there, give another turning wheel a spin to orient the tracks towards the cart.
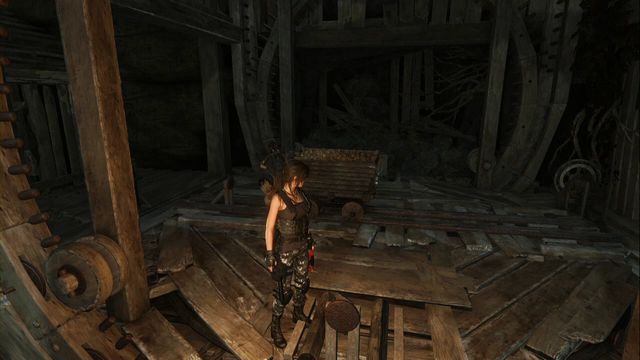 The correct arrangement.
Push the cart onto the platform and switch the tracks again, to make them face towards the elevator's turning wheel. Only then, take the ride up, on the elevator, with the cart, where you need to push the cart down. This will unlock the gate at the very bottom, across which you can enter the chamber with the book (in there, you also find a Document).
Reward: Ability "Geologist" (you can obtain Chromite Ore).
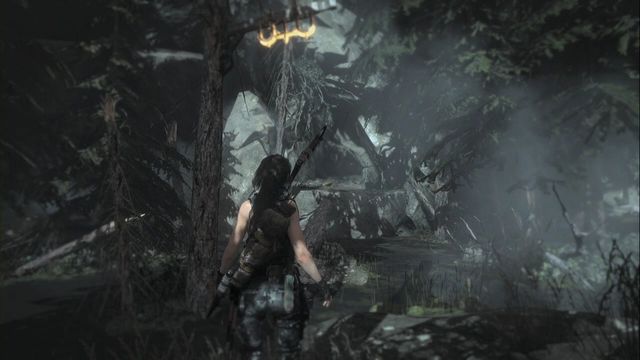 The path to the tomb
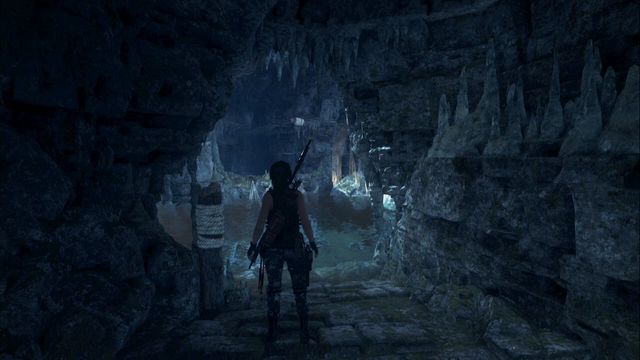
The tomb entrance is opposite the Aqueduct Ruins camp, and you find it after the Trinity attack on the valley. Te path to the tom is very easy. Jump onto the fallen tree trunk and over onto the ledge. Inside, keep going down, pass the waterfall and drop down. On the right, you find a narrow passage that Lara can squeeze through.
 Attach the rope at the other side.
Right past the passage, use the rope arrow to attach it to the post at the other side. Walk over the rope to the other side. In the round chamber, you find a Relic. By the relic, you can climb up and follow the path into the camp.
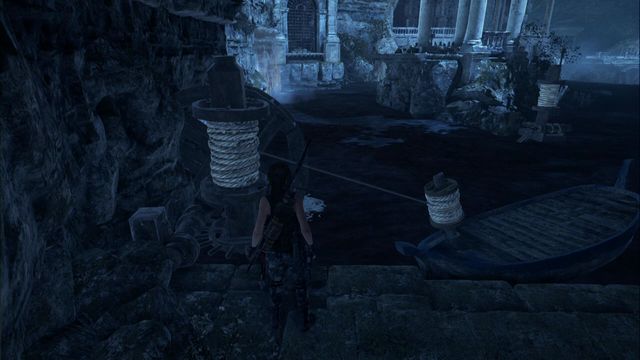 Pull the boat to the shore.
Approach the body of water (on the right, by the boat, there is a Document). First of all, you need to make it over to the isle. Approach the turning wheel, shoot a rope arrow towards the boat and jump into it, after you pull it closer. Cut off the rope and shoot an arrow towards the mechanism before the isle. After you get closer, cut off the rope and jump onto the stone platform, as you pass by. On the isle, you find several coins and a Document.
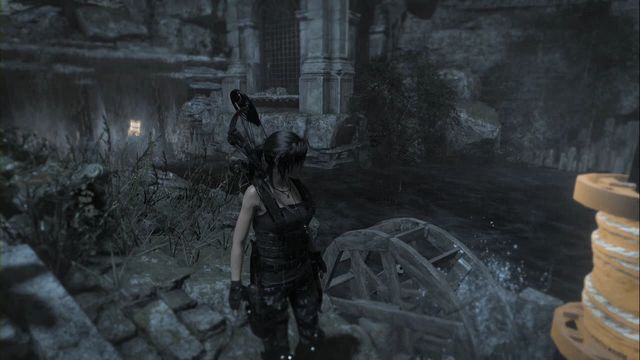
While on the isle, you can spot another boat under the waterfall (the screenshot), a bit ahead. Shoot a rope arrow and attach it to the mechanism. Then, jump into the boat, while it is passing you by and cut the rope. While on the boat, you need to look for another mechanism at the other side and shoot another rope arrow at the right moment (otherwise, you will crash against rocks). When you manage to stop the boat, start turning the wheel to pull yourself towards the platform. You can then jump out of the boat, up, where there are stairs and the book behind them. Along your path, you also find an Archivist Map and a Relic.
Reward: Ability "Anatomical Knowledge" (you can see hearts of animals and you deal more damage after you shoot them).
The map of the location presents whereabouts of all the collectibles that you can obtain in a given area. Each type of collectible has been marked in a different way, to make it easier to tell them apart. Numbers provided by the markers are references to the walkthrough - Each collectible, apart from being marked, has been described and shown in a screenshot. If you have any problems finding a specific collectible, find it in the walkthrough by its number on the map. Collecting all of the items and completing challenges is required to explore the location in 100%.
you get to this location from the Geothermal Valley. During the main storyline, there are numerous enemies here. Not all of the collectibles are available immediately. You are going to need the lockpick and you need to return to the location (you cannot explore the area thoroughly the first time around). The map presents whereabouts of all the collectibles, as well as challenge objectives (a separate map).
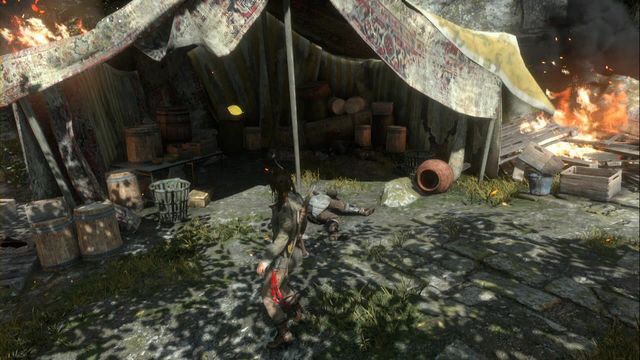
from the Remnant Bazaar go towards the tower, in the second tent on the left, you find a box on the ground. Examine the reverse side of the relic.
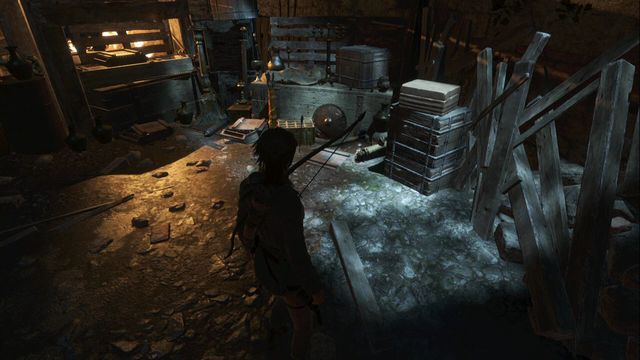
This relic is in a small room in the lower part of the location. It is where you gain access to explosive arrows in the main storyline.
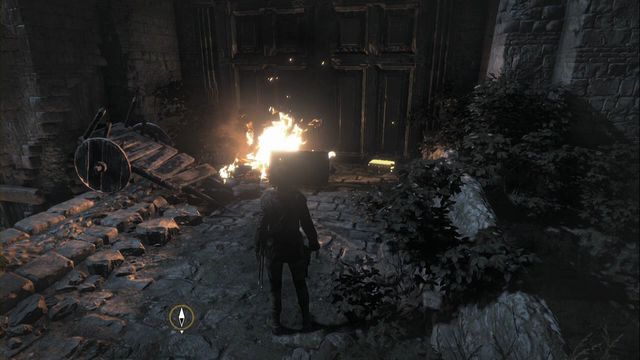
On the bridge to the destroyed tower, at the gate at the front end of the bridge.
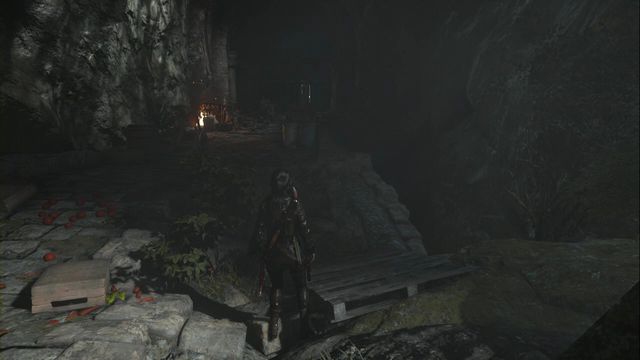
After you exit the Geothermal Valley, climb down, on the left (the screenshot).
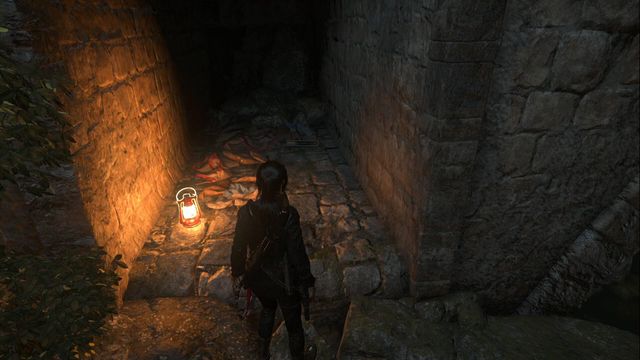
Under the bridge, cross the swamp, over to the other side, where you find the document in the recess.
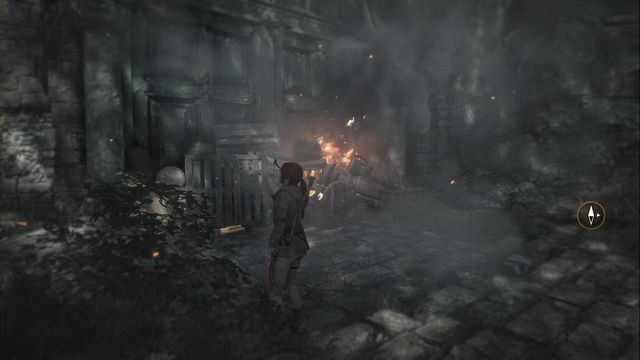
Nearly in a straight line, West of the Remnant Bazaar, at the blue gate.
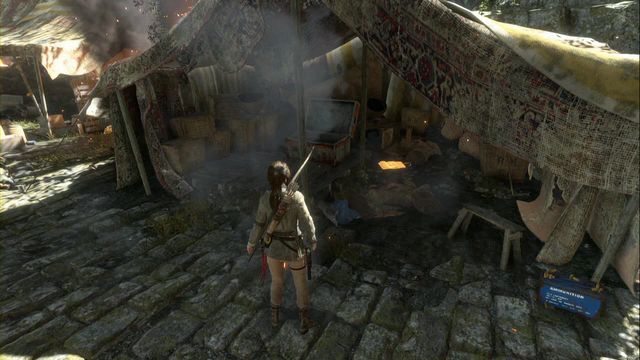
In the tent opposite the descent into the lower part of the location.
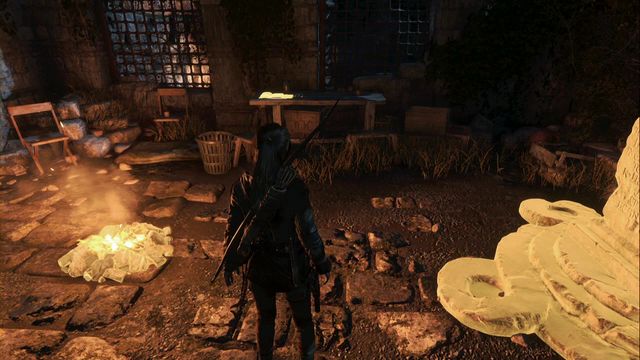
On the table in camp Riverside Landing.
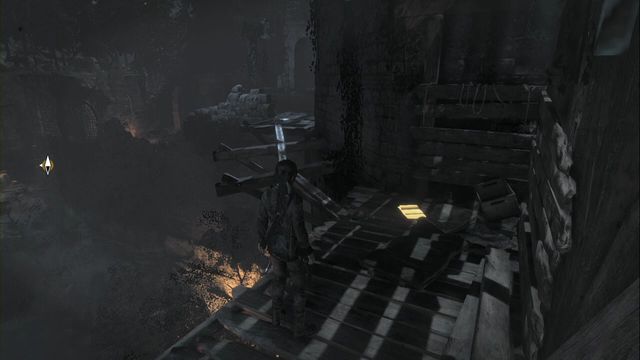
After you leave camp Riverside Landing, on your path towards the tower.
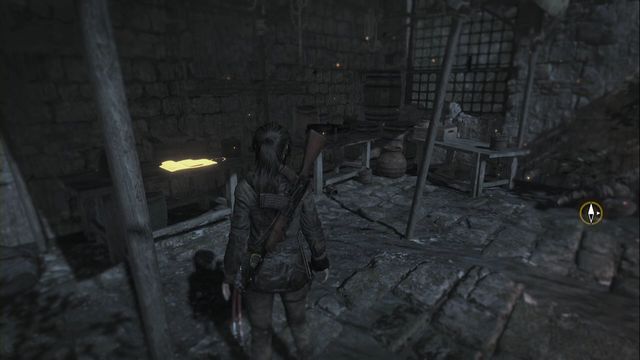
On the table at the wall in Tower Courtyard (in the main storyline, this is where the helicopter is shot down).
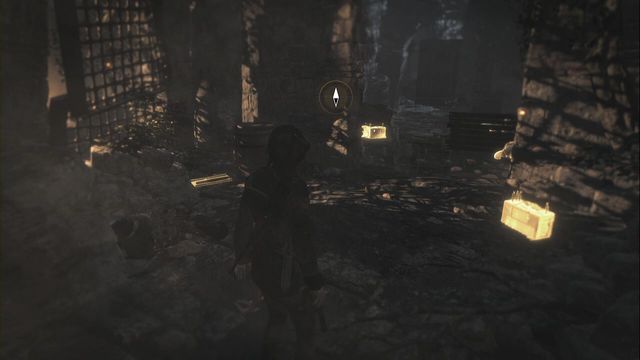
In the small corridor to Tower Courtyard towards Catacombs.
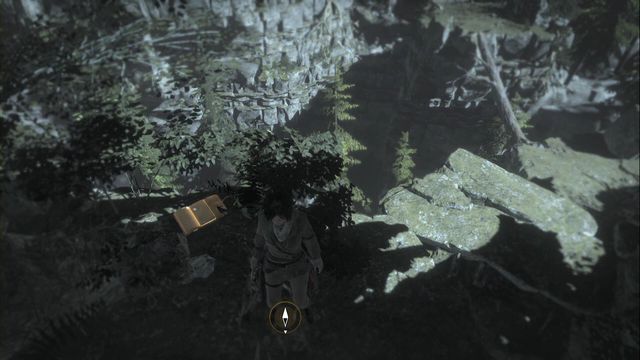
Among bushes on the ledge, which you climb onto for the first time, using the rope you got from Sofia.
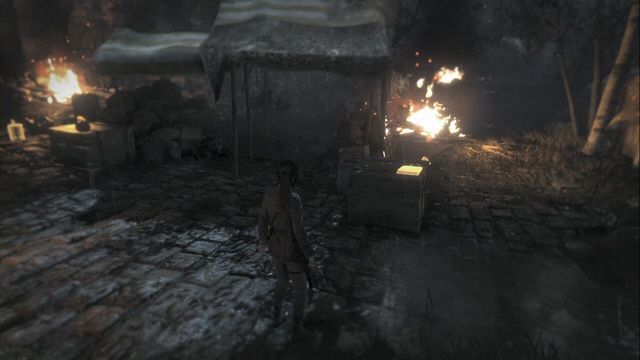
It is in the box, in the central spot of the same location as Remnants Bazaar, when you visit the location for the second time.
After the fight in this location, return to the big chamber, where you find an opened descent into the catacombs. Jump down and open the gate. The document is right past the gate, at the other side.
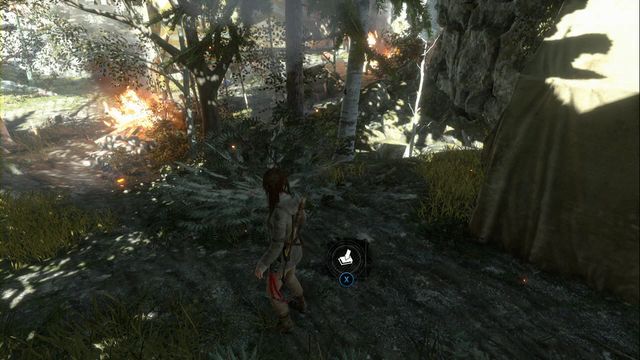
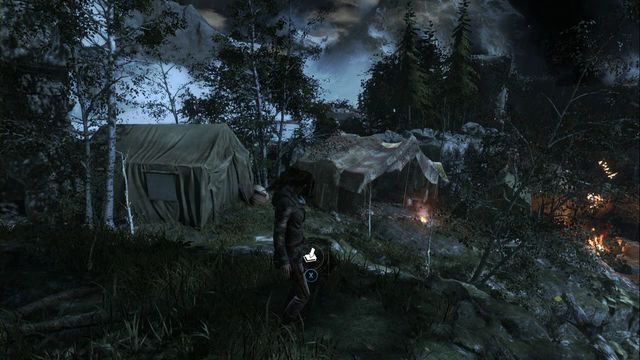
Starting with the Remnant Bazaar, walk over to its South-Western part and find the tent at the edge of the location, at the wall. The cache is to its right, in a straight line from the tent entrance.
from Remnant Bazaar, walk Northwards a bit, at the tree, on the projecting ledge, you find the cache.
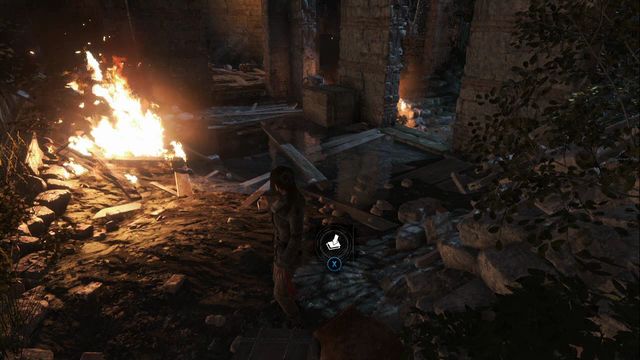
From Tower Courtyard, return a bit, deeper into the location. On the right, there are alleyways and at the end of one of them, there is the cache by the pile of stones.
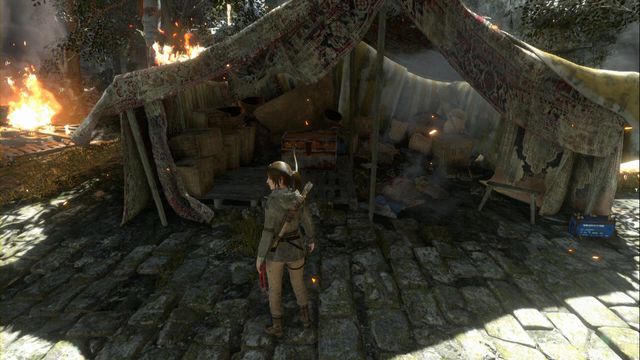
In the tent, opposite the path down into the lower location.
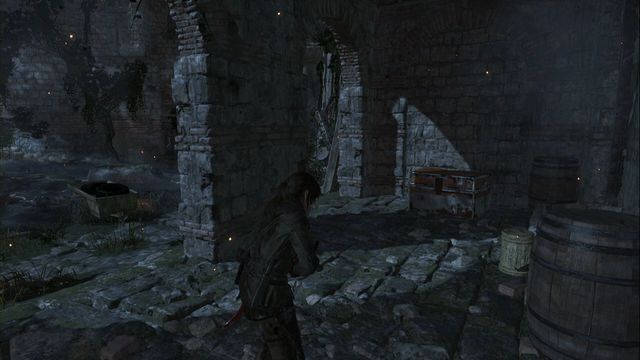
Out in the yard, right after you enter through the gate that is barred with an obstacle.
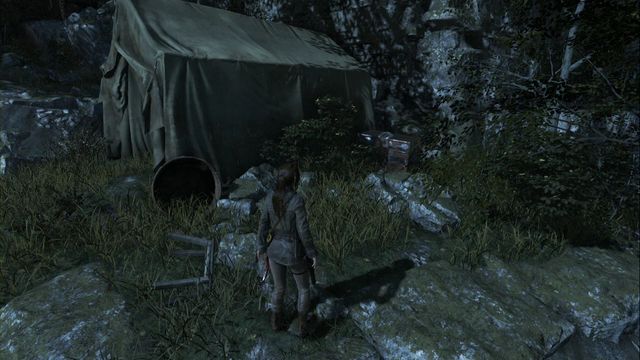
Return here, once you get the lockpick. From the Remnant Bazaar go up a little, the chest is close to the next tent. You need to have a lockpick to open that.
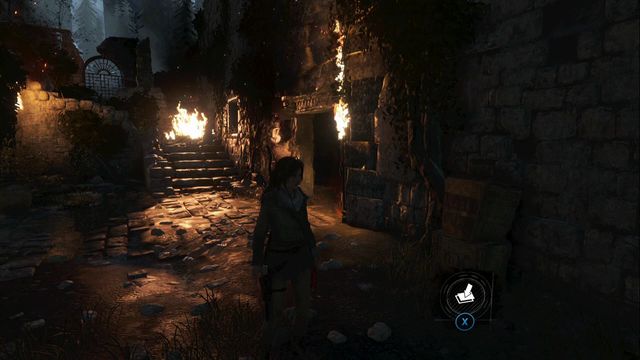
The chest is closest to the monolith and the camp. You only need to climb down the stairs.
On the hillock, a bit off the Remnant Bazaar.
from Tower Courtyard, walk over to a larger chamber, where you find a descent into the catacombs. Follow the corridor and, at the end, you find a hole in the wall. Right across the hole, you find the buried chest.
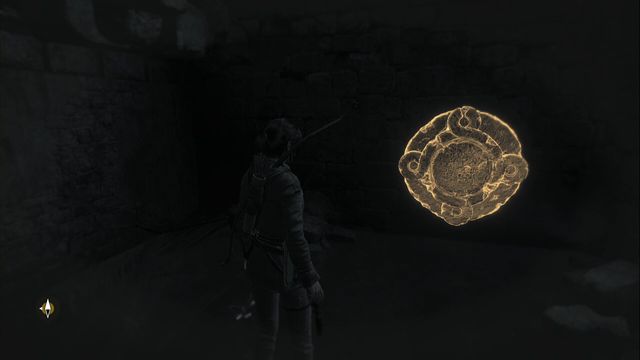
During your meeting with Jacob and Sofia, during the mission and while unlocking the passage to the catacombs. You find the mural after you jump down on the wall to your left.
Your task is to destroy six walkie-talkies. You find each one hanging in a makeshift tent. Their whereabouts have been marked on the map and, to make things easier, descriptions with screenshots have been included.
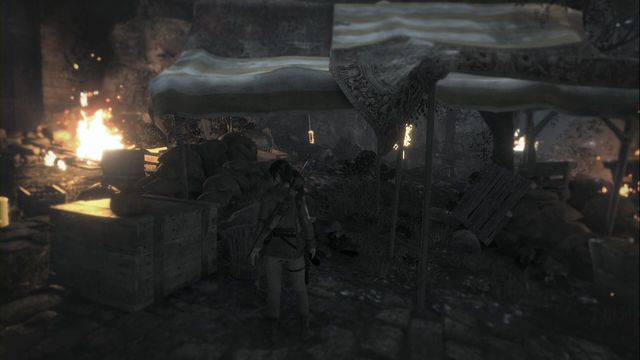
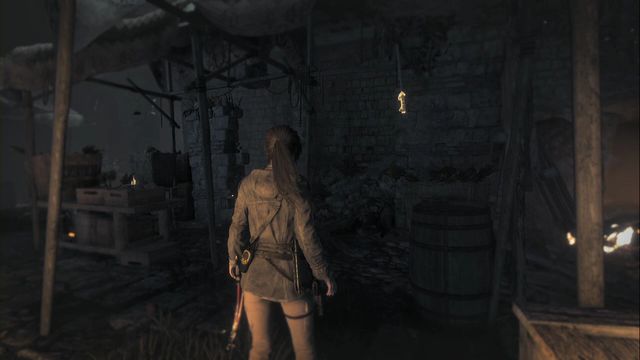
Walkie talkie 1
In the tent, close to the first camp (Remnant Bazaar).
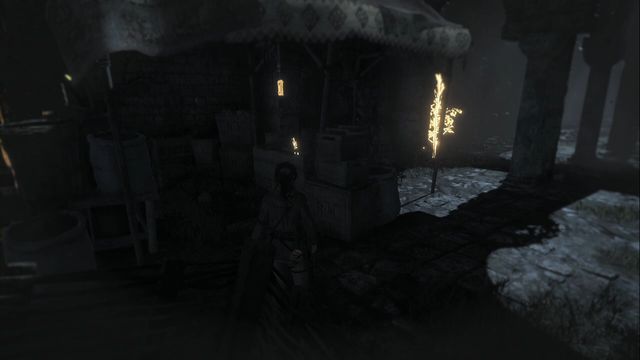
Walkie talkie 2
In the tent, next to the fire.
Walkie talkie 3
Also above the canopy, to the left of the campfire.

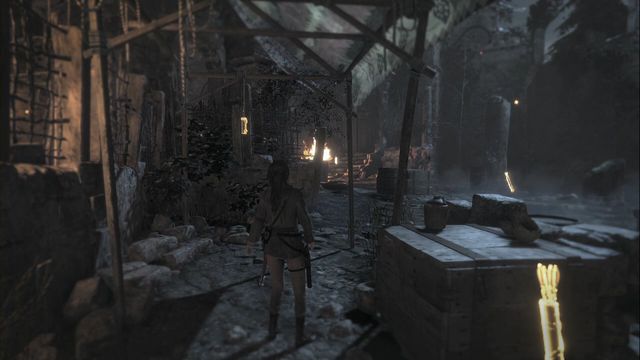
Walkie talkie 4
The tent, right at the courtyard exit.
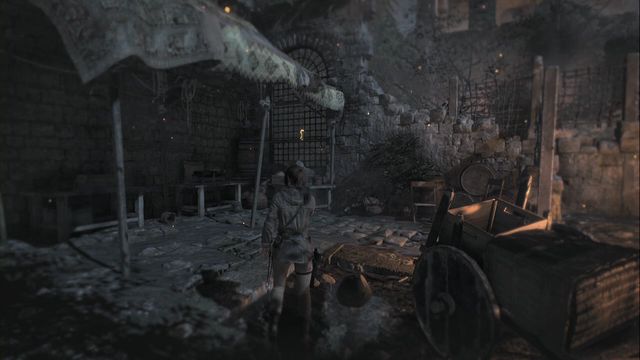
Walkie talkie 5
Another one above the canopy.
Walkie talkie 6
In Tower Courtyard camp, hanging on the grate, under he tent, to the left of the campfire.
The map of the location presents whereabouts of all the collectibles that you can obtain in a given area. Each type of collectible has been marked in a different way, to make it easier to tell them apart. Numbers provided by the markers are references to the walkthrough - Each collectible, apart from being marked, has been described and shown in a screenshot. If you have any problems finding a specific collectible, find it in the walkthrough by its number on the map. Collecting all of the items and completing challenges is required to explore the location in 100%.
Flooded archives is a location where you find the atlas. The first time around, you will have to run, which makes it impossible to find all of the collectibles. After you return here, you can collect them all, without major problems, if you have the equipment. One map marks all of the items that you can find here.
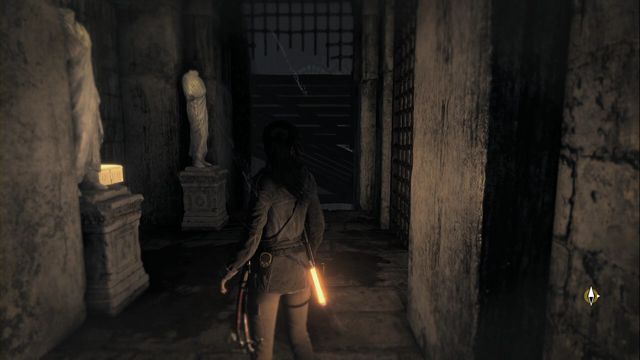
Close to the spot, where there is the Archivist map - jump over to the next corridor, using the rope. The Relic is among the sculptures, right past the trap in a narrow corridor.
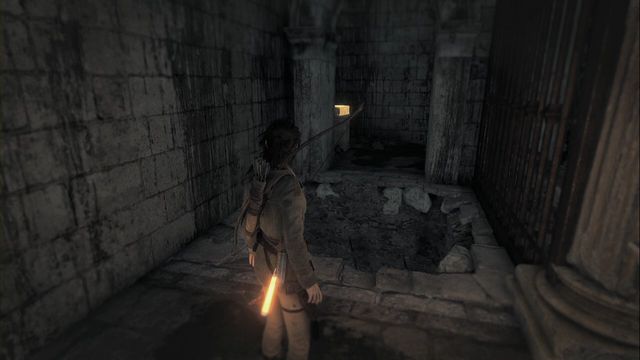
From camp Greek fires storage walk over into a smaller chamber (Northwards), Where there is a statue. In the corner of the location, find a climbing wall to a small balcony. At the end of the balcony (watch out for two traps) there is a chest with the relic.
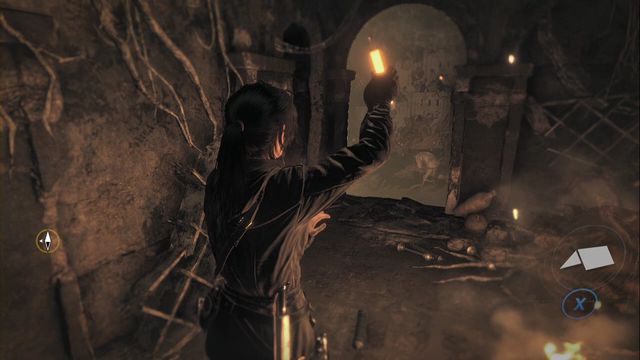
Opposite the campfire, camp Archive Chamber.
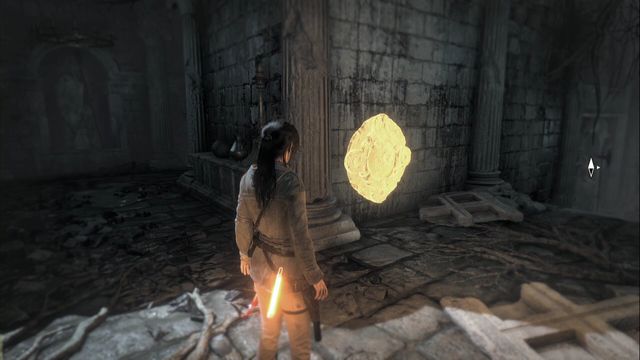
While escaping from the location, at the moment at which you climb out of the water - the mural is on the wall in the next corridor.
to find this one, you are going to need arrow that can be driven into wood. From Geothermal Valley, go to the Flooded Archives (camp). Swim underwater left, at the fork, and use the arrow onto the wooden platform. Thanks to this, you can get to the mural (first, you need to climb and jump around, using the rope). After you find it, jump down, where you can find the Greek Fire container - this opens the door to the main chamber, near the Greek Fire storage.
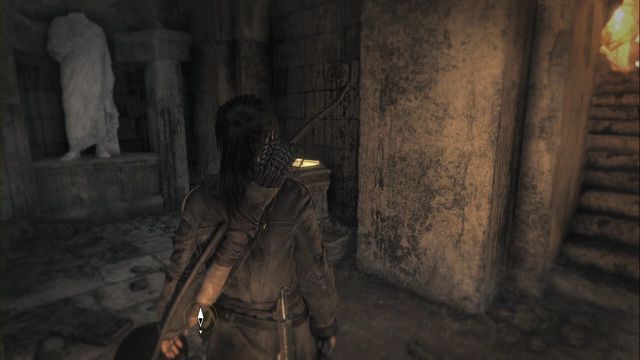
Right after you climb down the stairs, the recess to the right (after you destroy the pots with flammable liquid).
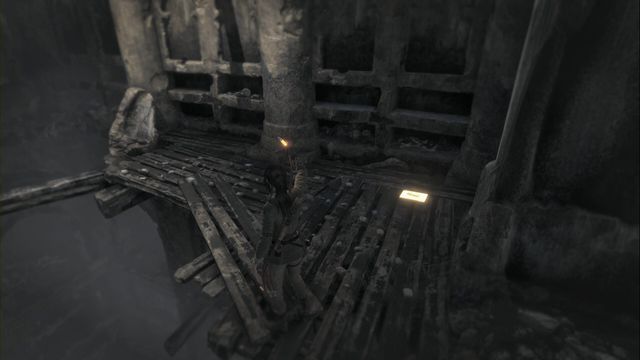
From the Archive chamber, walk through the narrow passage between rocks, towards the location entrance. The document is in the corner, on the right.
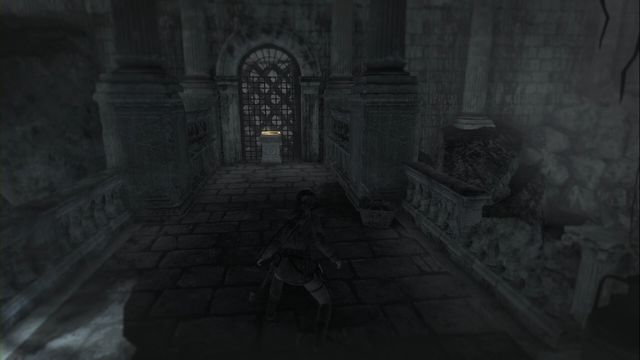
In the chamber, in which you found the atlas, you can use the rope to jump over twice, from the rubble on the right side of the chamber, to the other side. Grab the pipes under the ceiling.
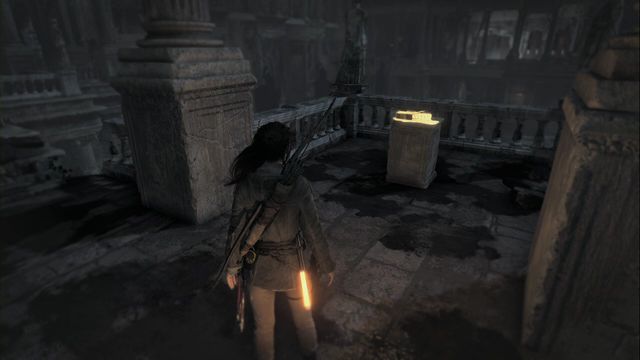
To get to the balcony above, you need to go to the chamber next to the main one, near camp Greek Fire storage. There, locate the climbing wall to a small balcony. Go left and follow the corridor to the document.
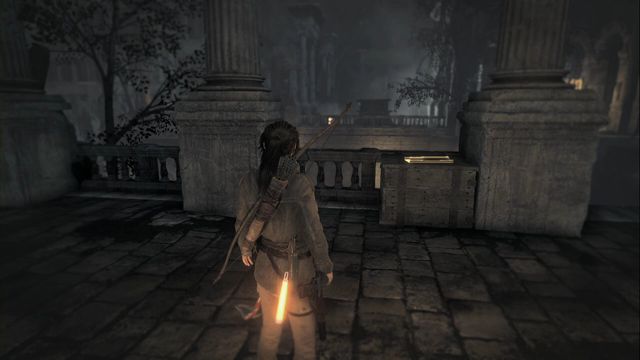
It is on the balcony above, where you have pushed the second container, with Greek fire, into the water.
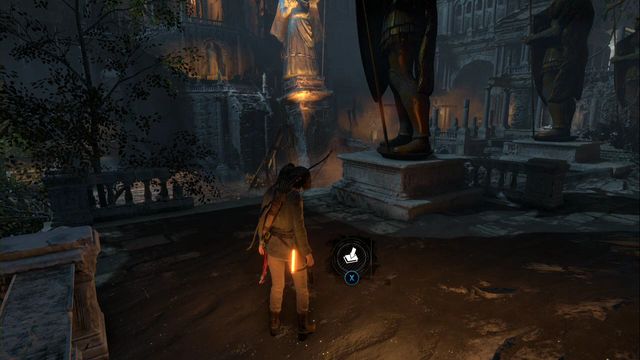
From camp Greek Fire storage climb up the stairs, along the row of shrines. The cache is on the ground, at the end.
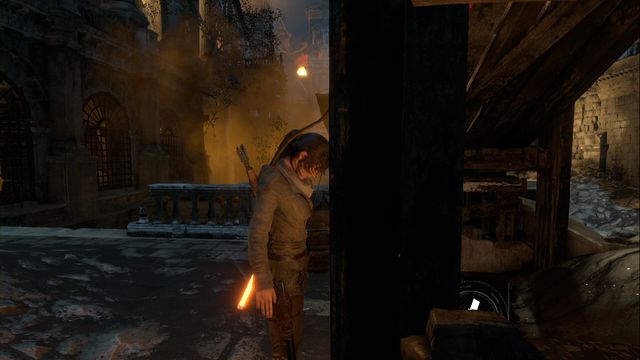
Under the collapsed planks, near the second Greek Fire container, which you need to find during the main storyline.
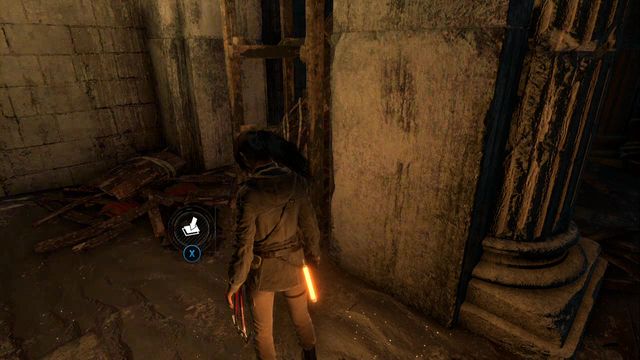
Near the first Greek Fire container, which you need to push into the water to blow up the sculpture. Examine the recesses in the corridor on the left.
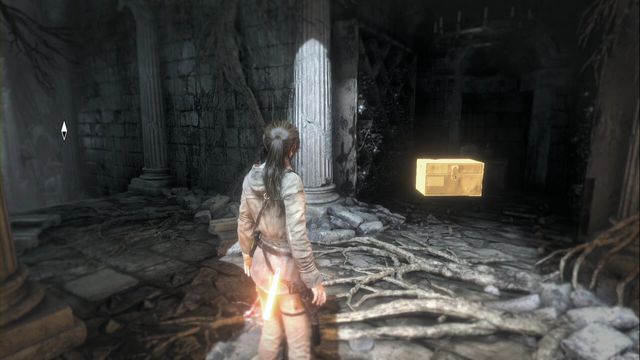
While escaping from the location, at the moment at which you climb out of the water - the chest is in the next corridor.
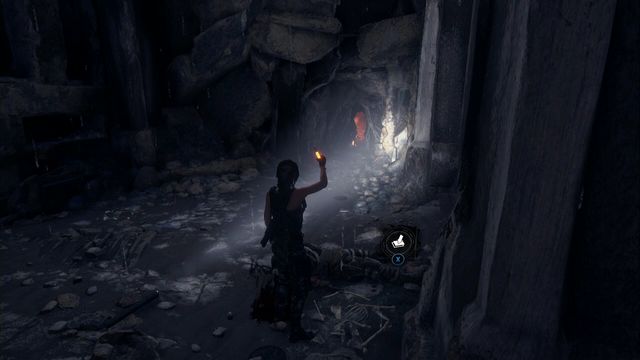
Right in front of the entrance to camp Archive chamber, at the corpse on the right.
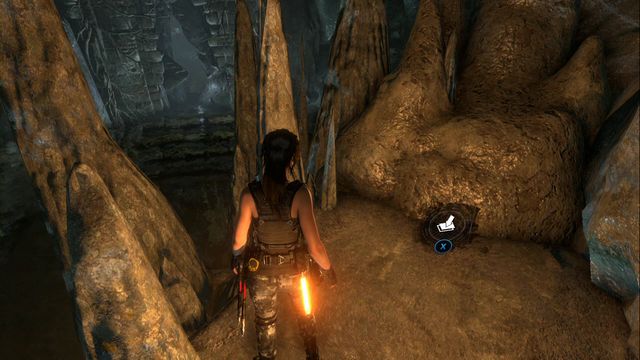
At the sculpture in the big chamber, where you found the atlas.

A moment before you swim through the opening, past which you need to dive, between the sharp rocks on the right side of the cave.
The map of the location presents whereabouts of all the collectibles that you can obtain in a given area. Each type of collectible has been marked in a different way, to make it easier to tell them apart. Numbers provided by the markers are references to the walkthrough - Each collectible, apart from being marked, has been described and shown in a screenshot. If you have any problems finding a specific collectible, find it in the walkthrough by its number on the map. Collecting all of the items and completing challenges is required to explore the location in 100%.
The map of the Research Station provides locations of all the collectibles, which are scarce in this location. As the challenge, you need to destroy 4 trucks - there are red barrels next to each one. Fire at them and the truck will explode.
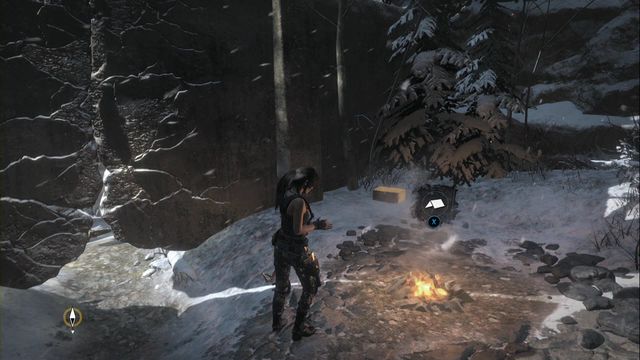
The box is by the campfire in Weather Station.
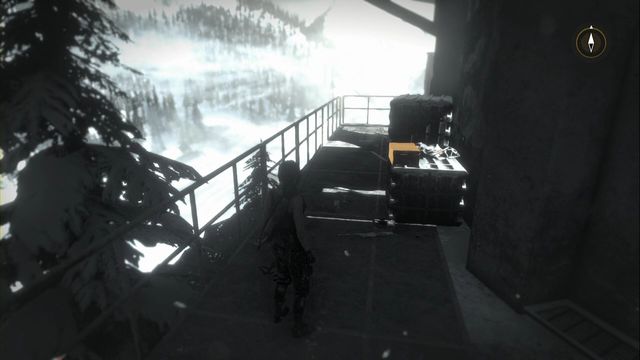
Walk around the building past the helipad, in front of the weather station - the chest is at the other side. Examine the engraving at the back of the pendulum.
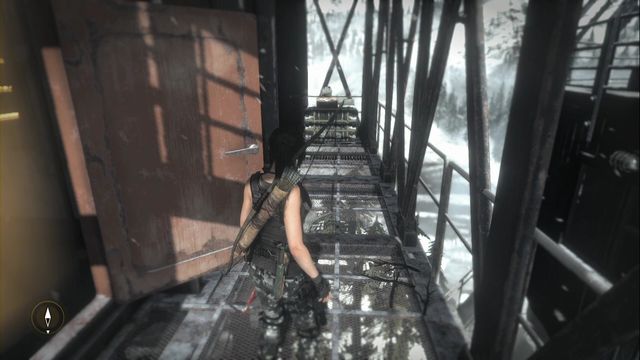
On the platform, over which you enter the weather station. Examine the engraving.
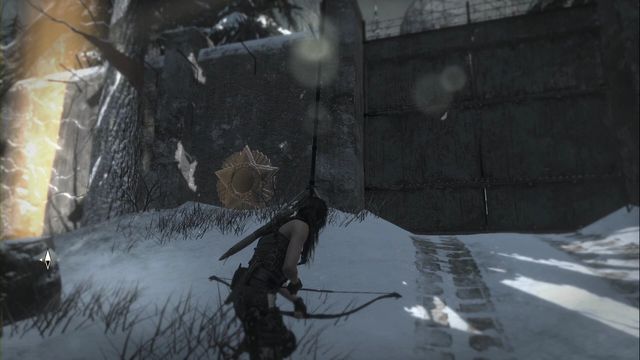
On the left side of the gate, by the forest exit.
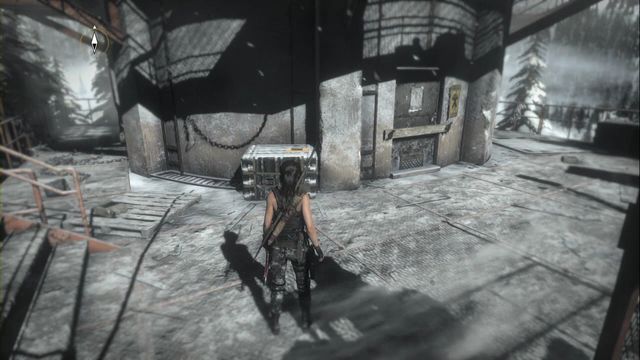
On the crate in front of the weather station entrance.
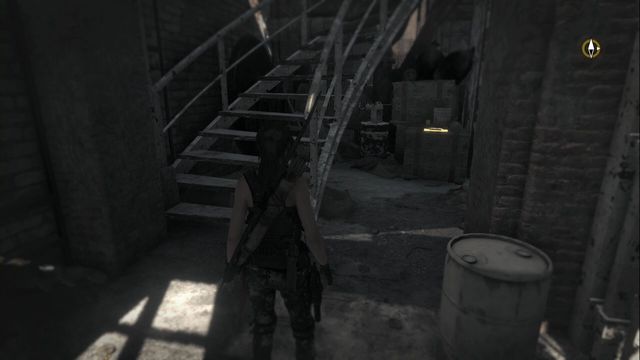
On the desk at the window, in the weather station building.
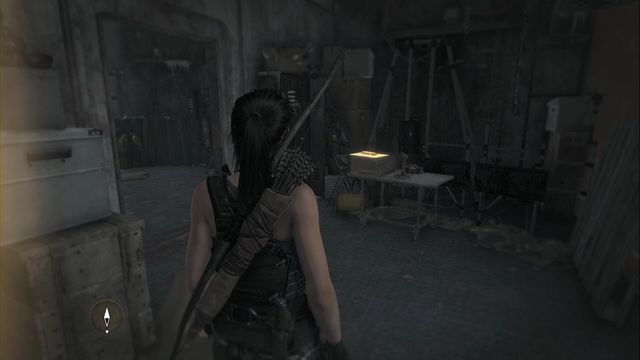
A bit after you collect the previous document, in the next room of the weather station, in front of the stairs up.

After you come down to the prison block, climb down the stairs. The document is on the crate right at the foot of the stairs.
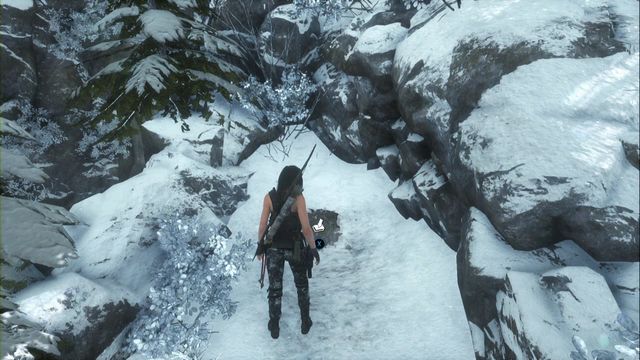
By the lake with a small waterfall, go left where you need to take the path between rocks. Walk to the end of the road.
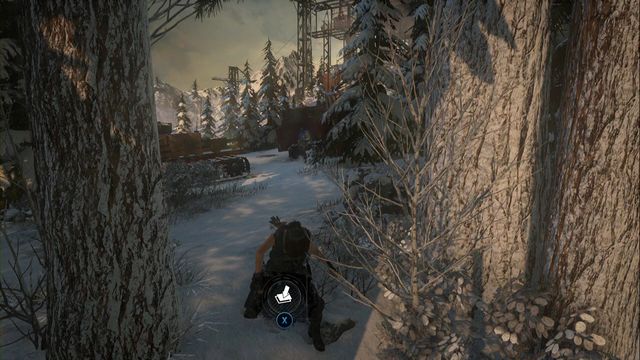
In the forest, past the skating rink, close to the vehicles at the edge, at the tree.
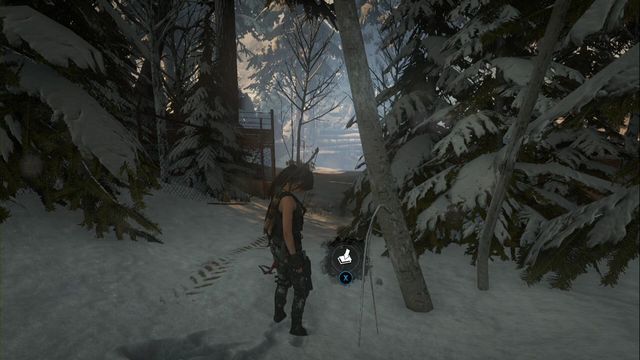
A it past the tree, which is opened the next time you are here (it is also possible to reach it from the direction of the other side of the forest).
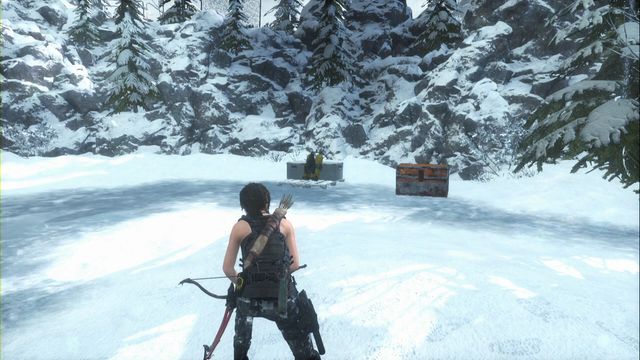
In the skating rink, where there are two semicircular, orange tents.
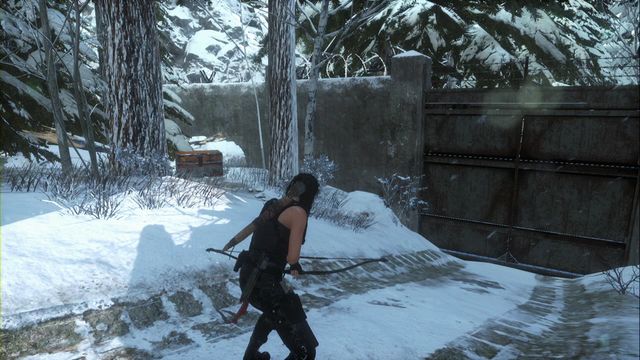
A bit past the skating rink, go right. The chest is among trees, at the wall.
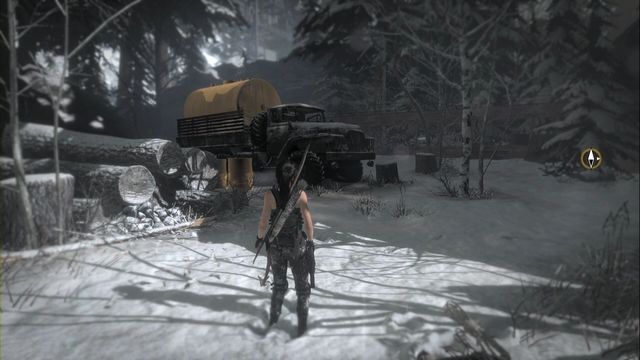
Tank 1
You find it in the meadow, where you meet two opponents for the first time, during the main storyline.
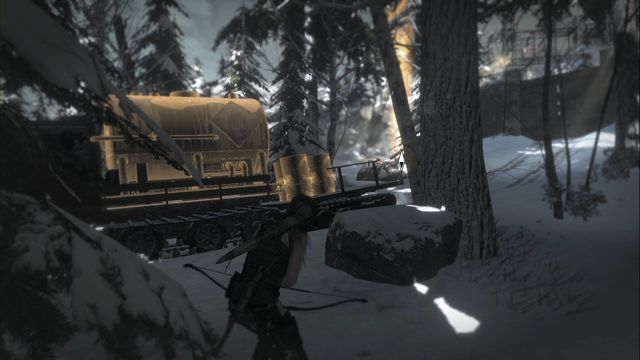
Tank 2
This truck is in the forest, which you cross on your way to the Trinity HQ. Around, there are several opponents.
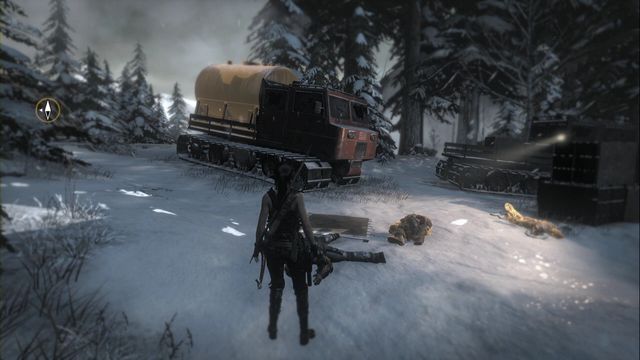
Tank 3
After you exit the area of the frozen lake, in the next meadow, you find a big group of opponents. One of the vehicles, by which they are, is the next target of the challenge.
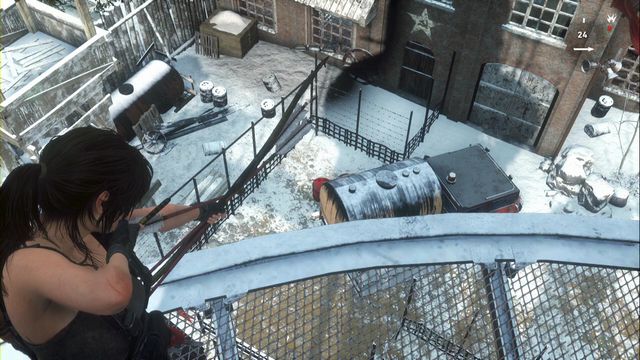
Tank 4
Before you zip down the line, you can aim at the barrel next to the truck, while standing on the platform, on which you get while going to the prison bloc.
The map of the location presents whereabouts of all the collectibles that you can obtain in a given area. Each type of collectible has been marked in a different way, to make it easier to tell them apart. Numbers provided by the markers are references to the walkthrough - Each collectible, apart from being marked, has been described and shown in a screenshot. If you have any problems finding a specific collectible, find it in the walkthrough by its number on the map. Collecting all of the items and completing challenges is required to explore the location in 100%.
The map of Planetarium presents all of the elements available here. The map is small and you only find several caches, mural and a book here. After you read the book, you learn a new skill.
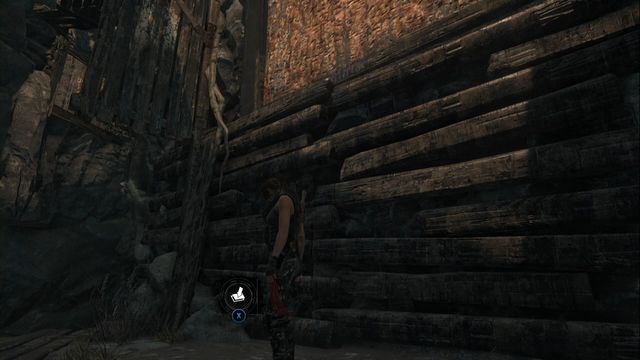
A moment after you enter the location, at the wooden wall, where you need to use climbing arrows.
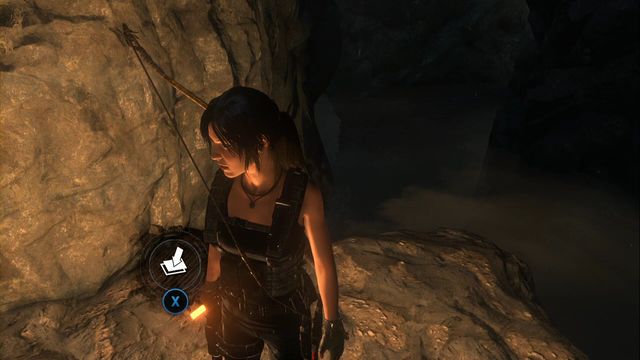
A bit past camp Ceremonial pass, enter the water and swim slightly to the right.
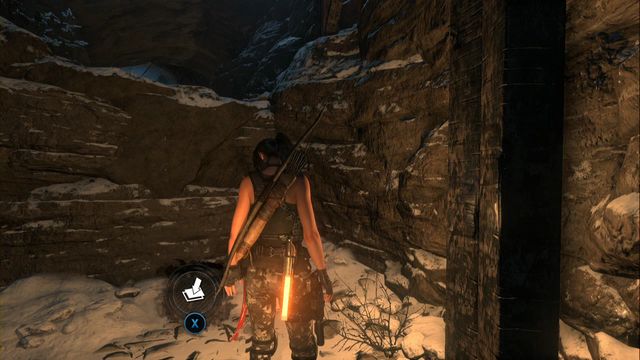
You find it after you enter the upper part of the planetarium, where you need to prepare your path ahead, with climbing arrows. Jump down, below the wooden wall.
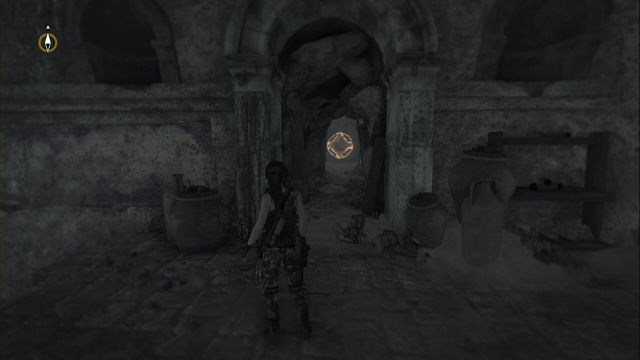
After you climb up to the main part of the planetarium, jump over to the other side, a small corridor on the left will lead you to the mural.
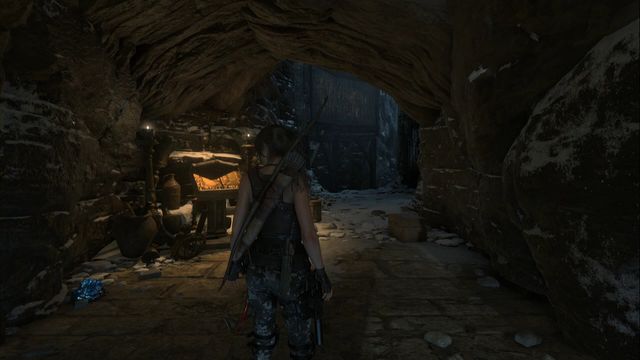
You cannot miss it. It is in the corridor that you get to after you set the planetarium into motion. Thanks to reading the book, you gain a new skill "Shooting class" (increases the fast firing of arrows to three).
The map of the location presents whereabouts of all the collectibles that you can obtain in a given area. Each type of collectible has been marked in a different way, to make it easier to tell them apart. Numbers provided by the markers are references to the walkthrough - Each collectible, apart from being marked, has been described and shown in a screenshot. If you have any problems finding a specific collectible, find it in the walkthrough by its number on the map. Collecting all of the items and completing challenges is required to explore the location in 100%. .
Path of the Deathless is a location that you get to directly from the Planetarium. You are going to fight some tough opponents here, if possible, use the explosive pots that are abundant here. It is easy to find collectibles here, but you need to search around for a bit, to find campfires. This is the second-last location leading up to the Lost City.
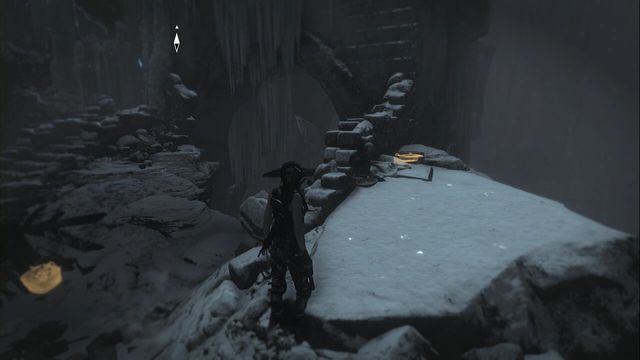
Right after you fight two deathless, under archers' fire - defeating them opens up path ahead. The relic is by the skeleton, next to the wall to the right of the gate.
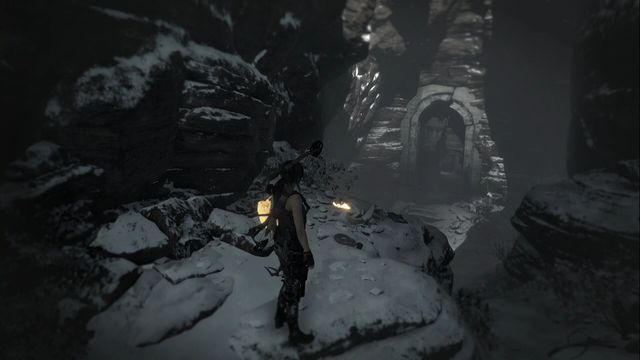
Right after you enter from the Planetarium, on the rock to the left.
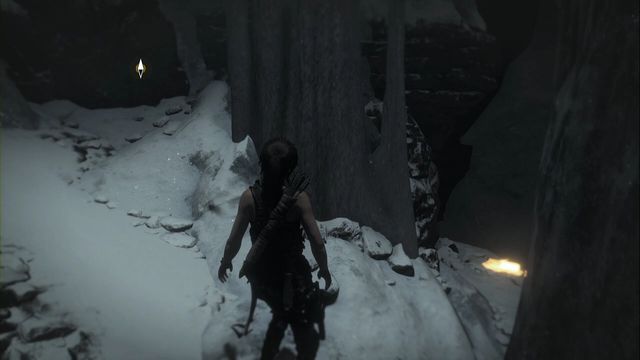
A bit past camp Guards' chamber when you have to walk under lumps of ice hanging above, Lara "hugs" the wall. Right after you get to the other side, find a small recess to the right - there is a corpse there and the document is on the corpse.
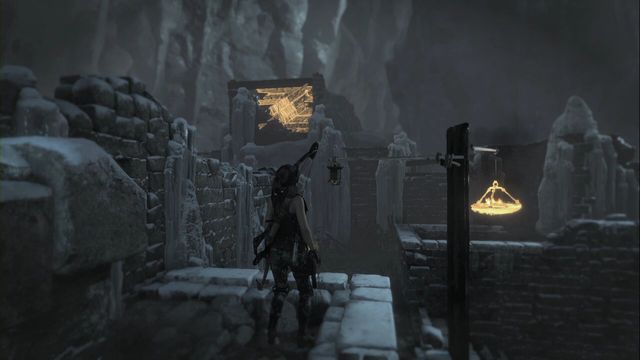
Right after the fight with the two Deathless, under archers' fire - defeating them opens up the path ahead. The document is right past the gate.
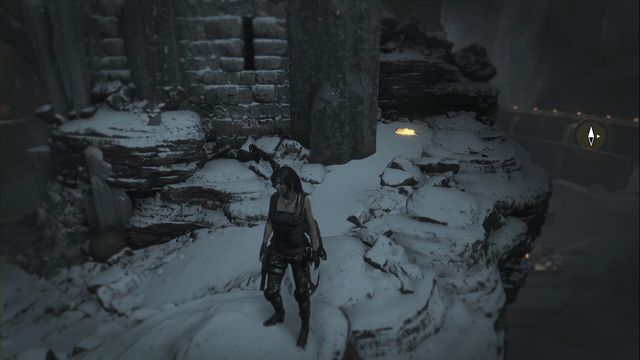
Behind the same gate as the previous document - after you cross the gate, approach the edge on the left of the gate.
To complete the challenge, you need to light up signaling fires. They are usually located not on the ground level, but somewhere above. You need to find a characteristic vessel, usually, there s an exploding pot next to it. In two places, access to the hearth is blocked off by boards, which you need to remove, using rope arrows, or explosives/assault rifle.

Hearth 1
In the location, where you have fought two opponents (one of them with a shield), find a wall next to the post driven into the ground, with a flaming vessel on it. From here, you can reveal the hearth with a rope arrow (look a bit up and to the left).
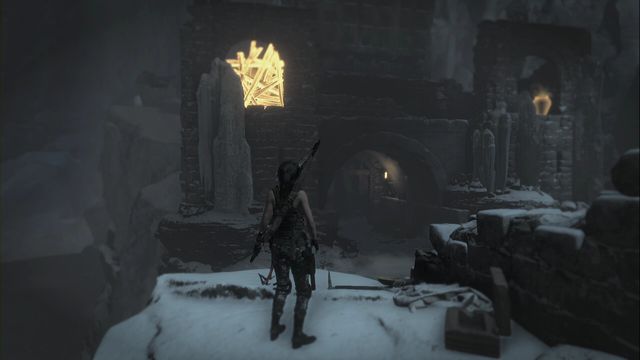
Hearth 2
Right past the gate that opens up after the fight, face the gate - there are planks to the right. Fire at them, with an explosive arrow, or use the assault rifle.
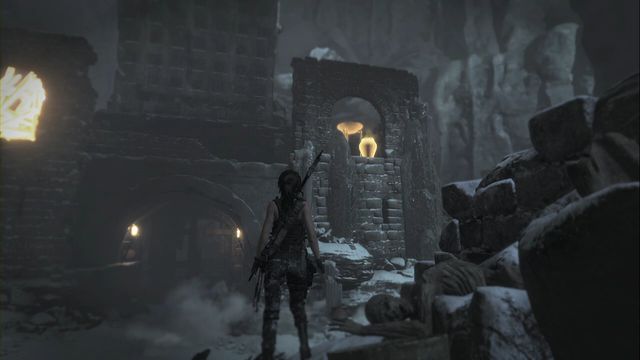
Hearth 3
Right after you go past the gate that opens after the fight, turn towards the gate - the hearth is on the right.
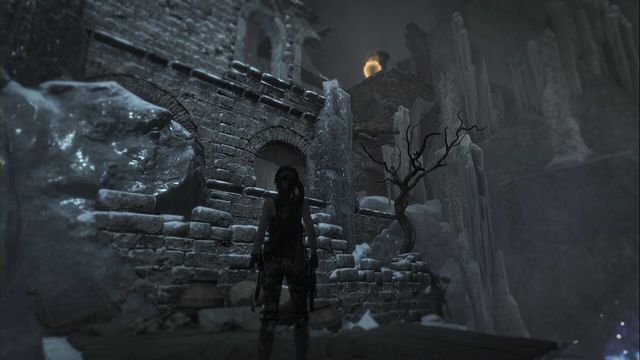
Hearth 4
In the area, where you are attacked for the first time, walk over to the right corner of the location. Then, climb higher and find the vessel, a bit to the right. It explodes after you shoot at it and it lights up the fire.
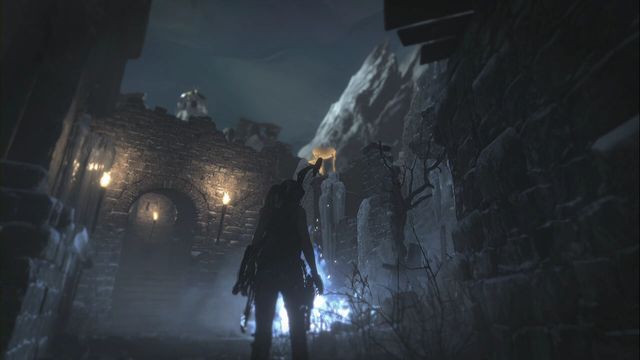
Hearth 5
It is very close to the previous one. While standing in front of the stone gate, look to the right. In the corner, above, you notice an exploding vessel and the hearth. You can approach it also by turning right past the gate.
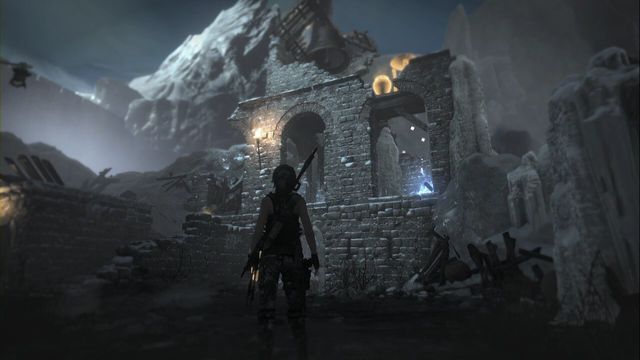
Hearth 6
right past one of the staircases in the destroyed building, up ahead, with a bell above it.
The location map presents whereabouts of all the collectibles, which you can find here. Each type of collectible has been marked in a different style, which makes it easier to differentiate between them. Numbers provided by the markings serve as a reference to the guide - apart from having been marked on the map, each collectible has also been described and shown in the screenshot. In case of any problems finding the collectible, you can find it in the guide, by the provided number. Collecting all of the items and completing all of the challenges of a mission allows you to explore the location in 100%
The Lost City is the last location that you visit in the game. It is here that the storyline ends, but you can also return here after the story mode is completed. While fighting the opponents that abound here, use explosive pots all around the place, to make things easier. Completing the game also provides you with an option to return to the first location, Syria, and adds three more camps.
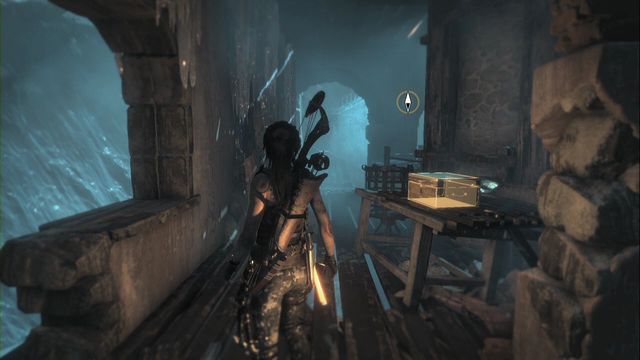
On the table, in the corner of the ruined room, at the upper level.
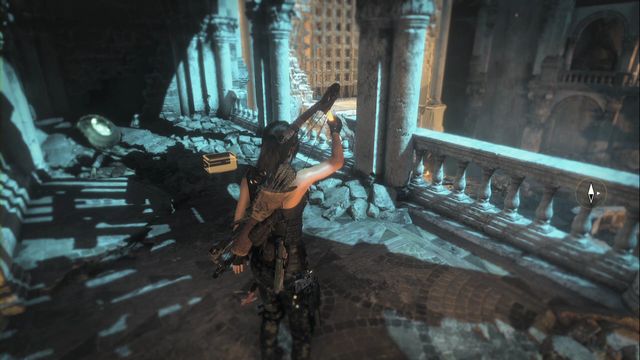
After the fight out in the yard where there is a horse statue, you can reach the balcony above, after you open the gate where opponents appeared. Then, turn right, while upstairs, and destroy the planks that block the way. You can then jump over to the next balcony, at the end of which there is the artifact.
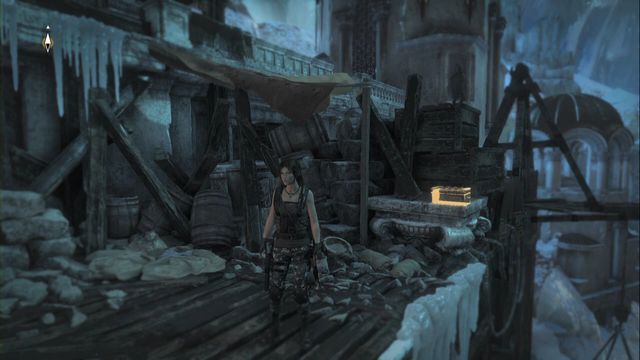
You can find it on the landing, while climbing up the tower, above the Citadel Plaza Base Camp.
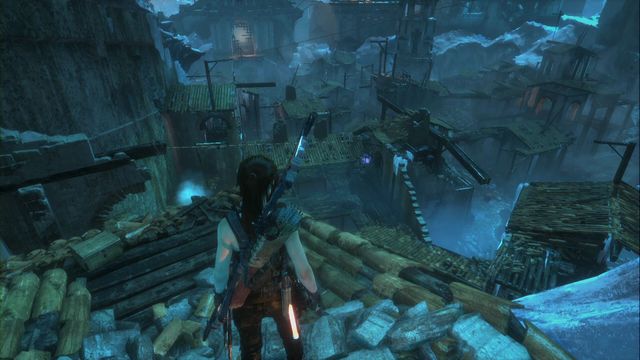
Near the trebuchet, destroy the barricade opposite the wall of ice (with an explosive arrow). The relic is on the roofing, past the chamber with the bell.
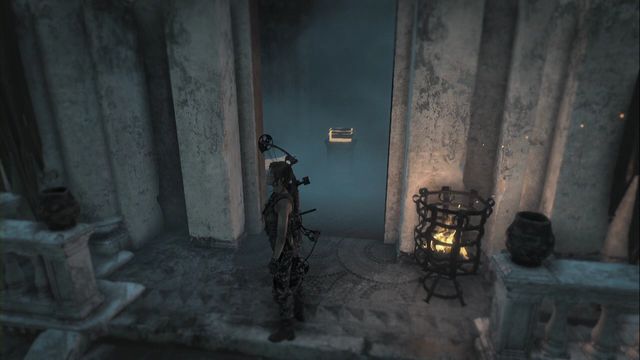
Burn the cloth in the passage, the relic is inside.
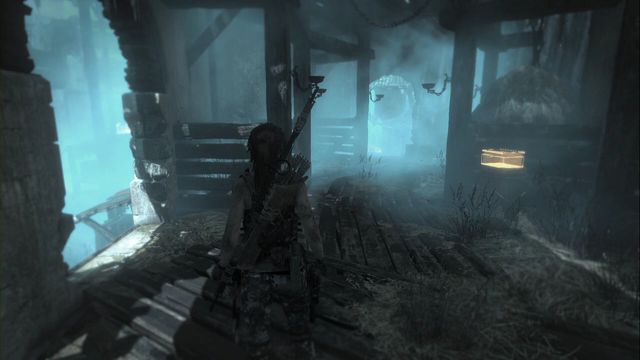
Inside the building next to the tall belltower.
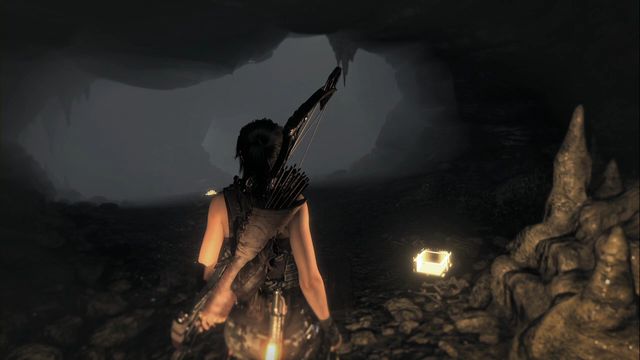
After you enter the cave to the Chamber of Exorcism. The relic is on the path, a bit past the passage punched into the wall.
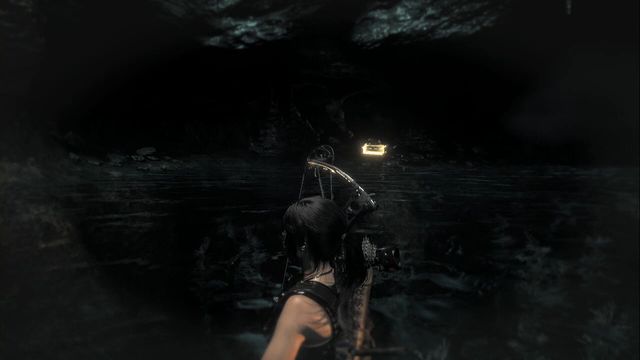
IN the cave leading up to the Chamber of Exorcism. In the spot, where you jump down into the water, turn towards the entrance - the chest on the shore.
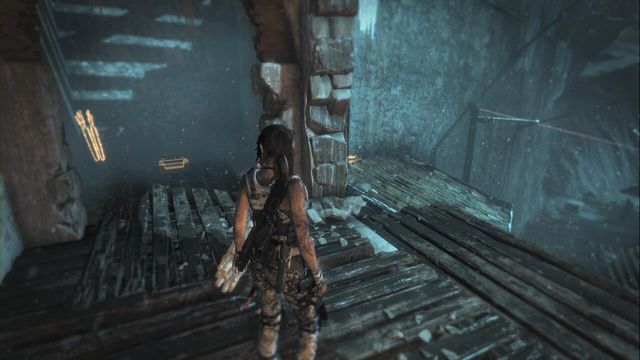
Climb onto the upper level of the destroyed building, where you find planks blocking the passageway - smash them and open the chest.
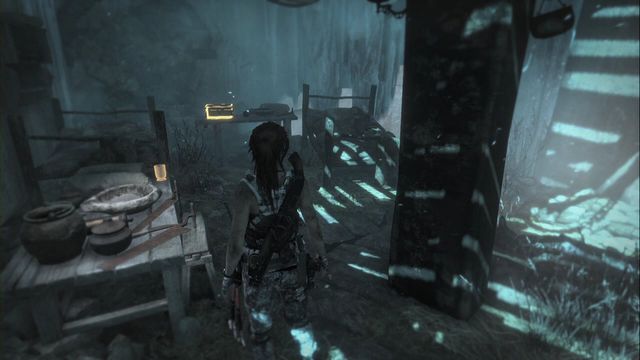
At the ground floor the building, between beds. Examine the pattern on the artifact.
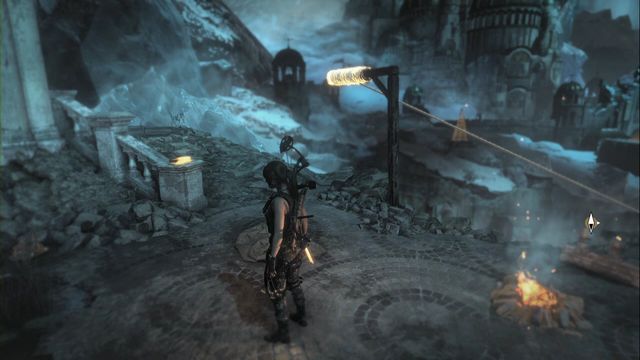
You find it right after you enter the location, by the campfire in the Threshold of Kitezh Base Camp.
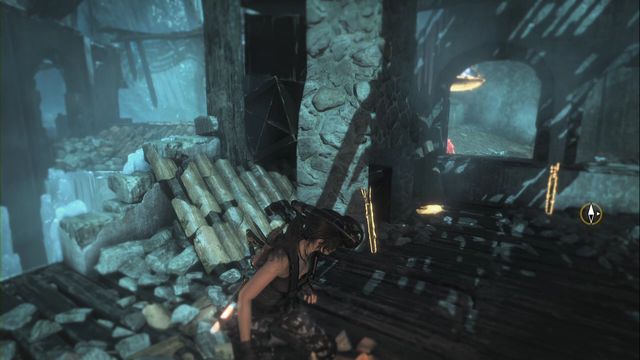
In the corner of the destroyed room.
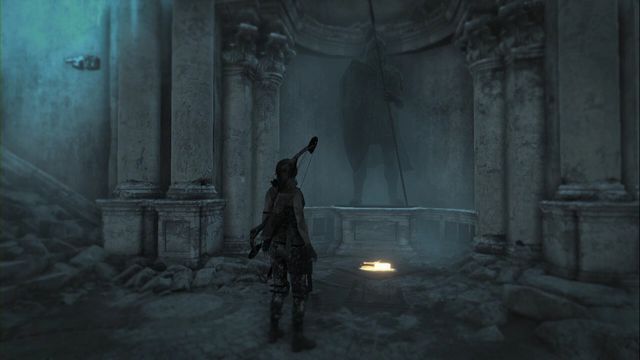
At the foot of the statue, in the middle of stairs to the first gate.
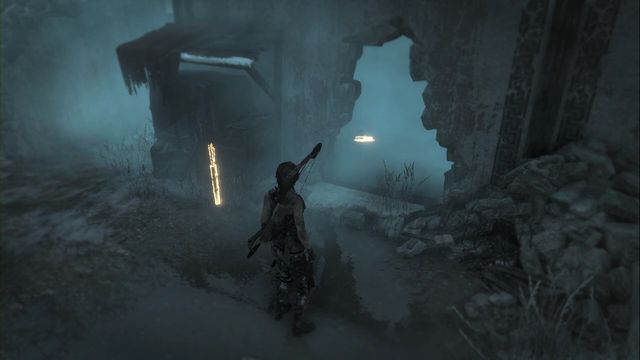
In the recess of the building adjacent to the square. To enter, you need to use explosives to destroy the metal barricade.
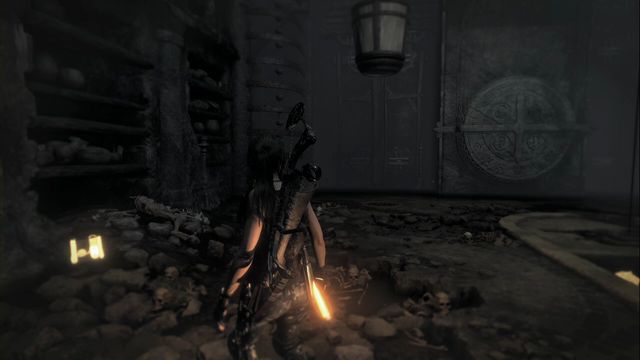
Downstairs, at the wall, right after you enter tomb Chamber of Exorcism.
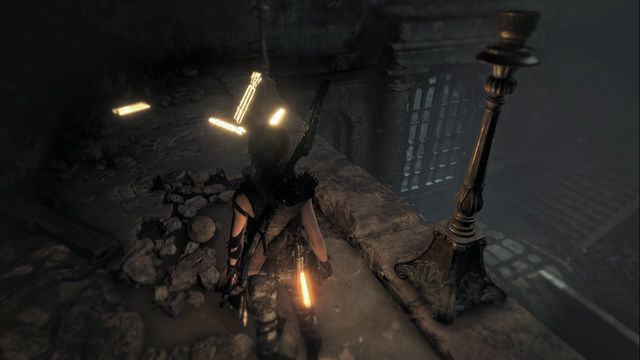
In the hall, right after you enter tomb Chamber of Exorcism, on the balcony to the left of the entrance.
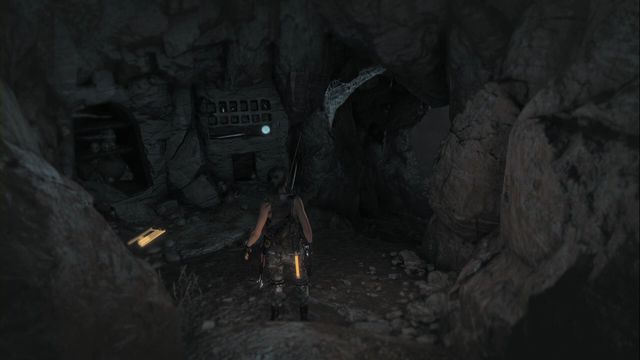
Right after you enter the crypt (it is under the water surface and you need to swim under the building)/ Inside, smash the wall and you find the document there.
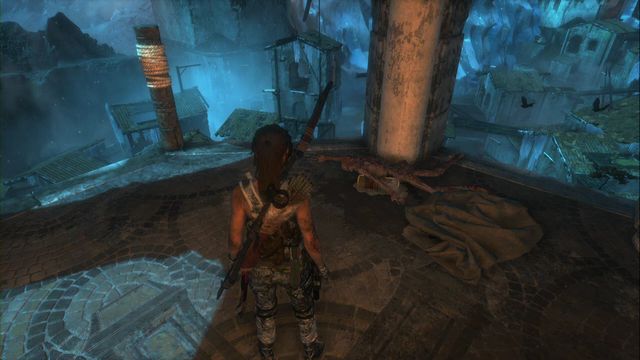
On the tall bell tower, climb it starting from the bottom (arrows stuck in the wooden wall).
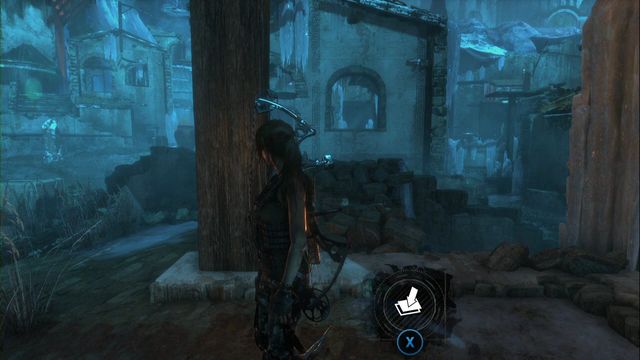
In front of the entrance to the small bell tower.
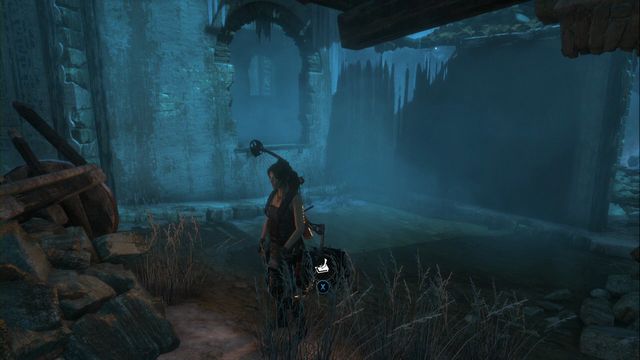
In the bushes, close to the building and the heap of rubble.
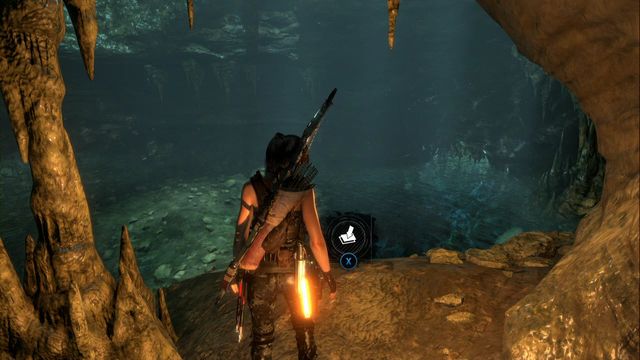
In the cave leading up to tomb Chamber of Exorcism. In the spot in which you jump down into the water, swim ahead a bit and find the cache behind rocks on the shore, on the right.
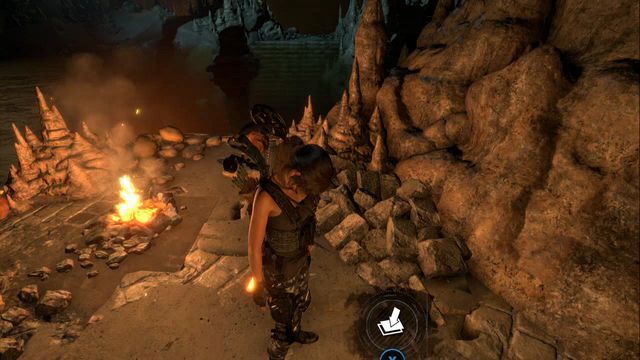
In tomb Chamber of Exorcism, by the campfire in camp Geothermal Valley.
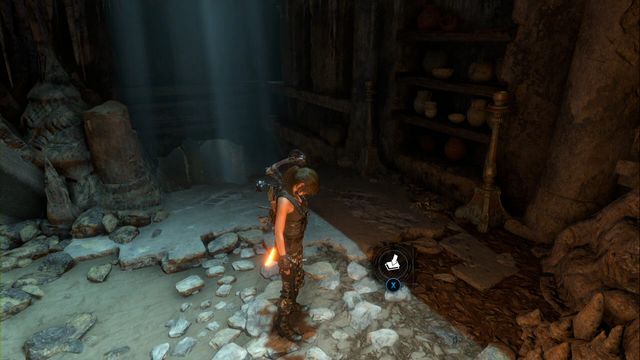
from camp Geothermal Valley (tomb) swim a bit to the right, where you need to dive. In the next chamber in which you resurface, you find the cache by the rocks.
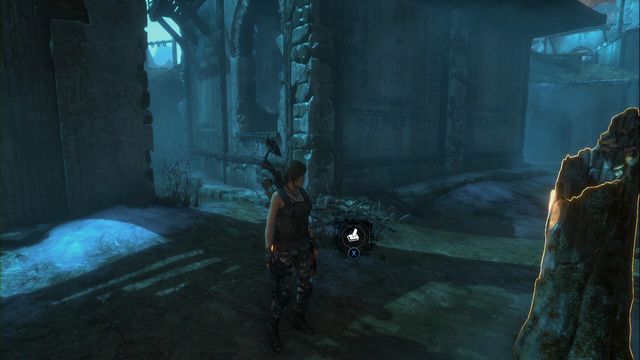
On the path between buildings, next to the hollow tree trunk.
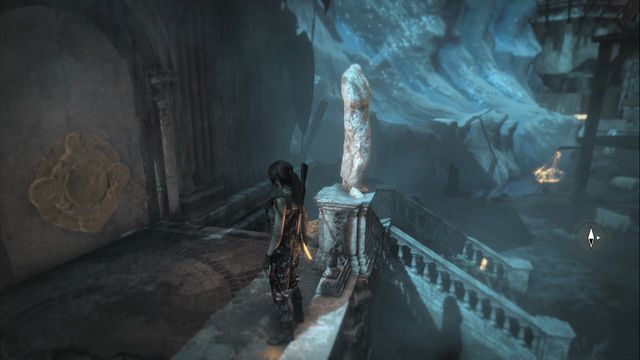
On the wall of one of the buildings.
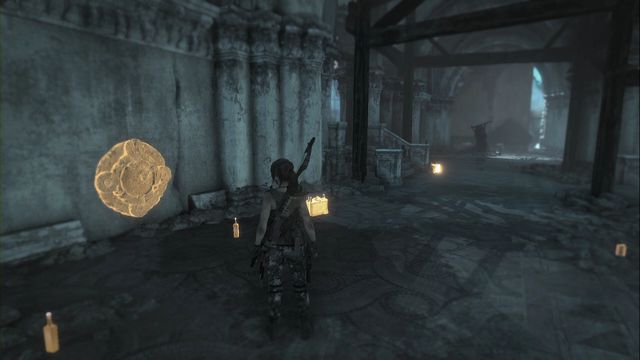
By the wall, out in the yard, by the fire, in the Citadel Plaza Base Camp.
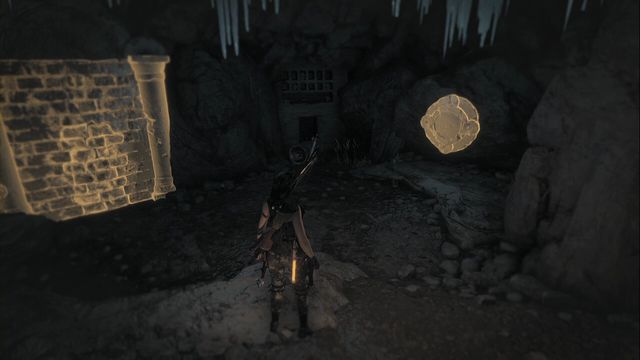
Right after you enter the crypt (it is under the water surface, you need to dive under the building).
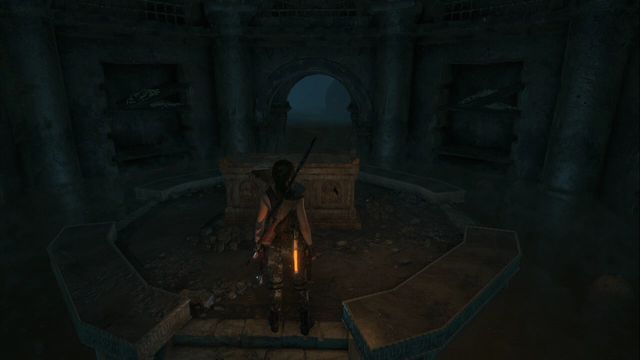
After you enter the crypt (t is under the water surface, you need to dive under the building) smash the wall. The path leads you down. In the flooded chamber, swim over into a small chamber on the left.
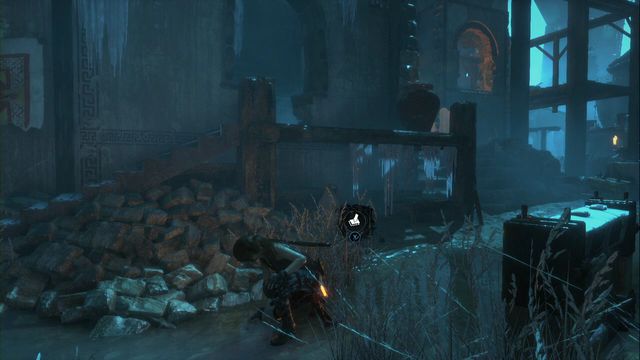
Near the monolith, by the heap of stones in front of one of the buildings.
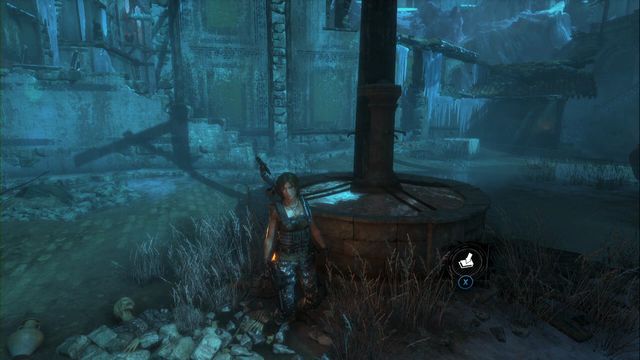
On the ground, by the stone base.
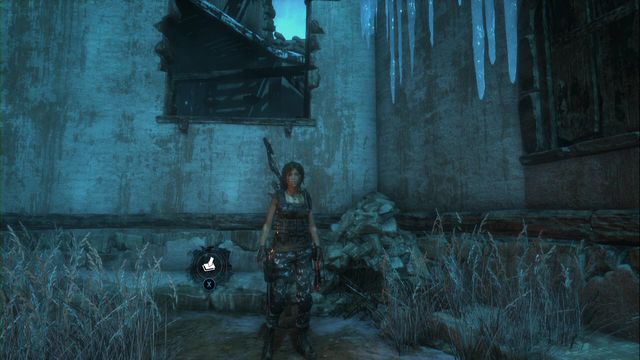
In the very corner of the destroyed buildings, by the window.
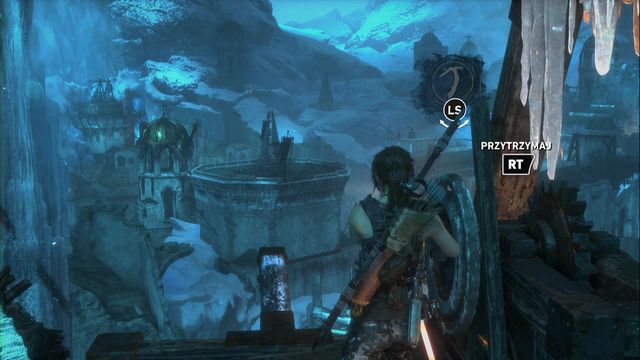 Target the stake and hold down the firing button, up until the moment, at which the stake gets within the range of the fired projectile.
This challenge is very simple and you can easily complete it during the main storyline. Do not try to find the fires, because you can light them with trebouchet only. In the first case, you use it to light three fires that are clearly visible, if you stand next to the siege engine. While using the second trebouchet, you can set fire to two more stakes, which completes the challenge.
The goal here is to find five bells and cut off the rope that suspends them. The bells are usually located in taller buildings of the first part of Kitezh, in front of the gate that you need to destroy with trebouchet. The bells have been marked on the map as B1 - B5.
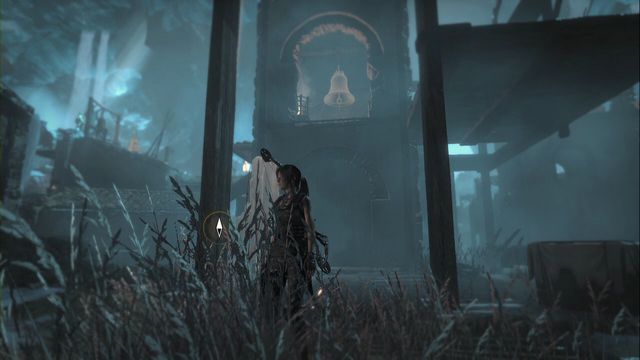
Bell 1
Climb onto the wall.
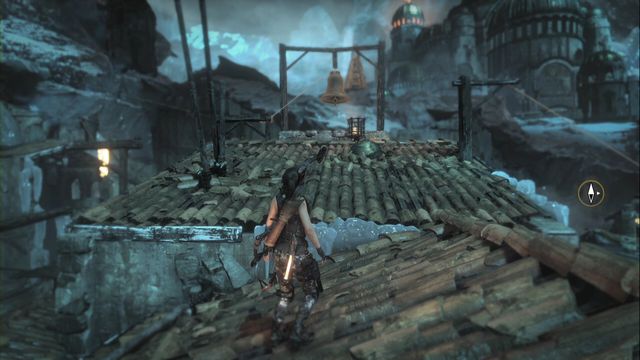
Bell 2
You reach it over rooftops.
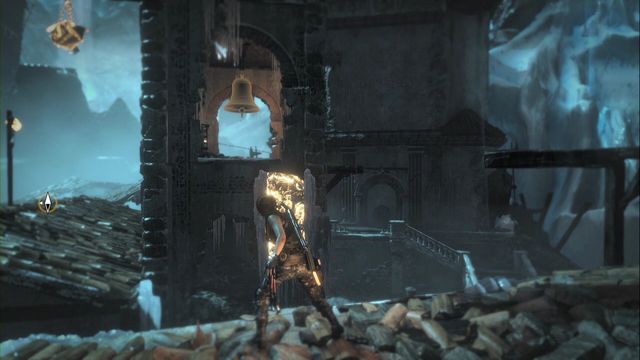
Bell 3
The tall bell tower. You get there by jumping over from the rooftop of the nearby building.
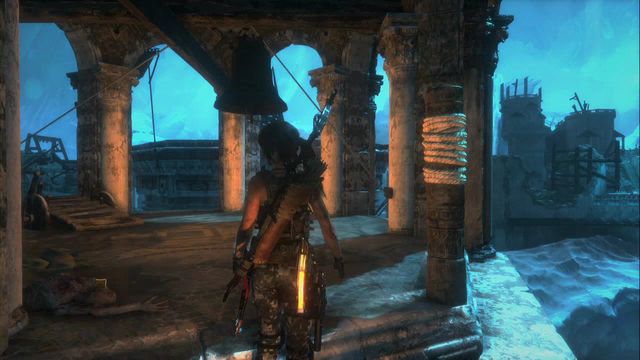
Bell 4
The building that towers the city. You get there by climbing over successive walls, starting from the very bottom (use arrows that stick in wood).
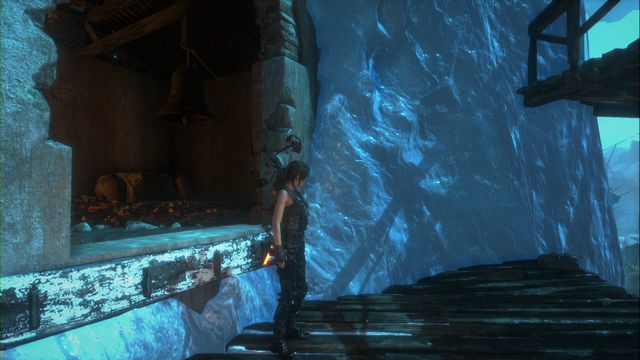
Bell 5
Near the trebouchet, destroy the barricade in front of the ice wall (explosive arrow). The bell is in the chamber behind it.
In the city, there are several statues. Keep an eye out for them, using Lara's instinct, because they blend into the surroundings, they are easy to miss. Apart from that, you can destroy three of them without climbing, if you are sufficiently accurate shooting from the ground level. You need to shoot each statue several times, up until the last bit is destroyed. On the map, they have been marked as C1 -C8.
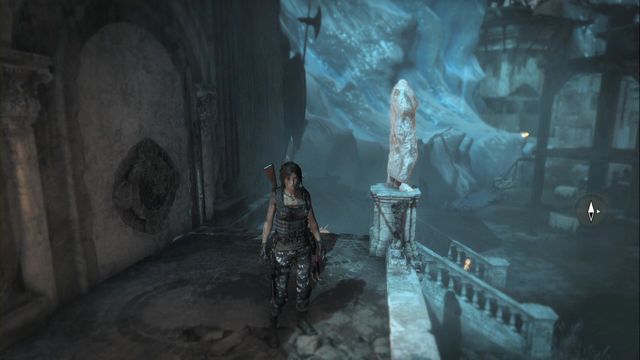
Statue 1
By the building, above the street level.
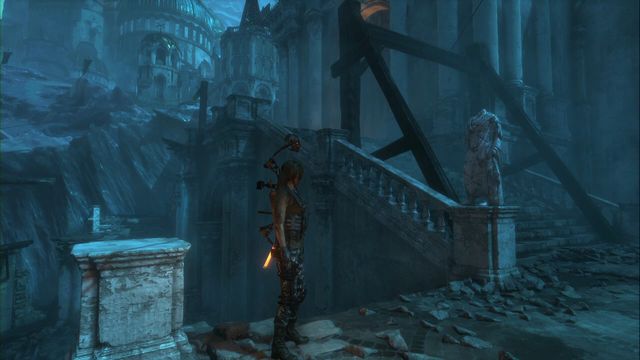
Statue 2
You pass by it while climbing the stairs into the next part of the Lost City (to the right of the gate).
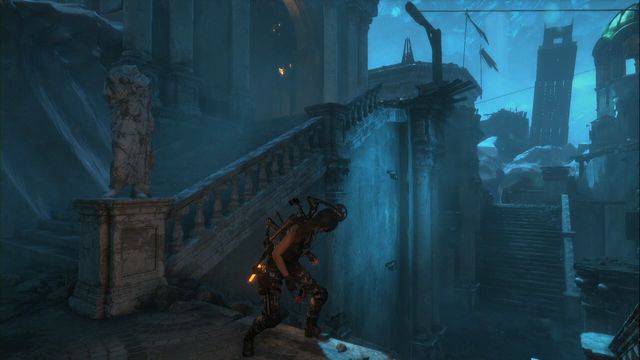
Statue 3
You pass by it while climbing the stairs into the next part of the Lost City (to the left of the gate).
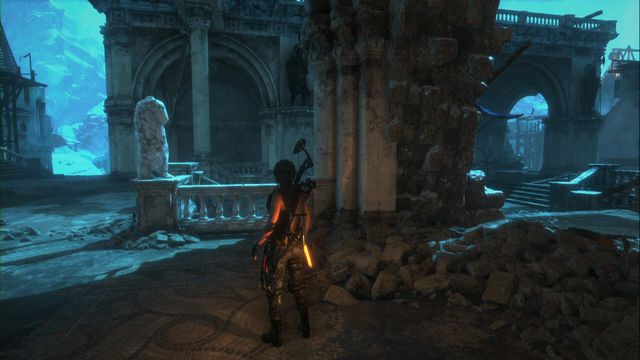
Statue 4
ON the left side of the campfire in Citadel Plaza Base Camp.
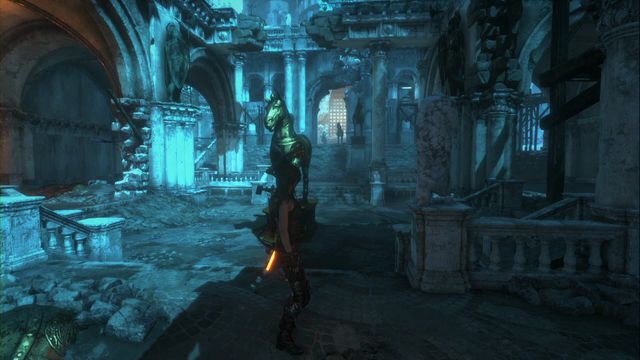
Statue 5
Out in the yard, by the stairs, opposite the horse statue.
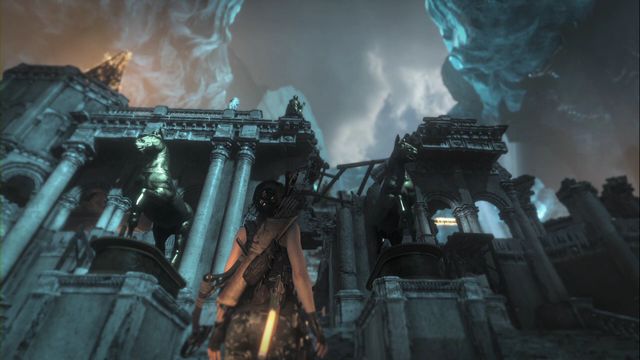
Statue 6
It is in front of the entrance to the yard, where there is the second gate. You can destroy it from the ground level (look high up and you find it next to the metal statue, above the two columns), or from the roof (the return path from where the second trebouchet is).
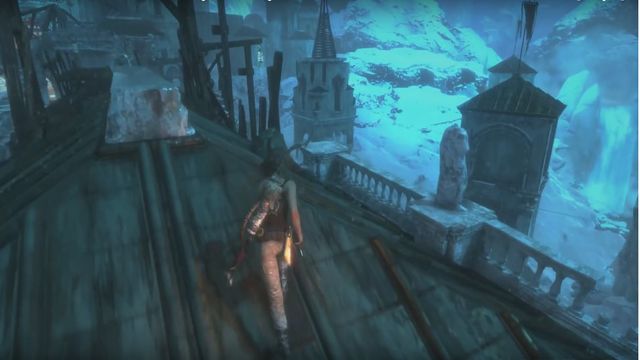
Statue 7
On the edge of the roof that you can climb after you destroy the second gate with the trebouchet.
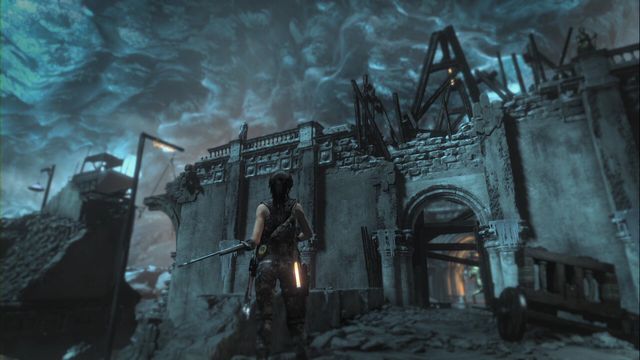
You can also destroy it from below, without having to climb.
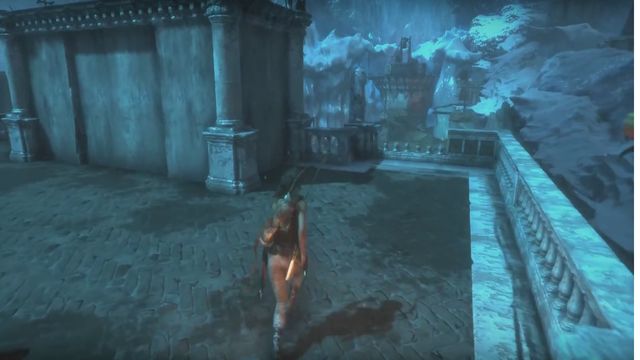
Statue 8
While on the roof (the path from the place where the second trebouchet is, towards the gate), you can go left at the end, where you can jump onto the nearby roof. Walk around it and head to the end, where you find the statue.
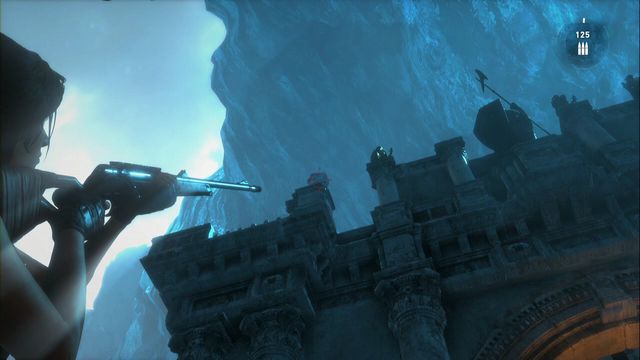
It is also possible to destroy the statue from below. Target it while standing in front of the first gate.
In this challenge, you need to find banners hanging on buildings. You find all of them in the first part of the location. Set fire to all of them to complete this challenge. The banners have been marked on the map as D1 - D8.
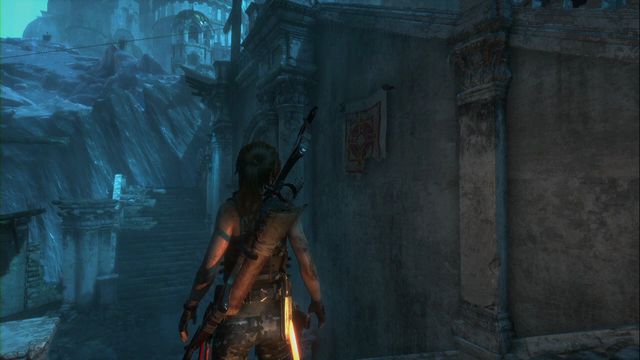
Banner 1
You pass by it while climbing the stairs into the next part of the Lost City.
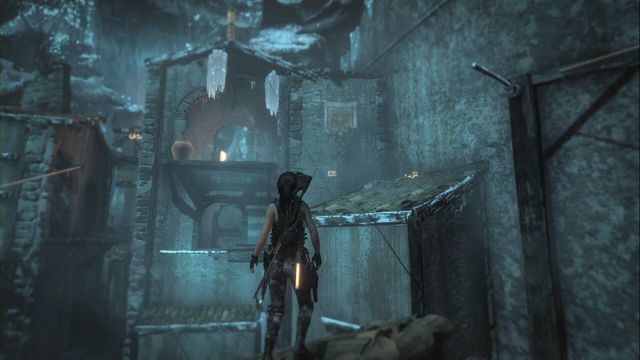
Banner 2
You find it at the wall, on the edge of the square.
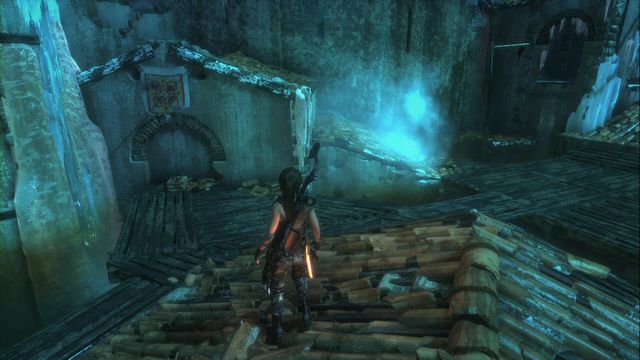
Banner 3
Near the trebouchet, near the area with two small containers with water, on a fragment of a small house - you can see it from rooftops.
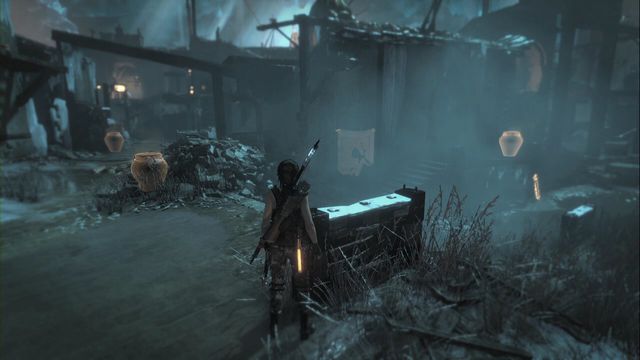
Banner 4
On the building opposite the monolith.
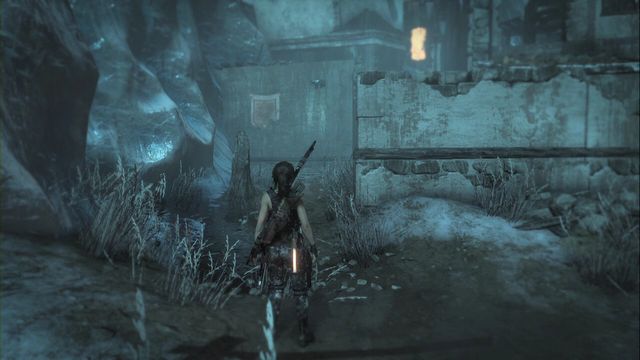
Banner 5
Again, close to the monolith. This time, turn in the opposite direction - the banner is on the wall of the building with a tree trunk in front of it.
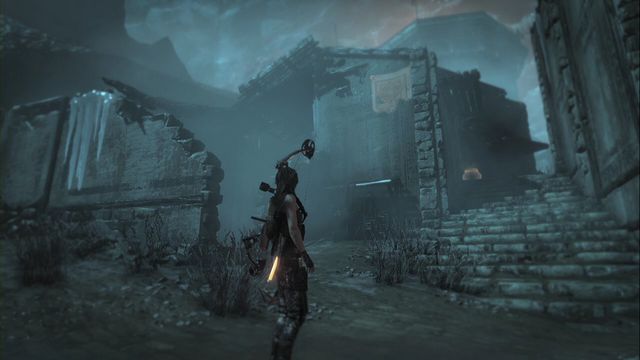
Banner 6
You find it on the building close to the tall bell tower. The banner is next to the window 0 you can easily see it from the roof of the neighboring building.
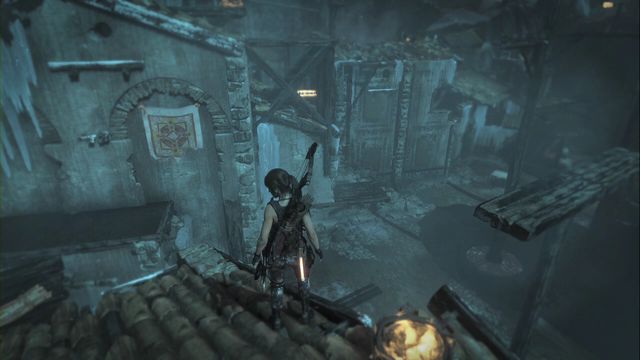
Banner 7
The building opposite the tall bell tower. You can spot the banner from the roof of the building between banner six and this one.

Banner 8
The half-destroyed wall of the building, close to the stairs.
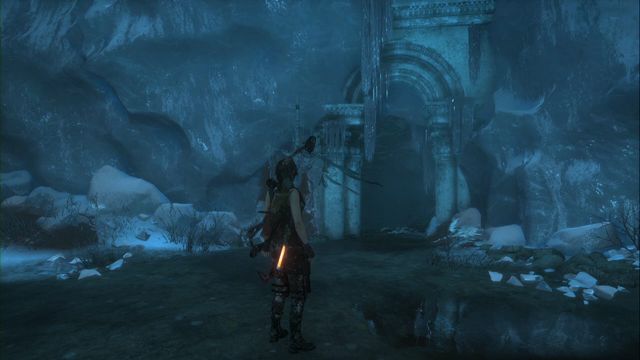 The chamber leading up to the tomb.
The path to the tomb leads through the cave on the edge of the map. Before you enter, prepare some stronger weaponry, because there is a bear inside. After you kill it, punch a hole in the wall and go down the path. In the chamber, collect a Relic and run to the very bottom.
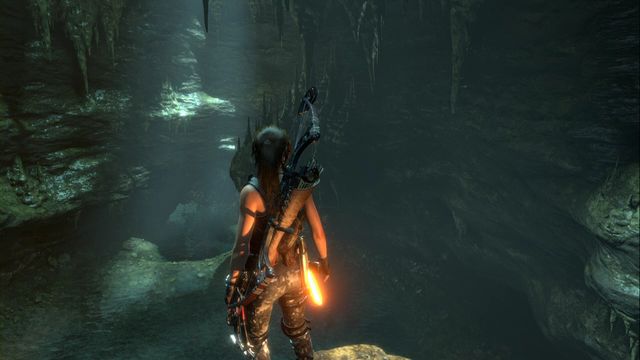 The diving spot.
You will get into a location where you can dive into water. Turn towards the rocks and collect an Explorer Satchel. Close to this place (at the back) you find a Relic, and among rocks on the right, there is a Survival Cache. Follow the path, underwater and between rocks - at the other side you resurface by the camp (next to the campfire, there is another Survival Cache). You can also dive here into the chamber to the right of the camp. Here, you find an Archivist Map and a Survival Cache.
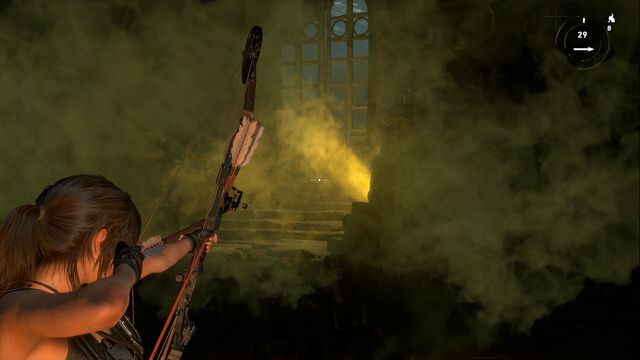 Shoot a burning arrow towards the released gas.
Swim over to the other side and start climbing down. In the spot, where green gas is escaping, shoot a burning arrow to blow up the gate.
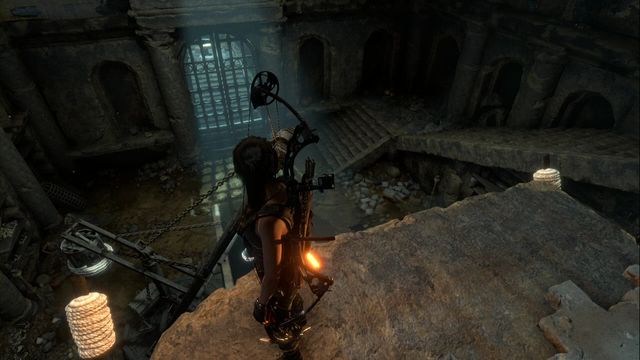 Levers that release the gas are on both sides of the ledge.
In the next chamber, you find two Documents (on the ground level on the right and a balcony on the left) and a puzzle. First, shoot a rope arrow towards the two levers above the ground level. This raises the valve and releases a green gas into the chamber. Jump down quickly, where you find a basin opposite the gate, which remains partially filled, temporarily. Run towards it and release the hanging cage. Do this before water floods this area.
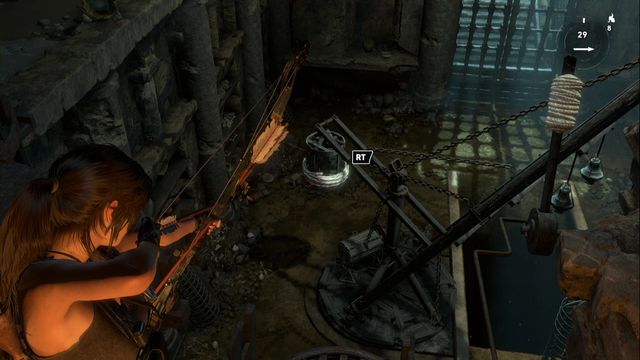 Turn the cage to make it face the gate.
Approach the mechanism and pull the cage to the surface. Run up, behind the cage and shoot the rope towards the mechanism- - this way you move the cage towards the gate. Finally, release gas again and shoot at the two levers tied with the rope. Finally, shoot a flame arrow towards the escaping gas - the explosion destroys the gate, thanks to which you can read the book.
Reward: Ability "Greek Fire" (increases damage from flame arrows and from molotovs).



 Race Driver GRID Game Guide & Walkthrough
 Reus Game Guide & Walkthrough
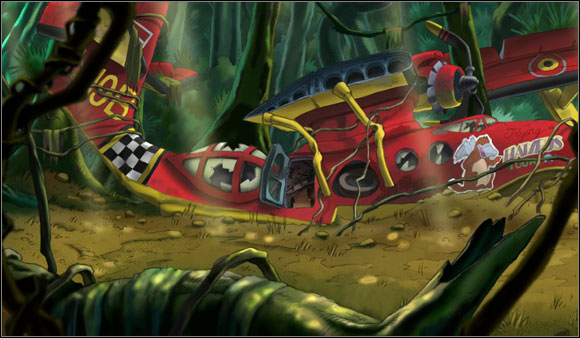 Runaway 2: The Dream of the Turtle Game Guide & Walkthrough
 RignRoll Game Guide & Walkthrough
 Randals Monday Game Guide & Walkthrough