


In Orcs Must Die! 2 game guide you will find detailed walkthrough of all 15 missions. Additionally every description has map where with key elements. Every level contains two description for normal difficulty level (Battle Mage) and for hard difficulty level (Nightmare). There are also information about all traps, weapons, trinkets and enemies.
Characters - in game you can choose between two heroes - Battle Mage and Sorceress. Different between them aren't very big. Battle Mage has two different weapons (blunderbuss and dwarven hammer) on the other hand only Sorceress can use sceptre of domination. There are also small differences in traps - Battle Mage uses wall of spikes and tap, yet Sorceress can use acid sprayer and ice vent. In guide the main character is Sorceress so you have to remember that if you play Battle Mage that in description ice vent = tap and sprayer = wall of spikes (this traps are very similar in use).
Difficulty levels - main differences between Battle Mage and Nightmare are:
- different enemies on the level;
- only 3 seconds brakes between waves on Nightmare (if you want to sell traps you have to make it in this time);
- all weapons and traps available from start (Nightmare).
To unlock Nightmare you have to finish all levels on Battle Mage difficulty.
Weapons and traps - to unlock some equipment you have to pay for it with skulls. You can get 5 skulls (4 for rift points, 1 for time) for finish every level and find them during the battle (some enemies drops them). It's worth to know that you can reset all skulls in every moment and use them to buy or upgrades other traps or weapons. In order to do it just go to the spellbook and choose option at the bottom of the screen. There is no limit of doing that.
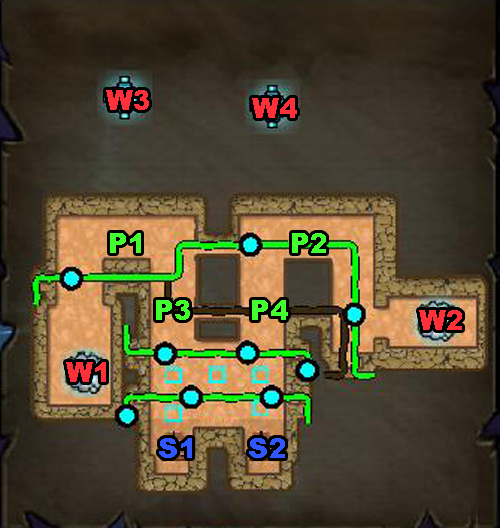
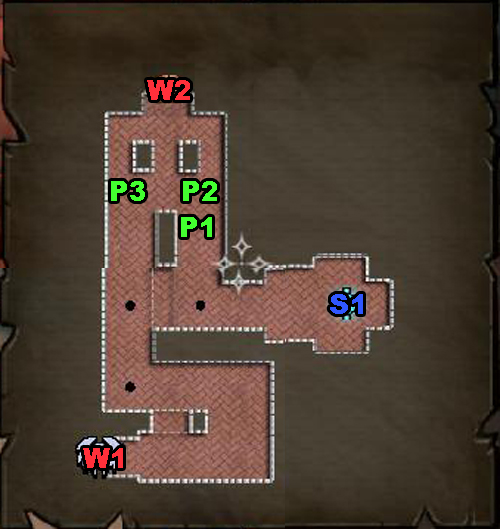
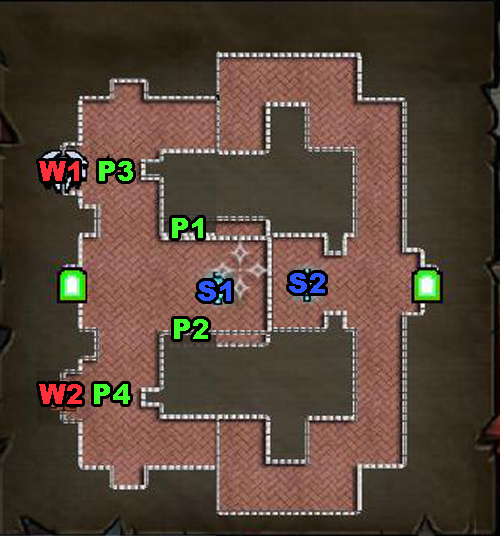
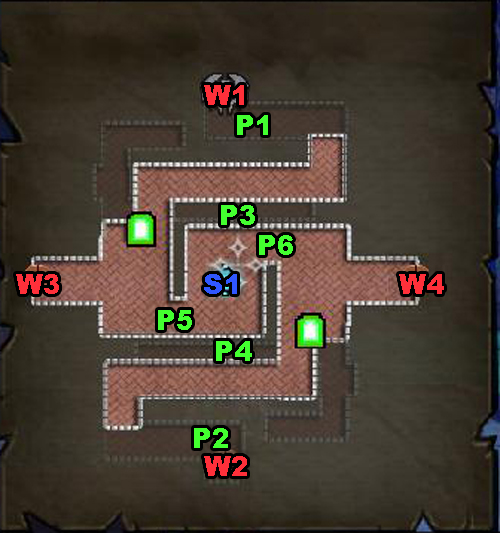
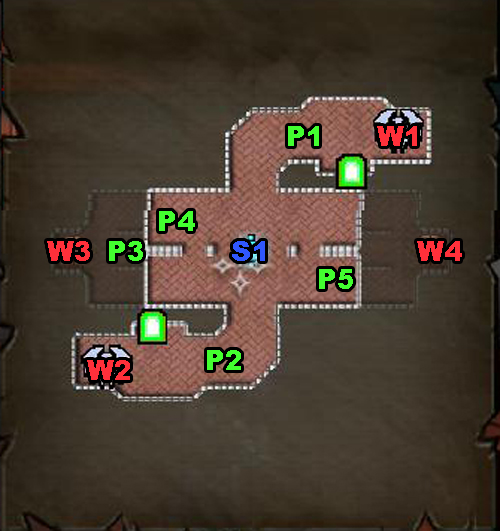
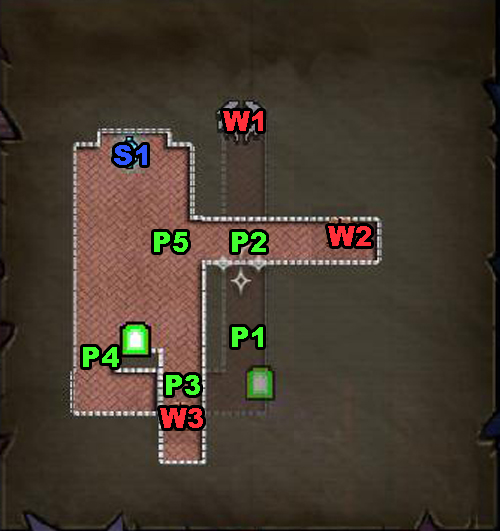
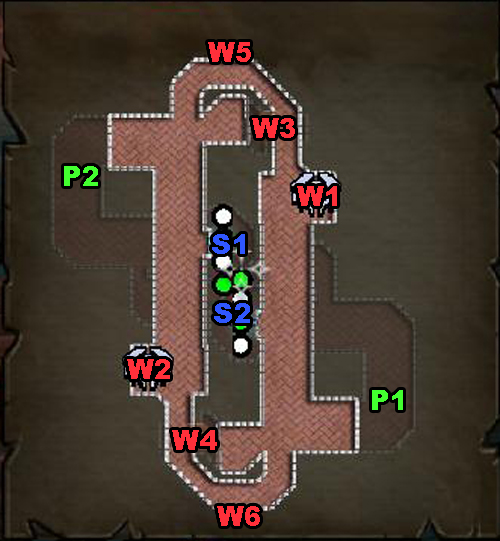
Legend - there are three colors on the maps:
- red (W) is for entrances of enemies;
- green (P) is linked with places where you can set traps;
- blue (S) is for rifts.
Adroitness - think and don't give up. In Orcs Must Die! 2 there are lots of ways to beat every level. Guide shows only some of the solutions but don't be afraid of trying your own tactics!
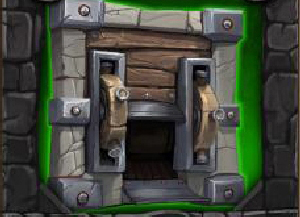
Boom Barrel Dispenser - once awhile it releases boom barrels which can be detonate by shooting at them.
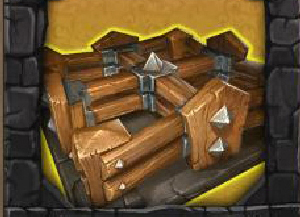
Barricade - it can be used to block the enemies' path. If you create a narrow path enemies will try to pass that way but if you block it completely they start destroying the barricade. This trap can be easily destroyed by Cobold Sappers.
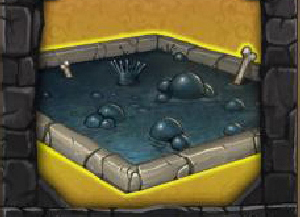
Tap (only for Battle Mage) - very useful trap which can drastically slow down enemies.
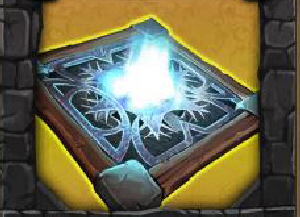
Ice Vent (only for Sorceress) - countertype to Battle Mage's Tap. It can froze the enemies but need to reload.
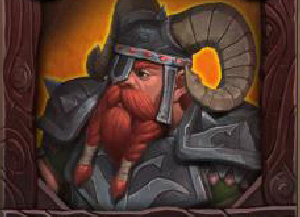
Dwarf Guardian - he can throw the bombs. They are quite inaccurate but in narrow paths with lots of enemies they can make tremendous damages. They can be easily killed by gnolls.
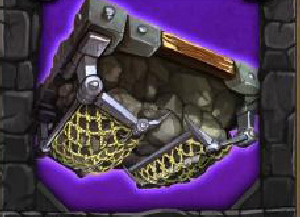
Arrow Wall (only for Battle Mage) - one of the most universal traps. It's quite cheap, has long range and makes a big damages.
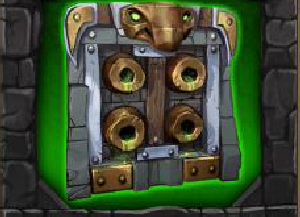
Acid Sprayer (only for the Sorceress) - countertype for Arrow Wall, it has almost the same attributes but uses acid to attack.
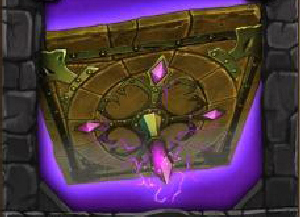
Haymaker - quite cheap, ceiling trap. It's great in low corridors and narrow paths especially in groups. Be careful because it can throw enemies to various places. It has to be reload after use.

Shock Zapper - it has electric charge which can damage the enemies. It's quite expensive but has weak attack. You can set it on the ceiling in order to attack the flying enemies but archers are the better choice.
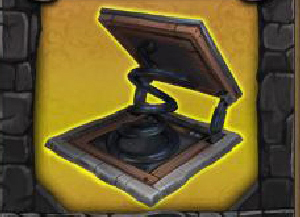
Spring Trap - it can throw light enemies on long distances. It can be useful if place it near chasms.
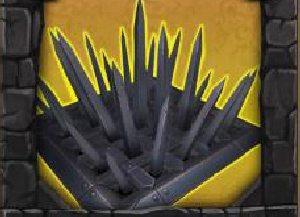
Spikes - cheap trap which can inflict medium damages. It's quite good if you don't have much money.

Boulder Chute - ceiling trap. It can be activated by shooting at it. It discards rocks on enemies heads but it's not very useful due to its manually control.
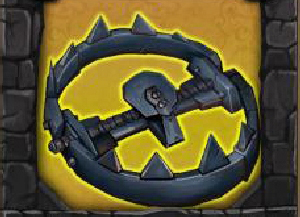
Bear Trap - trap which can inflict big damages and stuns enemies. Unfortunately it's only once-time trap.
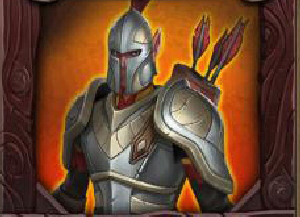
Archer Guardian - archers can shooting with arrow and fire arrows at the enemies (land and air) on great distances. They are great in big groups but they must be protected because gnolls can easily kill them.
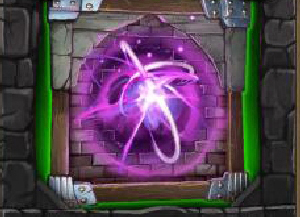
Void Wall - quite cheap but requires huge wall. You can use wind belt to throw enemies into it and get coins and potions. In practice it's useless.
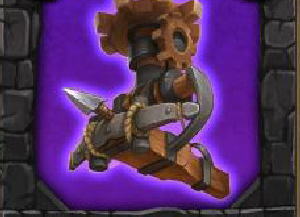
Autoballista - ceiling trap which fires big arrows with low frequency. The archers are much better.
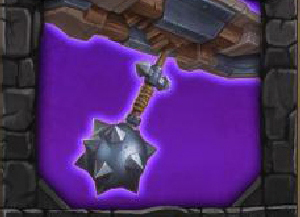
Swinging mace - constantly moves and smashes enemies under it. Great in narrow places where can kill lots of enemies in a few seconds.
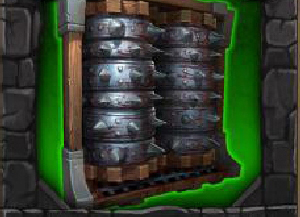
Grinder - basic trap in making narrow paths near walls. It has small range but makes lots of damages to every enemy in the area.
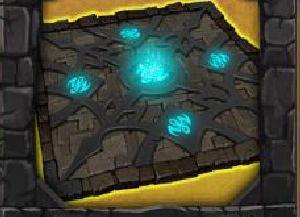
Coinforge - huge floor square. If you kill enemies who are standing on it you will get more money for them.
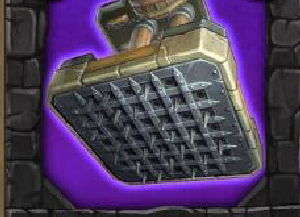
Pounder - ceiling trap which inflict lots of damages to the enemies under it, albeit haymaker seems to be cheaper and better.
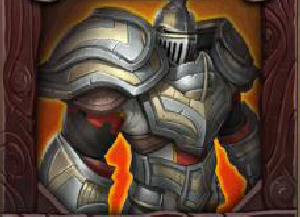
Paladin Guardian - powerful knights can repel even the biggest attacks. Very effective in fight with small enemies and weak during battle with big ones.
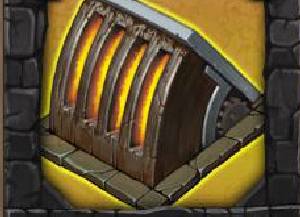
Floor Scorcher - very effective trap which can be also set on the walls (after upgrade). It's deadly for enemies especially in big groups.
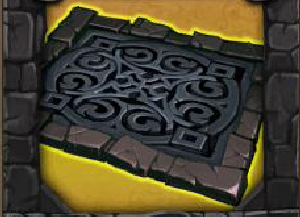
Steam Trap - quite useful (especially after cutting the price) trap throws enemies into the air. It's deadly with ceiling traps like haymaker.
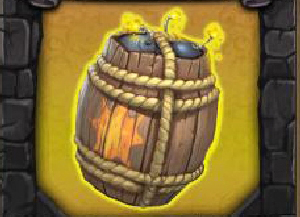
Boom Barrel - if you shoot into barrel it will explode with huge power. Unfortunately it's only once-time trap.
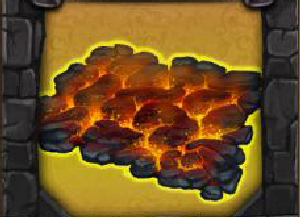
Brimstone - it burns the enemies and inflicts great damages. Ideal for fast cobolds.
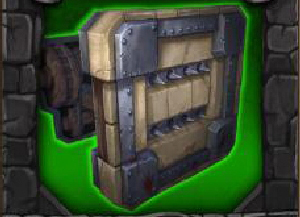
Push Trap - quite cheap wall trap. Pushes enemies away which can be useful near chasms.
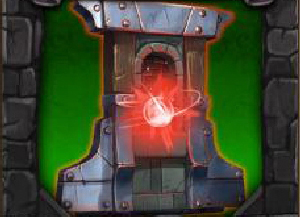
Healing well (only for Battle Mage) - well where hero can regenerate his life. It needs some time to recharge.
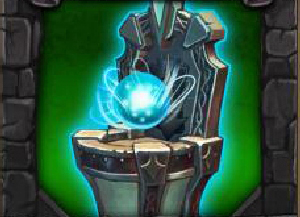
Mana Well (only for Sorceress) - place where you can quickly fill mana. It requires some time to recharge.
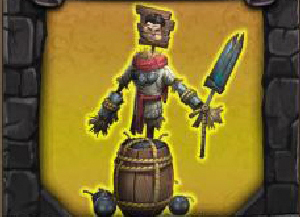
Decoy - very useful especially after upgrade. It provokes enemies to attacks which give you some time to attack them. it can be placed on floor traps.
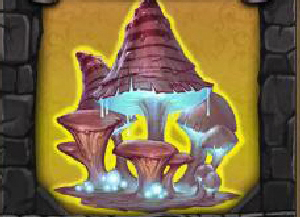
Spore Mushroom - every enemy who stands on them will join to your forces. They are expensive and it's hard to use them on big opponents but if uses properly they can be great trap.
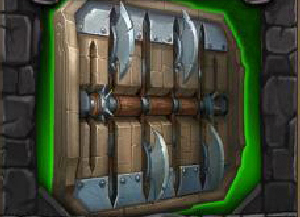
Wall Blades - chops enemies into pieces. Inflicts big damages but has short range and need to be reload (Grinder seems to be better choice).
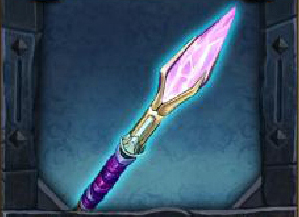
Sceptre of Domination (only for Sorceress) - basic Sorceress's weapon. Quick firing but do little damages (yet you can press and hold left mouse button for stronger attack). It has possibility to charm the enemy who will fight with other enemies for some time.
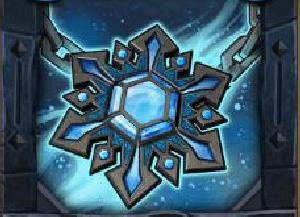
Ice Amulet - very usefully (especially on third level) weapon which can freeze group of enemies. In this state they are more susceptible on attacks.
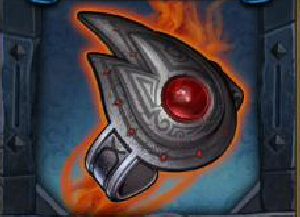
Fire Bracers - they are not as good as ice amulet but can be useful during the fight with frost ogres.
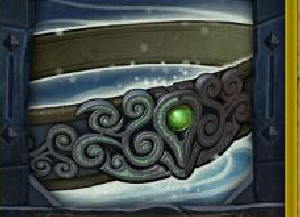
Wind Belt - it can be used to push and knock over enemies.
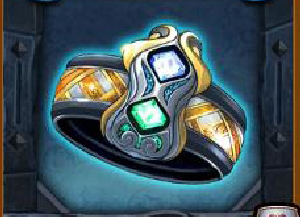
Polymorph Ring - it transforms enemies into random character (e.g. ogre, orc or chicken) or transform the hero into the ogre (after upgrade). It's averagely useful due to its randomness.
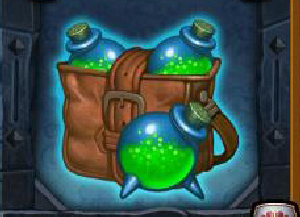
Alchemist's Sachel - powerful bombs which can be detonated manually. They can kill lots of enemies in a second.
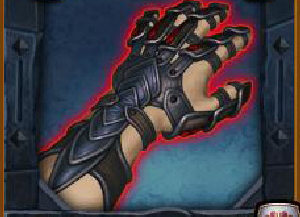
Vampiric Gauntlets - if use them to attack the enemies in melee fight you will recharge your health. You can also use them to transform health into the mana.
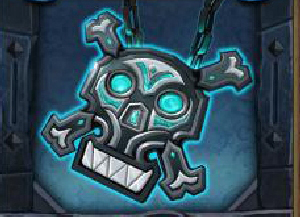
Bone Amulet - creates long belt of death bodies which hurts enemies. You can also use it to evoke the bone golem. Very useful weapon.
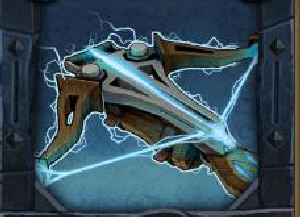
Crossbow - it's quite inaccurate weapon if you shooting quickly but it also has zoom and devastated headshots. You can also use it to stun the enemies.
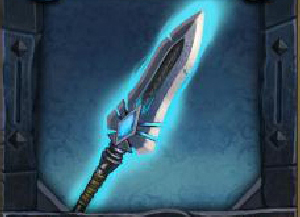
Bladestaff - melee weapon which has ability to knock down the enemies.
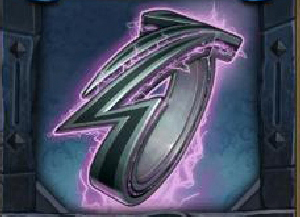
Ring of Lightning - you can use it to attack lots of enemies at the same time. It also has ability to create a storm. Very good weapon but look out for quickly disappearing mana,
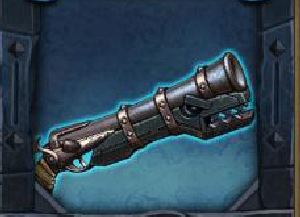
Blunderbuss (only for Battle Mage) - basic male character's weapon. It's quite powerful and has ability to shooting with exploded bombs but you have to reload it after every shoot.

Dwarven Hammer (only for Battle Mage) - powerful melee weapon. It inflicts lots of damages (also to big enemies) but it has low attack speed. In alternative mode you can use mana to make a killing "mill".
Trinkets have two modes: passive (bonuses for taking trinket to the equipment) and active (when you use trinket).
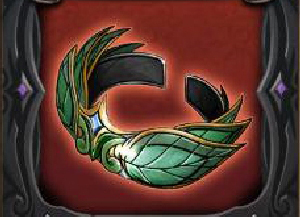
Healing Trinket
Passive - slowly regenerates health.
Active - heal self and allies.

Scavenger Trinket
Passive - all enemies have chance to drop coins.
Active - all enemies worth extra coin.
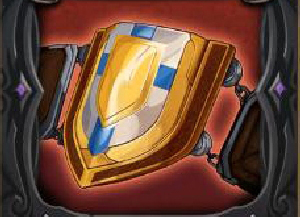
Defense Trinket
Passive - increases player health.
Active - shield player from damage.
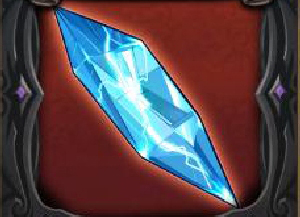
Rift Defender Trinket
Passive - increases rift points.
Active - stun all enemies.
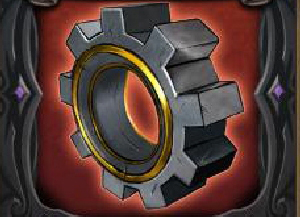
Trap Reset Trinket
Passive - traps reset faster.
Active - reset all traps for mana cost.
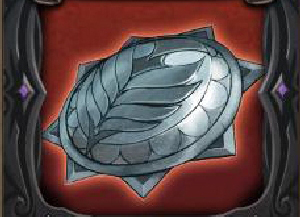
Berserker Trinket
Passive - deal bonus damage when low on health.
Active - spend health to activate berserk mode.
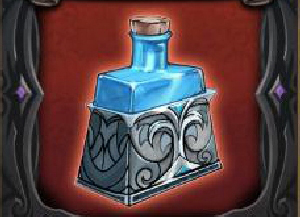
Mana Rage Trinket
Passive - higher mana capacity.
Active - mana regenerates quickly for a short period of time.
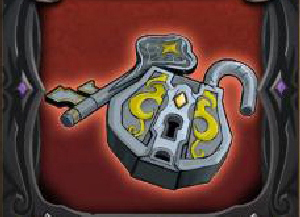
Freedom Trinket
Passive - resist stuns.
Active - break other players out of stun and briefly grants stun immunity.
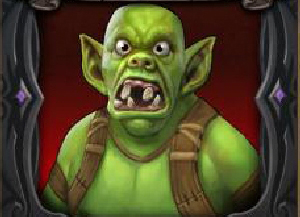
Light Orc Warrior - basic orc, just cannon fodder. Later they get shields.
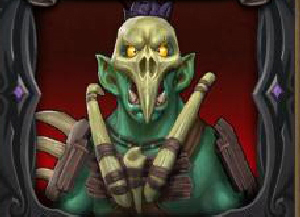
Medium Orc Warrior - he is a little tougher than Light Orc Warrior.
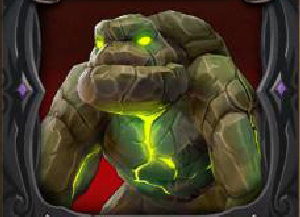
Earth Elemental - quite hard enemy. After death he is split on two earthlings.
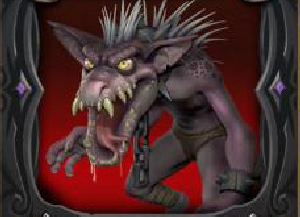
Kobold Runner - little and very fast enemy who is running straight to the rift. It can be quite hard to see him during the battle. Brimstone traps are great weapon on them.
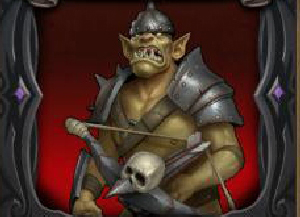
Crossbow Orc - he is firing with fire arrows which can be dangerous if they are in big group. Try to kill them as fast as you can.
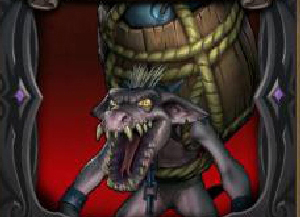
Kobold Sapper - he is as fast as Kobold Runner but his main targets are barricades and heroes. He can easily kill you if you won't be careful. Try to take them down from great distance.
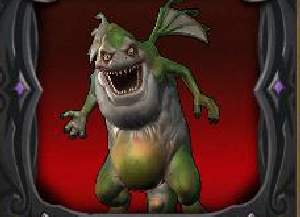
Bilebat - flying enemy who can spit poison and slow down his victim. Archers are great in fight with them.
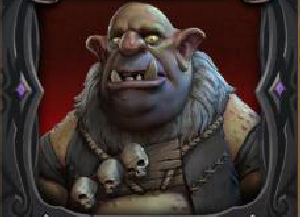
Ogre - basic ogre, hard to kill and with stunt ability if you get to close to him. He can also charge so be careful. Try to freeze him and attack with thunder.

Gnoll Hunter - fast and very dangerous enemy who is hunting on main character and his allies (archers, dwarves etc). Try to freeze him and attack when he is not moving. When he enters on the map there is characteristic howling.
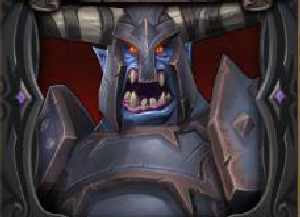
Heavy Orc Warrior - the heaviest of normal orcs with great armor.
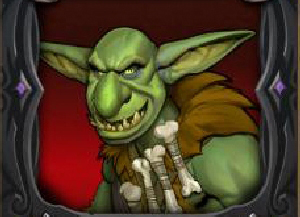
Troll - dangerous enemy who is not charging as ogres do. Freeze him and attack with electricity.
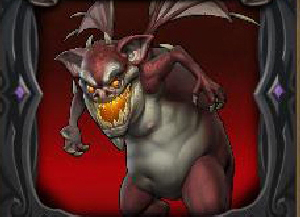
Hellbat - flying enemy attacking with fire. The best way to kill them is to use ice amulet and archers.
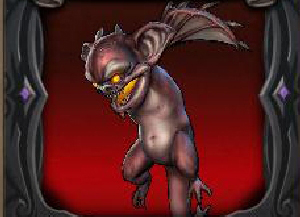
Fire Babies - smaller than bats, they are relatively weak, but they always flying in group. Attack the with ice amulet and archers.
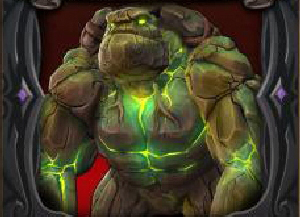
Earth Lord - huge and tough enemy, after death he is changing into two earth elementals, and after their dead you have to kill four earthlings.

Fire Ogre - his weak side is ice, so attack him with ice amulet. He is resistant on fire traps.
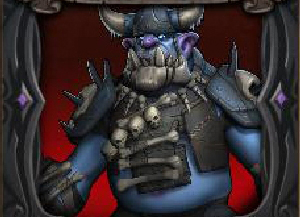
Frost Ogre - he cannot be frozen but he is susceptible on fire attacks (archers with fire arrows and flame bracers).
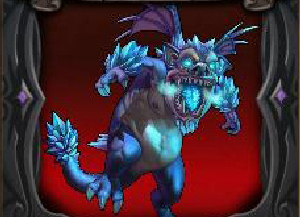
Frostbat - he is using ice bullets. He can be easily killed by group of archers.
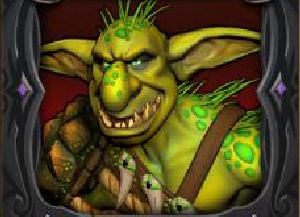
Swamp Troll - the bigger troll, the best way to kill him is freeze with ice amulet and use thunders.
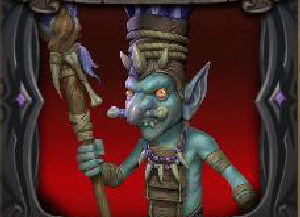
Hobgoblin Shaman - enemy who is able to resurrect fallen companions. Eliminate him in first position (he is weak).

Cyclops Mage - dangerous enemy who is using homing magic bullets. The best way to avoid them is to hide behind some wall. Try to defeat cyclops as soon as you can (good way to do this is using ice and thunders).
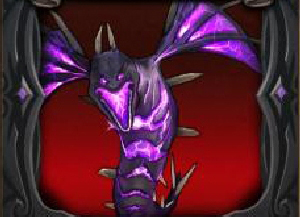
Thunderbat - dangerous flying unit. In order to defeat it use archers or ice amulet.
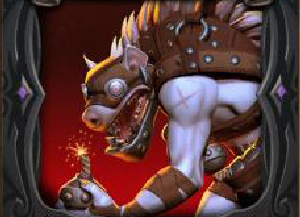
Gnoll Grenadier - quickly gnoll who is throwing bombs at heroes. Fortunately he often misses.
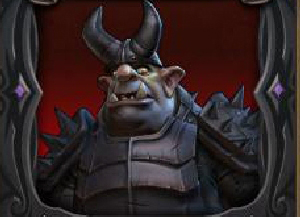
Armored Ogre - the most resistant of all ogres. The best way to fight with him is using freezing and mighty traps, because you will have to spend some time to kill him.
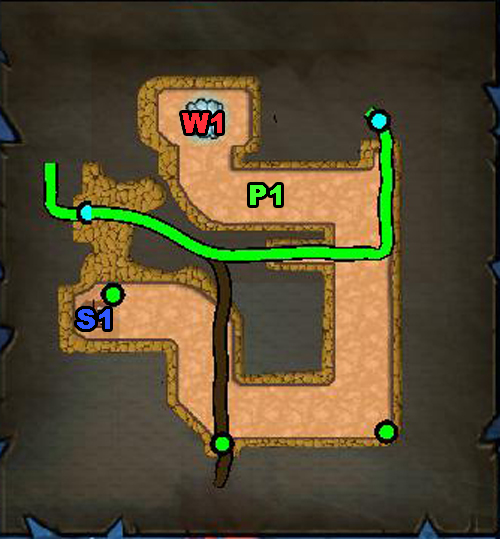
Time limit: 5:00
Waves: 4
Enemies: Light Orc Warrior , Medium Orc Warrior
Recommended weapons and traps: Sceptre of Domination (Blunderbuss), ice vent (tap), acid sprayer (wall of spikes)
Reward: Spikes
Walkthrough:
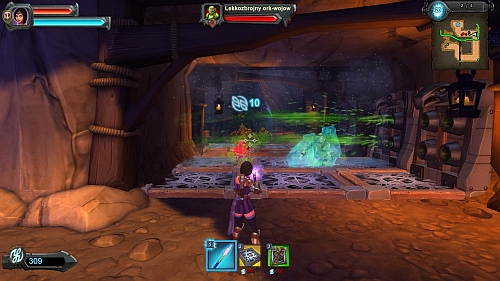
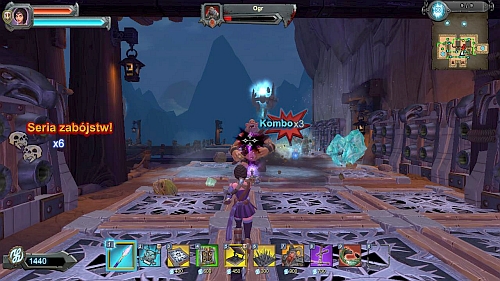
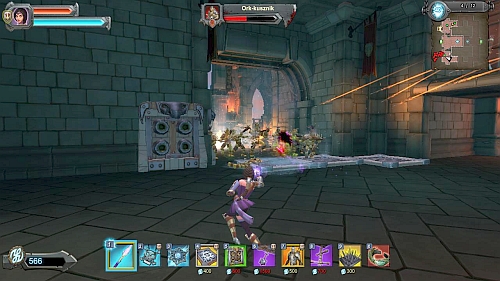
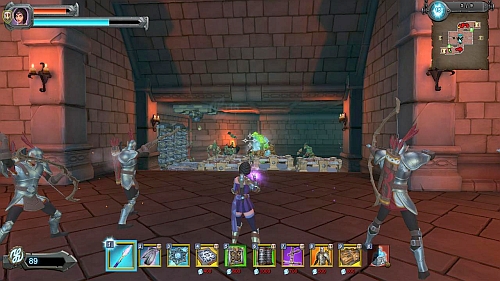
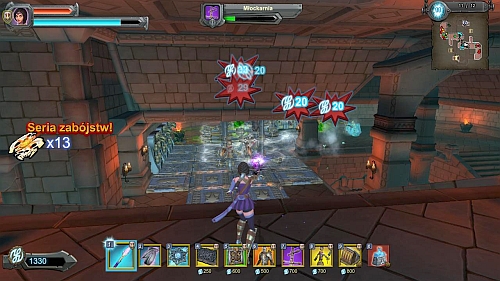
Easy level with only one entrance (W1) and one rift (S1). Start from setting two acid sprayers on the tunnel's walls (P1). Then set some ice vents on the floor and release the first wave. You will quickly beat lots of enemies (picture) but shoot at them and set another acid sprayers and ice vents.
Nightmare difficulty:
The tactic is the same like on the normal difficult level. Beside vents and sprayers you can also add in the tunnel (P1) some ceiling traps. Watch out for gnolls and try to eliminate them as fast as you can.
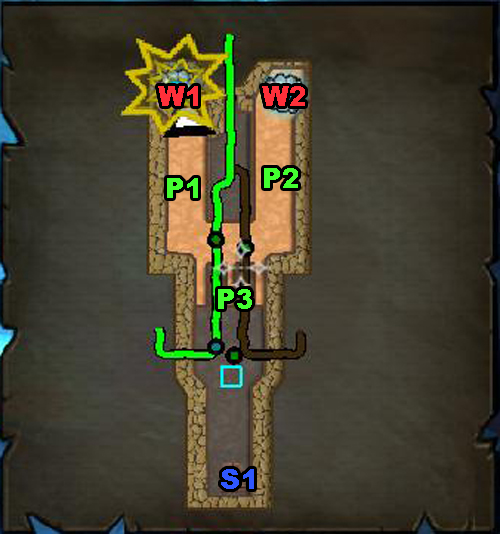
Time limit: 6:00
Waves: 5
Enemies: Light Orc Warrior , Medium Orc Warrior, Earth Elemental
Recommended weapons and traps: Sceptre of Domination (Blunderbuss), ice vent (tap), acid sprayer (wall of spikes)
Reward: healing trinket
Walkthrough:
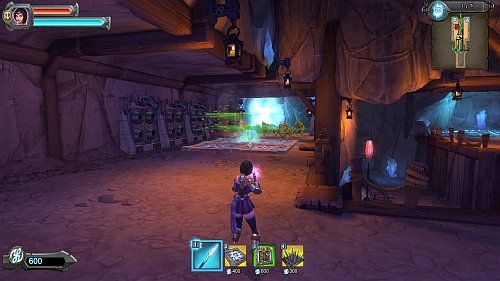
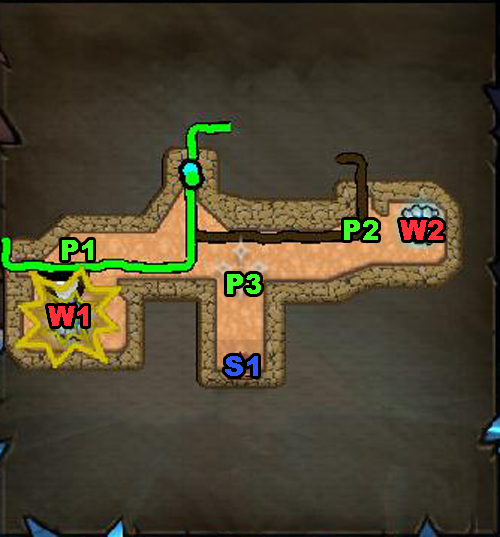
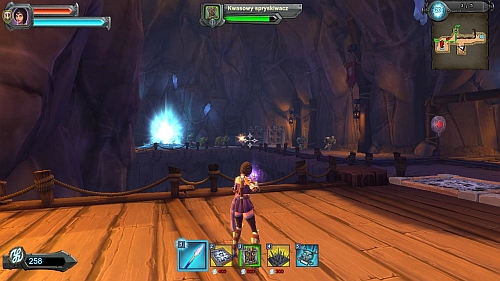
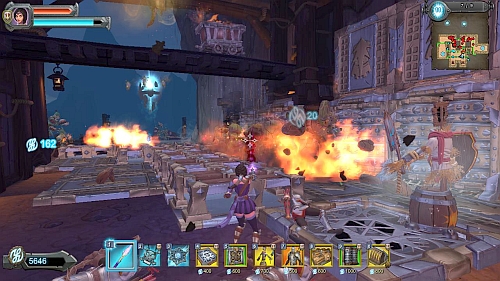
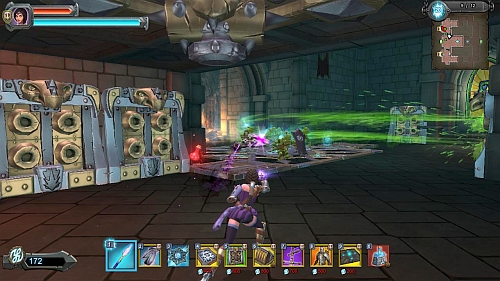
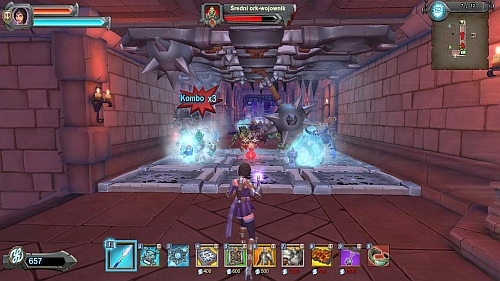
This time there are two entrances (W1, W2). Tap some sprayers and vents on the left flank (P1) and release the first wave (picture). Buy another sprayers and vents and set them in the right corridor (P2). Continue with this tactic and if you have some problems with orcs you can also tap some sprayers on the wall near the stairs (P3). During the fourth wave the earth elemental will come to the battlefield. Watch out for them because they are dangerous and after death they transform into two earthlings. If you play as a Sorceress you can use charm on this big monsters. Thanks to that they start fighting wit orcs.
Nightmare difficulty:
Use three barricades in the left corridor (P1) to create a narrow path near the wall. Tap there grinders and some vents on the floor. Lengthen this path and in the meantime eliminate all enemies from the second entrance. After a couple of waves tap some paladins near the stairs (P3).
Time limit: 5:30
Waves: 5
Enemies: Light Orc Warrior , Medium Orc Warrior, Kobold Runner
Recommended weapons and traps: Sceptre of Domination (Blunderbuss), ice vent (tap), acid sprayer (wall of spikes), spikes
Reward: spring trap
Walkthrough:
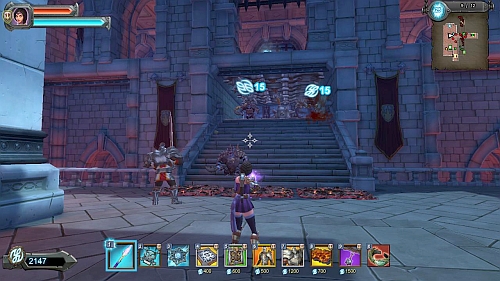
Enemy will attack from two entrances (W1, W2). First move to the left side (W1) and tap there (P1) some acid sprayers and ice vents. After release the horde start shooting at enemies (watch out for fast cobolds, which can run to the rift (S1). After the first wave tap sprayers and vents on the left side (P2). Continue this tactic and eliminate orcs from the bridge (picture) where you can stop the cobolds. If you have problems with enemies you can tap spikes and vents in front of the bridge (P3).
Nightmare difficulty:
Place three ice vents at the beginning of the bridge (P3) and set there one paladin. After that start setting sprayers on the left (P1) and right (P2) side. You can also buy another paladin after a while. During the defend watch out especially for cobolds (they can be killed by brimstones set on the bridge).
Time limit: 9:00
Waves: 7
Enemies: Light Orc Warrior , Medium Orc Warrior, Crossbow Orc, Kobold Runner, Earth Elemental
Recommended weapons and traps: Sceptre of Domination (Blunderbuss), bone amulet, ice vent (tap), acid sprayer (wall of spikes), spikes, spring trap
Reward: dwarven
Walkthrough:
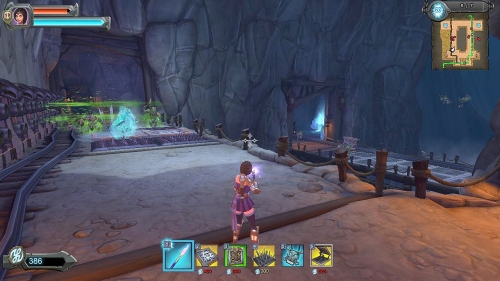
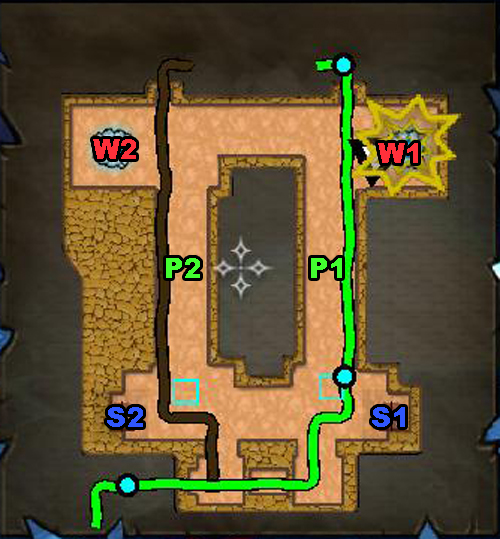
In this mission you have to defend yourself on two flanks. Before the level you can buy upgrades for spring trap. Set them on the right bridge (P1) chasms-ward. Place two of them in a line (the bogie will do the rest). Six of them is enough for start. On the left flank start setting sprayers (P2) on the all wall's length and vents on the floor. Now stand on the left side where you will have great view (picture) on two flanks. Watch out for fast cobolds and earth elementals (the last monster won't be pushed by spring trap). Of course use your weapon to help your traps.
Nightmare difficulty:
Cut the price of spring trap and tap it on the bridge (P1). On the left flank (P2) set sprayers on the wall and start tapting vents on the floor. With this kind of defend you won't have any problems with defend the area.
Time limit: 12:00
Waves: 8
Enemies: Light Orc Warrior, Medium Orc Warrior, Crossbow Orc, Kobold Runner, Earth Elemental, Cobold Sapper
Recommended weapons and traps: Sceptre of Domination (Blunderbuss), bone amulet, ice vent (tap), acid sprayer (wall of spikes), spikes
Reward: barricade
Walkthrough:
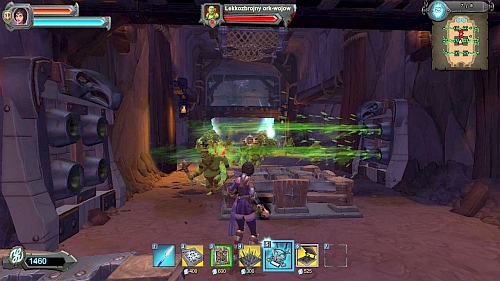
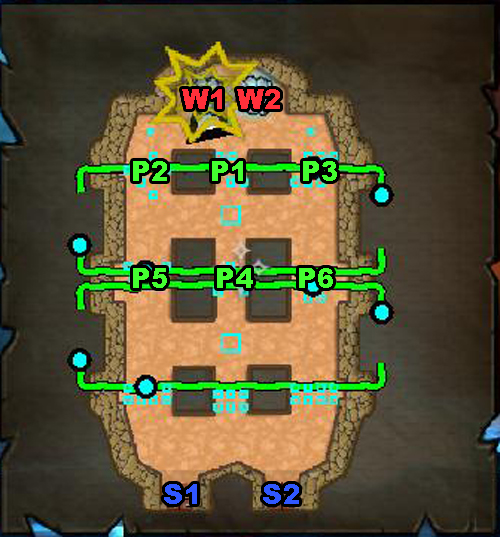
On this map are three lines of corridors with barricades (P1-P6). The best way to defend them is set sprayers and vents in the corridors and running from one defensive point to another (picture). You can also use trap on the map - near the entrances (W1, W2) are bombs on the ceiling, there are also bogies with lava and boulder chutes. Watch out for sappers, they will try to destroy the barricades and can seriously hurt you. You should also know that if enemy destroys one of the barricade near the rifts (S1, S2), than he will attack only on this path and ignore another two. So you can focus only on this one corridor then.
Nightmare difficulty:
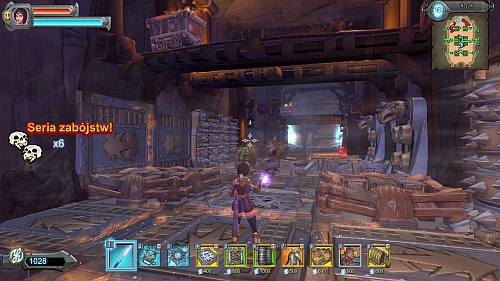
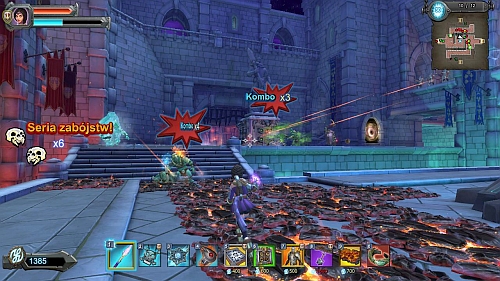
Start from set barricades in left (P5) and right (P6) corridors. Then set another barricade in central one (P4) in order to create narrow path near one of the walls. Tap there some grinders, vents and scorchers (it's good idea to upgrade it and tap on the walls). On the opposite wall set some sprayers. When you get more money buy more of these traps. Behind the corridor you can set some archers and dwarves. In this way you will create deadly corridor where you can eliminate all waves of enemies (picture). Remember to rebuild destroyed barricades.
Time limit: 17:00
Waves: 9
Enemies: Light Orc Warrior , Medium Orc Warrior, Crossbow Orc, Kobold Runner, Earth Elemental, Cobold Sapper, Bilebat
Recommended weapons and traps: Sceptre of Domination (Blunderbuss), bone amulet, ice vent (tap), acid sprayer (wall of spikes), spikes
Reward: haymaker
Walkthrough:
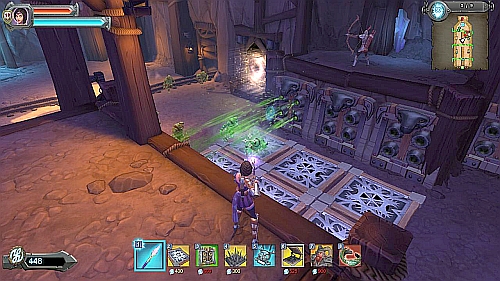
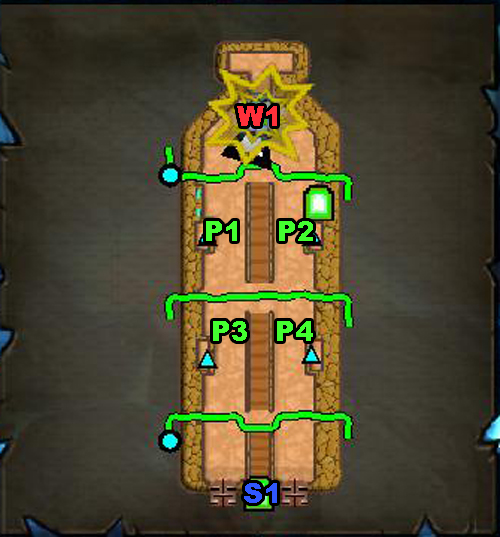
Enemies will attack only from one entrance (W1) and they practically won't run on the central path. So set vents and sprayers in two corridors (P1, P2). You can stand on the central one and attack enemies from above (picture).
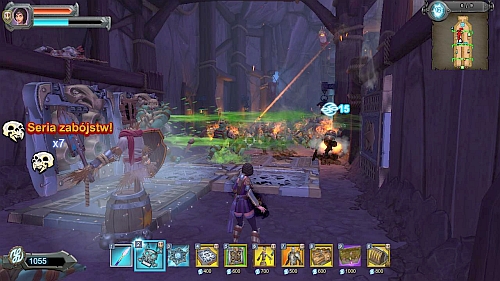
Be careful because sometimes you will be attacked by flying enemies (picture). The archers will help you in fight with them but if the monsters kill them then eliminate them as fast as you can because they can unnoticed get to the rift. In later waves buy another sprayers and vents and corridors (P3, P4) behind the tracks. In this way you will get enough time to eliminate all orcs.
Nightmare difficulty:

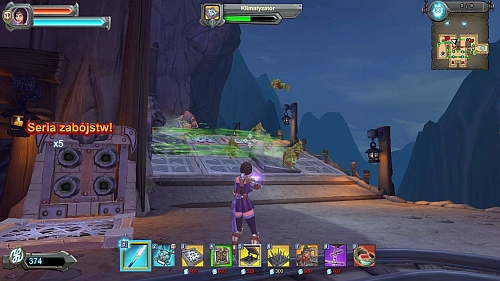
Start from setting three barricades on the right flank (P2) and some archers on the catwalk (P1). Try to buy more of them in the time. At the end of the left corridor (P1) buy decoy (upgrade it with option to freezing enemies) and in front of the decoy tap vents and scorchers (tap them also on the wall). In this way you will create powerful defensive line (picture). Remember to rebuild barricades on the right side if the sappers destroy them, and the decoy if enemies devastate it.
Time limit: 18:30
Waves: 9
Enemies: Light Orc Warrior , Medium Orc Warrior, Crossbow Orc, Kobold Runner, Earth Elemental, ogre, Bilebat
Recommended weapons and traps: Sceptre of Domination (Blunderbuss), bone amulet, ice vent (tap), acid sprayer (wall of spikes), spring trap
Reward: boulder chute
Walkthrough:
On this level you have to repel the enemy attacks from the land (W1, W2) and the air (W3, W4). Firstly buy some spring traps and tap them in the chasms direction (P1, P2 - start from P2 because there will be the first attack). You can also add some sprayers on the walls which will provide more power to defensive line (picture). Remember that bigger enemies (like ogres) won't be pushed by traps so eliminate them in the first line.
For money buy more sprayers and vents in corridors (P3, P4). In this way you will eliminate even the heaviest enemies (picture). If some will get nearby rifts (S1, S2) you can always shoot at the bogie or boulder chute on the ceiling. Also watch out for air units and eliminate them quickly.
Nightmare difficulty:
Set barricades behind the second tracks on the right side (P4) to create a narrow path near the wall. Tap some vents, grinders on the wall and scorchers with mouth to the ground. After the first wave tap four barricades behind the second tracks on the left side (P3). Now lengthen the path on the right side (buy another barricades, grinders, vents and scorchers) (picture). At the end you can also tap some decoy to hold the enemy for a while. Watch out for flying units (after 5th wave where will be lots of gnolls you can buy some archers which will attack flying and land units).
Time limit: 13:30
Waves: 9
Enemies: Light Orc Warrior , Medium Orc Warrior, Heavy Orc Warrior, Crossbow Orc, Kobold Runner, Cobold Sapper, ogre, Gnoll Hunter
Recommended weapons and traps: Sceptre of Domination (Blunderbuss), bone amulet, ice vent (tap), acid sprayer (wall of spikes), swinging mace, dwarven
Reward: ice amulet
Walkthrough:
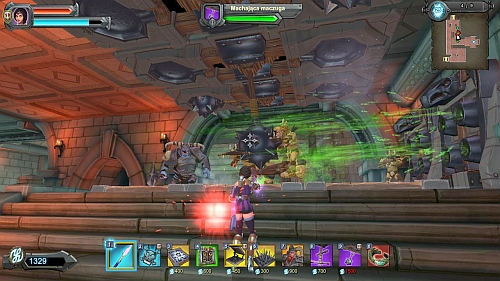
Enemies will attack from two entrances (W1, W2) but their road will concur in one place, so you have to make one kill box on the top of the stairs (P1). Tap here 2-3 swinging maces and vents on the floor. In time buy sprayers and in this way you will create powerful defensive line (picture). Watch out for gnolls and cobolds.
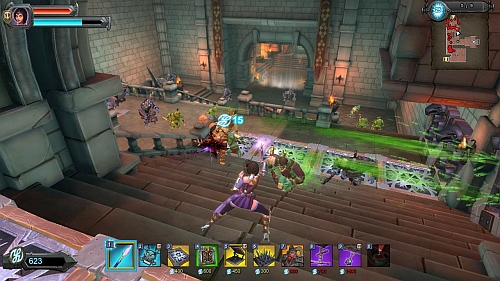
In time it's a good idea to set another sprayers and vents in front of the stairs (P2, P3). In this way you will be able to attack enemies earlier (picture). If you want you can also place dwarves on the platform between two corridors.
Nightmare difficulty:
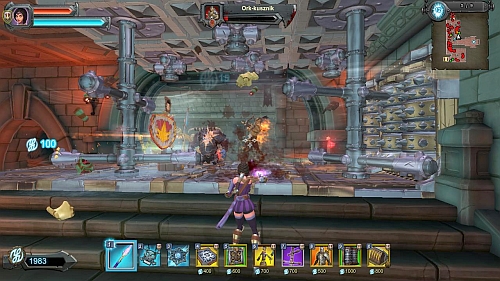
Create main defensive line on the top of the stairs (P1). On the central part of floor tap four vents, set four scorchers on the sides and one decoy. On the right wall tap grinders and on the ceiling haymakers (picture). You can also can add some archers on the nearby platform and buy another traps in time.
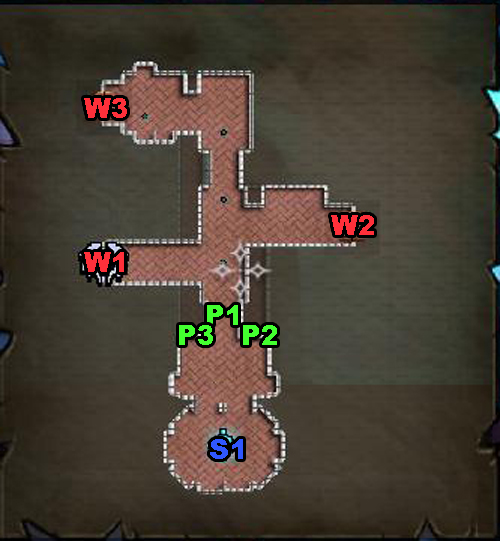
Time limit: 23:00
Waves: 12
Enemies: Light Orc Warrior , Medium Orc Warrior, Heavy Orc Warrior, Crossbow Orc, Kobold Runner, Cobold Sapper, ogre, Gnoll Hunter, troll, Earth Elemental
Recommended weapons and traps: Sceptre of Domination (Blunderbuss), bone amulet, ice amulet, ice vent (tap), acid sprayer (wall of spikes), swinging mace
Reward: archer
Walkthrough:
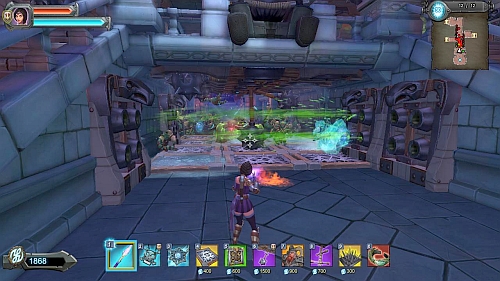
This time you have to repel attacks from three entrances (W1, W2, W3). The best way to do it is to set swinging maces in places with low ceilings. Set two of them in the central tunnel (P1) and one on the left and one on the right side (P2, P3) at the top of the stairs. After repel the first wave start buying another maces and vents, stand near the rift and shoot down any enemy that will show up. It's hard to 5-6 wave because enemies can get close to the rift so kill them at all cost. After that buy another maces and sprayers (picture).
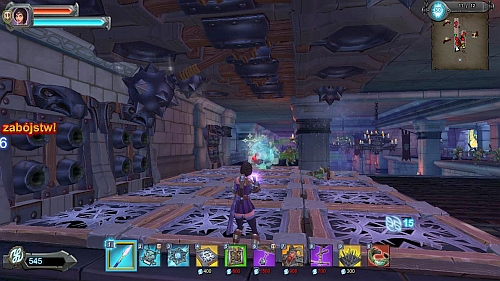
On the top of the stairs buy another maces, vents and sprayers (picture). When trolls appear froze them with ice amulet and attack with bone amulet or ring of lightning. Stand near the rift and eliminate all enemies which will move through the traps. Later set vents and sprayers at the bottom of the stairs. In the moment when you will get 4-5 maces in every defensive point you will repel any attacks without a problem.
Nightmare difficulty:
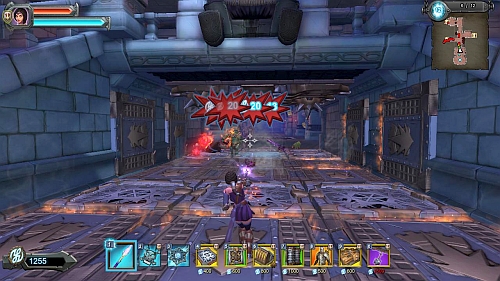
Set three barricades at the bottom of the stairs on the left and right side. Then in the central corridor (P1) set swinging mace and vents. Repel first waves. Concentrate mainly on sappers on the higher ground, because they will try to destroy the barricades. In the meantime set new maces and scorchers in the central corridor. When you will get 4-5 maces and all floor in traps the enemies will have a real problem (picture). If you want you can also set some archers behind the corridor and some traps at the top of the stairs. Remember that the most important thing is to eliminate sappers and do not let them to destroy barricades.
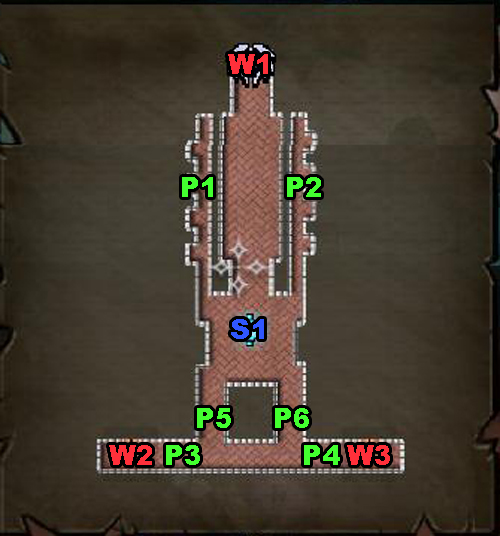
Time limit: 23:00
Waves: 12
Enemies: Light Orc Warrior , Medium Orc Warrior, Heavy Orc Warrior, Kobold Runner, ogre, Gnoll Hunter, troll, Earth Lord, Fire Babies, Hellbat, Gnoll Hunter
Recommended weapons and traps: Sceptre of Domination (Blunderbuss), bone amulet, ice amulet, ice vent (tap), acid sprayer (wall of spikes), swinging mace, archer
Reward: Boom Barrel Dispenser
Walkthrough:
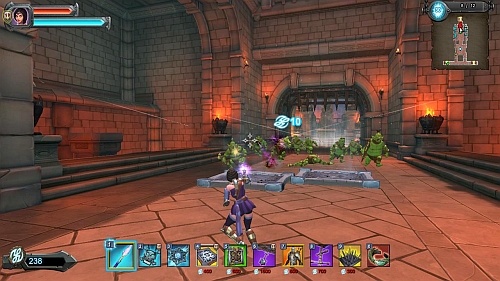
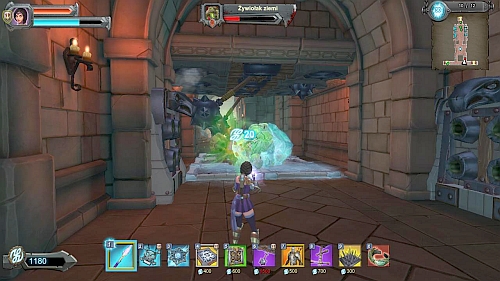
Before you start this mission cut the price of the archers. Then set them on the catwalks (P1, P2) and if you get more money buy them more (about 15 should be enough) and tap some vents on the floor which will slow orcs (picture). This is important because every wave starts from this entrance (W1).
After the third wave start setting traps near two another entrances (W2, W3) because enemies will attack mostly from that gates. Firstly pick one of the passage (P3 or P4) and tap there vents and sprayers. In the second one set vents and eliminate all enemies by yourself. when you get some cash buy swinging maces in corridor with traps and in time buy some vents (do the same with the second corridor). In this way you will repel every attack (picture).
Nightmare difficulty:
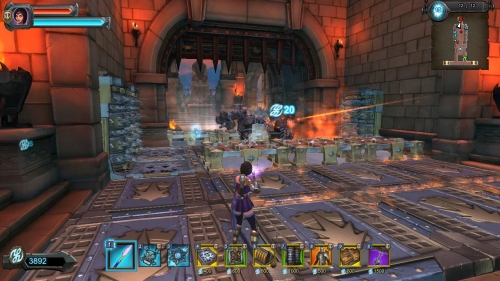
Use barricades to create a maze near first entrance (W1) - tap two of them on the left side of the entrance and three on the right side from the wall, remember that you have to make a path between barricades. On the left and right wall tap grinders and set some archers on the catwalks on left and right side of the corridor (you must protect them from gnolls). Empower maze with scorchers and vents (picture).
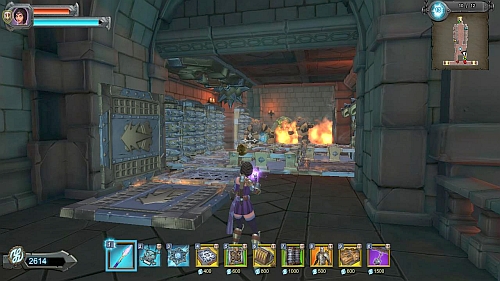
In the fourth wave quickly get down and block one of the passages (P5 or P6) with two barricades and set three barricades in the second one in that way that will create a narrow path near the wall. On the ceiling (along the path) place swinging mace and set grinders on the wall. In time buy also scorchers and no one will breakthrough (picture). Remember to protect archers from gnolls.
Time limit: 14:30
Waves: 12
Enemies: Light Orc Warrior , Medium Orc Warrior, Heavy Orc Warrior, Kobold Runner, Cobold Sapper, fire ogre, frost ogre
Recommended weapons and traps: Sceptre of Domination (Blunderbuss), bone amulet, ice amulet, ice vent (tap), acid sprayer (wall of spikes), archer
Reward: Fire Bracers
Walkthrough:
Place archers on two catwalks (P1, P2). From there they will be able to shooting at two entrances (W1, W2). Near entrances (P3, P4) buy mainly vents and sprayers. This will slow down orcs and archers will be able to quickly kill them (picture). Watch out for cobolds who can quickly get to the first rift (S1). To avoid that in front of the rift place some vents and sprayers. Normal orcs shouldn't be a problem but more trouble are with ogres. Use ice amulet on fire ogres and try to provoke frost ogres to attack you which will give a time for archers to kill them. If some enemies get to corridors leading to the second rift (S2) use portal to quickly get there and stop them.
Nightmare difficulty:
Set sprayers and coinforges in front of the entrances (W1, W2). For the rest of the money tap archers on the catwalks (P1, P2) and concentrate on eliminating gnolls because they can quickly kill bowmen. In the meantime set another sprayers and scorches in order to kill as many enemies on the coinforges as it possible (picture). Later buy haymakers under the catwalks with archers and under the ceiling at the bottom of the stairs on the left and right side of the map. After that buy another sprayers and watch out for gnolls, cobolds and ogres.
Time limit: 27:00
Waves: 12
Enemies: Light Orc Warrior , Medium Orc Warrior, Heavy Orc Warrior, Kobold Runner, ogre, fire ogre, frost ogre, troll, Gnoll Hunter, Earth Lord, frost bat
Recommended weapons and traps: Sceptre of Domination (Blunderbuss), bone amulet, ice amulet, Fire Bracers, ice vent (tap), acid sprayer (wall of spikes), archer, swinging mace, brimstone
Reward: bear trap
Walkthrough:
Before the mission is good to cut the price on the archers and buy brimstone with upgrades. Start from setting two swinging maces and vents near the north entrance (P1). For the rest of the money buy mace on the south (P2). In the third wave start buying archers and placing them on the north (P3) and south (P4) catwalks (they must be close to the inner edge in order to fire on the main square with rift). When you get some cash buy another maces in north (P1) and south (P2) corridor and place there some vents. Then buy another archers and protect them from the gnolls. In time start setting vents on at the top of the stairs (P5, P6) and at the bottom set some brimstones. This is great trap for cobolds. With archers, vents and brimstones you can easily repel every attack (picture). Of course you can also buy some other traps like sprayers.
Nightmare difficulty:
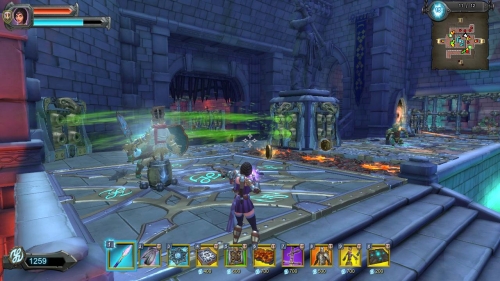
Start from placing coinforge with decoy on it at the top of the stairs (P5). On the right side of it place some brimstones (it will deal with cobolds), vents and another coinforge. Then start placing archers around the square with rift (S1). In the next wave place coinforge with decoy (they are important because can stop the enemies and give you time to kill them, as you can see on the picture), brimstones and vents on the opposite side (P6). In the third wave start setting traps close corridors (from entrances W3 and W4). On the floor set coinforges, sprayers on the walls and haymakers on the ceiling. Then buy some brimstones at the bottom of the stairs near the rift and buy another archers, haymakers and sprayers.
Time limit: 9:30
Waves: 9
Enemies: Light Orc Warrior , Medium Orc Warrior, Heavy Orc Warrior, Crossbow Orc, Kobold Runner, ogre, troll, Swamp troll
Recommended weapons and traps: Sceptre of Domination (Blunderbuss), bone amulet, Fire Bracers, ice vent (tap), paladin, archer, brimstone
Reward: shock zapper
Walkthrough:
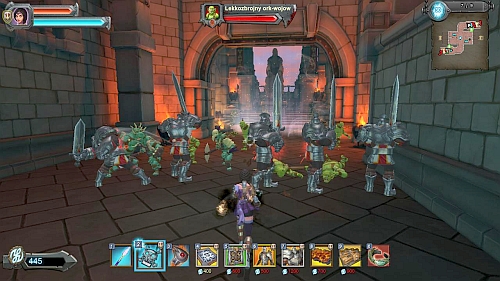
Before this mission it's a good idea to upgrade paladins (their maximum health and regenerates ability). First two waves will attack from two entrances (W1, W2). In the corridors (P1, P2) place two paladins in each. Help them in fight with orcs (picture) - if you want to quickly travel between corridors you can use portal on the top of the stairs. For money buy and set 6 brimstones (or 5 archers) in the underground tunnel (P3). In this way you will eliminate cobolds.
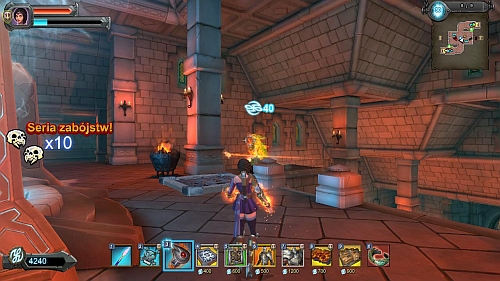
For the rest of the money buy more paladins (4-5 knights in every corridor should be enough). Now your main enemies will be trolls who will enter from two entrances (W3, W4). Tap vent on the top of the left stairs and archers on the platform on the right side (P4, P5). When troll get to the top of the stairs attack him with fire bracelets (picture) or with ring of lighting. Remember to help the paladins especially when the ogres will show up.
Nightmare difficulty:
In this mission you have to be quick from the beginning. At the end of the first corridor (P1) place three barricades and create narrow path near the wall. Place there grinders and vents. Then buy another barricades and place them in the second corridor (P2) in the same way. Eliminate first wave (use ice amulet and ring of lighting to eliminate the trolls). In the second wave set grinders and vents in the second corridor. Before third attack quickly get to the underground tunnel and place there 5 archers who will eliminate cobolds. Back to the top and continue with upgrading traps (set scorches and haymakers near narrow paths). Before the fourth wave set vents in front of the entrances at the bottom (W3, W4). When trolls get on the vents kill them with thunders. Then place archers near the rift so they can shooting at the enemies near barricades (picture). Help them in the fight and don't forget to attacking the trolls.
Time limit: 16:30
Waves: 12
Enemies: Light Orc Warrior , Medium Orc Warrior, Heavy Orc Warrior, Crossbow Orc, Kobold Runner, Cobold Sapper, Hobgoblin Shaman , Cyclop Mage, Gnoll Hunter, fire ogre
Recommended weapons and traps: Sceptre of Domination (Blunderbuss), bone amulet, ice amulet, ice vent (tap), swinging mace, brimstone, paladin
Reward: void wall
Walkthrough:
Set three swinging maces and vents near the portal (P1) and another two maces at the top of the stairs (P2) near second entrance (W2). In breaks between waves set another maces and vents in these same places which will help you eliminate big groups of orcs (picture).
Near the third entrance (W3) set two brimstones (P3), it will be enough for now. Set brimstones in the corridor (P4) because cobolds can run there. When you end with setting the maces buy paladin and brimstones and set them at the bottom of the stairs (P5). In this way you will be able to repel any attack (picture). Now set next brimstones on the square in front of the rift. If you have problems with fire ogres or cyclops remember to froze them with ice amulet and finish them with bone amulet or ring of lightning.
Nightmare difficulty:
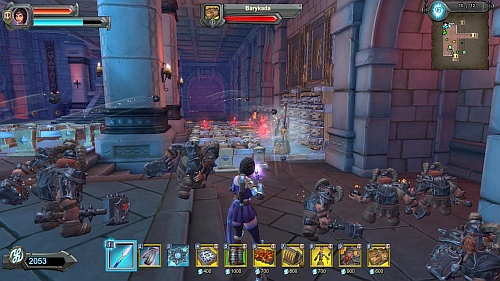
The main defensive line in this mission should be set on the right side of the rift (S1). Use barricade to block all ways to the rift and create a narrow path near the wall on the right side. Set there grinders, vents and scorchers and some brimstones in front of the barricades (it will help you to kill the sappers). At the end of the path tap a decoy and behind all these traps set some dwarves (defend them from gnolls) (picture). In time buy brimstones and set them on the main square. If you want to get rid of the enemies quicker move to the higher corridor (P1) and make another big trap (for example you can set there two barricades with narrow path near wall where you can set grinders and haymakers or swinging mace). In this mission watch out for cyclops. They have dangerous missiles so eliminate them as fast as you can.
Time limit: 16:30
Waves: 12
Enemies: Heavy Orc Warrior, Crossbow Orc, Kobold Runner, Earth Lord, Gnoll Hunter, troll, Swamp troll, Hobgoblin Shaman , Cyclop Mage, org, Thunderbat, Kobold Runner, Earth Elemental
Recommended weapons and traps: Sceptre of Domination (Blunderbuss), bone amulet, ice amulet, tap, pounder, barricade, ginder
Reward: nightmare mode, costume
Walkthrough:
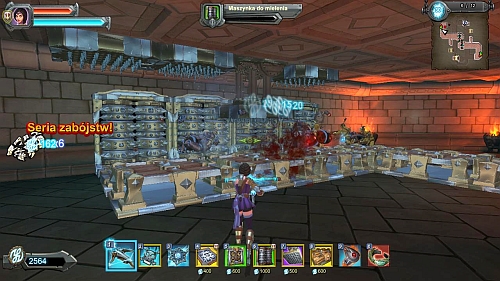
Key to win in this level is to set trap on one flank and fight with the orc on the other side. It doesn't matter if you choose to set traps on the north (P2) or on the south (P1) remember that you will have to fight with enemies on the opposite flank. Set three barricades from stairs to the wall and the set another ones creating narrow path near the wall. Set there grinders, vents and haymakers or pounders. In this way you will create great defensive line (picture). In the meantime eliminate orcs on the other side and between the waves lengthen the path.
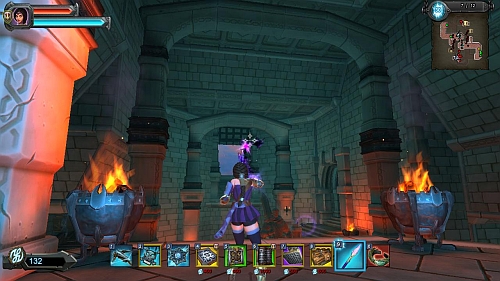
When you get to the half of the wall start making second path on the opposite place. To third wave you should have at least short path. From the third wave you will also be attacked by flying enemies (W5, W6). The best way to eliminate them is using ice amulet (picture) but you can also buy archers. In the next part of the mission continue with constructing path and eliminate enemies.
Nightmare difficulty:
On this difficulty level you have to running from one rift to another without a brake and eliminate all enemies that can get into it. Before the level upgrade all traps and weapons to level 3: sceptre of domination (blunderbuss), ice amulet, ring of lightning, acid sprayer, haymaker, decoy (with recharge ability), scorcher, steam trap, mana rage trinket.
Choose one of the rifts and in the corridor at the bottom of the stairs set two lines of steam traps, tap decoy on them and on the ceiling set four haymakers. Use rest of the money to buy archers near both rifts (they must shoot at flying enemies from two entrances W5 and W6) and some steam traps on the corridor near the next rift. Use magic and weapons to kill all enemies on the weaker flank and quickly get to the second one and help your traps in fight. In the second wave buy one archer on the each rift and start setting traps on the weaker flank (tap there decoy). In the next waves continue setting another traps (scorches, sprayers) and don't forget to jumping between the rifts and eliminating all enemies. In the fourth wave quickly kill one or two earth lords (use mana trinket) because there will be four of them and it will be hard to kill them all when they get close to the rifts. Also look out for gnolls, they can easily kill archers. Continue setting traps (new haymakers, scorchers etc.) until you create powerful defensive lines (picture). On this level the most important thing is still looking at the minimap and kill all enemies who pass through the traps. You can also use ice amulet in fight with flying units which will help you archers. When the defensive lines will be ready it will be a piece of cake to end this level.



 Overlord II Game Guide & Walkthrough
 Omerta: City of Gangsters Game Guide & Walkthrough
 Overlord Game Guide & Walkthrough
 Outlast Game Guide & Walkthrough
 Orcs Must Die! 2 Game Guide & Walkthrough