

The guide to Car Mechanic Simulator 2015 is a complete source of information that allows you to uncover all secrets of car mechanic work in the newest installment of popular simulator game. In this guide you will find many advices about renovating various car parts, including ones under the front bonnet, and those found outside the car. You will also find here advices about receiving orders and buying various upgrades. You will learn how to successfully participate in auctions available during the game and how to make lots of money from it, how to repair previously broken things in order to save some money on shopping. You will find here some advices about effective car diagnostic and checking their technical state and about using the potential of the garage. In final chapter you will find some example solution to selected tasks that you can receive in random moments.
Car Mechanic Simulator 2015 game guide contains:
Amadeusz "ElMundo" Cyganek ()
To make navigation process easier, I decided to use colors that will help you find most important information:
This guide has been created based on version 1.0.2.3 of the game.

Use item.

Browse parts stock.

Montage mode.

Car paint montage mode.

Show or hide car paint.

Show or hide parts state.

Move car.

Show repair task.

Watch parts, unscrew the screws.

Disassemble parts, demount parts, examine parts.

Montage mode.

Dismantling mode.

Examine mode

Browse parts stock.

Show repair task.

Car controling

Change camera view

OBD scanner

Compression tester

Electronic measure
Points gained at the beginning of the game should be exchanged for diagnostic tools, only after that you should focus on upgrading your repairing abilities. Making unscrewing and disassembling parts faster seems much less important, but it is a quite nagging action so less patient players should start with that.
You shouldn't grind your experience points by, for example, repeatedly unscrewing and mounting a single part. After you reach 3000 points you gain much less points for such action and you won't get any money for that which can be used for unlocking new diagnostic path or garage.
At the beginning you should pick as uncomplicated tasks as possible - they will allow you to quickly gain experience points (100 for each completed repair) with not much work.
Remember to use financial aid wisely - you get it only once!
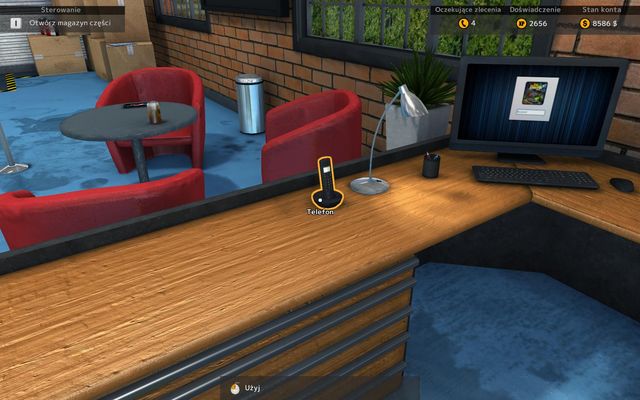 None car service would last long without a phone!
In difference to previous installment in the series, in Car Mechanic Simulator 2015 it's up to you to decide which orders proposed by the game you will do. You can make that choice by using the phone - there you will find a list of four available repairs. The amount of experience you have is important - some orders in the panel are unlocked after receiving a specific amount of points. You should notice that some tasks has a preset list of parts which you must change in the car - but they are less rewarding. The one in which you must diagnose the problem yourself will give you more experience points.
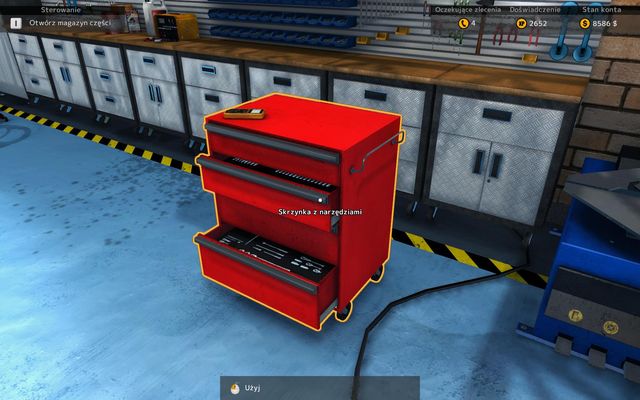 You gain access to upgrades through the toolbox.
As you progress in the game you can buy various upgrades that impact the speed and effectiveness of your repairs. Each of them is available by clicking on the toolbox in your garage and cost one point received every 1000 experience points. Upgrades are divided into three categories:
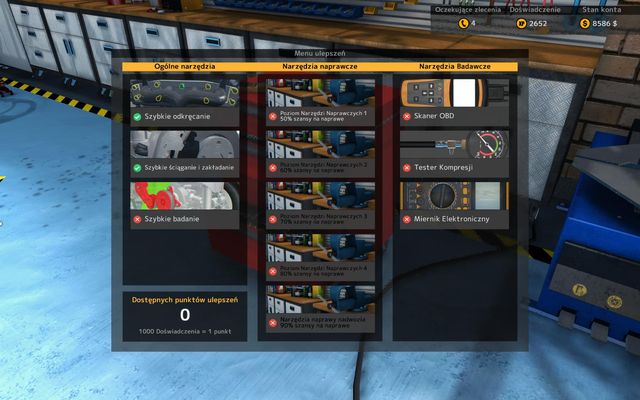 There are a lot of upgrades!
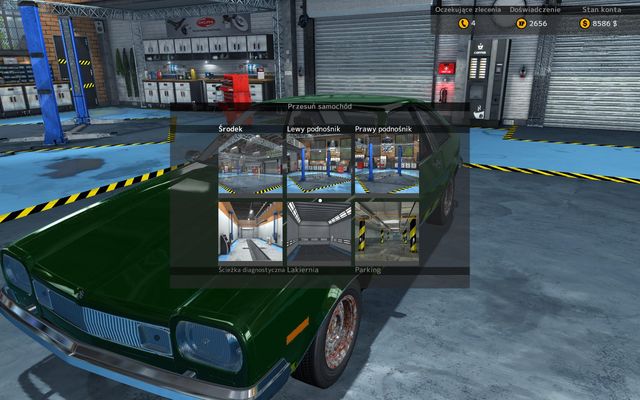 This tab allows you to easily move car between various places in the garage.
Using the jack is mandatory in case of orders associated with suspension, exhaust system or lower engine parts. By default new car for you to repair is placed in the center of the garage - but you will find two jacks in the room on which you can move the car. To do it, move your mouse on selected vehicle and press M key. In new key you must pick one of the jacks - the left or right one.
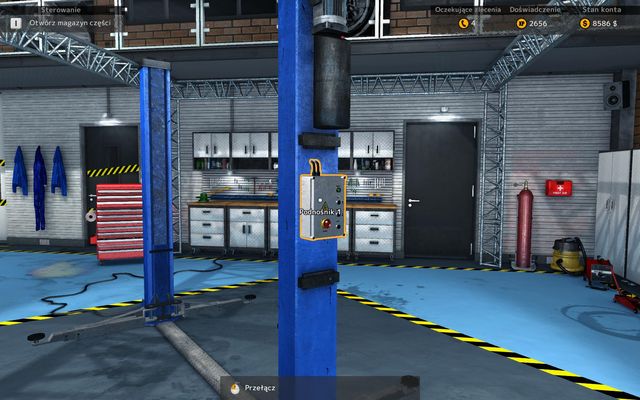 Jack can be activated by pressing the button on the mechanism.
After placing the car on one of the devices all that is left to do is to move the car up - it can be done by activating the mechanism found on the left arm of the jack.
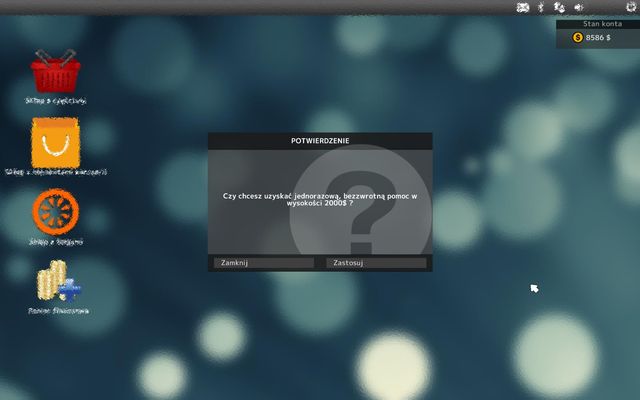 Free cash is always a nice thing!
In case of financial trouble at the beginning of the game it is possible to take a free loan, very comfortable for many players. It is given on very favorable conditions as you receive 2000 dollars of help that you don't need to return. But remember that such loan is given only once, future credits must be paid!
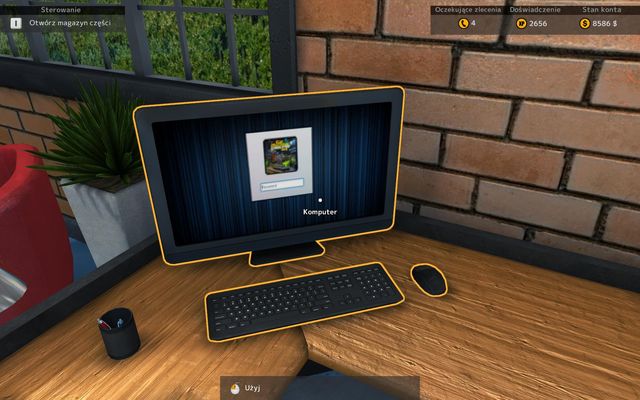 Computer allows you to buy necessary parts.
Crucial part of each car renovation is buying new parts. It can be done through an online shop available via computer on the desk. Shop is divided into three separate categories:
Each part that you buy is stored in the stock which can be opened at any time by pressing I key.
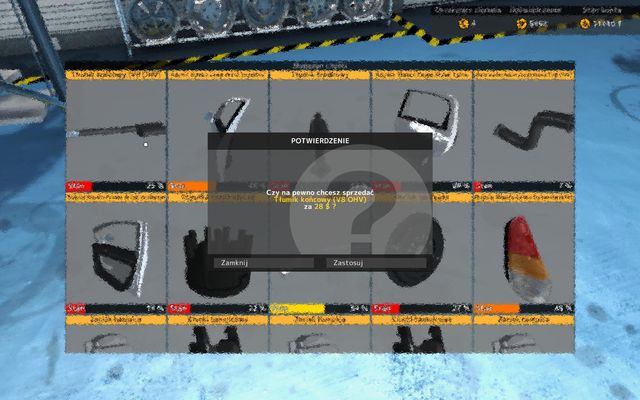 Selling a muffler for 30 dollars is not very profitable business.
Each part that you have in your stock can be sold on the second hand market - prices go from few to few hundred dollars and it mostly depends on technical state of a part. Most damaged elements (to 10%) and common parts, such as brake pads or car candle will give you not more than few dollars. Because of that, you should repair worn items - if you won't use them in car repair then at least you earn more money for them.
The garage in which you work give you many options. Let's see what can be found in that room.
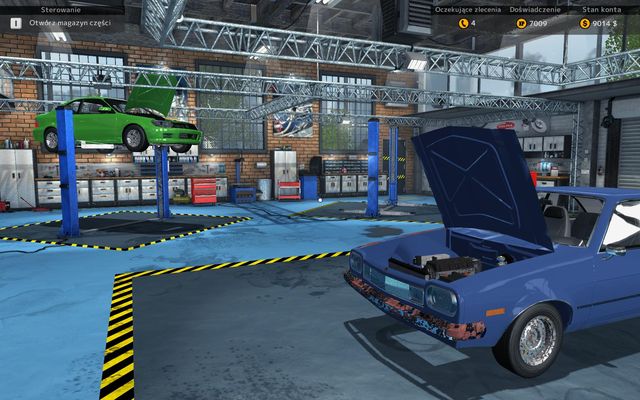
Main room is obviously the command center - here you will find three places for car - one in the center and two on sides - the latter have a jack as well.
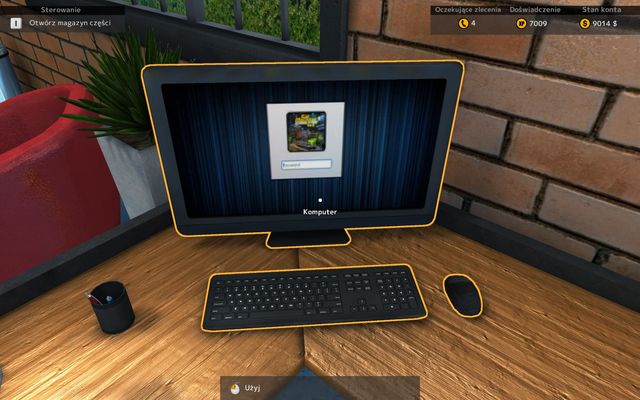
Computer can be used for buying various car parts: including inside components, car paint and rims. Here you will be given one-time financial aid of 2000 dollars as well.
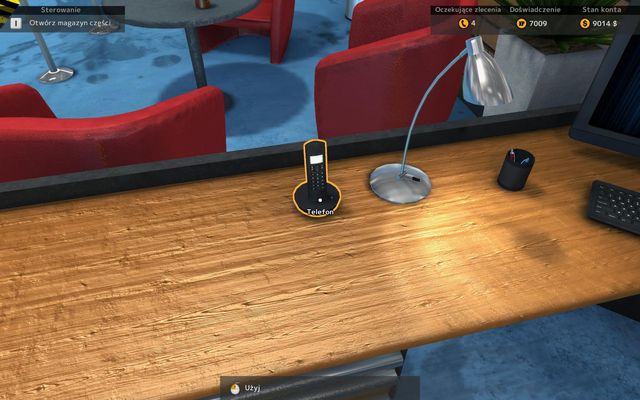
Phone is used for picking orders.
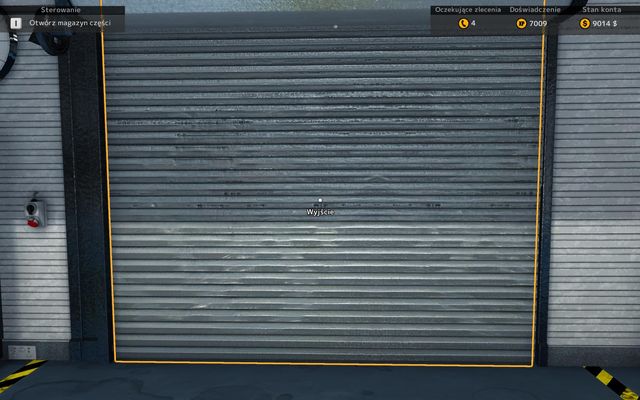
Two gates give you access to the test track, parking lot and auction center where you can buy damaged vehicles.
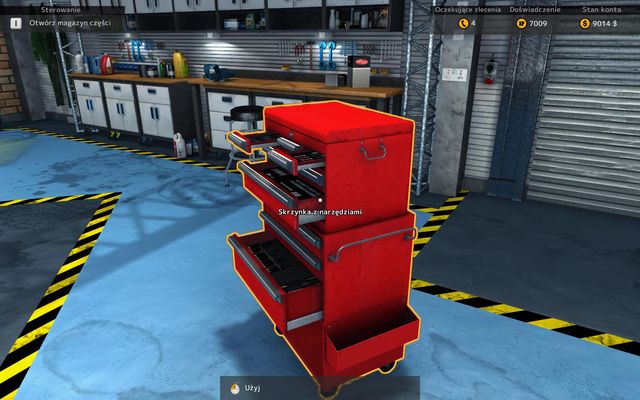
Four toolboxes allow you to buy upgrades.
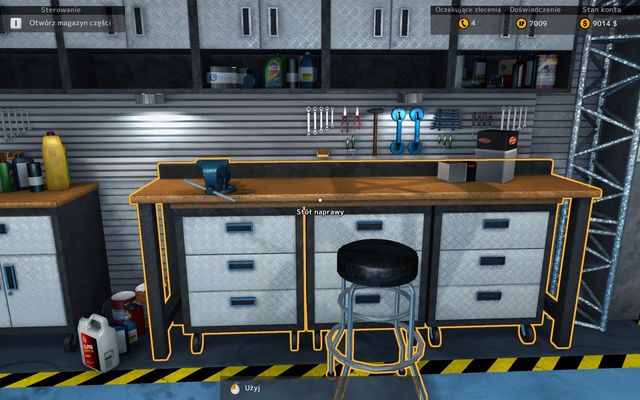
On repair desk you can renovate worn parts.
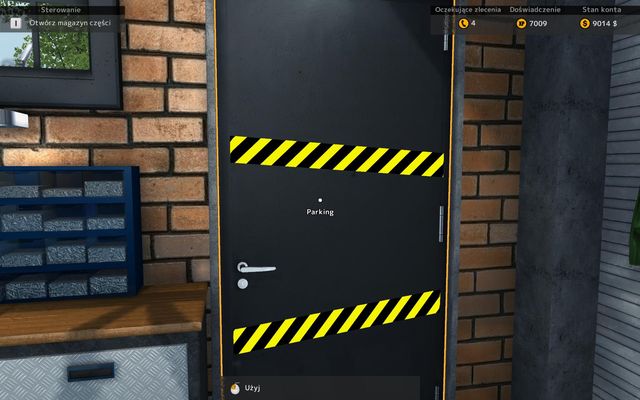
Door to parking gives you a quick access to vehicles you have bought.
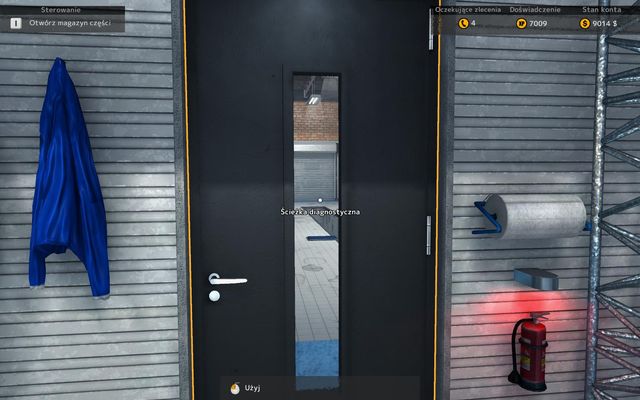
Door to diagnostic path allows you to quickly test vehicle suspension and brakes.
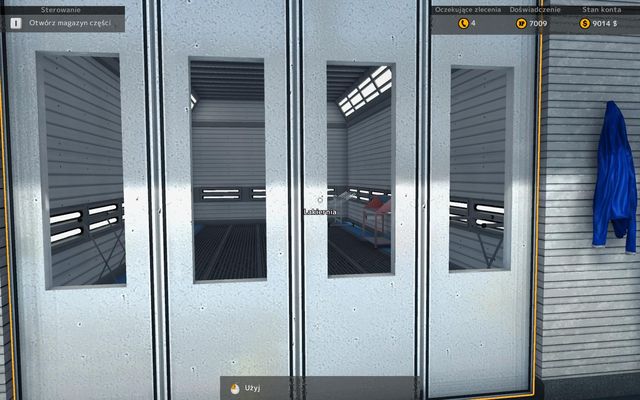
In paint shop you can change the color of cars that are in your garage.
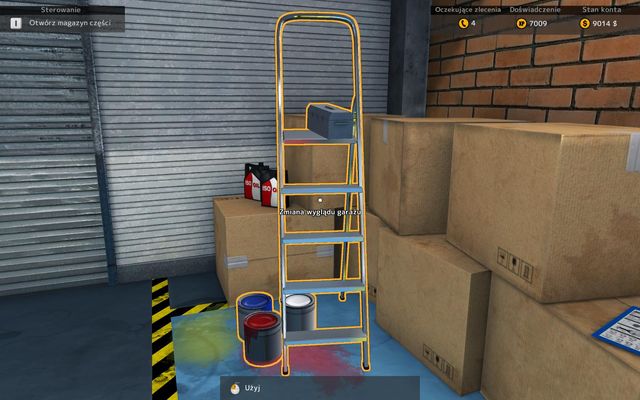
Ladder allows you to change the looks of your garage.
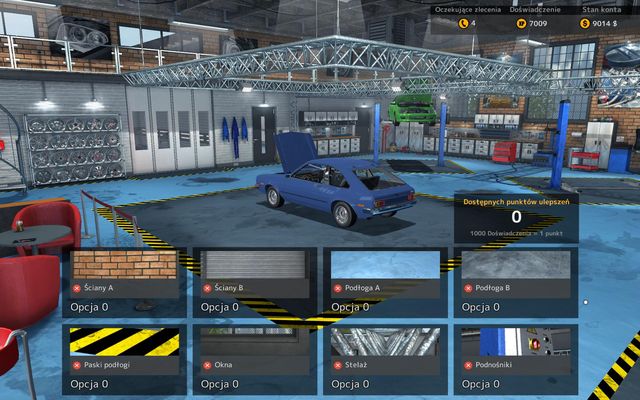 There is not a lot of possibilities, but better few than none!
With the ladder found in the garage you can easily change the looks of your garage. You can choose from few walls and floors, pick some more effective jacks or racks. Each change costs one point received for each 1000 experience points you gain.
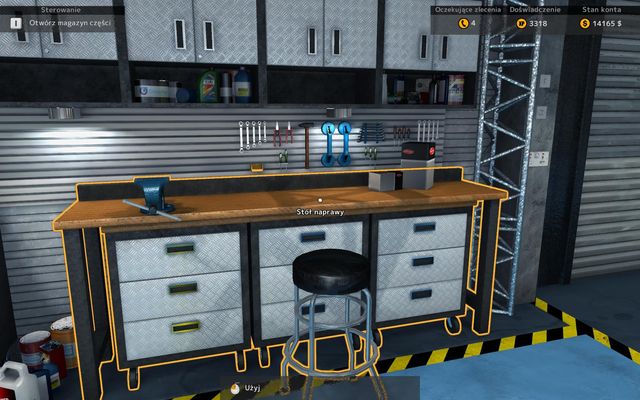 Repairs are done here.
Repairing worn parts can greatly limit expenses from buying new components required for renovations. As the amount of broken parts increase after completing successive renovations it is a good idea to upgrade their technical stale by repairing them. It can be done at the repair desk found in the garage.
Whether it succeed or not depends mostly on how advanced upgrade you have bought. By buying new Repair Tools Levels you increase the chance for repairing to succeed. With all available tools you can get a ratio of accomplished repair at level 50% up to even 90%.
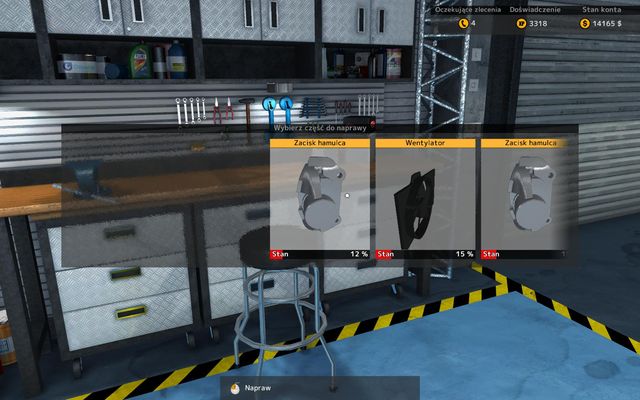 The more damaged part, the greater chance for nice income.
Accomplished repair is only half of the success - the second is technical state of the component after the repair measured in percents. In this case you have limited influence on how damaged part you receive - sometimes it will be better only by 10%, other times even by 90%. Nevertheless - you should try, savings are always good. But remember that it is impossible to repair parts which technical state is below 10%!
Manual testing is the easiest way to check whether a part qualifies for changing. To do it, look at the chosen car part, select the examine mode and then pick the component you want to test - then, press the RMB, wait a while and you will see the state of an item described by percentage value and color. It is not always possible to make examination with this traditional way - sometimes you will be forced to use more advanced forms of diagnostics.
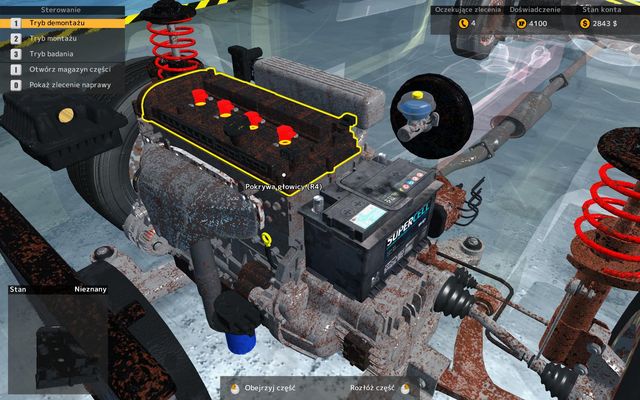 Cover of the ending head seems to be in bad condition...
In many cases thorough examination isn't needed to determine the state of a part - it is visible at first glance that a part is qualified for changing due to advanced corrosion. After removing a damaged part information about its technical state pop ups - the most corroded ones can be automatically considered is parts that need to be replaced.
Test drive is the basic operation that allows you to check the state of various parts in a car. You should do it with every order as it gives you info on suspension, brakes or steering. Test drive is divided into four parts.
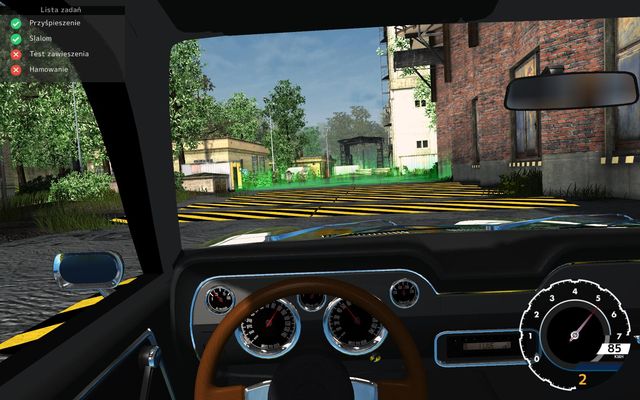 Drive system is very weak but it's not important!
In first of them your task is to check acceleration - to do it, you must ride as quickly as possible through the field marked with green color. After you finish, you turn left and back. Second part is about riding slalom and checking the steering - it involves a sequence of quick turns so slow down and try to complete it precisely, riding through all marked green fields.
Third phase of test drive is focused on testing the suspension - you must ride through a section filled with speed bumps. Last fragment is brake test - to complete it, you must stop the car inside the red marked field. After completing the test drive you will see a table where you will find information about which tested components are qualified for repairing.
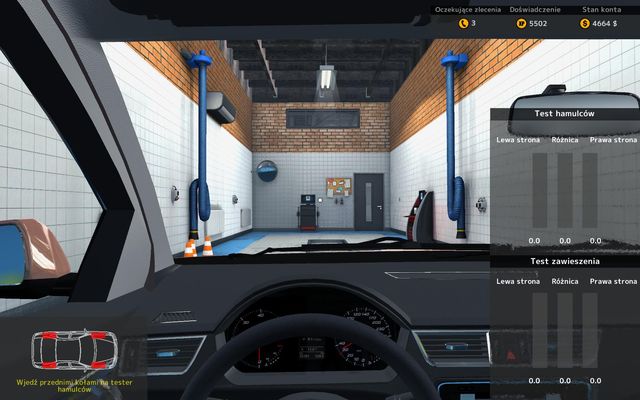 Diagnostic path is a very quick and good way to check the state of brakes and suspension.
Diagnostic path is the second way to check the technical state of the car. To gain access to it, you must have 5000 experience points and pay 15000 dollars.
First phase of diagnostic test is to examine the efficiency of front brakes. To do it, ride with the front wheels on the marked position and press and then hold the brake button until you receive results of the test. After a while, repeat it with the back brakes.
Third part is a test of the front suspension - ride to the station and observe how the car gets through endurance tests. After a while do the same with the back suspension and you will be given a table with percentage description of state of components.
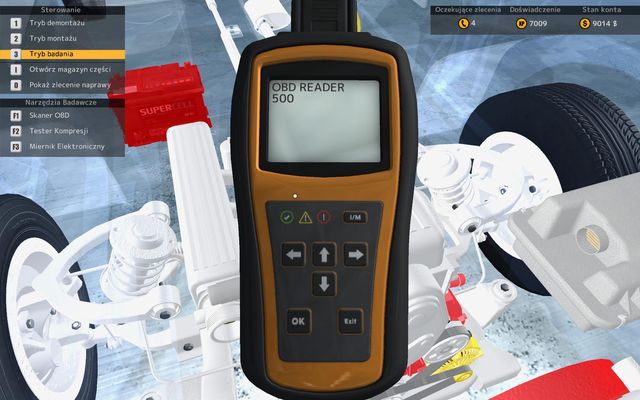
OBD scanner is one of devices used for measuring technical state of a car, it can be bought in the toolbox for one point received every 1000 experience points. Reader allows you to check the main ignition parts, including ignition module or ignition candles. It can be used by entering examine mode and pressing F1.
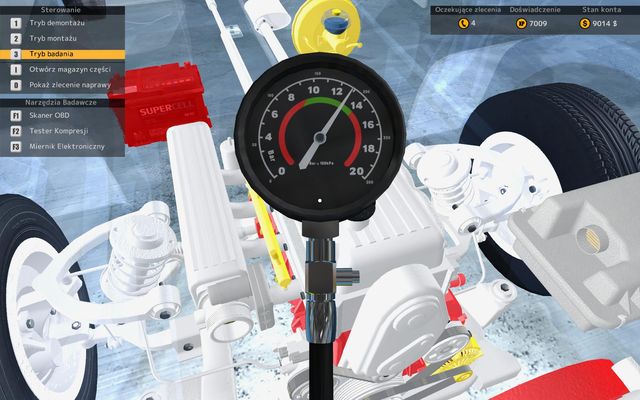
Compression tester is another device that allows you to determine how damaged car components are - it can be bought at the toolbox for one point received each time you gather 1000 experience points. With it, you can check the state of inner engine parts - pistons or crankshaft. It can be used by entering the examine mode and pressing F2 key.
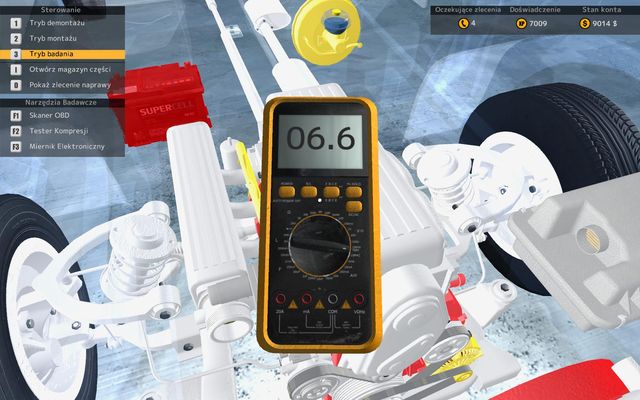
Last device that helps with diagnostics is electronic measure - it also can be bought at the toolbox for one point received each time you gain 1000 experience points. With it you can check the state of such devices like fan, alternator, fuel pump or starter. It can be used by entering examine mode and pressing F3 key.
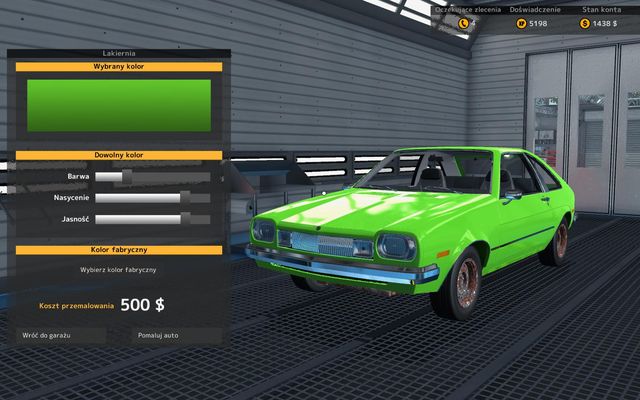 Time for some painting!
Paint shop is very frequently used room, especially later in the game. To unlock it you must gather 5000 experience points and pay 5000 dollars.
In this room you will be able to paint the car to any color you want. With sliders you can determine the hue, saturation and brightness of the paint. The color you have created is shown in the rectangle above the sliders. Remember not to experiment too much as each painting costs from 500 to 1500 dollars. Very often you are tasked with renovating the color that is already on the car - it is very simple - you must simply press the "Pick default color" button that can be found on the left side of the menu.
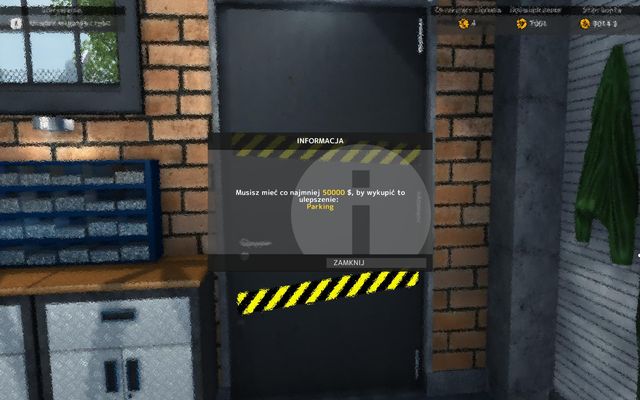 50000 dollars isn't a small amount!
Car Mechanic Simulator 2015 gives you an alternative way of earning - you can buy damaged or greatly worn cars, then repair them and sell with profit. Before you will start that, you must unlock the parking where you will stock your cars - to do it, you need 7000 experience points and 50000 dollars.
 Auctions take place in auction house.
Car auctions are being done in traditional way - the one who pays the most will win a car. Additional "attraction" is the fact that there is a time limit - a yellow plate symbolizes the time flow and car state is shown in stars. You should bid slightly more than your rivals - when time ends, the auction ends, so you can buy a car very cheaply if you're calm. After winning an auction car goes to the parking from where you can transport it to the garage.
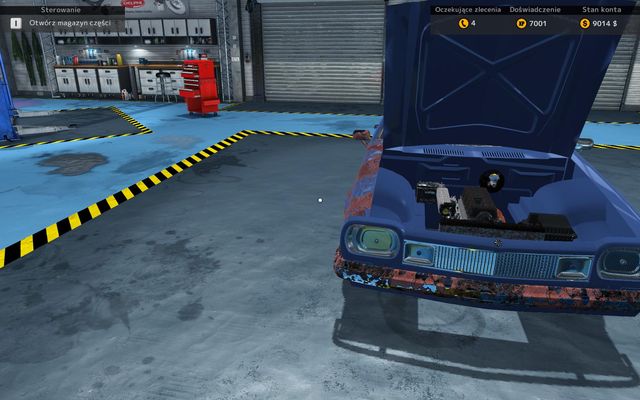 I won't be easy to repair this car!
How you repair cars and how much you will want to earn on them depends only on you. If you want to earn quickly, you can change only such parts like car paint or basic equipment, like filters, battery or cooler. If you decide on a complete renovation, then the profit might be even at few dozen thousands of dollars level. Remember about the possibility to repair worn parts - it will greatly reduce the costs of renovation.
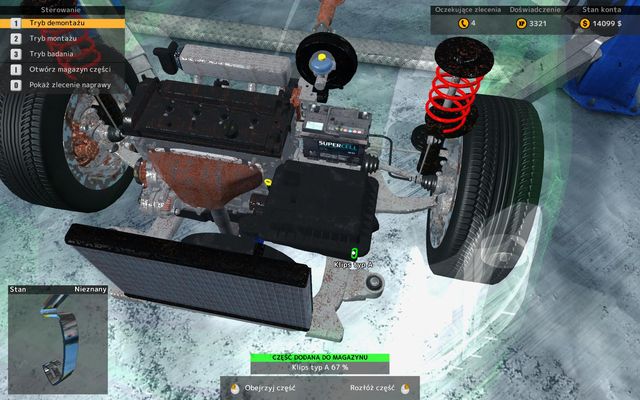 First remove the safety clips.
Changing the air filter will prove to be one of most frequent orders during your adventure with CMS 2015. To complete it, buy a new filter, then open the mask of the car. To get to the filter, you must remove the protection - to do it, remove the clips that are holding filter cover, then take of that cover. Then remove the broken filter and install new one.
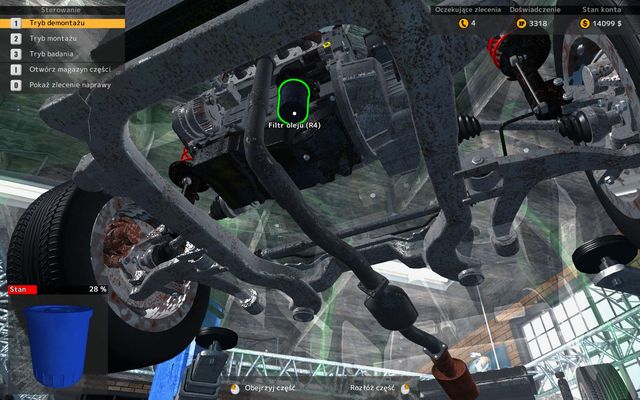 Oil filter is located under the oil sump.
Oil filter has changed its location from the previous installment of the series - now it can be found at the bottom of the engine, near the oil sump. To get to it, you must use one of two jacks, go to the front suspension view mode and there you will easily take the old filter off and install the new one.
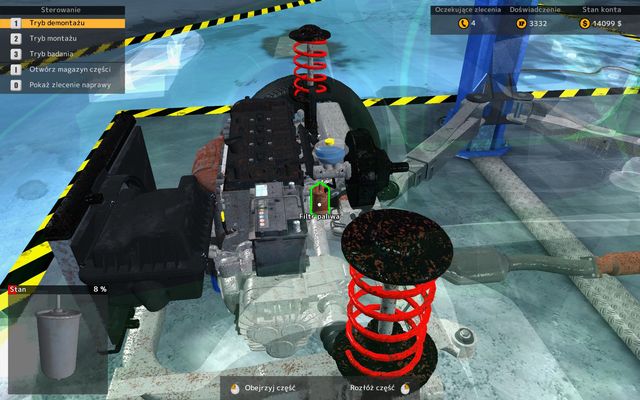 Without the fuel filter a car won't ride too far.
Fuel filter localization has changed as well - from the back, it has been moved to the front, near the engine. To get to a broken one, go to the engine view mode - filter will be located at the back, near the battery. Take off the old one and install a new one instead.
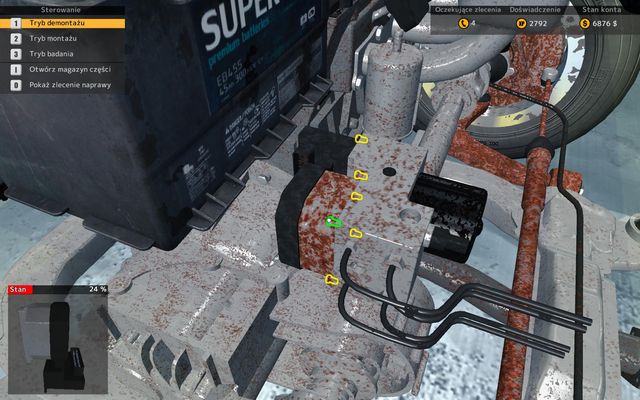 ABS module - small, but vital for the car.
ABS module is a new thing in the list of parts that can be changed. The part that helps in the braking process will be a regular visitor in the orders, so you should know its localization, especially since it has been well hidden. Despite appearances you won't find it near the brake servo but close to the engine, near the fuel filter. After locating it, all that is left is to unscrew it and replace with a new one.
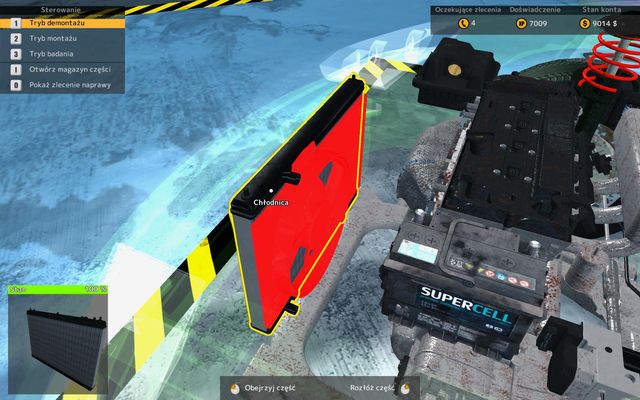 Before replacing the cooler you must pick off the fan.
Cooler is one of easiest parts to change. It can be found under the mask on the very front, near the front bumper. To replace it, first you must remove the fan - after that, you can take care of the cooler.
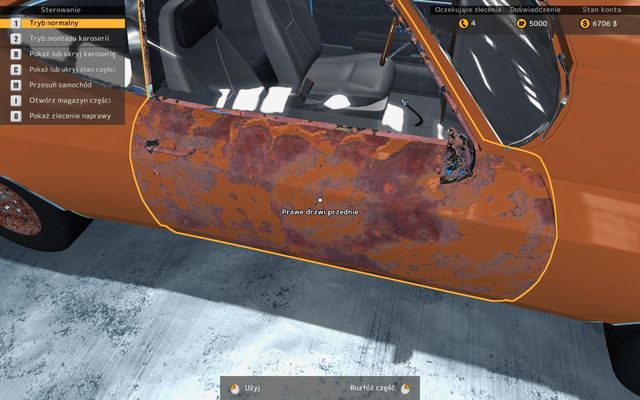 It seems rather obvious that door must be changed.
Changing car body isn't a very complicated tasks - corroded elements can be removed simply by clicking the RMB on them. Then you must buy a new one or repair the one taken off, which is possible if its condition is better than 10% - it is important to buy a part that fits the model of the car. Then move the mouse on the car, press 2 key and you will get access to body montage mode.
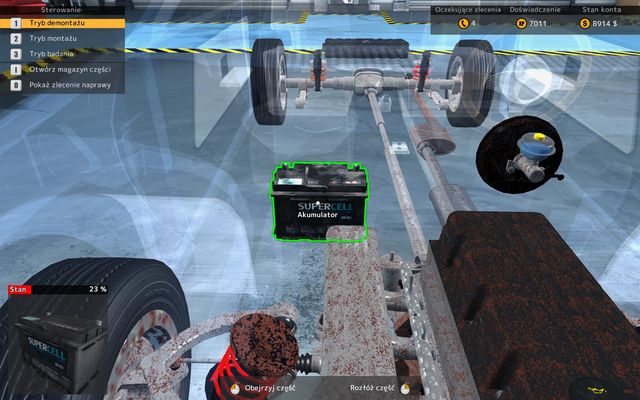 A good battery is the basis of correctly working ignition.
Changing the battery isn't complicated - a worn out item can be found under the mask. It is well visible and, based on car configuration, it is located on the left or right side of the engine. To change it, simply take the old one out, buy a new one and place it in the proper location.
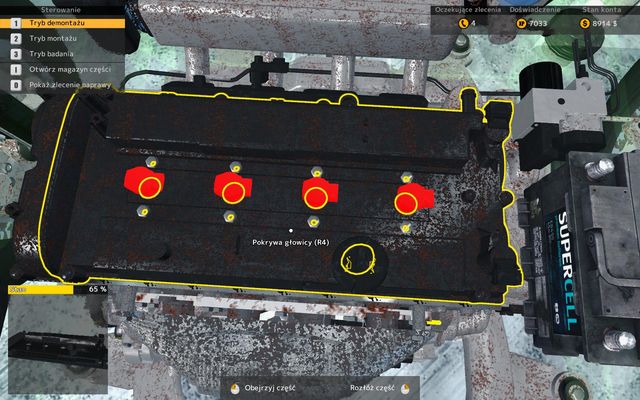 Coil is a protective cover for ignition candles.
Both coils and ignition candles can be found near the engine. In case of R4 engines coils are placed on the head plate and under it ignition candles are mounted. It change in case of diesel engines - in case of other constructions you won't find any coils, only ignition candles - they are located near the exhaust manifold, under the ignition wires.
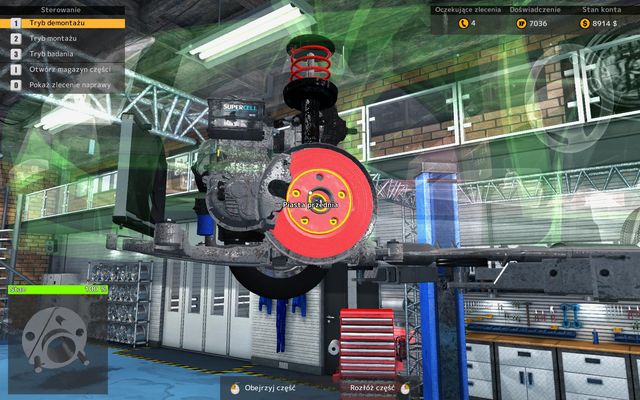 Hub with a bearing secures a stable wheel rotation.
Hub and its bearing are an integral part of steering. To get to the hub, you must dismount the wheel and near brake system: first take off the rim, brake caliper, brake pads and brake disc. Then simply take off the hub and bearing inside.
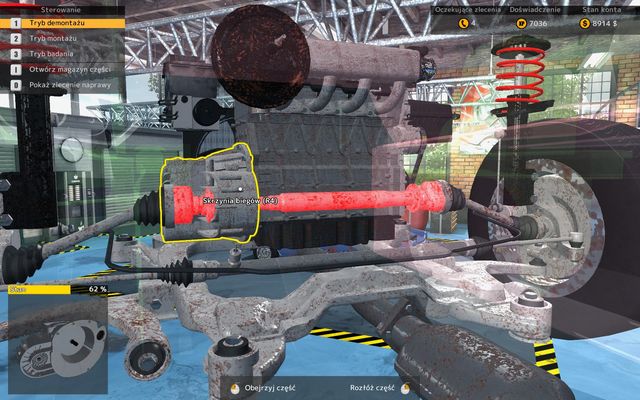 Removing gearbox is a time consuming but rather simple operation.
Gearbox, located near the engine, can be found in different places and is connected to various suspension parts. In case of simplest R4 engines you will need to take off the starter and driveshaft coupler with both drive axles. Stronger construction will require more work, you will need to remove the driveshaft in the chassis.
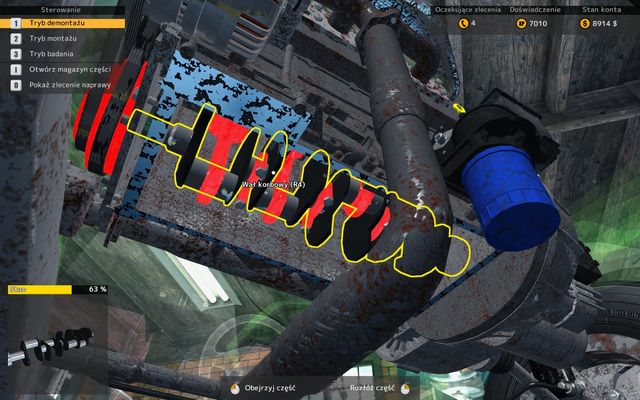 To get to the crankshaft you must disassemble half of the car!
Crankshaft is located in the center of the engine block - it means that it is time consuming and requiring to get to it. You must take out few parts that consist of more than dozen of parts. First you should disassemble the engine from the basis to the end - so you take out ignition elements, the head, camshafts and pistons and rods while at the same time you dismount the timing, beginning with water pump and on timing belt finishing. Then take of the oil sump or oil filter - then you must place the car on a jack. Next remove the gearbox - including not only all its elements, but nearby tie rods or steering gear, which is followed with taking the wheels off. Final step is removing all crankshaft bearings holders that keeps that construction in one place.
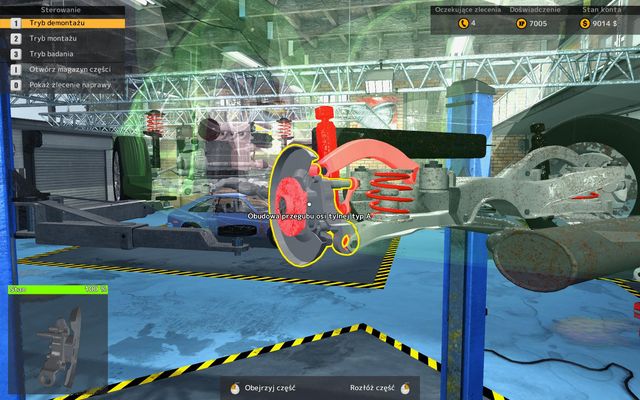 There is lot of work with the cover!
Cover of rear axle articulation can be found in most cars available in the game - it can be found in three types: A, B, C. It is the last component connected to the wheel - so you must take off the rim, clip, brake pads and then, depending on brake type, brake disc, brake drum or brake shoes with cylinder. If they are present, it might be necessary to remove hub and hub bearings. It is only half of the success - next you must remove the suspension elements that are connected to the cover. So you unscrew the rear swingarm (upper), light switch, back absorber, small rubber sleeve, rear swingarm (long) with a sleeve and back stabilizer. Then you can start removing the cover.
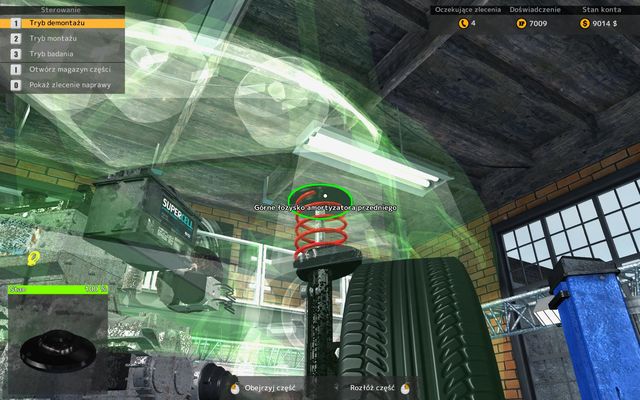 Well hidden, but easy to take out!
Upper bearing of front absorber is one of the elements about which it is most easy to forget - mostly because its small size and position which can be hard to find. But as the name suggests, the bearing can be found near the front absorber, directly above front spring - dismantling doesn't require you to take off any other car elements.
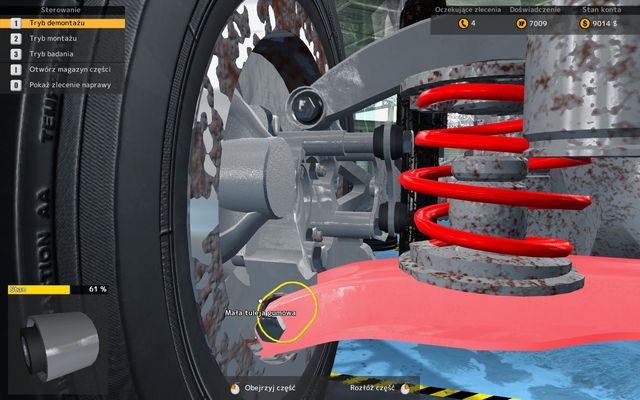 Small, but sometime very troublesome!
Except for few rubber sleeves available in well visible and easy to get spots, there are two small rubber sleeves. They are places at the back of the rear axle articulation, at the back bumper side. It is very well hidden behind the rear swingarm which must be taken off before unscrewing the small sleeve.
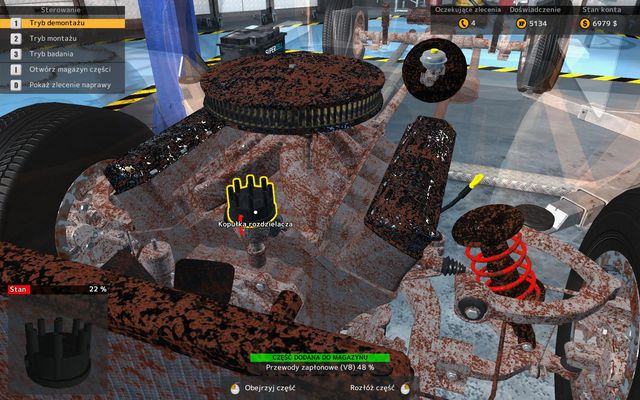 Cap is located above the ignition wires.
Distributor cap is found mostly in V8 engines - but it is well hidden under the ignition wires which might make some trouble with finding it. Wires can be found at the front of the engine - after demounting them you will see a small, black cap.
PC version of Car Mechanic Simulator 2015 has small system requirements. This game doesn't have too impressive visuals - it is on the same level as previous installment. This guide has been created based on PC version, on a computer with Intel Core i5-4570, 4 GB RAM, MSI Radeon HD 7770, this configuration met the minimum requirements and some of the recommended ones and it was enough the play the game with no trouble in the single player campaign even on high graphic settings. The game requires Steam activation.
Singleplayer: Yes
Offline co-op (split screen/hot seat): No
Internet co-op: No
Multiplayer: No
This guide has been prepared for the PC version, on a computer of below specs:
The game worked with no trouble on that computer, during the play no frame drops occurred.
Yes, it is possible to play Car Mechanic Simulator 2015 on laptop computers.


 Call of Duty: Black Ops II Game Guide & Walkthrough
 Command & Conquer: Red Alert 3 Game Guide & Walkthrough
 Command & Conquer 3: Kanes Wrath Game Guide & Walkthrough
 Company of Heroes: Tales of Valor Game Guide & Walkthrough
 Call of Duty: Modern Warfare 3 Game Guide & Walkthrough