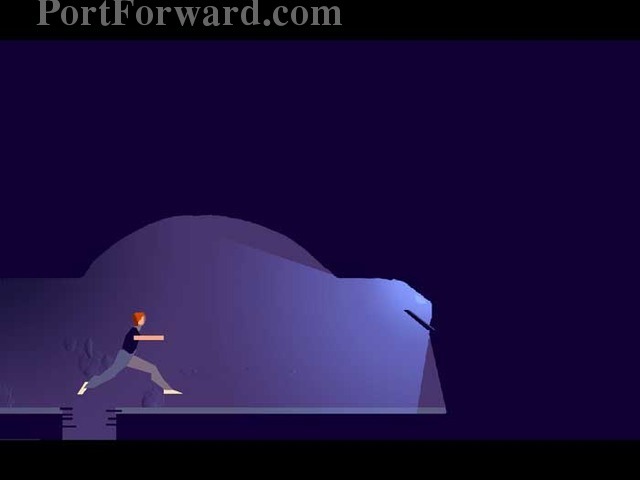
Another World Walkthrough Arrival
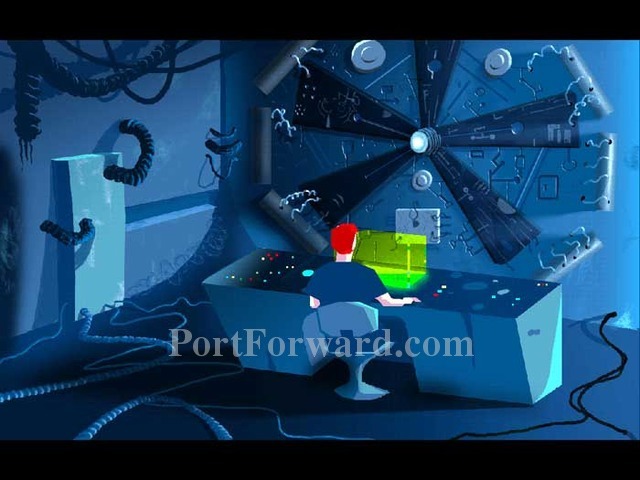
Watch as the experiment goes awry.
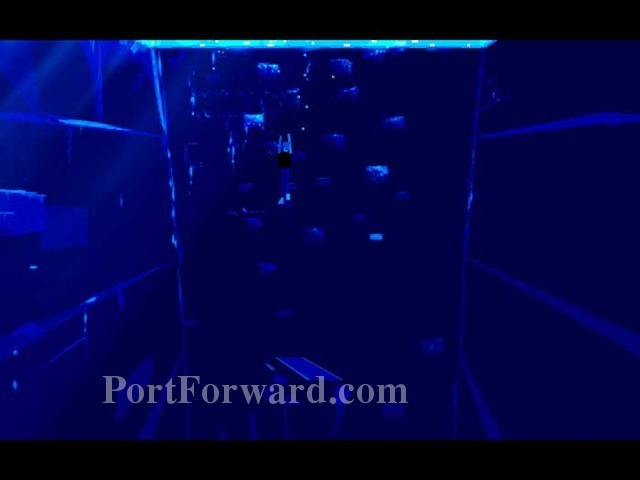
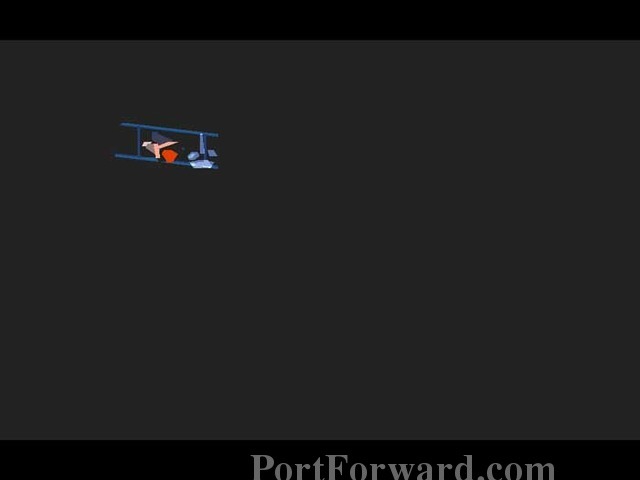
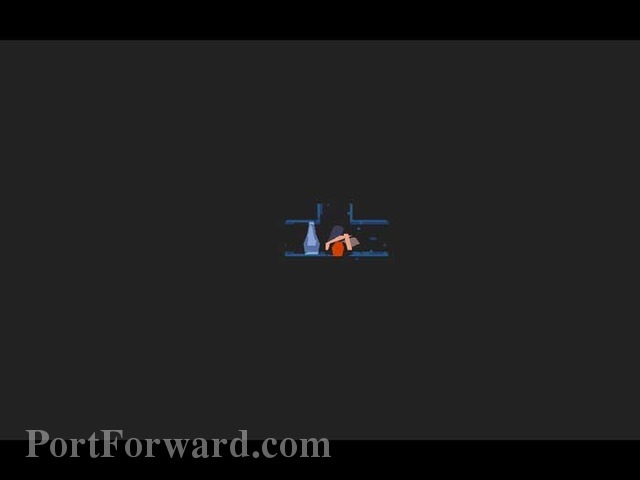
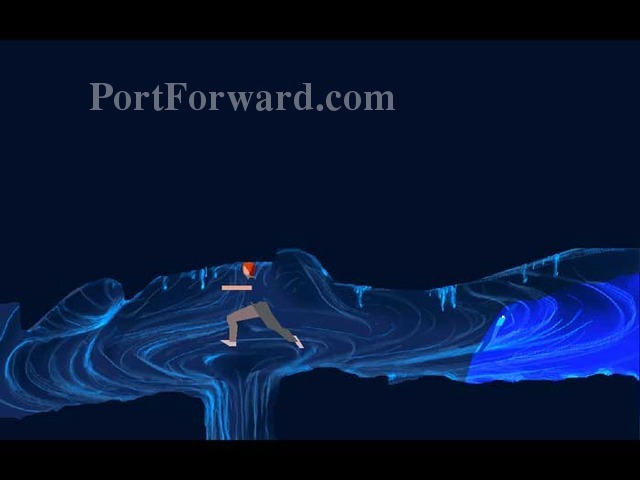
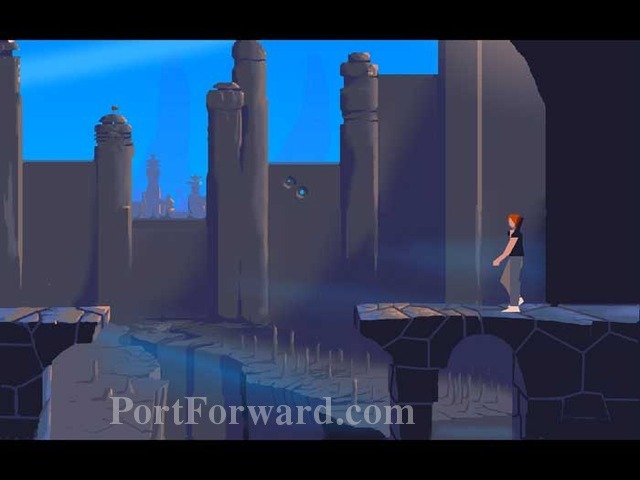
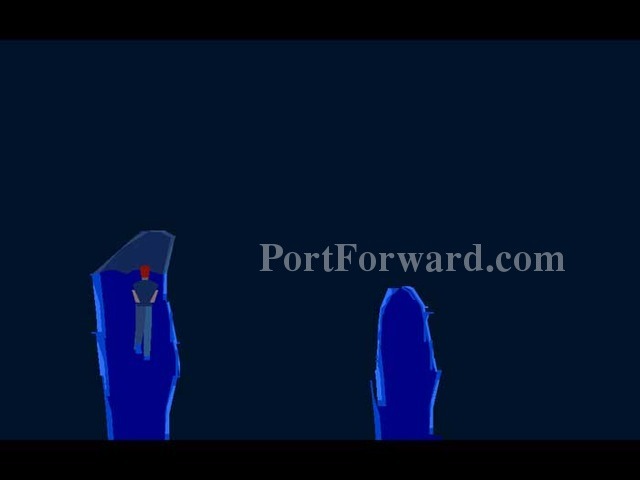
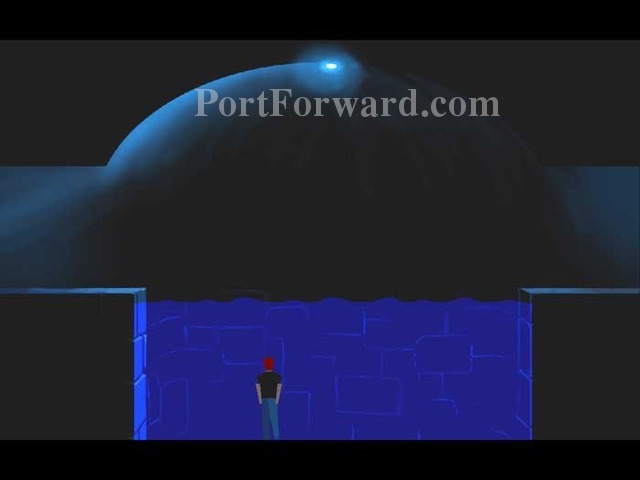
You are dropped into this pool. Swim to the surface and avoid being grabbed by the tentacle monster.

Walk to the right and the next frame loads. Otherwise, a tentacle pulls you to a watery death.
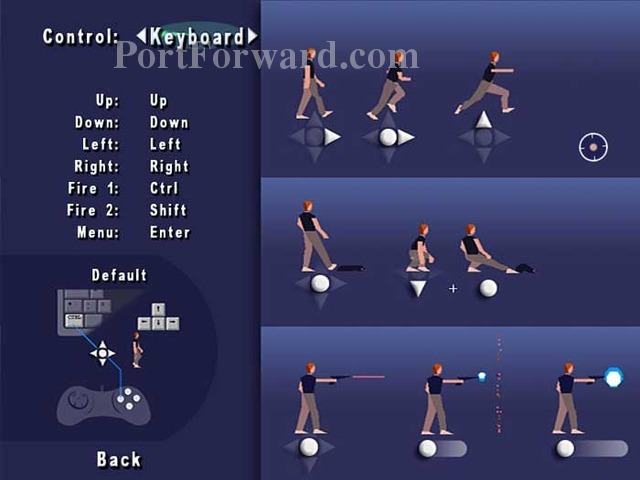
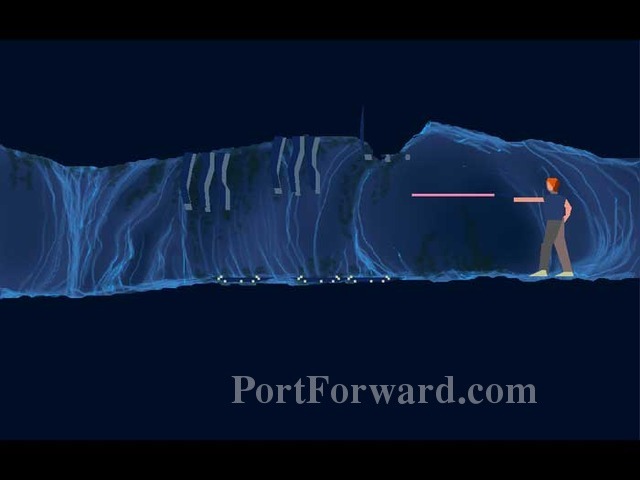
This elegant pictogram explains the simple controls. The circle is the control key. For example, to run, hold control while pressing the right arrow.
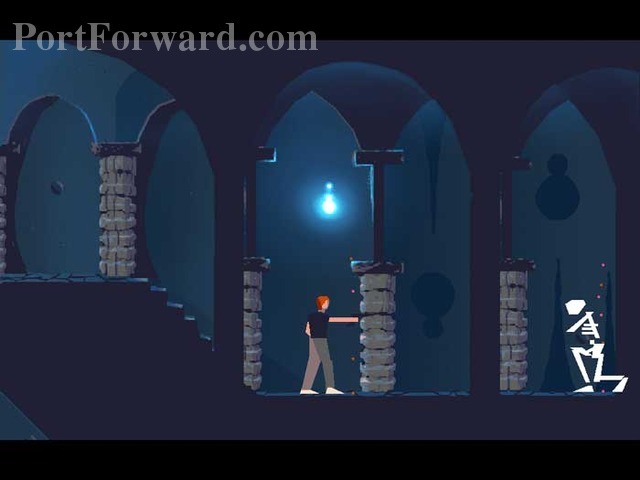
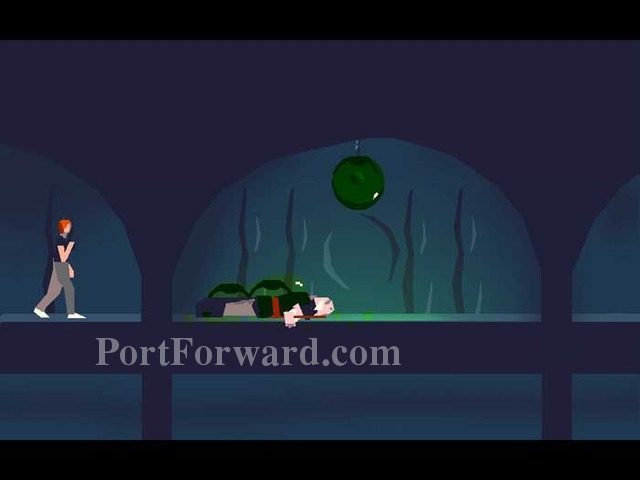
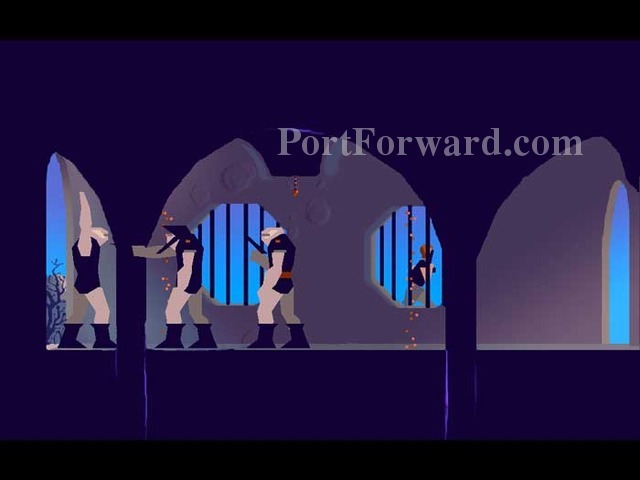
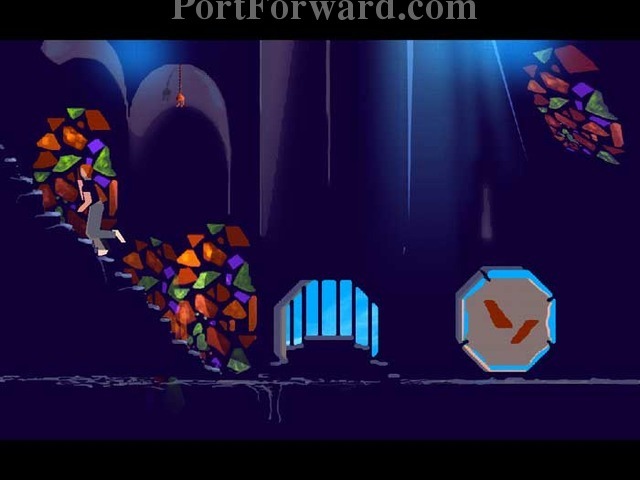
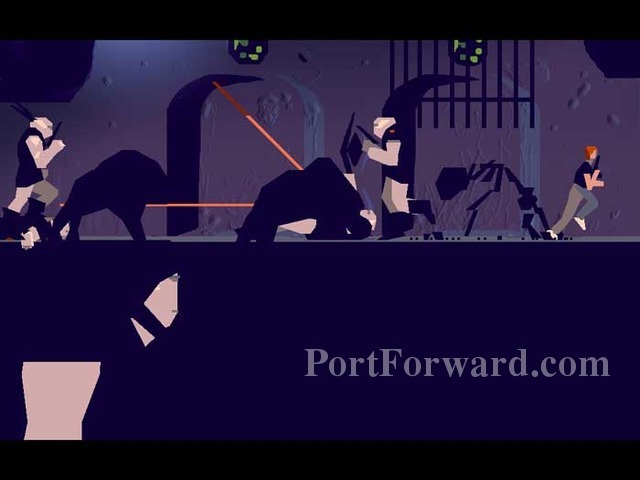
Control + down-arrow + right-arrow gives you some extra reach to squish the leeches in this next pane. Continue right to another pane with more of the same. Note the hanging leech about to drop from above -- be especially careful to avoid these.
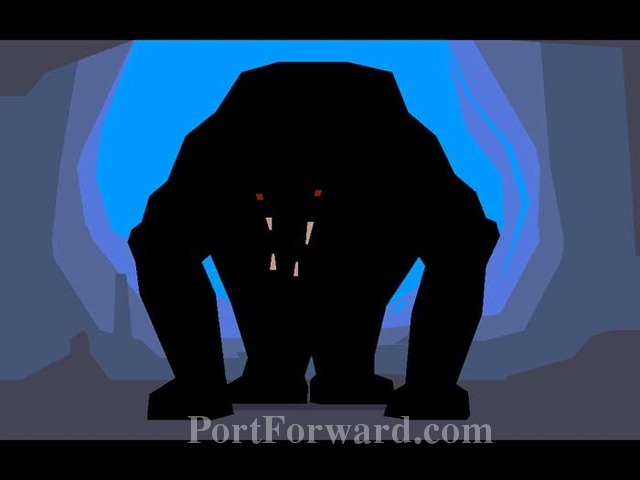
Advance right one more frame and be met by this big cat, previously lurking in the background.

Time to backtrack left - quickly.
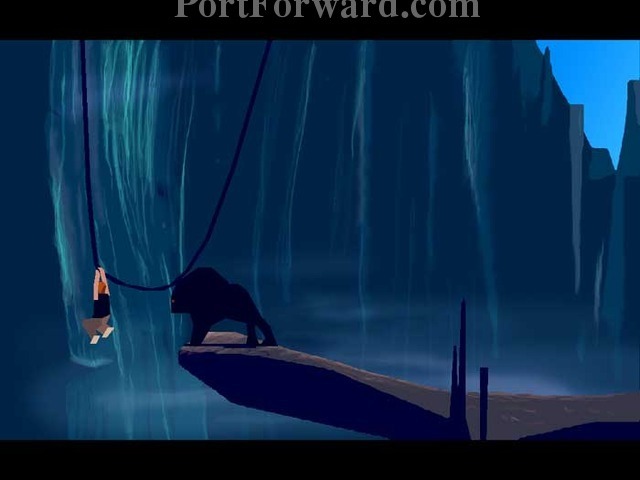
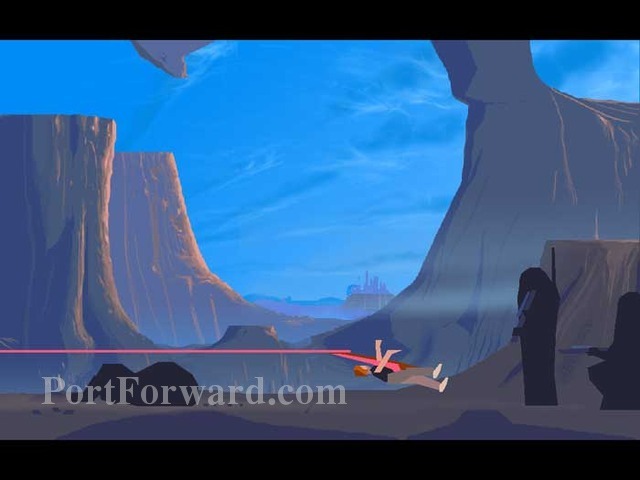
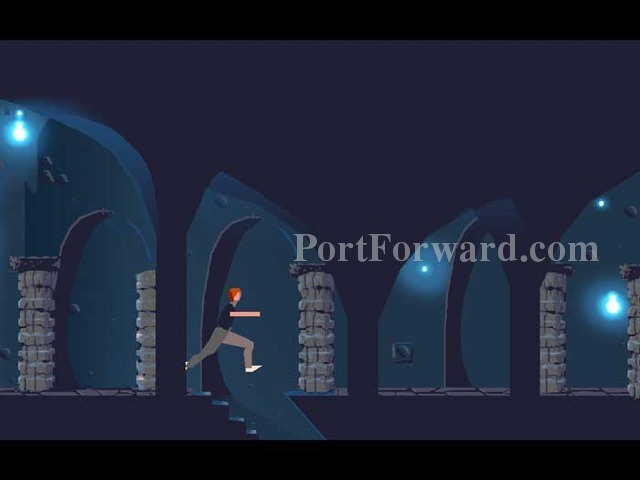
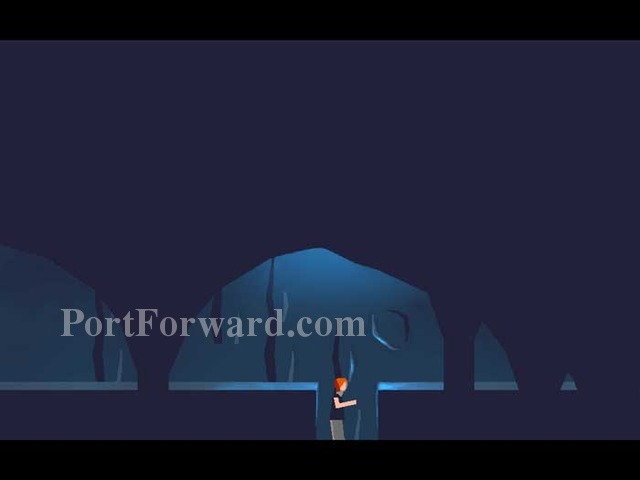
Run left through all of the frames and leap to this vine.

You'll swing right, Tarzan style. Time to run to the right.
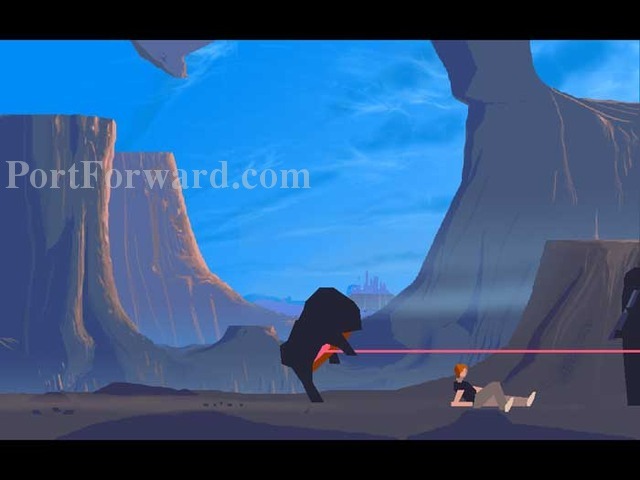
Run right through all of the previously-visited frames. The cat is zapped by an approaching alien.
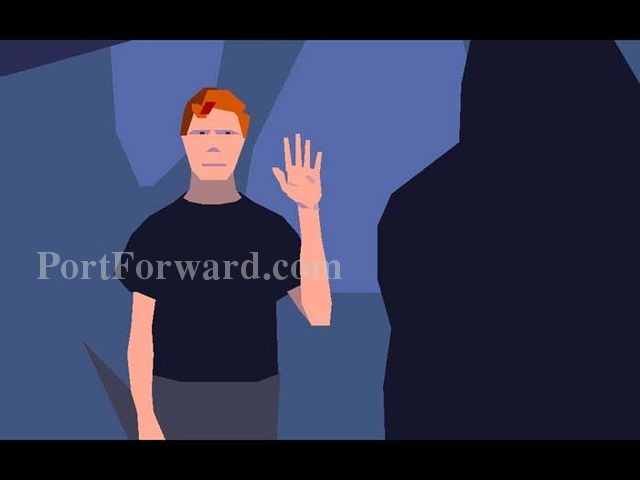
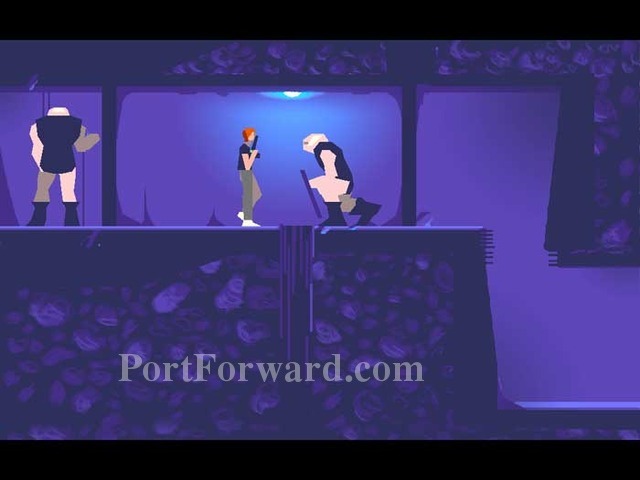
"Hi, nice alien -- thanks for rescuing me!"
So much for the nice alien.
Another World Walkthrough Jail

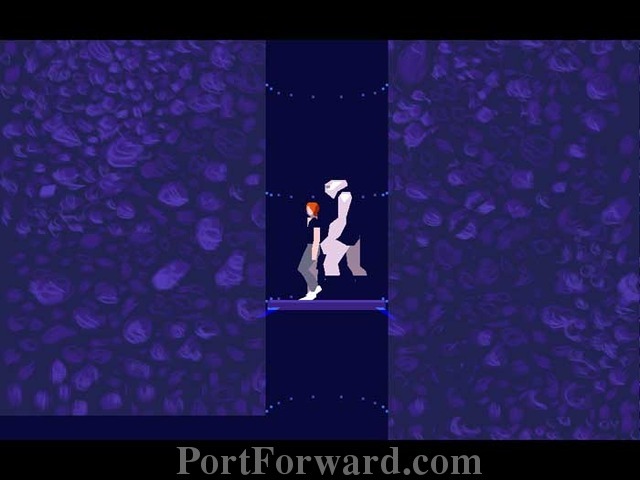
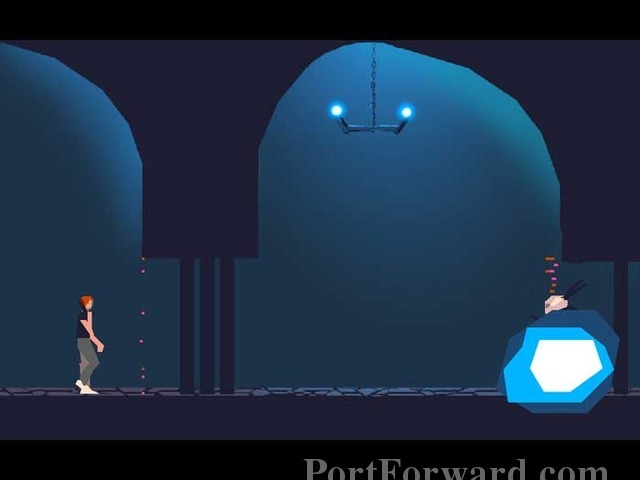
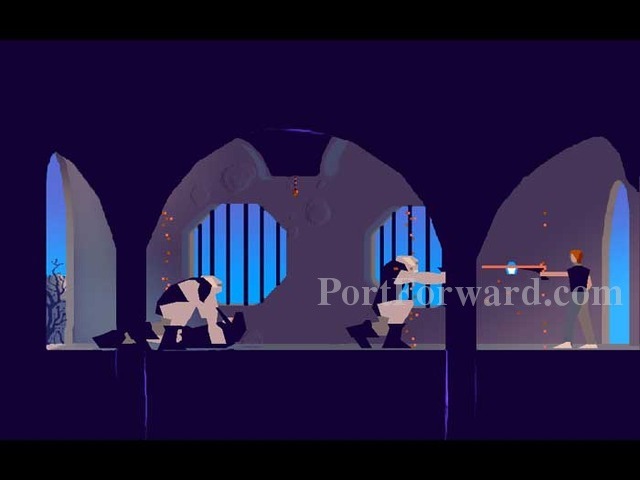
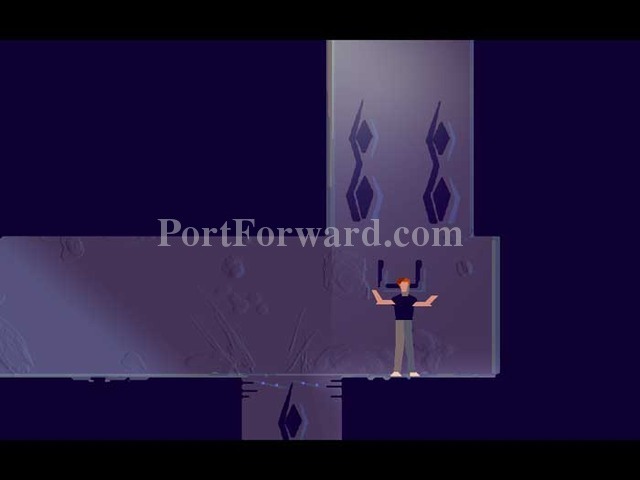
Rock the cage left and right to get it swinging. It will eventually break free and drop onto the patrol.
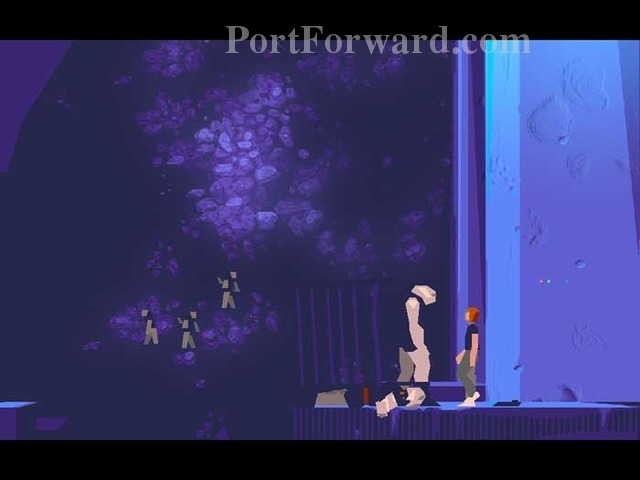
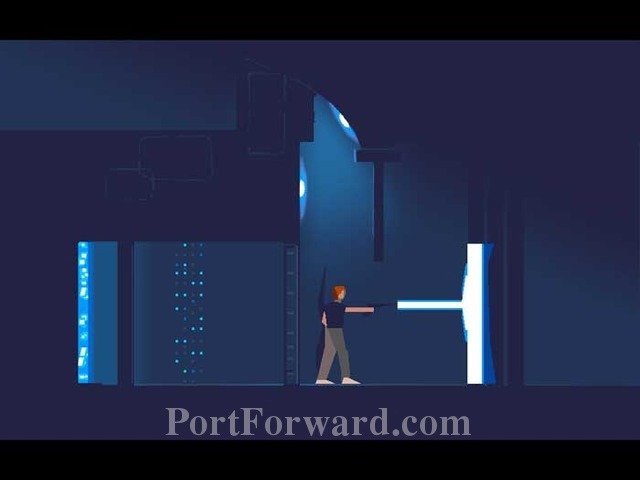
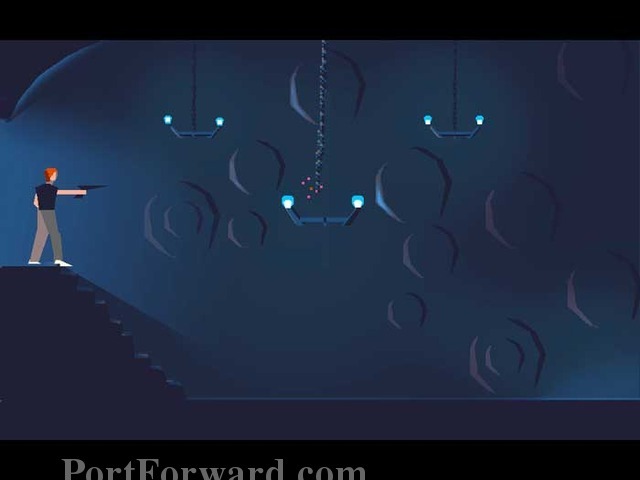
Emerge from the cage with your cell mate, "Buddy." Crouch down to grab the gun seen to the right of Lester.
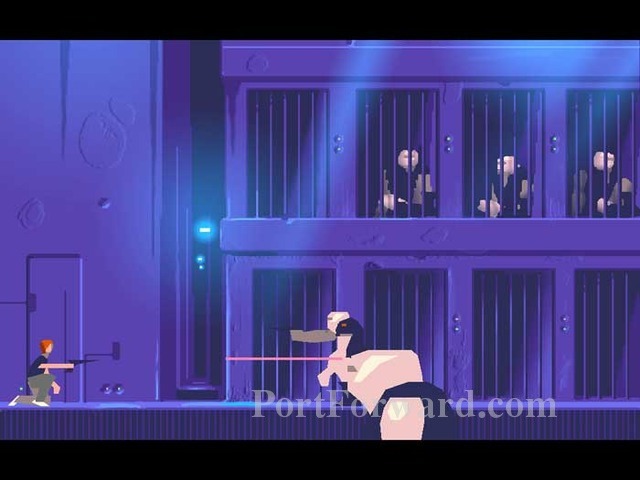
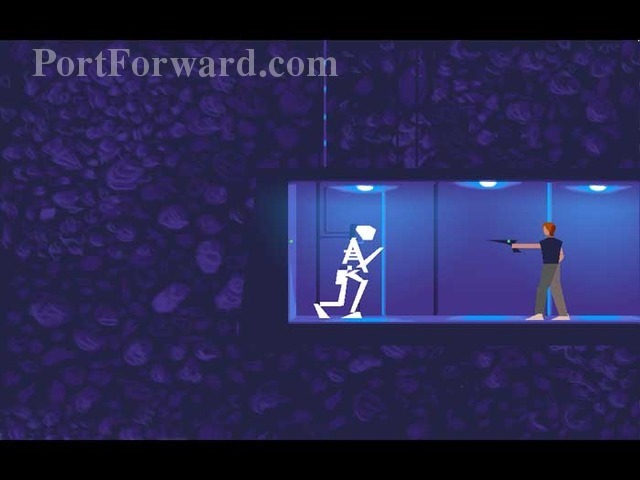
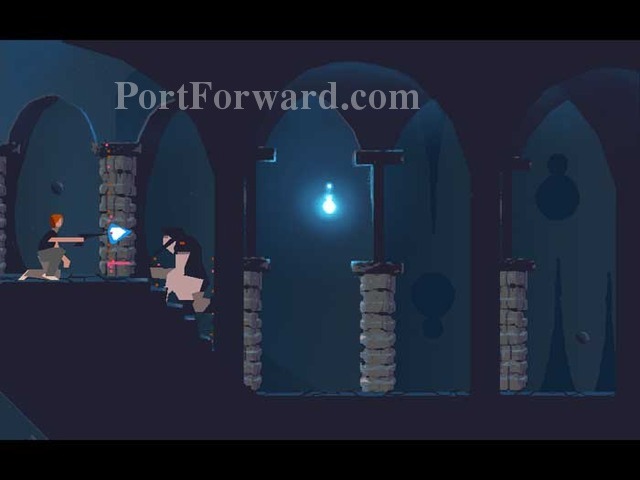
Walk to the right and fire upon the approaching guard. He's quickly skeletonized.
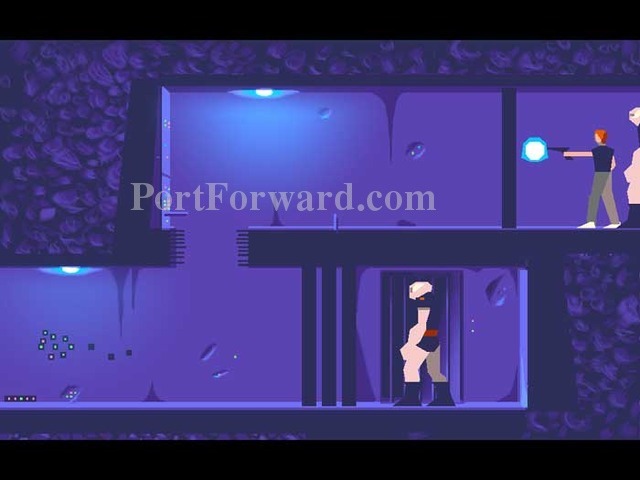
Advance two frames to the right and protect Buddy while he works on the access panel. Per the introductory pictogram, a quick press of the control key fires, a brief press-and-hold creates a shield, a long press-and-hold creates a shield buster. My best technique was to focus on offense. Immediately fire a shield buster and then send him a rapid succession of quick blasts.
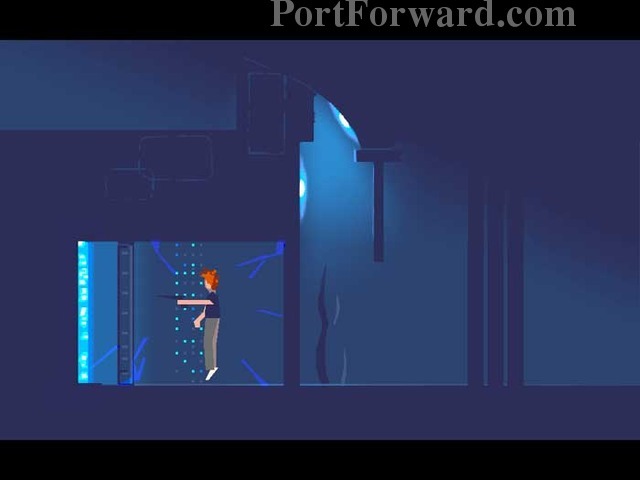
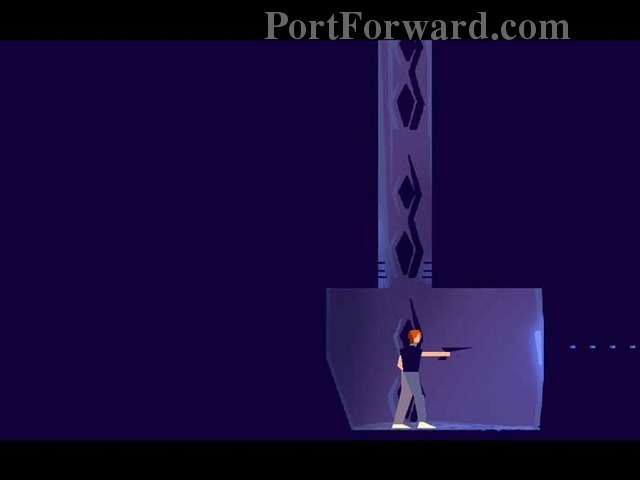
Step onto the platform, controlled by your arrow keys.
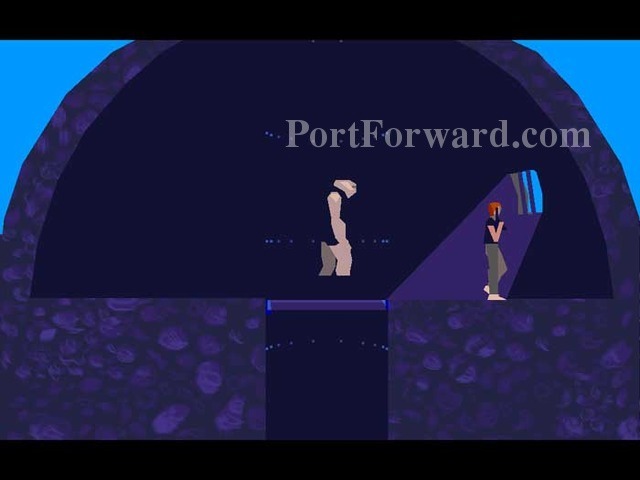
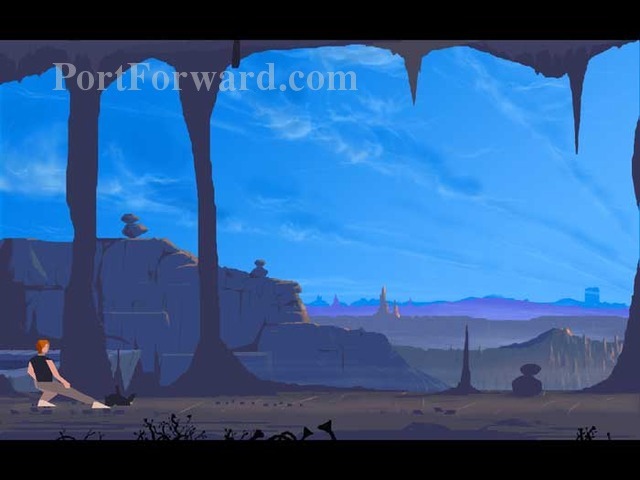
Moving up takes you to this brief sightseeing spot.

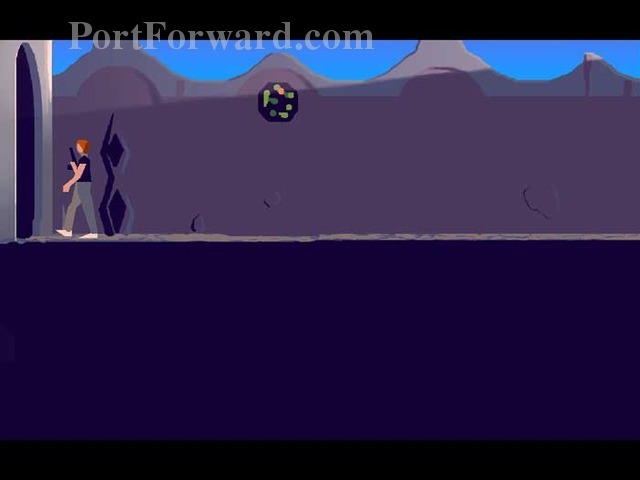
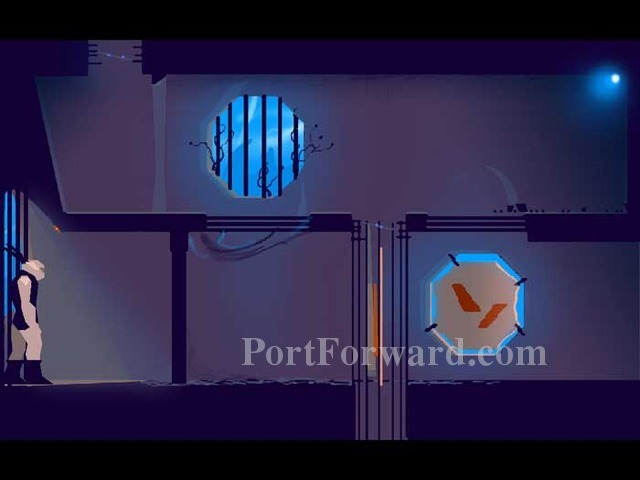
Approach the window to spy this breathtaking view of your new surroundings.
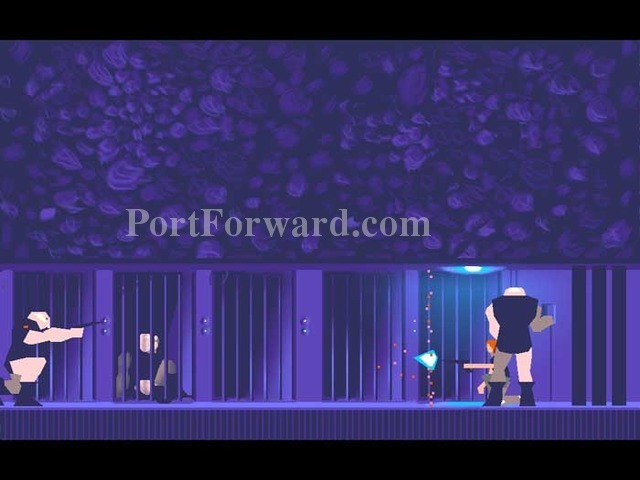
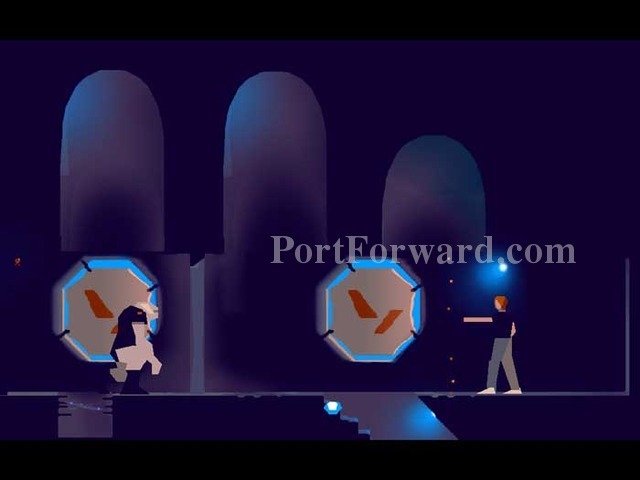
Step back onto the lift and ride it all the way down. (Don't exit on the level just above this one.) Head left and shoot fast to take out this guard. Fire at the green light behind him to deactivate the power.
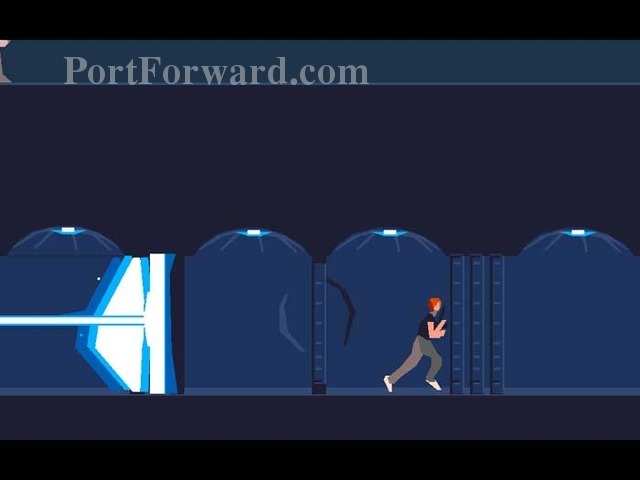
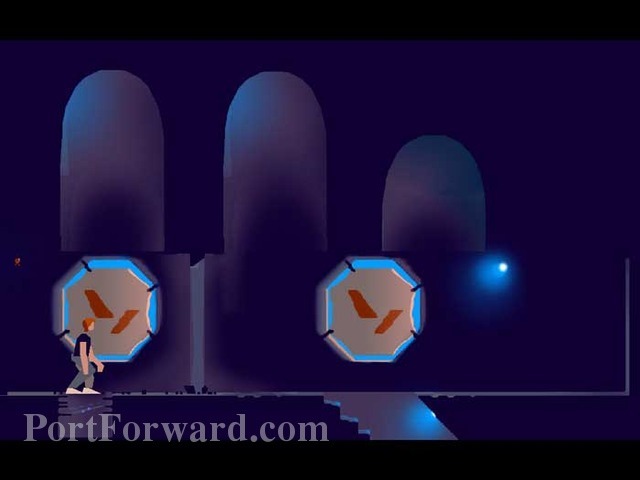
Ride the lift up to the level you bypassed before and head left. A long press-and-hold will destroy this barrier (plus drain your gun), and the guard below must do the same to his three barriers because you've taken out the power. Use the down arrow to drop below the gap in the floor, then quickly advance left before the guard destroys his three barriers.
Your up arrow gets you to the level above. Drop through the trap door opened by Buddy before the guard attacks from the left.
Another World Walkthrough City

Head left too quickly, though, and you'll be fried by a burst of steam. Roll left just enough to trigger the steam, then wait for it to stop before advancing.
You'll drop to the next level where you must pause for another burst of steam.
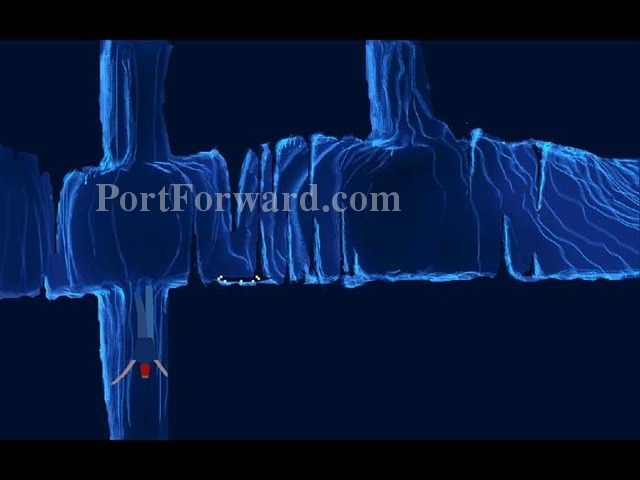
You'll drop to this "T" junction where steam is pulsing to your left and right. Wait for the steam on the right to pause and then advance.

You'll emerge at this junction where, mercifully, you can advance in either direction to successfully exit the maze.
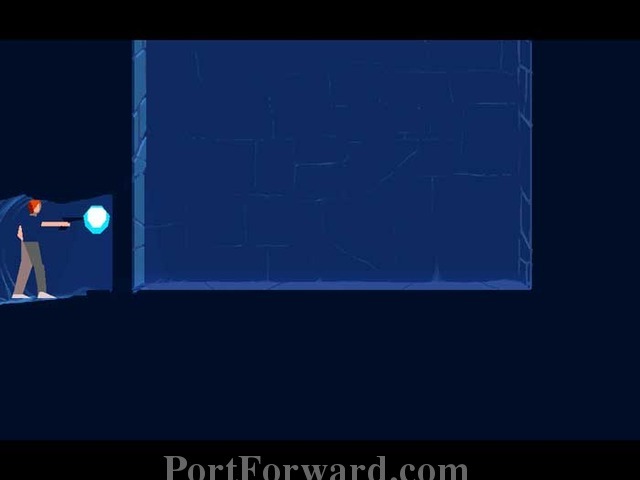
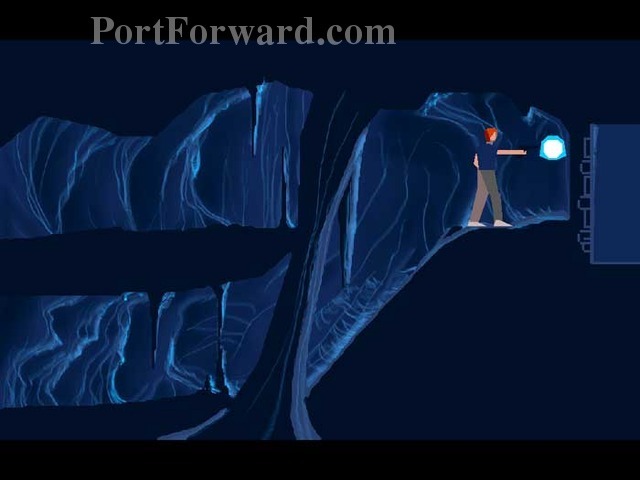
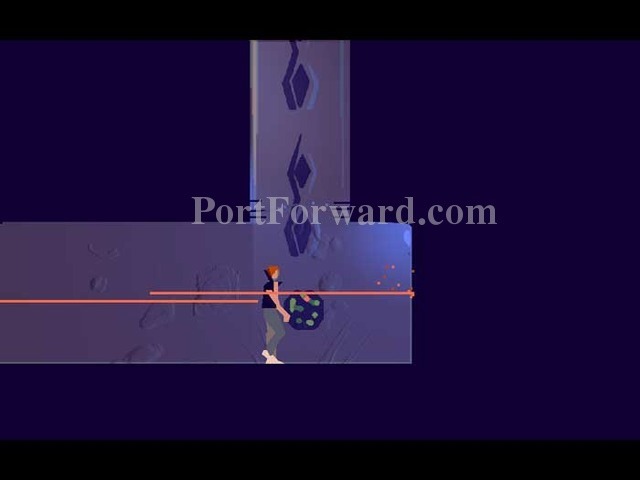
Drop below then enter this chamber on the left to recharge your gun.
Destroy the three barriers on the right.
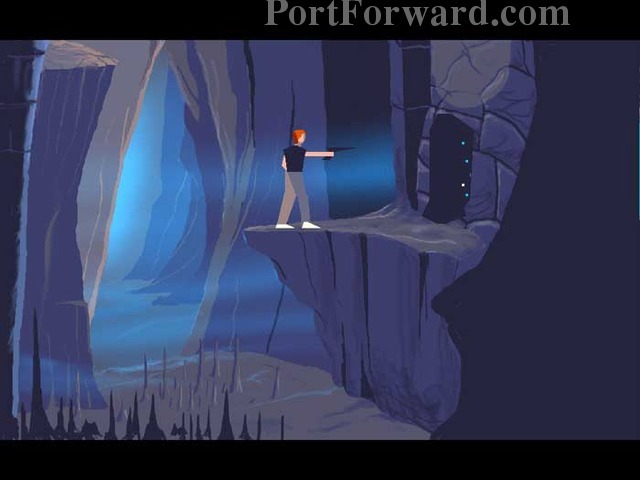
Advance right two frames to take out this guard. Continue right.
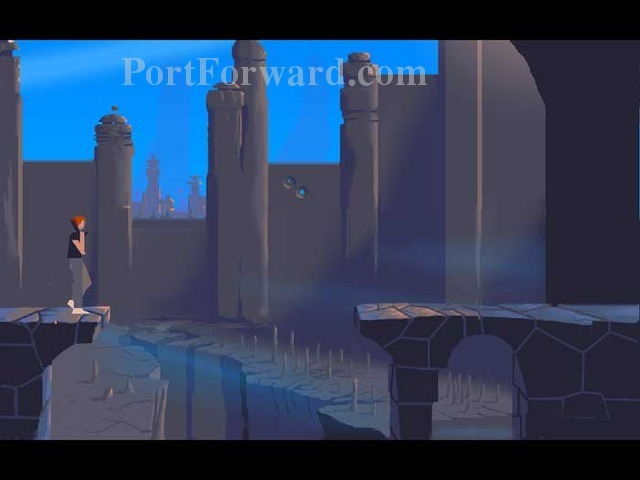
Stand close to the ledge then jump.
Obviously, you won't make it.
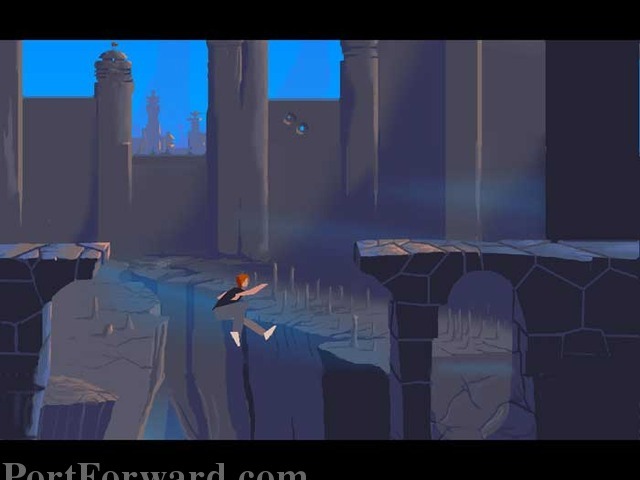
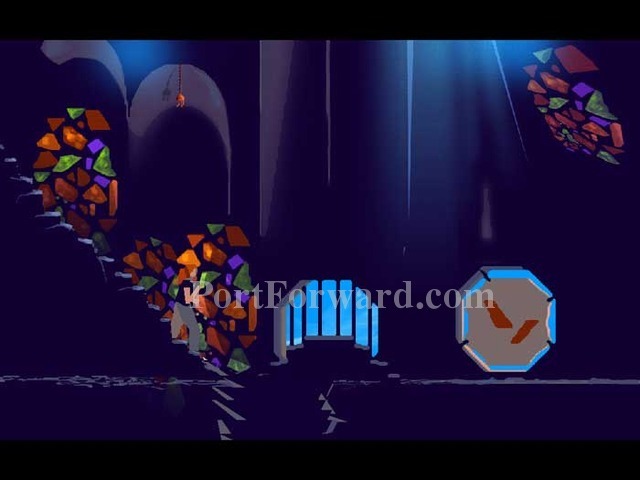
You'll land safely on this ledge, rather than on the stalagmites below. Shoot the rock face to create an opening.
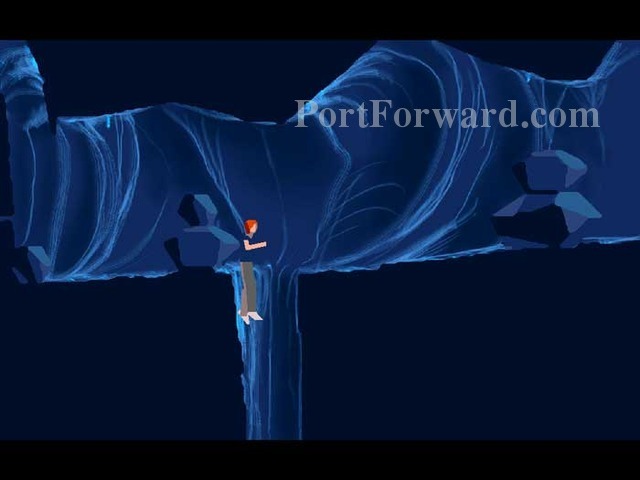
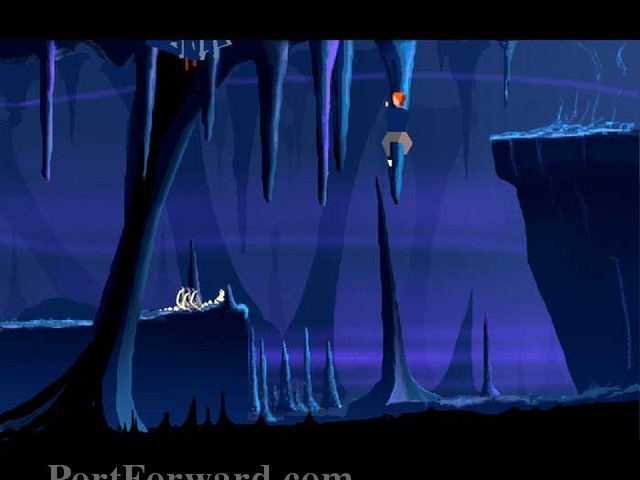
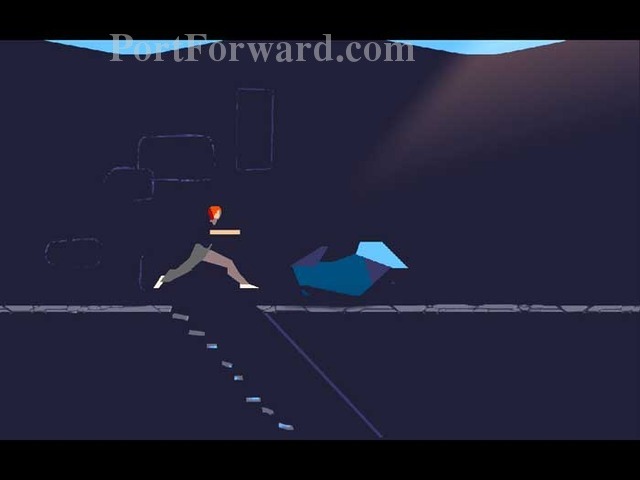
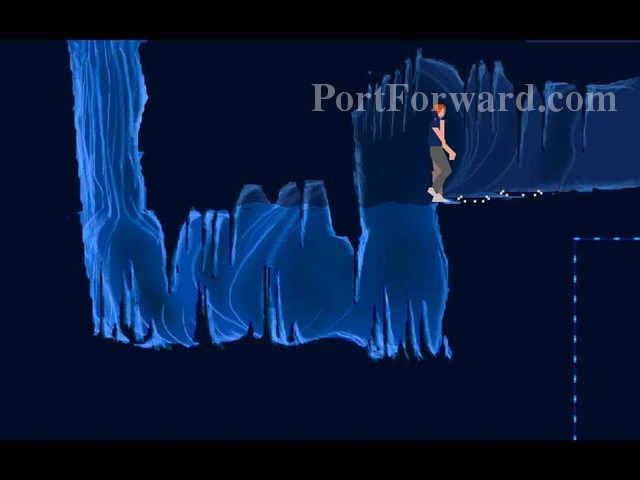
You're now in a large series of tunnels which comprise one of my all-time favorite puzzles. You can explore the area a bit if you like, but since you're reading this you've probably already exhausted your patience and just want to get on with it. Start by dropping down this shaft.

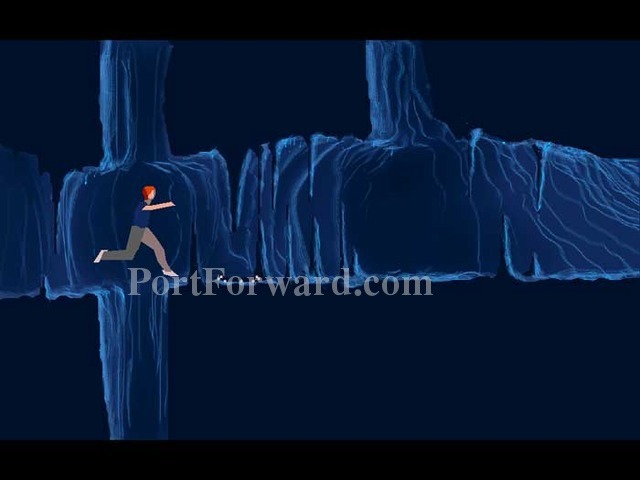
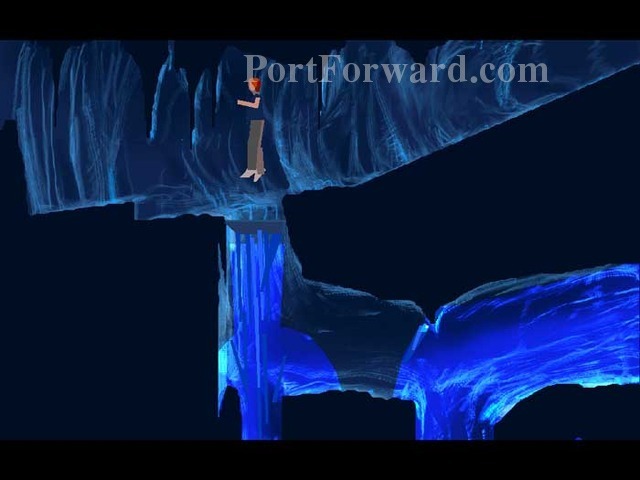
Drop to this position, then jump across the next shaft ahead. Note what appears to be a plugged-up shaft behind Lester in this shot.
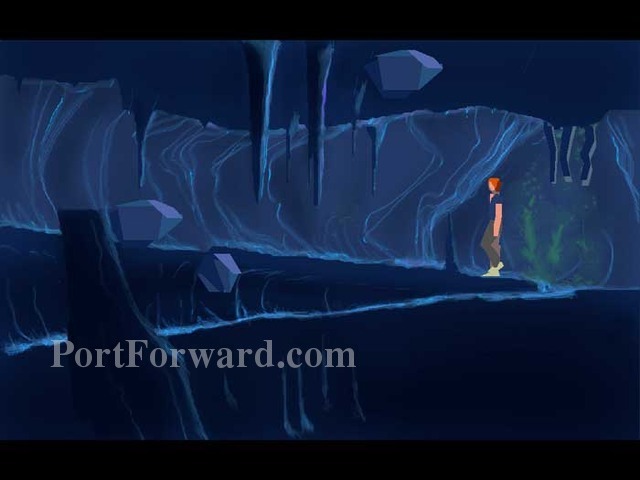
Another World Walkthrough Caves
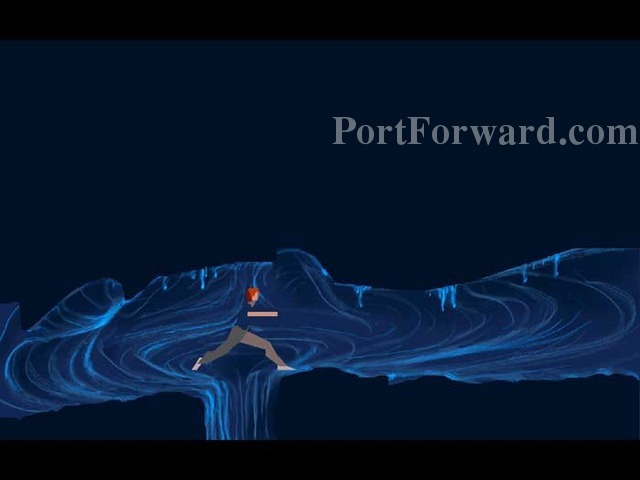
Stand at the ledge and press the jump key (default up arrow) while standing still, and you should clear the stalagmites just fine. Continue right.
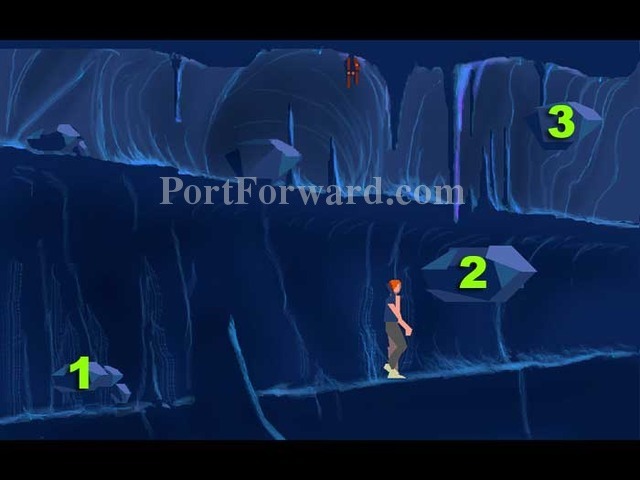
Three columns of falling rocks block your path. Getting past the rocks at (1) is pretty straightforward. Getting past the other rocks requires you to notice that their timing is slightly off. Wait to advance until rock (3) is falling well after rock (2) falls. You can then run past them successfully.
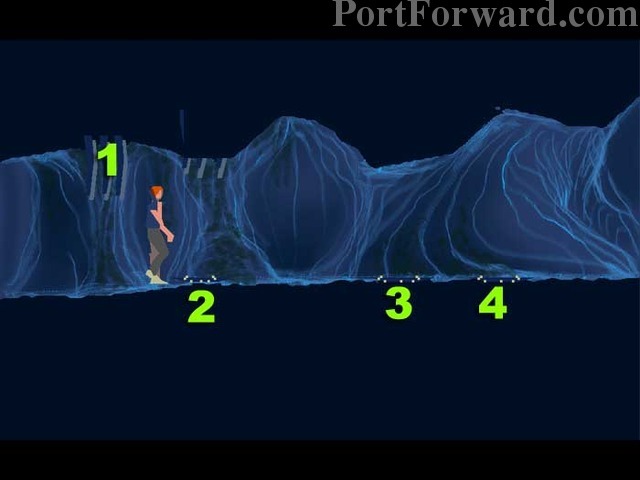
You'll find a similar solution in this next area. Rocks (1) and (2) should be timed so that the one closest to you drops well before the other. Getting past rock (3) is easy -- just be sure to run as you pass under the tentacles at (4) or else you'll become lunch. Continue right.
It was about this point that I began to remember just how difficult this game was. Argh. OK -- make sure you're running to get past the tentacles at (1) (a jump also works) but stop before you reach the munching bottom-feeder at (2), which you can jump across. Likewise, jump across the bottom-feeders at (3) and (4).
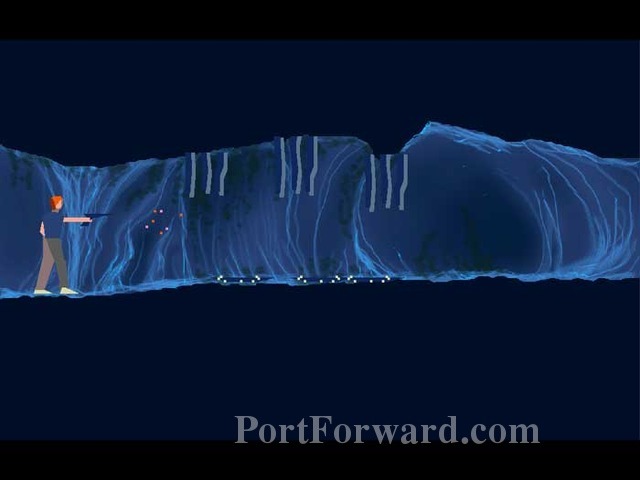
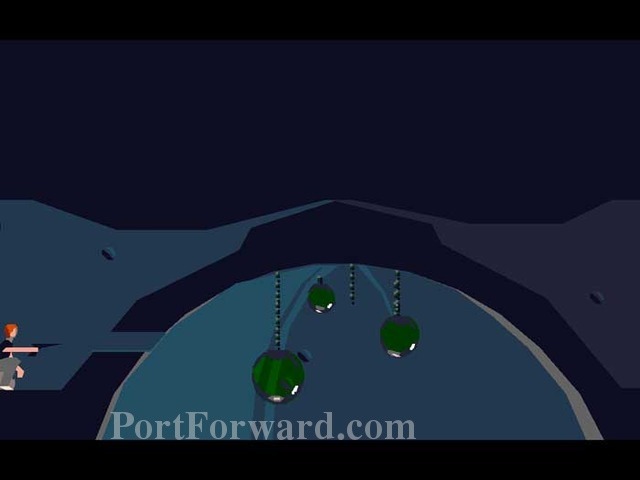
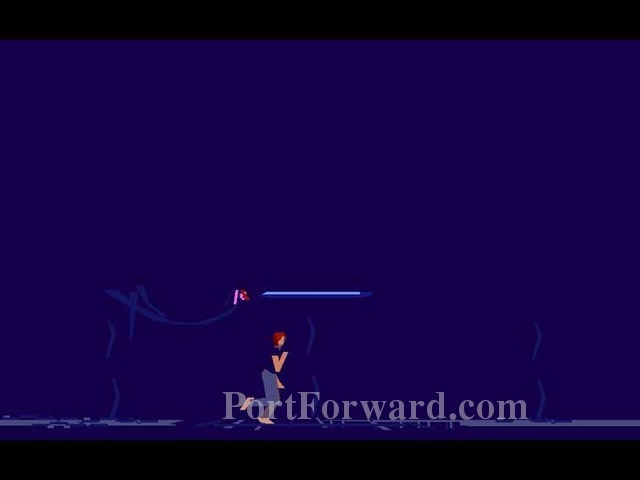
Use your gun to shoot the tentacles, which then pull up enough for you to quickly jump between the bottom-munchers. Be fast, though, as the tentacles return rather quickly.
Jump across the pit then jump over the muncher.
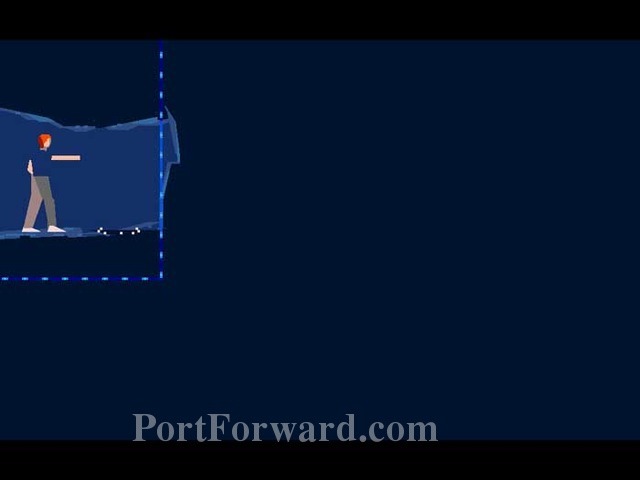
Run through an uneventful frame then blast away this wall. It seems pointless at the moment, but we'll be back.
Now, you want to backtrack left.
Once at this frame, you'll need to continue along the upper ramp. Remember to get past the paired falling rocks by timing your jump so that the closest one is falling well ahead of its partner.
Ditto in this frame as well. Before exiting, shoot at the bat suspended from the ceiling.
Follow the bat left, which is quickly devoured by the tentacles upper-left. You are now free to leap across from stalactite to stalactite. Use the left arrow to reach for each stalactite.
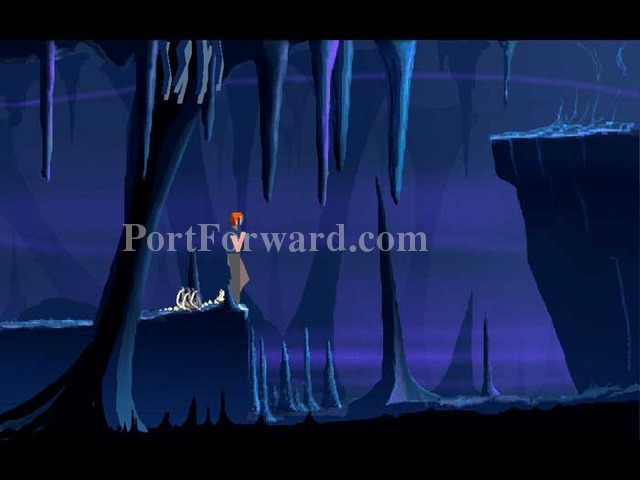
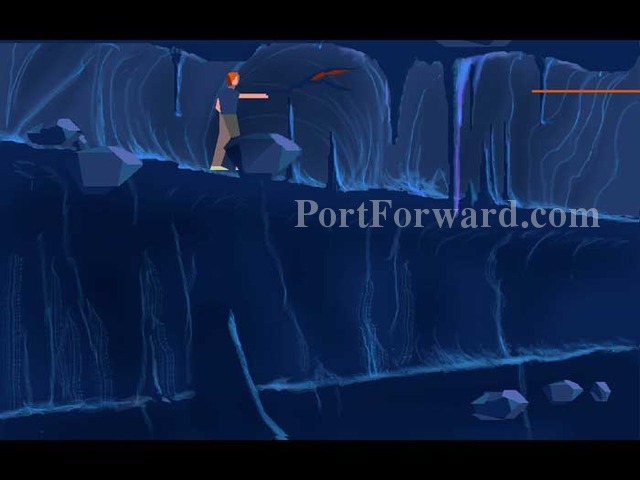
Continue all the way left and drop onto this previously-visited rock.
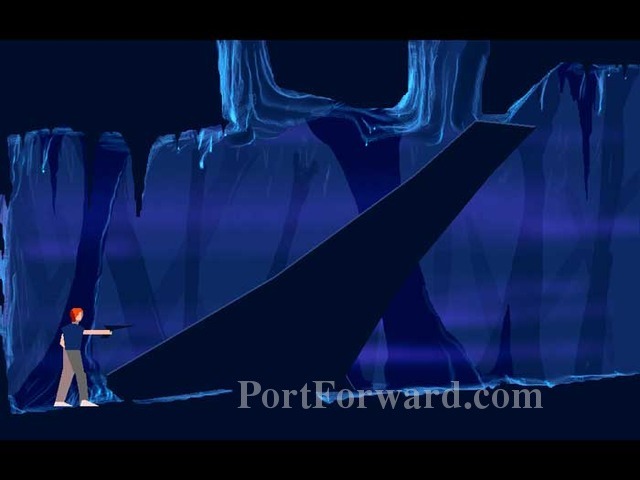
Walk off the left edge of the rock, then shoot its base. The rock topples over, creating a ramp for you to reach the upper tunnel.

Continue right, leaping over these pits as you go.
Continue right, leaping over this pit. It's a good idea to practice taking these as running leaps, as you'll soon need to jump them at full speed.
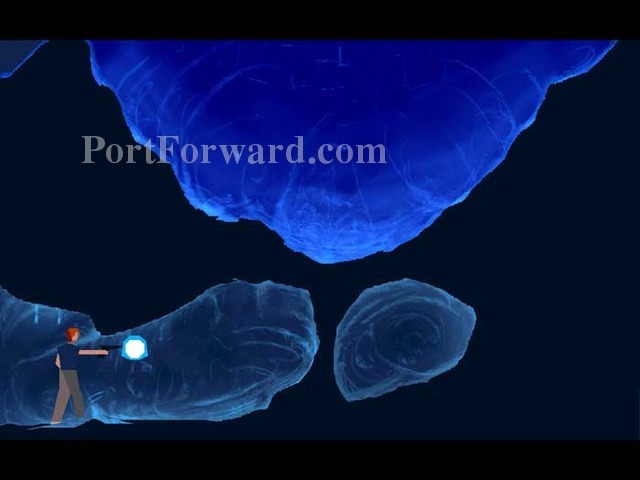
Blast the rock supporting the aquifer in this next chamber.
Time to take a running leap. Backtrack left, keeping pace ahead of the rushing torrent.
Continue all the way left, finally being popped up by the cork-like rock you noticed previously.
Continue right. Destroy this wall.
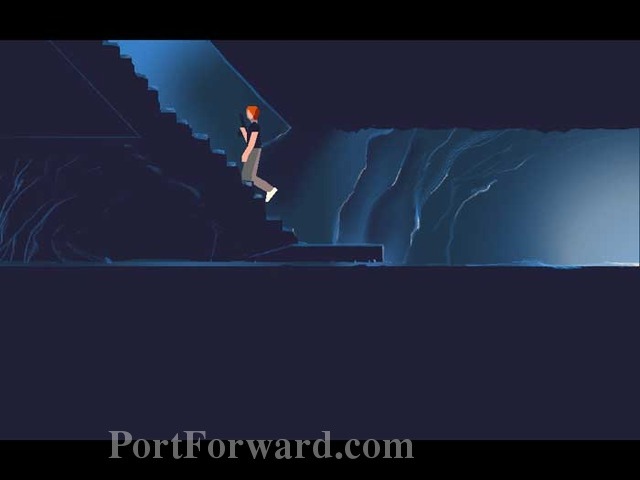
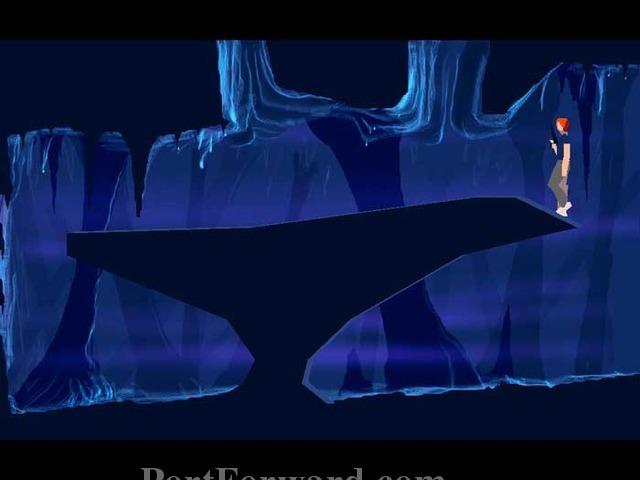
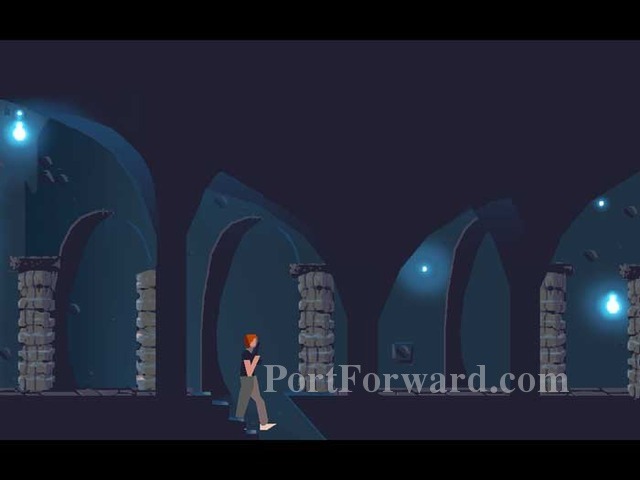
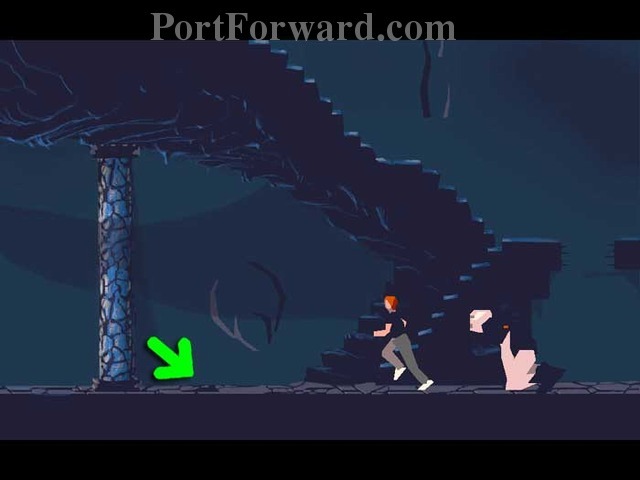
You can continue right or ascend the stairs. My choice is the stairs.
Head left to get your bearings -- you're back at this frame, just on the other side of the bridge.
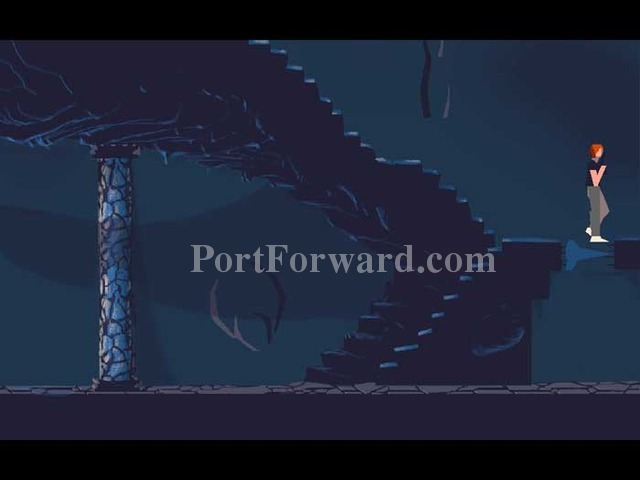
Continue right, this time jumping over the stairs.
Had you explored this far previously, you would have seen this frame as an impassible waterfall.
Another World Walkthrough City 2
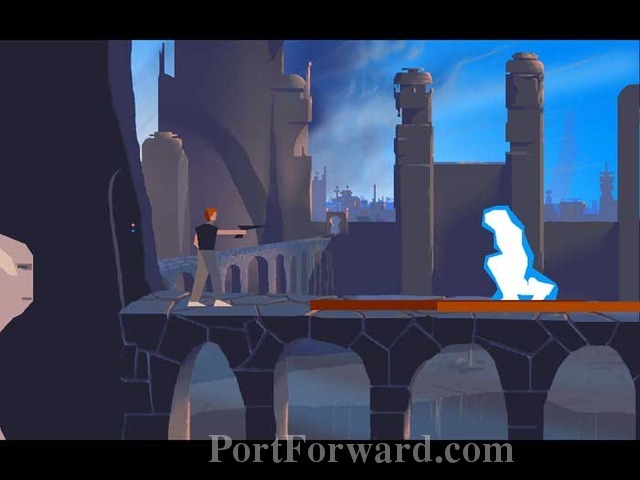
Continue right til you get to this guy. This next guy is tough. One simple strategy is to stay atop the stairs and wait behind a shield. Zap him as he ascends the stairs.
Another strategy is to immediately jump to the bottom of the stairs and erect a force field. Push your gun through the force field and shoot a press-and-hold blast to destroy his force field. Then quickly zap him before he has time to recover.
Leap over these stairs.
Erect a force field then approach to trigger the doors. The guard lobs a grenade your way -- back off to close the doors. The grenade boomerangs back to the guard, who is vaporized. Destroy the wall behind him to reach the next pane.
Here you'll find another charging station for your gun.
Notice the reflection of a guard patrolling beneath these glass balls. Crouch and fire when the reflection is paused in the center of the ball. When it crashes, you can hear him yell. If you miss, he'll fire upon you and you'll need to re-load the area.
Return left, this time descending the stairs.
Use your down arrow to transport to the floor below. You can head left or right, but you'll do yourself a favor by starting left.
Take out this guard. My preferred technique is to immediately erect a force field. Poke the gun through the force field then fire a press-and-hold blast to destroy his force field, quickly followed by a zap before he has time to erect a new force field.
Advance to the left pane and shoot this chandelier, unblocking the obstacle from Buddy's path.
Return right to this pane, and attempt to advance right. You are grabbed by this guard and your gun is flung across the floor. Press the fire key to kick him in the groin, and he releases you. Quickly retrieve your gun (where indicated) and fire before he regains his composure.
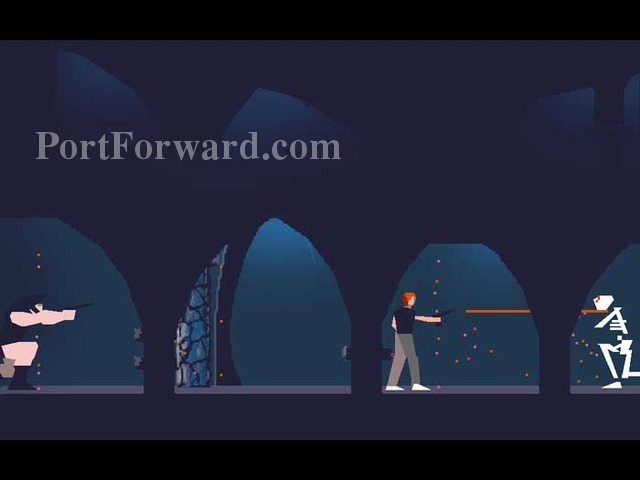
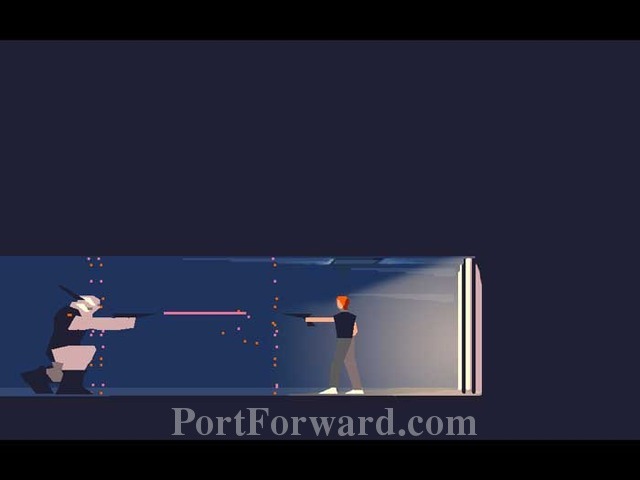
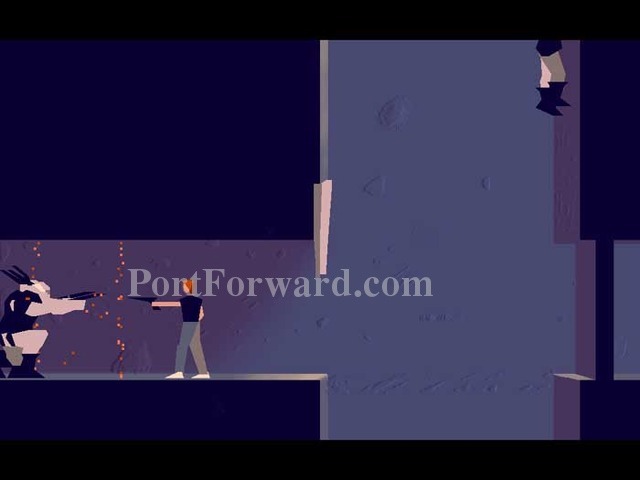
Advance right to this crazy-hard gunfight. My technique is to focus on killing the guard on the right after erecting two force fields on either side of Lester. Don't erect the left force field too far left or the guard will just walk past it.
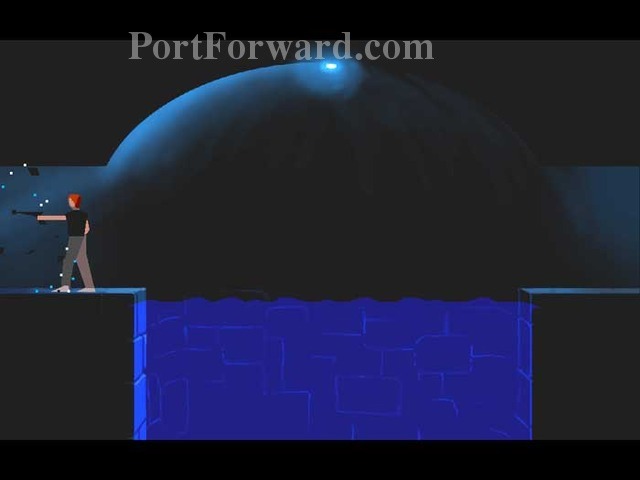
Rush right to this pane, then quickly turn around to ambush the pursuing guard. Dive into the pool and swim down. (If you continue to the pane on the right, you'll encounter the guard you smashed with the glass ball. We'll get there soon enough.)
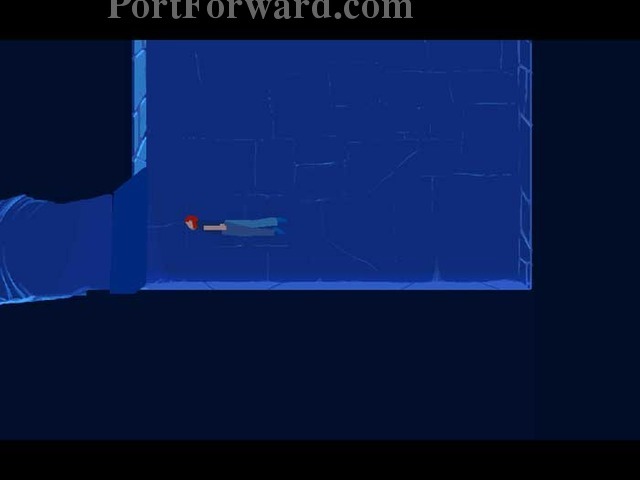
Swim all the way down, then left through the wall you destroyed previously. Notice that your gun doesn't work underwater. You wouldn't have been able to destroy the wall now.

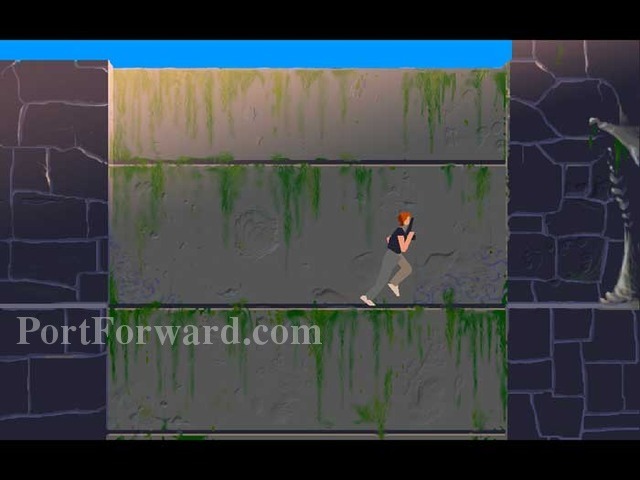
Continue left, then swim up through this tunnel.
Take a breath in this small chamber.
Swim down through this tunnel. (You can continue to the pane on the left, but a cave-in prevents further progress.)
Exit the water then jump over the munchers. Note the power line lower-right.
Continue right then shoot the power line.
Now return back the way you came. Emerge right from the pool.
Walk past the guard you knocked out with the glass ball earlier.
Drop into this pit.

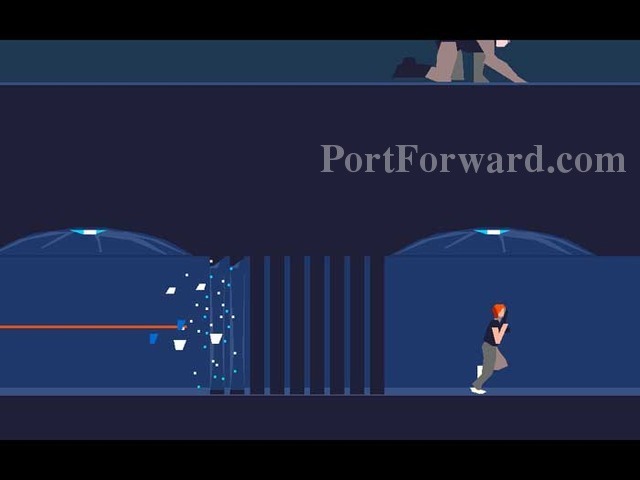
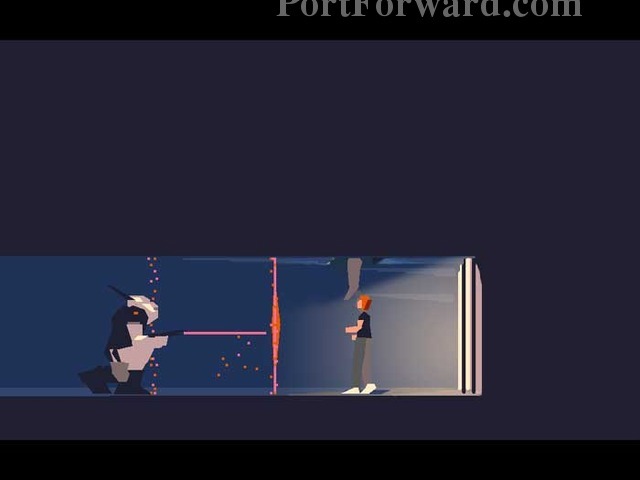
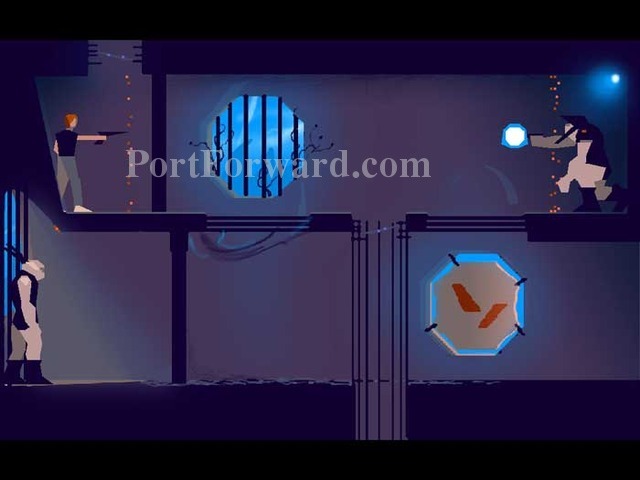
A blast from the left is protected by a door, closed when you shot out the power line earlier. Move quickly to shoot the door on the right, before the leftmost door is blasted through.
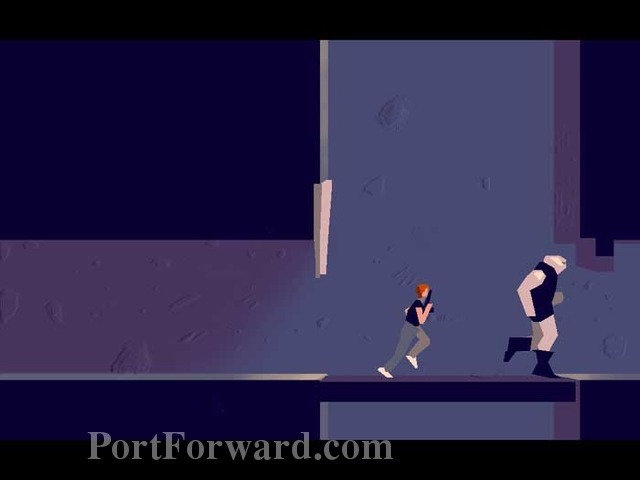
Continue right. The doors open, then close, automatically. Keep pace to exit right before the doors are blasted through. Note your buddy in the crawlspace above.
Continue running right past many more doors.
Turn around when you reach the bars. Try to position yourself as I am here, under the trap door in the ceiling. Erect many force fields to bide your time.
After a few tense moments, your buddy's arm reaches through the trap door, pulling you to safety.
Another World Walkthrough Palais
Following Buddy through the doorway results in instant death. Don't do it. Instead, head left then turn around to take the slightly elevated walkway behind the building.
You can see the guards inside capturing Buddy as you sneak around back.
Turn around and enter through the back door.
Erect a force field and take out one guard while Buddy takes out the other.

After Buddy tosses you to the opposite ledge, he finds himself dangling over the pit. Turn around and jump to the left.
Another awning breaks your fall, and then two very difficult guards attack. You have to be fast. Erect a force field, poke your gun through and fire a super blast followed by a fast zap. Then repeat very quickly to defeat the second guard.

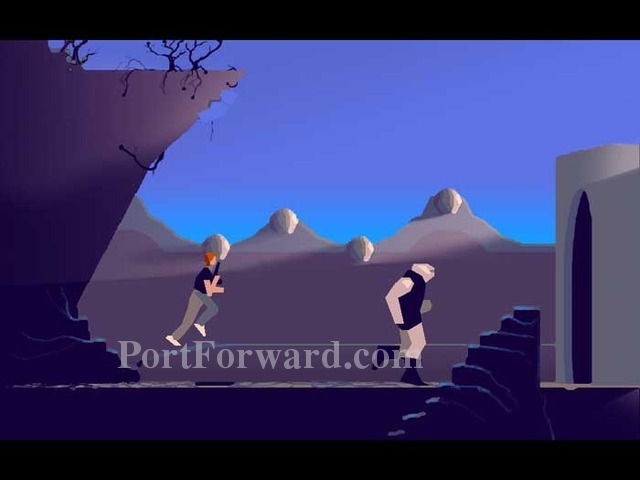
Continue left then point your gun at this abandoned guard (but keep your distance or he'll beat you senseless). He pushes a button to close two doors.
Backtrack right, then ascend these stairs.
Jump to the right of the stairs, erect a force field, then blast the door between yourself and the guard. Let him roll four grenades before shooting him. The grenades fall down the stairs and blast a hole in the floor.
Use the transporter on the left to access the level below.
You have a moment to erect a force field, thanks to the door the guard lowered earlier. The guard above destroys the door shortly. Blast away his force field then zap him.
Ride this transporter down.
You arrive here. Shoot the power line then ride the transporter back up.
Backtrack to these stairs, and drop through the newly-created hole in the floor.
Head right, and the lights go out (thanks to the power line you shot out a moment ago.) Whoever is shooting at you through the grate can't see, so long as it's dark. Just run right without stopping and his shots will trail you.
Jump over this hole, pull the lever on the right, then drop through the hole.
Pulling the lever released several big cats. Rush several frames to the right during the chaos.
Ride this transporter up.
Find Buddy on the left, then follow him.
Ride this transporter up.
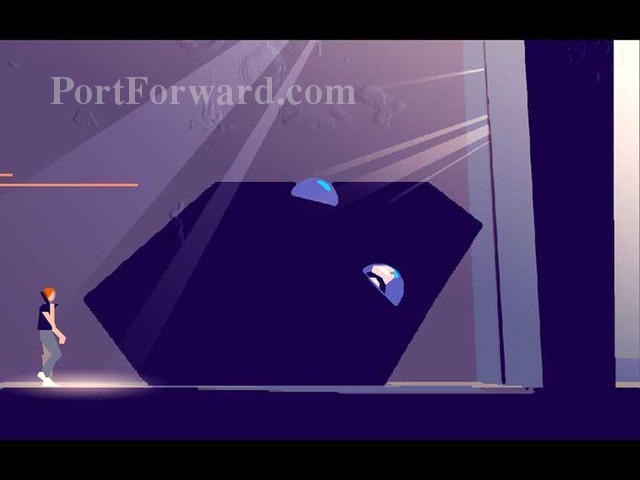
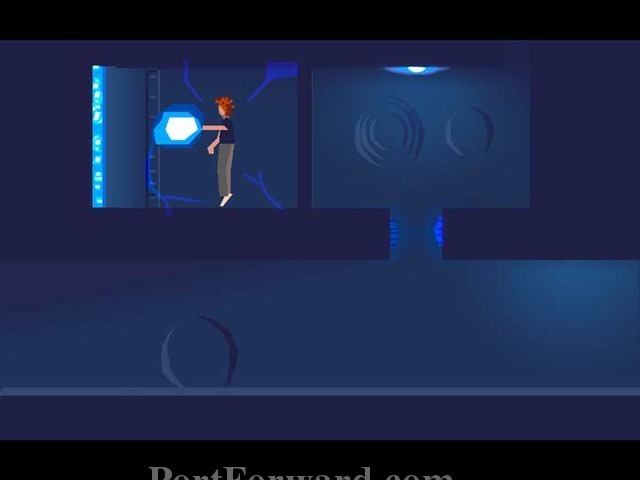
Follow Buddy to this strange device...
Another World Walkthrough Arena
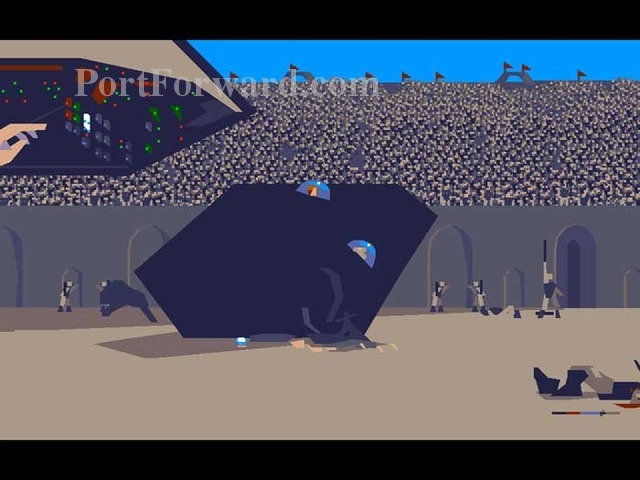
Notice your hand in the upper-left inset. You want to press the first several buttons to get more buttons to appear, then press the four buttons upper-left to turn them red and green. Lastly, press the large white button that appears in the center.
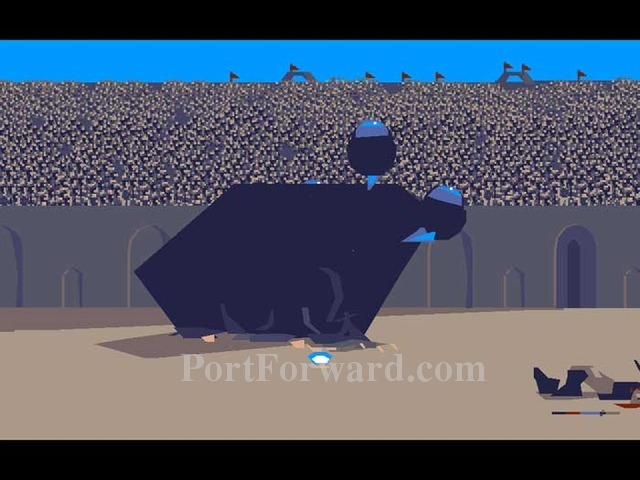
This short level ends with a brief animation showing the bubbles holding Lester and Buddy launching away.
Another World Walkthrough Baths
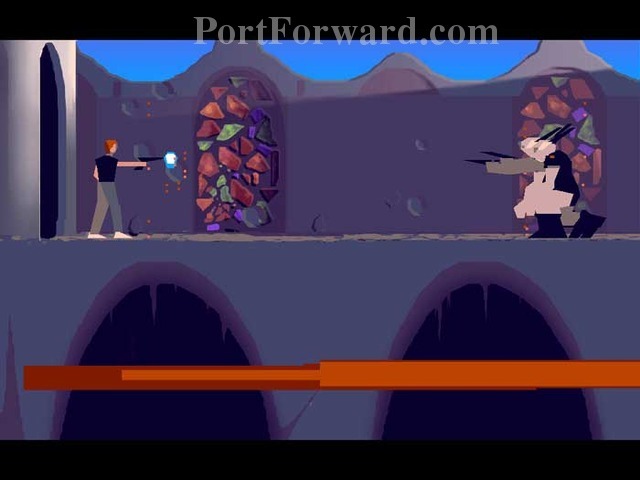
Defeat two sets of two guards, then continue right.
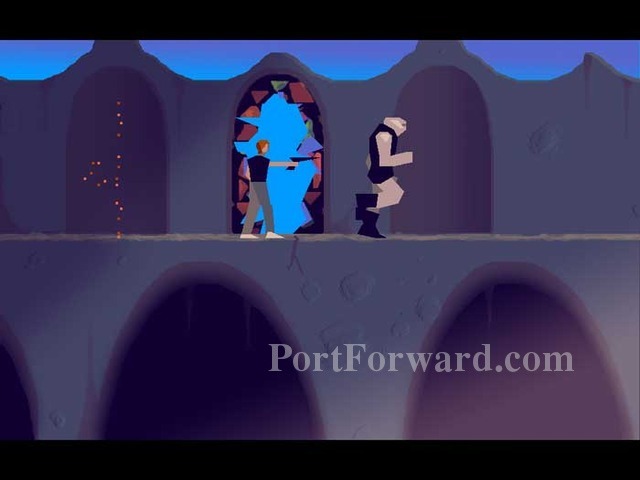
Buddy busts through this window. Follow him right.

The ledge is shot out from under you, but a hand pulls you back up to safety.
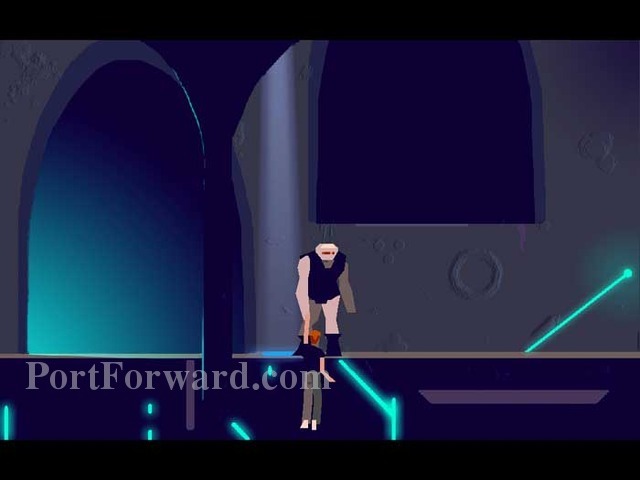
Notice the orange eyes -- this isn't Buddy. The guard kicks you into the next frame.
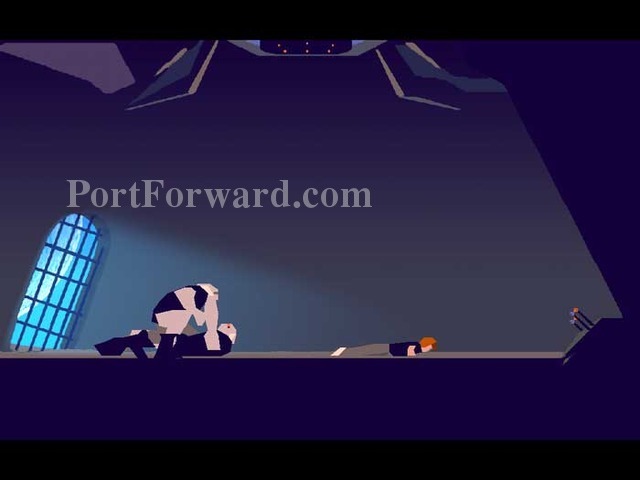
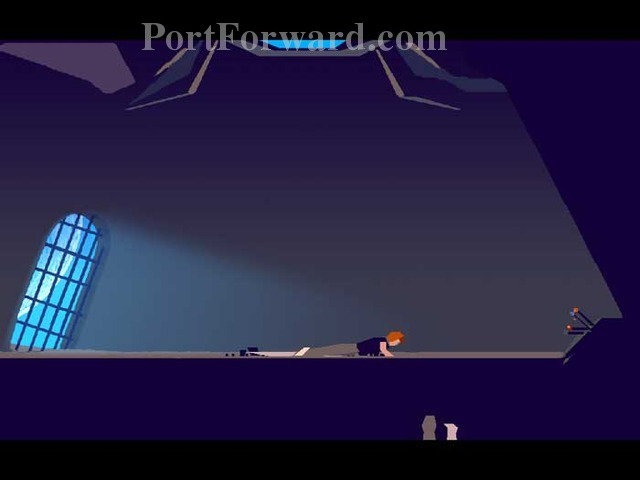
Buddy appears (that's him with the gray eyes) and battles the guard. Crawl to the levers on the right. (Just use the right arrow -- don't hold the control key.)
The guard approaches after tossing Buddy aside. Pull the lever to zap him when he's in the center of the room - not before.
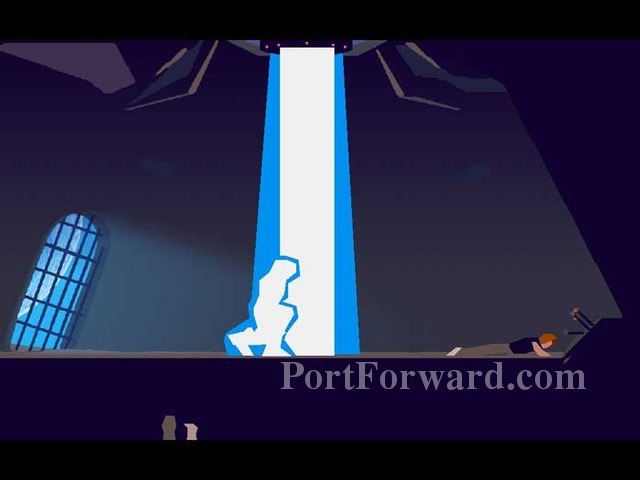
Pull the next lever to open the sky light, then immediately crawl left to the lit area before you are zapped by laser fire.
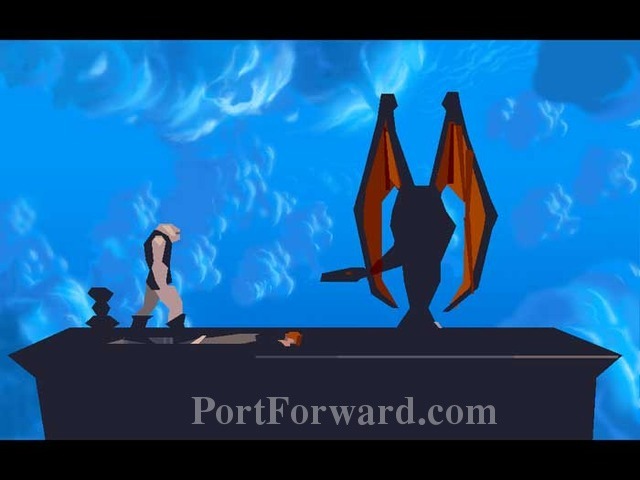
You are transported to the roof, where a winged creature is waiting. Buddy soon follows.

And that is the end. Hope you enjoyed this little game! And I hope this walkthrogh helped you! Game on!


 Aliens vs Predator Game Guide & Walkthrough
 Assassins Creed Walkthrough Memory Block 1
 Arcania: Fall of Setarrif Game Guide & Walkthrough
 Assassins Creed II Game Guide & Walkthrough