
Resident Evil 6 guide is very detailed and richly illustrated walkthrough, prepared especially for all players who have problems with completing this demanding and extensive game. In this guide you'll find:
Resident Evil 6 is by far the longest and one of the most difficult parts of the series, but thanks to the following guide you'll have no problems with getting rid of all enemies and prevent terrorists from transforming people into bloodthirsty zombies.
Michal "Kwisc" Chwistek
Translated by Maciej "Elrond" Myrcha
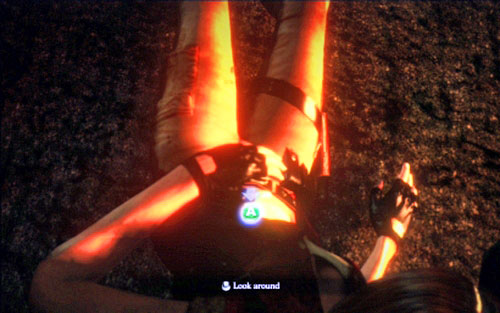
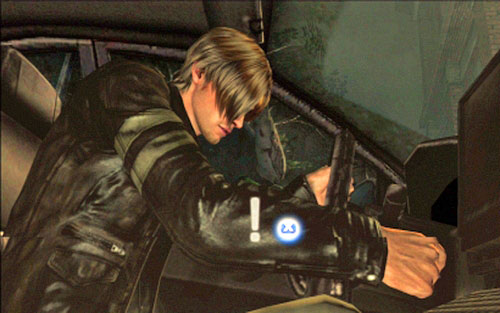
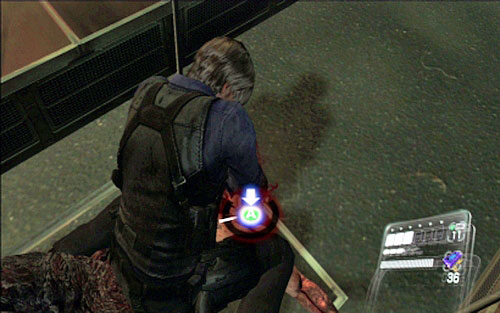
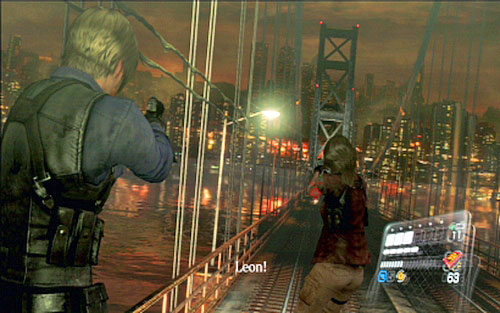
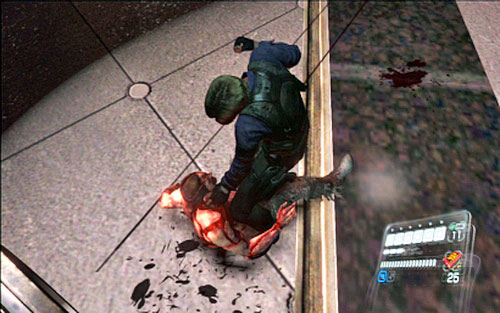
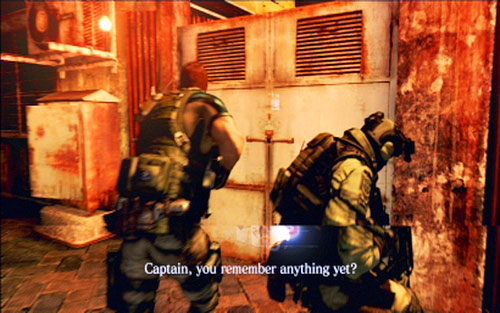
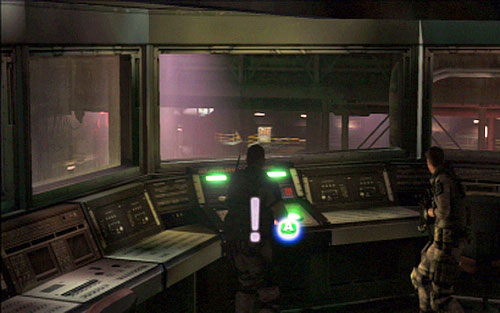
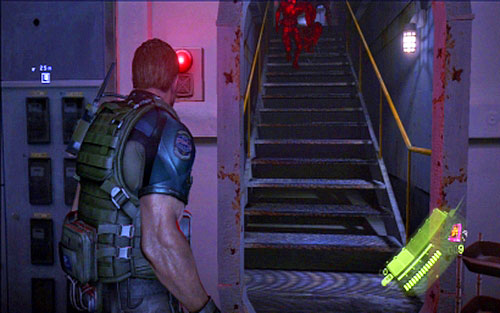
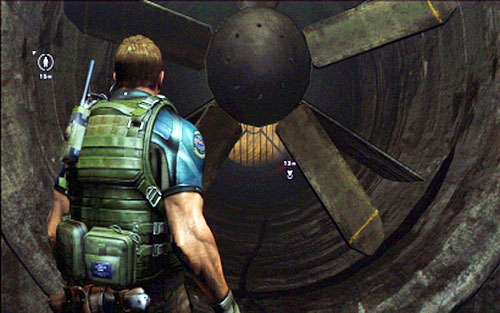
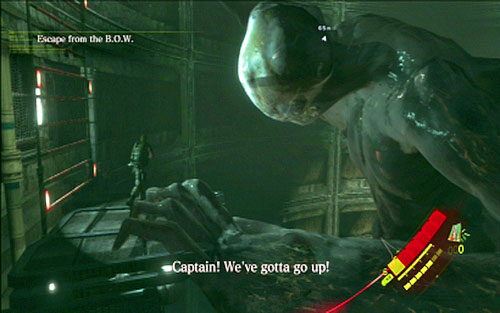
Once you wake up, use the right analog to look around and then keep pressing A quickly to pull back your companion.
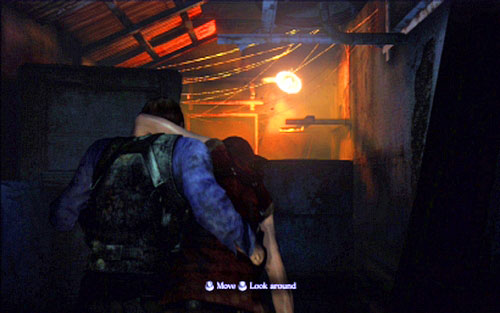
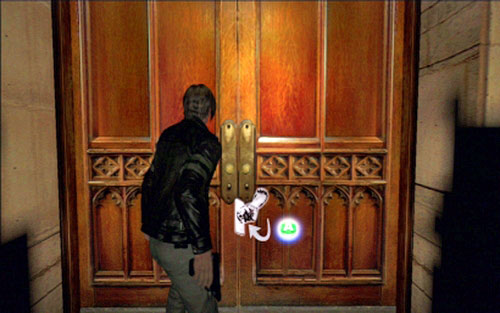
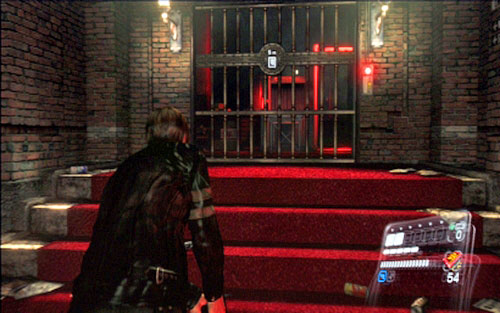
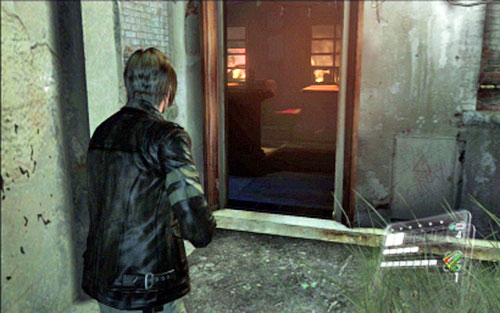
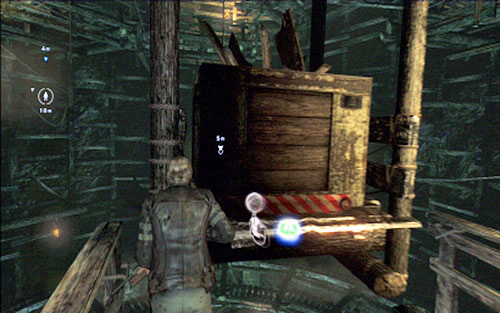
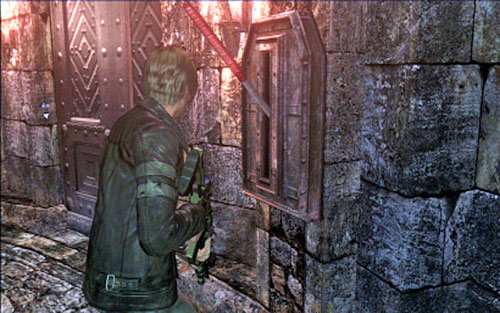
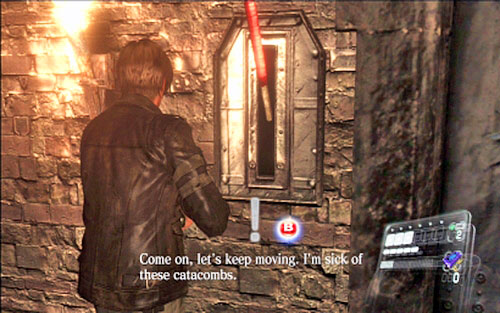
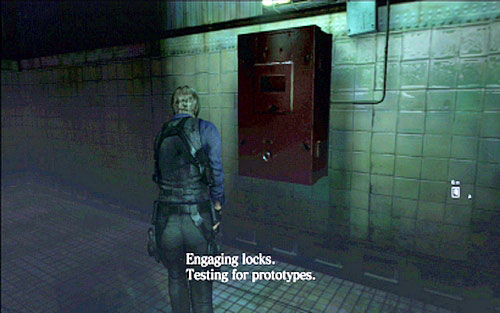
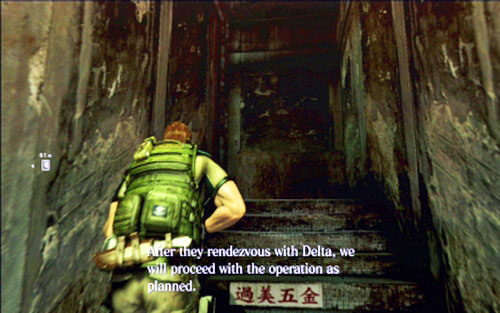
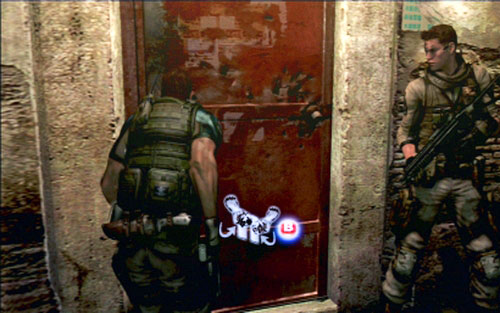
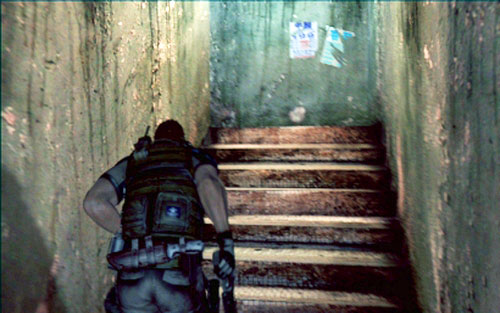
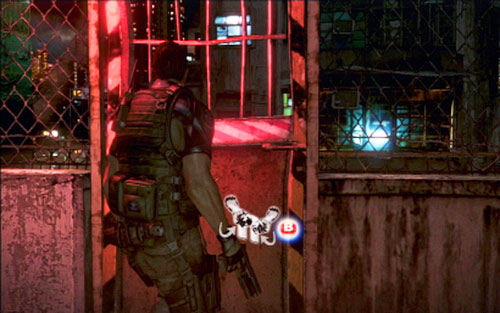
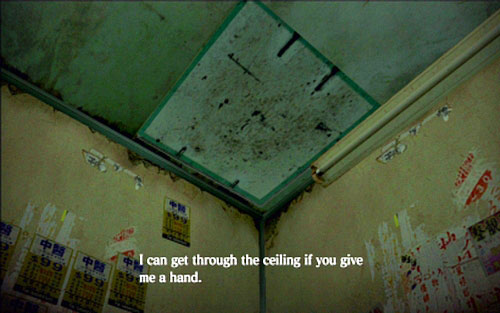
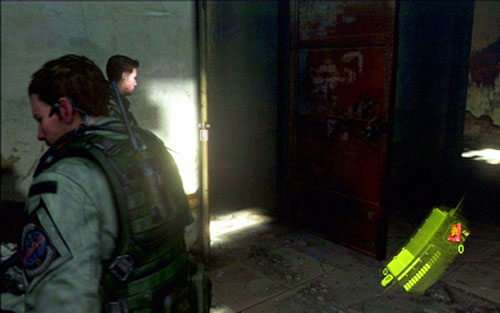
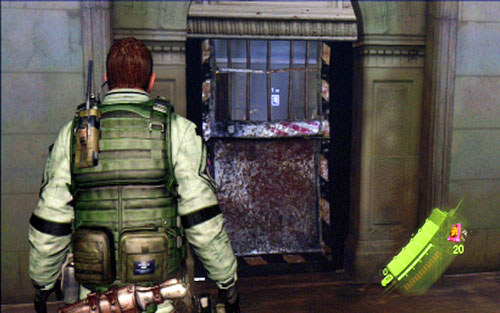
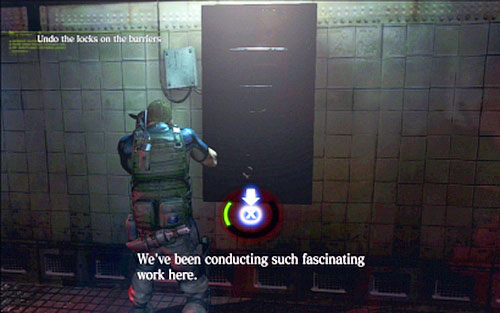
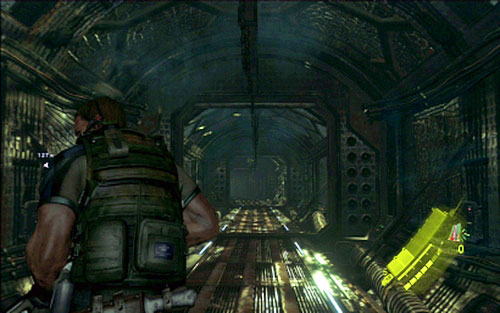
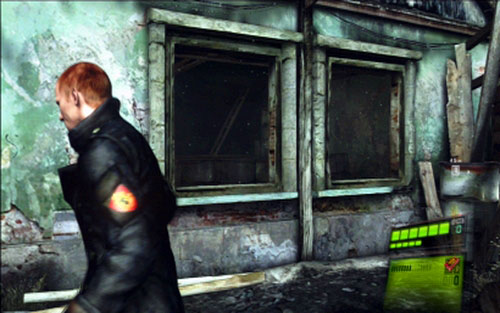
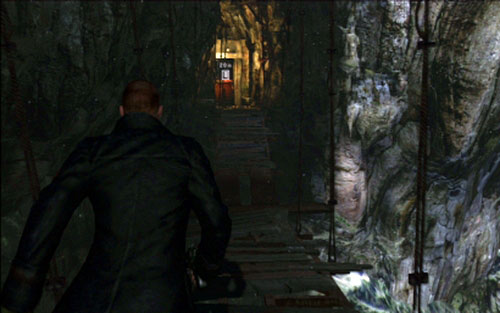
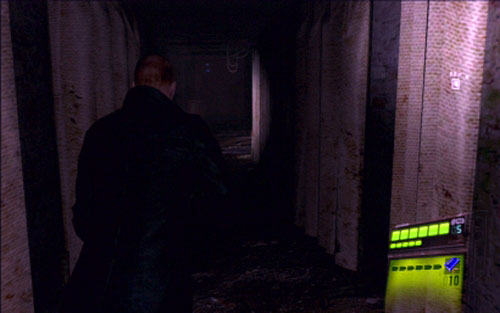
When you get inside the building, head towards the glowing light bulb, pressing on-screen buttons along your way. To open the door blocking the corridor, you have to press X when the pointer moves over a glowing part of the circle.
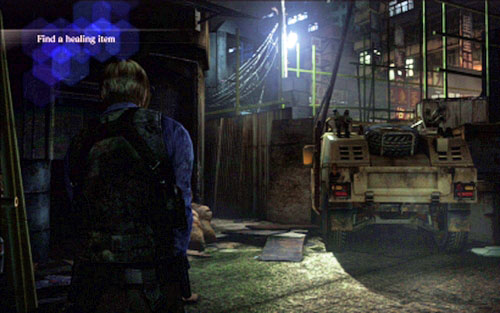
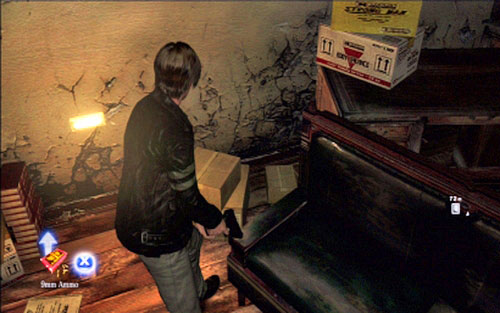
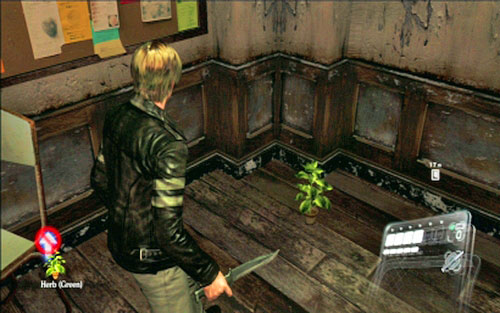
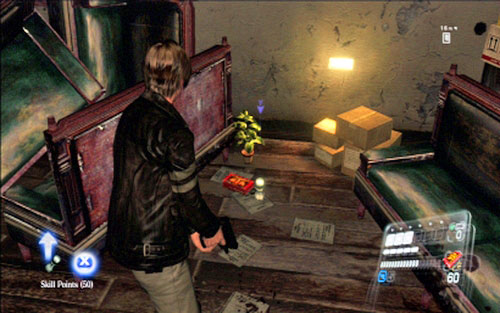
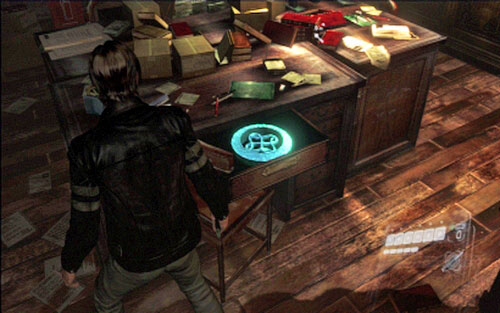
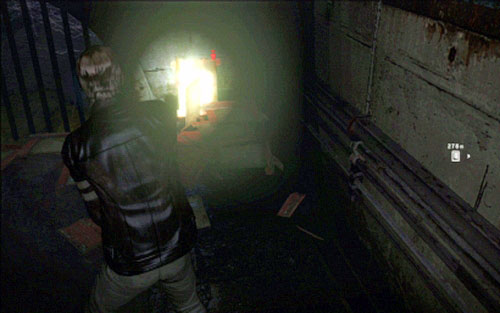
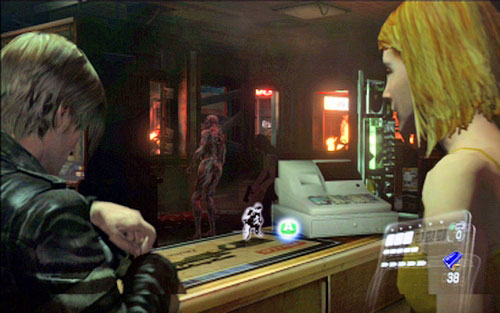
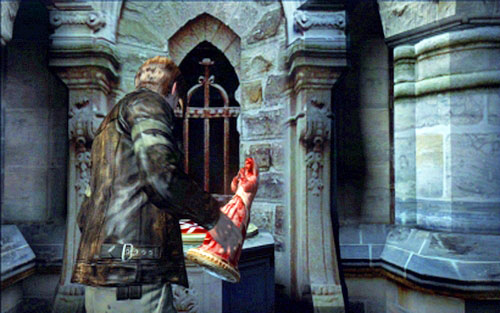
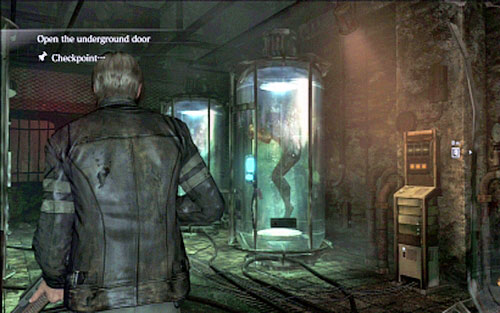
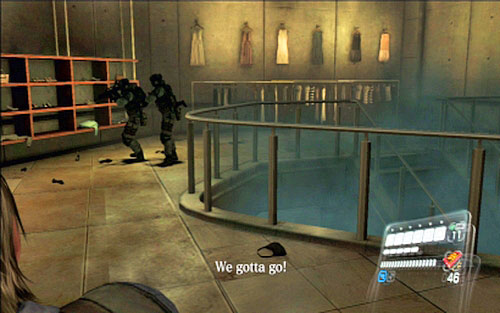
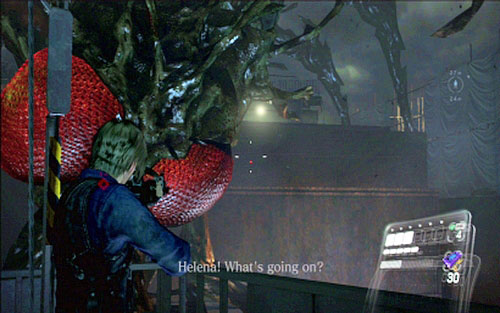
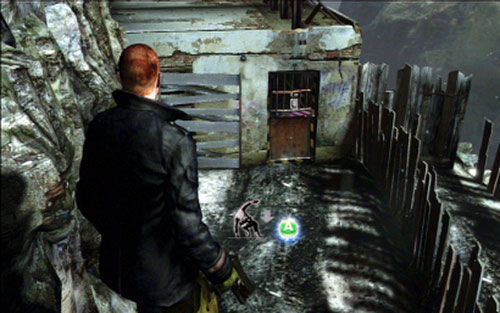
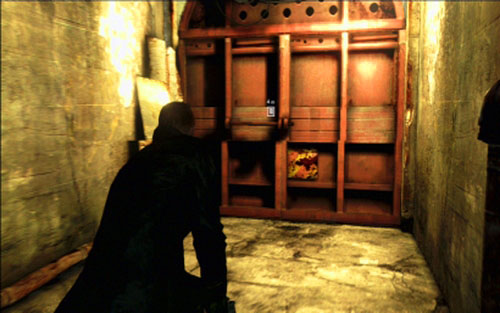
When you get to the other side, move forwards until you reach a place where your hero will place Helena on the ground. Your task is to find a cure in the room.

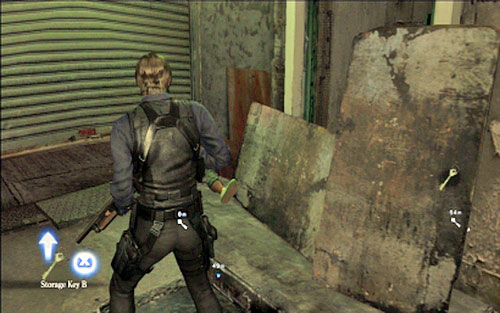
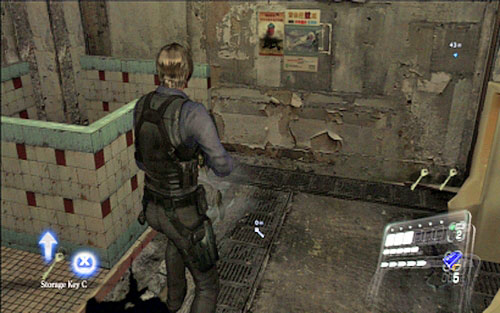
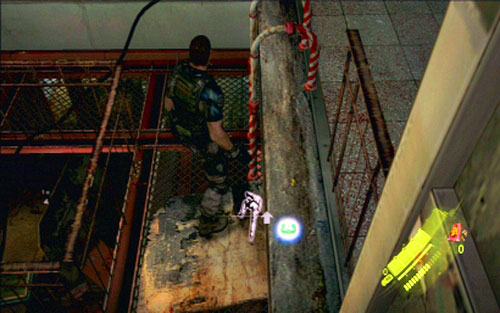
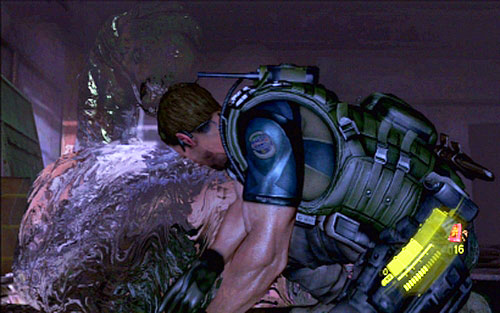
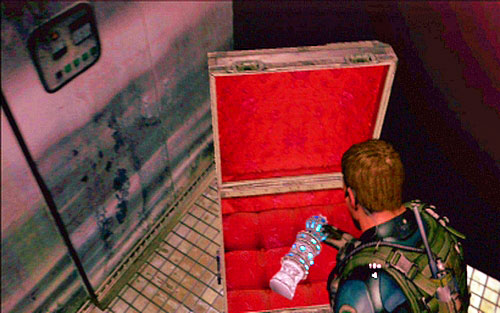
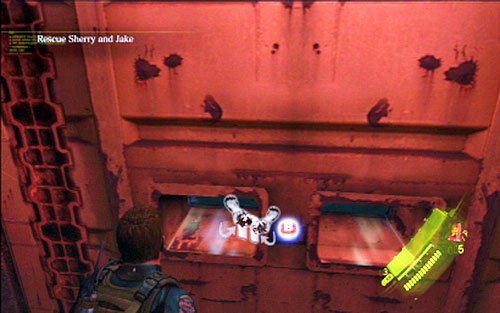
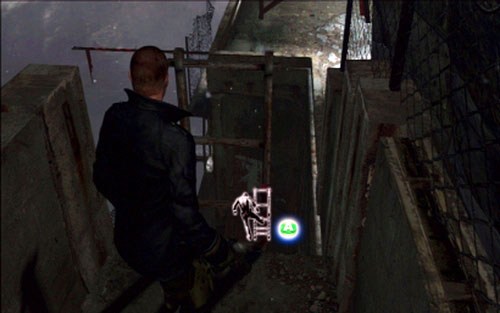
You'll find it inside the nearby car wreckage. Break the window with A key and then take the plant (X).
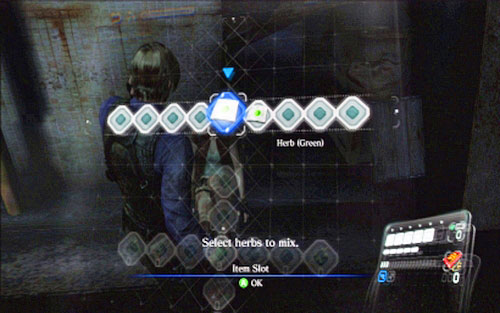
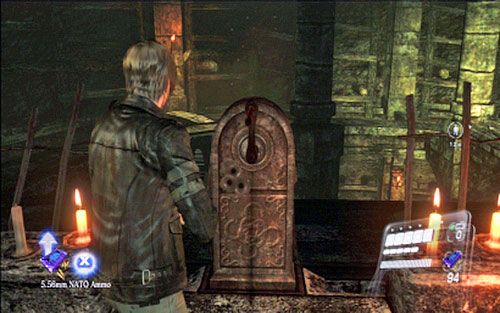
Now you have to take the plant to the woman and press Y. You'll open the menu - combine herbs and put them inside the tablet case (it is enough to press A all the time).
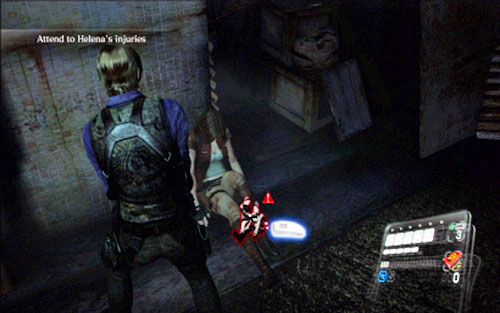
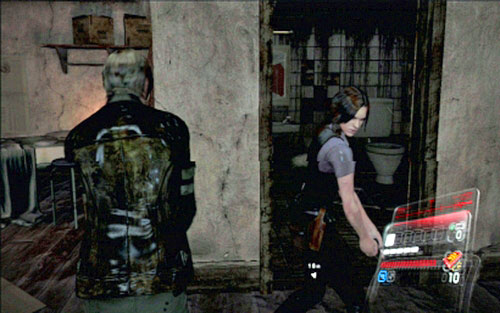
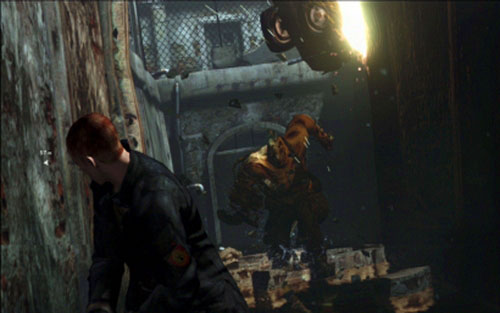
Once you're done, exit the inventory (Y) and give Helena the medicine (RB).
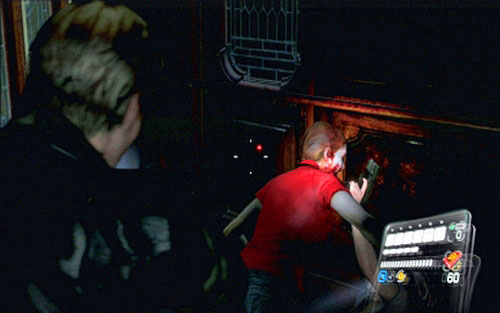
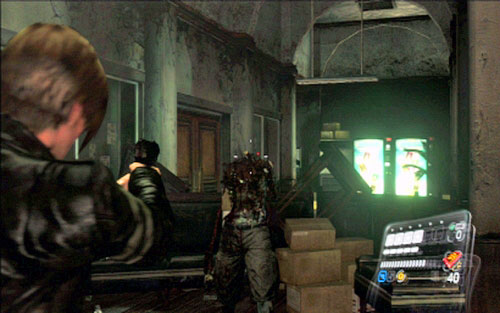
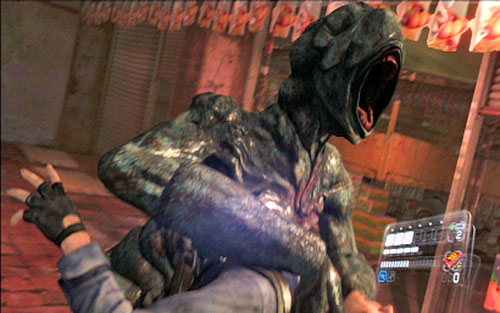
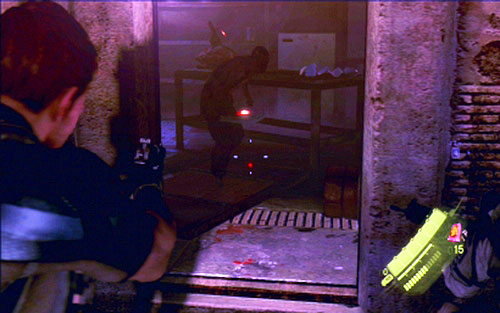
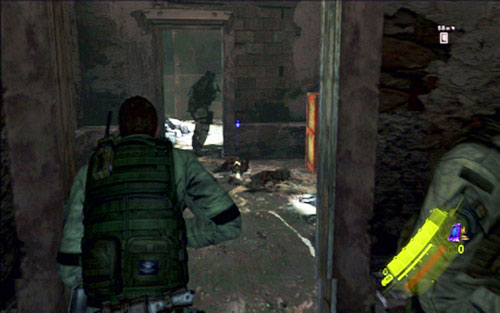
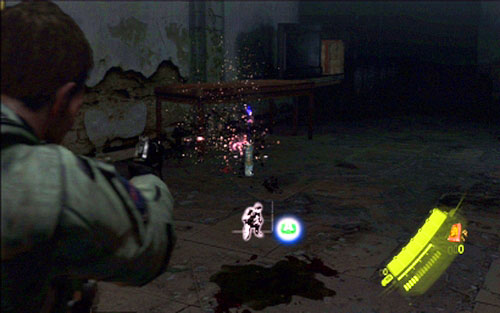
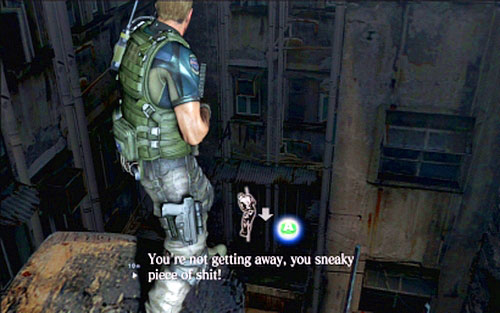
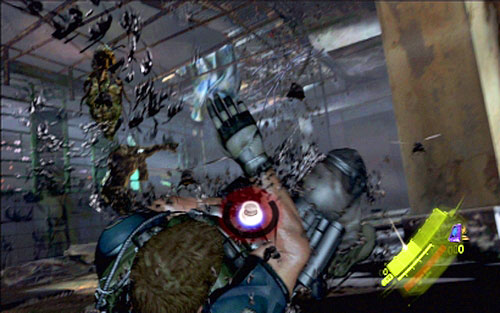
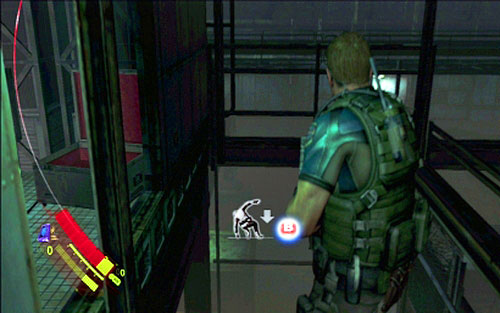
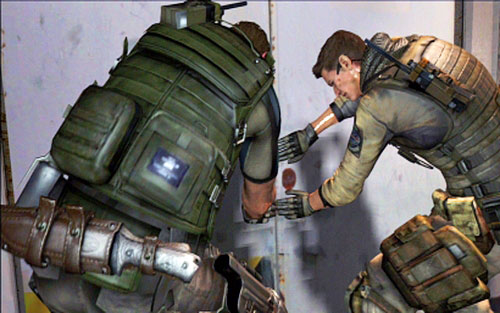
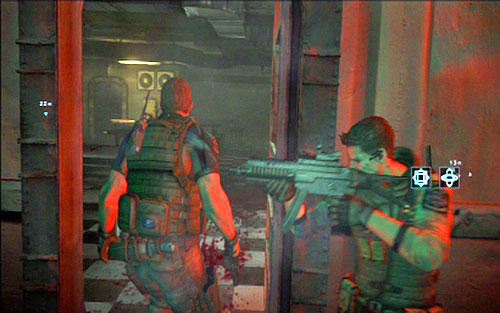
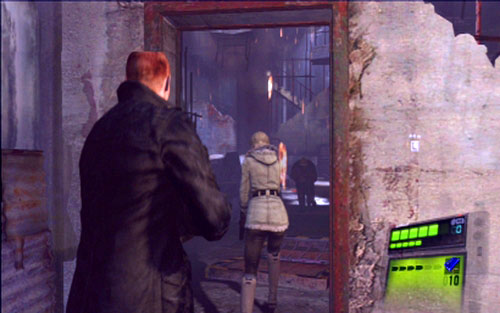
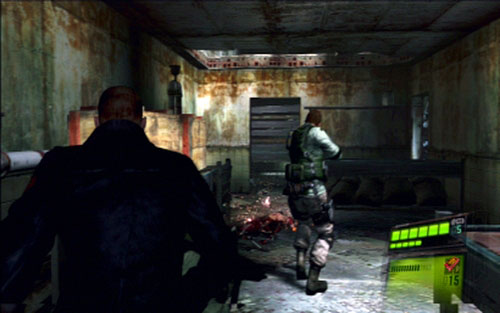
Unfortunately, before she can take, first zombie appears behind your back. You have to shoot him by holding LT and pressing RT. If the beast attacks you, quickly rotate analog and press the button shown on the screen in the right moment.
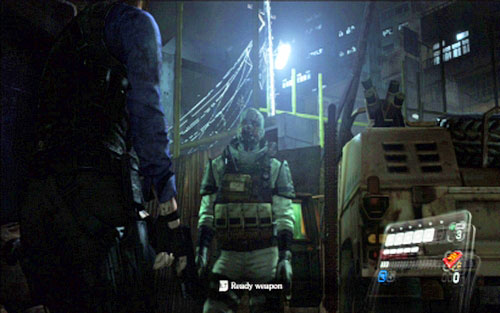
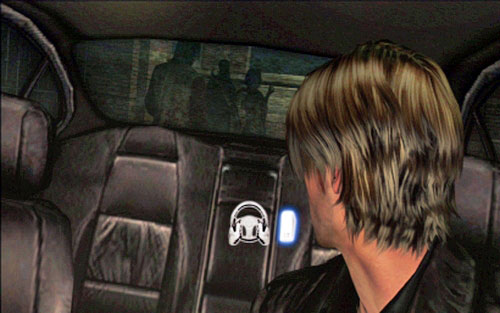
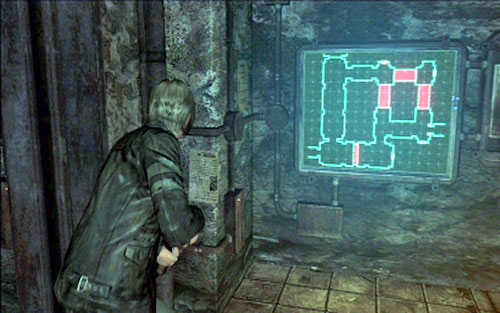
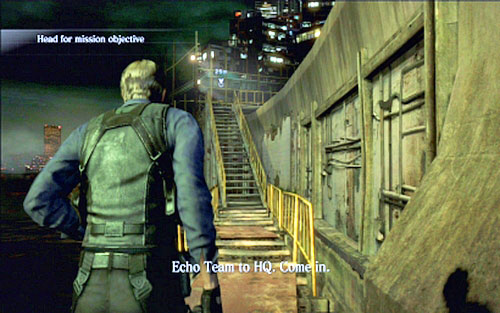
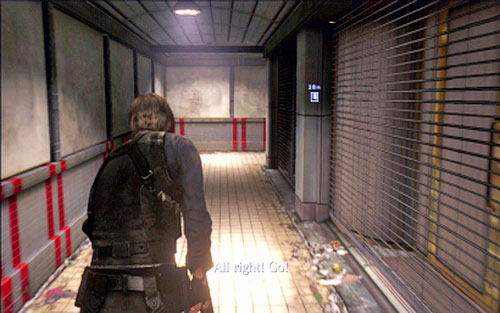
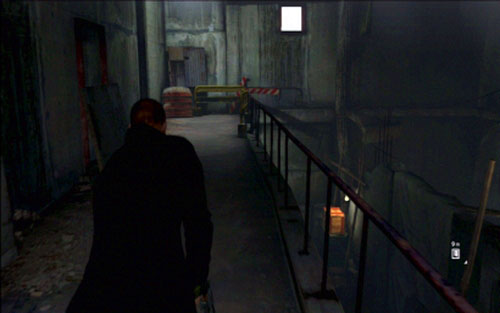
When the fight is over, give the herb to your companion and move forwards. The right path is loaded into your route guide. You can check it by holding LB.
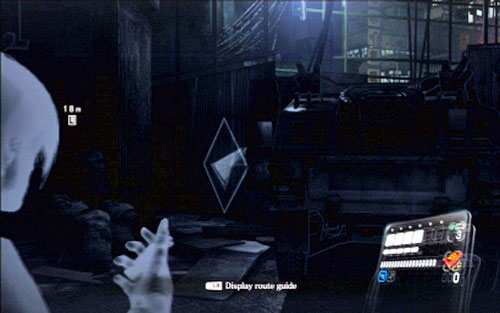
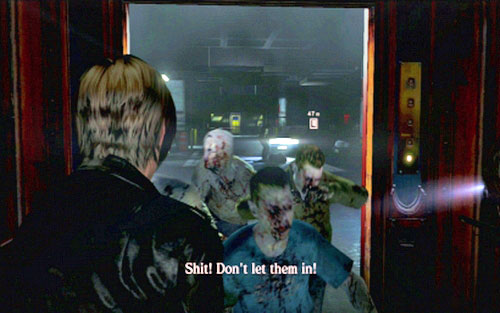
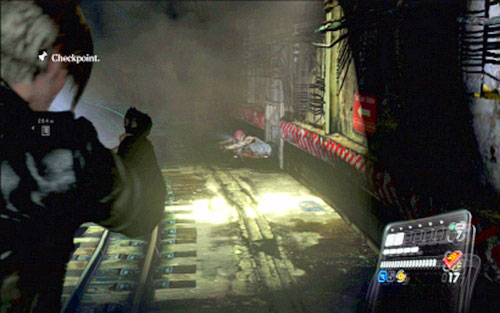
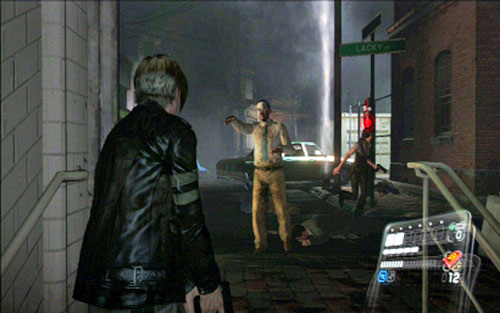
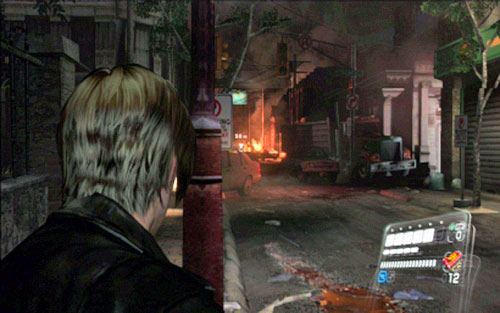
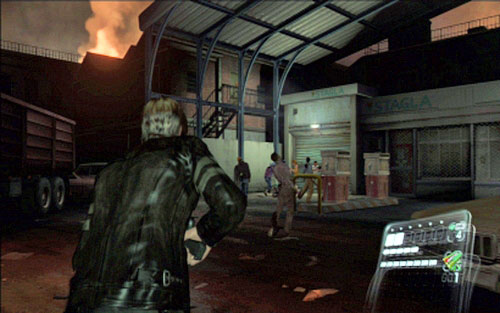
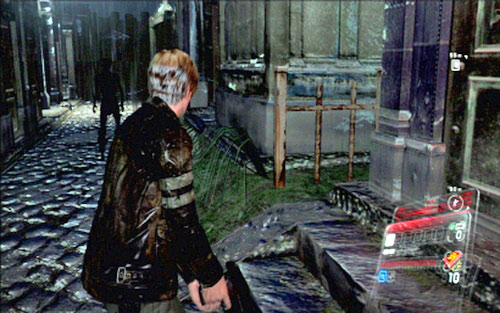
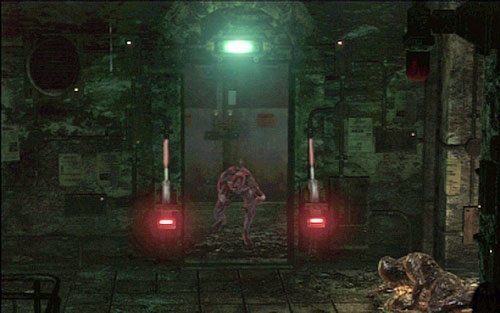
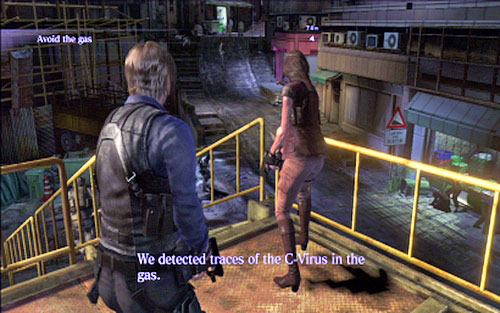
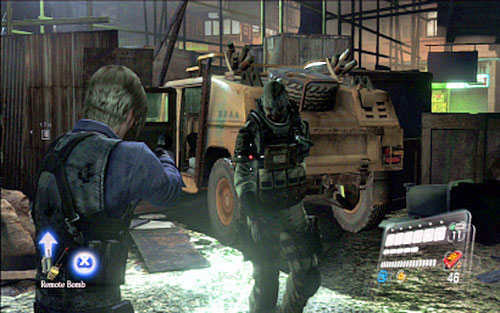
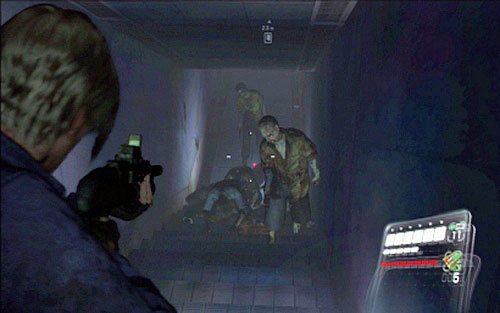
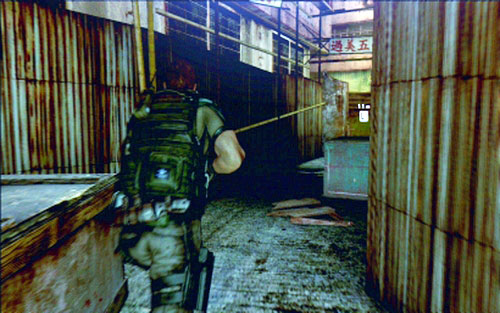
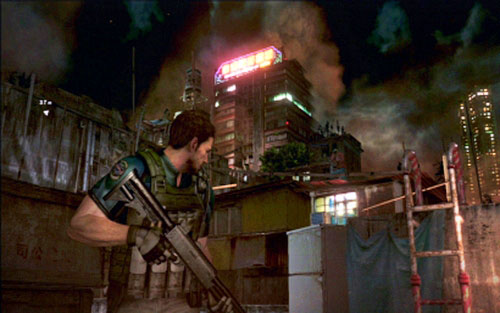
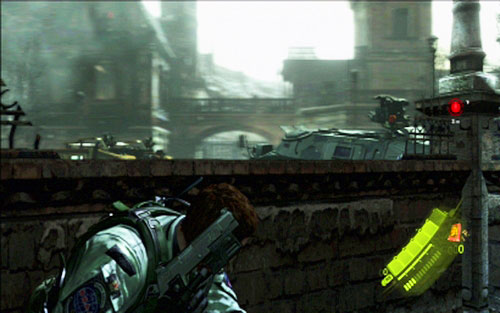
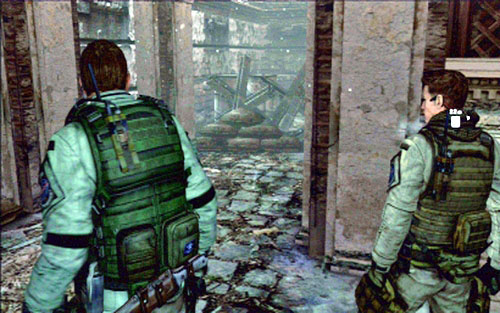
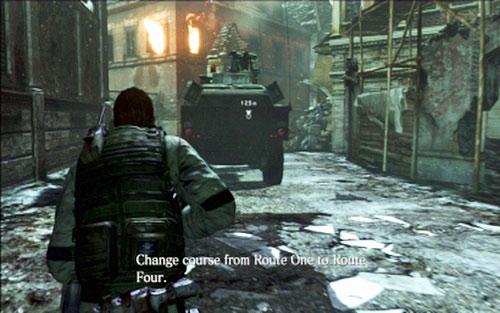
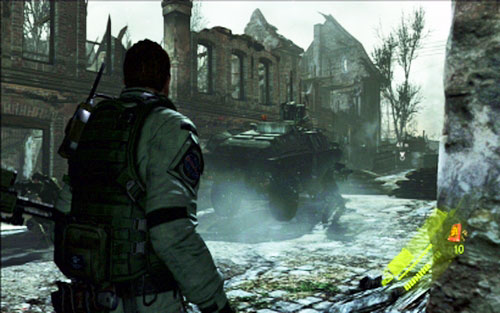
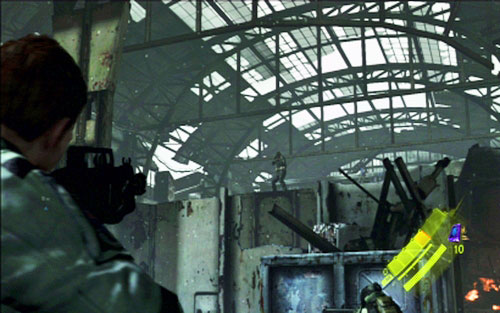
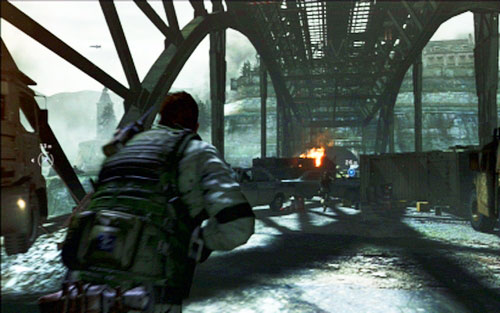
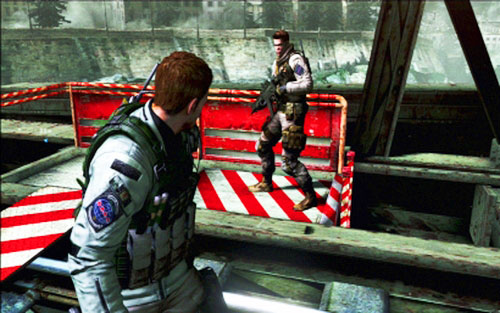
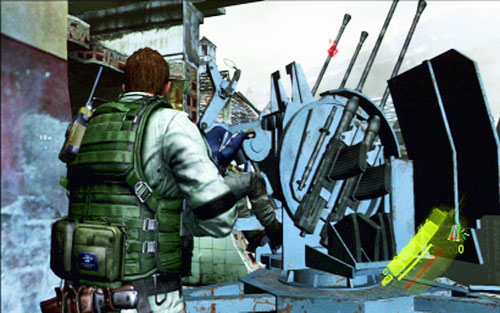
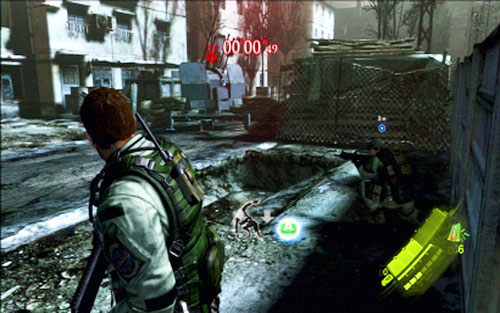
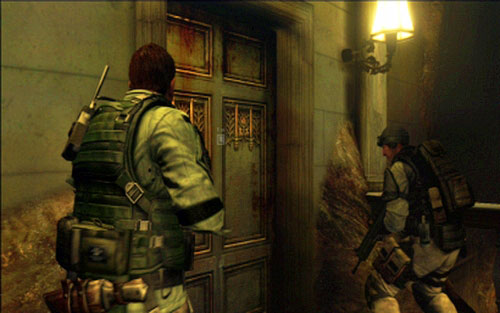
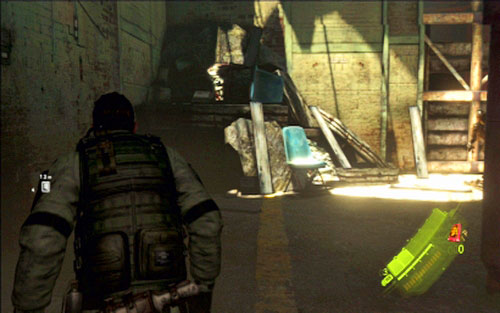
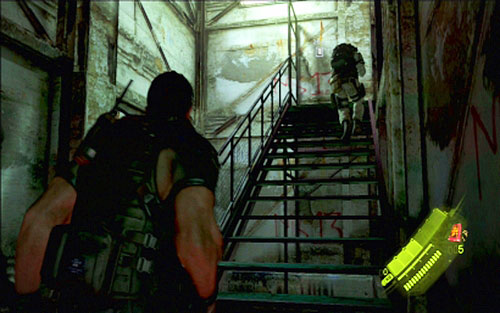
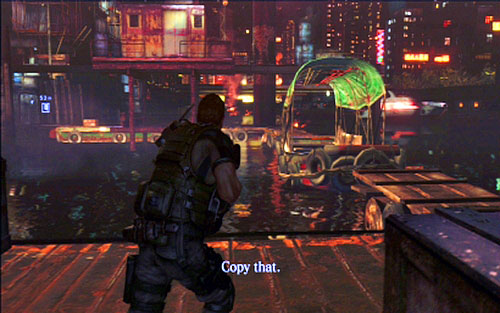
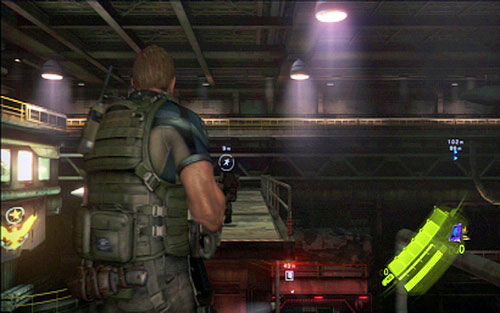
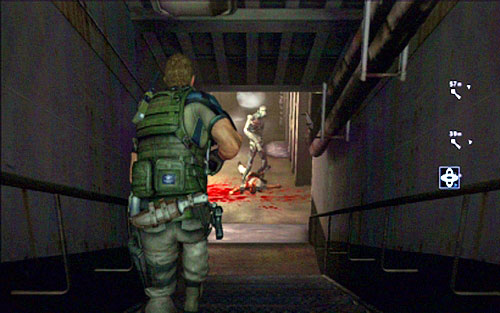
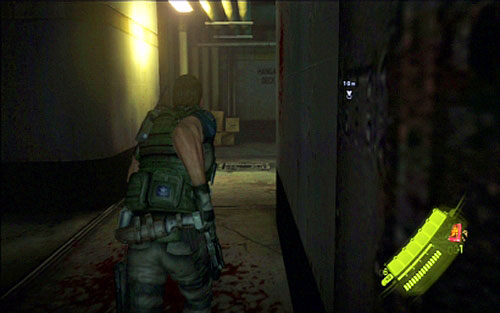
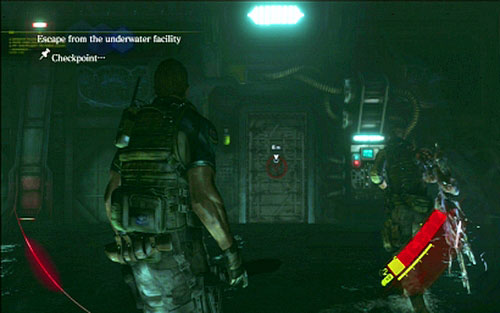
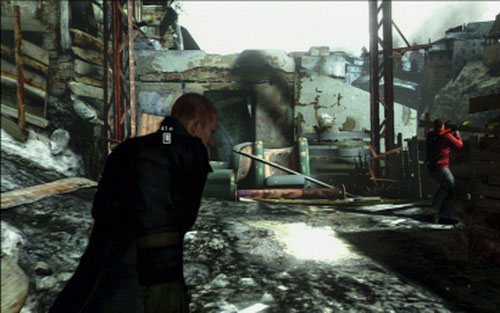
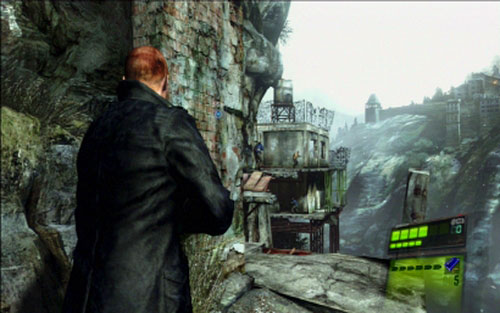
Keep going forward until you exit the building and find yourself on the street controlled by zombies.
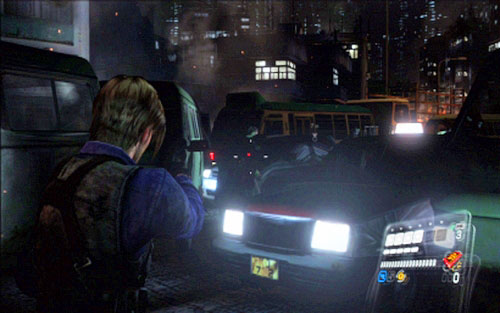
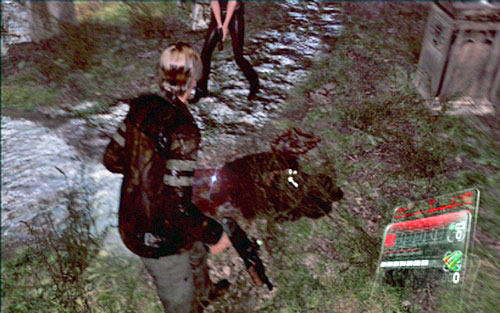
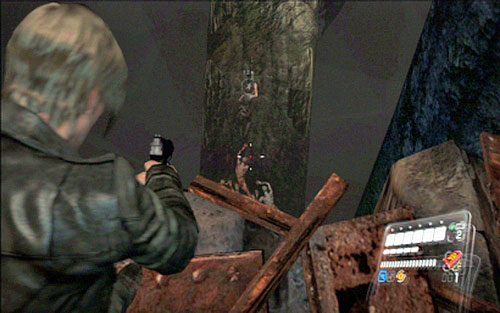
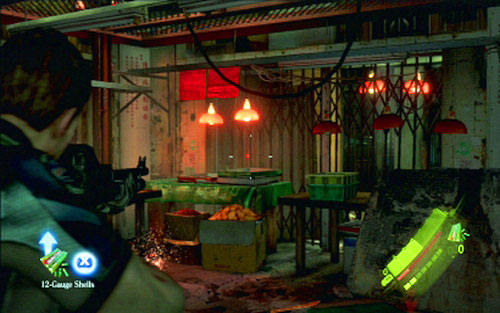
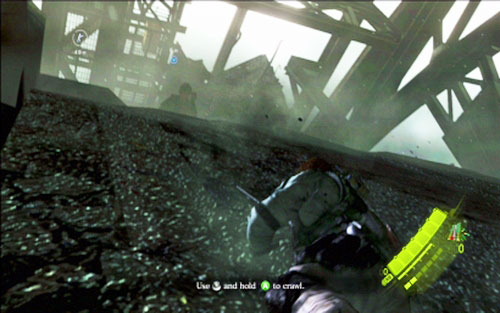
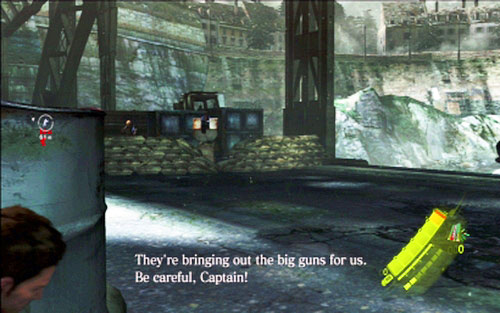
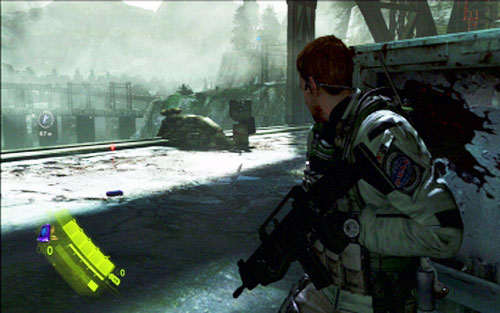
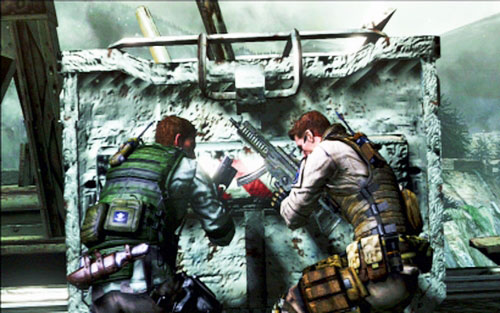
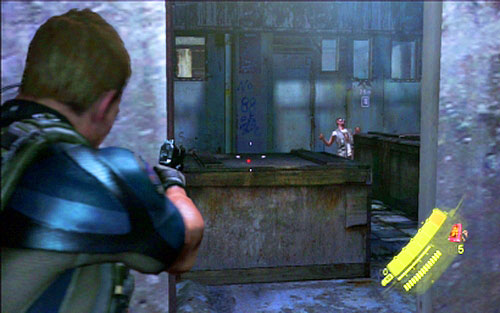
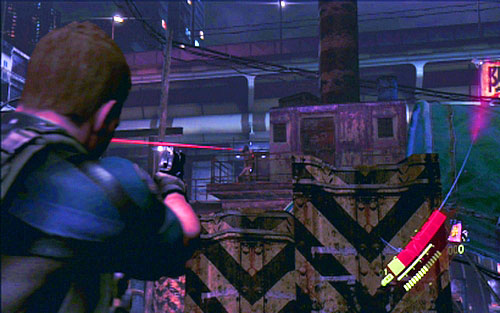
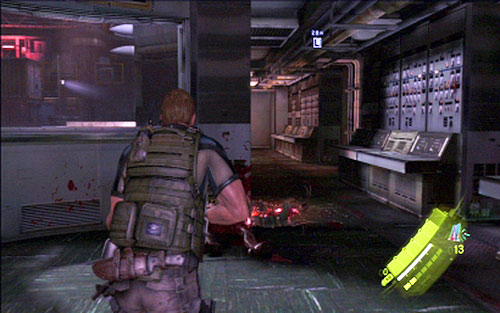
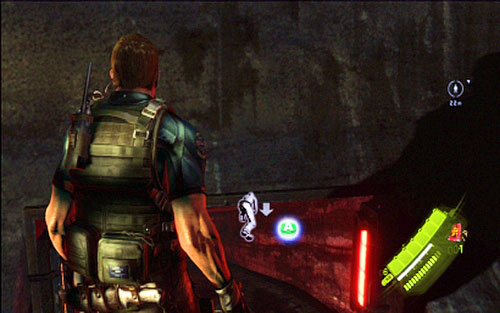
You have to run straight ahead, killing opponents along your way. You can shoot them or kill them in melee fight (RT). Pick up ammo on the ground with X key. It is best to aim at the head, because in this way you can kill quickly every enemy.
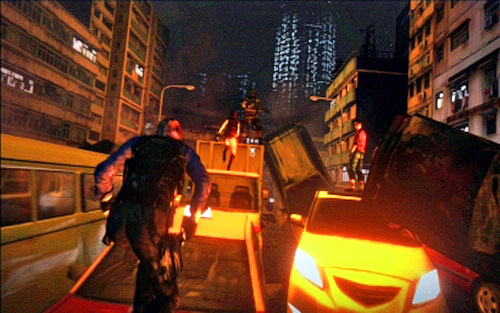
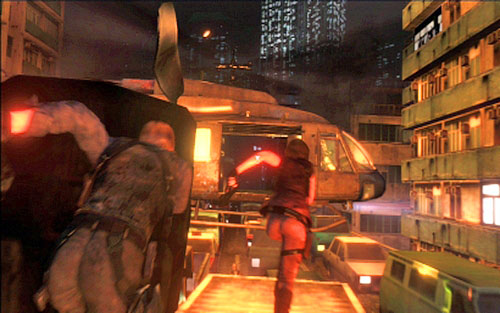
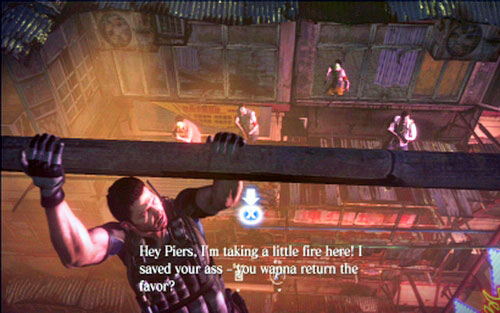
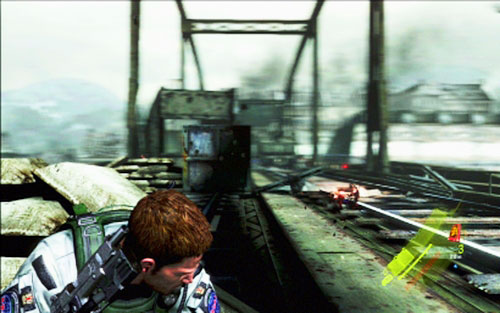
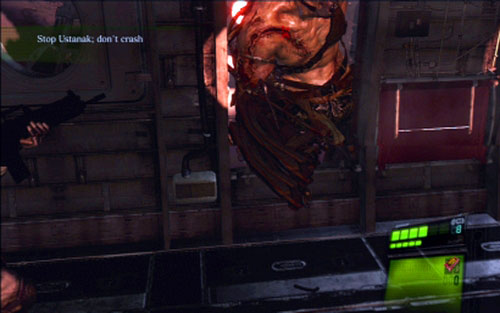
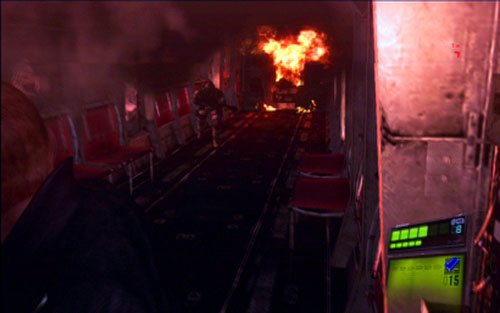
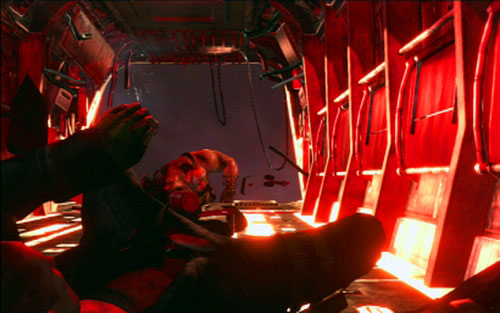
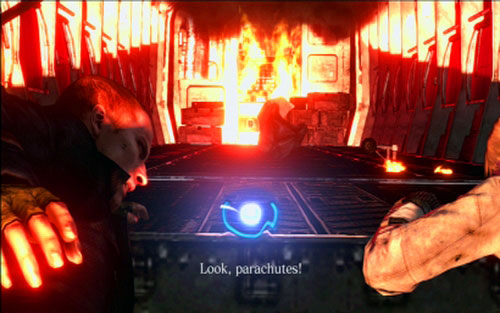
At some point a plane wreck falls down on the street. You must then run away as fast as you can to avoid the explosion. In order to sprint, hold A key.
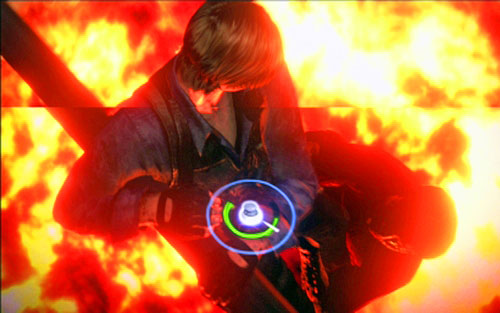
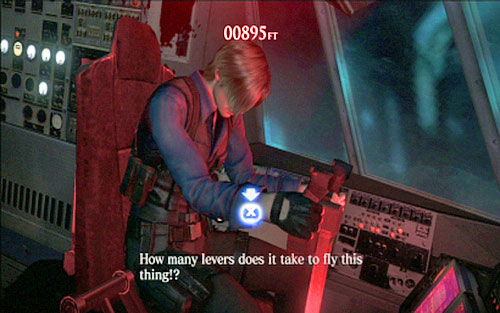
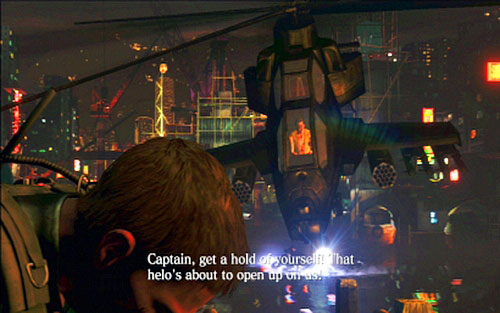
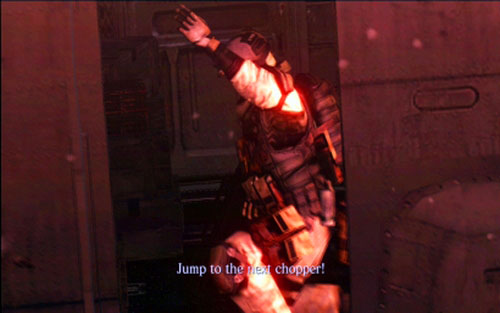
When you get to the chopper, follow on-screen instructions. Press the indicated button as fast as possible or use it in the right moment.
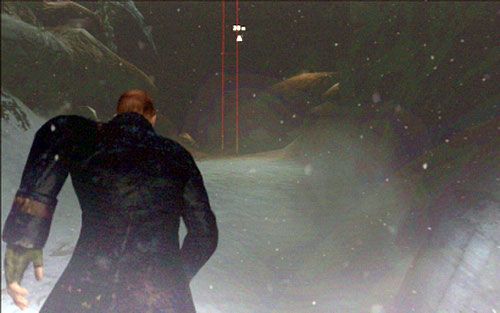
After you land, you'll have to press X and A simultaneously to regain control over your character.
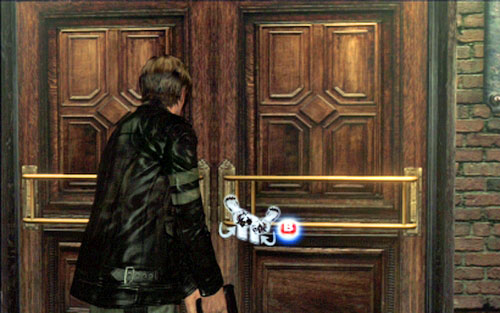
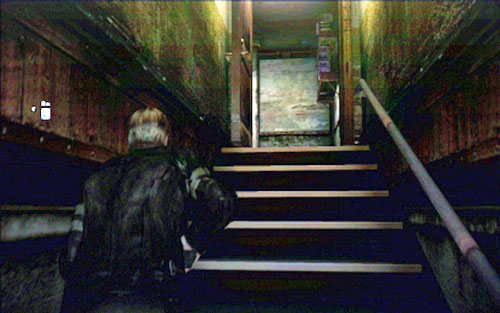
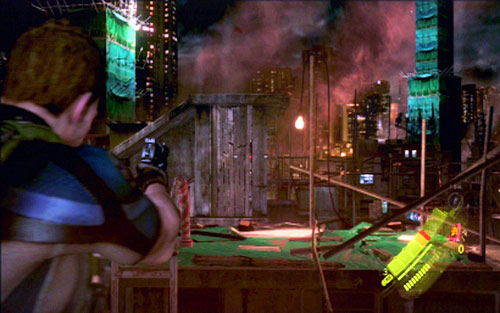
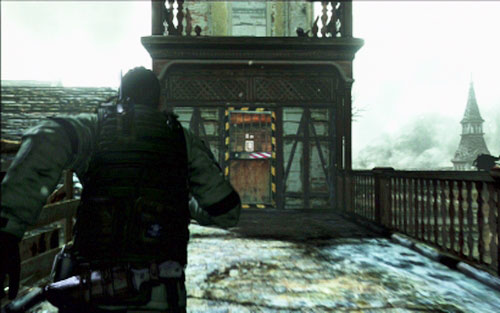
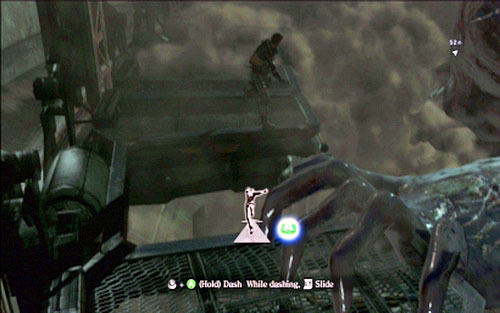
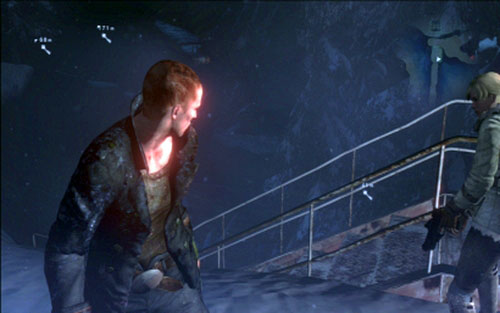
Go to the door, open it and jump over the railing. A bit further the level will be over.
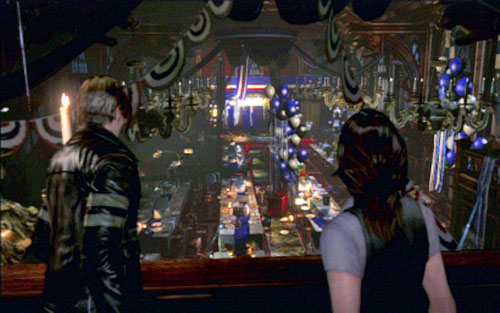
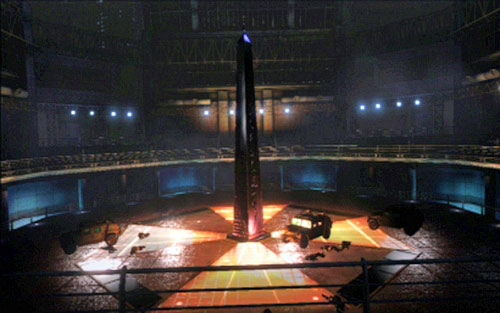
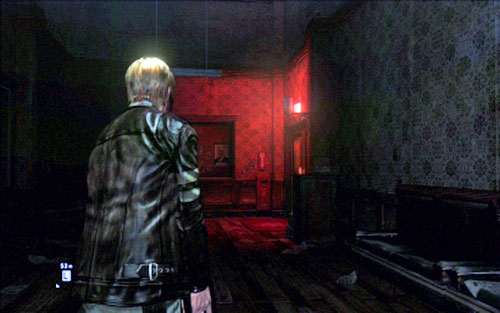
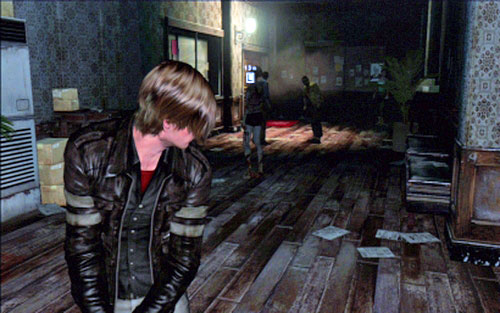
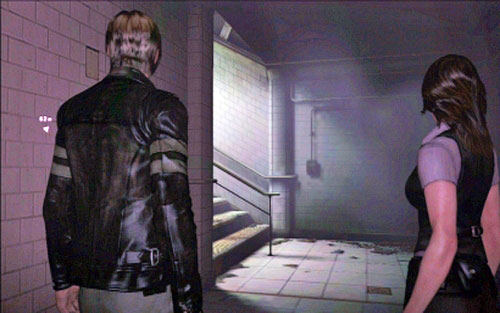
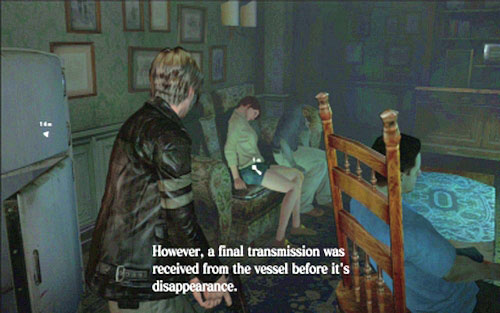
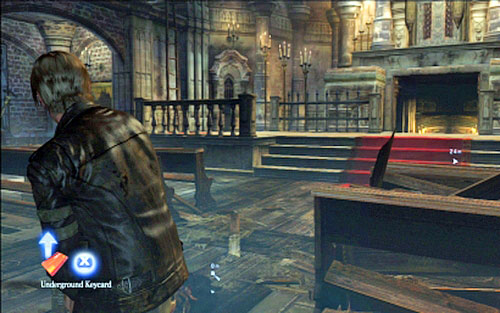
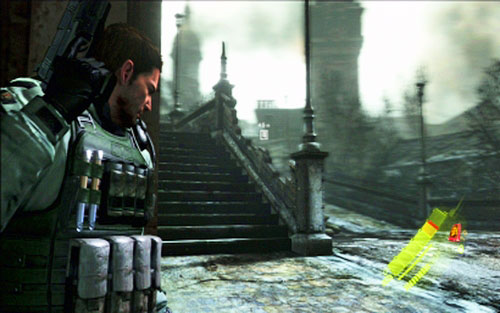
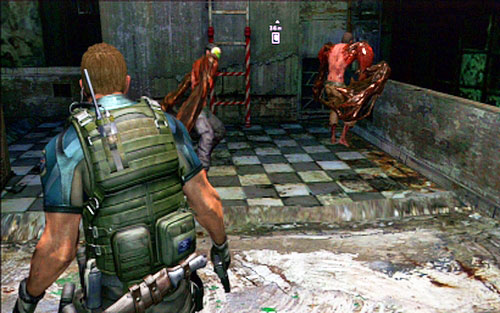
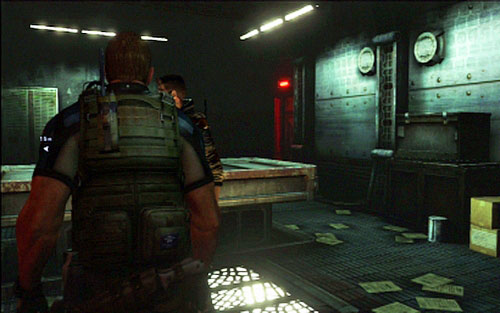
After president's death, move forwards until you reach a large room with tables.

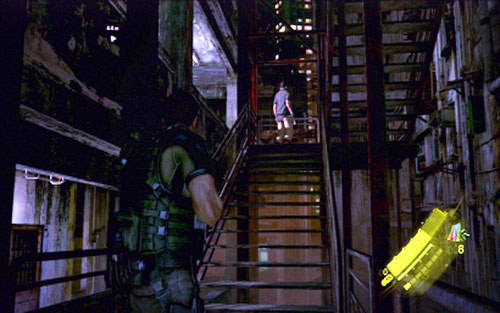
Go down the stairs on the right.
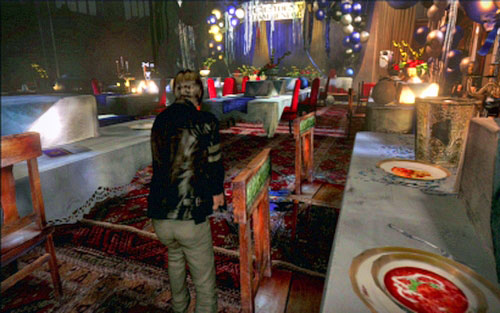
Once you get down, you'll spot a running man for a second. Run after him, looking for passages between tables.
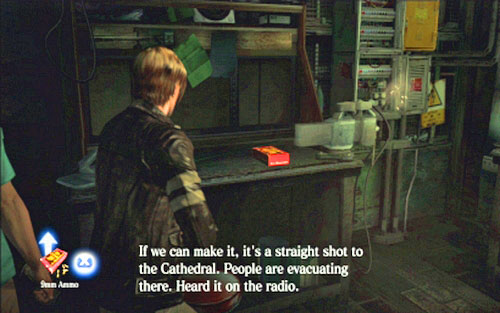
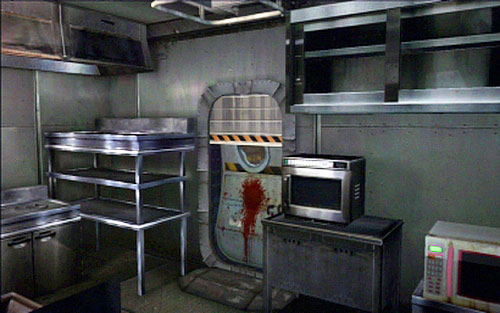
Keep moving forwards until you get to the back door to the kitchen. Open the door and talk to the man hiding there. You'll learn from him that he is looking for his daughter, who has been lost somewhere inside the building.
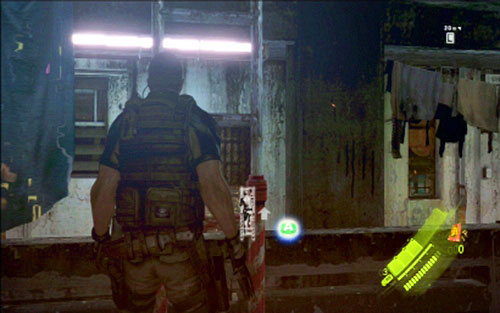
After short conversation return to the large room with tables and go through the indicated door.
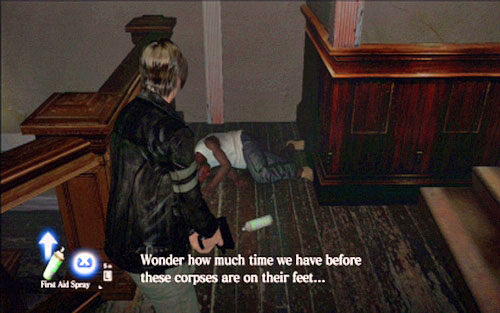
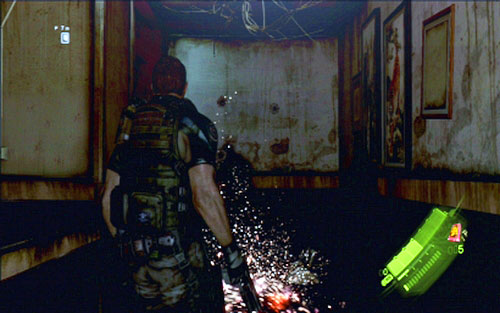
Before you go further to the right, go up the stairs to the left. At the end of the corridor you'll find man's corpse and healing spray.
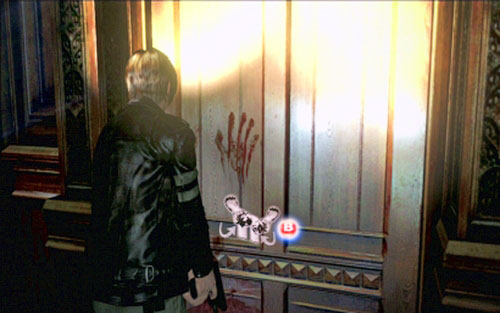
Follow the desperate father until you reach the door with bloody hand mark on it. The girl hides behind it.
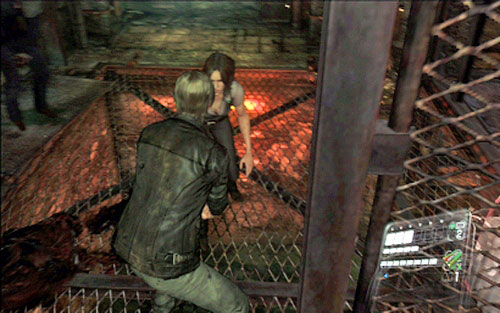
You have to escort both civilians to the elevator, unblocking the collapsed corridor.
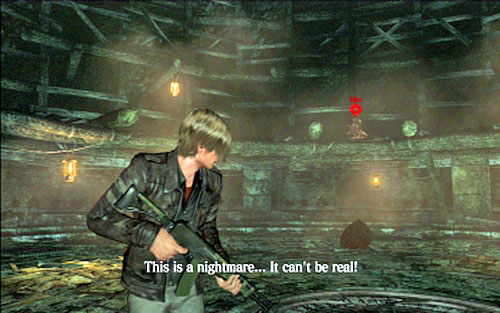
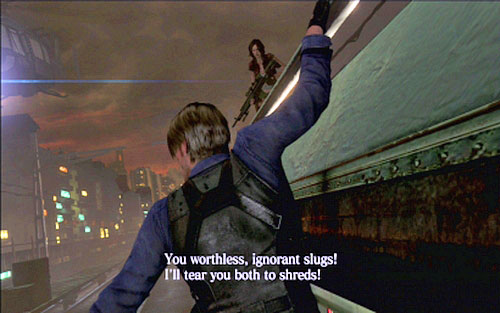
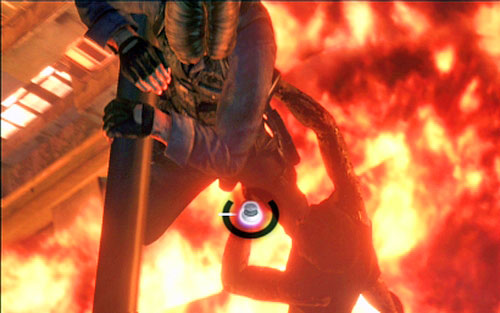
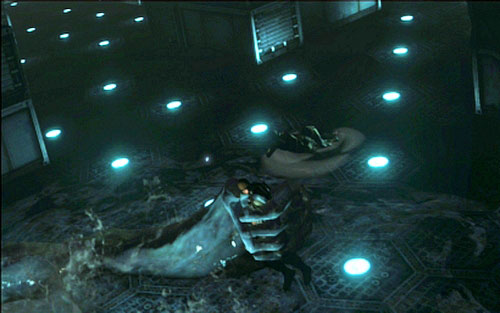
When you start the elevator, the light turns off and transformed Liz will attack you.
Free yourself by rotating the analog as fast as possible and then shoot the beast in the head to save Helena.
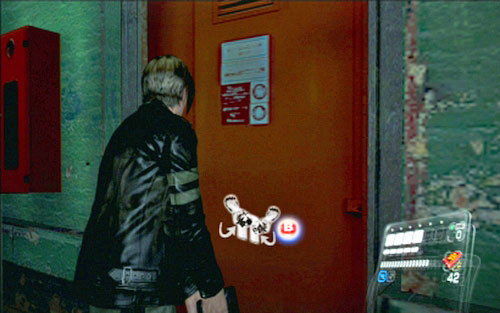
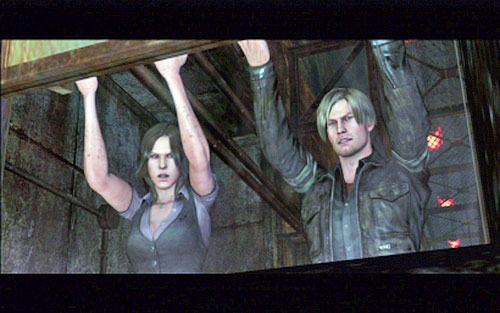
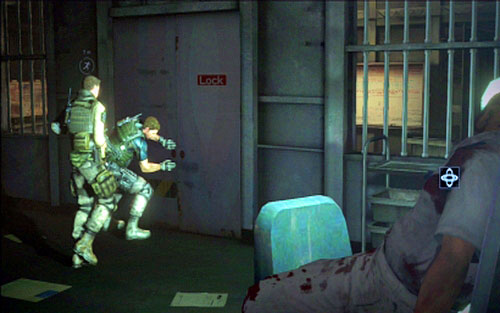
When the elevator stops, open the door and kick off attacking zombies.
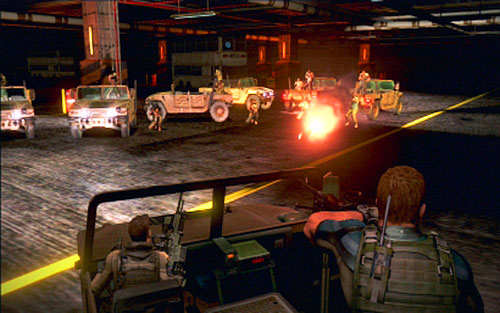
There are few more opponents on the parking lot - you can shoot them or kill them in a melee fight.
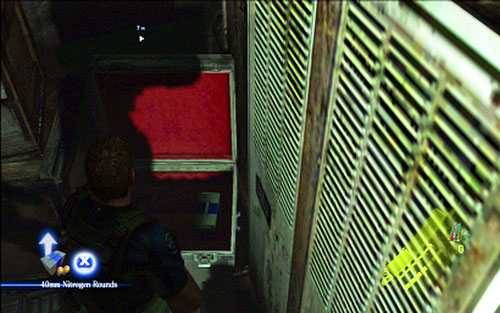
Your target is a door in the right corner of the room. Right behind them you'll watch a short cut-scene, after which you'll find yourself on the stairs.
But before you go upstairs, pick up the ammo lying on the boxes to the left.
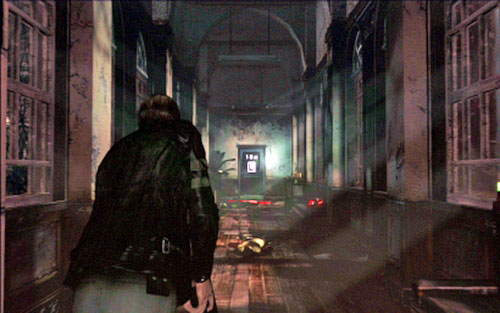
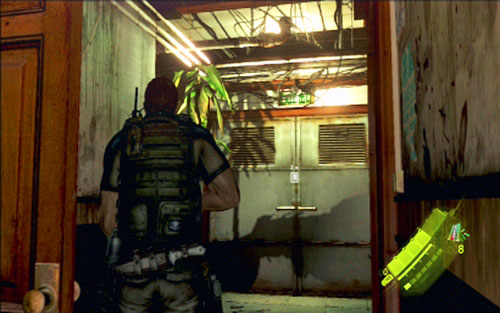
Once you get to the top, turn to the right. A hallway will lead you to the auditorium classroom.

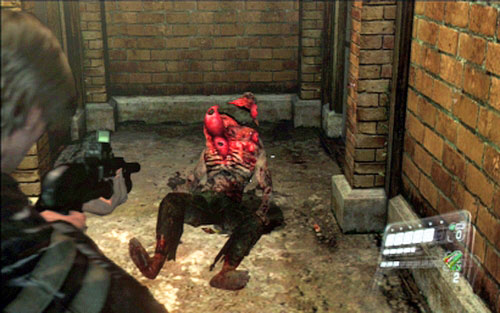
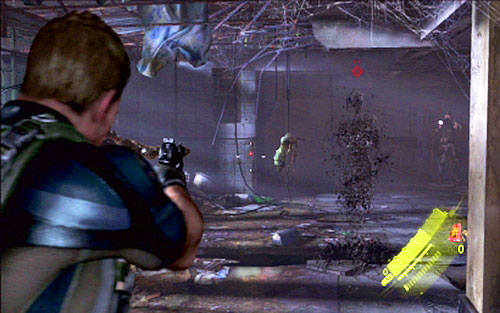
Get inside and then move to the left until zombies will attack you.
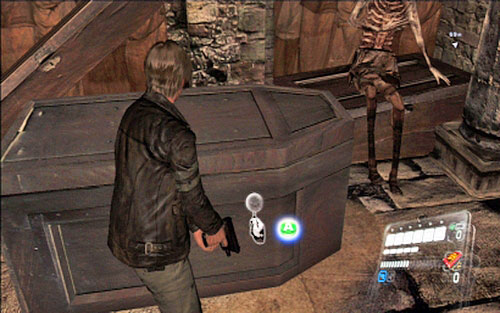
When you kill all enemies, go down the stairs. You'll find there ammo and an explosive. At the end you'll also encounter a zombie.
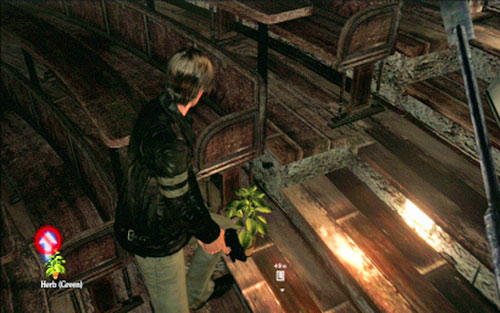
Before you go any further through the door to the left, pick up the herb hidden on the other lit stairs.
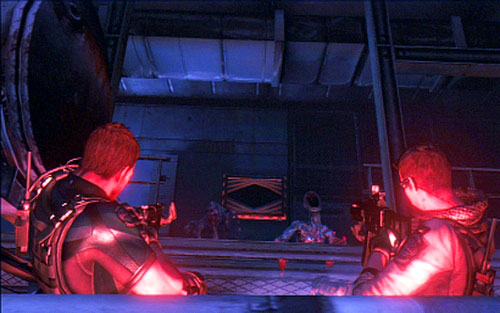
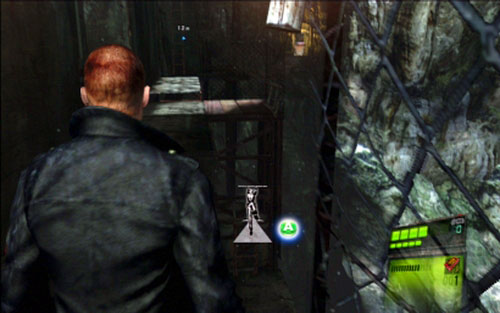
Move forwards until you reach a blocked hallway. To the left from the barricade a door will open - kill a single zombie who walks through it.
Inside the room you'll find two more opponents. Search the room carefully, because in corners you can find ammo and herb.
When you pick up all things, go through the door on the other side.
A hallway will lead you to the stairs. Go down and kill two opponents waiting for you there.
Next to them you'll find ammo, green herb and skill points.
Move forwards until you encounter small group of enemies. Attack them by surprise and then go back a bit and enter the classroom to the left.
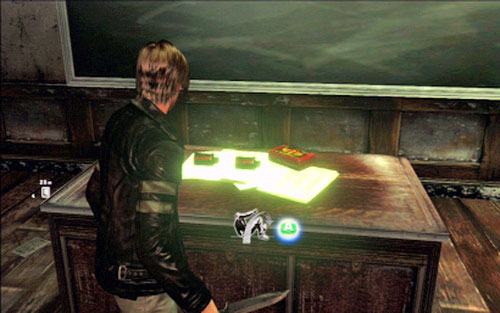
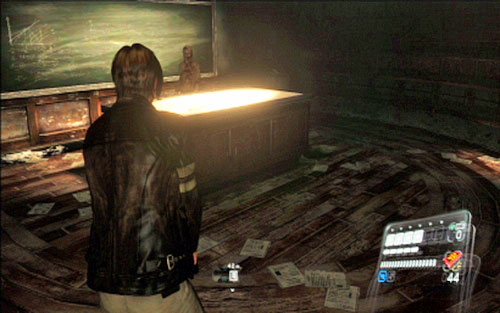
Once you approach the teacher's desk, another zombie will attack you. Quickly press the indicated on-screen button and finish the creature.
After the fight take all items from the desk and then run to the indicated school exit.
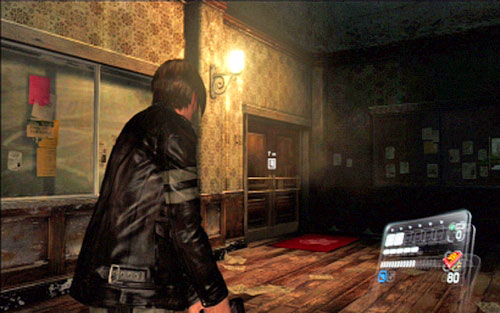
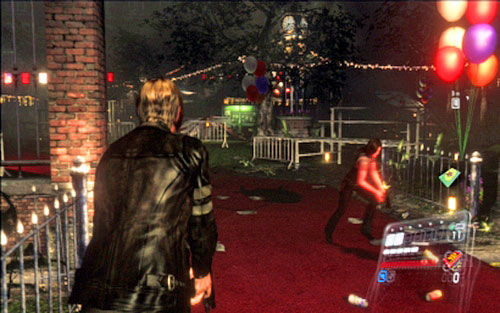
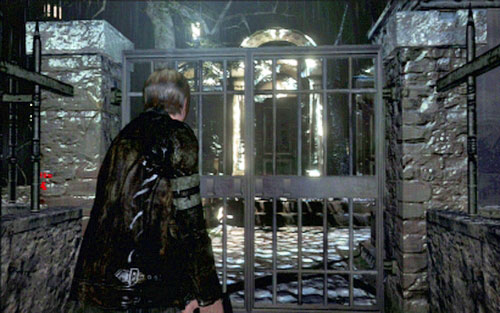
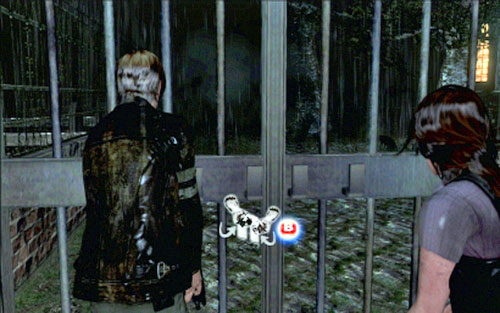
Outside you'll encounter several enemies but they should be no problem in such large area. When they are dead, go to the indicated gate.
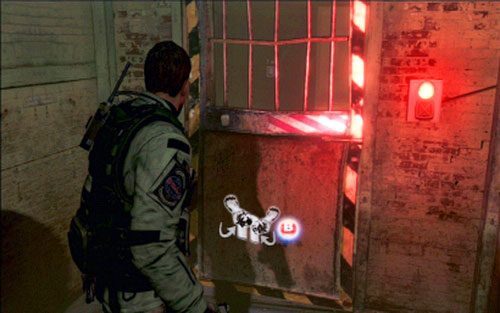
Unfortunately it is locked. So go to the door on the right and get inside.
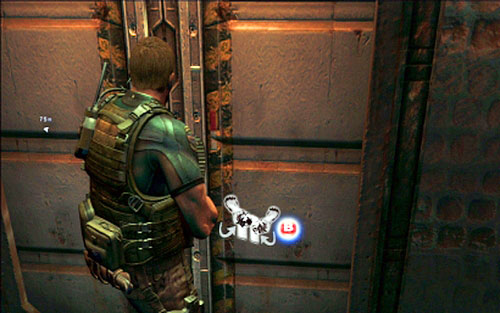
At the end of the short hallway you'll find another passage, but it is locked. When your companion will try to break the security lock, you have to repel attacks of zombies trying to get inside through the window.

So place yourself on the other side of the room (with your back against the wall) and shoot all enemies. When the hallway is clear more or less, try to pick up ammo and skill points from the ground.
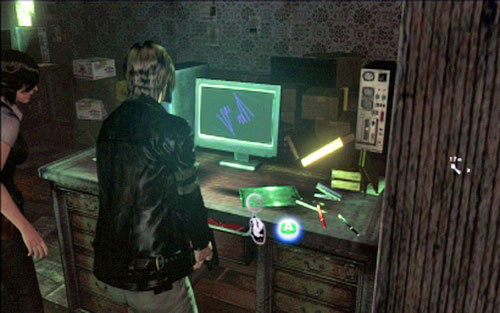
After some time the door will finally open and you'll be able to go to the next room. While inside, open the drawer in the desk next to the door. You'll find there ammo.
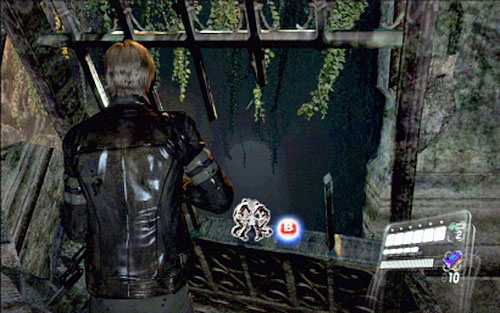
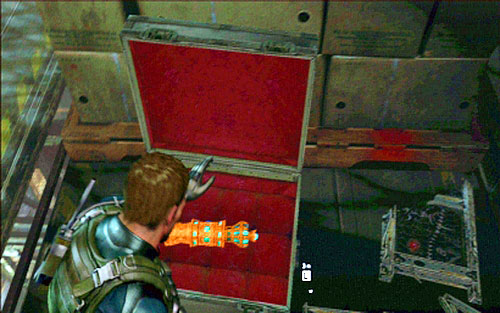
Check also the desk two rooms further. In one of drawers you'll find ammo and in the other - Serpent Emblem. In order to get it, hit it with the knife. These emblems are used to unlock different bonuses. Their detailed description can be found in another chapter of this guide.
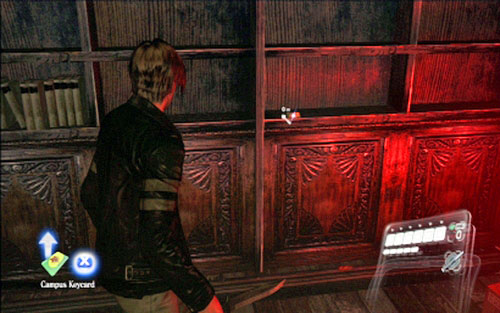
In the next room you'll find a large bookshelf - there is a Campus Keycard on one of its shelves. Once you pick it up, a zombie will jump on you. Push it away by pressing RT in the right moment.
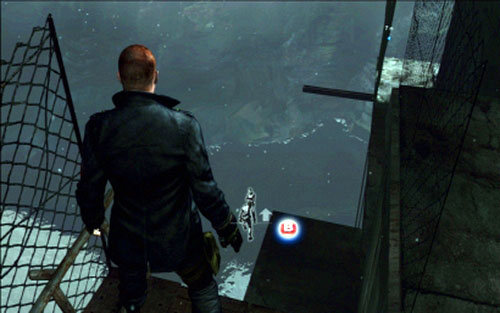
Now you have to return to the closed gate in the garden, killing opponents on your way. Behind the gate you'll find another hallway full of undeads. Kill them all and move forwards.
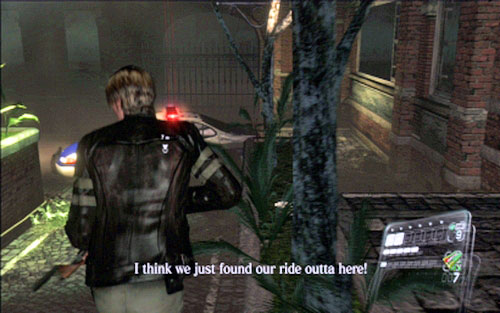
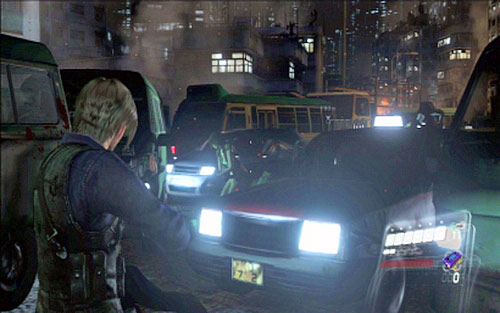
After a while you'll see a barricade and more beasts. Quickly jump over the railing, turn right and run to the police car not worrying about opponents.
Inside the car you have to quickly find car keys. In order to do this, look at the cache over your head and press on-screen button.
When you finally start the engine, press RT, LT and RT. You'll drive over few zombies in this way and end on the street.
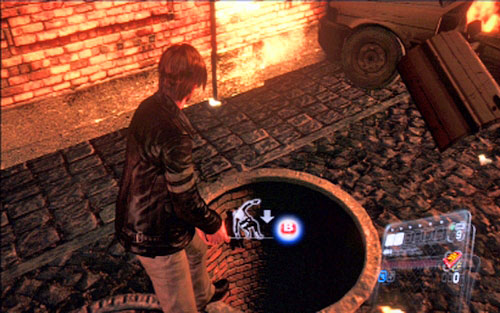
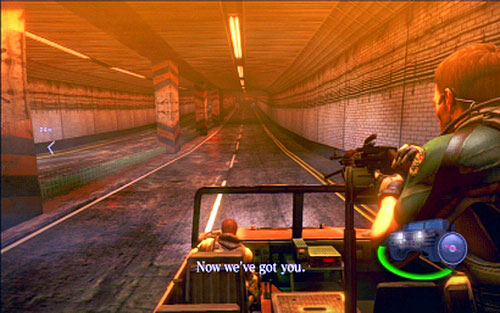
After a short cut-scene get inside the sewers and watch longer movie.
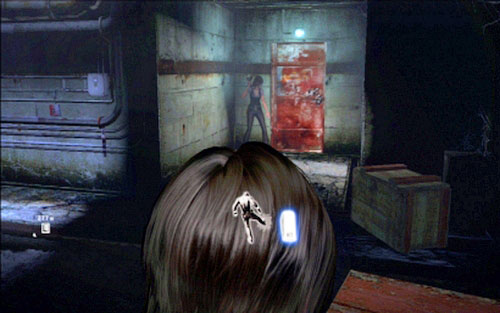
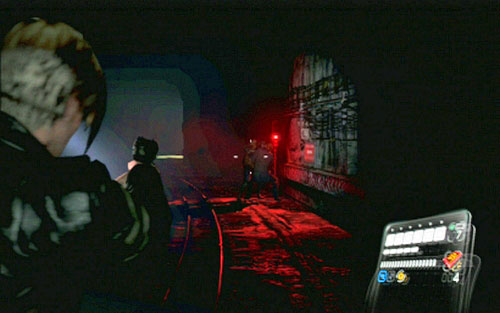
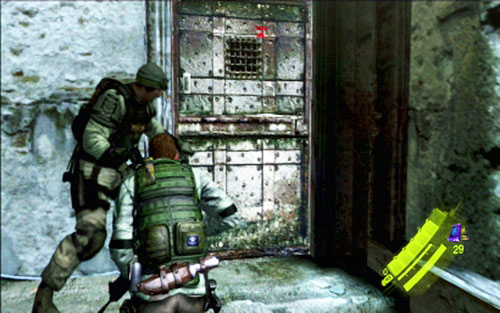
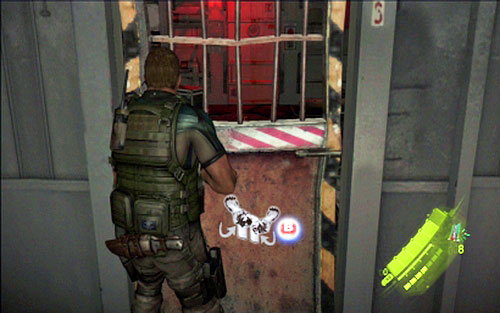
Keep going through the sewers until you get to the ruined red door.
Before you open it, destroy nearby crates (RT) and pick up items hidden inside.

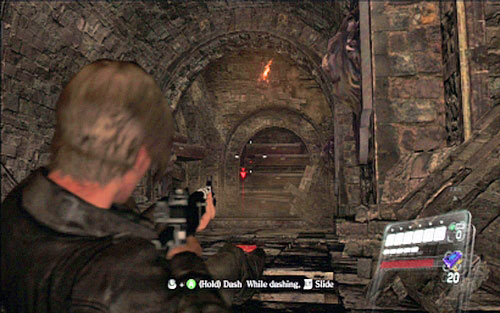
In the next tunnel remember to turn left. On the right you'll encounter electrified water, which can take some of your HP.
Run forwards, watching out for lit places. Zombies are lurking there.
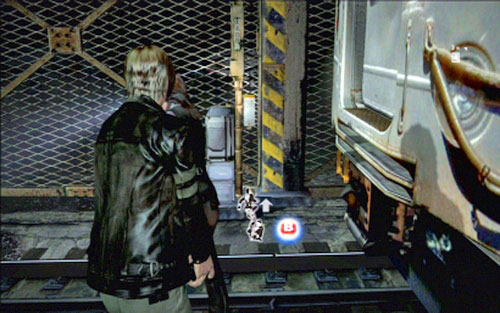
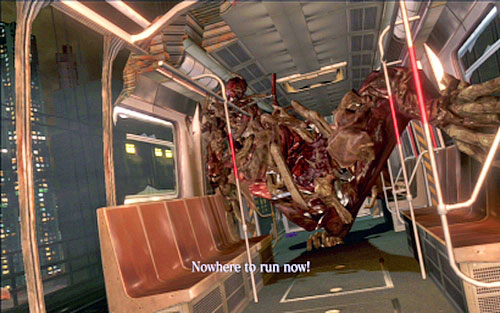
When you'll be attacked by third group of enemies, prepare to press X and A at the same time, thus avoiding being run over by the train.
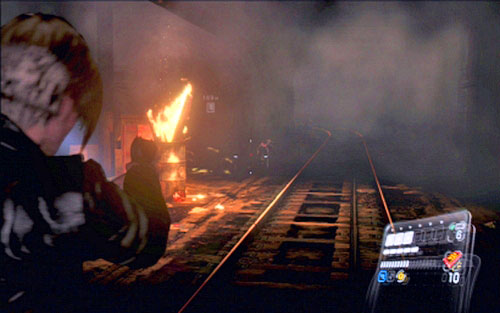
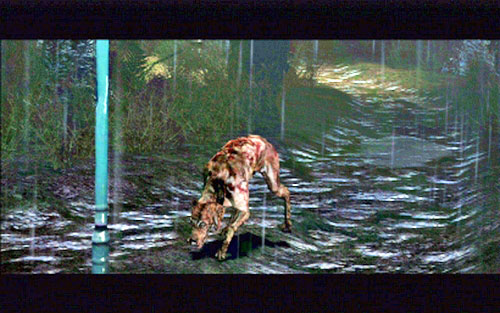
A bit further you'll find a burning barrel with a nearby dog transformed into zombie. Kill it and its companions until they can reach you.
You'll encounter another enemy next to the red light. There will be also another train - avoid it in the same way as previously.
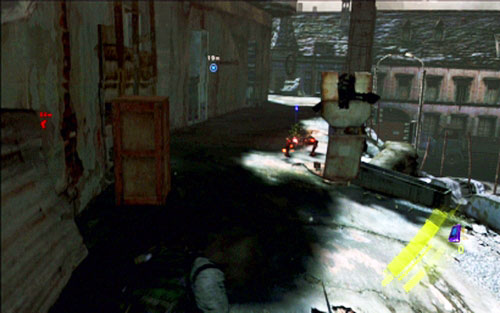
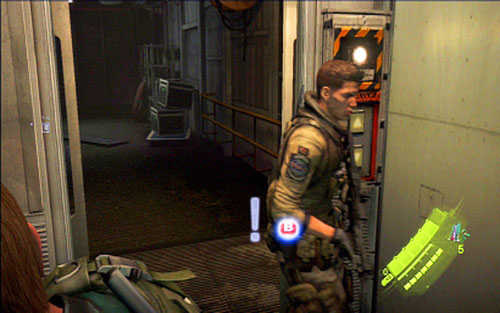
A further way is safe, until you reach a place with damaged transformer. You have to get rid of group of zombies there and then go through the door on the left.
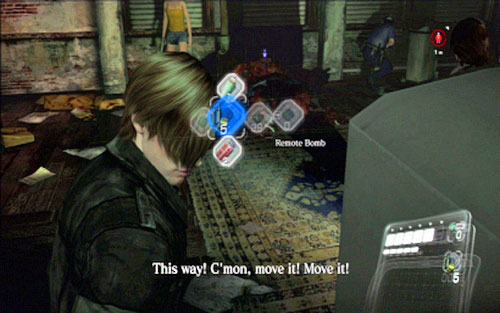
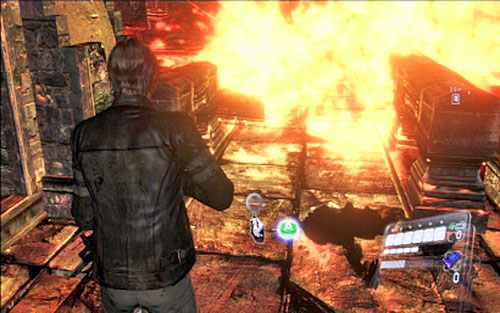
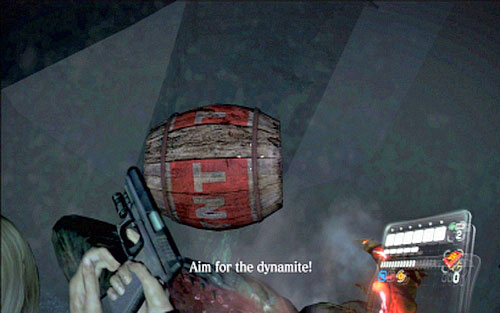
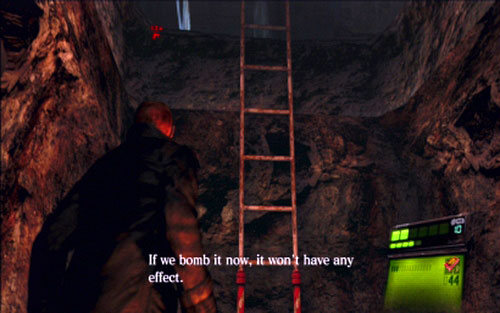
Go through the wider tunnel in the indicated direction, until you encounter a large group of enemies. It is worth to use now a Remote Bomb. Select it in your inventory by pressing up/down arrows on D-pad and place it near zombies (LT). Run away a bit, wait for enemies to get closer and blow them up (press RT while holding LT).
After a moment a train will appear on the right track - avoid it.
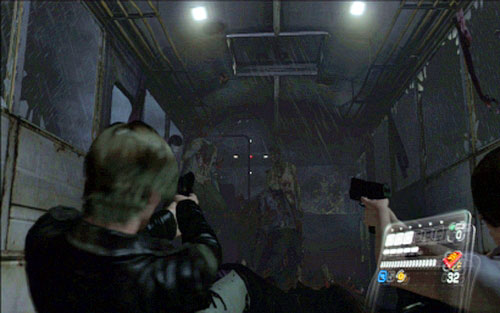
Another train can be found at the end of the tunnel. Try to get inside. After you fail to open the door, boost up Helena onto the roof. She will unlock the door from the other side.
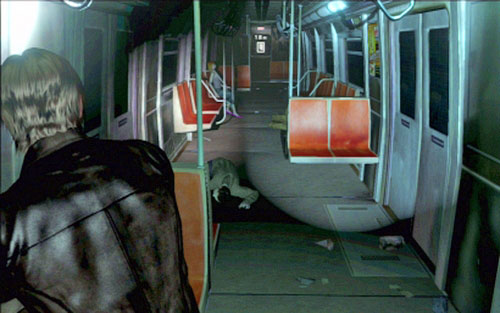
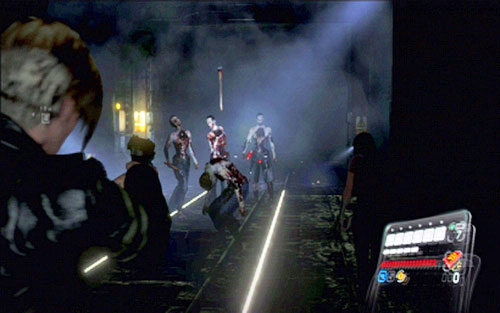
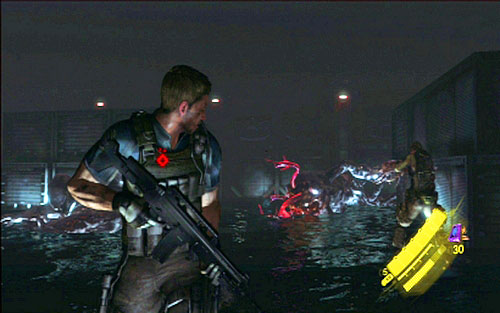
First few cars are empty and no one will attack you. The fight will start when you see a woman in green dress. This type of zombie can spit acid so try to kill it as fast as possible.

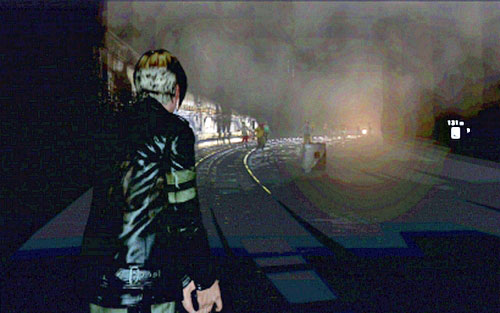
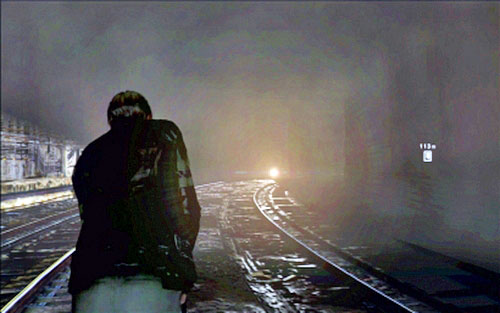
Once she's dead, run forwards killing enemies along your way. You should reach an abandoned subway station.
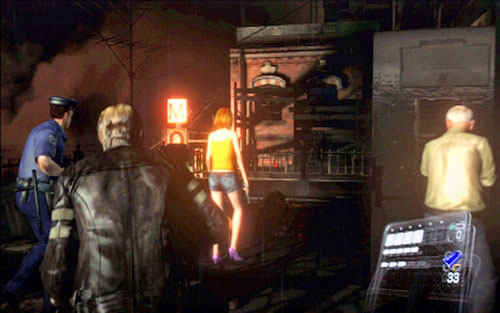
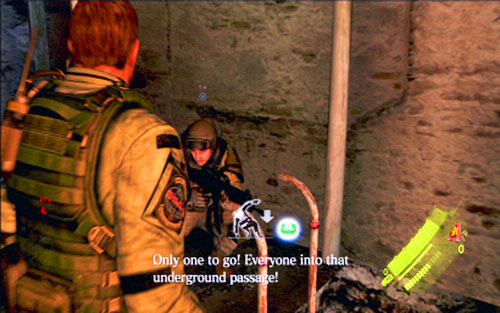
On the other side of the station you'll find a gate. Try to open it and then free one of the passengers.
A moment later she will open the gate, behind which a horde of zombies awaits you. The easiest way to eliminate them is to use previously used bomb. During the fight remember also about covering your back, because you can be attack from behind by 1-2 opponents.
When all zombies are dead, go up the stairs. At its top you'll encounter one enemy and few ammo crates. After picking all items go outside through the grate.
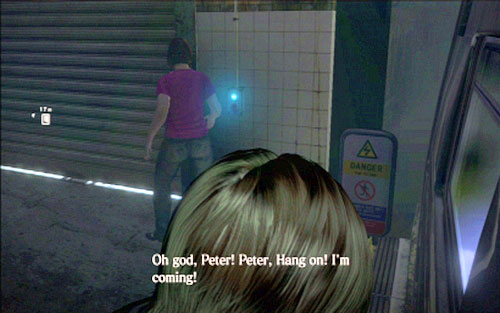
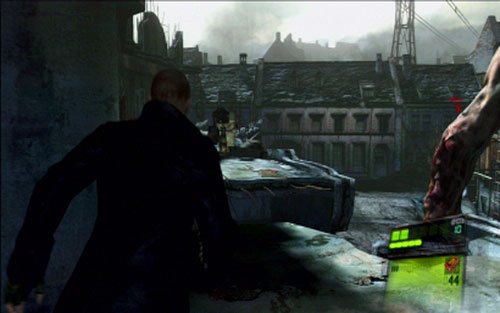
You'll see a car surrounded by group of enemies. Pass by them and run towards a man fighting for his life. When he dies, move forwards a bit and then turn left into the alley.
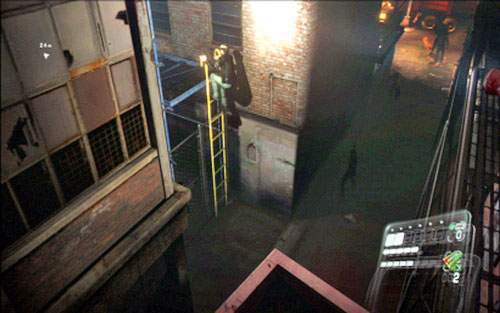
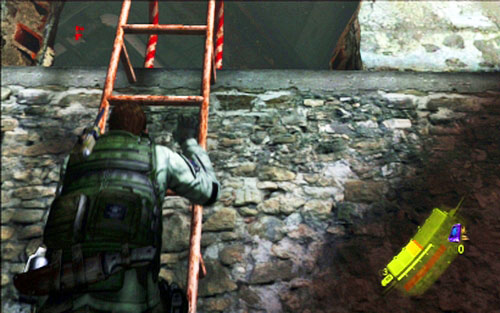
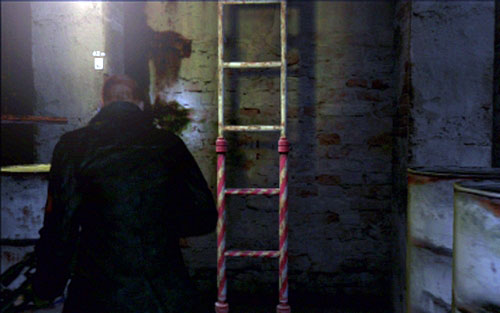
There is a ladder - use it to go up.

When you get to the top, jump over the street and kill enemy there.
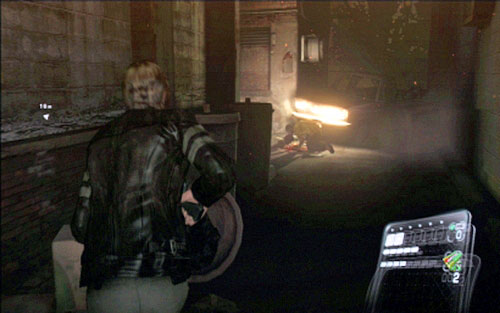
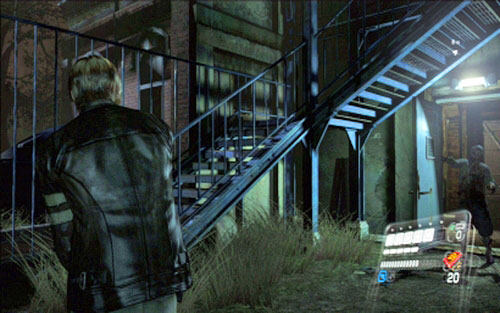
When you get down, run to the alley on the other side of the street. You'll encounter there 2 zombies. Leave alone the one who is eating and quickly kill its companion by shooting from behind a cover.
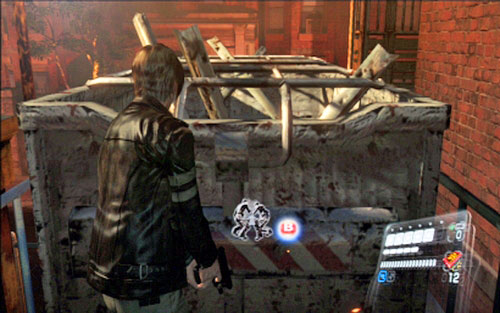
A bit further you'll find another ladder. Go up, kill the enemy you encounter there and push a nearby container.
In this way you'll unlock a passage on the right, which will lead you to the other side of large bus. A further way leads to the right, inside a one of nearby pubs.

Behind the counter you'll find a passage to the back of the building. When you get there, head to the nearest house.

Walking past several rooms, you'll safely get to locked door.
In order to open it, you have to take a key from the woman sitting in the room. Once you collect it, a nearby zombie will attack you. Also a man lying next to the locked door will return to life, so be careful.
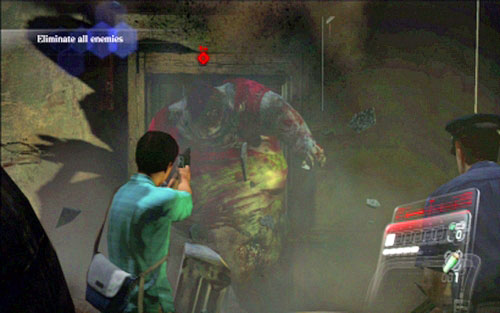
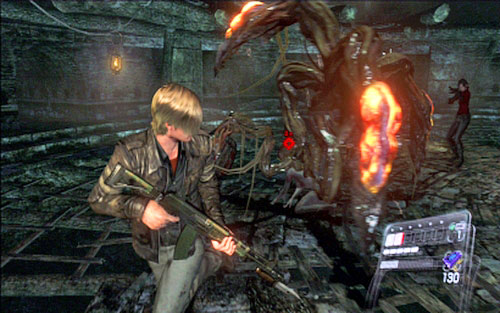
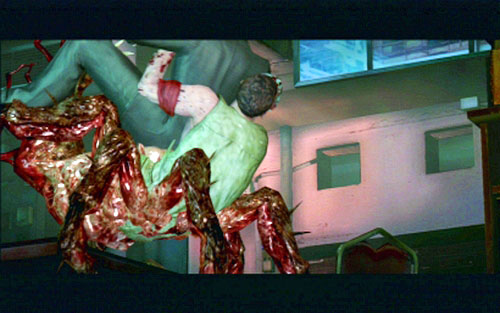
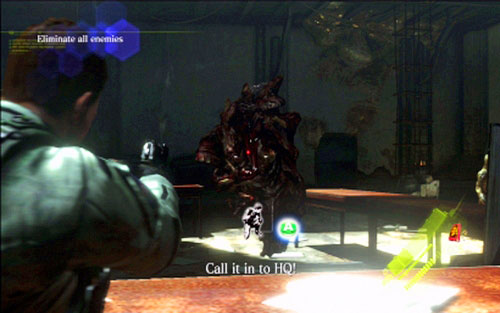
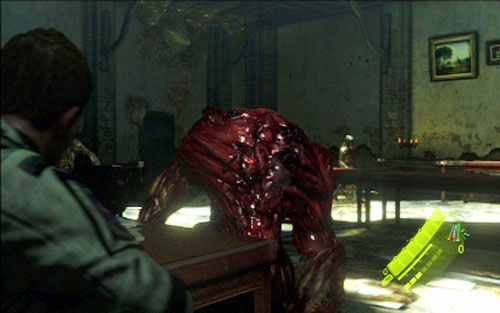
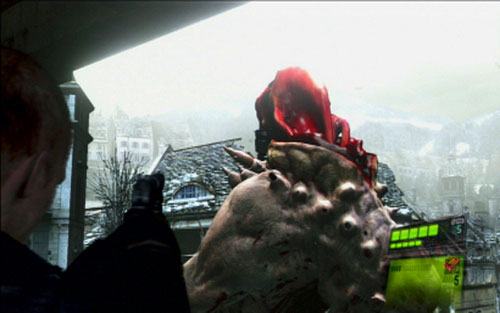
When you get through the door, you'll encounter a new mutated enemy. Once the cut-scene is over, open the door to the right and run after the creature to the basement with barrels. This type of opponents inflates a gland on its chest and then makes terrifying sounds which inflict damage. So try to aim at the red "balloon" and finish the zombie as fast as possible.
A bit further you'll come to a locked gate. Go up the nearby stairs and help your companion to jump over to the other side.
Waiting for opening the gate, you have to repel attack of appearing creatures. The safest method is to stay at the top of the stairs and jump down only when the gate is open.
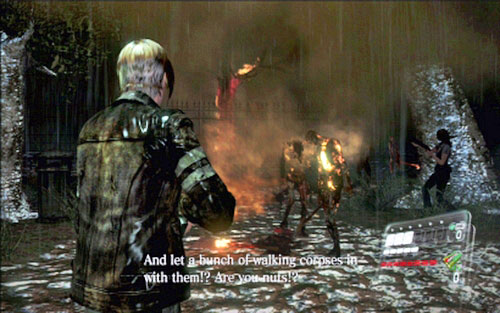
Behind the gate you'll find a group of survived civilians. Help them in a fight with zombies which will come running.
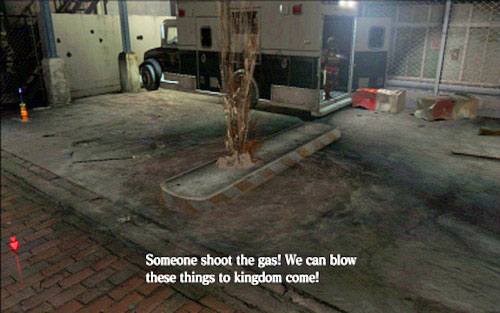
At some point a truck full of zombies will crush next to you. Shoot them as fast as possible and wait for a large gasoline leak. After that go to the safe distance and shoot it. You'll start an explosion which will blow up the station.
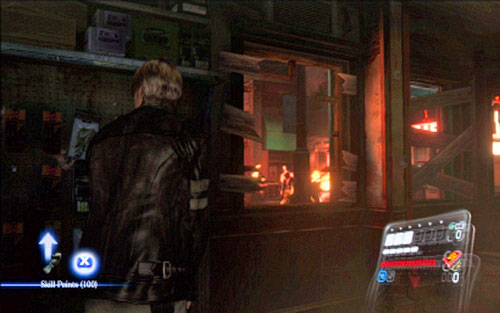
Now go to the nearby shop, running after survived policeman. The building owner agrees to let you onto higher floor, but first you have to clear the ground floor. Shoot through the window and try to not let any zombies inside as long as possible. Once they get inside, switch to shotgun. The fight is not the easiest one, but with help of your new companions you should make it.
At one point, one of the men will leave the shop and try to escape on his own. Unfortunately he will encounter a skinless beast on his way - the creature will enter a shop after a while. Once you see it start shooting. The creature is tougher than others and can quickly run towards you, so be careful.
When the shop owner finally opens the door leading to the upper floor, pick up all items from the floor and go up the stairs.
Prepare for another battle with hordes of enemies. But before the fight begins, you'll have some time to search the room and pick up supplies. Prepare yourself well, because same as before, you'll have to face stronger types of zombies.
When you move to the other room you'll be attack by giant fat zombie. Try to get behind him and get to the previous room.
When the enemy starts following you, place the bomb on the ground. You'll be able to detonate it safely while being in the smaller room, thus getting rid of all enemies.

Keep following policeman and shop owner. Men will lead you to the upper floor, when another army of enemies will appear. If there are too many of them for you to fight, use the bomb again.
After killing a large group of enemies, use the emergency stairs and go down to reach the bus there. When you'll want to start driving, another fat zombie will block your way. Keep shooting him in the head and get rid of enemies jumping inside through side windows from time to time. Once the beast is dead, the level is over.
Right after short cut-scene you'll find yourself on the bus floor, attacked by a large group of zombies. You have to shoot nearest enemies as fast as possible, picking nearby ammo from time to time.
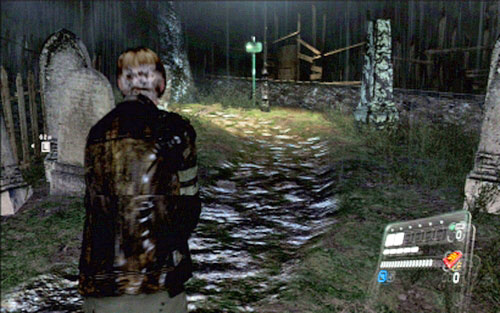
Once you get outside, go to the cemetery. A narrow path will lead you to the crossing, where you should go left. In this way you'll reach a small, abandoned shed.
Quickly get inside and then open the door to the cubby.
A zombie-dog will pop up from behind the door. You have to pick up all items from this room and go to chase the beast that took the key you need.
A creature is indicated with red dot on the map. Catch it and kill it, eliminating other mutants encountered on your way.
Once you get the key, use it to unlock the grate to the right from the shed.
A few steps later Leon will drop down, where a group of zombies will attack him. While defeating more and more opponents, run all the time in indicated direction.
In this way you'll reach your companion and be able to open next grate.
A bit further you'll find an entrance to the cathedral. Before you use it, pick up all items from the ground. Moments later a large attack of zombies begins.
At the beginning try to use only weapons, but if you see that there are too many enemies, start using grenades, bombs and everything which can be helpful. Your task is to survive until people hiding inside will let you in. Then move to the door and open it with your companion.
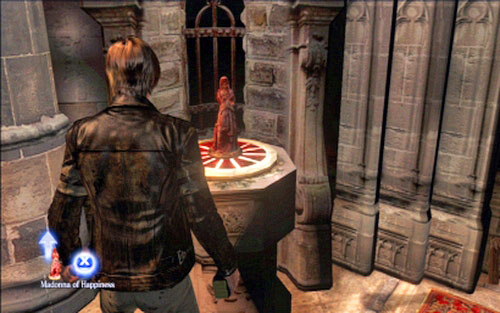
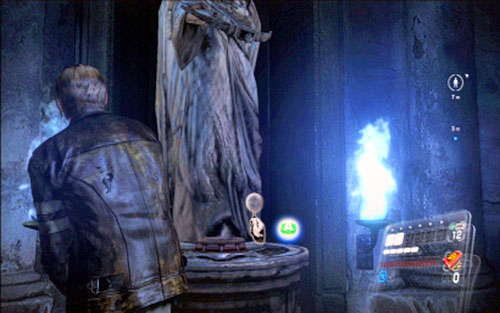
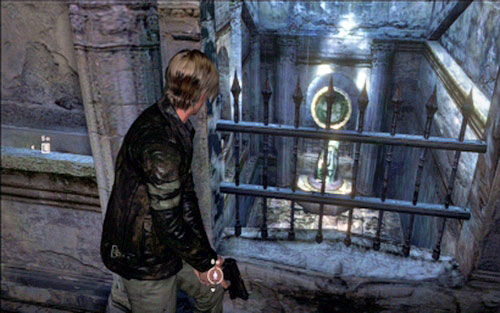
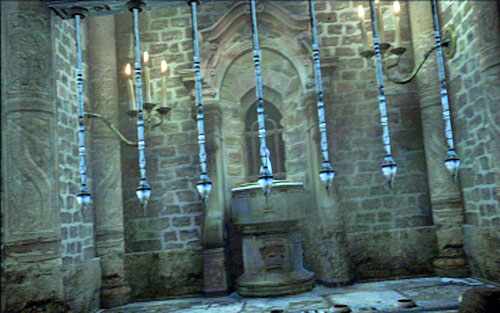
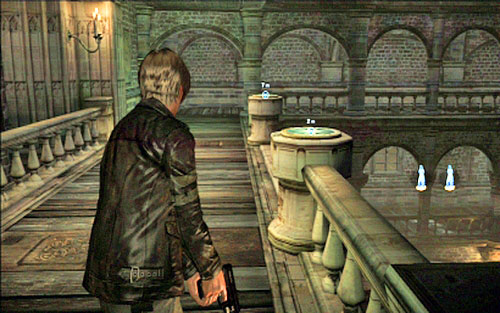
Once you're inside, go to the altar and examine it. After that, pick up a statue lying on the right side.
Now you have to help your companion to climb up and wait until she drops down the ladder.
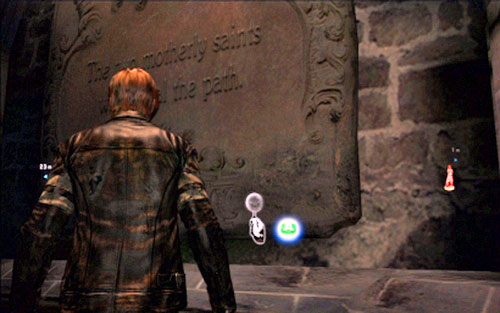
After you go up, get back to the direction of the altar and place the statue on the podium there. Nothing will happen, but you'll see an inscription on the wall. You'll learn out of it that you need another similar statue.
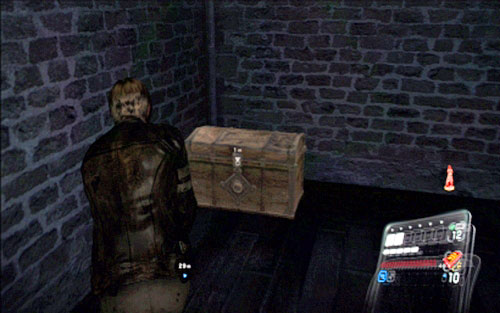
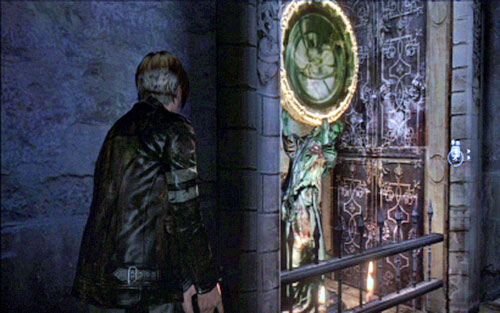
It is hidden inside the chest in a nearby room. In order to find it, you have to go to the exit direction. The room is located on the left.
When you have two statues, place one of them on the podium next to the inscription. Another one should be place on the other side of the altar.
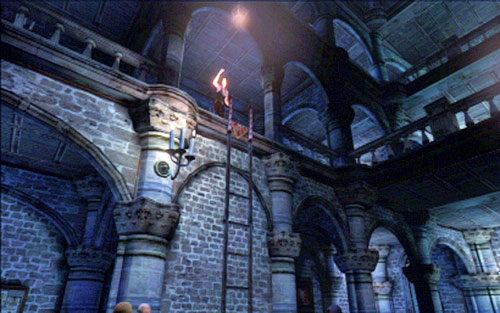
A door leading to the room with two levers will open then.
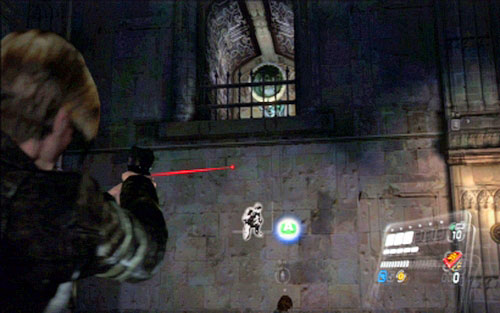
Pull one of them and then quickly run towards the shooting statue and press a button at its base (A).
Use the same method to deactivate other statues, moving all the time across laser, to not being hit. When you're done, point your weapon at the nearby mirror.
A further way leads up the stairs, where you have to aim your weapon at the mirror placed behind the grate downstairs.
When you reach the next door, turn left and shoot at the mirror on the top.
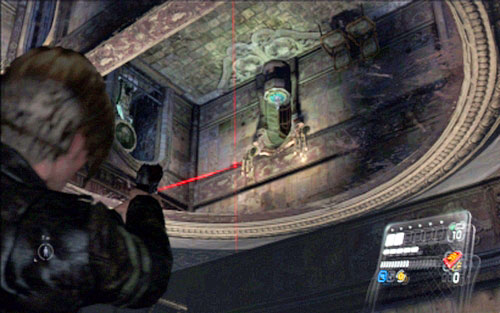
A bit further prepare for the fight with zombies. Defeat all opponents and shoot at the mirror place on the ceiling on the left.
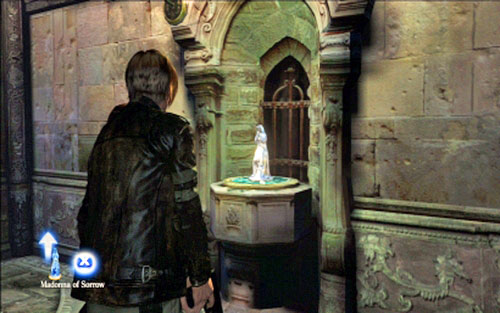
Behind the next door you'll find a blue statue - take it.
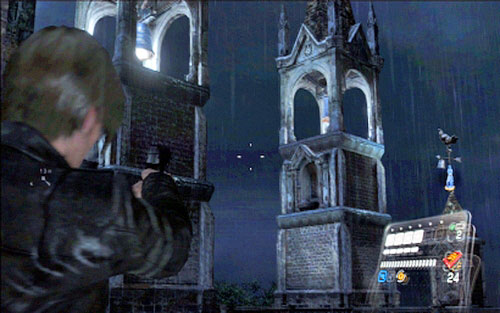
Go to the other side, where you'll see two terraces and bell towers. Your task is to shoot at all five bells. Go to the balcony on the right and shoot at two large bells on the left and a small, rotating one, on the turret.
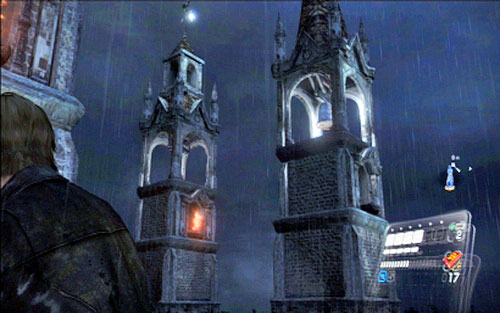
When you go to the left terrace, you have to shoot at the large bell and a small one.
When you're done, a grate will open, behind which you can find another statue. A bit later also a passage to the lower floor will be unlocked.
Get through it and put statues on podiums on both sides of the altar. In this way you'll open a passage, from which an acid spitting zombie will come out. You have to fight it, shooting also at civilians transforming into beasts.
In order to kill the large creature, use bombs. When the beast falls down on its knees, approach it and kick it, finishing the fight.
Next to the corpse you'll find a key card, which opens the door under the altar.
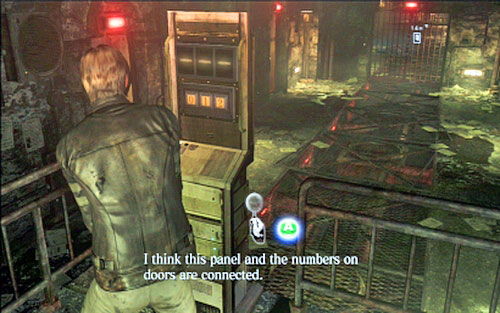
Go through two gates. On the left you'll find a control panel which opens nearby cells. Select digits with X key and revert changes with A. It is best to use code 201 (a cell with blue crates and ammo) and then 210 (it open a grate leading to the next room).

A bit further you'll find a computer, activated with 021.
Enter it and keep going forwards, exploring side rooms and killing zombies on your way.
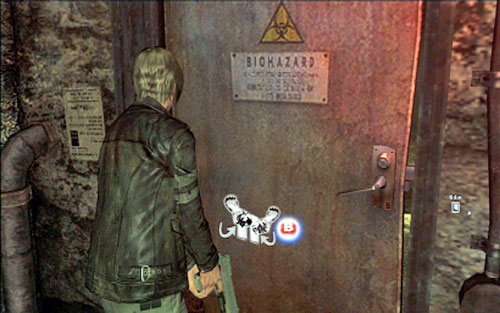
After short march you'll reach a room with large tanks, where you'll watch a short cut-scene. After that, use the panel on the left and enter 201. You'll open a door leading to another part of the complex.
Right on the start you'll encounter a display with building's map and a lever next to it.
Pull it and then go back and turn left. You'll see there another lever. When you switch it, two new enemies will appear.
Once they are dead, jump down through the nearby hole. A corridor will lead you to the ladder, which can be used to get to the upper lever. Pull another lever there to lower down the platform.
You have to help your companion to jump on it and wait until she starts another mechanism.
Along with the second lift a group of zombies will appear. After defeating them you'll be able to open the last grate and run forwards.
In the new room you'll find many opponents but try to not fight too long and just run ahead. At the end you'll find an entrance to the chute, which you have to use to slide down.
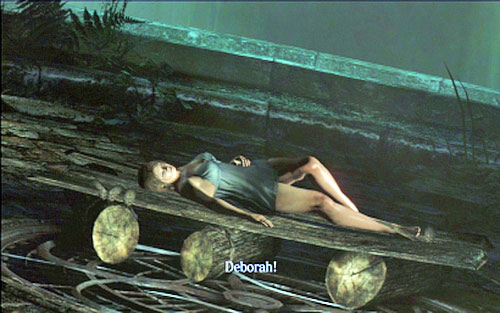
Once you get underground move ahead, defeating encountered enemies and collecting items hidden in vases. A tunnel will lead you to the woman named Deborah. Approach her to watch a short cut-scene.
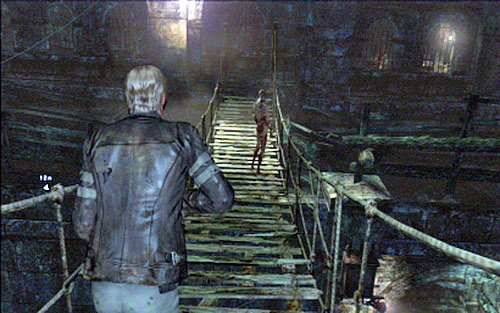
After that run forwards, killing all enemies along your way. You'll finally reach the place when another cut-scene will start. After its end, keep shooting mutated woman, aiming at her strings and then head down.
When you get to the crate blocking your way, examine it and wait until your companion moves it (by pulling the lever).
At the very bottom you'll be attacked again by transformed Deborah. She stands most of the time on the upper level observing you in order to jump and hit you with her claws. When you see that she is preparing to jump, start running asides. When she lands you can't allow her approaching you hero. Watch out also for jumps.
In order to defeat the opponent, you have to destroy three yellow glands located on long tentacles. Wait until the enemy stands still and show the tentacles and start shooting at them. During the battle you have to watch out for zombies appearing from time to time. The best way to kill them is to use the nearby explosive barrels. Next to corpses you can find ammo which will be very useful during the battle with Deborah.
When the woman finally flees, run downstairs killing zombies on your way. The fastest way to defeat them is to aim at lanterns and finish off enemies on the ground.
When you get to the very bottom, you'll find a reel there. Turn it and jump to the cart with your two companions. A fast ride through the mine begins.
During the ride you have to perform three actions: avoid obstacles (X+A), shoot barrels on tracks and shoot Deborah's yellow glands when she lands on the cart. Keep repeating these actions until this level ends.
Right after beginning of this level move forwards and along with your companion pull levers on both sides of the gate, thus unlocking the passage to the next corridor.
Run forward, destroying vases and opening closed coffins. You'll get some useful items in this way.
At some points your way will be blocked by blades sticking out from walls. Hold A to run towards them and then press LT to perform a slide.
During these actions you can be attacked by small group of zombies. Kill them quickly staying on the ground.
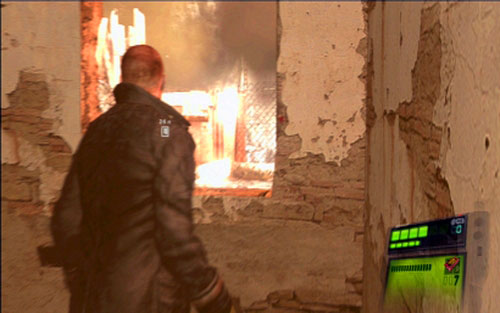
A bit further the way will be blocked by a wall of fire. Take a look at it (A) and then help Helena to climb the ladder on the right. While she searches for the lever which turns off the fire, prepare for the enemy attacking you from behind.
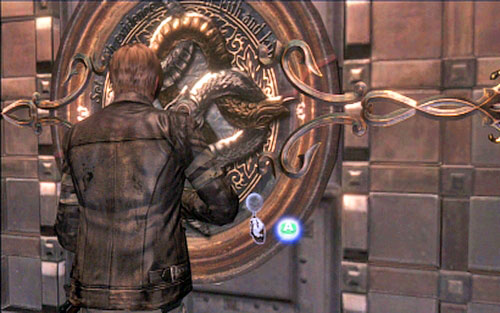
Behind the fire you'll find a gate with snake relief. Try to open it. Listen to the conversation between heroes and then use the ring on the relief. After that prepare for the large attack of zombies.

A flamethrower run by nearby crank might be very useful during this fight. Try to use it as often as possible, helping your companion from time to time in dealing with survived zombies.
When all creatures are dead and the gate is unlocked, pick up all items and go through the gate.
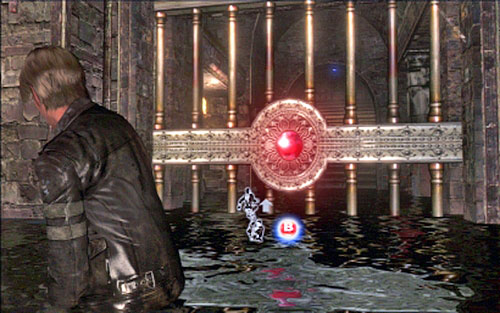
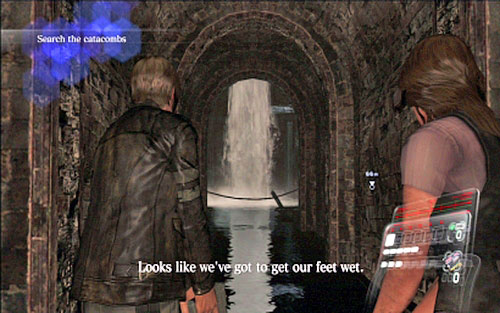
You'll find yourself in water - move ahead until you reach the gate with a red crystal. Help Helena to climb the wall on the left and wait until she finds a crank that unlocks the gate. In meantime look carefully at water. If you see any movement under the surface, go there and quickly press RT, thus squashing swimming enemy.
On the other side of the gate you'll be separated with your companion. Quickly run up the stairs and cover the girl, who will fight at the bottom to the right. When all creatures are dead Helena will be able to open the crate which blocks further way.
Do the similar action, using the crank on the other side.
Move forwards until you reach the corridor with rotating blades. Bypass them as previously and kill the zombie down on the left. In this way you'll stop the spikes which come out from the floor.
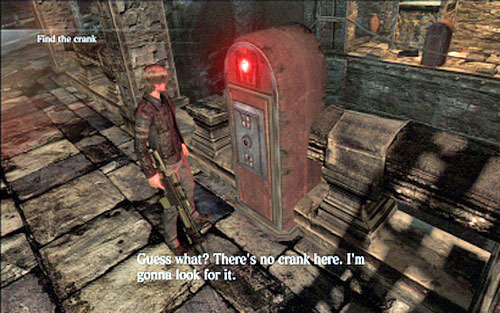
A few steps further you'll find a mechanism which opens the crate - unfortunately the crank is missing. In order to get it, you have to go back a bit and kill opponents crawling under the blades. One of them has the crank. During the shootout watch out for projectiles spit by zombies.
When you open the gate for Helena, wait for her opening another gate and go through it to the other side. There is one more door which must be open together.
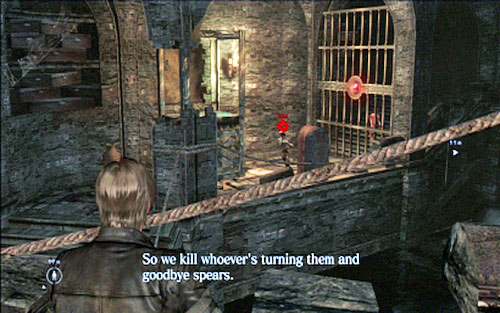
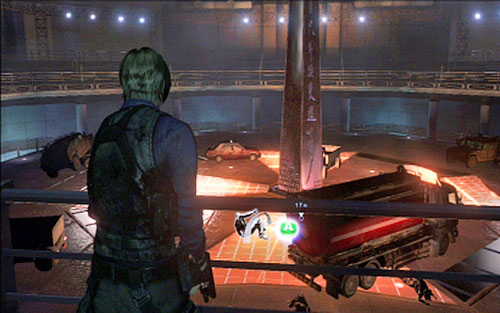
After short animation you'll end up inside a very deep cavern. Move forwards, jumping over abysses and killing encountered enemies. You'll ultimately reach a crank which lowers the bridge.
On the other side you'll find screaming zombie. Always kill such creatures at first, aiming at glands on their throats.
When you encounter another such enemy, run after him, keeping close with your companion. After one of the bridges collapses, your companion will help you to climb back up.

Keep moving forwards until you encounter a fat zombie on one of rope bridges. Quickly go off the bridge. The beast can try to swing the bridge, thus throwing you off the balance. When you get to the stable ground, wait for the beast and then walk around him and quickly move to the other side of the bridge. From there you can easily shoot this slow enemy.

When he is dead, pick all items and move ahead. During your march you'll encounter enemies with explosives attached to their bodies. Always try to kill them from a long distance and do not let them get into contact with a torch near you, because it will cause an explosion.
When you get to wider abyss, help Helena to jump to the other side and then cover her during climbing. She has to get to the crank and lower a bridge for you. Help her by killing enemies running towards her. There will be also zombies approach near you, so be careful.
After getting to the other side, along with your companion push the nearby stone.
Keep going until you reach another bridge, but before you start lowering it, make sure that you've killed all opponents.
During lowering the bridge, the cavern will start to collapse. Run quickly as possible forwards, jumping over abysses and bypassing all enemies. It is best to keep on the right side of the path to avoid crashing with fat zombie. During your escape you'll have to push one more stone.
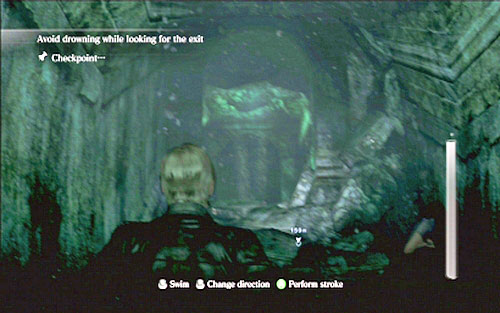
When your run finishes, you'll find yourself in the underground lake. At the beginning swim up to get some air and then head straight ahead, emerging in holes along your way.

After one part of the tunnel get blocked, turn left and keep swimming on this side. In this way you'll find another passage, in the place full of corpses. Try not to touch any of zombies, because otherwise it will catch you and start to strangle you.
At the end of the cavern you'll find a manhole. Open it with your companion and get some air.
A bit later a longer animation starts, during which you have to follow on-screen instructions.
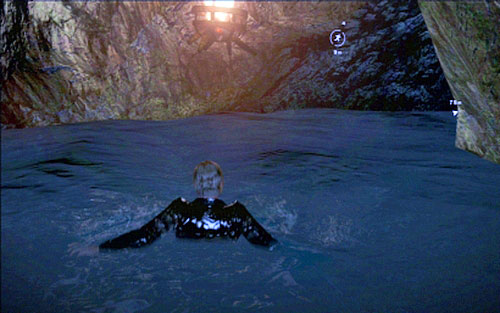
In this way you'll defeat a monstrous shark and get to the other part of the cavern.
Controlling Leon, swim forwards into direction indicated by lit torches. Finally you'll get to the crate, which must be open by Helena.

Once you get through, swim to the land indicated by the game, watching out for the shark. When the beast jumps to the surface, keep pressing A. In the meantime Helena has to shoot at the orange gland in shark's jaws. Just before the end you'll be attacked by zombie, but it is enough to quickly rotate the analog to release yourself.
After getting to the land, check nearby vases and open the gate. Moment later you'll be attacked again by the shark.
During the rafting you have to keep shooting at the gland inside the creature's jaws. Remember to reload when you have time. At the end press X and A at the same time, when this instruction appears on the screen and then shoot the TNT barrel, thus ending the fight and this level.
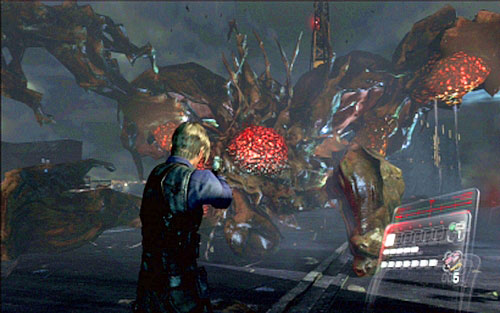
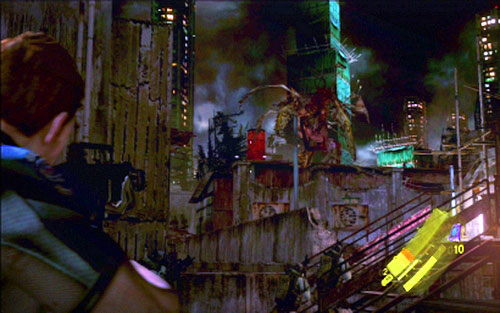
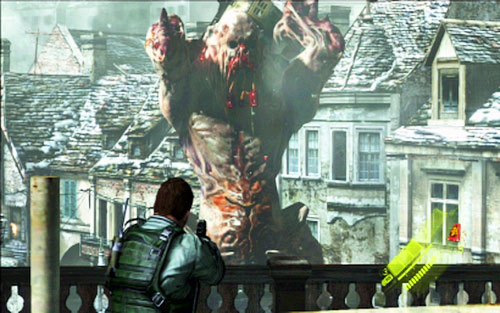
Already at the beginning of the level you'll be attacked by the beast, well know from the cathedral. During the fight try to keep distance from the enemy, running away when the beast comes too close. You'll avoid being hit by poisonous projectiles in this way. You might also find explosives very helpful. When zombie falls down on knees, quickly approach it and press RT. A moment later the opponent will flee.
After the fight go to the rudder and examine it with A. You'll learn some information about plane damages.
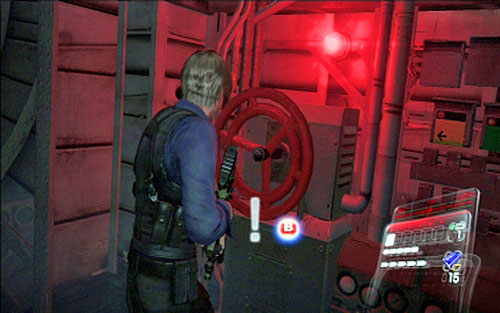
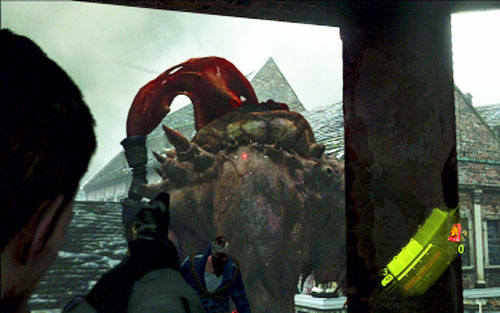
Now you have to go to the place indicated by the game and turn the red handwheel. A moment later well-known opponent appears.
Instead of fighting him, try to get him as fast as possible to the other side of the plane. When he focuses on your companion, open the indicated crate and pull a lever inside. You have to do it quickly, because gas created by your opponent will inflict damage. If your HP gets very low, pick up a health spray lying near the mentioned crate and use it.
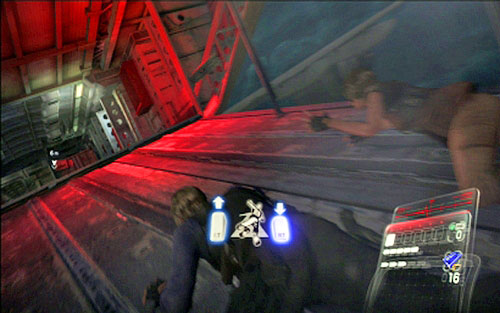
After opening the luggage compartment, Leon and Helena will have to go back inside the plane. In order to do this, hold LT and RT at the same time and then release them alternately, doing this in the same rate as Leon moves his arms. Prepare also to simultaneously press X and A to avoid a sliding crate.
Once you're safe, quickly run to the cockpit, not paying attention to attacking enemies. As soon as you unlock the blocked passage along with your companion, none of opponents will get you.
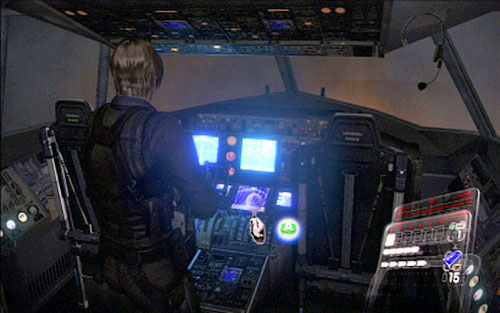
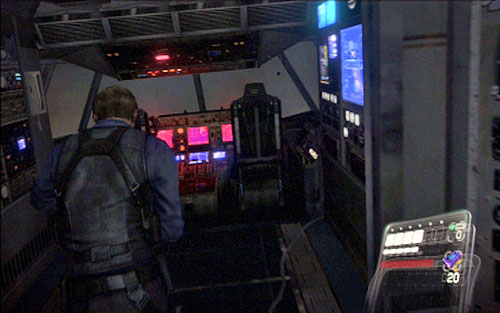
After you get to the destination, Leon will have to take the control of the plane, while Helena will take care of zombies attacking you. In order to land perform instructions given on phone. First, look up and press X in indicated moments. Then look at the lever on the right and pull it. The last thing to do is to keep pressing X in order to pull the lever towards you.
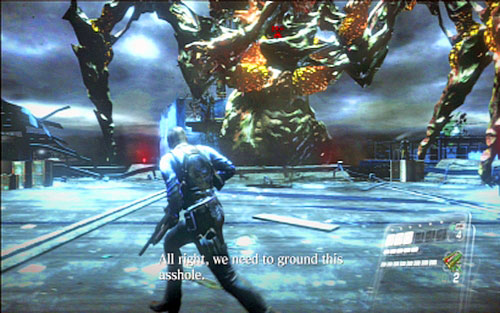
When the animation is over, a fight with boss Ustanak begins. At the very beginning of the fight climb up the ladder on the left and push the crate full of gas containers. Now you have to lure the opponent there and shoot explosive containers.
After explosion press the red button neat the previously used ladder. You'll lower the platform, thanks to which you can climb the other container. There are two more crates with gas containers on its top. Use them as previously and Ustanak should move to the other side of the square. During the fight it is best to stay on top of containers, jumping down only when your opponent follows you there.
When the area is clear, jump to the other side of the indicated fence. Helena will have to avoid Ustanak's charges, while Leon has to start a nearby bus. First examine the steering wheel and then go to the rear of the bus and fix its engine. In order to do this, you have to follow on-screen instructions.
After you succeed, walk over the top of the bus to its other side and jump down. You'll find then another platform which has to be lowered. Use it to jump into the containers and push down four crates with gas containers. A fifth one can be found on the nearby crate - jump there to push it. The explosion of all gas containers when Ustanak is near them will end the battle.
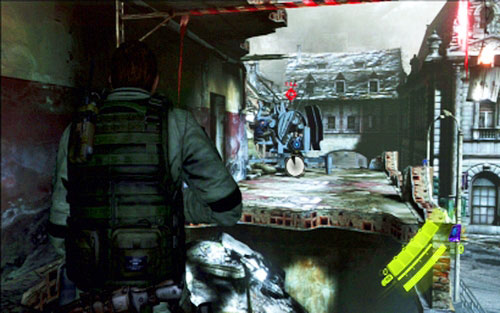
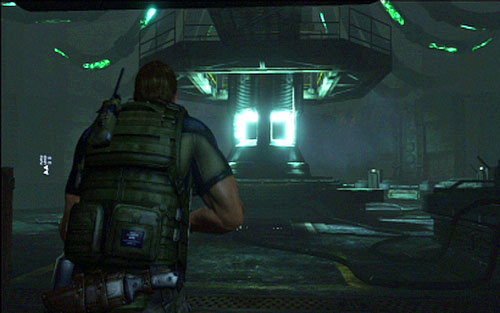
After watching the animation, go ahead and along with your companion, open the large door. After that you'll find yourself on the abandoned marketplace.
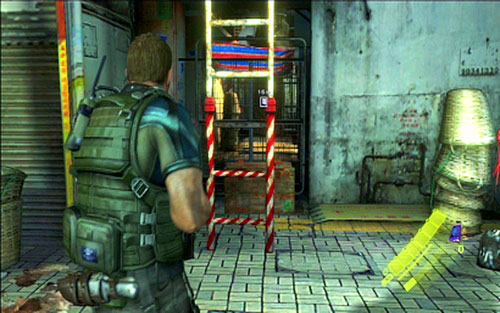
Run forwards until you get to the door which can be open with three keys. You'll also encounter a new type of beast. This monster is very irritating because after few shoots it breaks into several different opponents: hands, legs and upper body. In order to kill it, you have to quickly get rid of all parts - otherwise they will combine together into one monster. Unfortunately even after you kill this enemy, it will be dead only for given amount of time. After that it will respawn and go after you again.
In order to the first key, head left. You'll find there shops full of useful items and the live door. To turn it off, use the lever behind the counter on the left. Pull it, go through the door and pick up the key.
Now head to the start place. Several meters in front of the green car you'll find an open shop (on the left). Go inside and then turn to the alley on the right. At the end you'll find the second key.
In order to get the third one, you have to climb up the nearby ladder.
Once you get to the rooftop, move to the edge over the street and throw Helena on the other side. Your companion will be able then to open the door visible at the bottom to the right.
Go there and move forwards until you reach another gate.
Break it down and then pick up the key hidden in the toilet.
Now you have to go back to the triple lock and unlock it.
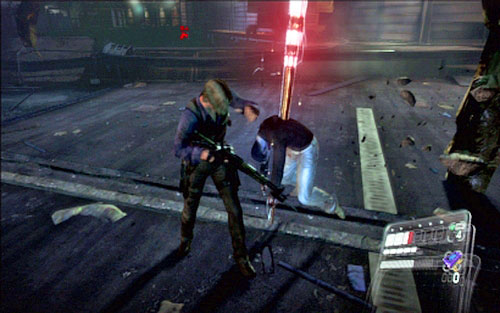
Move forwards. You'll be suddenly attacked by another zombie. In order to avoid being killed, quickly rotate the analog and press RT, thus killing enemy.
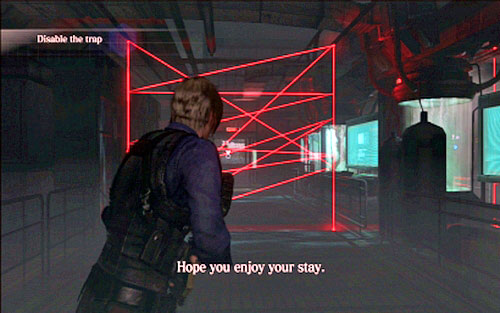
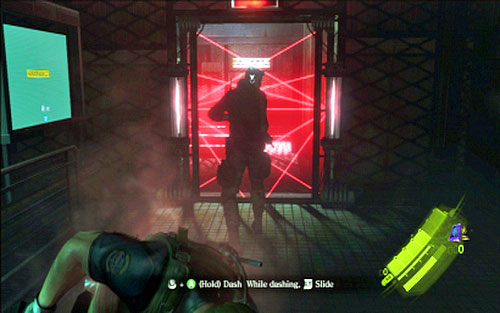
After longer animation go down the stairs on the left and open the door at the bottom. Move forwards until you reach the corridor where Ada Wong will activate security system. At the beginning avoid lasers by running on the right side of the corridor and performing slide (hold A and press LT). After that destroy two crystals at the door to unlock further way.
Keep running forwards and opening doors until you reach a room with large water containers. A moment later, when you try to go further, explosive robots appear.
To avoid explosions, try to keep running. An explosion has one second delay, so you should quickly destroy opponents while moving around them without losing any HP or ammo. While Leon gets busy with robots, Helena should open the door using the nearby computer.
Once all lamps turn green, wait until they get red again. Now destroy rest of robots and go to the other side.
In the control room you'll find a vent, which will lead you to the large hall. When you get there, you'll have to chase Ada Wong. Keep running in indicated direction until a longer animation starts.

When it is over, you have to go down the stairs. Behind several doors you'll meet Simmons.
When the animation is over, go to the end of the train and then go to the roof. Once you get there, you have to quickly shoot a powerful enemy, so it turns into a human before can charge at you.
After a short cut-scene go back inside the train and wait for your enemy. When he appears, shoot at him until he transforms into human again. Now it is enough to approach him, press RT and keep pressing A. Repeat this sequence twice inside the train and once on the roof. After the third attack a chase sequence begins. You have to run forwards, so the beast can't catch you.
When you jump to the other train, the creature will follow you. Avoid being hit by pressing A.
A third phase of this fight is very simple, if you know what to do. At the beginning keep shooting your opponent through the hole, until you see projectiles hovering around him. You must then quickly cover behind the wall. Once projectiles fly away, start the shootout again.
Repeat both actions until the enemy jumps inside. At that moment quickly press X and A at the same time, to avoid being hit.
If you succeed, you'll find yourself again on the train roof. Your last task is to hit the charging beast one more time. Use the machine gun or pistol when the enemy gets close enough.
When the fight with Simmons is over, go up the stairs. A moment later this level will be over.
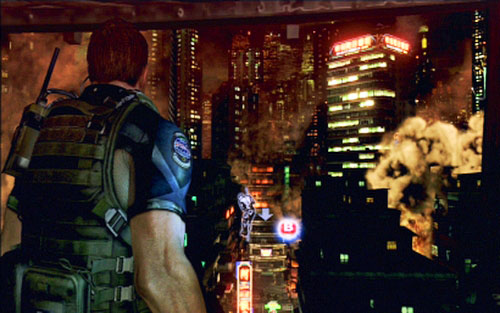
At the beginning go down the stairs and then run after one of soldiers.
The man will lead you to the building, which will be attacked by undead. Run upstairs, trying to avoid the poisonous gas, this can kill Leon immediately.
Being at the top you have to wait until another soldier unlocks blocked door. Do not care about enemies - soldiers will deal with them.
After opening the door, keep running forwards, bypassing zombies and them along with your companion pry open another door. You'll find there a car - get inside.
When the ride is over, jump over the overturned truck. Moments later a stage known from a prologue begins. However there are some changes.
At the beginning go o the alley on the right and enter the indicated building. Keep moving forwards until you reach the car with herb inside.
Before you pick it up, kill two mutated soldiers.
A bit further you'll find a corridor which will lead you to the stairs down. Before you take it, make sure that you've reloaded all your weapons because moment later you'll be attacked by a large group of zombies. Opponents are weak but there are so many of them that one clip is not enough and you have not much time to reload during the fight.
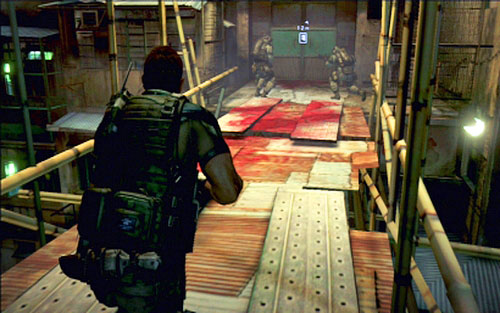
After the fight leave the building and jump to the street. You'll have to kill another group of enemies.
When the last creature is dead, a further passage will unlock. Do not pay attention on zombies - just run ahead until you reach the plane wreckage. An escape sequence begins.
While holding A all the time, you have to run to the screen direction and then jump to the chopper.
When one of enemies grabs you leg, quickly rotate analog stick to release yourself.
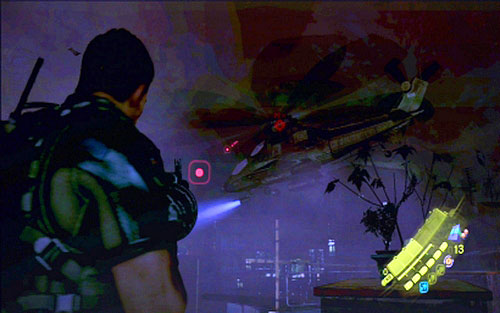
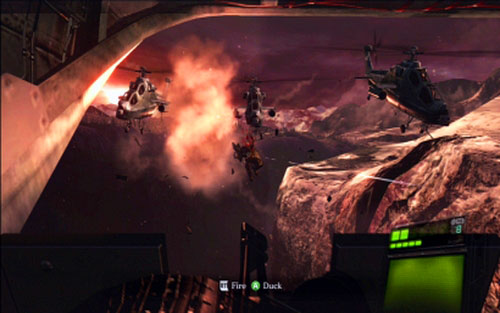
After short animation you'll find yourself piloting the chopper. In order to stay alive during the flight, perform all on-screen actions. After landing prepare to quickly press X and A to avoid being hit by chopper wreckage.
Once you're safe, collect all items hidden inside crates and go inside the building in front of you. After jumping over the railing, another animation will start and moment later you'll fight Simmons again.

In the first phase of fight try to keep your enemy on distance and lure him in the area of red barrels. When the beast gets close enough to containers, shoot at them to make an explosion.
After each explosion boss transforms into human for short period of time. Quickly run towards him, hit him several times, press RT and then keep pressing A.
Repeat these actions until a military vehicle drives into room. You'll take then machine gun operator place and shot at the eye inside Simmons' mouth.
When the chase is over, the first phase of the fight begins again. This time there are fewer barrels so you have also to shoot directly at the enemy. You can also use the machine gun located on one of the vehicles and explosives hidden in crates. After several hard hits the beast should finally flee.
Once the animation is over, you'll end on the rope hanging from the building. Perform on-screen actions until you reach the place, from which you'll have to cover previously met woman.
Keep shooting at Simmons and when you run out of ammo wait for some weaker enemies. You can find more ammo next to their bodies.
In the next phase of climbing try to make as few mistakes as possible and prepare to quickly press A and X when the enemy is very close. Moments later, together with Ada Wong, you'll fight the monster. At the same time Helena will cover you from the top.
At the very beginning shoot at Simmons several times and wait until you regain control over your hero.
In this phase you have to keep shooting at enemy, while picking up ammo and avoiding deadly attacks. The creature mostly performs three types of attacks: sting hits to the front and to the sides, shooting with bone shards and charge. In order to avoid first of them, try to keep the distance from him. A sting range is quite short. Two others won't hit you if you run to the sides right before they are performed. The best area to avoid these attacks is a small platform in the middle of the sidewalk.
Shoot at the beast until the fight is stopped and another animation begins. After that prepare for the next phase of the battle.
At the beginning get rid of as many of weaker enemies as you can, trying to avoid Simmons' sting. He always attacks to the front and with short delay so you shouldn't have problems with that.
Once the area is clean more or less, start shooting at the main beast. After several pistol bursts the enemy will be eaten by his companions and you could run up the stairs.
Keep heading to the indicated helicopter, picking up ammo hidden in crates along your way.
Once you and Helena get separated, focus on shooting at eyes of the large fly and destroying its projectiles. Your companion in the meantime will have to start the mechanism which moves the platform.
When you both get together, run towards the helicopter. When you get close, prepare for one more fight with Simmons.
At the very beginning keep shooting at orange glands on creature's body, waiting until enemy pulls a zombie pierced with electrical spike.
The spike will thrust into the enemy and stun it for several seconds. This is a moment in which you have to destroy as many yellow insets on its body as you can. After destroying 2-3 of them, quickly run towards the electric spike and use it to kill another zombie. Moments later the beast explodes again.
You have to repeat these actions until the creature starts spitting a strange substance and then falls down while exposing its eyes. Quickly thrust the spike in the nearest enemy and destroy one of creature's red eyeballs. When the beast thrust a spike in the eyeball, this phase of the fight will be over. Do not be discouraged if you fail on the first try. If the creature heals itself, replenish ammo and try again. Enemies walking around are perfect sources for all items you need.

After last explosion run straight ahead to the helicopter.
Next to it press B and then pick up RPG and shoot the beast eye. You'll get rid of Simmons once and for all. Go into a helicopter and the campaign is over.
Right after cut-scene press B to slide down the rope to the building's rooftop and then head to the direction indicated by soldiers.
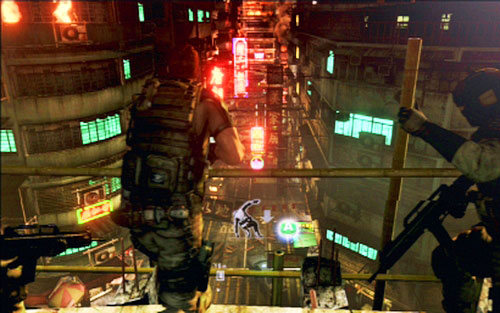
Use A to jump over obstacles.
Together with the rest of team you have to go to the bottom of the building and go outside through the large red door. Open it with B.
Once you get to the street, run forwards holding A until you encounter large explosion. Stand up quickly and open the door to the left. The stairs will lead you to the upper floor. Go through several doors until you reach a hole in the wall.
Jump over it downstairs and open the door at the end of the alley.
A first opponent awaits you there. Once you regain control over your character, shoot him.
Follow the street to the right and then keep following a flying helicopter. Moments later the machine will be shot down.
Turn then right and open indicated door (B).
When the next location is loaded, enter the building at the end of the alley and then kill enemies lurking inside.
On the other side of the room you'll find another door. A bit further you'll reach an entrance to the other building.
Get inside quickly and destroy crates there. You'll find ammo which will be useful later.
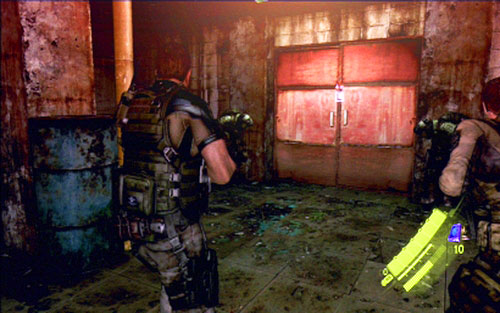
Keep going forwards, killing single enemies along your way. You might kill them with bare fists to save ammo for later (RT) but be careful because you can die easily. Finally you'll get to the red door which can be open together with your companion (B).
Inside you'll be attacked by more zombies with powerful mutated arms. Kill them quickly with help of your companions and then run up the stairs to the left.
Behind the red door an attack of large group of enemies will begin. Quickly take cover behind nearest cover (press A while holding L2 and lean out using the analog) and start the shootout. In order to save ammo you might use the grenade. If you throw it properly, you can kill almost all enemies.
When the fight is over, go through the door at the end of the corridor and examine crates there. You'll find lot of ammo inside.
A further way leads up the stairs. You'll get to the room with three opponents. Kill them quickly and run up to the next floor.
At one moment a mutant will jump on you from behind the door on the left. Kill him and then explore all nearby rooms. In addition to crates with items you'll encounter another enemy - kill him quickly.
When the area is clear, go through the wide door on the other side of the corridor.
After the game saves, destroy crates in front of you. Pick up ammo and go up the stairs on the right. You'll encounter there only one enemy, which can be killed by surprise.
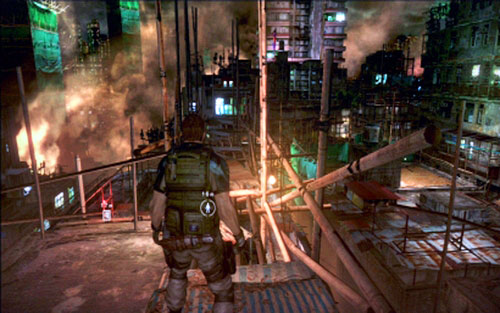
When you get to building's rooftop, go straight ahead and get rid of enemies upstairs.
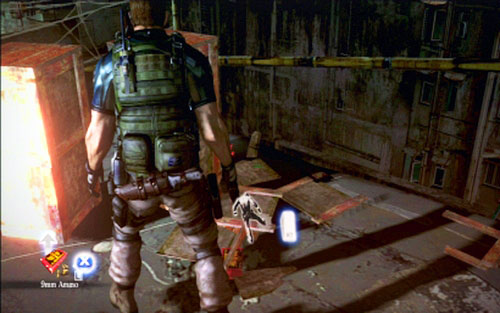
Now you have to climb up the ladder and then cross the catwalk between buildings.
On the other side turn right. You'll reach the crate with ammo and a ladder to the upper floor.
Once you get there, you'll be attacked by large group of enemies. Use the help of your companions to kill them and then move to the red platform on the right.

You'll find there a rope which can be used to get to the adjacent building.
When the short animation is over, keep pressing X to get to the other side. In the meantime your companion has to shoot nearby enemies.
After getting to the destination, climb up the ladder and run forwards, killing zombies along your way. Watch out for enemies with mutated arms - kill them with your bare fists waiting until they swing their claws 2-3 times.
At the end of the path you'll find another ladder - climb it up and go to the other side through the provisional bridge.
A bit further you'll see two red platforms connecting both buildings. Jump between them, run forwards and destroy crates in the corner.
You can now return to the previous building, where you'll open a damaged gate with your companion. On the other side turn right and move straight ahead until you encounter enemies.
Kill then quickly and climb up the ladder on the left.
The way will lead you to large green door, which is unfortunately locked. Moment later you'll be attacked by zombies from all directions. While taking cover, eliminate enemies by shooting at red explosive barrels. Use also grenades and kill nearby foes with your bare fists.
When the helicopter arrives, get rid of mutants standing on the stairs by detonating the barrel. Once the area is clear, you'll be able to go through the green gate.
Behind the next door prepare for another fight. I suggest staying on the right side of the room at the beginning and slowly moving along the wall. You'll be able then to safely kill enemies, while taking cover. You might finish shot enemies with your fists and eliminate larger groups with help of grenades.

While killing mutants, you'll eventually get to the staircase. Go down the stairs and enter another room.
More enemies await you in the corridor behind the corner. Kill then and then approach a red door at the end. Before you open it, remember to explore crates on the right.
In the next room you'll be attacked by creatures looking like spiders. They can walk on the ceiling so be careful and kill them as fast as possible.
Moving further you'll reach a place where you can see a spider with hostage. The creature is walking on the entire floor and your task is to catch it and kill it.

When it is done, return to the stairs and move to the upper floor. There will be another fight with spiders and a chase for a hostage. There are really lot of opponents so be careful. You might use flash grenades, which are very good against these opponents. They can stun enemies, giving you time to aim precisely.
After rescuing a second civilian go down the stairs two floors below. When you empty all crates there, you can go to the elevator and descend to the first floor.
Unfortunately the elevator stops in half of the way. Help your companion to go to the roof and leave the elevator too.
After short animation you'll have to kill an opponent with RPG standing at the top as fast as possible.
Once he is dead, open the nearby door and get rid of zombies using your grenades.

Moment later even larger group of them will attack you. If you run out of ammo, you can examine crates on the right. Some of opponents can be also killed with fists, but first use the flash grenades to stun them.
Once the room is clear, open the door in the left corner and go down the stairs.
In the next room you'll find a ladder and a hole. Jump down through it.
Kill all enemies there and quickly eliminate a mutant which tries to kill a hostage. A moment later a short cut-scene starts.
Once it is over, quickly go up the indicated ladder and open the door on the top. After that you have to quickly run to the stairs in the left corner of the room.
In the next room run to the right and bypass the hole in the floor on the right side. In order to finish this level, you have to quickly rotate your analog in order to not fall down and then jump out of the building.
Right after end of the cut-scene go under the roof on the left and go around enemies shooting at you.
When they all are dead, take cover behind the wall and kill the enemy on a distant building.
Move slowly forwards and take cover behind the vehicle. Kill other enemies, watching out for opponents shooting at you from a stone arch.
A further way leads to the building on the left. Prepare for the fight with more enemies.
Once the area is clear, empty the crates on the top and go through the indicated door.
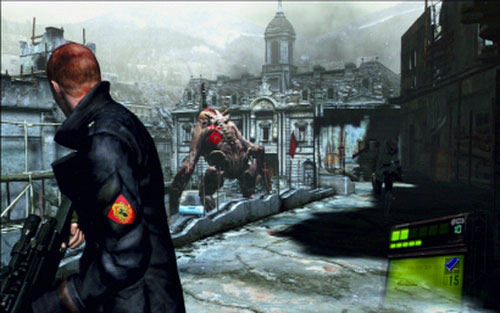
Before you open it, a giant mutant appears which starts walking along the street.
You have to flee from him, climbing ladders on the left and right, thus circling around the beast.
In order to defeat the creature, you have to shoot at growth on its back. If you hit it properly, your opponent will be stunned so you would be able to aim more precisely. If you run out of ammo, run around the beast until weaker enemies appear. You can find more clips next to their bodies.
When the beast finally escapes, run forwards after your companions' vehicle.
Right after first corner new zombies will appear. Kill them, pick up ammo and move forwards, killing another enemies.
After getting to the larger square, quickly eliminate nearby mutants and the climb up the ladder on the right. A sniper awaits you there - kill him. Another sniper hides below, behind the cover. Wait near the ladder for other enemies and kill them with your fists once they appear.
When the area is clear, move to the fence on the left. Moments later it will be destroyed by sapper.
Move to the other side and cover a soldier who plants explosives. First thing to do is to kill an enemy with RPG - he stand at the top on the right.
Once he is dead, hide behind the cover a bit further. Other mutants will come running from the right - eliminate them all.
Defend yourself until your companion calls you. Run towards him and watch a short cut-scene.
Once the animation is over, run to the left. You'll reach the abyss - throw your companion over it.
He will cover you during the assault on the bridge.
As soon as you enter the walkway, there will be an explosion. Now you have climb up, avoiding falling debris and keeping pressing A. Start in the center of the path and when you see a car wreckage falling in your left, quickly crawl there to avoid the burning car.
After getting to the top, take cover behind barrels on the left and kill enemies to the right. Kill the opponent with machine gun as soon as he stops shooting.
When all enemies are dead, take cover at their places and get rid of next opponents. In the meantime your companion should eliminate a tank on the end of the road. In order to do this, he must shoot at the explosive gas canister. Your last target should be a sniper standing on the right side of the bridge. If you do not have enough ammo try to run across the laser and move forwards right after each shot.
Climb ladder to the top of the construction, picking up ammo from crates on your way there. Once you get to the top you have to kill an opponent hidden inside the wagon and then lower the nearby ladder so your companion can climb it.
Go back together a bit and pull one of smaller wagons. Moments later you'll get a task to keep the bride, until a wounded soldier appears.
Quickly hide behind the nearest cover and shoot at parachutist enemies. Remember about saving ammo because you can hold their attacks for long time. If there are too many of them, retreat slowly.
When your companion finally gets to the destination, wait until he plants the explosives and take cover at his place. Moment later you'll hear an explosion and watch another cut-scene.
Once you regain control over your character, turn back and run to the indicated building on the right. On the floor you'll find gun turret which has to be destroyed.
First get rid of all mutants and wait until sapper set the charges. You have to cover him during this operation.
After explosion run down and go to another indicated building. Right behind the door two more monsters await you. Get rid of them and go up to destroy the second gun. Sam as previously you have to cover the sapper.
After the explosion run to the very bottom and get inside the underground passage.

Move forwards but watch out for round holes in the ceiling. Run under them as fast as possible because a moment later mutant's arm will appear inside.
Your target is a ladder - sapper will indicate the proper one (the second one you pass by). Follow him up and then while eliminating enemies, get to the third gun turret. On your way there you'll notice a machine gun stand - remember that place, because soon you will need it. Remember also about lowering the ladder on the corner.
When charges explode, quickly return up and go to the previously mentioned machine gun. Before you use it, lure the large beast towards recently destroyed gun turret. In order to do it, place your character at the top, near the barrier.
As soon as the mutant approach the place, use the gun (LT) and shoot at monster head (RT). You have to repeat this until the enemy falls down and leans against the building you're standing on. If you do not succeed in a first try, quickly leave the machine gun stand before the enemy gets too close and destroys the gun.
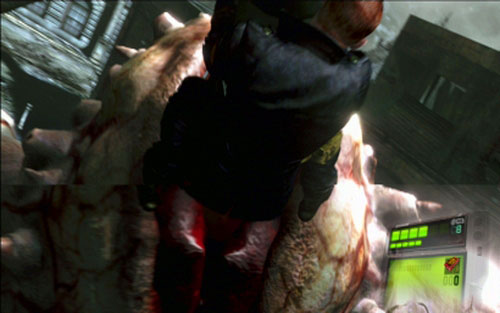
When the beast starts to lean, jump onto it (RT) and then quickly rotate left analog. Chris will then pull the growth out of monster's back, thus finishing the fight.
After another cut-scene go to the building's floor and then open indicated door.
In a corridor there you'll be attacked by one zombie. Kill him and explore the room, where this creature was hiding. There is plenty of ammo inside.
While moving forwards, you'll reach another door. Go through it and then jump down to lower floor. Moments later new mutants will be created in cocoons.
These beasts are powerful but very slow. Do not let them get close to you, because they can kill you with one hit. Avoid also their charge, which they perform after several punches in their chest.
In order to save ammo, you might wait until all creatures are "born". Then throw a grenade at them and finish them with few shots.
Once the fight is over, go through the indicated door and head forwards.
Ina brightly lit room a fight with three armed opponents awaits you. Especially watch out for the one on the right, standing next to the entrance.
After clearing the area go through the next door and watch short cut-scene. Once the animation is over, rescued woman will join your squad. Run forwards, until you reach a room full of mutants.
Look around and locate the stairs. Go up the stairs and open the indicated door.

In this room you'll encounter a new type of enemies. These mutants stand up from time to time and spit deadly spikes in front of them. As soon as you see one of enemies to stand up, quickly move away from his shot line and then start punching him with fists. In this way you'll get rid of him very quickly.
When the last enemy is dead, move forwards and then jump down to the lower floor. Inside the warehouse you'll fight another group of previously met enemies. But you do not have to kill them all.
Instead of that run forwards until you reach stairs leading down. Go through the next gate thus finishing this level.

When the level begins, move forwards until you reach the red gate.
Open it with your partner and then use the ladder to go to the other side of the fence.
Bit further you'll encounter two enemies. Kill them both and run forwards.

Next ladders will lead you to the rooftop, where more enemies await you. There are also crates with supplies.
Quickly kill all beasts and then go inside the building. A second shootout will start there.

When the last zombie is dead, go through the next door. In the small room you'll find ammo and healing spray. Pick up all items and move ahead.
Moment later a scene begins, during which you have to cover two of your companions.
Do not worry about helicopter for now and focus on killing all beasts around. Some of them are hiding on the helicopter so shoot them as fast as possible.
When the last enemy is dead, go to the indicated place, heading up all time.
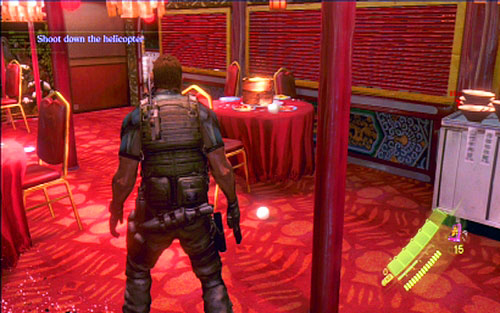
At the top you'll have to deal with combat helicopter. This time you have to destroy it. At the beginning look for area covered and surrounded by three walls. Hide there and go out only to shoot at helicopter with RPG. In this way you can avoid both machine gun and explosives.
When the machine falls down, go inside the building.
While going ahead you'll reach the place, where disappearing snake will appear again.
Follow it moving down.
After sliding on the rope, use help of your companion and push down the large crate. Watch the short cut-scene.
Bit further you'll find a hole - jump inside. Prepare for the fight with the beast at the bottom.
In order to defeat it, stand in the center of the room and slowly turn around, looking for enemy in corners of the room. When you see its shiny body, start shooting, aiming manly in the mouth. When the beast grabs you, keep pressing RT to break free.

After the snake escapes, follow it, getting through the indicated hole. In the narrow tunnel you'll be attacked again, so prepare for fast shooting.
The beast will appear also in the next room. In order to break free from its grip, rotate the left analog as fast as possible.
Further phase of the fight is similar to previous one. Slowly turn around and shoot only when you see the enemy. Try also to move away from its attack line.
When the snake flees again, run after it, continuing the chase. Finally you get to the room with thick electric cable.
Climb up the ladder to the upper floor and pull the lever twice in moment, when the beast will be right under you. To lure the enemy into this place, your companion has to act as bait. The trap won't work with the first use but after plugging the cable in, the creature will be dead.
But this is not the end yet. A bit further you'll be attacked by zombie composed of swarms of flies. Keep shooting at it until a larger insect appears. You have to kill it to get rid of the rest.
This opponent has only one type of attack but it is very powerful. It cumulates huge swarm of insects and pushes it in front of it. Try to move away from its line of attack and you should be safe.
After the fight you'll get to the marina, where you'll become a target of several snipers. While jumping between boats and running in indicated direction, try to avoid their red lasers.
When you get to the destination, climb up the ladder. At the top you'll have to fight another helicopter. In order to destroy the machine, shoot it with RPG.
Ammo can be found on nearby rooms. You can also hide there to avoid bullets shot by helicopter.
After the fight move to boats and jump between them do get to the indicated gate. Go through it.

Behind next door you'll find a laboratory with large water containers and an elevator.

Your task is to get to the platform as fast as you can. Walls of lasers are the first obstacle - try to bypass them by doing a slide on the right side.
Once you get to the end of the corridor, destroy two crystals at the door and enter the elevator.
On the upper floor you'll find crates with ammo and skill points. There is also a door leading to the empty room.
As soon as you approach the gate on the other side, explosive robots will appear in the room. To avoid explosions, try to keep running. You'll destroy them in this way, while not losing HP.
Let Piers take opponents at the beginning. Chris will have to open the box hanging on the wall. Once it is open, partners should switch roles.
After few second Piers opens the door and both men can go to the next room. Explore it well because you can find there three crates with lots of skill points.
Once you take all items, jump down to the lower floor and start chasing the mysterious woman.
At the end prepare for a longer cut-scene and after that - for another chase. This time - with a car.
At the beginning Piers drives. In the meantime Chris will have to shoot enemy vehicles appearing from time to time. After that you'll switch roles again.
The chase looks pretty the same all the time, except for a brief change in the underground parking lot. You'll encounter there a large blockade built by enemies. Destroy it quickly with machine gun and grenade launcher. Once the chase ends, the level is complete.
Right after beginning the level, get rid of enemy attacking Piers and then enter the room on the left.

After going up the stairs you'll be attacked by a group of snipers. Jump down to the lower floor and kill from the bottom with sniper rifle. It is best to aim at barrels standing next to enemies. The explosion will kill zombies rapidly.
When the area is clear, run forwards, killing other enemies along your way. You'll encounter opponents transforming into strange kamikaze balls - approach them for a second and then run away. You'll invoke the explosion which will kill remaining mutants.
When you see that one of stairs starts to move up, quickly run on the other stairs and then throw Piers to the other side of the path. A moment later platform will start to rotate.
Now your task is to reach a rocket at the end of the room and fire it at the closed gate. You'll get there by path next to the wall.

But before you start to do anything with the rocket, remember to kill all enemies.
After explosion quickly run to open the indicated door. Once you go through it, the enemies will stop chasing you, so do not waste your ammo.
Once you get to the deck, head to the right all the time, jumping between platforms and climbing up the stairs and ladders.
In that way you'll reach a room with lever, which lowers the stairs.
Pull the lever and then run to the indicated door. On your way there you'll be attacked by a group of enemies and a jet, but do not fight them. Instead head straight forwards, avoiding the missiles.
Behind the first door you'll find stairs. Go up the stairs and open another gate. Moments later another animation begins.
When the cut-scene is over, move forwards until you reach the elevator. It will take you to the upper floor, where you'll again encounter the mysterious woman.
Chase her, killing enemies along your way. The opponents shouldn't be a challenge for you until the moment, when you'll be ordered to kill all mutants. One of them will jump in through the window and the rest will come out running from behind. The best tactics at this moment is to return to the previous room and throw a grenade towards zombies, thus quickly ending the fight.
A bit later you'll encounter previously met creature with insects. Do not fight it. Instead jump through the window, run up the stairs and open another gate.
You'll encounter there another group of enemies. After dealing with them run forwards, until you reach a room with many computers. Prepare for zombies jumping from windows to the left.
Get rid of them and then cover Piers, while he turns large red handwheel.
He will lower the ladder which you can use to reach the next ship floor.
Keep going up until you reach the place with plenty of ammo. Pick up all bullets and go through the nearby door. A short animation will start, after which you'll find yourself in the lift going down.
Once you get to the destination, move to the lock blocking the door. You need three electronic keys to unlock it.
First one can be found in a room a bit further. Pick it up and then open the door to the right.
Prepare for the fight with two beasts met in Leon's campaign. These creatures split themselves into pieces after being shot and can reborn even after destroying each element.
Once you get rid of them, open the door to the right and enter the ship kitchen. A third opponent will appear. You have to stick with him in one room until fire alarm goes down.
After that leave the room and move forwards. You'll reach a long corridor. You have to turn right and then enter the first room on the right.
Once you start opening the door, Chris will be dragged to the other side by a mutant. Kill him and take a second electronic key lying nearby.
You can now leave the room and move to find the last keycard. So go back to the corridor, turn right and go down the stairs to a lower level.
You'll reach a corridor leading to several rooms. The last key card can be found in the penultimate room on the right.
Now you can return to the upper floor and unlock the gate.
Once you get to the other side, make sure that your gun is reloaded and go through the next door. A moment later you'll be attacked by another mutant. In order to avoid being killed, you have to shoot all parts of the beast flying towards you (start from the left side).
If you succeed, move forwards until you reach the jet in the hangar.
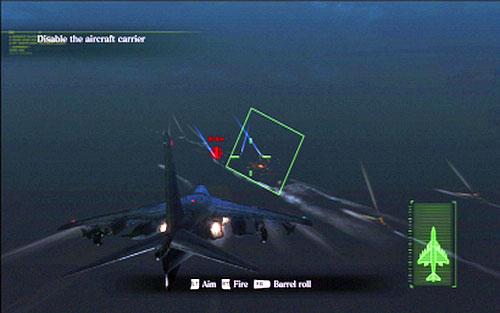
When you get inside the jet, first get familiar with controls. You aim by holding LT and shoot with RT. RB is used to dodge. Your task is to destroy all guns and helicopters indicated with red. During the flight pay attention to warnings appearing at the bottom of the screen. When you see one, quickly dodge to avoid being hit by rocket.
After destroying the last target, Chris will have to cover Piers. Your companion will blow up two barricades and then stop the rocket.
When he is done, a giant B.O.W. will enter the battlefield. While playing as Chris keep shooting at its head, waiting until Piers returns to the jet.
The last task of two soldiers is to kill the giant beast and destroying the large rocket with explosive missiles. After short animation the level is finished.
After the beginning go to the green button on the wall and push it. A moment later a short animation starts. When it is over, enter the low tunnel.
NOTICE! At the end of this chapter you'll face a long and hard fight with boss that requires a large amount of ammo. Since during this fight you won't get much of it, try to save it from the very beginning.
When you get to the other side, throw Piers over the large hole and then jump down.
Now your partner has to find a mechanism which stops a large turbine. Once he does it, quickly move to the other side.
A bit further you'll find another turbine which also has to be stopped by Piers. But this won't be easy, because new enemies will be appearing all the time.
After getting to the other side go down the narrow shaft on the right and then pull the lever to restore power. In this way your partner will be able to join you.
If he doesn't, move up to help him in the fight with zombies. During the battle kill the opponent with RPG first, who hides on the upper floor of the complex.
Once the area is clear, return down and together with Piers open the tight door near the elevator. Behind it you'll find a small room, where new enemies will appear from time to time.
After killing the last of them, move forwards. The corridor will lead you to the room with two zombies with RPGs. In order to kill them, wait behind the wall until they shoot missiles at you and then quickly shoot them.
Before you move further, go to the end of the previous corridor. You'll find there a suitcase with ammo.
A further way leads to the next elevator. Start it by pulling the lever and go one level down.
In the next room you have to go to the indicated door and try to open it. A countdown will start then (twice), during which you have to survive attacks of zombies. But try not to waste too much ammo during the fight. Instead of shooting zombies try to climb the ladder up and down, playing hide-and-seek with your opponents. But it is worth to kill snipers, because they can be very nasty.
When the countdown is over, once again fool you enemies and then together with your partner open the gate.
After longer animation you'll have to approach the indicated computer, press the green button and along with the rest of the group, pull four levers.
The platform will run up.
During the trip new enemies will be appearing on nearby platforms, as well as on your lift. Always try to kill enemies with RPGs first, as well as those near you.
Once you succeed getting to the top, watch a short animation and start to escape the giant mutant.
At the beginning, climb up the ladder and run forward, jumping over all obstacles.
When you reach the high platform, help your partner to climb it and then use his help to get there (B). A bit further the way will be blocked by the creature. In order to scare him away, shoot the beast's head several times. Keep running forwards, particularly watching out for the second obstacle. Instead of jumping over it, you have to perform a slide (LT).
On next stages of your escape, repeat already known moves. A new thing will appear only at the very end. The beast will grab a platform you're standing on and will start to shake it. In order to stay there, keep pressing A as fast as you can.

When the chase is over, you'll find yourself in the new room where the beast will attack you again. Start running around him, stopping only for a moment to shoot his head few times. Repeat that until he falls to the ground unconscious. Additional ammo can be found in crates located at the edge of the location.
After the fight a new stage of the escape begins. This time you have to run through the tunnel forwards, performing slides under closing gates (LT) and quickly shooting at the hand appearing from time to time. A short break awaits your behind the door held by Piers.
When you rest, go through another door and continue escaping from B.O.W.
At the end you'll be caught by the creature. In the meantime Piers will have to crawl to the syringe lying nearby. When he uses it, go to the indicated door and the fight with the beast begins.
In order to defeat the giant creature, you have to wait until he goes down and then destroy his two orange blisters. One of his tentacles will fall off - you must avoid it. Run away from it as far as you can and wait until it explodes.
After that your enemy should transform into still cocoon. Shoot it quickly with well loaded weapon in order to destroy this hard armor as fast as possible.
If you succeed, you'll be able to approach the enemy and inflict the first serious blow (RT). Your task is to repeat this operation three times. When you run out of ammo, remember about nearby crates. Sometimes ammo falls down from smaller cocoons made by the beast.
When it comes to avoiding B.O.W.'s attacks, first of all try not to stand in front of the creature, because he could spit acid on you or hit/grab with his tentacle. It is best to run around the beast, hiding behind crates.

When you finally inflict the third blow, a short animation begins.
After its end crawl as Chris to the enemy, press B and quickly swing the analog. The fight is over.
After that go to the indicated door and go through it.
A bit further you'll begin escaping from the laboratory. Playing as Chris you have to run as fast as you can and avoid attacks of beast appearing from time to time. When you manage to get to the exit, the campaign is over.
After starting the level go up the stairs and then use the red ladder.
Further way lead straight ahead and you'll not encounter any enemy for longer period of time.
When you see a small group of opponent, kill them quickly and go through the building on the left.
After that you'll encounter an enemy with RPG. Kill him from a distance and right after the explosion jump down to the lower level.
You have to run to the building on the left as fast as you can, so you won't be hit by a helicopter.
Once you enter the building, you'll get hit by a rocket and will fall down. Quickly pick up ammo, jump outside through the window and run in indicated direction.
You'll reach the door, behind which a short cut-scene starts.
After listening to the conversation, pick up items hidden in crates and run forward. You'll reach a narrow path full of opponents.
Kill them one by one until you get to the small abyss. Jake can jump to the other side, but his companion has to use the ladder down.
After that you have to help her climbing up.
Also jump over the second abyss and then go up and lower the ladder for the girl.
A further way leads through the primitive bridge. While in the middle of it, you'll almost fall down but quick swinging of left analog should save your life.
When you get to the other side, go straight ahead killing three mutants on your way.

When you reach another hole, help your companion to climb up.
A moment later she will throw you a bar. Use it to get to the other side.

When you see the oncoming helicopter start running along the edge of the cliff (hold A) jumping above wide holes. This way you'll reach a place full of opponents. Do not fight them.
Instead keep running to the left and together with your companion open the large red gate. Behind the gate a longer cut-scene starts.
After regaining control over your character, flee as fast as you can from the mutant chasing you. Keep holding A and follow on-screen commands.
When you are safe, get rid of the enemy in the toilet and the go to the corridors fork. A further way leads left, but you might first explore the room on the right, as well as basement. You'll find there one more enemy and several crates with items.
Move in the indicated direction until you reach a large hall. Quickly jump down and run towards large green door.
On your way there you'll be attacked by a group of enemies, but it is enough to shoot a barrel on the left and all enemies will die.
After getting to the destination, a well-known mutant, Ustanak, will join the fight.
A fight with him is not easy but if you follow below instruction, you should manage to deal with him. At the beginning avoid his charge by quickly running to the right. Along your way you'll pass by a red barrel. Few steps further turn around, aim at the barrel and shoot when the enemy is close to it.
Use the same method with a barrel located next to the stairs (roughly in the middle of the room). Stand in such place, that a barrel is between you and the mutant and blow it up right next to the creature. After that quickly run up.

Follow the only possible path. You'll be passing by several explosive barrels. Shoot them when the beast is next to them and then jump down. A barrel there should be the last one available - shoot it as soon as Ustanak lands, thus finishing the fight. If during the fight the beast pulls you towards him, quickly swing with the left analog, thus freeing yourself.
After the fight go into the dark corridor and keep walking straight ahead.
At the end you'll find a ladder which can be used to get to the surface.
But before you do it, open the nearby crate and collect skill points hidden inside.
Once you get outside, kill two mutants on the left and go through the gate. Moments later you'll meet Chris.
Your current task is to help the commando squad to blow up three antiaircraft turrets. The first one is located on the rooftop of the building to the right.
Kill enemies inside the building and then cover the sapper until the explosion.

After detonation leave the building and climb up a ladder bit further. You'll find there a machine gun stand, protected by a group of mutants. Get rid of enemies and then use the gun to kill a large creature.
You have to aim its mouth and a gland on its back. If the creature approaches the gun too much, run away so the gun is not destroyed. Remember also to kill weaker zombies appearing on the battlefield.
When the creature is finally dead, wait until commandos blow up two more antiaircraft turrets. After that quickly go to the sewers through the hole in the building, where first turret was located.
During your march through the corridors, kill enemies along your way and watch out for round holes in the ceiling. From time to time a large paw of the beast will be appearing there.
Go forwards until you reach a second ladder. Do not use it - instead search for the third one. It is located a bit further to the right.
It will lead you to the building with machine gun stand.
Leave it for now and run to the end of the footbridge.
When the beast approaches you, return to the machine gun and shoot it until it falls down on knees. The creature will then lean against the building and you'll be able to climb its arm (RT). When you get to its back, start swinging you left analog quickly. In that way you'll pull out its gland and finish the fight.
After a longer cut-scene you'll find yourself on the plane. Pick up nearby healing spray and then wait for the mutant to appear. The beast will try to get into the plane, switching the available holes. Shoot it then, watching out for the large arm which tries to grab you.
You have to survive until the plane gets on fire.
After that jump along with your companion to the other machine.
You'll find there two machine gun stands. You have to use them to destroy helicopters, on which mutant hangs. Unfortunately, every time you destroy one machine, after a while it is replaced by a new one. In order to deal with that problem, heavily damage each of three machines, so they are still able to fly. Wait for the gun to cool down and quickly get rid of all helicopters. Remember also to deal with incoming rockets during the fight.
In the last phase of the fight you have to quickly shoot the red container next to the mutant. If you do not have ammo, you can pick it right after watching a cut-scene.
After the explosion your character will be hanging from the plane and a moment later a parachute will start sliding towards him. In order to catch it, press A when the proper command appears on the screen. The level is finished.
After landing on the ground move forwards and climb up the nearby ladder. You'll see a house when you can get cover after you find three fragments of data.
Use the nearby stairs to go down and get to the ladder. A further way leads left.
Once you reach two cocoons with mutants quickly kill enemies and go through the bridge on the right.
The path will lead you to the firs data fragment. Pick it up and then get rid of group of enemies which will come running.
In order to find another data fragment, head north. Climb up the icy peak, watching out for snipers. If you get hit, you might fall down to the very bottom.
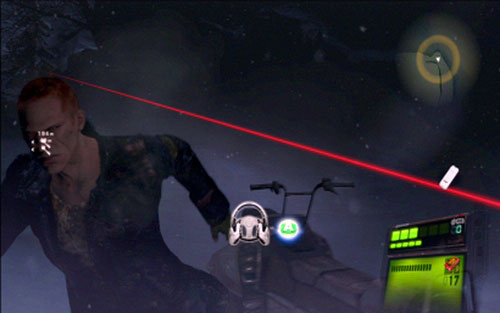
Get rid of the mutant on the scooter. Now you can use the vehicle and drive to the second data fragment. Pick it up and run to the bridge leading towards the last data fragment, ignoring the enemies.
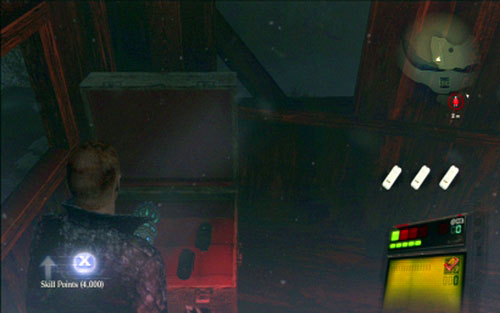
The third data fragment can be found on the top of the rock - climb it from the right side.
Pick up the data fragment and skill points hidden on the crate inside small shed.
Your current task is to get back to the place with two cocoons. In order to get there, find a ladder located near the place, where you have found the first data fragment and climb it up. A bit further you should find a hole in the rock - go through it to get to the lower level (keep pressing X to pick up herbs during the slide). Now you should be near the catastrophe place, from where you can easily find cocoons.
When you get to the cocoons, turn left and move up until you reach the previously seen hutch.
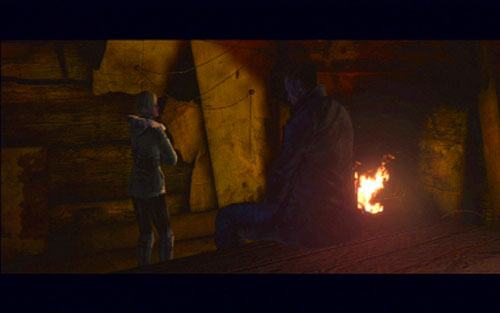
A longer cut-scene begins there.

After watching it, move to the window and start shooting enemies. If there are too many of them, move back.
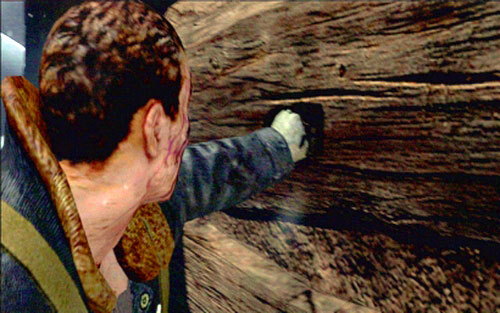
At some points mutants will blow up the door, trying to get inside. Quickly throw a flash grenade and get rid of the enemies with your fists.
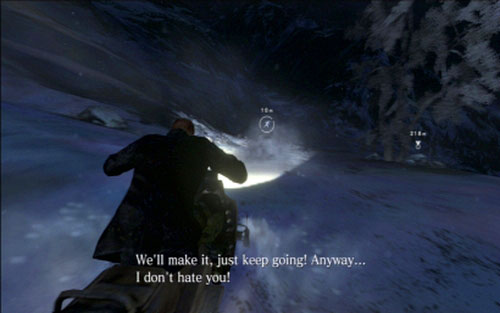
As soon as your hero mentions an avalanche, use the scooter parked nearby. Now you have to quickly drive to avoid the avalanche. At the beginning, stick to the right and when you enter the wood, move to the center of the path. The drive is quite hard, but the game saves very often, so you should manage it.
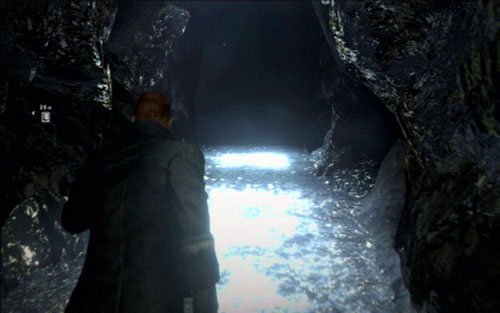
After the last jump (into abyss), keep pressing A quickly to safely land in the cavern. Once you regain control over your character, move forwards.
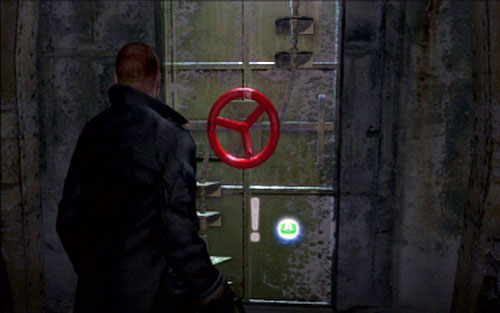
At the end of the tunnel you'll find a handwheel. Turn it and get into the room with large mutant.
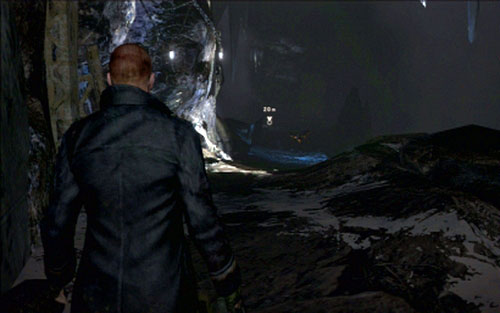
In order to avoid being killed by it, silently kill worms patrolling the cavern. Keep going to the left - wait until the mutated lady-bug turns around and then catch it up and kill it with fists. Do the same actions with 3 another creatures.
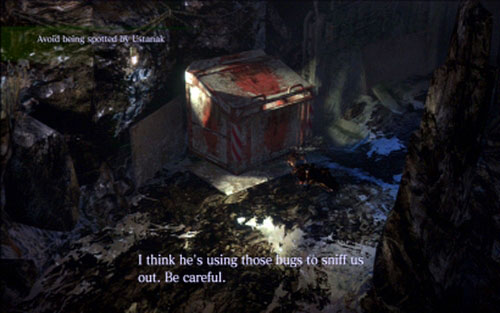
If you're noticed, quickly take cover in the nearby container. You have to remember though, that this hideout can be used limited number of times.
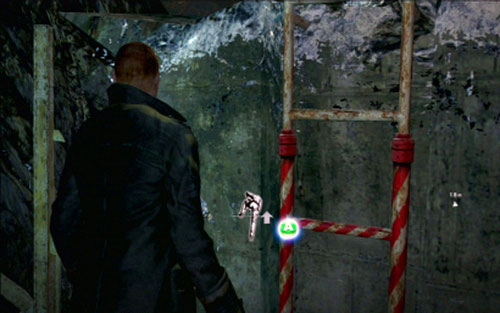
At some pint you'll be passing by a short ladder.
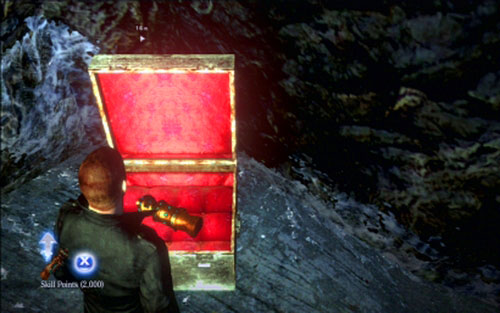
Climb it up and open the crate with skill points.
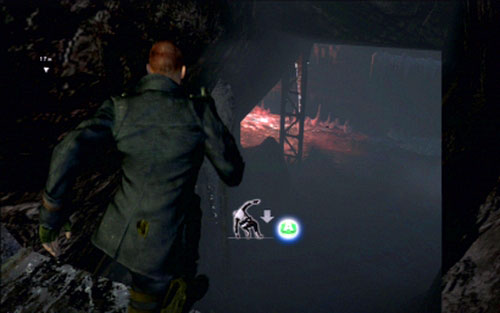
After picking them up you can get back down and then jump down one more level.
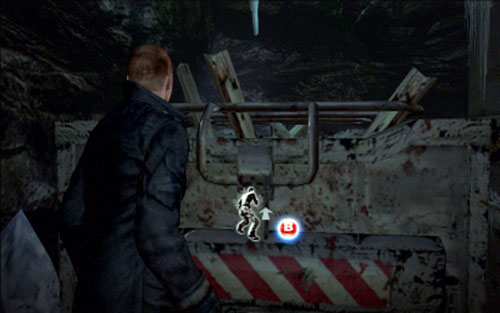
Move the cart standing on the left and watch a cut-scene.
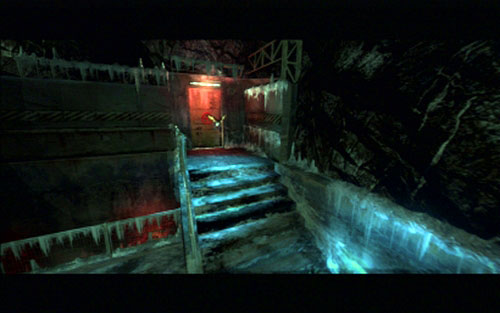
Your current task is to get to the door on the other side of the room, staying unnoticed by insects.
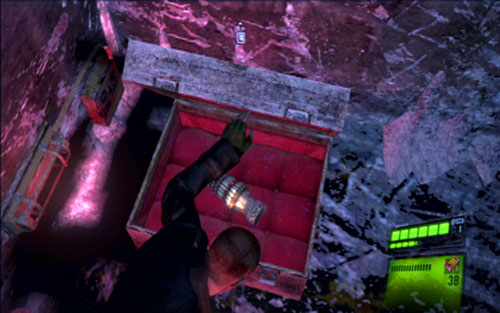
Before you enter a small maze on the right, go straight ahead to the very end. You'll find there a crate with skill points.
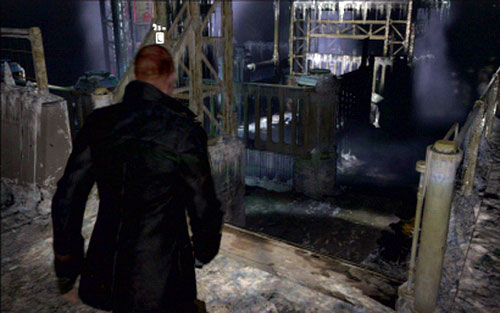
It is best to start the fight with moths with killing the nearest insect. It is hard to get on its back, so I suggest quickly run to it, kill it and hide in the container behind you.
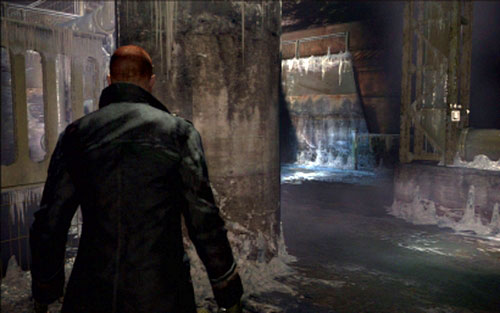
Once the creature is gone, go straight ahead and then get rid of two insects on the left. Wait until they turn around and crush them with your fist.
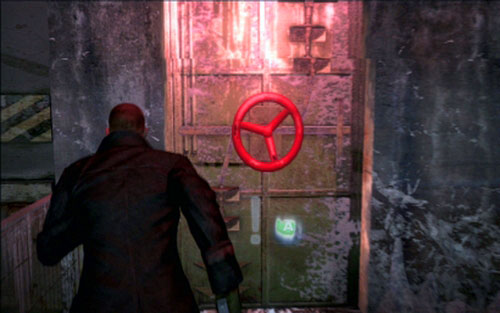
Before you run to the door and start opening it, make sure that the insect on the right is far away. You do not have to kill it. After getting to the other room, you'll be safe, even if you got noticed earlier.
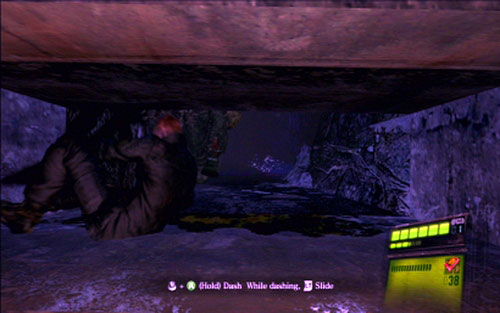
Unfortunately, a few steps later the creature will notice you and start the chase. Run away from it, holding A all the time and pressing LT to make a slide under the obstacle.
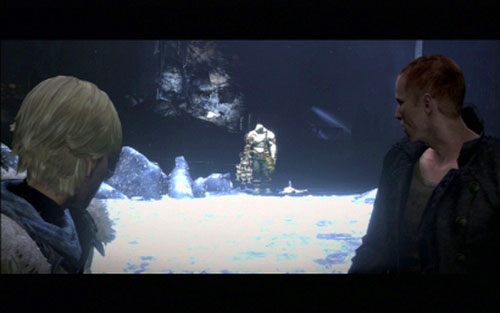
After losing the enemy, climb up the ladder and go to the indicated door. In order to open it, you need a key-card. It is located in the hand of the body lying next to the mutant.
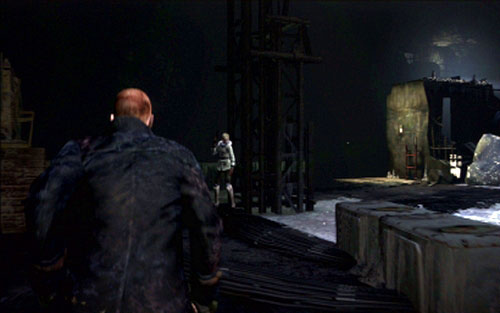
At the beginning (do not walk on ice!), move to the broken ladder on the left.
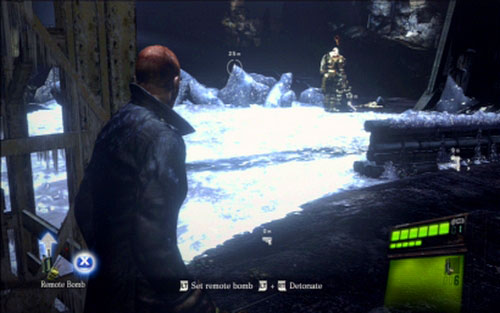
You have to help your companion to climb up and then go to the other side of the cavern. You'll find few bombs there.
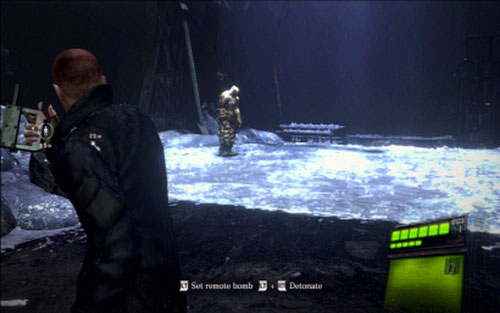
Plant one of them and return to the broken ladder. By blowing up the bomb you'll divert beast's attention and your companion will be able to take a key-card. Use it to open to the door to the next room.
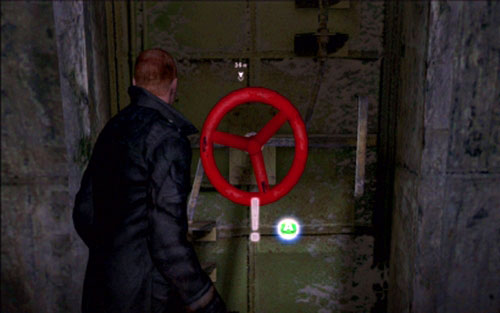
Now you have to run straight ahead, opening and closing hatches as fast as possible.
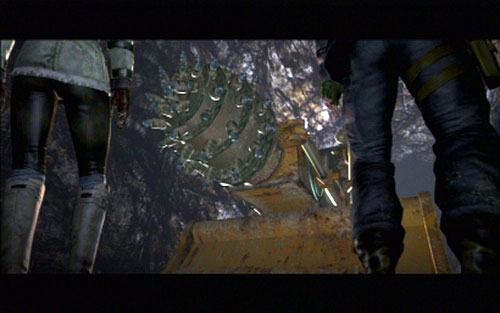
At the end a machine with a powerful drill awaits you. In order to kill the enemy, turn the left analog and then press RT in proper moment. To finish the fight press A instead of RT when ordered to.
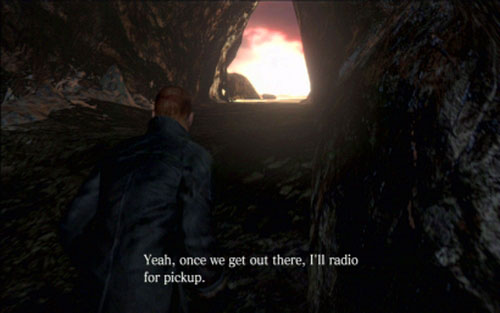
The level is over once you leave the cavern.
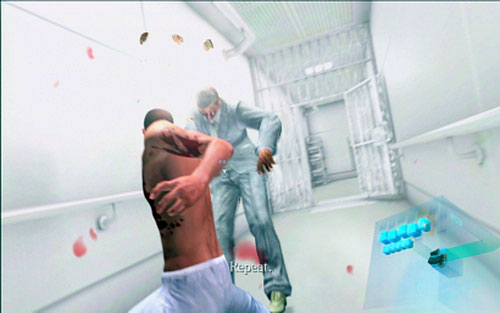
After starting the level as Jake, you'll learn some special abilities of martial arts. In order to perform powerful combos, keep holding LT while quickly pressing RT. You can also use a special attack while running up. While holding LT, hold also RT for a short moment and then release it. Use only your fists to get rid of enemies.
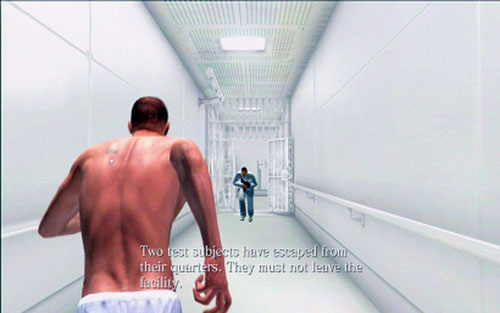
Once the last of them is dead, pick up the key-card from the floor and turn on the power by pulling the lever located on the wall.
After a short animation another enemy appears. Kill him and then go to the room at the end of the corridor. A large group of opponents awaits you there. But instead of fighting them, sneak behind them, sticking to the right wall all the time.
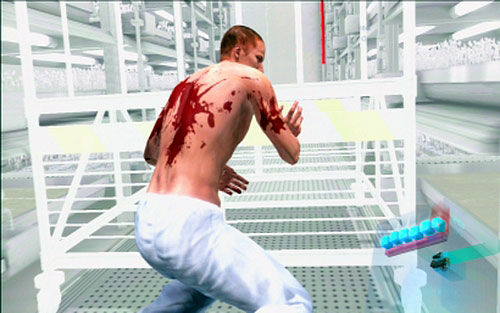
At the end you'll find a platform, which you have to move. After that go to its other side, jump on it and go through the ventilation shaft.
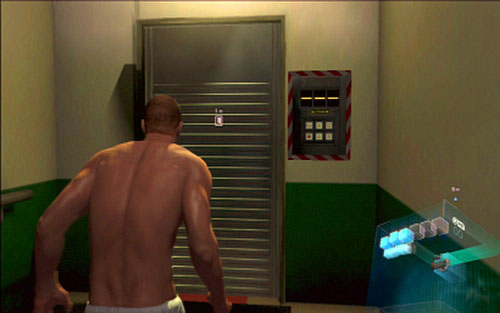
You'll find yourself in the corridor with locked door. In order to unlock it, you have to find three special symbols.
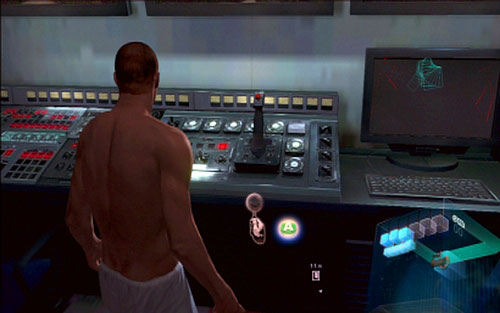
In order to do so, go to the nearby room and use the monitoring system.
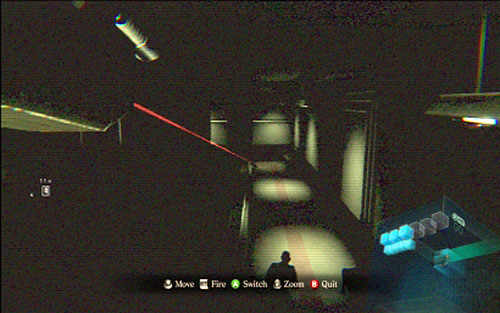
At the beginning, use the first and third camera to help your companion fighting enemies (RT).

When the woman goes through the coded door (a third camera), zoom the view on a nearby panel and copy symbols opening your lock.
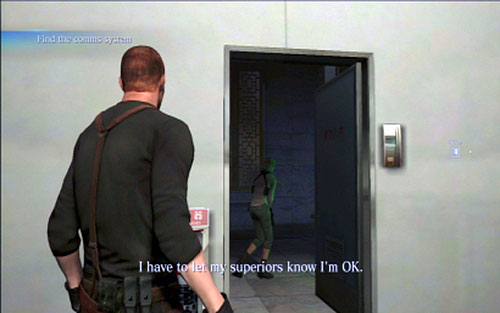
On the other side take a low passage and go to the right. Subsequent tunnels and ladders will lead you to the locker room where you'll meet Sherry.
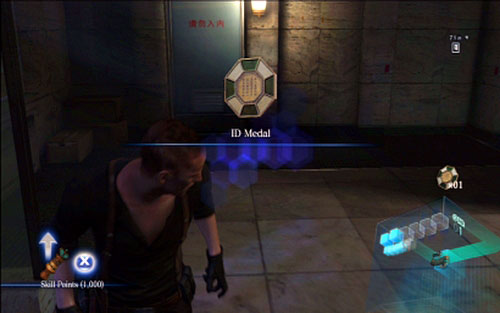
Once the animation is over, move forwards. Other enemies will appear at the stairs with large relief.
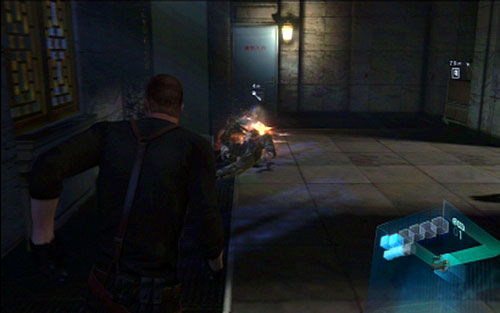
One of the enemies is a new type of mutants, looking like a lizard. It can run very fast, spits with spines and blows a poisonous gas. In order to avoid sharp projectiles never stand in front of the beast when it stands on two paws.
Next to its body you'll find a round symbol. Pick it up. You will use it son.
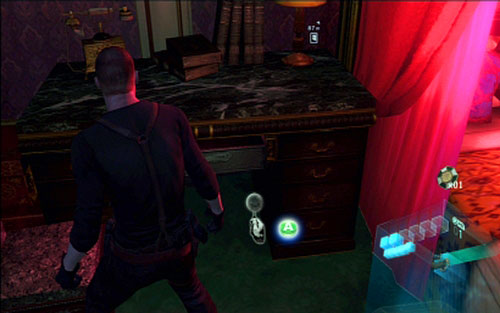
At the top you'll encounter another group of enemies. Kill only the nearest opponent and then go to the room on the right. A second symbol can be found on the desk next to the bed.
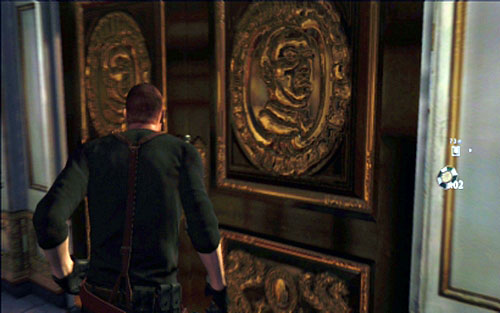
Go through subsequent doors and the corridor and flank the rest of beasts. Quickly get rid of them and go to the room more or less at the middle of the corridor.
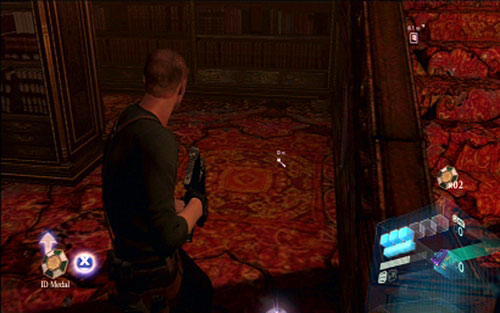
Prepare for another shootout. Cover behind the door and kill enemies. After that pick up a symbol dropped by one of them.

Before you go further, go up the stairs. On the one of bookshelves there you'll find another round item.
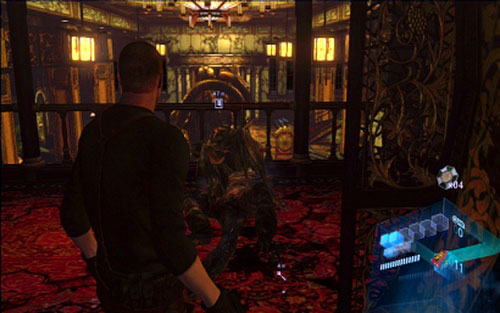
When you reach the fork, choose the left path. It will lead you to the large room with Buddha statue.

But before you go there, kill enemies guarding the passage and take an artifact from body of one of them.
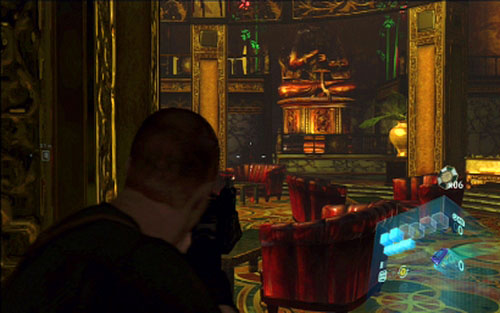
In front of the golden statue two more enemies await you. One of them possesses a golden coin. After collecting it a group of mutant will come running from behind. When they transform into lizards, hide behind one of the pillars and lean out from time to time, killing them with a sniper rifle.
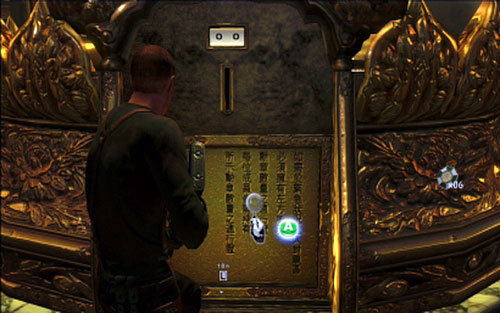
After clearing the room, approach the machine in the base of the Buddha statue. It is used to open the western and eastern doors. First door needs three already obtained coins to open, while the second door requires 10 of them. You should have 6 artifacts already.
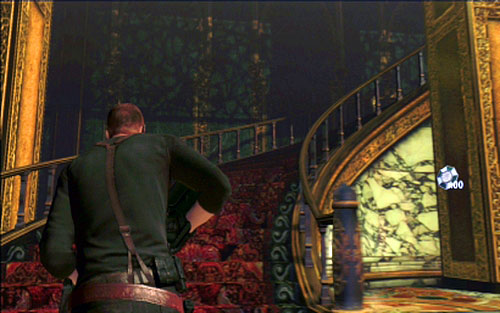
Throw them inside the machine and go up the stairs to the west.
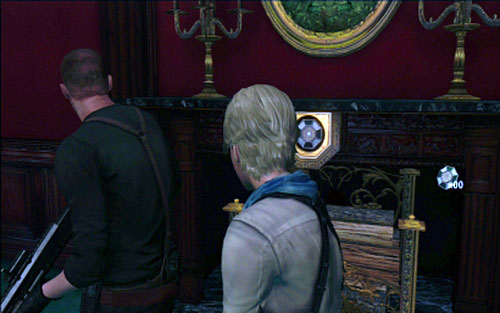
When you get to the corridor, go to the room on the right. Over the fireplace you'll find another symbol, but as soon as you collect it, a large group of enemies will come running from behind. If you can, plant the explosive next to the door and blow it up when many of enemies come closer. Next to the body of one of them you'll find the eighth coin.
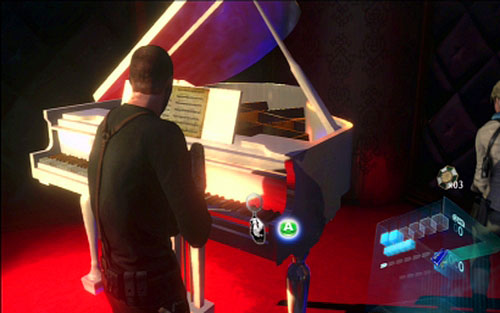
In order to unlock the eastern passage you need two more coins. In order to collect them, go to the opposite room (one can be found at the opponent's body and another inside the piano), but you would have to prepare for rather tough fight with many enemies. Instead of that you might go through the corridor straight ahead.
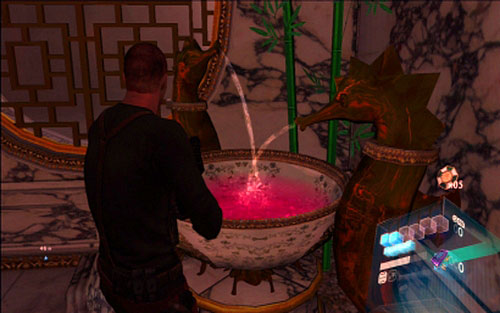
Along the way you'll find a small fountain with a coin hidden inside. Two more are located in the room with a pink basin.
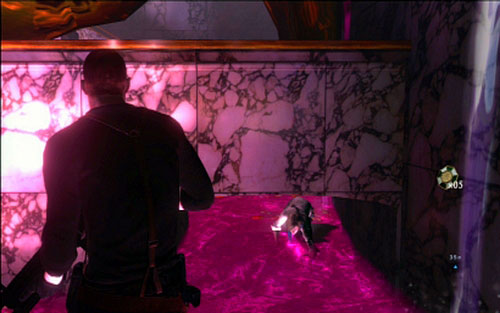
First one is hidden in the water under the large statue (go next to the wall under the low passage).
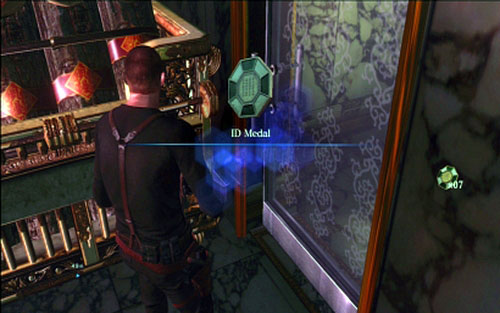
The second one can be found at the top of the stairs. In order to get it, move a large crate standing there.
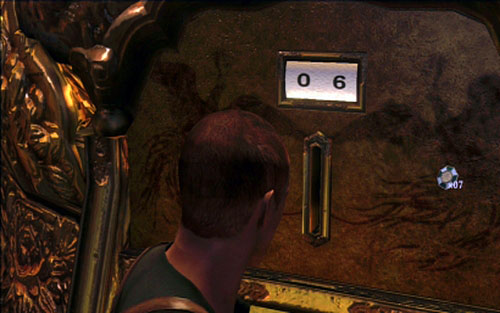
Once you get four more artifacts, go back to the large room and throw them into the machine.
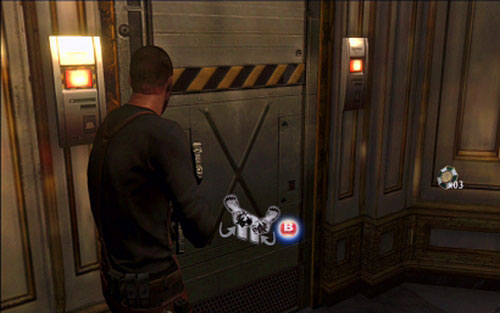
Behind the unlocked passage you'll find one more door. Go through it and watch longer cut-scene.
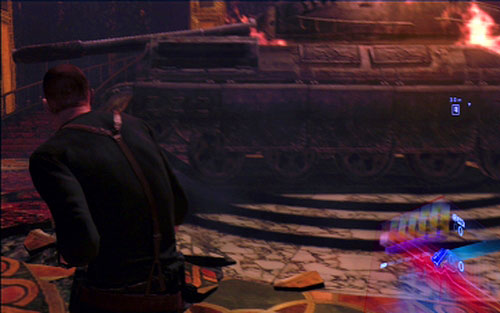
After that return to the large hall. Kill all soldiers awaiting you there and approach the exit door. A powerful tank will appear.
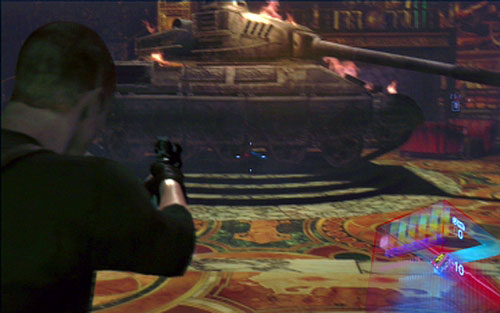
Avoiding his shots is not difficult. It is enough to keep running around the machine and you won't be hit.
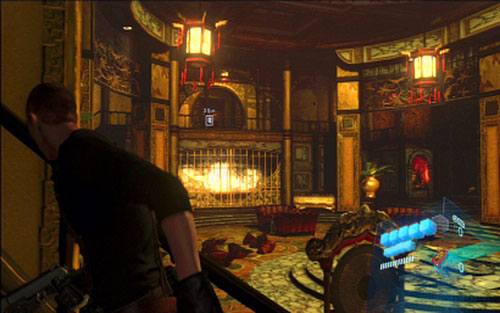
A door upstairs is your target now. As Jake you can get there with the stairs on the left.
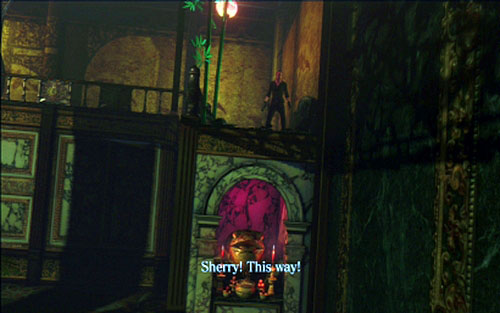
Once you get there, help your companion climbing up the wall on the right and open the gate together with her.
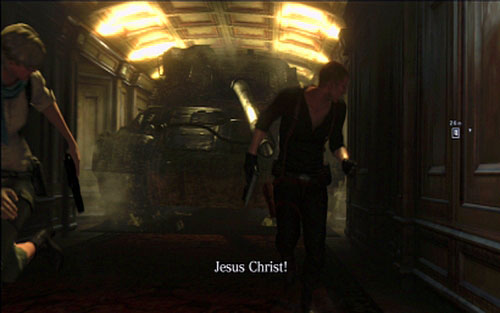
Moments later the escape sequence from the tank begins. During it you have to keep running forwards and avoid tank's shots. At the end of the corridor turn right and jump down to the lower floor.
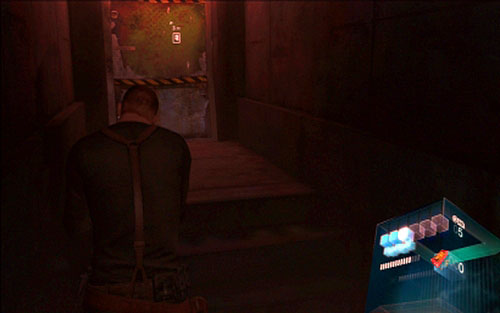
In a small basement you'll find small amount of ammo. Pick it up and go outside.
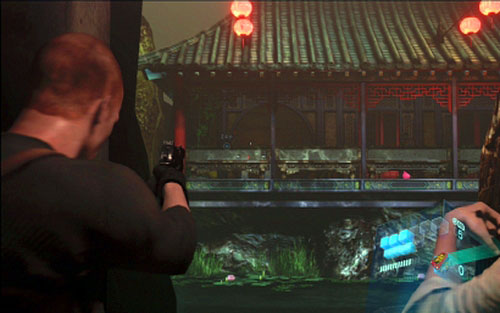
After killing three enemies in the garden, you have to turn right. The tank will again join the fight.
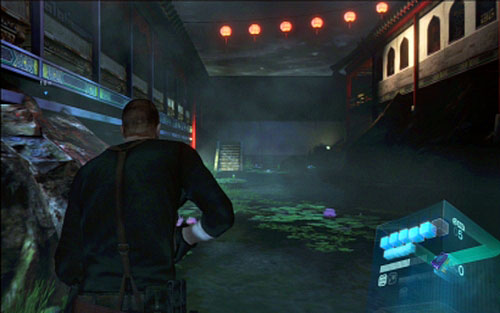
Quickly avoid its tracks and then run up the stairs on the other side. It will lead you to the room with hidden lever.
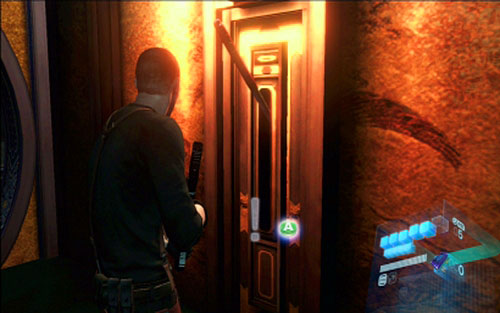
Pull it and as Jake jump to the other side of the sidewalk.
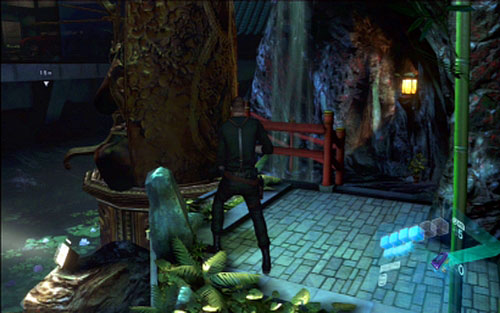
A bit further you'll find a large monument. Your task is to turn it three times right in order to unlock the passage to the parking lot on the other side. The tank will help you.
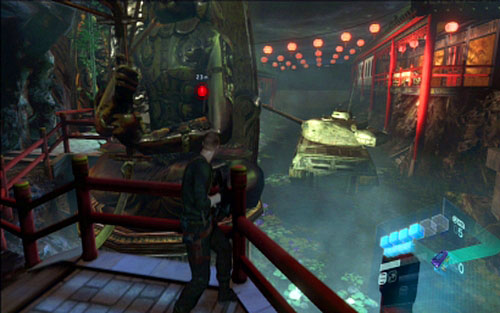
At the beginning go to the end of the sidewalk and wait until the machine approaches you. It will hit the monument, turning it. In order to repeat this action, move back few steps. He tank will also retreat and you'll be able to lure it again near the statue.
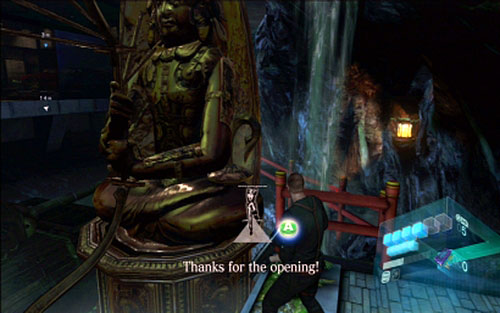
When the monument is turned three times, jump to the other side of the garden.

You'll find there a motorbike guarded by a group of enemies. Quickly kill all opponents and then jump on the bike, ending this chapter.
You start this stage driving the motorbike. As Jake you have to drive the vehicle, while your companion should shoot at approaching enemies and gas tanks. First of all - avoid car wreckages, Molotov cocktails thrown by enemies and follow on-screen instructions.
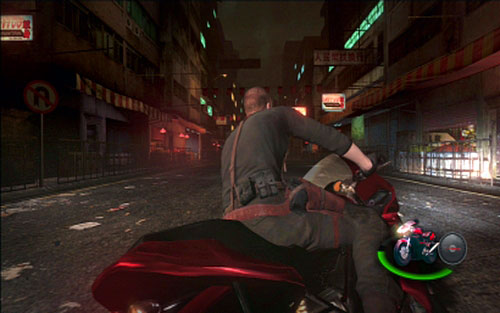
When the girl lands on the helicopter, you'll have to press RT in the given moment and in a moment of hitting a cistern or a helicopter, quickly press A.
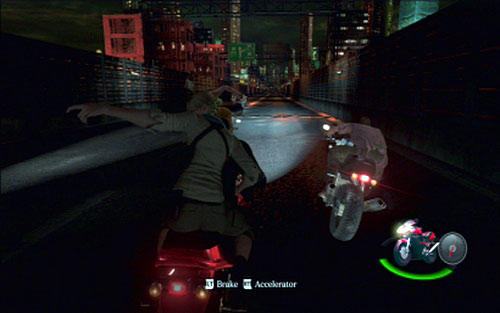
At the very end vehicles transported by the truck will start rolling towards you. Two of them can be avoided by moving to the left and subsequent two - by moving to the right. Moment later the drive is over.
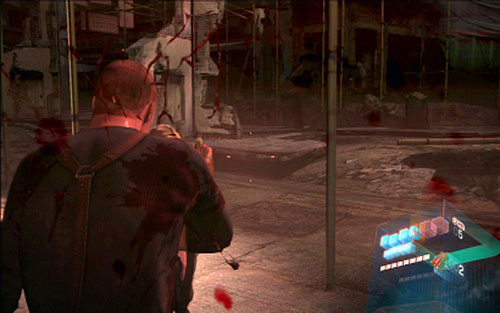
After landing on the street you'll be attacked by a helicopter and a large group of opponents. Do not worry about the machine for now. You have to kill all J'avo. It is best when one person does this while the other attracts the helicopter.
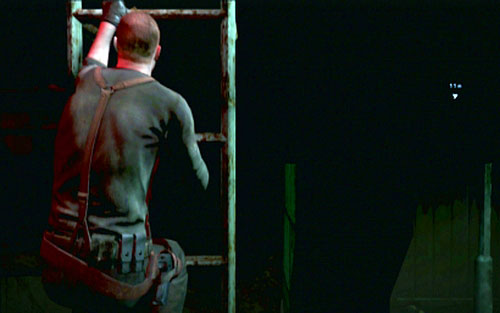
When the last enemy is dead, use the indicated bar to jump over the abyss and then climb up the ladder.
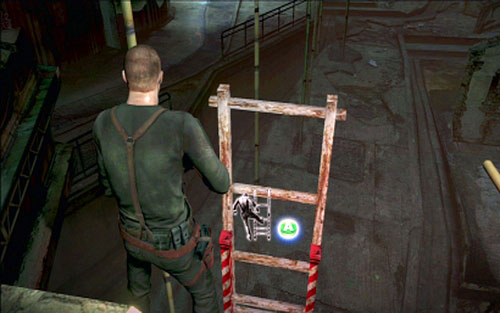
A bit further you'll find another ladder which you have to lower down for your companion.
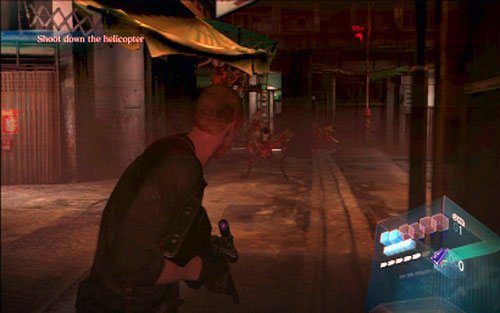
Together go through the door and enter the square. J'avo squad will attack you there, as well as the helicopter.
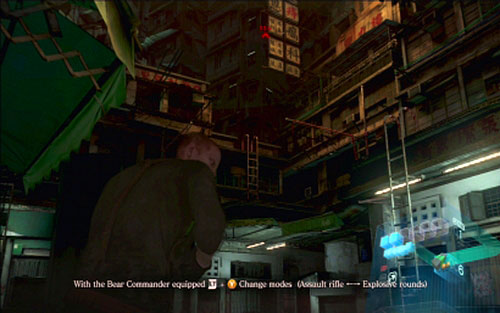
First of all, get rid of all mutants and then change the machine gun ammo - select explosives (press Y while holding LT). With their help you have to destroy the flying machine.
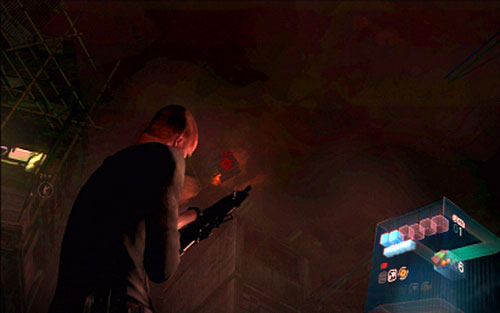
Shoot the helicopter every time you get rid of enemy squad. A helicopter stops then to drop other enemies, becoming an easy target. After several hit the fight is over.
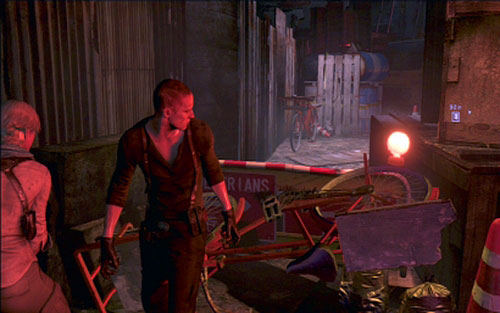
Go forwards, jumping over obstacles along your way. At the end of the alley you'll find the door - open it together with your companion. In this way you'll get to the street full of enemies.
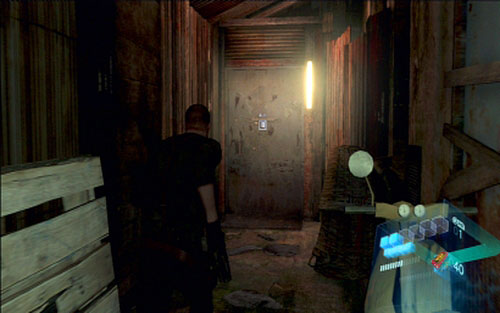
Try to kill them from a distance and keep going forwards. At the end you'll find a ladder which will lead Jake to the narrow alley.
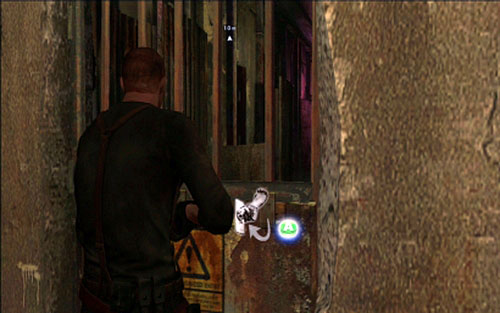
From there he will be able to open the door for his companion. Unfortunately at this moment several killed J'avo will transform into lizard-like beasts. Before you open the door, prepare well for the fight with them. It would be good to plant an explosive and blow it up when creatures get closer.
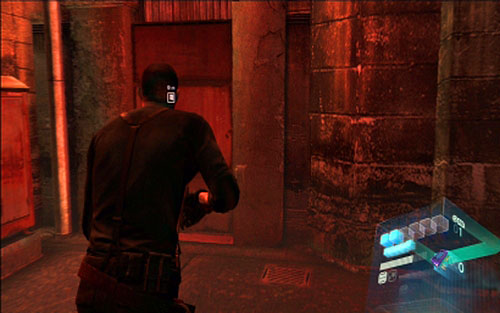
A bit further you'll find a door. On the street behind it other enemies await you. Eliminate them quickly and enter the nearby building. You'll find there high stairs - use it to get to the very top. During your march collect skill points hidden in the suitcase on one of the floors.
After getting to the top try to jump to the other side of the scaffolding. Unfortunately after you do this, you'll fall down, among new enemies.
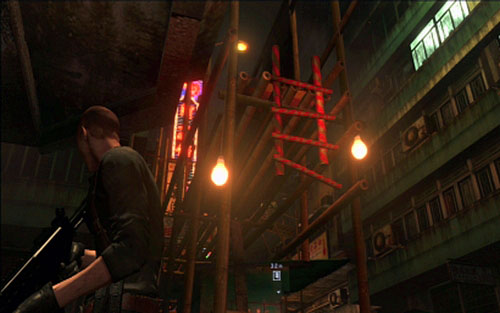
Once you kill them, help your companion to climb the damaged ladder on the left. She will be able ten to bypass the locked door in the alley and open it from the other side.
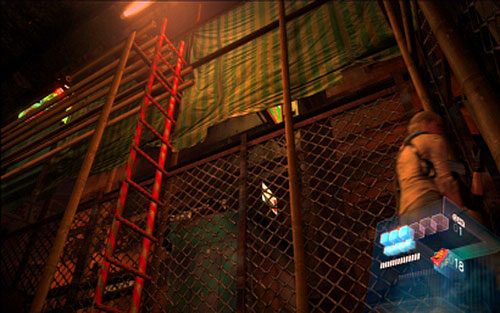
While running forward on the narrow street, you'll reach a high red ladder. Climb it up and then go to the right.
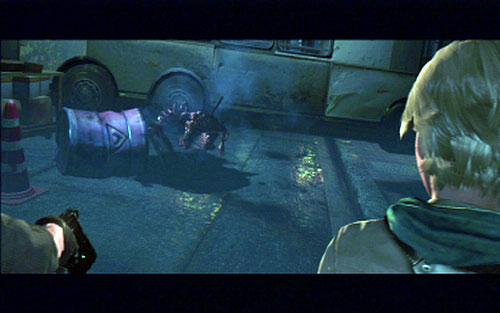
At the end of the scaffolding you gave to jump down. Be ready to deal with a mutant with chain saw.

The fight is not difficult but during it you have to be very careful and not get close the creature. In order to keep the distance, keep running around the beast, hiding behind nearby crates.
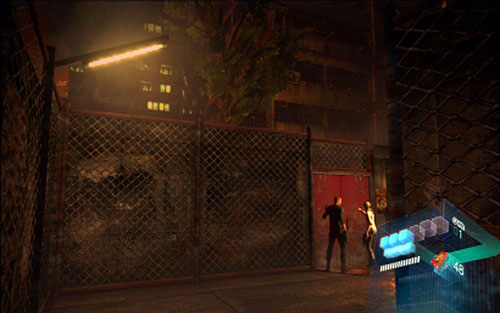
After several shot the beast will be knocked down. Approach it then and press RT. First Jake has to do it and then his companion. Moment later a fight with Ustanak begins.
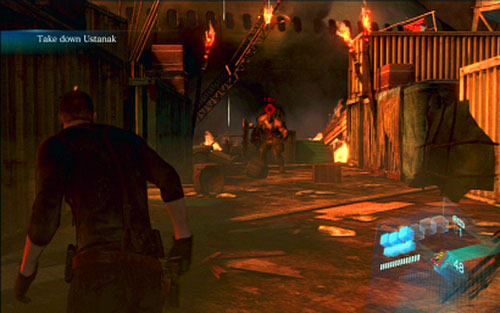
At the very beginning of the fight climb up the ladder on the left and push the crate full of gas containers. Now you have to lure the opponent there and shoot explosive containers.

After explosion press the red button neat the previously used ladder. You'll lower the platform, thanks to which you can climb the other container. There are two more crates with gas containers on its top. Use them as previously and Ustanak should move to the other side of the square. During the fight it is best to stay on top of containers, jumping down only when your opponent follows you there.
When the area is clear, your companion will jump to the other side of the indicated fence. While Jake has to avoid Ustanak's charges, she should start the nearby bus.
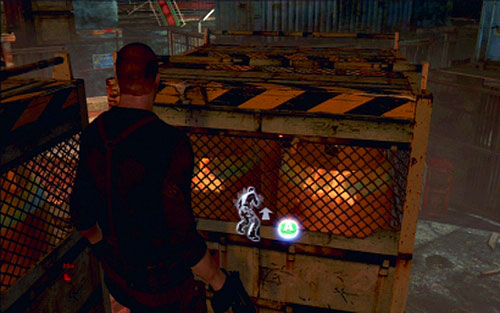
After you succeed, walk over the top of the bus to its other side and jump down. You'll find then another platform which has to be lowered. Use it to jump into the containers and push down four crates with gas containers.
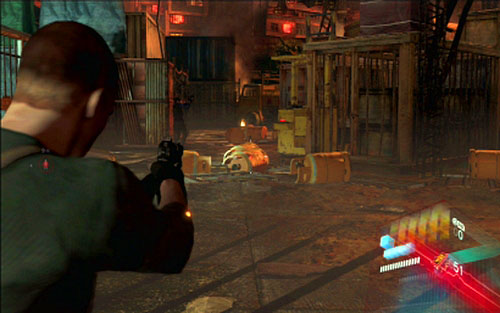
A fifth one can be found on the nearby crate - you can jump there. The explosion of all gas containers when Ustanak is near them will end the battle. If the creature is still alive, finish him with few bursts.
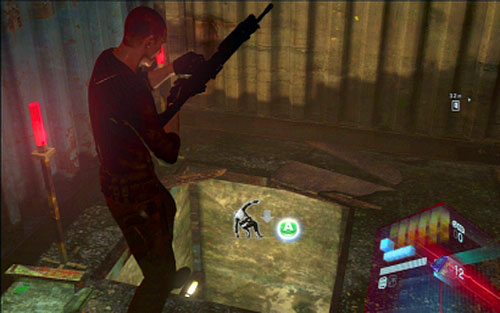
After the fight approach the large hole and jump inside. You'll find yourself in the long corridor leading to the pier. A small boat awaits you there.
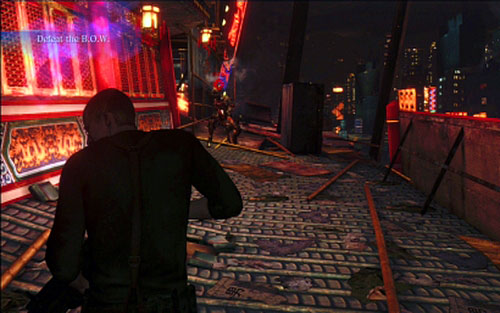
Steer it by following on screen commands until you get attacked again by the creature with chain-saw.
Kill him by running around the location and not letting him to get closer. Smaller enemies should be killed by boss himself, who blindly swings his weapon.
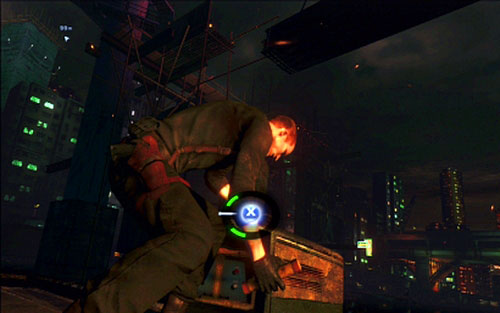
When the beast escapes, run towards the next raft. In order to use it, you have to start its engine first.
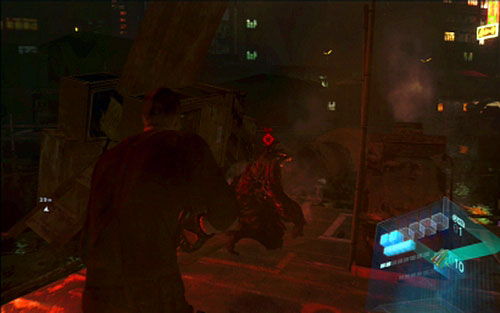
After avoiding subsequent obstacles, a chain-saw monster will appear again. Deal with him for the third time and go to the pier.
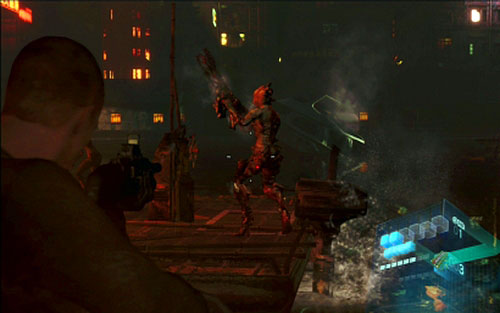
As Jake you'll have to shoot at the beast attacking Sherry.
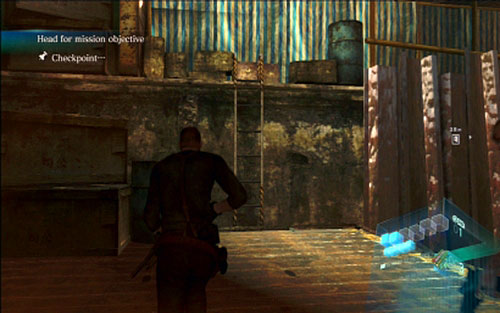
A moment later the girl will be saved. Go forwards until the stage is over.
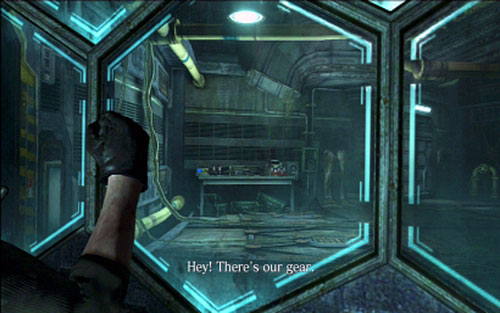
When the stage begins, look through the window next to the door, to find weapons inside the adjacent room.

In order to collect it, lift Sherry to ventilation shaft at the top. The girl will go to the other side and open the door by shooting the lock.
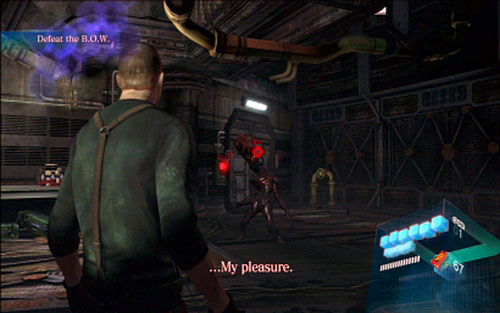
Your task is to kill a mutant in the room.

Once the beast is dead, go through the door to the corridor. You'll reach an elevator which lacks the power. In order to start it up, you have to find a reserve battery.
First, pull the nearby lever and then open the door in front of you. Behind it you'll find a large core, which can be used to get to the upper floor.
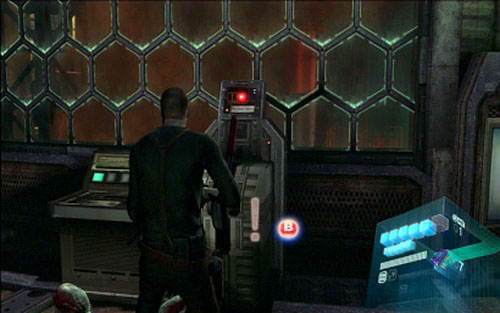
At the top, next to the entrance, you'll find two more levers. Pull them and go to the left.
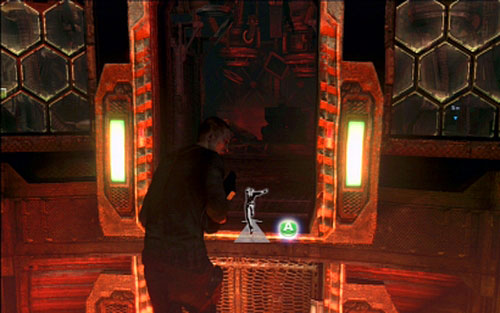
In this way you'll reach another part of the core, which can take you to the C level (to the side) or D level (up). First go to the C level and use one more lever.
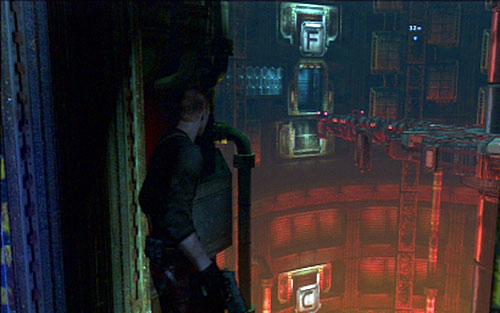
When the third fragment of the battery is active, playing as Jake go to the D level. Collect skill points from the suitcase there and then wait for another core fragment which will get you to the E sector. Sherry should wait for you there.
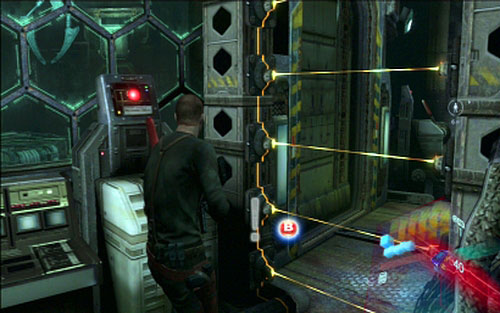
You'll go together one level up. The girl has to pull a lever in I sector and Jake has to do the same in G sector. Once you do these, the lift has its power back.
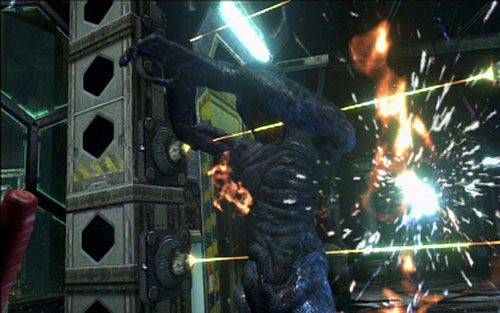
A moment later you'll be attacked by another enemy. Try to shoot him in this way that he falls onto electrical barrier, thus causing a short circuit.
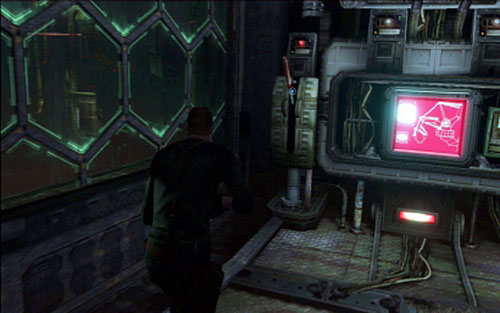
Now you have to the other end of the corridor on Sherry's side and pull the lever there. In this way you'll immobilize the core fragment.
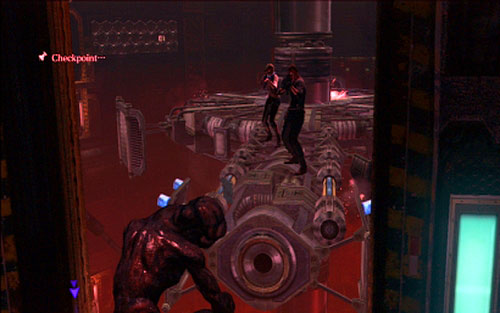
Jump onto it and then shoot a creature chasing you. Once the beast is dead, you have to approach the edge of the platform.
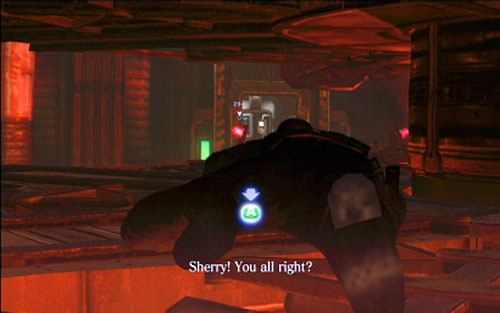
A longer animation begins, during which you should quickly swing the analog and press A.
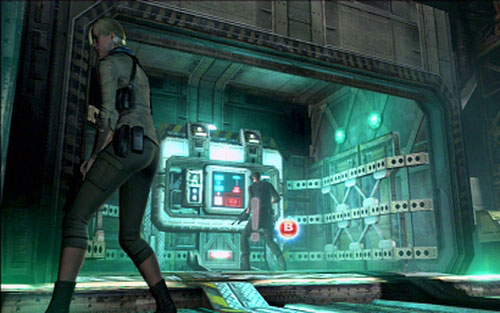
Once you're safe use the functioning lift.
After another cut-scene press the green button near the small monitor. In this way you'll activate four levers, which should be pulled together with the rest of the squad.
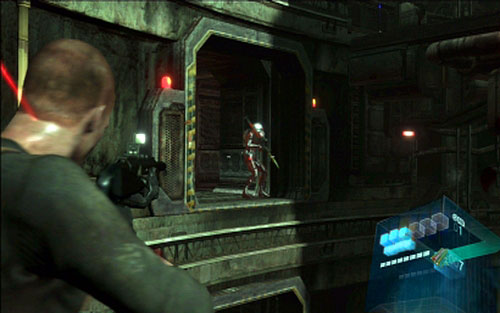
When platforms start going up, prepare for long shootout. Your priority should be opponents with RPGs as well as those near you. Watch out also for snipers.
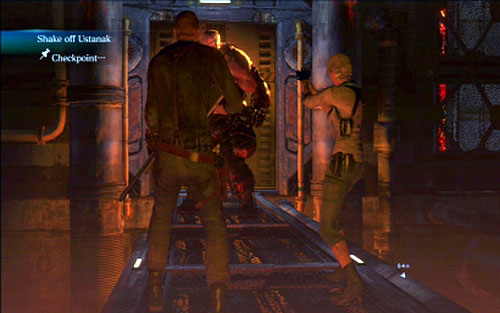
After getting to the top, run forwards until you reach a large room with lava. When you jump down, a well-known Ustanak will appear.

At the beginning turn around and escape to the left. Your target is a large crate, which you have to move together with your companion.
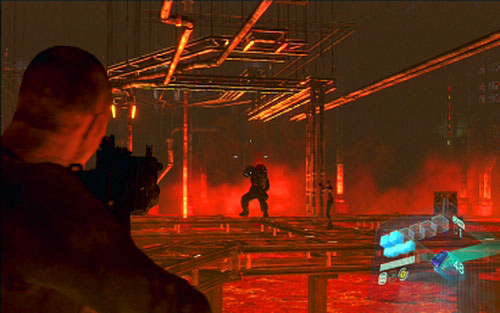
Moment later you'll land on the lower level and real clash with Ustanak will begin. In the first phase try to stand as far from your opponent as you can. When you see that he raises his claw run to the side to avoid being hit. Shoot the beast until the second phase of the fight begins.
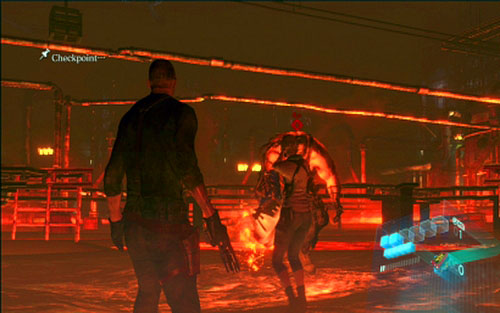
This time you have less room to run away so keep running around the beast, standing behind his back or attacking from a flank. In addition to claw attack, Ustanak will hit the ground from time to time, creating lava puddles. Watch out not to stand there! Same as previously keep shooting at the creature when not running.
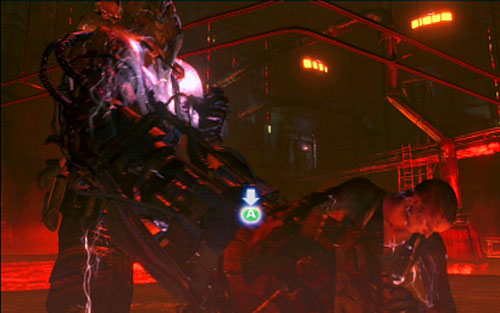
When the opponent is finally knocked down, approach him together with your companion and follow on-screen instructions, thus getting to the final stage of the fight.
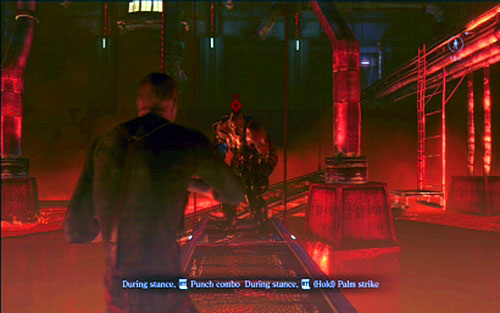
Playing as Jake you have to defeat the mutant with you fists. It is very easy, f you follow below instructions. First go back to the opposite end of the platform and hold LT and RT. When you release only RT you'll perform a powerful run attack. Right after first blow keep punching him, still holding LT and pressing RT. Jake will end the combo with jump attack. After that again run to the opposite end of the platform, wait for enemy punch and repeat the sequence. Do this until the fight is over.
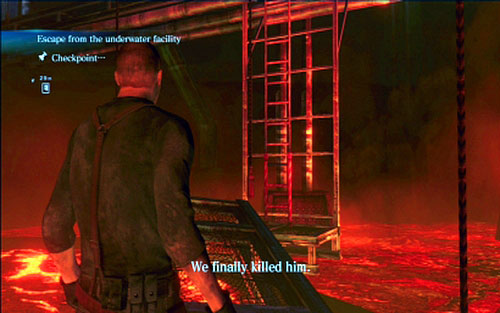
After Ustanak drowns into lava, climb the nearby ladder and together with Sherry open the door at the end of the sidewalk.
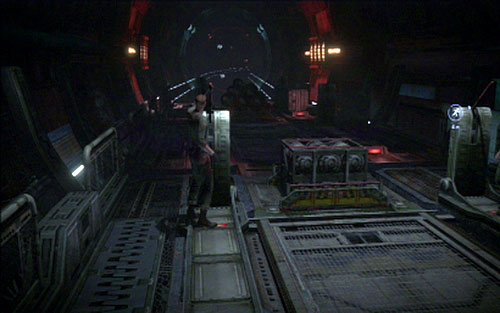
A corridor will lead you to the platform which you have to start by pulling two levers. Moment later a last scene of fleeing from the Ustanak begins.
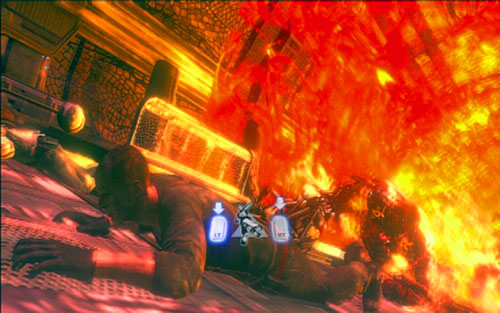
During the escape you have to follow on-screen instructions. In order to climb up, hold RT and LT and release them alternatively at the same pace as your character moves.
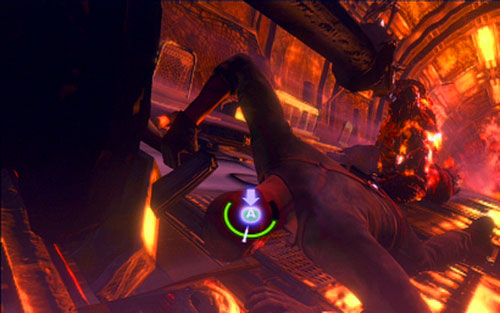
On the way up try to throw different things at Ustanak (A/B) and avoid his attacks (X + A). At the end you'll have to grab a gun and shoot him (B). You'll kill the creature and finish the campaign.
After beginning of the level move forwards until you encounter first enemy.
Approach him slowly and press RT when indicated on the screen. You'll perform quiet kill in this way. From now on try to kill all enemies with quiet kill or a crossbow, because if you get noticed, the alarm will be triggered and large group of mutants will come running.
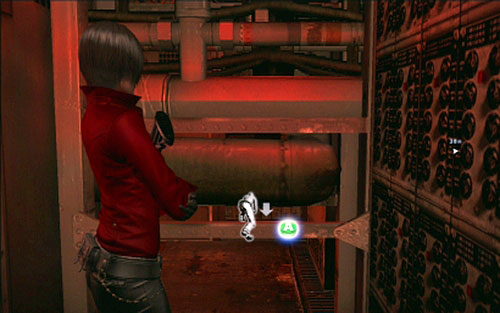
Head to the room on the right and crawl through the low corridor to the other side.
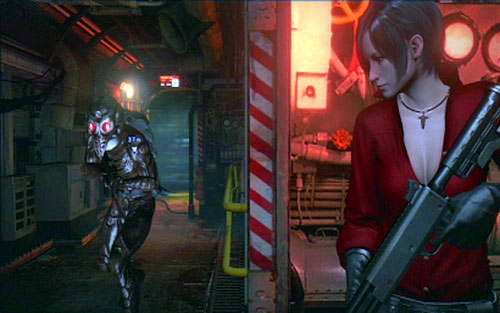
Behind the corner another mutant awaits you. In order to kill him silently hold the LT at the end of the wall and press RT when the creature comes close enough (the instruction will be shown on the screen).
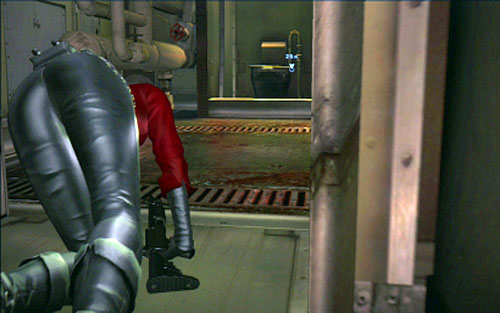
Next to the laser barrier, turn left. In the small room you'll find another tunnel.
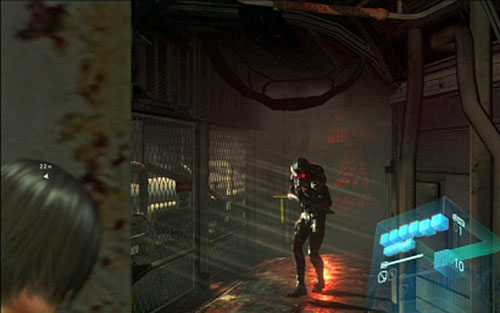
On the other side silently kill another opponent and then very slowly lean out to the corridor. You have to do it when J'avo turns around. Kill him with crossbow then.
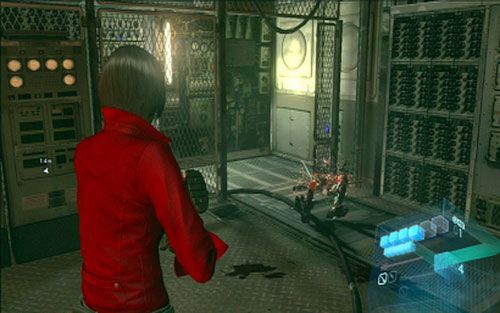
A bit further you'll encounter another barrier. When the enemy disappears behind it, turn right and use the crossbow to kill the enemy in the room.
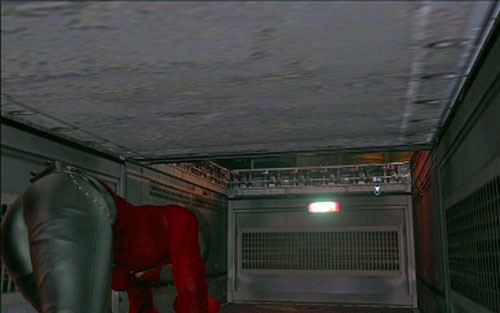
Enter the narrow tunnel and go to the other side. Exit the tunnel only when you do not hear breathing of mutated creature. Then quickly hide behind the crate behind your back and eliminate J'avo.
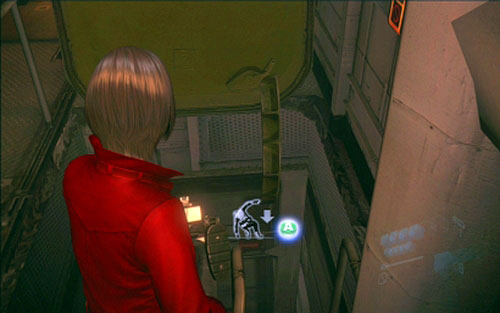
A further way leads to the deep hole. Jump down and then use the zipline to get to the upper floor.
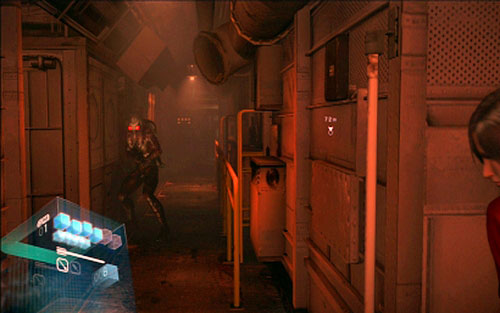
Behind the corner another enemy awaits you. Kill him with the crossbow.
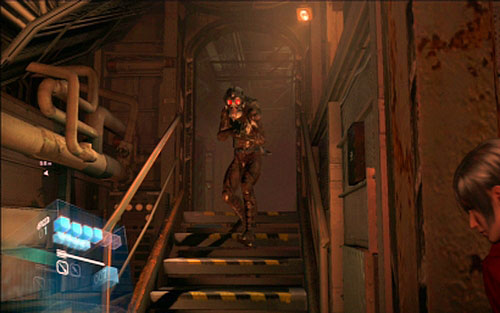
The next enemy stands around the second corner. Wait until his shadow disappears and hide behind the corner. You'll be able to quietly kill him from there.
A bit further you'll see gas tanks, which can be moved. Do it and enter the tunnel you've just discovered.
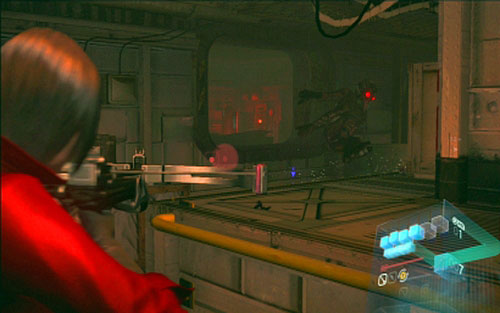
Once you get to the other side, go to the left until you find an alarm switch. Run in the indicated direction, killing silently enemies on your way.
In this way you'll reach another hole and a tunnel, which will lead you to the locked apartment.
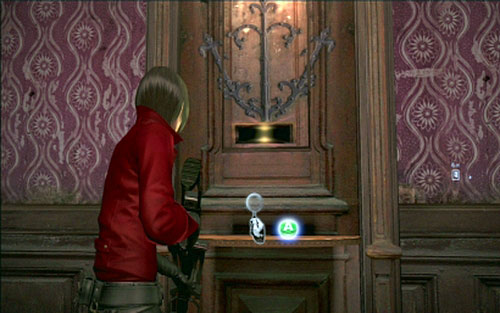
First examine the door and then a small hole in the adjacent room.
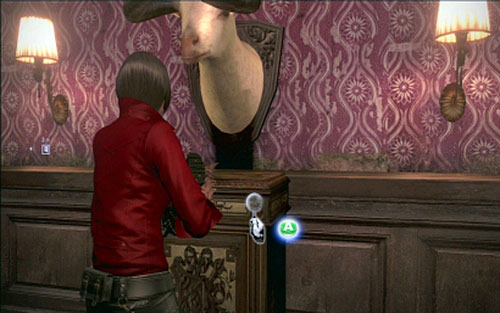
In order to unlock it, you have to use a button under the goat head.
Now, looking through the hole you will see a changed image with black bird in the middle.
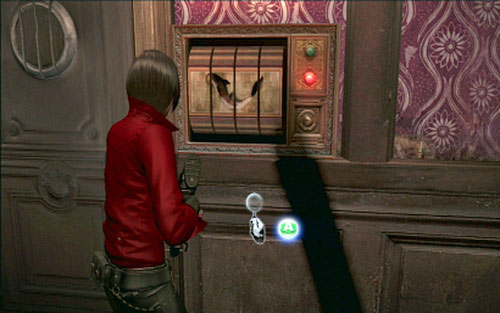
This bird must be placed on the lock next to the door.
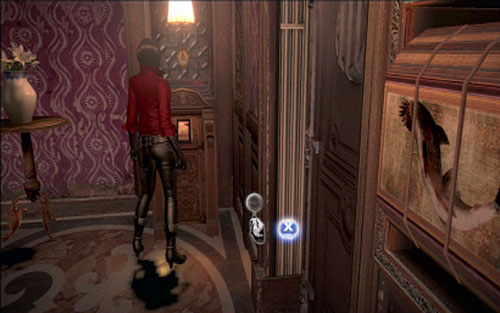
In order to do it, turn mechanisms in corners of the room.
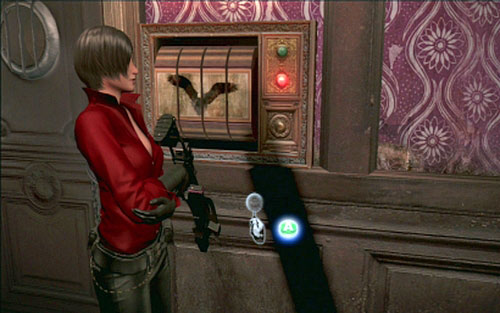
When all four are correct, go to the lock and unlock it.
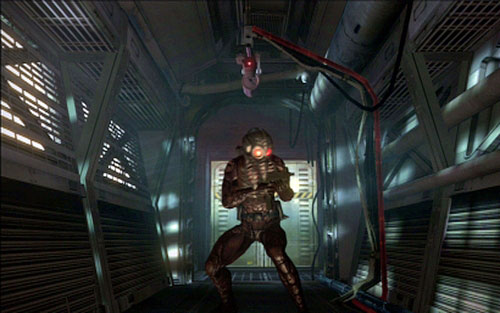
On the other side you'll encounter defense turret, which will kill an enemy behind you. You can use all similar machines to fight J'avo. Just lure enemies towards turrets and wait until they die. In this way you can eliminate a mutant behind the corner.
A corridor will lead you to the room with projector. Turn it on and watch the film.
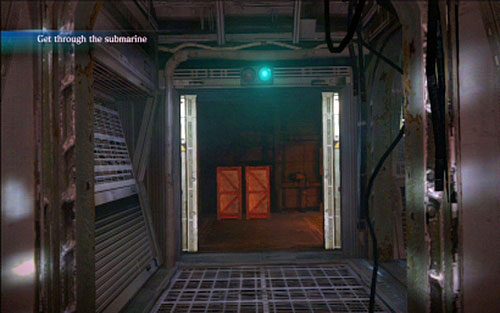
When it is over, you'll be attacked by a group of mutants. Get rid of them and go to the corridor they came from.
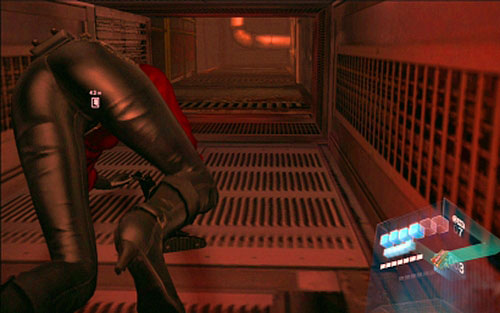
At the end you'll find a crate, from which you can reach a low tunnel.
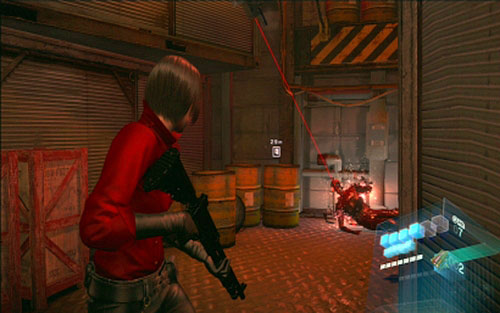
On the other side jump down and kill J'avo soldiers. Turrets located in several places will help you in the fight.
Turn them on by standing on glowing platforms and then wait until enemies are killed, hiding behind crates.
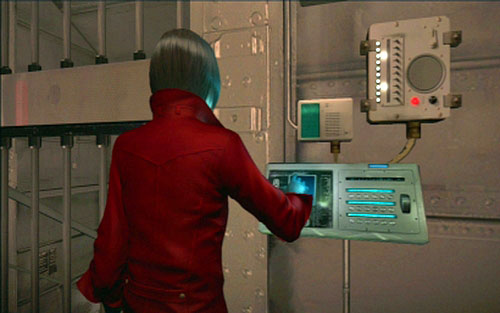
On the other side of the room you'll find a door. Go through it and move forwards.
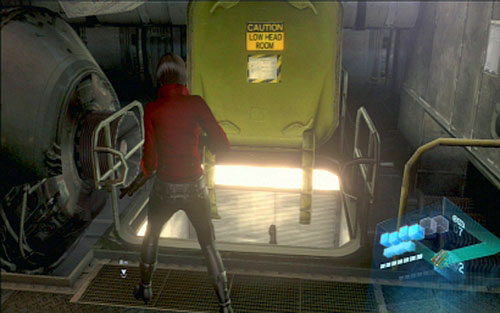
In this way you'll reach a hole with green hatch. Jump inside and then choose the right path on the fork.
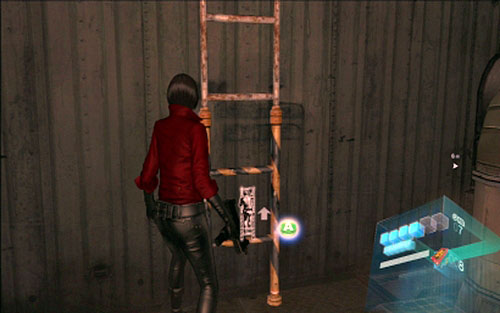
It will lead you to the high ladder.

Climb it up and kill all enemies there. One of them will blow up nearby gas containers.
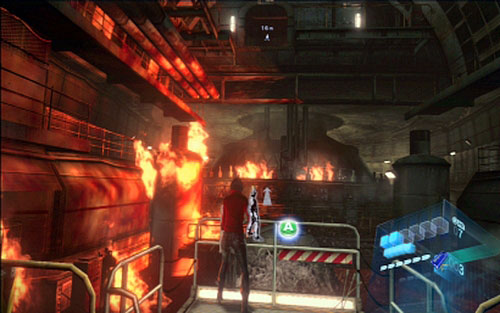
You have then to run to the end of the sidewalk and use the zipline to get to the upper floor.
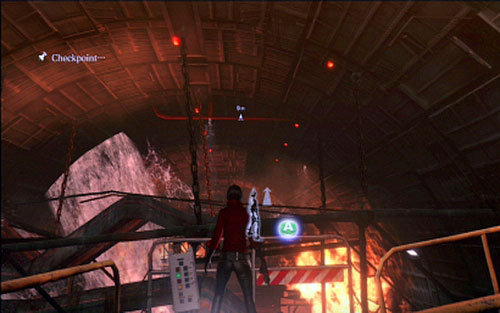
Keep going forwards. You'll reach another place where you can use the zipline again.
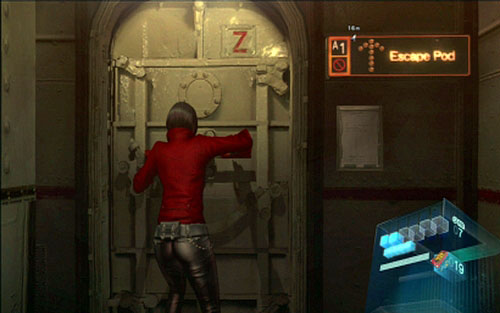
After landing on collapsing pipes, run forwards until you reach the elevator shaft.
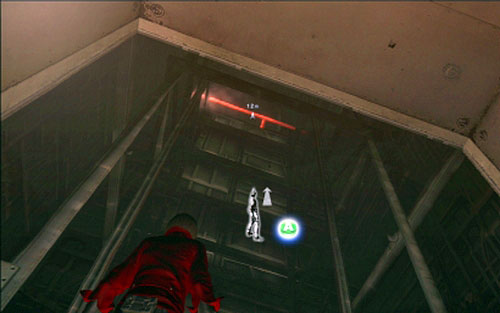
Zipline to the top and move forwards.
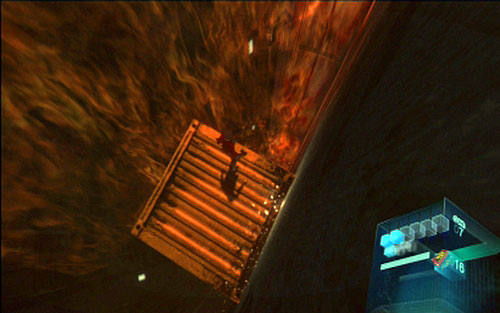
Finally you'll reach the place where the ship starts to sink. Climb up the top of the deck and then jump from the falling platform by pressing A.
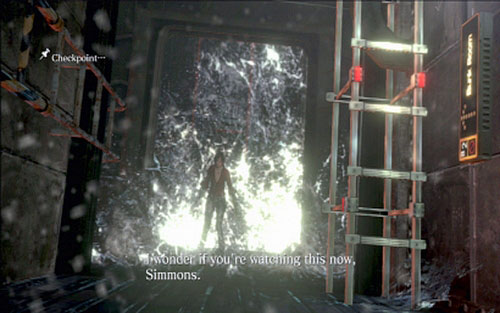
A bit further water wave will start "chasing" you.
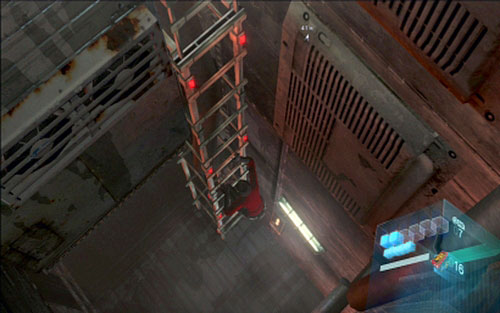
Use the zipline to get up and then start escaping from the wave, jumping over holes and climbing ladders.

After climbing one of ladder you'll have to crawl under the low passage on the left. On the other side you'll be attacked by spider-like J'avo.

Kill him and go up.
At one moment your way will be blocked by a metal grate. Destroy it by shooting at the explosive in the center of it and then jump to the other side.

Now you have to turn the red handwheel at the end of the corridor.
It will unlock a narrow tunnel on the other side.
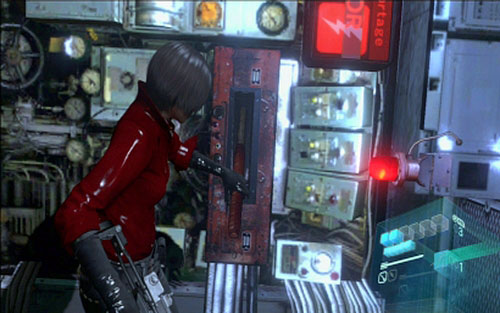
Further await for you more ladders and places to use the zipline. At the end climb the nearby crates and use the zipline again. The escape will end there.

Once you're safe, jump down to the lower floor. A fly-J'avo will attack you there. In order to defeat him, shoot at him until only one large insect remains. One you kill it, the creature is completely dead. During the fight remember to keep the distance and do not get hit by swarms shot by enemy. You can shoot it down before it reaches you.
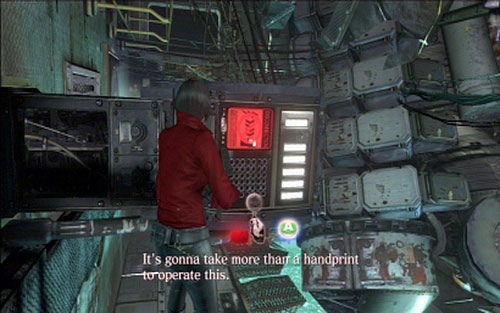
After the fight climb up the ladder which will lead you to the inoperative platform. You need the power to turn it on.
At the beginning jump down and ignoring insects there, go through the half-round hole. In the corridor on the other side you have to examine the blockade on the right and then swim under it by jumping to the hole on the left.
You'll find the power panel. Use it and then return to the room with four exits.
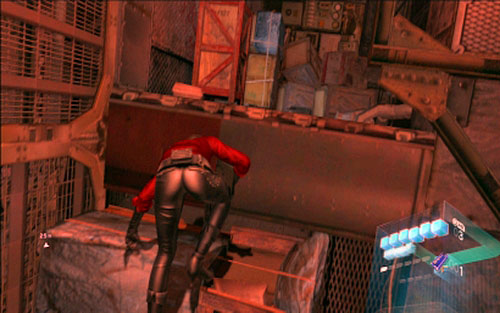
Your target is the passage to the right. You'll find there crates, which will help you to get to another corridor.
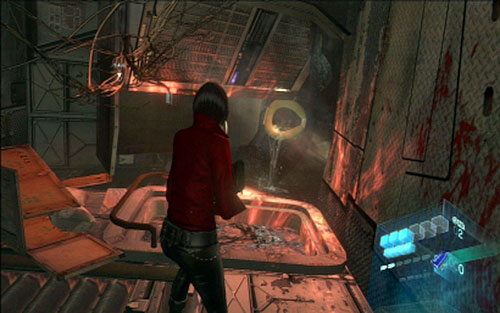
Once you get there, go to the room on the right and then choose a hole on the left.
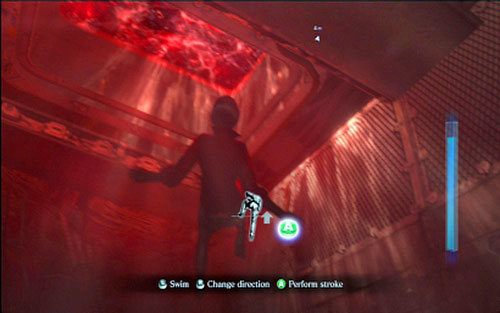
Swim forwards until you reach the elevator shaft.
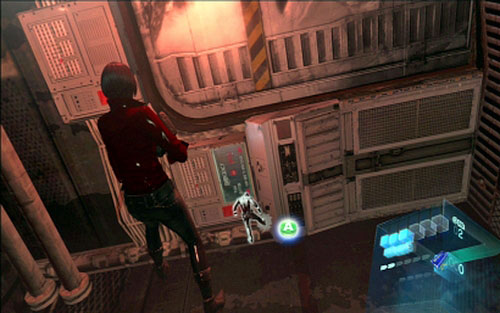
Open it by kicking the monitor over the floor and quickly go up using the elevator.
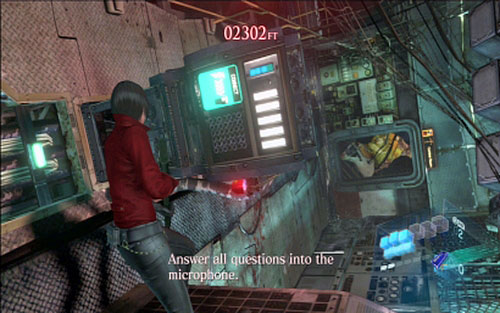
Once you get to the working computer, an authorization process starts. You have to answer questions of mysterious woman by pressing B while standing next to the microphone. In the meantime J'avo squad will attack you. Try to kill enemies after each successful conversation. You have to hurry though, because you have limited time to unlock the hatch. You might use grenades here, throwing them at groups of enemies and the opponent made of flies.
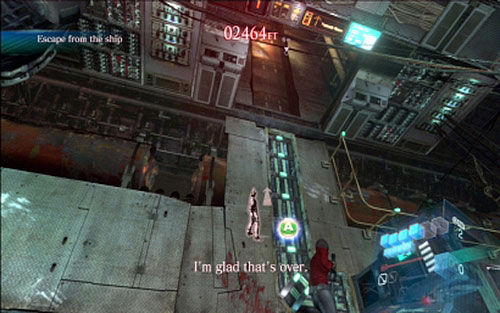
When you succeed in unlocking the passage, use the zipline to get up thus ending this chapter.

At first, go to the hole in the floor and jump down.
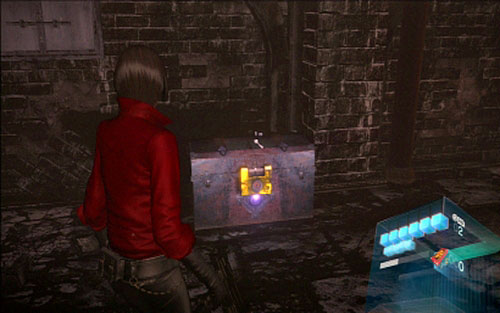
After landing you have to head forwards until you reach a crate with a golden lock.
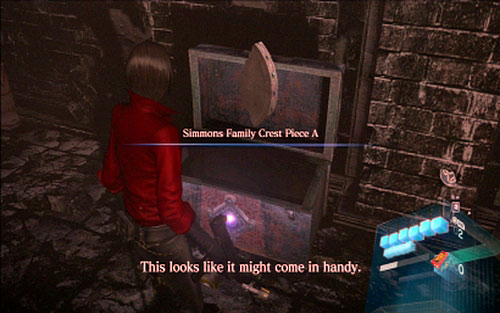
Destroy it quickly with a shot and then take an artifact fragment hidden inside the crate.
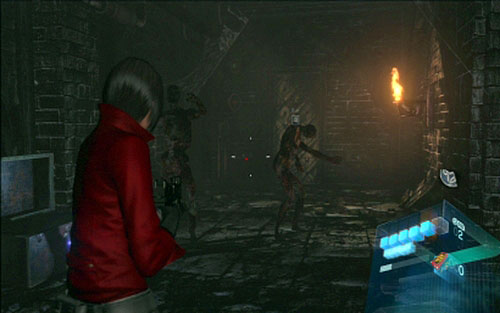
A moment later you'll be attacked by two zombies. Quickly eliminate enemies, leave the room and use the zipline to get to the upper level.
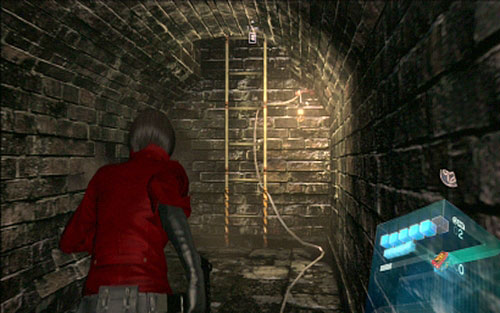
A high ladder will lead you to the door, where you can place an artifact fragment.
In order to get more fragments, go to the unlocked passage.
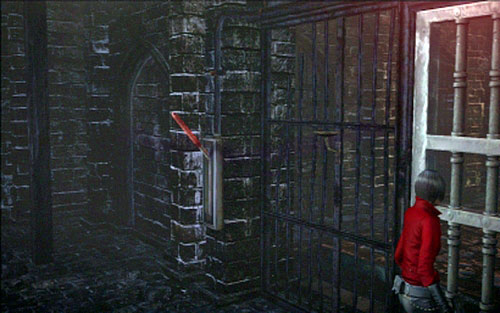
By walking on the underground corridor you'll get to the room with two locked grates.
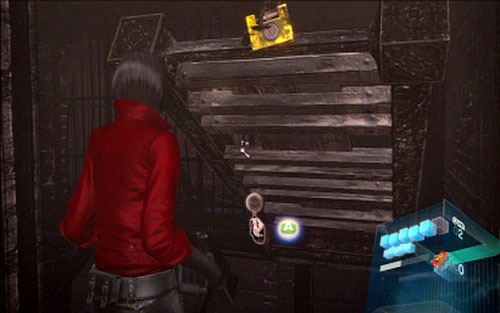
At the beginning go up the stairs and shoot the golden lock to lower the bridge.
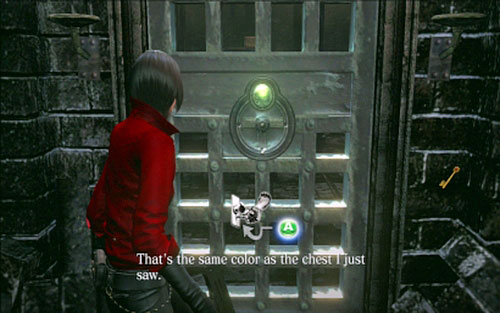
On the other side you'll find a crate with the key. Thanks to it you can open one of the locked grates below.
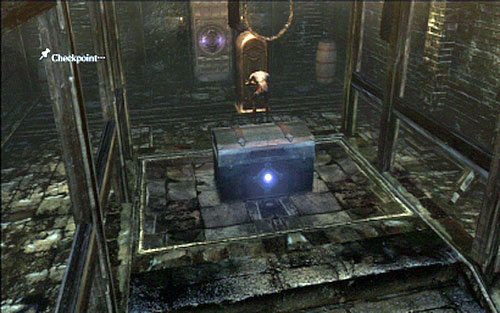
In the next room you'll see undead opening the trapdoor places in the center.
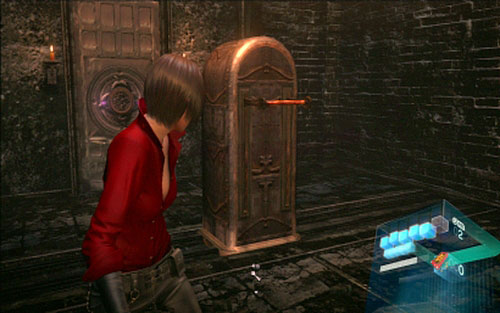
Quickly kill the beast and then push the lever he was pulling, twice to the right.
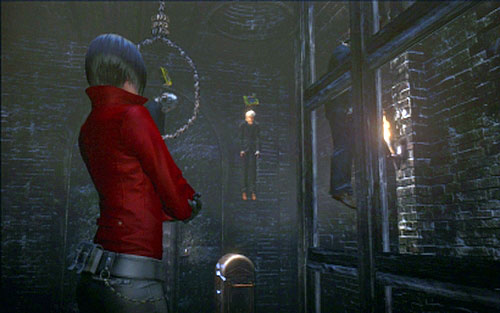
You have to stand now next to the trapdoor and shoot down the body hanging over the mechanism. Aim at the golden lock.
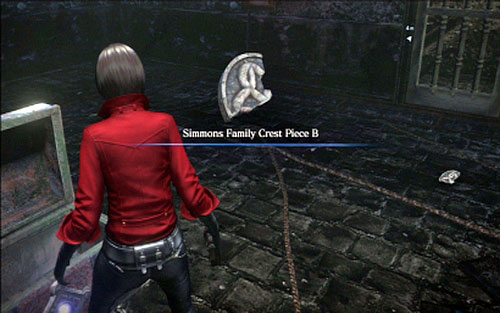
Once the hole is open, jump down. You'll find there a crate with the second fragment of the artifact.
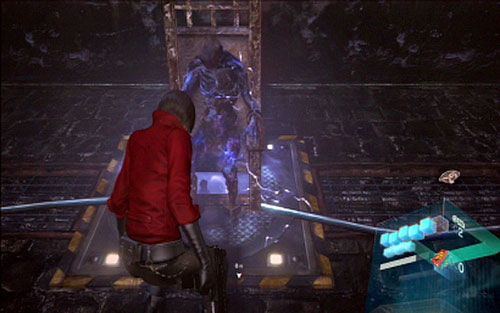
Pick up the item and then move two chairs with corpses onto nearby platforms. Moments later a third zombie approaches.
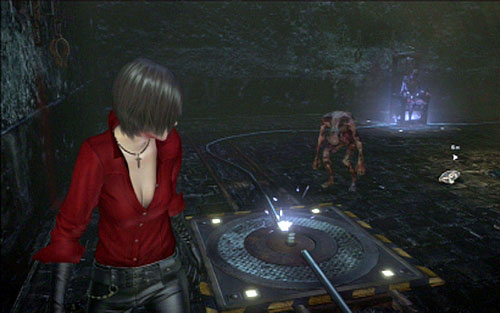
First hit him once with the fist and wait until he comes closer to the empty platform. Your second hit should move him there. If you failed for the first time, wait for another creature and repeat these actions.
If you succeed, the grate blocking the passage will be raised.
Quickly go to the other side, climb up and pull the nearby lever.
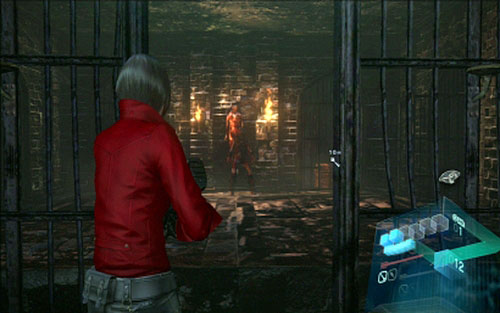
In the newly unlocked room you'll encounter three walking undeads. You have to use your crossbow and nail them to the opposite wall.
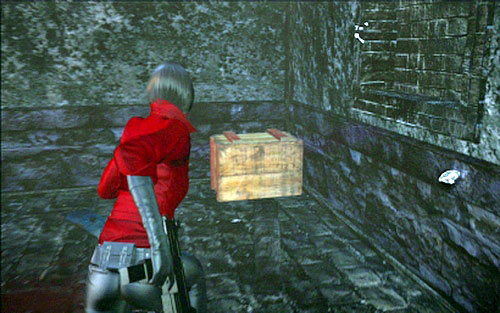
If you do not have bolts, jump to the other side and wait until trapdoor is launched. In the cell at the bottom you'll find ammo you need.
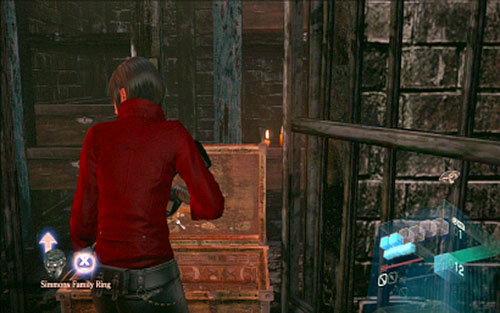
When you succeed with nailing all of the, quickly move to the crate with the violet stone and pick up the ring.
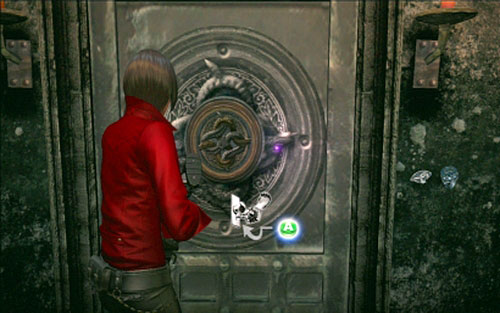
Thanks to that you'll open the gate in room of hangmen.
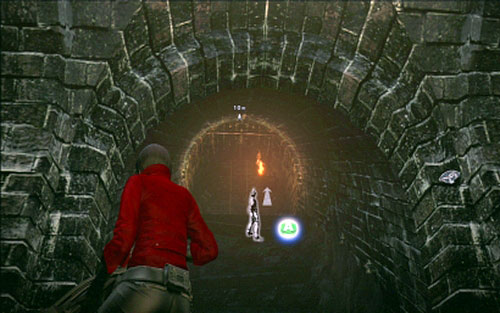
Behind it you'll find a bar, on which you have to use the zipline, and the ladder leading to the surface.
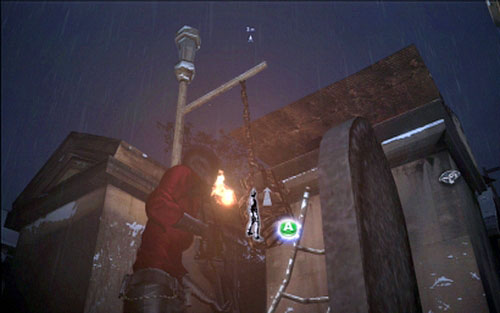
Once you leave the crypt, use the zipline again to get to another tomb.
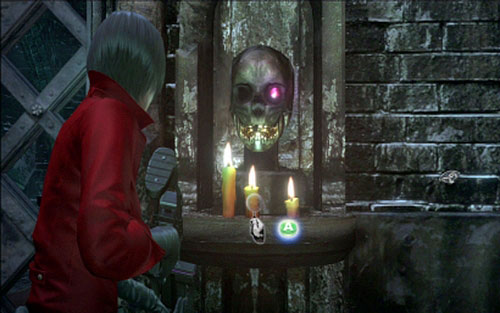
Inside you'll find a strange skull with pink crystal. Examine it and prepare for encountering two hooded skeletons. At the beginning chase the one on the right (with golden tooth).
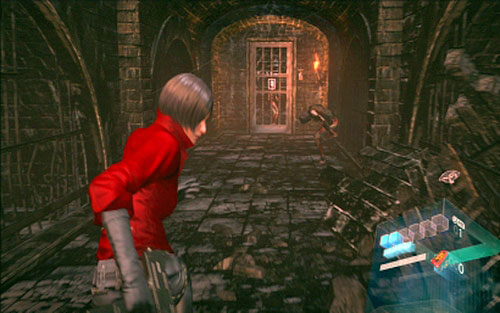
After reaching the end of the corridor, you'll be attacked by a group of undeads.
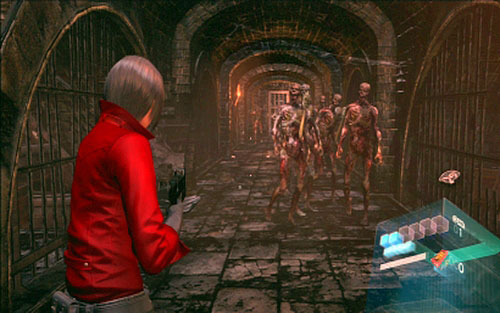
Kill them all and the grate to another room will be raised. Inside this room you have also to kill all enemies. It is best to run along the tunnel, luring all undeads and then finish them with a grenade.
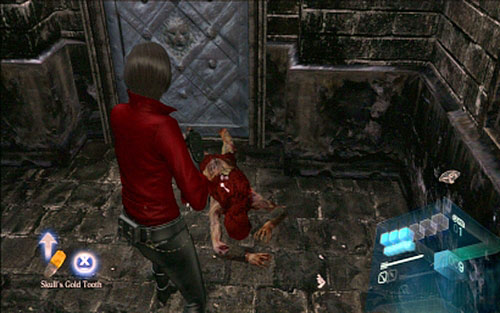
The last fight awaits you in the next corridor. Kill all beasts there and then get rid of the hooded skeleton.

You have to take his golden tooth and get it to the previously seen skull. You can get there through the narrow tunnel at the end of the stairs.
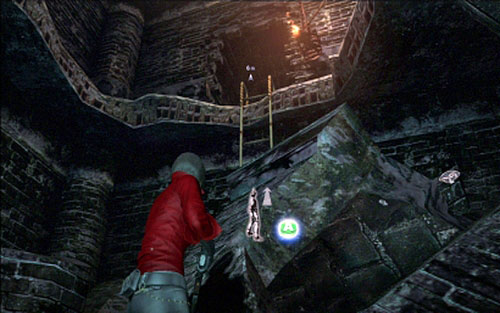
When you place the item in a proper place, stand next to the slipped ladder and use the zipline to get to the upper level.
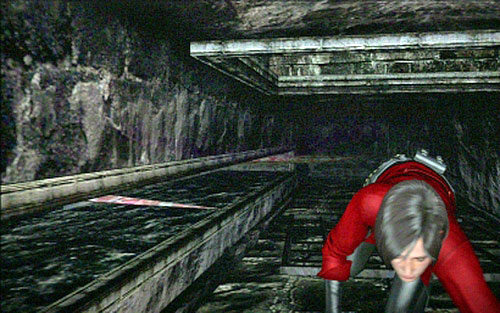
After only few steps you'll fall down to the tunnel with rotating blades. Run away by pressing A quickly.
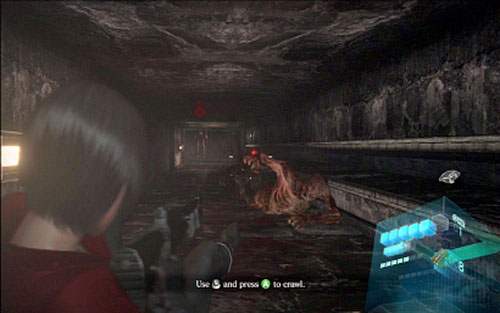
Along your way you'll encounter also three undeads. Kill them quickly and enter the room before blades can kill you.
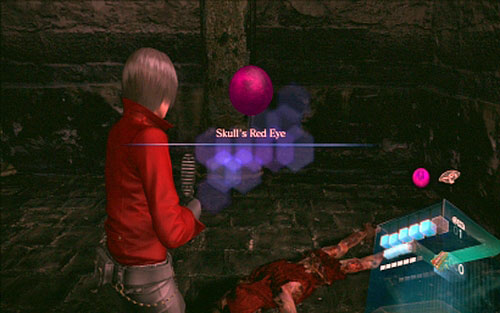
Inside you'll find a skeleton with a pink eye. Get rid of him, pick up the item and then run forwards until you reach the previously seen skull.
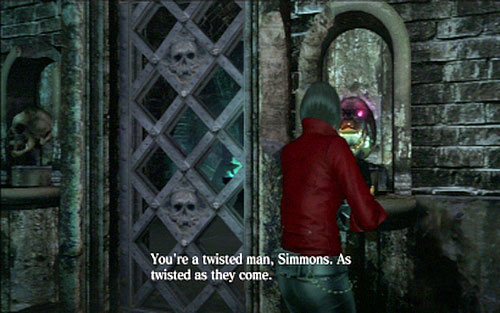
When you place the artifact inside the eye-socket, you'll unlock the passage to the crate with the last artifact fragment.
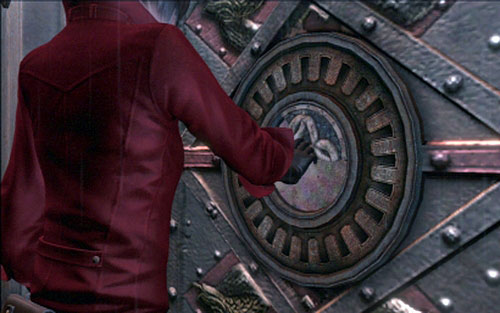
You can now use the zipline to get to the upper level, climb up the ladder outside and open the indicated tomb.
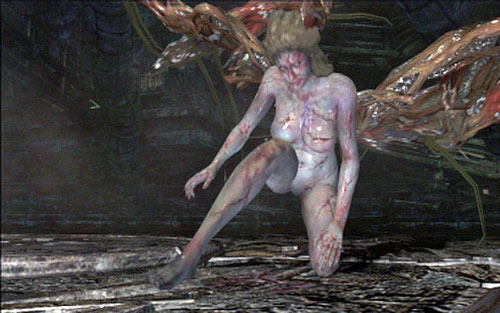
After getting inside you have to go through the double gate. Right behind it a fight with Deborah begins. Defeat her by shooting yellow glands on her body, same as you did in Leon's campaign.
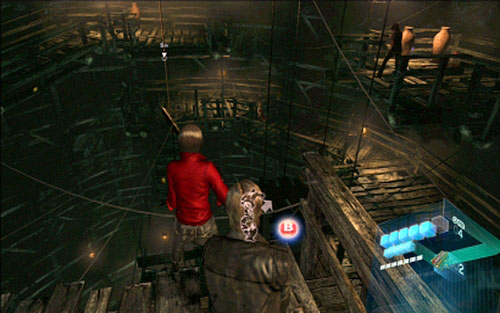
When the beast runs away, keep running down, using your companion's help.
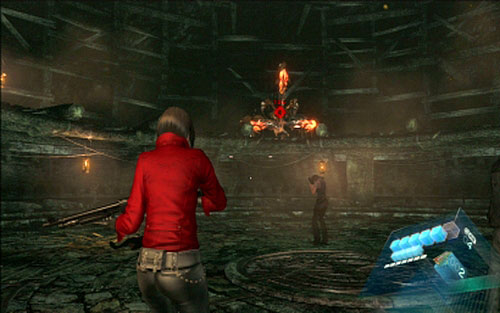
Moments later a second phase of the fight begins.

After defeating the mutant, jump onto the nearby platform. While going down you have to help Leon fighting zombies.

At the bottom the man will accompany you and you'll get together on the crazy cart ride. During the ride watch out for beams (X+A), shoot Deborah's glands and blow up the barrels with dynamite.
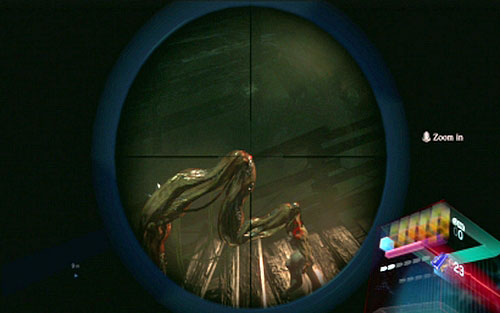
Once the ride is over, you have to shoot the last gland on the beast's sting, thus saving the girl.
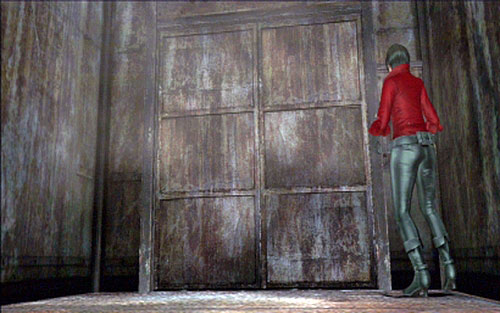
After the mutant is dead, use the elevator in front of you and go down to the secret lab.
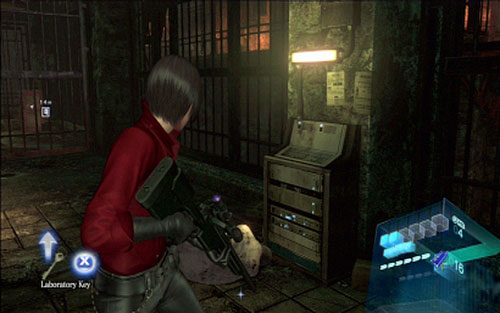
In the prison you have to find a key inside one of the cells. In order to find it, you have to avoid large fat zombies, which can charge at you really fast.
When you get the item, open the door on the left and use the zipline to get to the upper floor.
At the end of the sidewalk you'll find the door, from behind which a powerful mutant will come running. You can avoid his charge by pressing RT at the very last moment or by hiding on a platform on the right.
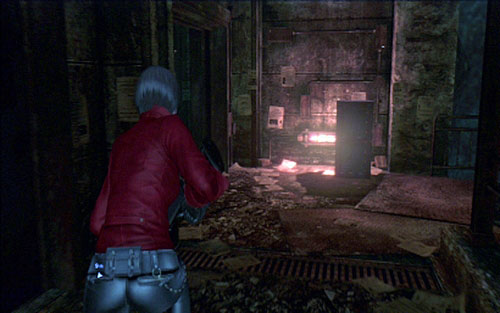
Once you succeed, leave the beast alone and run forwards. On your way you'll encounter one more creature, which has to be passed by.
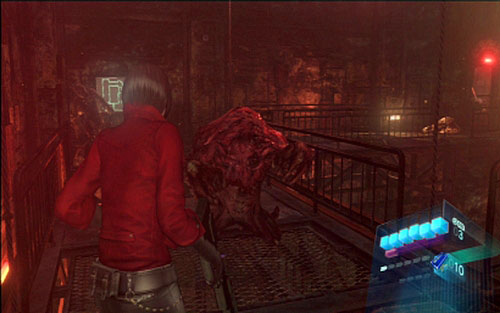
By going forwards, you'll reach a room where you'll be ordered to get rid of all enemies. Your opponents are previously encountered charging monsters. Kill them one by one, replenishing your ammo in nearby crates. In order to avoid the charge, it is best to turn to the nearby sidewalk.
When the last enemy is dead, go to the indicated room, thus ending this stage.
After the stage begins, go forwards until you reach the large red gate. In order to jump over it, climb up the nearby crate and then use the zipline.
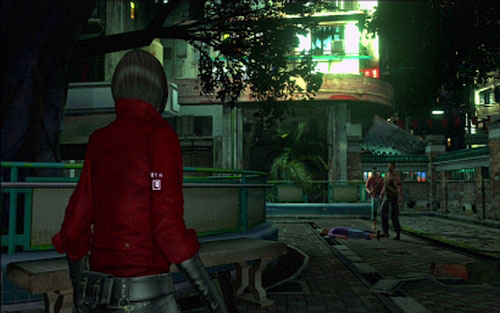
On the other side two enemies will attack you. When they are dead, move forwards, eliminating subsequent opponents along your way.
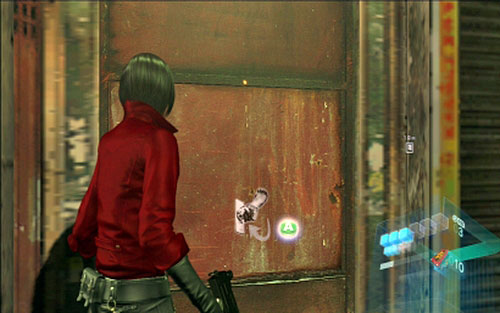
In this way you'll reach a small, rusty door. Go through it and kill enemies awaiting you inside the building.
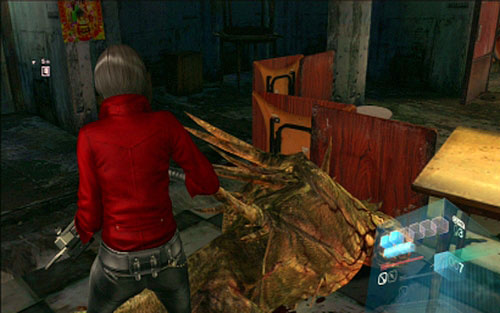
One of the will transform into lizard-like mutant, so be careful.
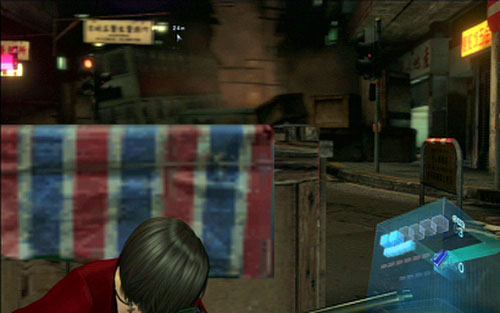
It is best to kill such type of creatures from behind the cover. Hide behind crates and wait until the enemy spits series of spikes. After that shoot him and kill him.
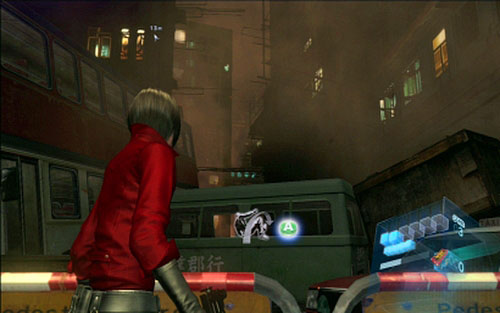
Keep going forwards until you reach a car barricade. Bypass it using the zipline.
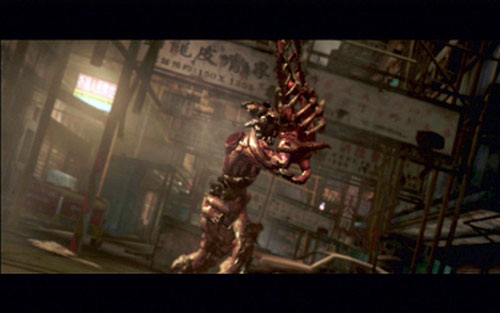
On the other side the fight with chainsaw monster begins.
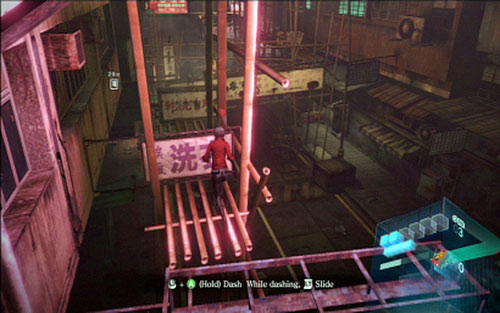
At the beginning you have to flee from the beasts, jumping between bamboo scaffoldings. In this way you'll reach a narrow alley where you have to use the zipline again.
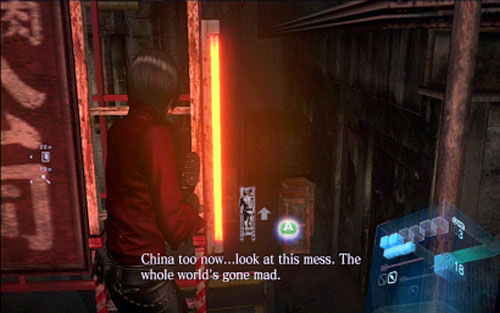
Once you get up, jump to another scaffolding and then climb up the ladder on the right.
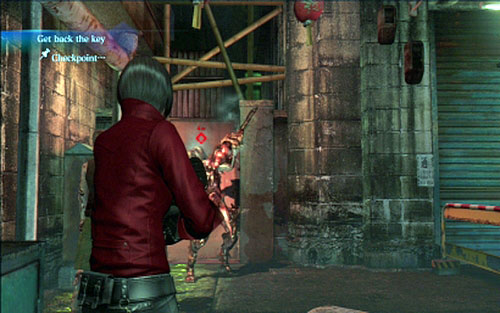
The sidewalk will lead you to the key, which open the nearby door. Unfortunately before you can open it, the chain-saw beast will take your item.
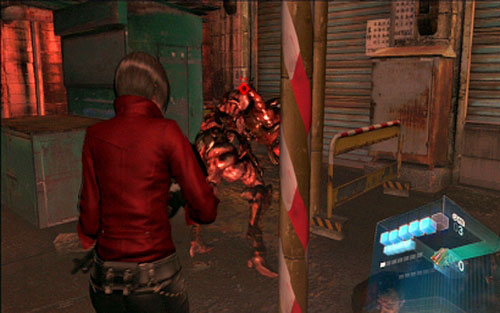
During the fight keep the distance and watch out for zombies roaming around the place. When the beast finally gets on his knees, move closer and press RT. Repeat this twice more and you'll get back the key.
After the fight open the door and use the zipline to get to the upper floor. Few steps later you'll land on the bus's roof.
In order to avoid charge of the beast, use the zipline (A). Repeat this several times until you get to the train tracks.
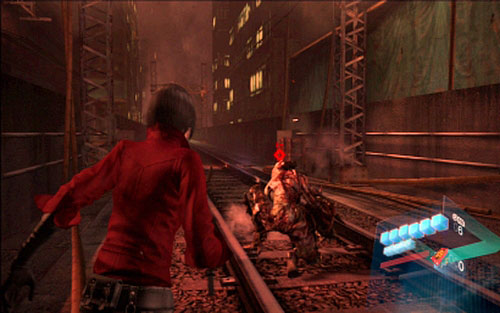
Now you have to defeat the monster in the same way as previously. As soon as he gets down on knees, run towards him and press RT.
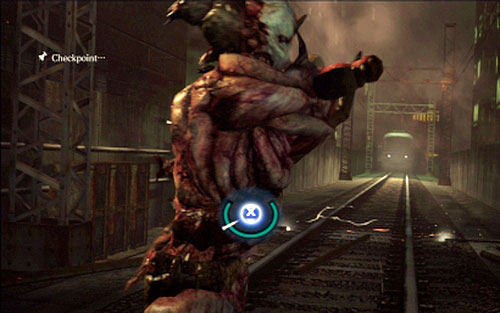
At some moment a train starts to move towards you. Prepare then to press on-screen buttons: these are X, A and RT. Once you succeed, a second phase of the fight begins.
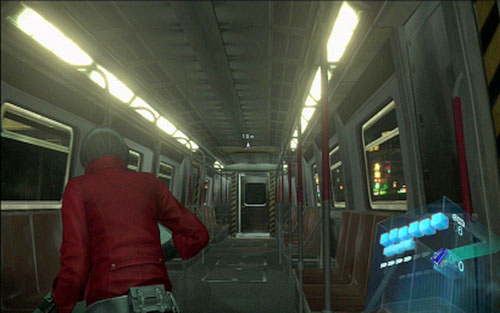
This time you have to survive until you'll see on-screen command to quickly swing the analog. You have to do it really fast, because otherwise you'll die. Moments later you'll find yourself in the train wagon.
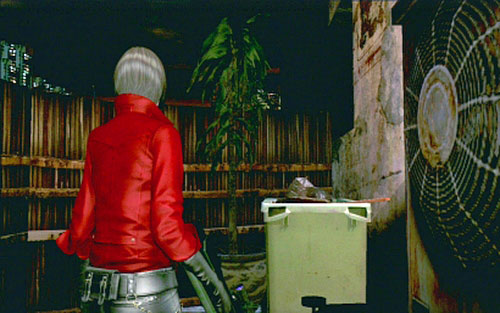
Leave it using the hole in the roof. After a short animation you'll find yourself in an abandoned alley.
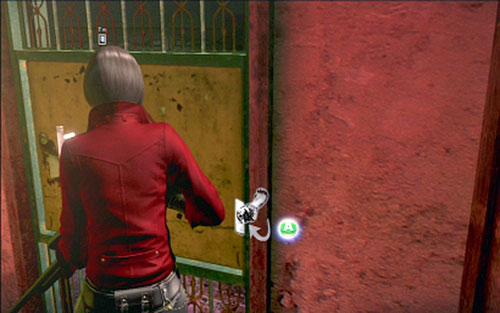
At its end you'll find the stairs leading to the flat. Go through rooms and you'll get to scaffolding, from which you can see Jake and Sherry on the raft.
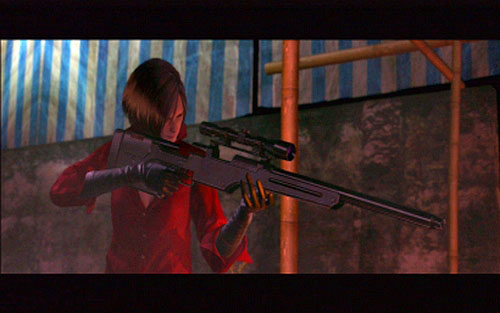
Your task is to cover them with a sniper rifle.
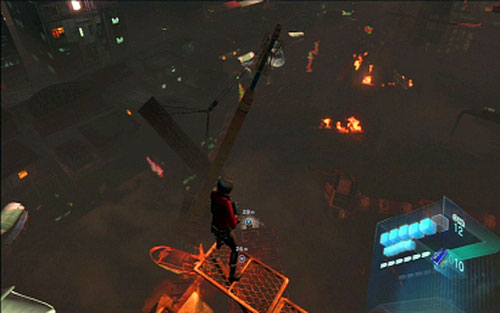
Follow them by moving over subsequent building until you reach the high crane. When you get there, you'll have to throw do a load hanging on the line (A).
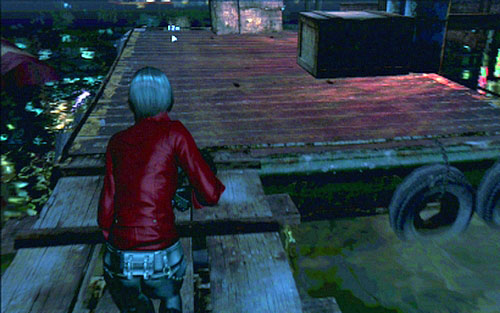
When Sherry is alone on the raft, save her by jumping with the zipline and then go to the scooter next to the piers, thus ending this stage.
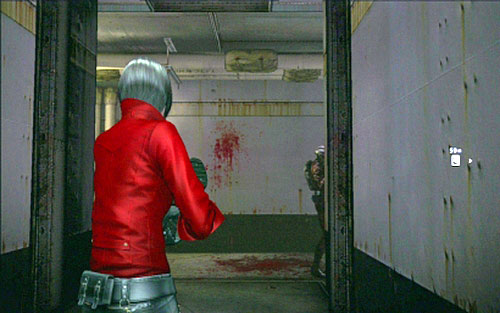
When you start the stage, silently kill the enemy on the right.
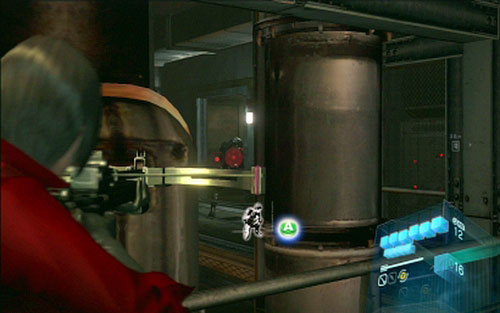
Another one awaits you behind the hatch at the end of the corridor. Kill him and then eliminate the opponent in a subsequent corridor.
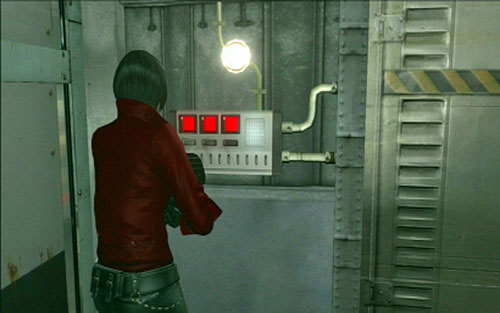
You'll get to the door with triples lock.
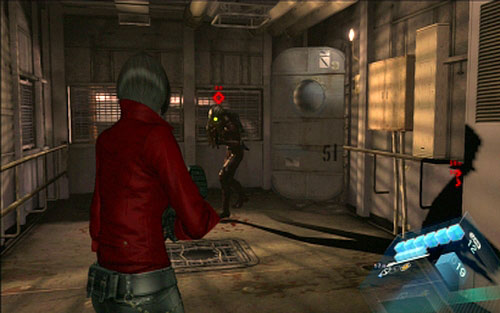
In order to obtain the first code, turn around and enter the cabin on the right. You'll encounter there one J'avo, which has the key-card.
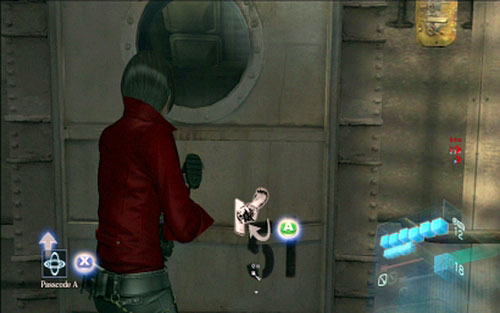
Go through the nearby hatch and move forwards. At the very end of the corridor turn right.
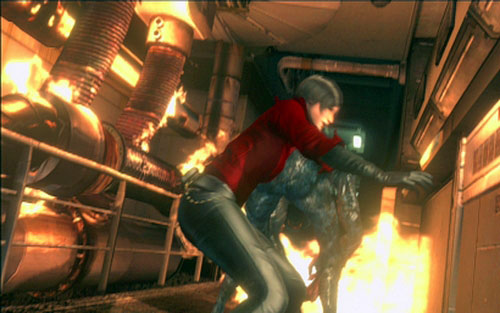
You'll reach the flames, where two breaking up mutants will attack you.
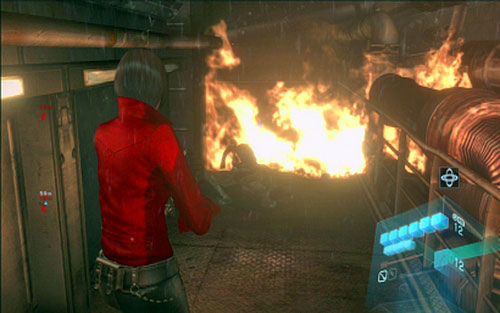
Kill the first one by pressing A and use the crossbow to get rid of the second one. When the water extinguishes the fire, move forwards. In the long corridor you'll be attacked by a large group of enemies. After the fight explore the nearby cabins. You'll find there some useful items.
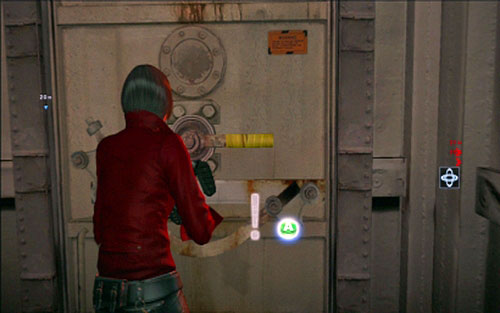
Once the area is clear, go through the hatch with a yellow lever and then enter the canteen on the right.
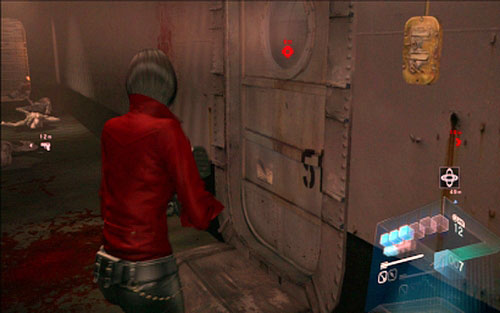
On the other side you'll find the corridor - go forwards, until you'll see a cabin door on the right.
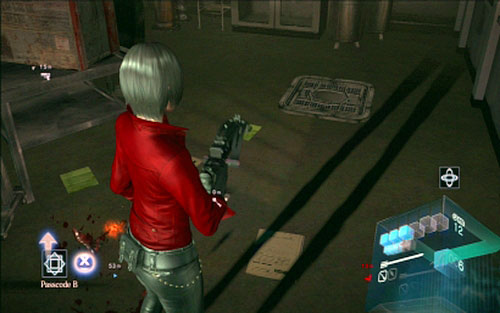
Quickly get inside, kill enemies and try to pick up the key dropped by J'avo with yellow eyes. Unfortunately moments later it will be stolen by a mutant sliding through the ventilation shaft. You have to wait until the beast comes back and scan the code.
Once you're done return to the corridor and then turn right twice. You'll reach that way the wooden door leading to the luxury cabin.
Inside the cabin kill opponents and pick up the machine gun lying on the table.
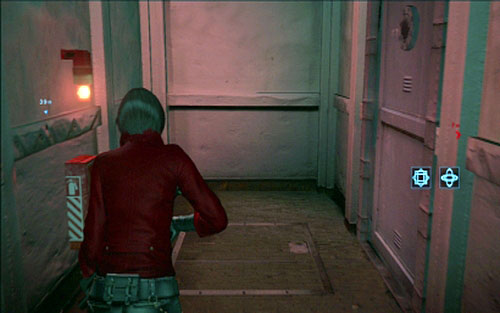
You can now return to the corridor with many cabins and head to the place with red glow. There is a door leading to the cabin.
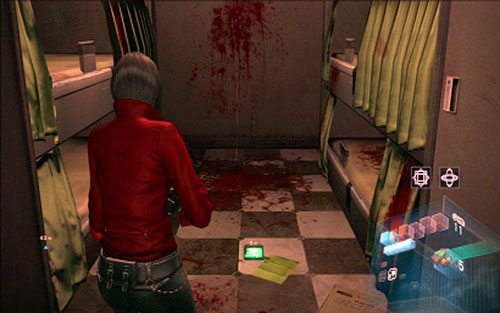
Inside you'll find an enemy with the last passcode.
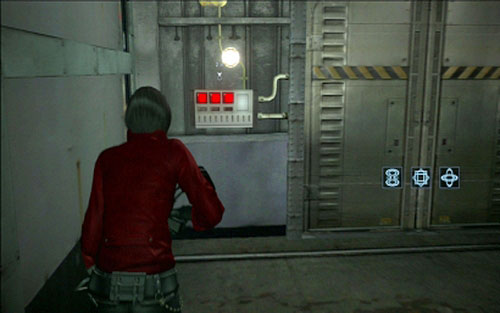
Take it from him and open the lock.
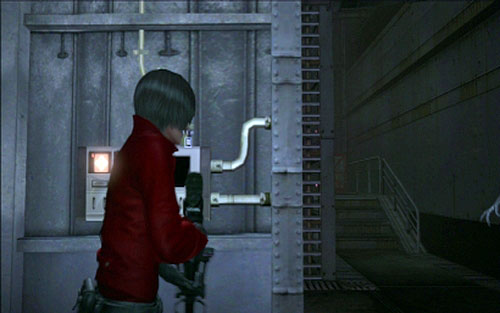
On the other side of the gate two mutants appear so be prepared to eliminate them quickly.
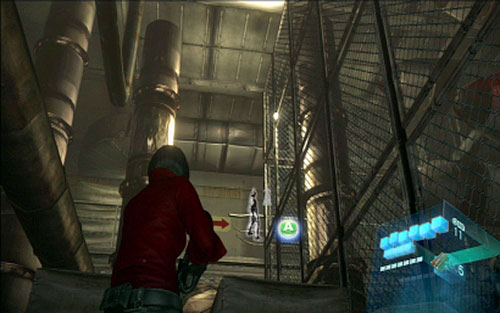
Once they are dead, go forwards, use the zipline to get up and open another hatch. You'll get to the surface.
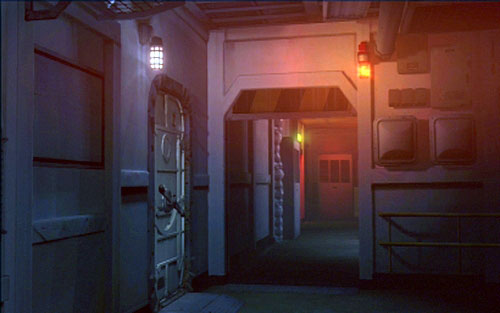
At the beginning jump up to the upper floor and open the door on the left. On the other side you'll have to quickly slide under closing hatch.
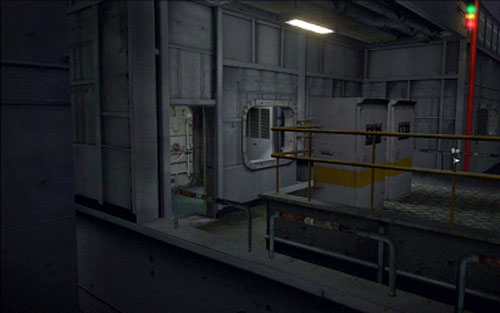
Keep moving forwards, until you reach a place with a searchlight. One the animation is finished, quickly run forwards, thus getting to the upper floor of the ship.
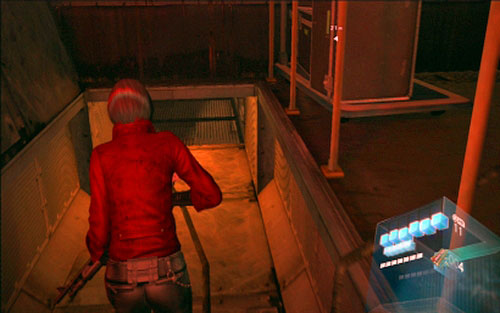
At the end of the corridor you'll find a low tunnel. Crawl to its end and then jump down.
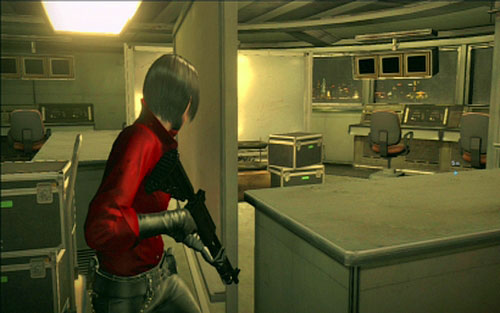
Keep going forwards until you reach the captain's deck. Try to avoid there a mutant made of insects and press the button on the wall.
Behind the next door you'll find a hatch leading to the deck. You'll also encounter a searchlight again.
At the beginning quickly run to the left, jumping over obstacles and crawl under one of the covers.
Before the beam of light returns here, you can crawl to the most-left cover. Leave the hiding place when the light passes by you to the right. Then you have to quickly run forwards, turn left, jump over the railing and use the zipline at the end.
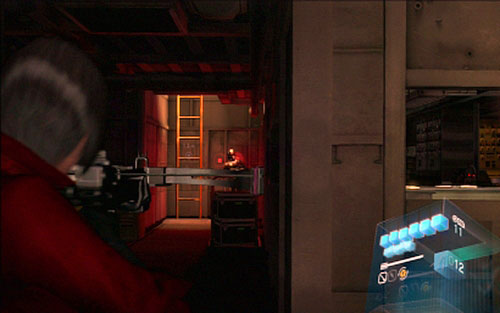
Once you're safe, move few steps until you see the enemy guarding a ladder. Kill him quietly with a crossbow and climb up the ladder.

You'll find there a low tunnel - crawl through it. Head to the right and eliminate enemies there. Now run forwards.
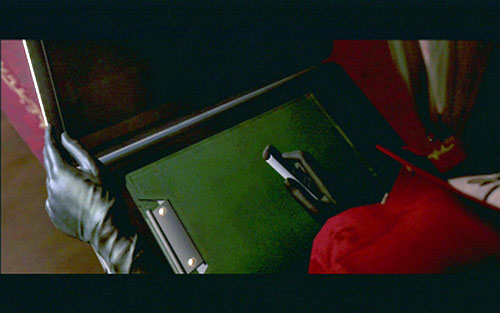
Eventually you'll reach a cabin with the red carpet, where short animation begins.
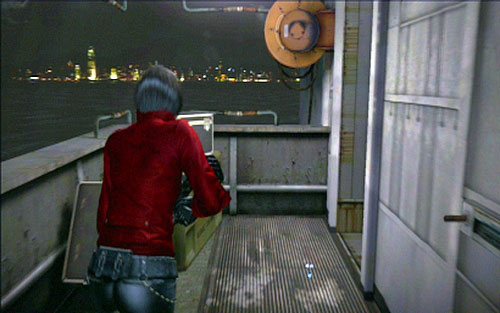
After the animation turn around, run down the stairs and kill the enemy at the end of the corridor.
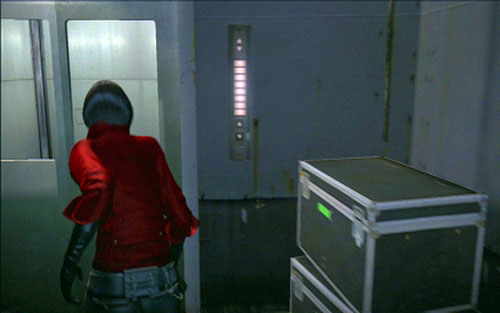
After that you have to take the elevator down to examine the dead clone body.
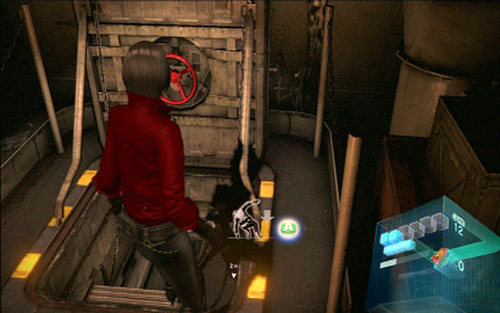
When another cut-scene ends, jump to the nearby hatch and run forwards as fast as you can. You have to flee from the creature chasing you.
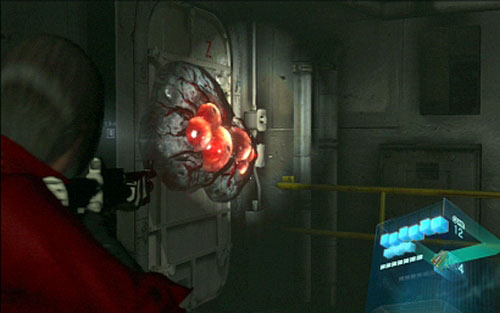
Behind the first door you'll encounter another one, overgrown with red glands. Shoot it and go through the door.
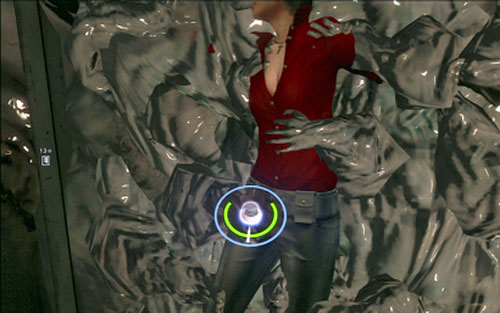
If you are grabbed by the monster on your way, quickly swing the analog to free yourself.
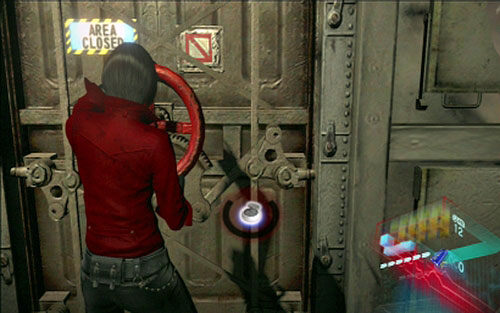
Run forwards until you reach a hatch with the red handwheel.
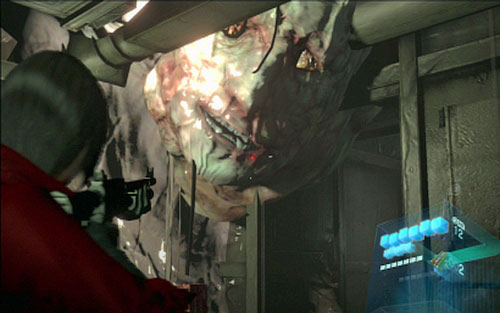
Behind it a large face of the beast awaits you. In order to avoid being bitten, move slowly to your opponent and then quickly run away. When the creature starts to get back, you can run to the other side. Use the same method to pass by another face in the corridor.
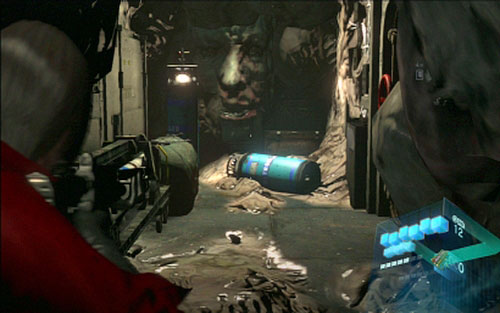
Get rid of the third face by shooting the blue container on the ground. This will give you time to open the hatch on the right.
Go forwards until you see the opponent again. You have to escape from him, running straight ahead as fast as you can. If you get caught by hands, quickly swing your analog and run forward, sticking to the right side of the tunnel.
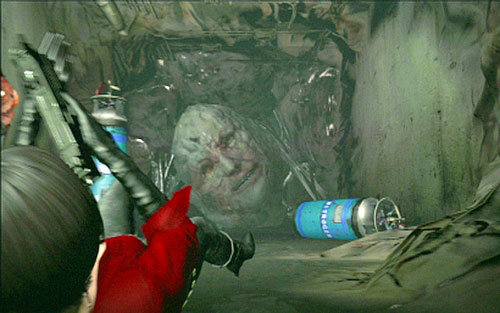
After reaching the end of the tunnel, shoot the blue container on the ground, thus scaring the enemy off.

A further way leads through another hatch with red handwheel. Behind it the fight with Carla begins.
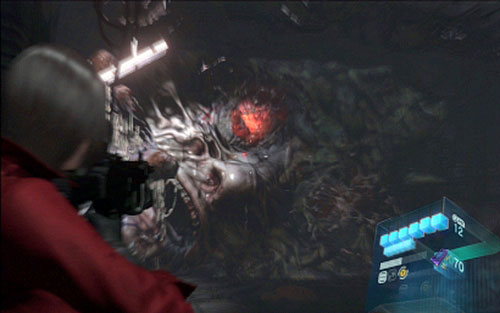
In order to defeat the enemy, you have to first shoot both eyes of the opponents. Before the explosion, they will throw an acid at you so you have to quickly hide behind one of pillars.
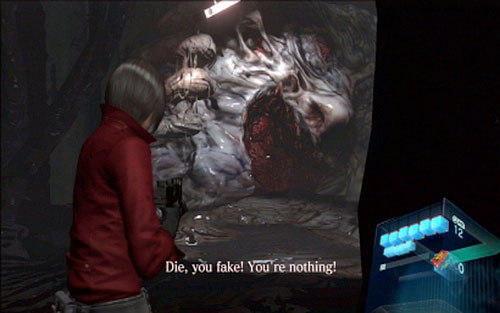
When the eyes are gone, select the machine gun and keep shooting at one spot, next to the mouth. In this way you'll create w hole, where you could see blue containers. It is enough to shoot one of them and the fight is over. The eyes and other parts of beast's body regenerates quickly, so make sure that you have enough ammo. You can replenish it by destroying red glands hanging in the area.
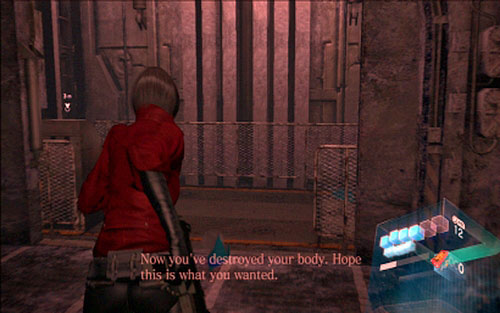
After defeating the enemy, enter the elevator thus ending the stage.

This stage begins in the helicopter. Your task is to cover Leon and Helena against charging enemies. Do not use rockets for now. They will be useful later.
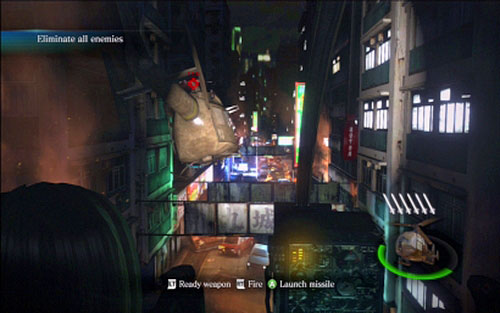
Once they are safe, start flying forwards. During the flight you'll see enemy helicopters from time to time - you have to destroy them. To do it, use the machine gun mainly (you should save at least 3 rockets for the next phase of this stage).

You can use rockets when a larger helicopter attacks you (your machine will stop flying then). In order to destroy it, during the shootout move slowly to the right. In this way you'll avoid missiles, which take much of your HP. Few precisely shot rockets should end the fight.
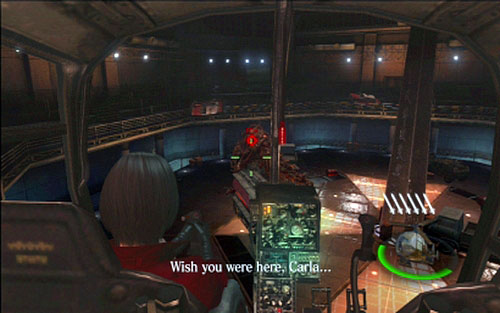
A moment later another fight awaits you - this time again Simmons transformed into dinosaur. In order to defeat him destroy an armor on its back and then keep shooting his gland (you can use one rocket) until he comes back to the human shape.
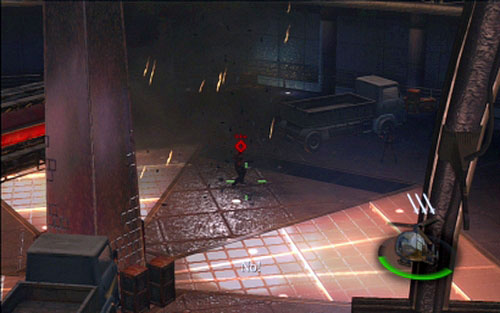
After that happens, shoot 3-4 explosive projectiles and keep shooting glands on his back. You can also blow up red barrels on the floor, so their explosion weakens the creature. If you're aiming well and use rockets each time Simmons transforms into human, you should quickly end the fight.
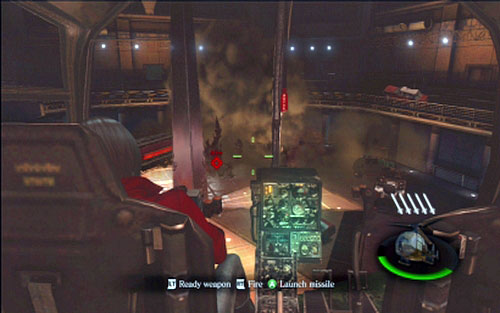
In order to avoid enemy attacks, try to hide behind the pillar in the center of the location.
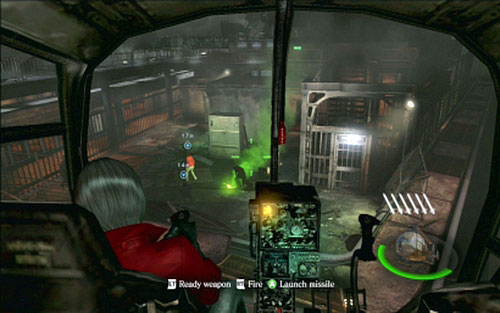
After the fight Ada will fly between three rooftops. Near the first one you have to cover civilians against attacking zombies.
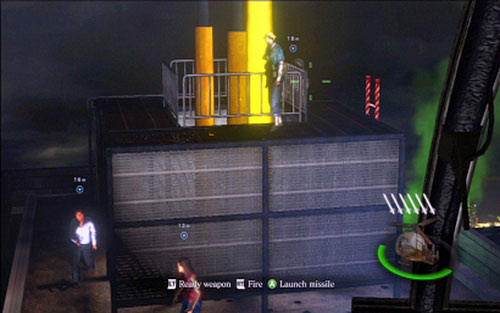
On the second rooftop you have to save people, but besides that you should also shoot a zombie with explosives, standing next to the antenna.
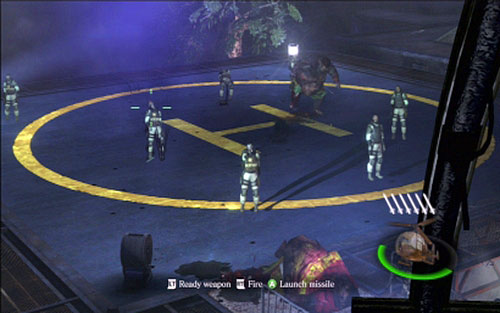
When you get to the third rooftop, just eliminate all enemies and wait until your character lands.

When you leave the helicopter, use the zipline to jump to the adjacent building.
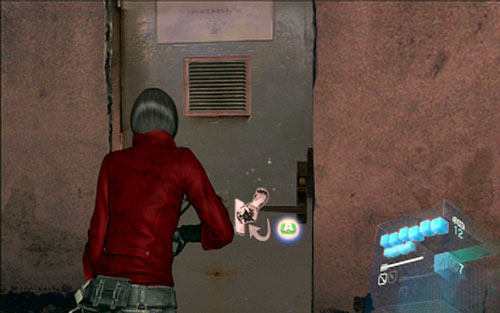
You'll find there a door, which leads inside the building.
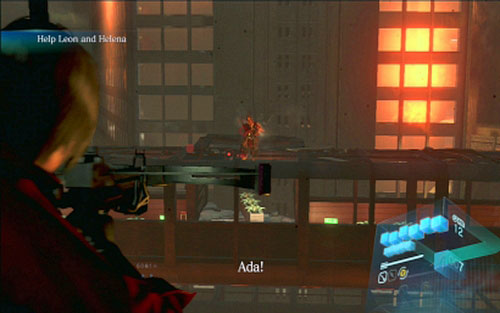
Moments later you'll land on the elevator, from which you have to shoot Simmons.

Once this phase is over, you'll be moved to the fragment of a skyscraper. Your task is to avoid the charging beast. To do it, stand as far from the creature as you cam, next to the edge of the sidewalk. When Simmons gets closer, run to the other side of the scaffolding.

After few such dodges, you'll get an order to kill the enemy. You have to still avoid his charges and tentacle attacks, but keep shooting at the enemy. When he transforms into human again, run towards him, press RT and keep pressing A quickly. Repeat these actions until the beast flees away.

During the next stage of the fight you have to shoot he mutant climbing the building, to save escaping Leon. Replenish your ammo by killing zombies roaming in the area.
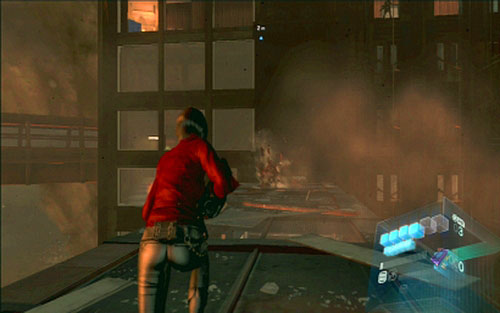
Moments later a final stage of the fight begins. During it keep you character on a distance from Simmons, avoiding his charges, shots and sting attacks.
Shooting all the time from a long distance, you'll lead to the point, when the opponent will start throwing Leon out of the building. Approach him then and kill at close range.
After the longer animation, keep moving forwards, thus ending the last campaign. Congratulations!
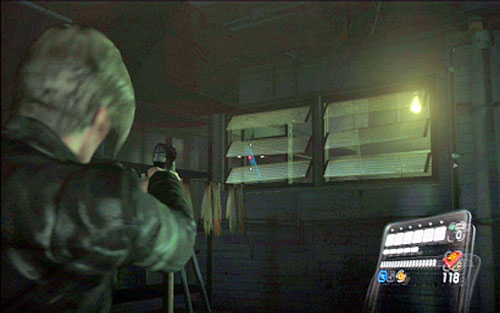
After meeting the man looking for his daughter, look at the right corner of the room. Behind the half-open window you'll find the first emblem. Just shoot it to collect it.
After scene with an alarm and huge zombie attack, go to the adjacent room and examine desks there. In one of them you'll find the emblem.
When succeed in avoiding two trains in underground tunnel, you'll reach a door leading to the corridor on the left. Go to its other side and the look right. There is an emblem next to the wagon.
After encounter with first shouting zombie (the one with a gland on its throat), you'll reach the place where you have to throw Helena behind the metal grate and wait until she opens the passage from the other side.
A bit further you'll find an abandoned bar. Get inside and shoot an emblem on one of the tables.
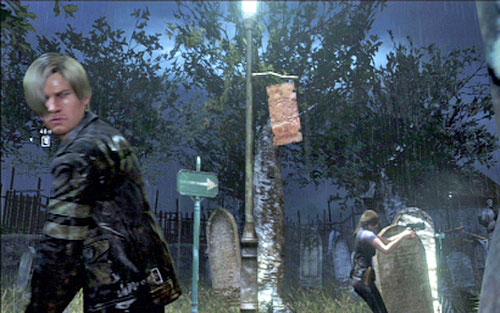
Walking on the cemetery path you'll pass by a post with lopsided plaque.
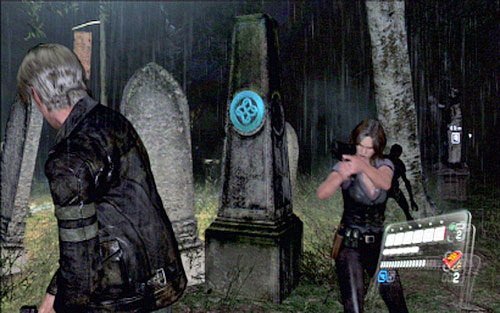
Go around the graves on the left and you'll find an emblem on one of them.
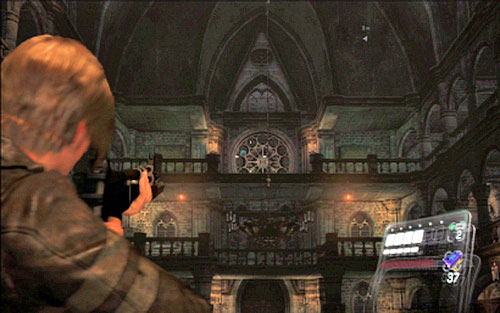
Right after entering the cathedral move to the altar and then turn around and look up. You'll see a large rounded stained-glass window with emblem on it.
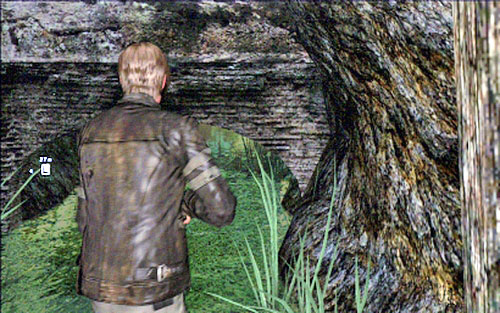
In the secret lab you'll be passing by a corridor with several side rooms. In the abandoned toilet carefully examine the blocked sink.
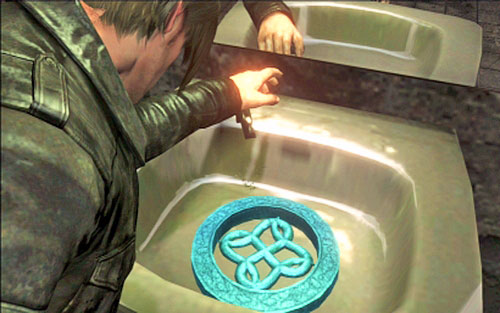
After draining the water you'll find there an emblem.
When you get to the underground cavern, crawl through two narrow passages and then look left.
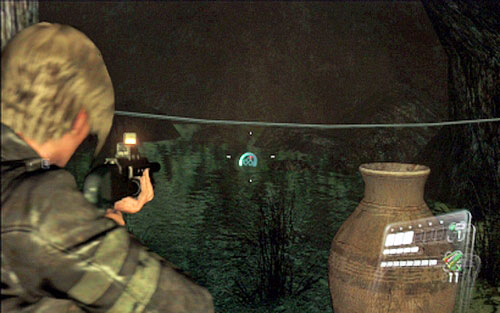
You'll find the emblem behind the railing.
The first emblem can be found right at the start, in the room with the door which has to open along with your partner. Turn left and look up. The emblem is hidden in one of the niches.
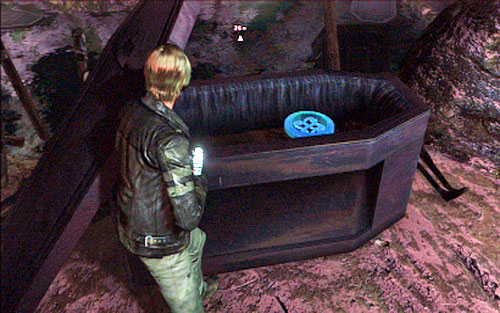
After reaching the sunken part of the underground, keep moving forwards until you reach dry land. On the left side you'll see a coffin with the emblem hidden inside.
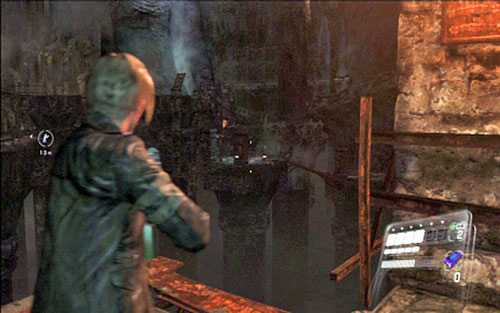
After getting to the deep cavern, move forwards until Helena almost falls down into abyss.
Cover her while she is climbing and then take the sniper rifle and shoot an emblem located far to the right side of the lowered bridge. If you play as Helena, it will be closer.
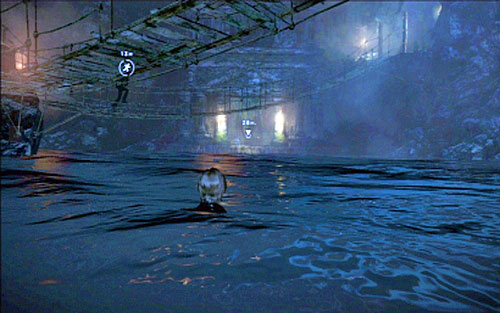
After first encounter with mutated shark, you'll have to swim to the other side of the underground lake, playing as Leon.
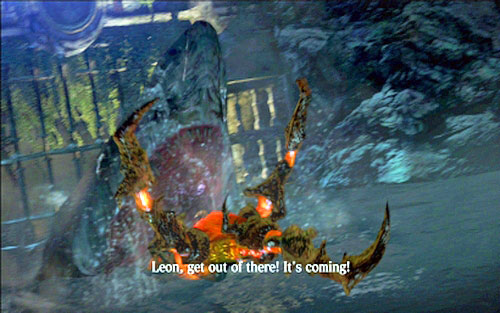
In the meantime Helena should walk on the ground and shoot the beast from time to time. Along her way she'll find some smashed vessels, where another emblem is hidden. Leon can also collect it - just go back few meters after you get to the ground.
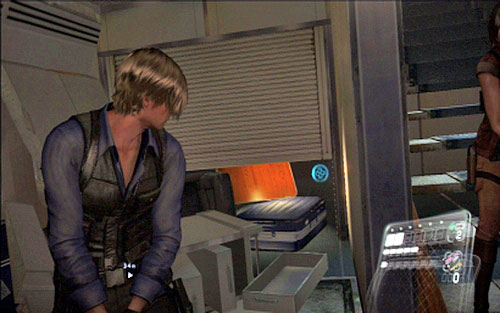
After first fight with the mutant and checking the pilot cockpit, go down the stairs. On the right you'll see half-open luggage hatch with the first emblem.
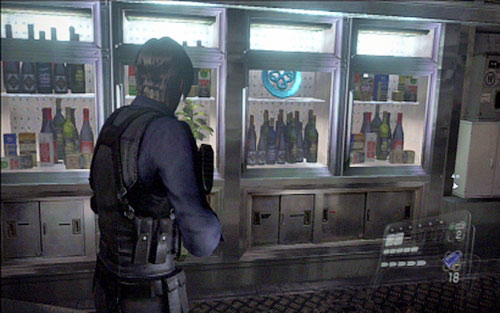
Before you turn the firs red handwheel on the plane, carefully explore the entire room. There is an emblem in one of the cabinets, behind the glass.
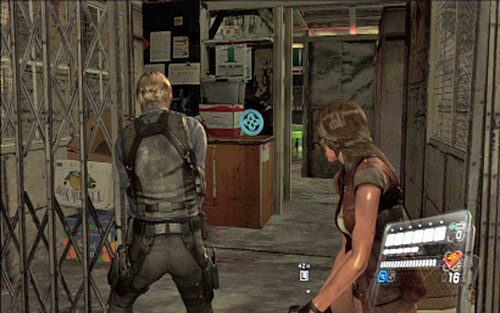
After the fight with Ustanak you'll reach abandoned marketplace. Move forwards until Leon notice the creature, which escapes quickly. Carefully explore the right side of the path and you'll find an open shop. There is an emblem inside.
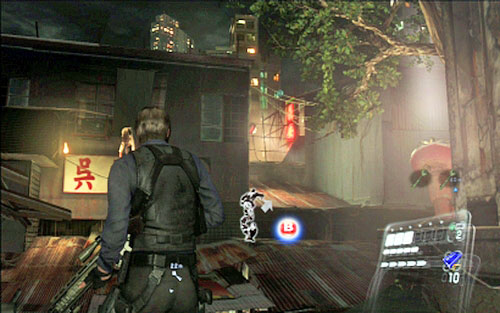
After obtaining the second key on the abandoned marketplace, climb up the nearby ladder. Once on the roof, you'll find a place where you have to help Helena to get to the other side of the street.
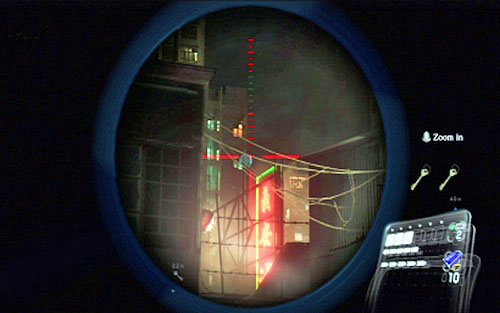
But before you do it, take a sniper rifle and look a bit to the right. There is an emblem in a long distance, located on wires.
After opening the first door along with your companion, run after the soldier inside the building. There are bookshelves right from the stairs, with an emblem in one of them.
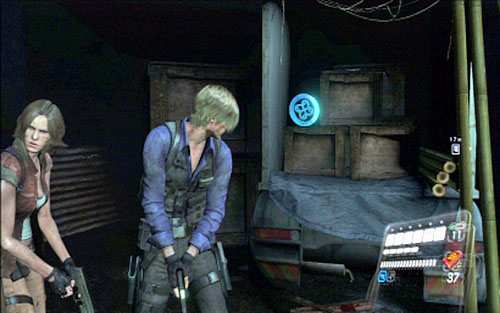
During completing the stage well-known from the prologue, you'll reach a place with abandoned Hummer. There is an emblem in the truck left from the Hummer.
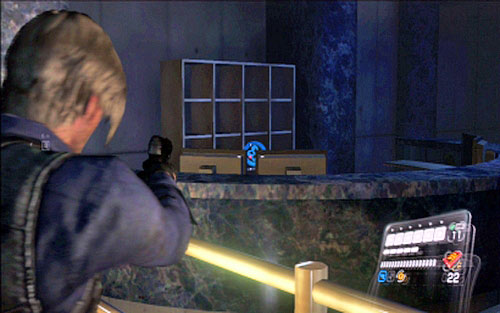
After helicopter's crash take a closer look at the shelves behind the railing on the right. There is an emblem on one of them.
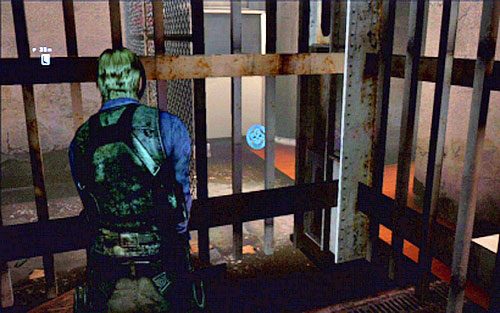
After the scene, where Simmons is eaten by zombies on the building's rooftop, go under the stairs and look behind the grate there. You'll find the last emblem.
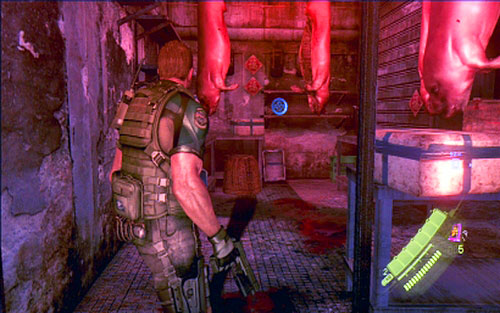
After long run you'll get to the city streets, where you'll be accosted by a journalist. Move forwards and enter the indicated building. On the first floor you should find hanging pigs and the first emblem.
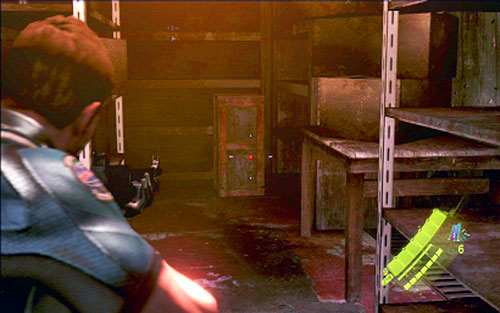
At some moment together with Piers you'll have to jump down to the lower floor and defeat enemies in the narrow alley. At its end you can find the door to a small warehouse.
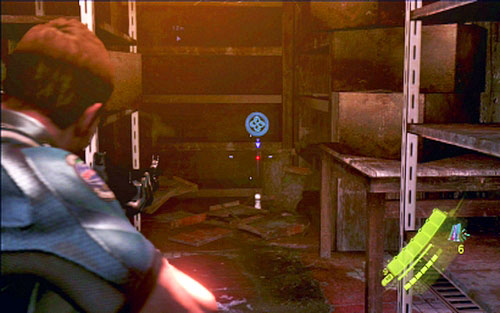
Get inside, destroy the crate in front of you and shoot the emblem.
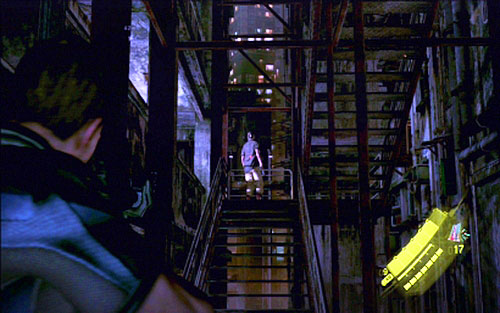
A bit further from the previous emblem you'll encounter an enemy guarding the stairs.
Before you kill him, look to the very right and up. On the antenna of one of the building you can see the third symbol.
When you get to the staircase of the high building, go to the sixth floor. It is marked with large red sign.
You'll find there a small kitchen with pieces of meat and the last emblem.
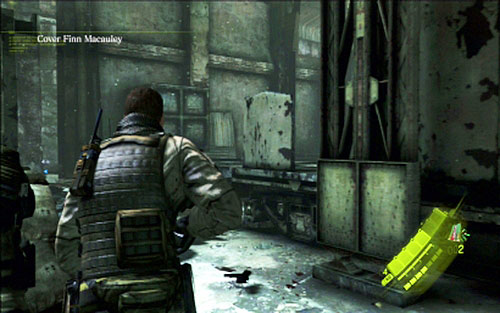
During the scene, where you have to cover the sniper, run to the very end of the right path.
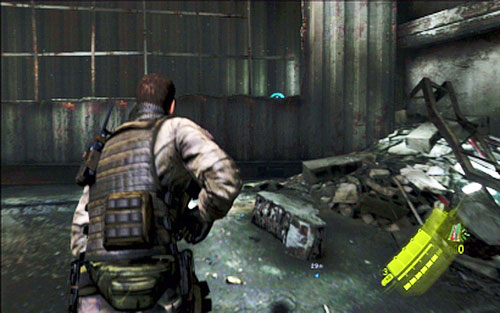
There is an emblem hidden in the right corner of the square.
This symbol can be obtained only by Piers. At some moment he will have to cover Chris walking the bridge.
Emblem can be found high on the scaffolding on the right.
After reaching the hall with large statue, go to the left corridor and then take the right stairs.
There is an emblem on the wall.
When Ada Wong joins your squad, do not follow het yet. Instead check the room behind the screen on the right.
There is a fourth emblem on the cabinet.
After opening the first red gate, turn left. At the end of the blind alley you'll find the first emblem.
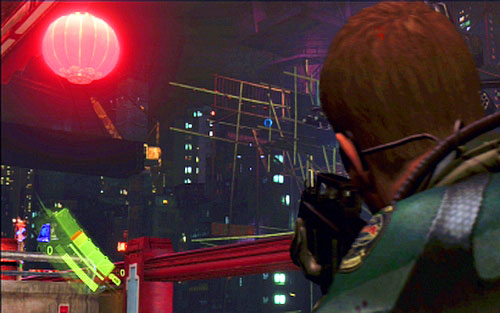
When you destroy the helicopter, enter the indicated building. The corridor will lead you to the flat, where you have to turn left.
You'll find the bed with the second emblem on it.
The third emblem can be obtained during the fight with the helicopter on the pier. Take cover behind the railing on the right and then look to the left. The item you're looking for is placed on the distant scaffolding.
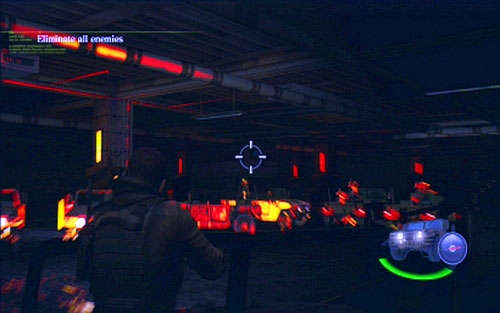
During the car chase you'll reach a parking lot with large barricade. There is the last emblem more or less over its middle.
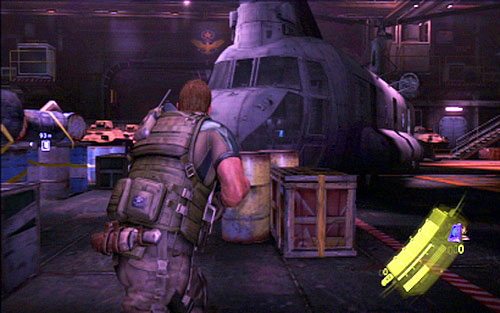
In the large hall, where you start this stage, examine the helicopter standing on the left.
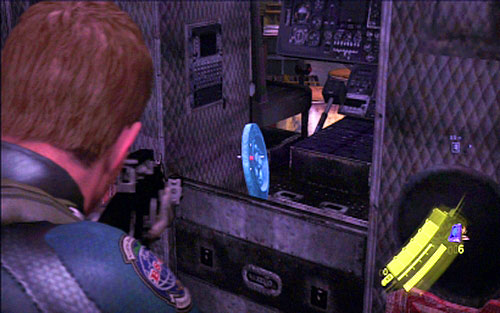
Inside the pilot's cockpit you'll find the first symbol.
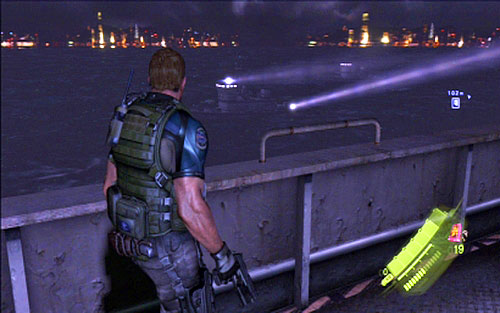
After shooting the rocket at the closed gate, open the indicated door and go to the ship's deck.
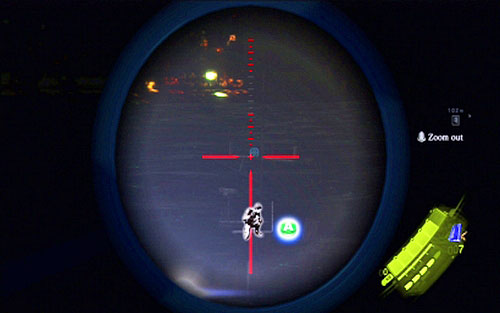
From there you should see a smaller ship with two searchlights. At the top of the machine you'll see another emblem. You can shoot it with the sniper rifle.
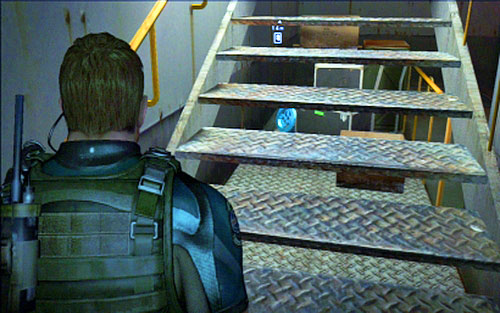
At some point Piers will have to turn large red handwheel, thus lowering the ladder.
Climb it up and then start going up the stairs. Through holes between steps you should see the third emblem.
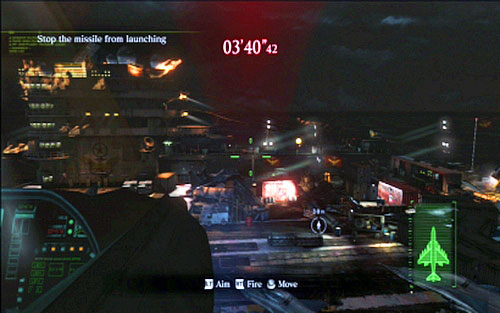
This emblem can be only obtained by Piers. After you land on aircraft carrier, blow up one barricade and run to the other one. Near the barricade you should see a tire with the emblem inside.
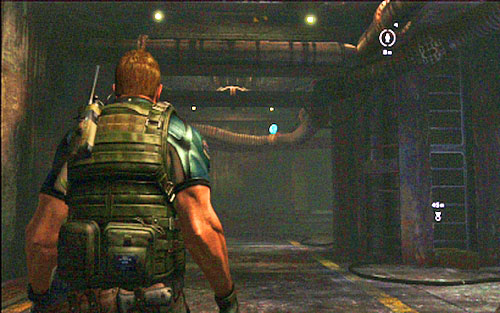
This emblem can be obtained only by Chris. He will find it on one of the pipes hanging under the ceiling, right after passing by first turbine.
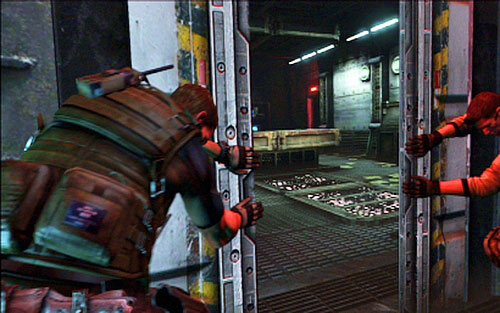
After restoring the power and reunification of partners, open the narrow door next to the elevator. You'll get to the small room, with new enemies coming one after another.

When the last of them is dead, stand again at the entrance and look right. In the small niche under the ceiling you can see the second emblem.
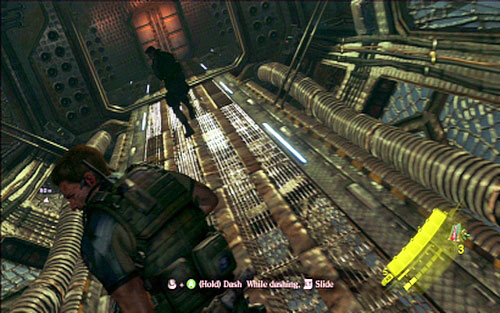
In order to get the third symbol you have to escape through the underwater corridor from powerful B.O.W. and stop in front of the door held down by Piers.
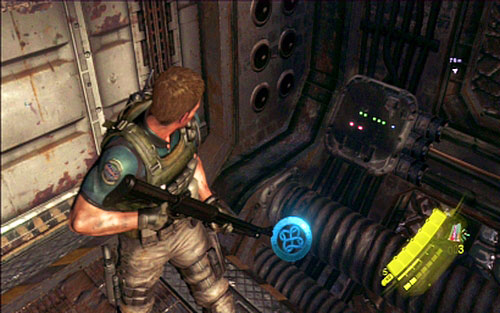
Before you open the next hatch and start the second phase of the chase, turn around and then look right. There is a third emblem on the floor.
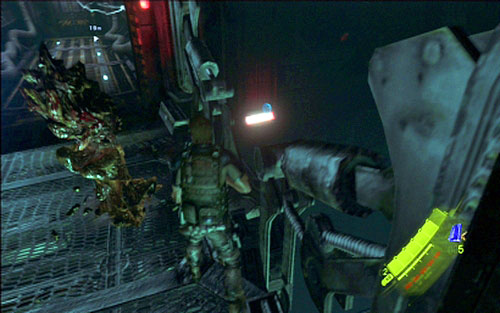
The last emblem can be found at the end of the stage. After defeating the powerful B.O.W., run forwards, waiting until Piers destroys organic barriers. Look right in front of the third barrier and you'll see the fourth symbol. Shoot it, playing as Chris.
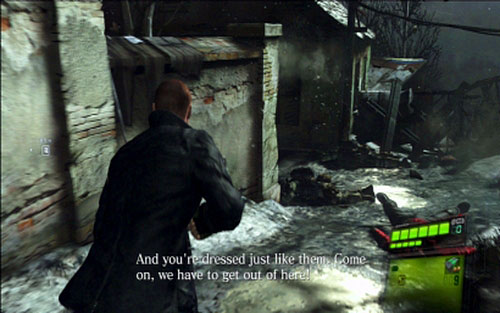
Right after getting outside, follow the path straight ahead and then turn left.
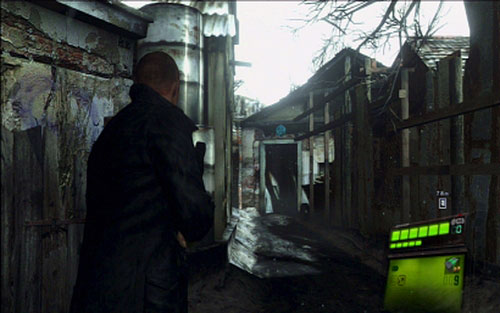
At the end you'll find an entrance to the building with first emblem.
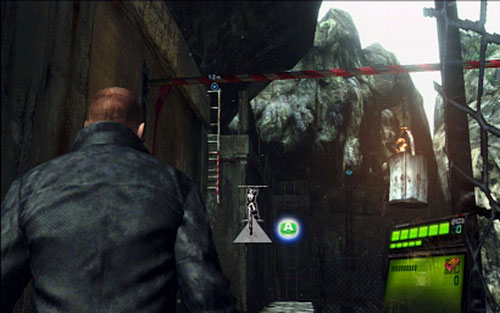
When Jake splits with Sherry for the first time, jump over the abyss and climb up the ladder.
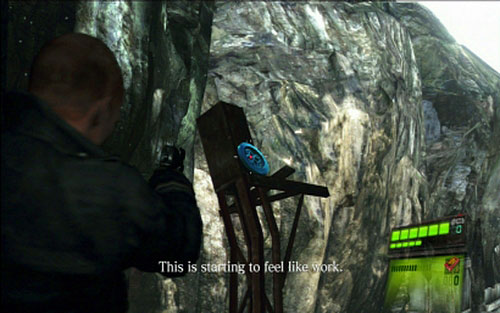
There is a damaged fragment of scaffolding on the right with another symbol hidden on its top.
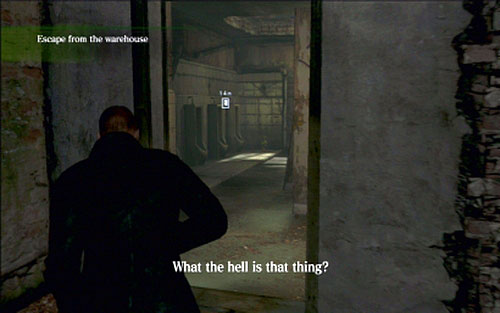
After escaping from Ustanak, you'll find yourself in the ruined building. At the beginning go to the toilet on the left and lift Sherry to the upper floor. Once she turns around, she should the third emblem.
If you play as Jake, obtaining the artifact will be more difficult. First of all you have to have a grenade. Place yourself in front of the slipped ladder, turn around and throw the grenade up and right. The explosion should destroy the symbol.
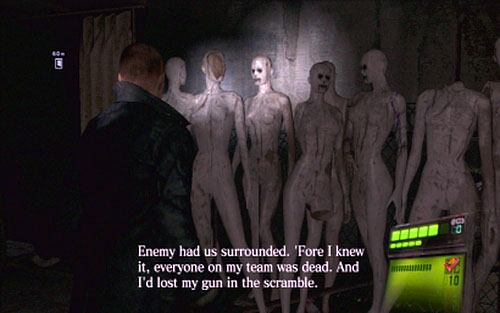
When the first fight with Ustanak is over, you'll get to the dark corridor, full of mannequins.
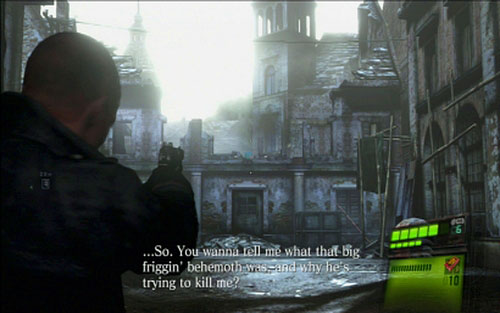
Go to its other end, reaching the abandoned square.
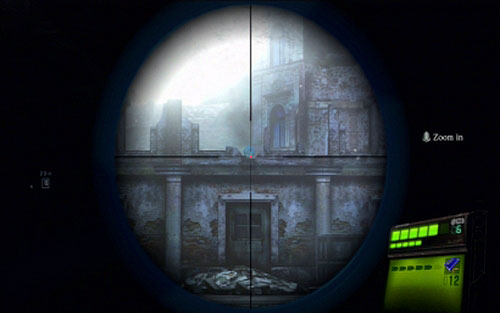
The fourth emblem is hidden on the top of the building in front of you.
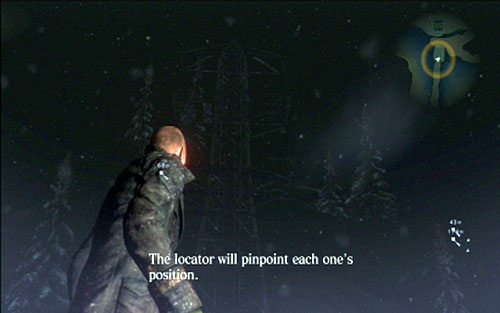
Right after starting the stage move forwards and climb up the red ladder.
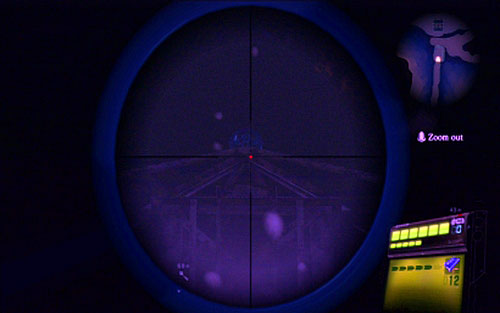
Right in front of you there is a high tower. A first emblem is placed on its top. It is difficult to see it, so use the sniper rifle to shoot it.
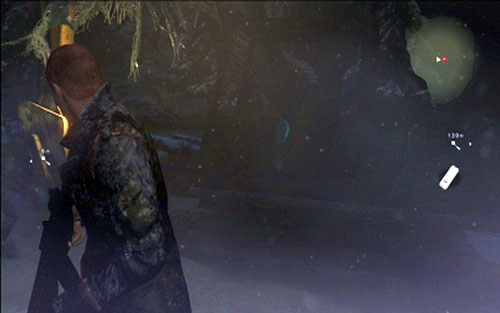
A second symbol can be found in the cabin of a small excavator, located near the one of memory stick you're looking for.

During the escape from an avalanche, at some point there will be big mogul, on which you'll jump. Stick to the right side of the slope then.
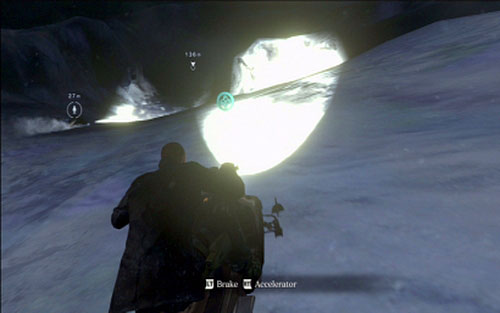
Right after entering the tunnel you'll find the third artifact. You have to slow down to get it, because even if you die, destroying it will count. If you fail, remember to quickly load the savegame from before the entering the cavern. Otherwise the game will save inside the tunnel and you won't be able to get back.
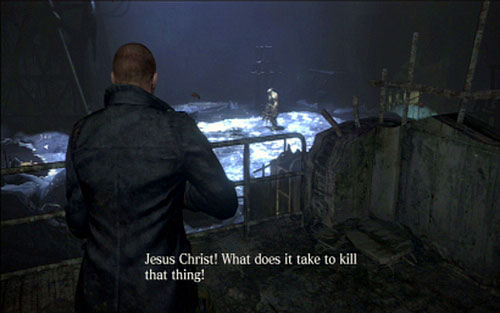
Inside the icy cavern you have to sneak between flying insects twice.
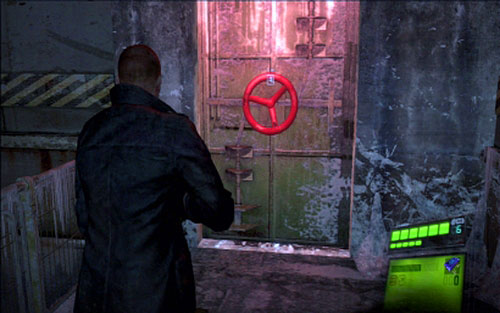
In the second case you target is the door with the red handwheel.
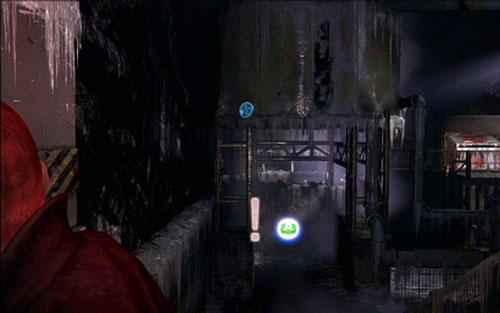
Once you get there, turn the handwheel but do not enter inside. Instead, turn around and shoot the emblem hidden at the top. Ustanak will start chasing you then, so quickly get inside.
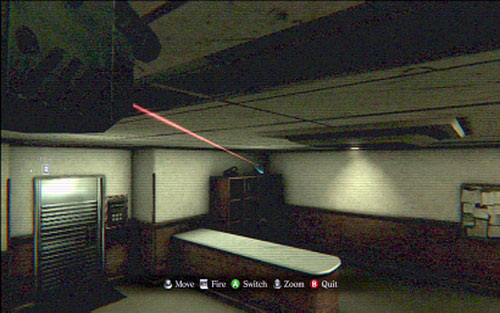
The first emblem can be shot playing as Jake, through the monitoring system located near the coded door. Use the third camera and look at the bookshelf right from the door. The symbol is there.
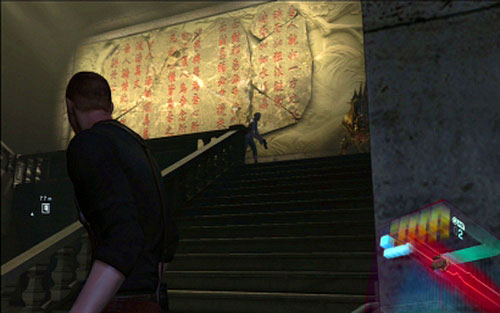
The second emblem can be found in the warehouse, near the stairs next to the large relief (with Chinese symbols).
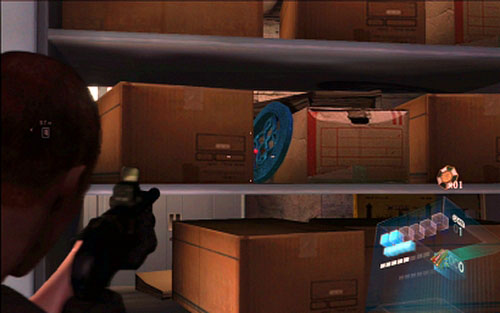
Enter inside and carefully examine the bookshelves. The emblem is hidden on one of the shelves.
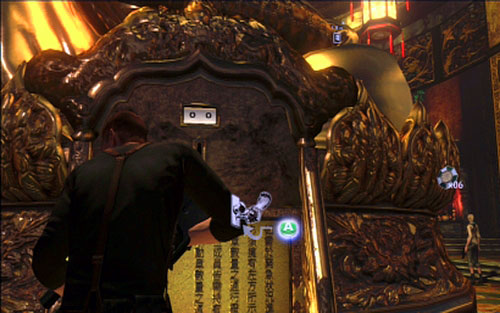
In order to get the third emblem, you have to "use" the tank. When you encounter this vehicle for the first time, hide behind the Buddha statue. The tank will shoot then several times at the statue, thus destroying it.
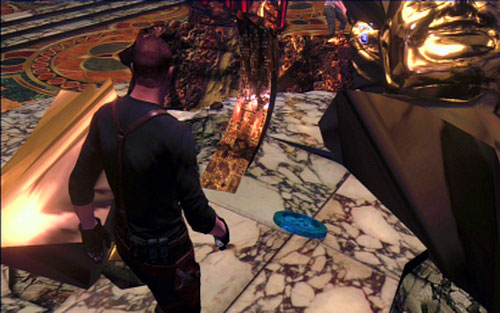
The artifact you're looking for can be found between rumble. You have to shot it very quickly because after a moment the tank appears in the middle of the room, blocking the way to the emblem.

The fourth emblem can be found n the garden, where the tank attacks you again. As soon as you see the machine, run towards the stairs on the right.
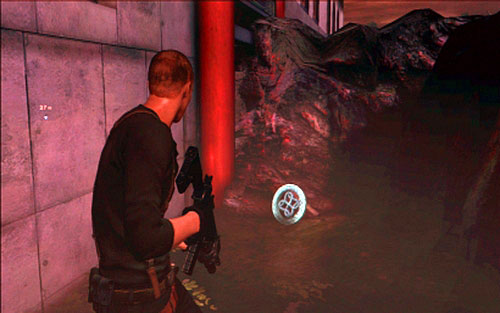
Instead going up the stairs, walk around and you'll obtain the last emblem.
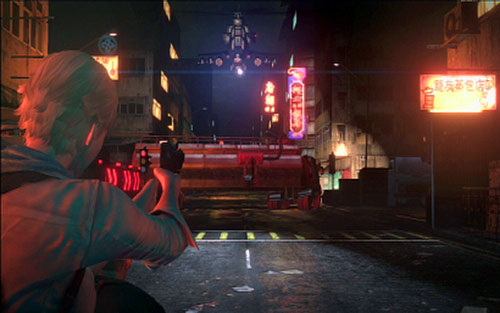
The first emblem can be obtained only by Sherry. After sliding under the cistern you'll have to shoot the gas tanks. But before you do it, shoot the symbol placed at the top left.

After destroying the helicopter move forwards, jumping over railings blocking your way.
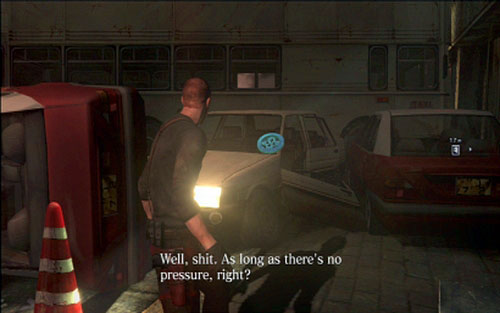
Behind the second railing you can find a small square with car wreckages. Examine the cars on the left. The second emblem is hidden on the window of one of them.
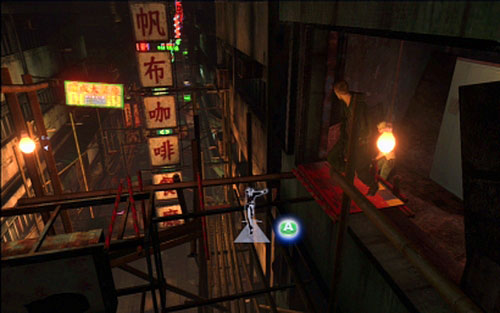
At some point you fall down from the high scaffolding on the street. Take few steps to the left.
There is a third symbol lying on the crate to the right.
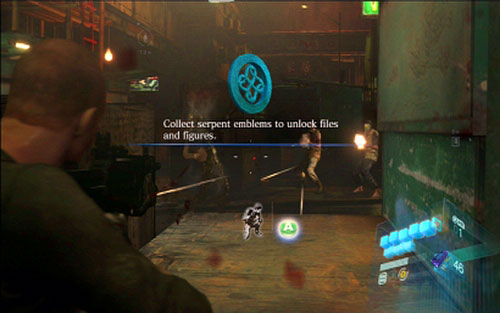
After falling down from the scaffolding, move forwards until you reach the barricade with group of enemies. On the crate near enemies you can find the last artifact.
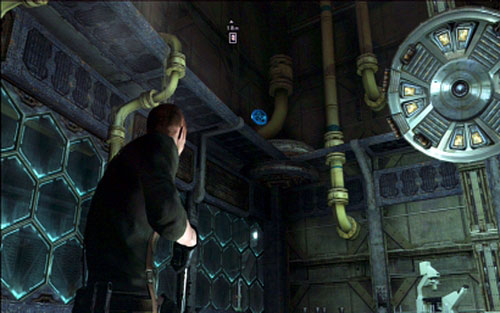
Once you get your weapons back and open the door, look up at one of the corners of the small room. The first emblem is hidden there.
After you turn on the core and go to the upper floor, keep going to the left.
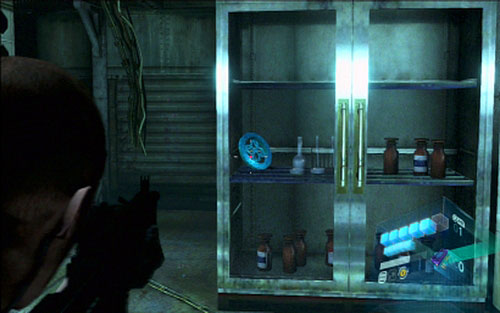
A corridor will lead you to the lab room, where in one of the cabinets you can find the second artifact.
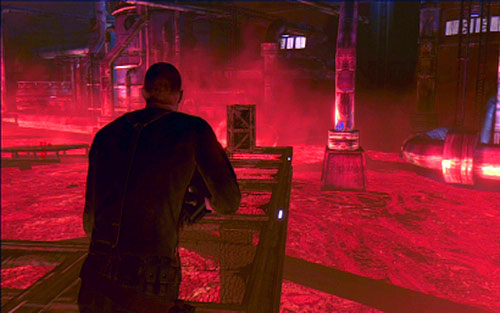
During the fight with Ustanak on the lava room, you will push the heavy crate. After that turn around and go to the left. You have to run forwards now, sticking to the right side of the sidewalk.
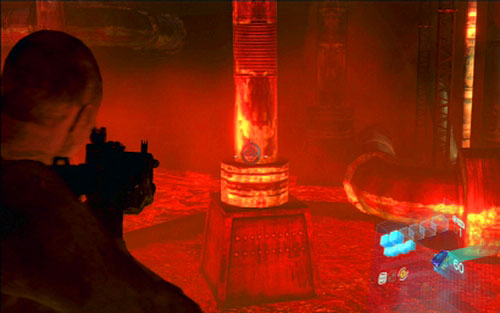
At the end you'll find a crate with ammo and the pillar, on top of which there is a third symbol.
After Ustanak drowns in the lava, climb up the nearby ladder and along with your companion open the door at the end of the sidewalk.
A short corridor will lead you to the large cylindrical tank. On its right side you'll find the fourth symbol.
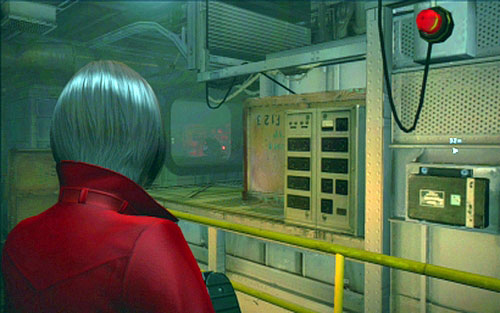
After short animation with alarm, go forwards until you reach short stairs.
You have to go up the stairs and look right. You'll find the first emblem.
When you pass the room with turrets and glowing platforms, you'll reach the room with many metal crates.
There is also a large pillar inside - the second artifact is hidden behind it.
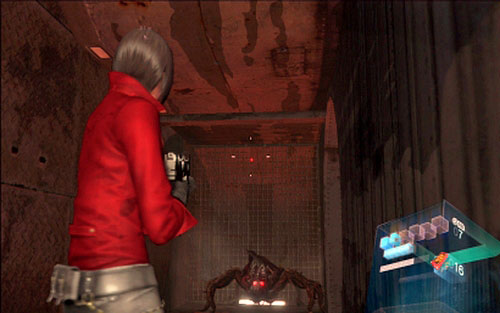
During the escaping from the water, you'll reach the place where spider-like J'avo will attack you.
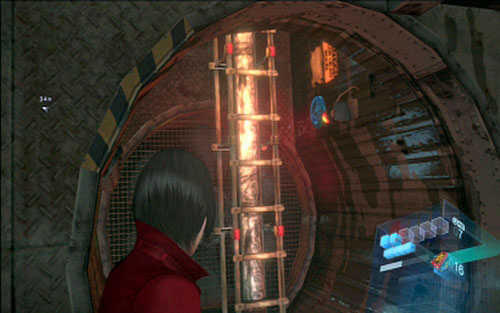
There is a ladder left from him. The third emblem is hidden next to the ladder.
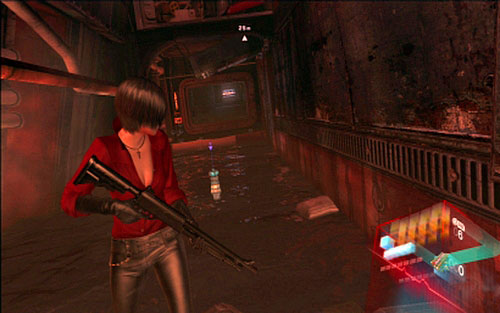
When you succeed escaping from the water, you'll be attacked by J'avo made of flies. Defeat him and then go to the direction opposite to the indicated one.
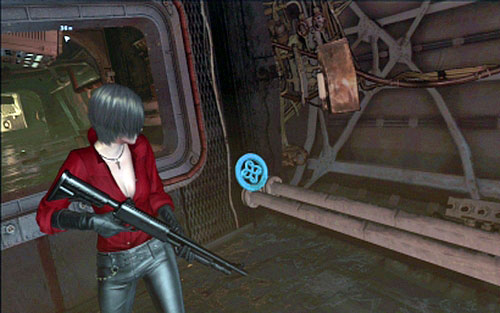
The last symbol is hidden behind the obstacle which blocks the way.
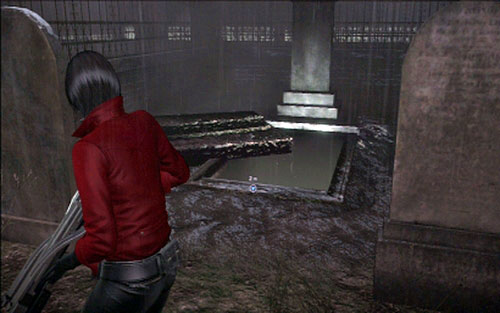
Right after beginning of the stage, move forwards until you reach the hole in the ground.
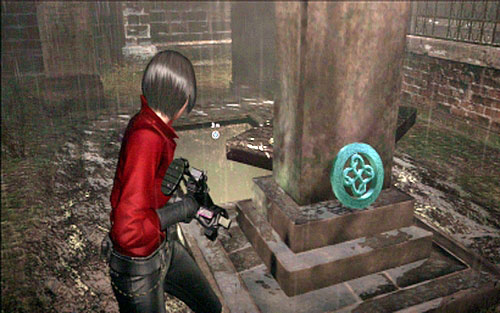
Just walk around the gravestone and you should see the first symbol.
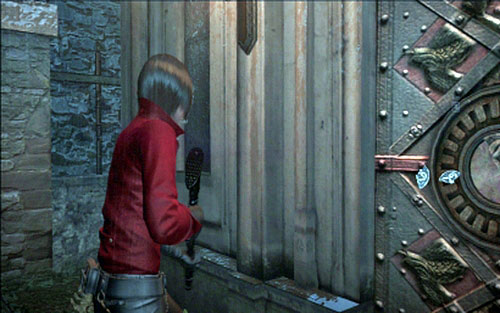
When you obtain three fragments of the artifact, open the locked passage and jump inside the tomb.
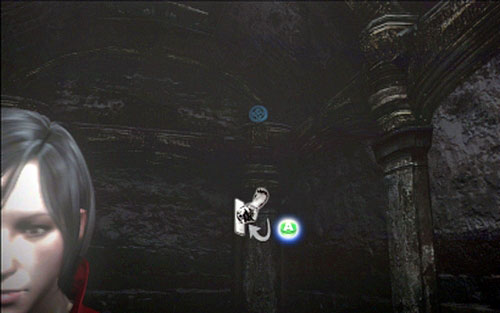
At the bottom you'll see a large door. Move to it and then turn around and look right up. Right under the ceiling you'll find the second emblem.
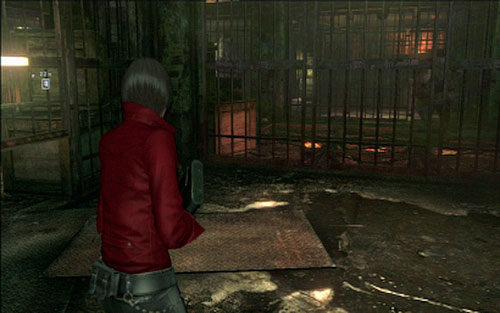
After the last fight with Deborah go forwards until the prison block.
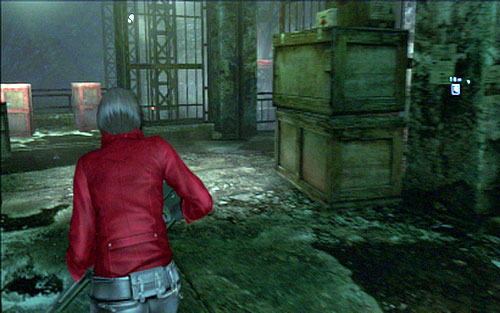
Once you get there, turn left and go to the end of the sidewalk.
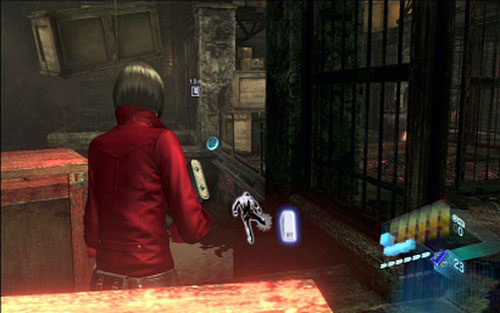
On the right side you'll find the third artifact.
While escaping from the charging beasts, you should reach a flooded part of underground at some point.

As soon as you jump into water, turn around. You'll see the fourth emblem.
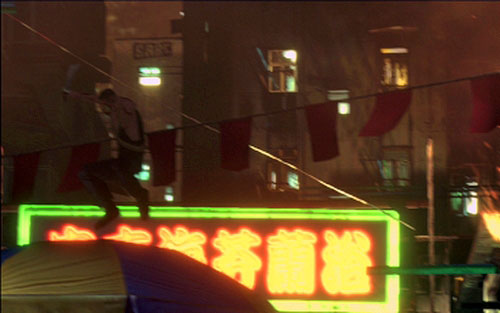
When you get to the abandoned marketplace, the animation with enemies jumping over rooftops will start.
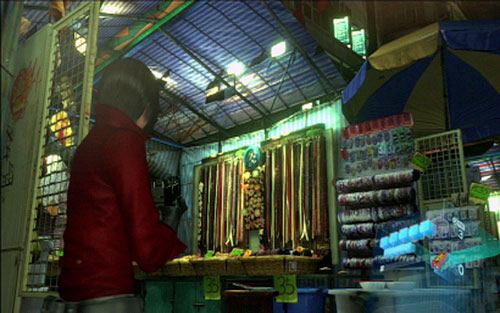
Get rid of all enemies and then carefully examine booths on the left. The first artifact is hidden in one of them
.
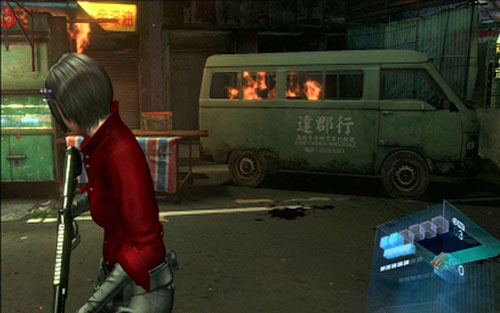
Right before the scene with executing civilians, you should see a big green van.
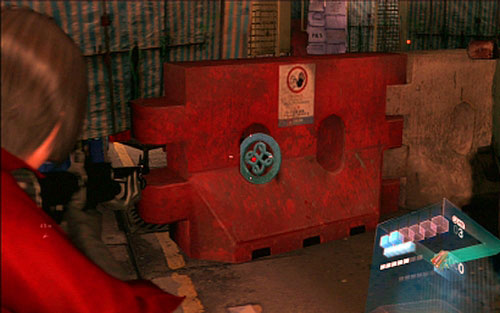
Walk around it from the left side and you'll obtain the second emblem.
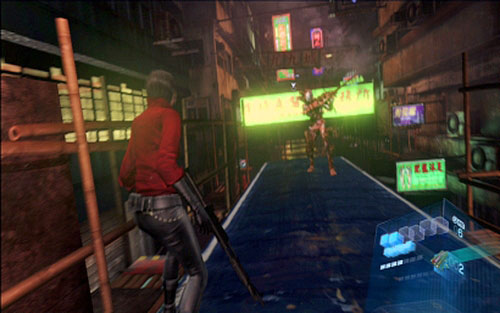
Once you land on the bus roof, avoid the charging beast with your zipline (A) and wait until the bus stops.
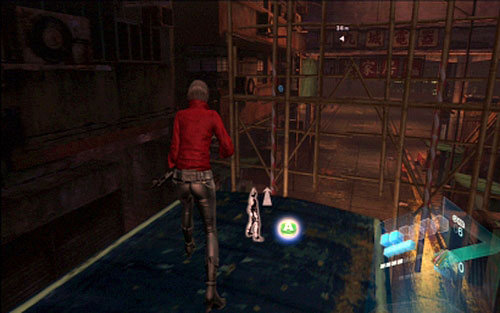
After that you have to quickly shoot the emblem located on the scaffolding blocking the way. Hurry up, because the bus will drive back after a moment.
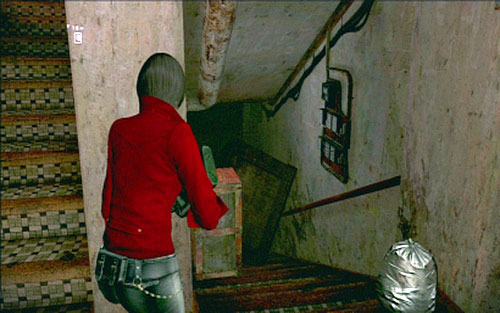
After jumping down from the train roof, go to the staircase and look at the stairs leading down.
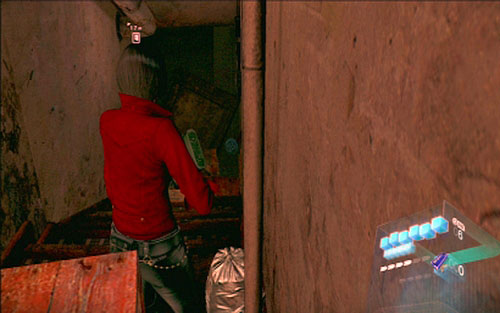
There is overturned cabinet, under which you can find the fourth artifact.

When you get to the place with a searchlight run forwards as fast as you can.
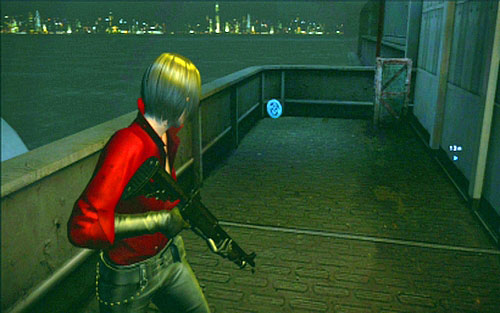
A moment later you'll find yourself on the upper deck, where the first emblem is hidden.
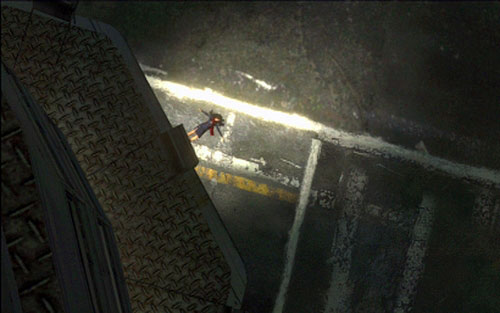
After you watch the death of your character's clone, turn around and run down the stairs.
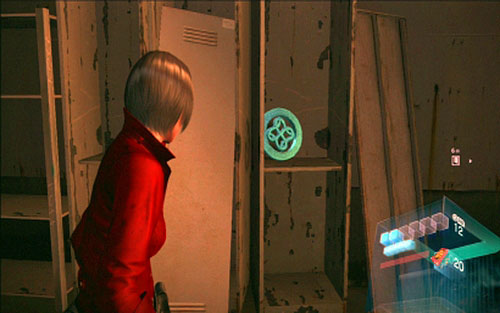
In the short corridor an enemy awaits you. The emblem can be found on the shelf.
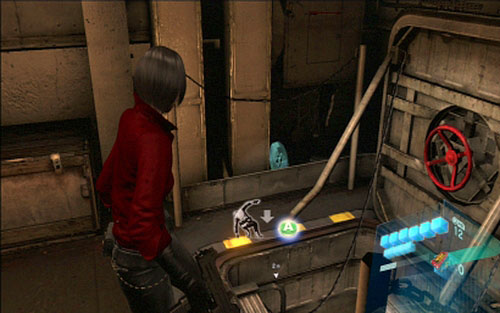
After the clone of your character turn into a large mutant you will find yourself near the hatch leading down. Left t it you can find the third artifact.
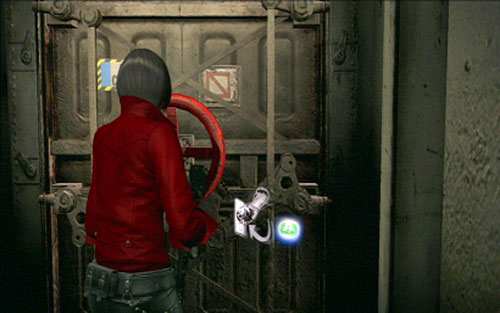
While escaping the mutated beast, you'll reach a hatch with the red handwheel.
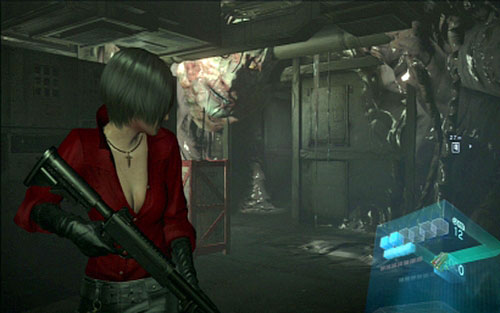
Once you go to the other side, move closer to the face hanging from the ceiling and then quickly run away to avoid being bitten.
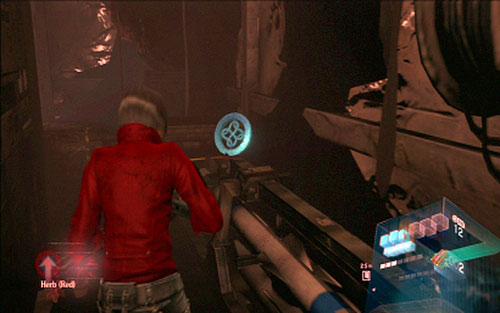
When the creature starts to move back, run around the left wall and shoot the emblem.
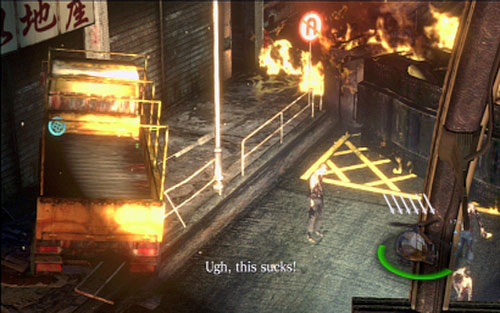
Right after the stage begins, hold LT and aim to the left. The first emblem is hidden on the truck. In order to shoot it, fly the helicopter to the very left.
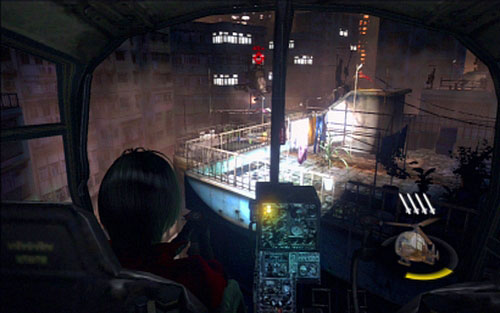
The second artifact has to be shot during the fight with the large helicopter.
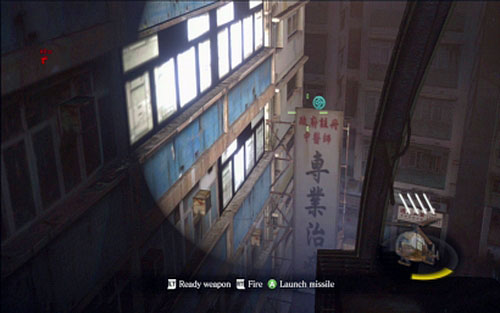
When the fight begins, fly to the right and shoot the symbol located near the building's wall.

After the fight with Dino-Simmons you will be flying by three rooftops. When you find yourself over the second one (with explosive zombie), fly to the very left.
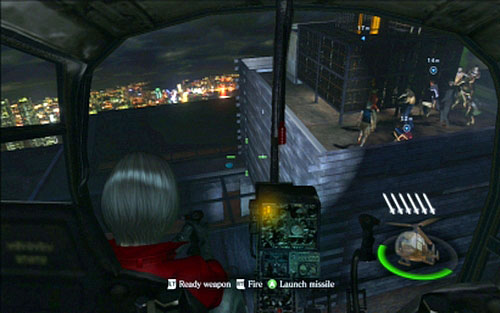
Next to the building's wall you can see the third emblem.
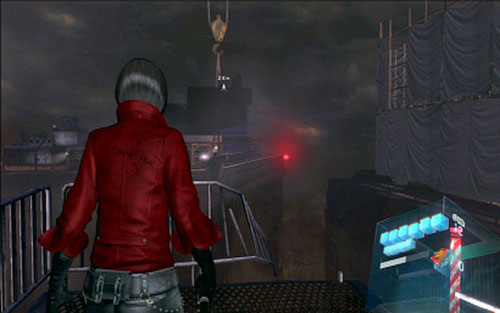
When you leave the helicopter, use the zipline to jump to the cargo hanging on the line.
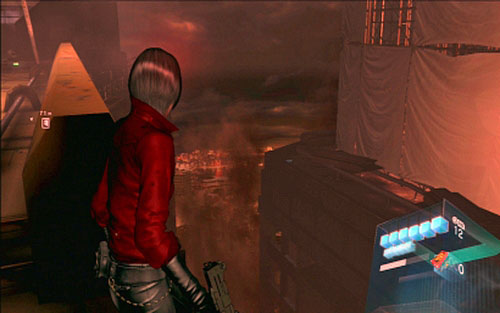
While standing on it look to the right. You should see the last artifact.
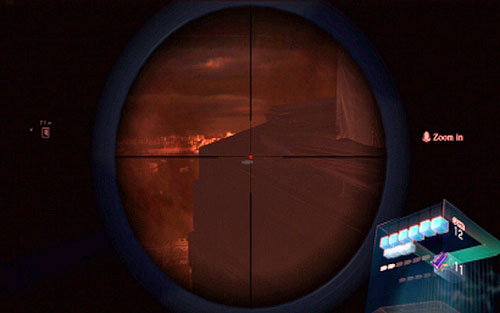
It lies on the edge of the constructed building.


 Rise of Nations: Rise of Legends Game Guide & WalkthroughRunaway 2: The Dream of the Turtle Game Guide & Walkthrough
 RIFT Game Guide & Walkthrough
 Risen Game Guide & Walkthrough
 Rocket League Game Guide & Walkthrough